

bluesman7
-
Posts
102 -
Joined
-
Last visited
Content Type
Profiles
Forums
Articles
Gallery
Downloads
Events
Posts posted by bluesman7
-
-
It is probably high strength low alloy structural steel.
-
Have fun.
-
-
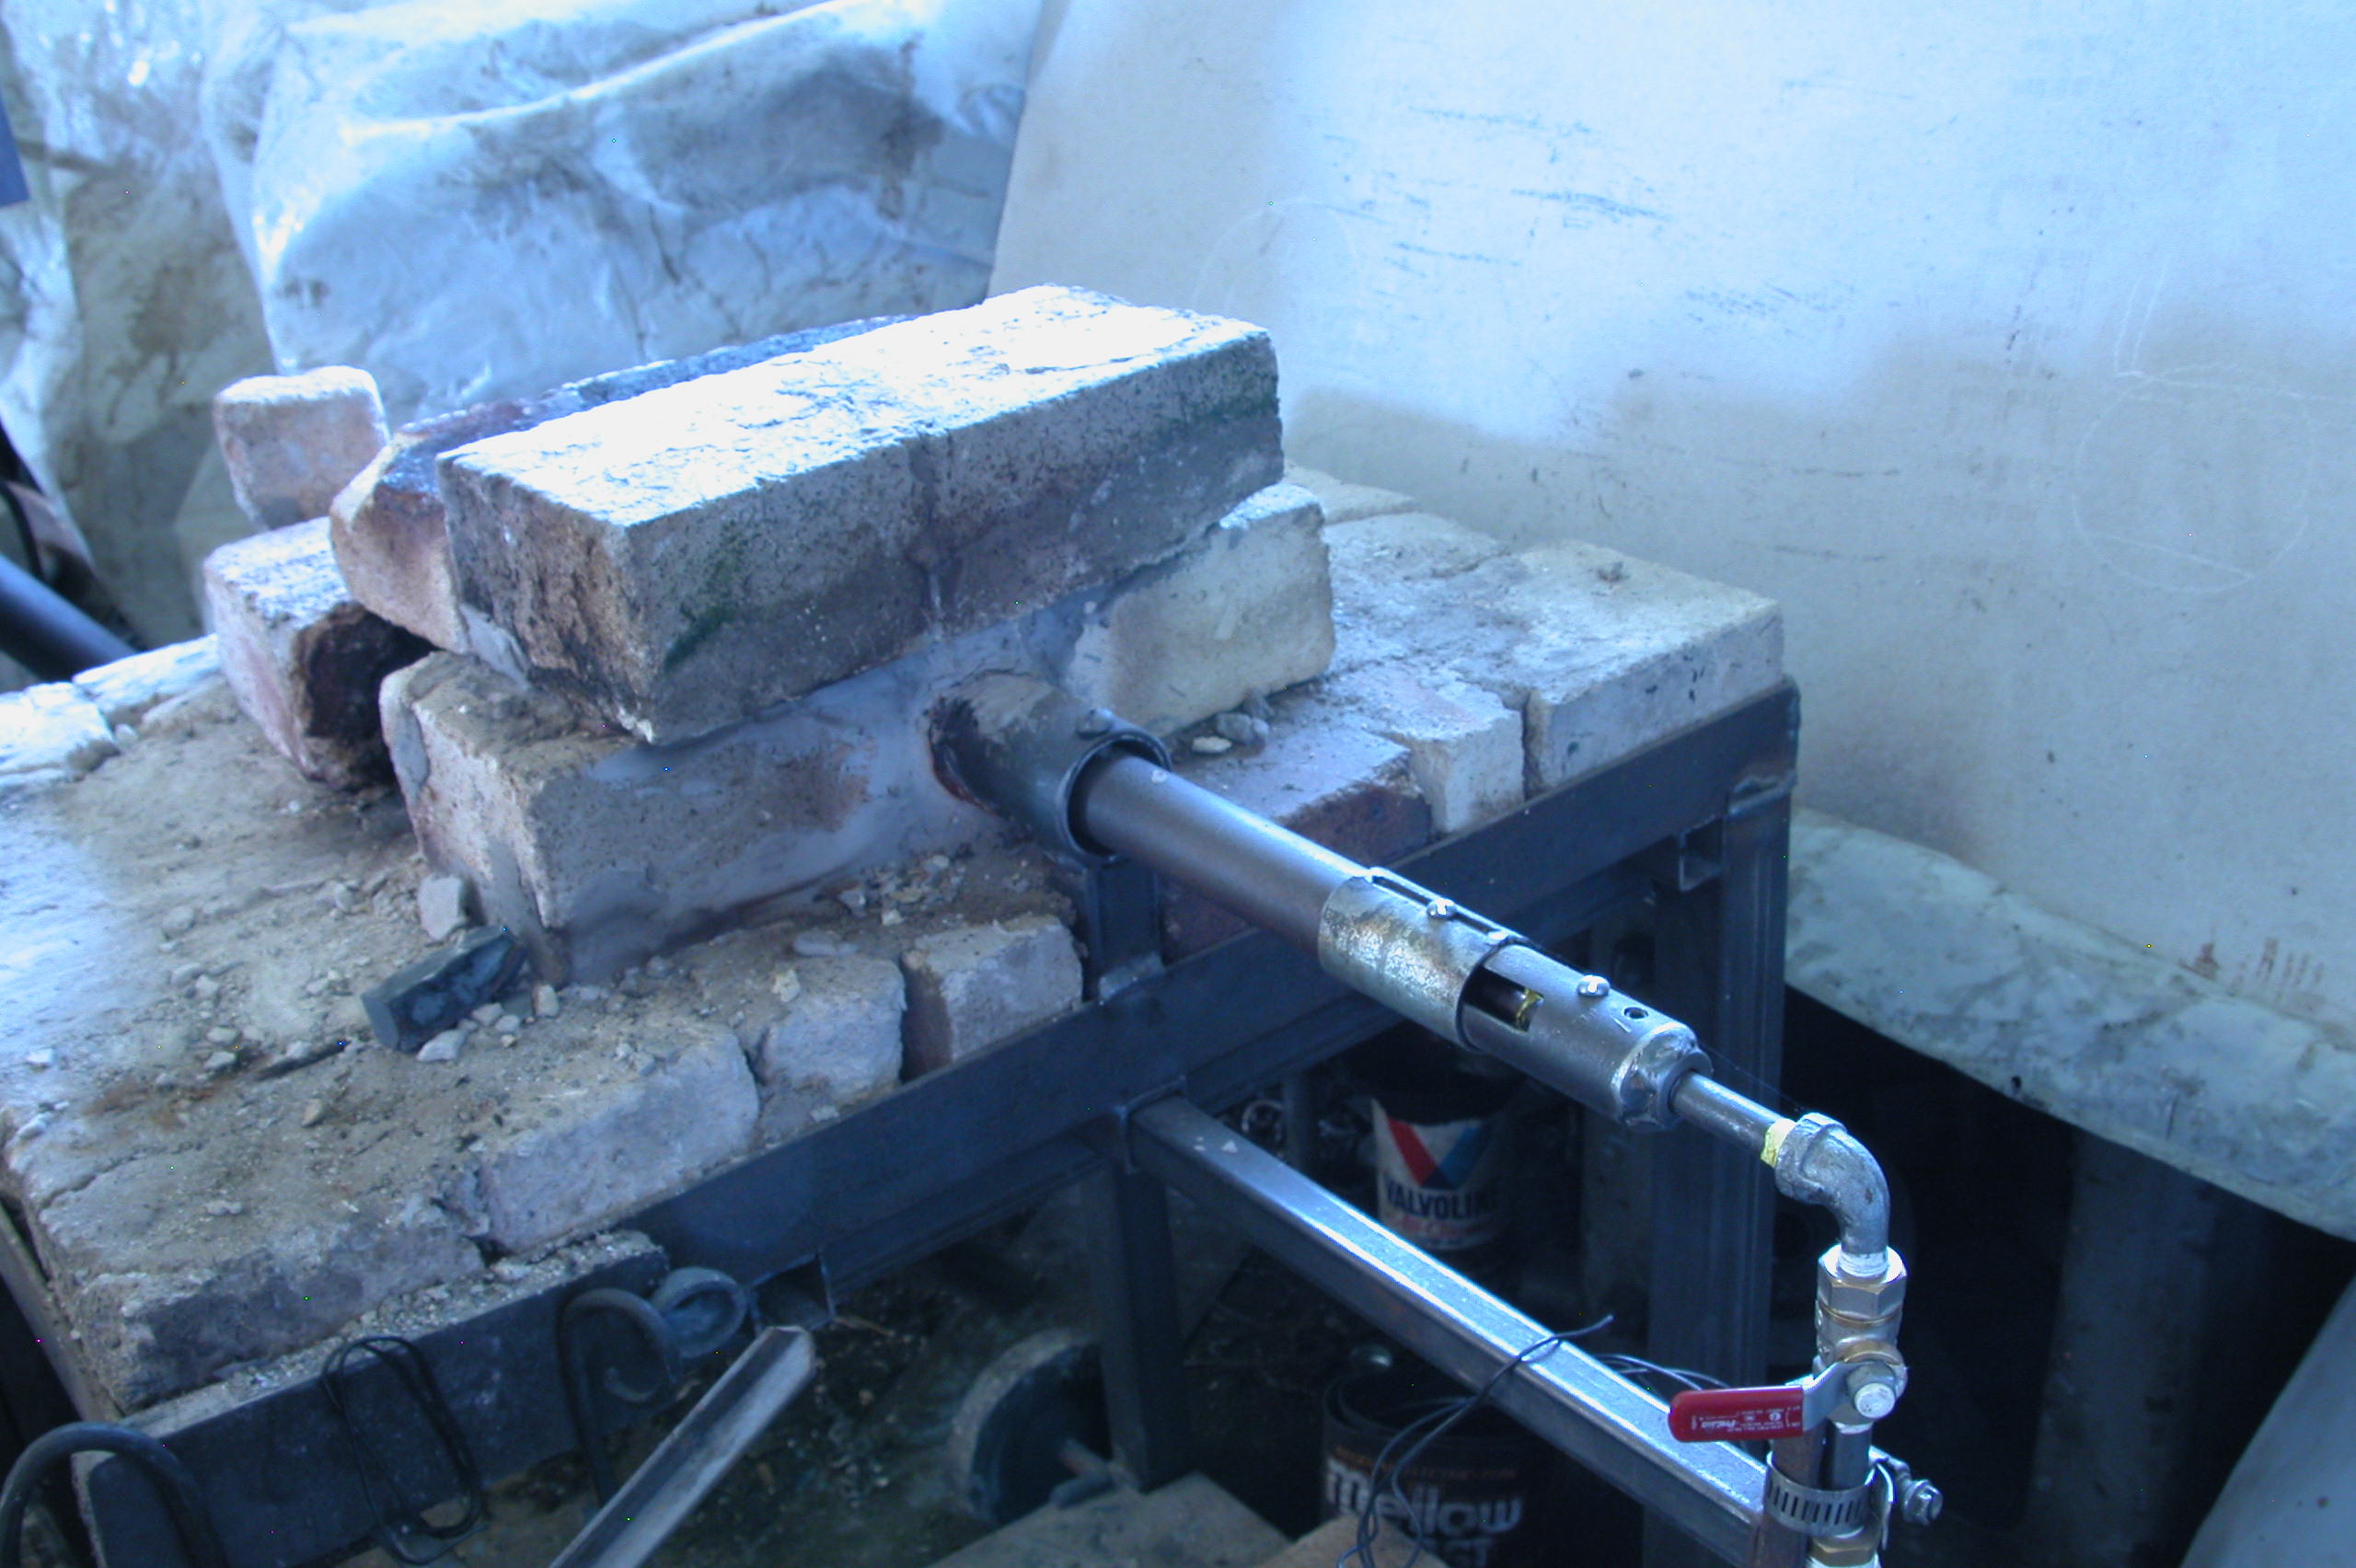
What you have labeled 'Nozzle' is actually the mixing tube, but yeah, that is what I do. picture coming ,
if it came out.
-
I have zero experience with T burners.
-
If I was doing it, yes. Others seem to have problems with their flame nozzles burning up, so being able to pull the burner and nozzle out to replace the nozzle is an advantage. I haven't had that issue. A friend of mine sticks the mixing tube into a hole in the housing and builds his flame nozzle out of refractory. He's built several forges of different sizes that way and all of them are still running. We had three of them going at a meet at his place. Most people here weld in a pipe big enough for their flame nozzle to fit through I think.
-
Well, then build or by your burners and see how big it needs to be. Personally if I were doing it, the inlet pipe would be the flame nozzle. Others do it differently.
-
Do you understand that if your burner is tangent to the inside diameter and level to the floor, the top of the hole will be a lot more than 2.5" away from top dead center and it will not be a round hole?
-
In the pdf all it says is this
5. Drill, or cut, a hole in the top (larger part) 2” down vertically from the top and if using one burner
centered front to back. If using two burners put one about 1/3rd back and the other about 2/3rd
back. By making this hole down 2” vertically from the top of the form you will have this hole
positioned so that the burner can enter the fire box at a tangent or level to the floor, causing the
burning gases to swirl within the forge.If you are going to follow those directions, you are missing the bold part.
-
I've had very good luck repairing broken bricks with Satanite. It gets much stronger after the brick is fired.
-
6 hours ago, Steve Sells said:
impressive work, and I like the design
Thanks Steve
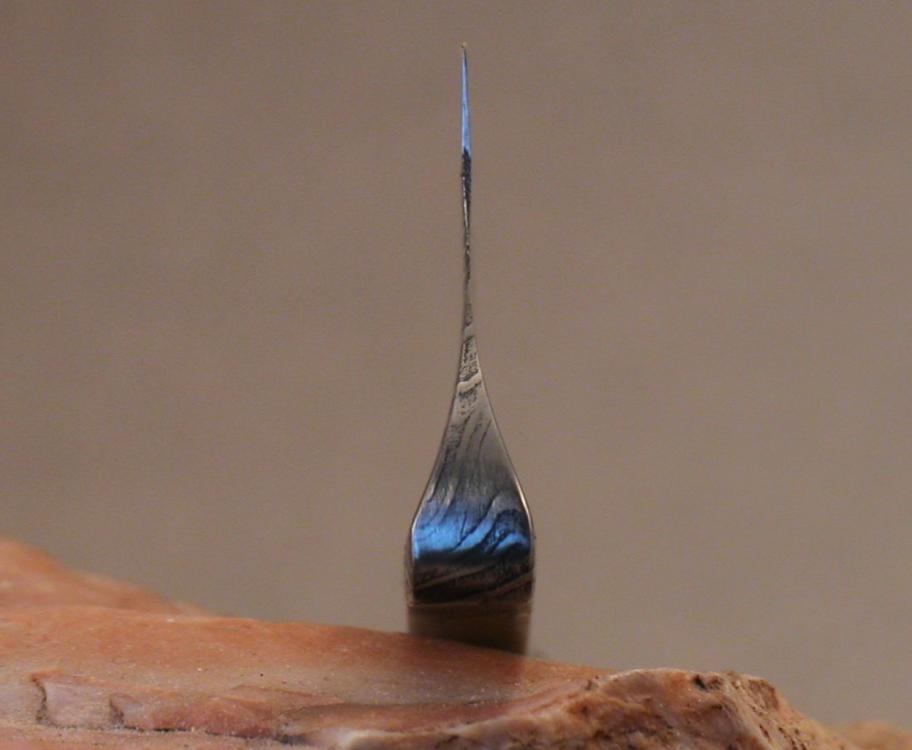
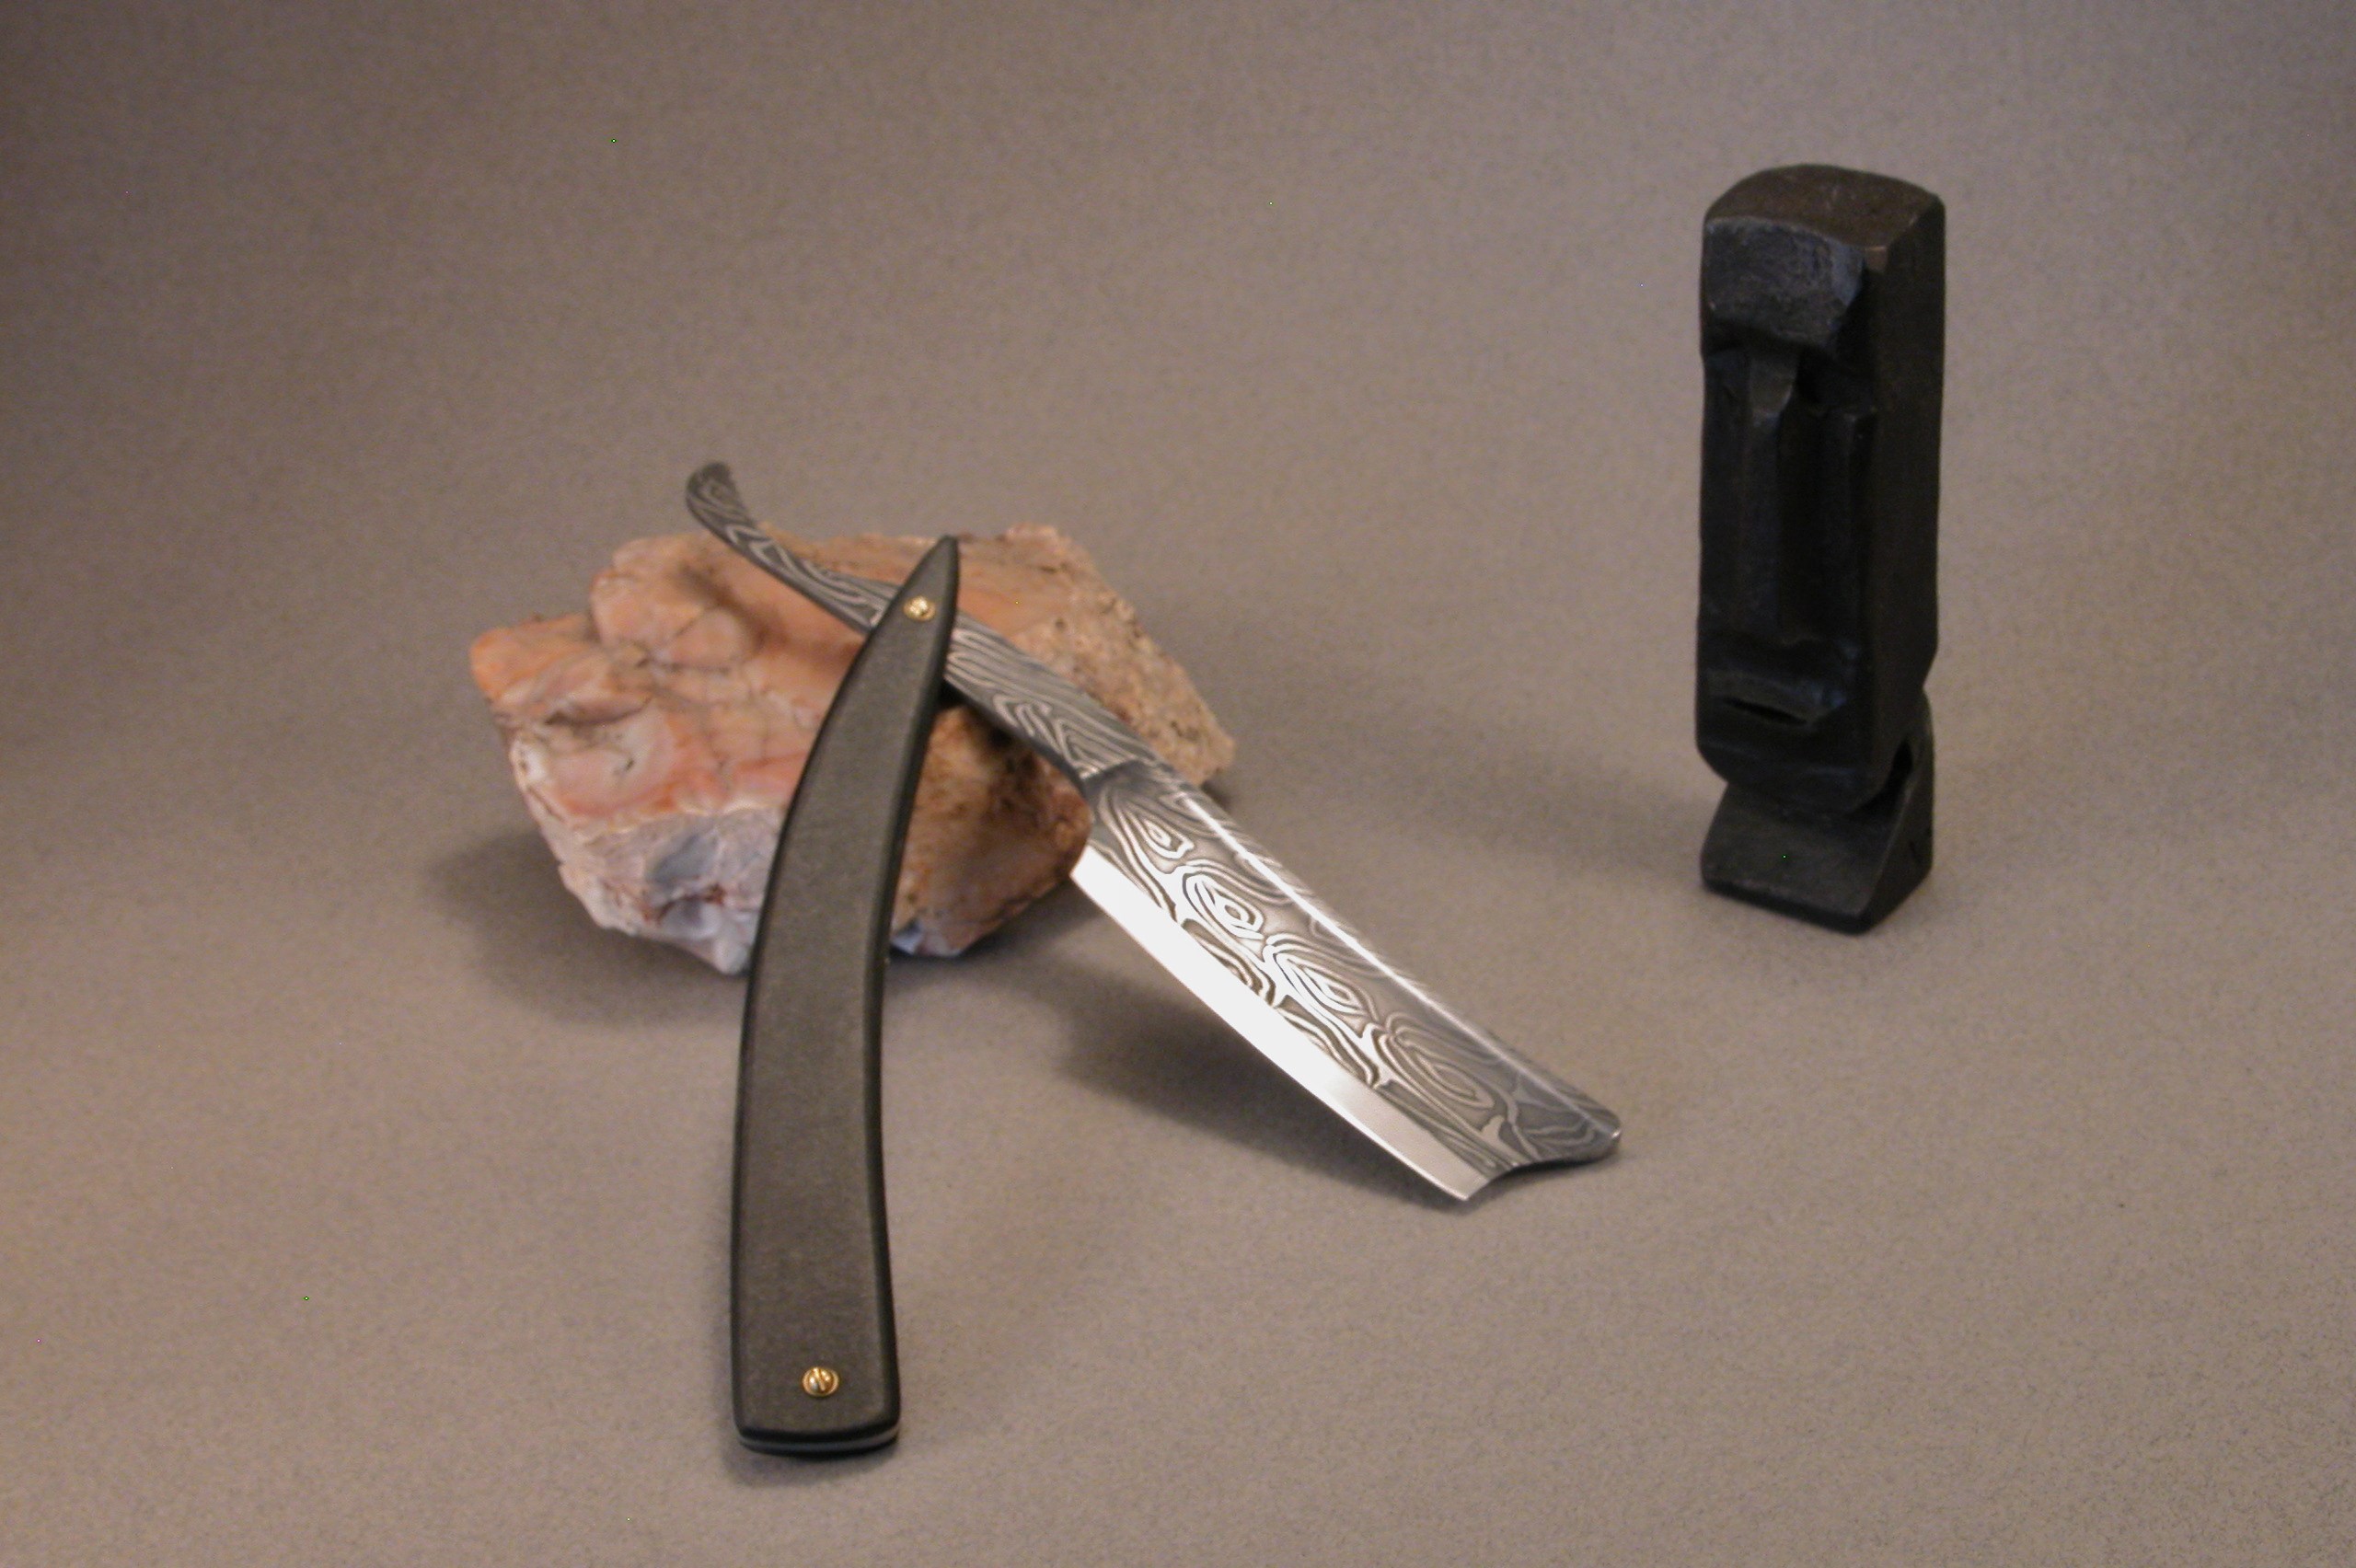
4 hours ago, Latticino said:Lovely clean work. Your hollow grinds are intimidating, do you work with a water spray to keep cool during grinding?
No, I just dip the blade when I feel any heat. I keep my bare finger tips on the back of the contact point and with the blade so thin it is easy to feel any heat build up long before reaching the temper temperatures. You can't use much pressure anyway without fighting deflection on such a thin section. I run about 450 SFM when finishing the edge.
2 hours ago, Jclonts82 said:Now THAT is a hollow grind! what are the dimensions? looks to be about 7/8ths of an inch?
I'm currently working on one, but do not have a contact wheel in the traditional sense. Just trying to use the top of a 4X36 belt grinder meant for wood, and free-handing it at that.. Its not easy. But i'm going for more of a near wedge.
Good eye. A 7/8 it is.
I think several first razors and knives have been done on those 4x36 belt sanders. The main drawback IMO is the high belt speed. On a heavy grind you should be able to keep your heat down pretty easy though. Light pressure and bare hands.
-
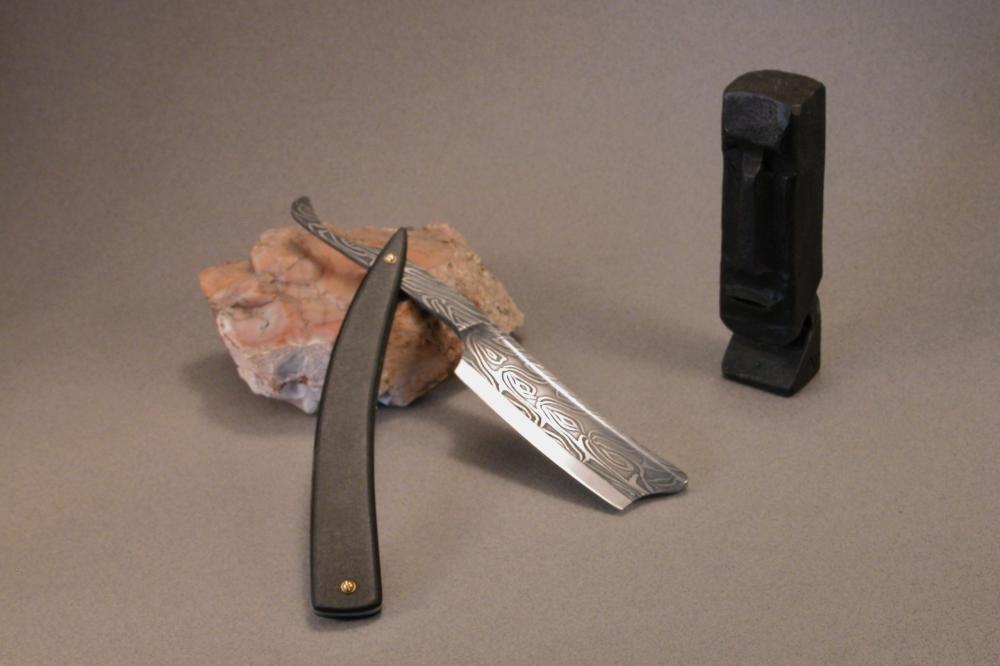
Another razor.
-
I glean charcoal from my fireplace in the winter, that way I get the benefit of the heat. I smother it in a 3 lb coffee can and by the time I've built up the coals again the batch in the coffee can is cool. Be aware of CO, though I've had no issue with it.
-
I've been using .065" 15n20 and .125" 1095 lately. The 15n20 is what really stands out, so using less of it looks more balanced IMO.
The size of the billet depends on what you are trying to make. If your making billets by hand just make your billet big enough for your project plus scaling loss and as small of an extra factor as you feel comfortable with. The scaling loss and extra factor comes from experience and how much manipulation you are doing to the billet. Keep good notes.
Don't forget that small billets can be welded, manipulated, and then welded to other manipulated billets to end up with larger billets without having to work the large billet through the whole process.
-
2 hours ago, Steve Sells said:
Tariff is only for imports. not American made goods
But the tariff will still put upward pressure on the price of American steel. Higher demand = higher price.
-
I do PWS [damascus] by hand very often. A lot of the work can be minimized by making your billets just big enough for the project. Extra material = extra work.
-
I use electric tools in my shop, but I attended a four day hammer in [Loveland CO] where there were seventeen forges and no electricity. All of the tools and blowers were human powered. It was pretty cool and inspiring.
-
11 hours ago, Stormcrow said:
Beautiful! What handle material?
The scales are paper/epoxy micarta.
8 hours ago, BIGGUNDOCTOR said:Good looking razor. A straight is on my to-do list. What alloy did you use for the cutting edge?
It's a modified San Mai construction and the cutting edge is 1095.
-
Thank you.
-
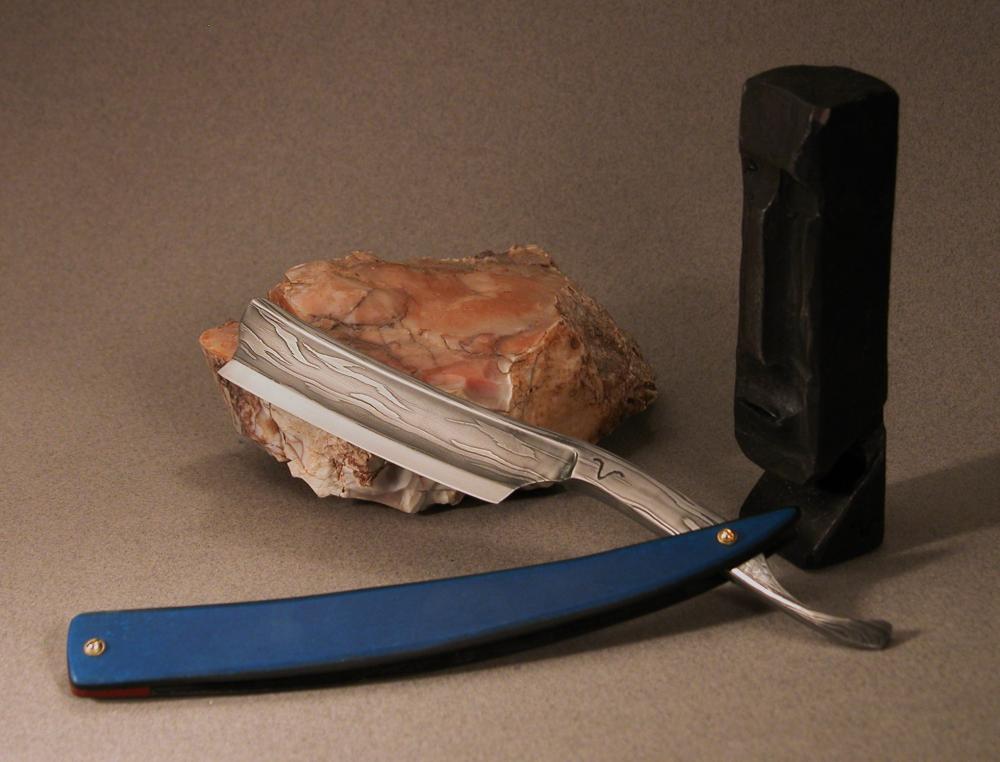
Finished this one a couple of weeks ago.
-
Hot spots are good for forging and bad for heat treating, as Frosty said above.
-
Nice charts Glenn. I have a copy of Machinery's Handbook. I don't think that I was ever aware that was in there.
-
Hey! I didn't say that.
-
1 hour ago, Jesse Sommer said:
Thank you Mr. Olson, I wasn't aware of that. I was thinking that refractory cement would increase the life. Thank you and I'll take your advice. Also, Irondragon, I will think about those plans. Also, I have a question. If the forge gets hot enough to melt steel then how does a steel fire pot work?
I tried lining my fire pot with refractory, the clinker stuck to the refractory so I stopped doing that. My fire pot is 5" by 8" and only 2" deep made of 1/8" plate. I'm pretty happy with the size as I can make a really small fire in it and when I need a bigger fire I just bank it up with coal. The 1/8" plate is holding up much better than I expected.


Improperly repaired anvil
in Anvils, Swage Blocks, and Mandrels
Posted
I built up the edges of my anvil with 11018, after preheating, with very good results. The built up areas have good rebound and are holding up very well.