

Diesel_reaction
-
Posts
2 -
Joined
-
Last visited
Content Type
Profiles
Forums
Articles
Gallery
Downloads
Events
Posts posted by Diesel_reaction
-
-
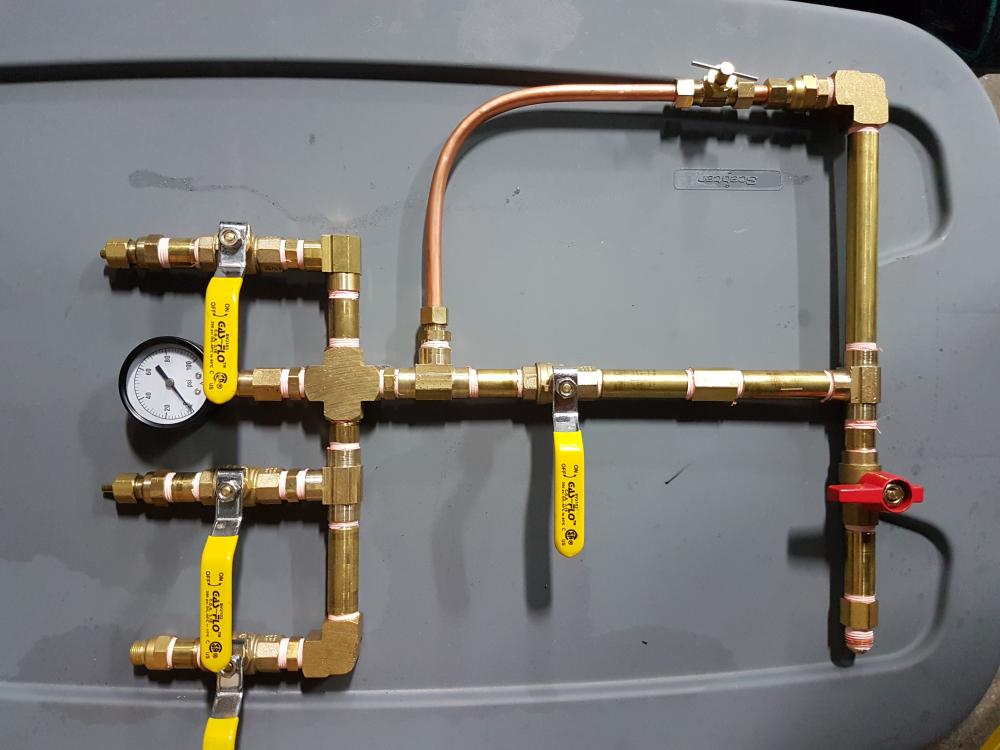
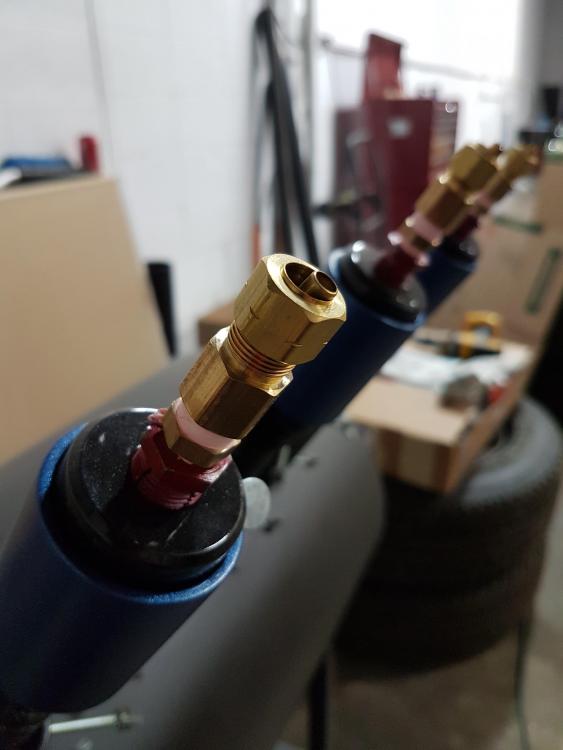
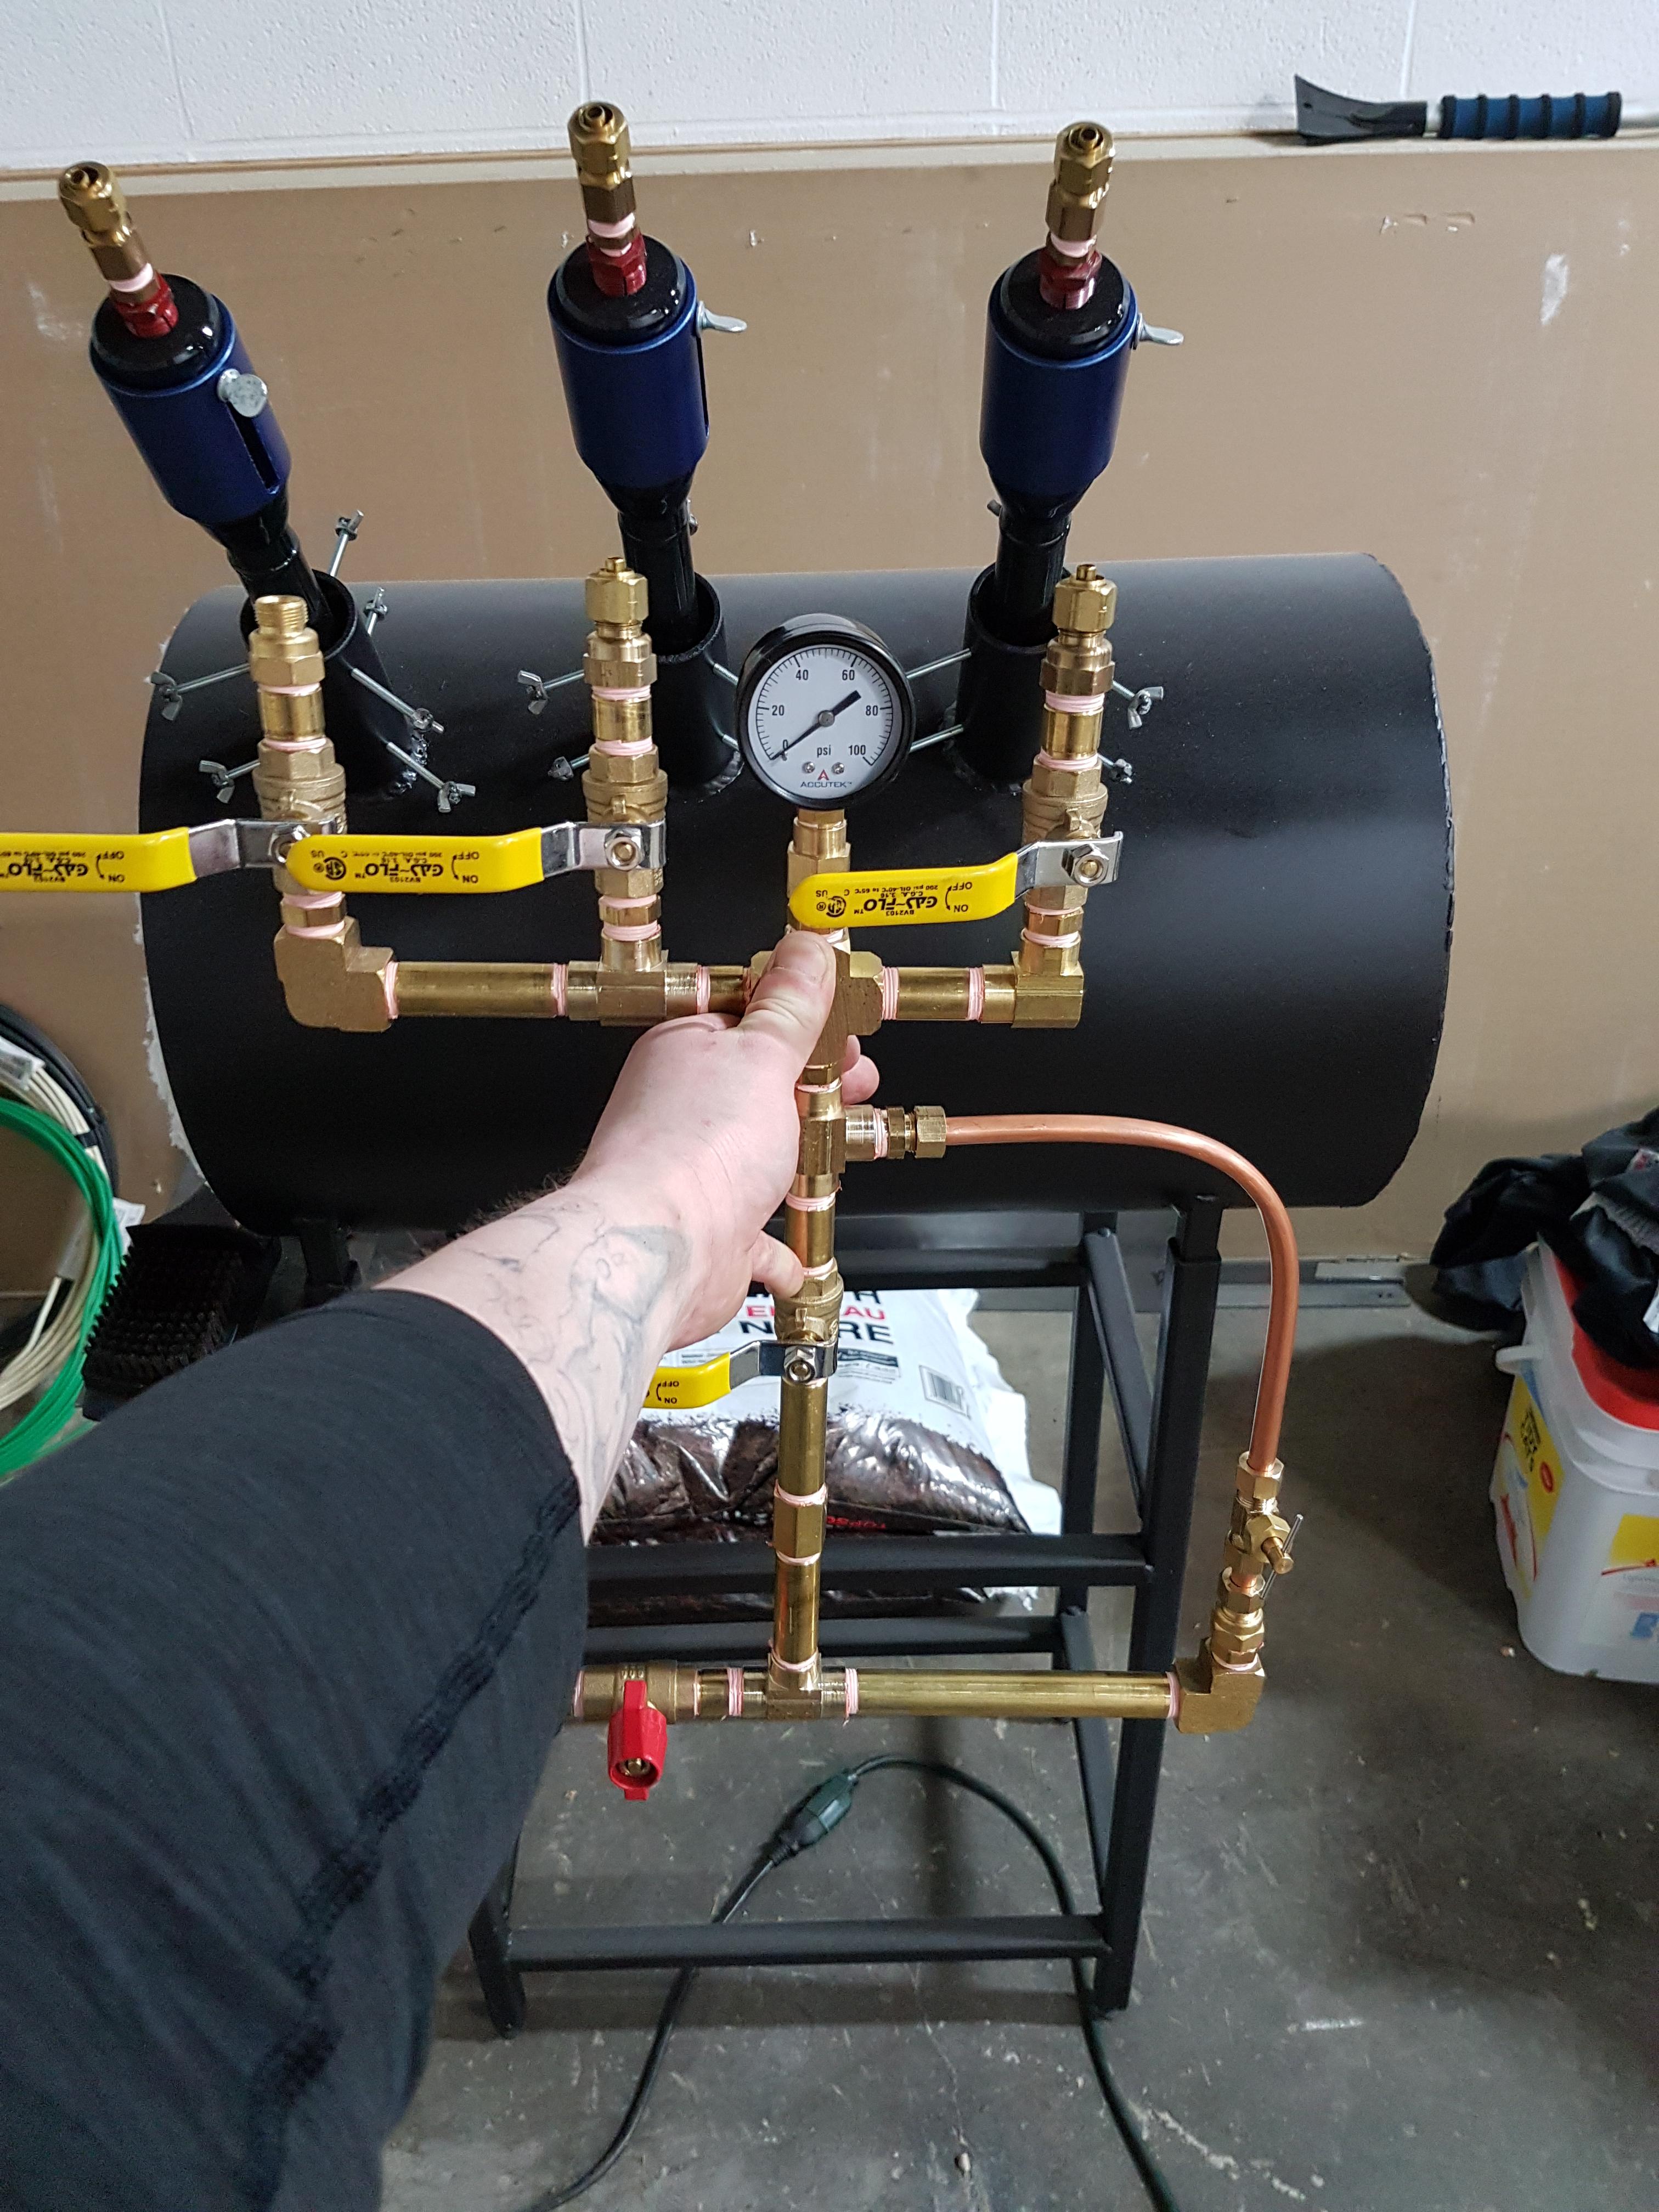
Hey there I need some help with hooking up the burners to my forge. Im new to smithing and this is my first attempt at a forge. My forge has 3 trex burners and my goal is to be able to use them independantly or all together. I have researched how the propane distribution block should look and came up with this. Pics attached. My issue is to go from the distrobution block to the burners i need to use flexible copper tubing and to connect it im using compression fittings, the issue is the compression fittings keep leaking ive tried a hundred times and i just cant get them not to leak propane a bit. Is there a special way to do this? Any help would be great.
Thanks
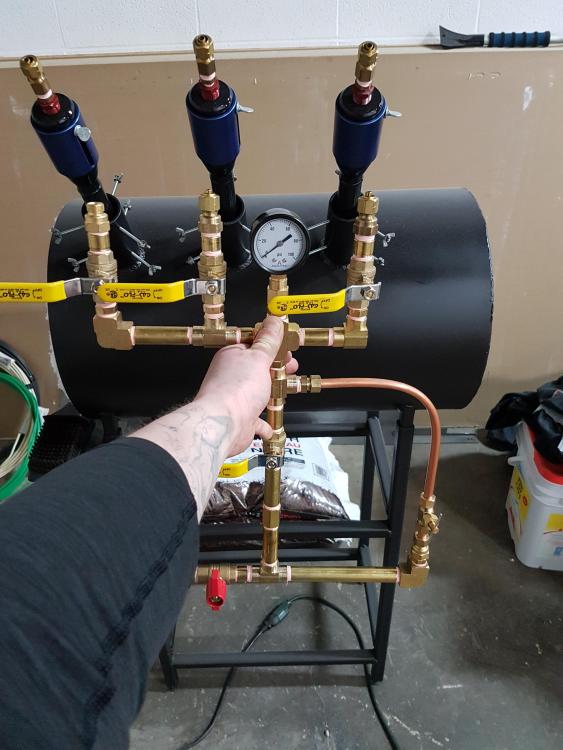


HELP Propane burner hookup and gas distribution
in Gas Forges
Posted
The fittings say compression fittings for copper or plastic the center peices are i serts for the plastic i didnt use them though they just come installed incase you need them. The tubi g is refrigeration grade made in the USA. Attached pic. The burners are the T-Rex burners by Hybrid Burners. Ive heard nothing but great stuff about them. BTU chart Attached.
Flare fittings for Copper tubing ive never seen them before. Where might I find them? What do they look like?
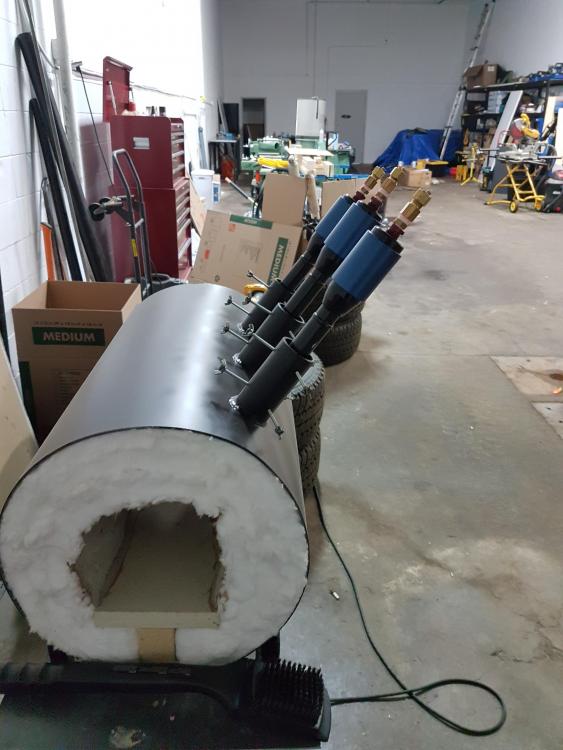
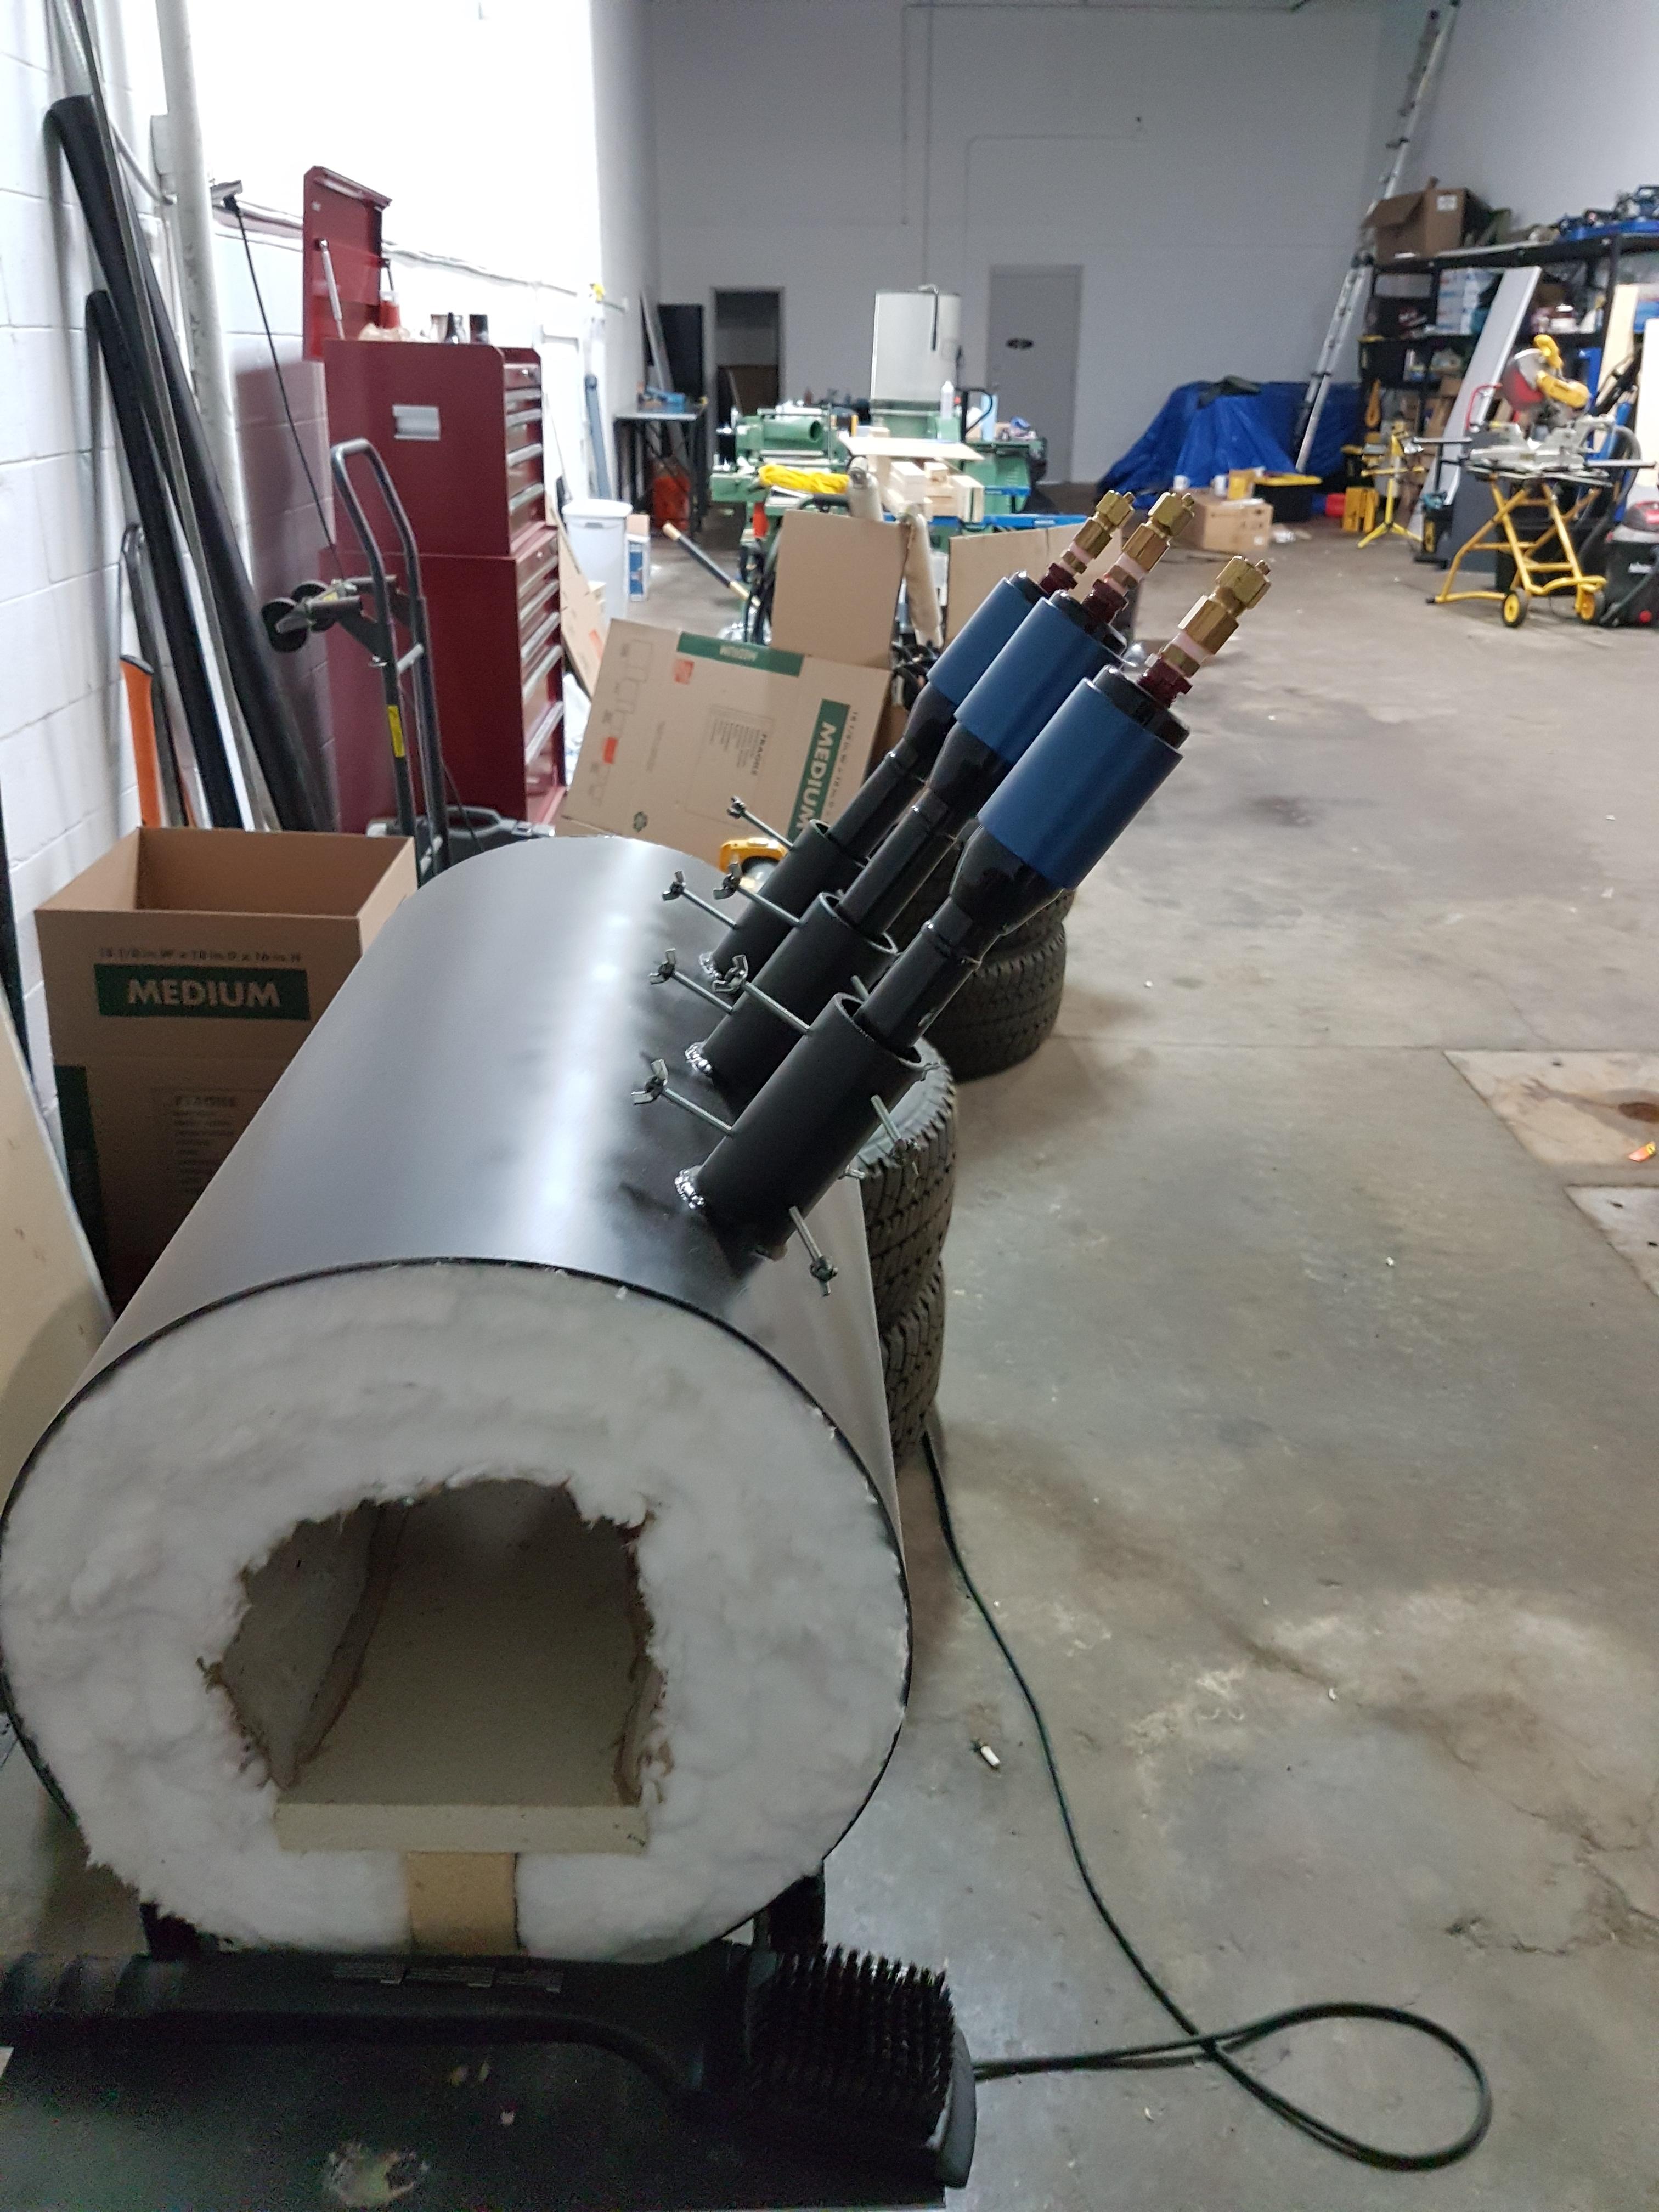
Im using Itc 100ht to cover the blanket and I coated the inside metal of the forge and burner tips in Itc213. Also theres no fire brick the forge floor is a 1" thick peice of high alumina klin shelf, i hope it will be sufficent . The only spot I was going to use actual fire brick is at the mouth of the forge i welded on a ledge so I can stack them over the opening. Also i made a peice of tge klin shelf round so it can block off the back of the forge so i can make it as shallow or deep as i want. The wide open depth is 24" and about a 7" diameter.
Also thanks for the suggestions