

Exo313
-
Posts
224 -
Joined
-
Last visited
Content Type
Profiles
Forums
Articles
Gallery
Downloads
Events
Posts posted by Exo313
-
-
I was just reading a bit out of Machinerys Handbook where a demonstrator was using the Lagrange-Hoho method of heating steel via electrolysis, combined with a hidden foot switch. So he would put steel in the tank, step on the switch, heat to temp, forge, then quench in the same tank with the switch turned off. Talk about drama.
-
Cdnaxe; yes. Or pretty close. I haven't measured it.
Far as pushing it through to final stamping goes, anvil shops as I understand were pretty competitive and basically mass production shops once lots of different makers started popping up. I'm guessing a ) tolerances were pretty coarse or b ) anvils like that ended up being sold as seconds. No basis for that guess; shooting in the dark really. But it's what I'd do if I was running a full scale production anvil factory. I'm not wasting wages or fuel or time fixing a 200 pound lump of metal. Especially not after the face is welded on. I'm either shipping it as is or selling it at a reduced rate.
-
Thanks Frosty. What I meant, but far better articulated.
-
Your primary objective is to get out. Which means more than one way out. And extinguishers should always be en route to the exit so that you're already on the way out of the building. The window for an extinguisher to be effective can be pretty small, and all your steps in a fire situation should be towards evacuation.
-
One somewhat blurry post-cleaning shot. I think she's got character. And a bit of bling in the shined up braze job.
-
OP found a grinder... and now instead of 90lbs it's "almost 100" (metal removal increased the weight? If I grind enough will my 200lb MH make 300?)
-
Interesting section on the Smith Shop
I hadn't heard of jump welding before reading this. Free ebook.
-
I happen to have a couple of those kicking around!
-
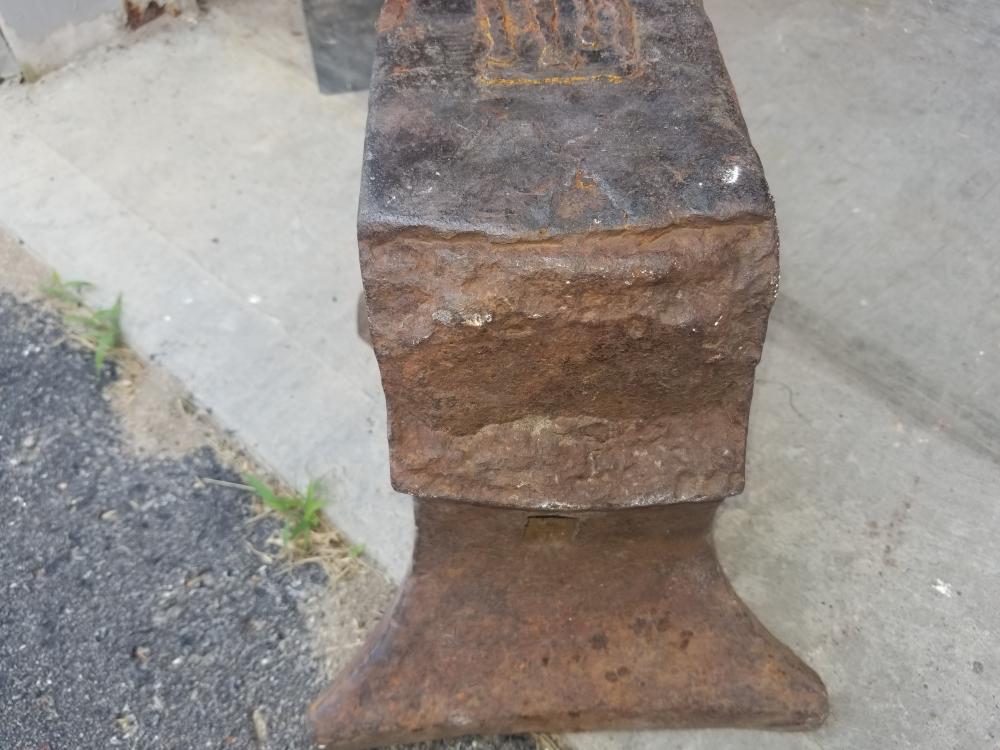
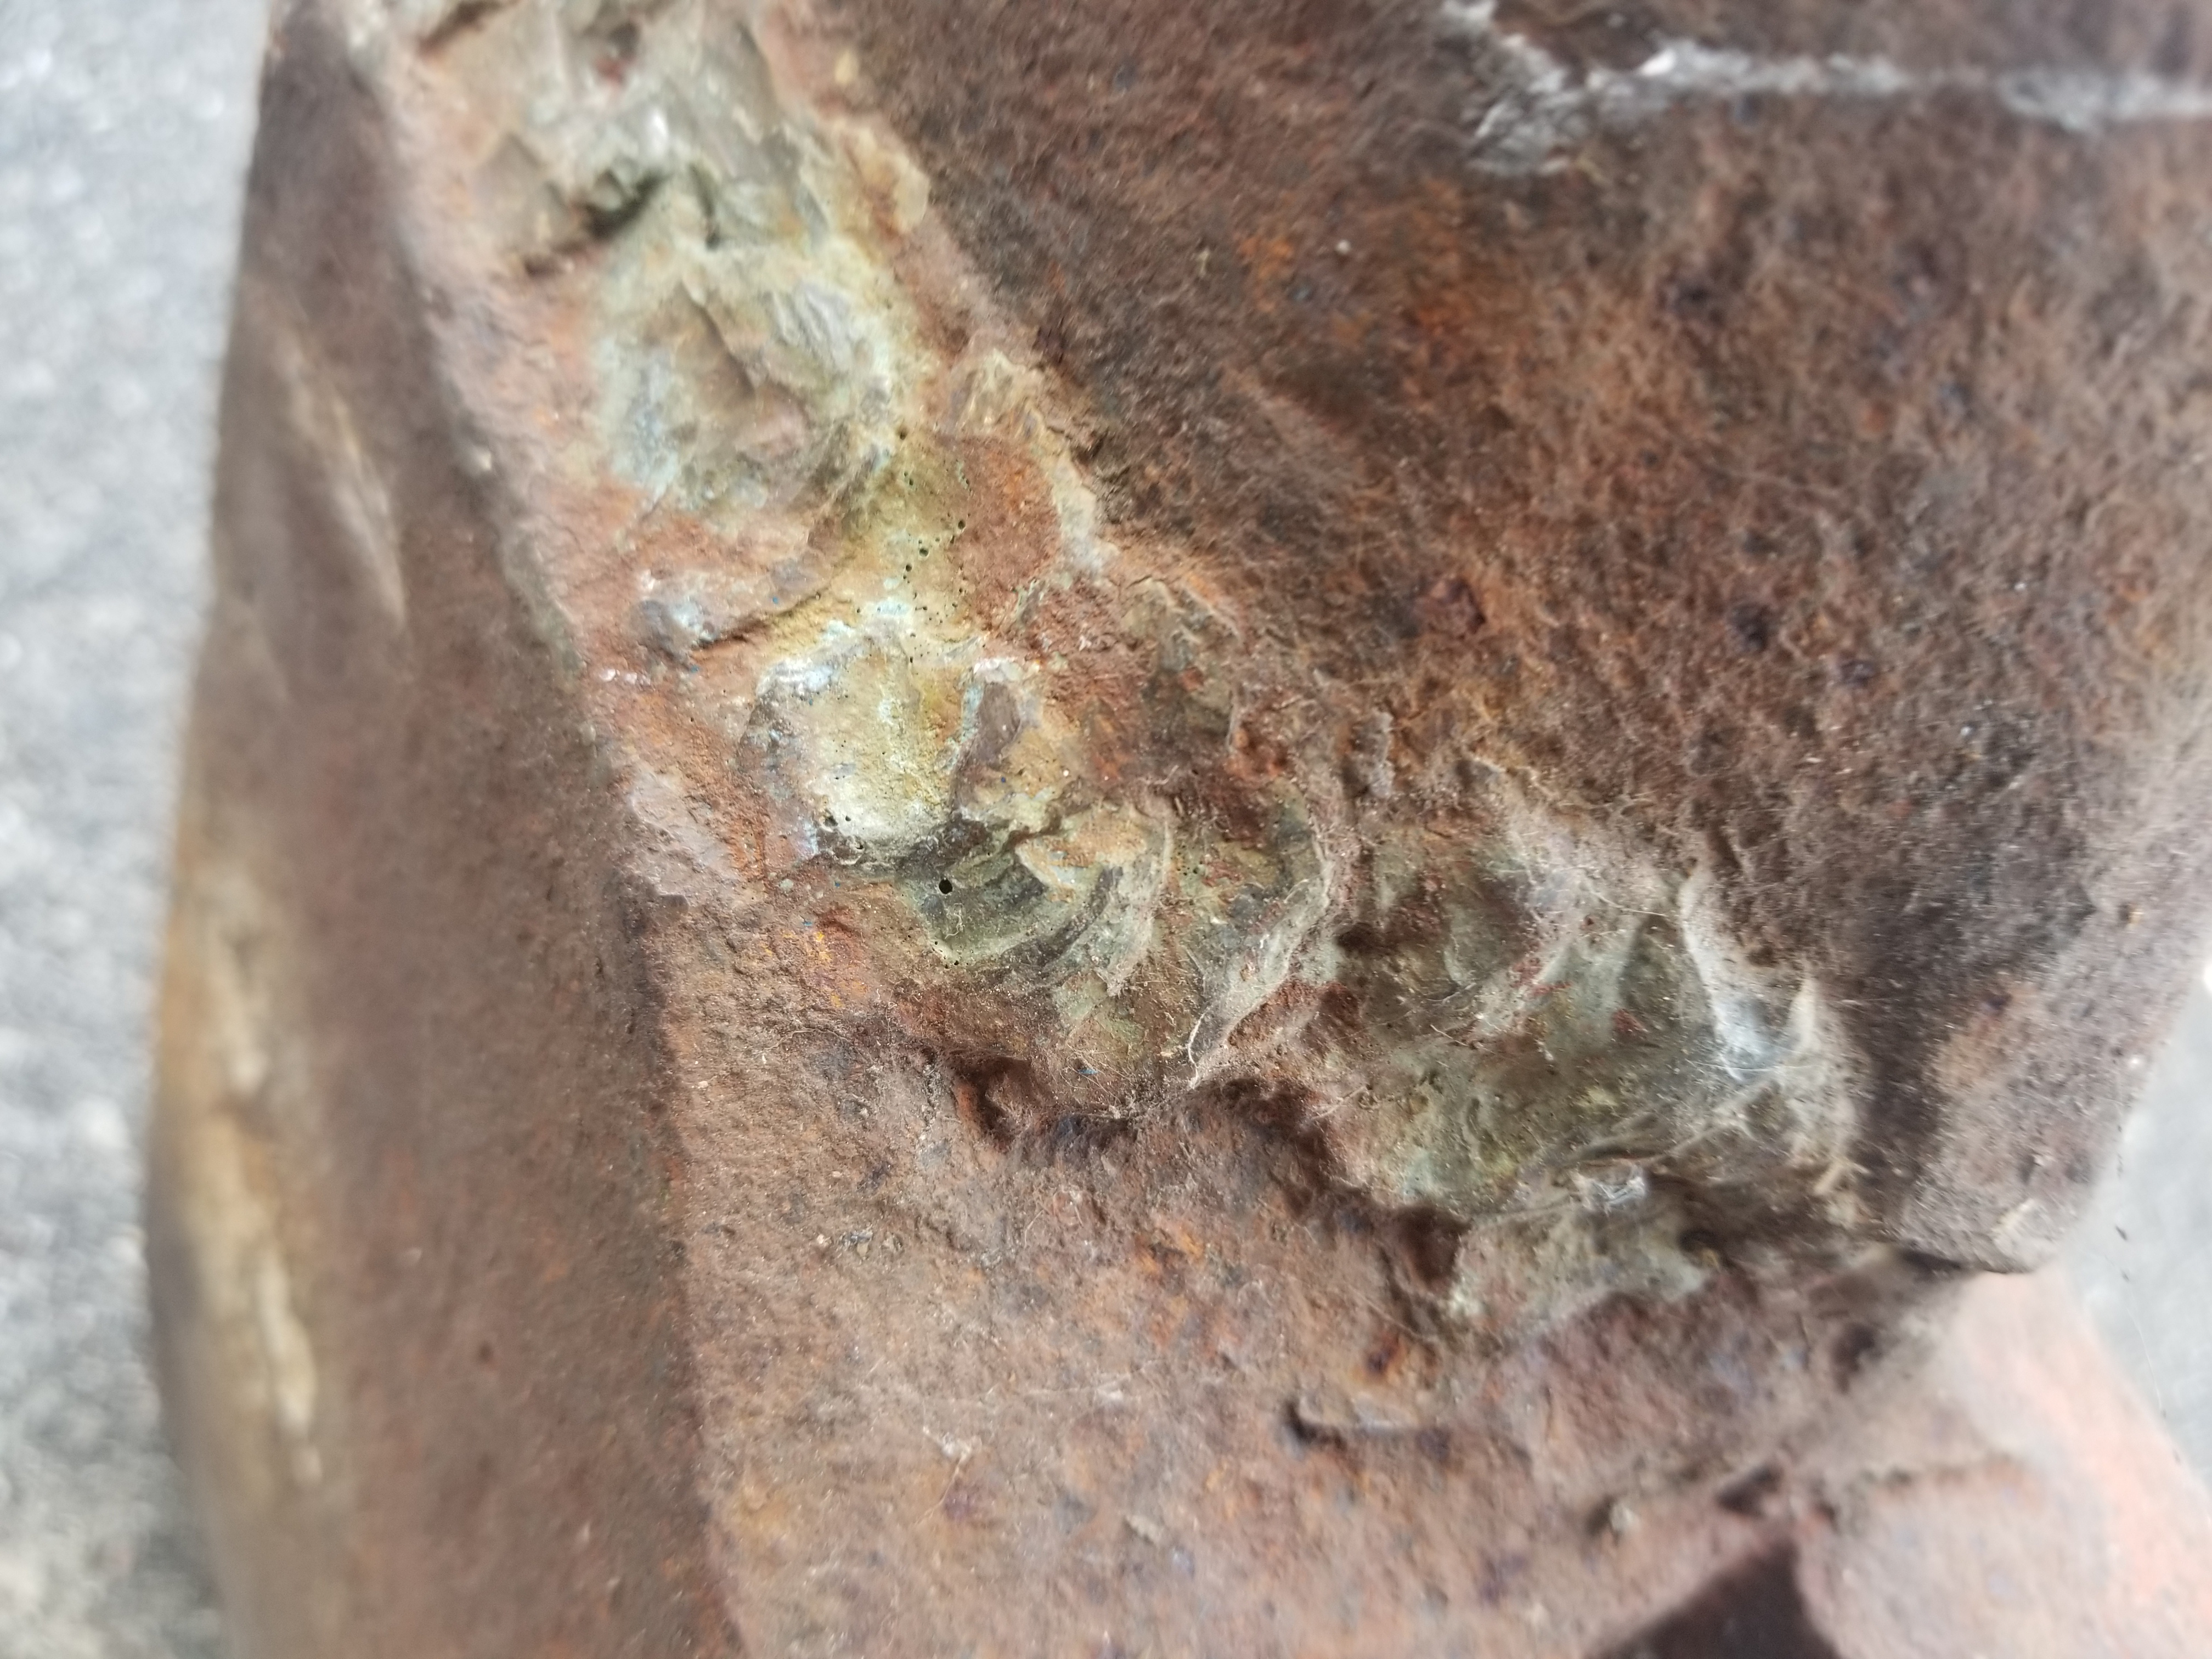
This is just like mine, and is probably the fourth or more with similar "features" I've seen in photos of mouseholes around that size. Not enough to see a clear trend but enough to know if wasn't a one-off.
1 2 22 should be 112 + 28 + 28 + 22, and they weren't concerned with a few pounds plus or minus.
-
Anybody have interesting ideas for storing wrenches? Box end, specifically. Wanting to make something for a friend who doesn't necessarily need them super portable as much as accessible. Something to hang in the garage?
-
Brilliant. Will steal that idea for sure.
One that made me laugh, was out of the smith's earshot, but the fellow said "at least if he cuts himself good he can cauterize the wound!"
-
My favorite was the date range. Sometime approximately between the first published Sherlock Holmes stories and, uh, the inaugural production of the Ford Pinto. More or less.
-
The actual best, though, are the older kids who are really into it and start asking real questions, why did you do that, how does that work, etc. They're usually the ones that have to get dragged away when it's time to leave.
-
So I'm trying to compile a list of things to watch out for when it comes to anvil purchasing. The market is insane, and especially so in southern Ontario. Lots of unscrupulous sellers and clueless buyers. Saw one the other day listed as "good condition, nice flat face", that was missing all the face around the hardy hole. And another that was all but destroyed (virtually no face whatsoever) with the caption "good, solid, don't make them like this anymore"
So apart from the obvious, like missing pieces, what things do you look out for? What would you tell a novice buyer to look out for? Ring/rebound are the old standbys. Casting lines, flat topped horns in the ASO style.
What else? (Anvil below listed at 400 bucks.)
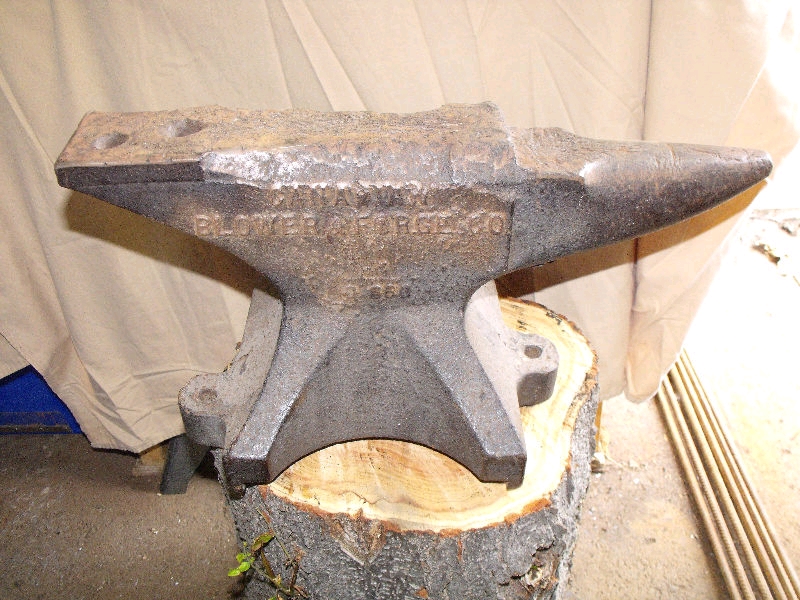
Direct quote from seller for above anvil too good not to share:
"Selling this Canadian Blower and Forge Company anvil
In decent shape, very old and solid. Not like the junk anvils made these days
Dated between 1890 and 1970.
This one is 90 lb."
-
So JABOD forge and JABOS stand?
-
Being only the spectator at demos so far, I've heard some good ones. It's amusing how people become the experts when they 're just out of earshot (or at least think they are) of the smith at work.
"He's working too hard. He should just let the hammer do the work." is one I've heard over and over.
Or, to the smith:
On using coal: "hope the EPA doesn't catch you! teehee!" (Usually one of those soccer mom types, but I've heard it from the male persuasion as well)
"Wouldn't it be easier just to melt it and pour it into the shape you want?
"Did you make that anvil?" (Last demo I went to, the guy had, so there you go!)
-
Excellent hardy hole workaround there too!
-
So, an interesting observation: on concrete, unaffixed to anything, a recent anvil acquisition of mine performed poorer as to rebound, than when it was sitting on asphalt.
Theories?
-
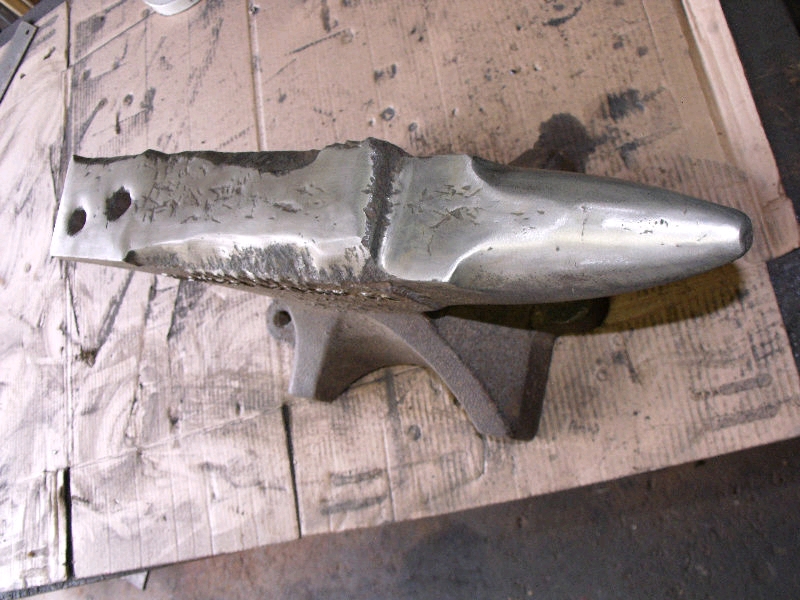
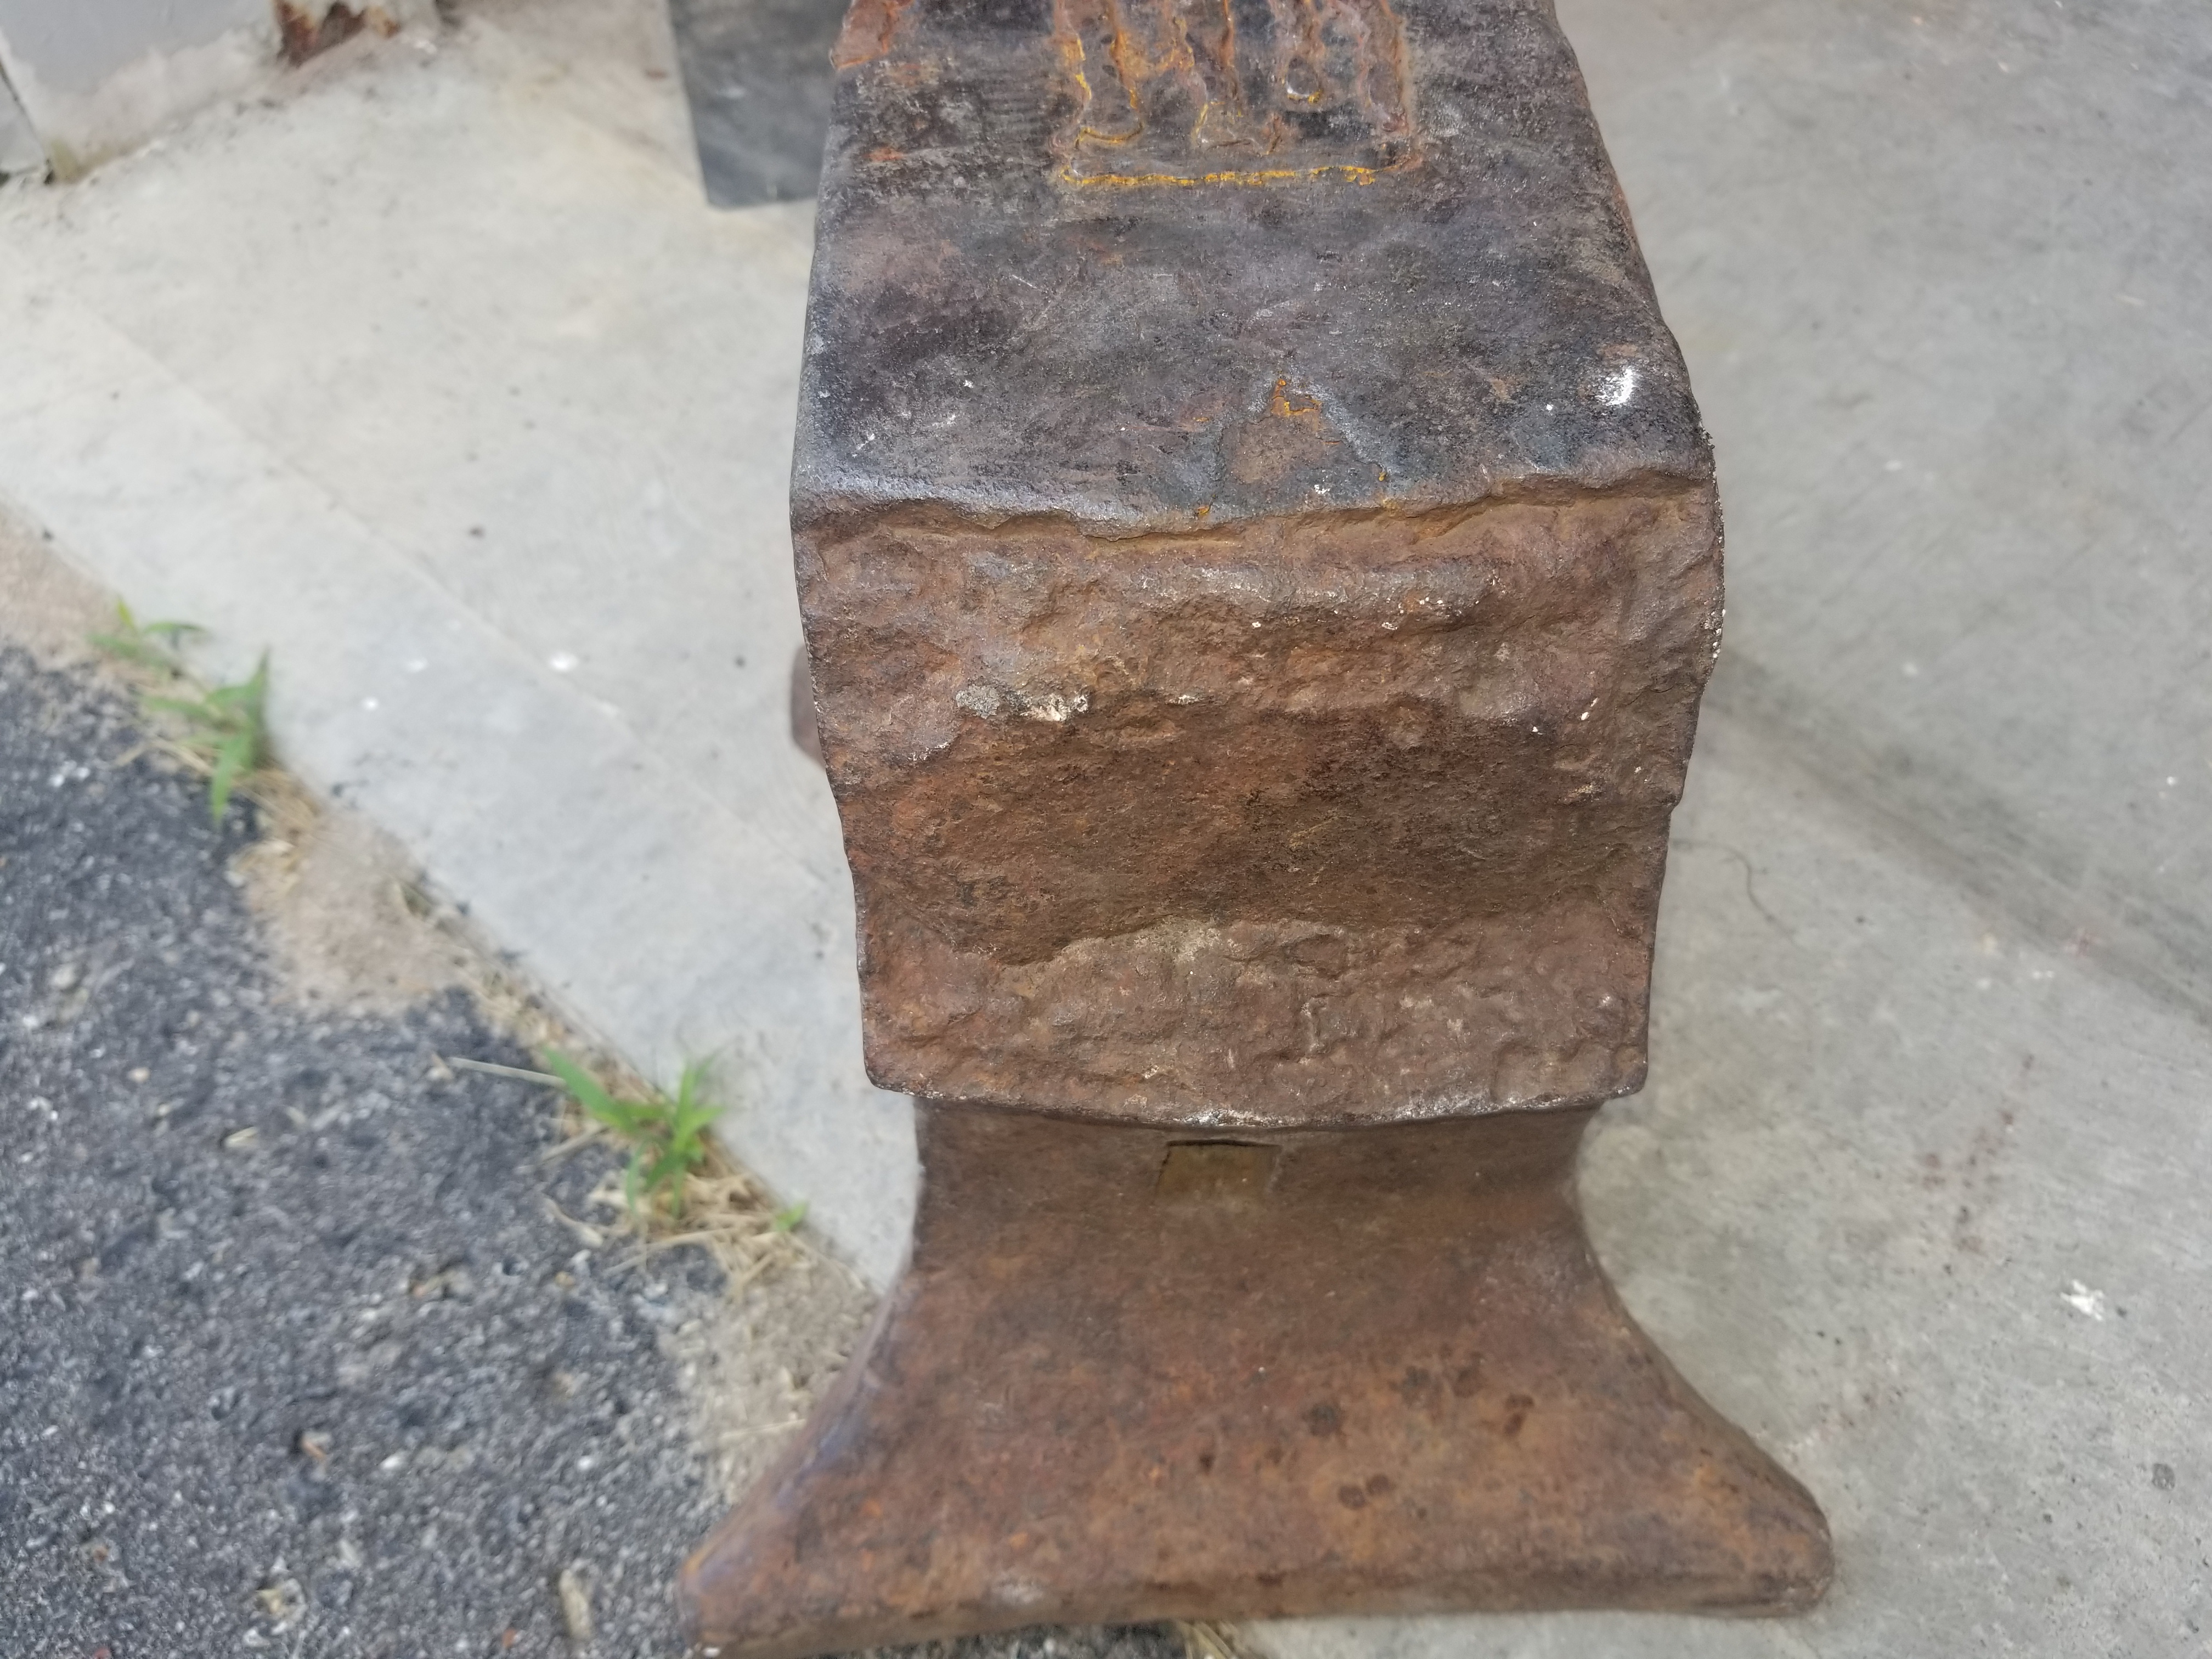
So update: (pictures forthcoming soon as I can)
Horn is, as I suspected, brazed rather than welded back on.
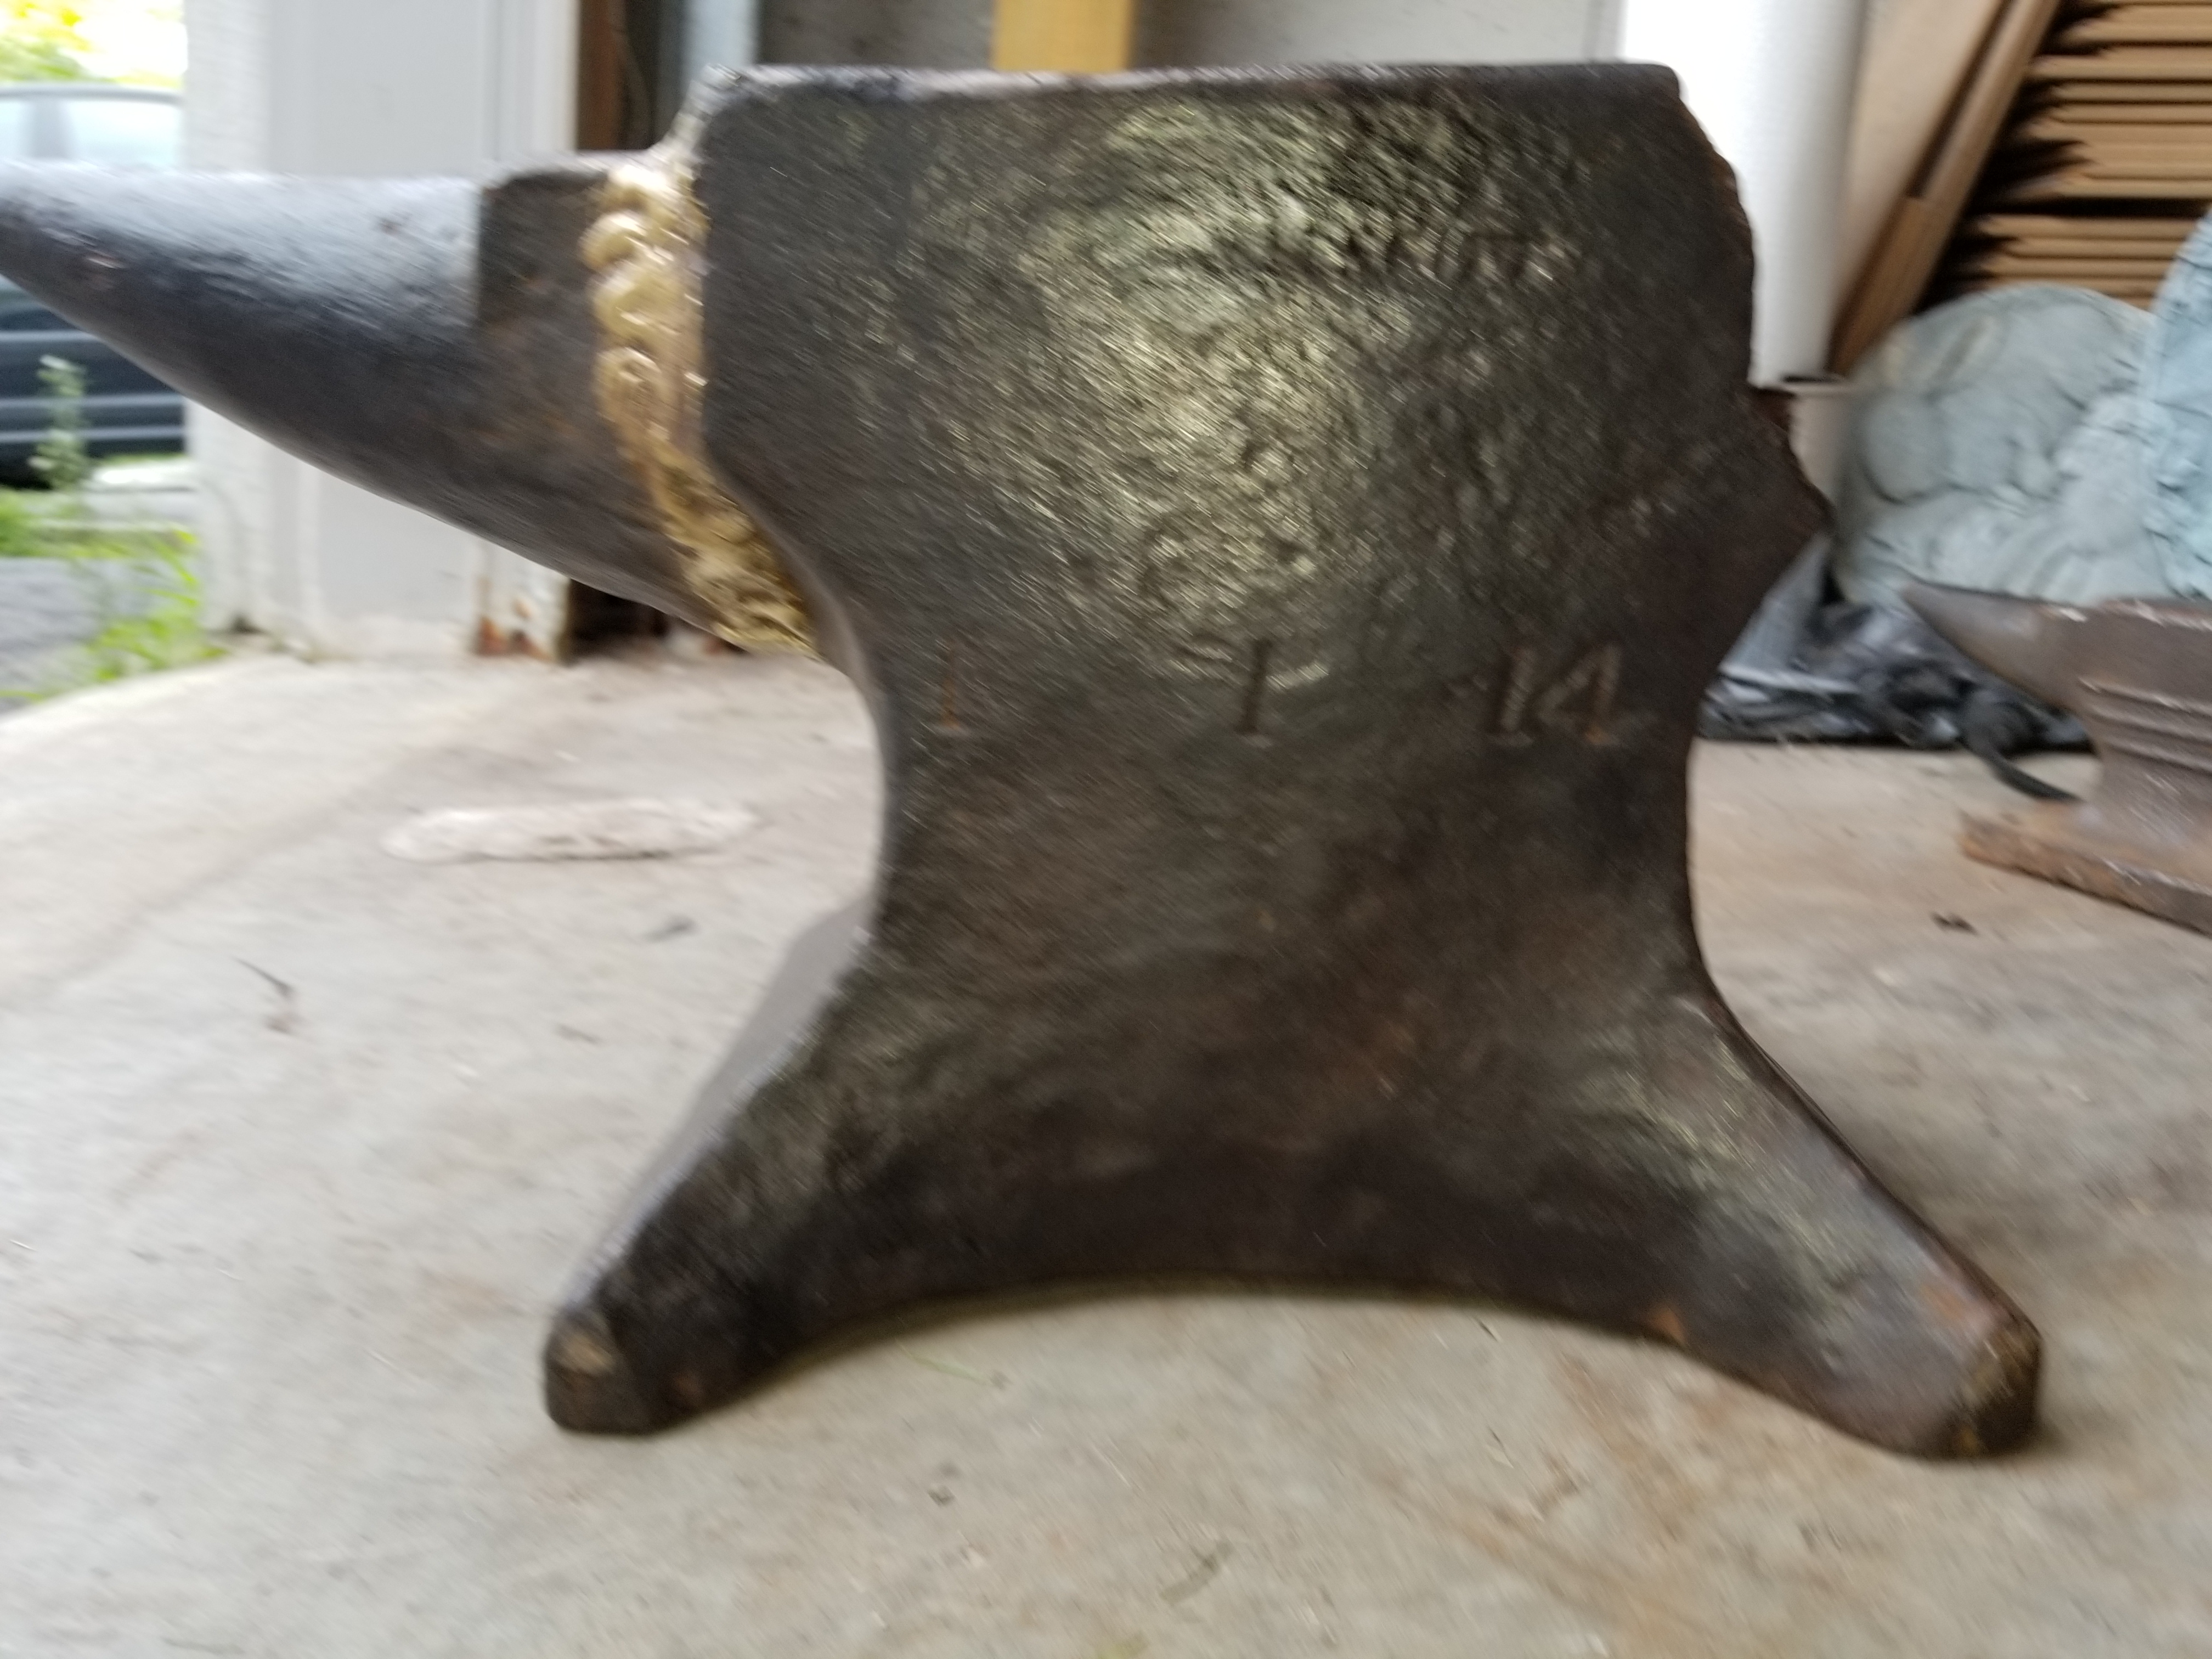
The only further letters I can make out on the maker's stamping are what looks like "ENNITT"
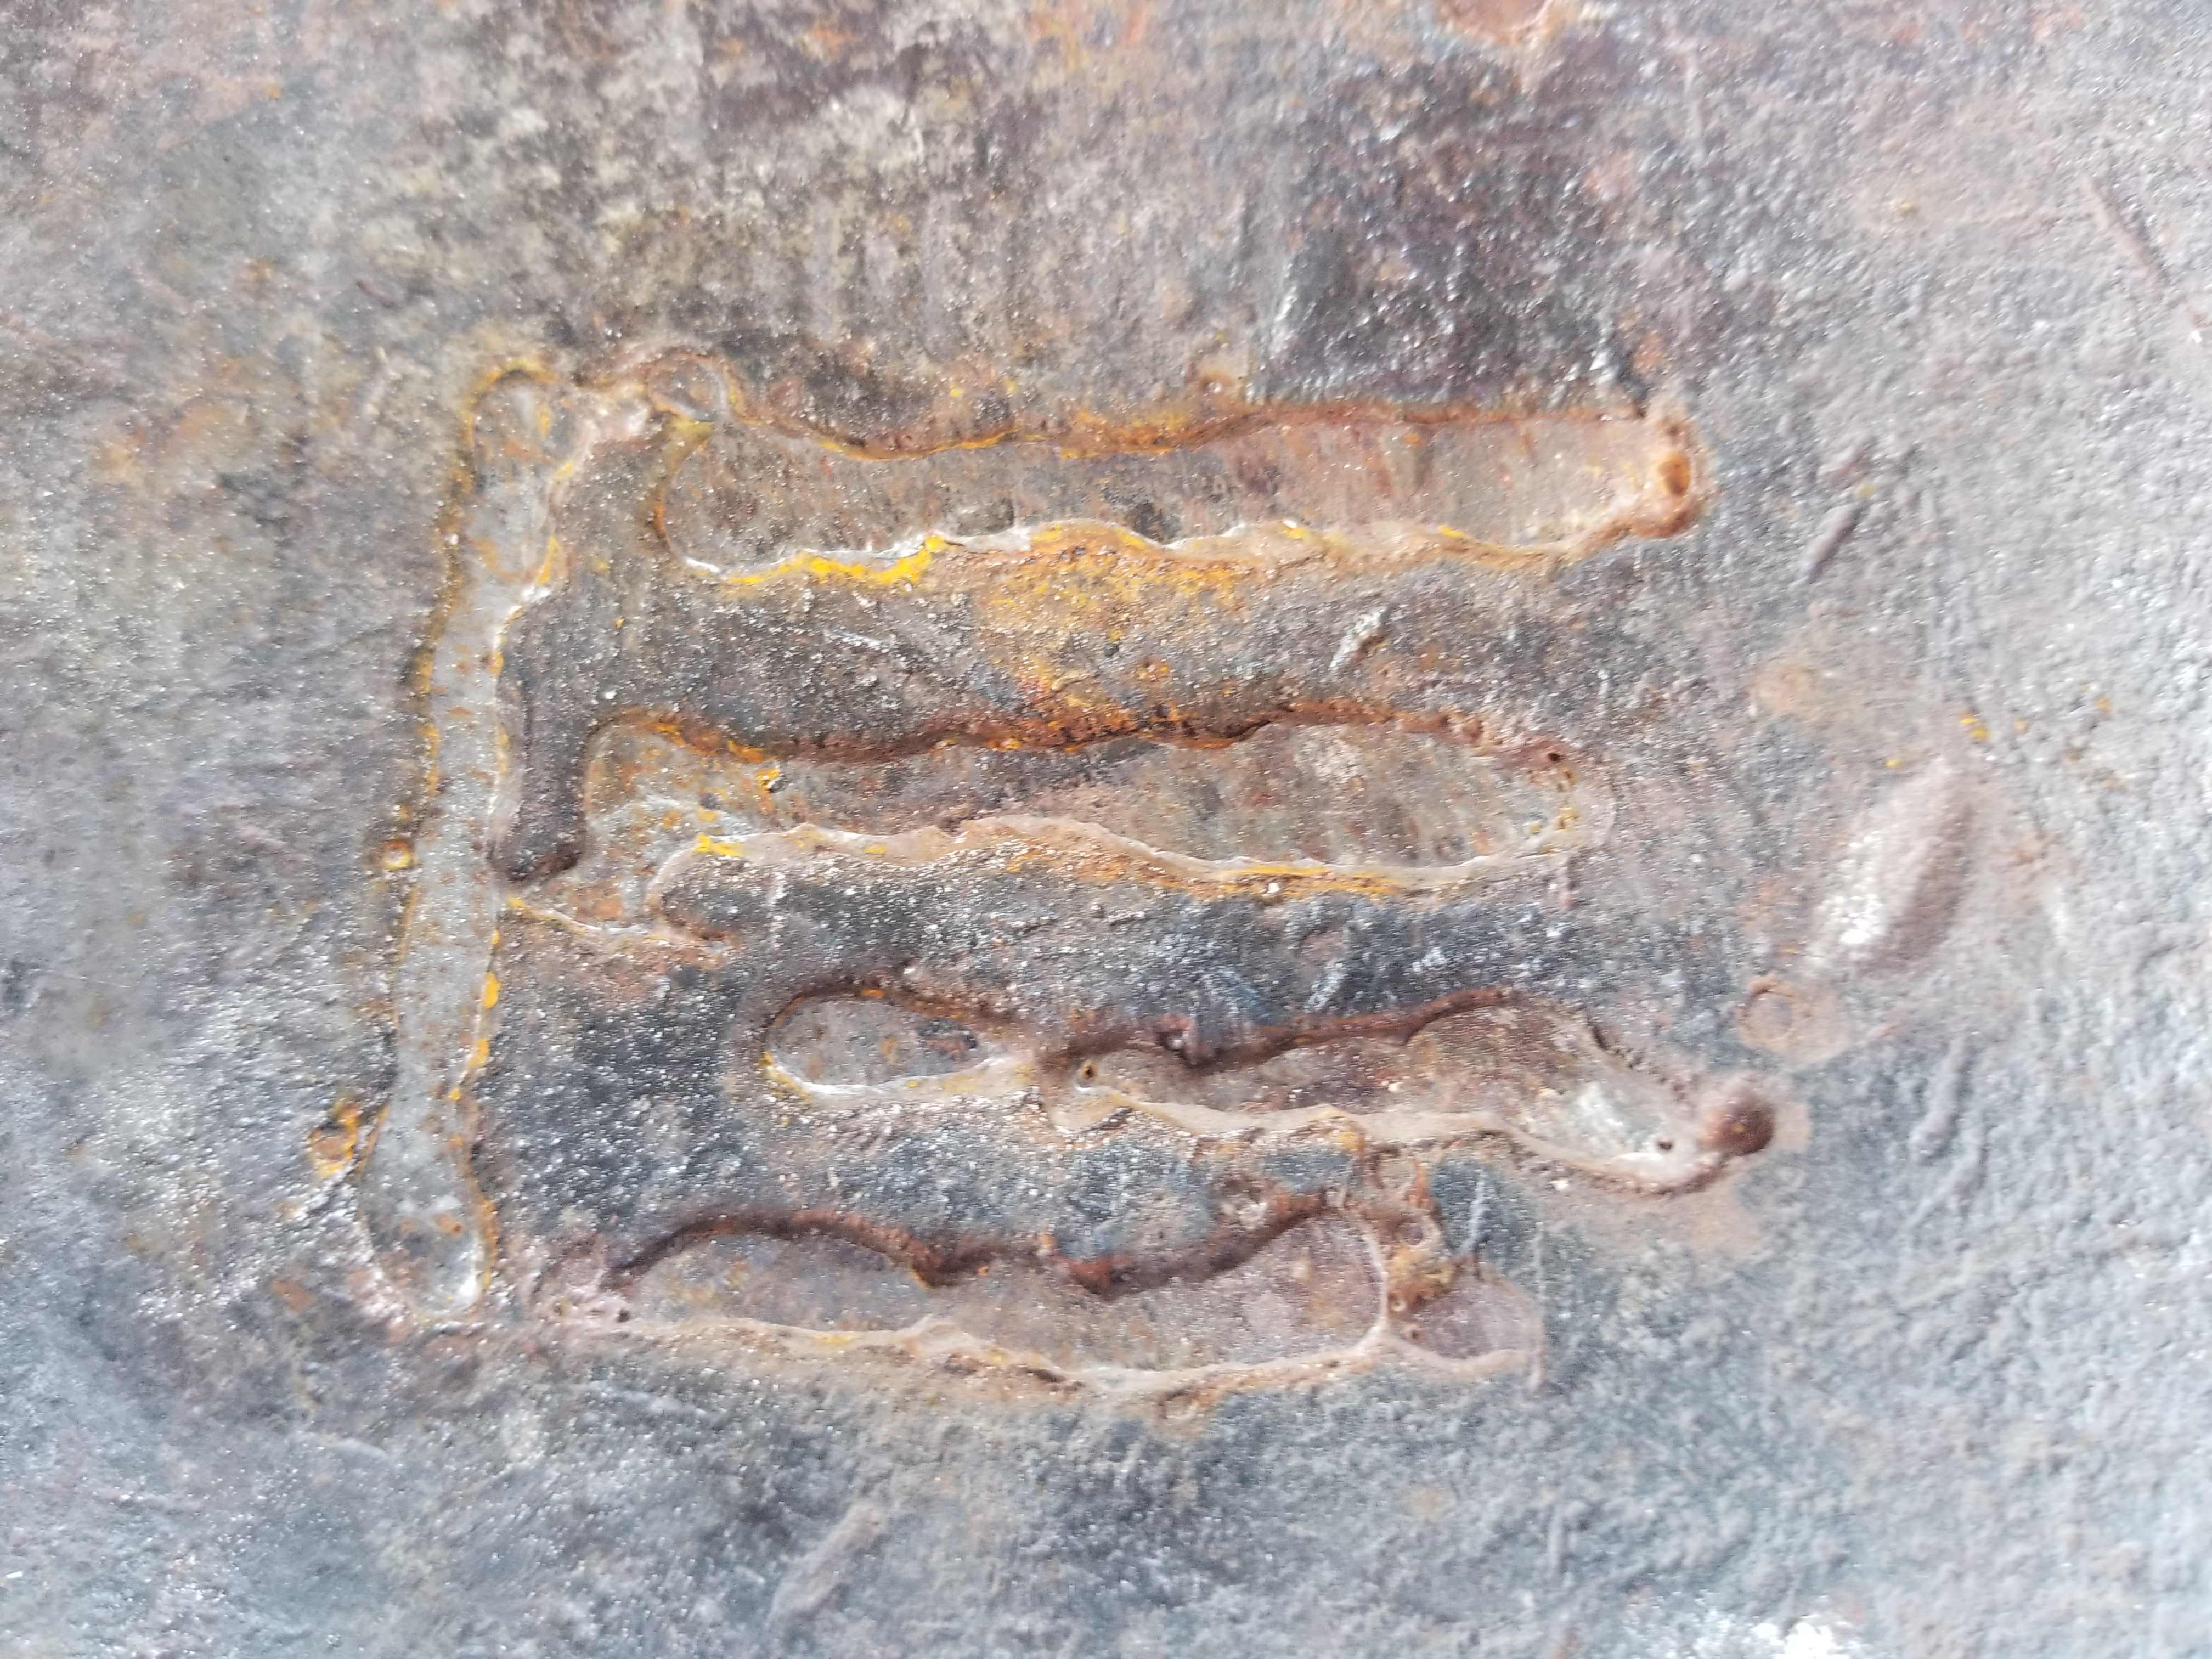
The welds themselves are dead soft but the area around them doesn't seem to have suffered much. Ground to just about flush.
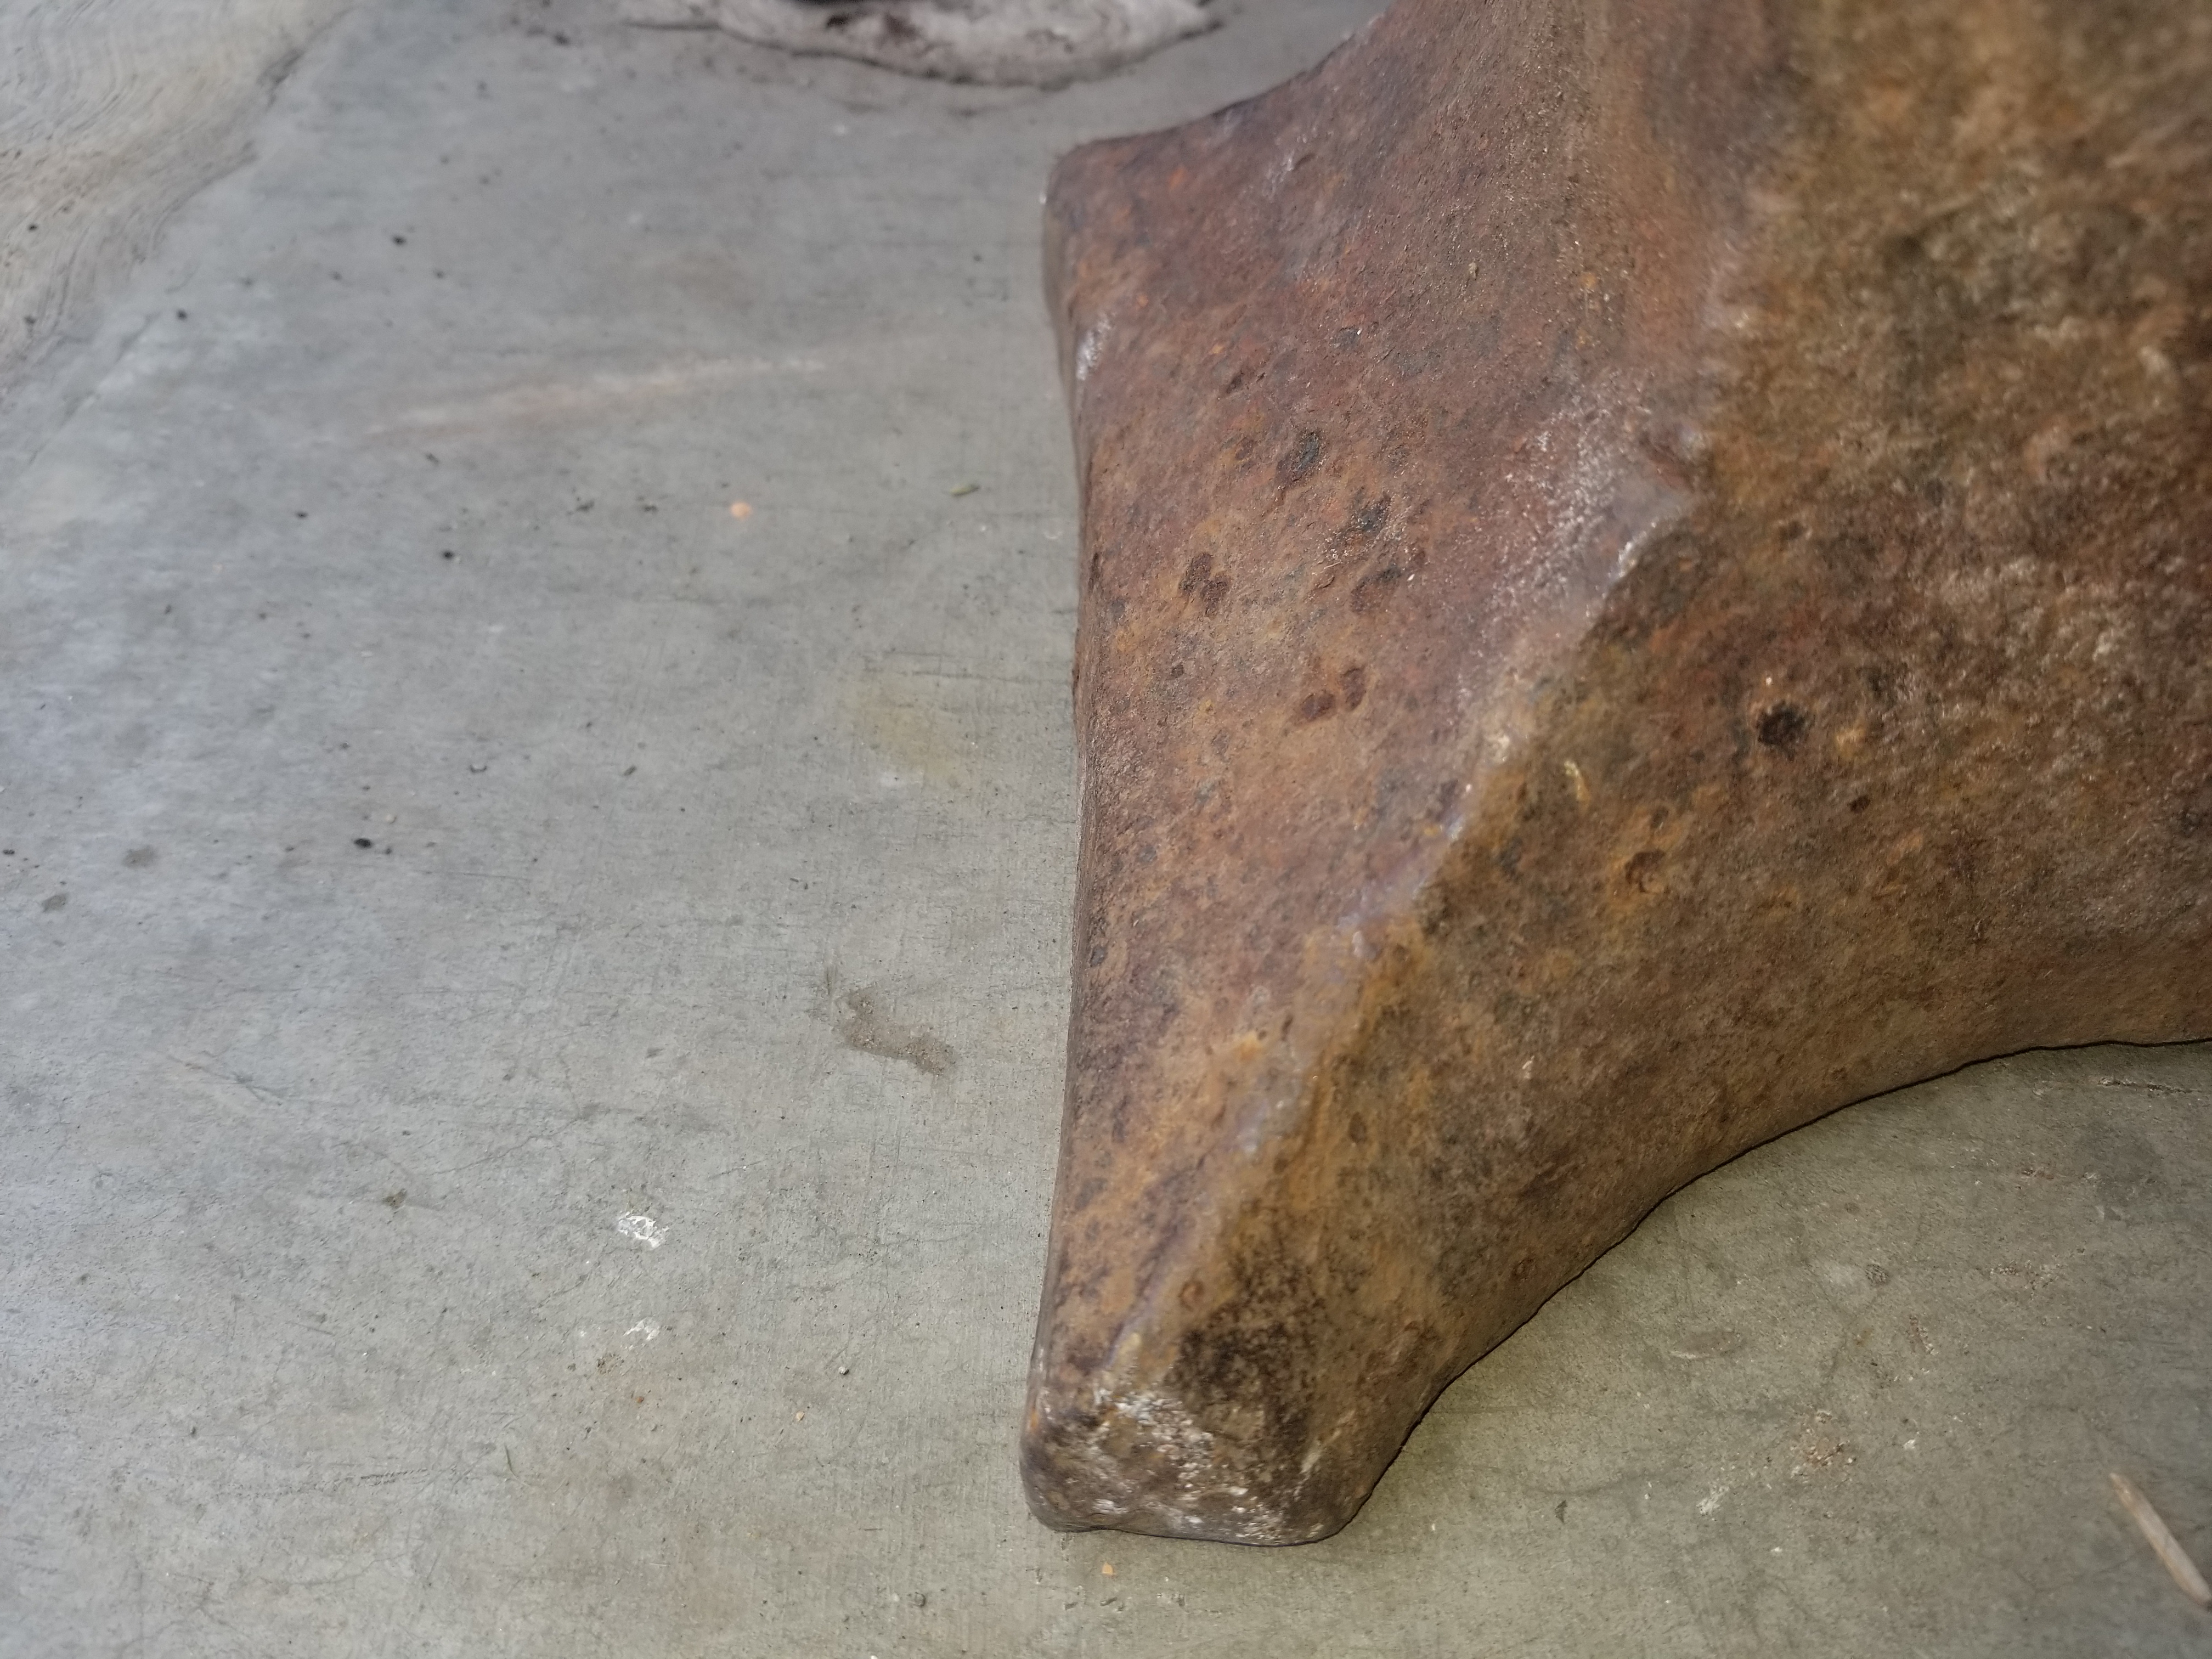
Recommendation on cleaning up the section where the heel broke off? I'm concerned that with time bits of the face may break off near the fracture line and become shrapnel. I figure at a minimum eliminate any potential points of failure and radius out ledges and so forth
-
I'd take something more aggressive than a flap disk to it until you get through all the kerf lines from the torch cut. Then move to lighter and lighter abrasives until you're happy with the finish. Go to a pretty aggressive wheel to start, IMO. You'll be at it for ages like that. And unlike an anvil, there's no top plate to worry about damaging.
-
I wonder if this sort of activity fits under busking/entertainment for the purpose of different local bylaws. Where busking is allowed in my city I'd be curious about running a similar setup... hmm. Time to research.
-
Hard to say at this point. Need to do some better testing. Initial tests are moderate rebound but nothing amazing, without a huge difference between the welded and non welded areas. Maybe 60 percent rebound? But my trusted hammer is in my tool box at work presently. Ball bearing would be better but I haven't gotten around to grabbing one yet.
Edit: not very familiar with hammer blending. Is it like it sounds?
-
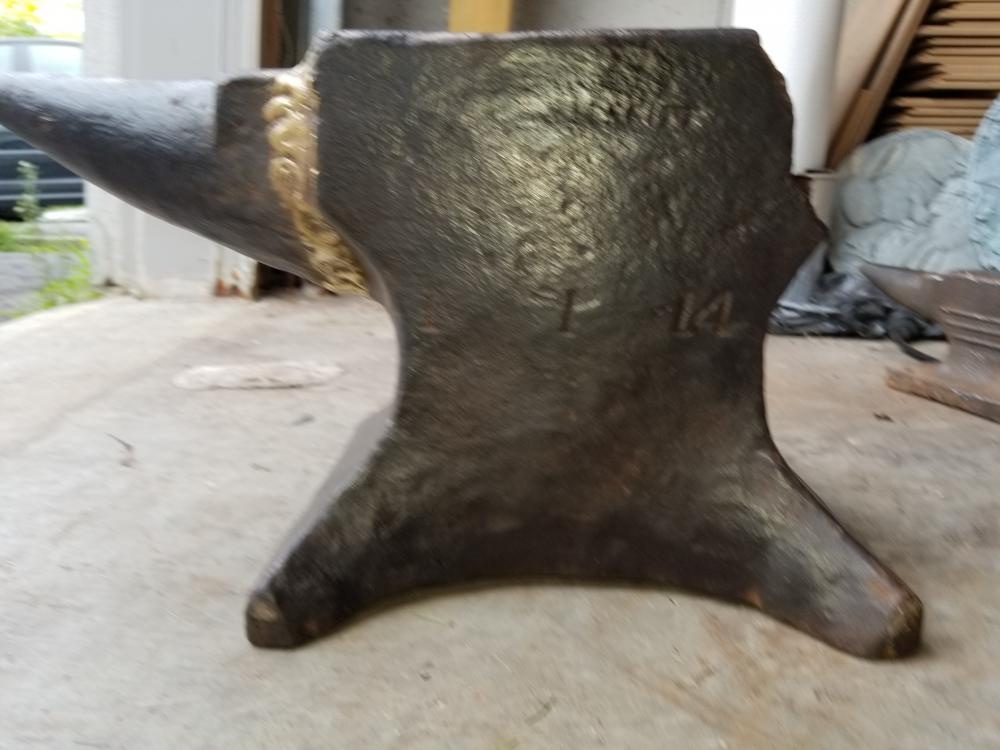
Little rough around the edges but the price was right.
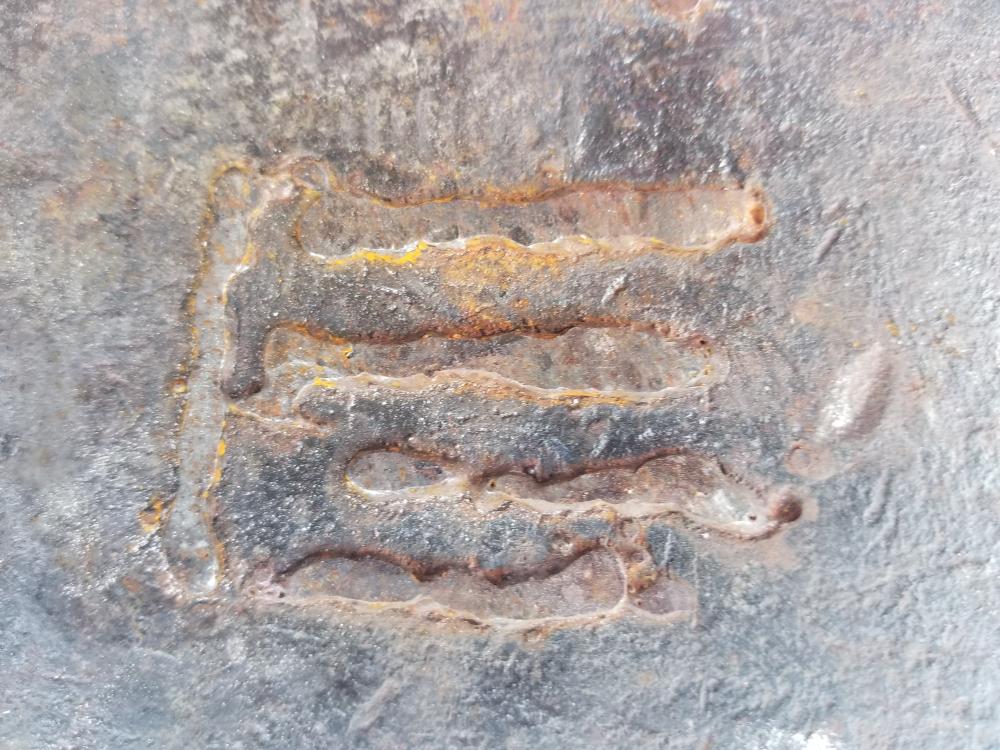
Thoughts on ID? Only markings I can make out are 1 1 14 (no dots between) and a very faint "TT" on the side near the edge of the face. Looks like the end of a word...
Also about cleaning up those welds on the face... Grind to near flush then sanding disk to blend in? (Yes they look inverted in the bottom picture. Stand on your head and they'll pop out of the surrounding surface instead of looking sunk into it)


-
That is sort of what I'd assumed. The smaller scale of this project doesn't make it simpler!
Edit: I'm seeing numbers for soft solders that put the tensile strength in the 4000+ psi range, and the temps are close. Thoughts?

Side blast firepot shape/fire shape?
in Solid Fuel Forges
Posted
Given parameters below, what's the best way to build my fire, its firepot, or both for effective fuel consumption?
Fuel: charcoal.
Stock size: 1/2 round or square, maximum.
Orientation: side blast
Heat desired: 3-4" max.
Wanting to make: small trinkets, nails, hooks, pendants, etc.
Air supply: as yet undetermined, can build or buy to suit.
I've been doing some reading and observed some demos. Seen everything from JABOD style holes in a clay substrate, to simply piling charcoal up against a bellows stone.