
sharxbyte
-
Posts
26 -
Joined
-
Last visited
Content Type
Profiles
Forums
Articles
Gallery
Downloads
Events
Posts posted by sharxbyte
-
-
Every group has its xxxxxxxx. Fortunately I've managed to steer clear of too much drama and found a lot of really cool people.
-
Unfortunately, I made it to one official event outside of fight practice and A&S nights before Covid hit, so no forging yet. sounds like a blast though
-
Over the last year and a half I've managed to hone my skills both forging and finishing, and I think (hope) it shows.
I'll post some of my projects here, and a couple links to videos and larger project galleries.
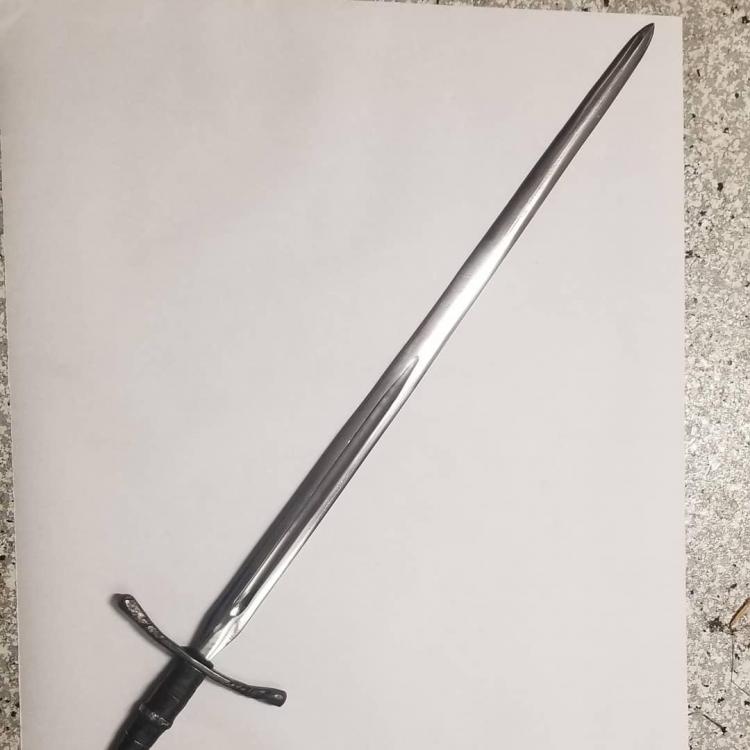
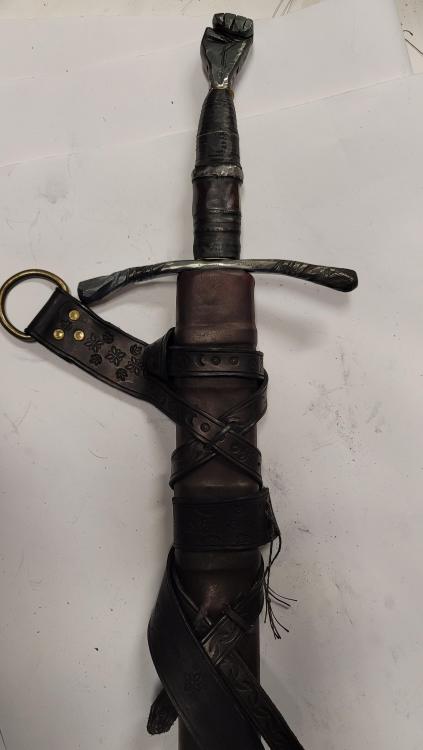
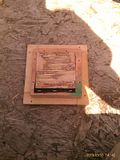
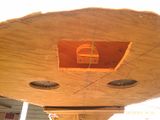
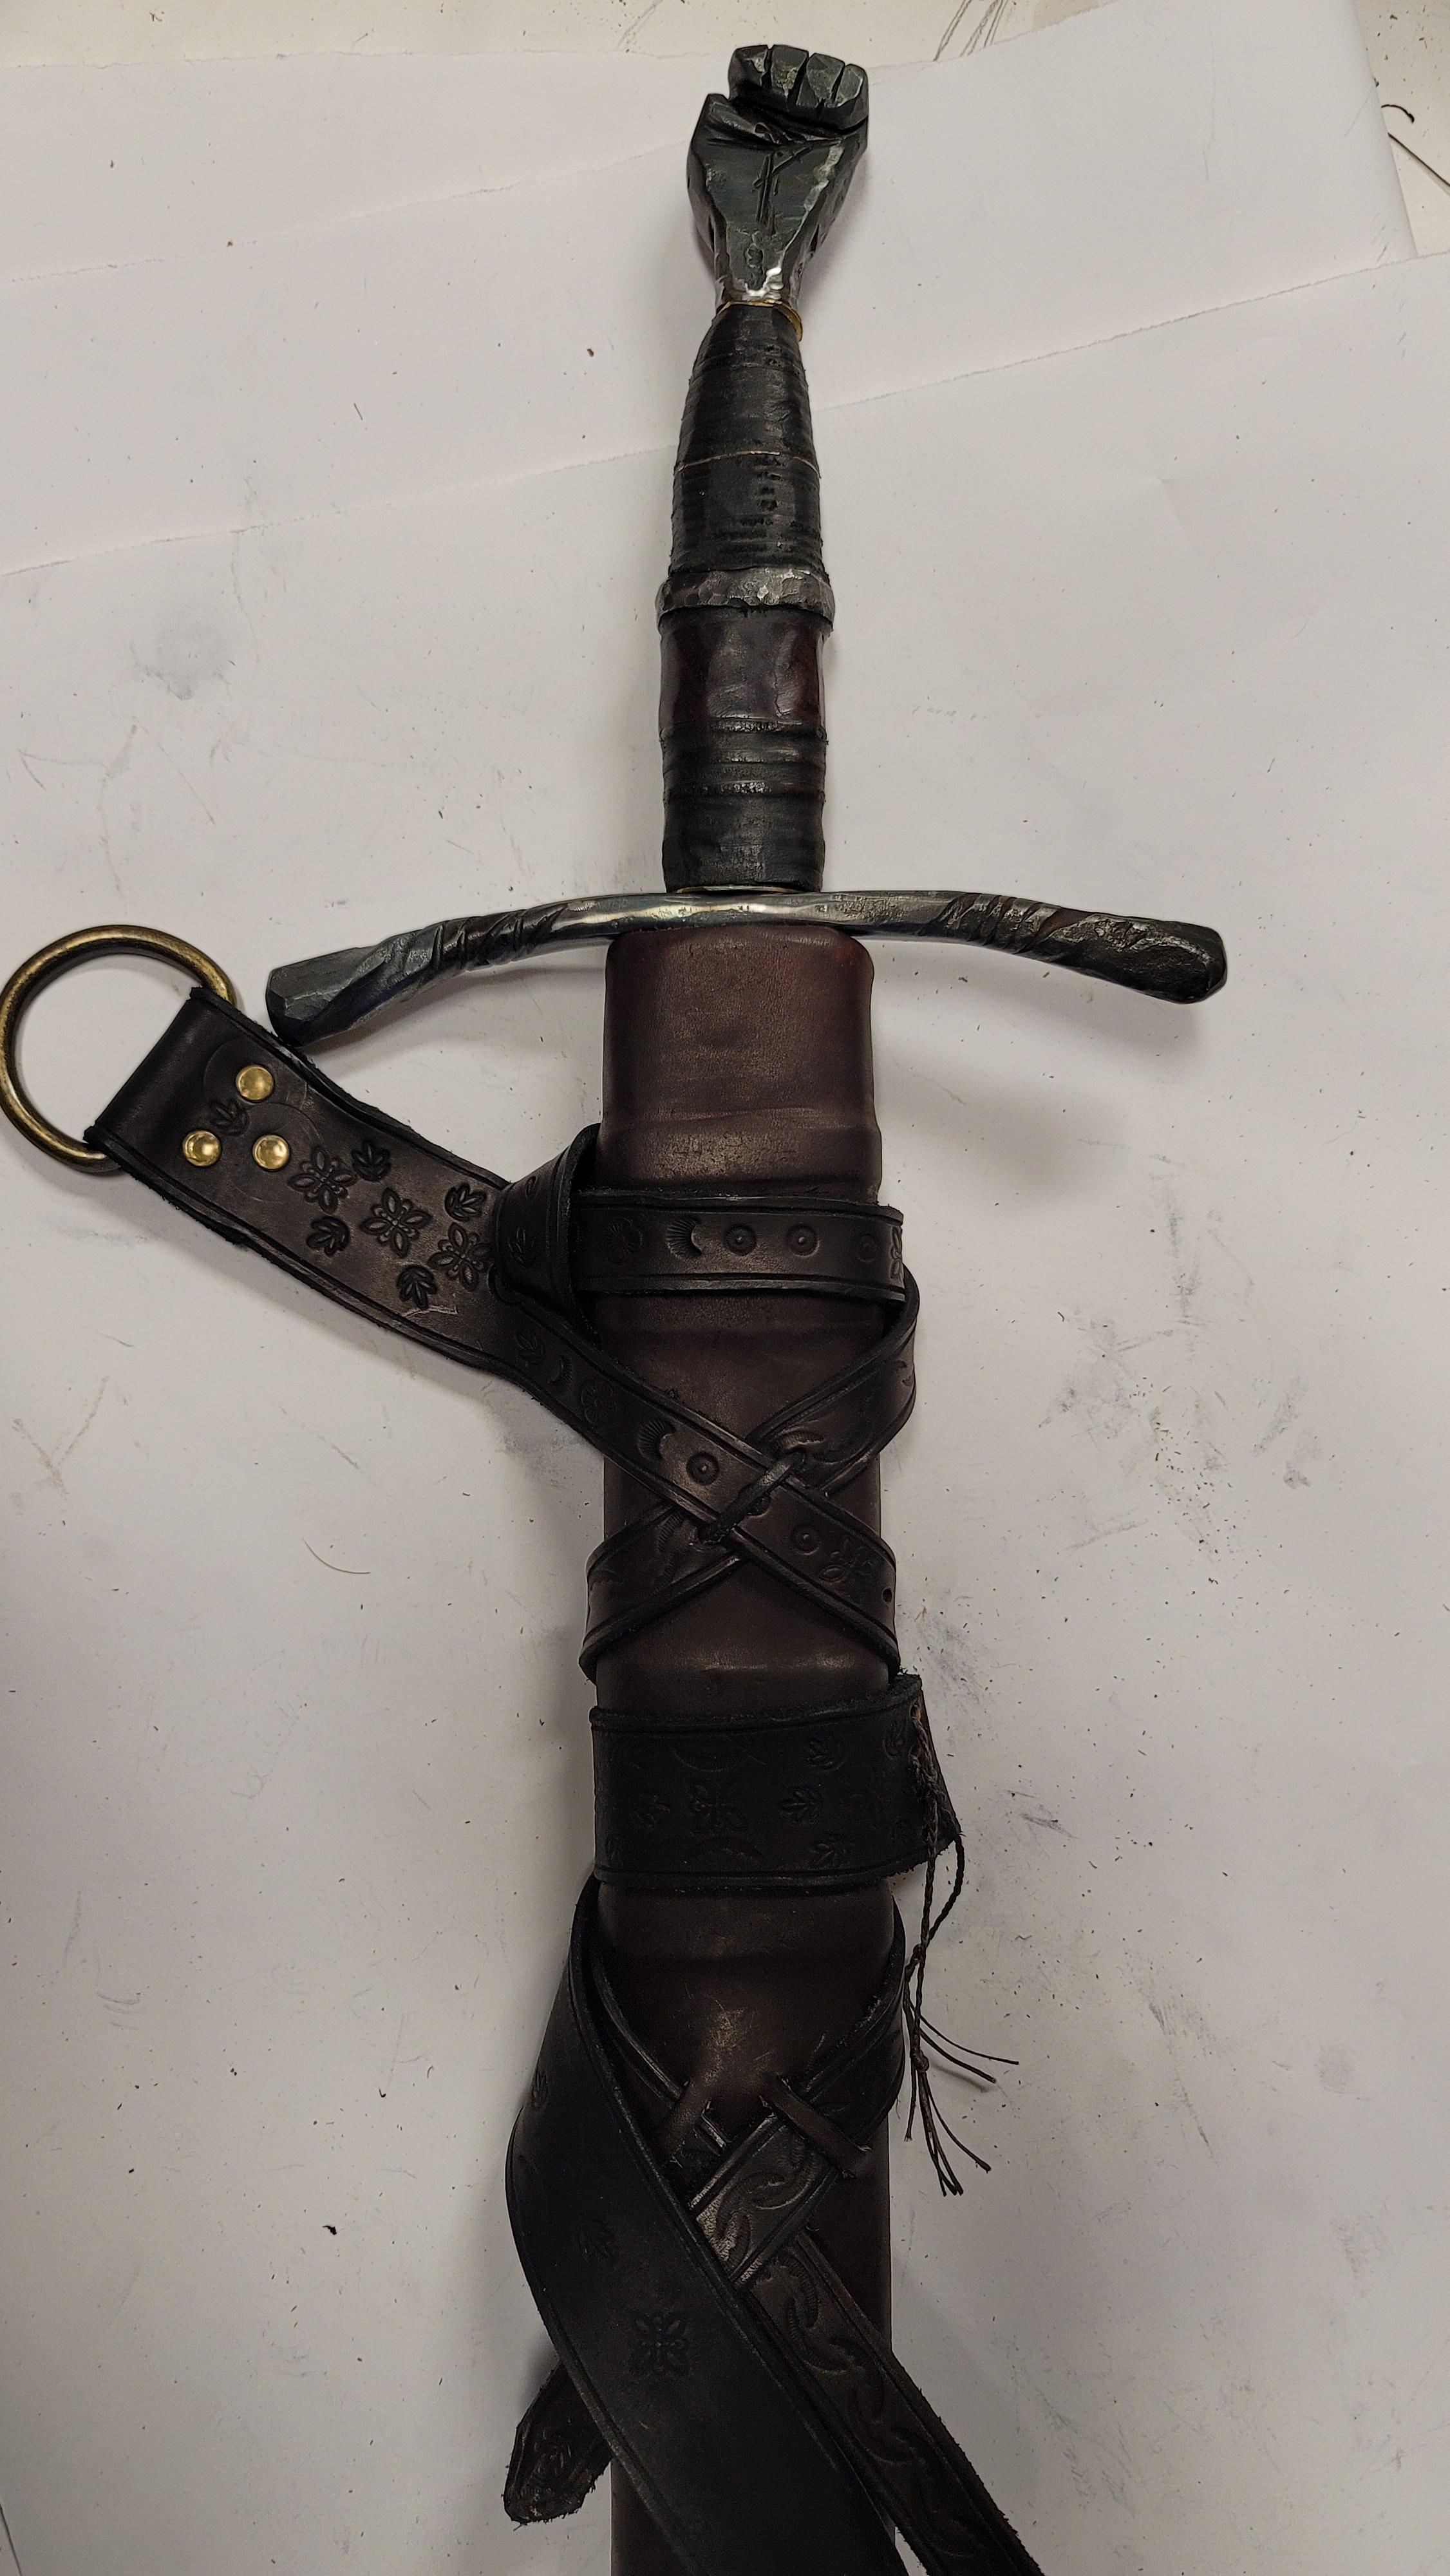
I finished my first sword

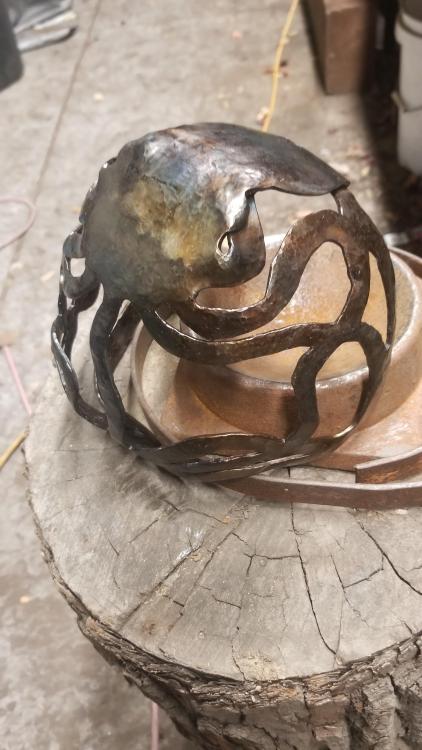
and made a home for it

I've made two stacked leather handles so far.
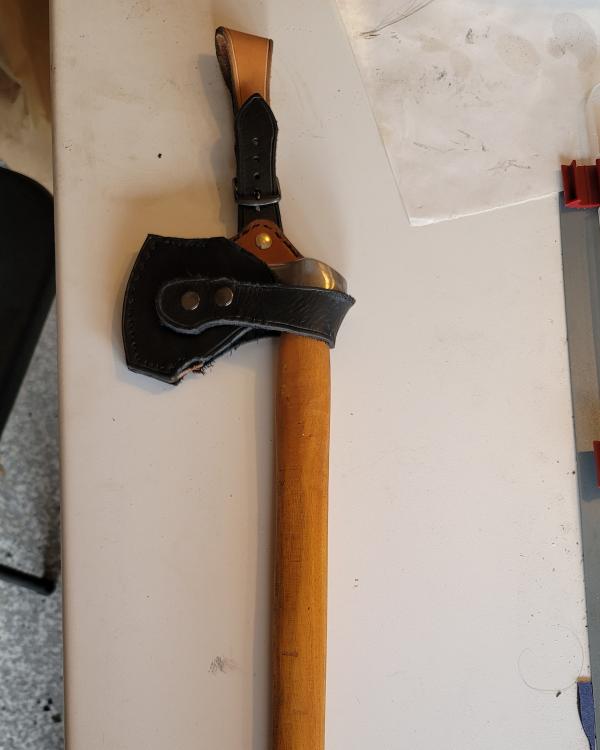
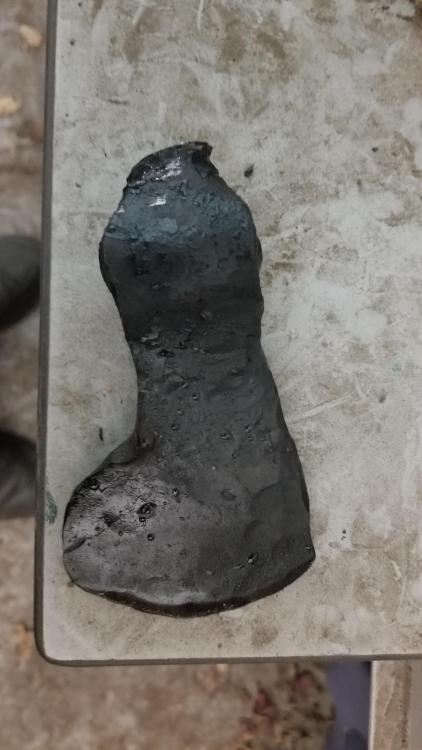
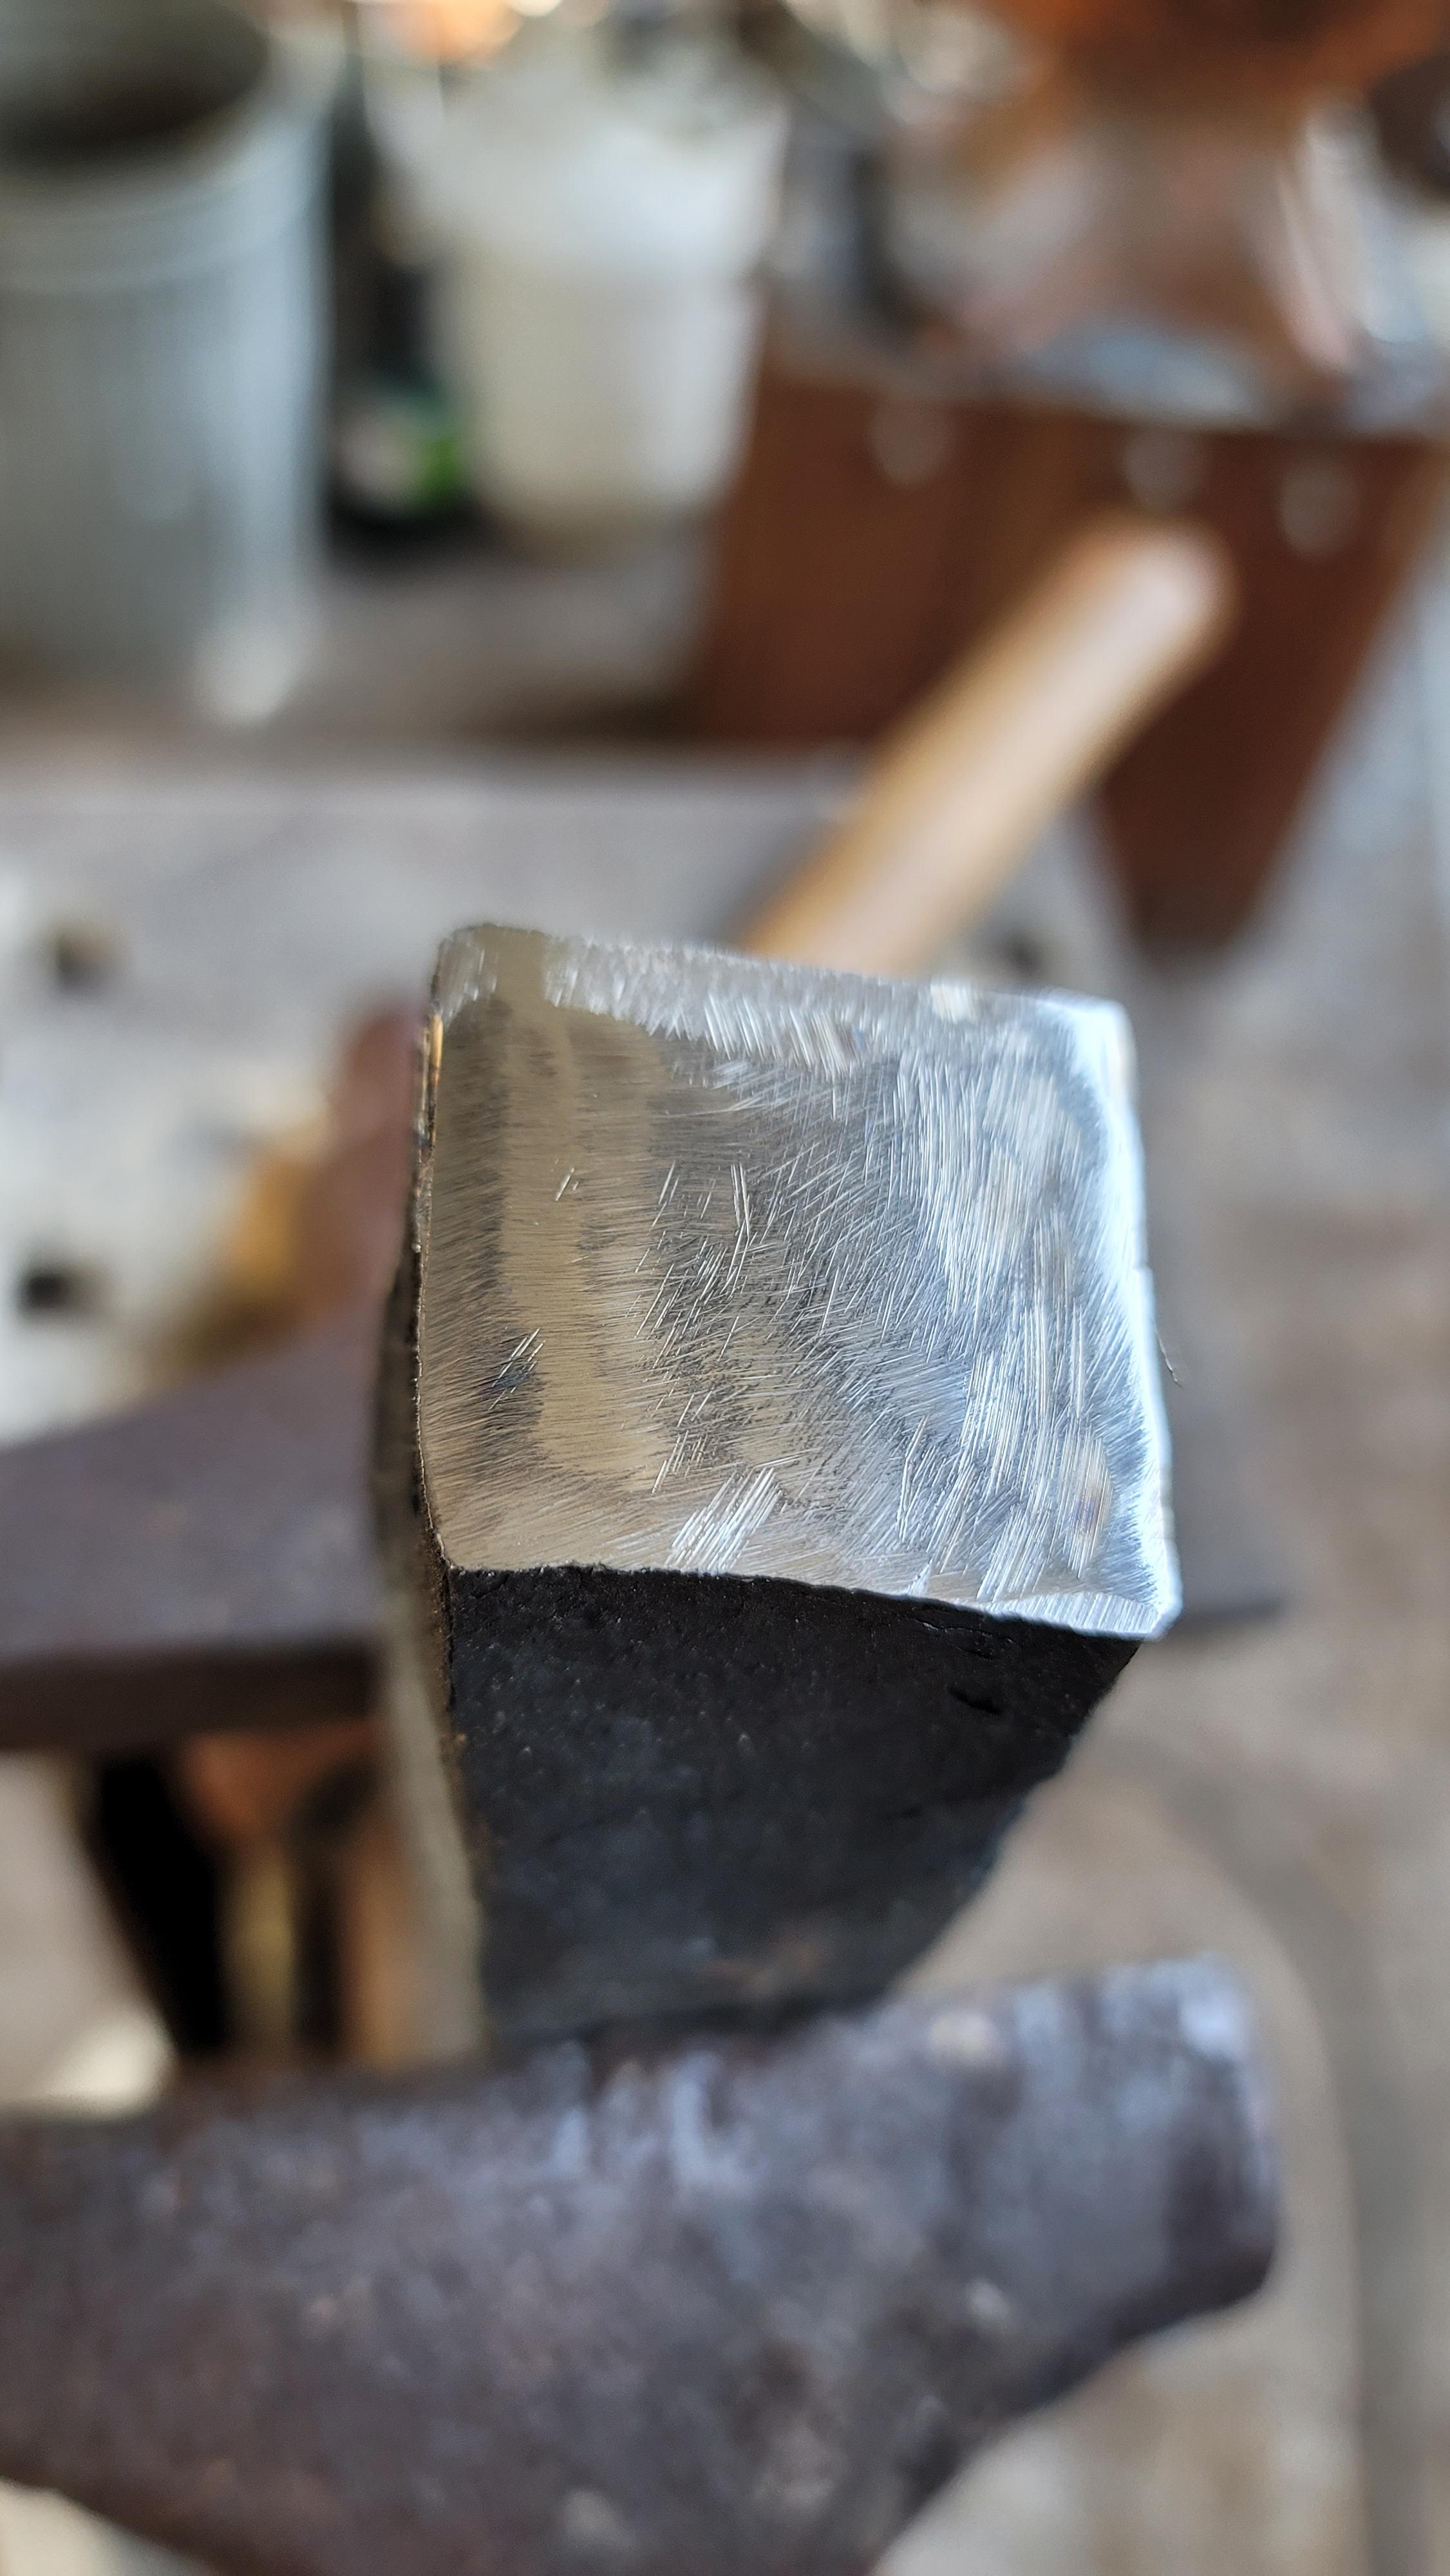
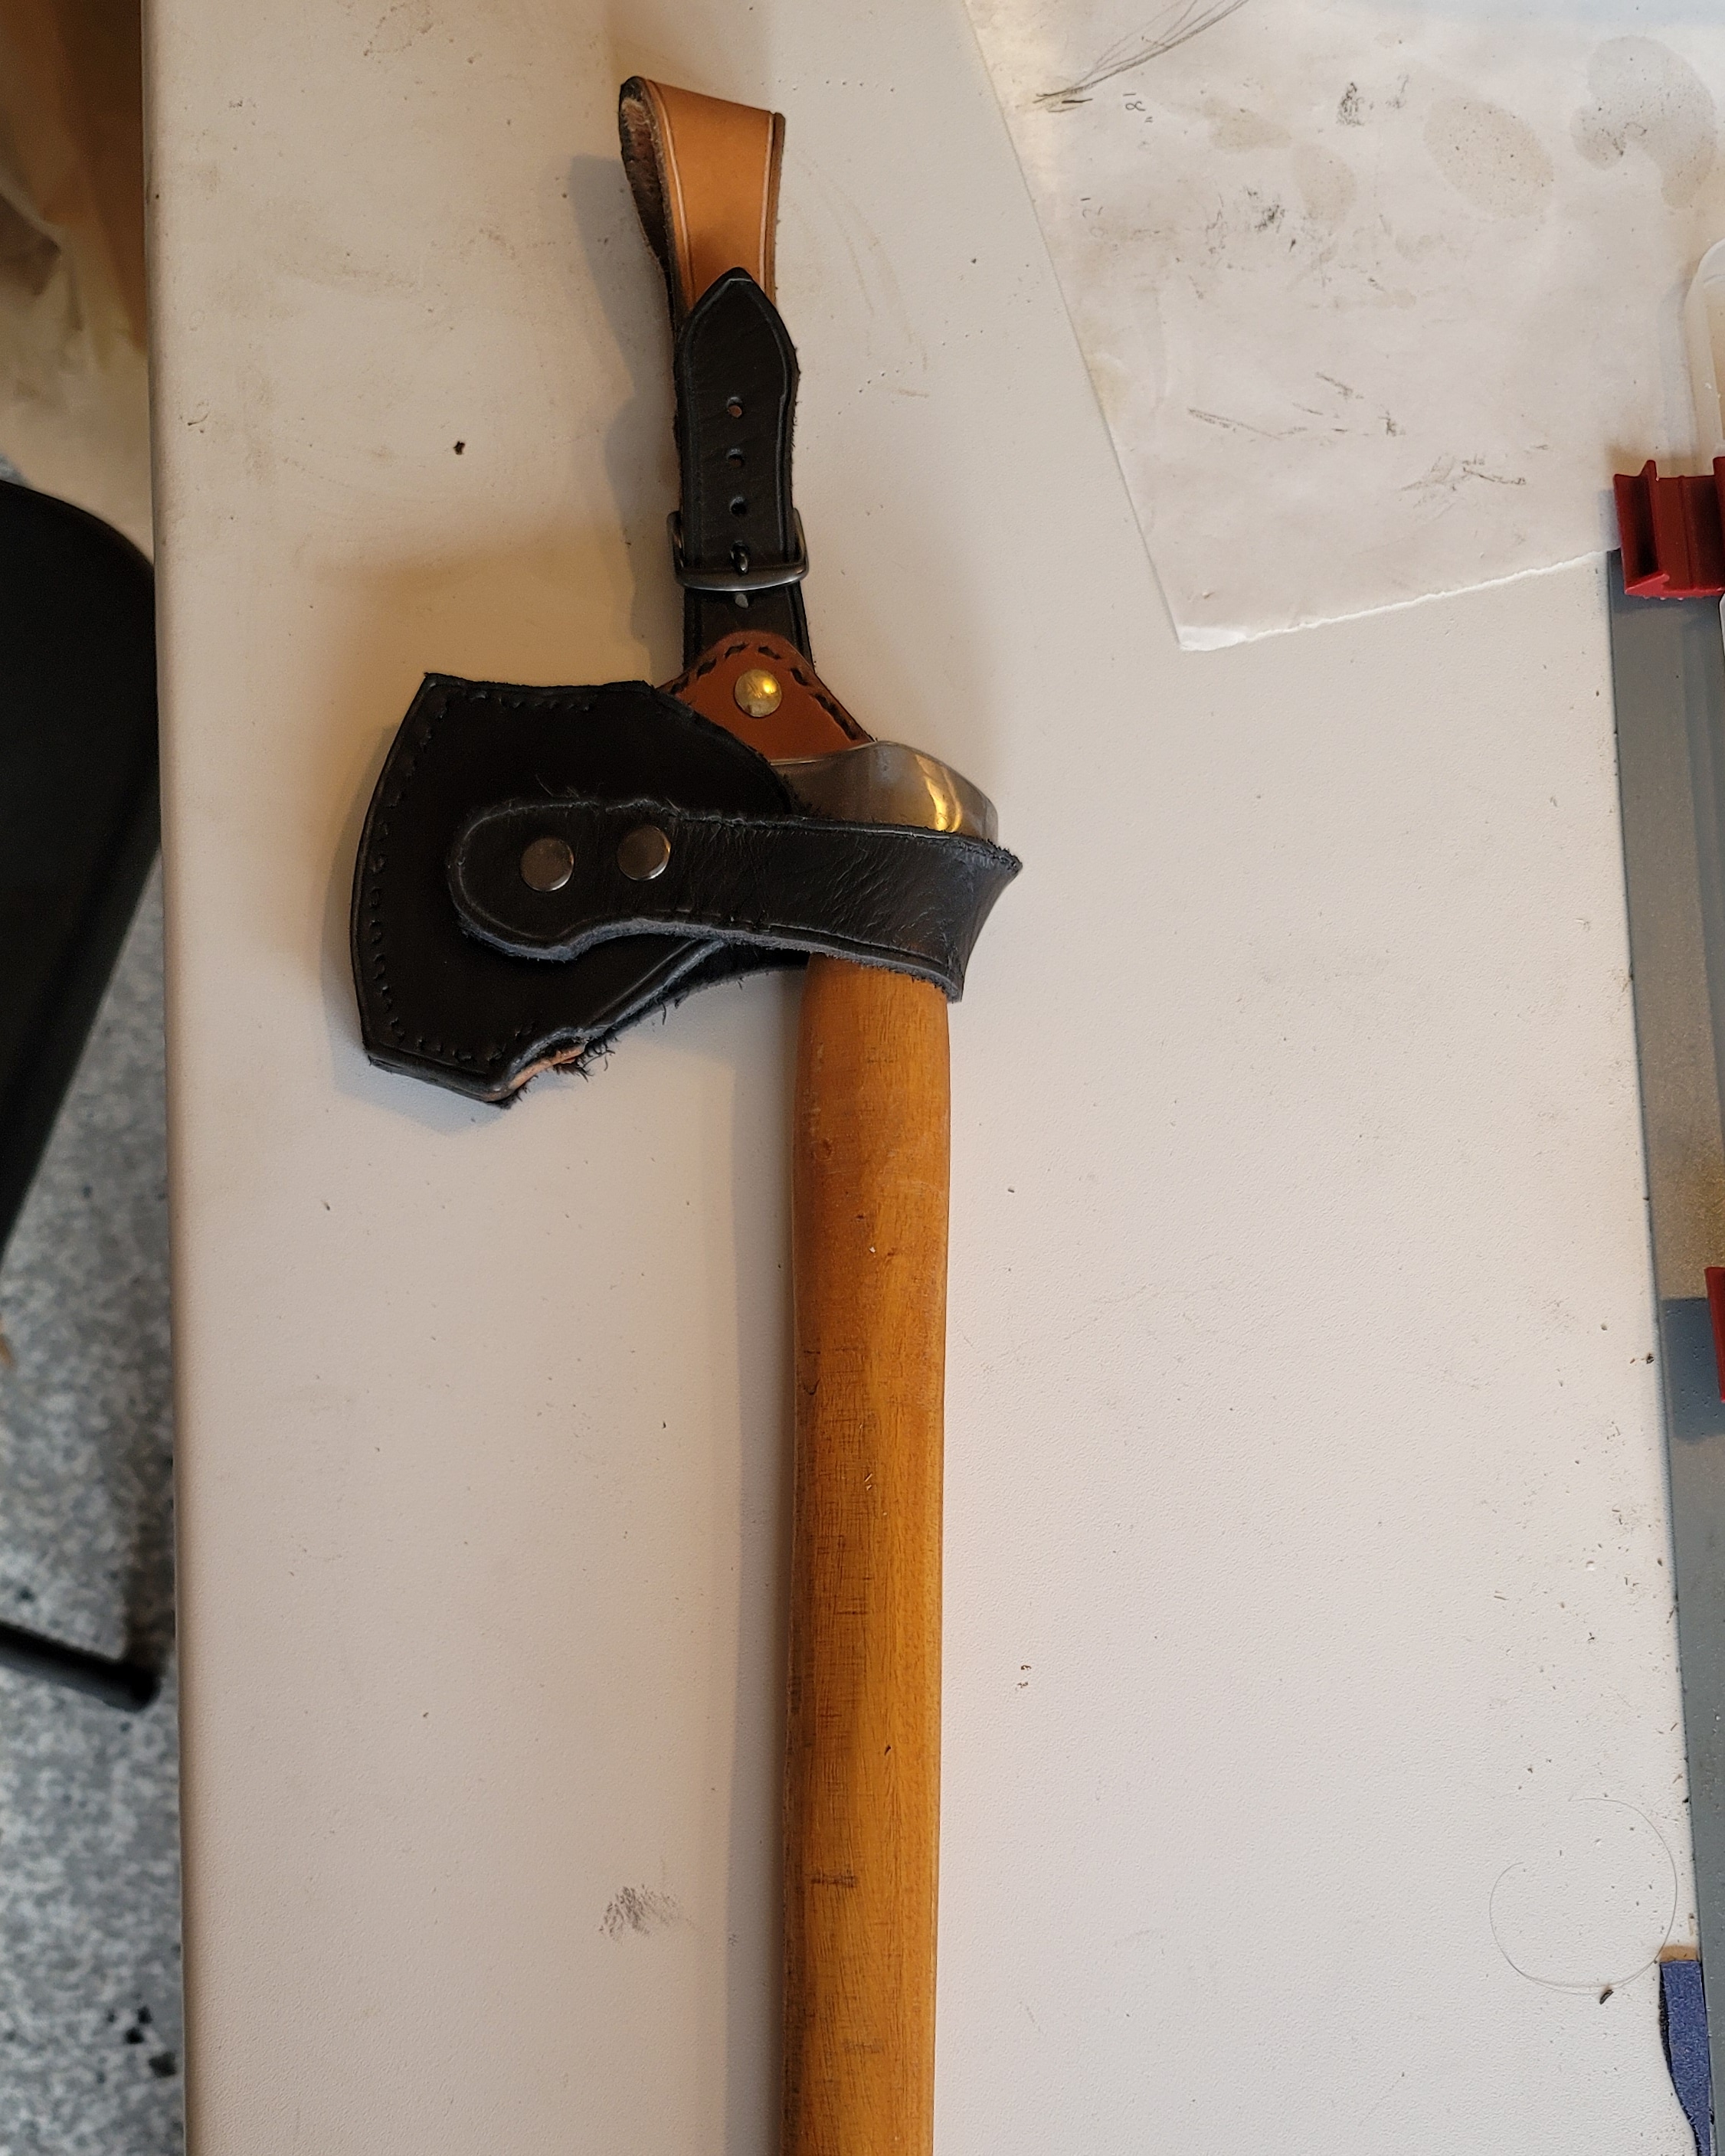
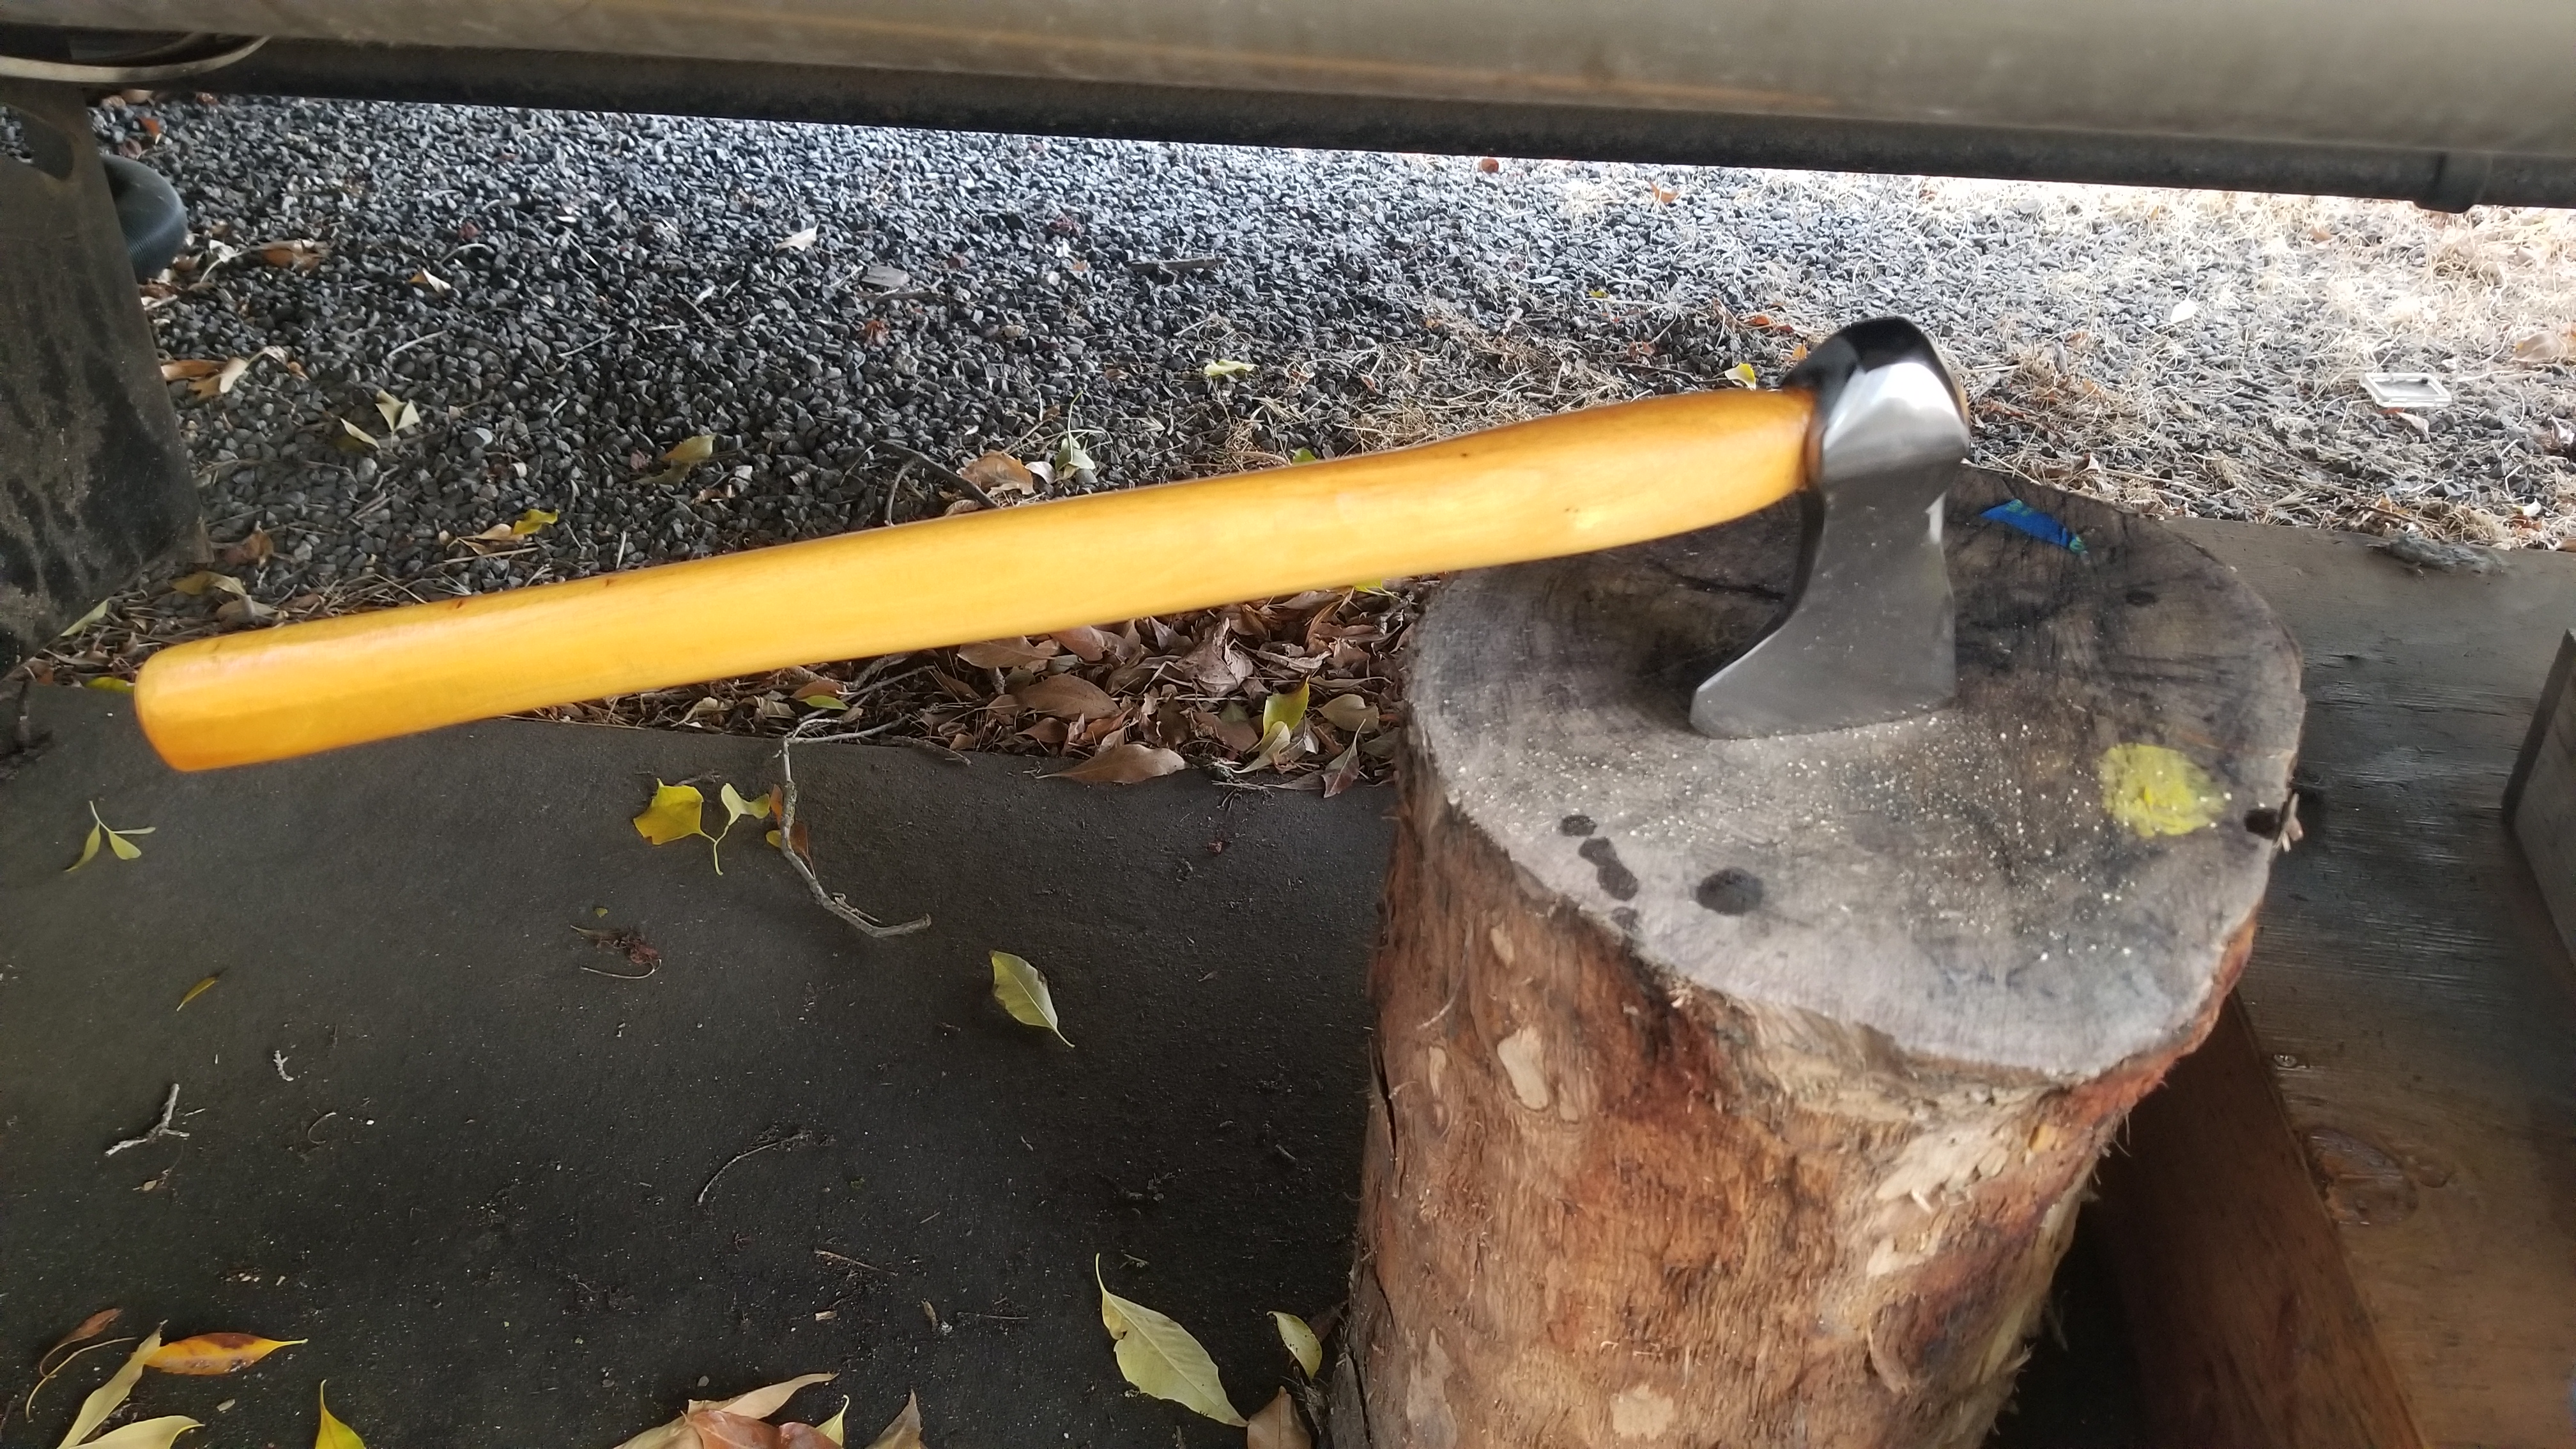
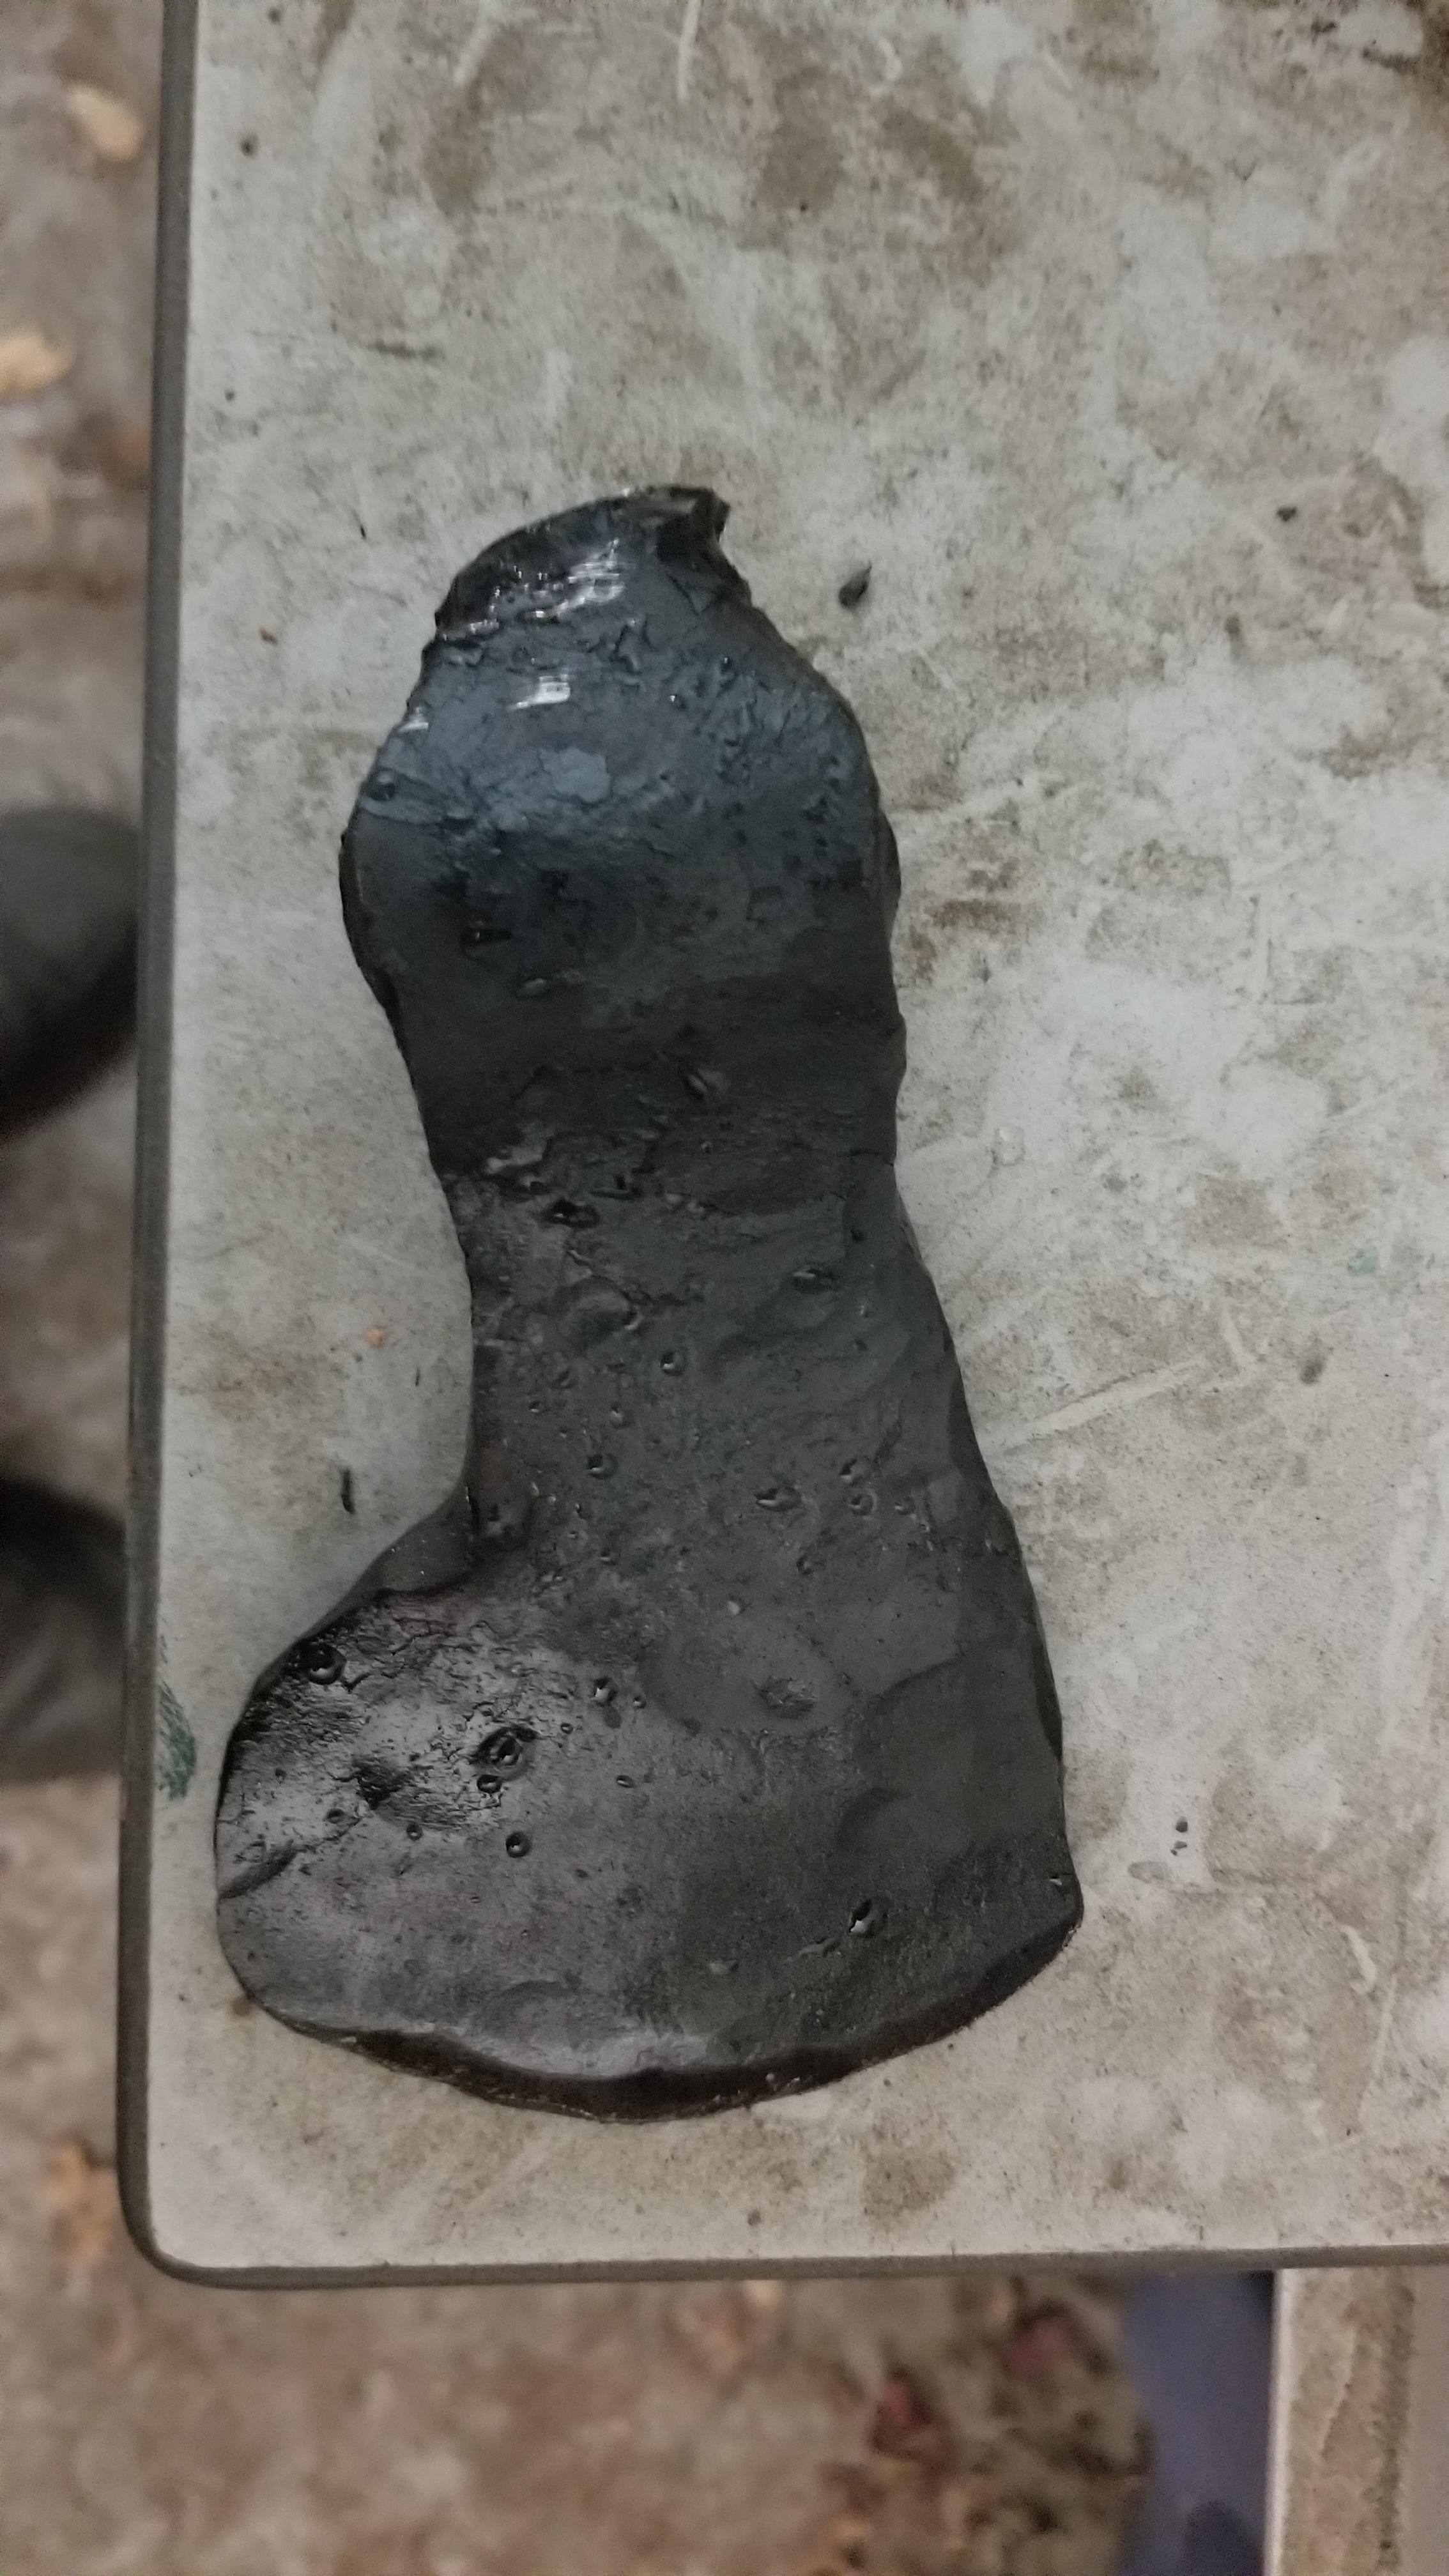
I made my first axe
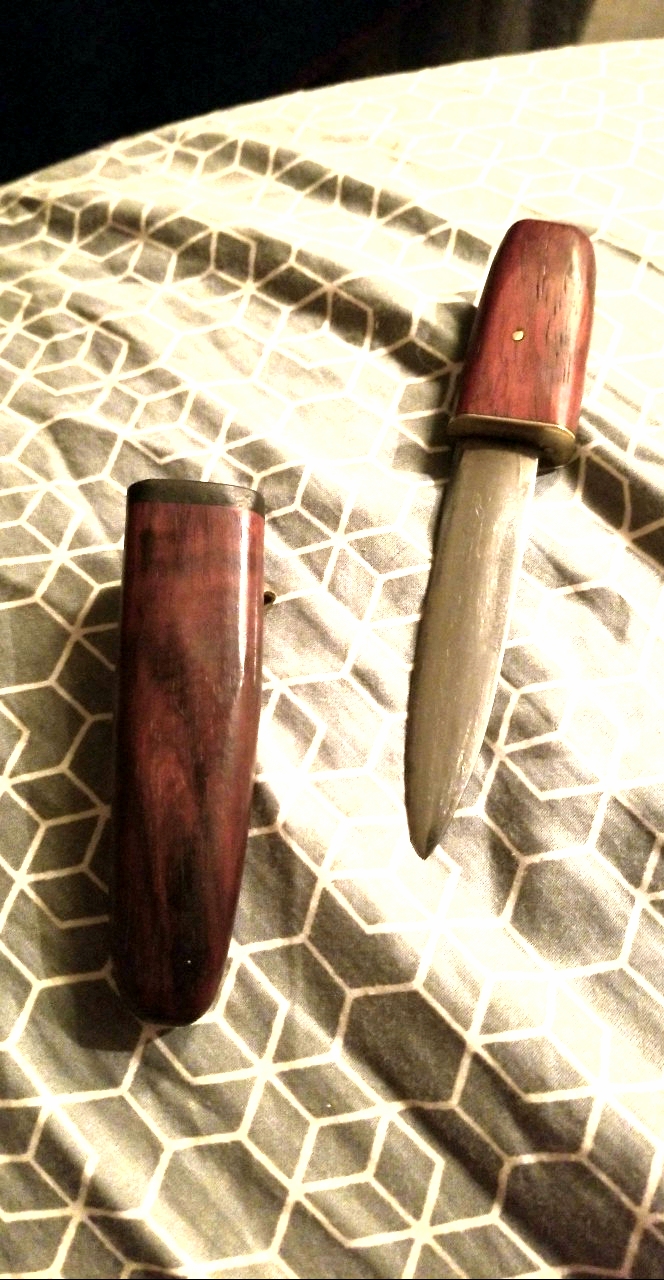
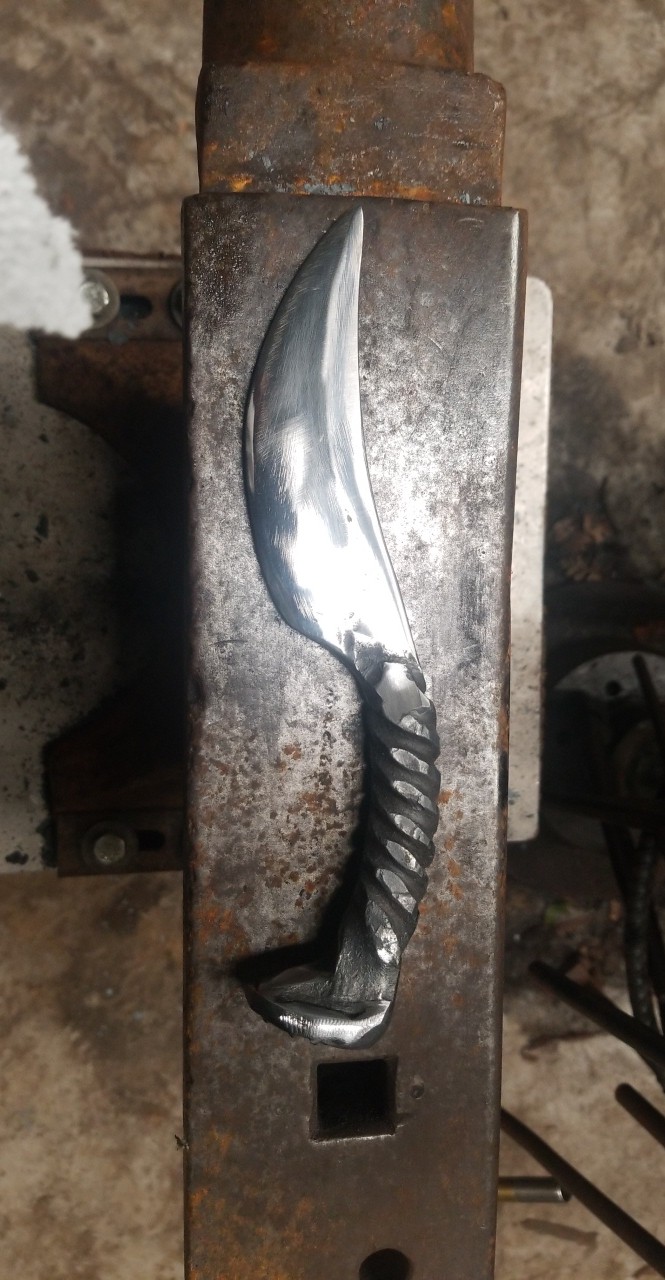
I did a successful differential quench and got a hamon line (the Sgian Dubh). This one was actually a couple years ago, but I included pictures of what it looked like before and now. (the Padauk has darkened up quite a bit)
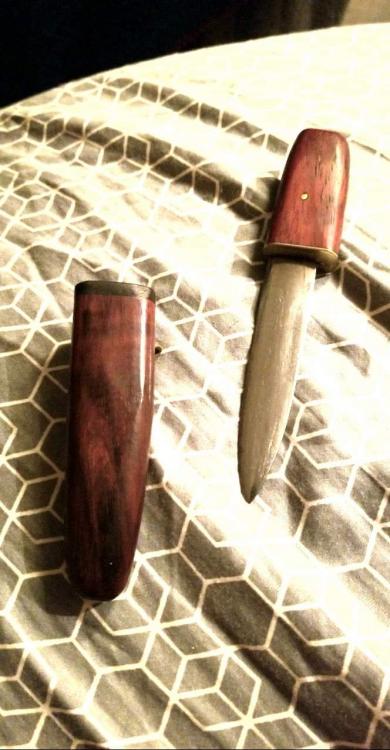
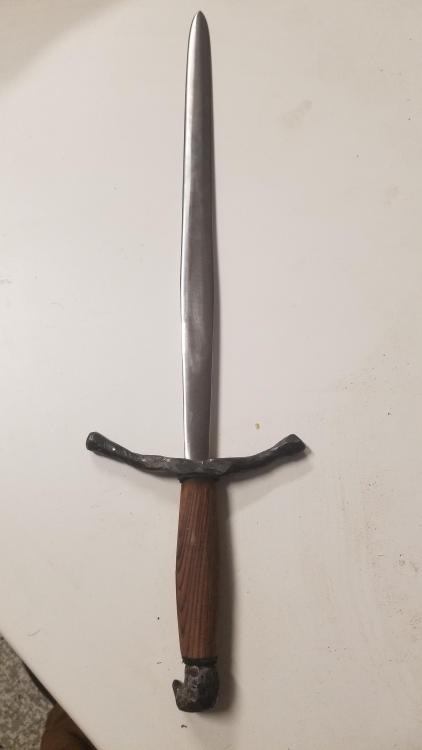
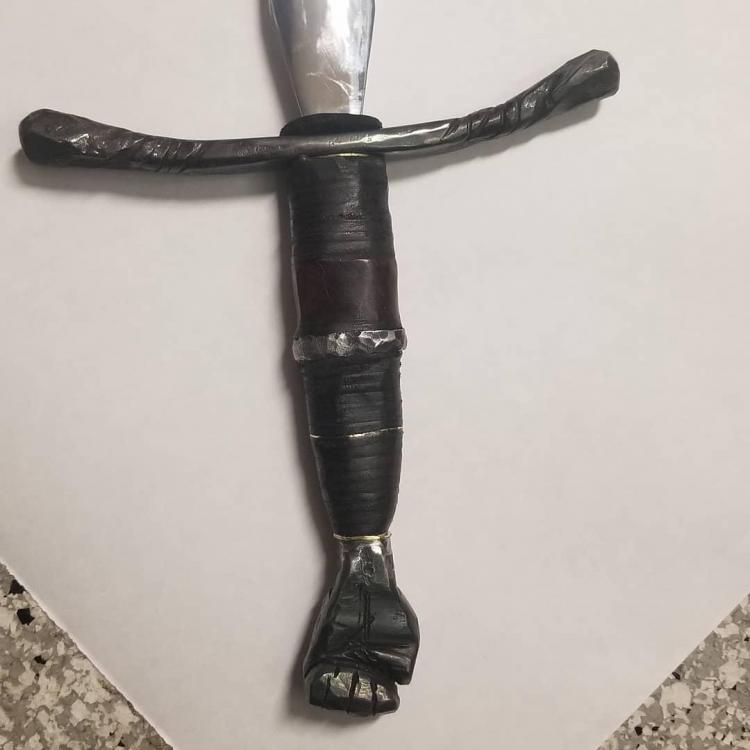
I made a long skinny dagger with a bird's head pommel.
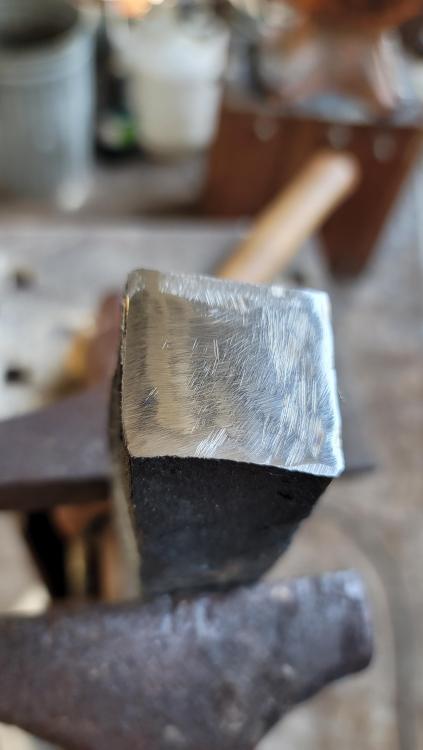
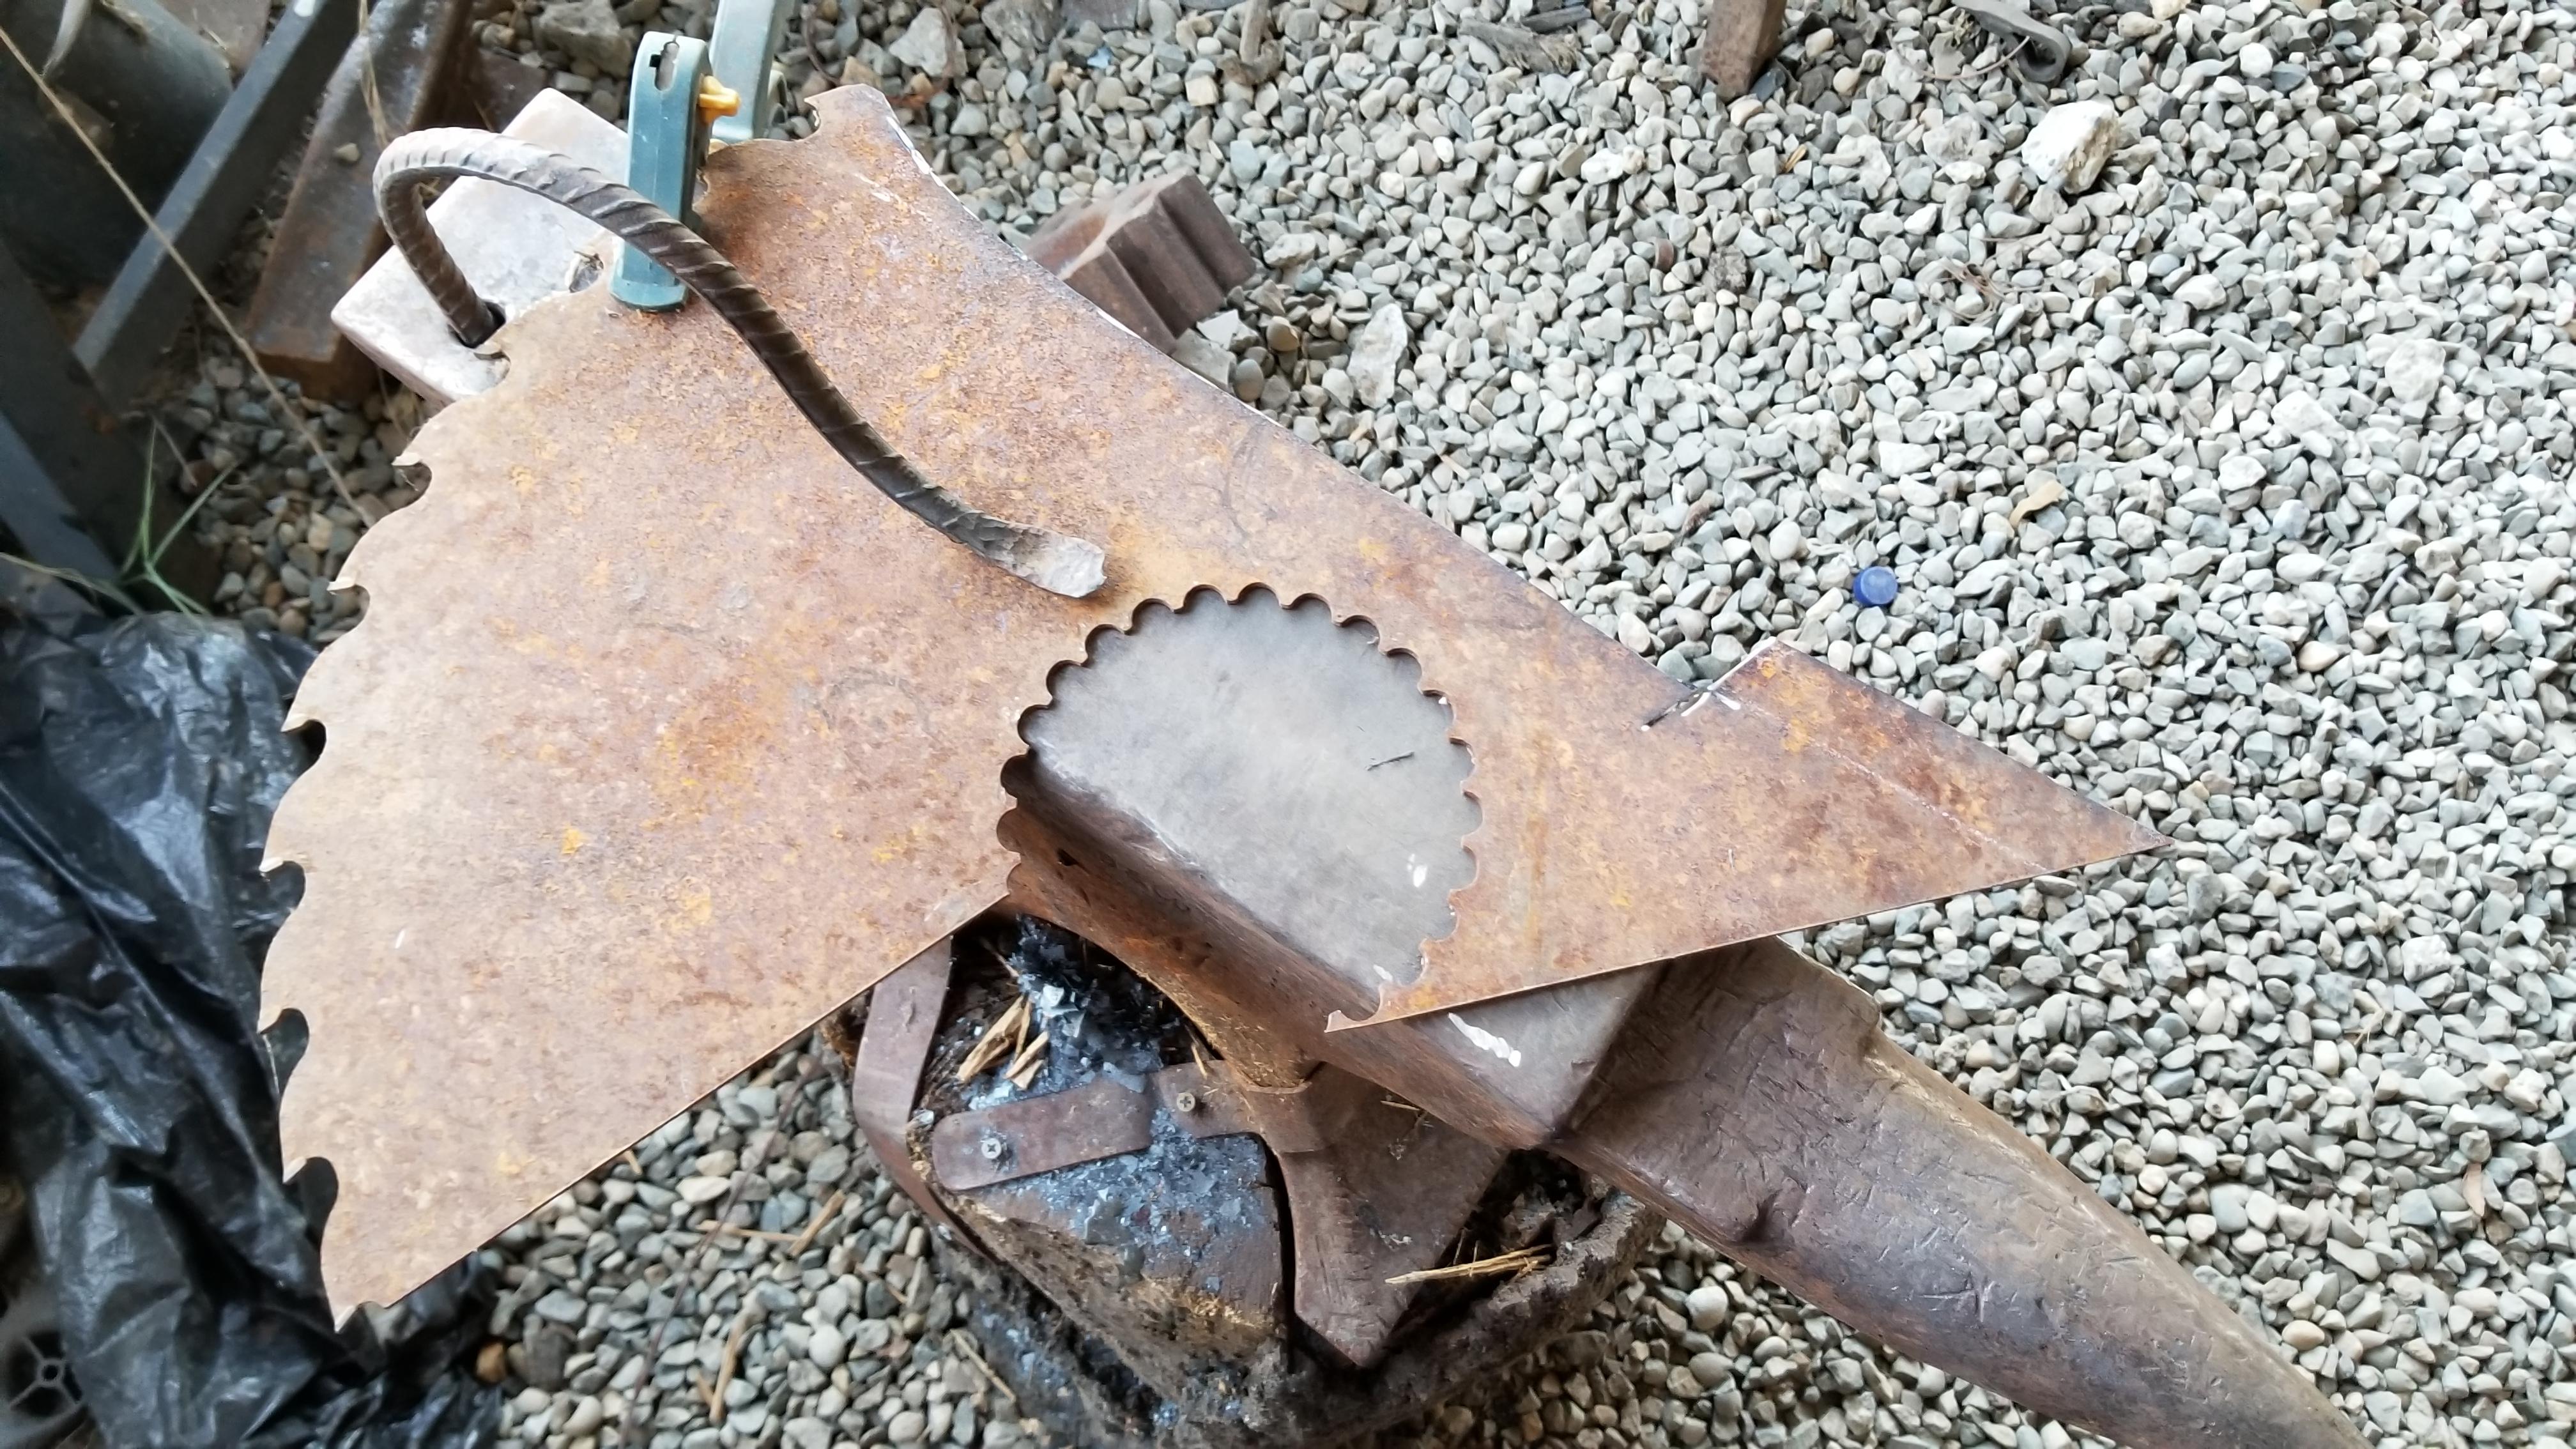
I'm currently working on my first successful bit of cannister damascus (1084 and bandsaw blades)it will hopefully become a katana.
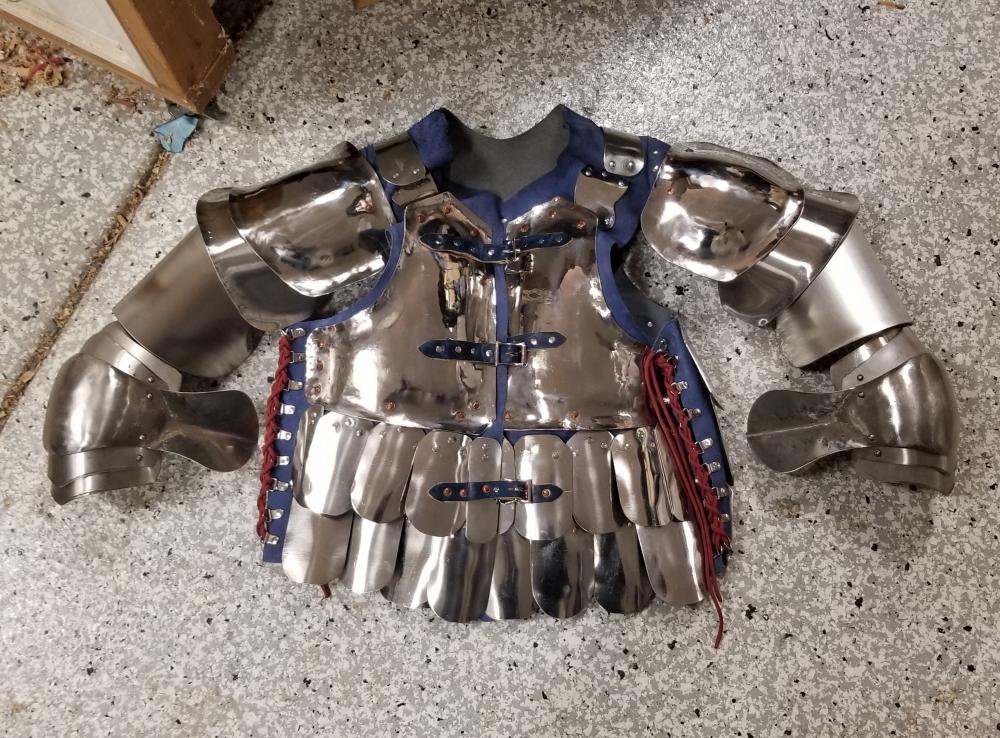
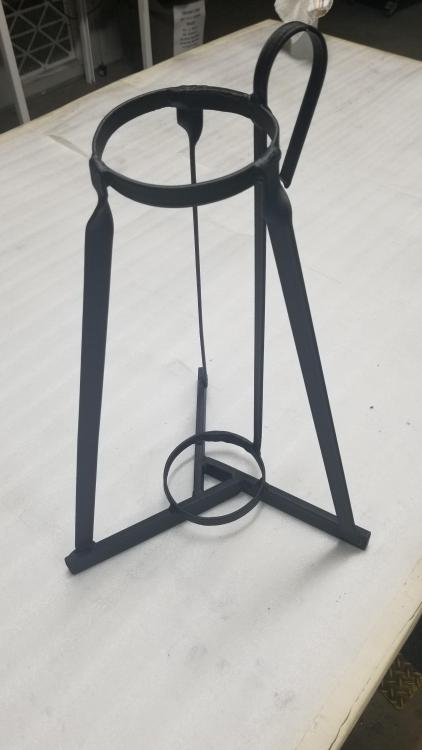
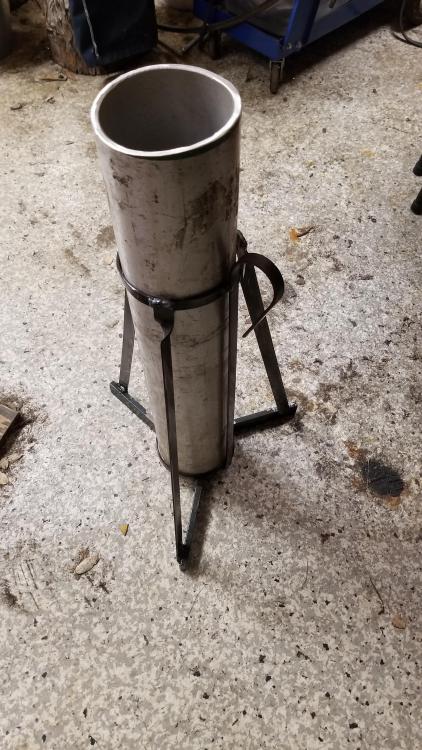
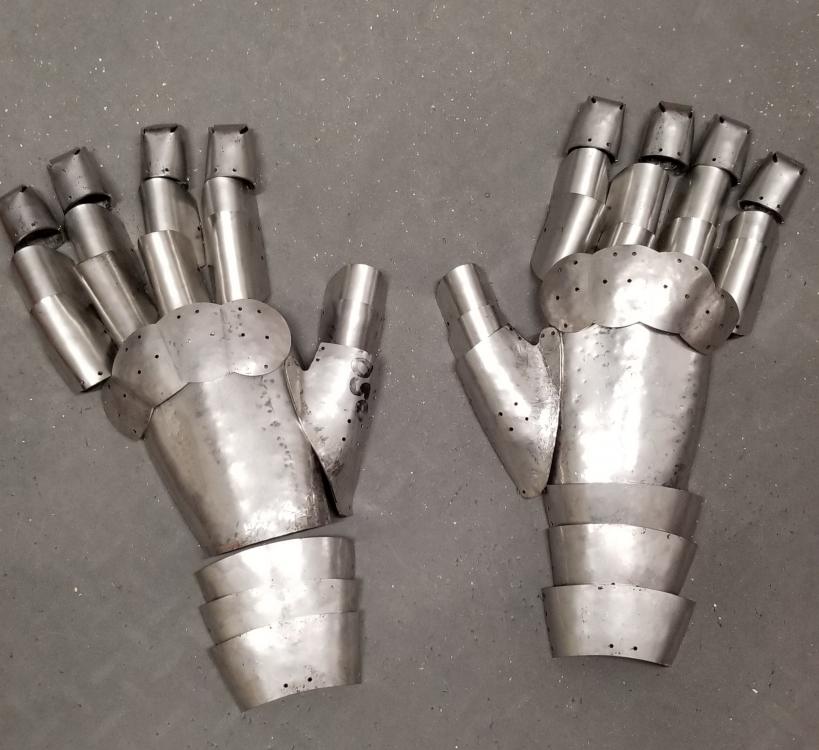
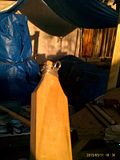
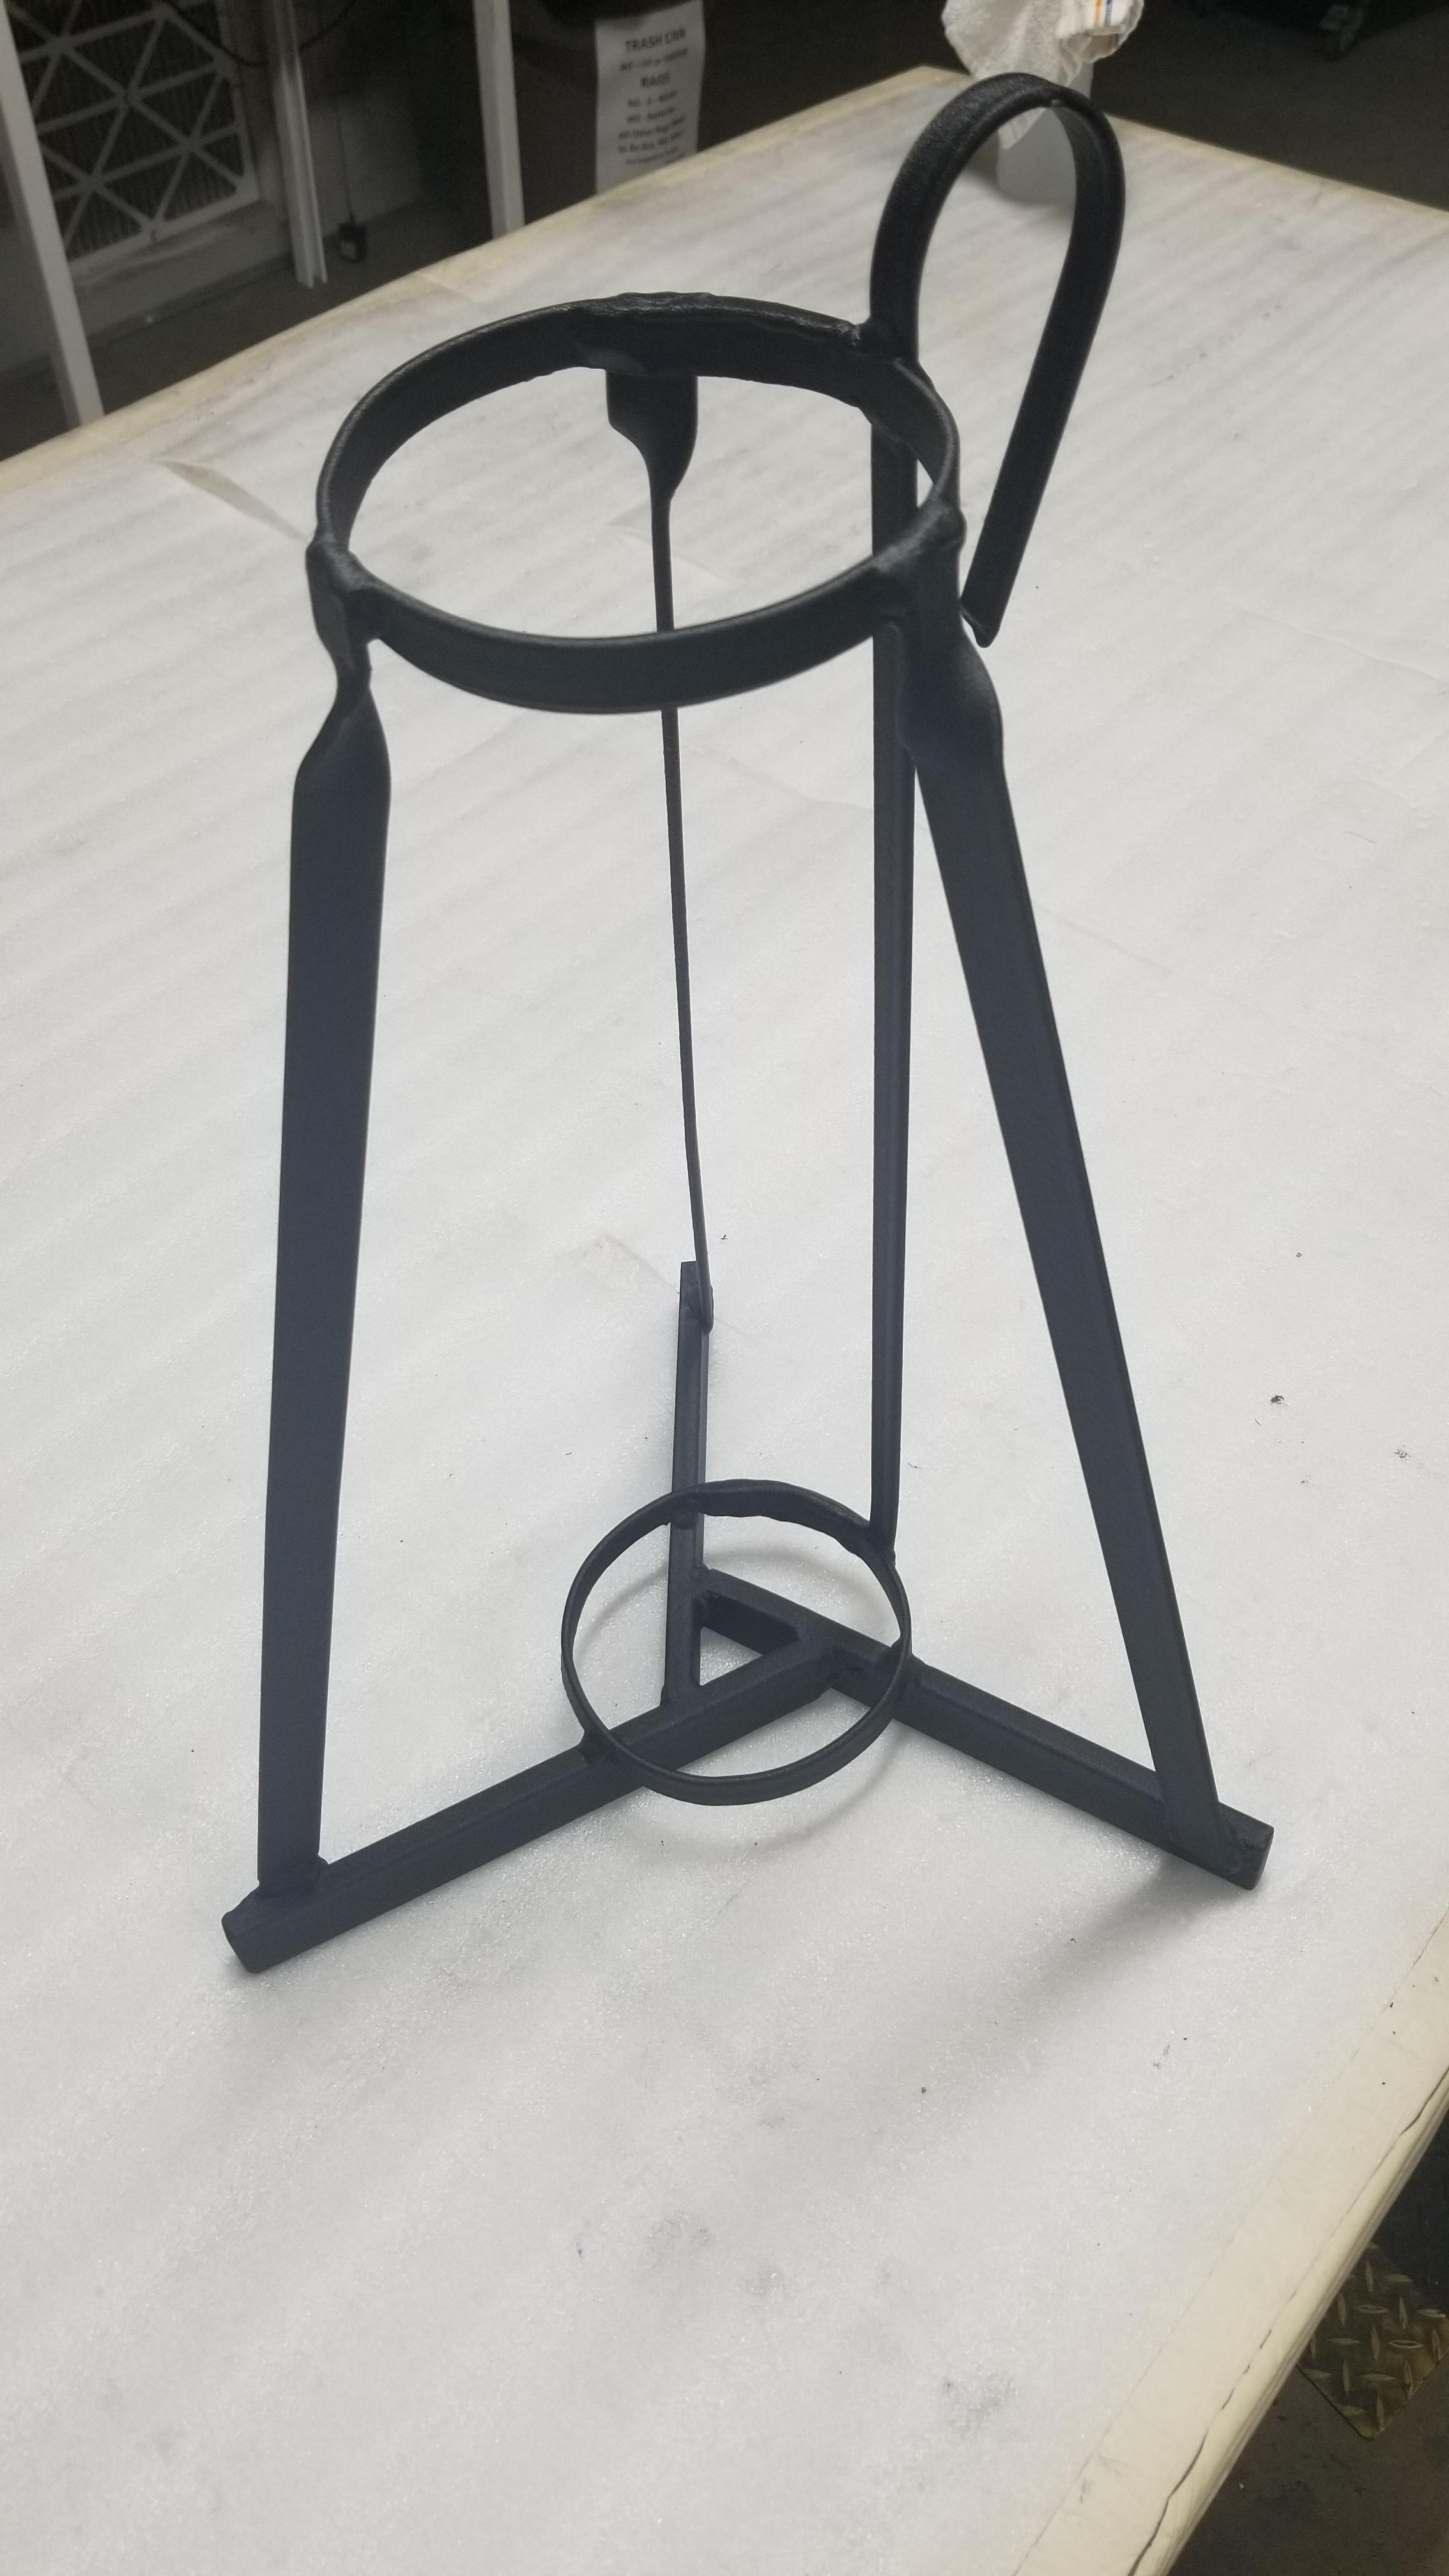
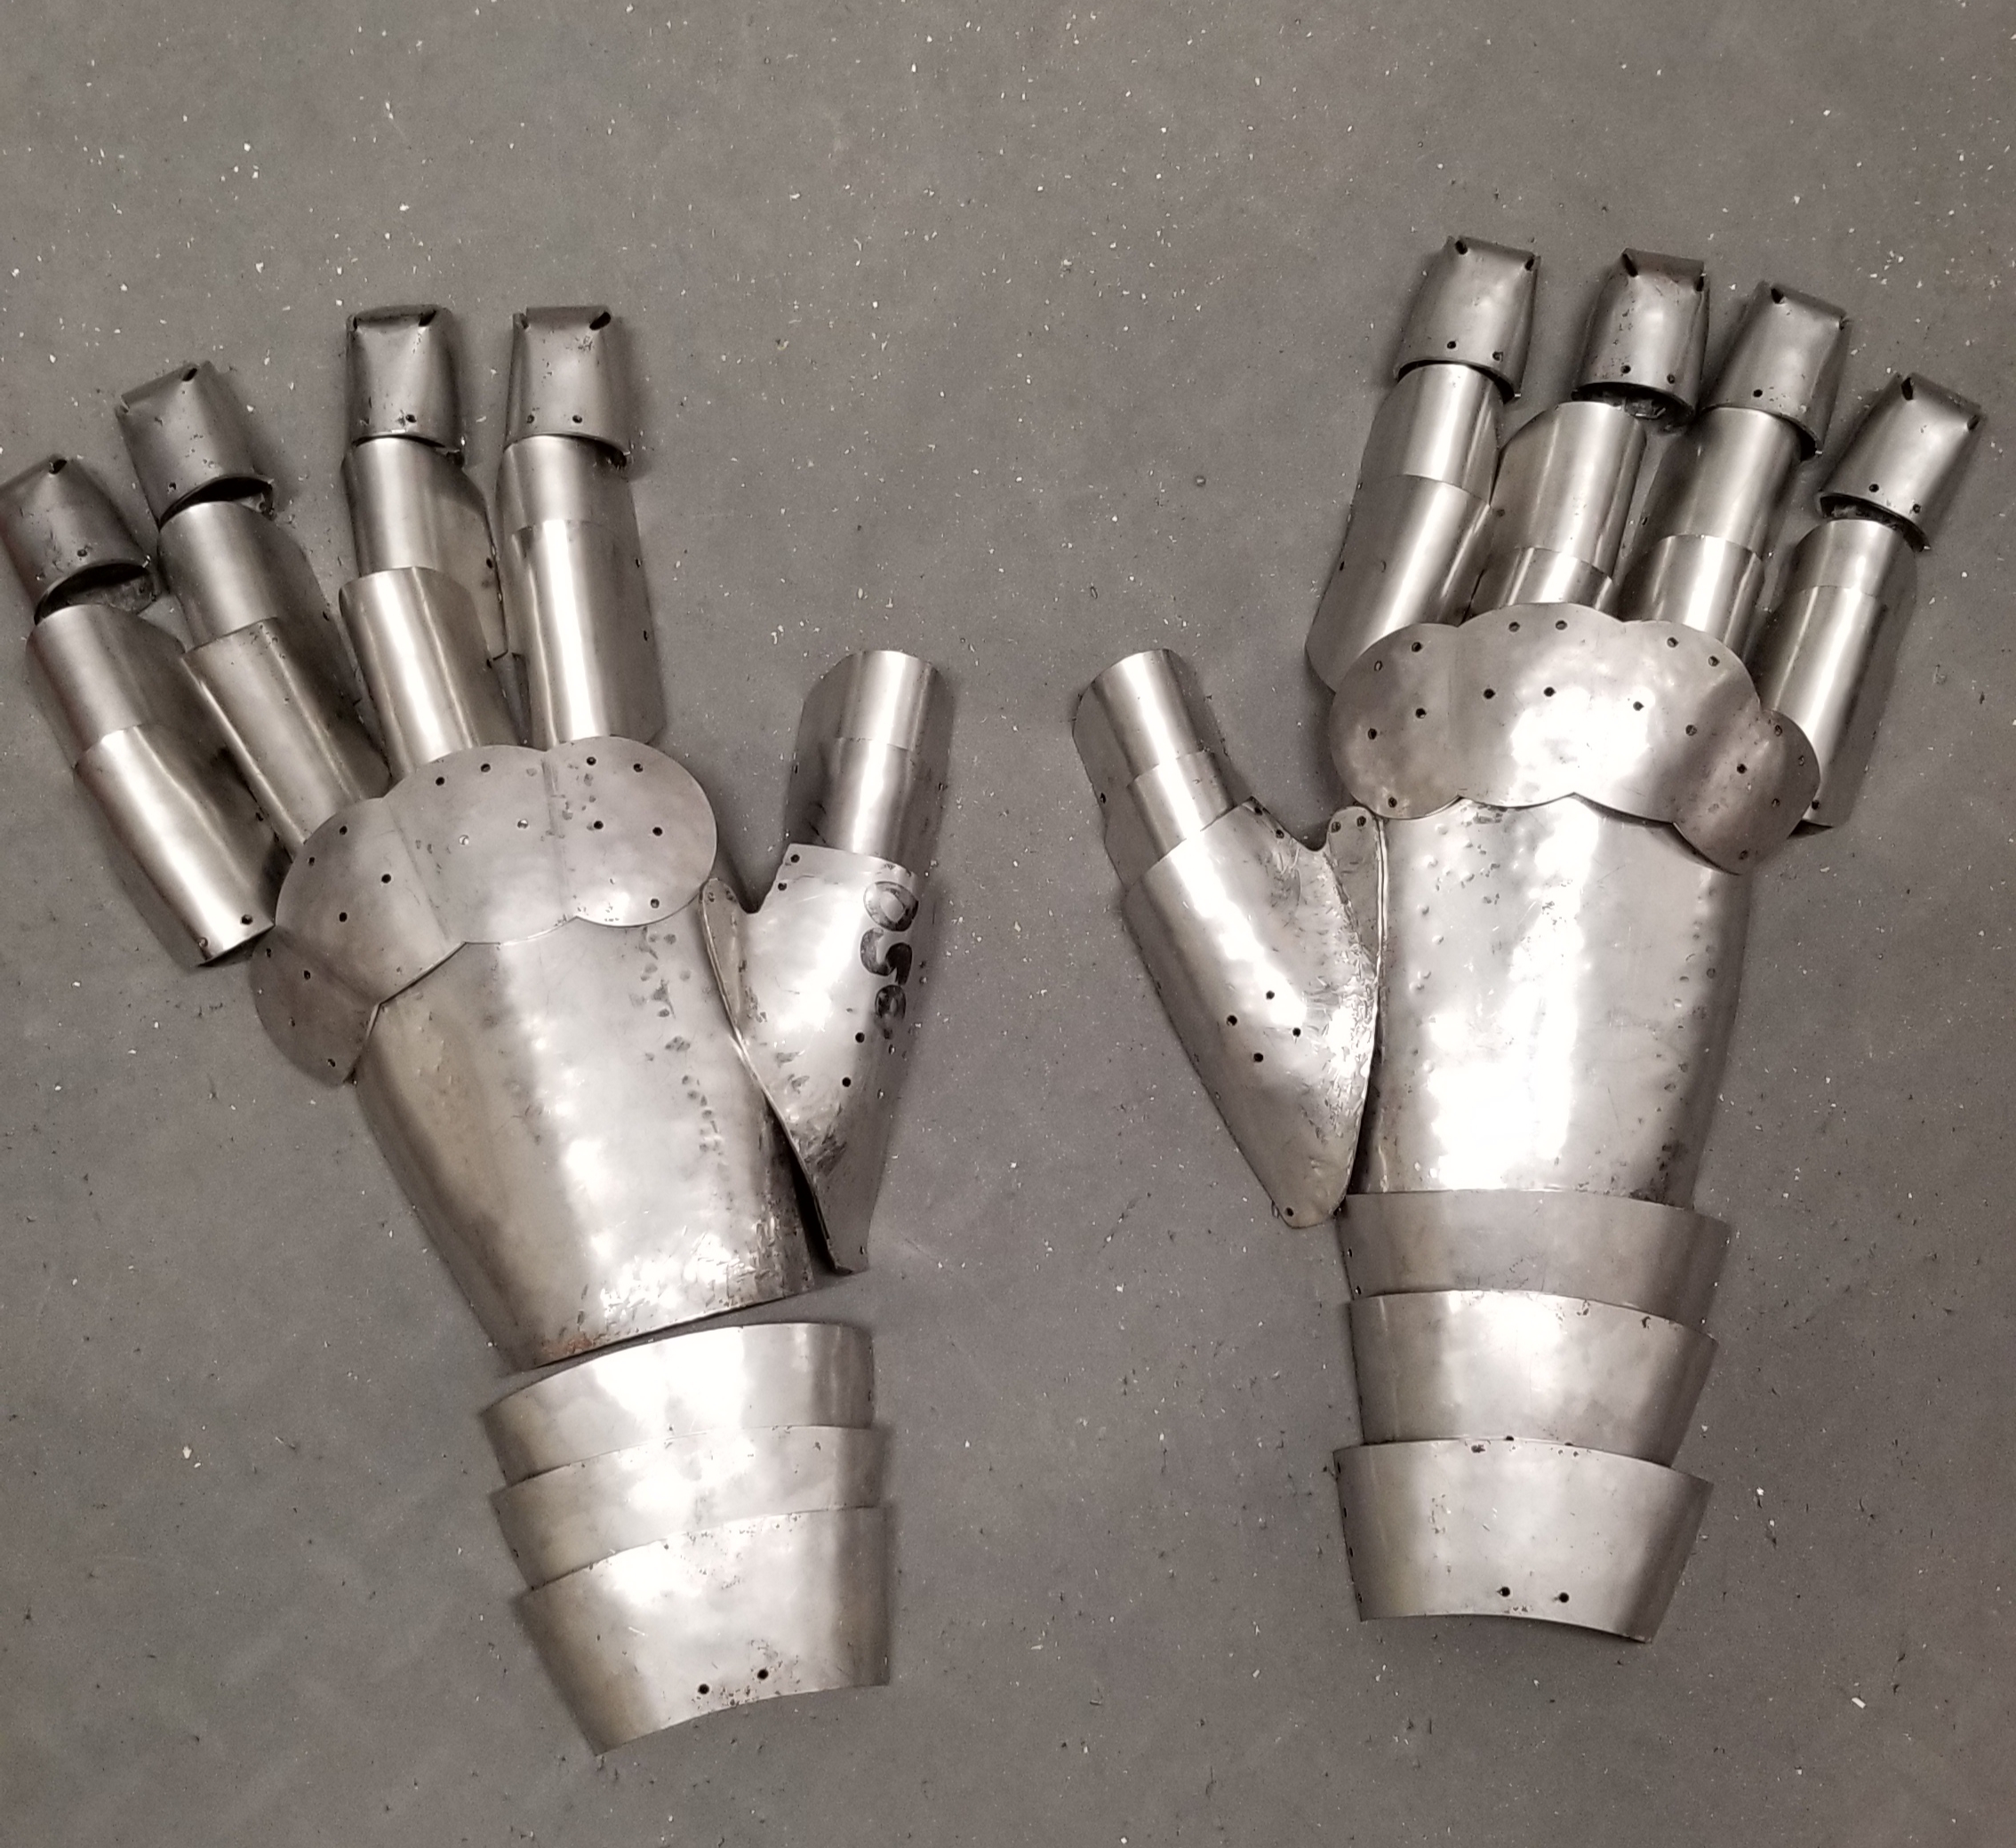
Finally bit the bullet and bought some decent quenchant (Mcmaster 11) and made a fancy tank for itBeen doing armoring and hilt work (new hobbies include fencing and heavy in the SCA)
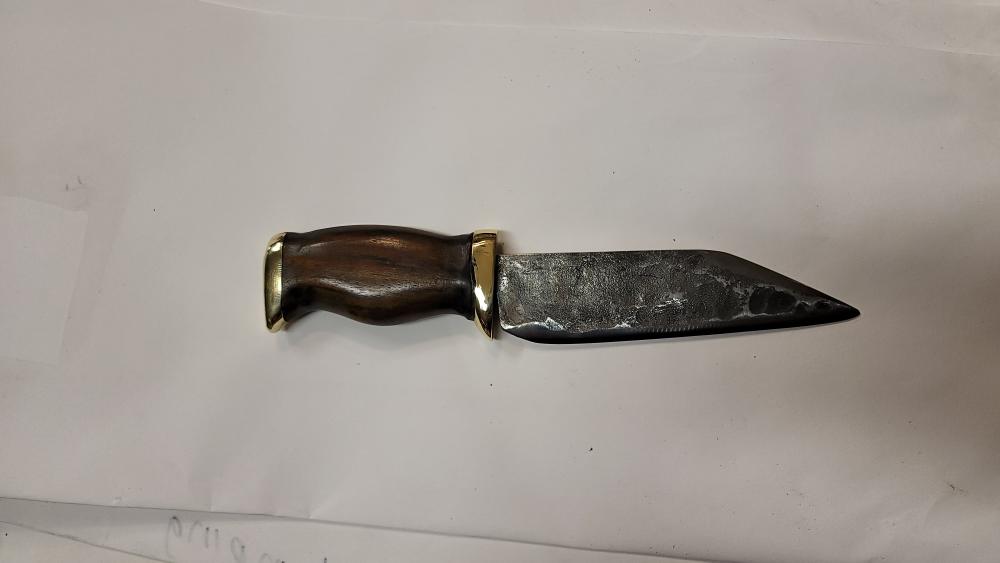
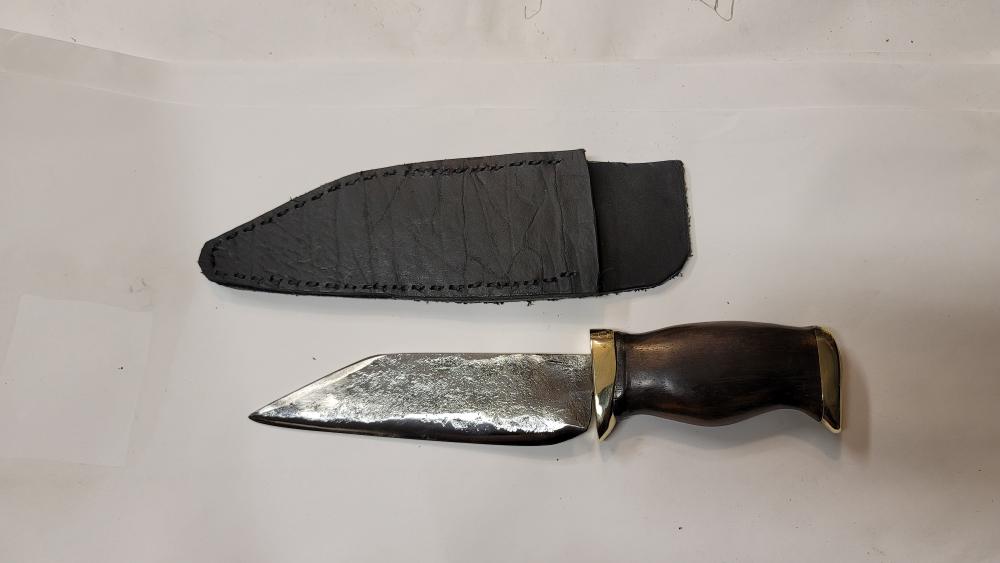
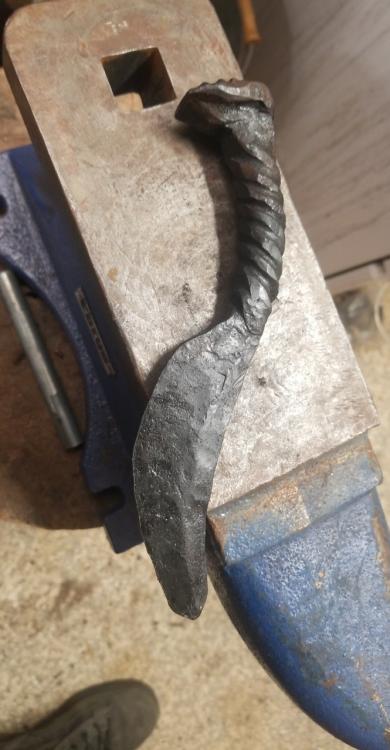
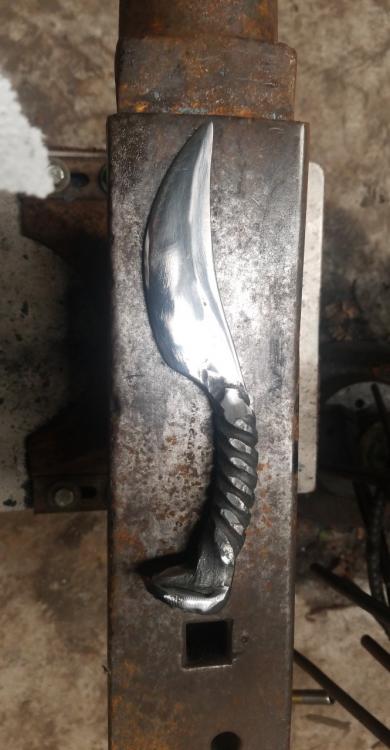
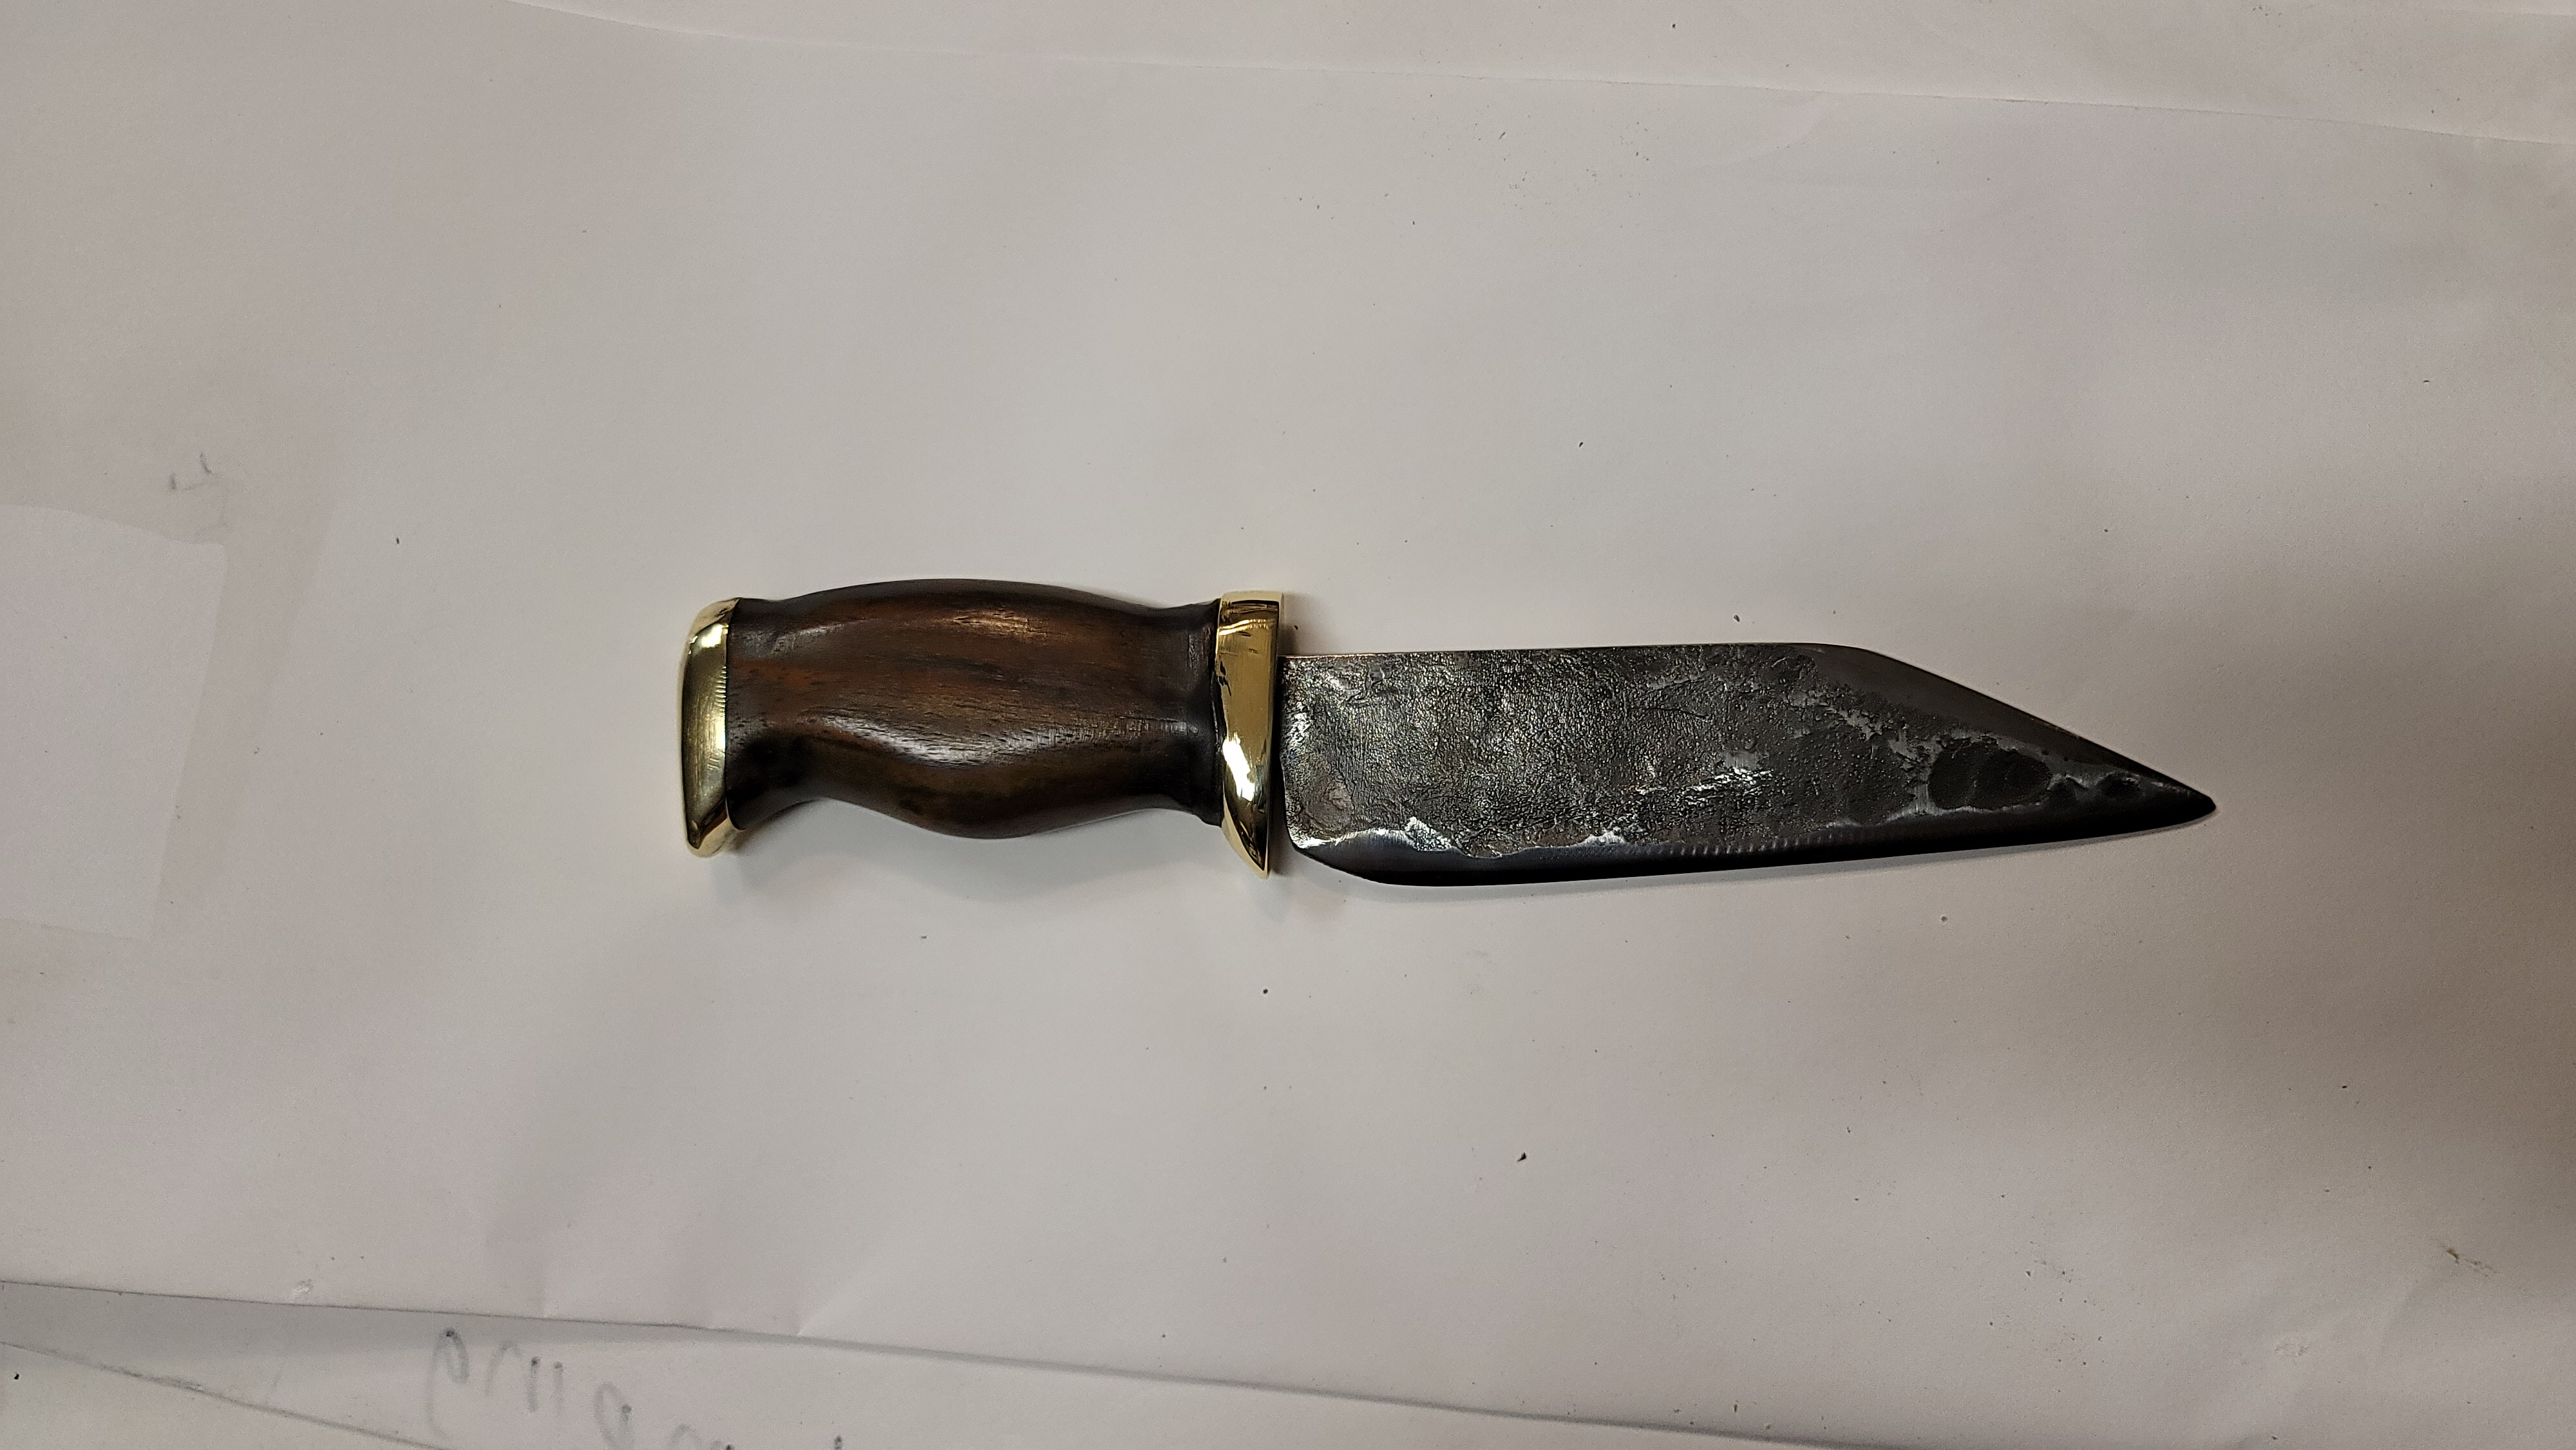
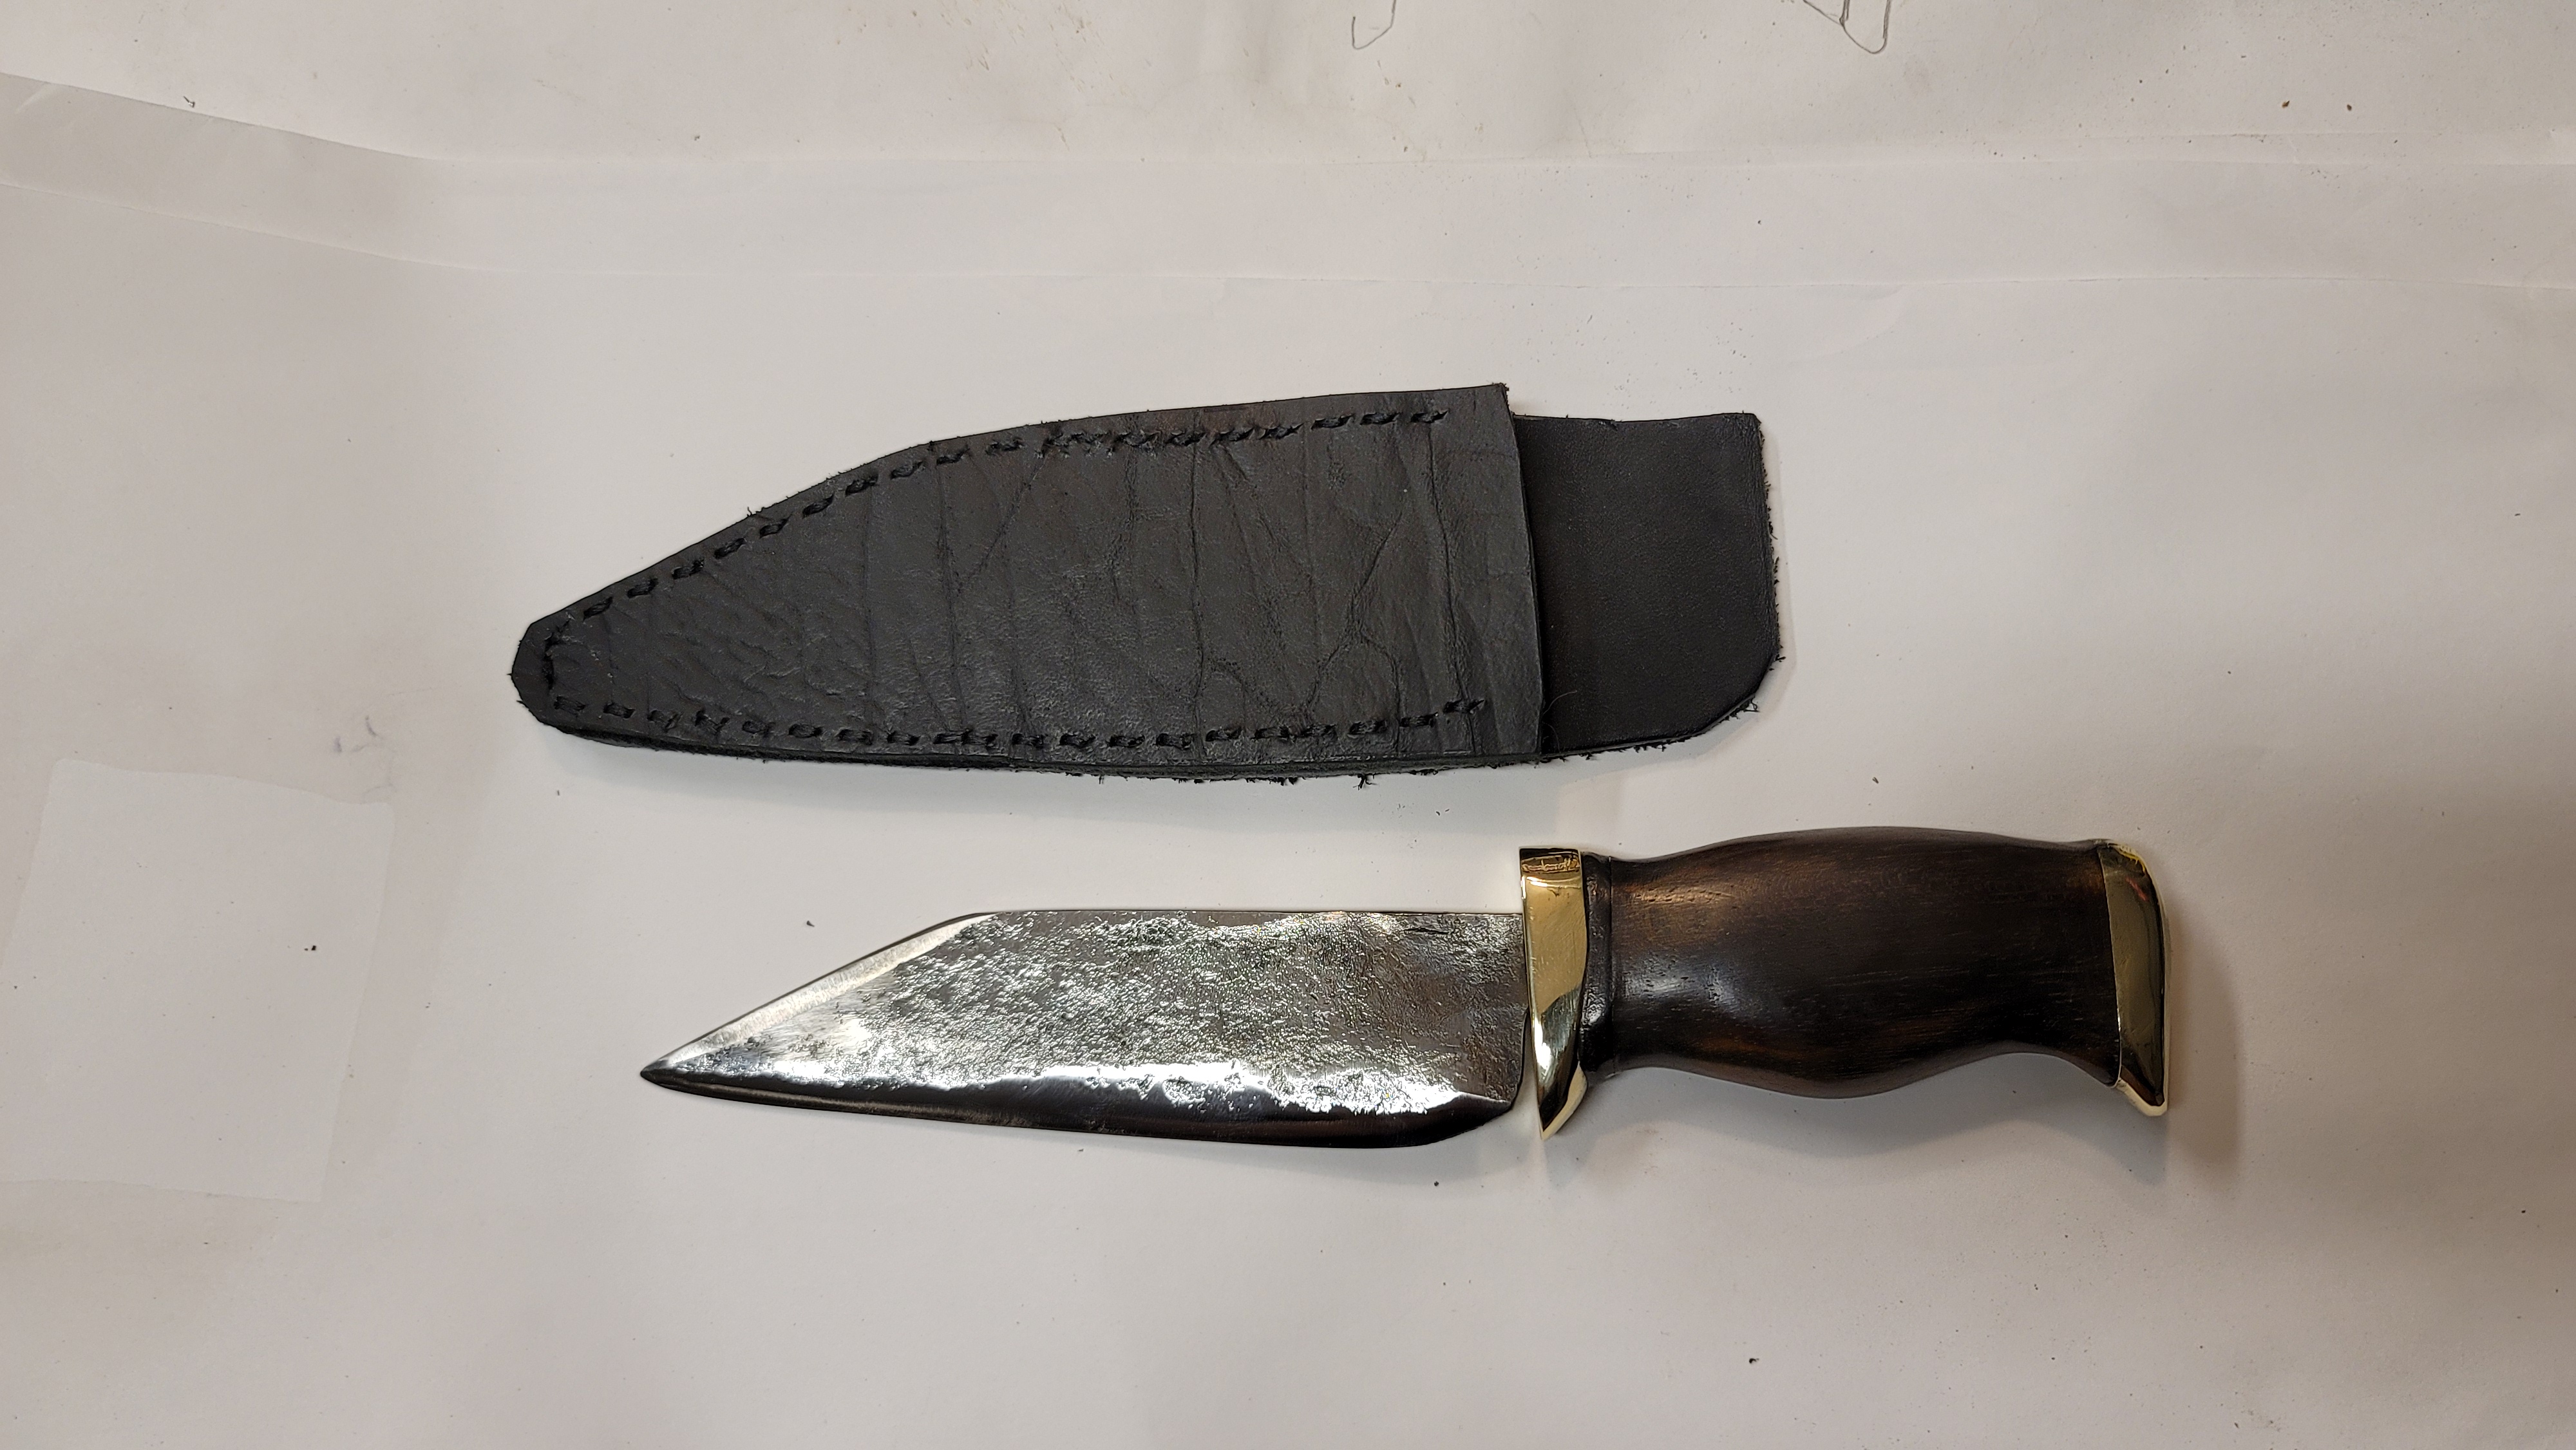
I also completed my first comission. It was also my first spike knife.
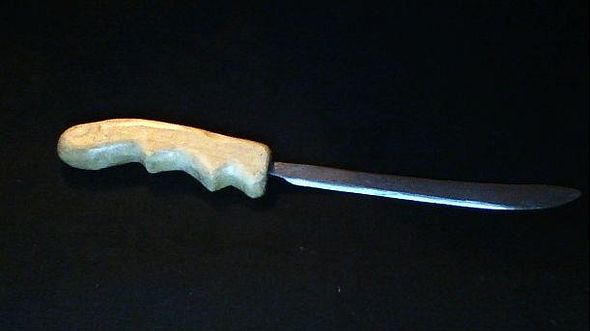
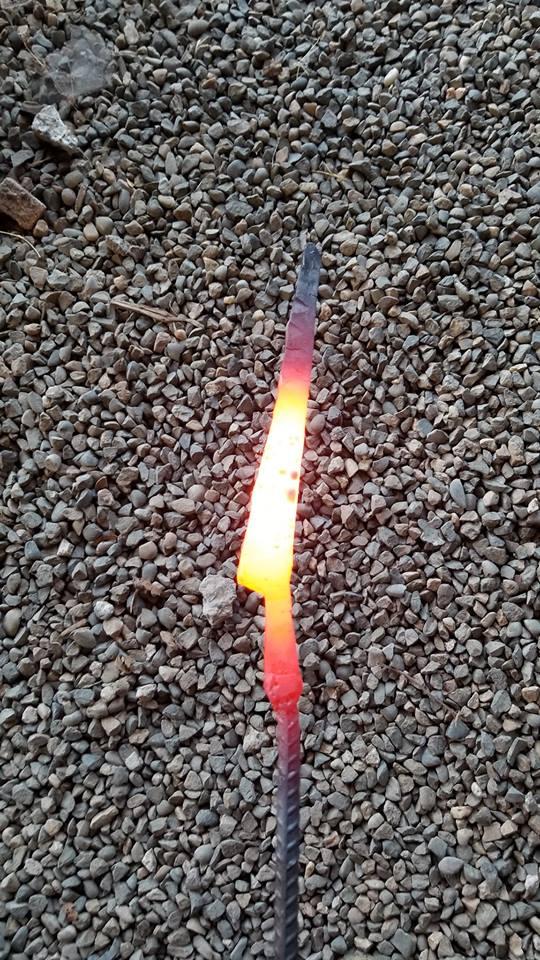
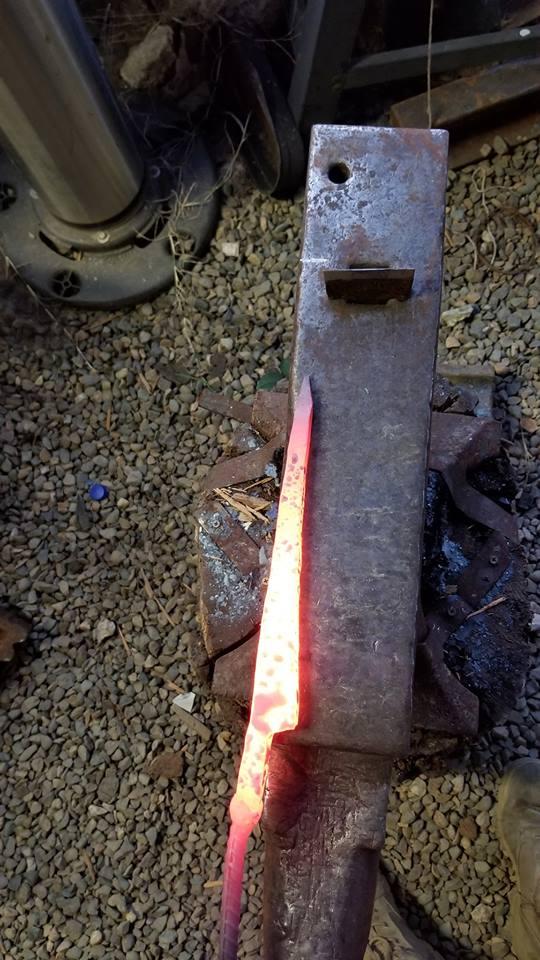
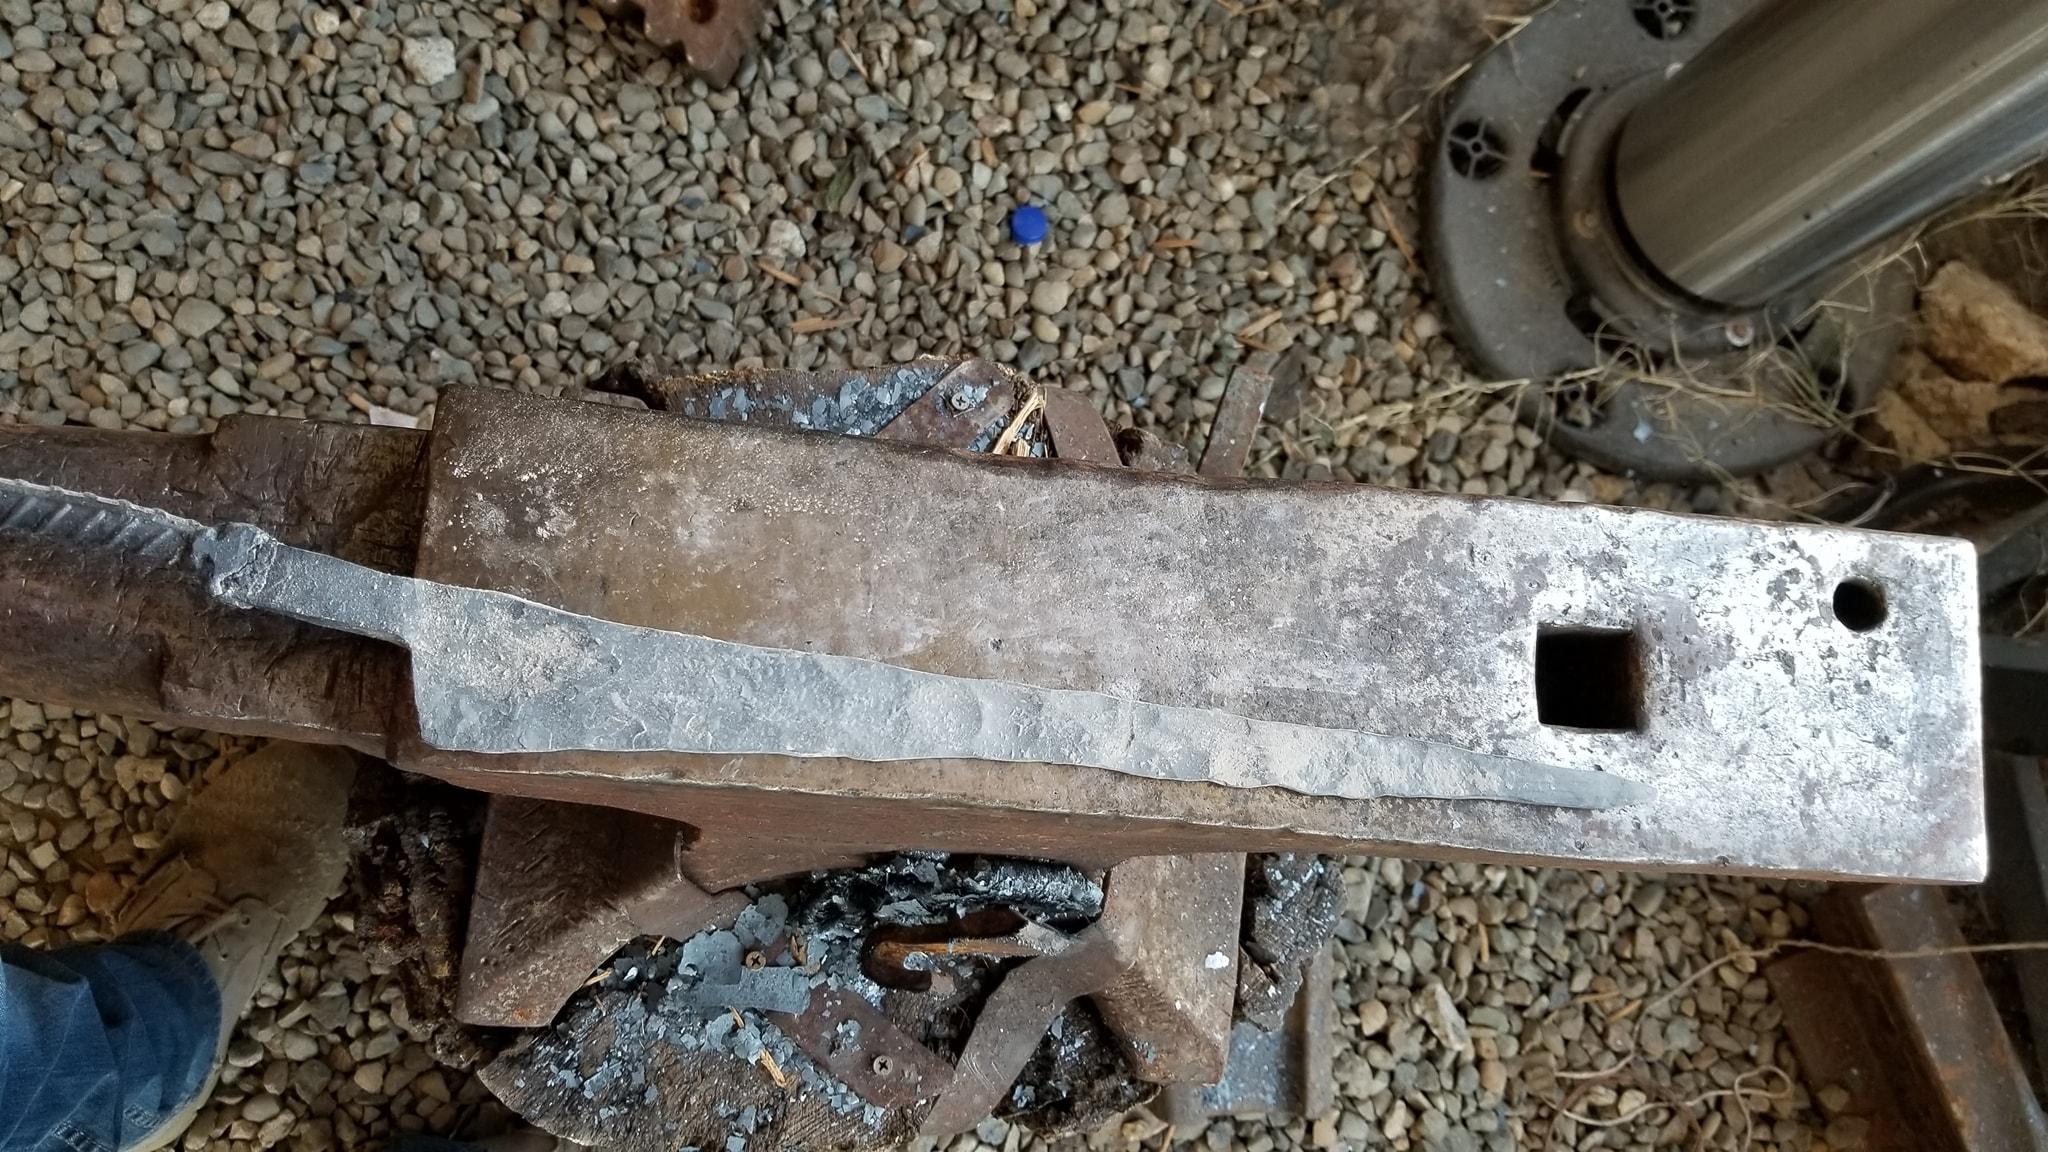
And the last couple pictures are of my first knife ever, rebar, with its old and newer handle.
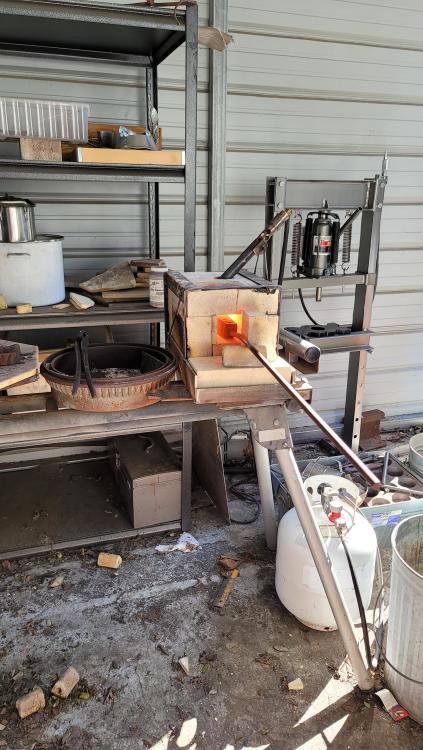
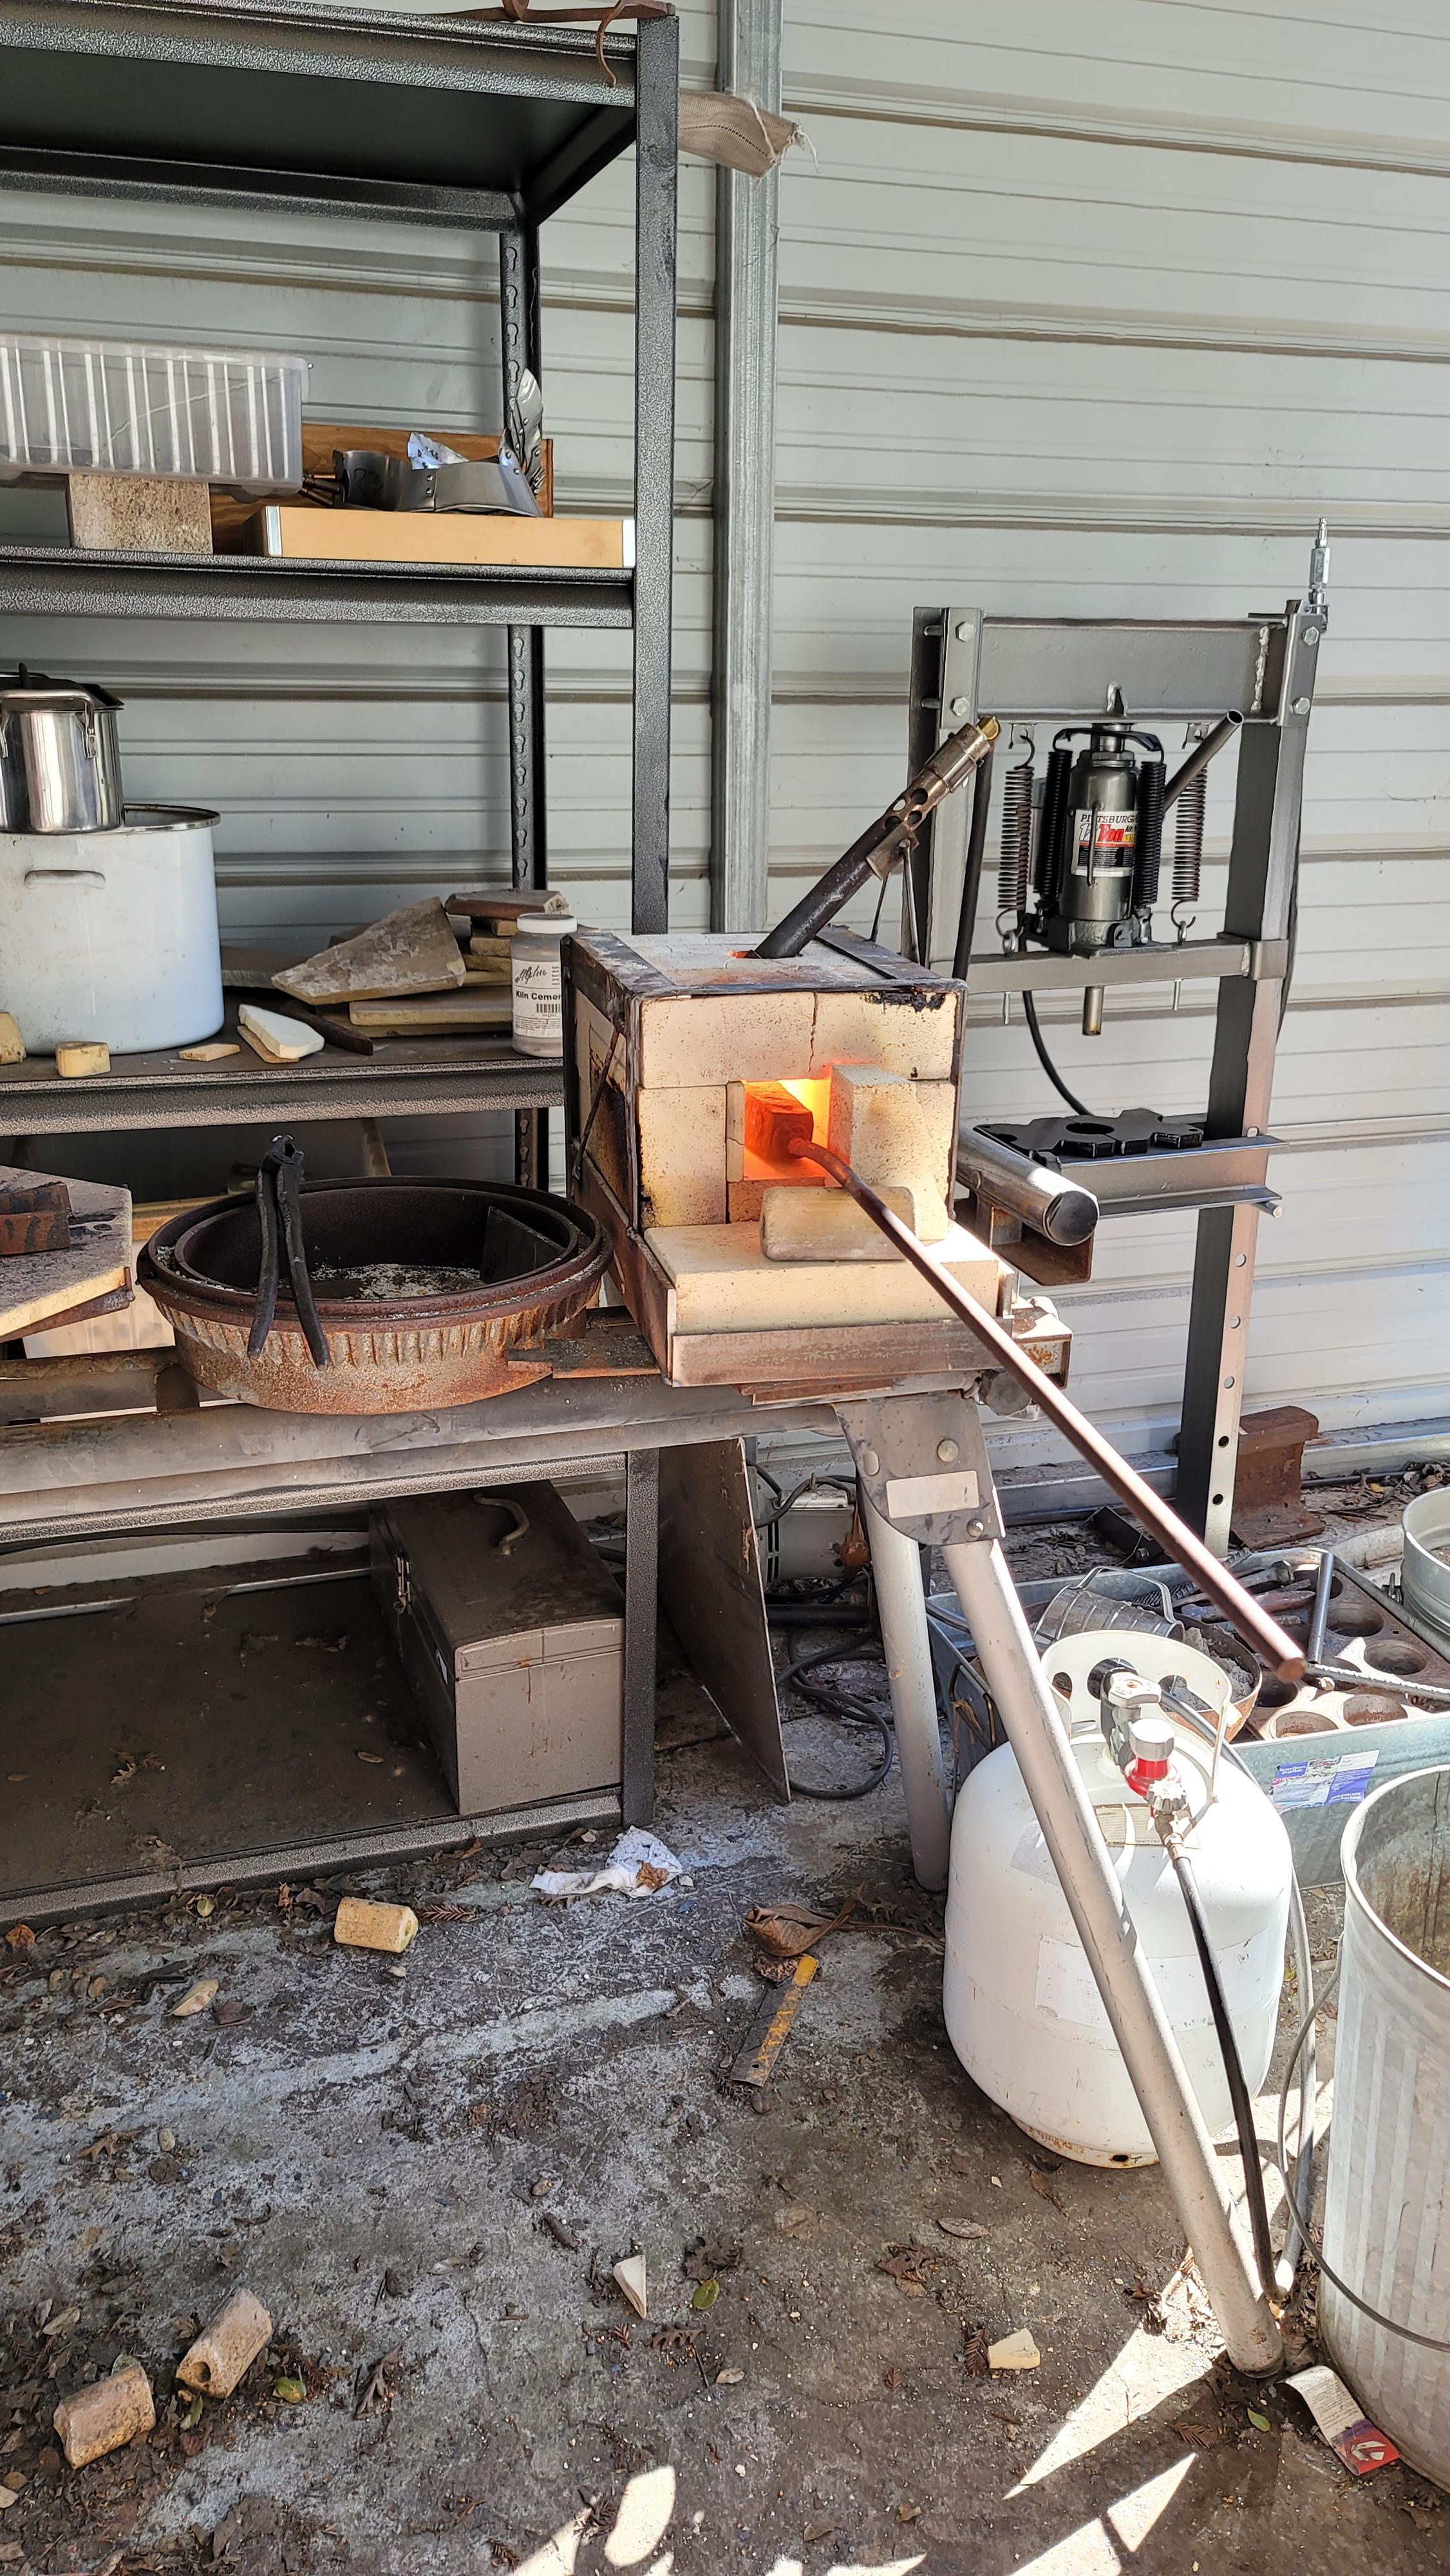
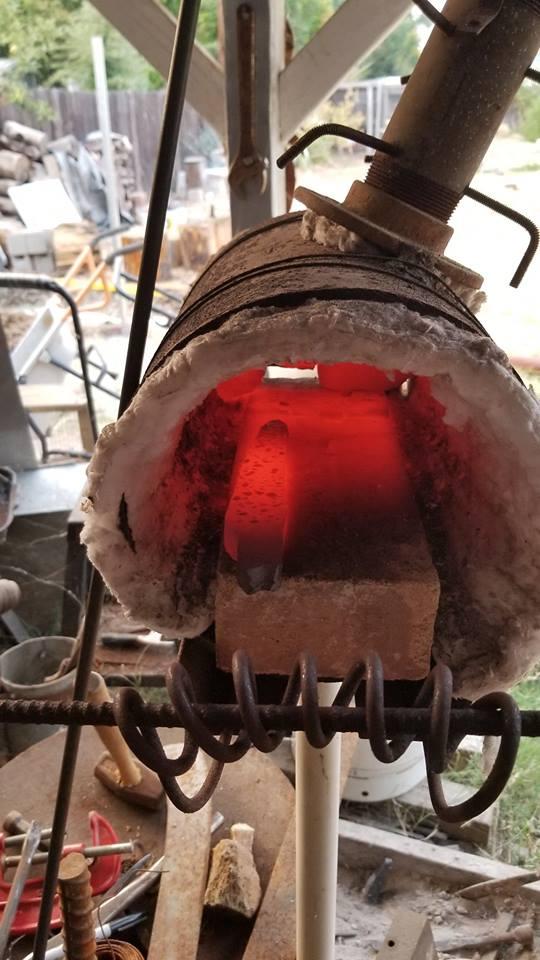
My forge has evolved (and moved) several times. Currently using a soft brick box in a welded frame
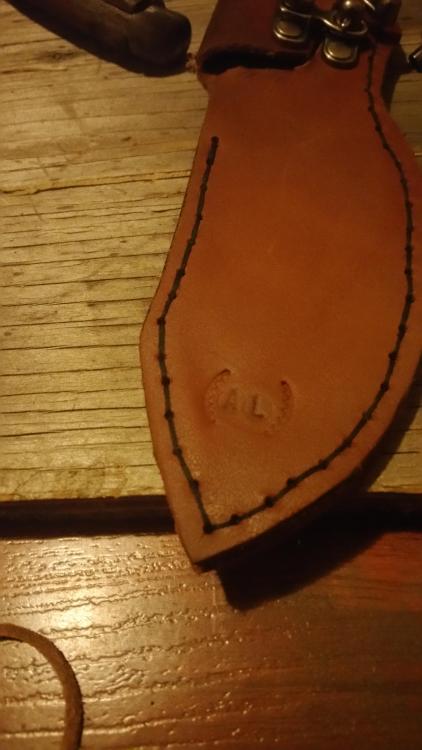
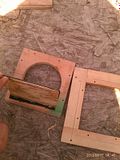
My scabbard work has also come a long way. Pro-tip, routers are your friend.
It's a lot of fun and the more I learn the more I need to learn. Thanks for checking it out!


-
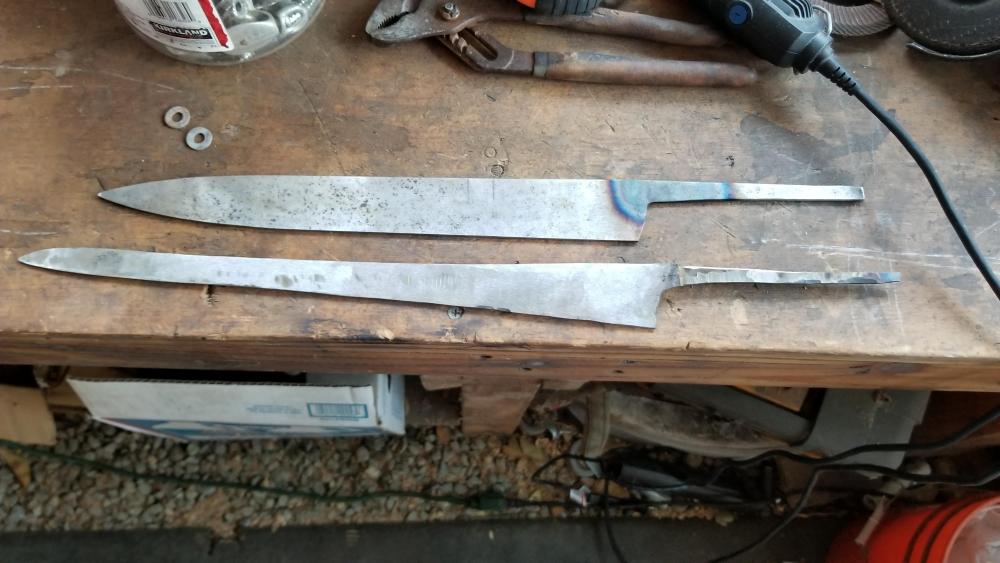
Thanks for the input. Yesterday I set it aside and started my first stock removal from a sawblade, but I will revisit the hand forged one and see how it holds up.

-
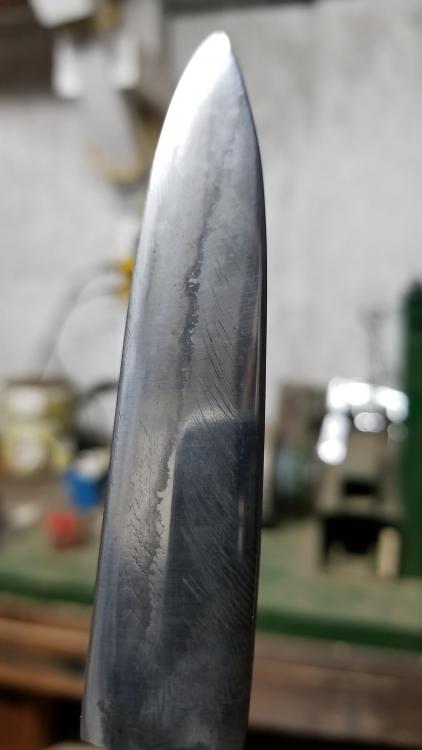
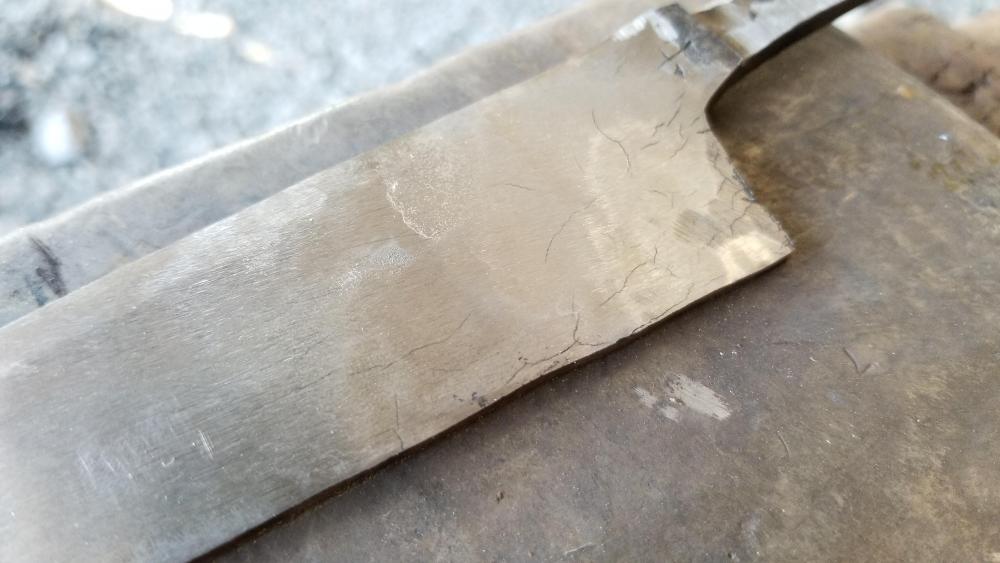
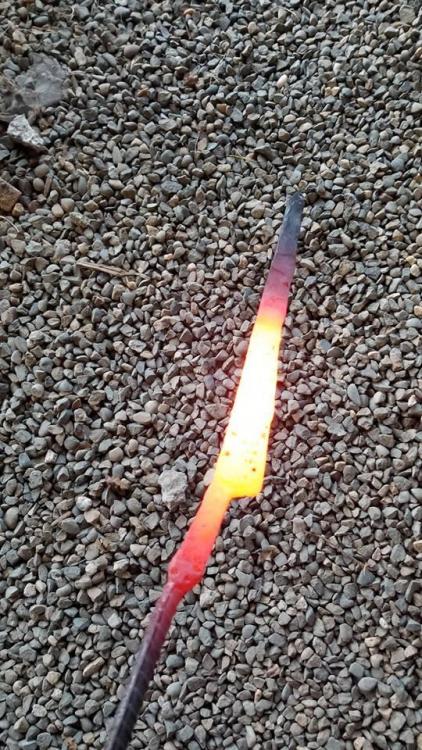
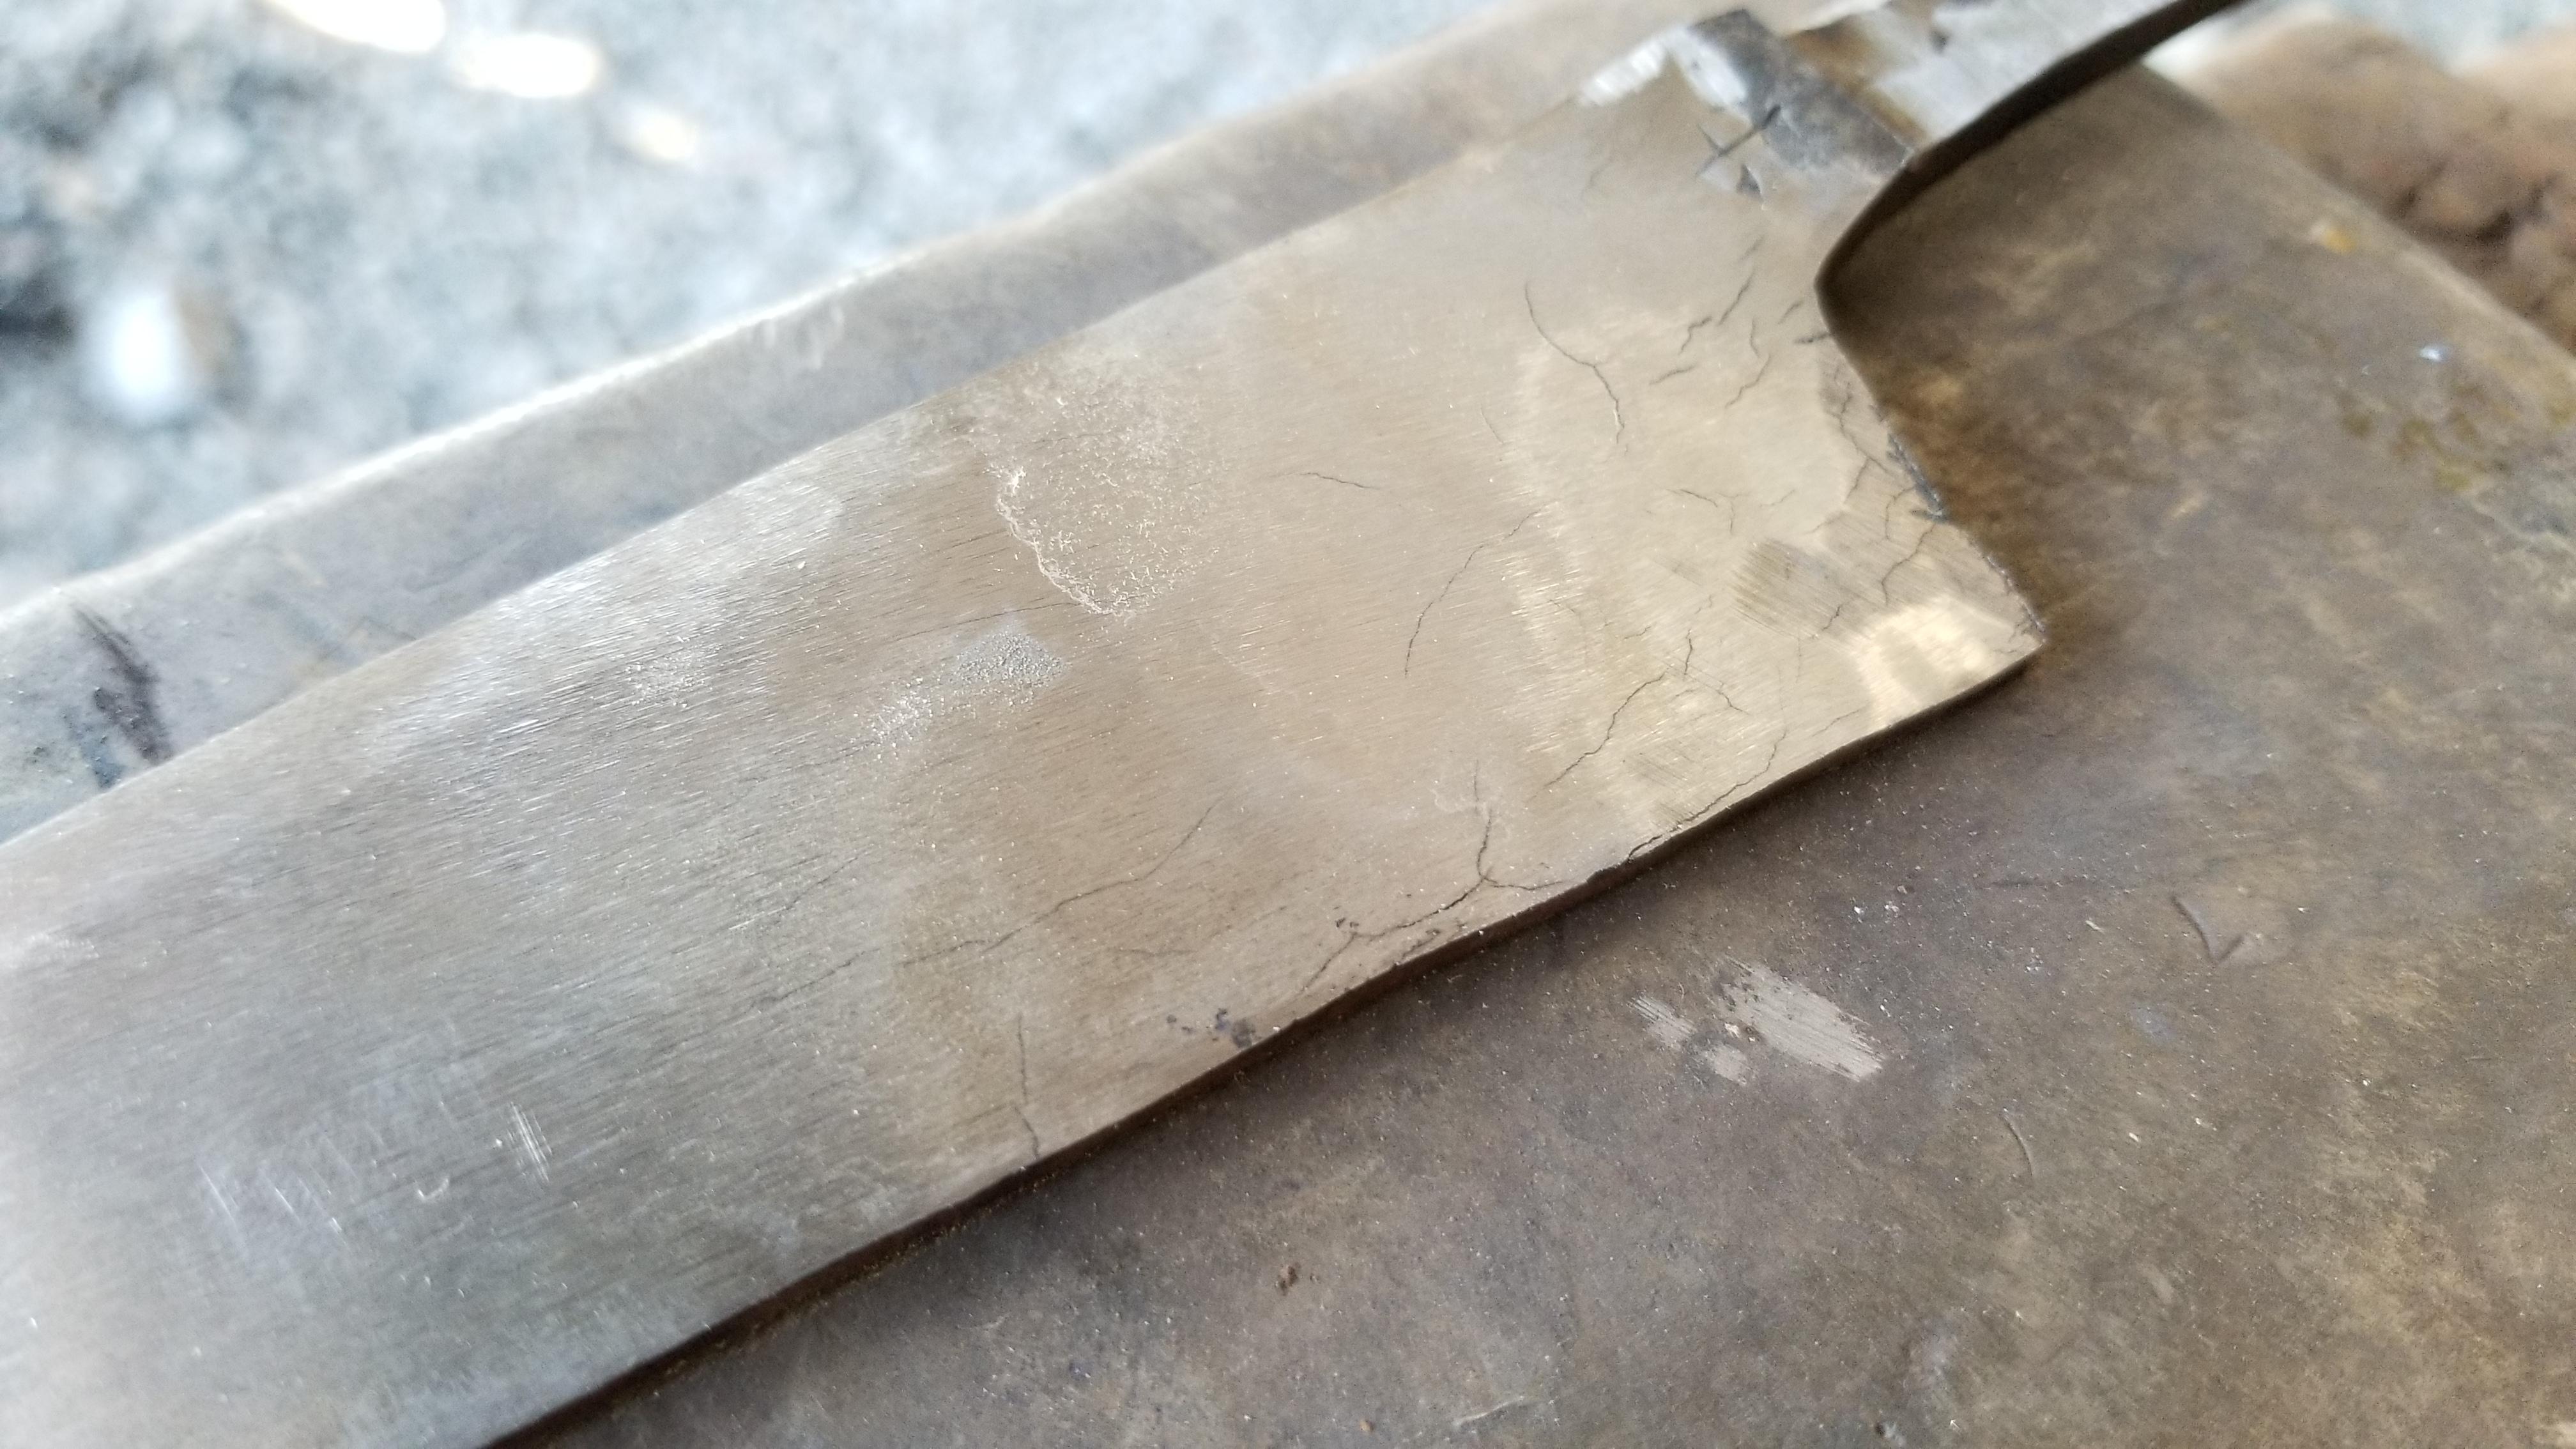
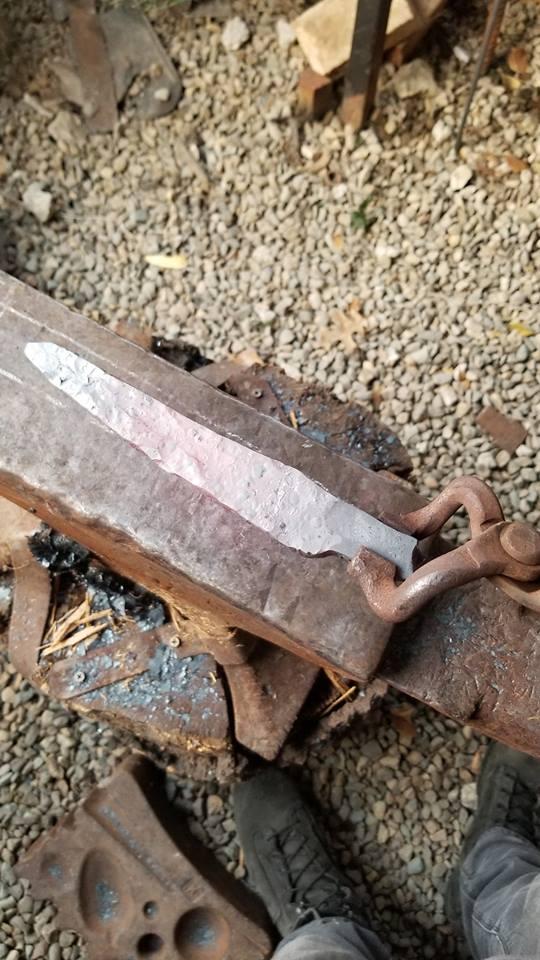
Well I started removing scale and realized that this is almost certainly not 1045. It cracks like air hardening steel. so great learning experience at the expense of time and what may have been a great knife. I have a cold chisel I'll try and if that doesn't work I'll probably order a billet of the 1095 you suggest.
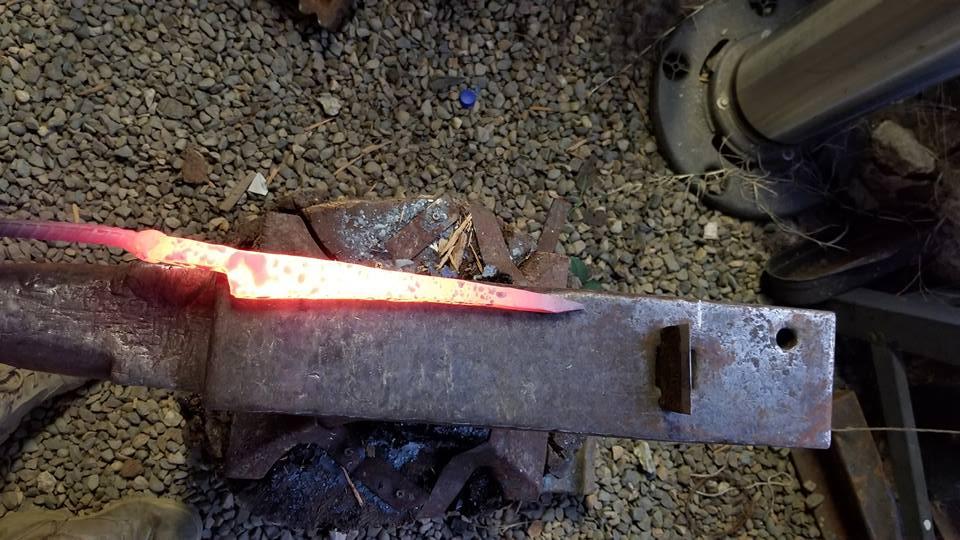
I COULD keep working it and see if it breaks during use, or I could make it ornamental, or I can set it aside as a lesson learned.

-
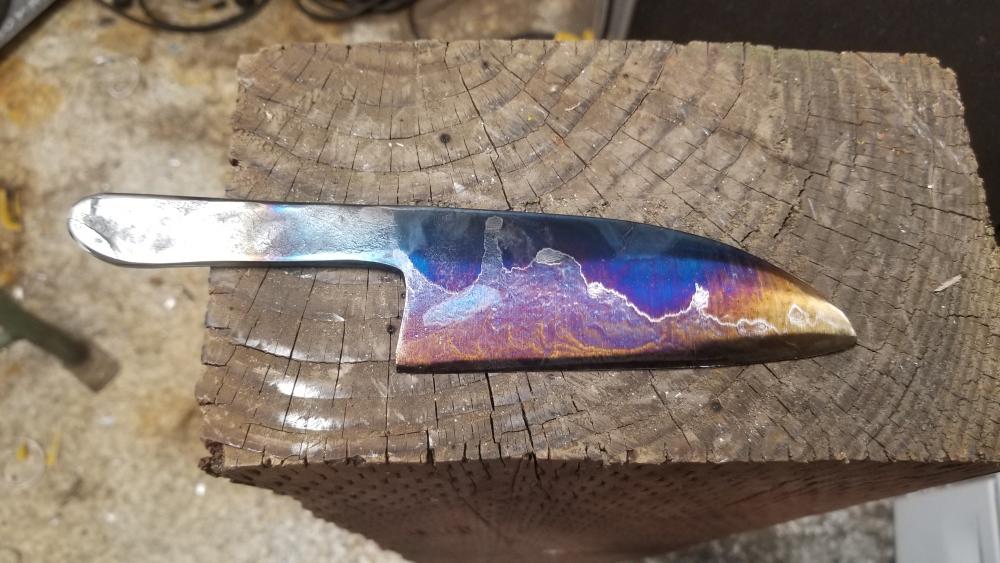
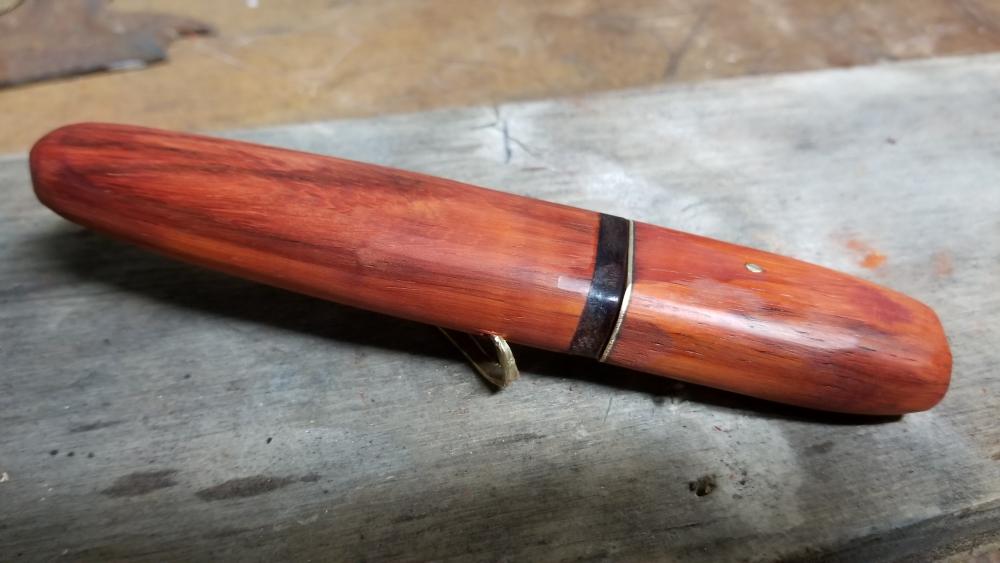
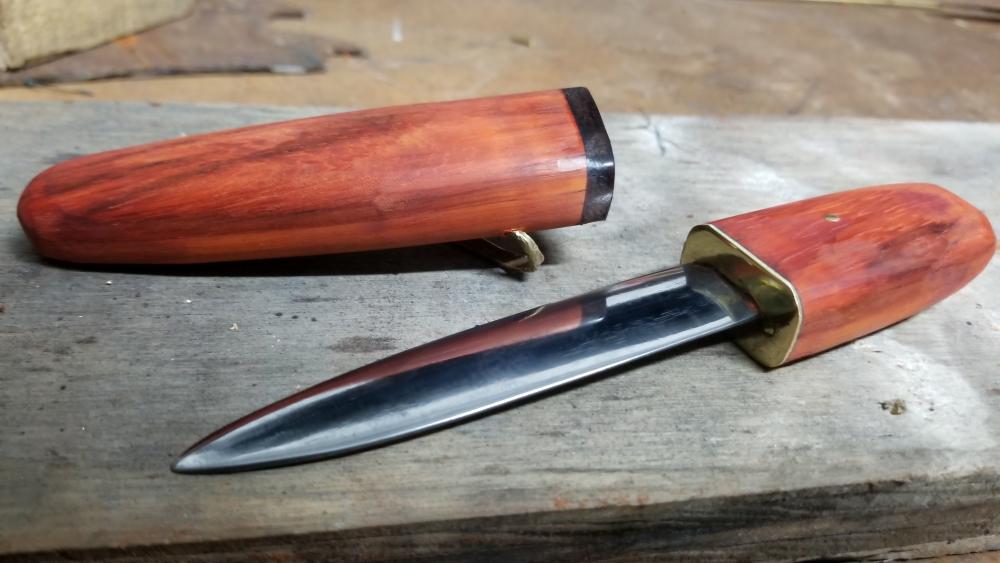
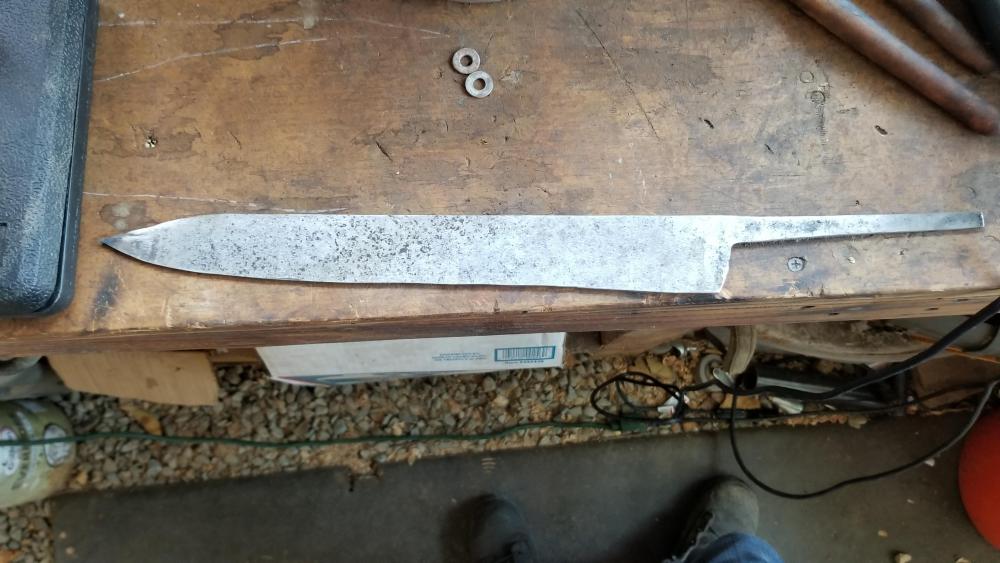
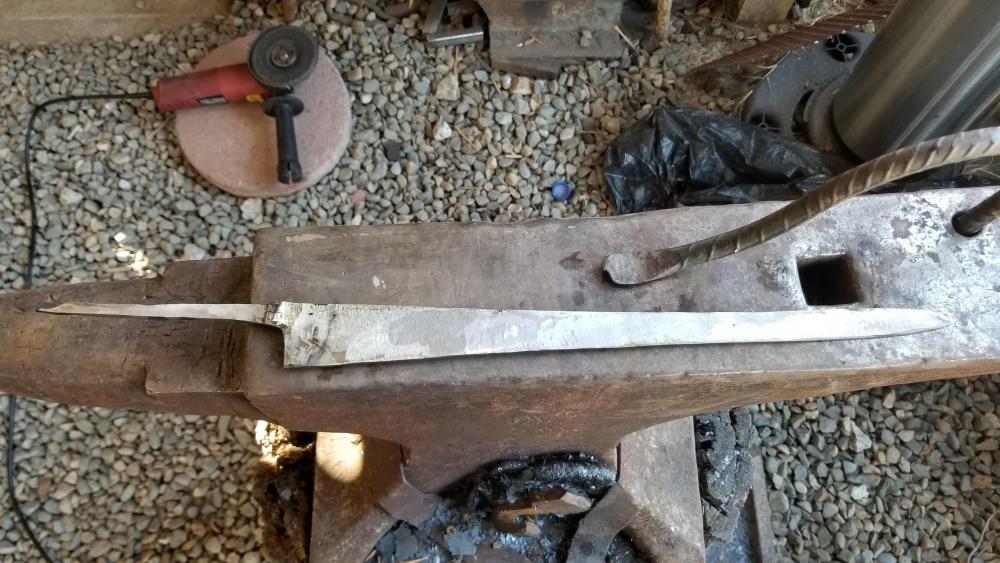
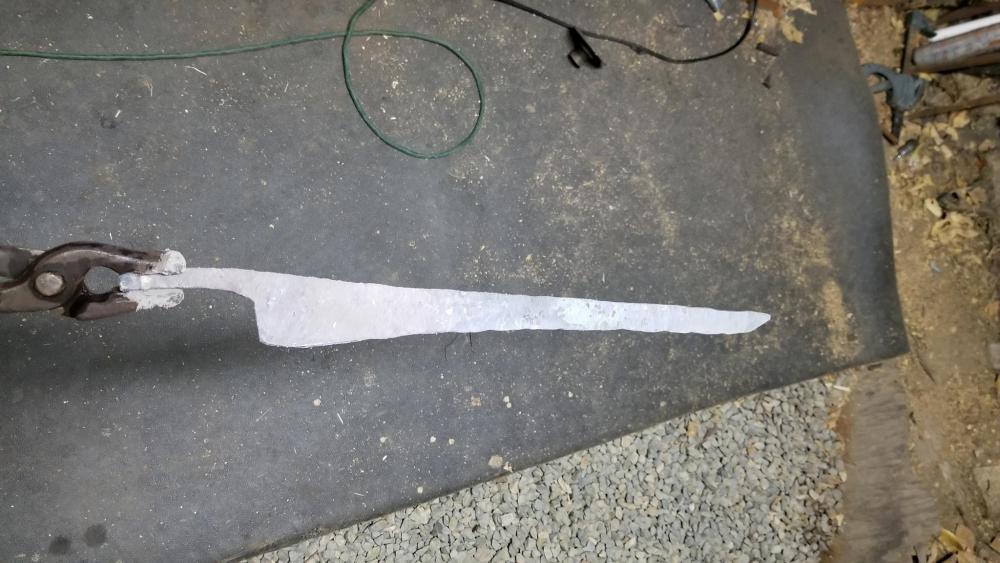
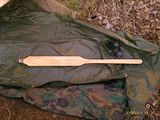
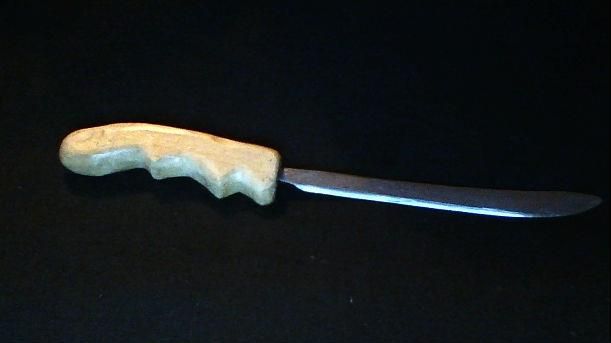
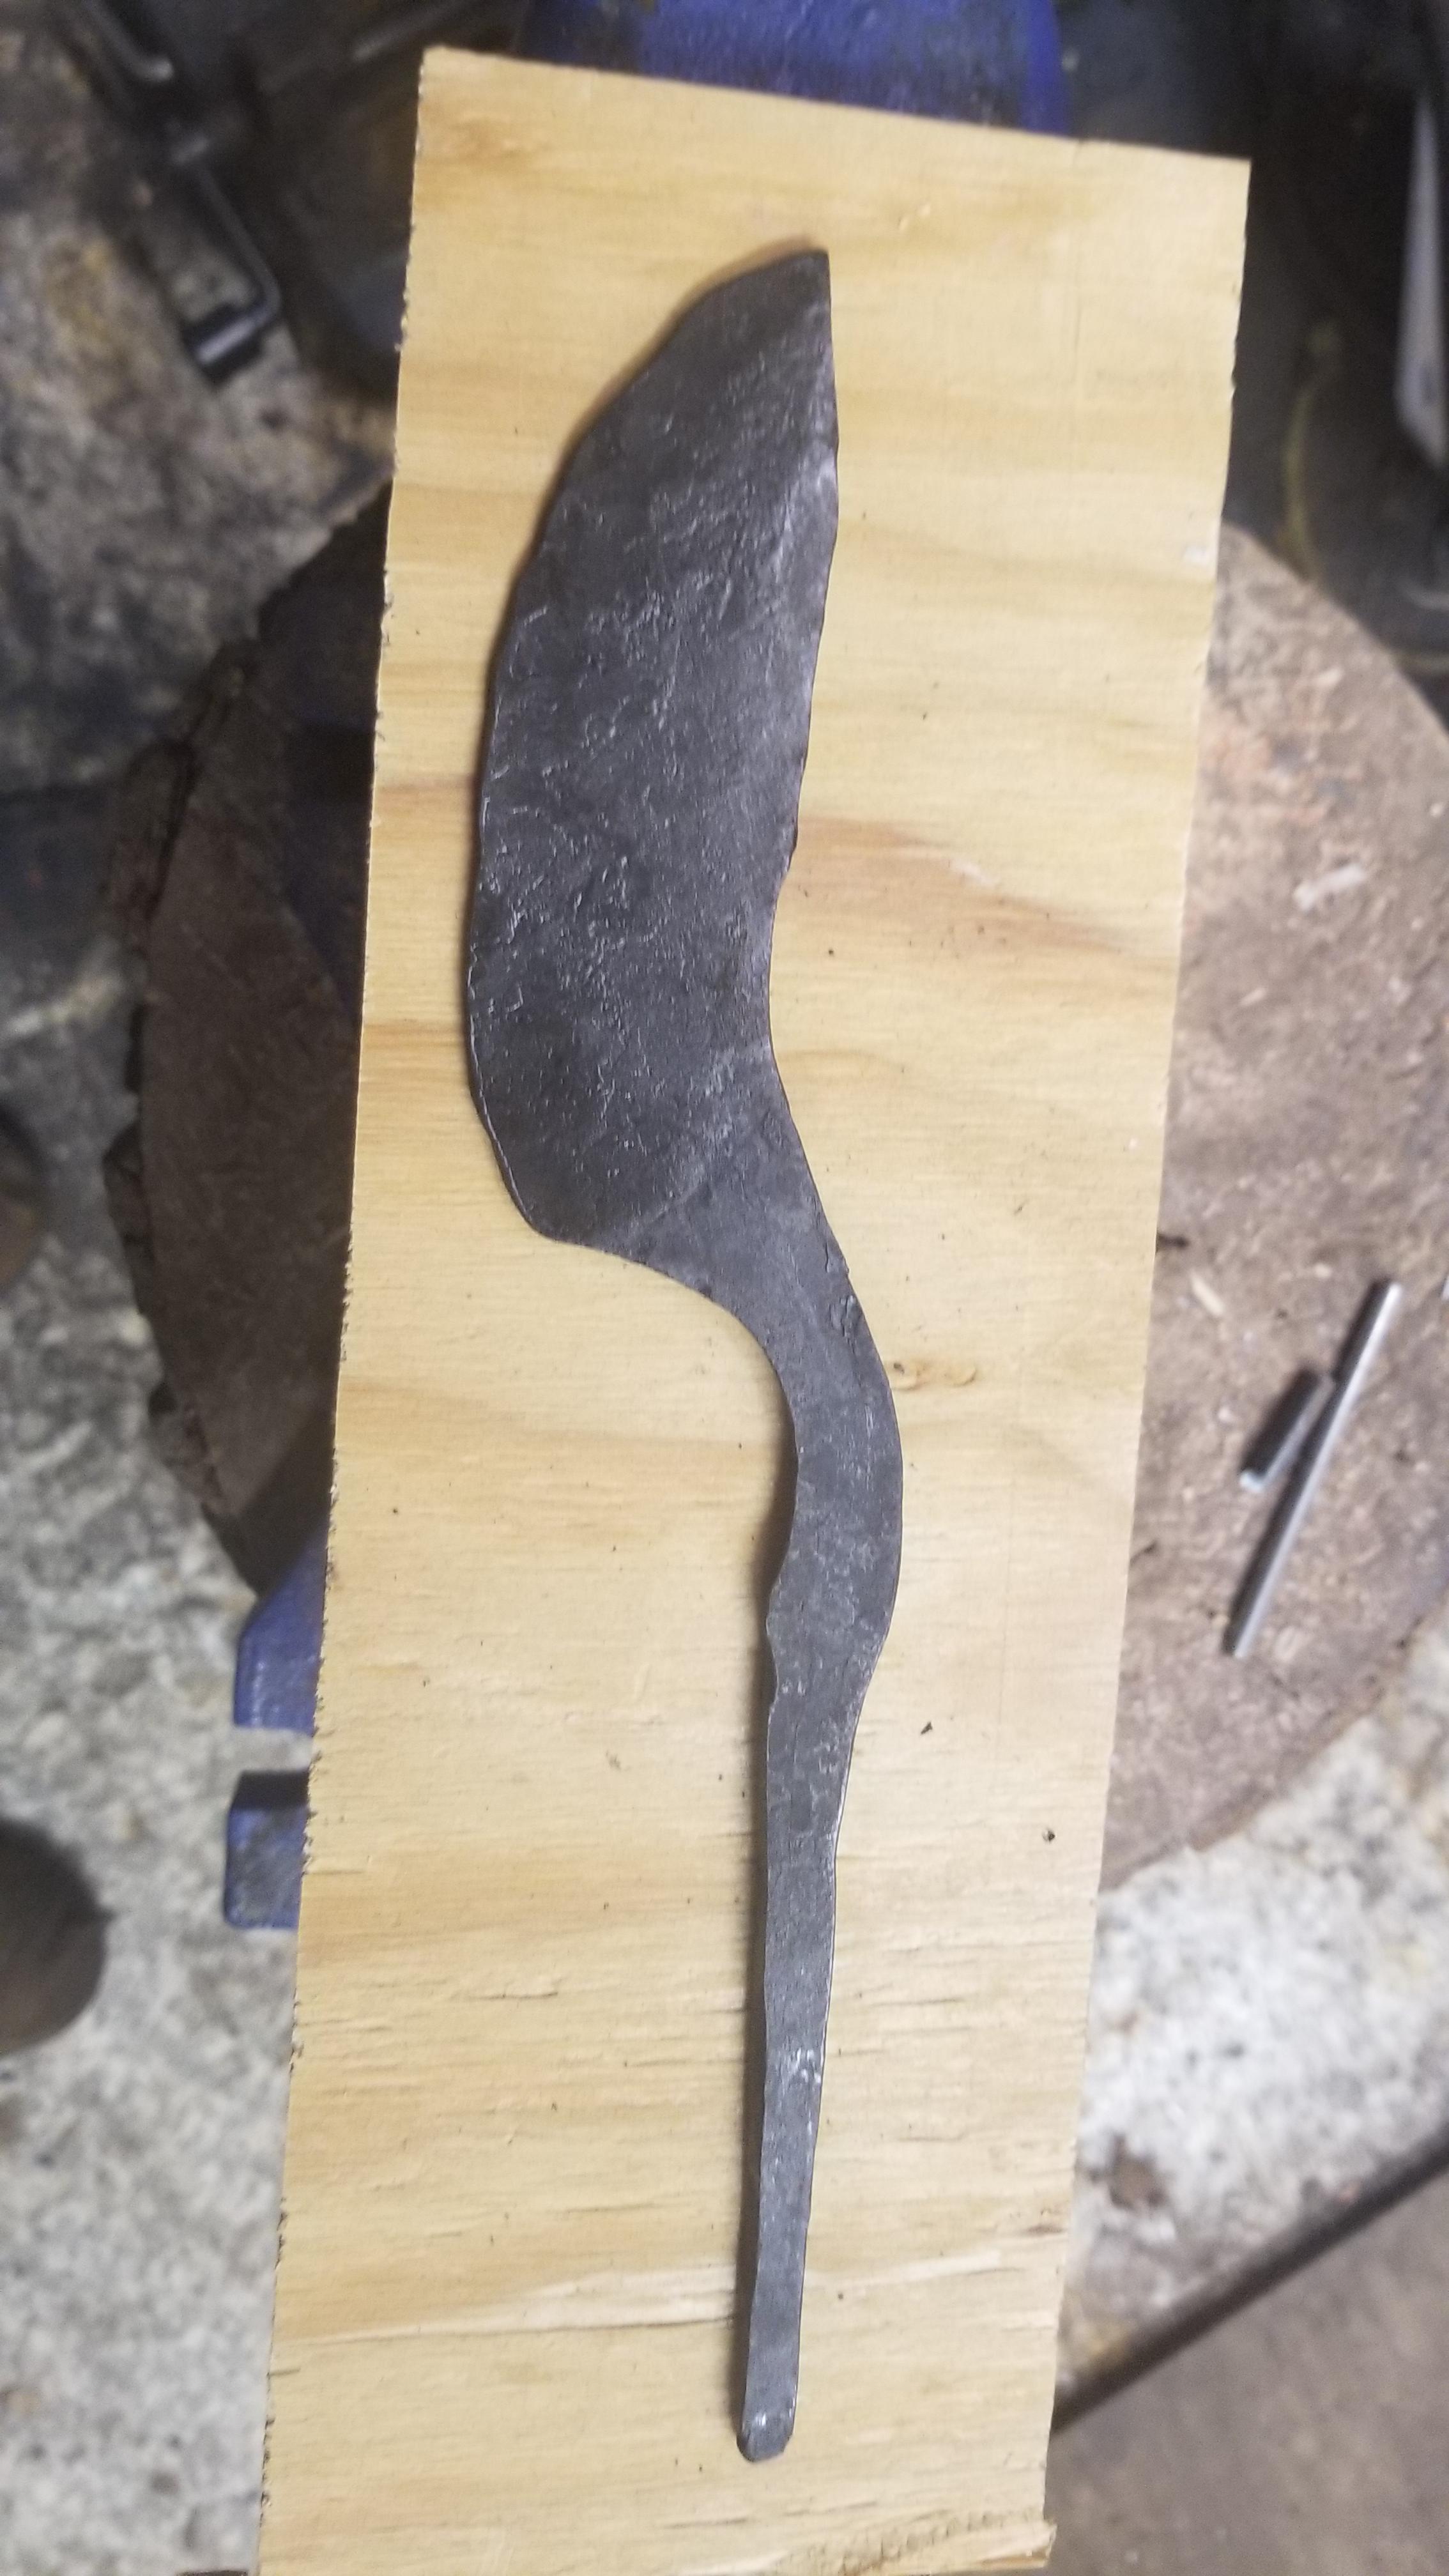
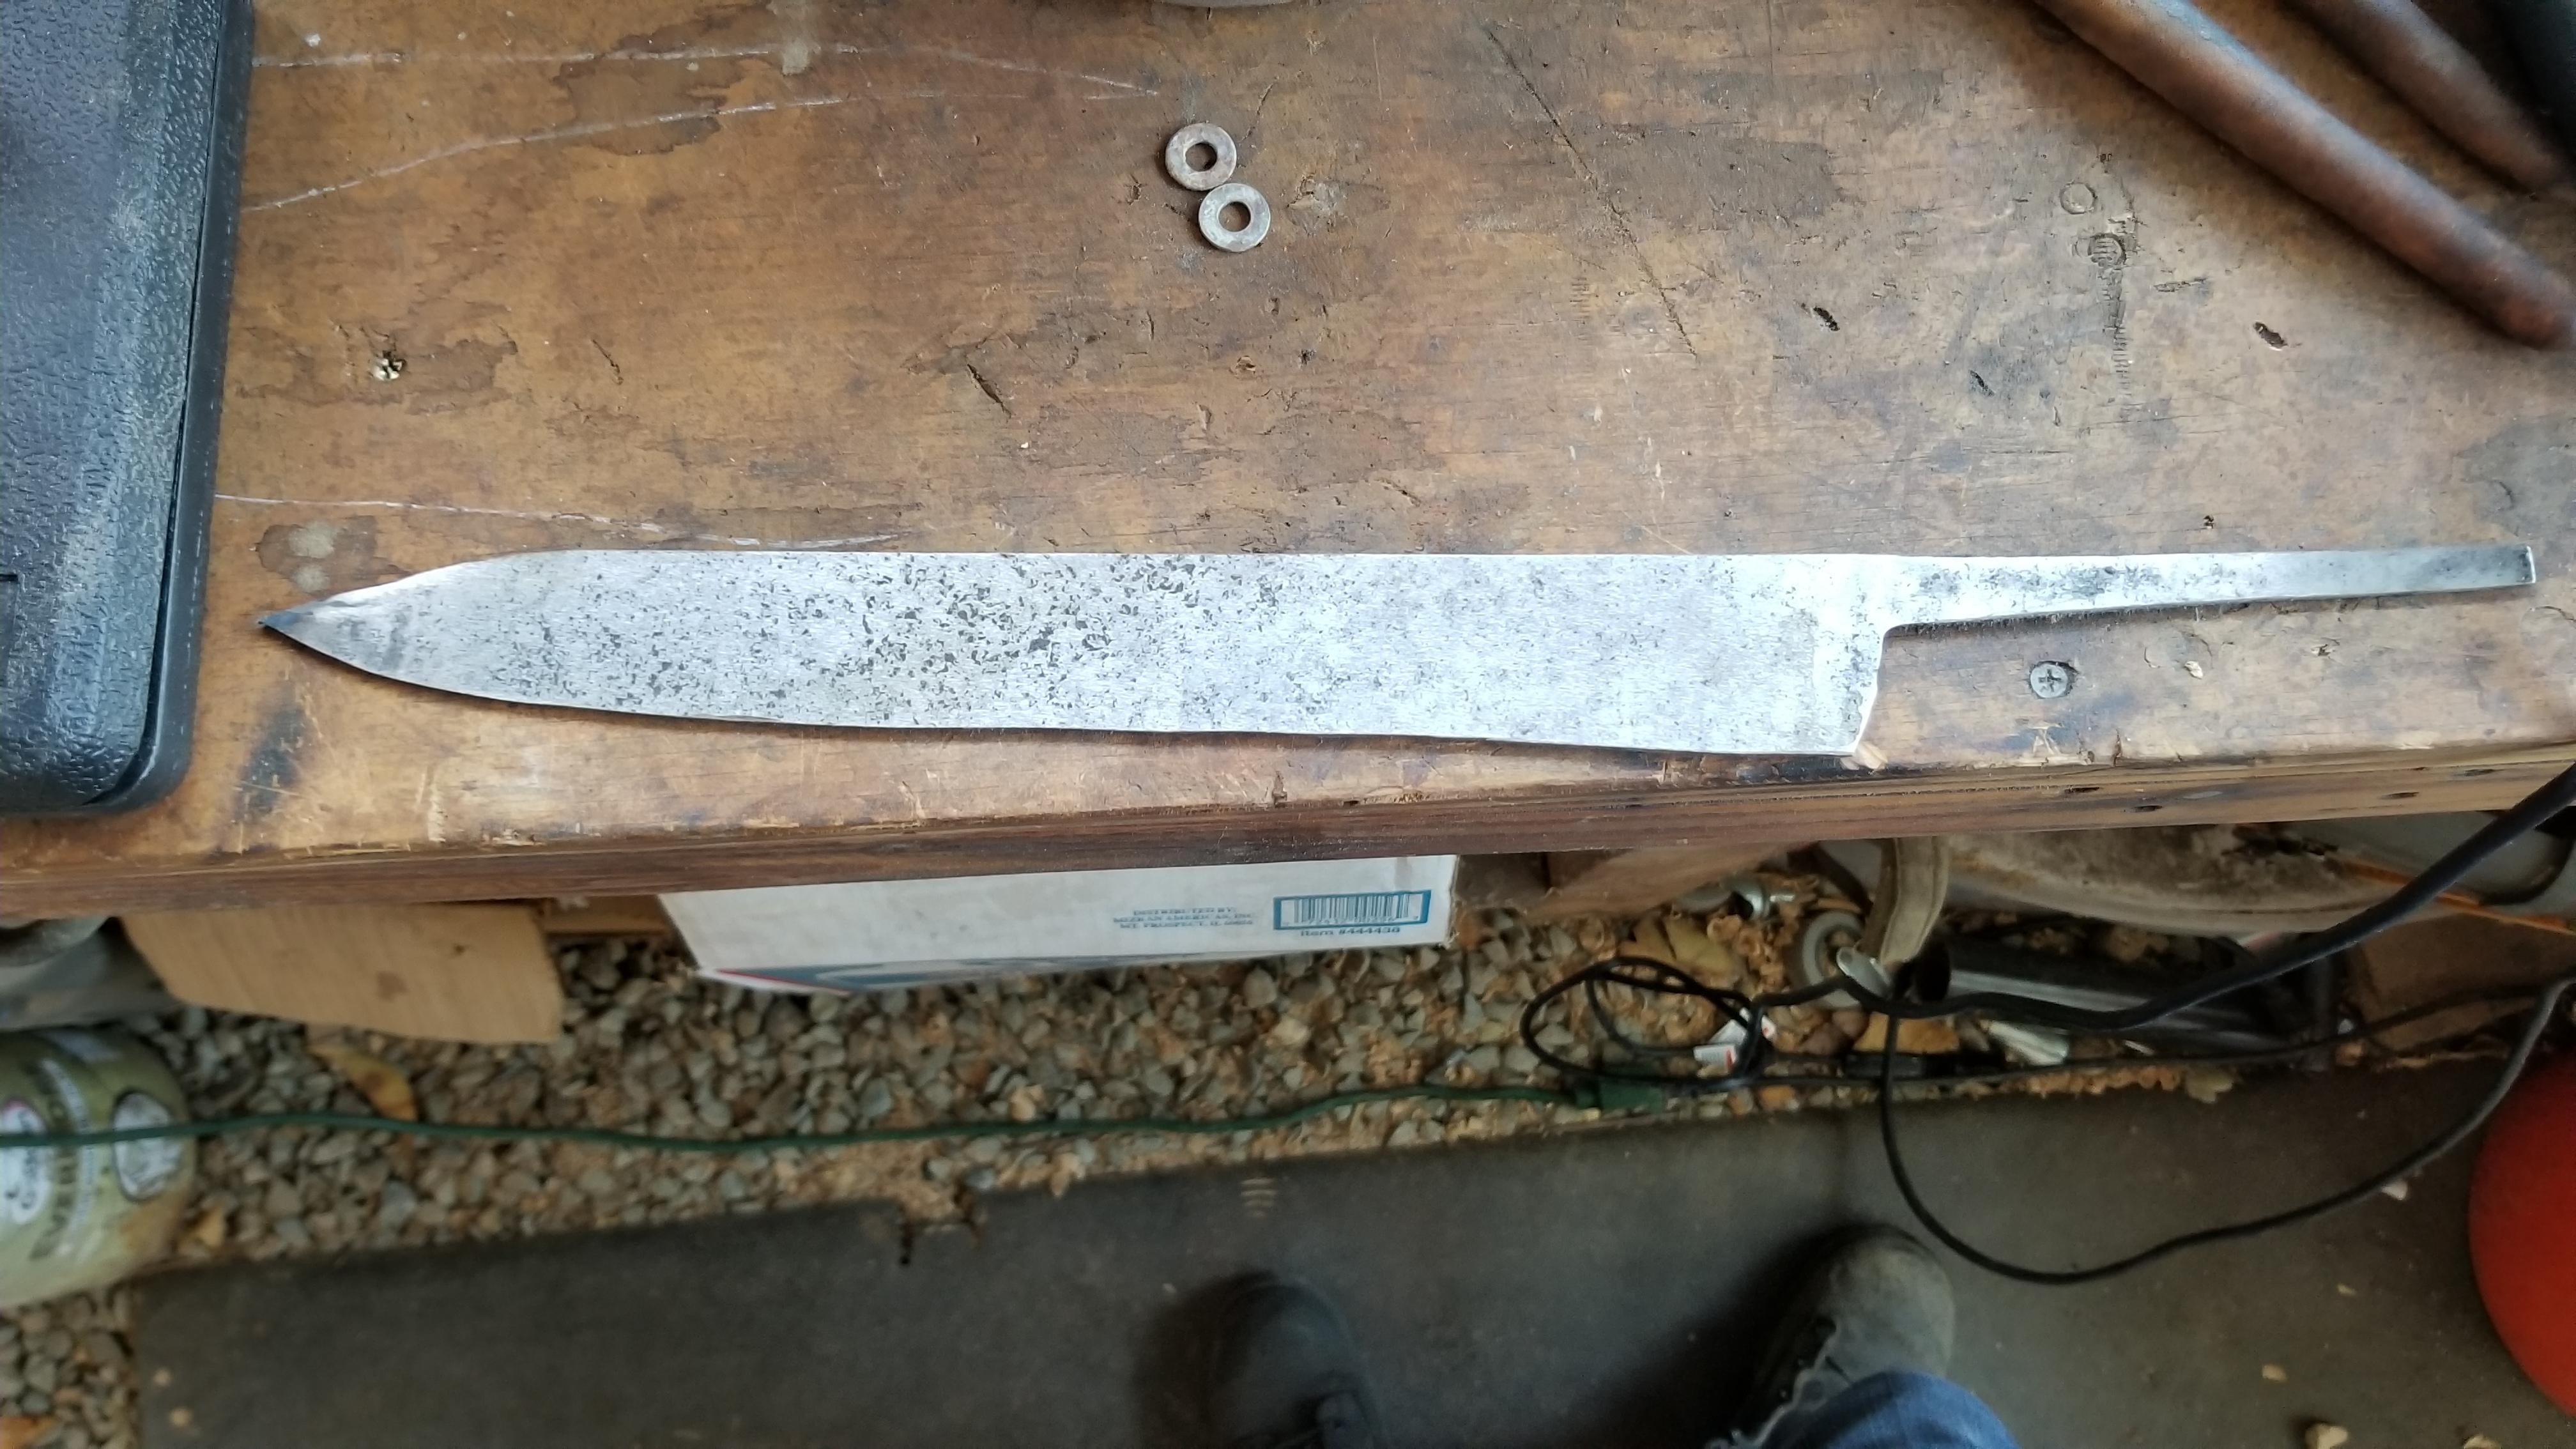
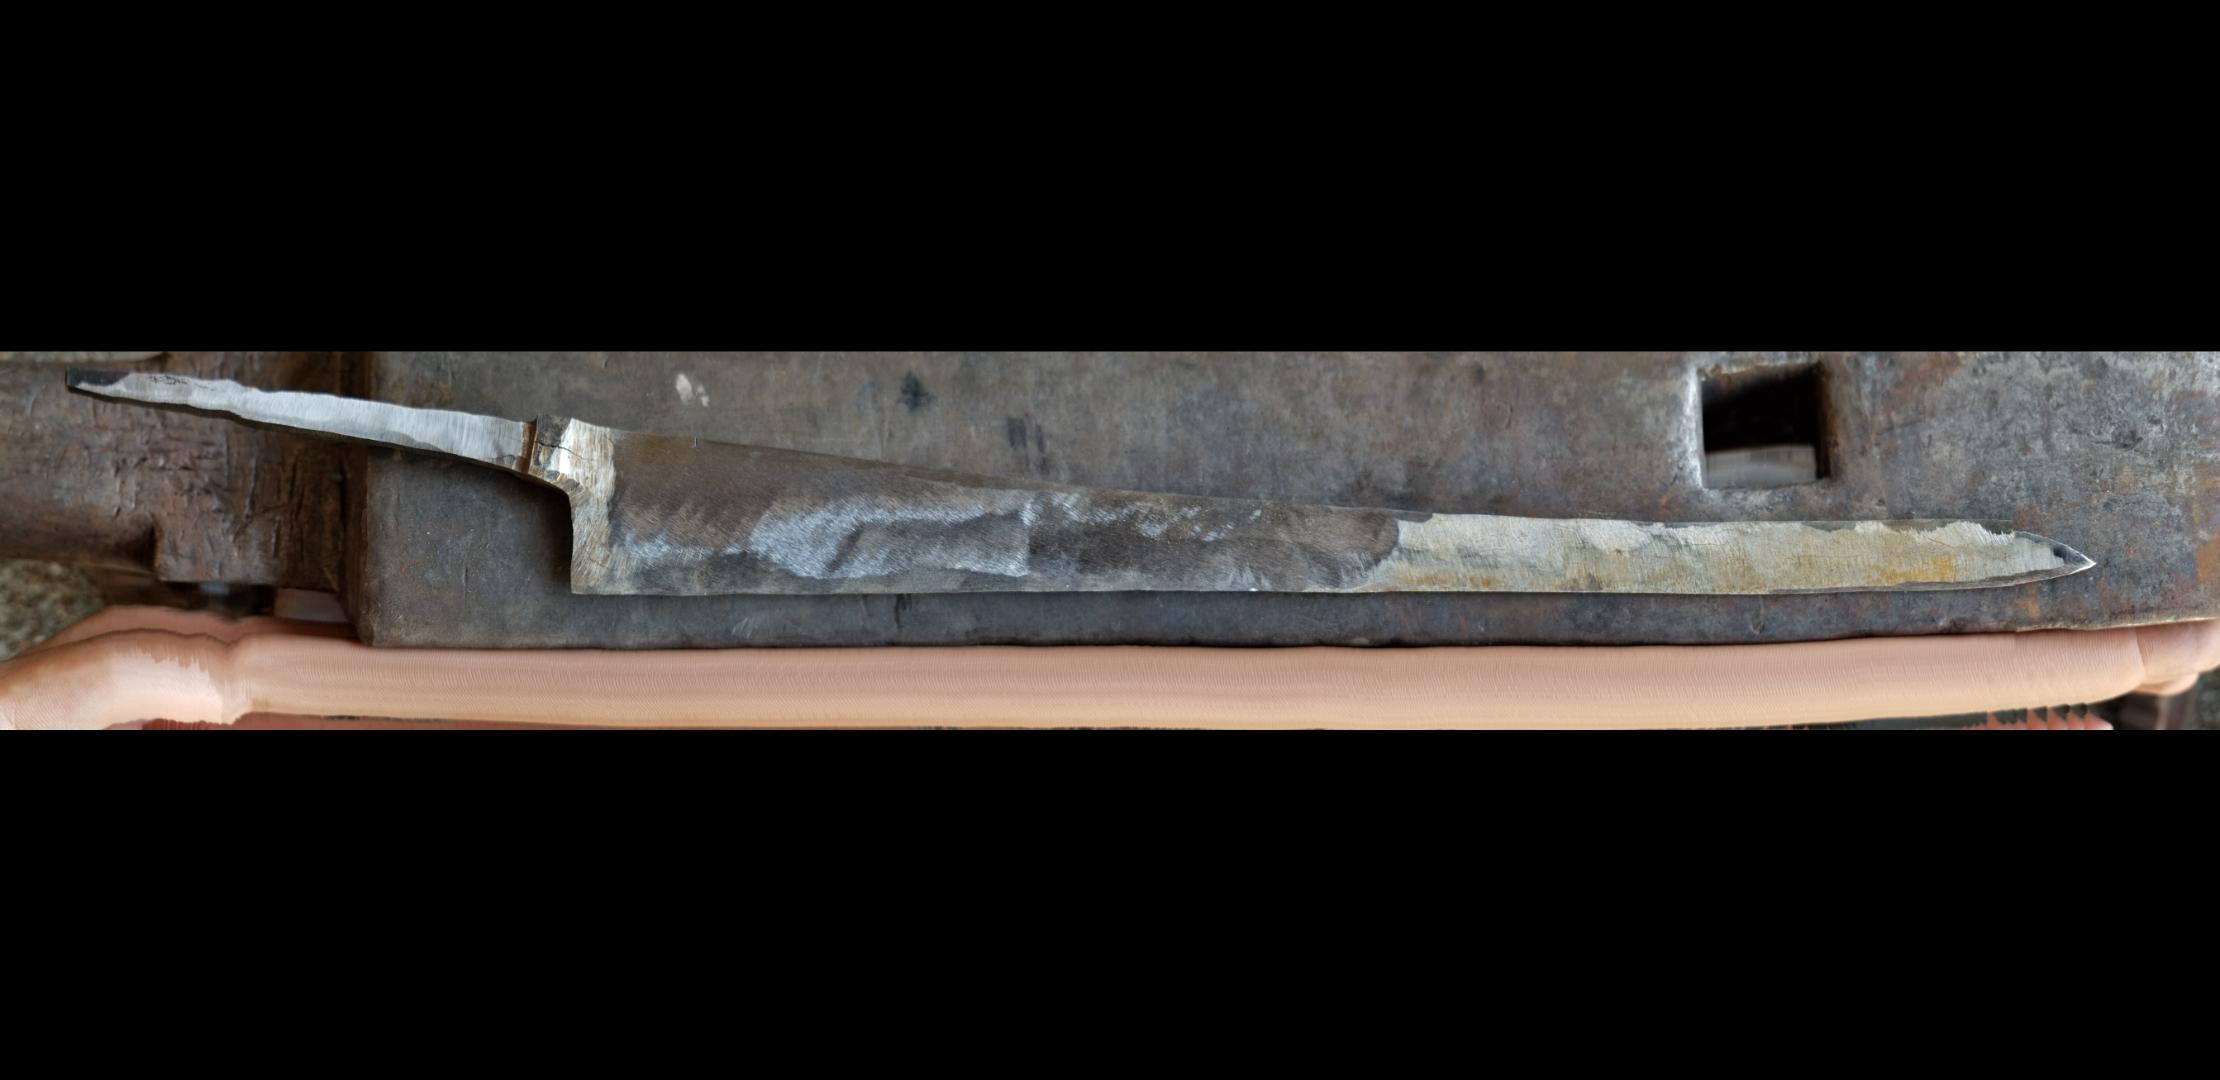
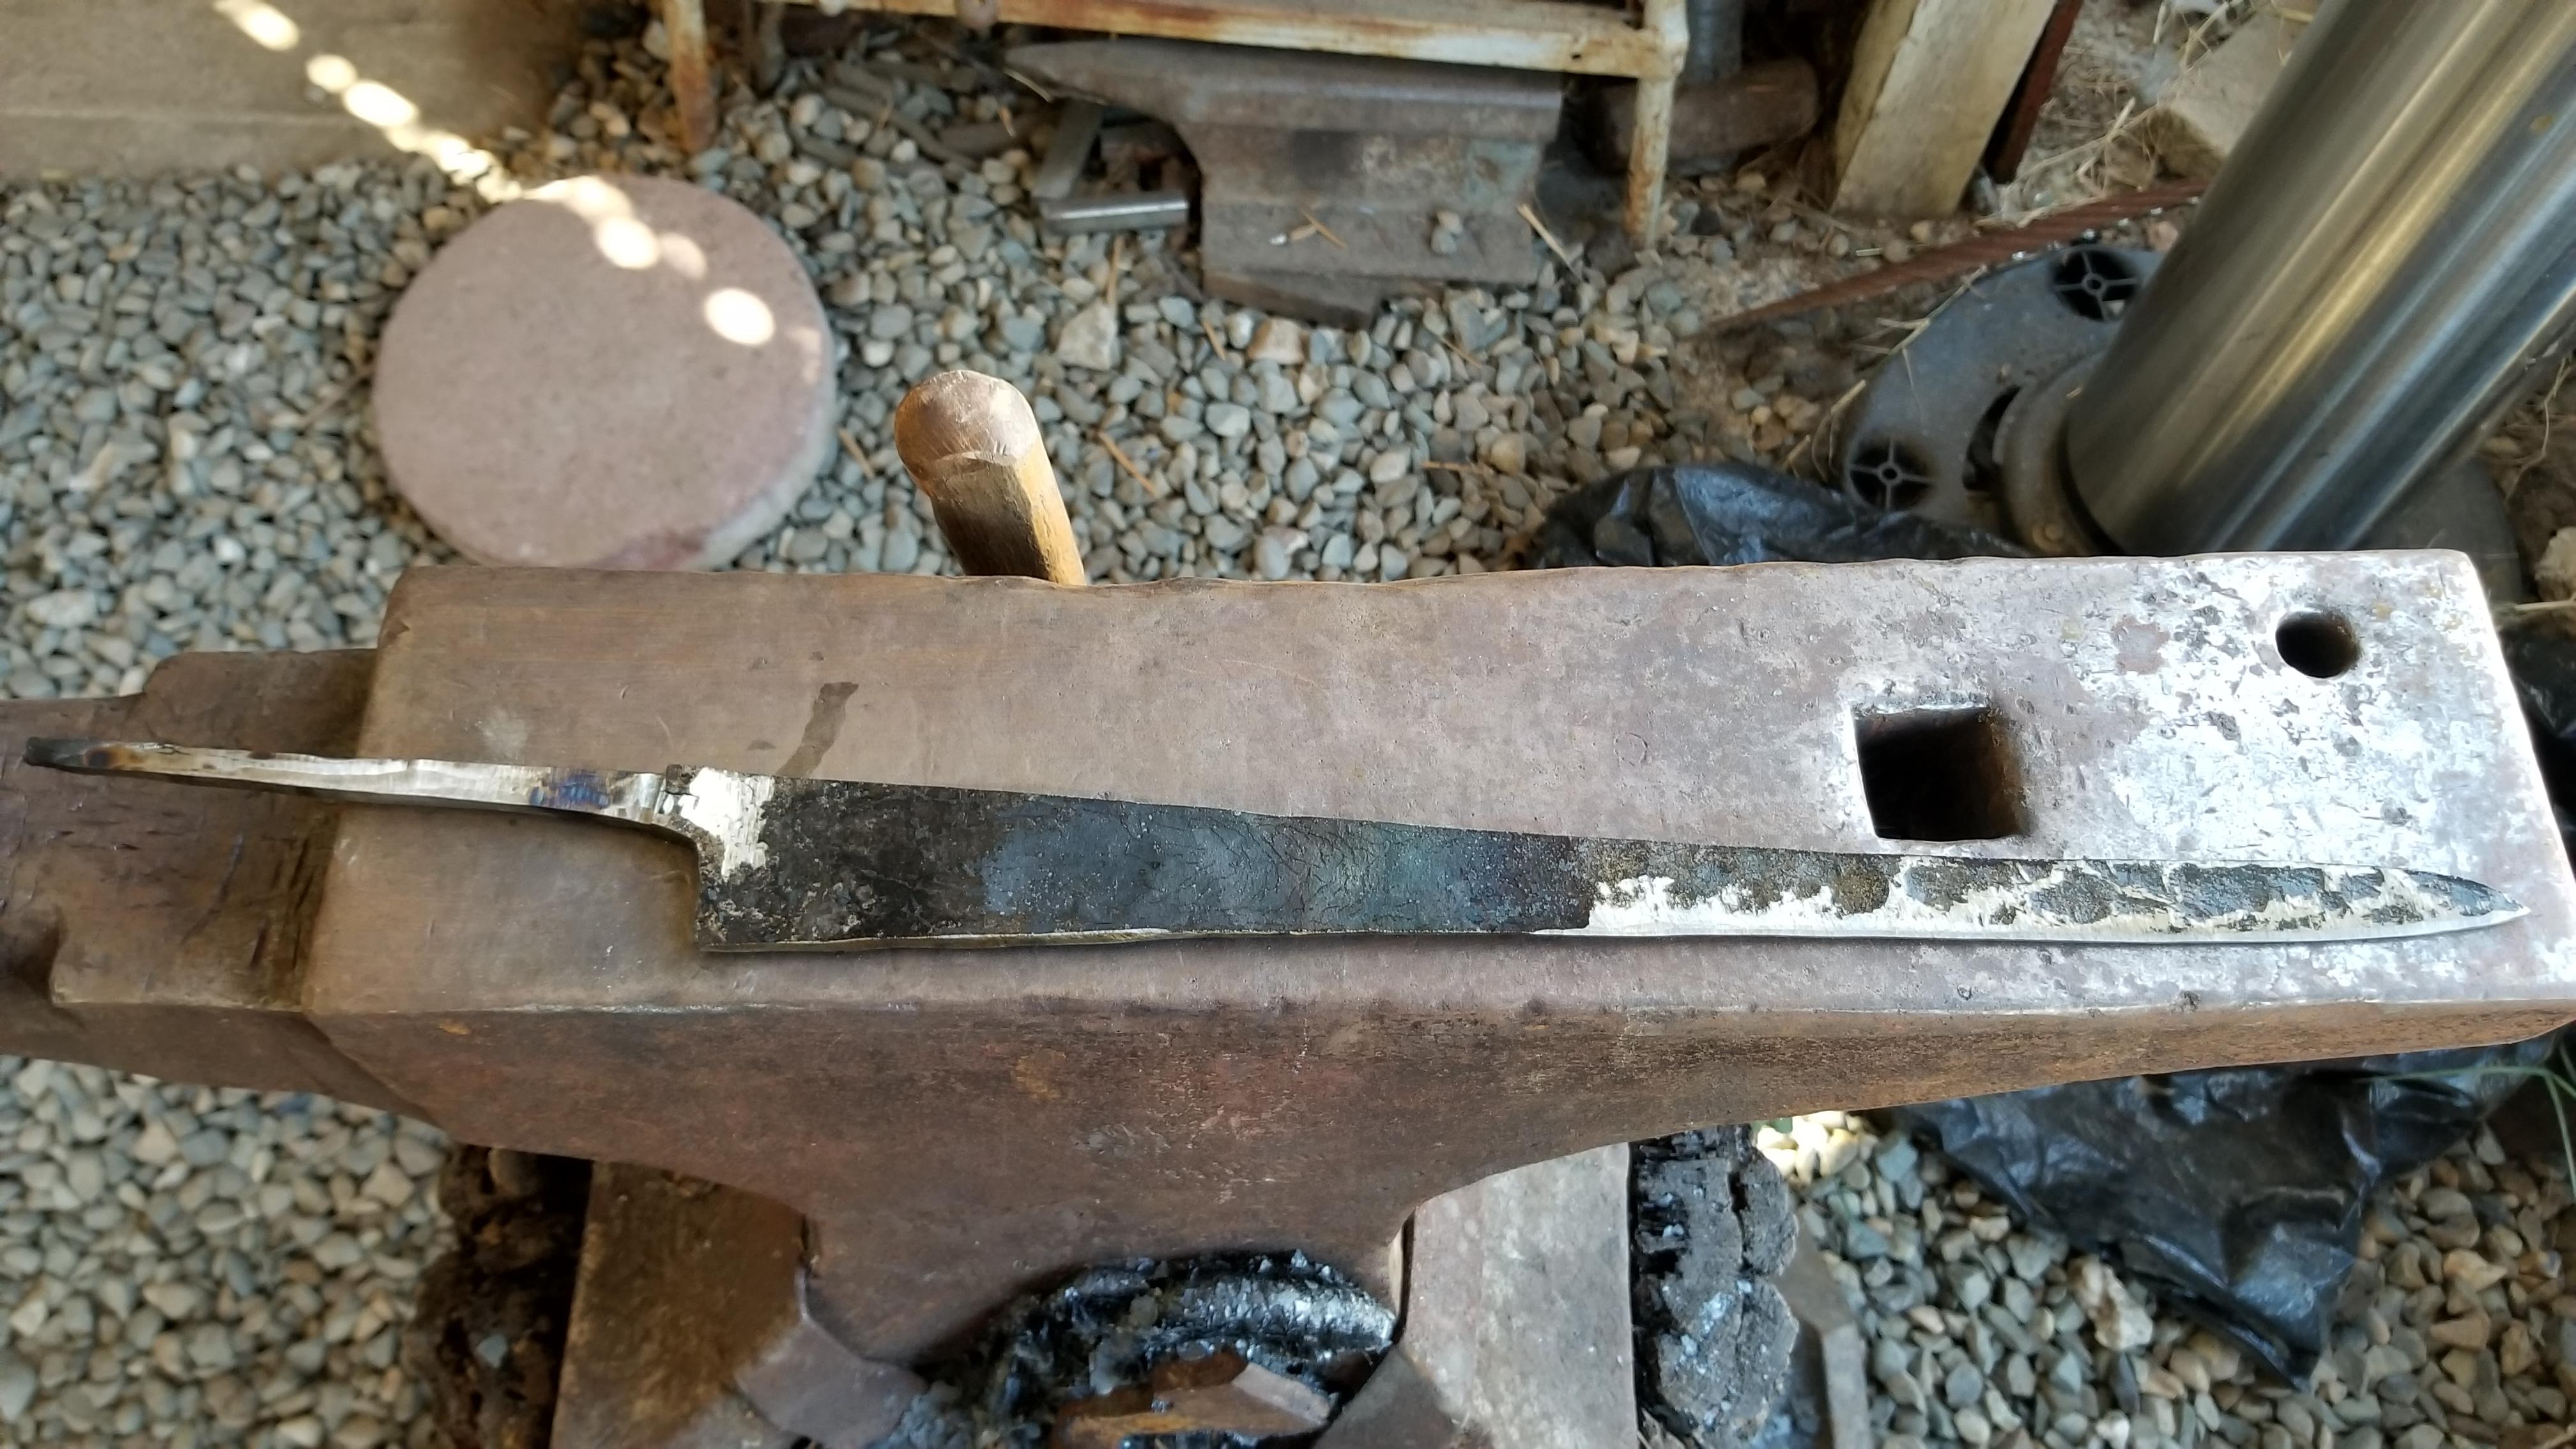
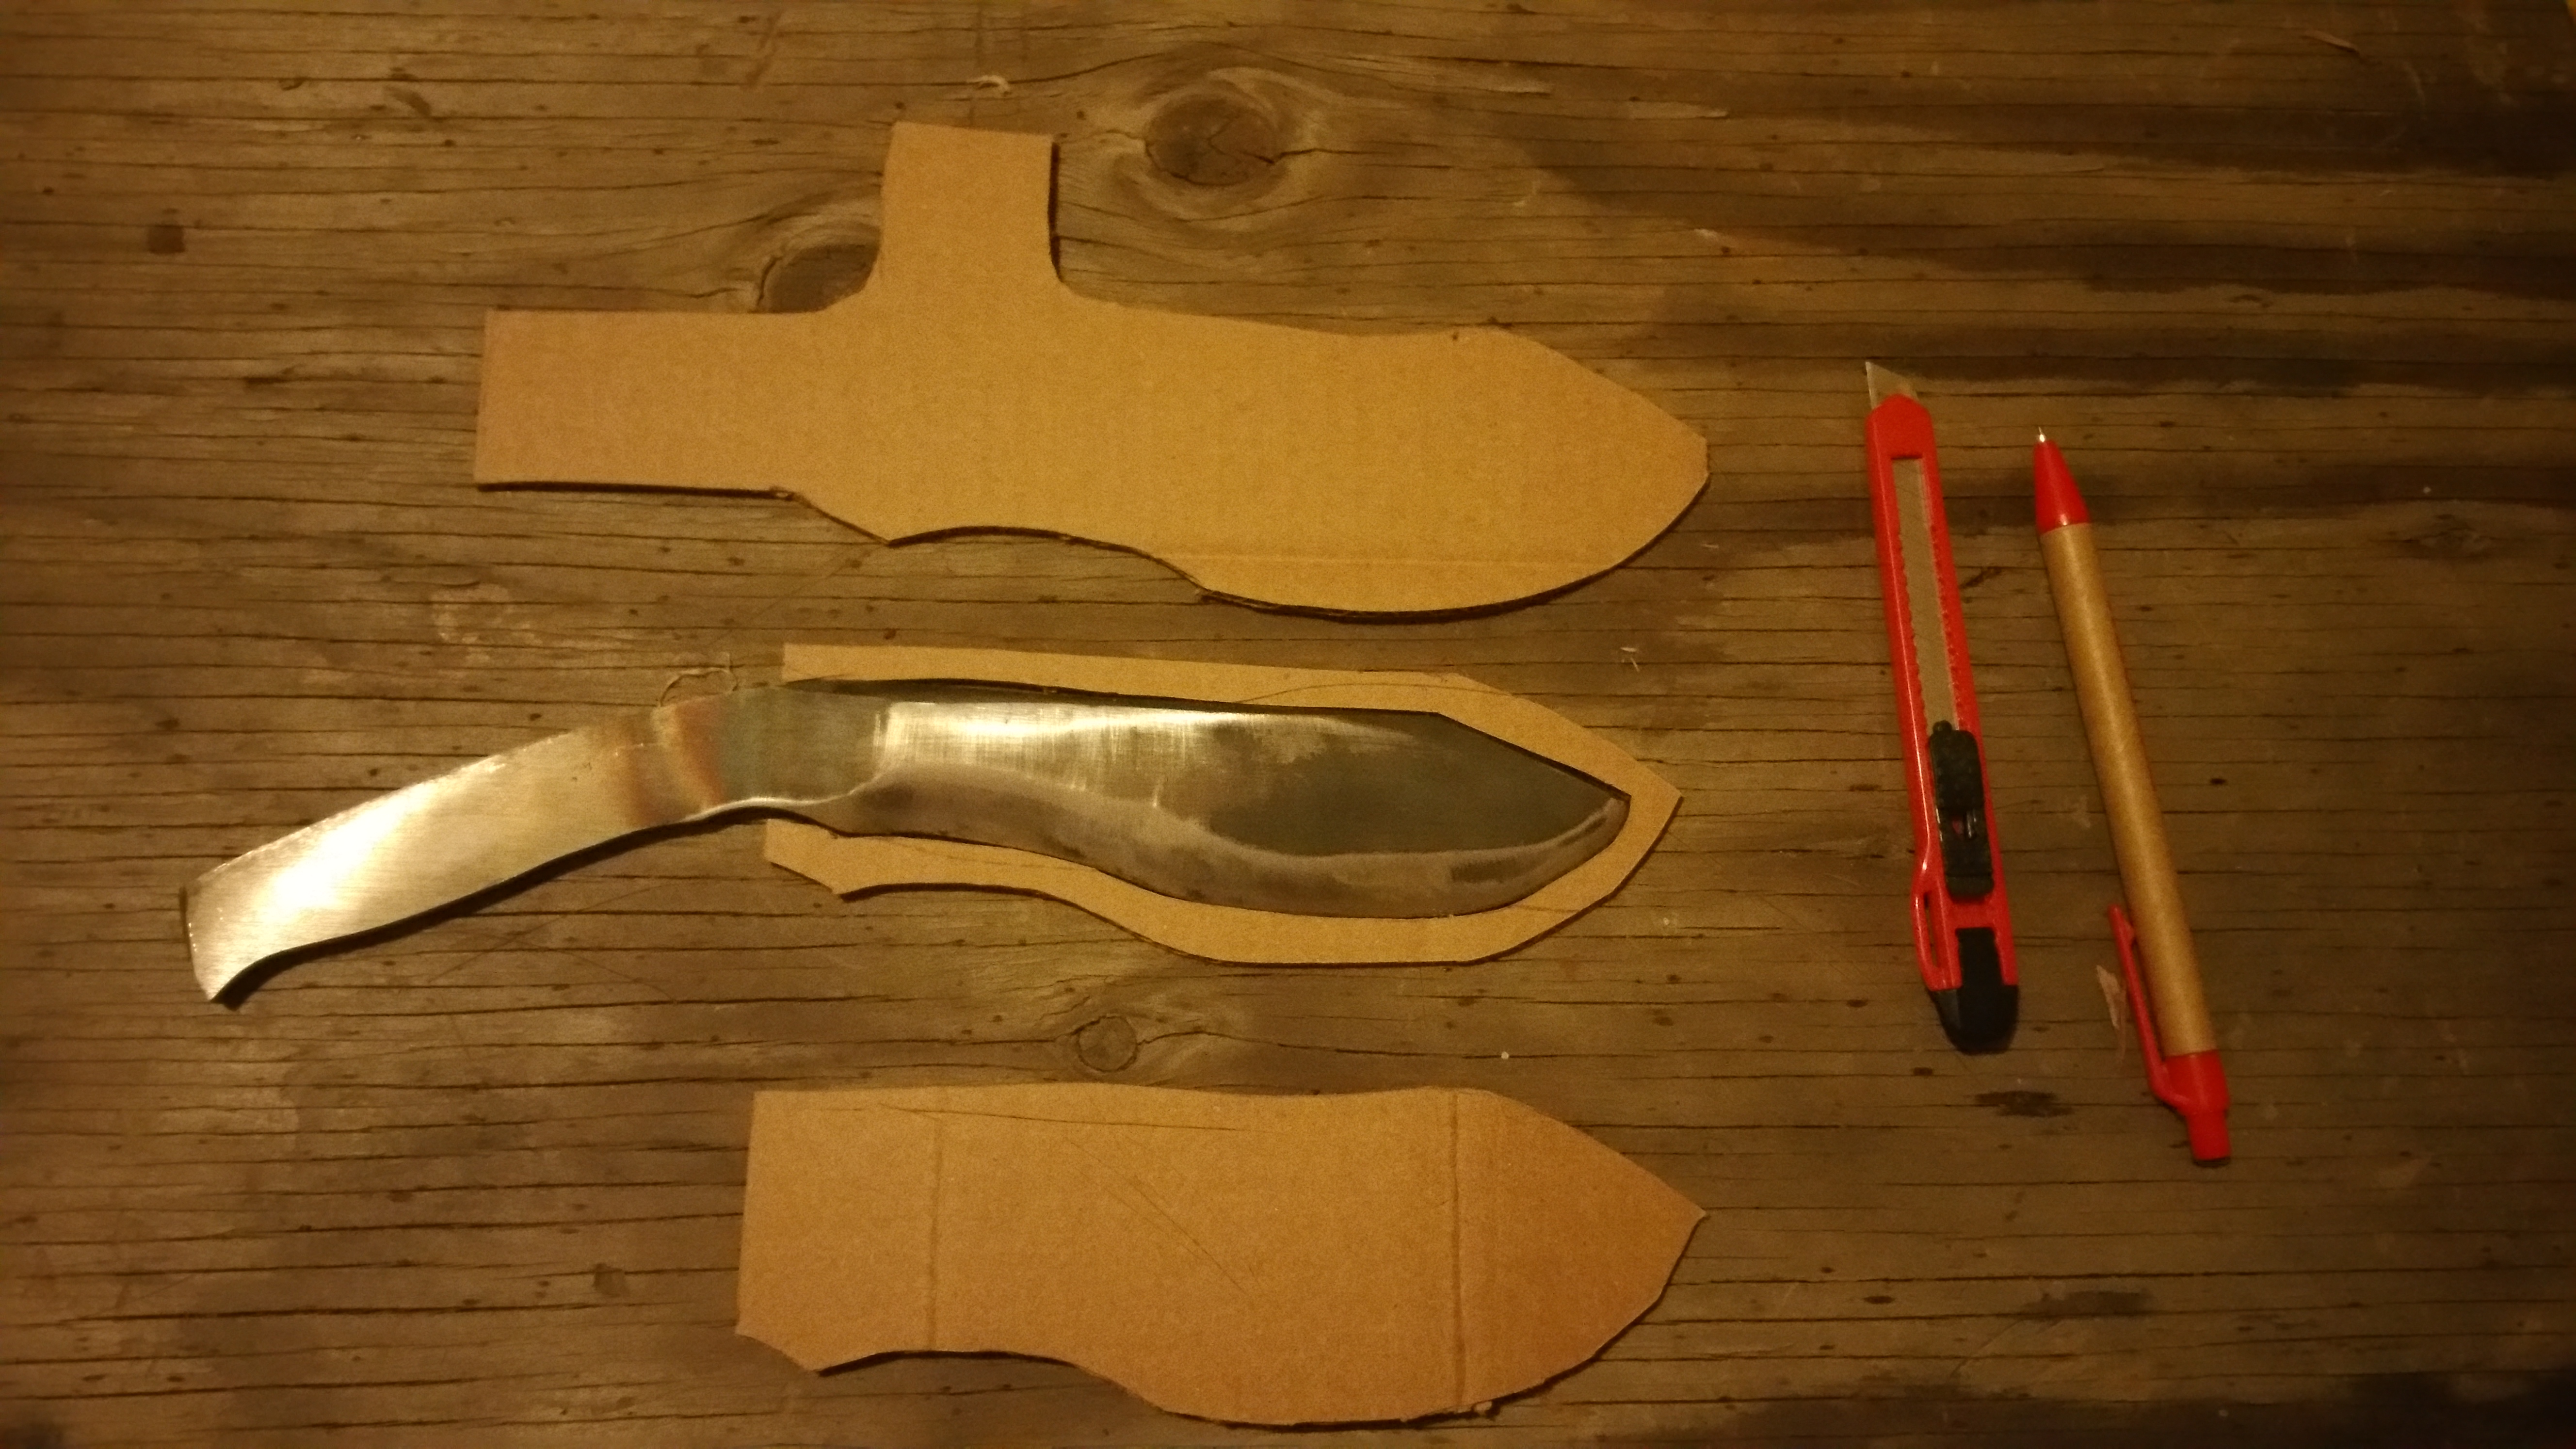
I'm making a sushi knife for my brother. The steel is mystery, but I believe it was some sort of vintage masonry chisel (1045?) I have extra to practice heat treating on.
The picture with the measure tape is the most recent. I can give more details and will update as I make progress.


-
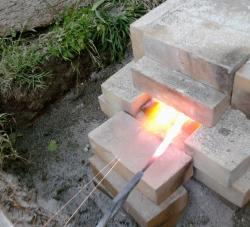
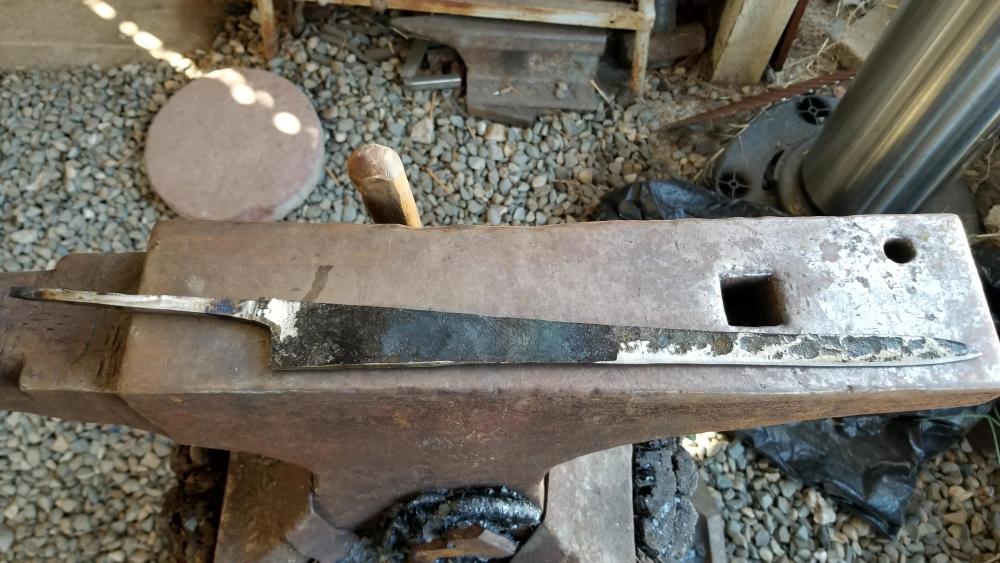
I've looked for hours around the web, and I know this was a stupid error on my part (wrong kind of heat treat on mystery spring steel, too lazy/hurried to test on a few scraps). The crack actually took place about 8 months ago, and I'm considering revisiting the blade. I don't want to weld or braze the crack shut (or at least not until I ensure that it won't propagate) but I had an idea.
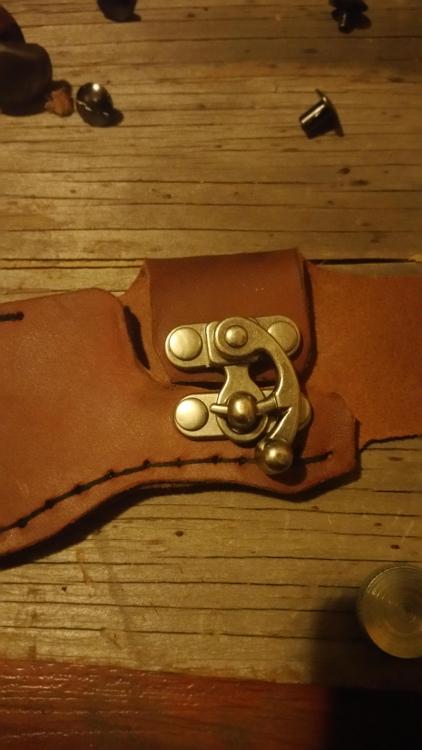
For glass, you can sometimes stop a crack by drilling a hole at the termination. I was thinking by using a large enough bit, I might catch even the microscopic end of the crack, and then either cut/grind/weld/fill/heat treat it and have a mostly serviceable blade, and if that fails, at least I still have a nice looking shelf knife. Unfortunately, I already made a sheath for it (before heat treat) but I guess I can re-make a similar enough blade to fit if all else fails.
has anyone else used this method on a blade? what degree of success if any?
Thanks! -
Definitely will. I like all my fingers, and want to keep making things for a long time.
-
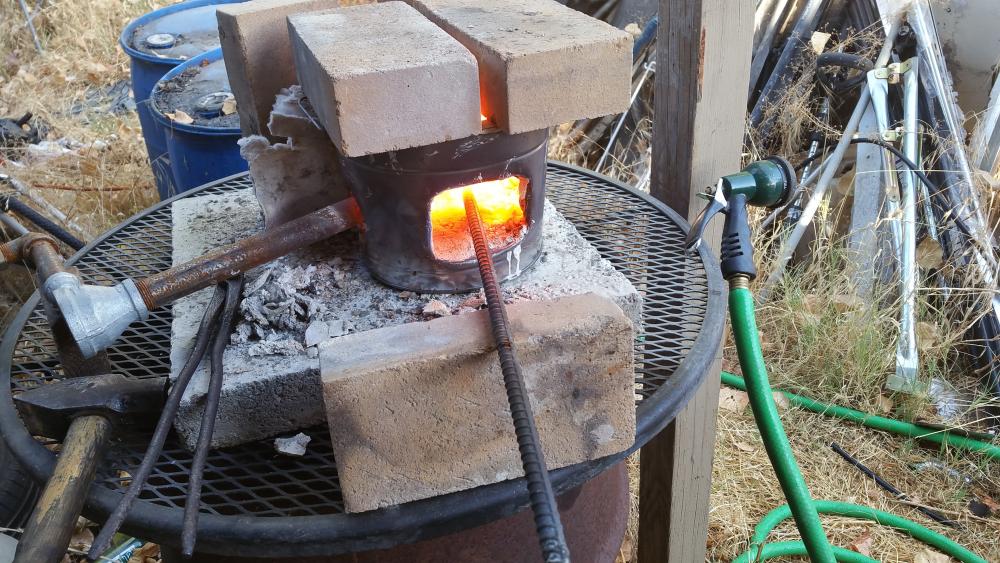
It's multi purpose. I may even be able to make steel ingots to forge blades from, but we'll see. The primary reason I built it as a furnace and not strictly a forge was to make bronze knife furniture. But there are all sorts of fun things to cast, including a scrap metal lathe eventually
Without further adieu, here's the video
Also, some pictures of the knife in working on.

-
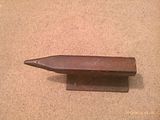
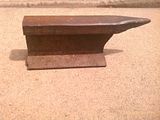
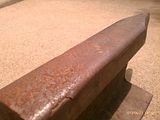
Was at the local farmers market, and actually saw one of the things I was looking for. it's not in bad shape, and the best part is that I only paid $10!
Not sure what it weighs, but its definitely more than 40lbs. big upgrade from my HF special.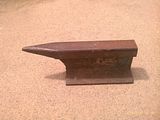

-
-
I can actually maintain a good flow with this now :)

-
I succeeded in fixing the valves, (splitting the plywood in half worked) and re-attached the bottom section of canvas, then caulked the seams. tomorrow I'll finish sealing the canvas.
-
Turns out my lower valves are too heavy for good intake, so I'm lightening them up (splitting the plywood with a chisel to make it 1/4", and about half as heavy.)
-
Working right now on finishing my great bellows HERE. Thanks for the input :)
-
-
Thanks for the input! I have firebricks that I got from a local brick lot, and I think I even have enough to modify the forge. Currently considering modifying a sturdy table into a work bench (sheet metal over the top, pipe air from bellows underneath, and cut out a spot for the bellows on half of the table.
-
Sacramento :)
Currently have a railroad spike waiting to be turned into a blade, and I was talking to Loneforge Blades, and BigCotton89, and Lone strongly recommended that I get a better firepot because of the dangers of heating concrete.
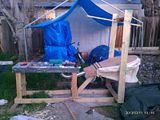
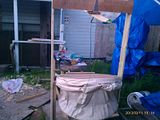
Steve Sells recommended that I skip my complex 2 stage bellows design (see below) and use a plain single stage bellows.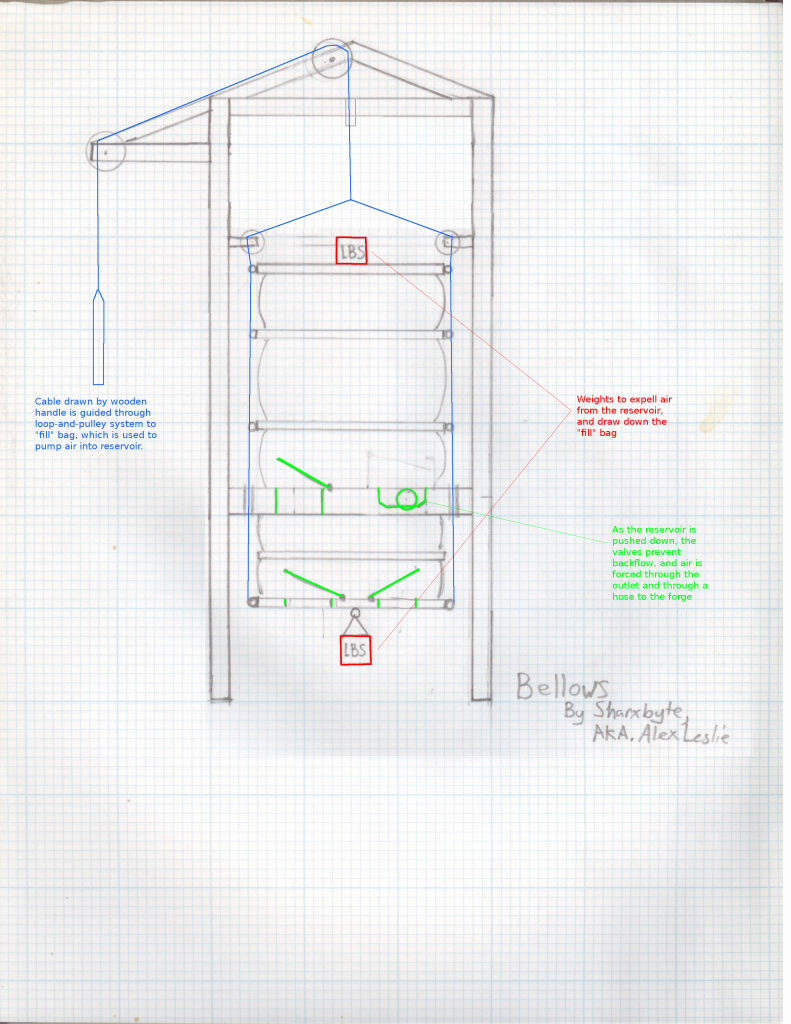
-
So this is actually from a couple years ago (2010) but having just discovered your wonderful community, I figured it would be a good first post to make.
First, about my set up:
I designed it to give relatively even air flow, be portable, and have flexibility with the types of air and even fuel sources it could use. As of yet, I have only used low quality barbeque charcoal, but I dislike that due to the firefleas (thanks trying-it for the introduction to the term), sand, and low/uneven heat output. In future I intend to use hardwood lump charcoal.
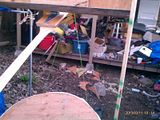
The forge consists of a concrete block I poured that has 25 holes in the center, leading from a chamber designed to equalize the air pressure. The top is flat to allow me to experiment with firebrick arrangements to suit my needs at the time, but I may later decide to mortar them in place if I decide on a more permanent configuration.
This block now sits on a second, thinner block of the same width and length to serve as a base. Originally, (and maybe still potetially) I will put these on a utility cart/wagon of some sort to allow me to transport it with relative ease. Prior to the new "foundation", I had it sitting in a sand-filled pit in the backyard.
My air source has consisted of first a blow pipe (I had a bad experience involving an ill-timed cough which resulted in some reverse-fire-breathing), then a shop vac, a leaf blower, and now I am in the process of designing/building a bellows.
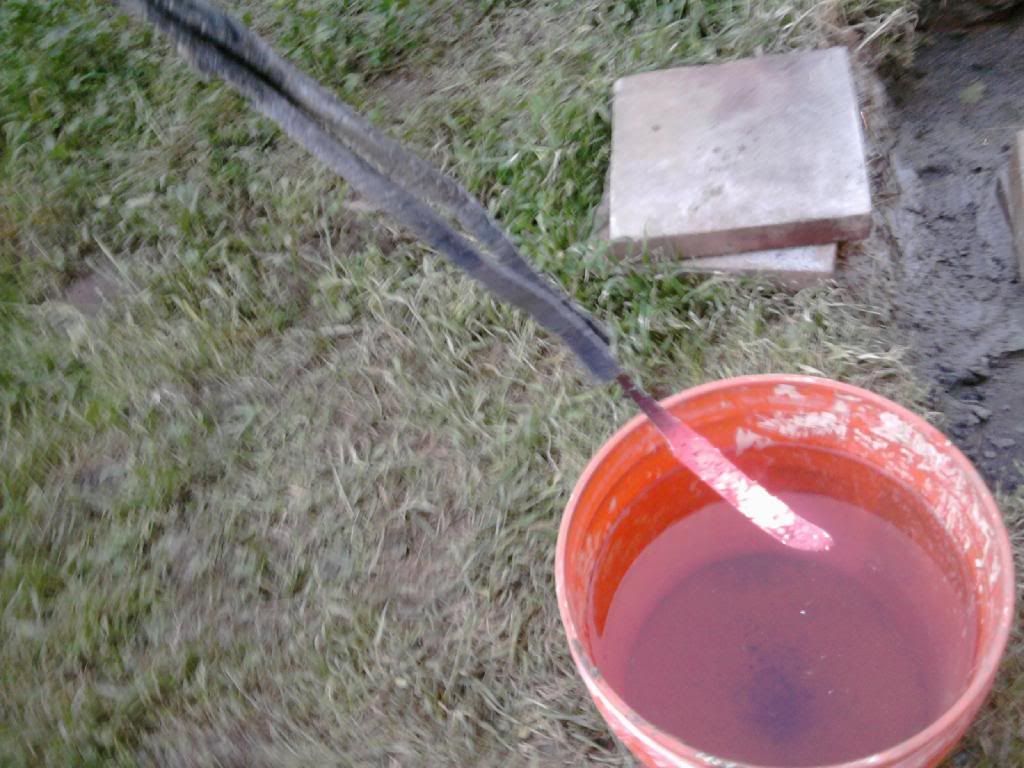
The blade started life as a piece of rebar, and the first handle cracked, so I made one I like better. Is it a masterpiece? no, but I learned a lot doing it and had fun :)
So, without further adieu, some pictures!
(full gallery, more complete)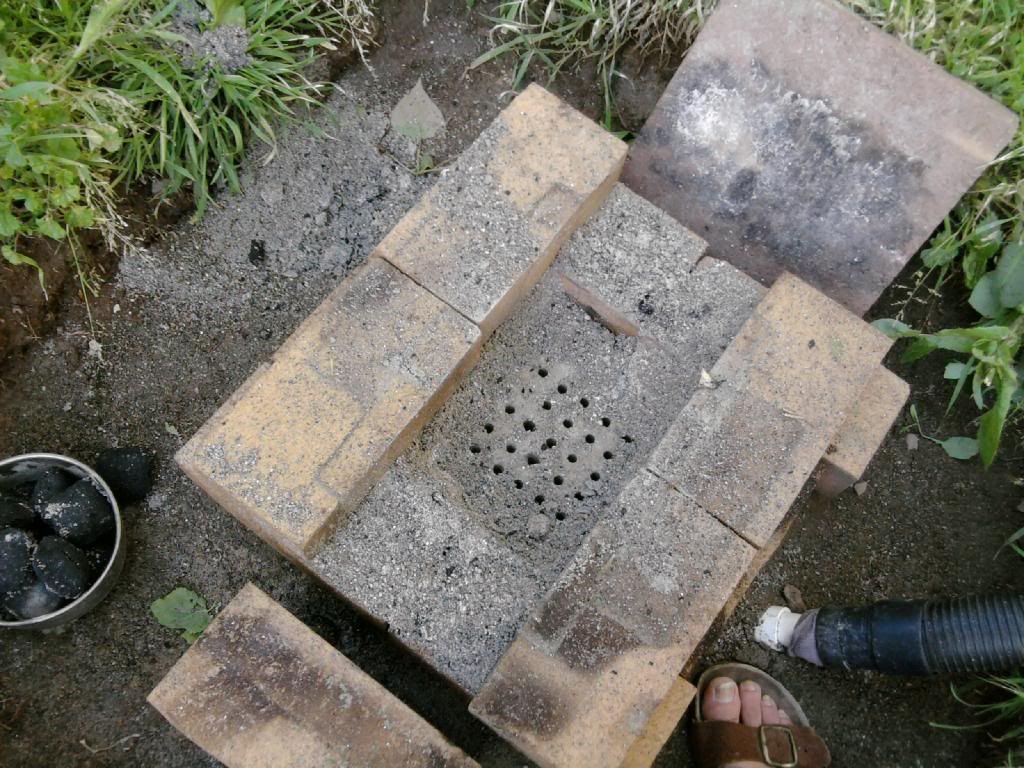
(best shoes for smithing, I know... Also learned not to wear polypropylene or other "fabrics" that melt with heat.)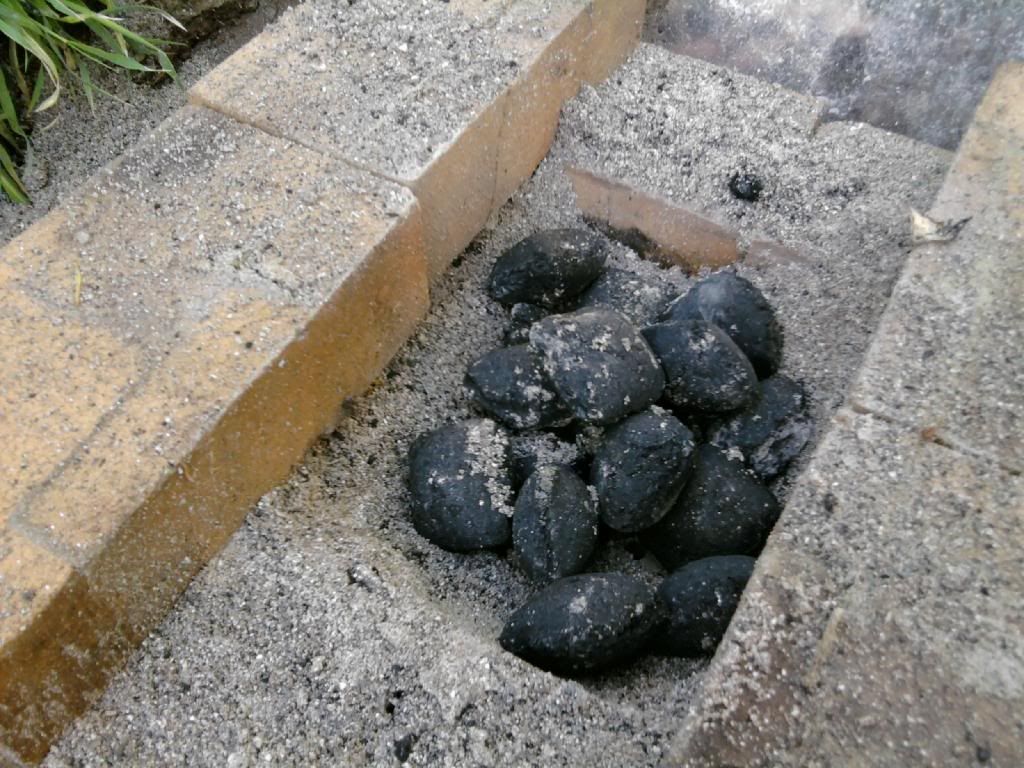

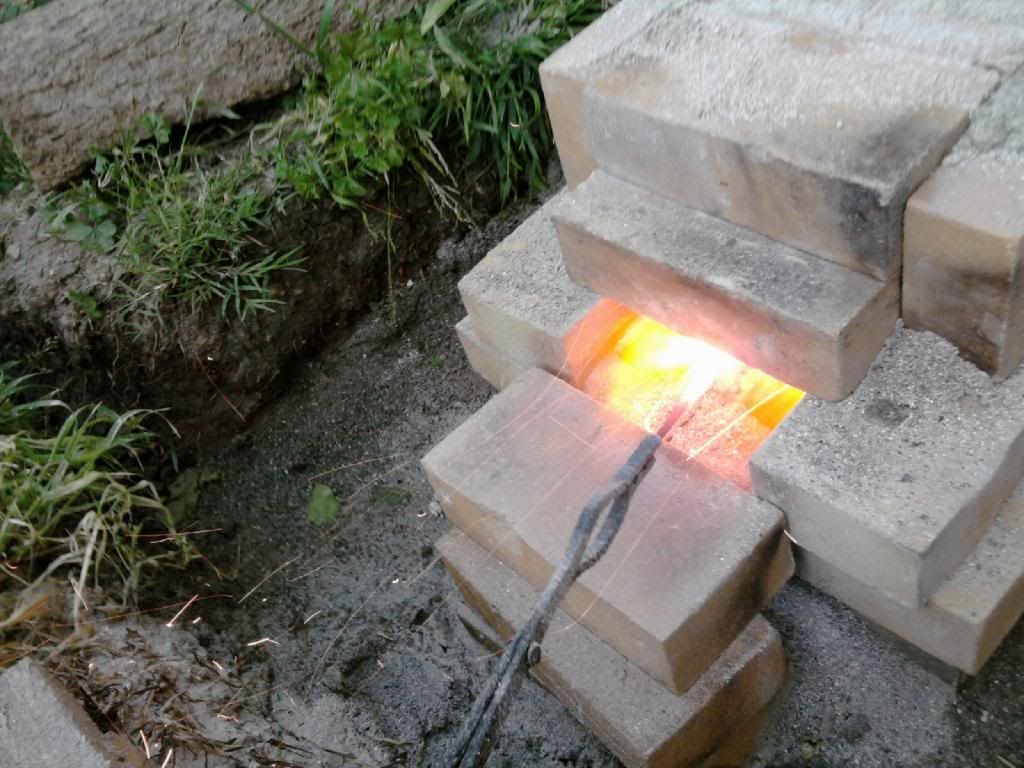
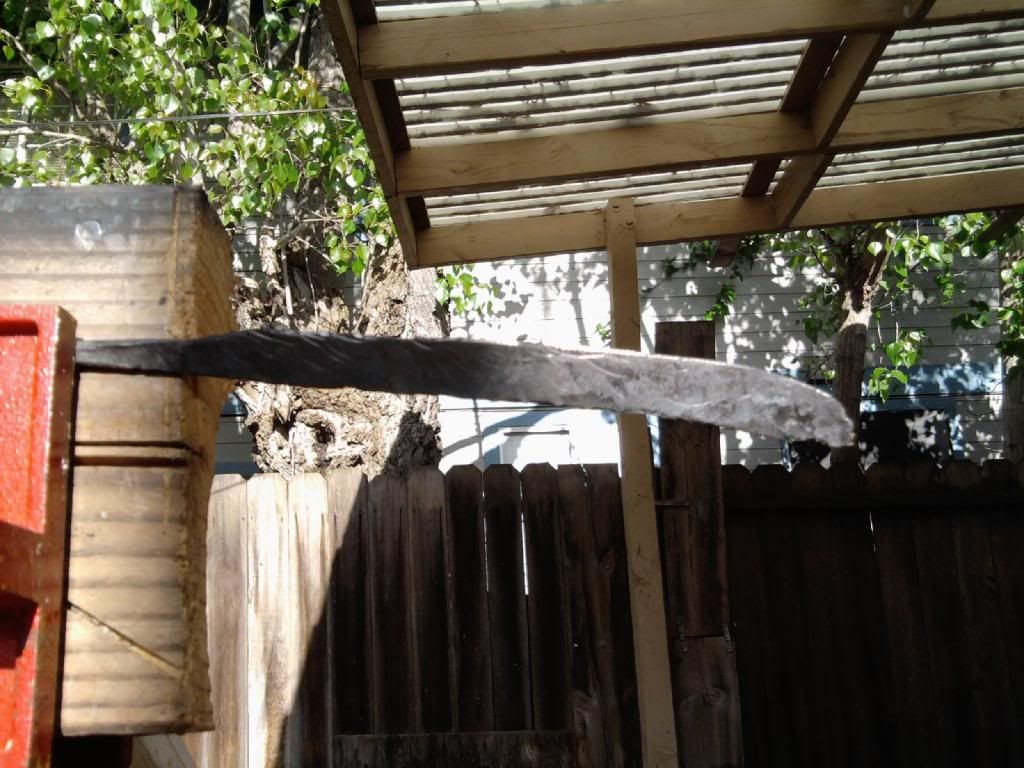
Fresh from the forge except from some file work on the edge

more shaping and some scrubbing
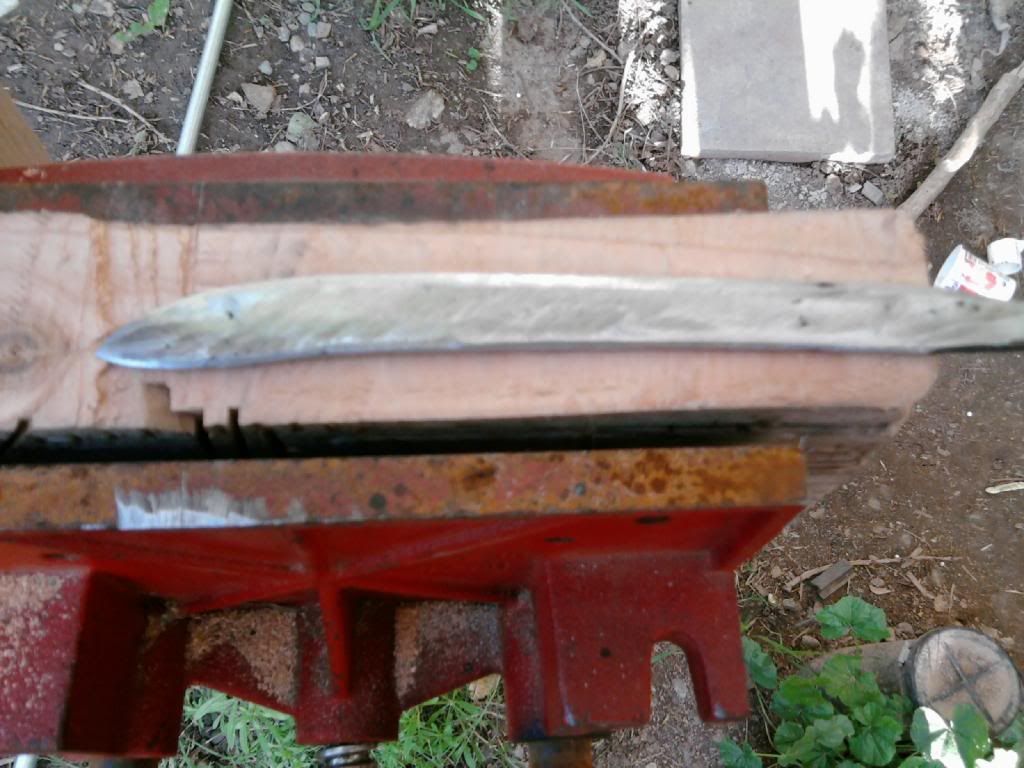
mostly shaped, next I heat treated it.
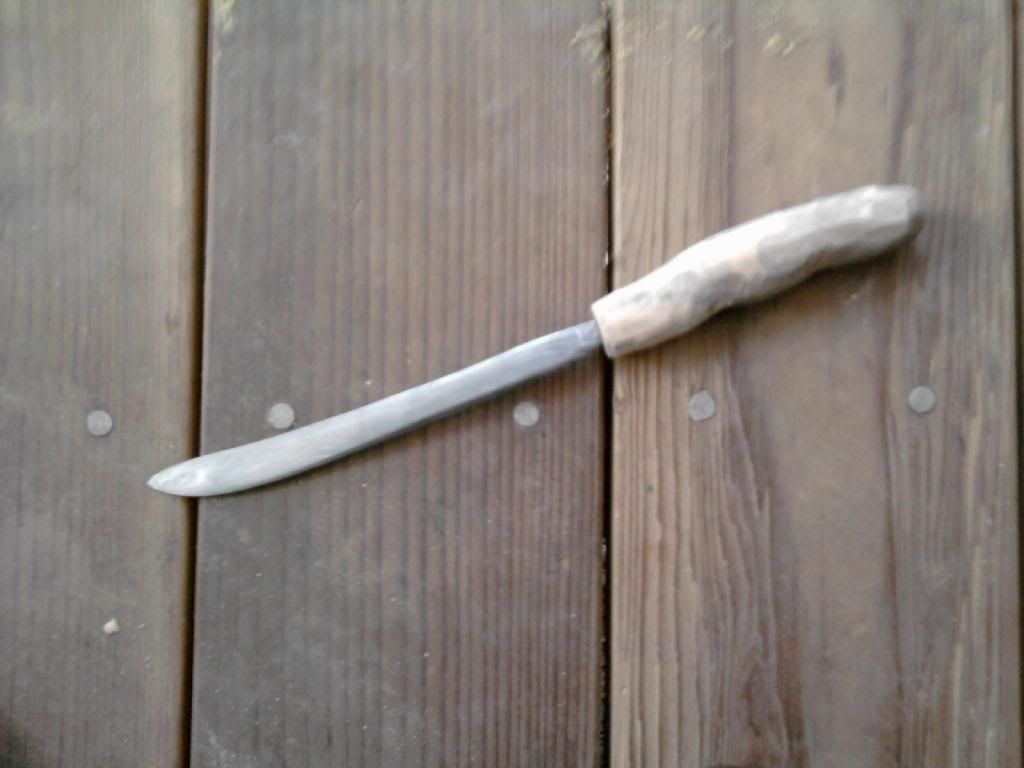
rough handle, hand polished with sand paper.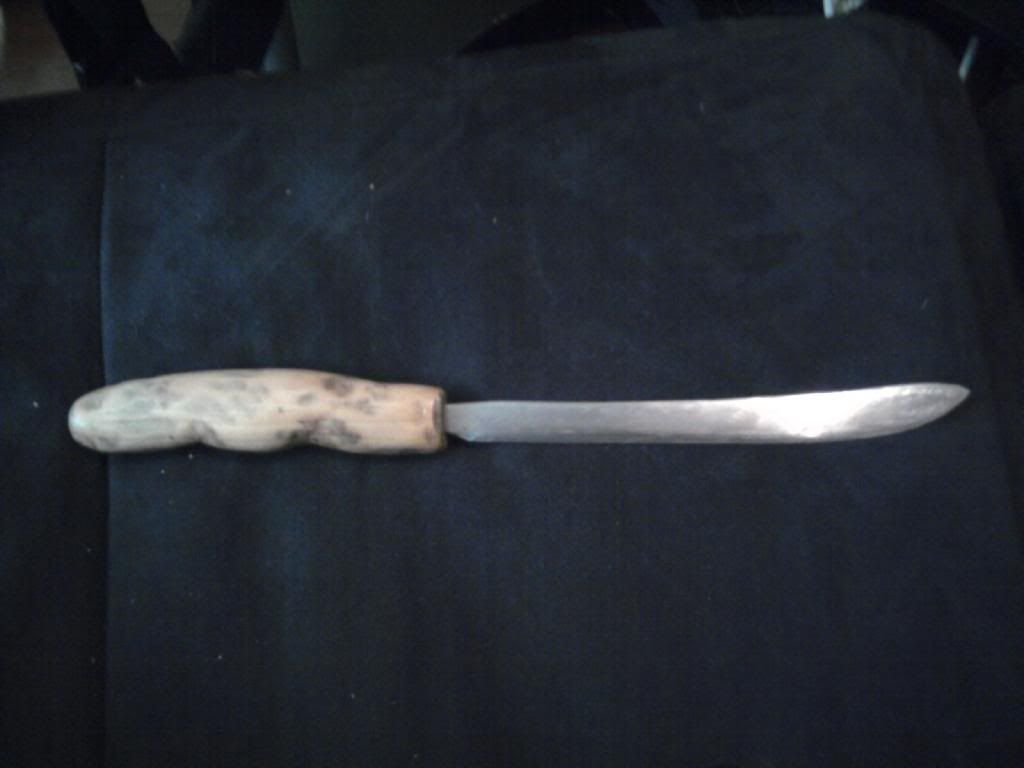
Handle that broke
much nicer refitted handle


Been away from IFI for a bit (Pic Heavy)
in Member Projects
Posted
Ahh thanks for the notice