
armymedic.2
-
Posts
58 -
Joined
-
Last visited
Content Type
Profiles
Forums
Articles
Gallery
Downloads
Events
Posts posted by armymedic.2
-
-
Haha. U guys are too much. Fat and heat with no real cleaning. How could it possibly be beaten?
-
Looks well done for sure. Nice job esp from coil. I have made much from tra torninolement coil springs And it is great hammer practice straightening them out. Good job
-
Hey charlotte thanks for the compliments and the advice!
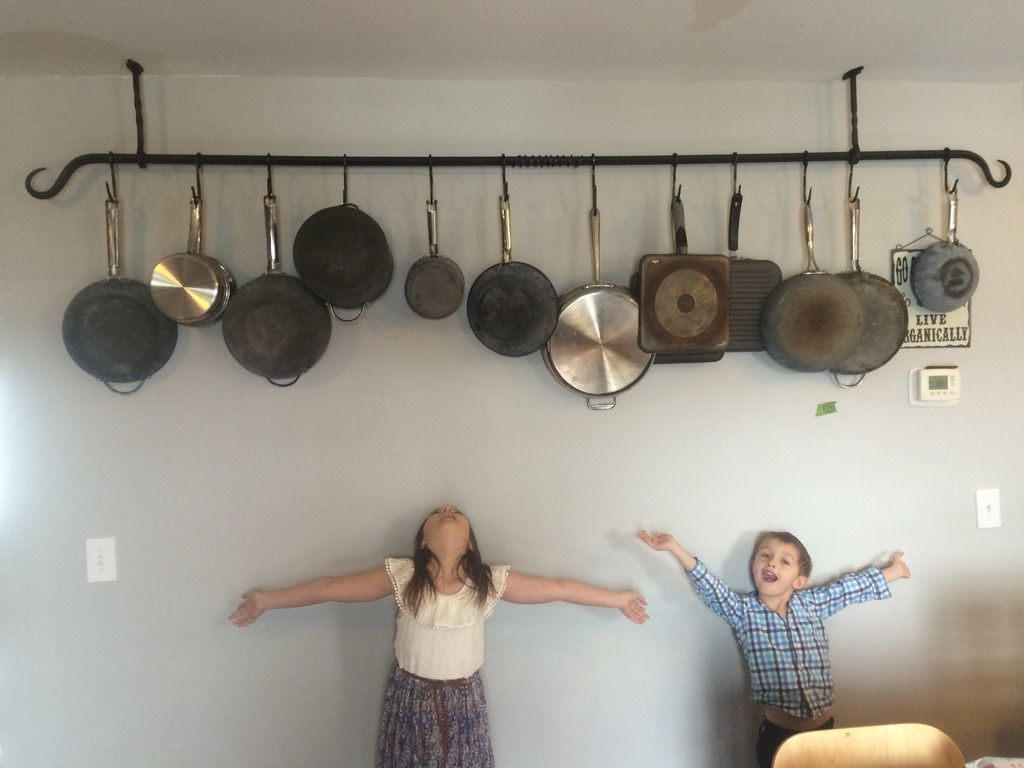
you are absolutely correct. And the third person to say something.. I have since turned around the pans and whala, A two inch gap. All good !
-
Thanks frosty!
My little ones really put it in perspective. Hahah.
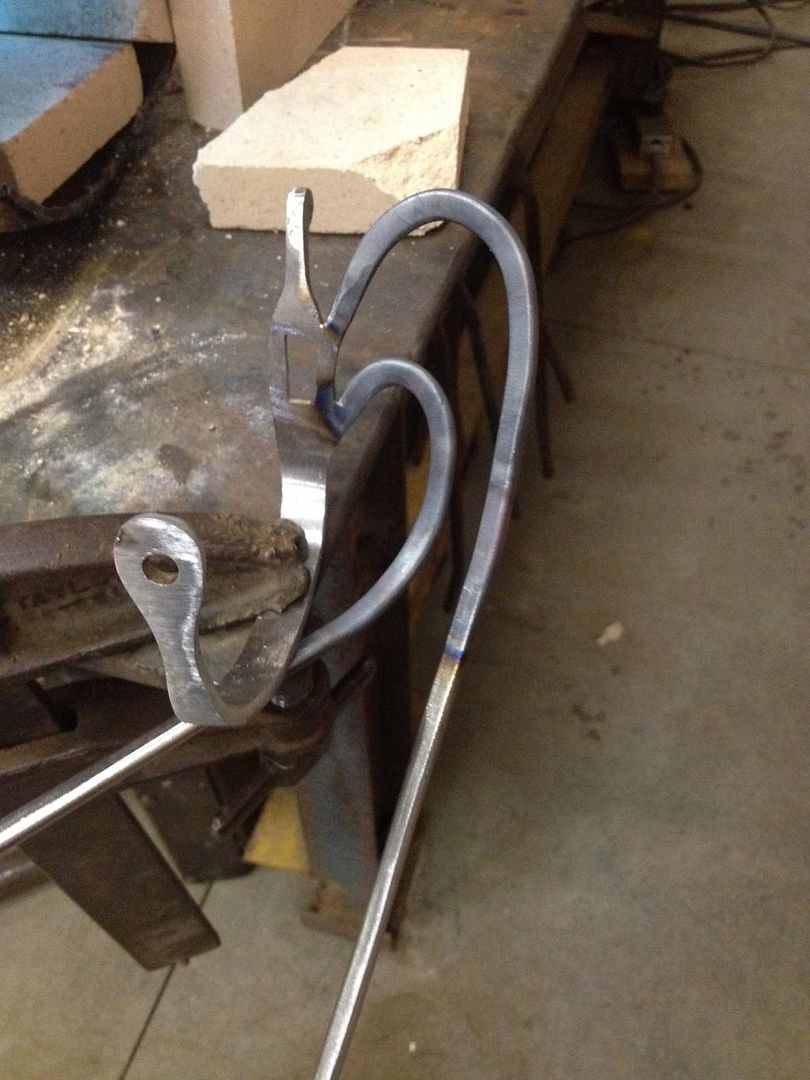
The scrolls were resistant to moving. First time ive done them on the diamond. Fun learning experience.
Finishing was done hot with a beeswax block, let set and then rubbed back off while still hot with a rag.
I also brass brushed the twists lightly which doesnt show in these photos but looks nice in person
the mounts came out well. Drilled out the hole for the upright, filed to fit. Pressed them on hot. And welded from the back. Much cleaner look than trying to clean up welds on the front.
-
I saw a pot rack like this on google images and had to try it. B i cant remember the smiths name but i give him credit for the overall design. I added my little personal flares of course. And we have so much cabinet space now that the cookware is stored in plain sight!
Learned a few things . Got to have my dad and bro strike for me on that big bar. It was kicking my butt with a small hammer!
thanks for looking
keith
-
thanks for the replies guys. i would have replied earlier but via mobile it keeps telling me fatal error when i try to go to log in.
So I think the overwhelming majority say more vs less power, and i can roll with that. i'm hoping the treadmill is at least 1.5, but i won't know that till sunday morning. looks like worse case i'll be running pulleys off of a "free" 5 hp motor. not a bad spot to be in.
SJS I know all too well what you mean about the grinders being death traps. i have lost many a meat chucnk to angle grinders and belt sanders already i will figure out gaurds that make sense, but i must say must of my mishaps have been where the metal meet the abrasive. push just a little too hard, lean just a little too bit. yada yada.
I won't be running a vfd because i am on a budget ($400), so im hoping the treadmill control board gives me the flexibility i need, and if not ill be changing steps on the wheels. With some steel on hand, and a free to me motor plus wire laying around, I should come in just under, including the idler wheels for the platten attchment and one contact wheel.
thanks for all of the constructive thoughts gents!
-
That motor is actually tefc. The 1.5 is not however. Hoping the treadmill one is. Wont know anything about that one till some demo occurs Sunday
-
interesting thoughts on a hammer off that motor. Sure could use one sometimes.
But the grinder at hand...... Ill wait on purchasing products as my sister inlaw said i can come get her treadmill this weekend just a couple hours ago. Cant wait to see what motor it has in it, and make some decisions from there. From the way treadmills work i would think i could keep the button panel and have a variable speed that plugs into 110. Double bonus if it works out. Hoping is is 2-3 hp which seems standard from what i have read
-
Have you reduced the rpm's via pulley on that motor
-
The only reason would be that i have that motor sitting on a broken air compressor in my shop, which means it would be free. The other free motor i have is a 3/4 1725 rpm. Anything else would have to be purchased
-
doerr emersion electric t63bxbyf1133 5 horsepower. This is the motor
-
I am planning a 2 x 72 and belt grinder I have on hand made 5 hp 3450 RPM motor. I plan to reduce the RPMs with a pulley system but have not seen anyone building with a five horse is that too much power or is that a doable thing?
thanks in advance for answering my stupid question
-
Thank You gents!
-
Thanks steve i was going for durable over hard for sure
Frosty the overall length is 26 3/4 " -
Well said jim. Also, having been on a reality show, i can tell you that they present as many things as possible to steer you to drama. Even changing what the viewers and contestants think is the point of the show. Id say he is making the best of it and i wish him luck. I wouldnt call his shop a blacksmith shop but hey, i dont even have a business.
Keith gibson -
Gents,
Ill tell you what i did and you can tell me if it was good.
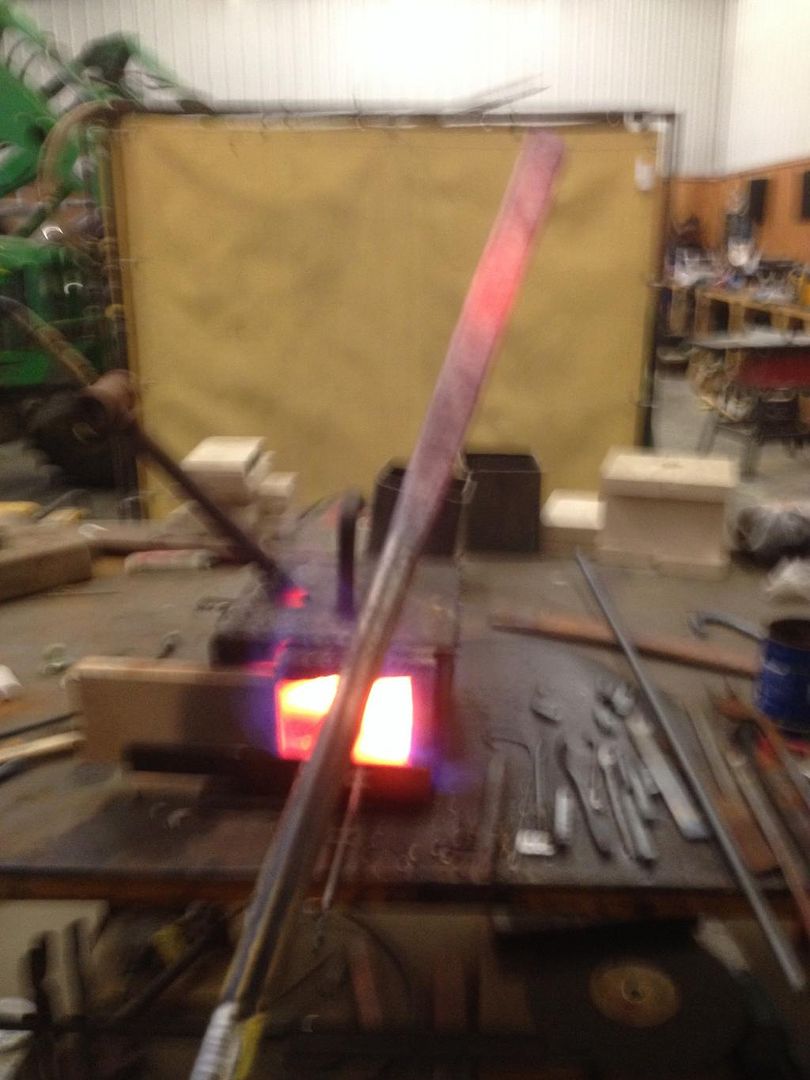
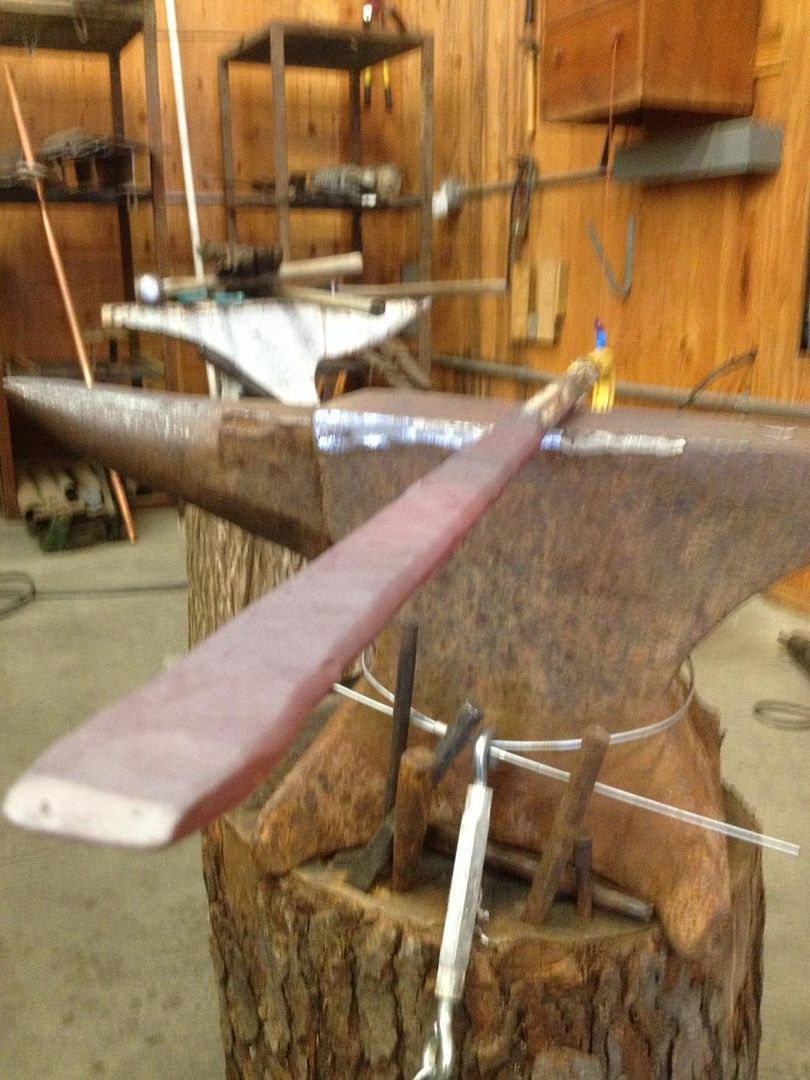
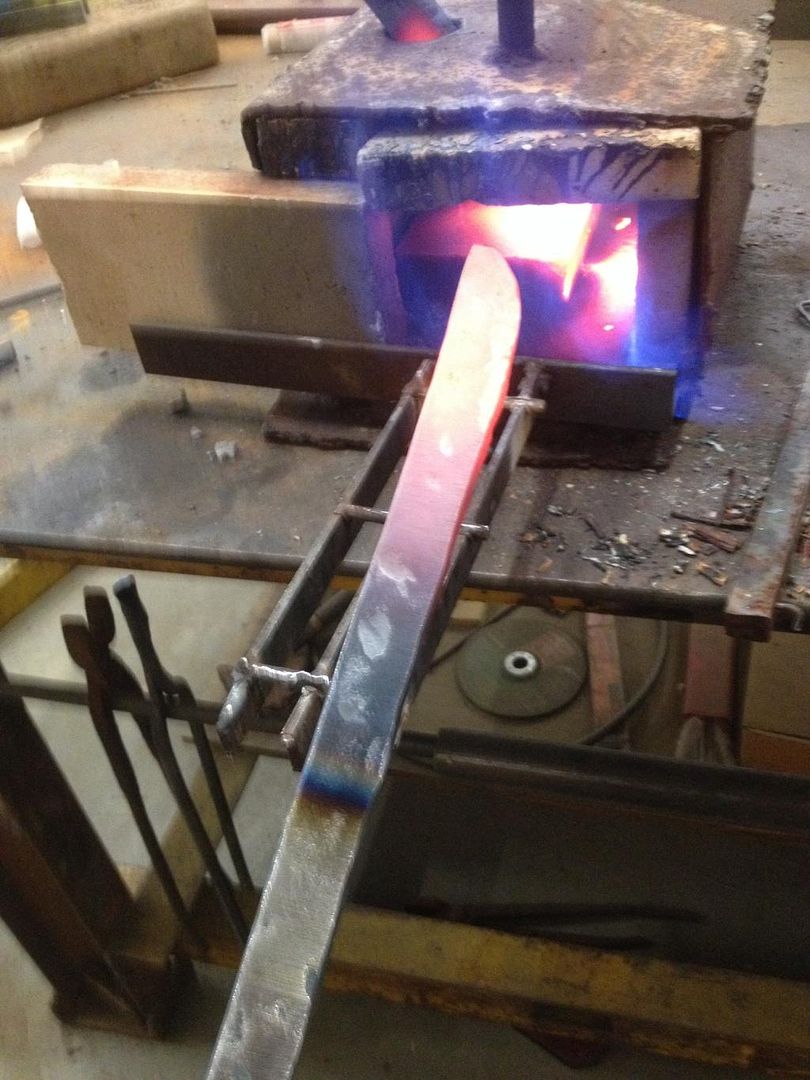
I normalized it quite a few times during forging. And three times before heat treat.
I brought it up to non magnetic which in my lighting is a nice orange. I did this twice. Not on purpose To be honest i chickened out the first time thinking i took too long to get to the quench.
I quenched it in 130 degree canola oil until fully cool.
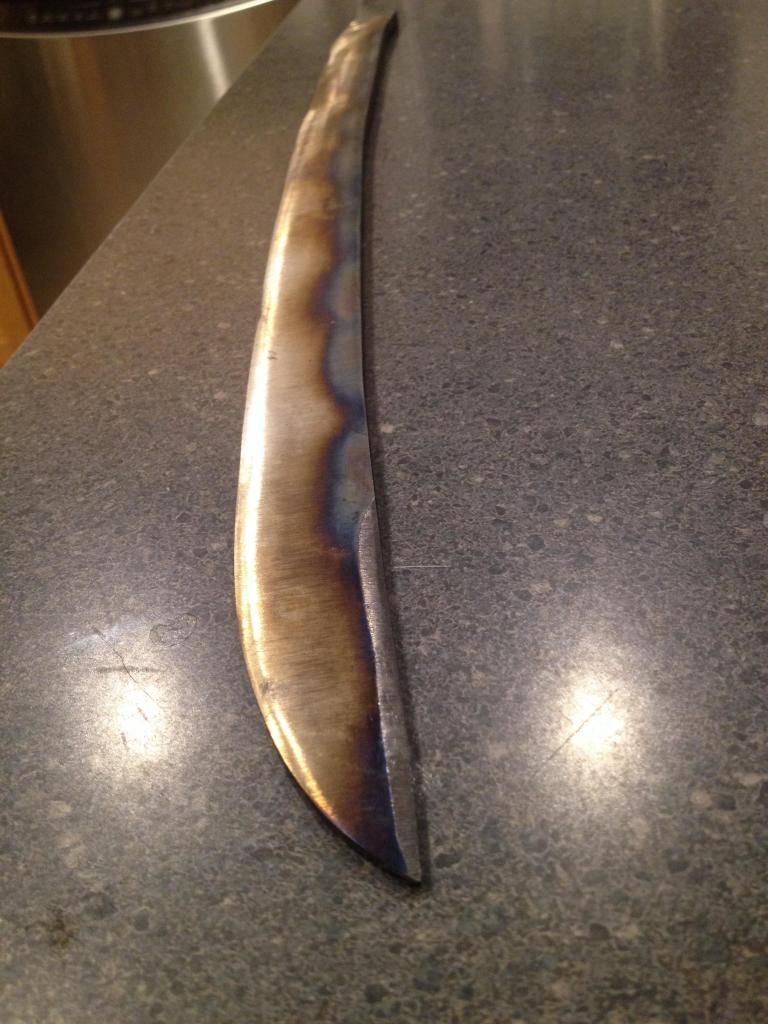
Tenpered the entire blade at 475 for an hour three times till it hit that nice straw color you see in the pics. Then hot tonged the spine and tip purple the entire length
Ah. And from the ricasso back to the end of the threaded tang is tempered blue as a result of not being quenched in the first place/ burning the handle on.
One error to mention in the quench was that the blade hardened nicely for the 2/3 closest to the point. Back towards the hilt was apparently not hot enough or didnt get in fast enough as it did not harden to the same file skating niceness. So i expect that to dull faster but be of no safety concern.
Also i should mention this is a hunting sword purposed to finish downed deer or bayed hogs so it should never see another swords steel, though i dont see why it could not be pressed into service as many hunting swords were in the revolutionary war.
What say ye experienced? -
Thanks guys. The blade is 20", overall i have to measure but amnin the city working. It balances just over four inches from the hilt. It weighs 1.8 lbs. It swings nice i think, but i have never handled an original so i cant really compare. No shock is felt striking cardboard which is all i have sliced with it so far. The false edge is sharpened
-
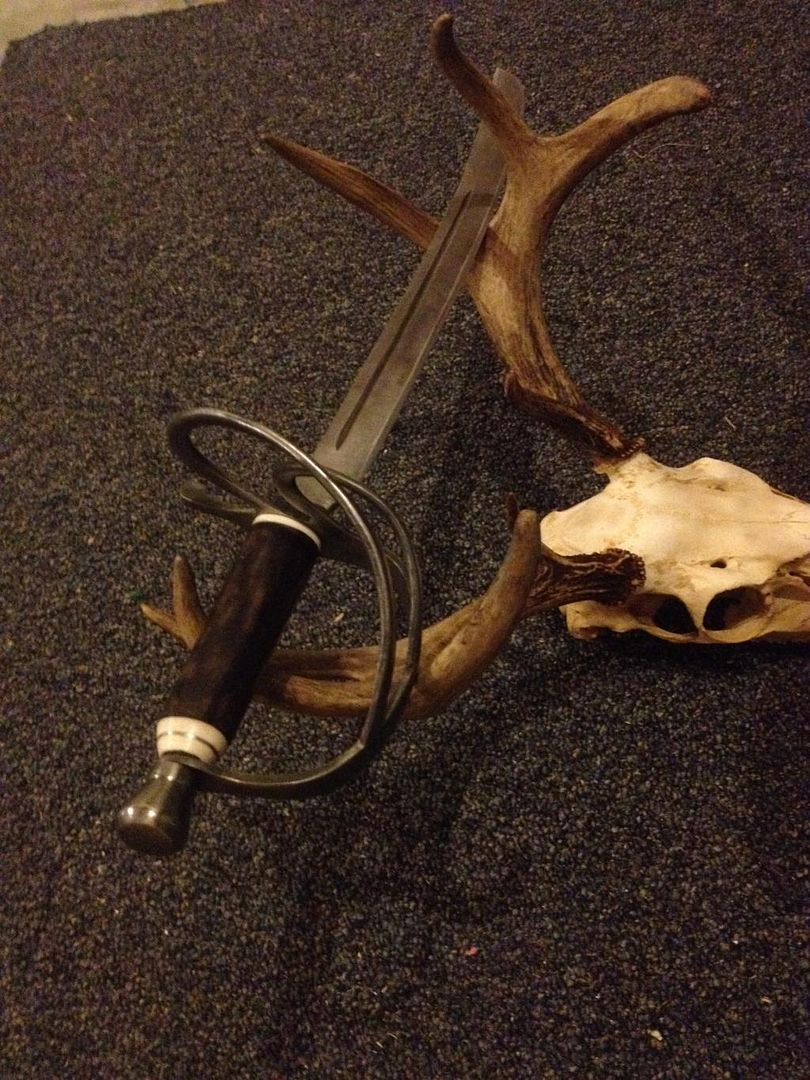
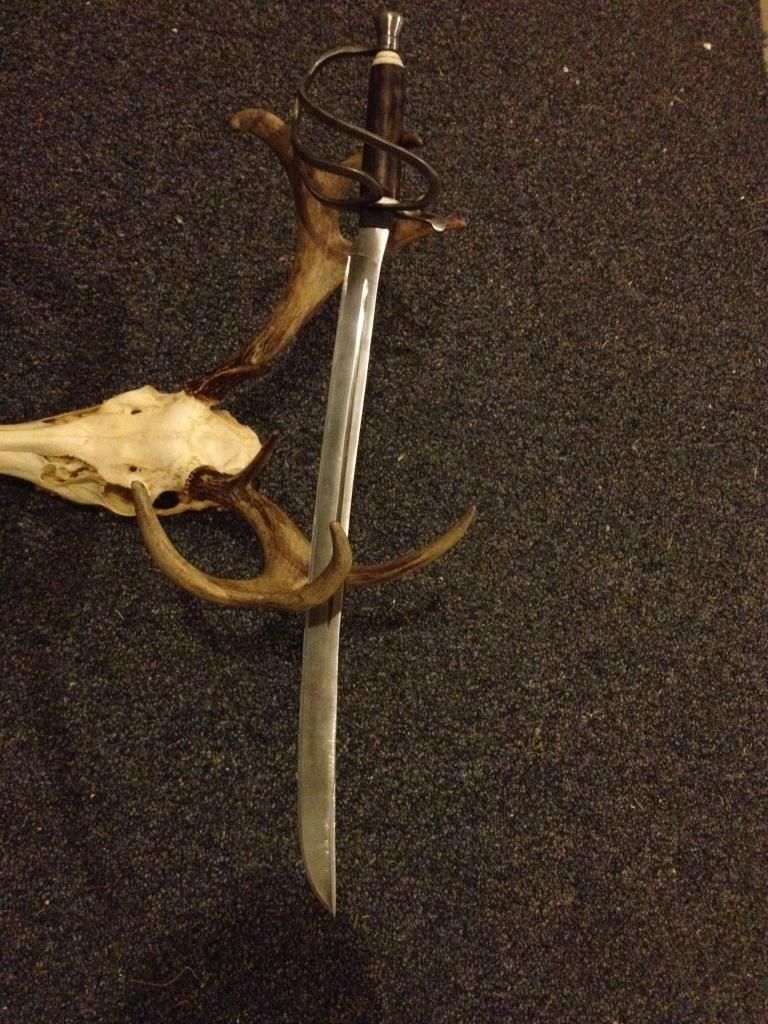
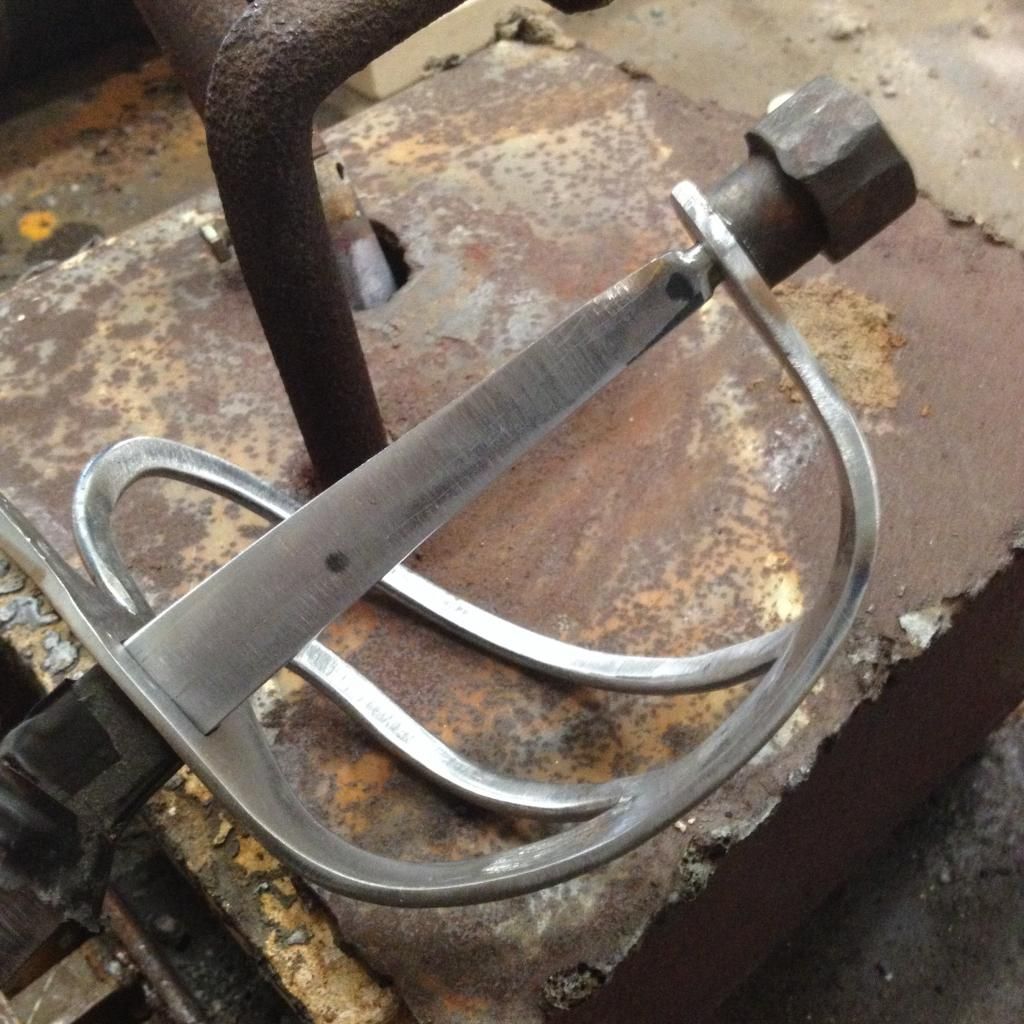
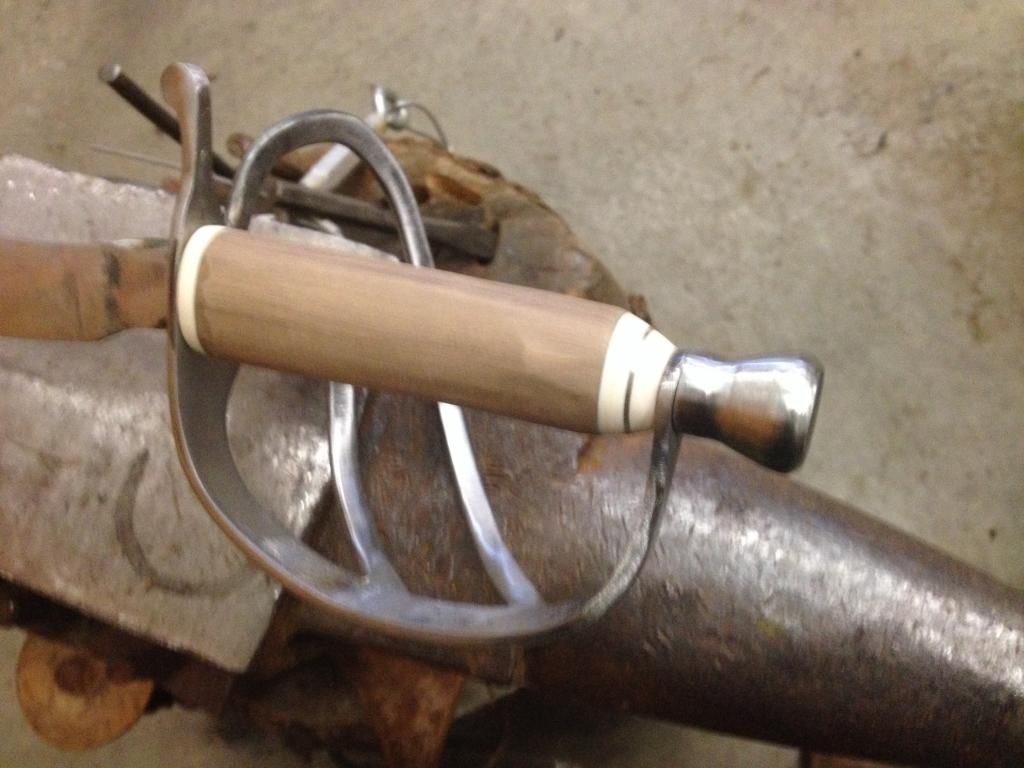
So here she is, fully functional, and slices well. The handle is black walnut, stained black and rubbed back off to look worn. the bone part of the handle is from my cattle, with a silver piece in between on the rear. the guard was forged from 1/2 inch round. the fuller was ground in with sandpaper and dremel. any "grinding" was done on my grizzly 4x36 belt sander and a course ceramic belt little by little. that was incredibly ardous, but since i dont have a belt grinder it was what i had to use.
I learned a ton on this sword, and am just happy to have it completed, errors and all. Most of all i'm happy to have a truely functional hunting sword ready to go for next flintlock season. thanks for looking. questions/critiques or comments are welcome this was a first and i dont mind hearing what to do different.
best
keith -
-
-
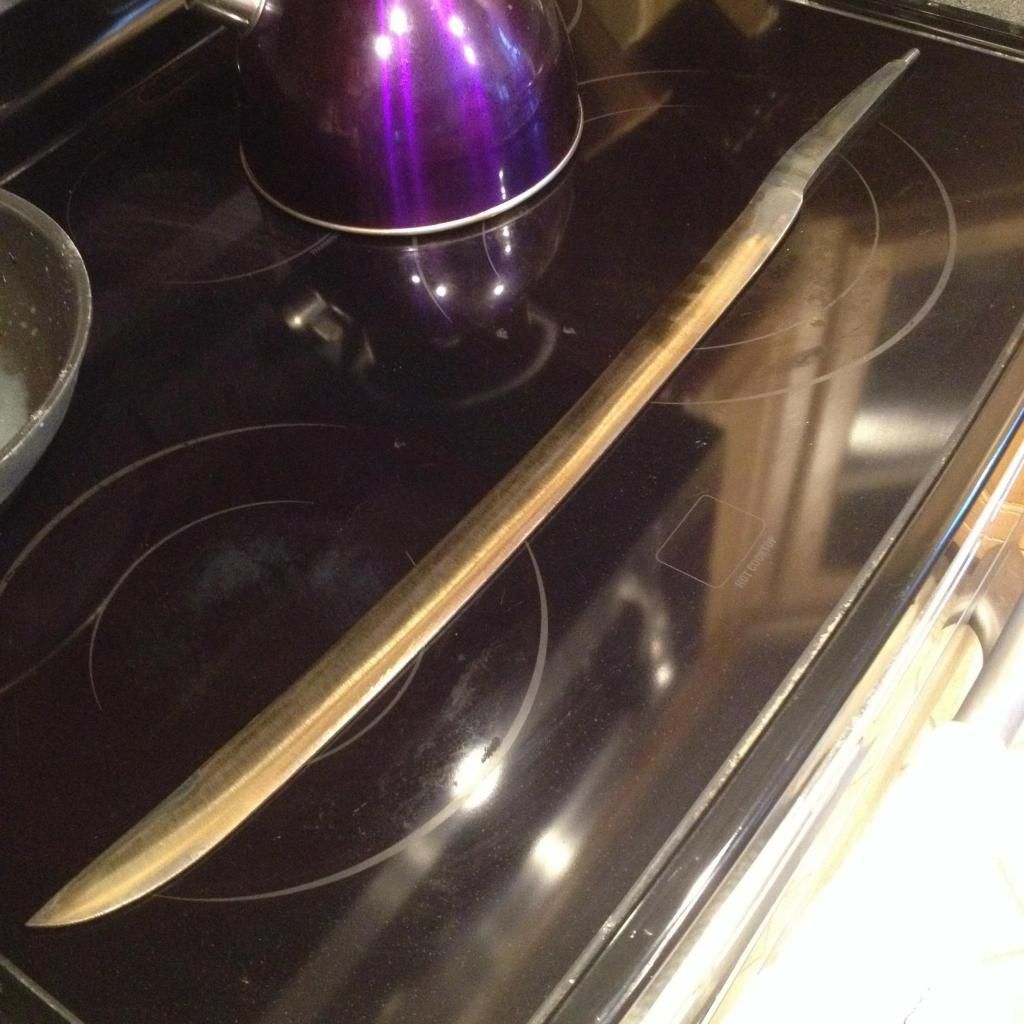
This was my first sword. my first blade over five inches really. I had spring steel on order but just had to get started and figured it would be good practice. the rep on the phone told me it was "forged spring steel". i followed the heat treat guidelines for 1075 and it worked quite well.
ill be posting progress pics even though it is finished. a bit of WIP feel.
-
-
-
Thats great advice I actually quenched the blade i was talking about today and tempered it. It warped a little but all in all a good experience.
I learned lots about my equipment bringing that long blade into existence.
Now to tackle the hilting!
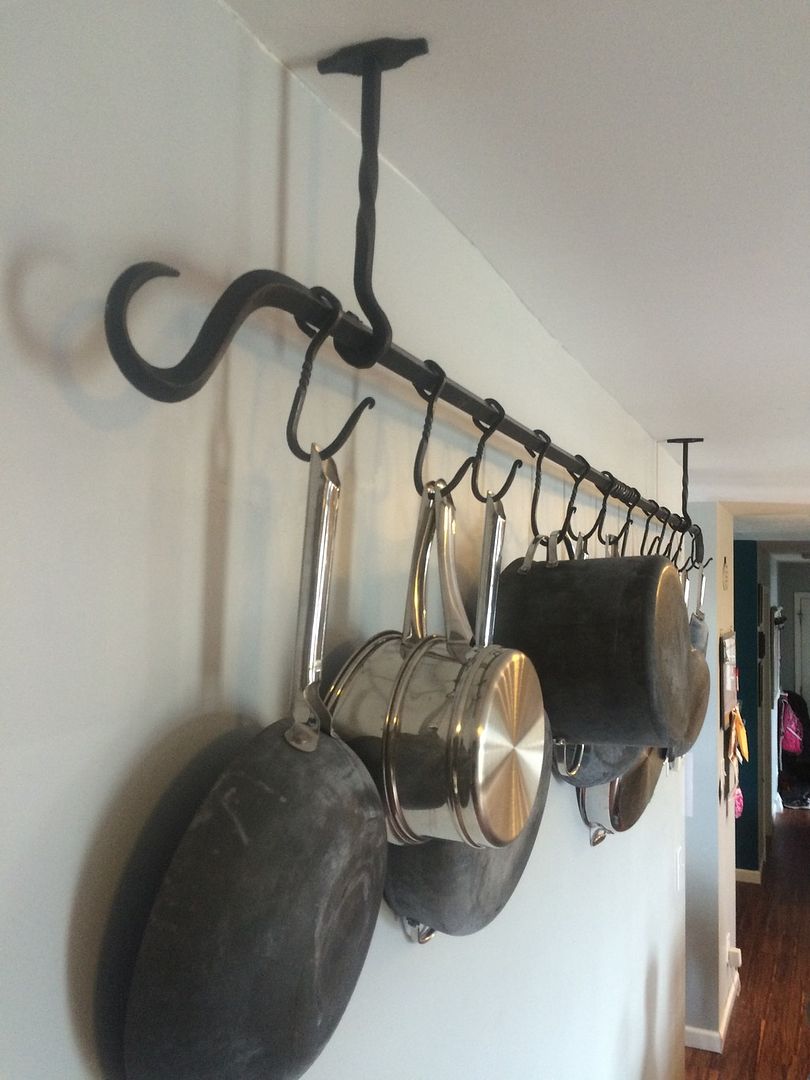
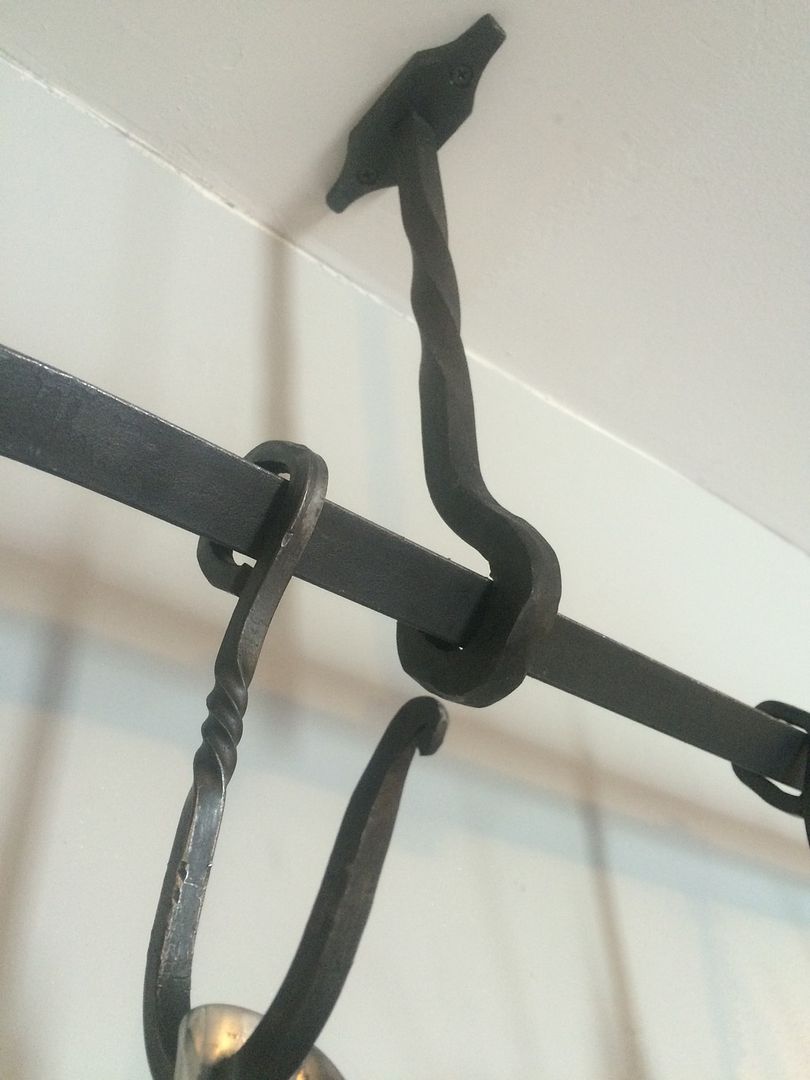
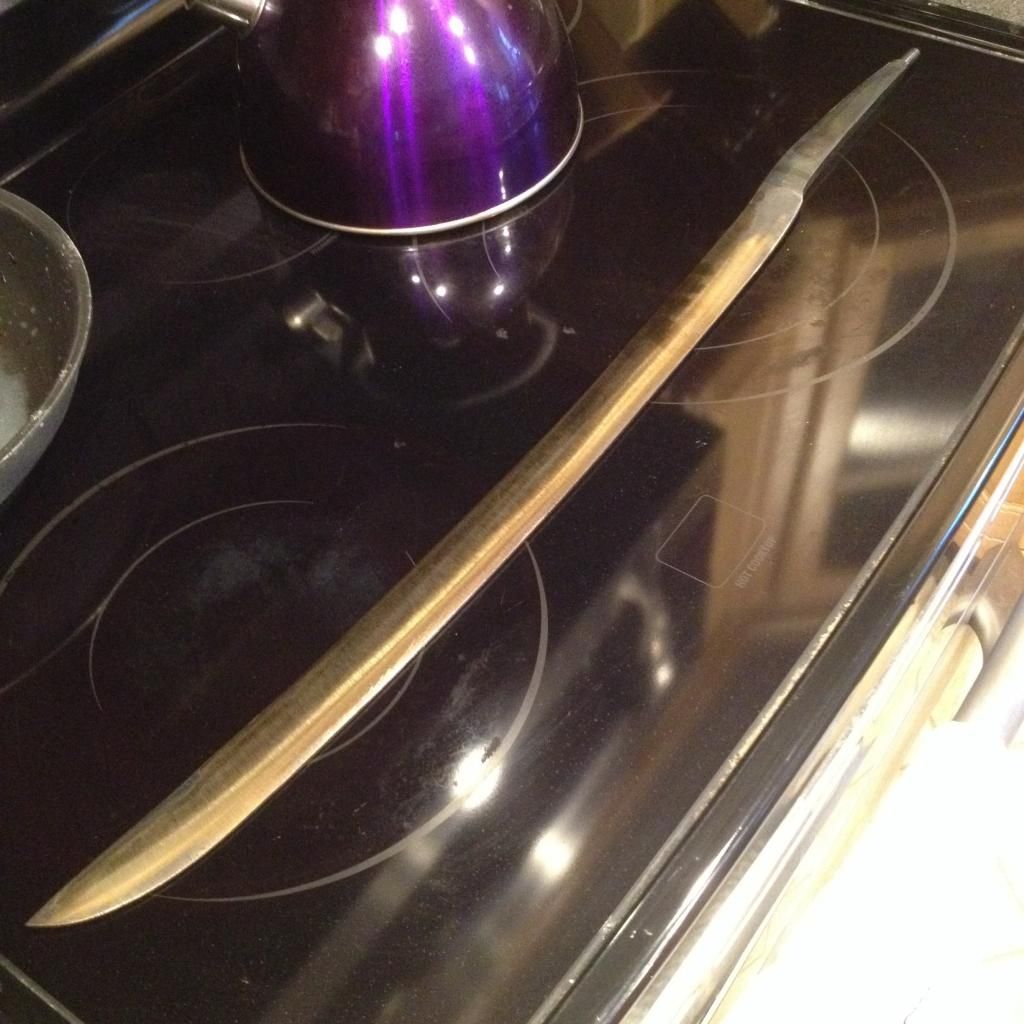
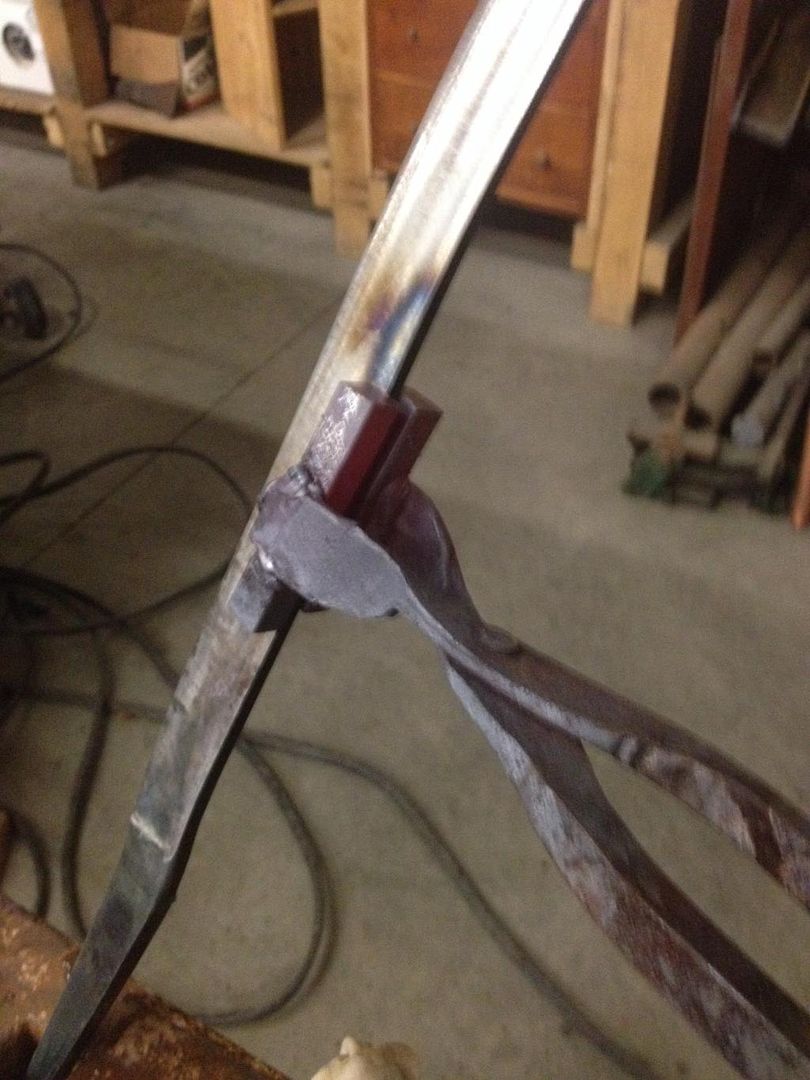
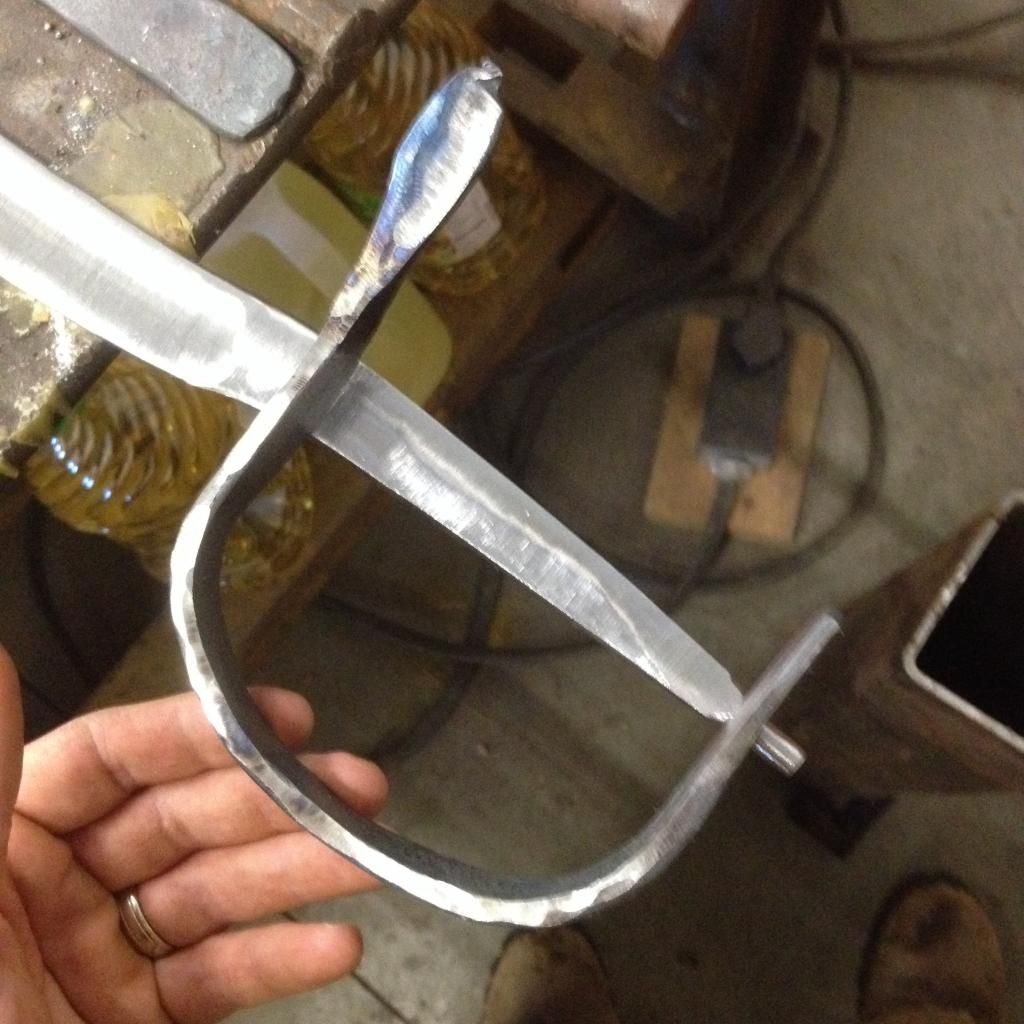
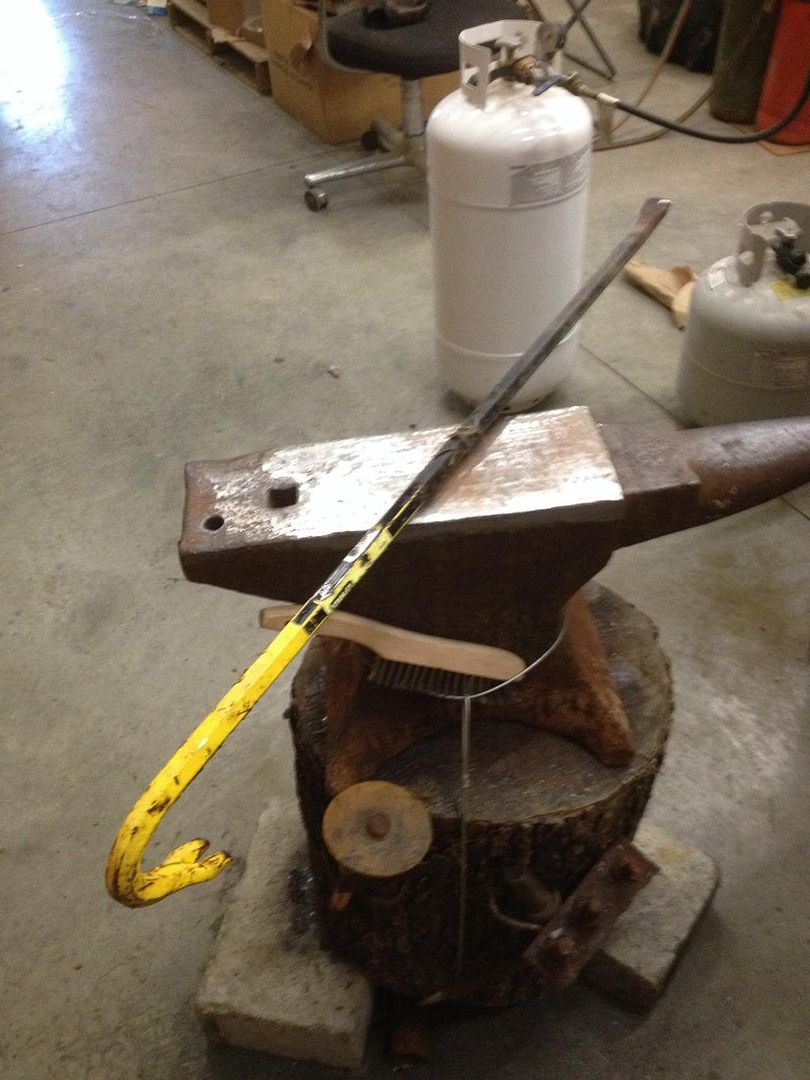
Big pot rack!
in Member Projects
Posted
Charlotte brings up a good point about the tomatoes. They are supposed to be the worst for those pans. Ive made chili in mine over a fire but reseasoned it afterwards just in case. I eat plenty of metal off the grinder. Dont need it in my food too!