

DirtyDusty
-
Posts
12 -
Joined
-
Last visited
Content Type
Profiles
Forums
Articles
Gallery
Downloads
Events
Posts posted by DirtyDusty
-
-
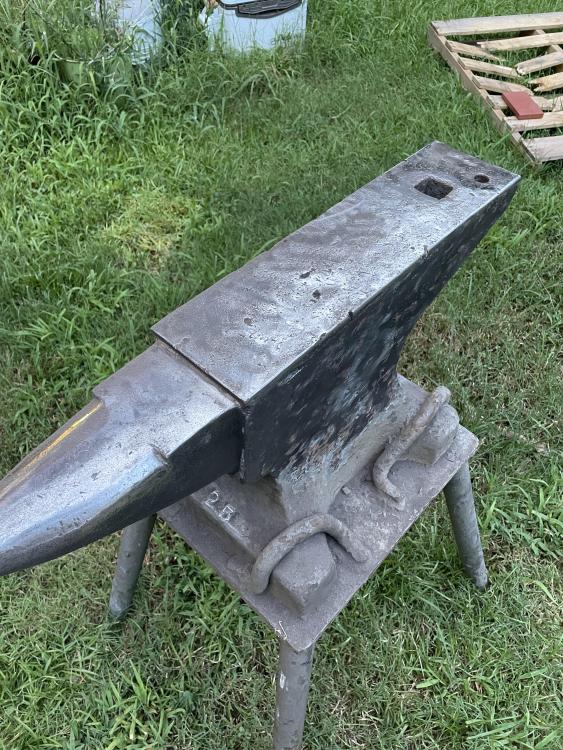
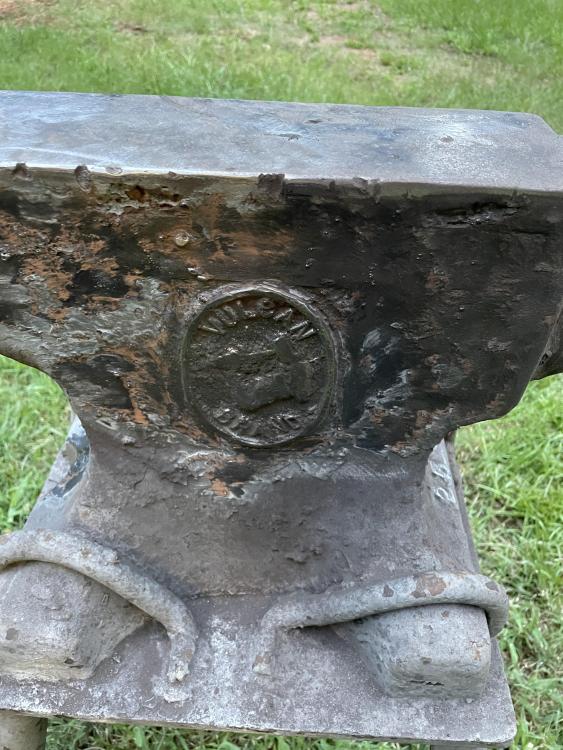
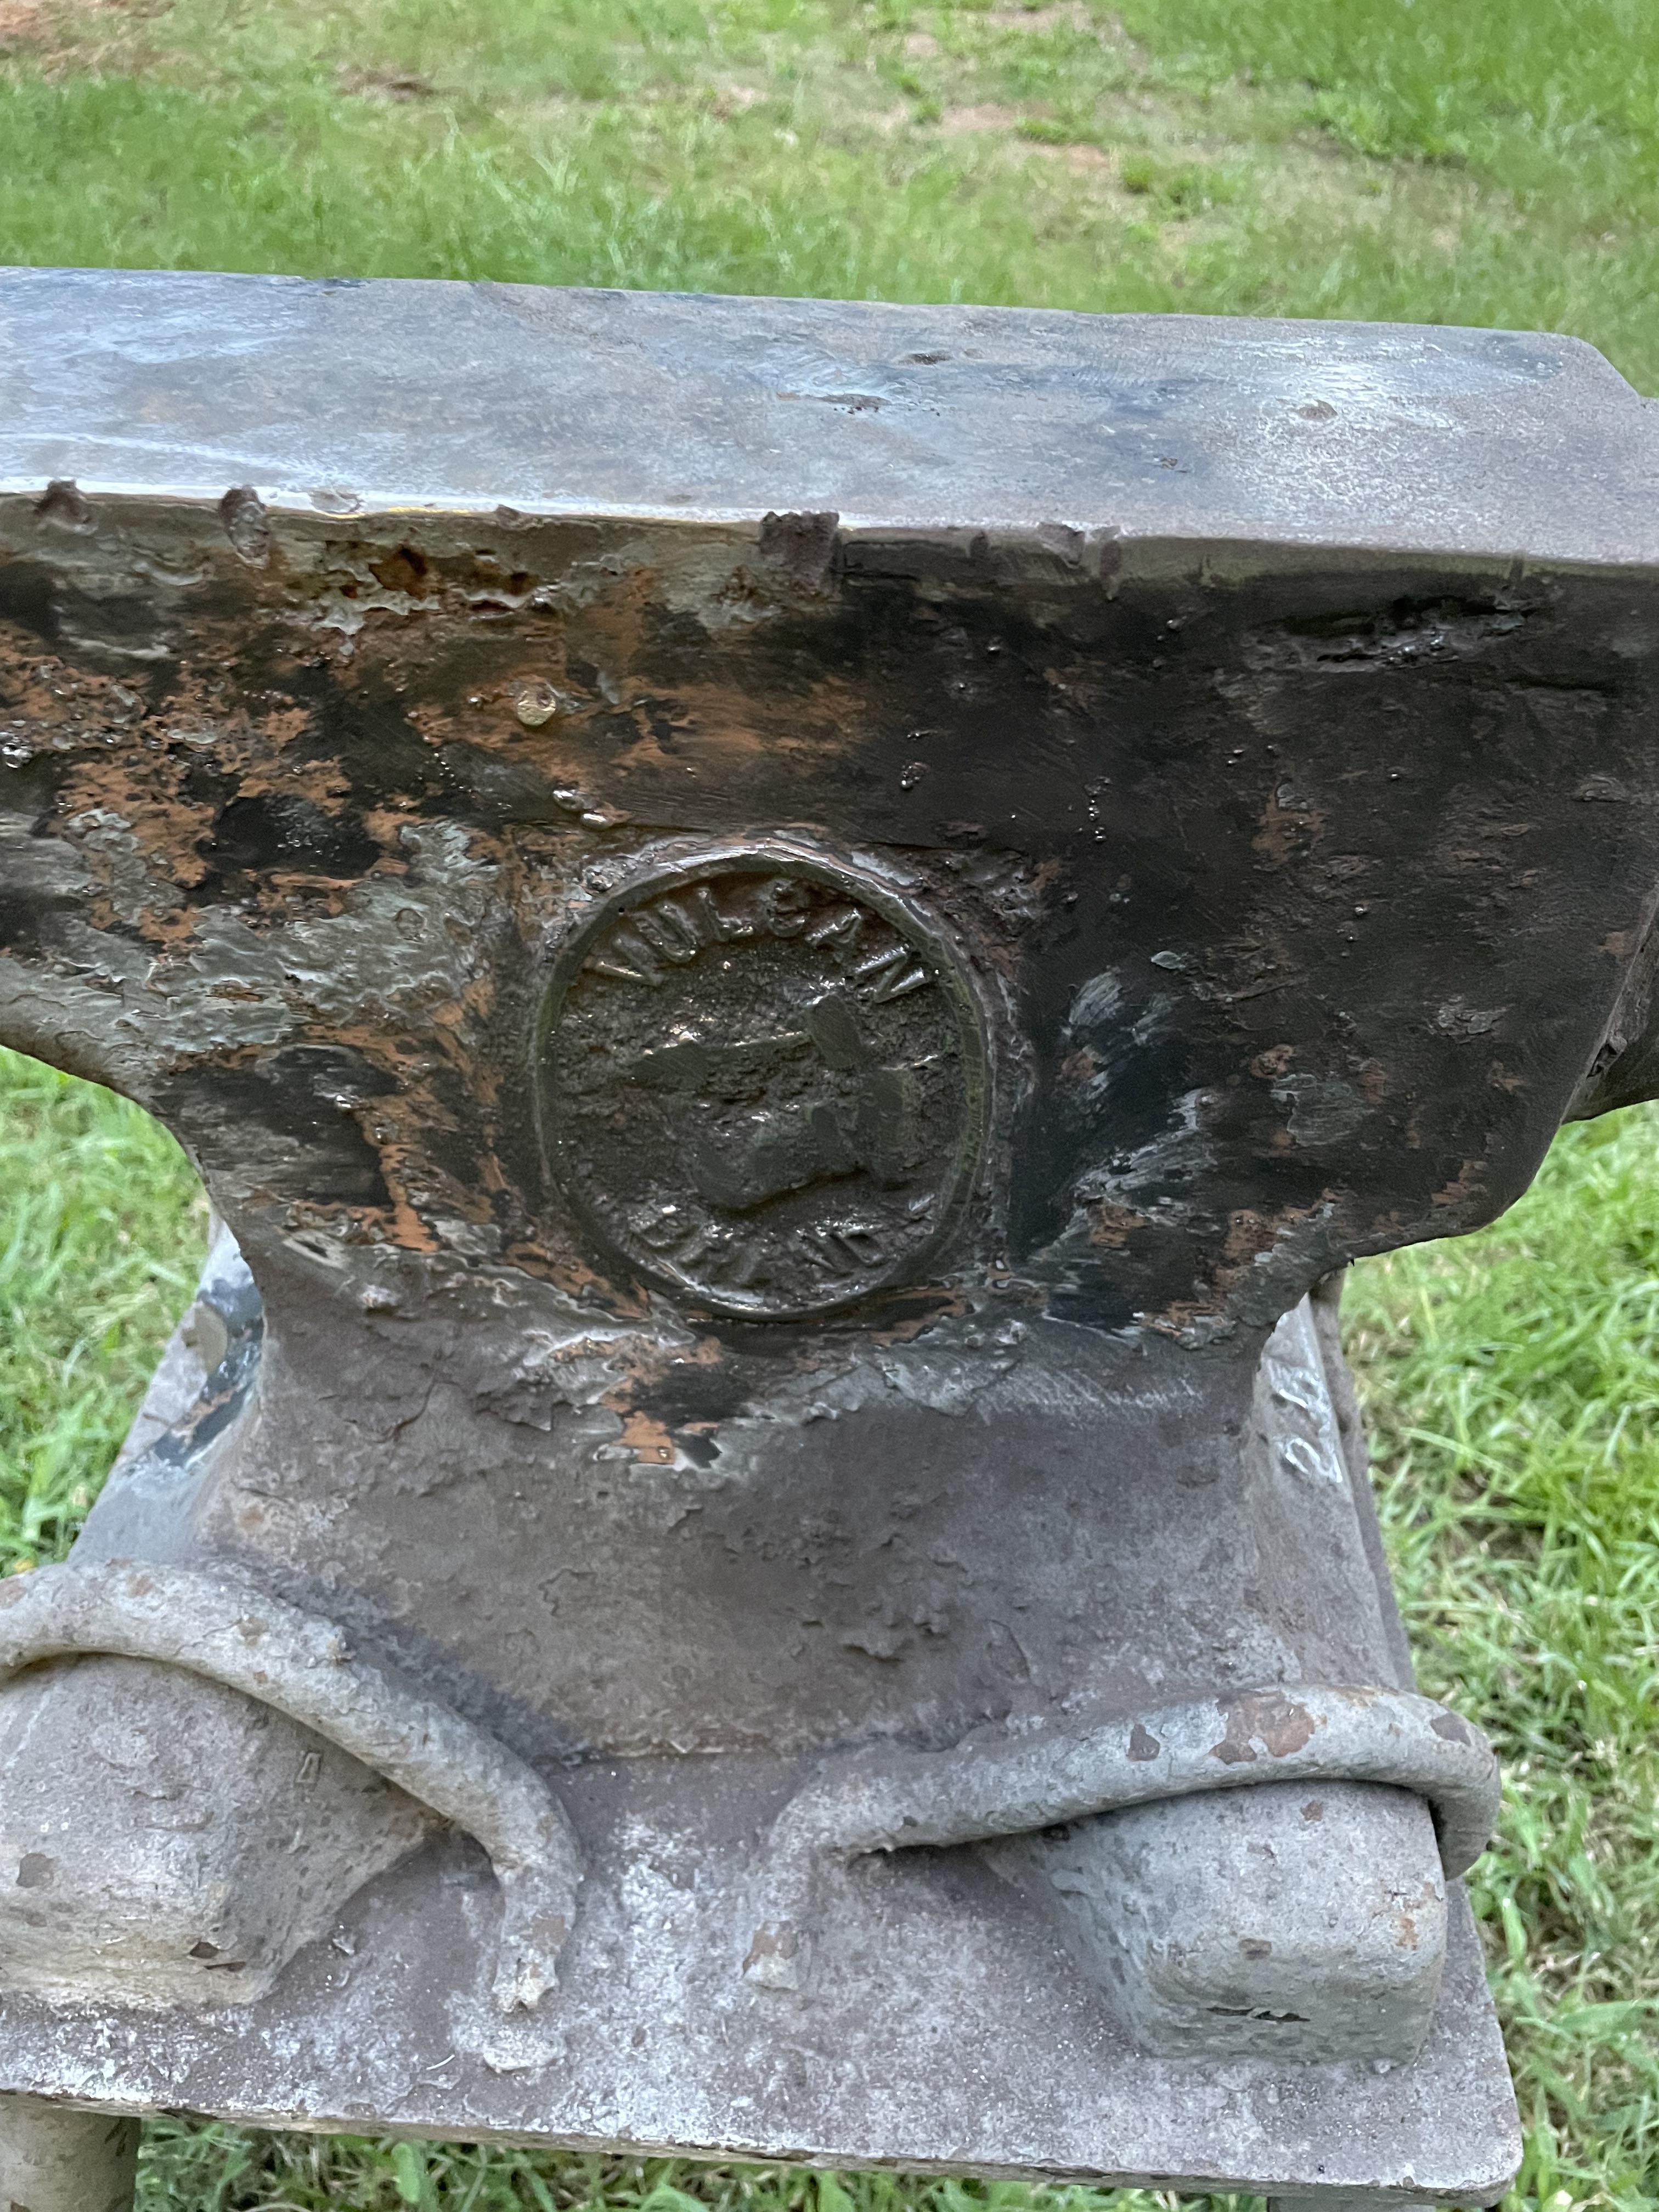
I was just given this anvil. Came out of an industrial maintenance shop. Started cleaning it up, because it had several small welds on the surface, 1/4” dots, and several rough coats of epoxy paint. I am assuming it’s 250lbs, by the “25”molded in the front. Face seems to be pretty flat with sharp edges. Only flaws I see are a couple of pits in the top. Anyway to fix these?

-
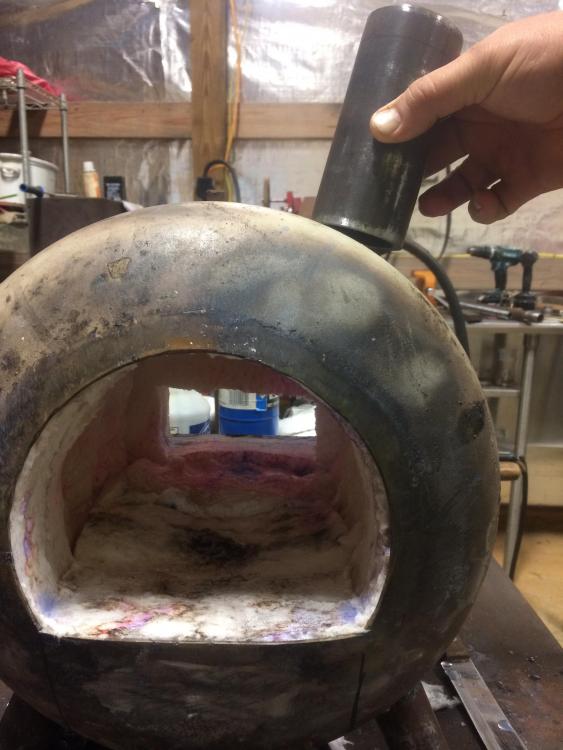
Well I had already cut out a shape of the door, from 1” insulboard. Coated it with sataniye and ITc 100. I was planning to make a hinged door similar to what was in the book. As far as the back, I had put a shelf under the opening, and made 2 sliding baffles from insulboard for it. There is also a shelf in the front place to place bricks.
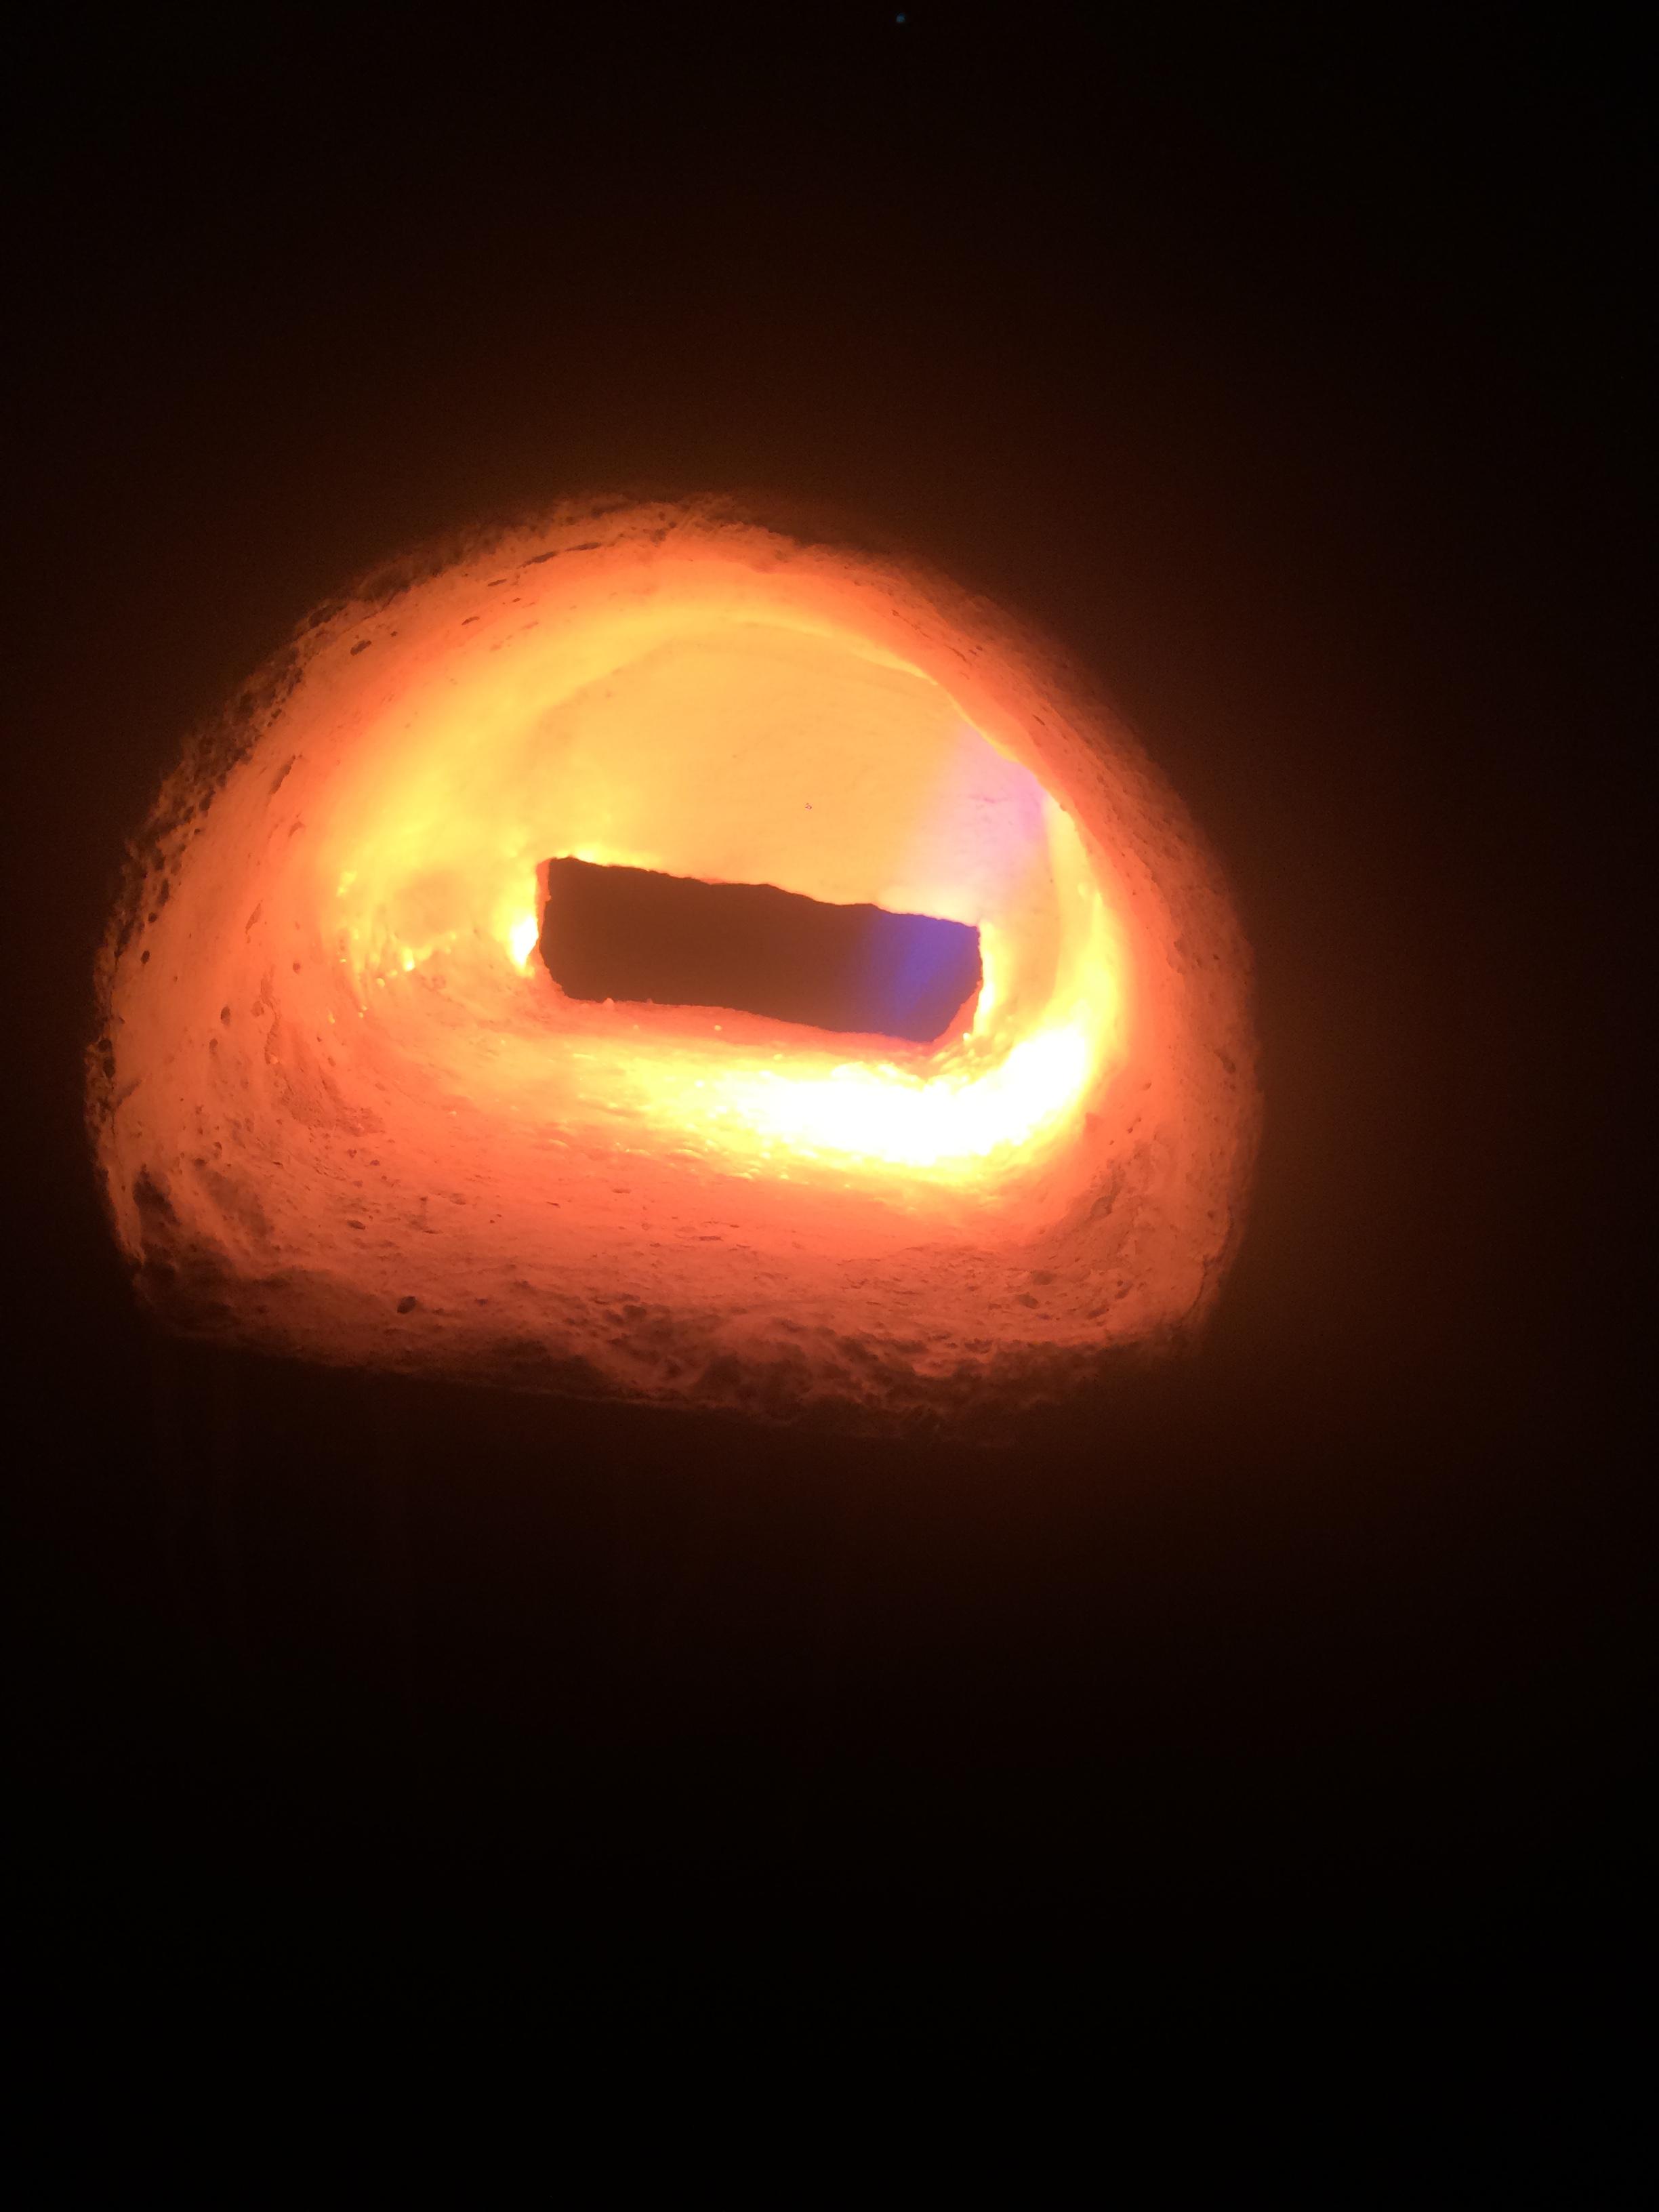
What kind of psi psi will the burner run at? I have only cranked it up to 15 so far. I had a piece of round did in there for a few minutes and it got almost to yellow heat.
-
How much open area would it normally require, on each end, to still allow the burner to run efficiently?
-
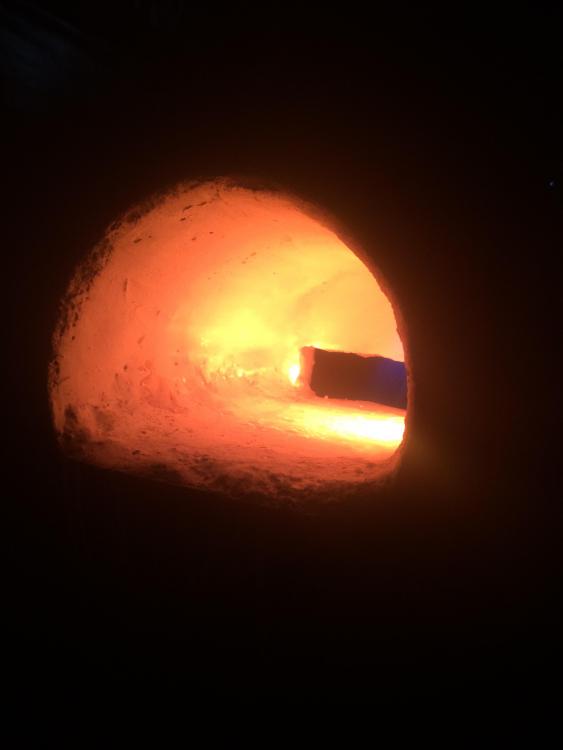
Definitely have a hot spot in the back. Hoping once I restrict the openings it will do better.

-
One thing I may have going on is, I wasn’t sure if I needed the end of the tip past the air openings, into the tube, or a 1/4” back from the edge of the openings. For now, I put a little Satanite on the back end of outside, of the nozzle.
-
On 12/1/2018 at 9:08 PM, Mikey98118 said:
How did my answer work out for you, Dusty?
I just got it finished, I think. I started with a .023 mig tip, but I was having to close the choke almost all the way to stop the flame from blowing out. Ran it from 5-15 psi. Next I switched to a .030 tip, I can open the choke between 1/4- 1/2 way open and see the flame shorten and lengthen. The air openings are @5/8” wide and there are three. Not sure if I should try a .035 or leave it be. Put it in the forge and fired it up until it got red hot inside, put it together with an idler circuit.
Angle seemed ok, I set the burner edge, to the back side of the center line of the forge. It gives a hotter area in the back, so I angled slightly forward with the adjustment screws. I have to get some baffles set up for the front and back.
The video shows the burner going from idle to full fire at 15psi.
Tried adding video, it wouldn’t load right
-
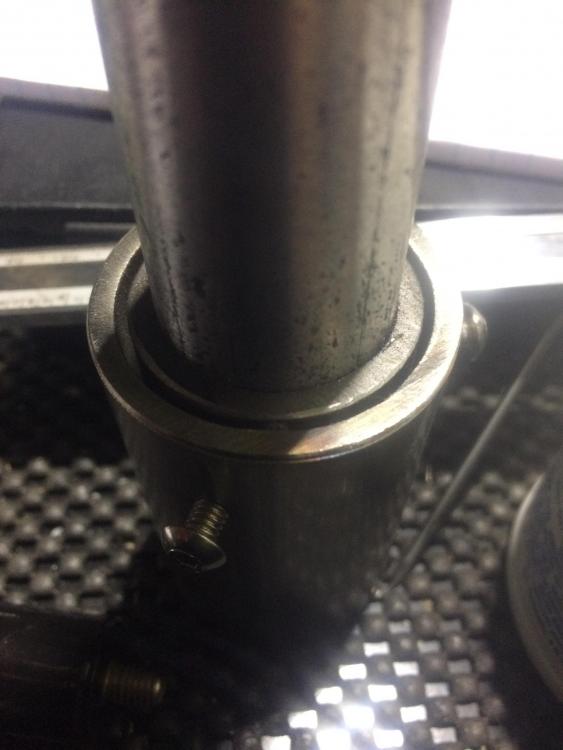
Started assembling my burner. I used 3/4” blank iron for the main body, 1”schedule 40 for the spacer ring sing 1 1/4” stainless schedule 40 for the flame nozzle. The 3/4” to 1” was a good tight fit. The 1” - 1 1/4” has gap around it. Will this be detrimental to the performance?
-
How far back should the burner be, for a single burner forge? Dead center, more toward the front, but angled back, or in the back angled slightly forward?
Also, I was reading your book on building a 3/4" burner, and it said to make four slots for the air intake. I thought I had read on a post, here at IFI, where you said the updated version needs 3 slots. I can't find that post anymore, is that correct, or am I confusing it with another thread?
-
Been looking over multiple threads and I think I am more confused than when I started. If I understand Mr. Porters advice, in other threads, I need to come down 2” from top dead center and angle it so that the burner hits the floor directly under it, but slightly angling towards the opposite side. The pic I attached is my interpretation of it, does it look correct? Wouldn’t this create a direct hot spot on the piece in the forge?
I have looked at quite a bit of pics that have the burner down lower, and pointing at the opposite corner of the floor.
I plan on lining the forge with Satanite on the sides and ceiling, and using mizzou for the floor. Intended use would be for forging and heat treating knives.
-
On 4/10/2018 at 4:33 PM, Mikey98118 said:
S0 then, you won't mind my suggesting that you continue cutting out your shell, so that to can rotate it to bring your burner up to two inches down from top dead center. Then, use wood or angle iron to trap it there. Mount the burner in position, and check to be sure the flame will impinge near tor the near end of the shelve, but clear of the wall. Now employ a level to mark both ends of the shell for floor hight. Check to be sure the projected flame path will intersect the floor where you want it, Rotate the shell until it does
You next have the choice of kiln shelve or refractory for a floor. If you go with a high alumina kiln shelve, buy it one inch wider than the opening's width where your planned floor would intersect the hole. Obtain the shelf first, and then cut out recesses on both sides of both openings, for the shelve to slide into. Be sure that the four recesses are 1/8" higher and wider than the shelve.
Wrap your two 1" layers of ceramic blanket around the forge, and then rigidize and fire them. Next, fold a large enough pillow of ceramic blanket between the rigidized layers and the shelve recesses so that it needs to be compressed in order for you to slip the shelve into the forge (don't rigidize this pillow). The shelve should now spring up against the top of the recesses. The pillow will lose its springiness after a few heats, but will still help secure the shelve in place.
You wouldn't happen to have an image of that example of burner tube placement, looks like, do you? I think I understand, but I am at the point of cutting my hole and all research comes up with a lot of conflicting ideas. I have already gotten the stuff for my lining. Kaowool, 2 layers of 1", Satanite for the lining and mizzou to cast the floor.
-
Does anyone have a reliable link to a pdf of mr. Porter’s book? I have tried numerous links that end up being expired or you have to join and sign up with a credit card number.


Hofi hammer availability
in Hand Hammers
Posted
Are these still being made? If so where can I find a 2lb one?