-
Posts
36 -
Joined
-
Last visited
Content Type
Profiles
Forums
Articles
Gallery
Downloads
Events
Posts posted by ShortMagPirate
-
-
All this talk of motors and frequencies and voltages makes my head hurt. And this is what I do for a living (E&I Supervisor at a major gold mine (currently)...)
There is actually a lot of good and in-depth technical info in this thread... but for all intents and purposes, it's really overkill for what we need.
The bottom line is that the best, safest and most efficent way to vary the airflow output of a small single speed AC motor driven fan or blower is mechanical.
IE: via an air gate as Marc1 suggests below. Sure, you probably can get away with using a dimmer switch for a while, using such a small motor, but a valve or gate is a relatively simple thing to incorporate. I may be new to the intricacies of forging, but the principles are the same whether applied to combustion (coal boilers, stoves, incinerators, etc.) cooling, dust suppression, ventilation or anything else requiring controlled air flow. I have a 1/4 turn ball valve on my forge set up, as well as the ability to simply redirect the blower nozzle away from the inlet pipe, but there are plenty of other designs that I have seen, all of which would work just fine.
This thread is actually one of the ones that originally brought me to this forum, so I've been watching this build with interest...On 4/7/2018 at 3:37 PM, Marc1 said:Some motors can take speed variation others don't. The main concern is usually overheating.
Best way to change the airflow is with a gate. if you don't, not only you will go through tons of coal, you will burn the edge of the firepot very quickly
However for the OP, the problem you will have with that forge is not the blower, that is easily fixed or altered, but with the way you built your firepot. It will get blocked with clinker all the time. Been there done that. Build a proper clinker breaker with a rotating triangular block of steel or similar.
14 hours ago, ThomasPowers said:Where in Texas? I can see El Paso from my front porch and most of my team is in Austin...(and kinfolk in Katy...)
TP: my son's girlfriend is from Katy, and I have a friend who up until very recently worked in a salt mine just a few miles north of there... such a small world we live in.
-
A good hard packed dirt floor would be fine, if your soil conditions allow it... otherwise concrete over packed gravel would be my choice.
Anything that gives you good, solid, safe footing. I may be new to blacksmithing but I do know a thing or two about putting a shop together in unusual and irregular locations...
-
8 minutes ago, Frosty said:
I have some pretty good memories of smithing in the trailer court.
There's a song in there, somewhere... I can feel it...
-
2 hours ago, Frosty said:
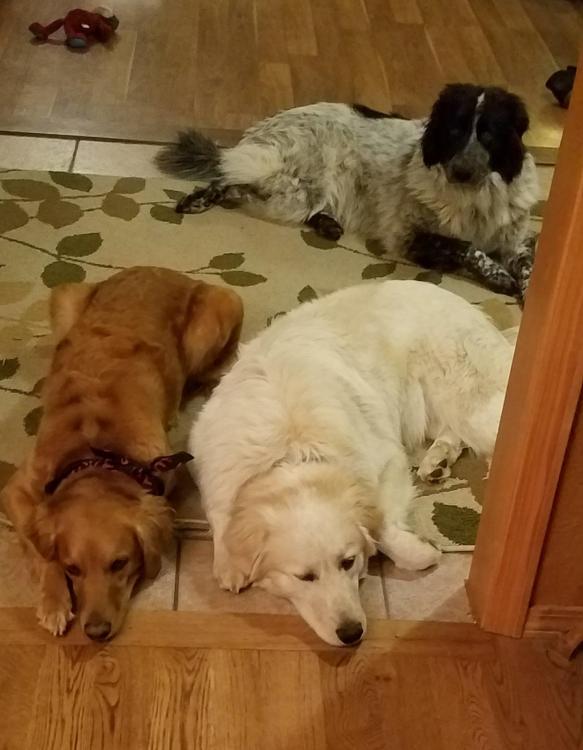
Nice pack, I love LGDs. No random guardian dog crosses in the neighborhood. Good dog dad, you get a cookie!
Frosty The Lucky.
LGDs are the best dogs. These pups have some huge paw prints to fill... their predecessor was an Anatolian Shepherd, without a doubt the best dog I've ever had... he was not only a guard dog but my daughter's service dog as well... he was her constant companion for about 11 years, saved her bacon more than one time. She has a form of MD that has progressed slowly, and he helped her walk before she became confined to her scooter. He caught her when she fell a few times, and he'd let us know if she was in pain or sick even before it happened... he'd post himself in front of her door and wouldn't move until he knew she was ok.
We got the pups a while after he passed. They have their work cut out for them, but they're going to be great dogs.
-
-
That's a nice shop, jeremy. Don't let my wife see that.
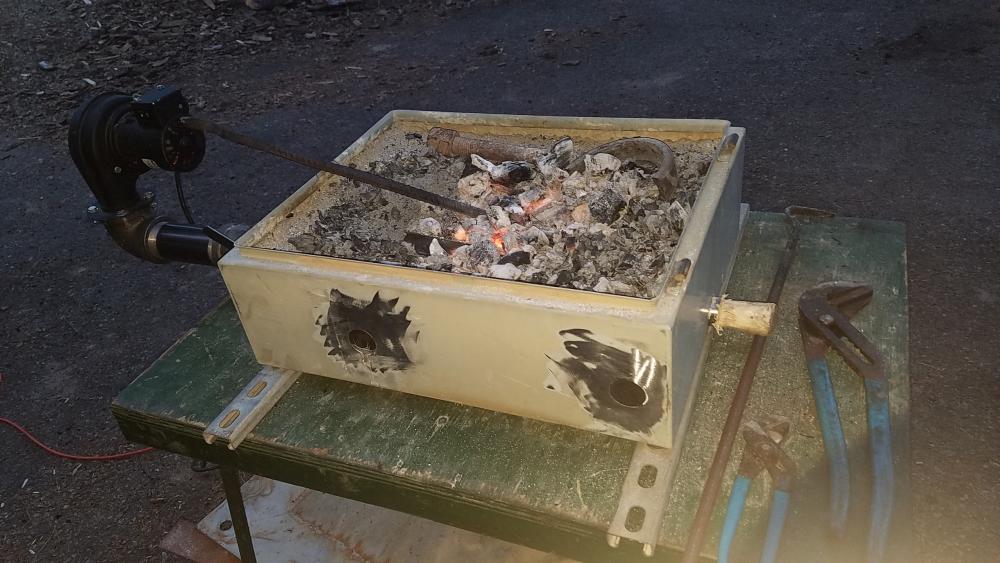
My forge is an old electrical enclosure with a 1" stainless pipe running through it, a few air holes, a bed of refractory cement and an old blower I've been hanging on to for a few years.
The only things not scrounged are the pieces of 2" black pipe. It's not ideal by any means but it seems to work for now. I have a brake rotor that will be making the transformation to a forge soon, as I find time to work on it. -
22 minutes ago, HammerMonkey said:
Nice looking furry family there ShortMag.
Thanks! They can be a handful, but after 8 kids, they're actually pretty easy when you think about it.
9 minutes ago, ThomasPowers said:They look eminently suitable for that job!
That they are... nothing gets past them.
-
My boys and their 'little' sister...
The boys are just barely a year old (Akbash/Great Pyrenees/Golden Mountain Dog) and the little Golden princess is my wife's baby. She's amost 5, I think.Haley, Winston and Trooper, in that order. Doing what they do best, guarding the dining room so no food escapes.
-
I found my pipe parts at Do It Best, they carry both galvanized and black, at least they do here. Otherwise any mom and pop type hardware store should have what you need.
-
Is Ductile Iron the same as Cast Iron? I have several old pipe wrenches that are donating their top jaws to the forge, just wondering if there is anything that can be done with the handles?
-
25 minutes ago, Irondragon Forge & Clay said:
Looking good, although I think there is a little to much air for the charcoal.
Yeah, I have a 1” ball valve between the blower and tuyere, it was wide open for the video. It will take some tweaking to get the feel of it. The blower is a 2 speed stove blower, so it’s pretty powerful.
The other thing I need to do is trim down the ends of the box so I can get some longer pieces in there.
-
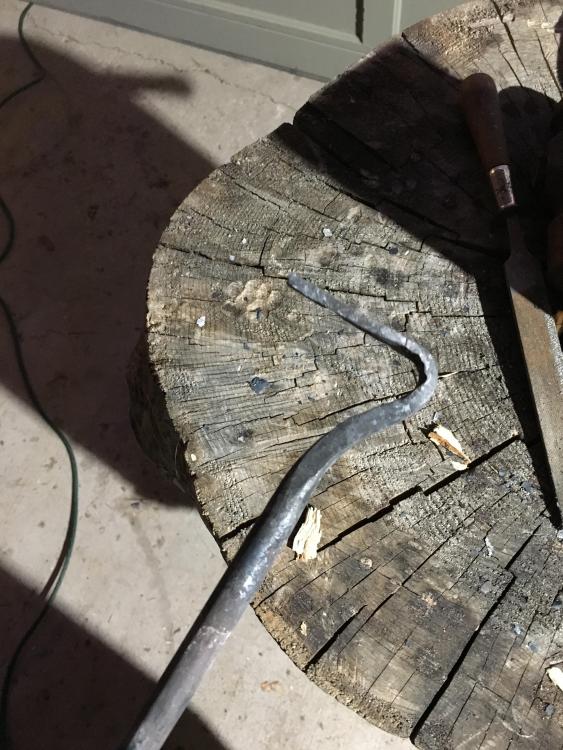
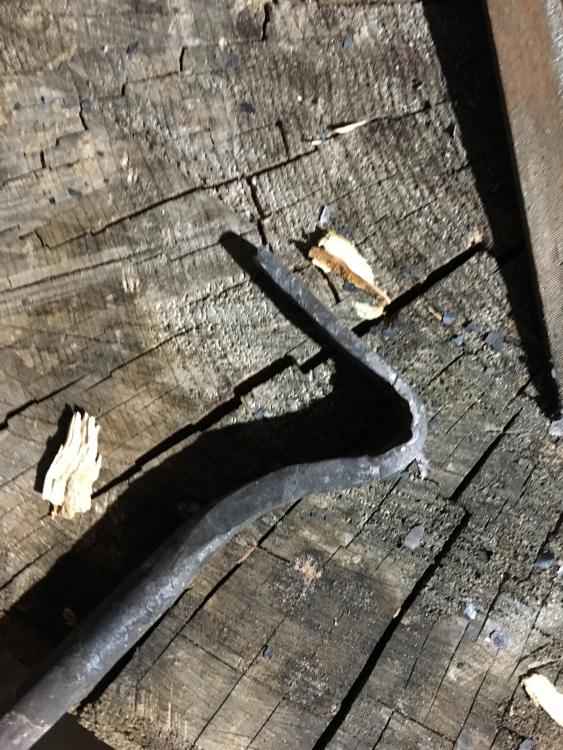
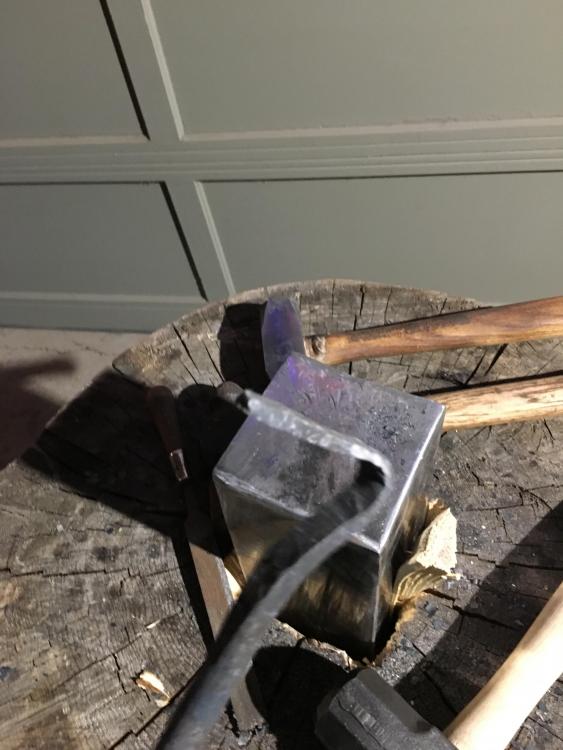
I finally got a few free minutes to put it all together and light it up... seems like it works, I was able to make my poker with it... (one end, anyways.)
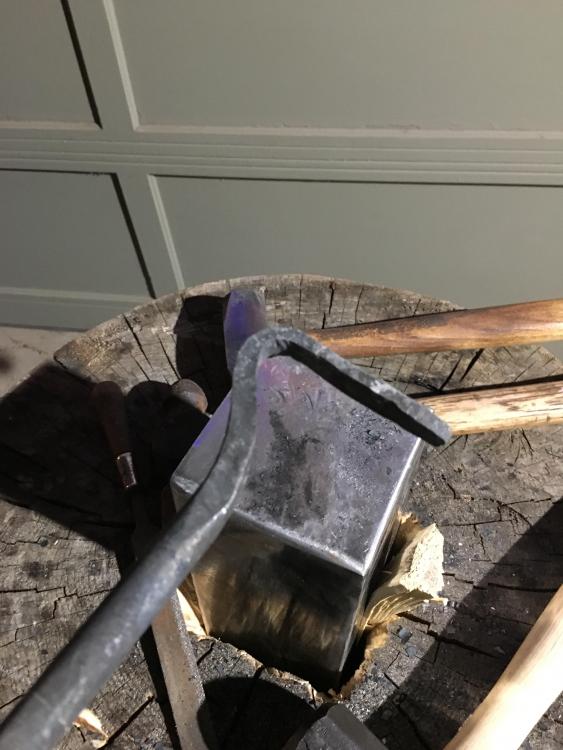
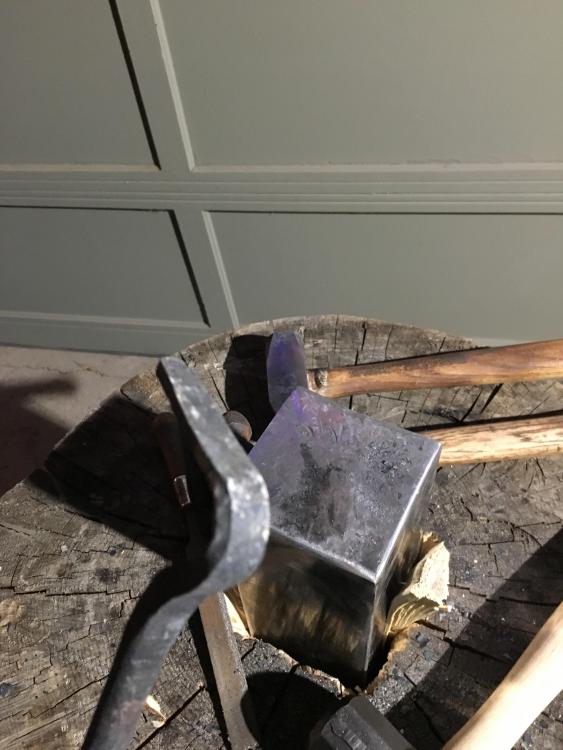
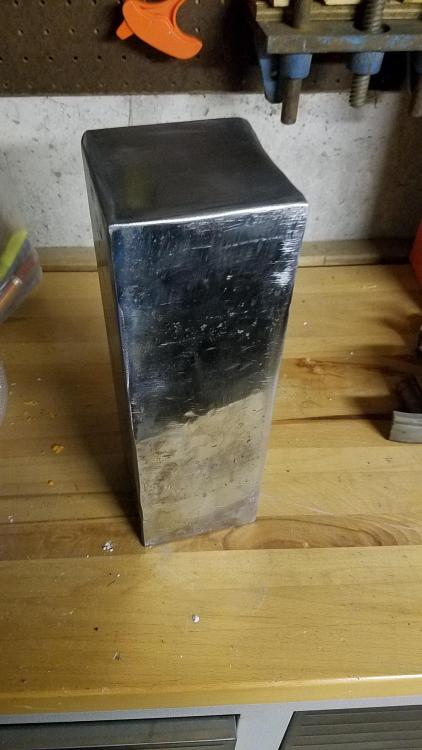
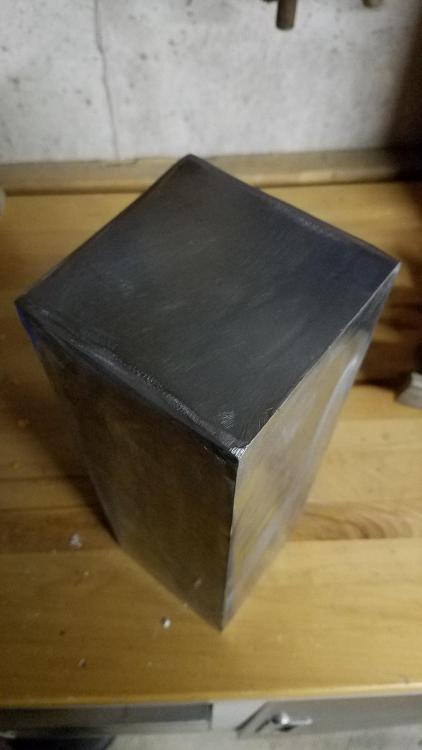
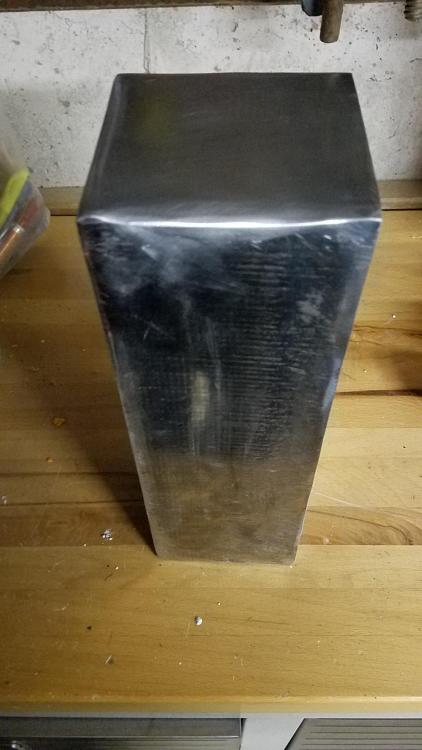
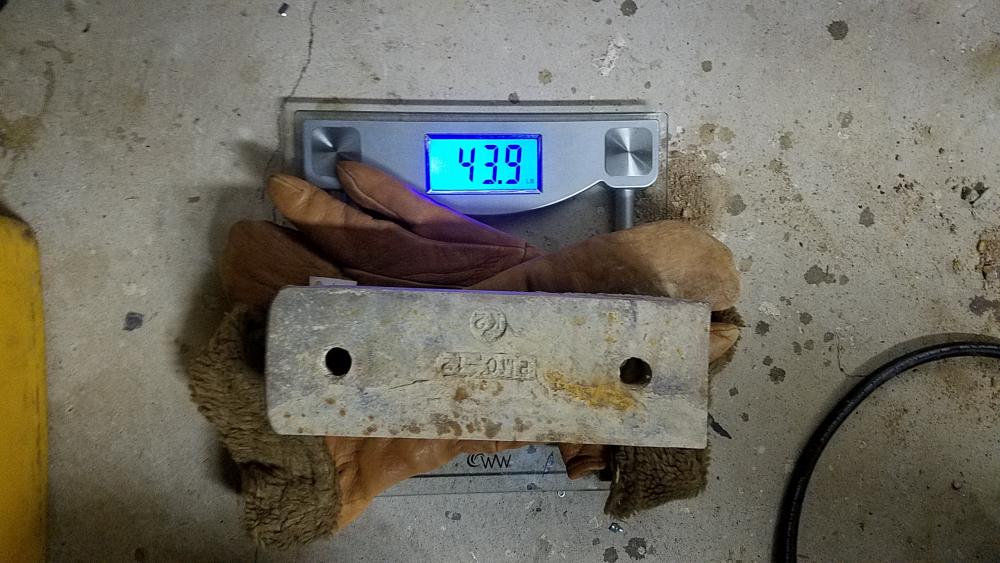
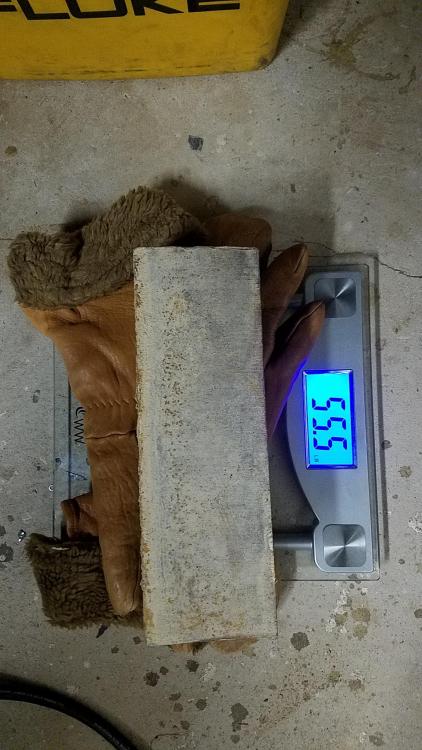
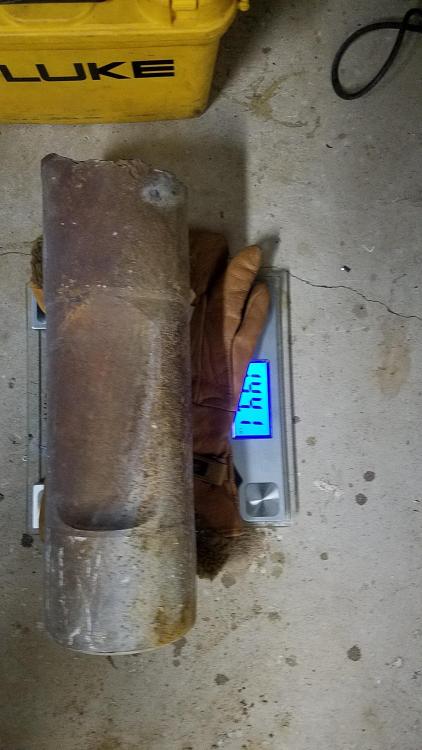
The 4x4x12” anvil did OK, but I think the rock breaker will be a lot better. The steel of the 4x4 seems pretty soft. Maybe it will work harden.
-
I was thinking wooden wedges might give it more "backbone..." make it more solid... but silicone would work too, I guess. I have a couple tubes laying around doing nothing anyways.
-
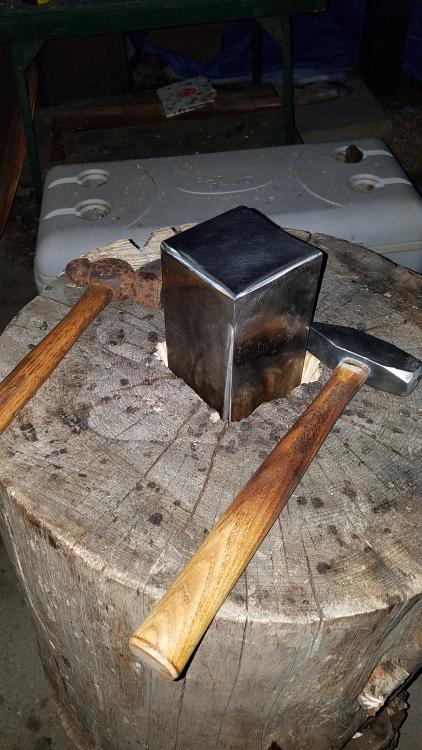
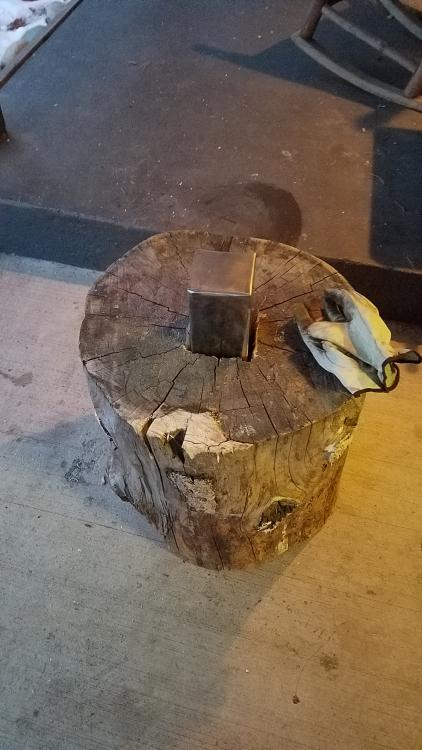
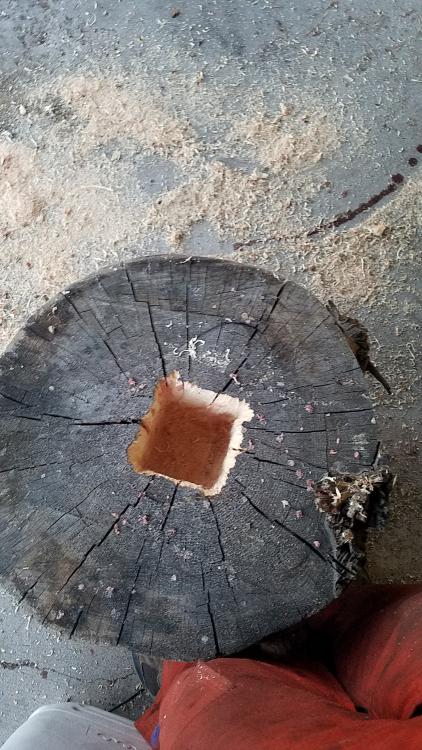
Thought I'd throw this in here. Finally got around to putting anvil #1 in the block.
A little bit of quality time with the chainsaw and now all it needs is a couple of 6x6's to raise it up to height and some wedges to snug the steel up in the hole.
I have another large round that I might just use for the piece of rock breaker but now that this one is ready to go I can wait on the big one until I'm ready to build a good stand. -
9 hours ago, Frosty said:
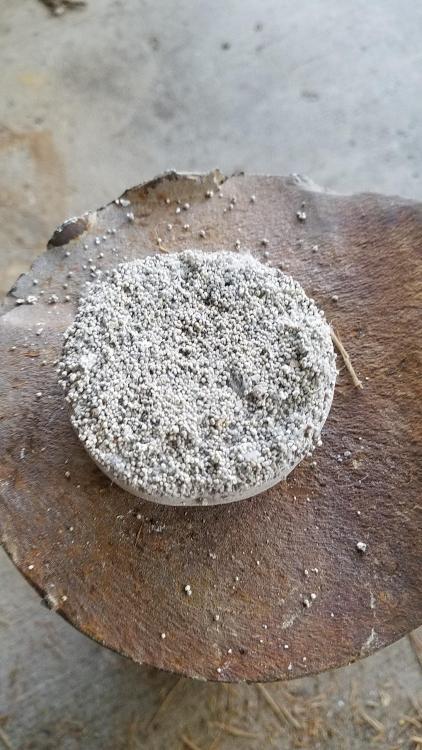
The beads are the evacuated silica spheres. You used too much water but you always get some pump to the surface.
Frosty The Lucky.
That makes sense. I thought maybe I added a little too much water. I was going for peanut butter but I shot right past to more like toothpaste.
Incidentally, Frosty, where do you get your coal up there? I know there are some seams in your area (Wishbone Hill, etc,) but I didn't think any were producing...
I worked up at Usibelli a while back and the coal there is sub-bituminous, and only about +/-7500 BTU. It usually barely adequate to heat a house, I would think it would be difficult for blacksmithing... I know there is at least one outfit that hauls coal from Healy down to the Valley to sell to the public.
(Actually, that's where I got my interest in blacksmithing, but just I never had time to take the plunge while I was up there.)
-
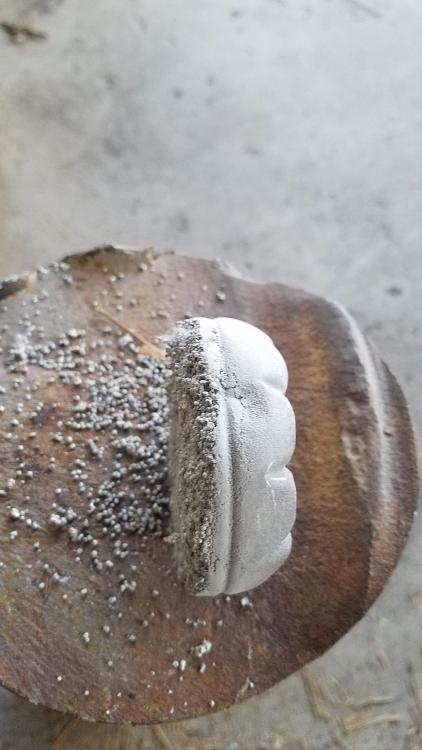
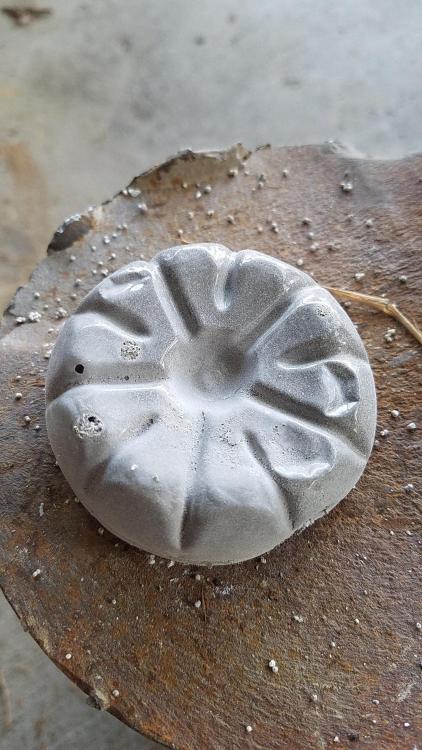
So my little experiment seems to have been a success... the sample set up nicely, although it seems to have some little beads that floated up to the top. Not sure what that's all about. Seen in the first two pictures. Maybe I just didn't mix it enough.
I don't have an O/A torch but with Map Pro and a TS8000 it got to borderline orange/yellow... the last picture is after a couple cycles of that. Doesn't seem to have affected it much, if any.
-
-
-
That's actually not a bad idea...
My wife has toyed with the idea of getting into pottery and building a kiln, but I don't know if that's ever going to happen. I'm sure, if this stuff ends up being in good shape, that there are plenty of folks who could use it. I don't have any need for a whole pallet of the stuff, that's for sure.
-
-
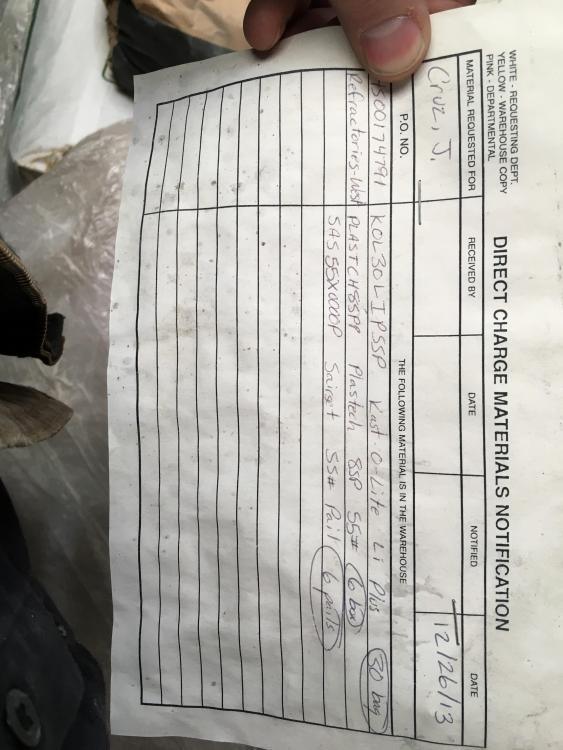
Just ran into a stash refractory that they were getting ready to dispose of here at work. Apparently someone determined it was past it's shelf life. Not sure when it was bought but the powers that be decided to discard this lot and order more. I got the blessings from my boss to helpo myself, grabbed 6 bags today, to take home and see if it is still good. 3 bags of Kastolite 30 and 3 of Econolite 90. There's quite a few more bags left if I want them, and if it's still any good. I know the stuff does lose it's properties over time, but there's always a chance this is still good... I work in a very dry climate at 11000ft so it's definitely been stored cool and dry.
Since I was still mulling over what to build, with this stuff I think I'll try a JABOD variation. I have an old electrical enclosure that will serve as my box, it's about 6x18x20" or somewhere around there. Not as big as I'd like but it will serve for now. It's even got a hinged lid to serve as a table while I'm working. I'll just use my old defunct grill for a stand for now. Even if the refractory doesn't pan out, it should be a good design with some sand/clay.
For air I have a 2 speed blower from a wood stove (England's part number AC-16.) It may not be ideal so I'm prepared to steal one of the girls' hair dryers, if needed. We'll see what happens.
The Tractor Supply here had nut coal last week, hopefully they still have some left, otherwise I'll be using charcoal to start out with. (Just got off the phone with them, on order, 2-3 weeks. Looks like charcoal it is for a while.)
So now it begins. I have a hammer or two, anvils, some scrap steel to practice on and now the makings for my forge.
Pics will follow as I start putting everything together.
-
20 minutes ago, caotropheus said:
It seems that you have the raw materials, so, when are we going to see a picture or video of your improvised anvils?
Great question... going to try and get some sort of a forge put together by the weekend, and hopefully start putting these anvils to work.
-
Well, I know how I'm going to do the big one now, so thanks for the advice... I also just picked up another chunk of steel, this one is a straight piece of 4x4" stock about 12" long... I'm just going to sink it into one of the big Pine rounds I have out in the yard and call it good. That will get me going while I'm gathering material for the big one.
-
That's one of the setups that gave me my inspiration... is it all 2x4 and 2x6? How is it put together? Screws and glue?


![20180225_210947[1].jpg](https://www.iforgeiron.com/uploads/monthly_2018_04/5ac2b8c59f8e8_20180225_2109471.thumb.jpg.c3f76f22921e57b2412a5812a5120cba.jpg)
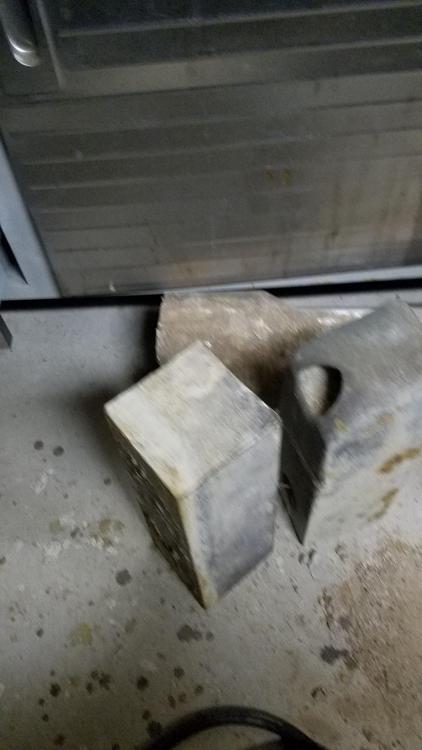
New Blacksmith Shop Floor
in Building, Designing a Shop
Posted
Eeewwww.