

Baldncane
-
Posts
24 -
Joined
-
Last visited
Content Type
Profiles
Forums
Articles
Gallery
Downloads
Events
Posts posted by Baldncane
-
-
Brilliant! Today is my birthday and this is a heck of a gift! Thank you very much!
-
That sounds exactly like what I’m looking for! Do you happen to have a photo? Did you clay all the way across at an even thickness then forge the fire pot down into that or do a ducks nest type thing? If the former, about how thick should I go in order to form a pot below it? Either way, I think I might have enough to get me going! Thank you very, very much!
-
Hi again!
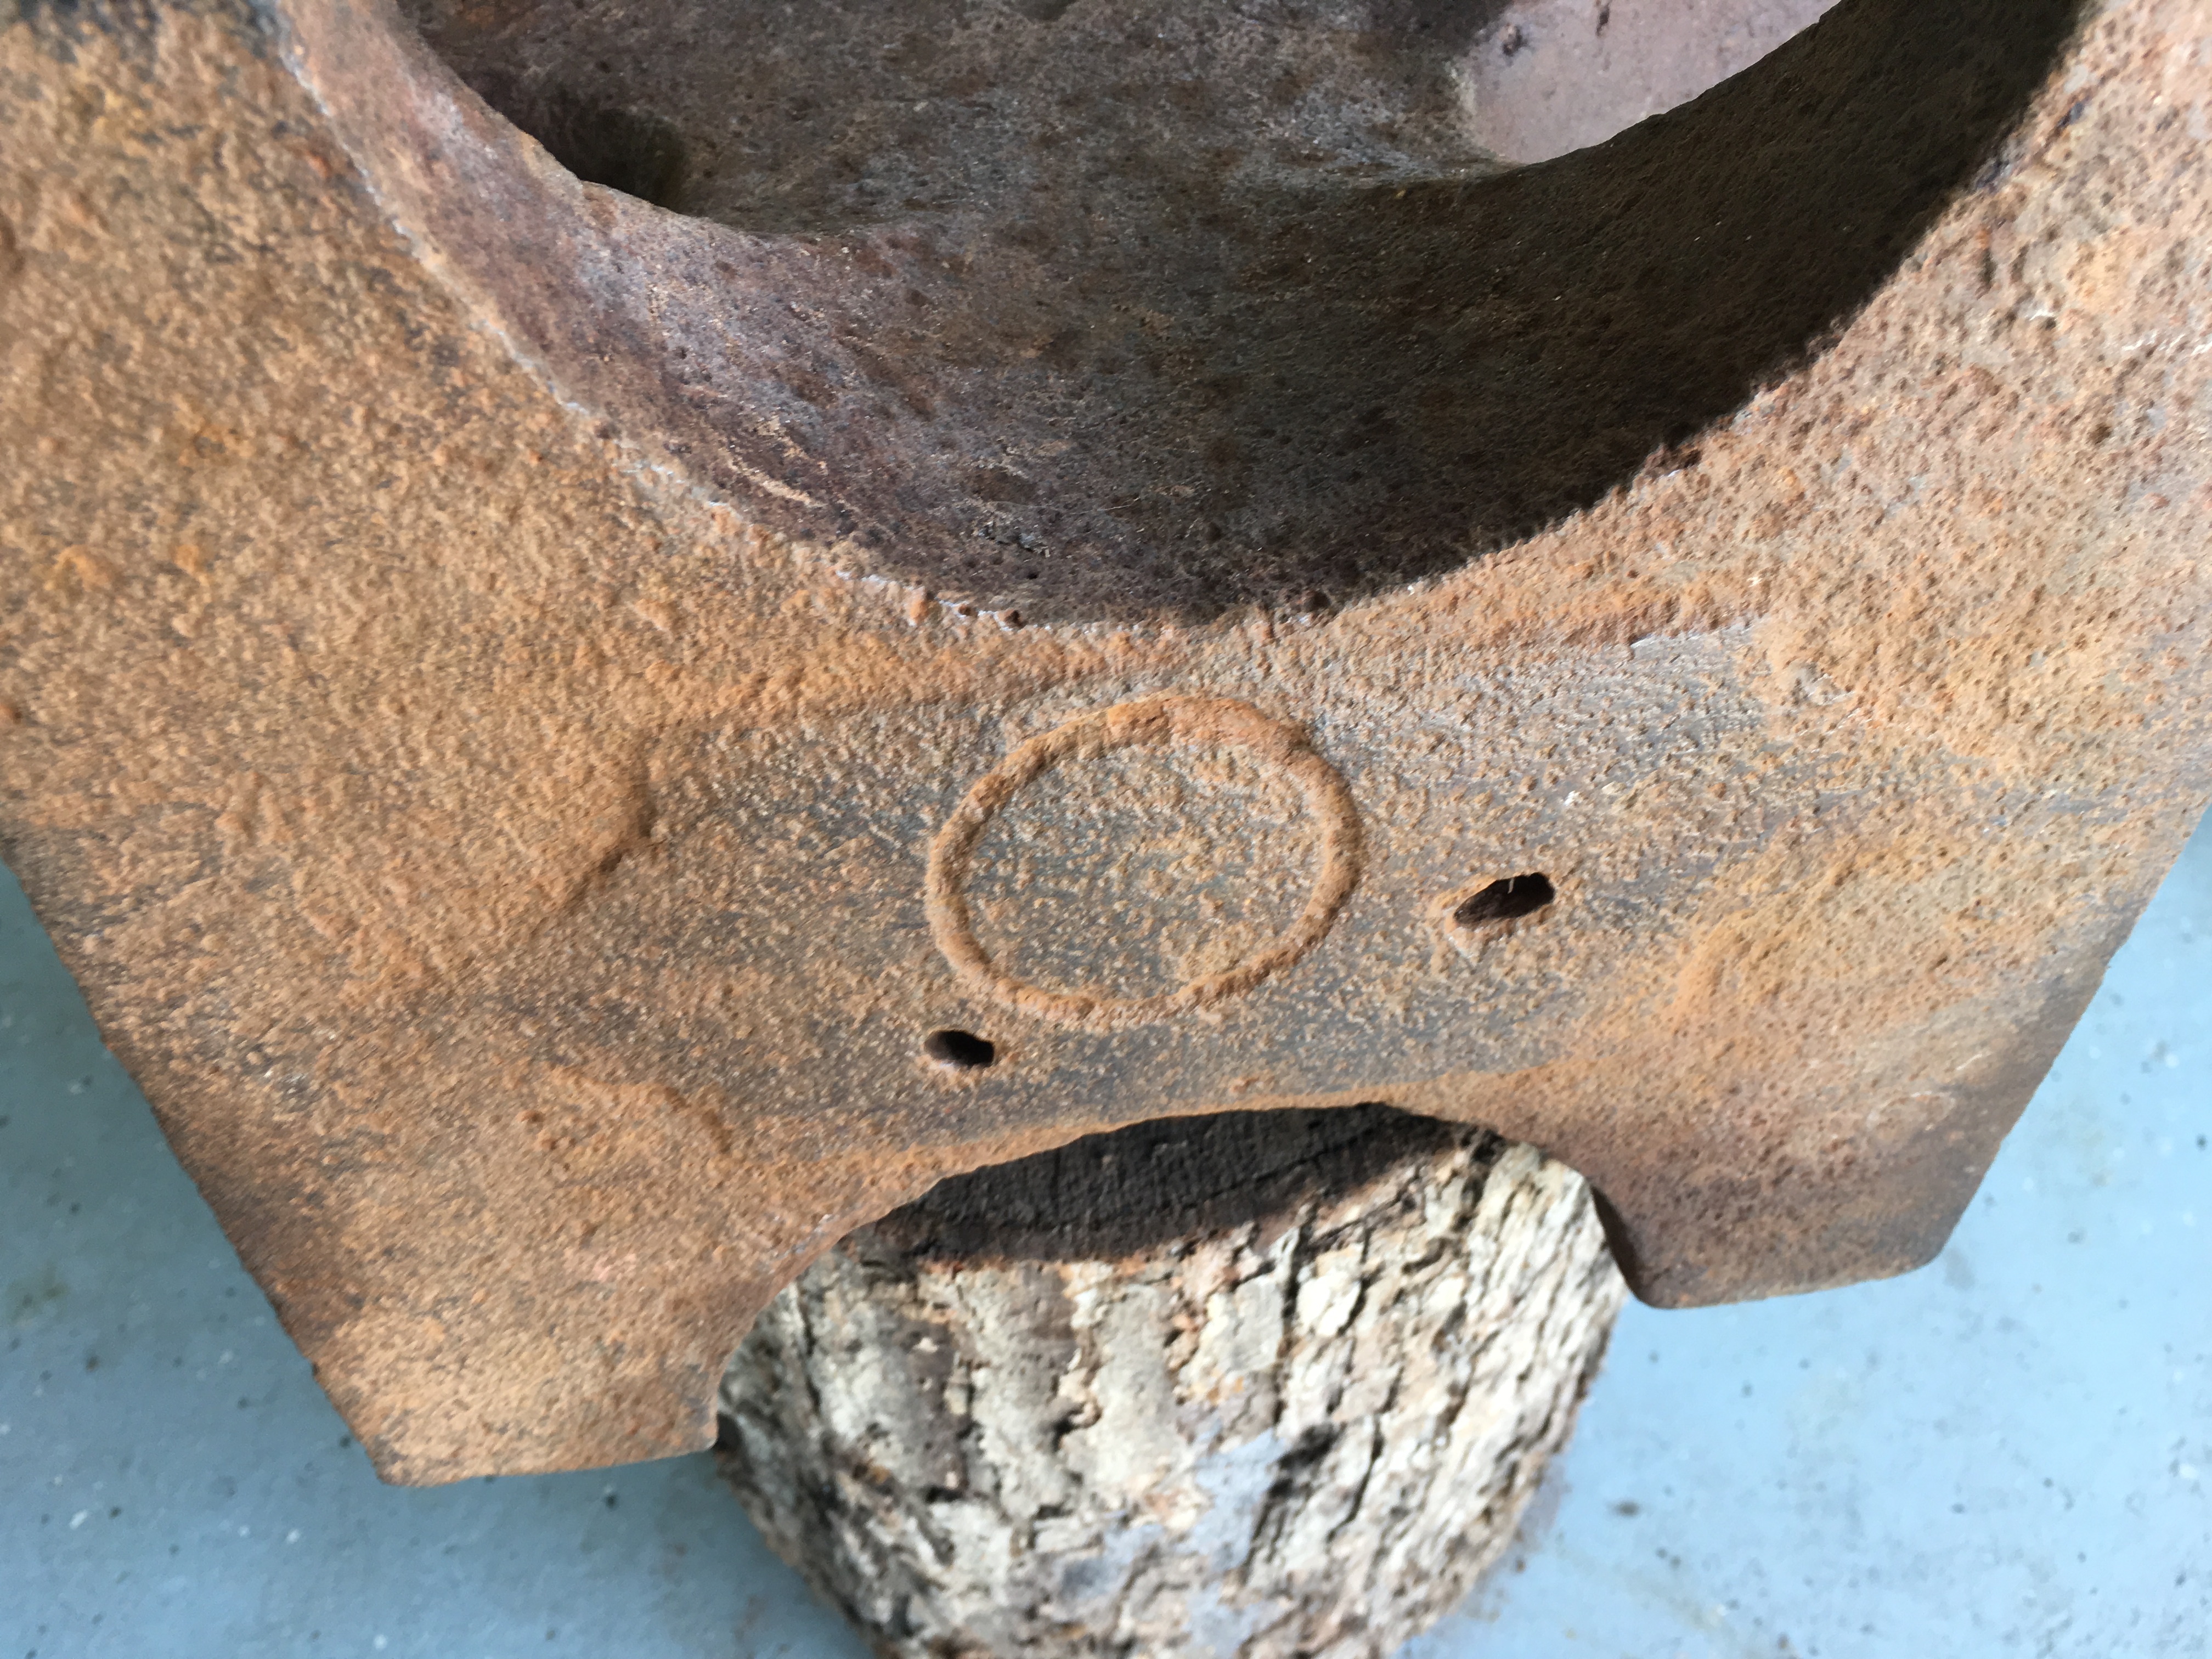
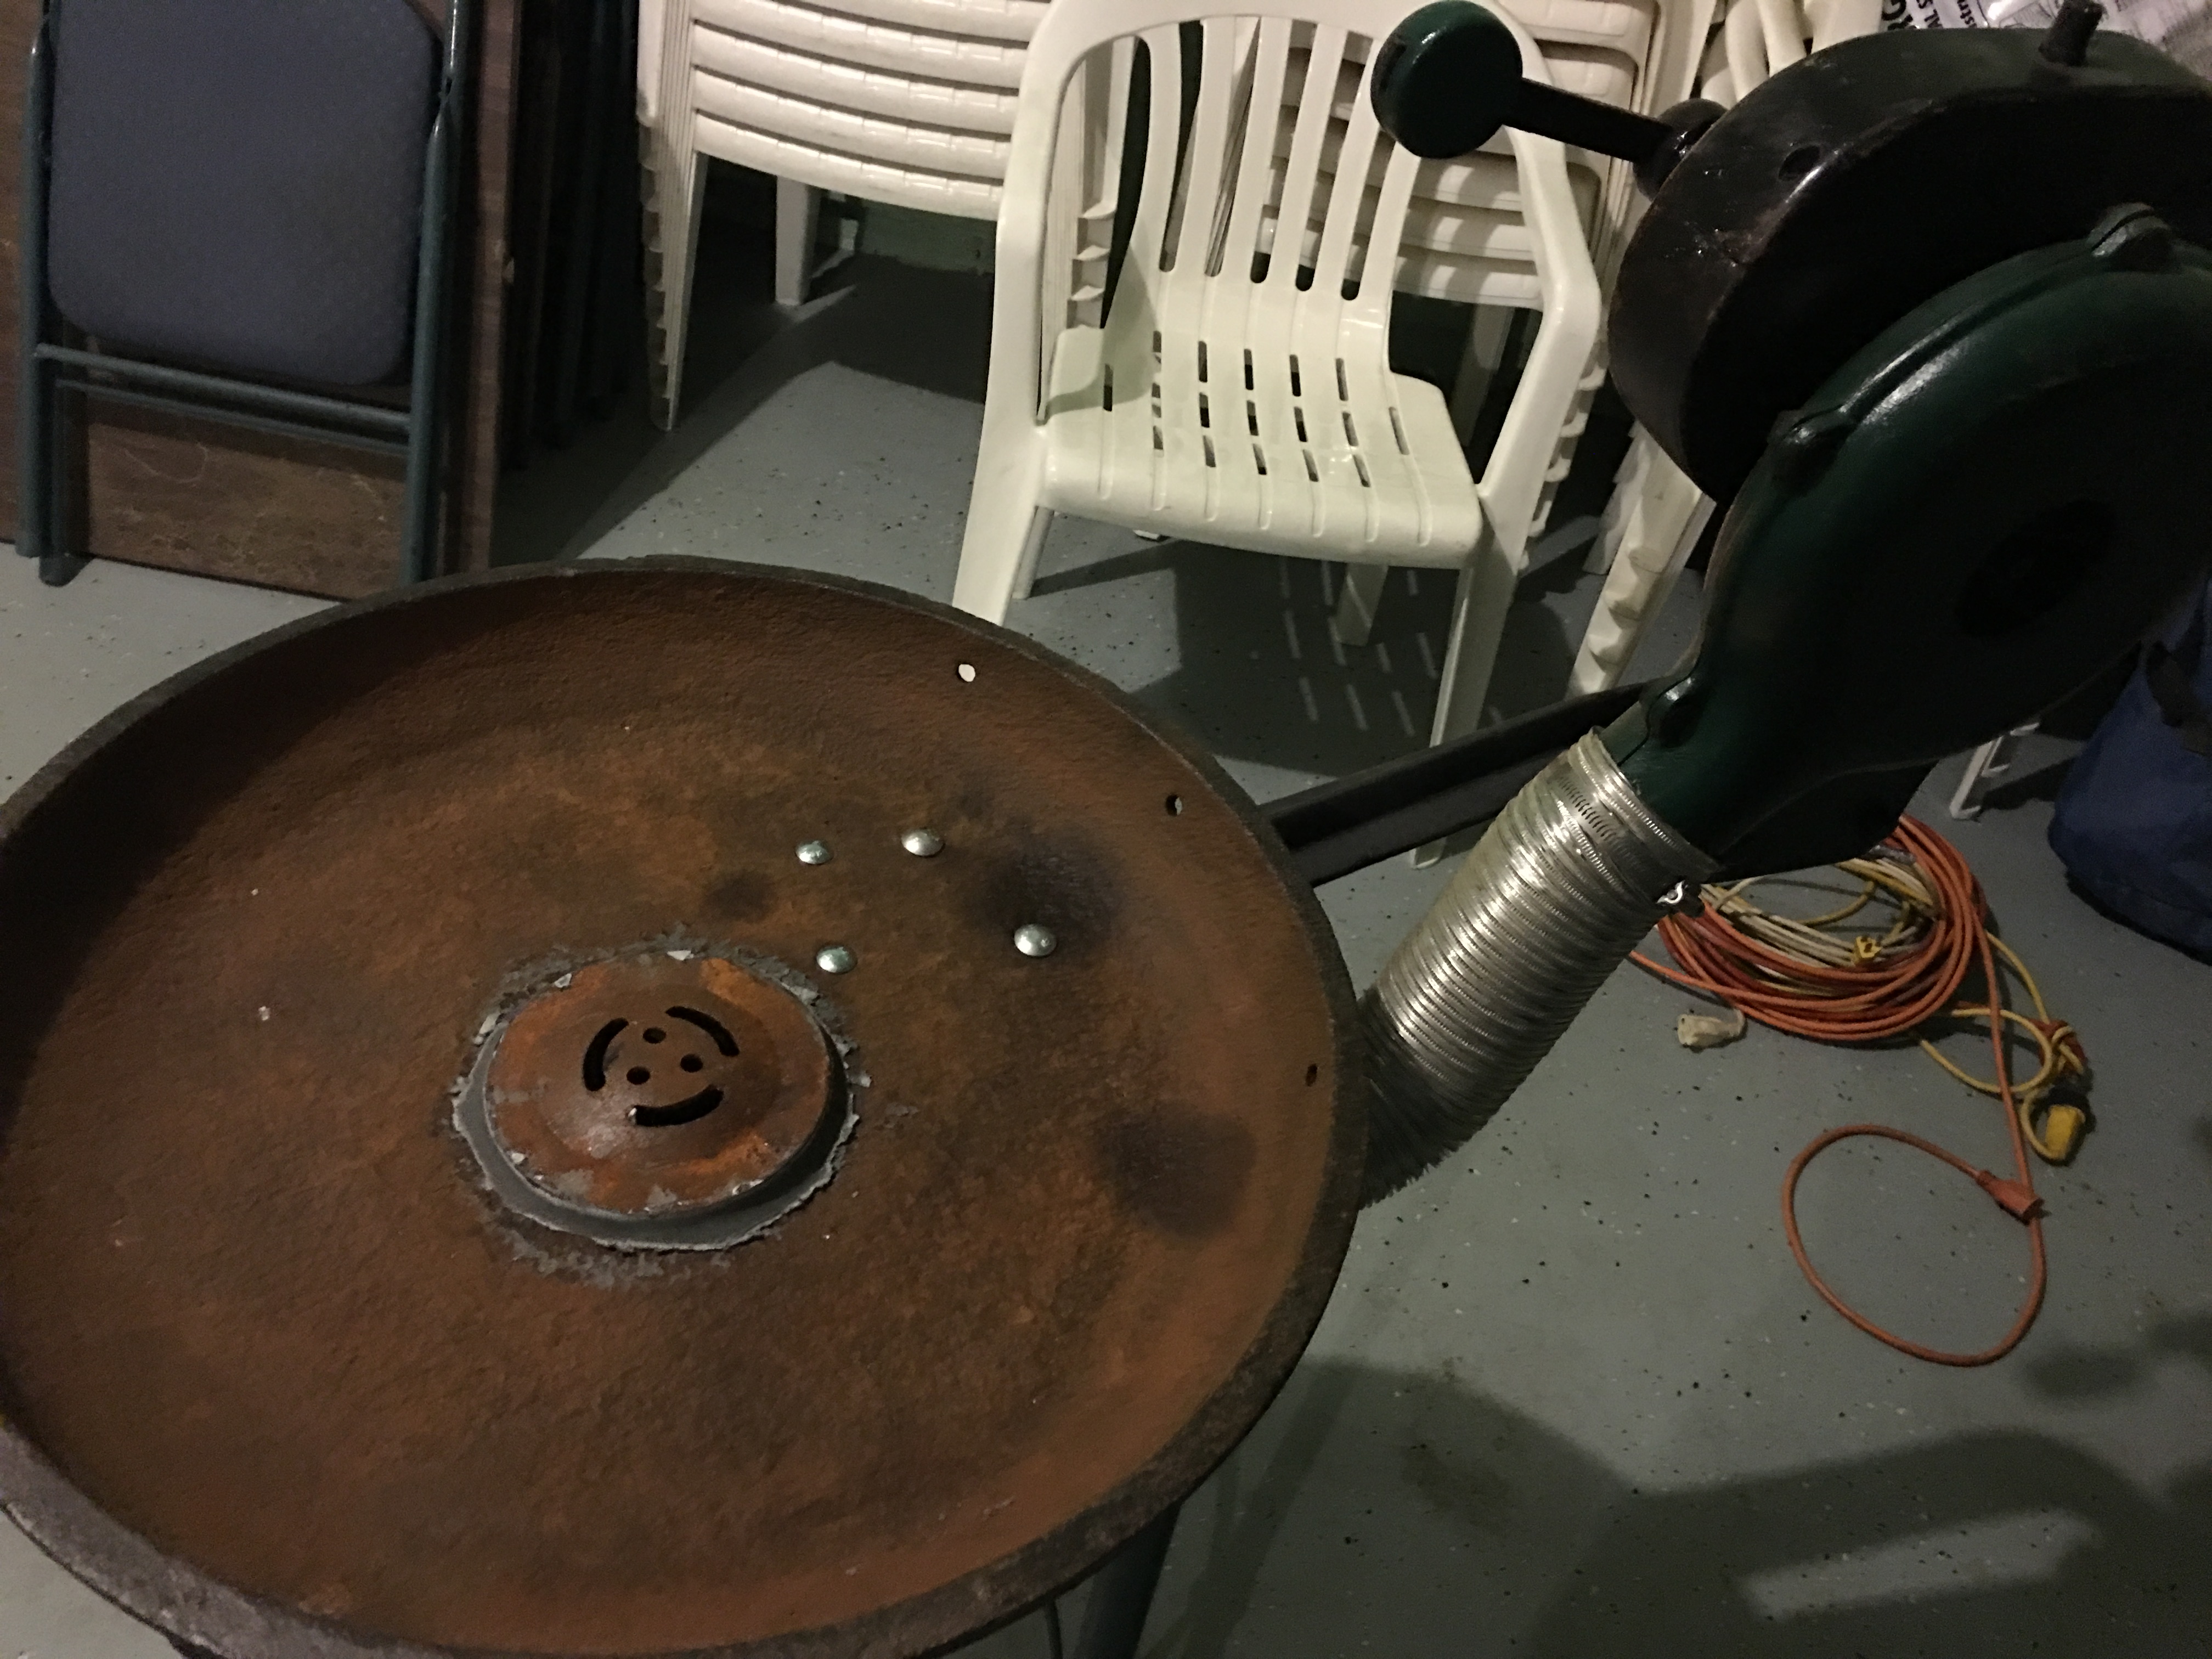
So, I’d like to begin with what I have and what I’ve tried so far. I have a very thick cast iron rivet forge. If this was EVER meant to be portable, then it must have been for MUCH bigger/stronger dudes than me! (6’4”, 275lbs)
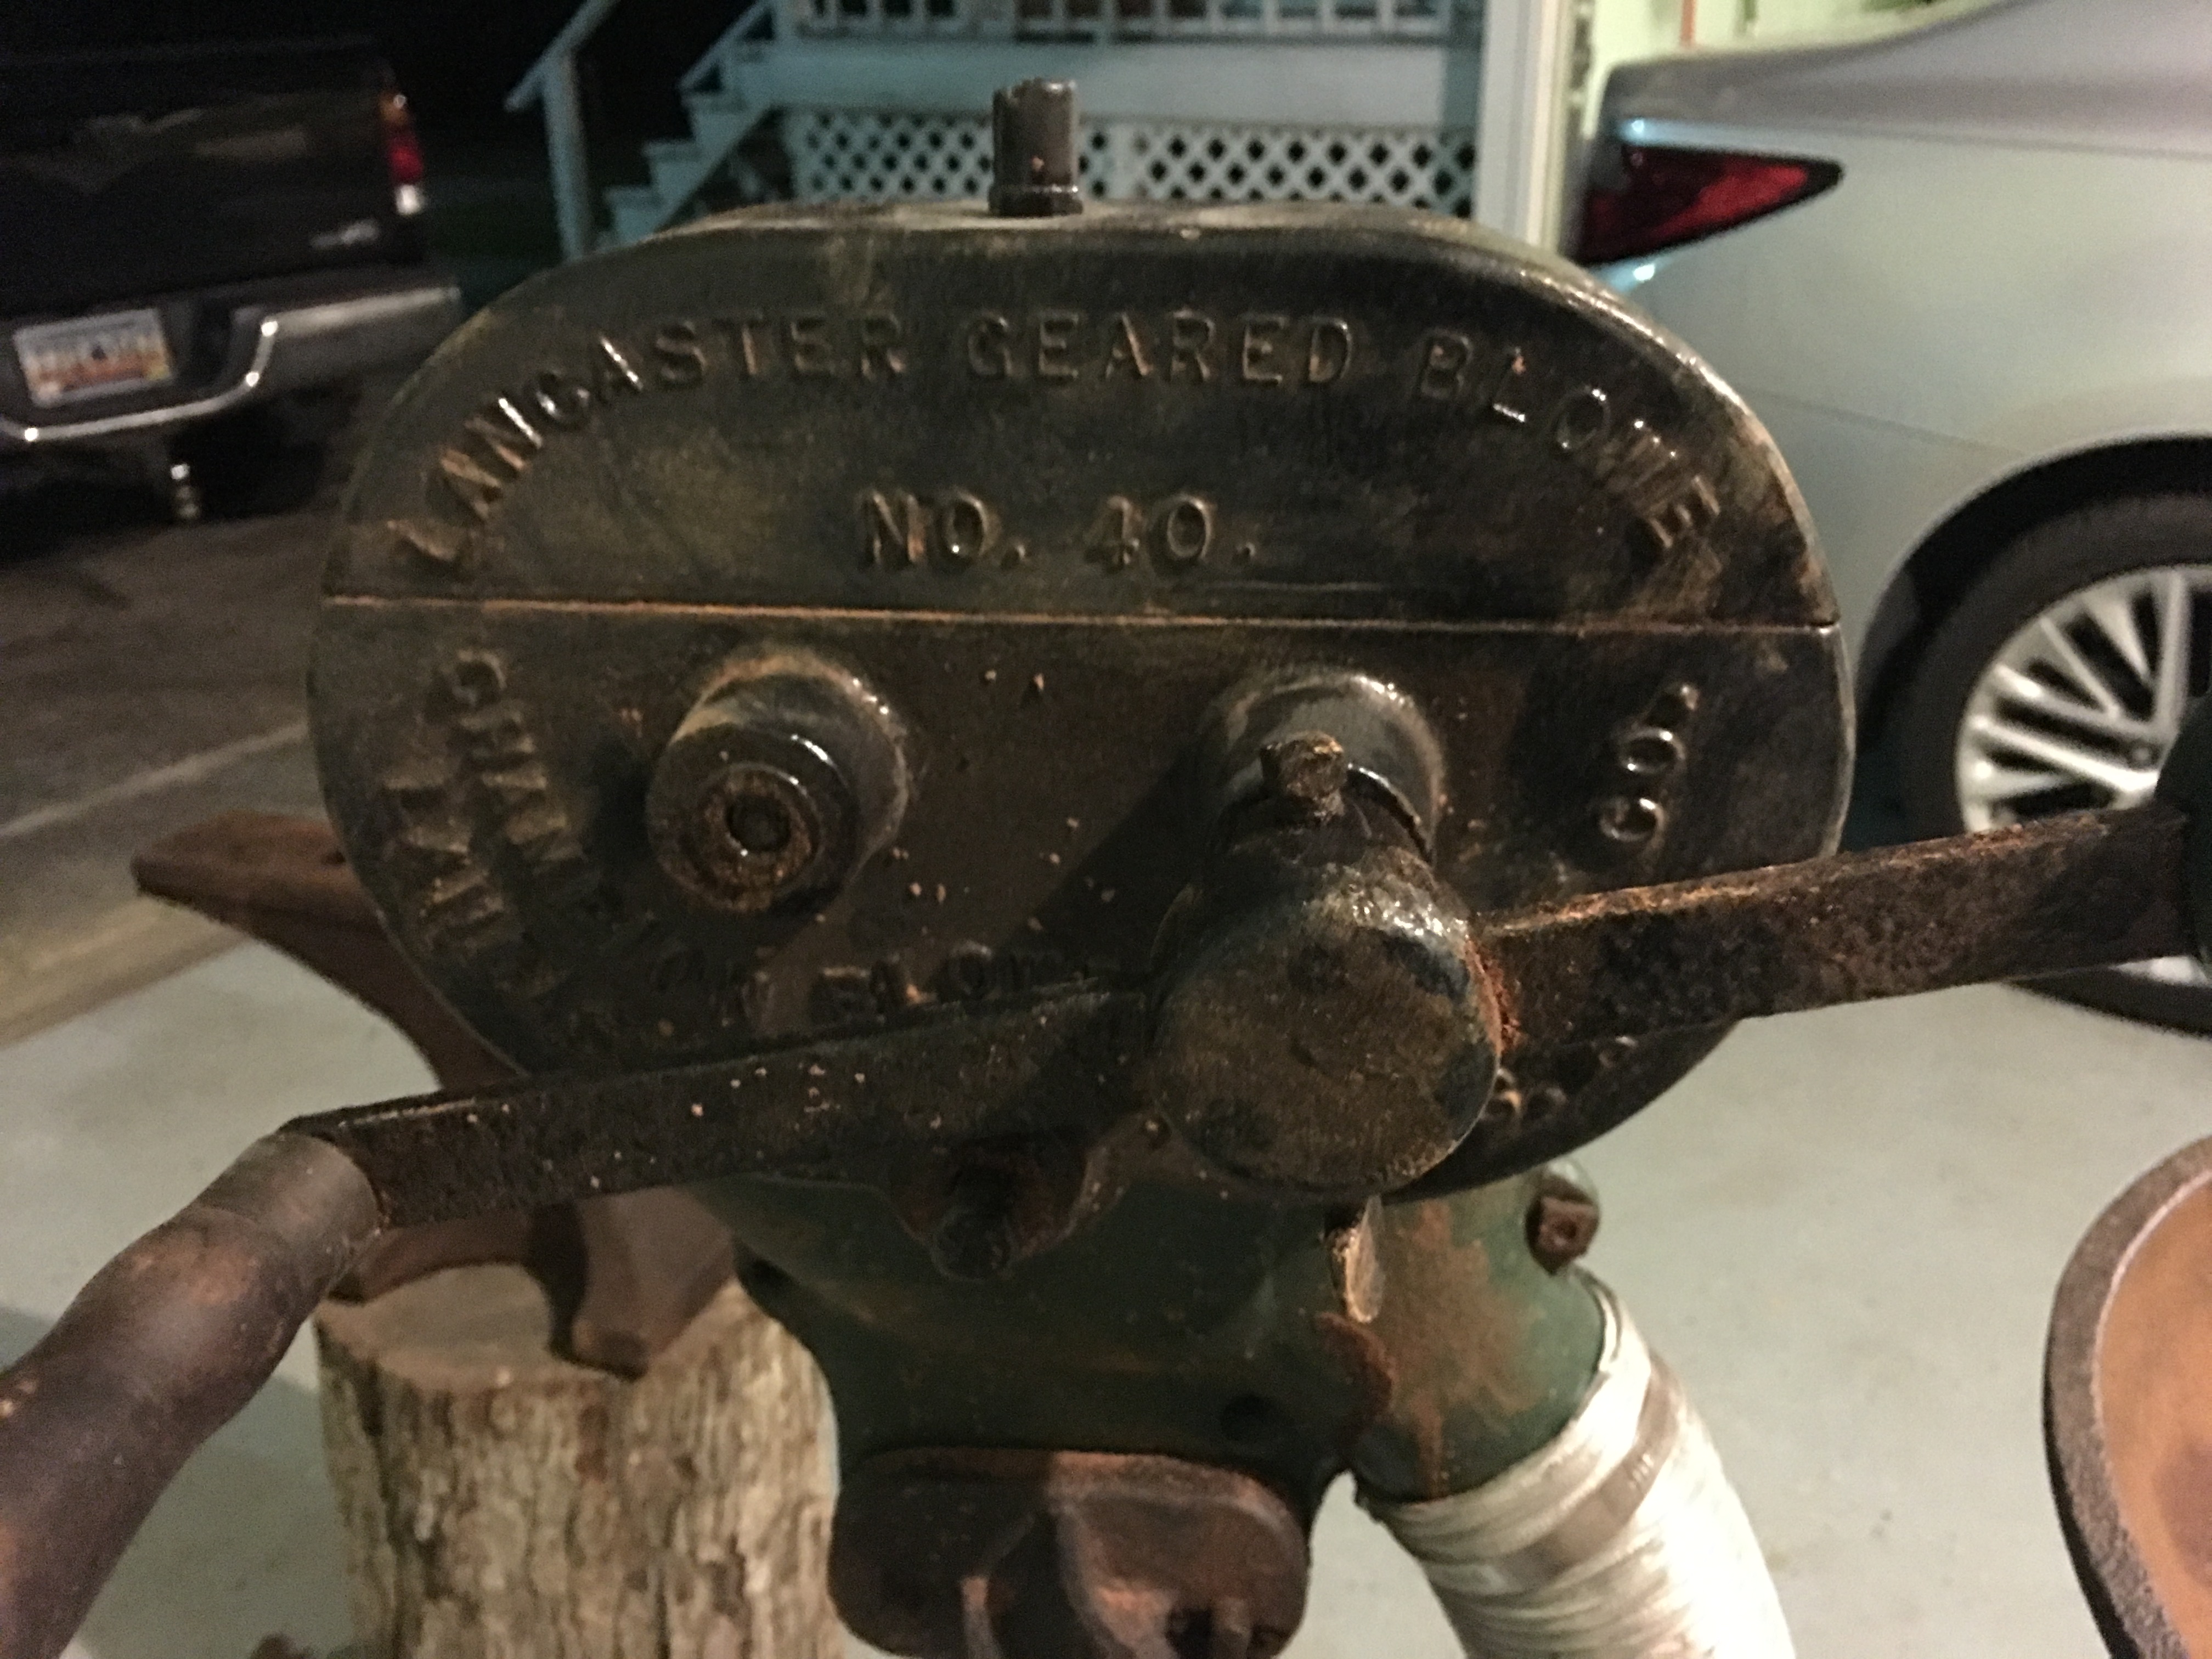
It has no identifying marks or instructions to clay, but it certainly could have as it’s missing the original wind screen and I believe the tuyere/champion blower/mounting bracket may have come from a different forge.
Currently, I’m struggling with ways to keep the grate in place. When I got the forge it came with a cast iron floor drain of sorts and it was cemented down with what appeared to be furnace cement. It eventually dried up, cracked and completely detached from the forge. Since then, I was given some cone 6 pottery clay. First I tried a gently sloping mound about 12” in diameter that built up just over the lip of the grate. I let it set up for several days uncovered in my garage in South Carolina summer heat. Temps never dropping below 90*. It looked great after drying with minimal shrinking and thin edge cracking. I then fired it slowly, building successively larger fires until finally running a fresh batch of green coal up to near welding heat. This worked for about a week. Then I noticed hairline cracks all over the clay and the entire thing crumbled when I tried to remove the coal for cleaning.
I know the suggested method is any found clay, sand, grog, and possibly fire clay. My main question is, will I ever be able to make a cone 6 clay mixture that will withstand these temps and hold this grate in place? I’d like to be able to build up a 4” thick “table” around the grate and then build in a sloping fire pot in the center that holds the grate centered.
Right now, the clay is dissolved in a bucket of water to just above a slip consistency. I intend to mix with dry sand until I reach the preferred consistency of ‘clump and crumble’!
So sorry for the text wall. I just wanted to give as much detail as possible.
tl;dr: I have cone 6 pottery clay and I’m trying to make it work as rivet forge liner/shelf. Will this ever work as I hope?
Ok, have at me.
Thanks, Ben
-
Kiddcaprix , the edges on that are darn near perfect! Have you notice any issues with the face leaving some of its dimples in your work? Though my edges have seen better days, they cleaned up really well, but the face appears the same texture as the rest of the body. I’m assuming that’s as cast, but I did notice a few marks show up on some thin material I was working on. I suppose I could maybe flap disc the roughest areas, but I’m thinking just leave it alone and see if I can “work” the face smoothe?
Any suggestions/tips?
I did finally grind off most of that issue on the bottom, but it was extremely tough material to grind! It seems like there may be some hollow spaces underneath it, but I couldn’t quite break through it.
-
Thankfully, I only used about 2 square inches that was already precut when I got it. It was not in contact with direct flame as it was used to seal an air gap between top overlapping layers of brick. I also wore gloves and respirator while running for a VERY short time (enough to get the chamber warm, which was about 5-8 minutes). Thanks for the link!
-
Yeah, it was a poor proof of concept for the base. I have some 1/4” plate I’m going to move it to tomorrow. I do have a shutoff valve, but again, I was rushing. This was more an exercise in “wanna see if I can do it” rather than a permanent fixture. As stated, I’m building a much safer forge, I just have to get my stuff together to order from Wayne Coe. I’ll add the shutoff to the mix before doing anything else. I’m going to build a new burner from a more reputable source to go with the new forge which will have much safer plumbing. Thanks for the reminder!
-
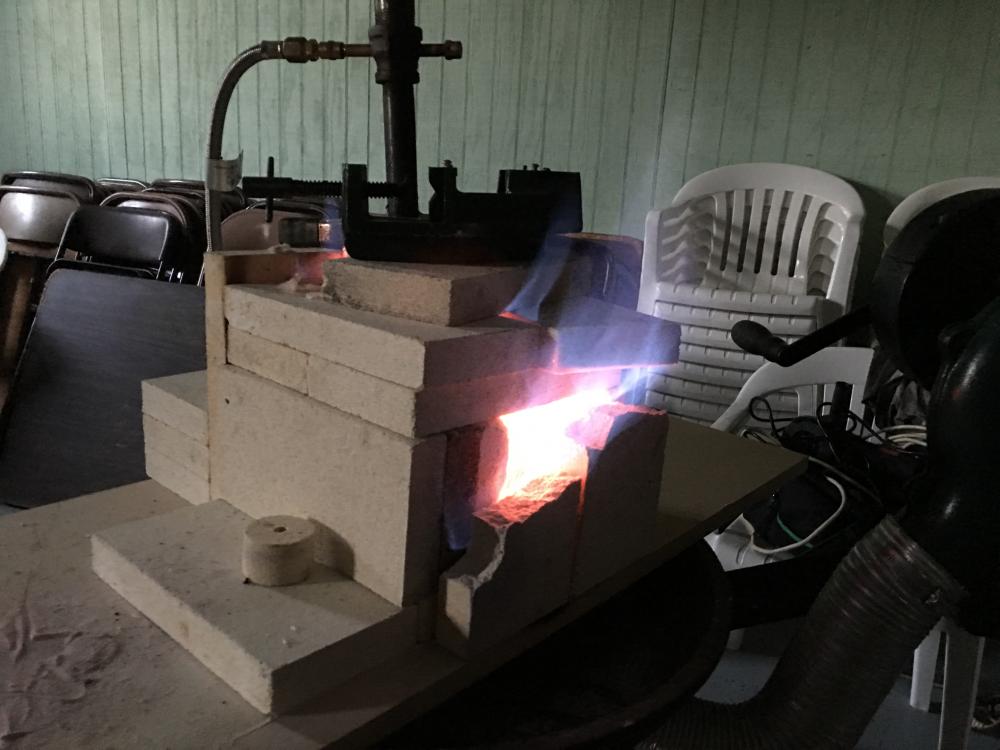
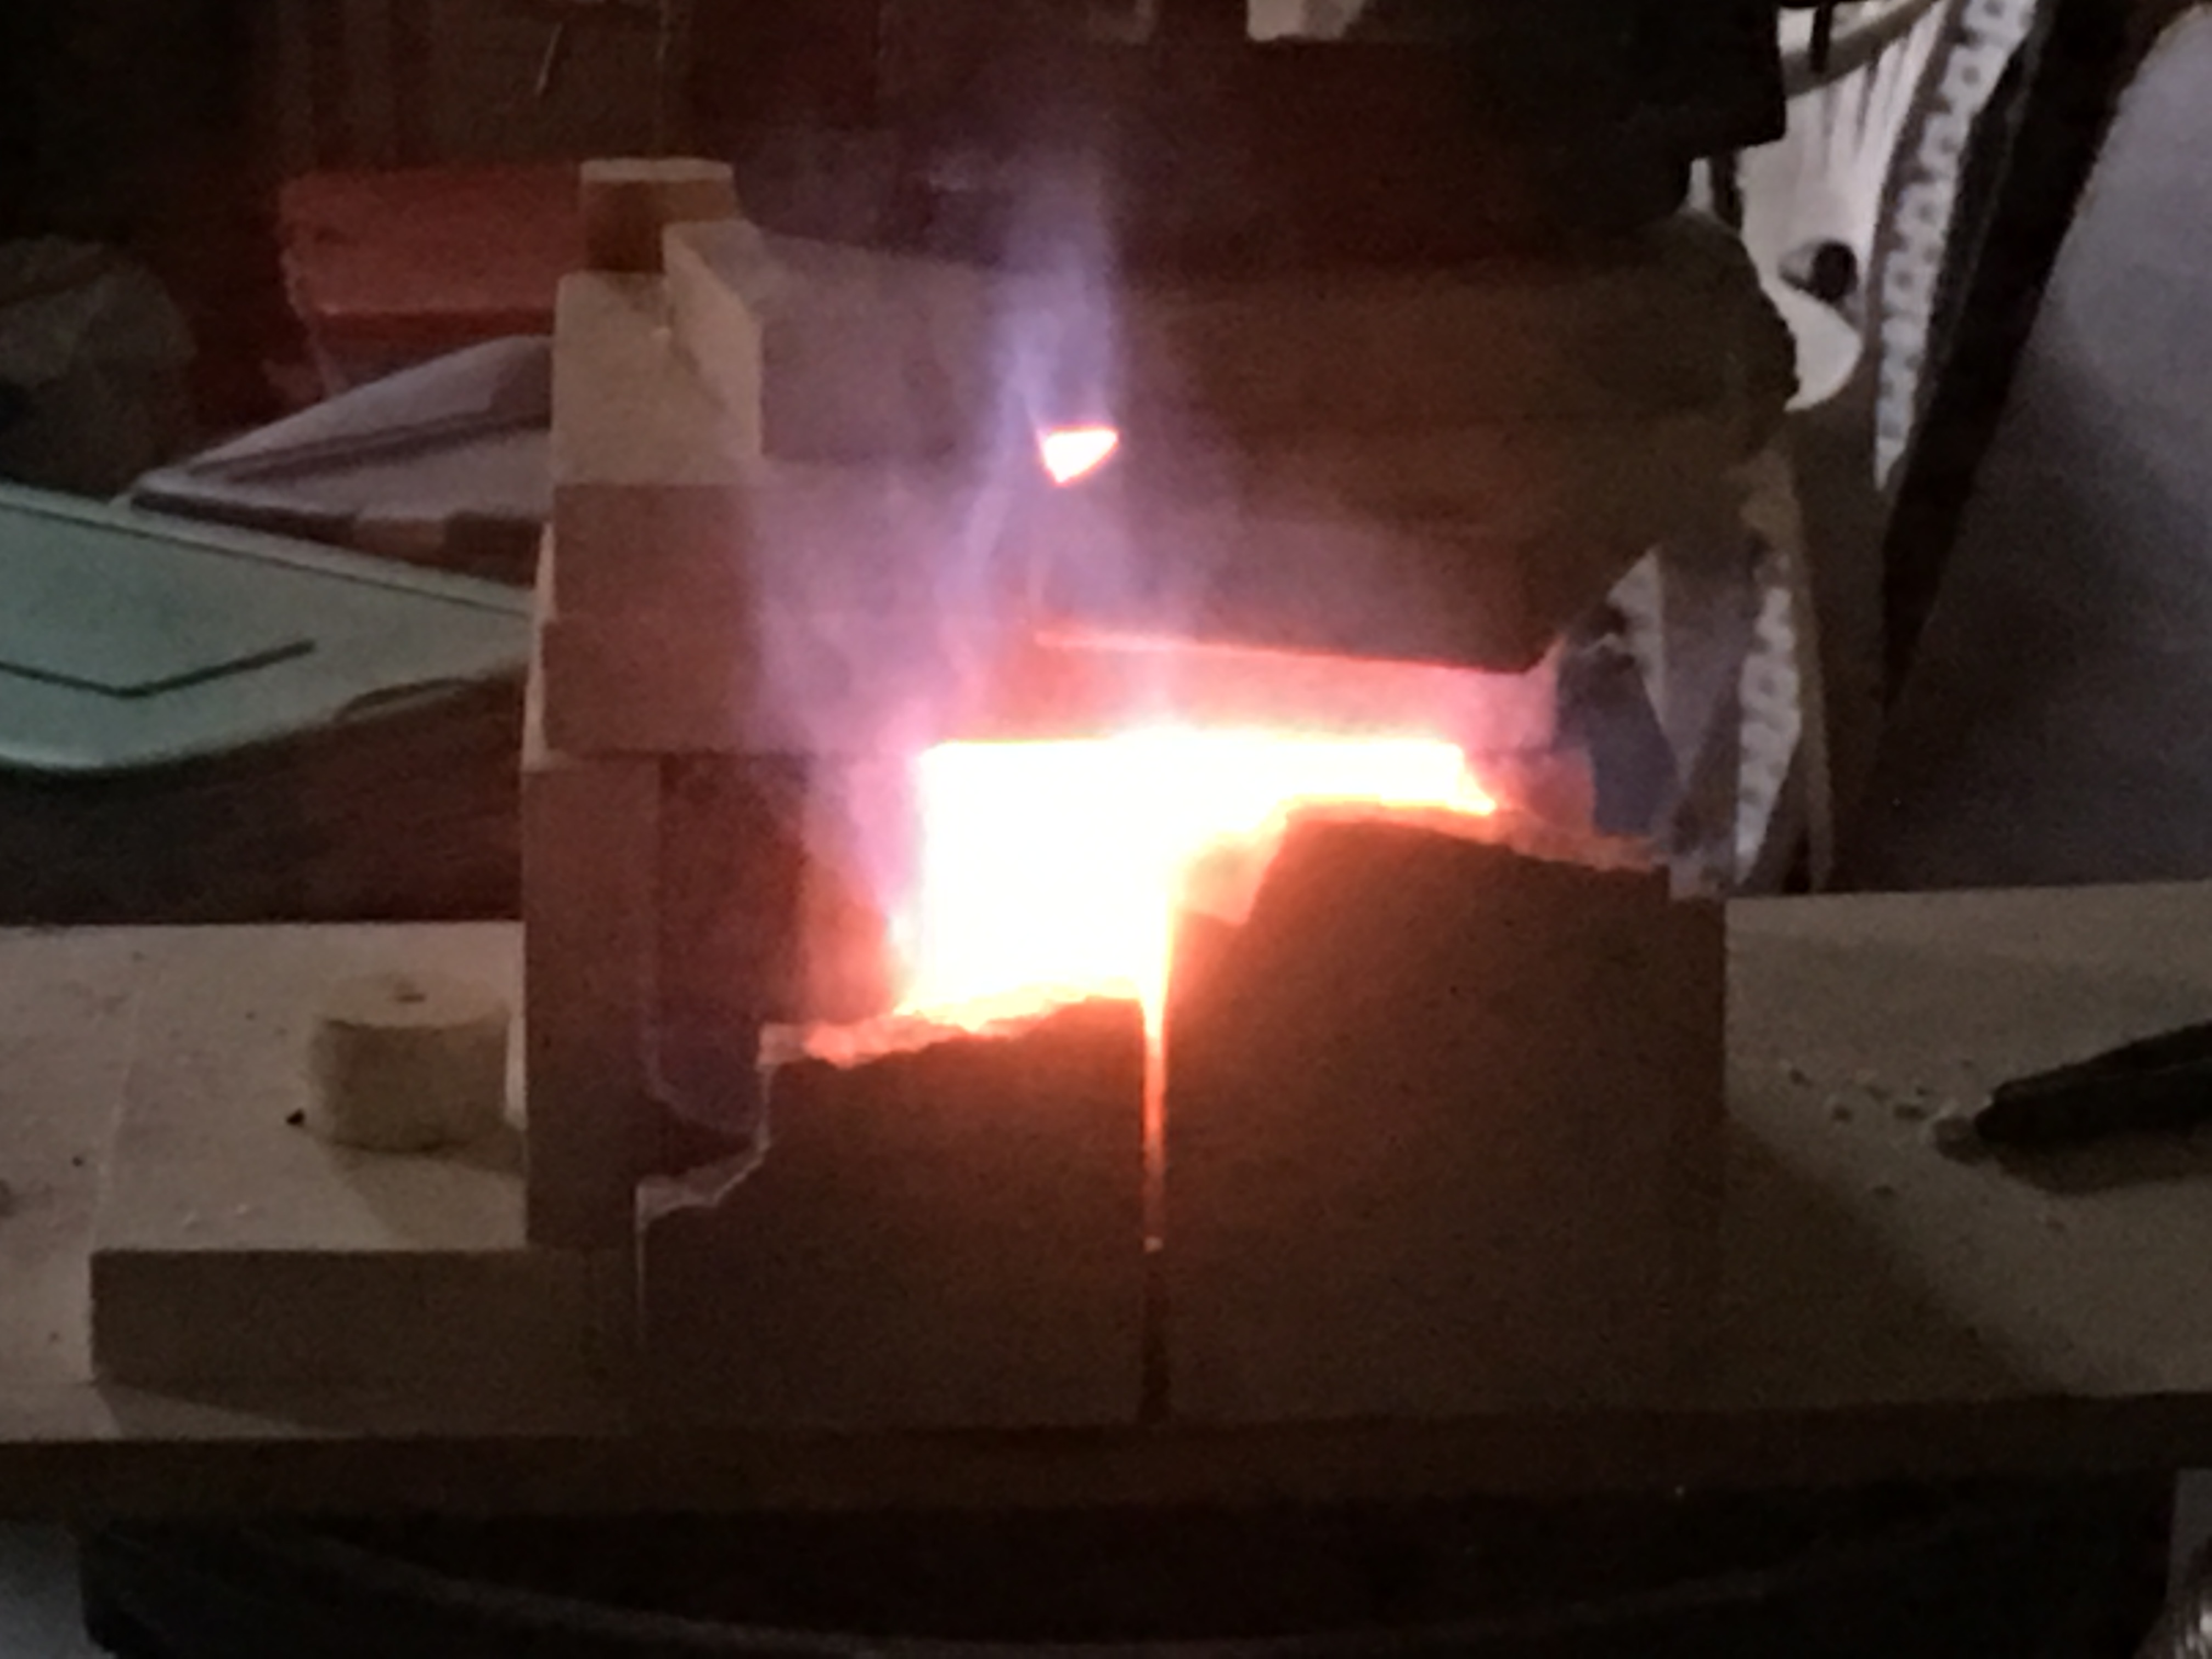
Well, I got impatient trying to gather materials to finish my Freon tank forge. I remembered that I bought some split firebrick from a guy on Facebook and decided I would try out the ghetto-tastic burner I made almost a year ago. I found some janky burner build on instructables and followed it to the letter. It doesn’t look good!
However, after stacking my bricks in such a way that it could be held in with a cheapo squeeze clamp and wrapped in some ceramic blanket, it shot a, what I thought was impressive, blue flame out of the front of the pile.
Ladies and gents, I give you what Ben calls a Pile of Bricks Forge!

-
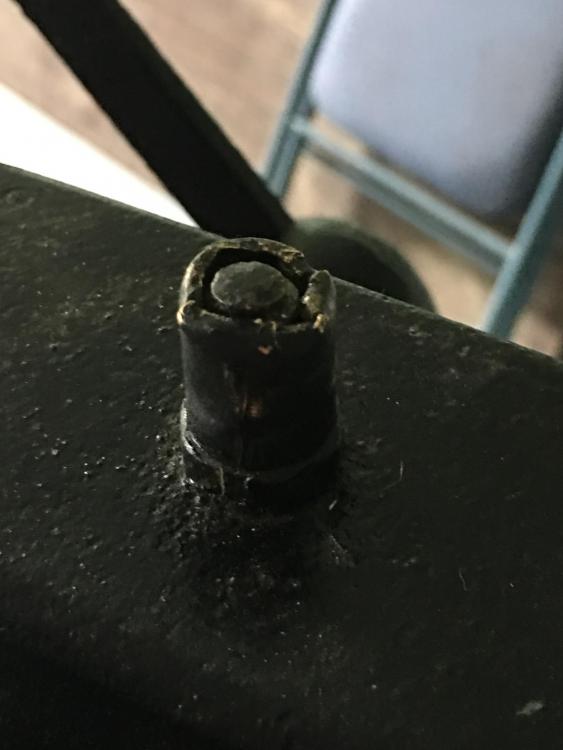
Frosty,
the only “port” I can find is this thing. Is this what it should look like? It seems kinda chewed up. I’ve tried fiddling with it, but it doesn’t really move. Would I just drip oil into this?
-
Thank you sirs/ma’am’s! Next up is replacing oil in the blower that leaked out on the ride home! Doing some homework now tor figure out maintenance for it.
-
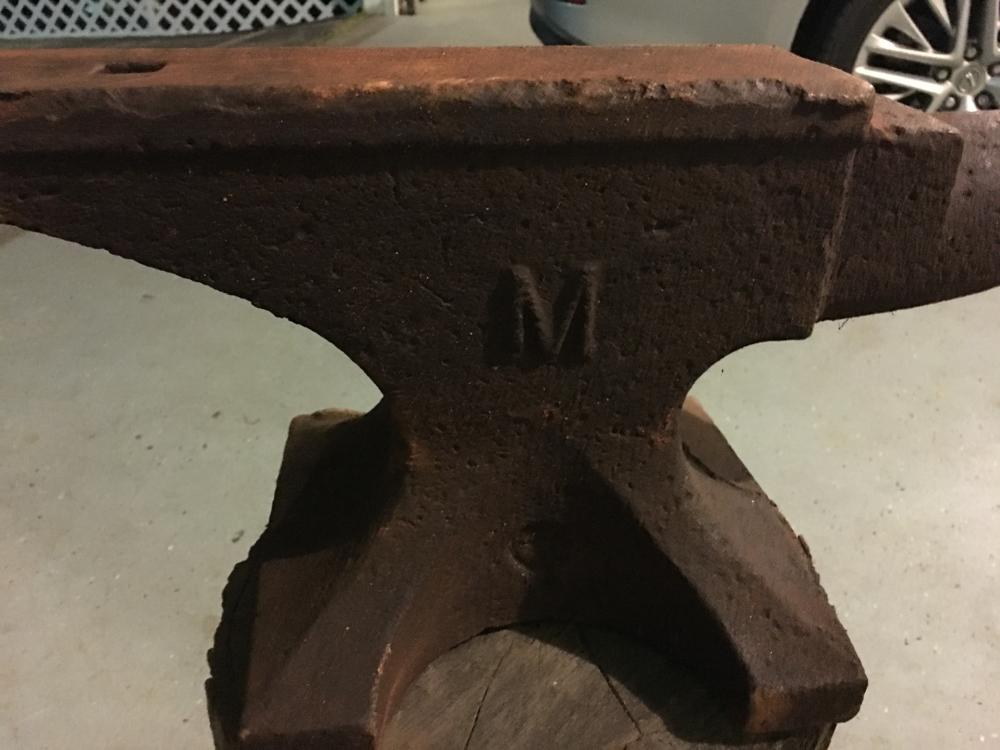
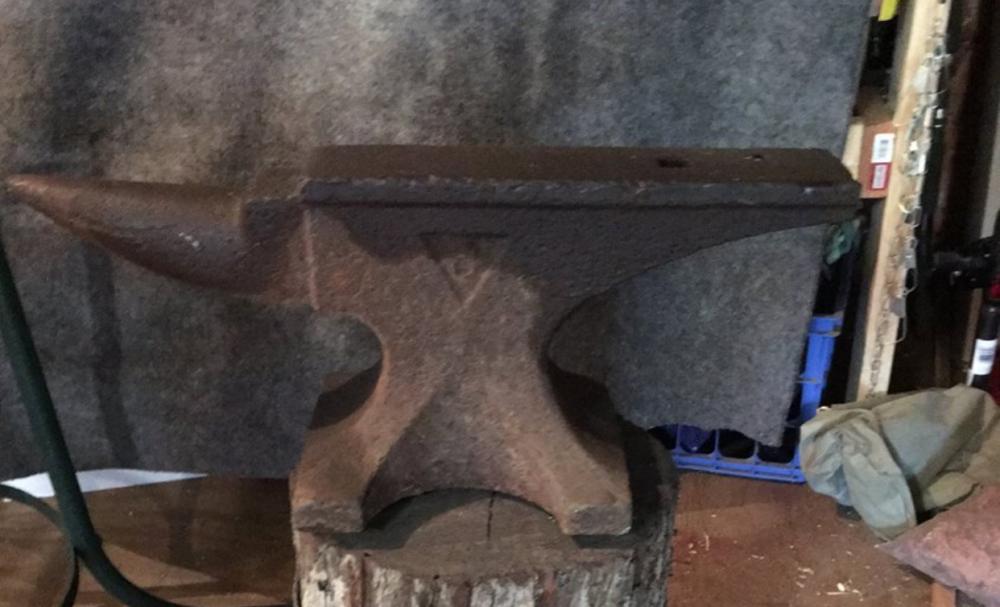
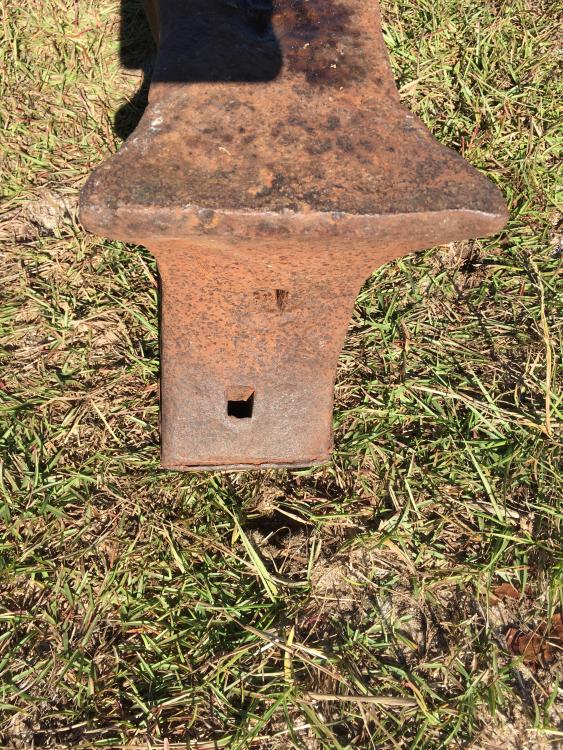
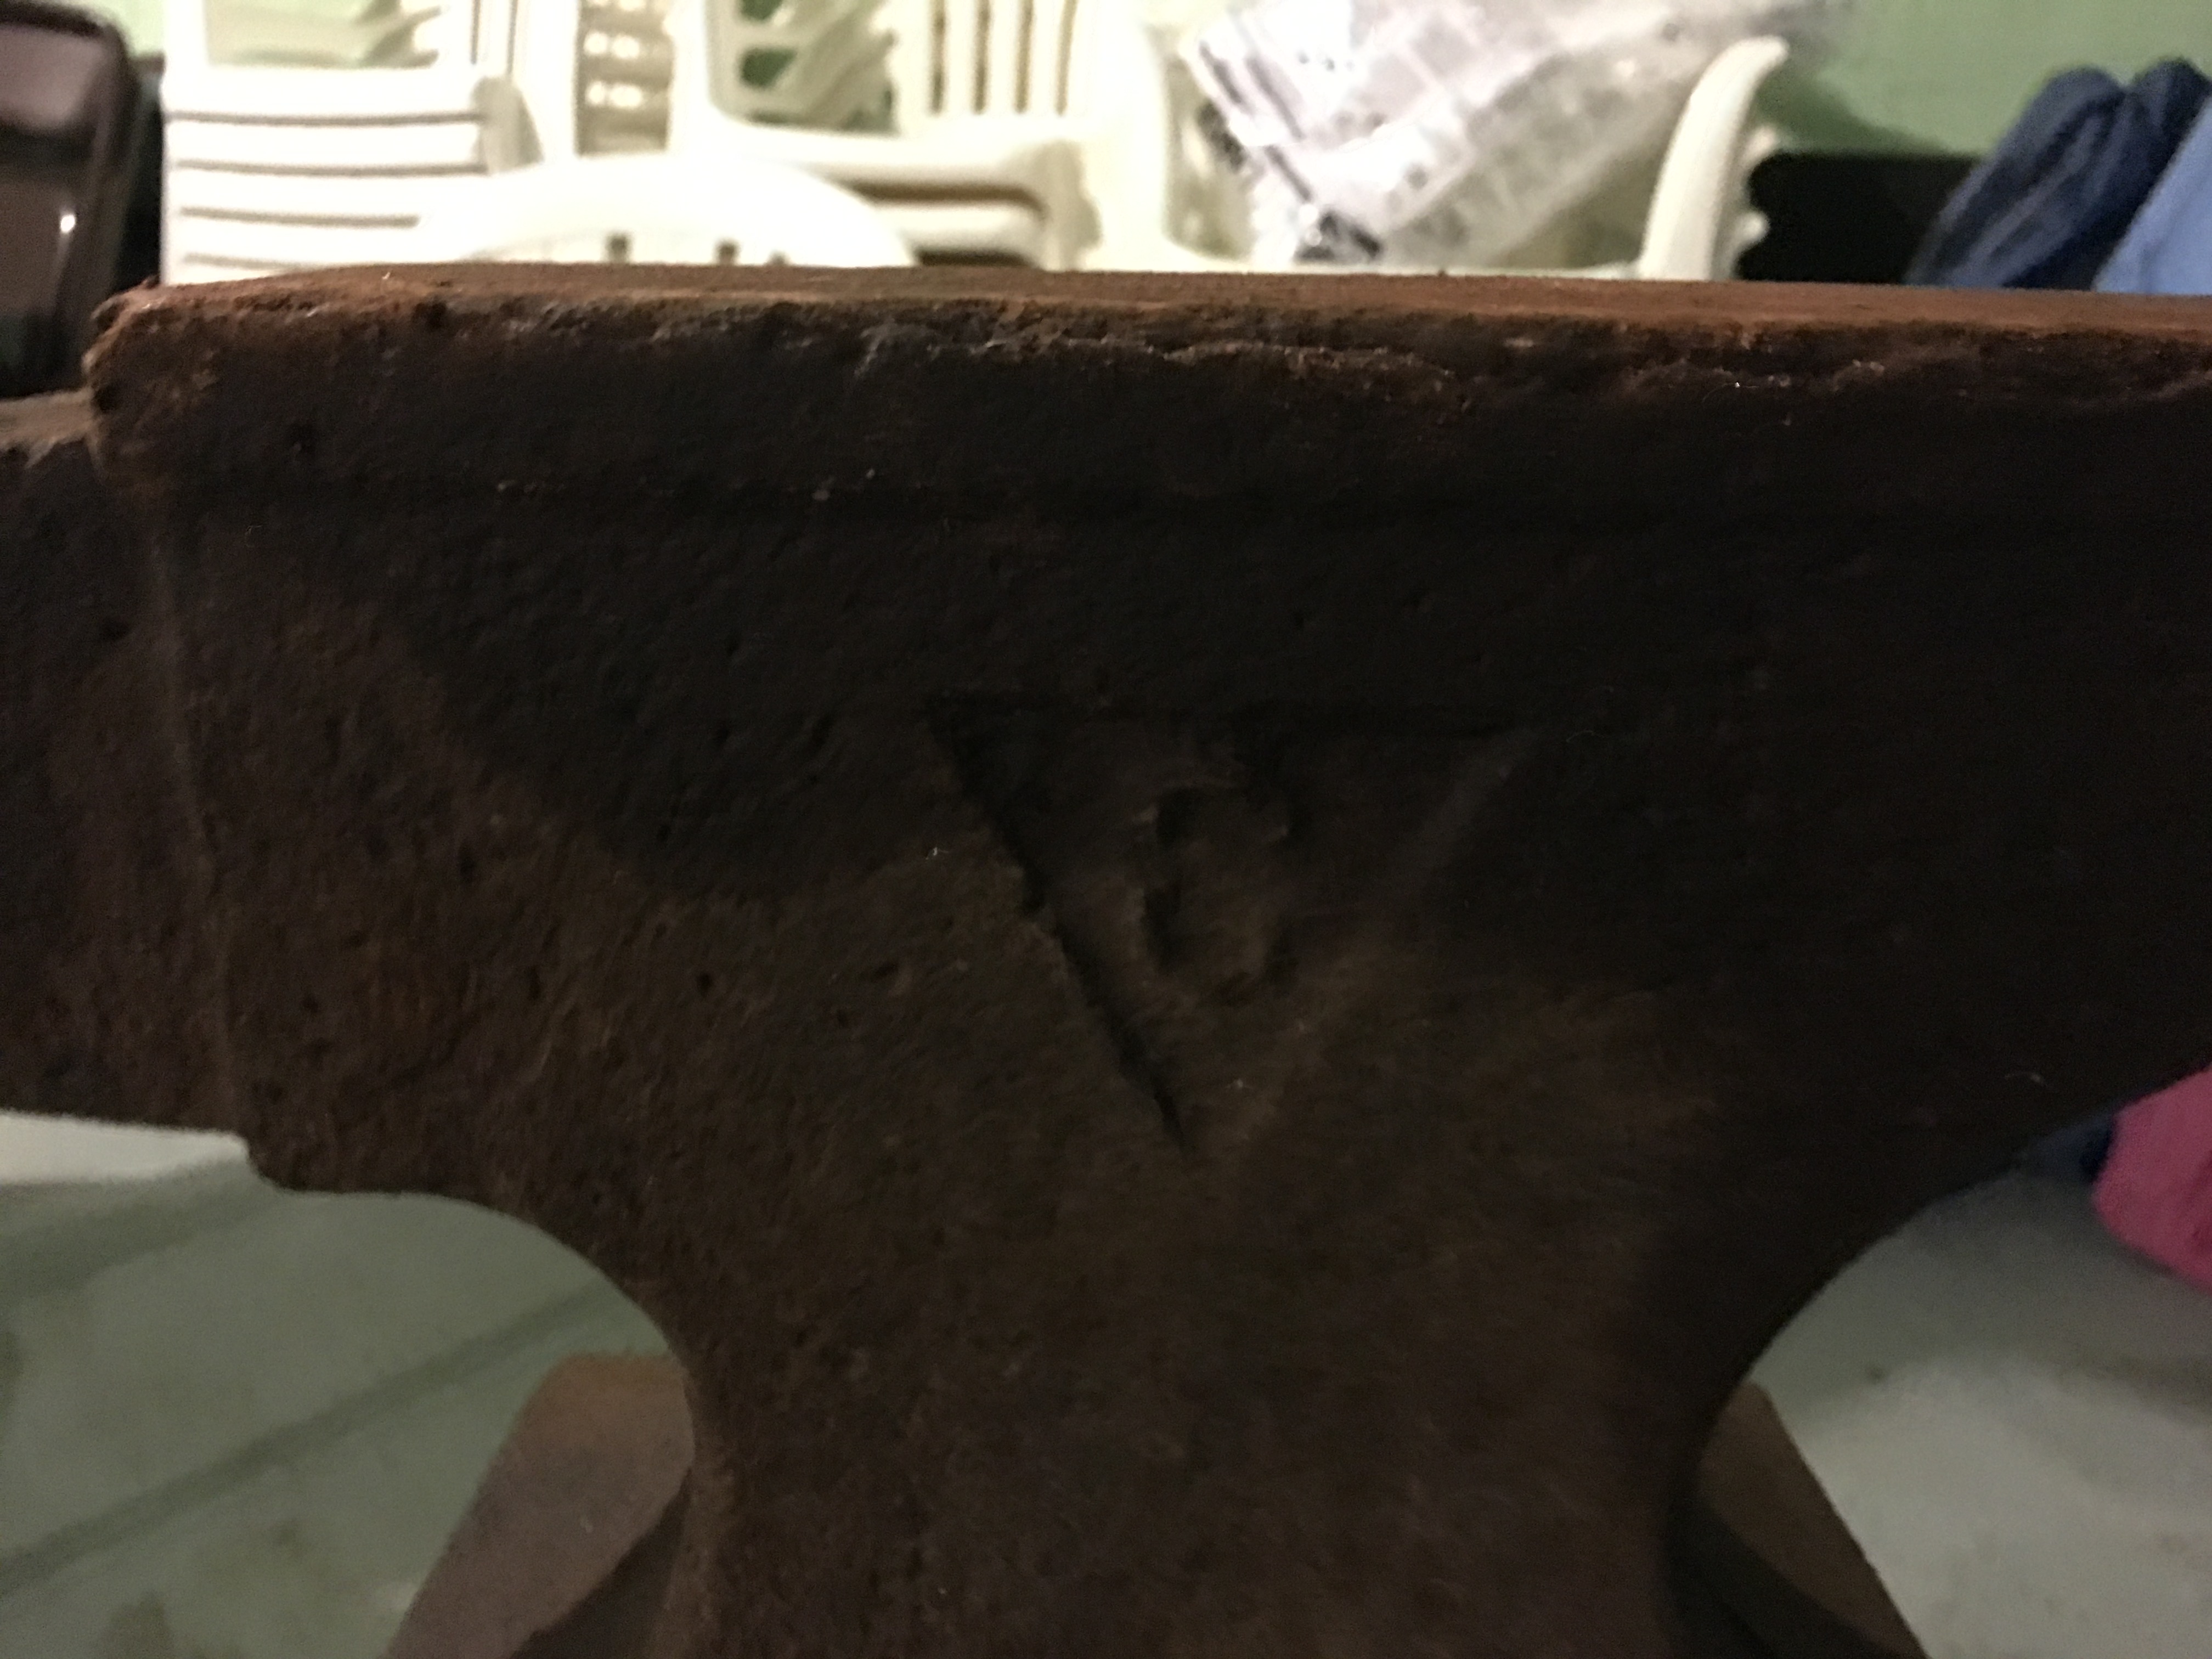
As you can see in the second photo, it bulges out where the plate is.


-
I forgot to mention that there seems to be some sort of plate on the bottom that causes the anvil to wobble a great deal. Is that by design or should I consider either removing it or maybe grinding it flat?
-
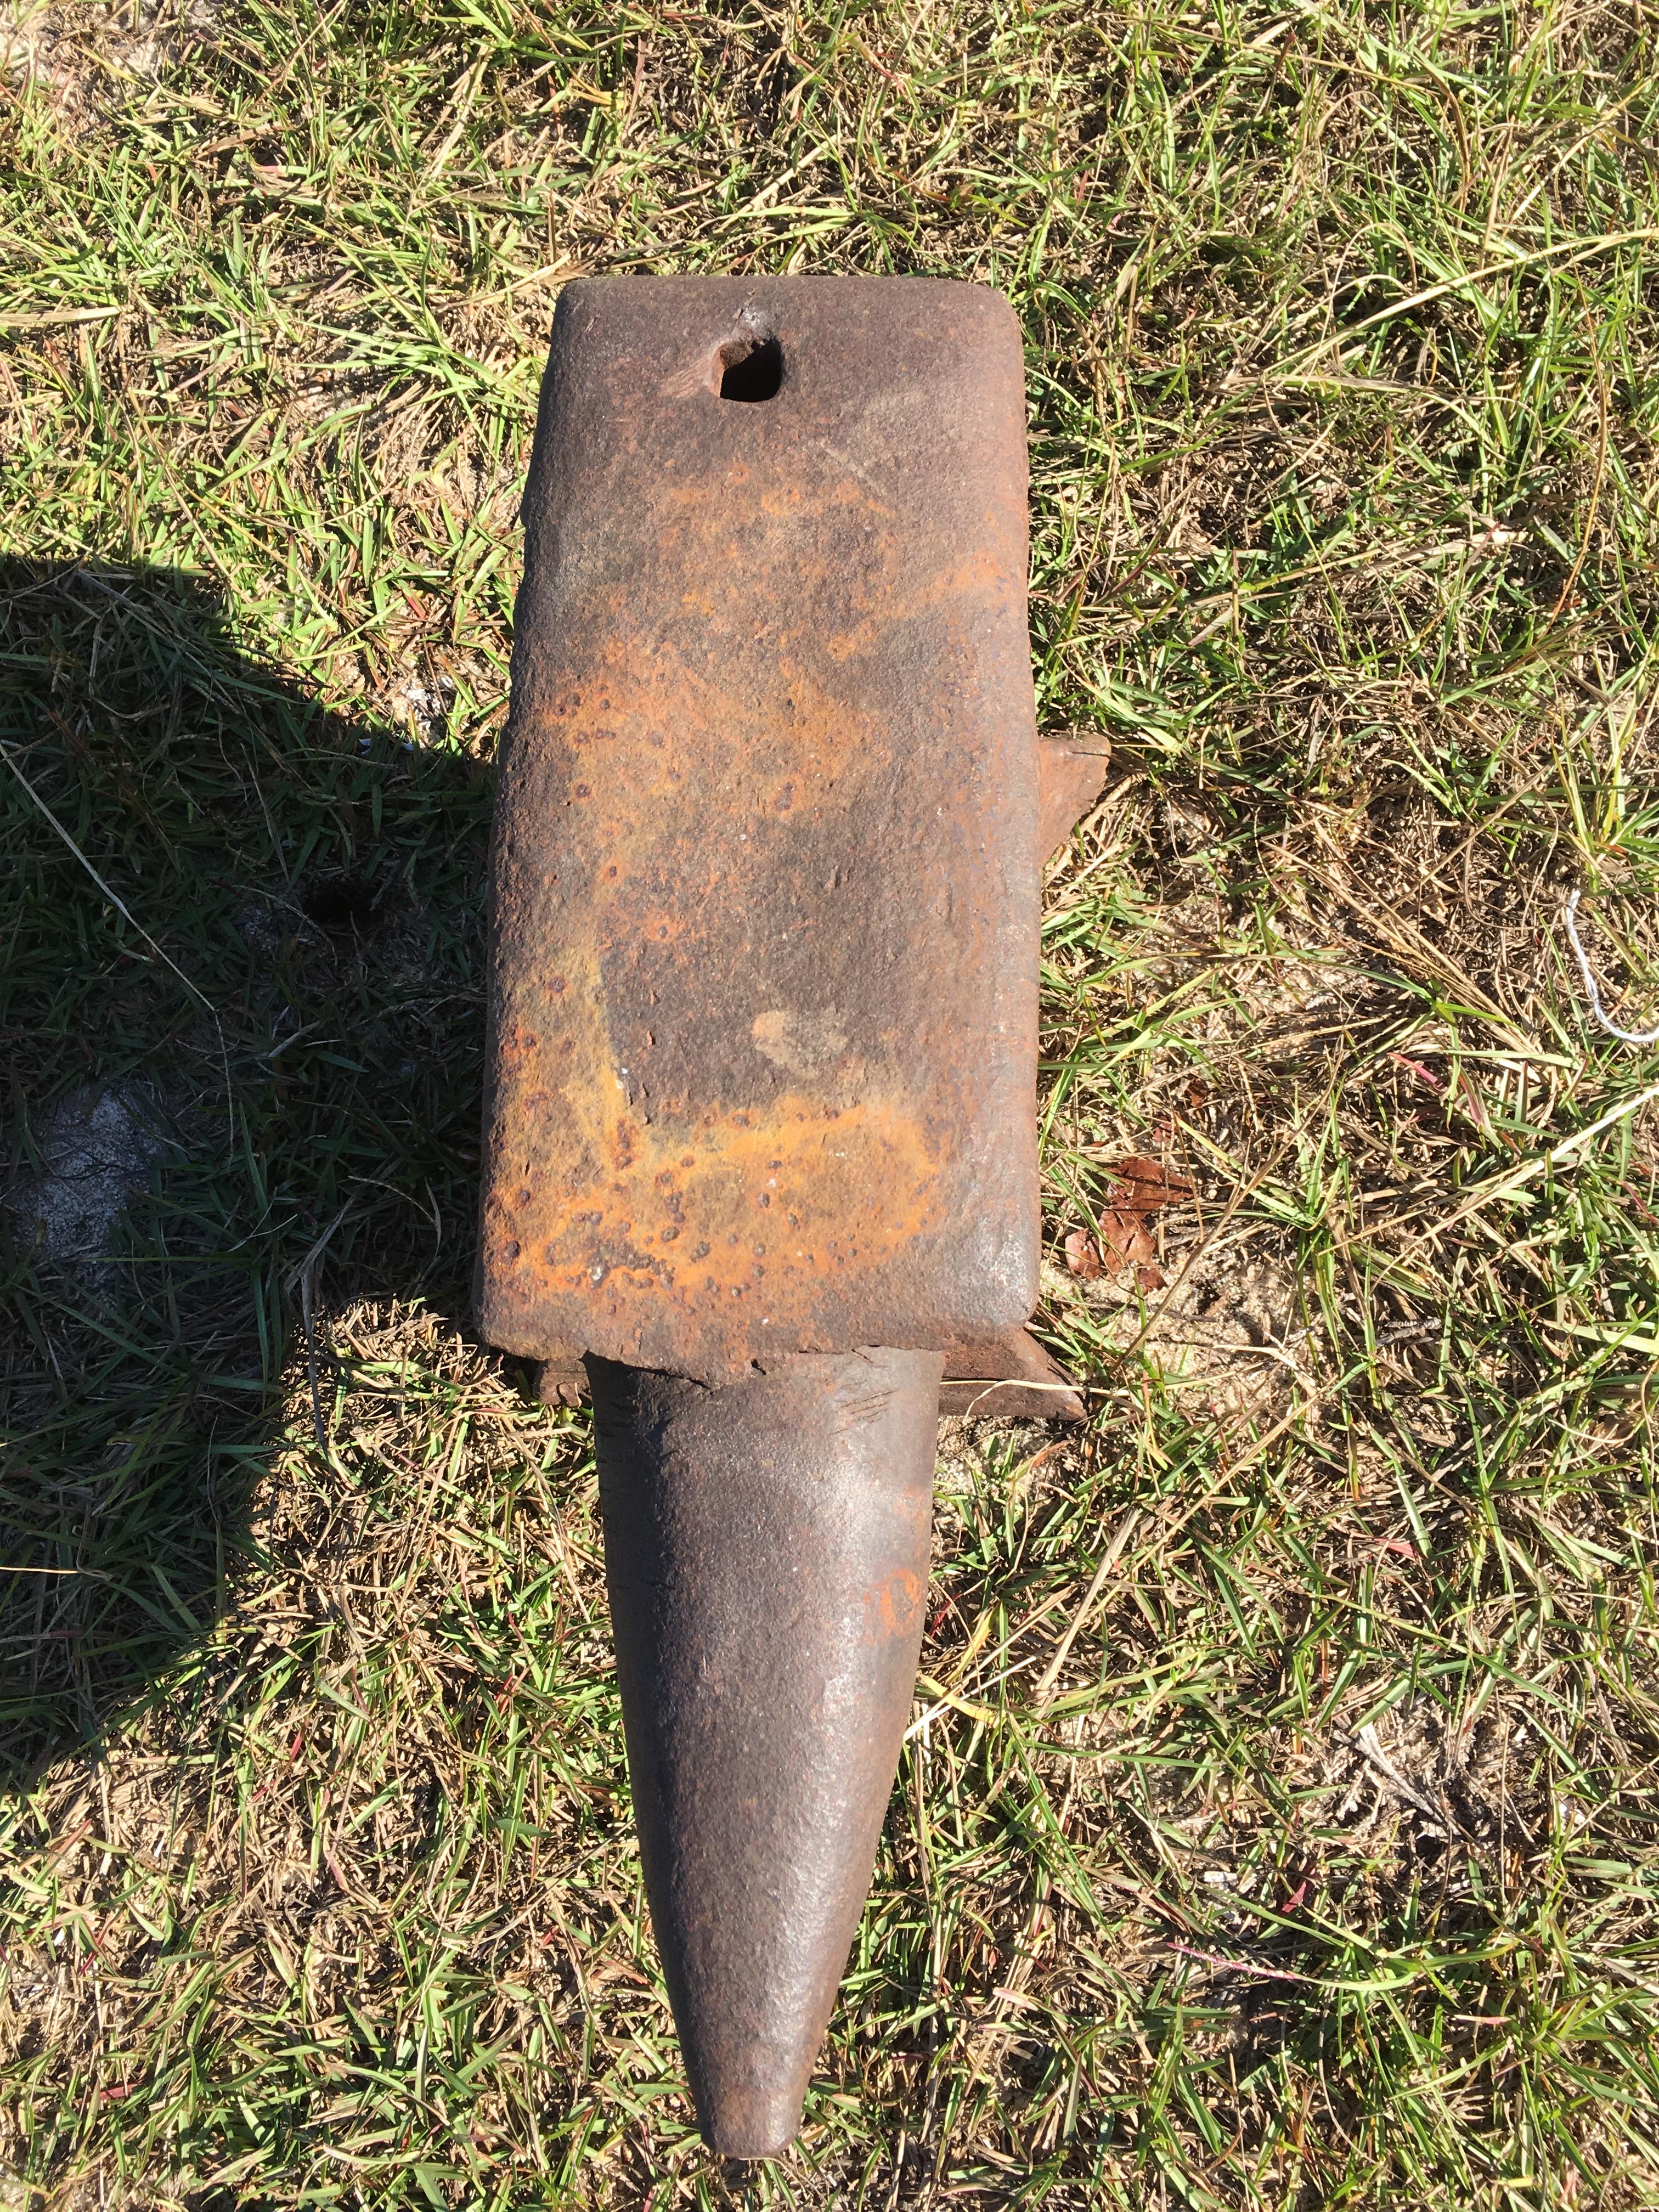
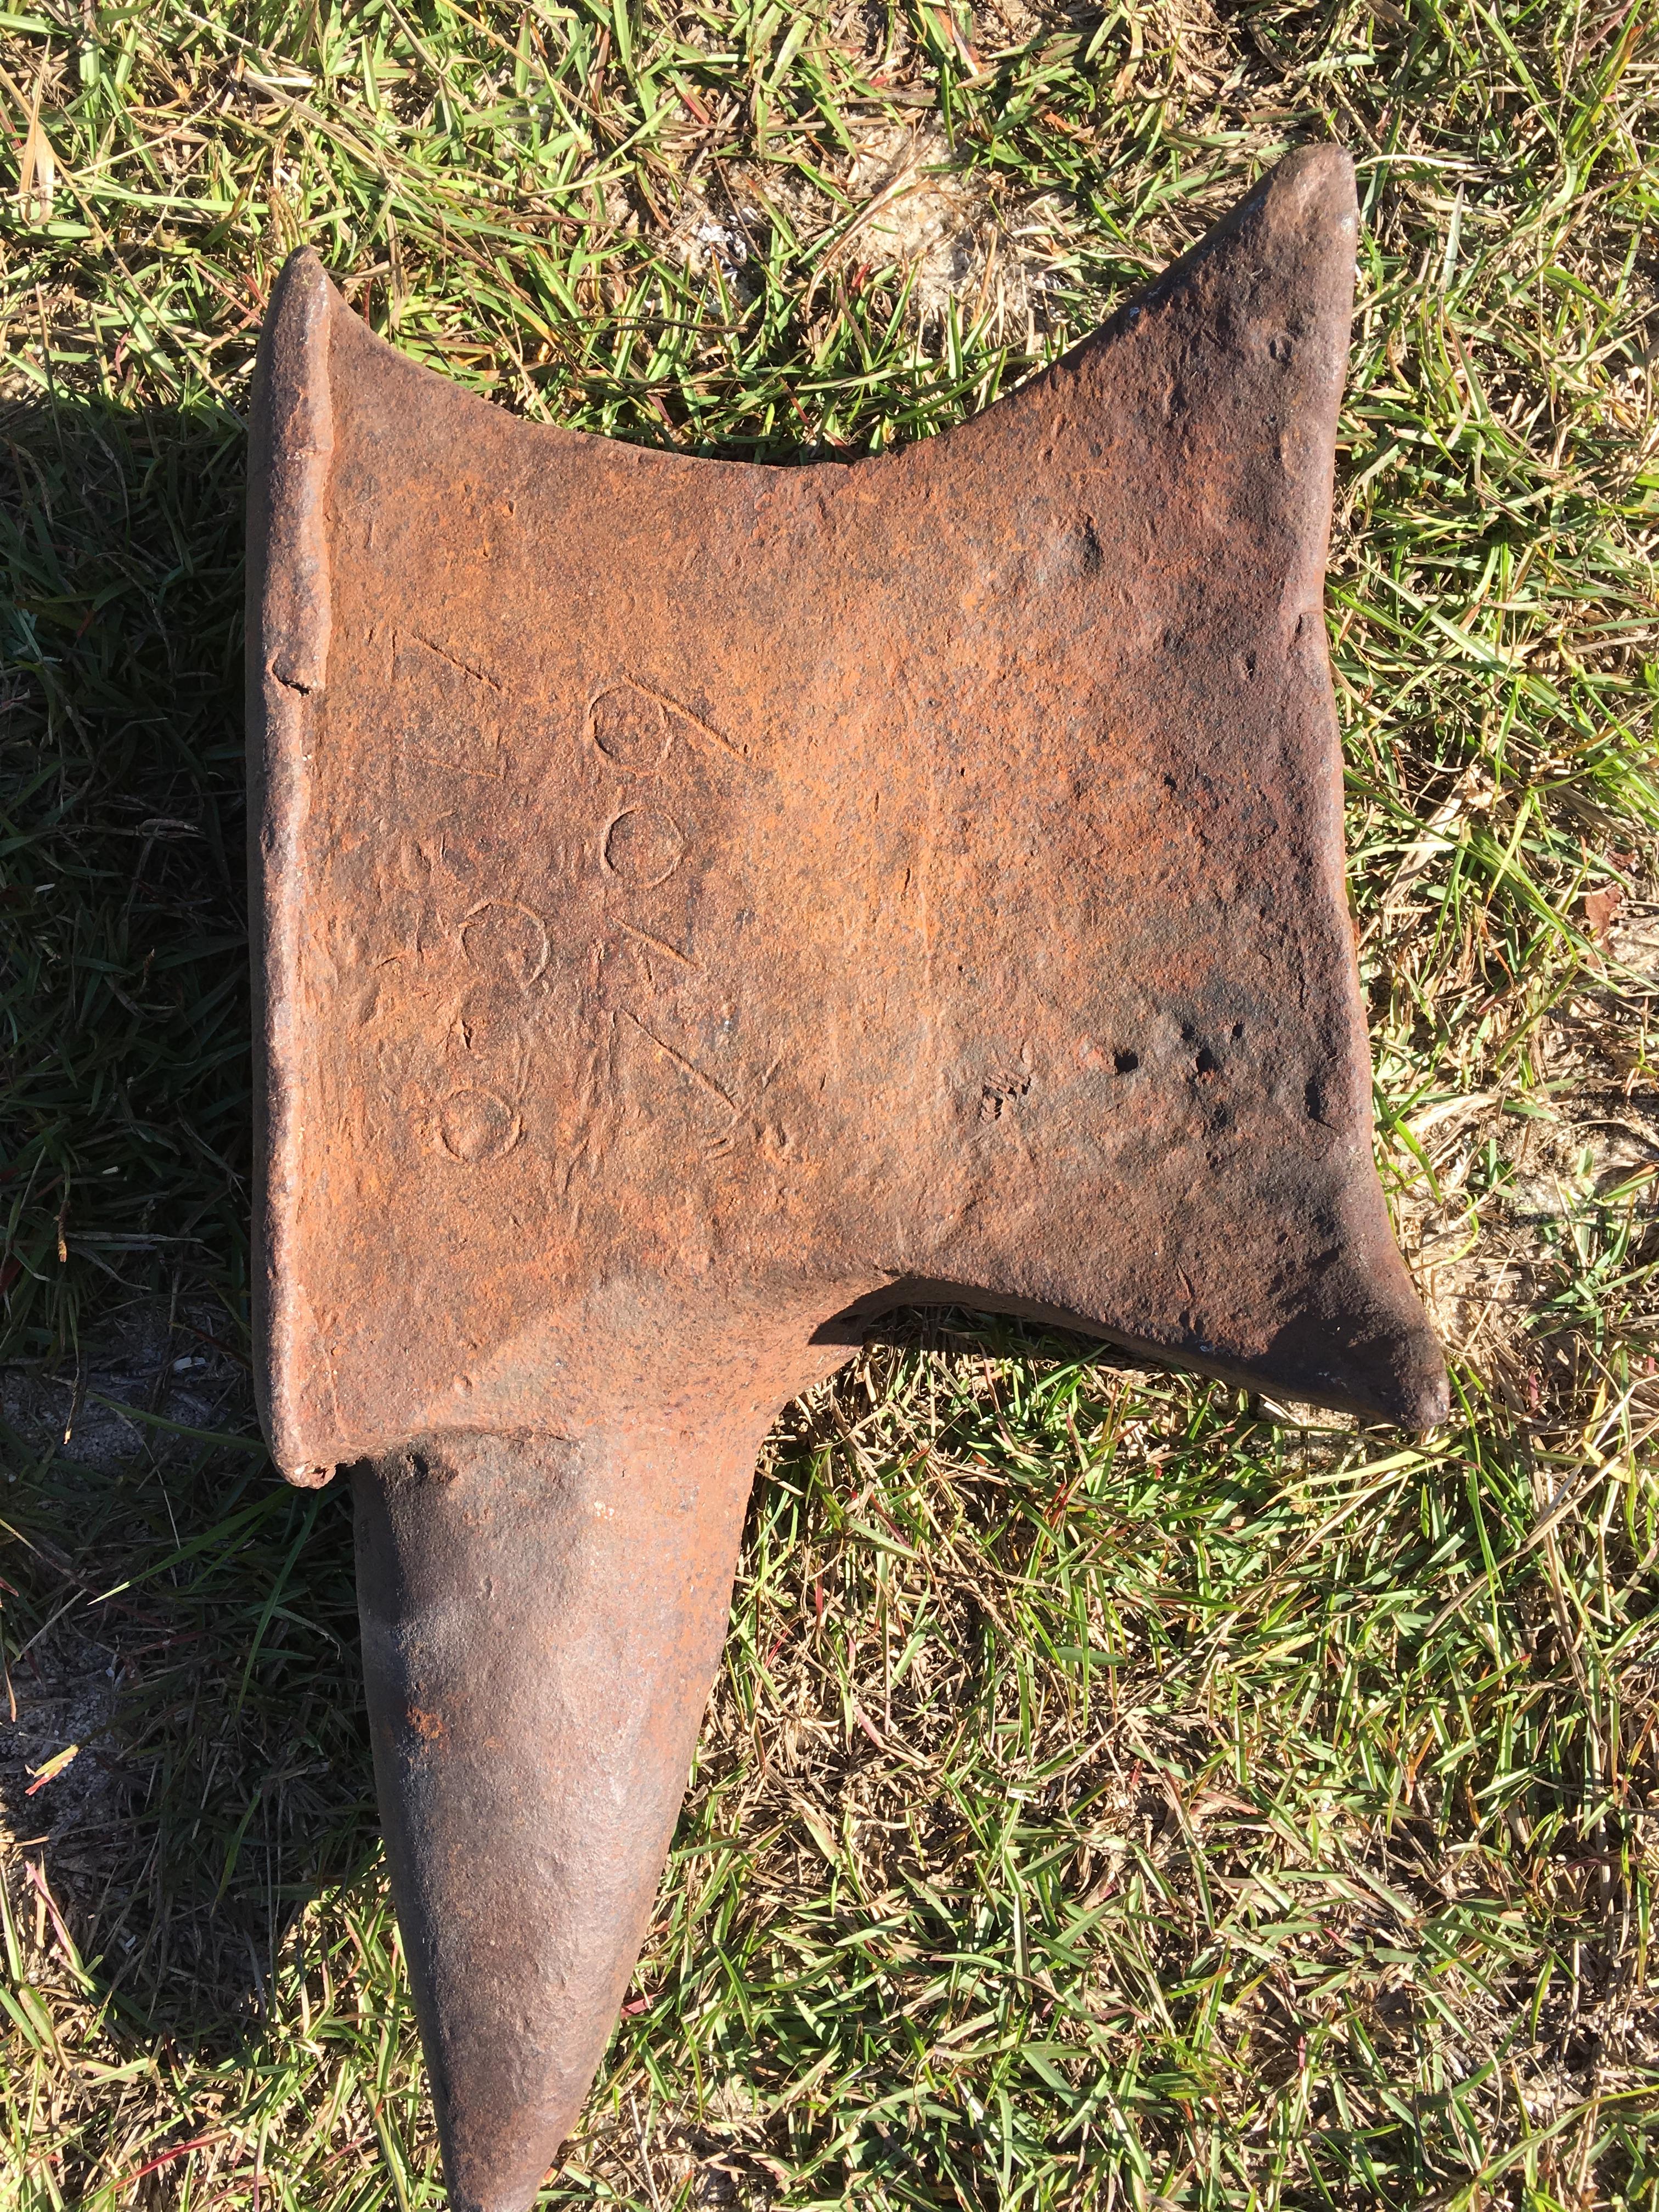
I also scored a wrought iron buggy axel that I found leaning against a tree in my grandmothers yard today! A fine day indeed!
-
Mine!
Got them both for $600.00! Where I’m from, that’s a pretty decent deal! The anvil needs a good cleaning, but the forge should be good to go! These were supposedly bought together at a hardware store near the seller in 1917. He wanted them to stay together so I obliged!
Still looking for the $50 post vise Thomas! :-P
(sorry for the photo size)


-
JLP, thanks! I’m hopefully going to pick it up this evening!
-
Black Frog,
thank you very much! That’s exactly what I was looking for!
-
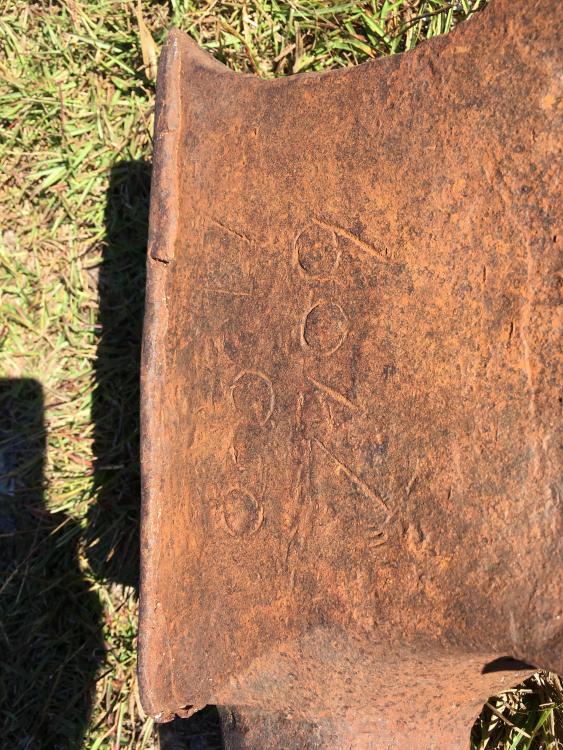
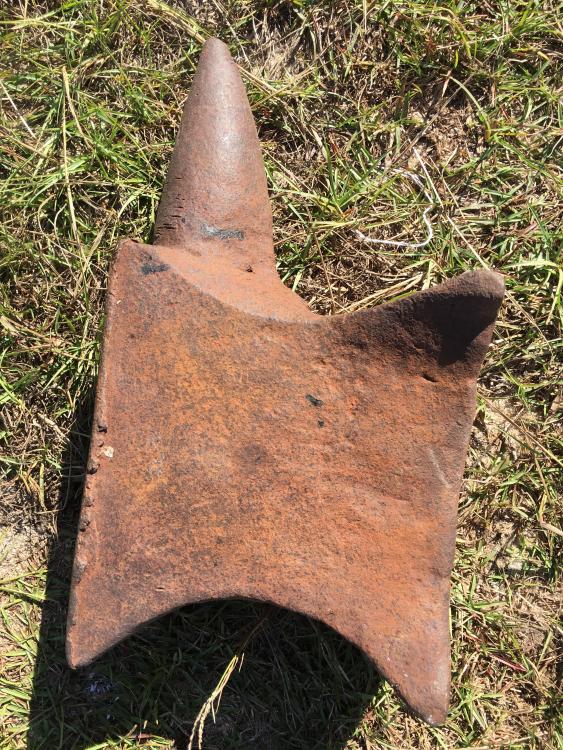
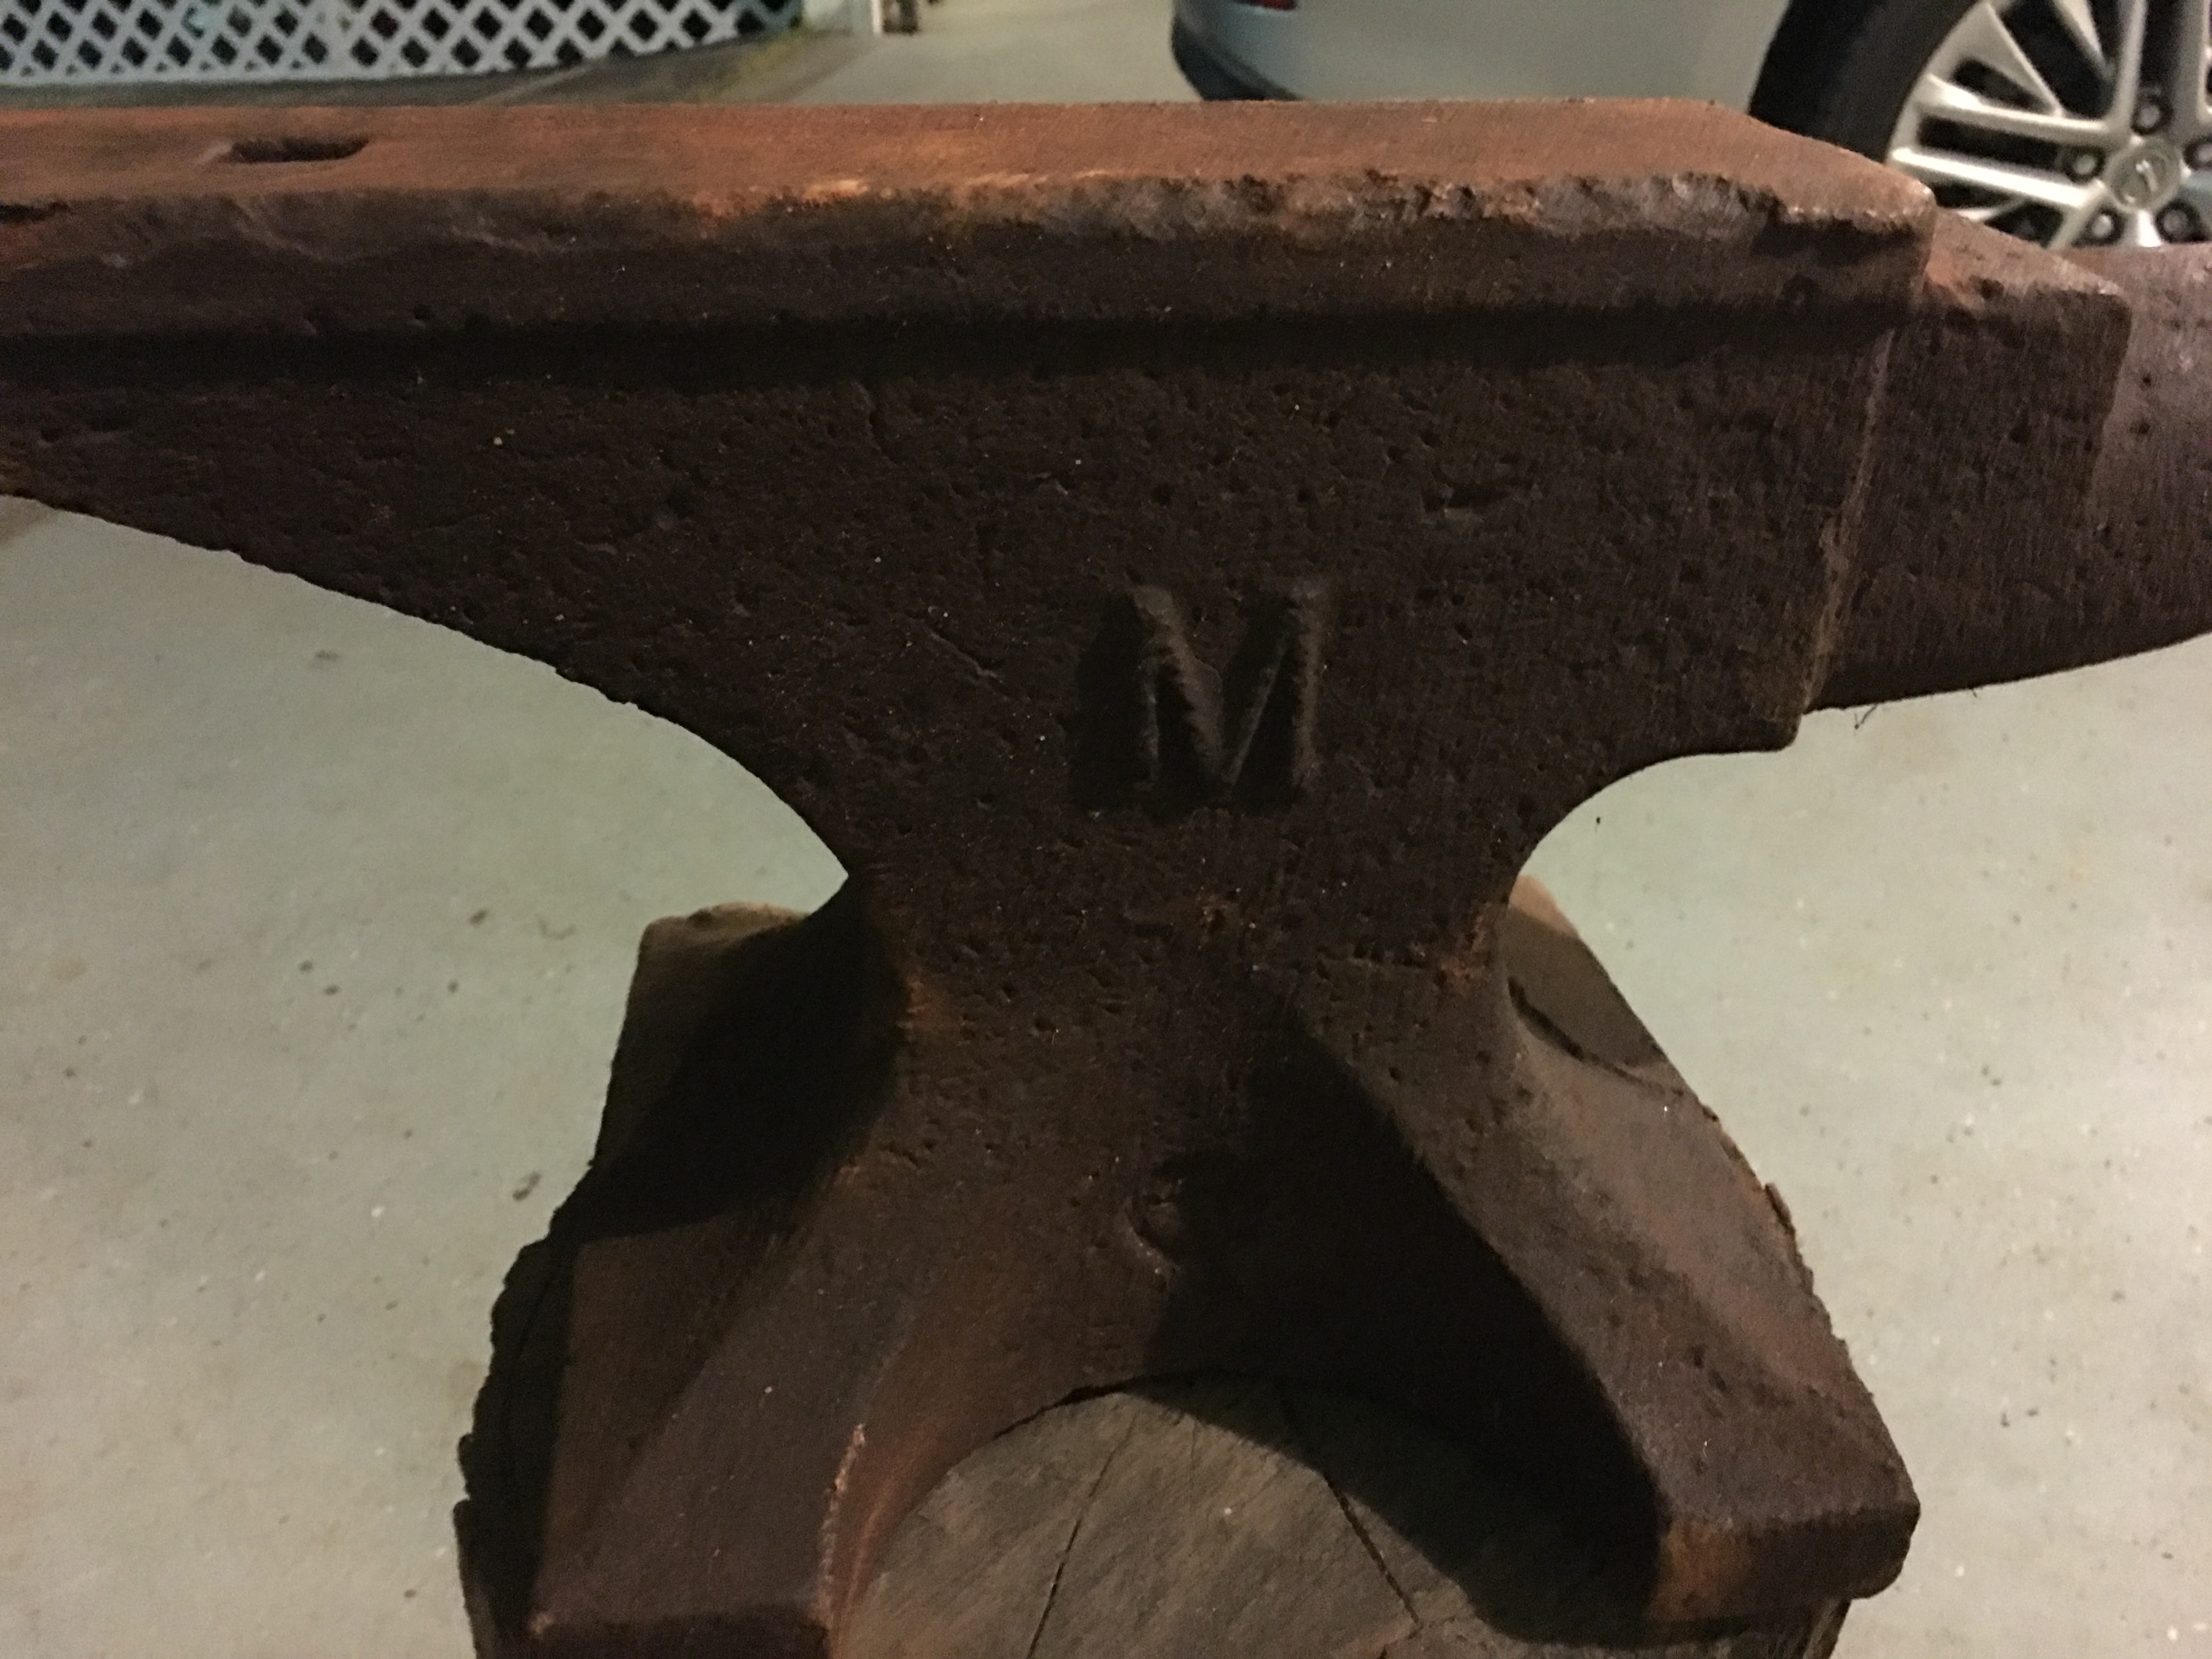
Hi all,
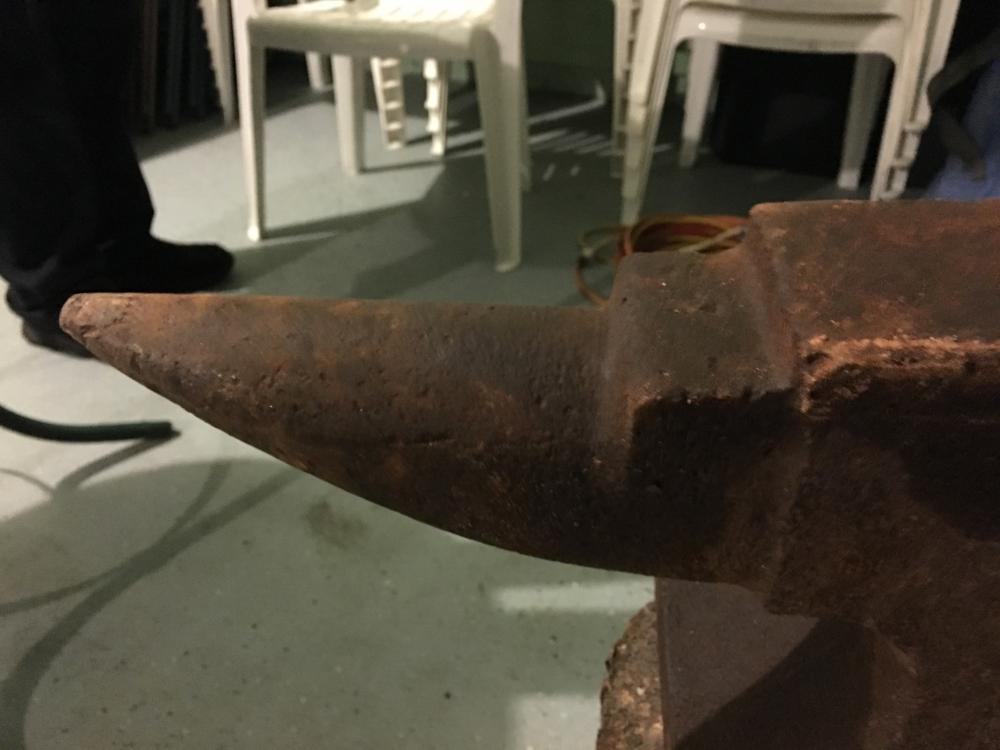
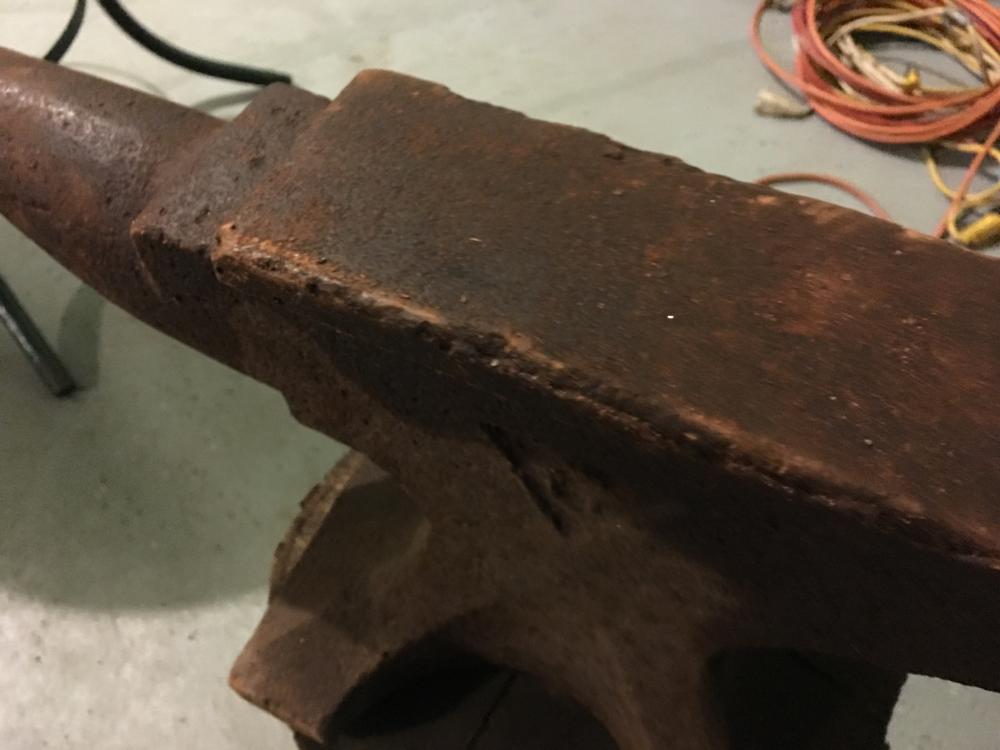
i have another anvil prospect, but the face appears to have been repaired with a new plate. Can anyone verify this? If so, should I keep looking?
thanks,
Ben
-
Thanks Thomas! It just feels so wrong to let it slip through my fingers, even knowing all of its flaws.
Think with head, not with heart, Ben! (Internal dialogue)
-
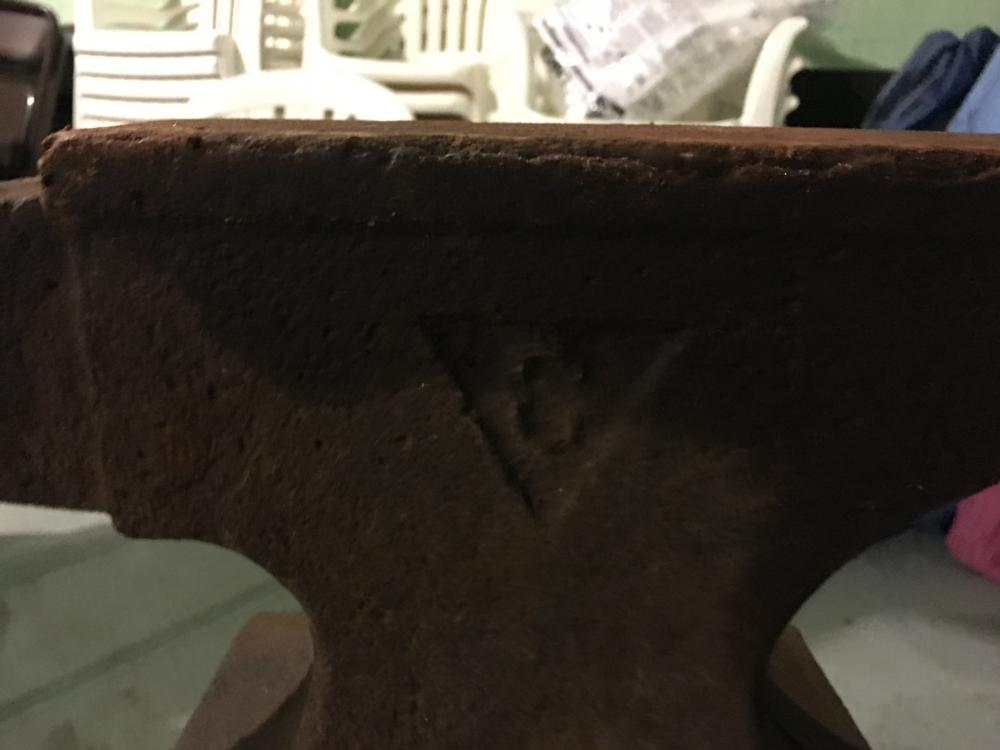
Here are a few pictures including one with my size 13 clod hopper.
it appears that JHCC was correct in that it is mushroomed pretty badly, but it also appears that this is the original face plate. The horn appears to be added on later.
Any differing thoughts with clearer photos?
ID perhaps??
Ben


-
Ok . Thank you! I tried to edit , but the link was removed before I could get to it (thanks Mods.)
JHCC, Thank you for the info. I’m still going to look at it and take some more pics. If anything, I can at least talk with the dealer and start a dialog about being on the lookout for something in a bit better shape.
Ben
-
Hi all,
I’m not sure of link posting rules so please let me know if I need to change anything. I found this on a local antique dealer’s FB site and I would like to know any thought you all may have on this Anvil. I realize the photo is terrible. Hopefully I will be able to go and see it today and post more photos of it. For now, it appears to me that the edges are rolled and parts, if not all of the face is domed. Is there anything that can be done to correct some/all of these issues without ruining this Anvil? Thanks in advance for any help,
Ben
-
JHCC Ha! I will let my teenaged son continue with the title of "sexiest footwear !" :-D
This is a project me, him, and his slightly older brother are all taking on together. We've (they) recently learned how the combustion engine works by ripping a tiller apart. During that time, they showed an interest in beating the crap out of metal so, voila! Instant bonding idea!
Next up is a welder. We have plenty of scrap from my fathers many projects over the years. Between these two skill sets they should be able to rely on themselves when it comes time to fix/make/trade.
My health is somewhat failing and I want to make sure my boys have a firm grasp on the industrial arts so they don't have to rely on any one else. Along with all the skills they learn in Boy Scouts and here with me, they really dig working on stuff together and with me. Just not golf. Maybe one day :-)!
Look for my questions about building our forge in the coming days!
Sorry for the long post,
Ben
Thank you all for your replies! We are now on the hunt around our property for something that just might fit the bill when it comes to a stand. With 22 acres of heavily wooded land, we should have our choice of stumps and logs. The stand I quoted earlier is awfully cool, but may require work that's outside our collective skill set. We may venture into something timber framed or lumber based. I'm partial to the styles which require banding just for the sexy factor and I'm more comfortable working with wood for something like this. I do, however, think we stand a good chance of being able to heat up some metal for our straps and beat them into shape as our first project.
Are rivets too much of a task at this point? I think it would look really cool to have rivets lining our bands. Just a thought.
Thanks again guys!
Ben
-
Thanks for the help.
i was thinking of doing something similar to the guy /gal in this thread :
Any other suggestions as to the style of stand and material I should use? Or is the name of the game still get as much mass under the strike zone as possible? Can I sink it into a bucket of concrete?
Should I maybe consider cutting it in half or thirds and stack/forge weld them together ?
Thanks again,
Ben
-
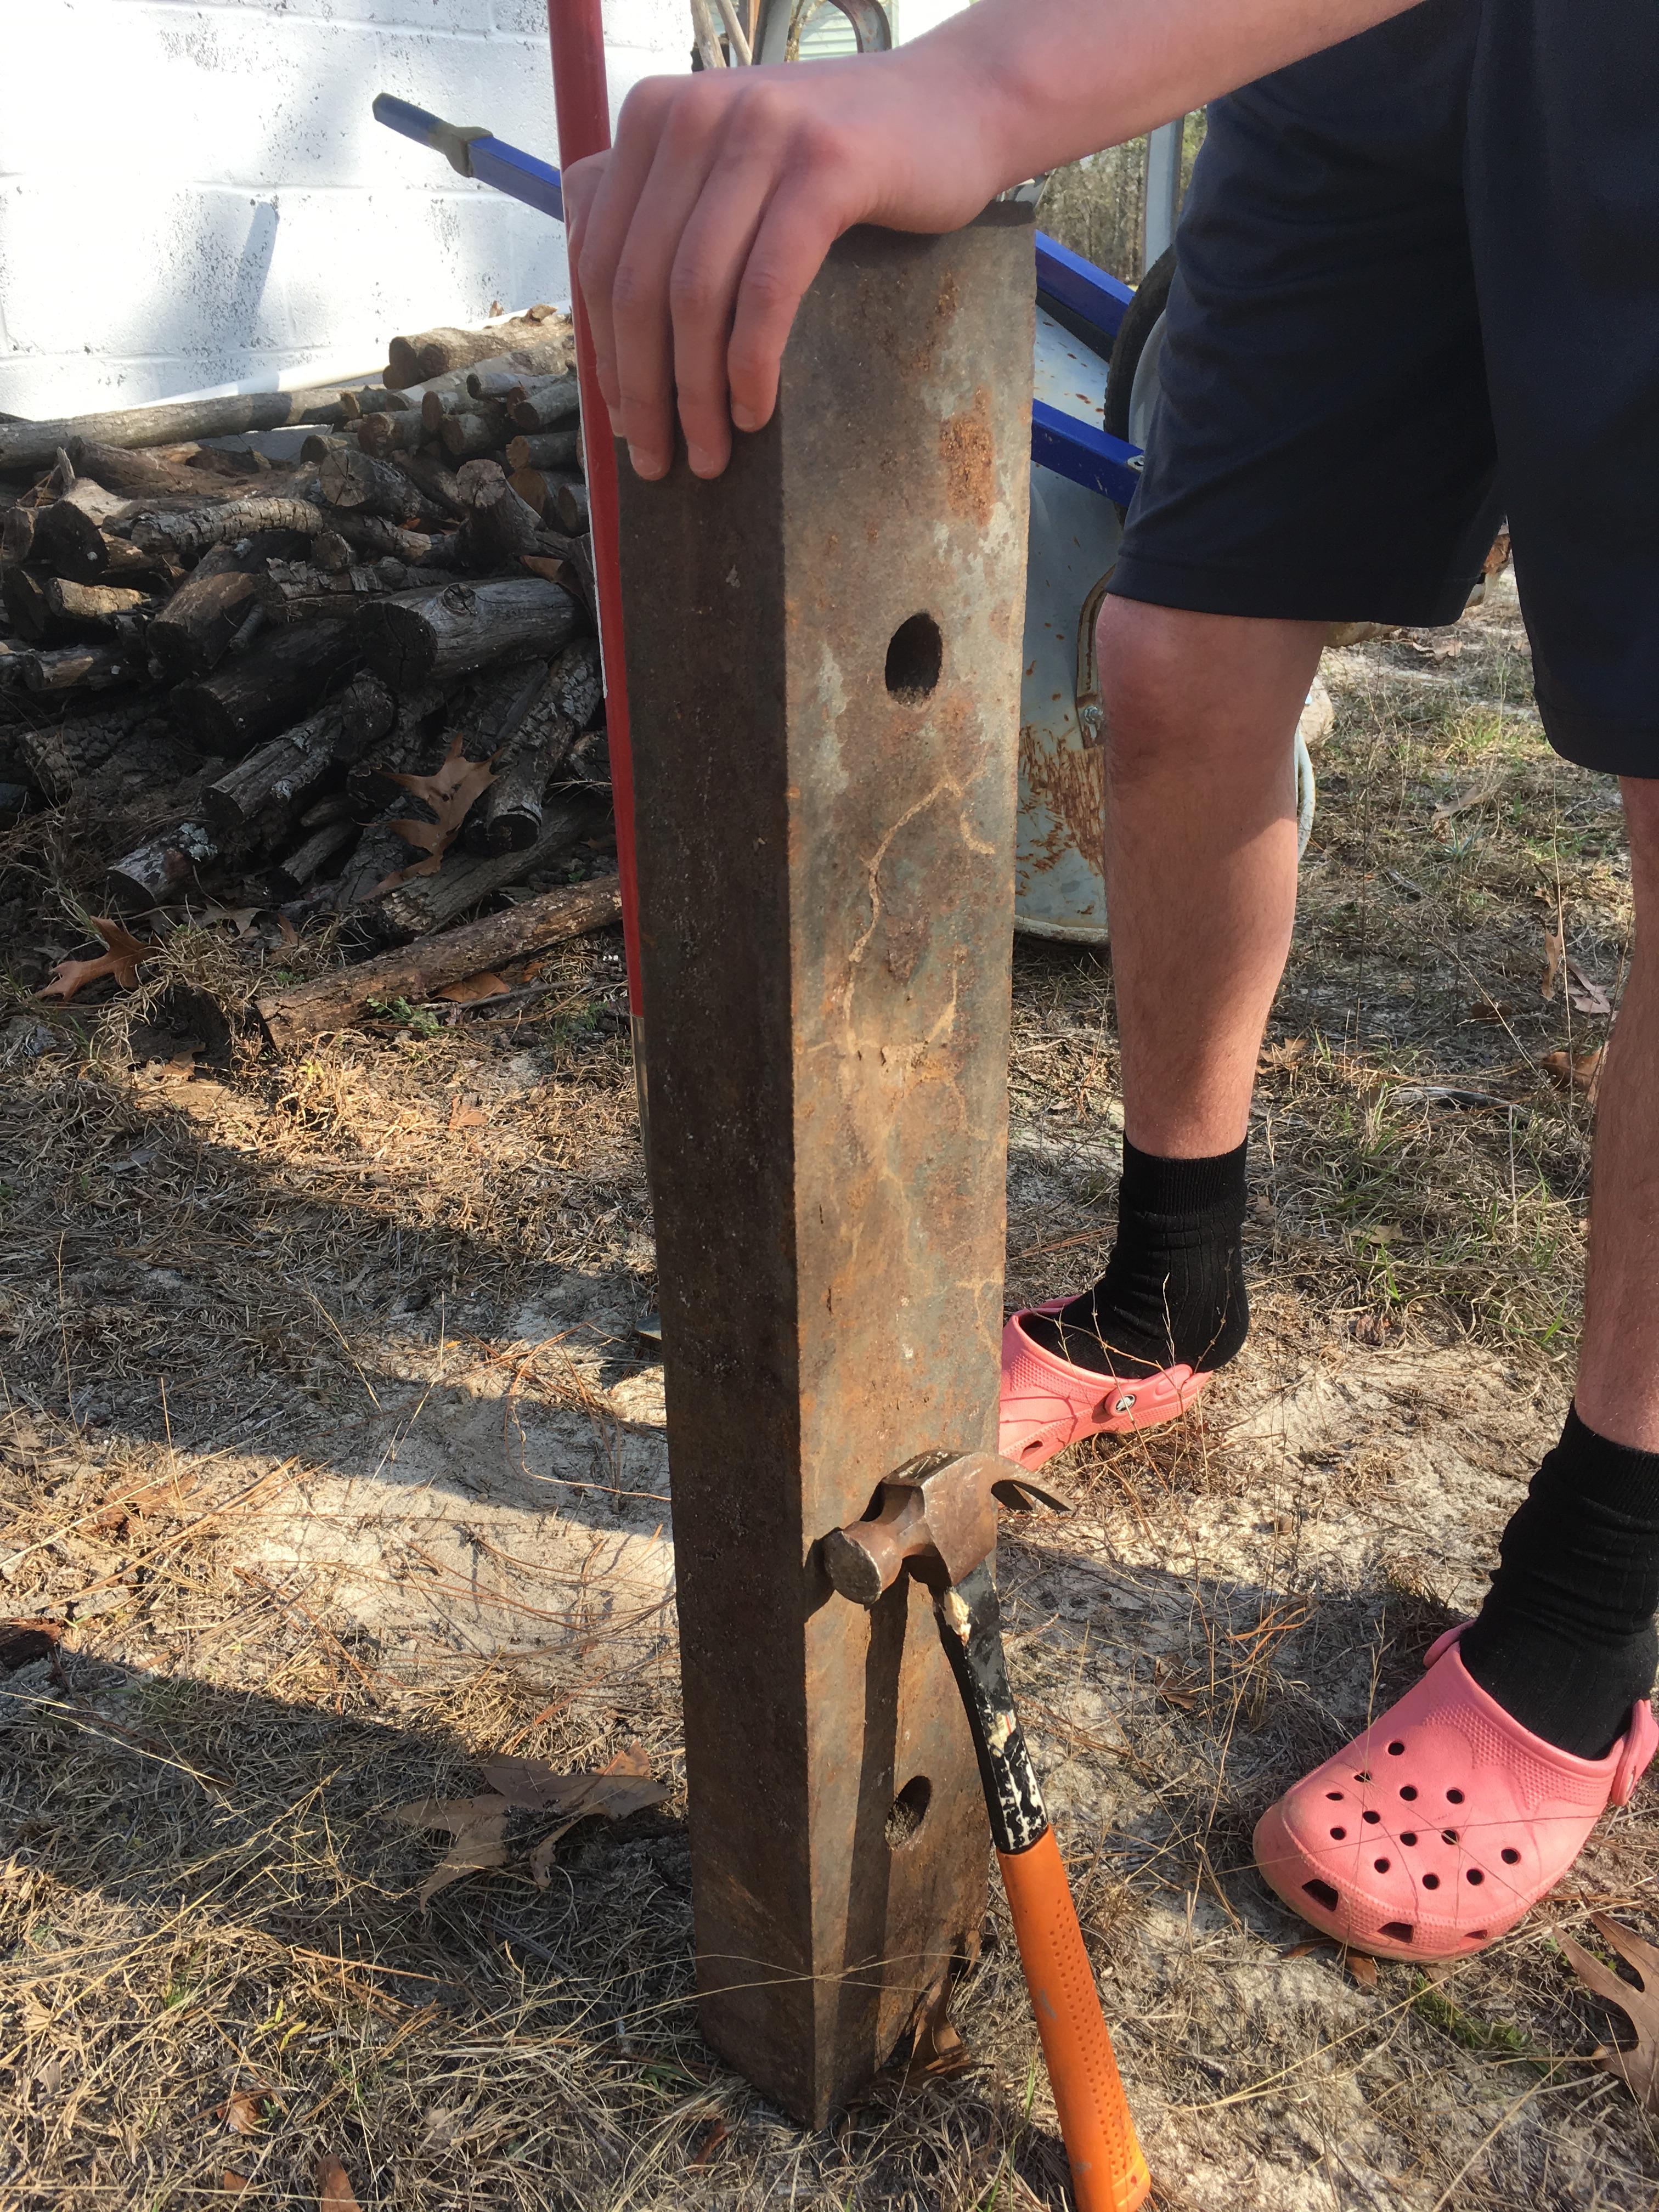
Hi, I'm a completely scratch beginner blacksmith. As such, I'm on the hunt for materials I already have on hand that may be useful. Of greatest importance to me is finding an anvil or anvil-like substitute that will suffice for making small to medium sized projects.
I have this old counterweight from a tractor we no longer own so I'm wondering if this will suit my needs for a time until a bigger, better anvil can be procured.
So please, take a look and ask any relevant questions. Thanks,
Ben

Here's a short video so you can hear the ring. I understand this is a somewhat decent way to tell if the steel is capable of taking the abuse of heat and hammers.


Clay types for rivet forges
in Solid Fuel Forges
Posted
So, I finally got the new mix in! I only had time enough to build a large ring around the fire grate which left about 3” between the ring and the wall of the forge. The ring is about 2 1/2” thick and 4”wide. I let dry for 4 days in varying weather, but never below 50*. It hardened up like cinder block! Then I fired it 3 times with wood and no air, making sure to cover the top of the clay for as even curing as possible. These all went perfectly with no cracking or spalling, nothing! I let it cool fully between firings to see if there was shrinking or cracking. Again, nothing. So, I took it for its inaugural run and it worked beautifully! I made notches on two sides for tool/work pass-through to limit the chance of chipping. This all worked fine. Then, when it was time to shut down, I drug all the coal to the outside of the ring, which had an unintended benefit of killing the fire quickly! It was then I noticed, I had a lateral crack about halfway up the inside wall about 1/4 of the way around.
Is there any chance I can patch/cover this or would I just be wasting clay for the inevitable do-over?
IDF&C, Thank you for the Birthday condolences! (and all of your help)