

Outdoor gater
-
Posts
17 -
Joined
-
Last visited
Content Type
Profiles
Forums
Articles
Gallery
Downloads
Events
Posts posted by Outdoor gater
-
-
Today, I used up the last little bit of satanite refractory I had left and now I'm over my 1hr mark on this burn. Playing with tank regulator, that is a 0 to 20 psi have it set around 12 psi also needle valve open about half.
ALMOST READY FOR ITC - 100 AND THEN IT'S HAMMER TIME!!
-
4 hours ago, Latticino said:
Can you explain why your door opening is taller than the opening of your forge? Normally I make them shorter to aid in keeping the heat in.
YES SIR, ONE WORD - OOPS!!!
I have another tank end, and planning on making another door later with a much smaller opening. Both doors have one pin that's easy to remove. So one door for large work pieces and one for small work pieces.

-
18 hours ago, Mikey98118 said:
You seem to be doing fine so far; keep up the good work.
Thank you.
-
4 hours ago, Mikey98118 said:
You seem to be doing fine so far; keep up the good work.
Thank you.
-
On Sunday, January 15, 2017 at 9:24 AM, Buzzkill said:
Just because you have a certain item doesn't mean you should try to use it for a propane forge. You might be better off hanging on to that for a quench tub.
Buzkill
Thank you!! For giving me a cool idea for the use of my extra amo cans laying around. I've already built my forge, thanks to you I'll have a cool looking quench tub with a lid.

-
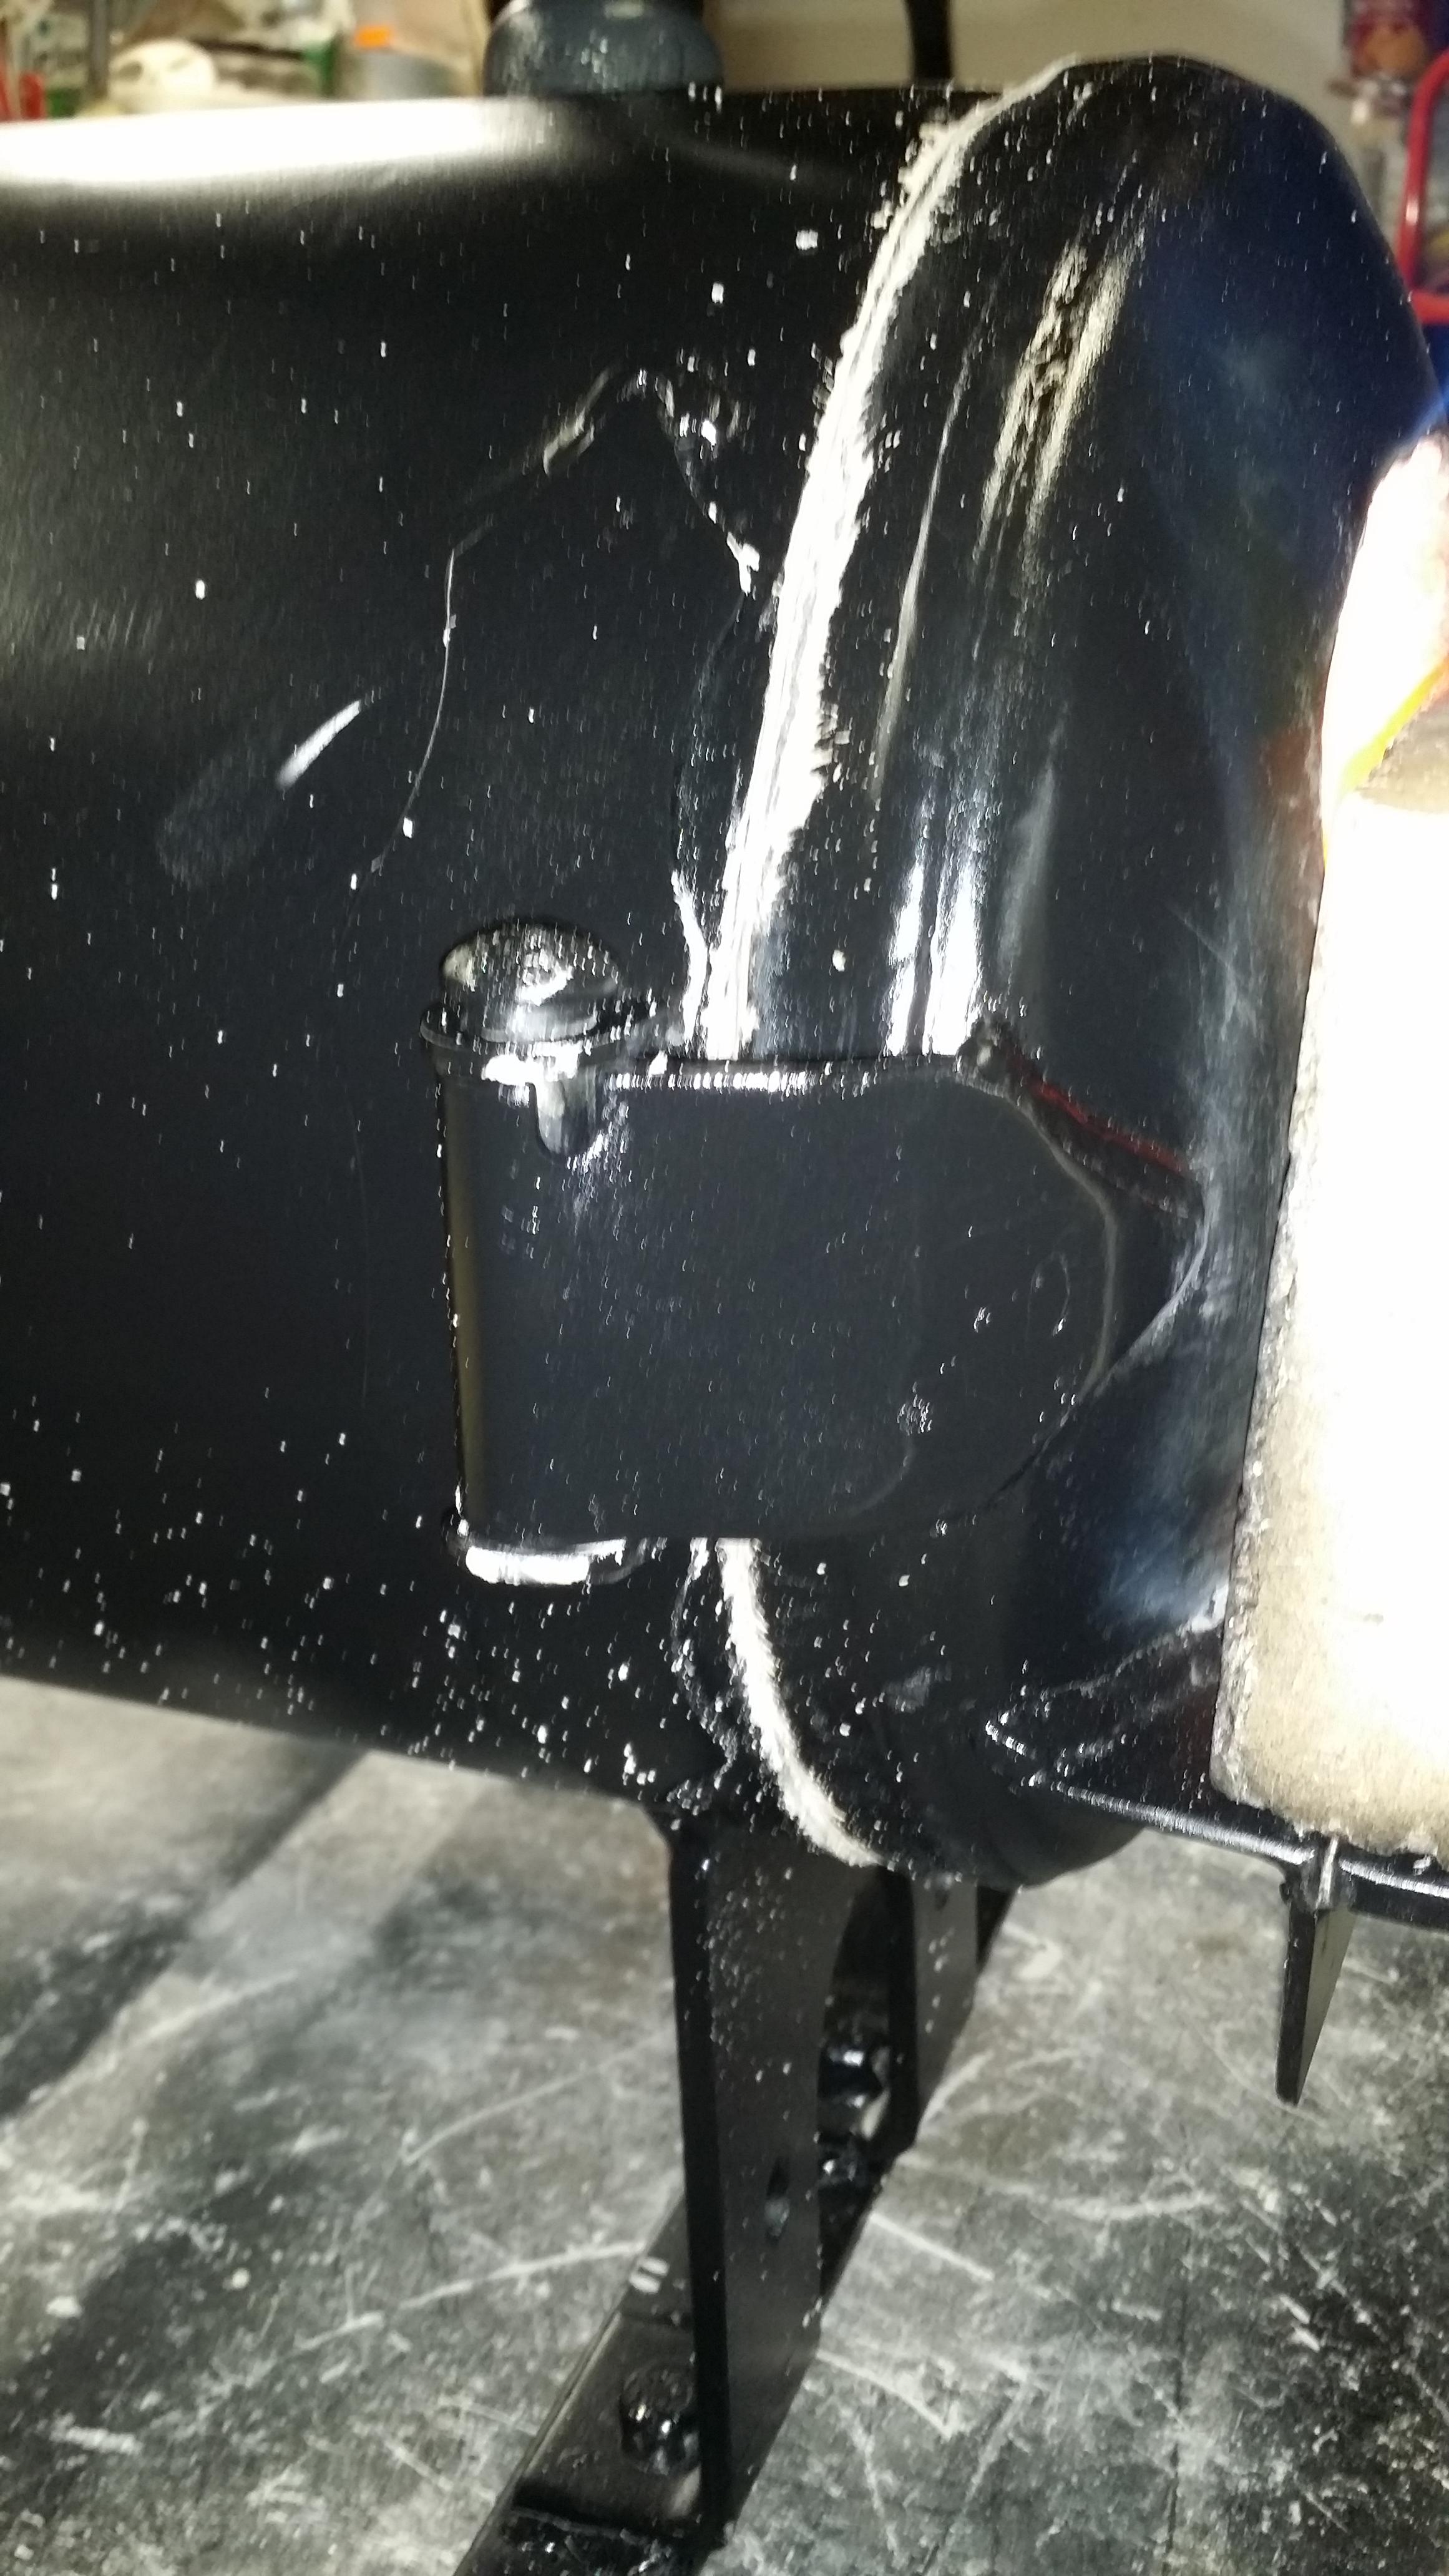
Ok, Last week I've started on the inside of fordge linings. 2 layers of 1" ceramic wool using sodium silacate as a adhesive on door wool. Then several applications of InsTuff rigidizer on wool. Then started with satanite refractory layers. I bought 10 lbs and I'm half way there. I've allready used 5 lbs I'm going to try and shoot for a 1/2" thick layer of refractory before I finish up with ITC - 100. Here’s a video of my first 30 minute cure burn. Before I did several 30 second then 1 min then several 5 minute burns between coats. I'm at 4th coating and still going, trying to get to 1/2" refractory wall thickness. Please let me know if my burners don't look right. I'm willing to learn.
thanks Gator
- Down below is pic of another coating of refractory along with split brick floor. Have about 3lbs left of satanite refractory. So a few more coats before ITC 100.

-
Ok, Last week I've started on the inside of fordge linings. 2 layers of 1" ceramic wool using sodium silacate as a adhesive on door wool. Then several applications of InsTuff rigidizer on wool. Then started with satanite refractory layers. I bought 10 lbs and I'm half way there. I've allready used 5 lbs I'm going to try and shoot for a 1/2" thick layer of refractory before I finish up with ITC - 100. Here’s a video of my first 30 minute cure burn. Before I did several 30 second then 1 min then several 5 minute burns between coats. I'm at 4th coating and still going, trying to get to 1/2" refractory wall thickness. Please let me know if my burners don't look right. I'm willing to learn.
thanks Gator
-
Thank you for the help.
-
2 hours ago, Outdoor gater said:
Seal blanket with colloidal silica, or equal, before refractory coating.
Latticino,
you said " seal blanket with colloidal silica, or equal, before refractory coating. "
I take it that it's use is to keep blanket from soaking up water from the refractory coating? If so then It should be ok to use rutland cement floor sealer? It is 100% sodium silacate. That's all I could find as a sealer and adhesive that would also help to hold blanket on my door also with small finish nails welded on door as studs to impale blanket up and act like litle anchors to hold the weight of blanket, refractory and ITC 100.
8 hours ago, Latticino said:I get you at around 500 cubic inches, assuming some minor compression in the blanket during construction.
Suggestions:
- Plan for two burners.
- Design doors or purchase additional bricks to block off opening when not required.
- Seal blanket with colloidal silica, or equal, before refractory coating.
- Use split fire brick for floor, or high alumina kiln shelf, instead of full firebricks
- Depending on refractory type you may want a thicker layer of refractory. I have been using 1/4" and am finding it too fragile.
Latticino,
Ok I decided to go with 2 torches evenly spaced. Should torch location be at 12 o'clock, 1 o'clock or horizontal at 3 o'clock?
-
12 minutes ago, ThomasPowers said:
That's why it's always useful to tell folks the details! Ifn you had said and "I'm going to use it to anneal D2 so I can drill handle holes". We could say "perhaps that's not what you want for that task". Of I'll be using 5160 and so 1095---well that would be different...
-
6 hours ago, Latticino said:
I get you at around 500 cubic inches, assuming some minor compression in the blanket during construction.
Suggestions:
- Plan for two burners.
- Design doors or purchase additional bricks to block off opening when not required.
- Seal blanket with colloidal silica, or equal, before refractory coating.
- Use split fire brick for floor, or high alumina kiln shelf, instead of full firebricks
- Depending on refractory type you may want a thicker layer of refractory. I have been using 1/4" and am finding it too fragile.
Thomas
Yes you are correct, but as a beginner. I plan on using the forge I have for treating my work also. Right now not only have no business trying to attempt such a project I have no desire to jump into.
-
32 minutes ago, Latticino said:
A split brick is a half thickness brick. Since you are not a production shop you probably don't need the thermal mass of a full brick floor.
Heat treat forge can indeed be quite different. If you are truly planning on just heat treating you will only need one burner, but need to be very careful with placement to limit hot spots. On a relatively small forge volume (for heat treatment, not general forging) like this one I would consider indirect heating of some sort, depending on what you plan on heat treating. As far as I can tell nothing indicates the design for a dedicated heat treatment forge other than the title. I assumed he was not clear on terminology.
Thank you for the split brick ideal now I understand. I may be using my words wrong sorry for the green. But when you are done forging a blade don't you use the same forge to temper or harden the blade or whatever you need to change the metallurgical forms??
-
3 hours ago, timgunn1962 said:
The OP goes on to point out that he's a newbie, but the thread title is "My first Heat Treat Forge Build". This suggests to me that the intended purpose of the forge might be Heat-Treating blades, rather than forging to shape.
Outdoor Gater, is this the case, or have I misunderstood?
In my limited experience, HT has a very different set of requirements to forging, let alone welding, and a HT forge is likely to look very different to a more conventional forge.
I would like to do heat treat and forging. Nothing to large or complicated to learn at first. Welding maybe later on.
5 hours ago, Mikey98118 said:You stated "My torch design is as follows.
6" x 3/4" black pipe nipple with a 1 1/4" × 3/4" black pipe reducer on air intake side and a stainless steel 3/4" × 1" reducer on the nozzle torch side. Giving me a total length of 8" to 9" .
You didn't say what burner design you are following, but it is probably a typical Aussie burner, which means that in a 3/4" size burner you will need a 2" x 3/4" pipe reducer threaded on to a 10" or longer pipe nipple, with the forward threaded in cut off, giving you 9"of pipe length beyond the reducer's smaller opening (inside).
My torch design is from rushfireforge Jarem Rush
5 hours ago, Mikey98118 said:You stated "My torch design is as follows.
6" x 3/4" black pipe nipple with a 1 1/4" × 3/4" black pipe reducer on air intake side and a stainless steel 3/4" × 1" reducer on the nozzle torch side. Giving me a total length of 8" to 9" .
You didn't say what burner design you are following, but it is probably a typical Aussie burner, which means that in a 3/4" size burner you will need a 2" x 3/4" pipe reducer threaded on to a 10" or longer pipe nipple, with the forward threaded in cut off, giving you 9"of pipe length beyond the reducer's smaller opening (inside).
My torch design came from rushfireforge
-
5 hours ago, Latticino said:
I get you at around 500 cubic inches, assuming some minor compression in the blanket during construction.
Suggestions:
- Plan for two burners.
- Design doors or purchase additional bricks to block off opening when not required.
- Seal blanket with colloidal silica, or equal, before refractory coating.
- Use split fire brick for floor, or high alumina kiln shelf, instead of full firebricks
- Depending on refractory type you may want a thicker layer of refractory. I have been using 1/4" and am finding it too fragile.
I don't have a issue with using 2 burners. I would rather have enough than not have enough. I will research the colloidal silica application before refractory and use. I have extra fire brick for doors.
** I don't understand when you say split fire brick on floor. Are you talking about cutting brick long ways or something else?? **
I have room for a thicker refractory coat.
Thank you for the help.
-
That's a good Ideal of having 2 torches. I have thought of that but don't know enough to consider the ideal. I'm not even sure of my math of figuring out the cubic inch is correct. But I have plenty of time to wait and absorb all the options and listen to smith's ideals and knowledge.
-
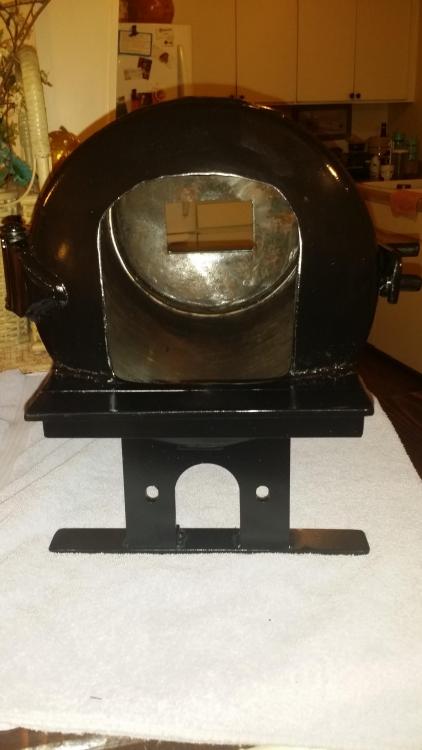
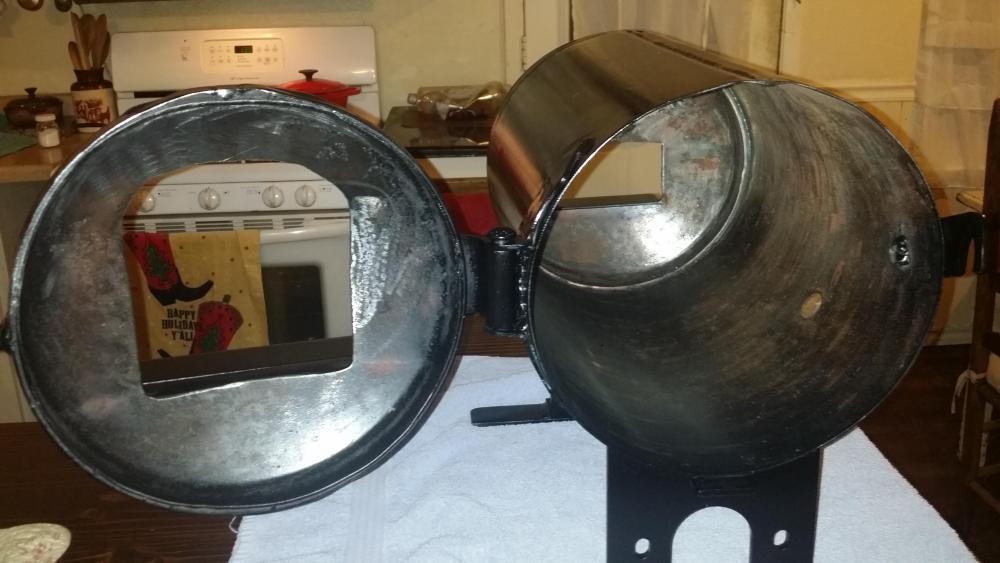
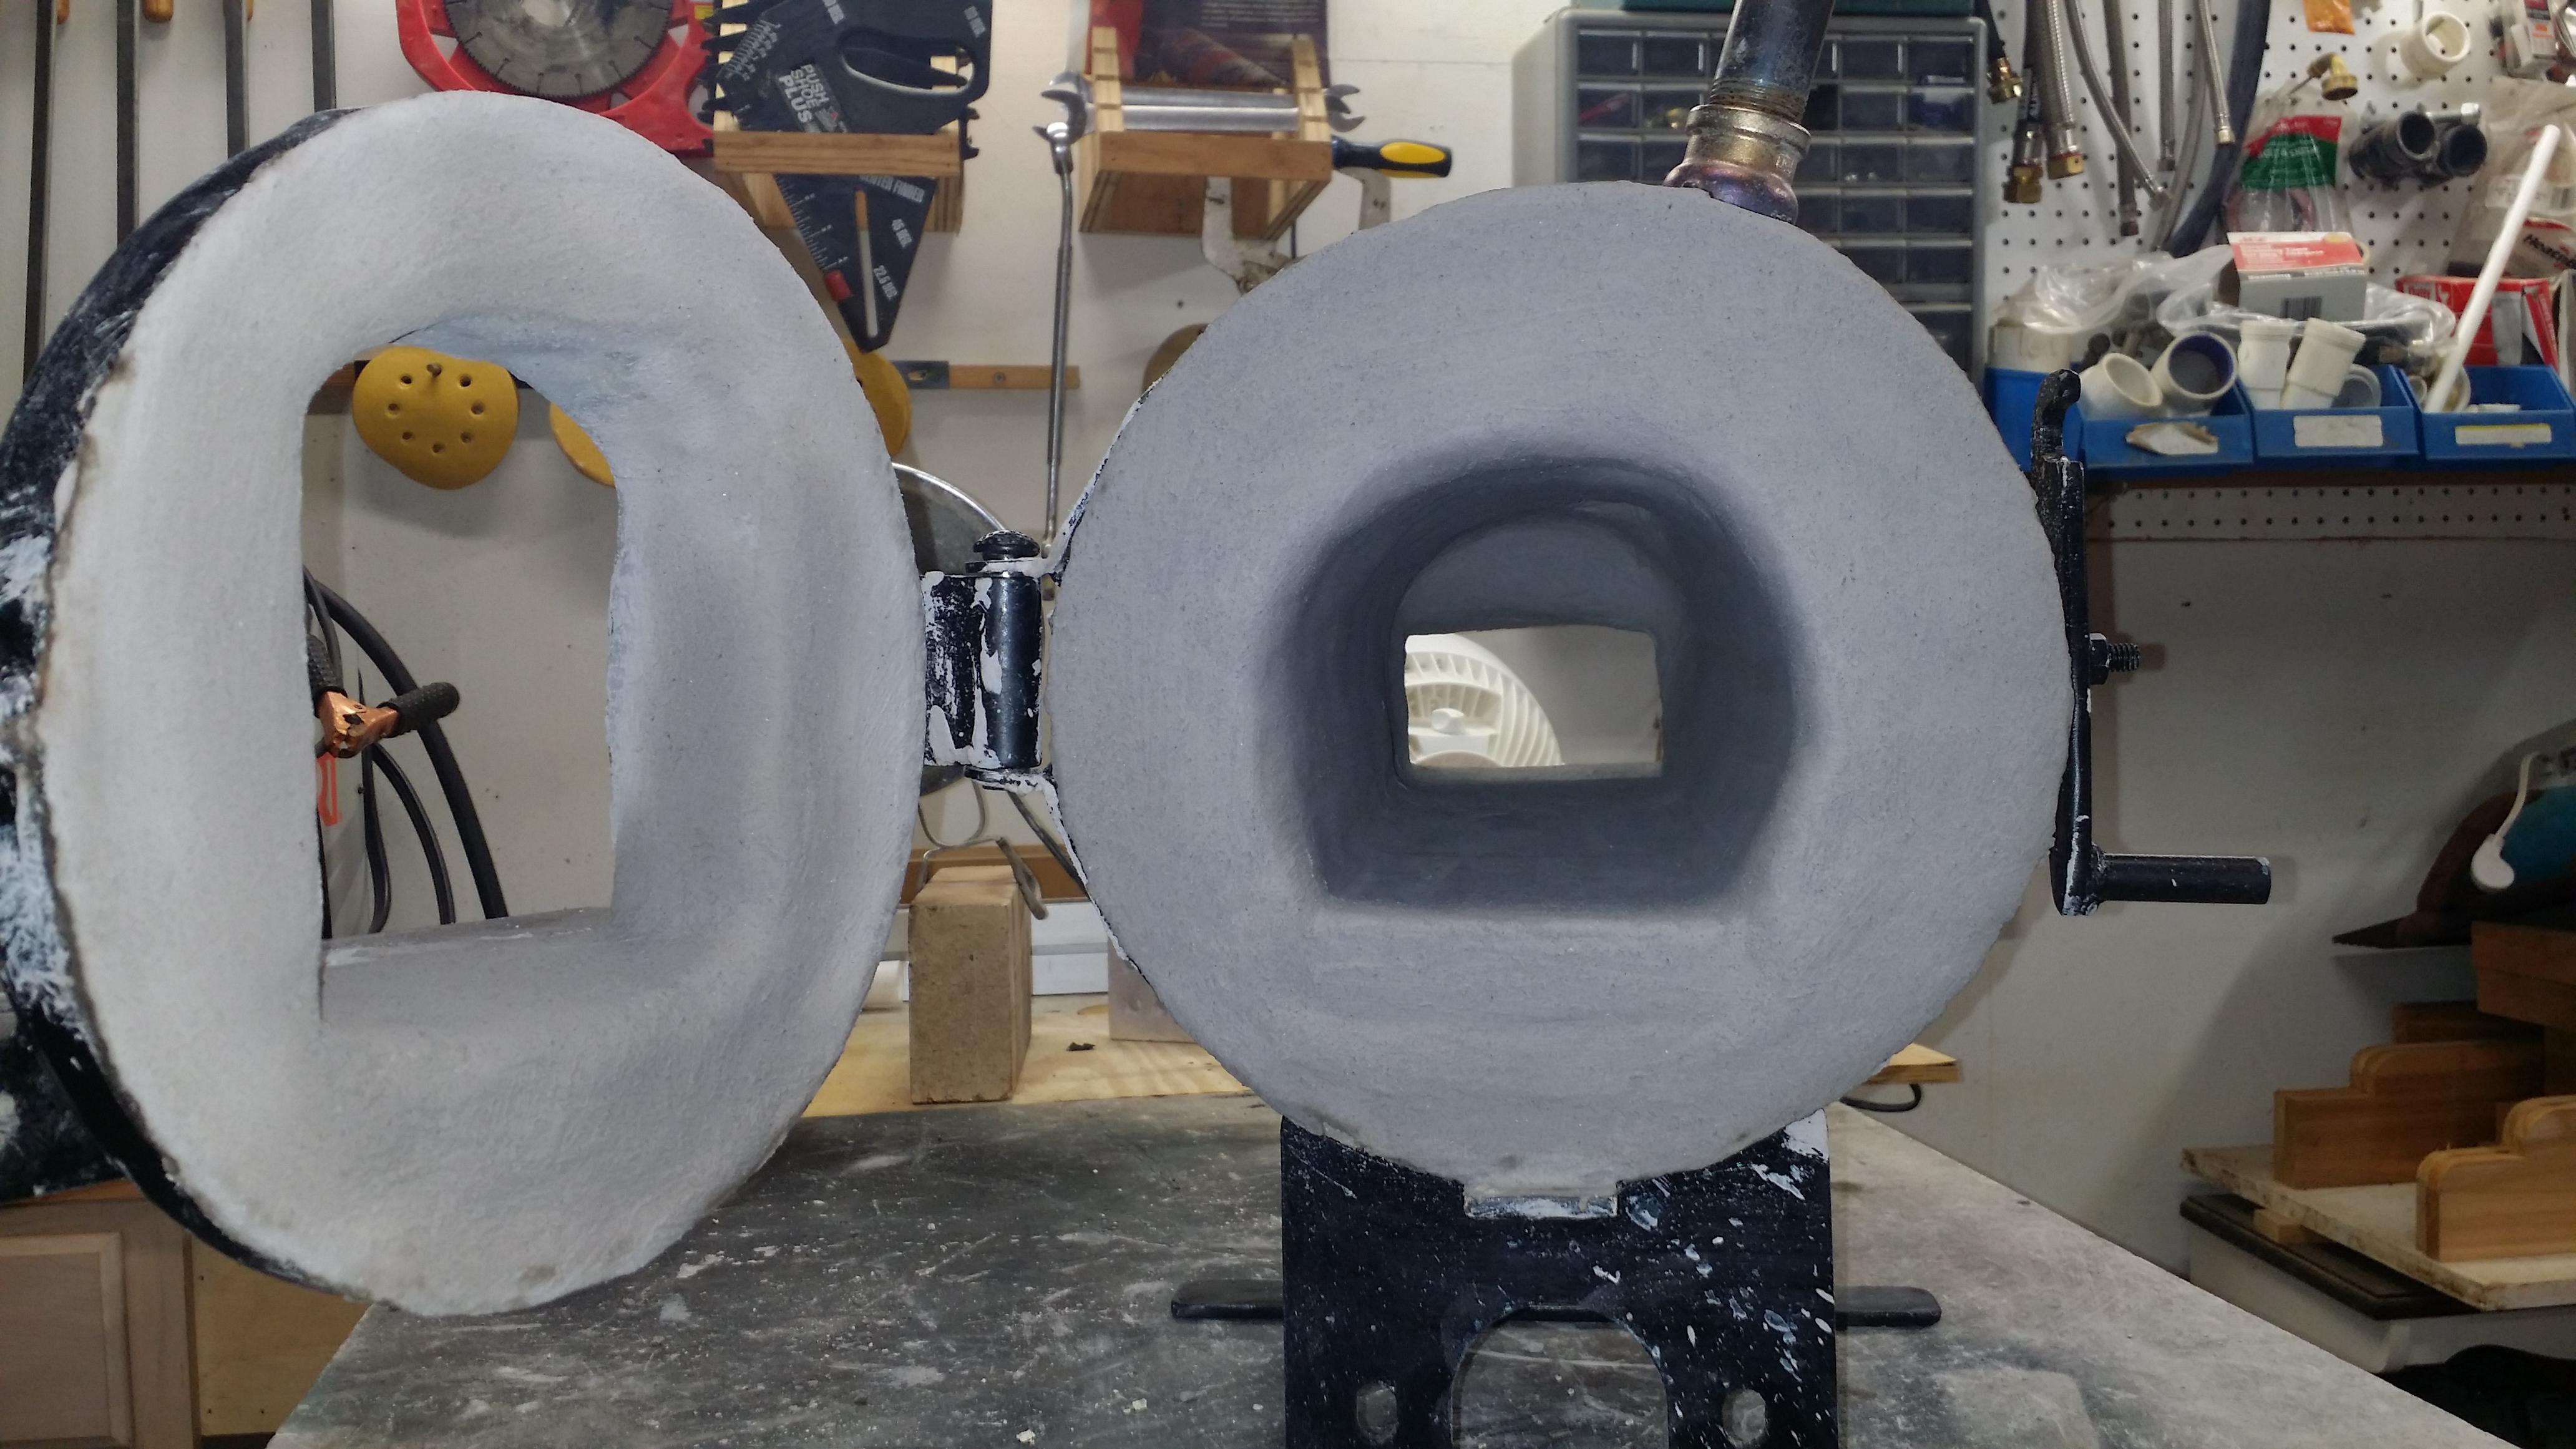
As you can probably tell by my vocabulary and my status, yes I'm a newbie. I'm in the middle of my first forge build. The OD and length of this forge is as follows. 18" x 10" with a door in front and a opening of 5" × 5.5" with a arch on top for maximum clearance. Also a landing for tool rest. On back side I cut a hole 4.5" × 2.5" for through and through work on longer pieces. Also with a smaller landing. I planned on placing a 2.5" thick and 4.5" wide that's just under 2 bricks long for a working surface of 4.5" x 14" on top of my 1st layer of 8# ceramic wool. Then my second 1" layer of wool will come around and butt up against remaining exposed brick edge for a smooth transition, hopefully not to cause any bad circulation. Then after door and back wall is wooled I planed on a minimum of 1/4" thickness of refractory then a light coat of ITC 100 HT. After completing inside my heating space is around 5" Dia and 14" in length.
*** Here is one of my concerns ***
It is torch placement???
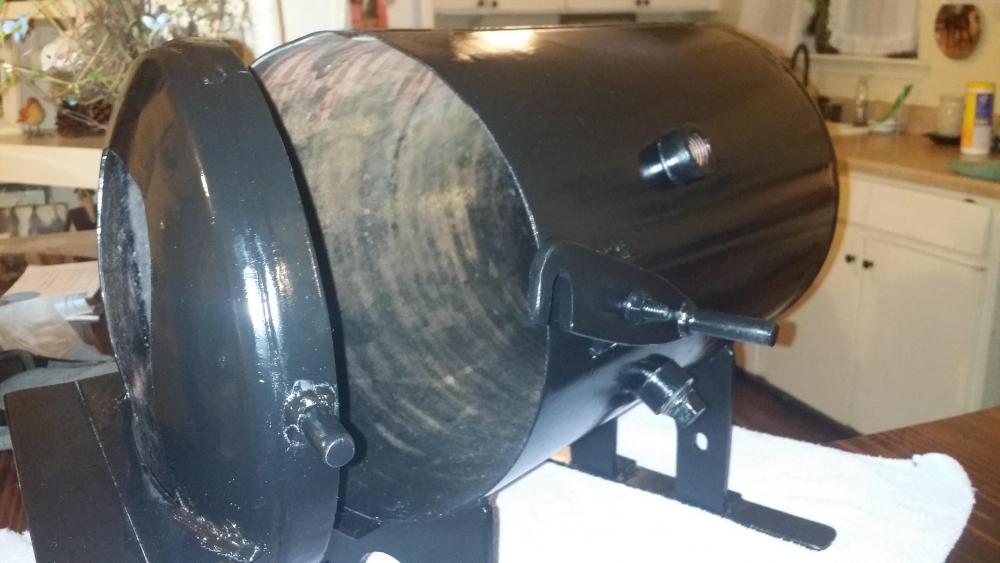
My torch design is as follows.
6" x 3/4" black pipe nipple with a 1 1/4" × 3/4" black pipe reducer on air intake side and a stainless steel 3/4" × 1" reducer on the nozzle torch side. Giving me a total length of 8" to 9"
Propane gas tube is as follows. Inside 3/4" pipe on intake side is a 1/4" brass plug with a #57 size Dia hole drilled in end connected to a coupler then a 1/4" street elbow then a 1/4" × 12" long black pipe nipple then to a needle valve. Pipe is held together with 4 bolts on air intake side.
Ok now like I mentioned up top is my concern on torch placement.
Oh almost forgot. If my math is right my cubic airspace to be heated is + or - depending on final refractory coat and ITC is 350 to max of 504 cubic inch. Like I said if I did the math right. LOL
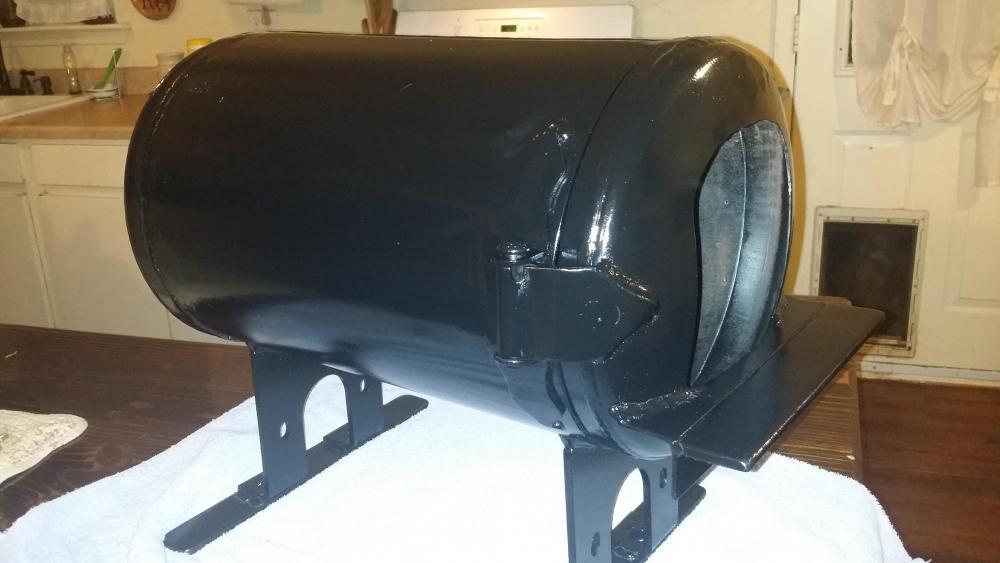
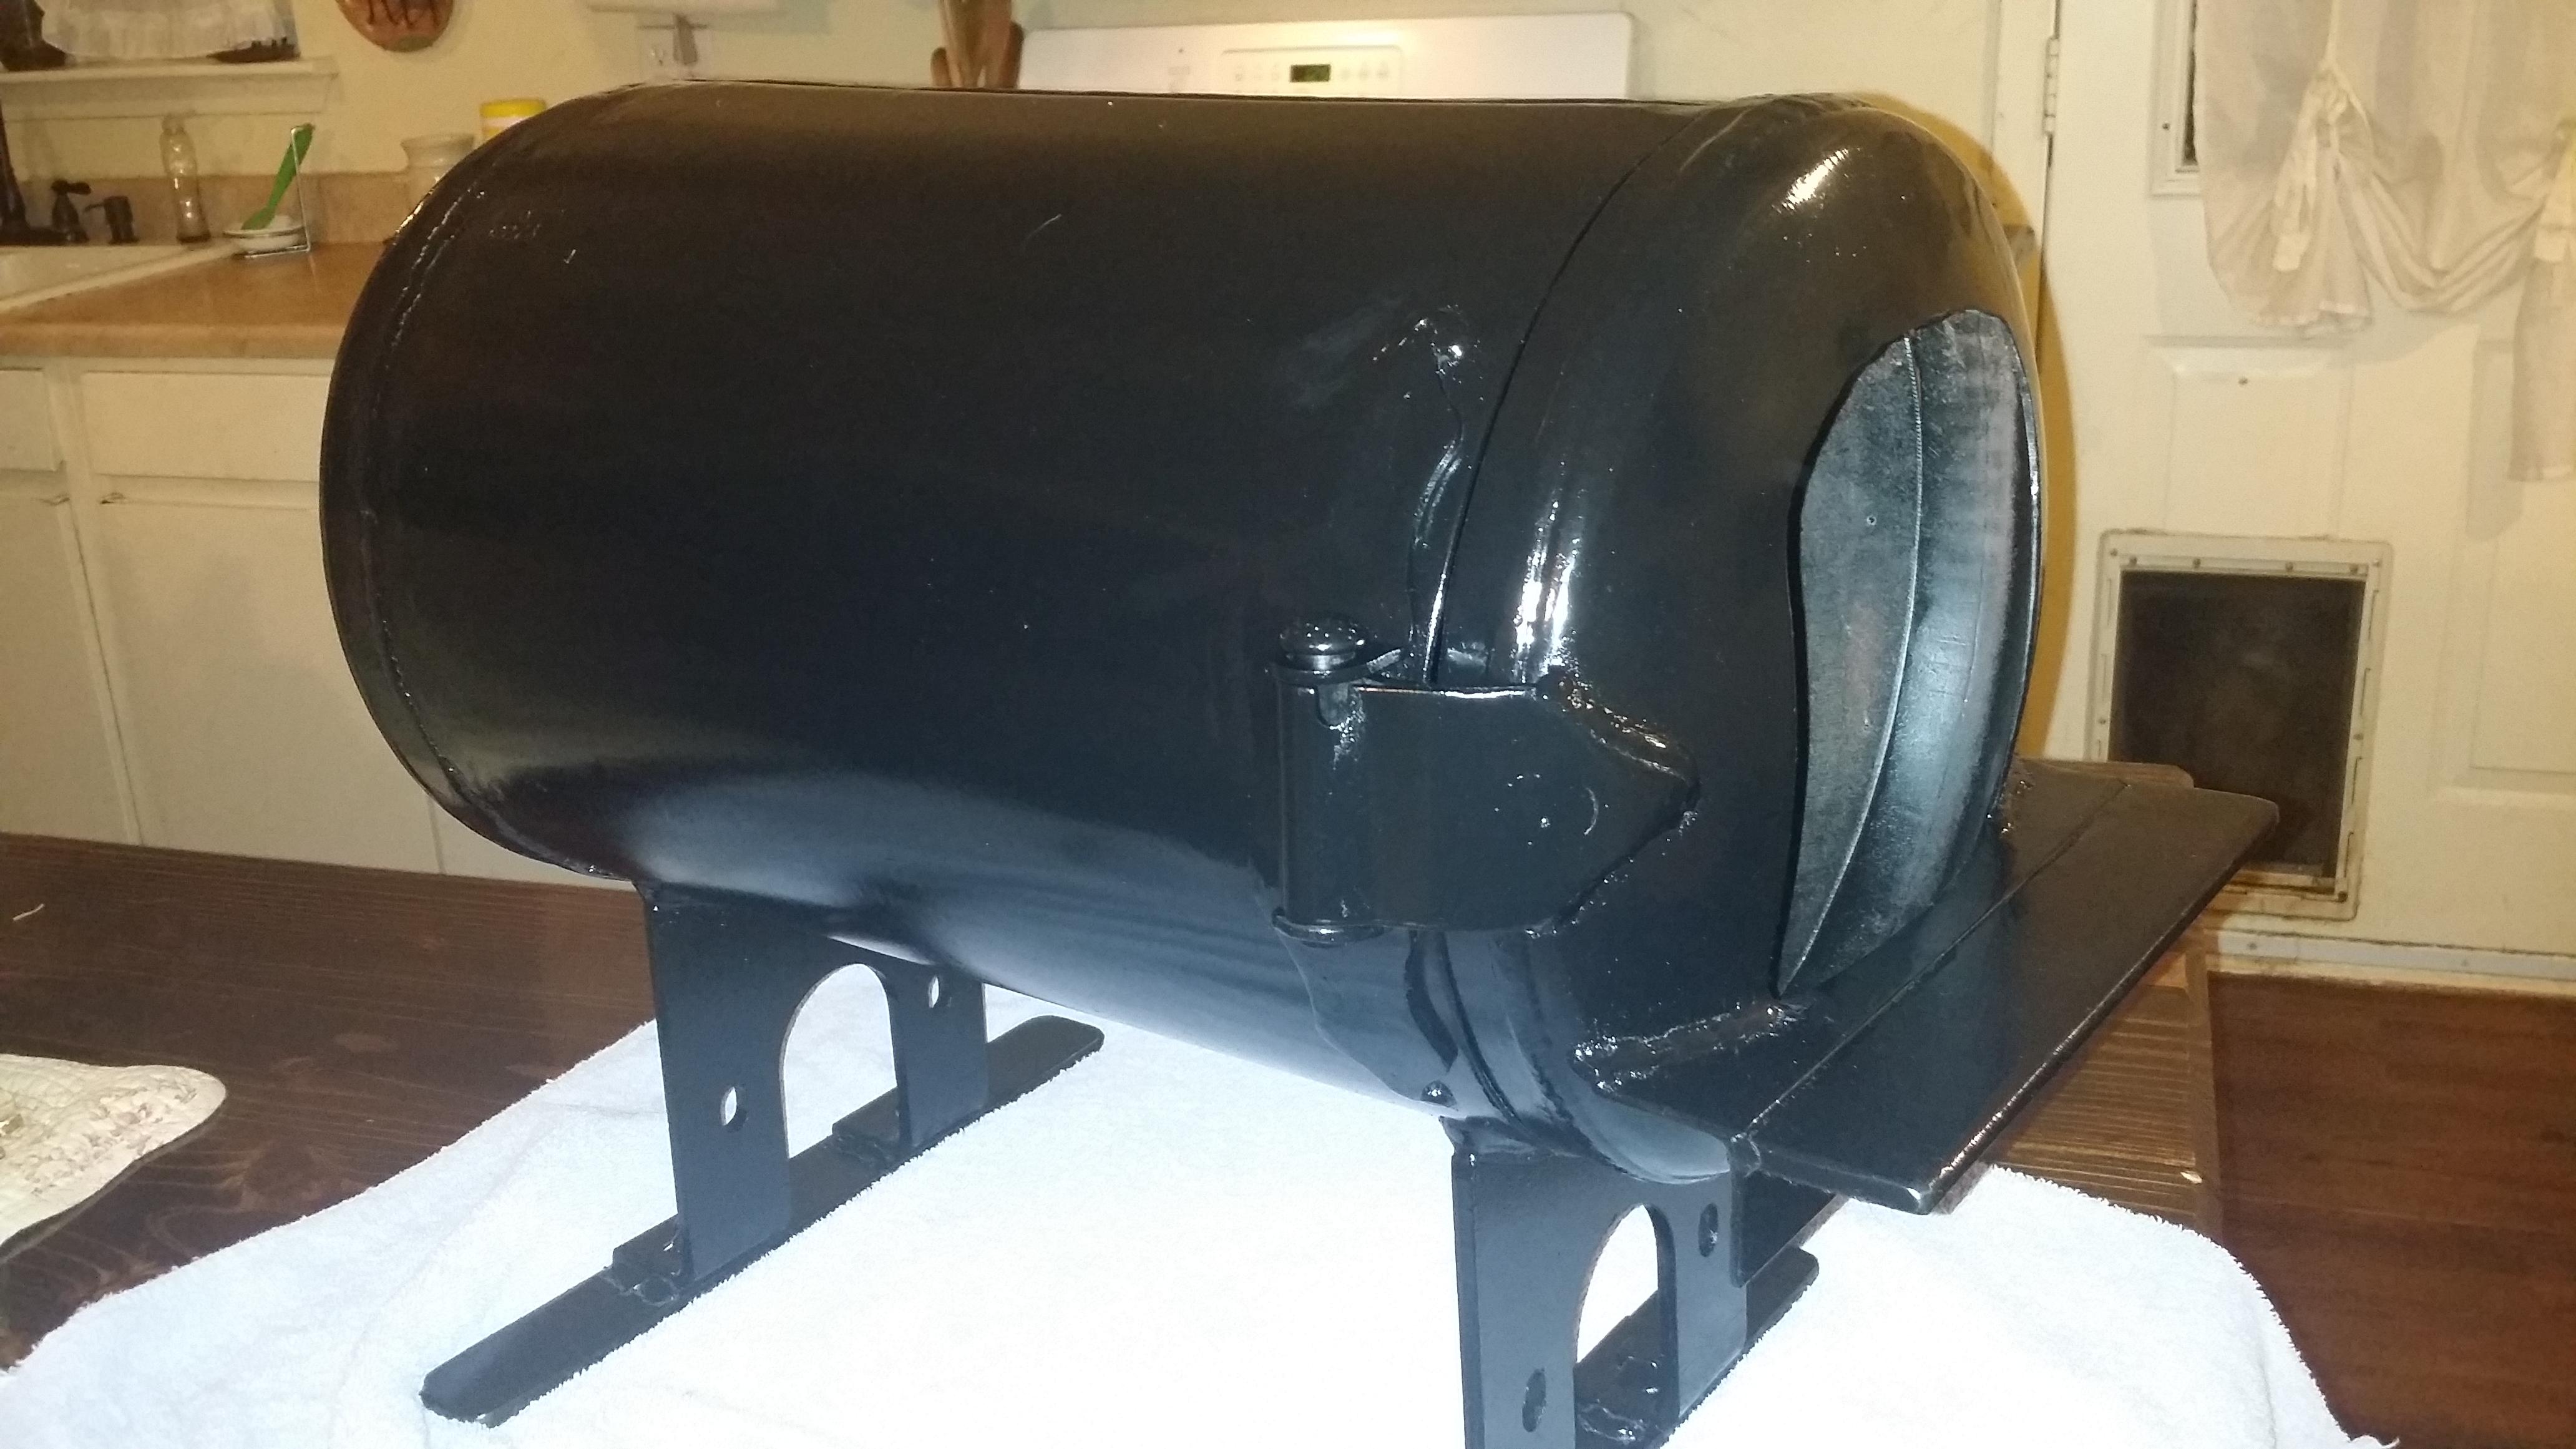
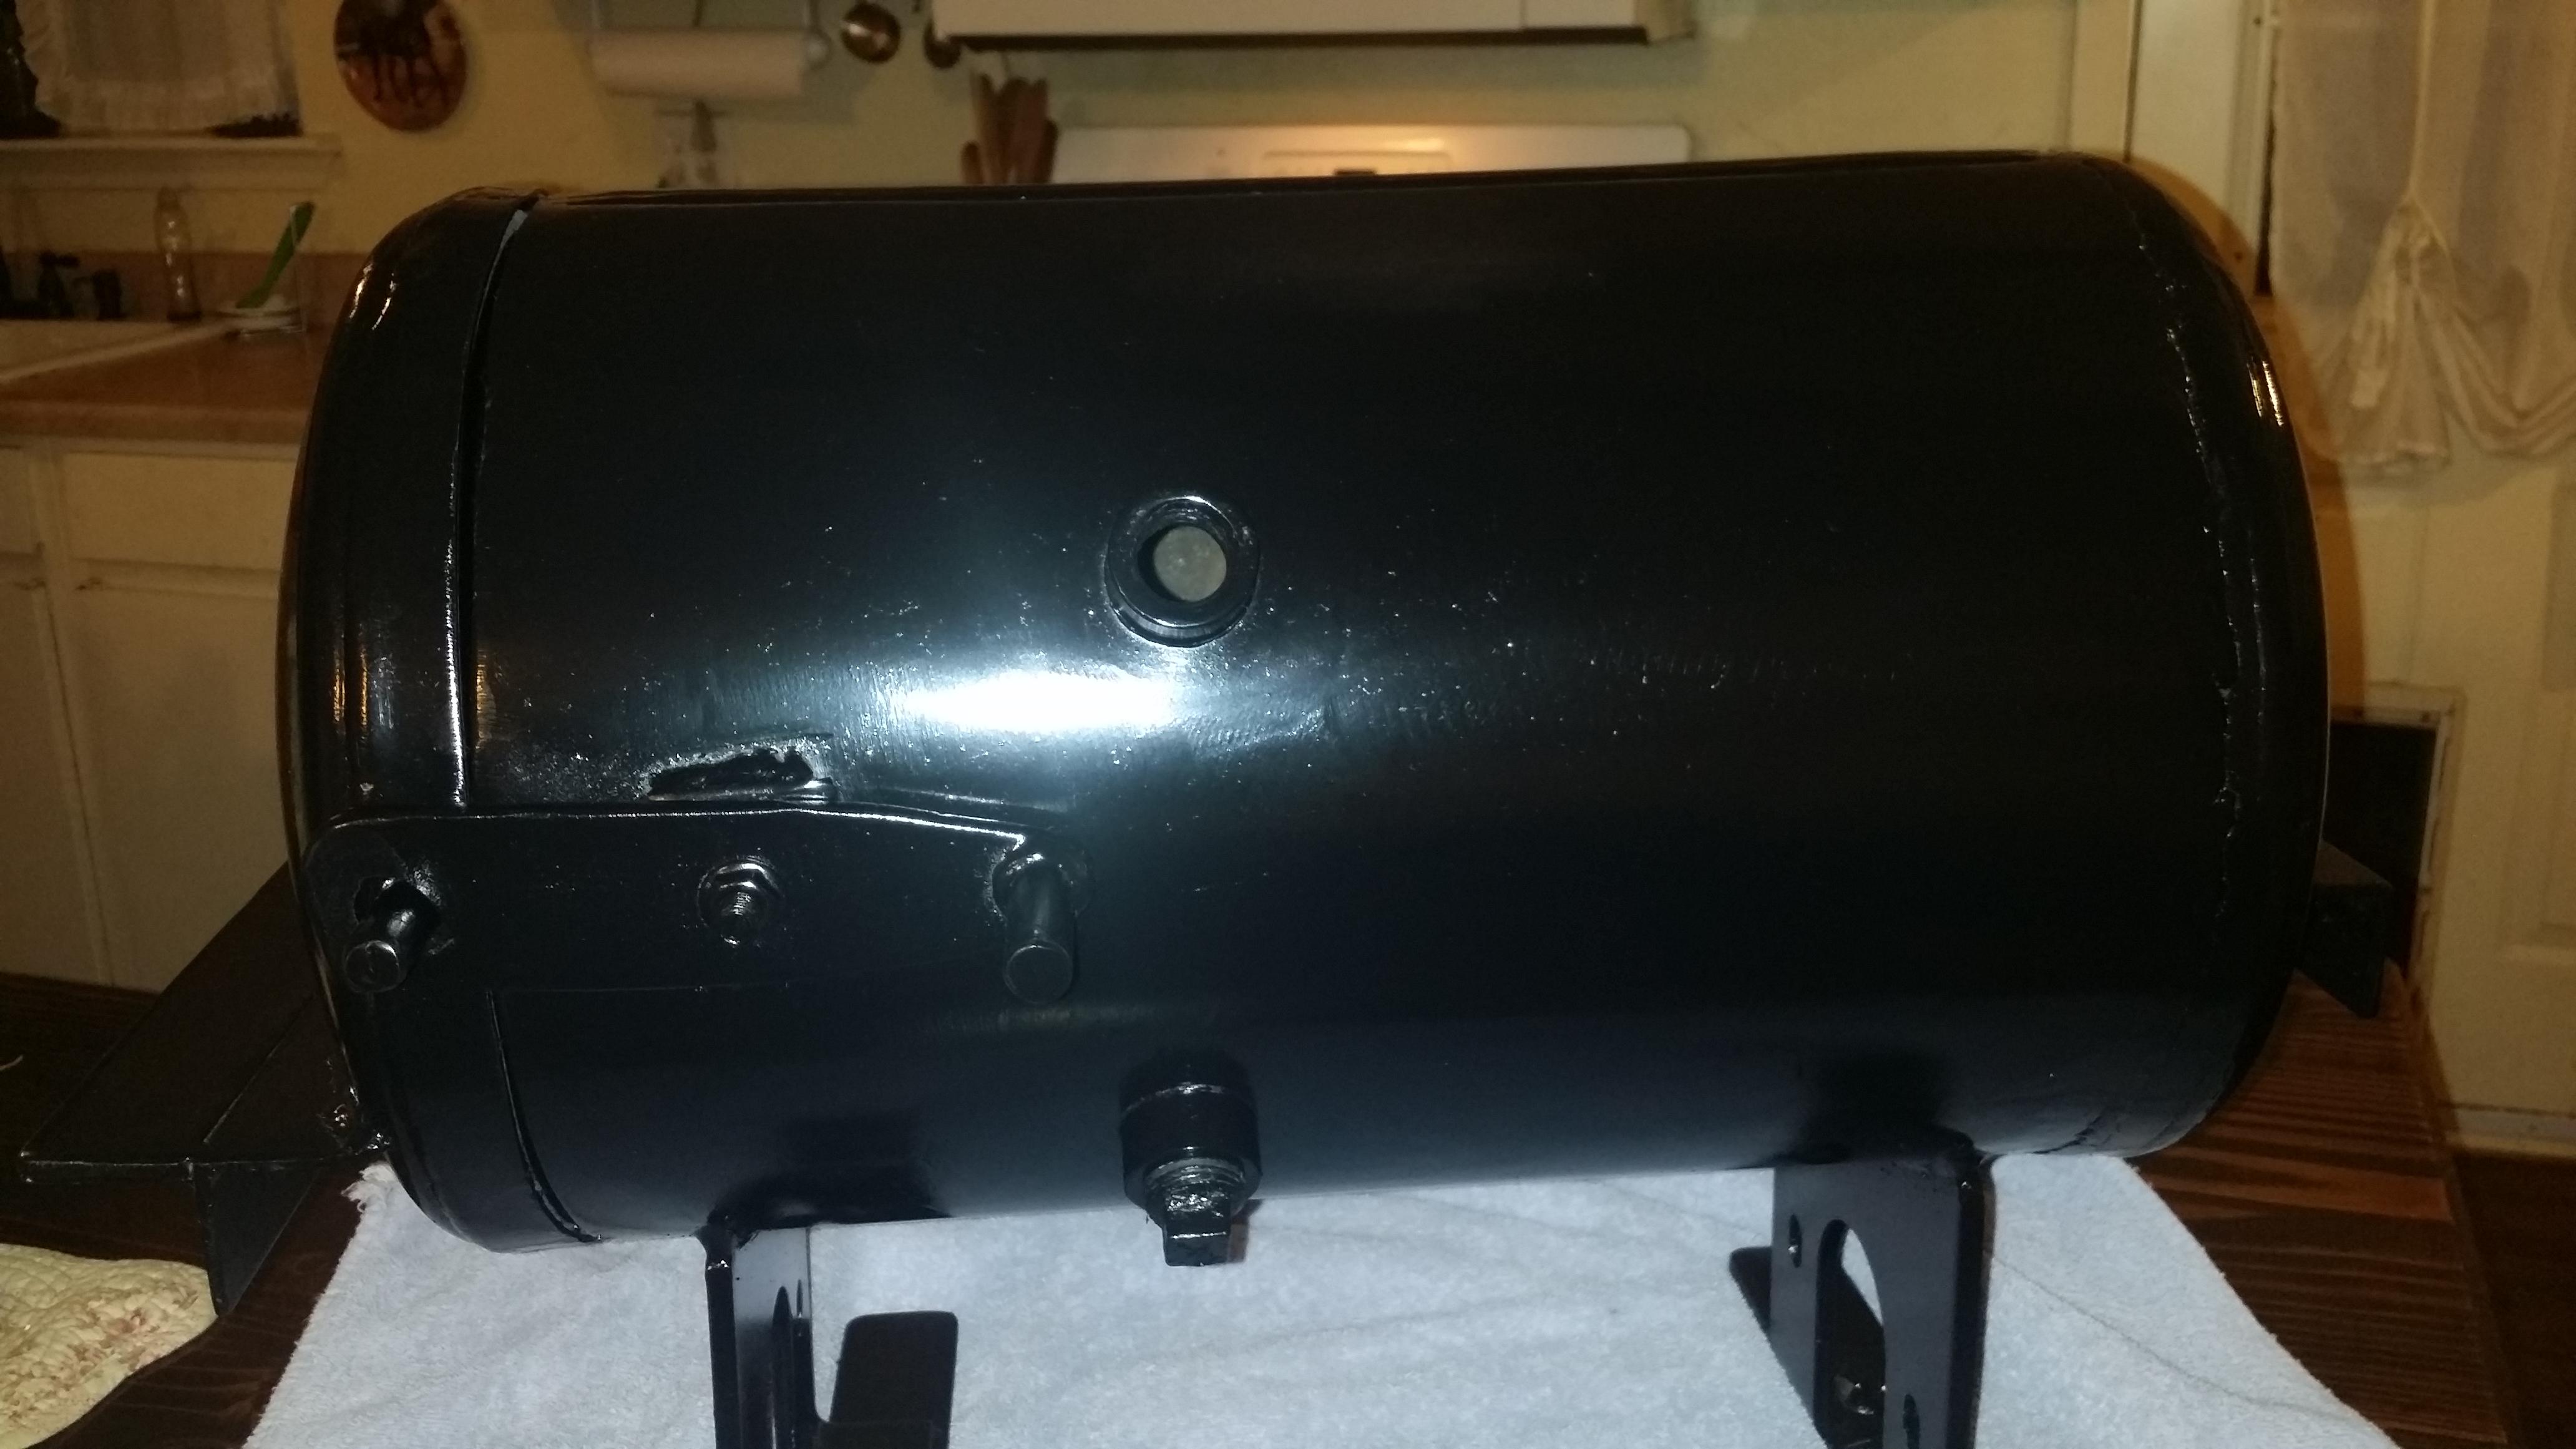
Finally, I planned on placing torch on centerline of the length of forge in the 12:30 to 1 o'clock position. On the right because I'm right handed and that's the side of needle valve. I've read and looked and watched and looked again and again at other positions, on top, on side at 2 o'clock at 3 o'clock. Some say top some say angle helps with heat circulation and able to move in and out of flame to control heating of metal.
We'll there you have it. I'm willing to take compliments, positive corrections and any other tips on this subject.
Here’s a few pics to look at.
Thank you for your time.
Outdoorgator


Ammo Can Forge Build
in Gas Forges
Posted
I've just completed my journey of building my first gas forge. I've bought a 2 lb cross pin hammer at Ace and dressed it up along with a 1lb small ball pin hammer I allready owned. I polished the 1lb for finishing work. I'm bitting at the bit to start on knifes and hammers but I personally know I'm not ready yet. So that being said I planned on practicing the basic 8, then when I feel I've got the basic 8 down I'm going to try my smithing and make all types of tools. Until I'm sick of making tools. Hopefully by next fall I'll be good enough to hammer out a few knifes as gifts.
Gator