

MrVader
-
Posts
19 -
Joined
-
Last visited
Content Type
Profiles
Forums
Articles
Gallery
Downloads
Events
Posts posted by MrVader
-
-
I'm making one from a broken pipe wrench right now
-
I didn't like the way it turned out so I never heat treated I'll try to do another one soon and treat
-
I have no idea
-
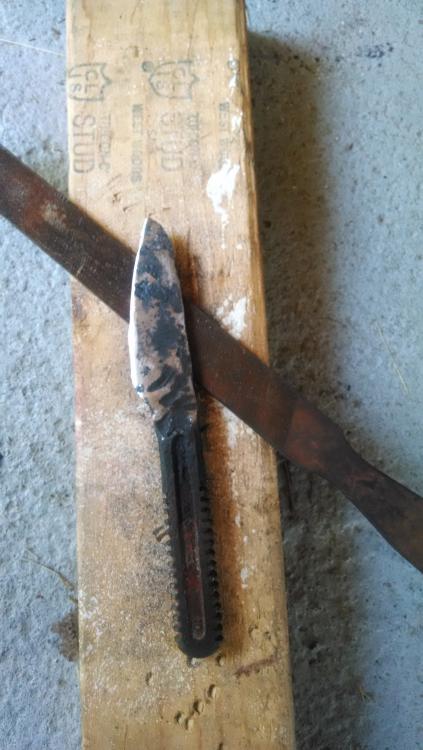
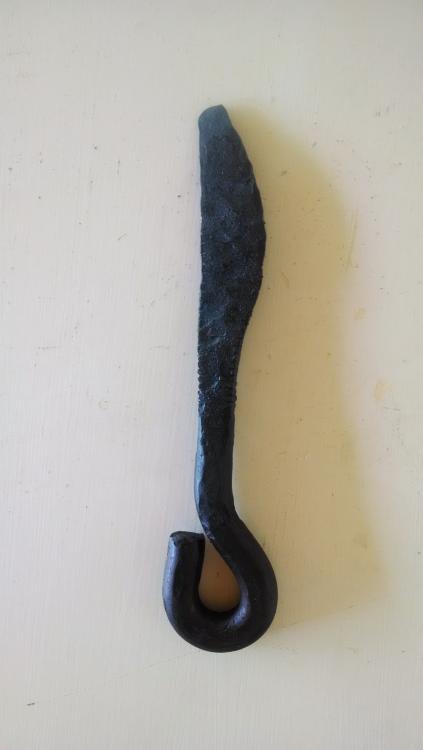
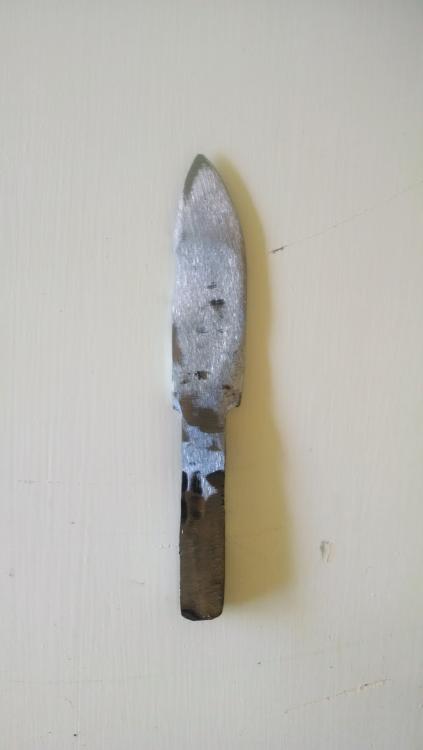
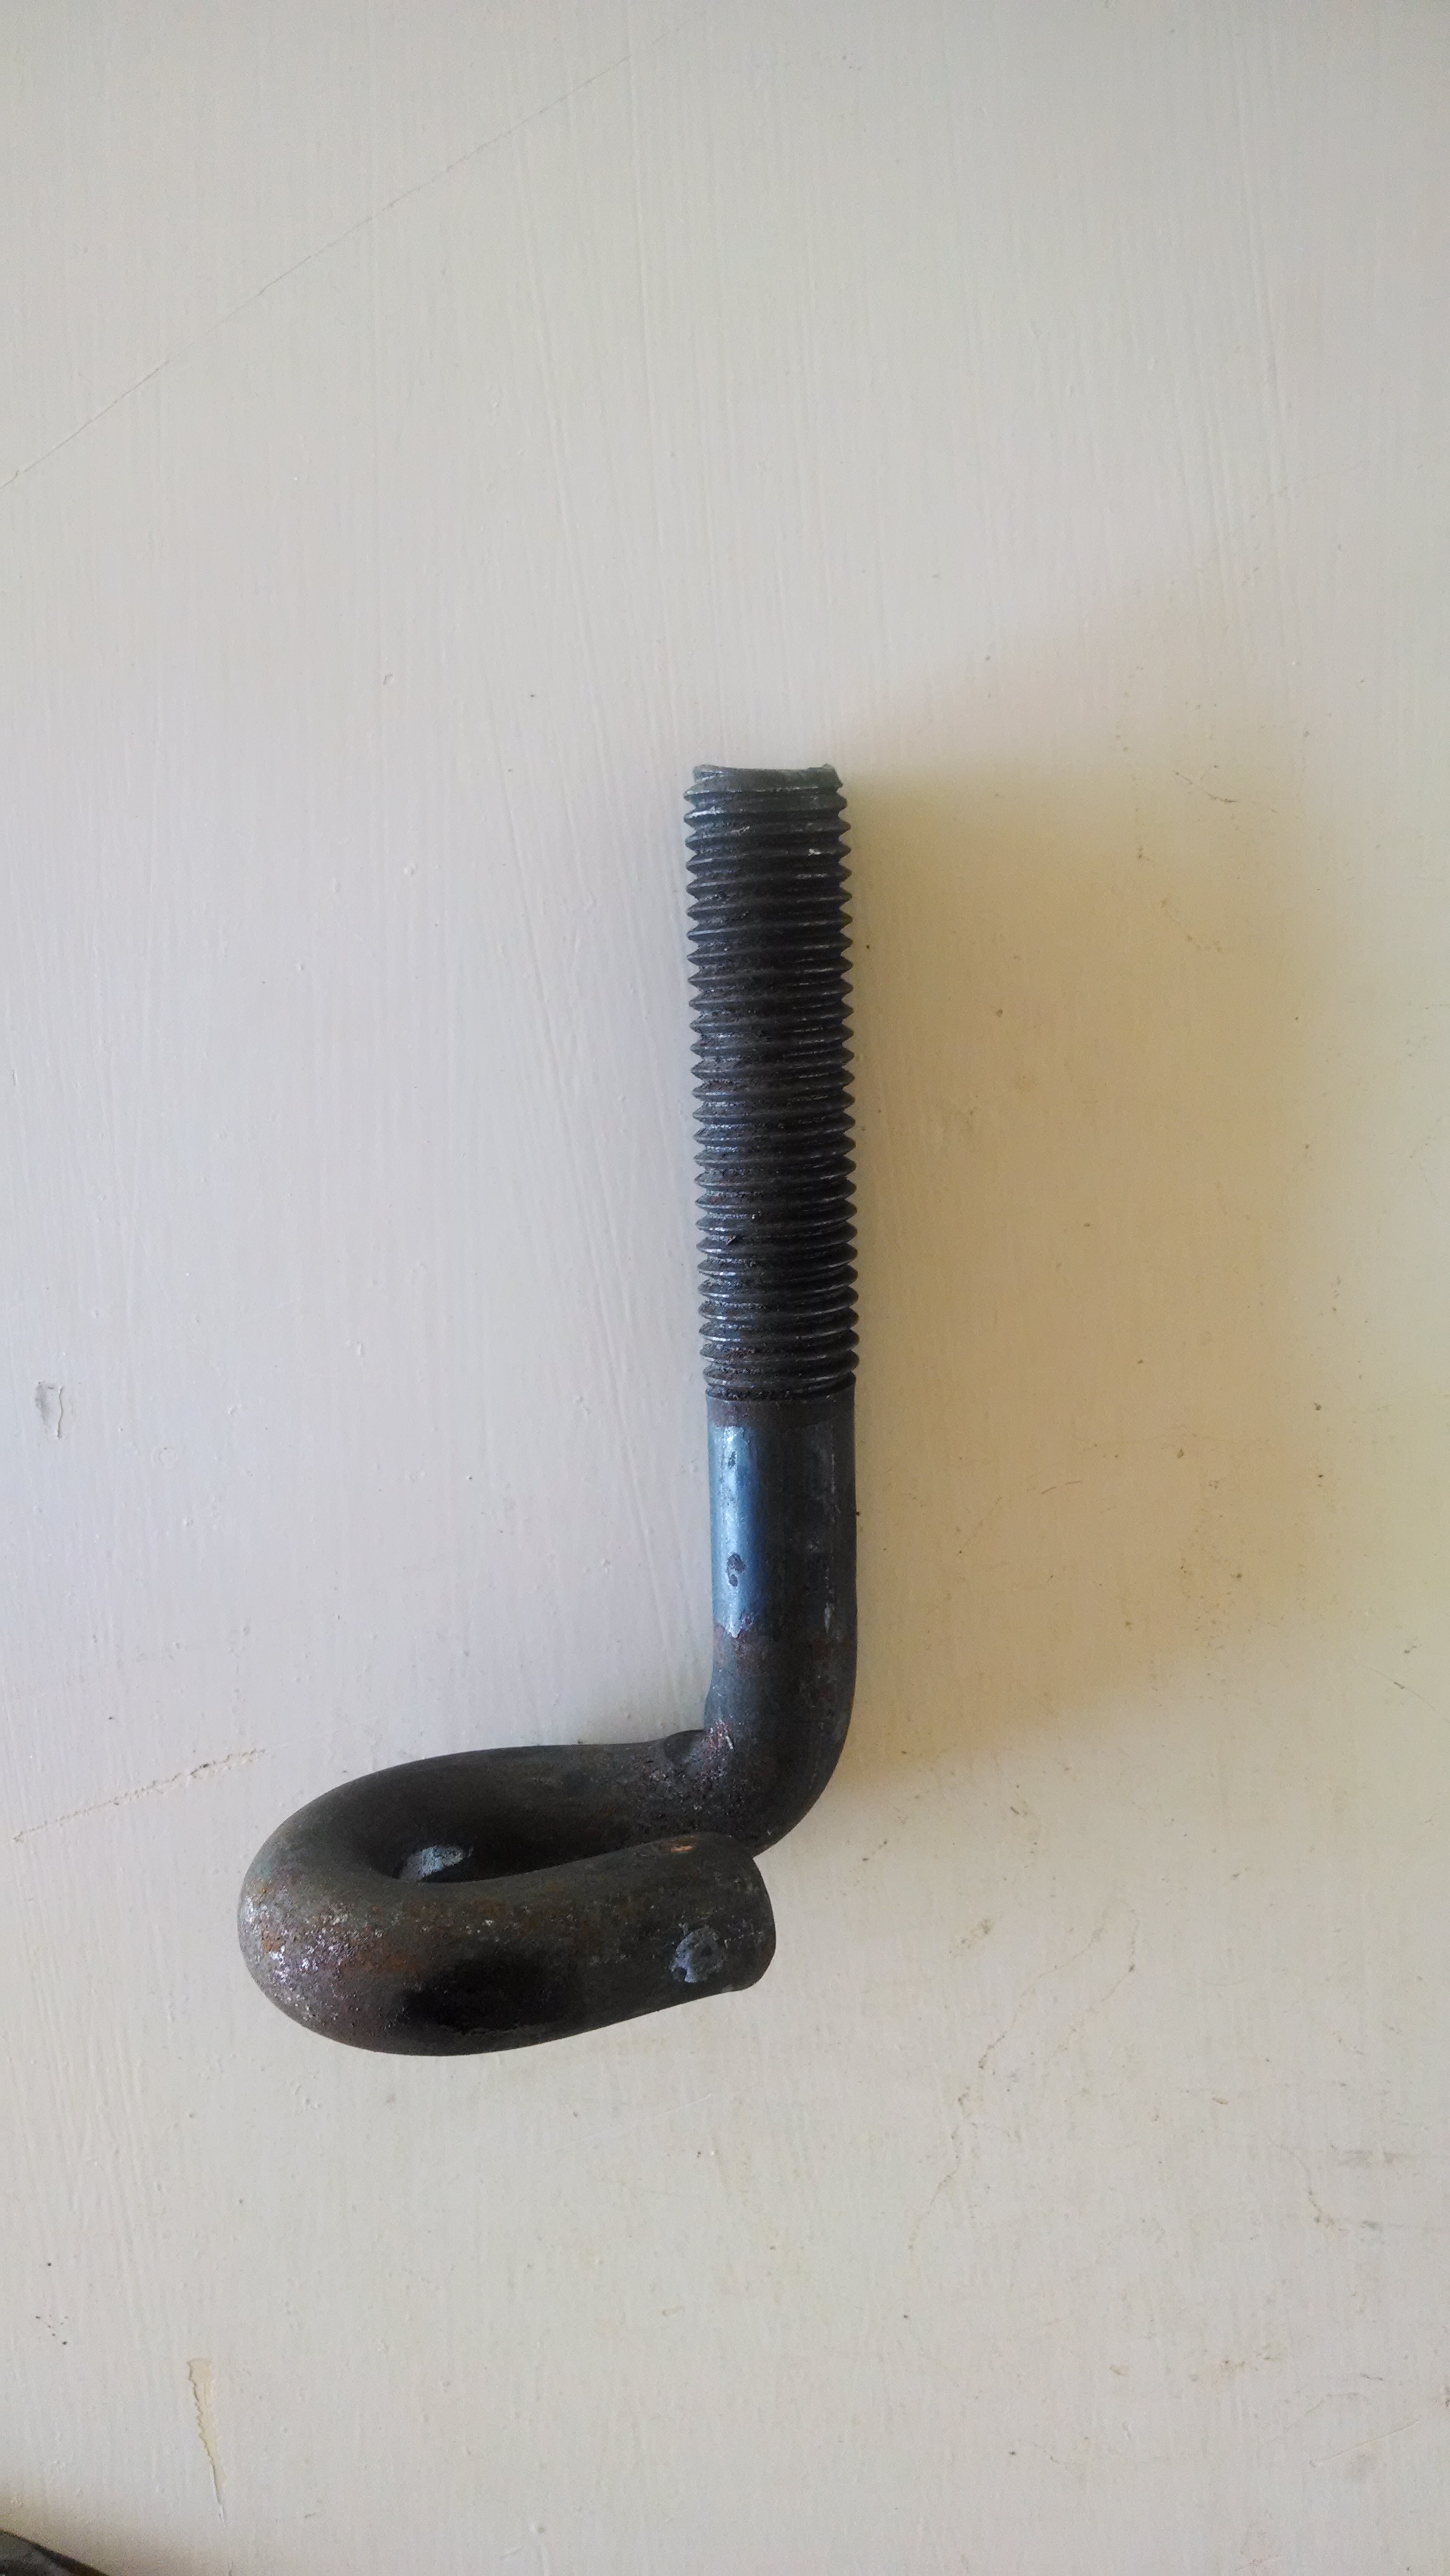
Found some odd eye bolts laying around so decided to use one for a knife. Turned out pretty decent for my first project. Going to work on cleaning it up and attaching a handle over the next few days

-
4 minutes ago, Dave51B said:
MrVader, as I said before I am impressed with your build....I have a wood stove for heat and find I have better control of fuel consumption and heat, when I control the amount of intake air. Rather than trying to damper the flue. Try to block off the air inlet at the bottom some between heats. Just a suggestion... Life is Good Dave
I have a brick that fits perfectly over my air intake the bottom that I use to damper it when I don't need the excess heat. Especially handy when the wind shifts directions and is blowing directly into the hole lol
-
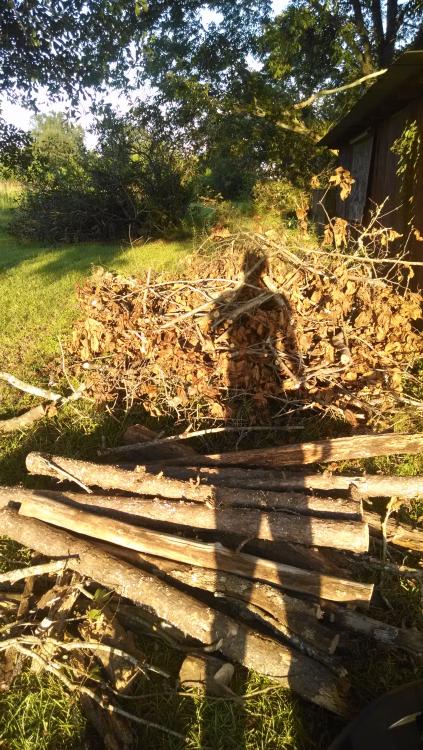
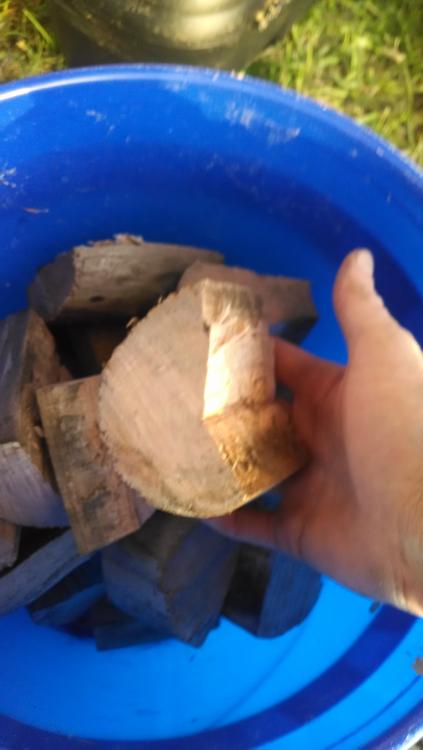
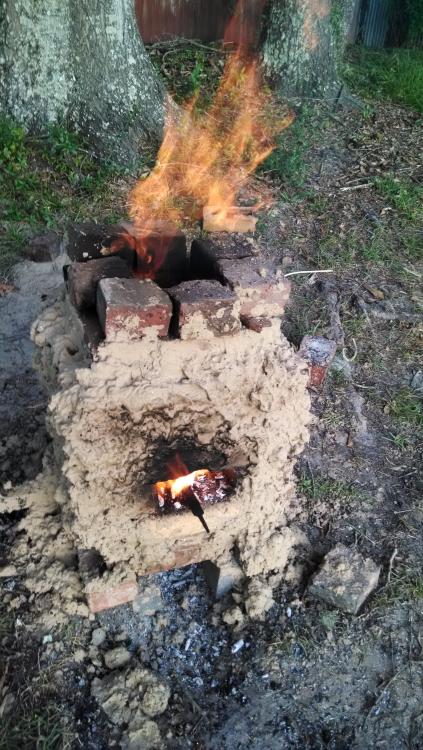
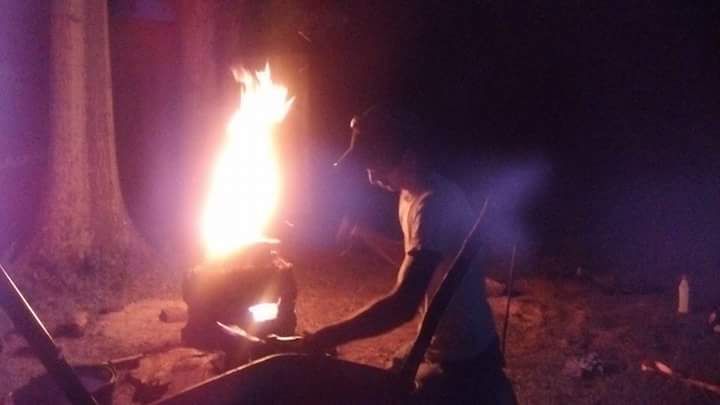
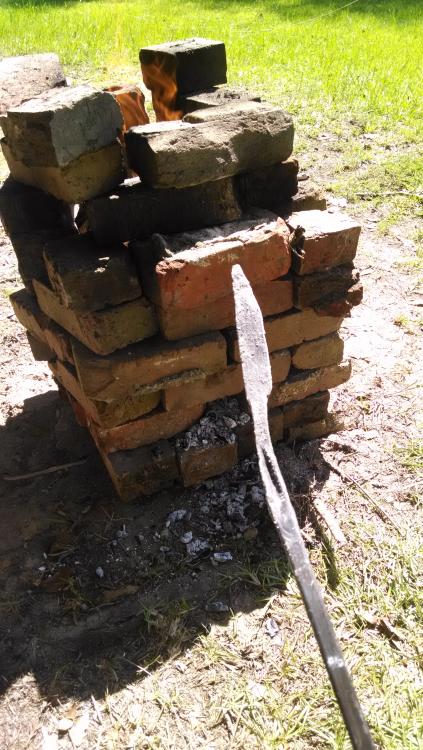
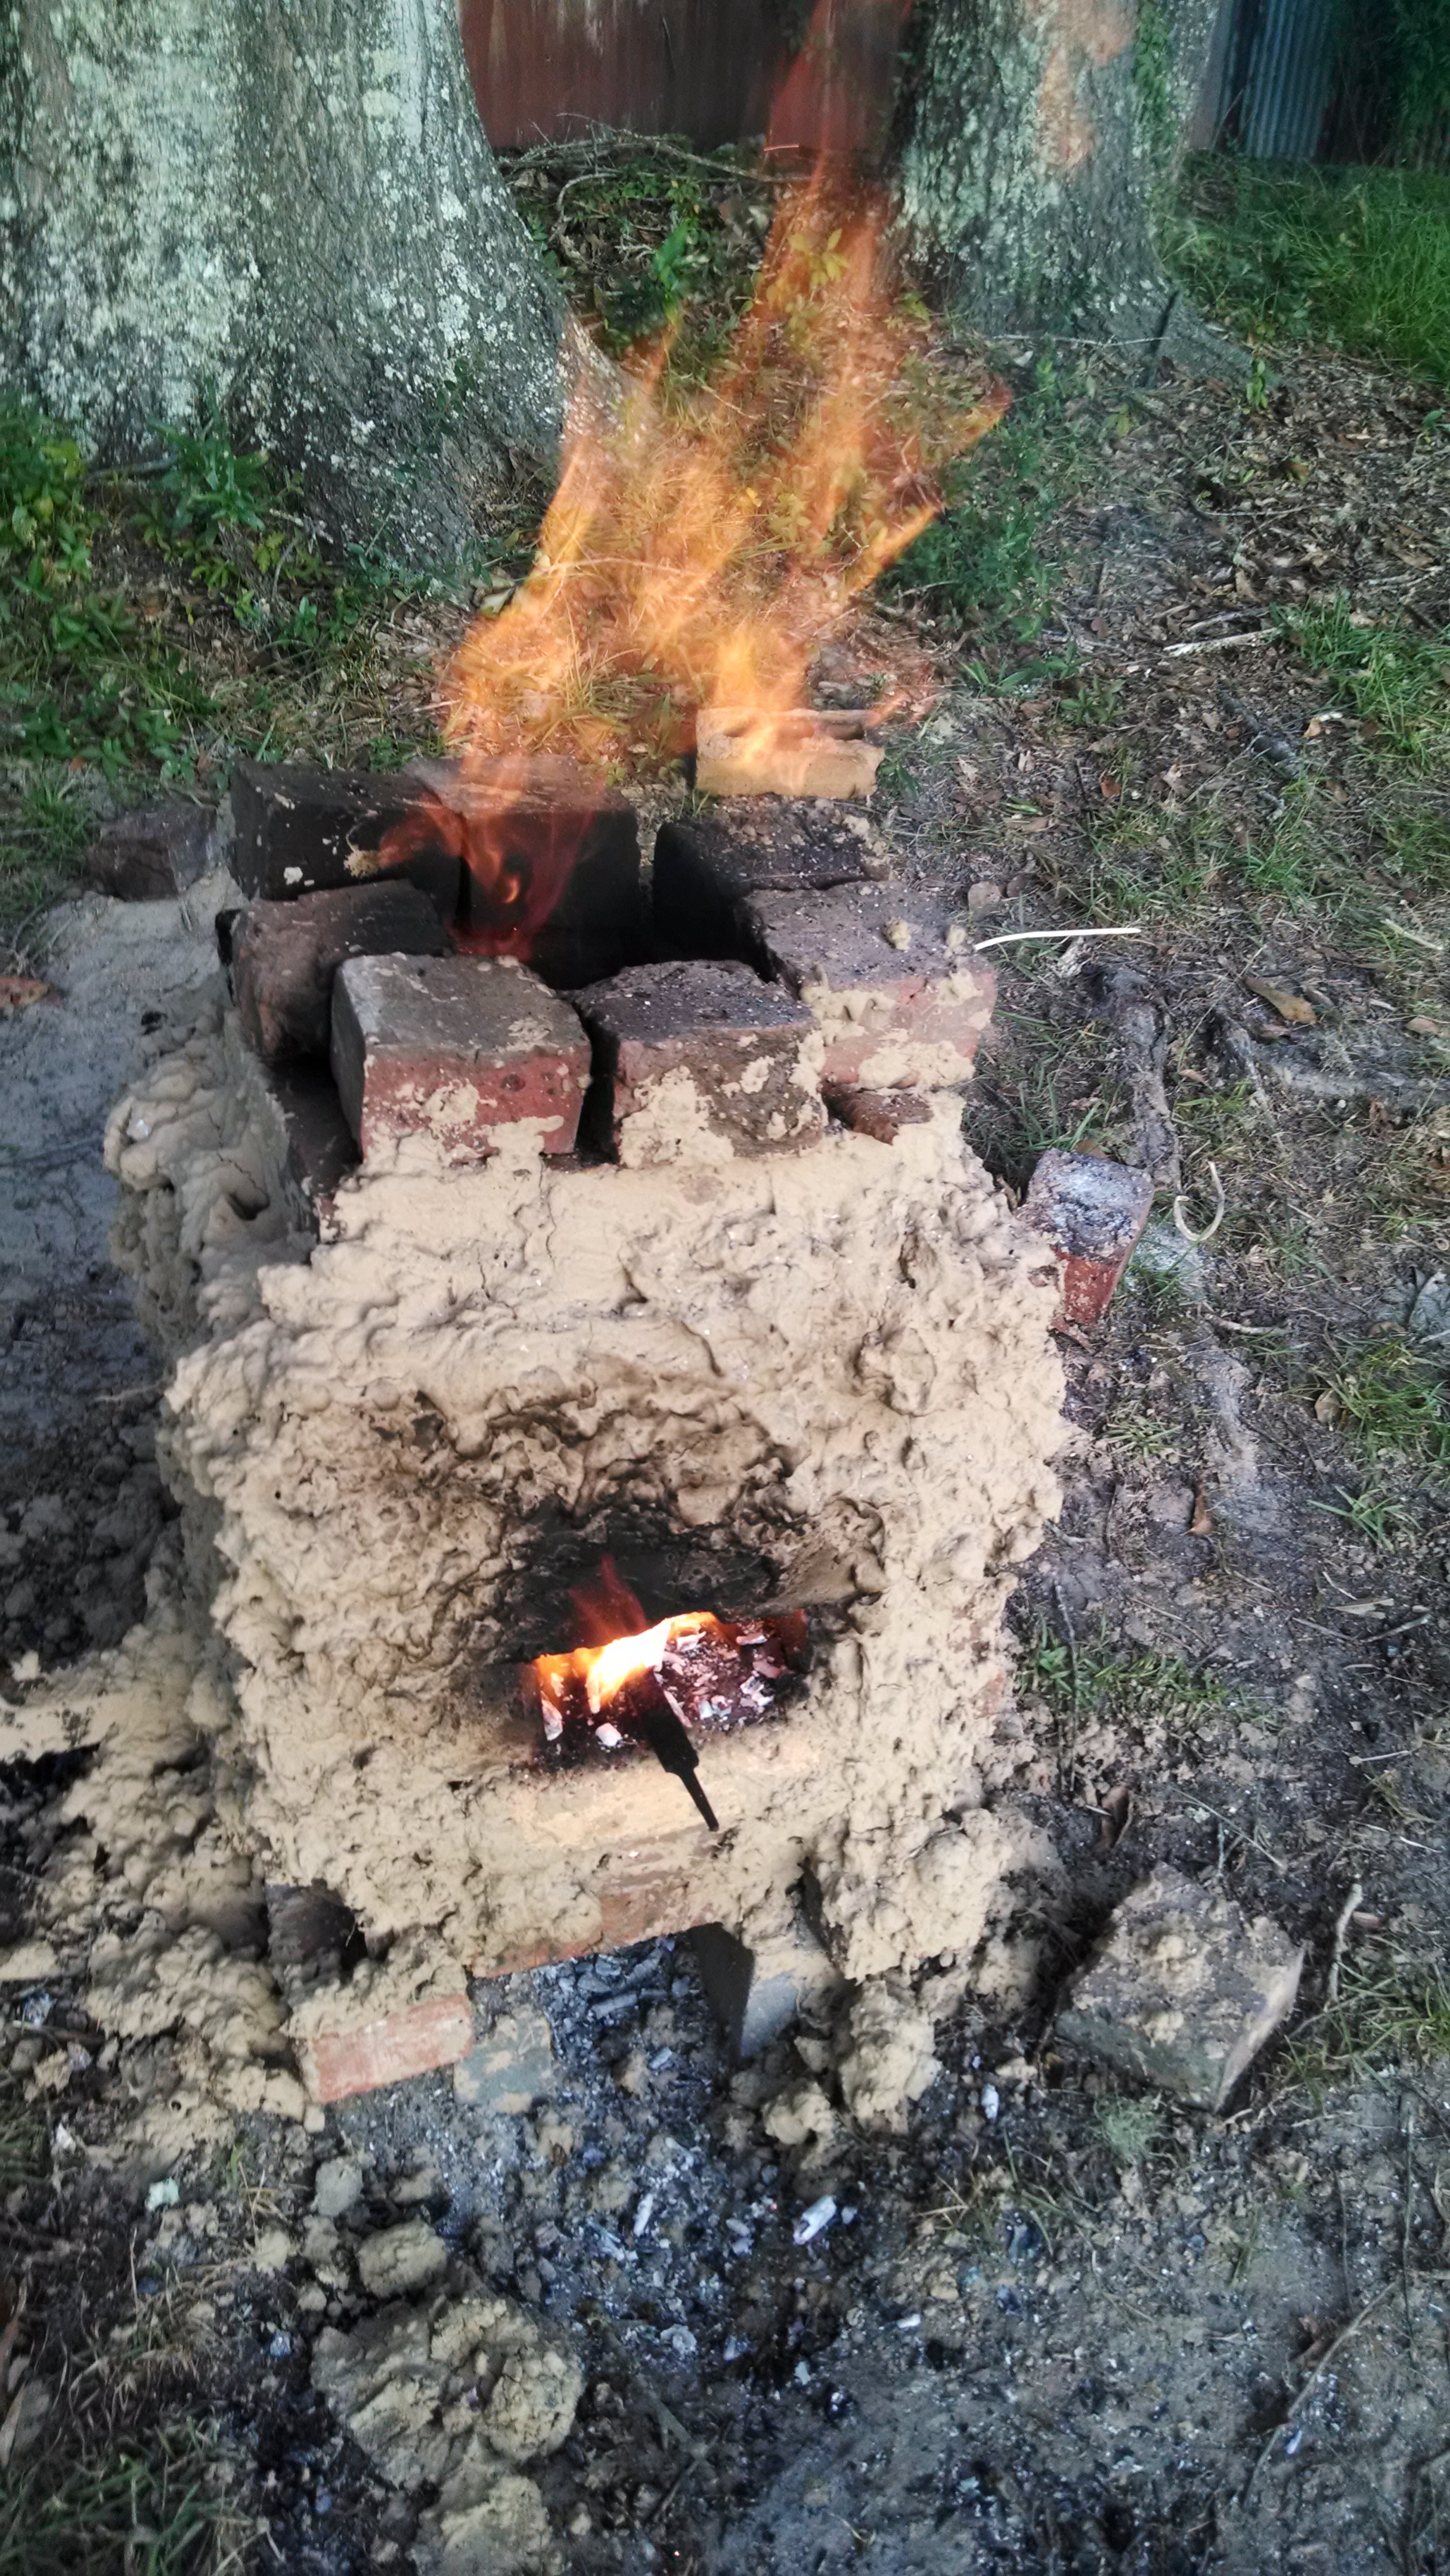
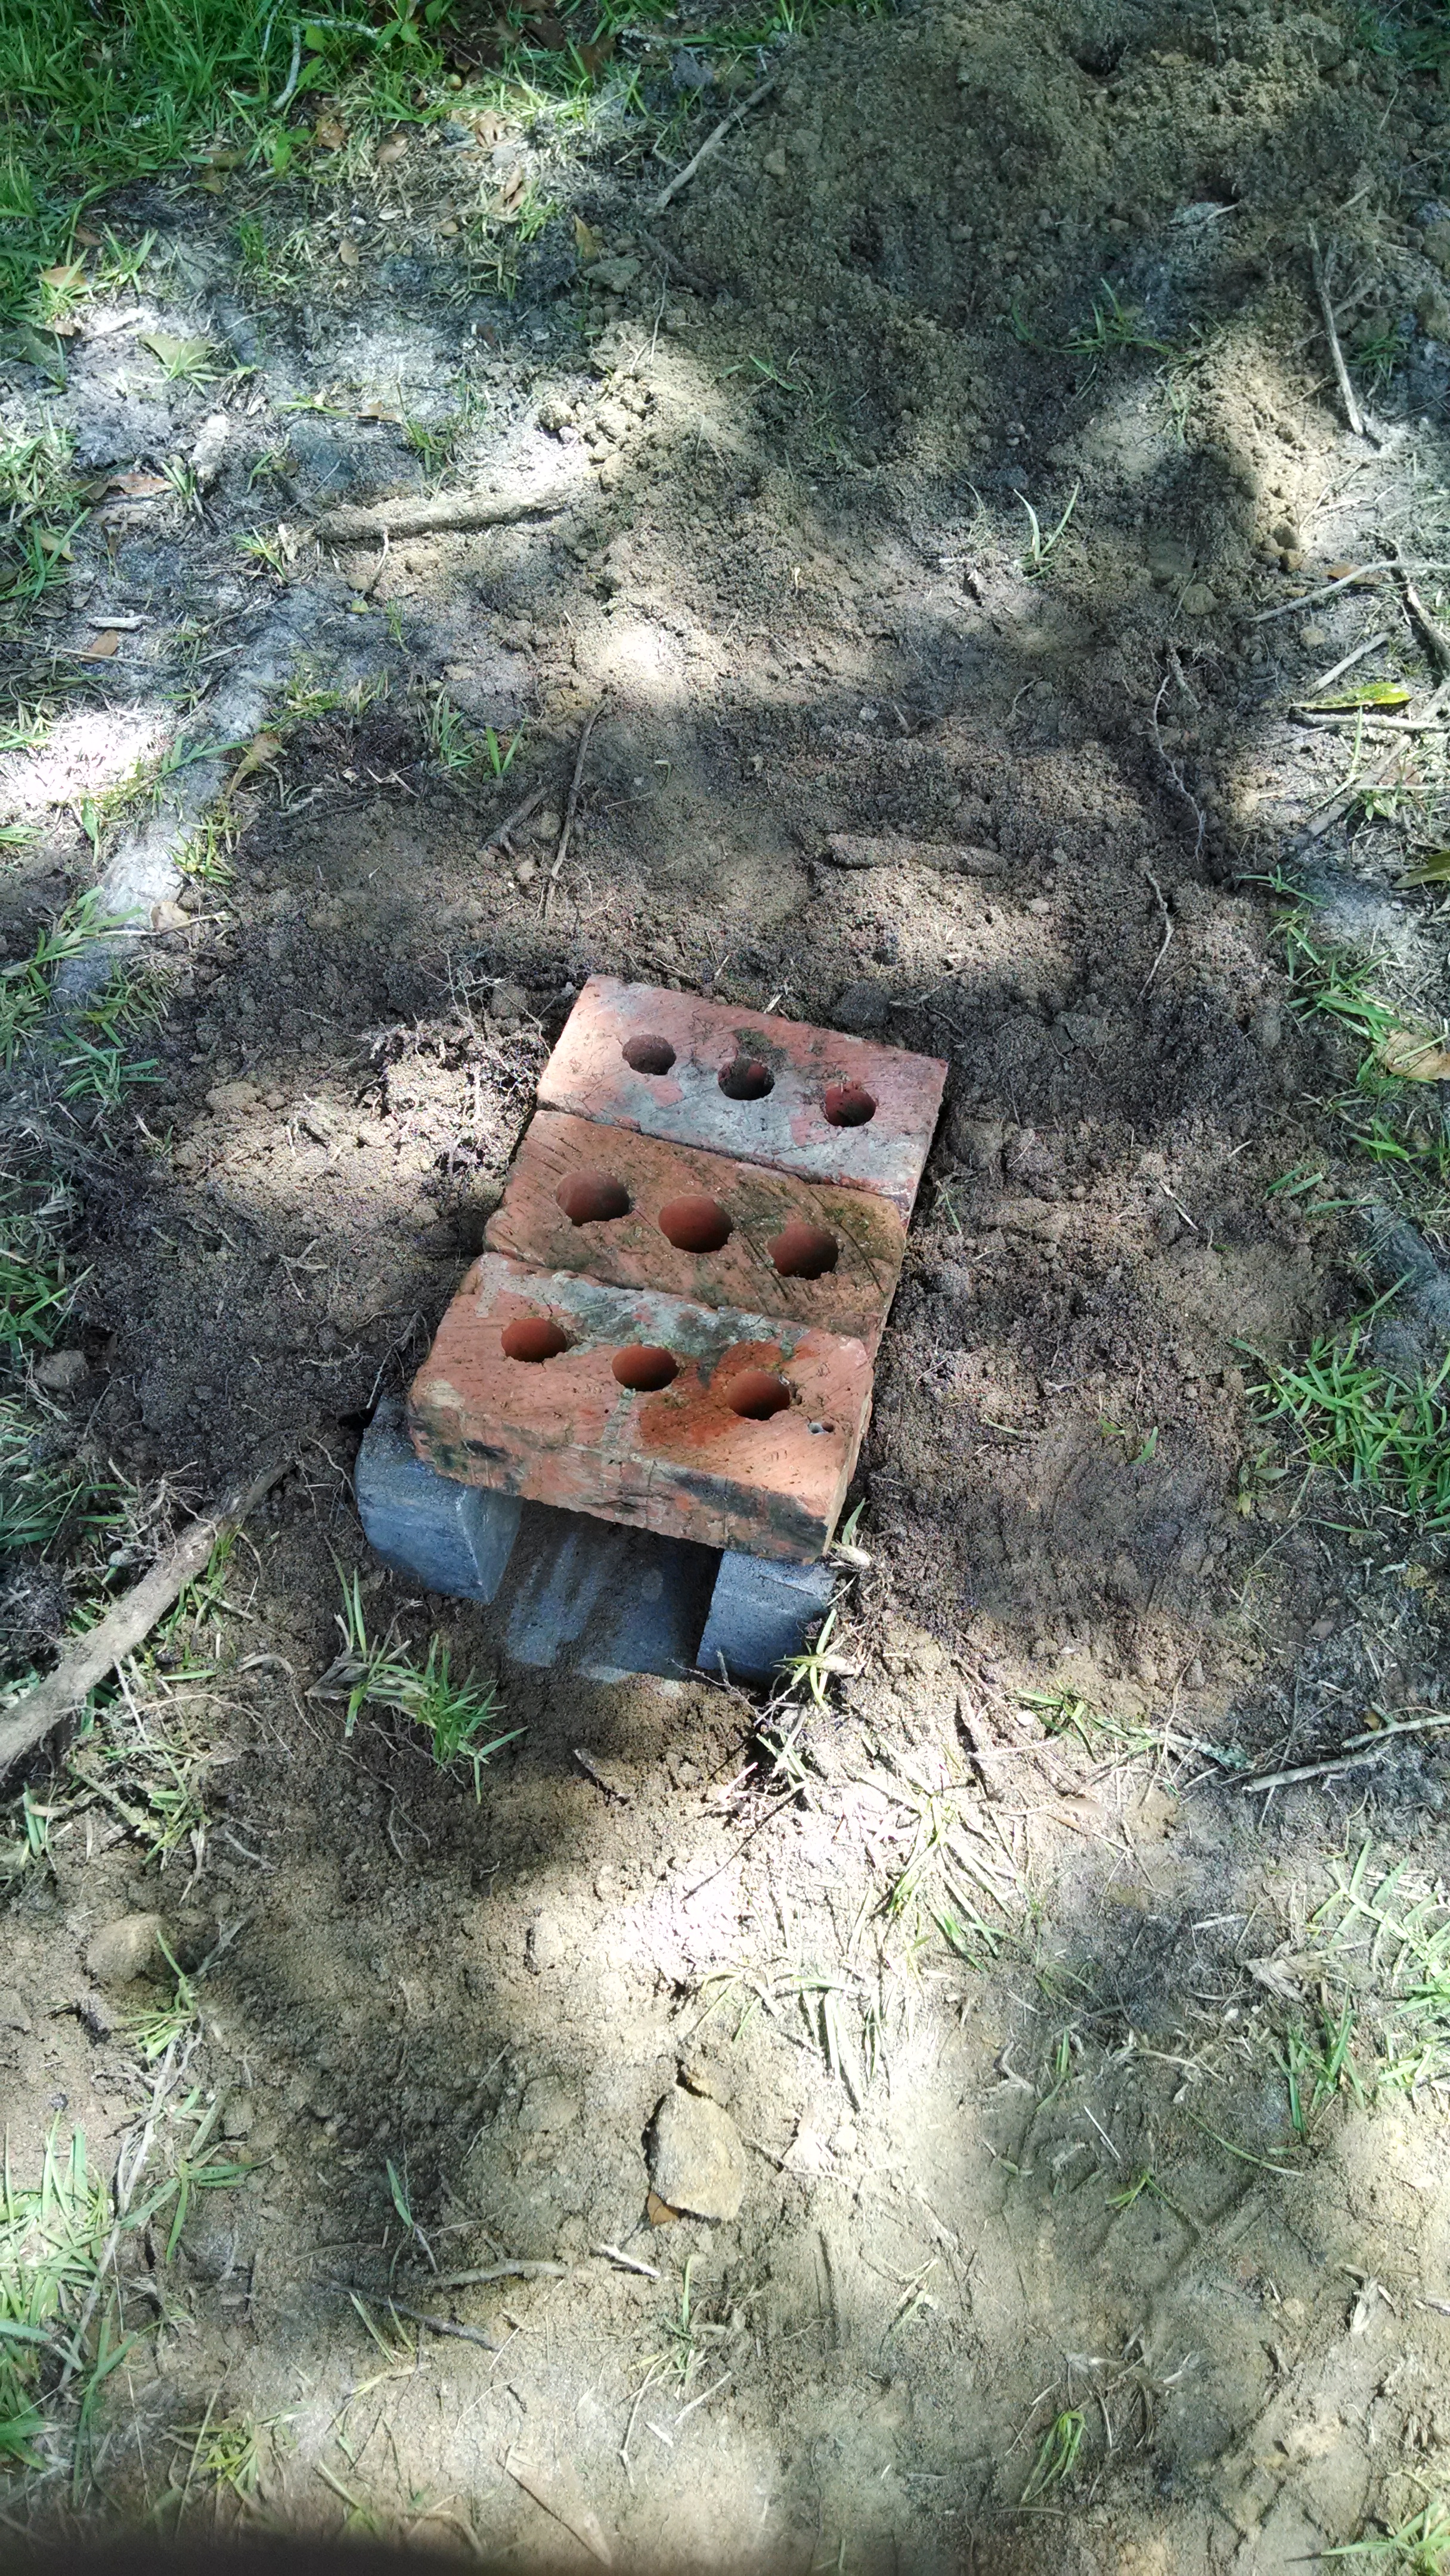
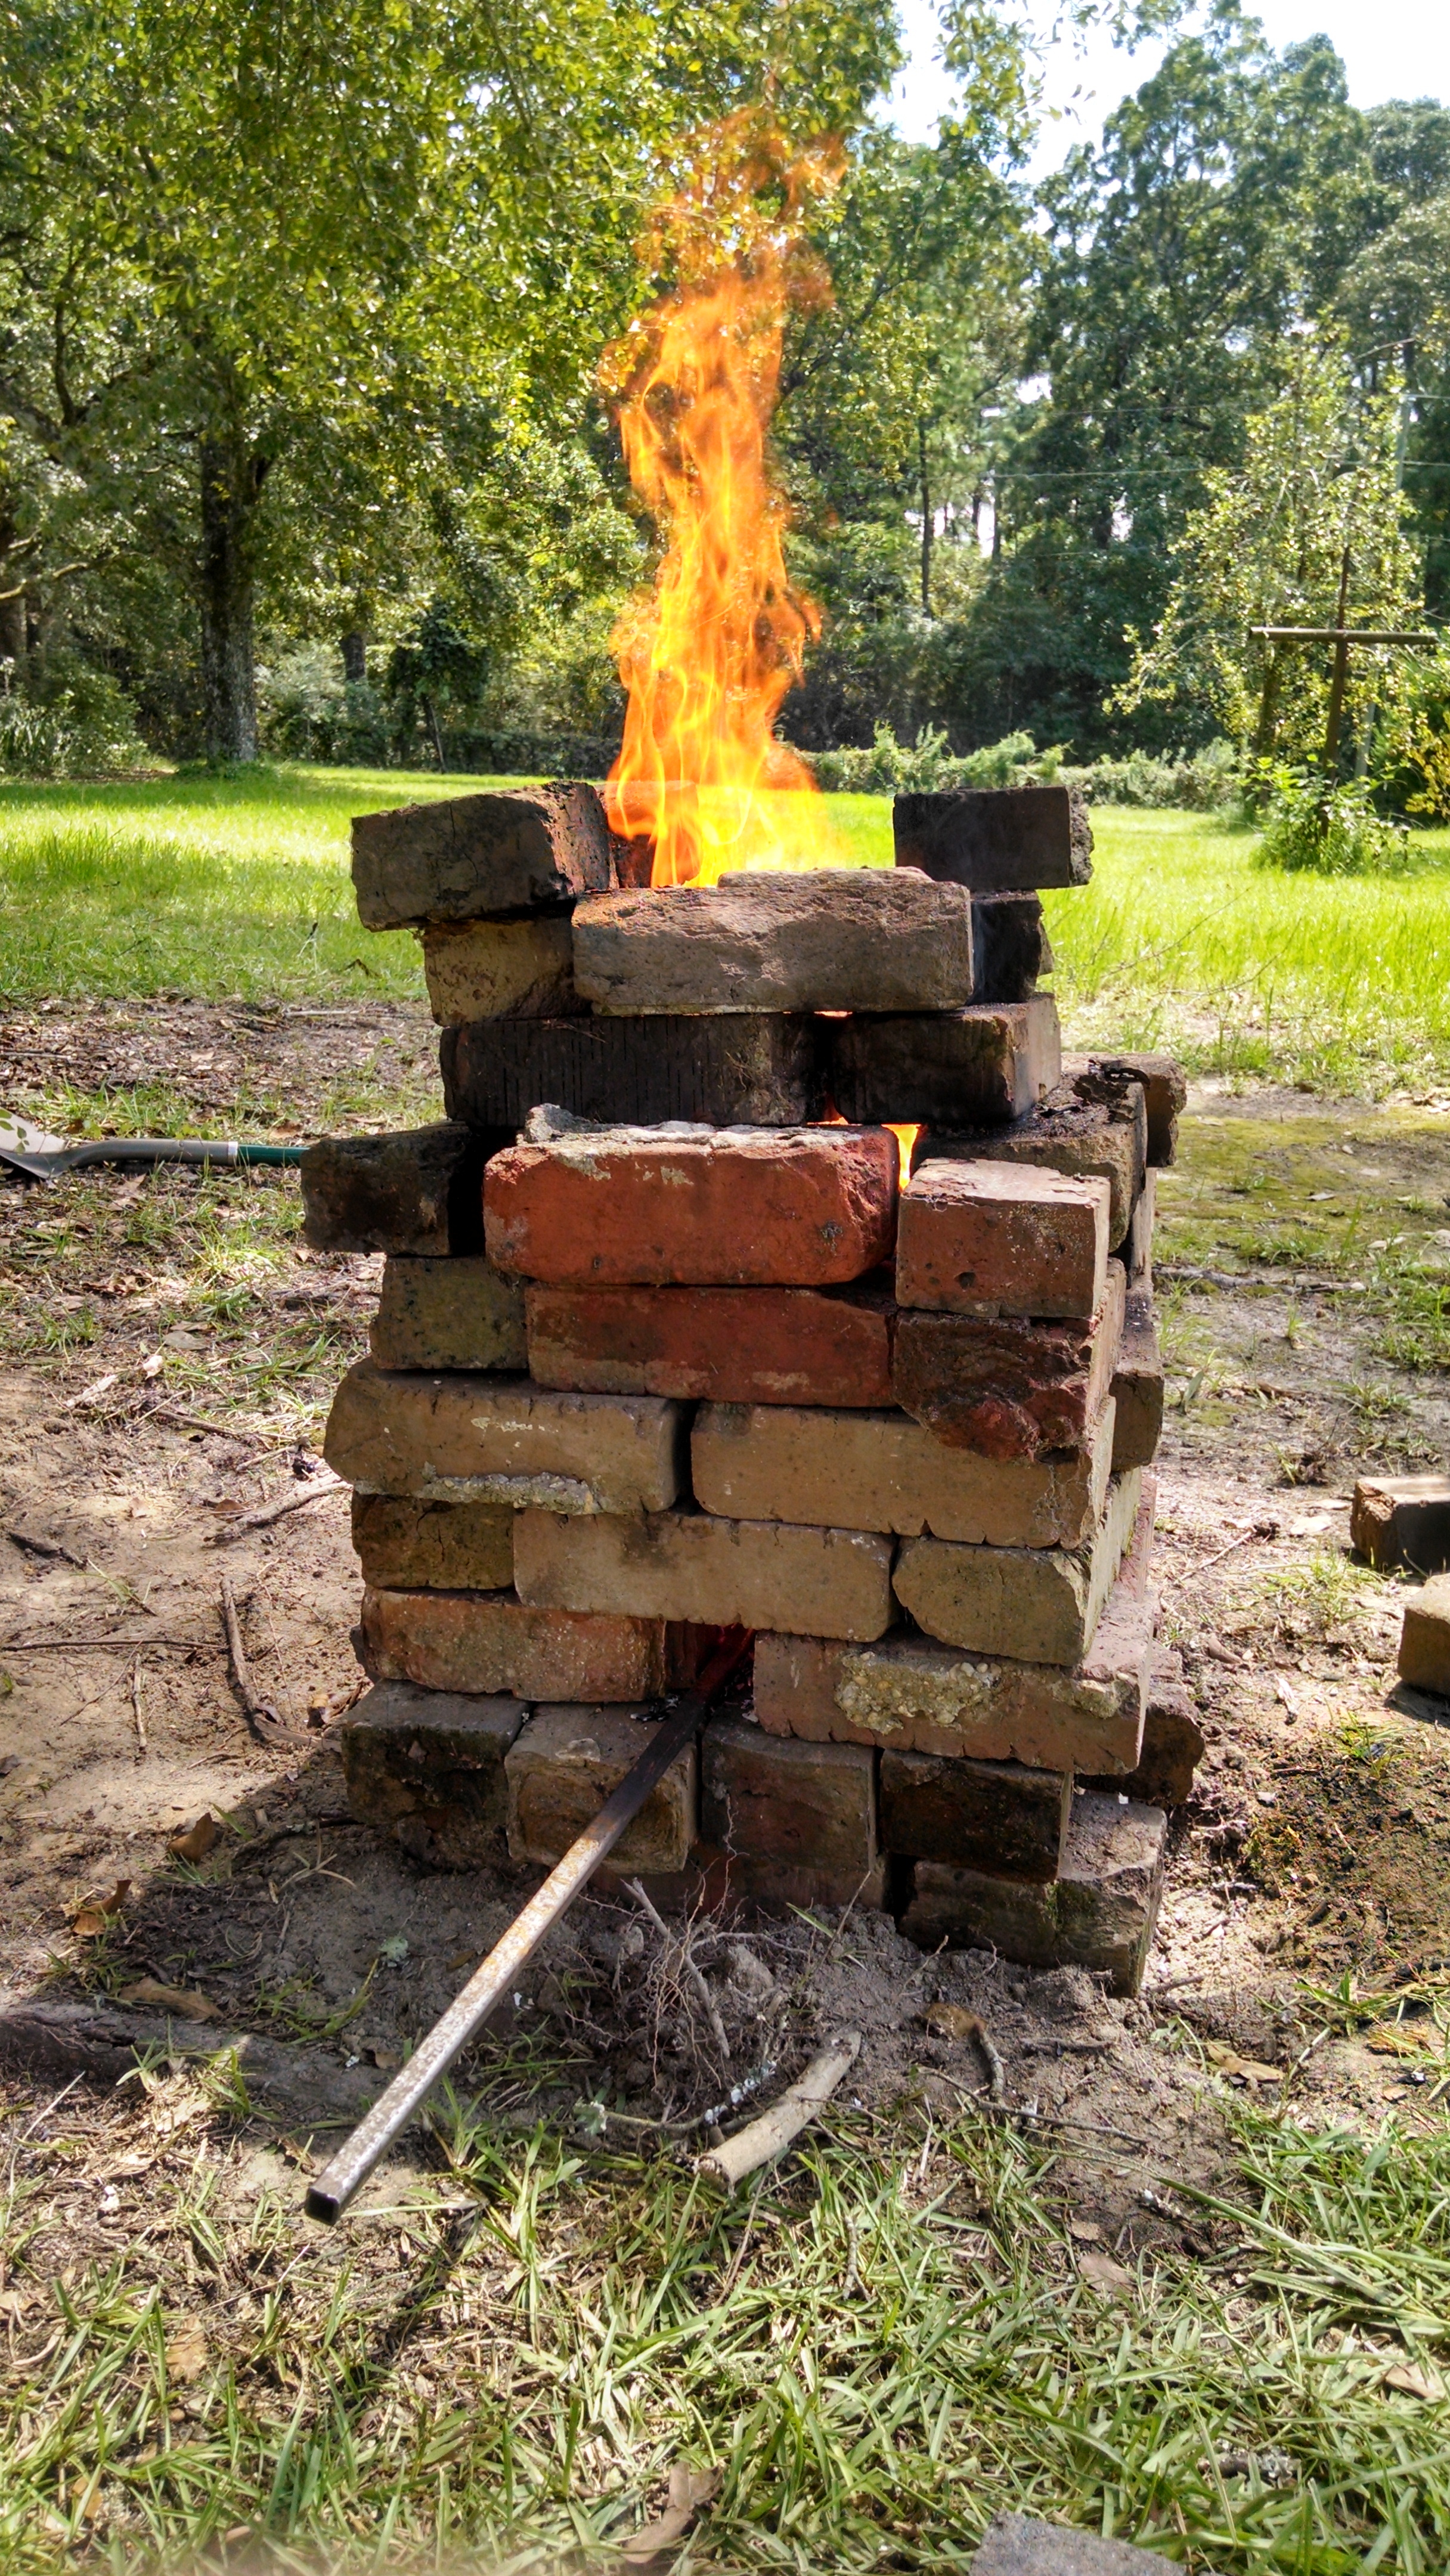
I made a few minor adjustments to my wood fired forge. Lowered the work space hole and covered the outside in some good ol Mississippi mud. Vast improvement on heat retention and the time required to heat the material to workable temps. Cut some dead trees that were about 3" across into 3" sections and split in half. Put into the top and as they burned, turned to charcoal and dropped the bottom. The "air grate" at the bottom (normal bricks with 3 holes) fed air from the bottom to keep the coal bed scorching hot. Heats up a file to almost yellow in about 5 minutes when the forge is hot. Only major downside is the amount of fuel the forge consumes. I added two rows of brick at the top to narrow the opening to retain more heat and without as much heat and air escaping from the top, it did cut down on the amount used. I used roughly 2-3 five gallon buckets of wood last night in a 2 hour period vs 3-4 buckets when I first built the forge.
-
Cardboard bellows. I'm a visual person, things make more sense when I actually see them
-
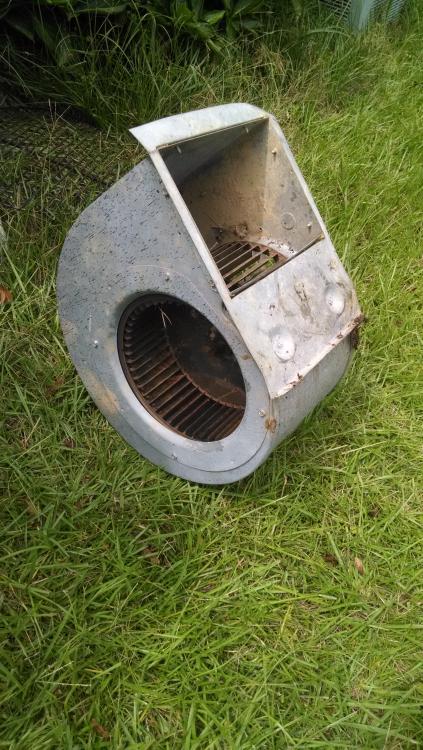
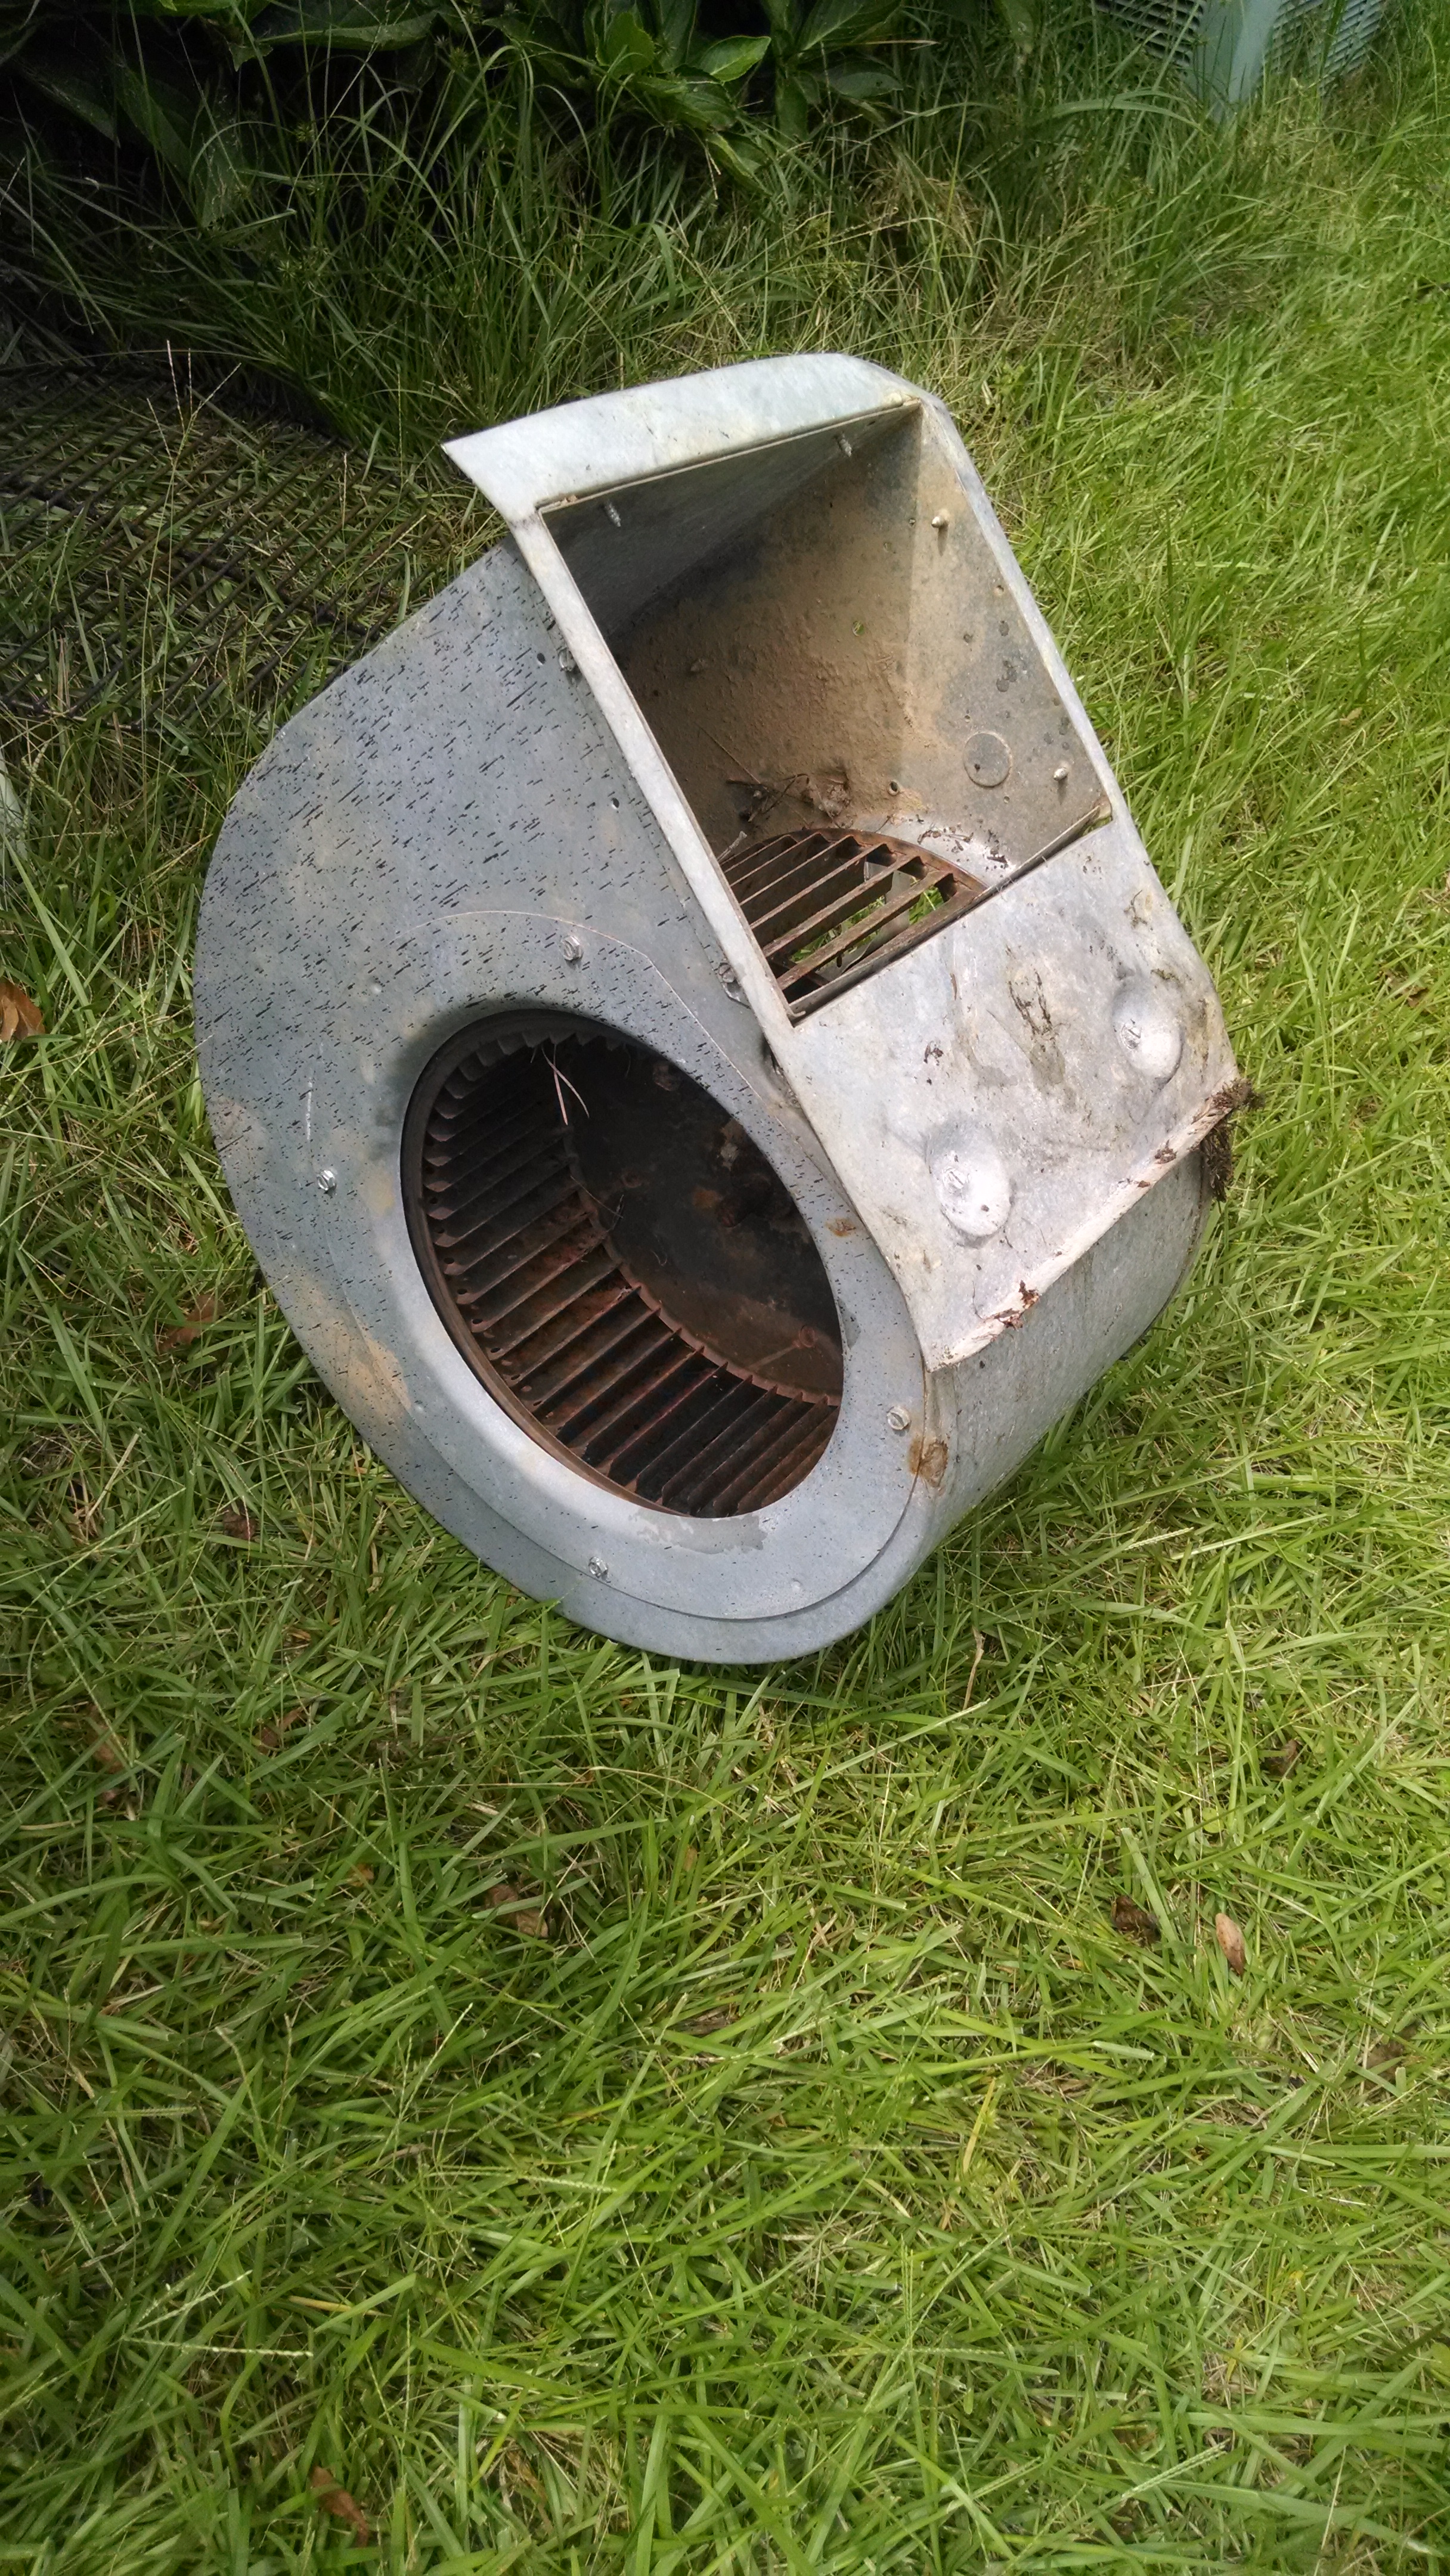
Wouldn't happen to have a blueprint for that would ya? I just found this fan that I'm gonna try to rig a bicycle to to make it manual
-
Thanks I appreciate it. Mr Glen gets the credit, I just tweaked it to fit what I had access to at the moment
-
10 hours ago, Glenn said:
Add air through a 3/4 or 1 inch pipe located near the bottom of the fire.
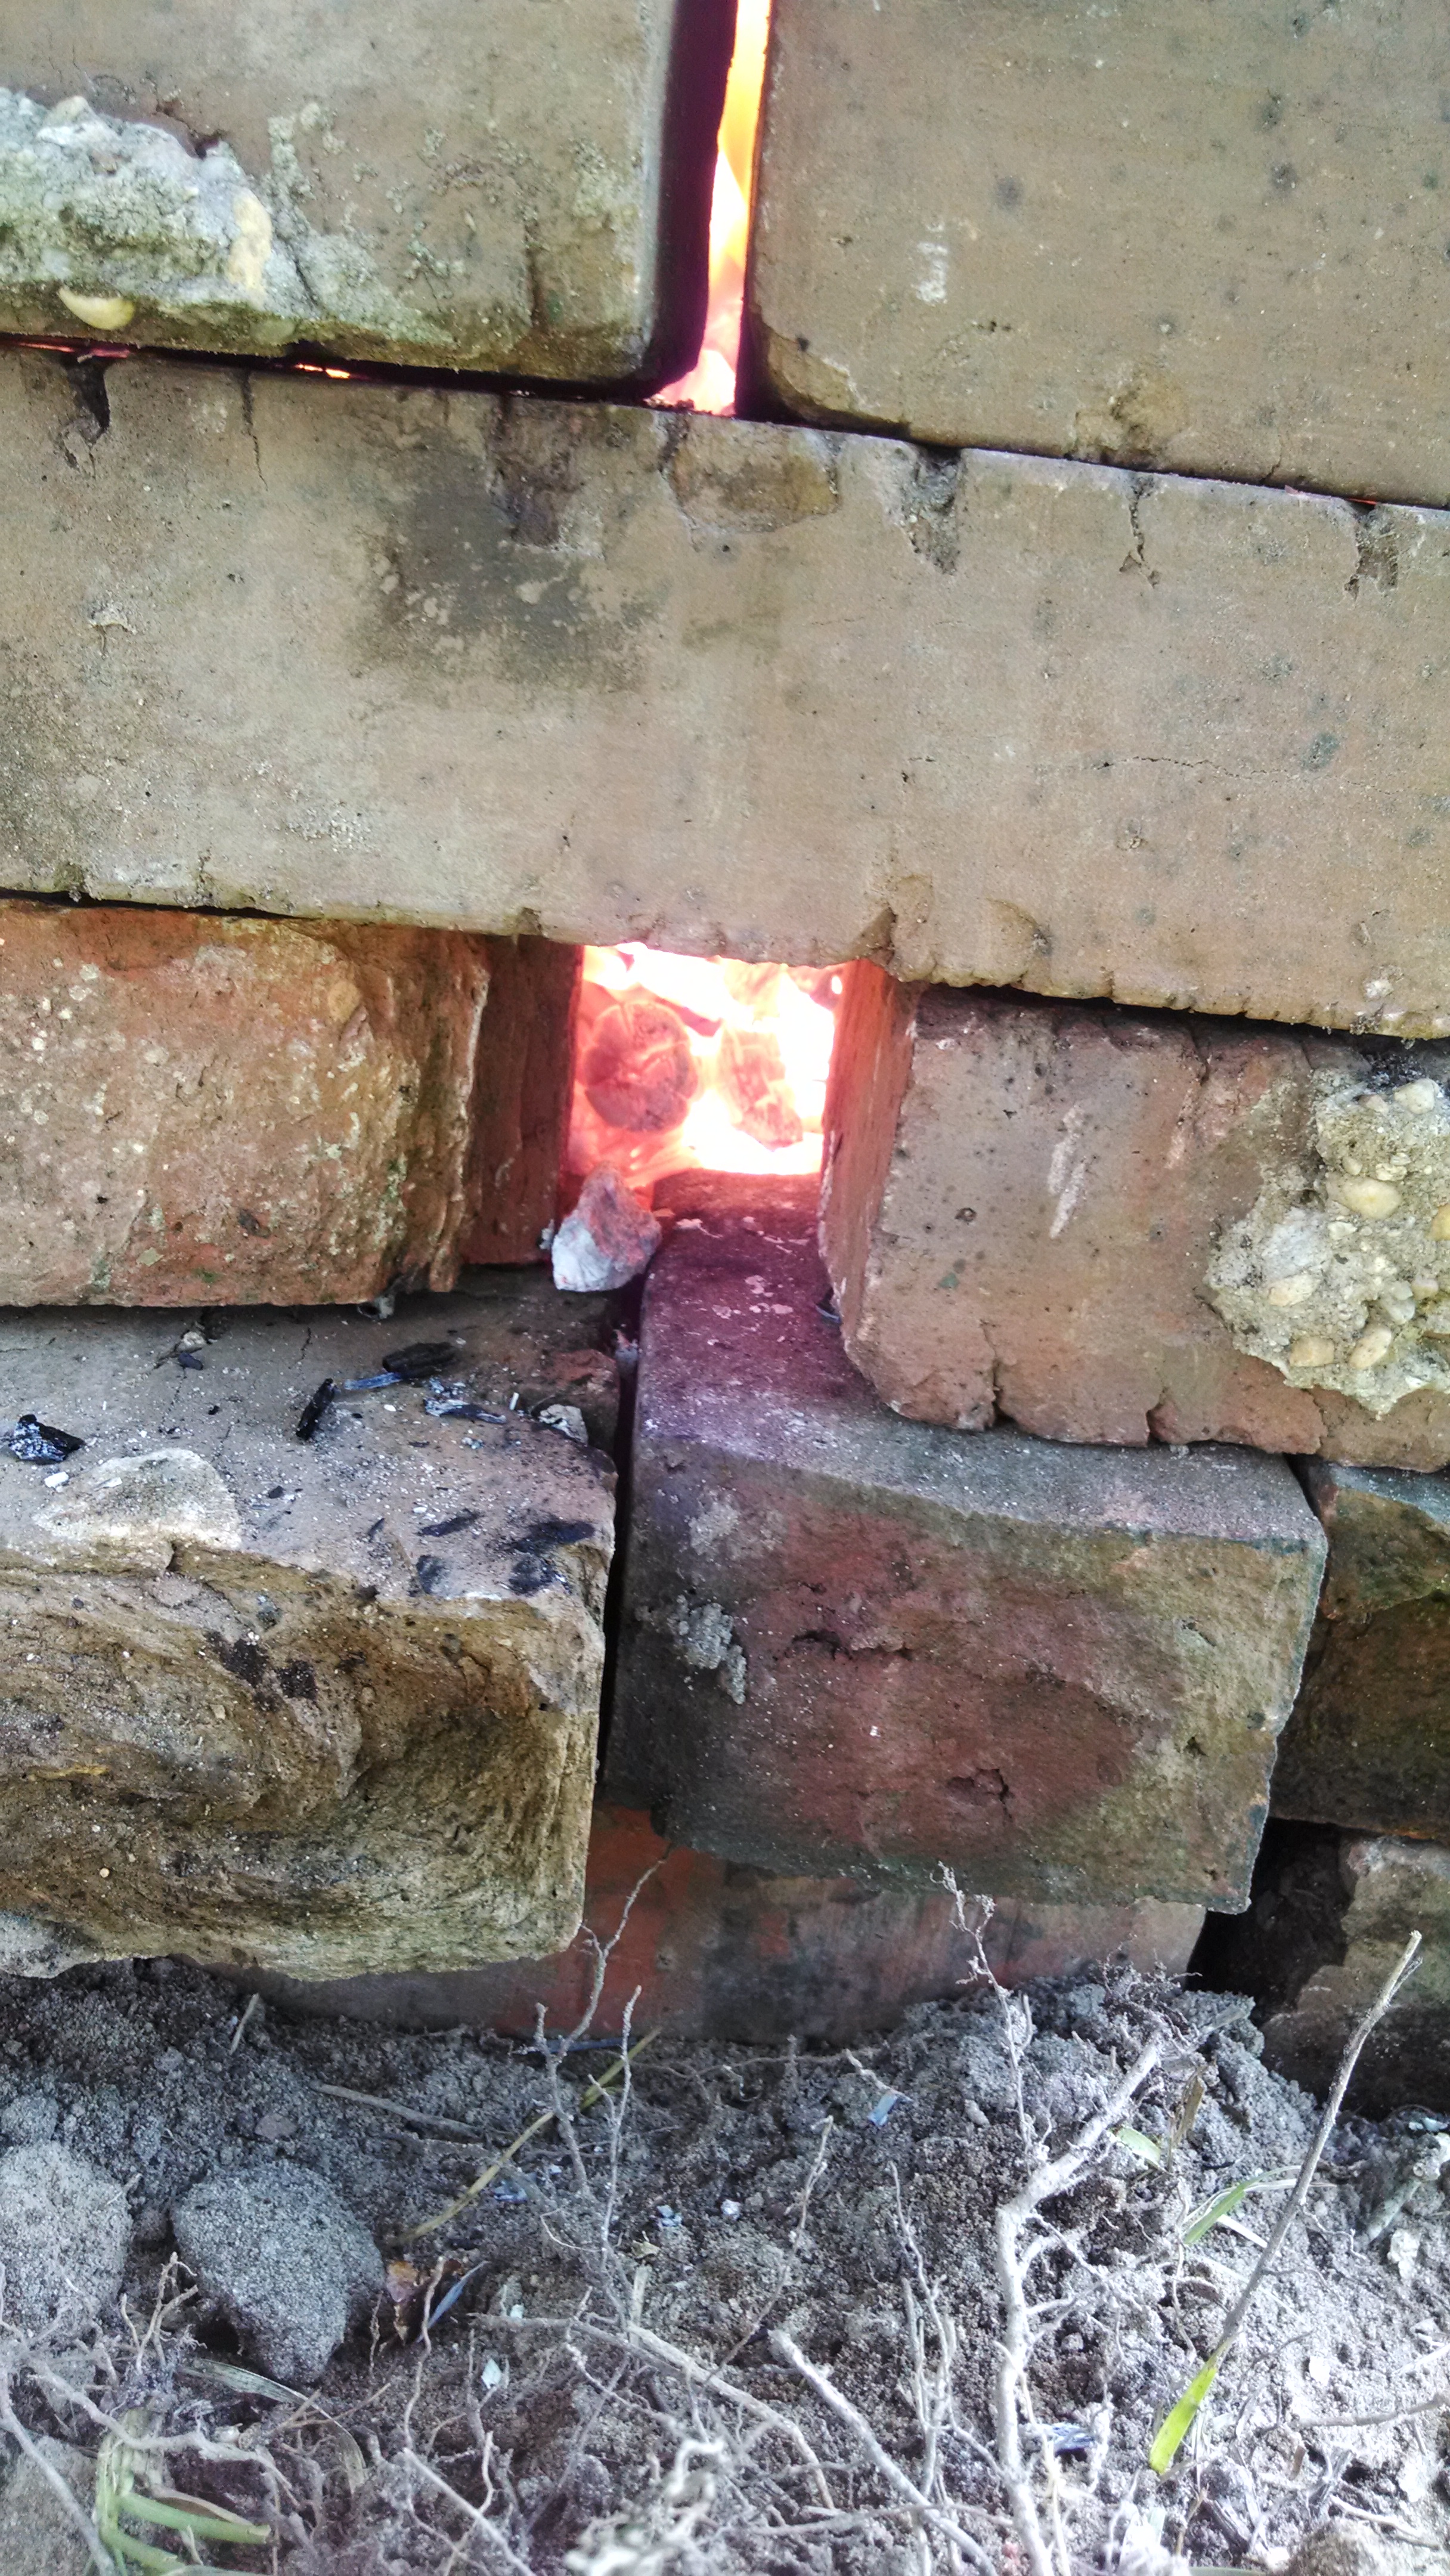
As soon as I locate something to use as an air supply I'm definitely doing that. I just used the hole I made for air supply to put the product in for right now and let the wind blow through my "ash grate" to keep it hot. Lol I'm going Tuesday after work to start looking for a large chunk of metal use for an anvil. The bricks I was using break too easily. But definitely works good enough to shape the metal I have access to at the moment
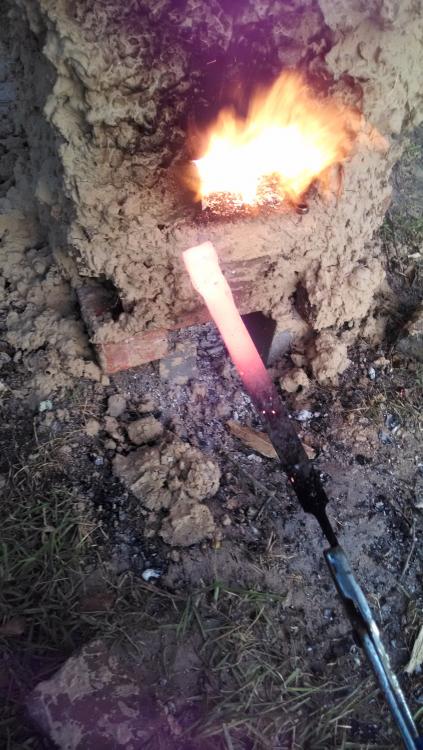
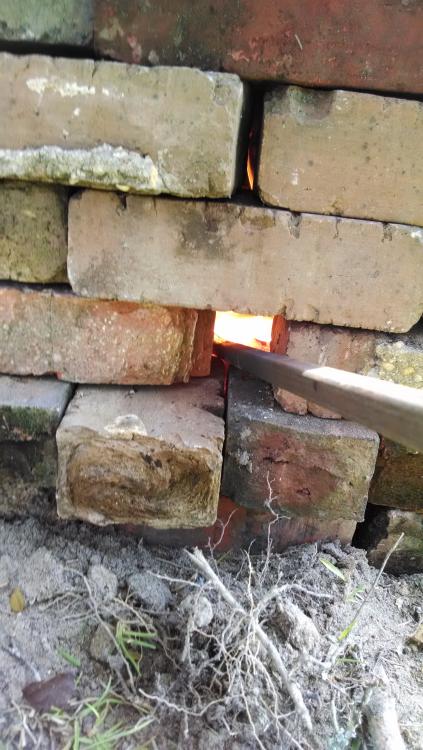
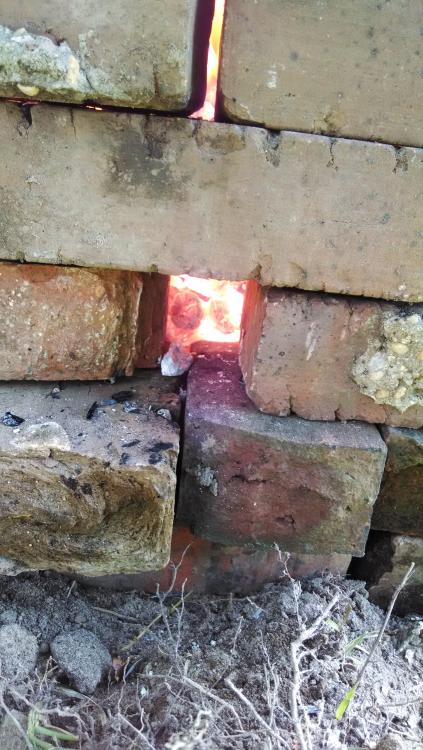
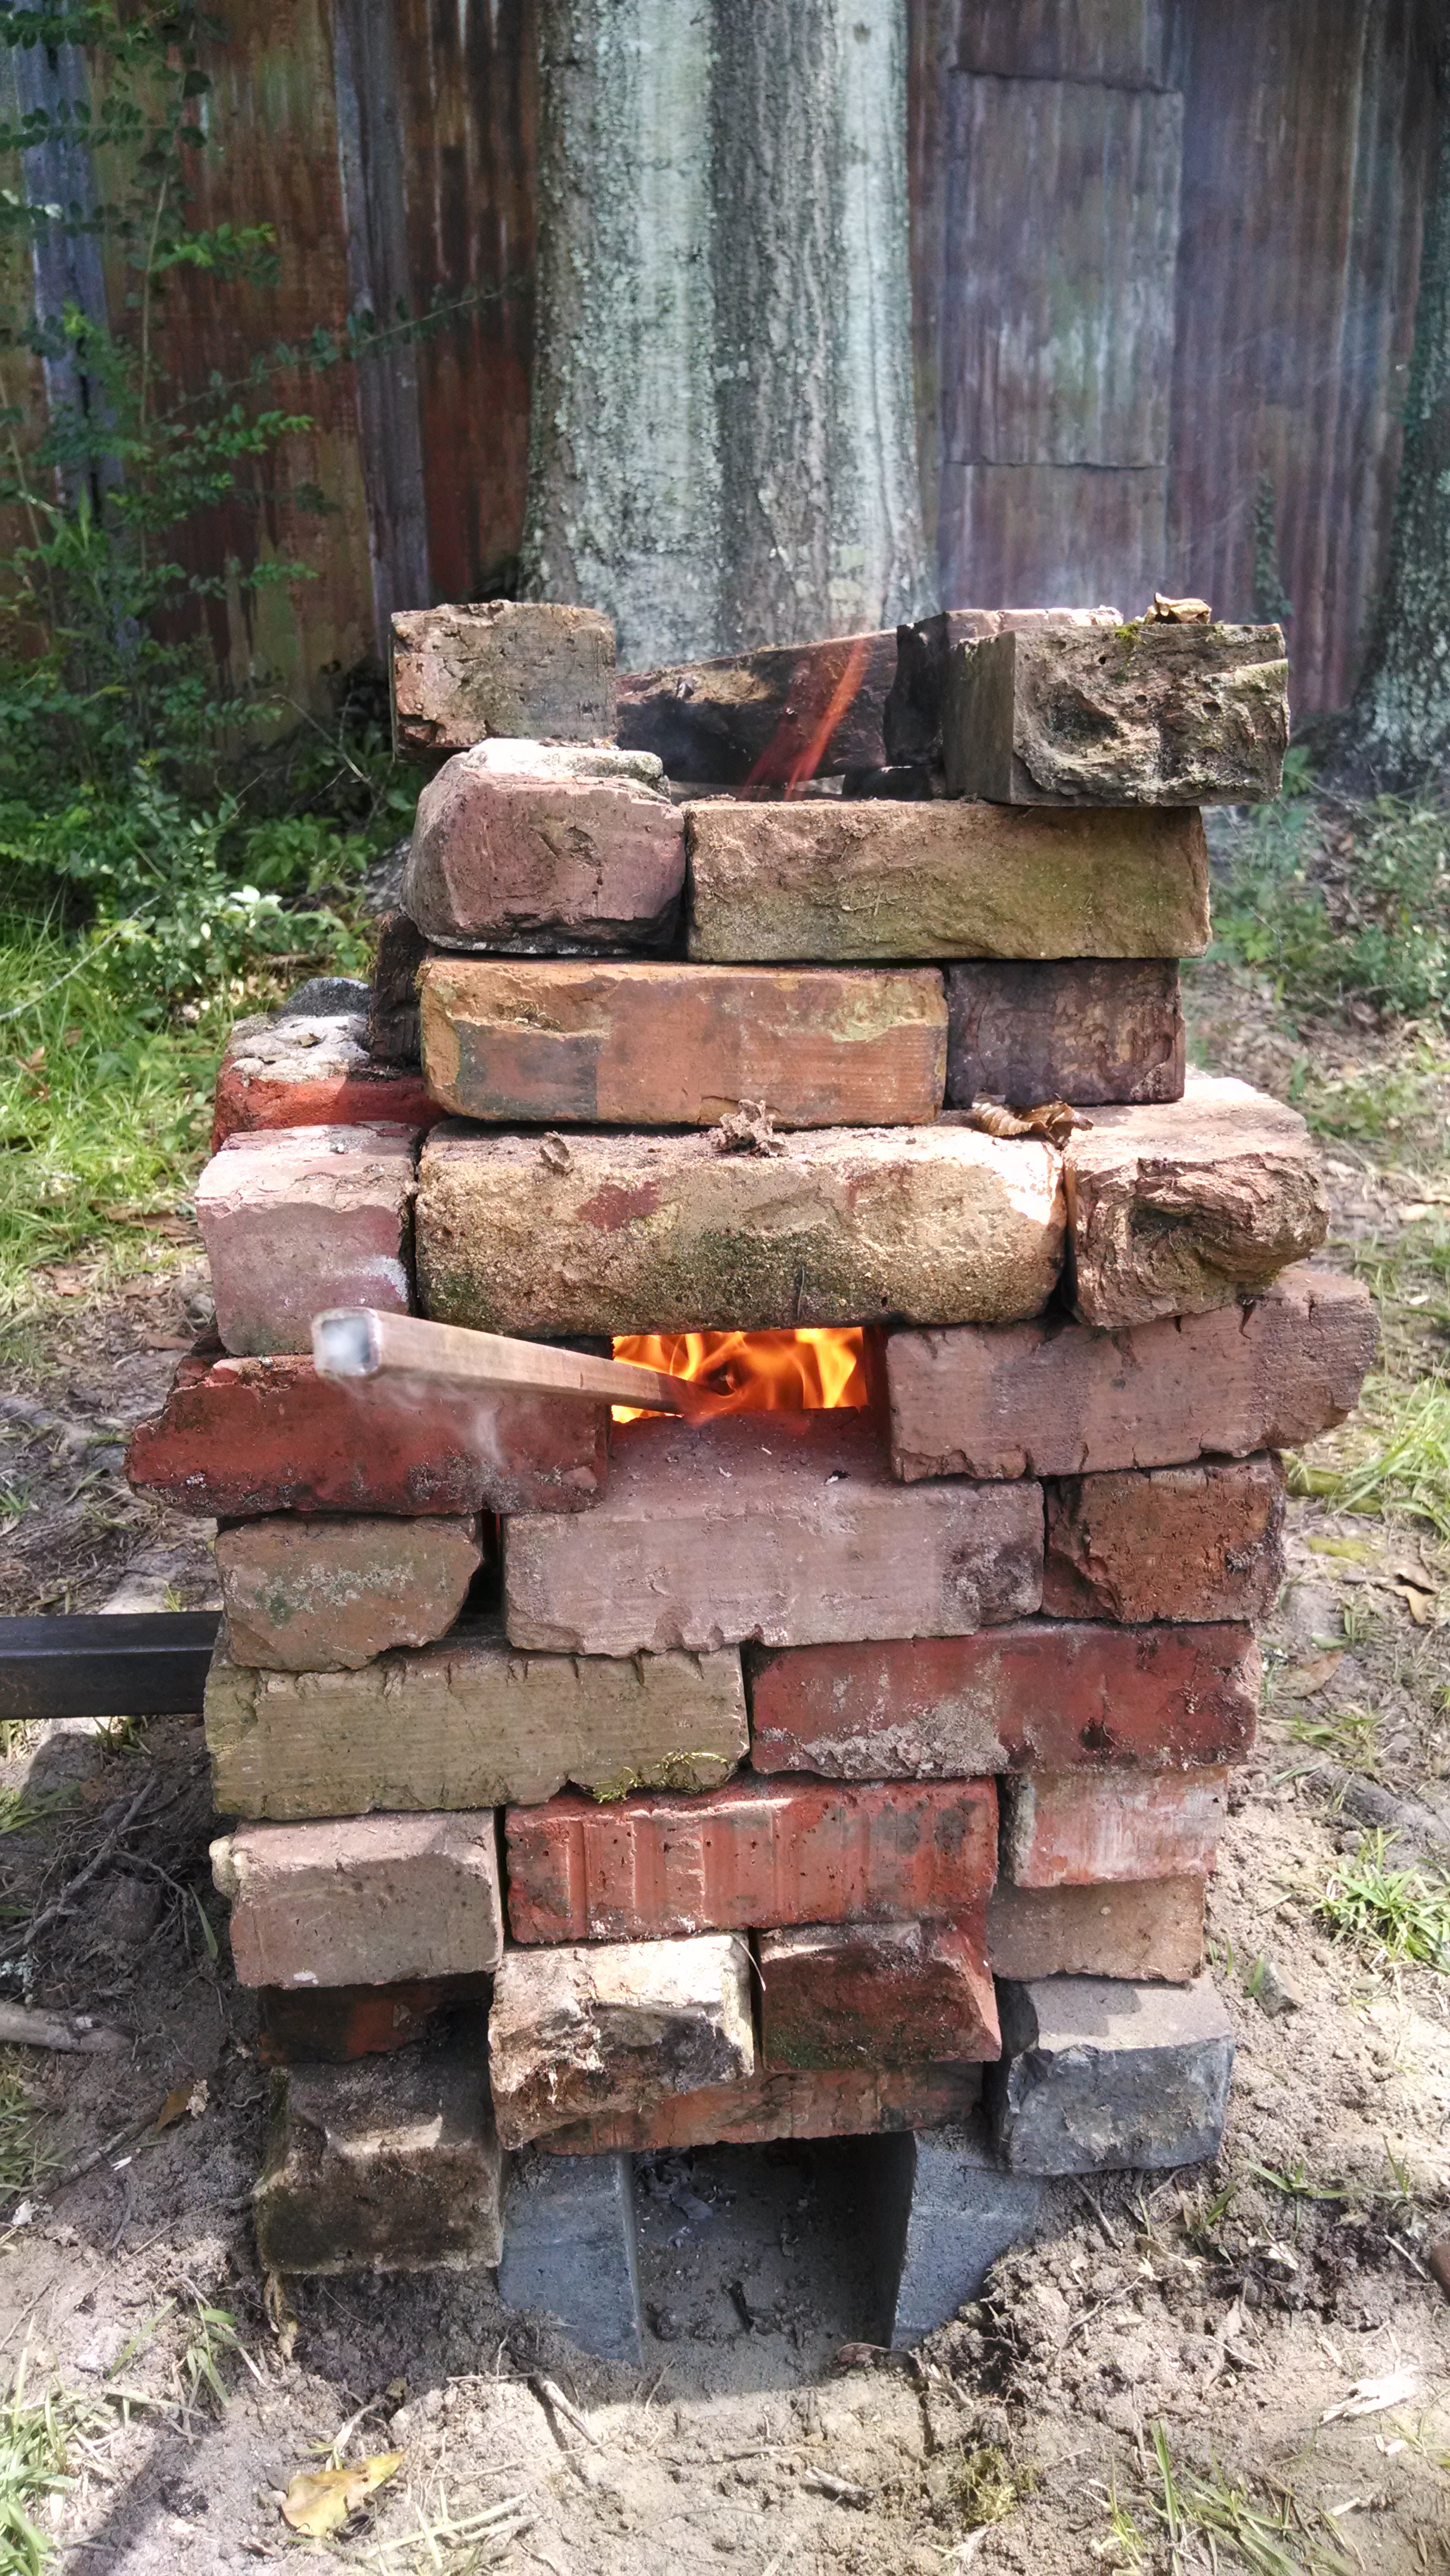
This was the original design, but without airflow going through the pipe on the bottom left, it was just heating up to orange/yellow, and the piece I had higher want getting hot enough. So I just replaced my airflow pipe with a piece of metal and used it as my forge until I find a blower of some type
 9 hours ago, Frosty said:
Well DONE! If you fill the gaps in the bricks with dirt it'll draw air better and make a hotter fire. If you move your opening up one brick it'll get your work away from the draft so it won't cause scale as easily.
That is as good as the spirit of blacksmithing gets, scrounged materials, good working forge and clean the yard. Everybody's happy and you get to learn a new craft while making cool stuff for gifts, tools, etc. Absolutely PRIMO!
You have put one big smile on my face.
Frosty The Lucky.
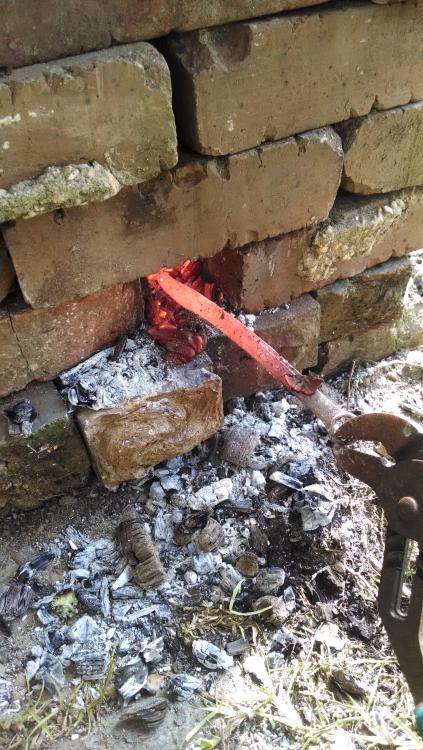
My next project is sealing the outside with clay I have. I left it just brick case I had to move anything around during the first fire. Thanks for the advice on the scale creating problem, I had to slightly modify it due to having no mechanical airflow and ended up using a much lower hole than originally intended for the time being but will be raising it before long.
-
Oh yes. It's full throttle now. Thanks again for the advice. I'm really glad I went that route. Feeding wood from the top is perfect for me. Cleans up the yard, AND makes insanely hot coals.
-
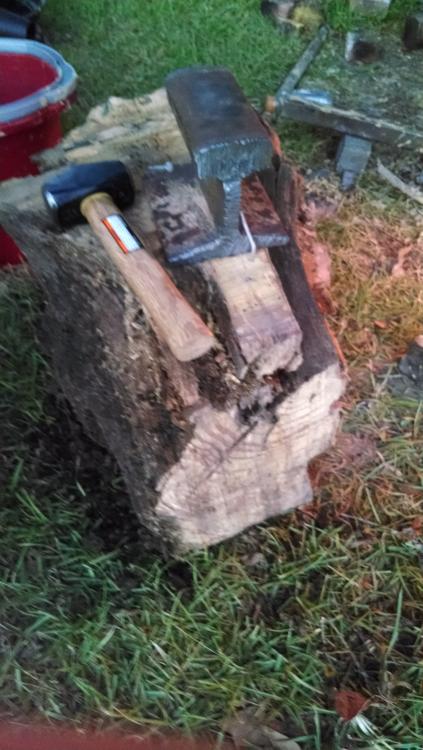
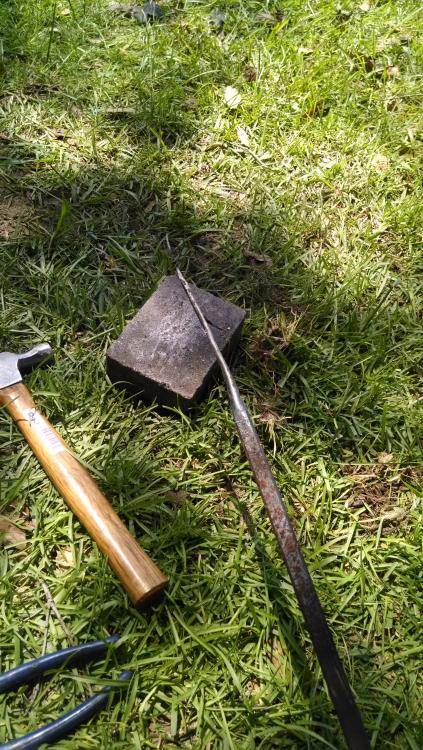
Oh yes I know. I did wear eye protection and will be getting a cross pein and something actually suitable for striking metal on, but I was impatient and couldn't wait until my next trip to town. It doesn't appear as though my photos have loaded though. I'll retry Monday from a computer
-
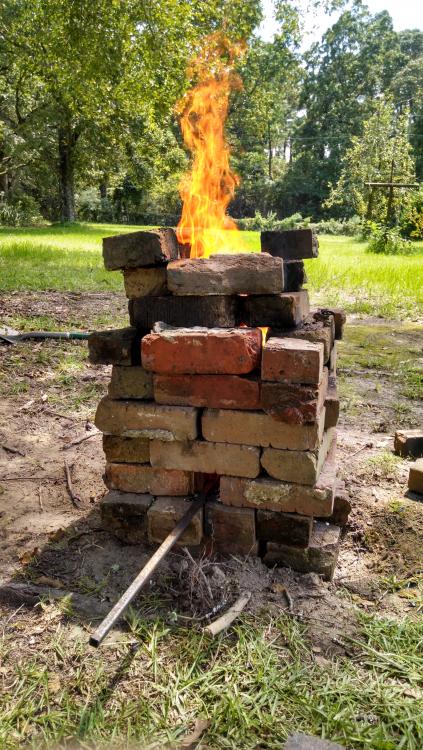
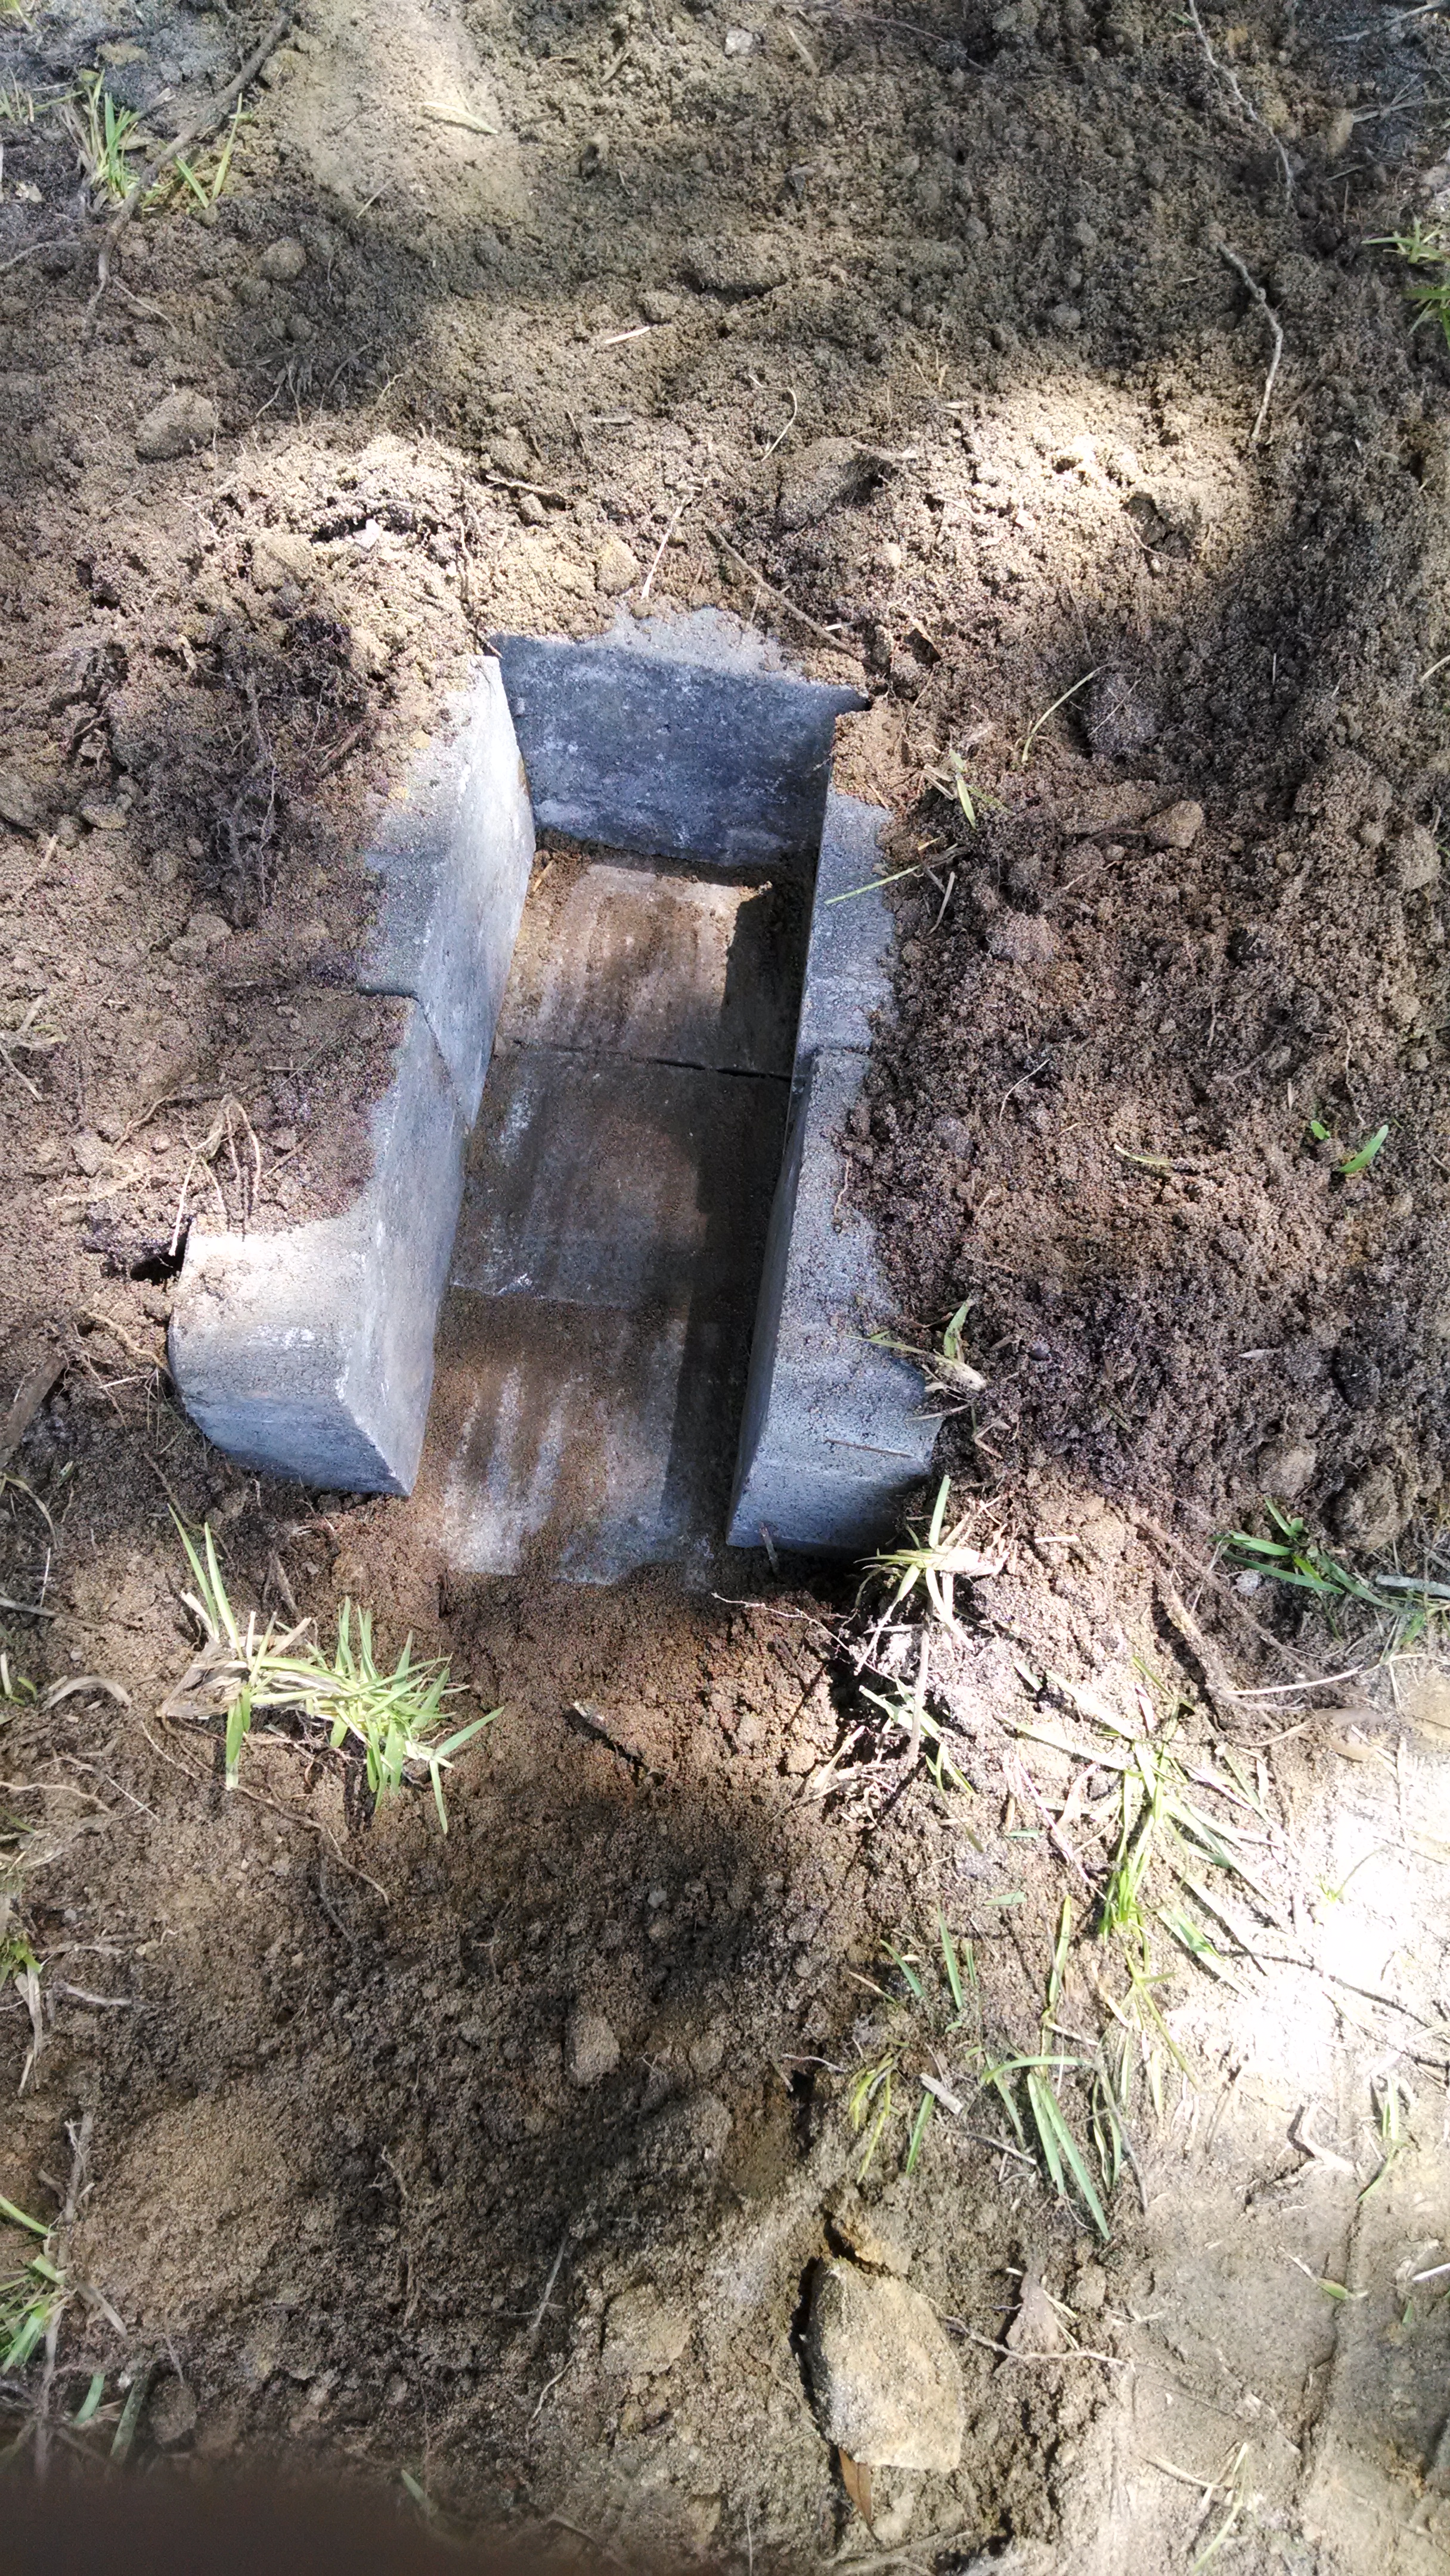
First of all, huge thank you to Glen for taking with me last night and giving me great advise. I built my first forge today out of bricks and it turned out fantastic. I'm including photos of the build. I originally intended to put an outside air source, but didn't acquire one so I modified what Mr Glen told me and basically built a rocket furnace instead. The sun was out bright today so it's hard to see, but this build will turn an open end wrench almost yellow in about 10 minutes. I used a claw hammer and spare bricks in place of an anvil because I'm impatient and couldn't wait to acquire one. I also just used sticks from my yard to fuel it. I lined a trench with brick and laid three brick hole side down for ash to fall through. then I left a hole two bricky up for the metal to through to access coals. I hope I explained it well enough and photos load. I'm headed back outside to admire it lol may not be pretty, but she works just fine for me!


-
I may try to make that. I'll be off that Sunday. Thanks for the info
-
All I have at the moment is a brake rotor, I will be going in the morning to acquire pipe for air. Starting out i will be using lump charcoal until I can find a reliable coal supplier. I live in South Mississippi and so coal is scarce around here. Worst case scenario, I'm surrounded my forests on both my land and a friends land, so making charcoal will be very easy
-
10/4 I appreciate it. I've done a fair amount of research before gathering materials and actually stumbled across this site looking up a few things. My main immediate question is can I use a shower drain for an air grate in the bottom of my fire pan (metal not plastic of course). I'll browse through the articles on here and see if I can locate an answer. I know that you CAN but not sure if you SHOULD. At the moment I'm severely limited to just a few basic hand tools for construction so major cutting and welding are out of the question at the moment. Thanks again
-
Hey, new to the forum. Starting my first forge this weekend using a brake rotor. Any advice on using this forum, techniques to building a forge, any advice in general is greatly appreciated. Thanks and have a great day


First knife
in Knife Making
Posted
No offense taken man