

Blackcat
-
Posts
26 -
Joined
-
Last visited
Content Type
Profiles
Forums
Articles
Gallery
Downloads
Events
Posts posted by Blackcat
-
-
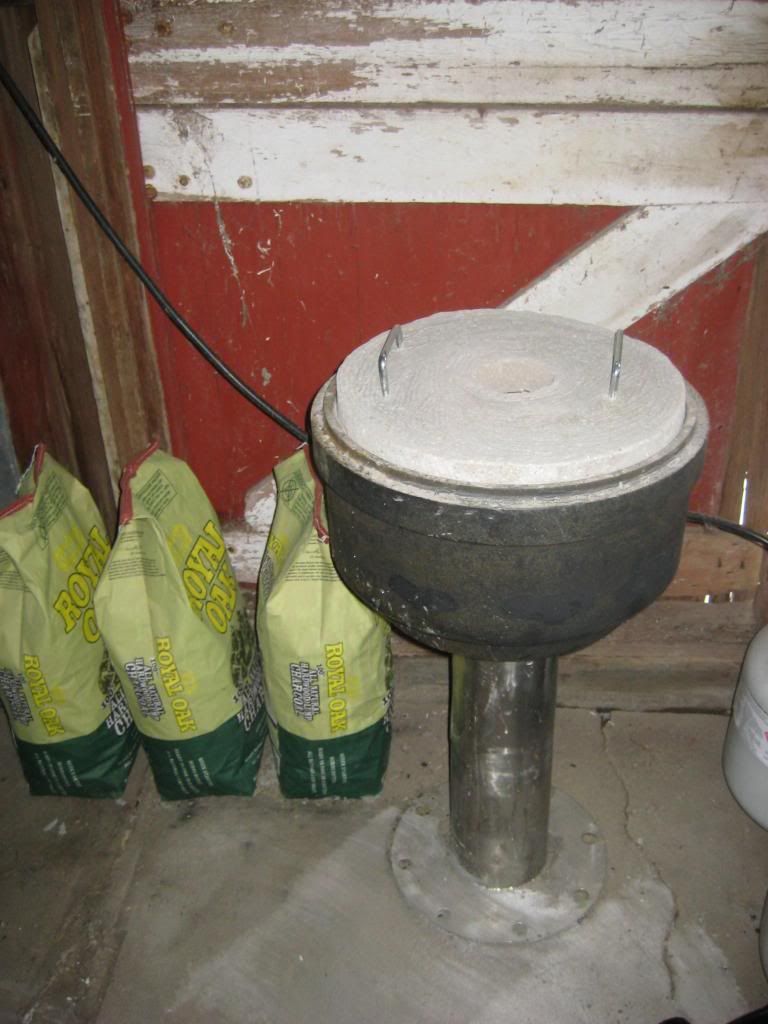
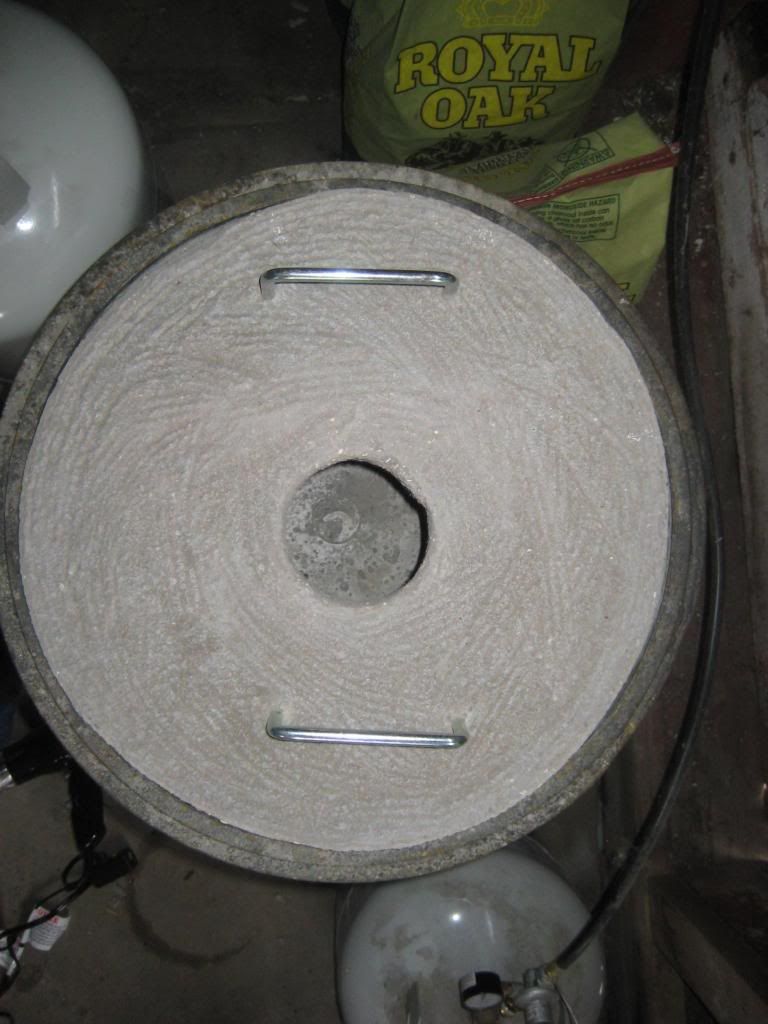
I recently purchased a two burner (maker's name is withheld because I'm certain the error is mine, not his) forge and I've just started to use it.
I open the tanks -- two 40 lbs in tandem-- all the way:
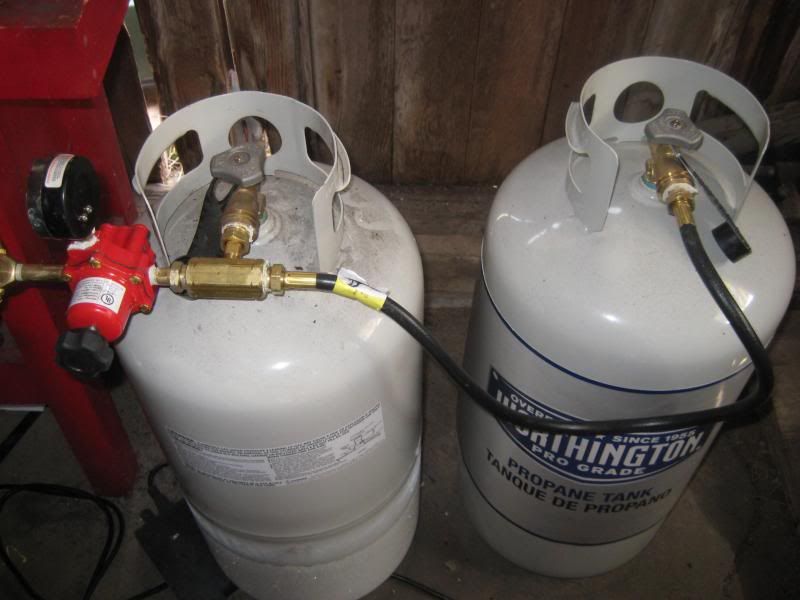
I adjust the regulator:

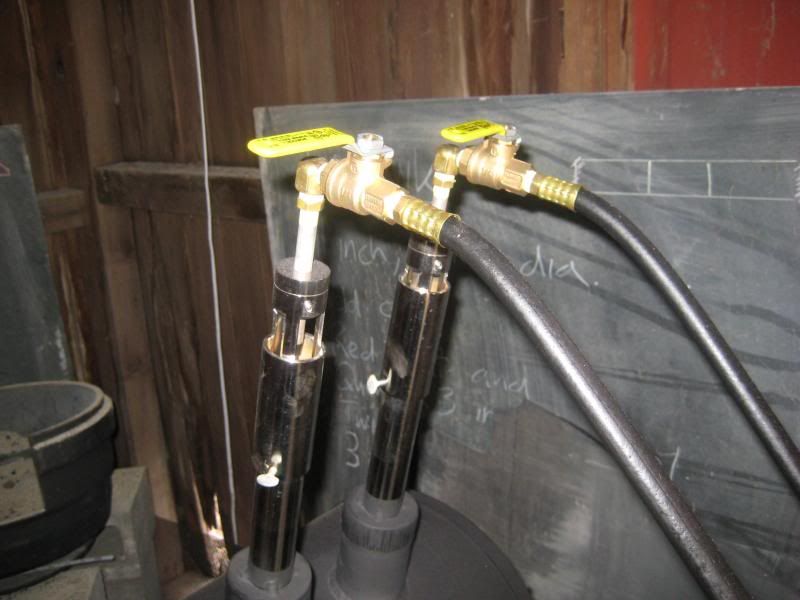
I open the ball values all the way (closed in this pic):
And light it up. My inital pressure, adjusted with the regulator is as high as 13 but, after about 5 mins. the pressure drops slowly to about 3 in a half hour.
I've tried:
Waiting for winter to end, the tank may have been freezing -- 40s - 50 degree F temps brought no relief
Tandaming the original 40 lb tank with a 20 lb tank -- no change
Buying and tandaming another 40 lb tank -- lighter wallet, no change
Making sure the new tank was purged and both tanks are full -- nope
Endless turning up and down the black reg. knob, the ball valves (which I think should just be fully open), and lifting and lowering the chokes from the recommended 1 inch open -- nothing
A new regulator, from the maker -- same problem
I'm running out of ideas, can anyone give me any advise?
Thanks!
-
Found this at the local scrapyard:
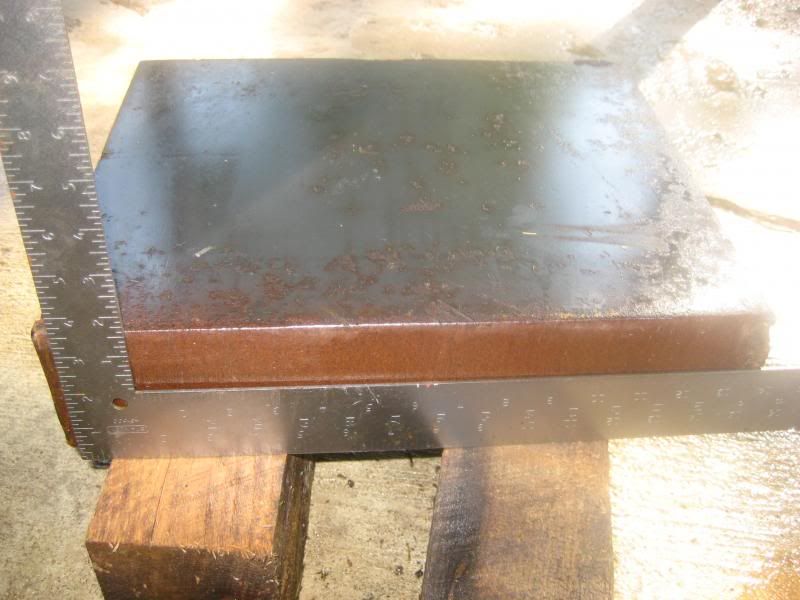
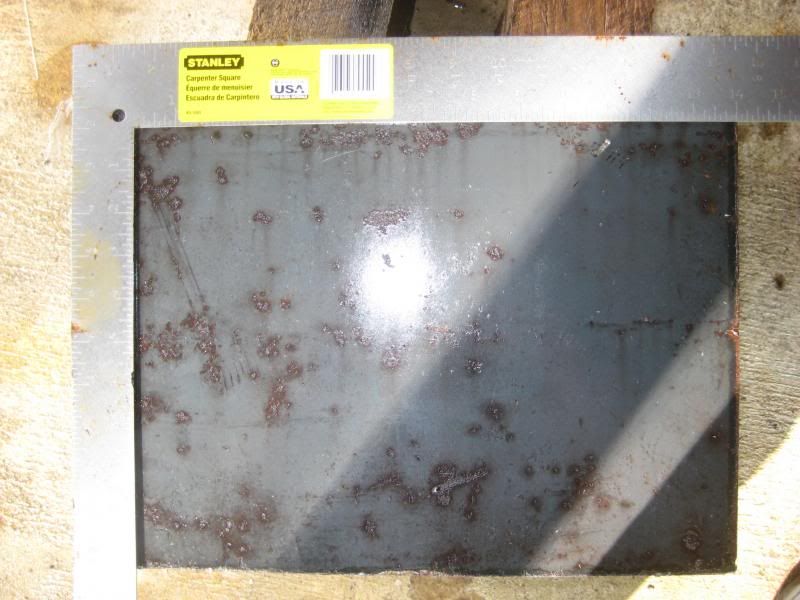
The specs:
Weight: 192 lbs
Dimensions:15 in. X 12.5 in. X 3.5 in.
Rebound from a ball bearing dropped from 12 inches: +/- 5 inches
Composition: unknown
Is it worth breaking my back hauling it to the shop and finding a good stump for it?
Thanks, as always
-
Sorry if I rubbed you the wrong way, it sure wasn't my intention. I thought the way I was cleaning was doing the job. It isn't working for me, which is why I asked the question. I have read the posts there, but without much luck in finding info. Is there a specific post you could link me to?
Again, sorry.
-
I do have to wonder why you would quench times 3 then forge weld?
I use this to do the initial cleaning of the cable. It comes covered in oil, dirt, and markings and heating / quenching burns and steams the gunk out.
Have you read through the knife classes about this ?
I did a keyword search in the Knife Making Class sections for "cable" and "wire rope" without much luck. Is there a thread I missed?
Thanks again for all the replies so far!
-
I've been making knives with wire rope / cable, but am stumped about how to clean the unwelded areas I'm leaving (the handles) in their woven state.
First, I pre-clean by heating to orange, and quench, X3. Then, probably because of the number of times I have to heat to get the blade forged, and my (poorly reasoned?) thought that I need to keep working at yellow temps to keep the area I am working on together, the gaps in between the individual wires area filling up with scale. I've tried to get it out with: wire wheels (OK, but only gets the very top surface), vinegar overnight (nothing as far as I can tell), and dipping in Muriatic Acid for 20 minutes (just plain worried me :unsure: ). I'd really appreciate any other ideas, I'm really banging my head against the wall.
No answer too basic, thanks, as always!
-
Sorry to be obtuse -- 1080 is what I'm working with. Thanks for the replies so far!
-
I use a propane forge, and am having what seem to be the common problem of heating only the select area I'm working on. My solution (and I'd be happy to hear of others) until I build a charcoal one, has been to periodically quench the other areas so as they do not bend, twist, and burn-up as I pretend to have control over my surroundings. I've tried to find the downside(s) of quenching a piece of 10XX again and again, without much luck. Can someone tell me how I'm screwing - up the metal on the molecular level, how it will inevitably blow - up in my face, and any better solutions?
Thanks as always!
-
If there any reason I can't cut down a clay/fire clay grog/ silicon carbide particle (I'd wear a mask) crucible that is too tall for my furnace? What would be the best tool -- a hacksaw?
Thanks, as always for any insight!
-
I purchased one of the 90 degrees and it was perfect for my needs, and almost too nice to use.
-
I was going to sprinkle some mashed charcoal on top of the copper in the crucible. My work would be dipped into the molten copper, and then the extra would be poured into heated water ala http://www.youtube.com/watch?v=WUVUYH_vvZE. Does this add up?
Thanks for your reply!
-
I'm putting the finishing touches on my foundry and before I fire her up, I was hoping someone with more experience (more than my none) would take a quick look and point out any of the -- certainly many -- flaws.
The specs:
Made from a discarded Semi's brake drum
Filled with MEECO'S Red Devil refractory cement
2 inch hole drilled at a slight angle at the bottom
To be fueled with natural charcoal
Air pushed with hair dryer, until I can figure out how to mount an old crank blower
End goal: Melting copper
Method: Fill the bottom with a couple of inches of charcoal, light them and establish a good bed of coals; put in my graphite crucible with copper scrap in the center; pack the walls with more charcoal; close it up; start up the blower; add more charcoal as needed; wait-for-longer-than-you'd-think (20 - 30 min.?); bask in the glow of liquid copper and a job well done.
Please don't worry about hurting my feelings.
I'll start with the obvious: "MOVE THE PROPANE TANKS AWAY!"
 Thanks!
-
Wow -- from metallurgy to pedagogy! I had no idea I would get so many, and such high quality, responses. Thanks!
-
Sorry, I tried the search function but it doesn't like to word "bit" for some reason.
I'm doing well with the early steps of making a tomahawk head, and am now ready to make one with a bit insert. Could anyone give me some advise on an insert which is:
1) Easy on beginners to weld well
2) Durable enough to bother with
3) Relatively easy to obtain, and obtain again if I actually pull it off
I'm using the folding "bow tie" method right now and would like to not just put the bit in a cut made in the edge, but also fill in the triangle shaped gap that forms between the two side as you fold them together, to bulk it out and making it more axe's slight wedge then the sudden blade-then-round-cheek transition I've been making.
Thanks, as always!
-
Wow, thank you for all of the thoughtful and useful, replies. This board, and its members, have been a real aid in not only building up my (meager) skills but also courage. Thanks again!
-
I've been watching Bruce Evans' How to Forge a Frontier Style Tomahawk. In it, he uses a piece of round stock as a fuller during his power hammering. It seems to work fine but I wonder: is there any problems from using this technique? It just seems too good of an idea -- and I'm naturally suspicious.
Thanks!
-
While surfing for axe inspiration I found two Japanese pieces with, what is to me, really unusual two piece handles: there is a main handle, and then a large wooden wedge proximal to the blade. I really like the look. Is there a specific name for this design? I there really an great loss in strength if this would be used for a hatchet? Does anyone have any other pictures of this in practice -- or can anyone give and words of wisdom on construction?
Thanks!


Pressure Problem
in Gas Forges
Posted
Thanks for all the quick replies!
Loneforge: My shop is an old barn that leaks like a sieve. Inside the temp. is really no different that out. I was hoping the tandem set up was a good idea but I'll try them one at a time.
Thomas: I was wondering about the heat as well . . . the reason I started looking at the regulator and seeing the pressure fall was the sound of the forge got so much quieter -- less "roar-y" over the half hour, not because of the work becoming so much harder to manipulate. I'm still able to work the piece. The maker lists a really wide range of working pressures "3-20."
Herb: No, it took the first dial off the orignal regulator, and put it on the new one. Are dials a weak link? Also, you're right: the slide are at a different level; just more of my screwing around try to make things work. Usually I set them both at 1 inch opened.
Chinobi: My pieces are small enough to only be under the one burner most of the time. My first forge was a one - burner and I had the (mis?) belief that forges with more than one burner should be used with all of them running. I try just one, next time.
Thanks again for all the help. Please keep the ideas coming, I promise to try everything.