PCRDNADave
-
Posts
17 -
Joined
-
Last visited
Recent Profile Visitors


-
What did you do in the shop today?
PCRDNADave replied to Mark Ling's topic in Blacksmithing, General Discussion
That does make sense. Thank you. Mostly I’m practicing and trying a few new things with whatever material I have at hand to build some experience. -
What did you do in the shop today?
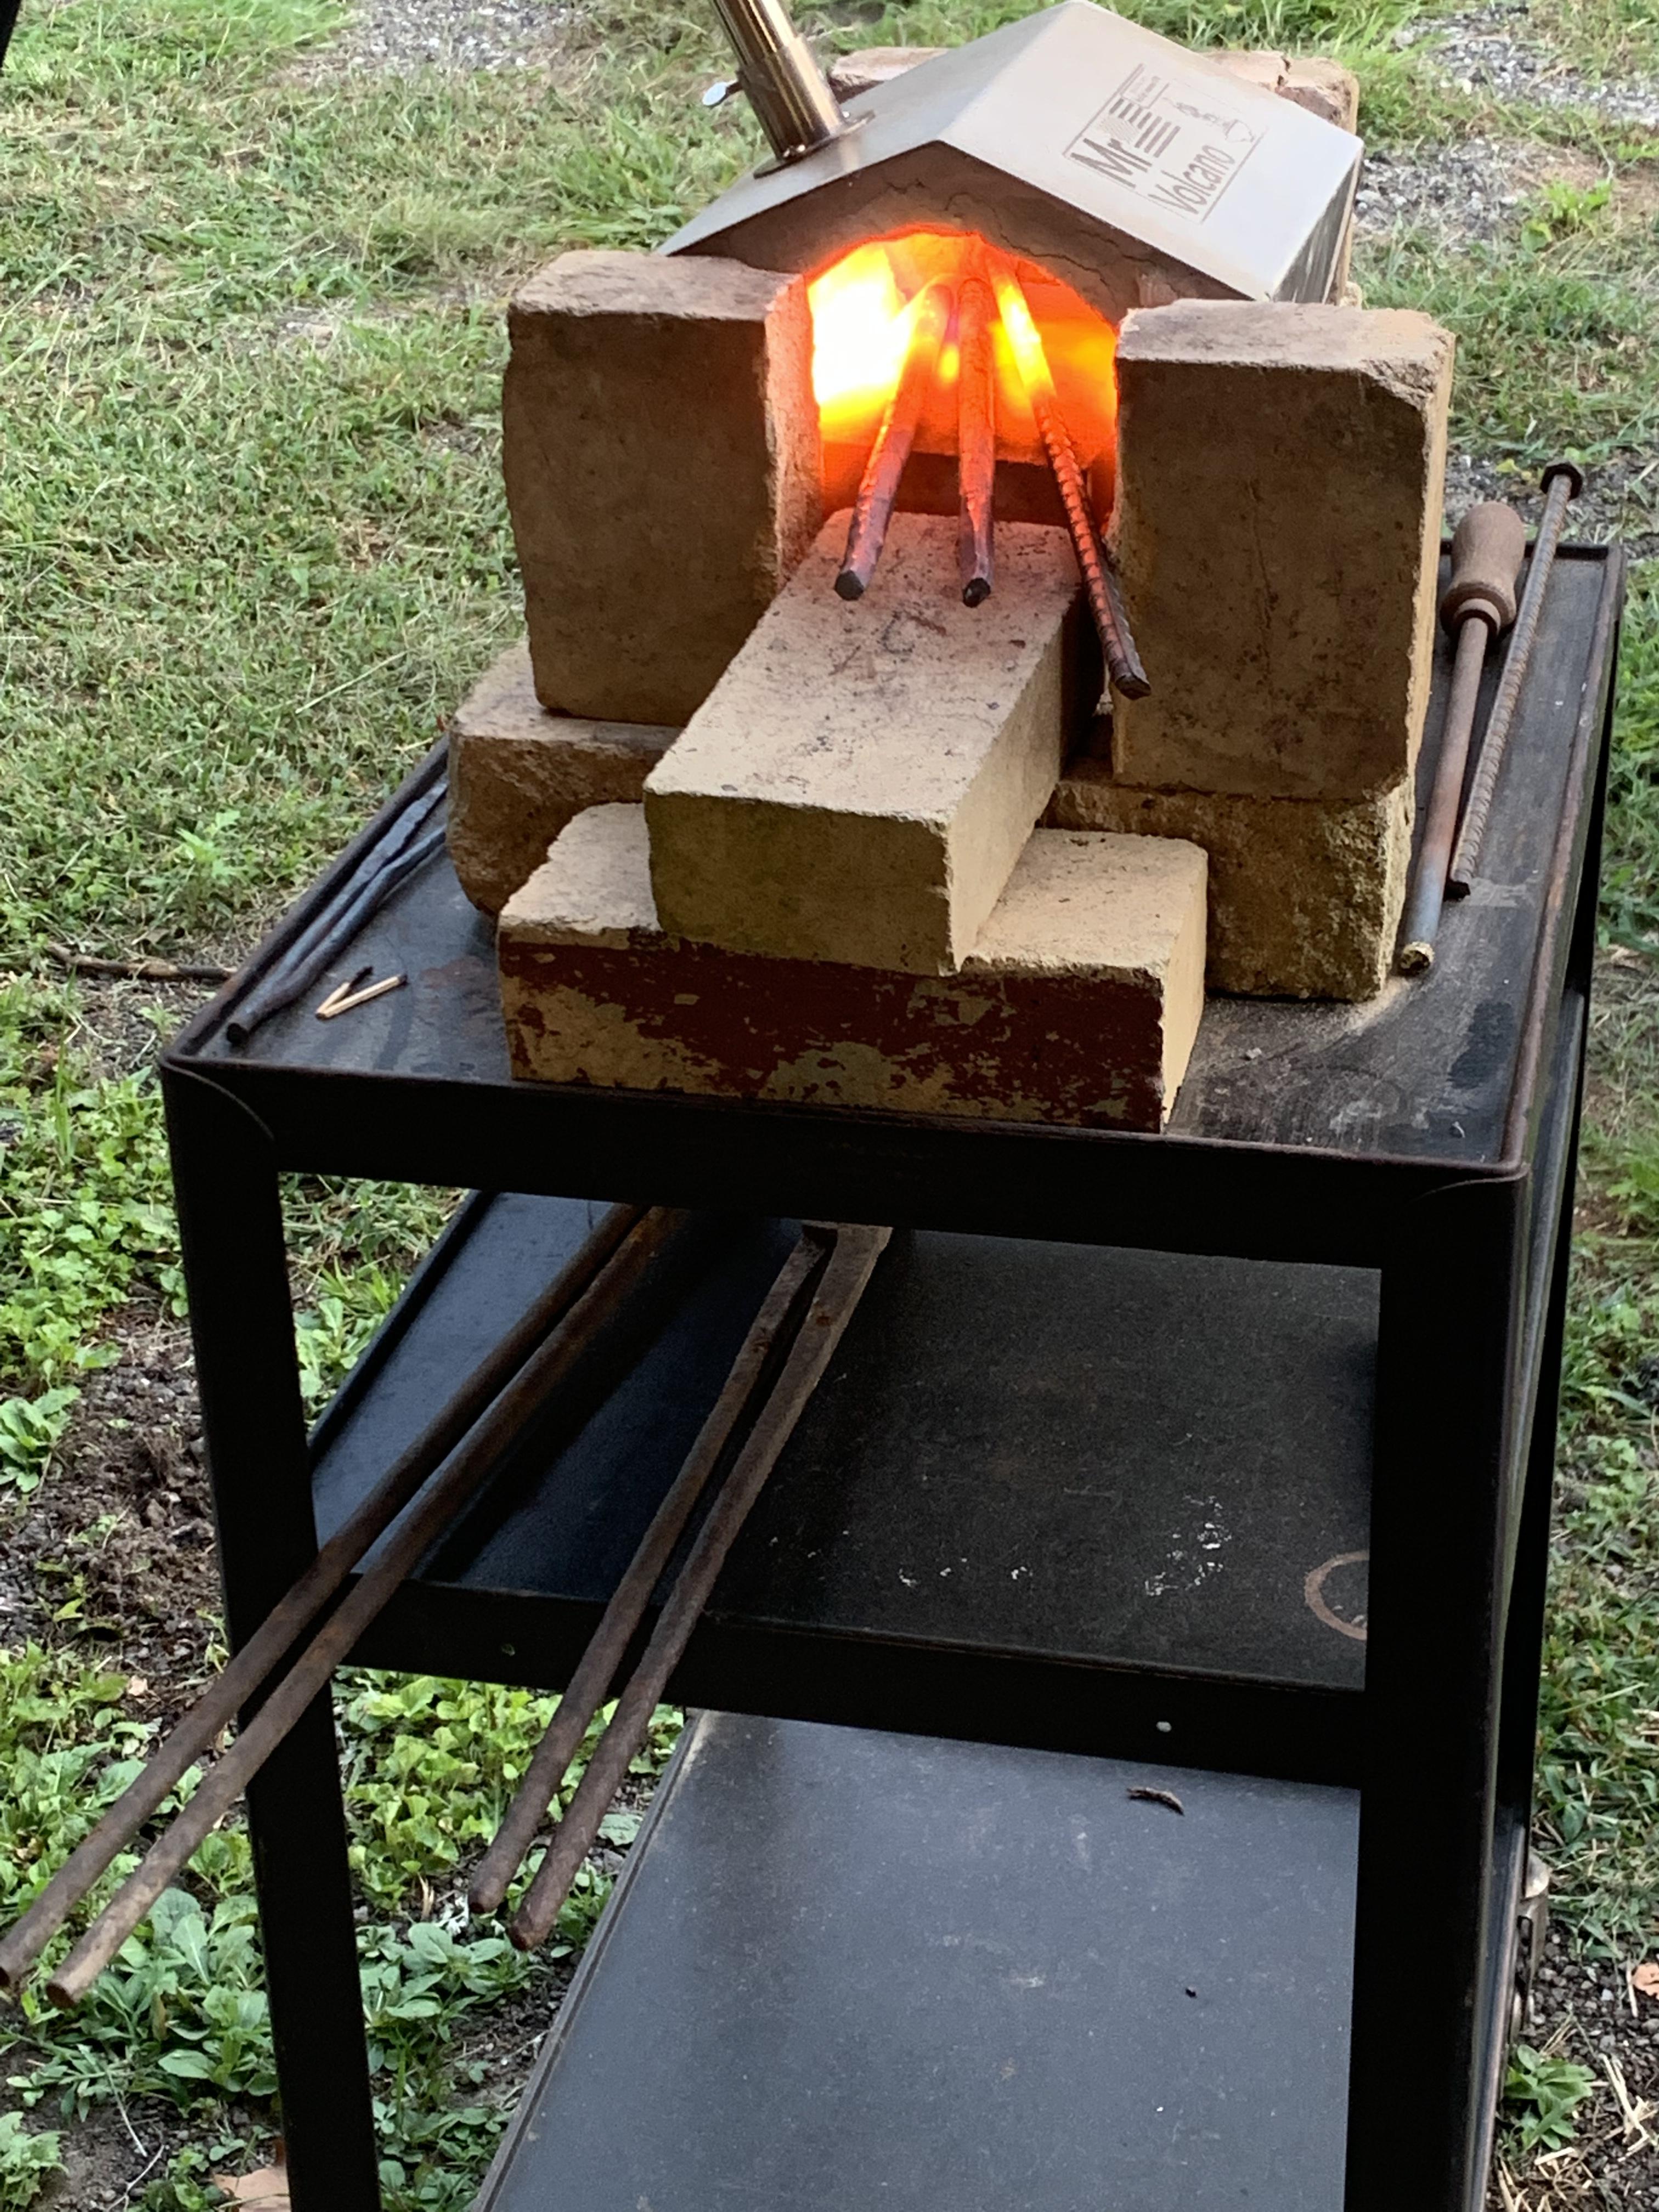
PCRDNADave replied to Mark Ling's topic in Blacksmithing, General Discussion
I have a similar setup and the bricks behind the kiln do help
-
What did you do in the shop today?
PCRDNADave replied to Mark Ling's topic in Blacksmithing, General Discussion
I just have water to quench and it was still soft after bringing it to an orange heat. Could be I did it wrong but try again tomorrow after getting it hotter. -

-
What did you do in the shop today?
PCRDNADave replied to Mark Ling's topic in Blacksmithing, General Discussion
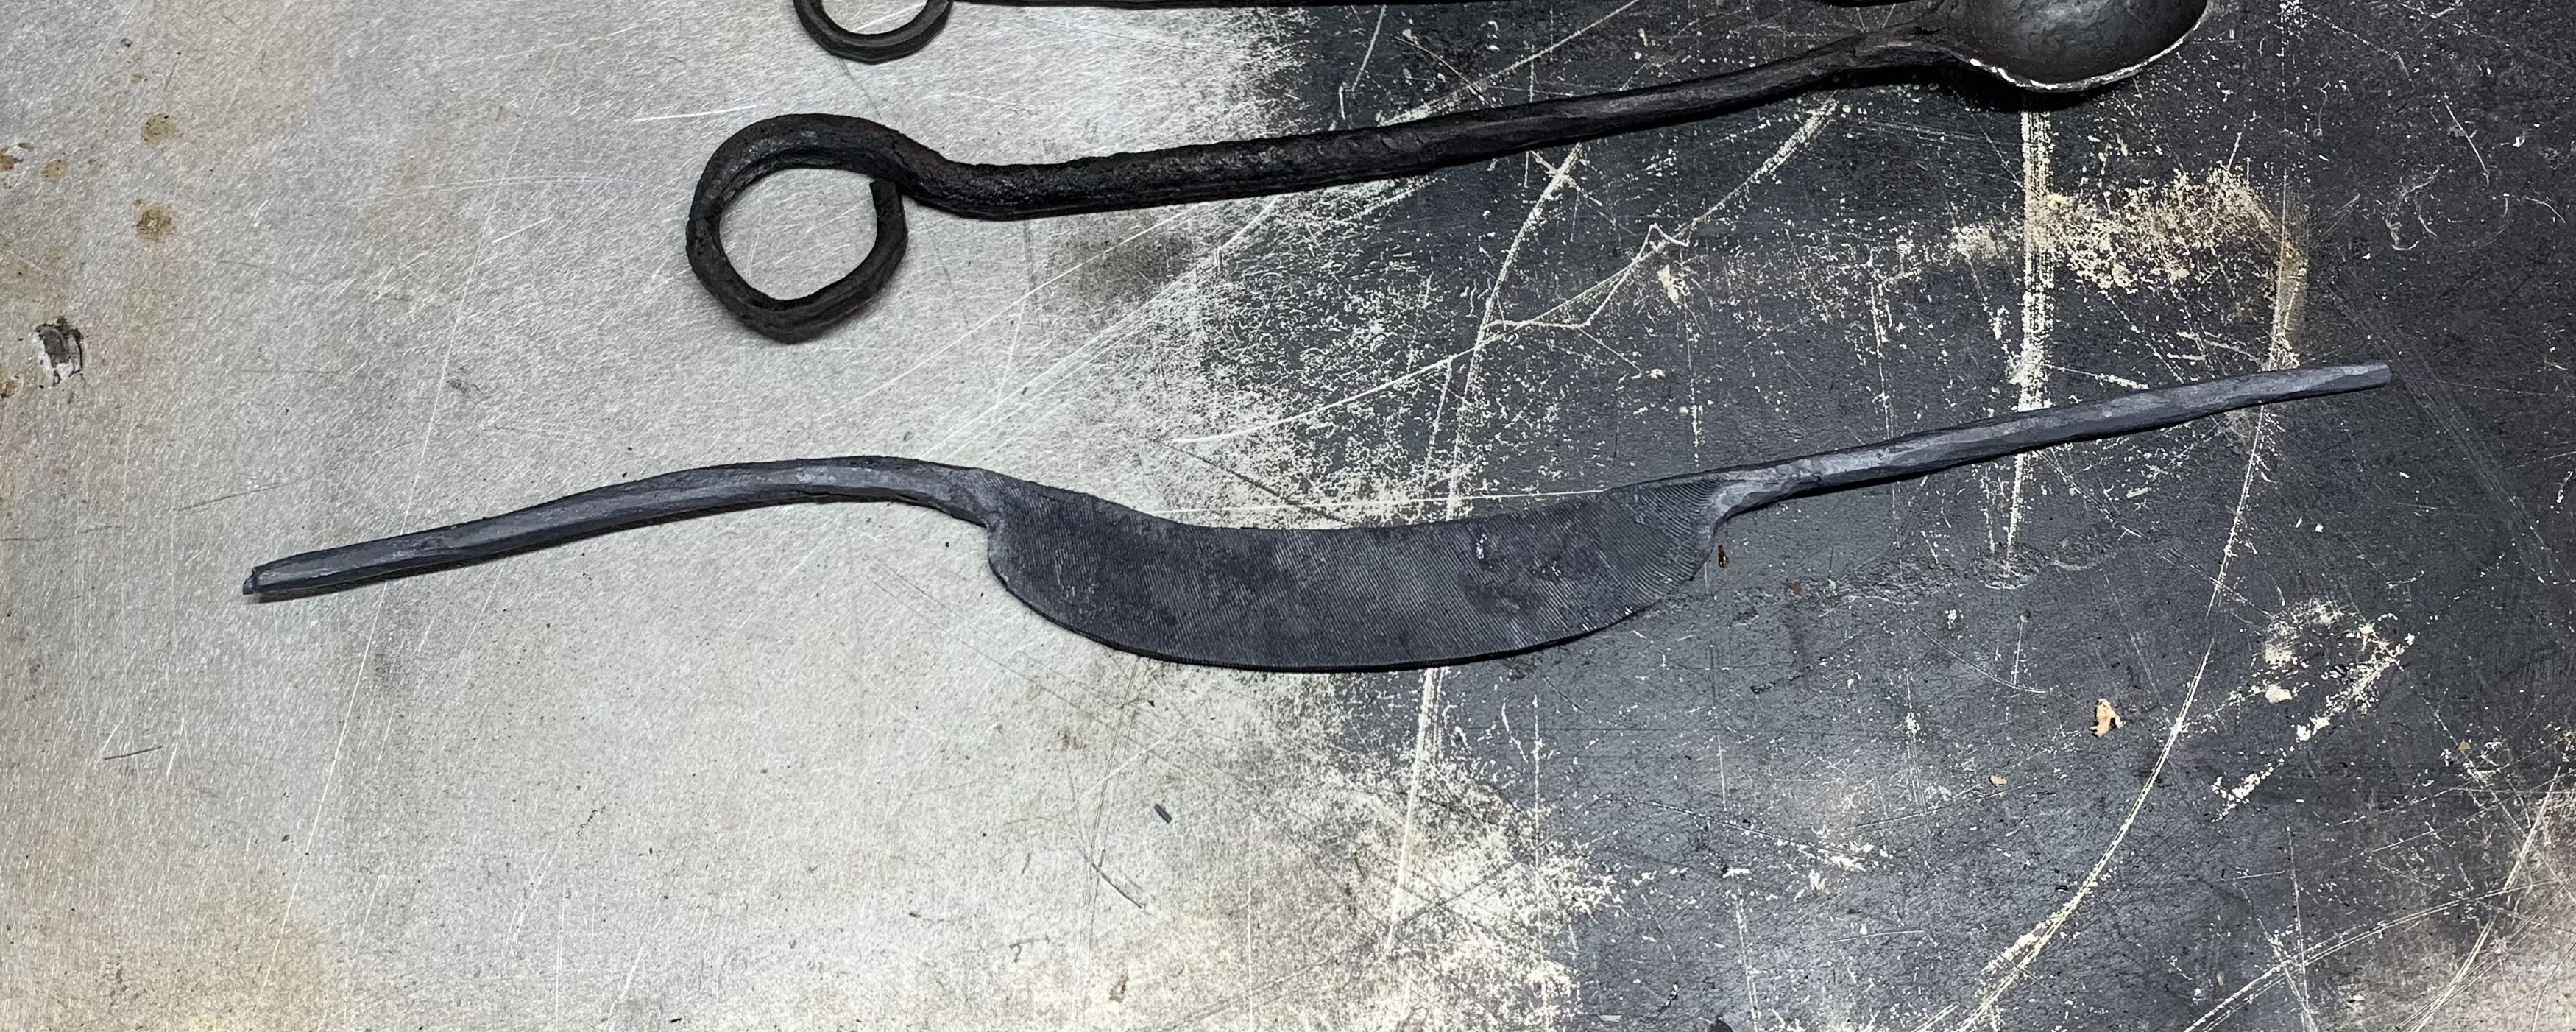
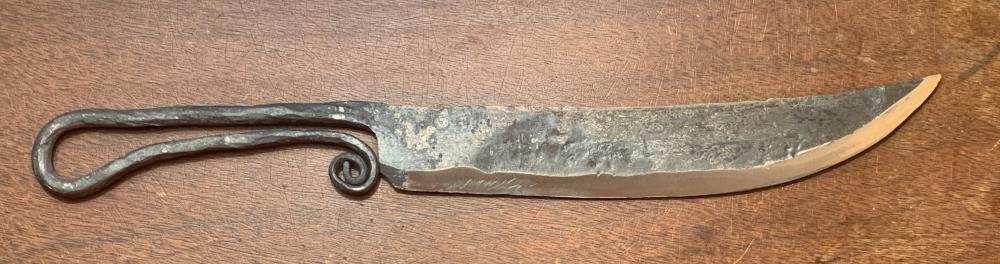
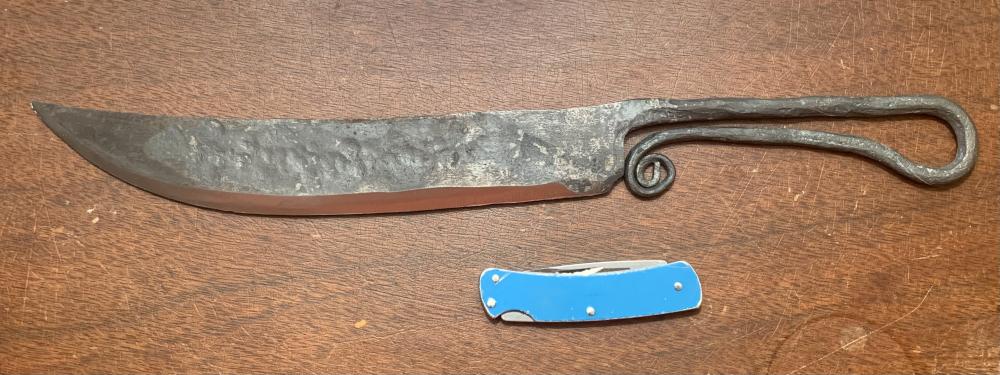
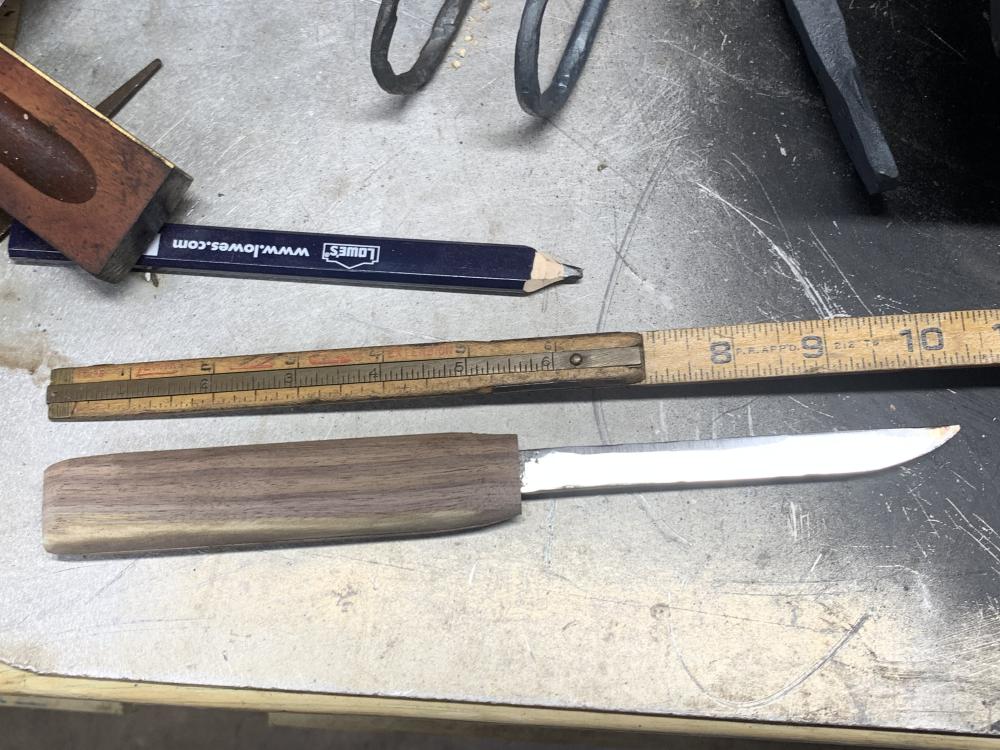
I’ll share a bit of a failure here on my first attempt at a blacksmith knife. Didn’t turn out like I imagined but I’ll try again. on the plus I was happy with the blade shape and being able draw out a foot of handle from the bar. I liked the 90 degree back of the blade, did that on the anvil not with a grinder. The blade is too big for the handle which is too flimsy and the scroll is sad. Started with a 6” pipe hanger from the restore.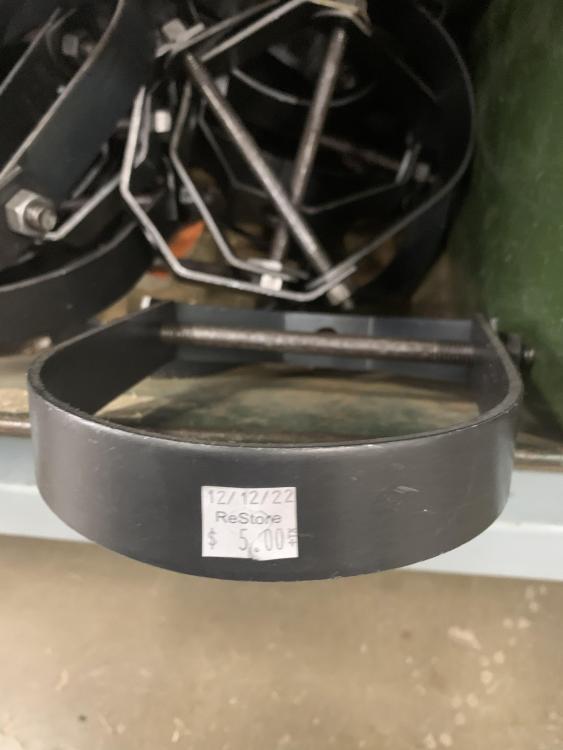
-
What did you do in the shop today?
PCRDNADave replied to Mark Ling's topic in Blacksmithing, General Discussion
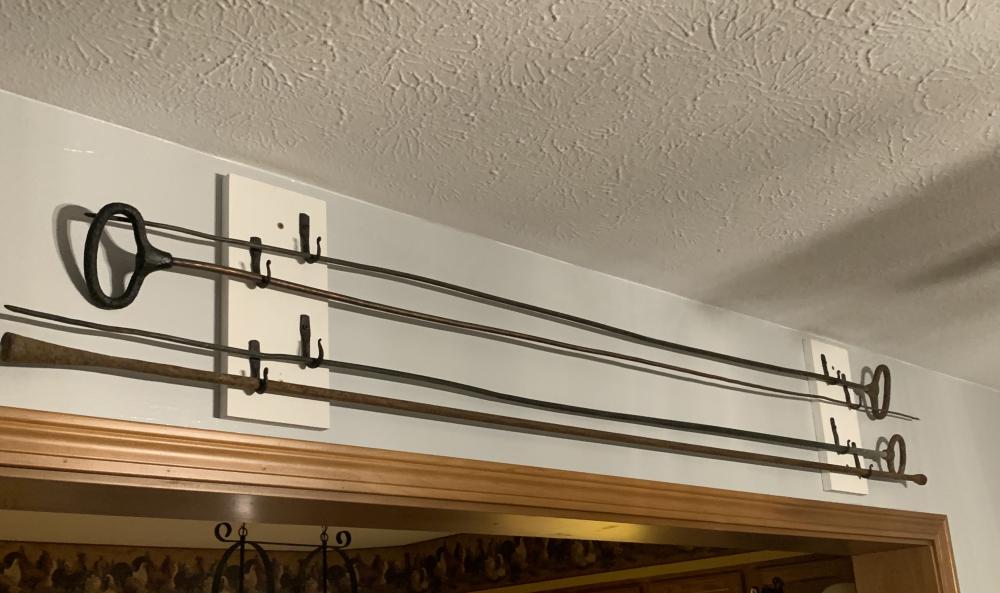
The bore holes were dug with hand augers (not pictured) and the hole was cleaned out with the bottom rod which has a little scoop on one end. The dynamite was also pushed in with the other end of the rod. The copper needle was used to punch a hole in the dynamite for the blasting cap. This is very early hand mining equipment that I can’t imagine actually using. here’s another explanation To get the coal from the coal seam, John would begin by shooting the coal. Coal from Crayne mine was drilled by hand, with a hand auger. John would drill into the coal seam, usually about three feet deep, with the hand auger. He would then insert a long copper needle with black powder at the end into where he drilled. . Dummy sticks with clay were placed in the hole and tamped down with a rod. The needle was removed and a squib was placed in the hole and lit. After lighting the squib, John had to take cover quickly, because once the squib burned down it would ignite the powder, shoot down the hole made by the copper tube and light the powder at the end. Once John had finished shooting the coal, he would gather up the loose coal, usually more lumps than powder if he did it just the right way and bring it out in a wheelbarrow. -
What did you do in the shop today?
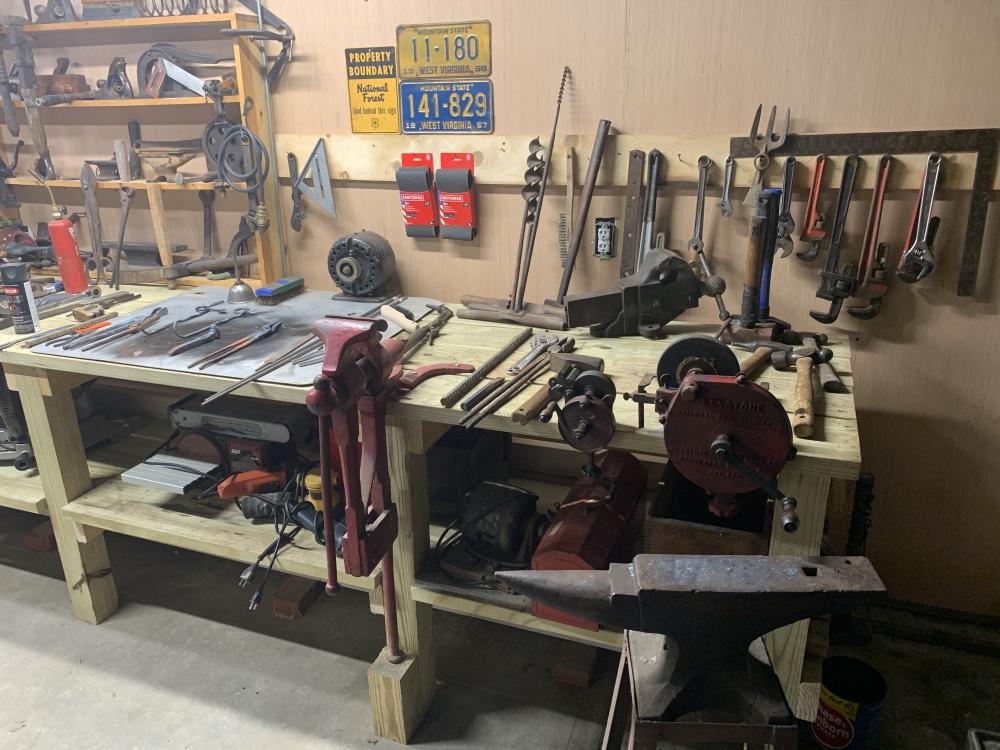
PCRDNADave replied to Mark Ling's topic in Blacksmithing, General Discussion
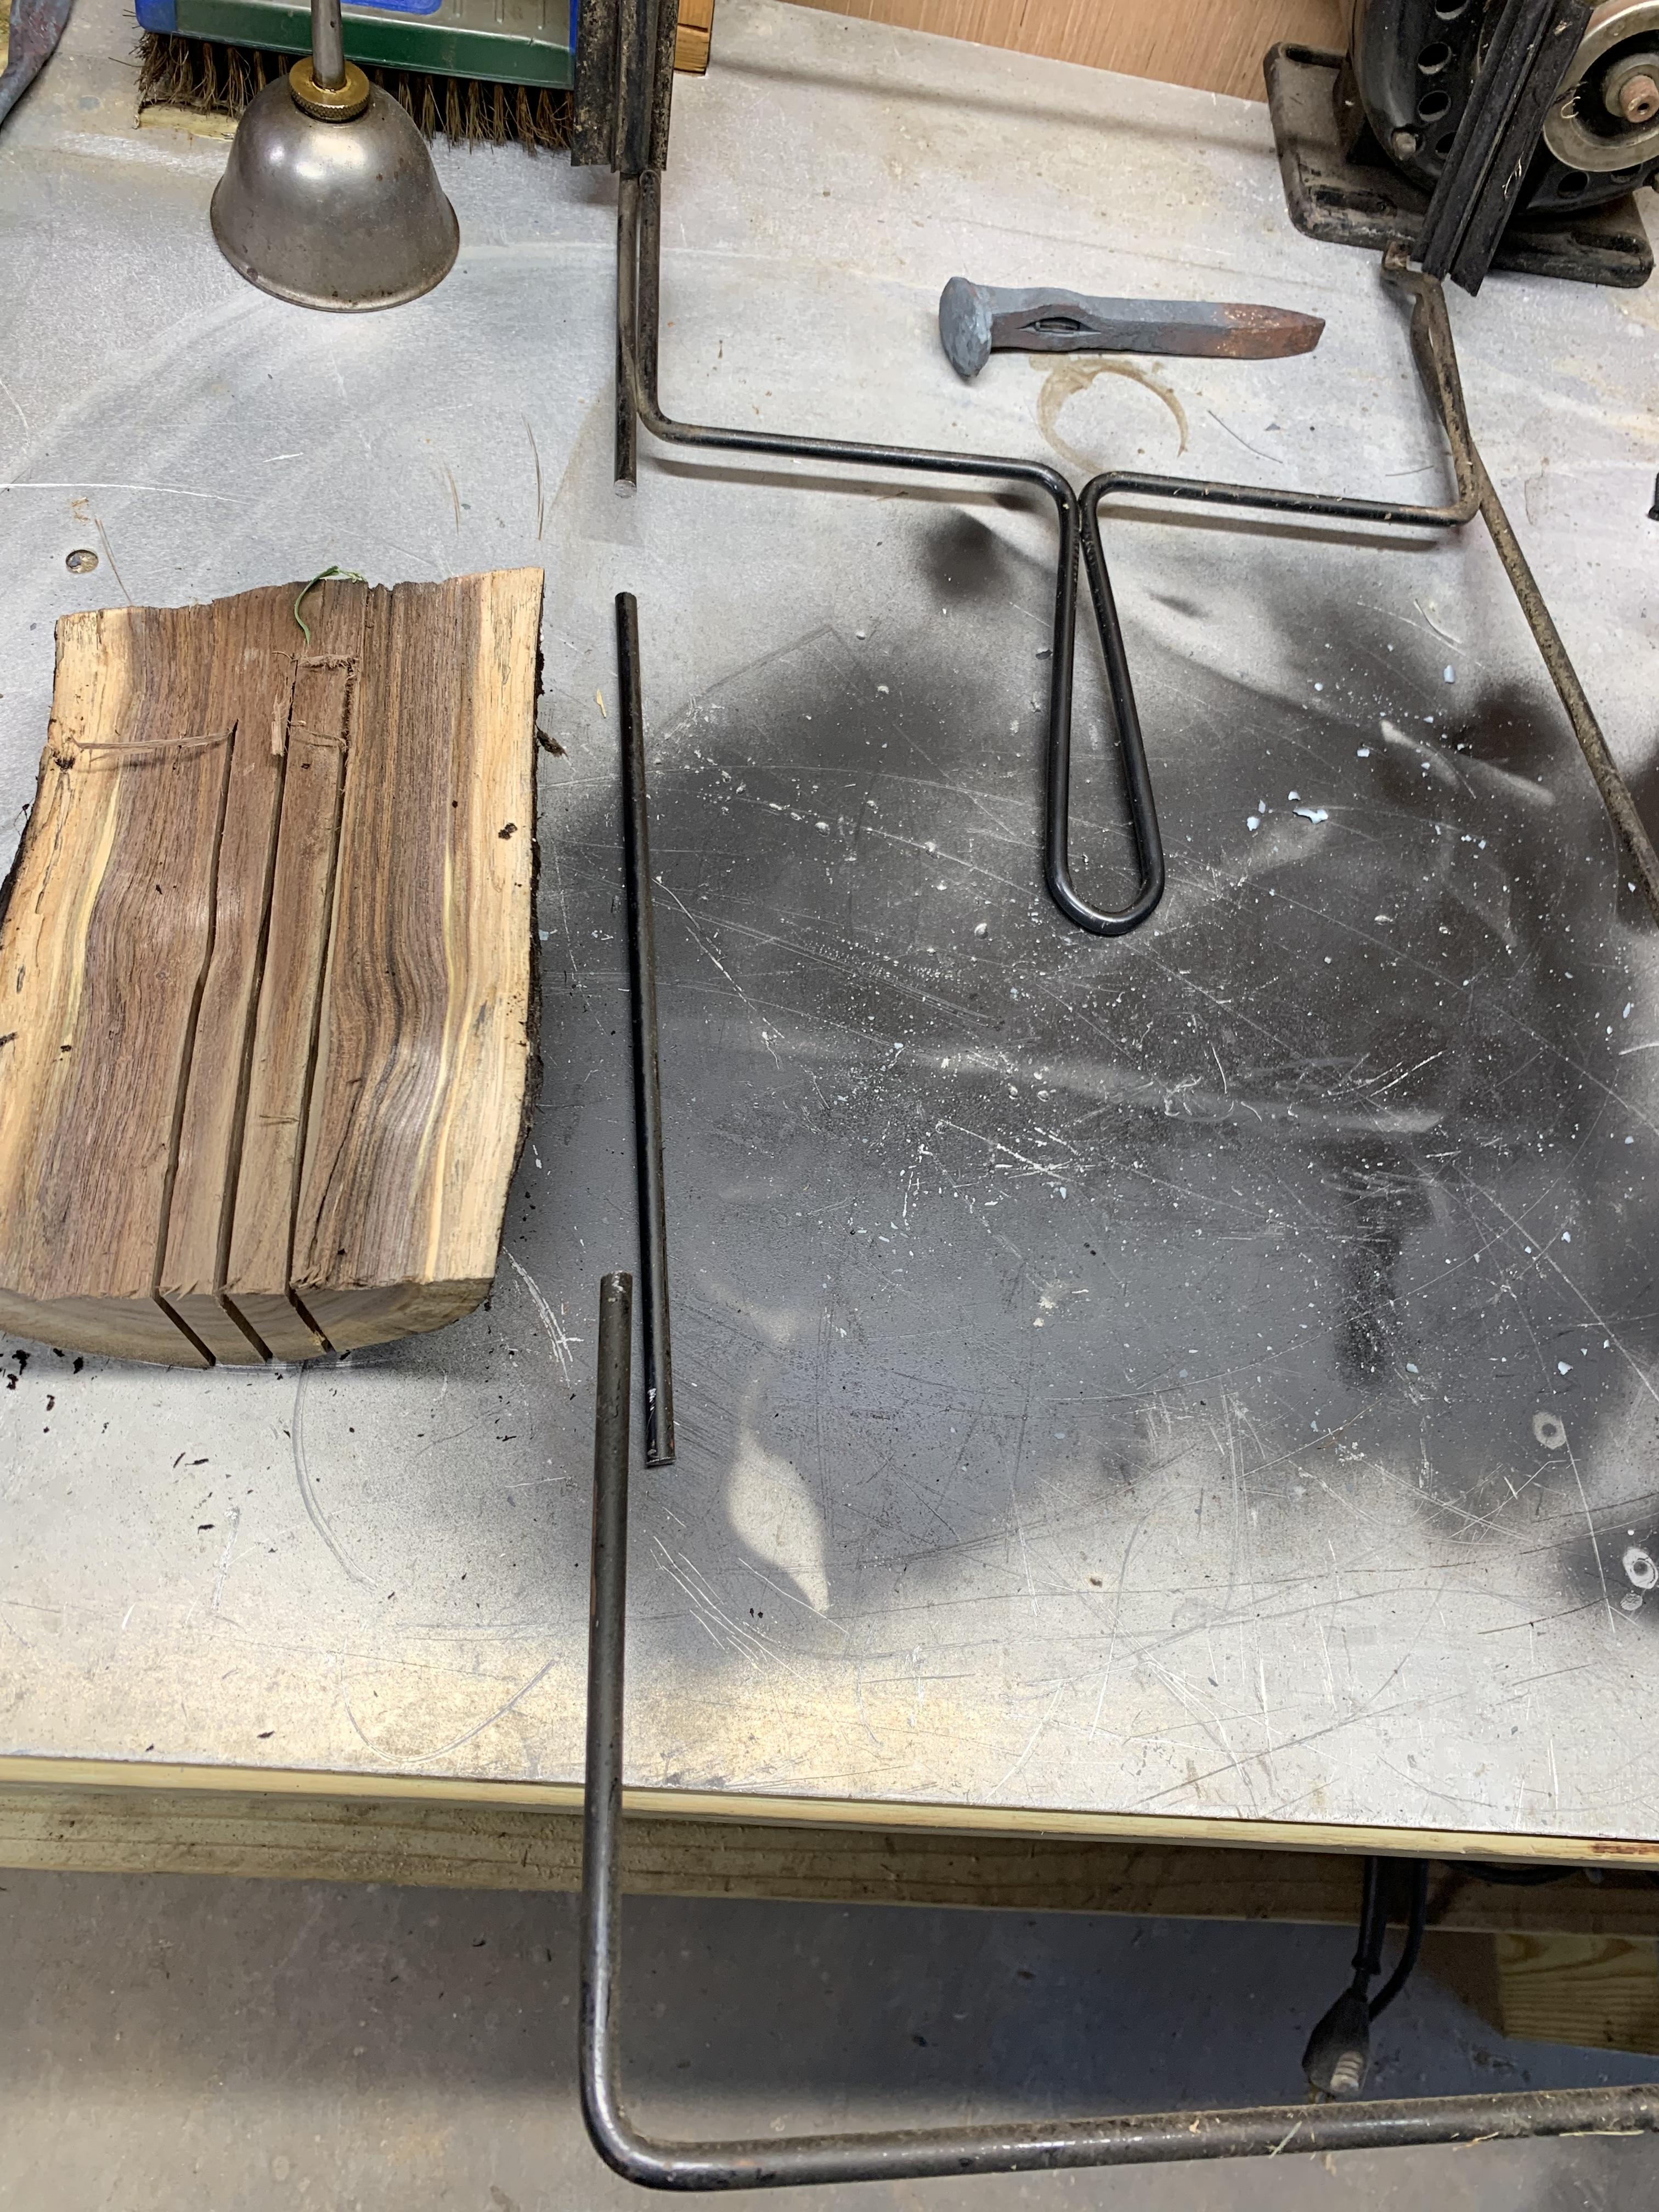
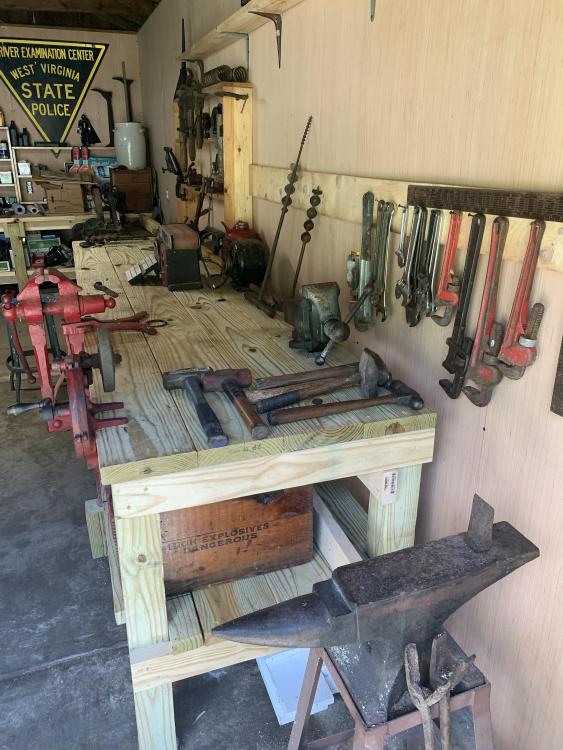
I made these racks to hold/display some old coal mining equipment. 8 hooks from 3/8 round and a couple of scrap boards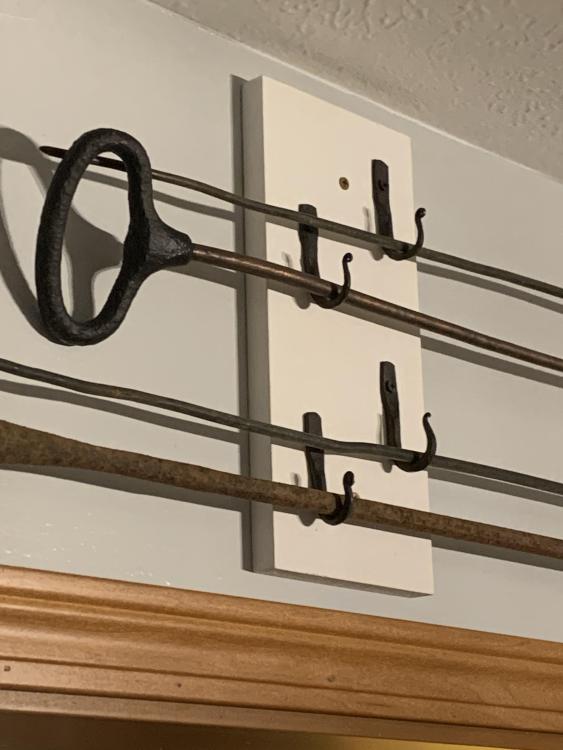
-
What did you do in the shop today?
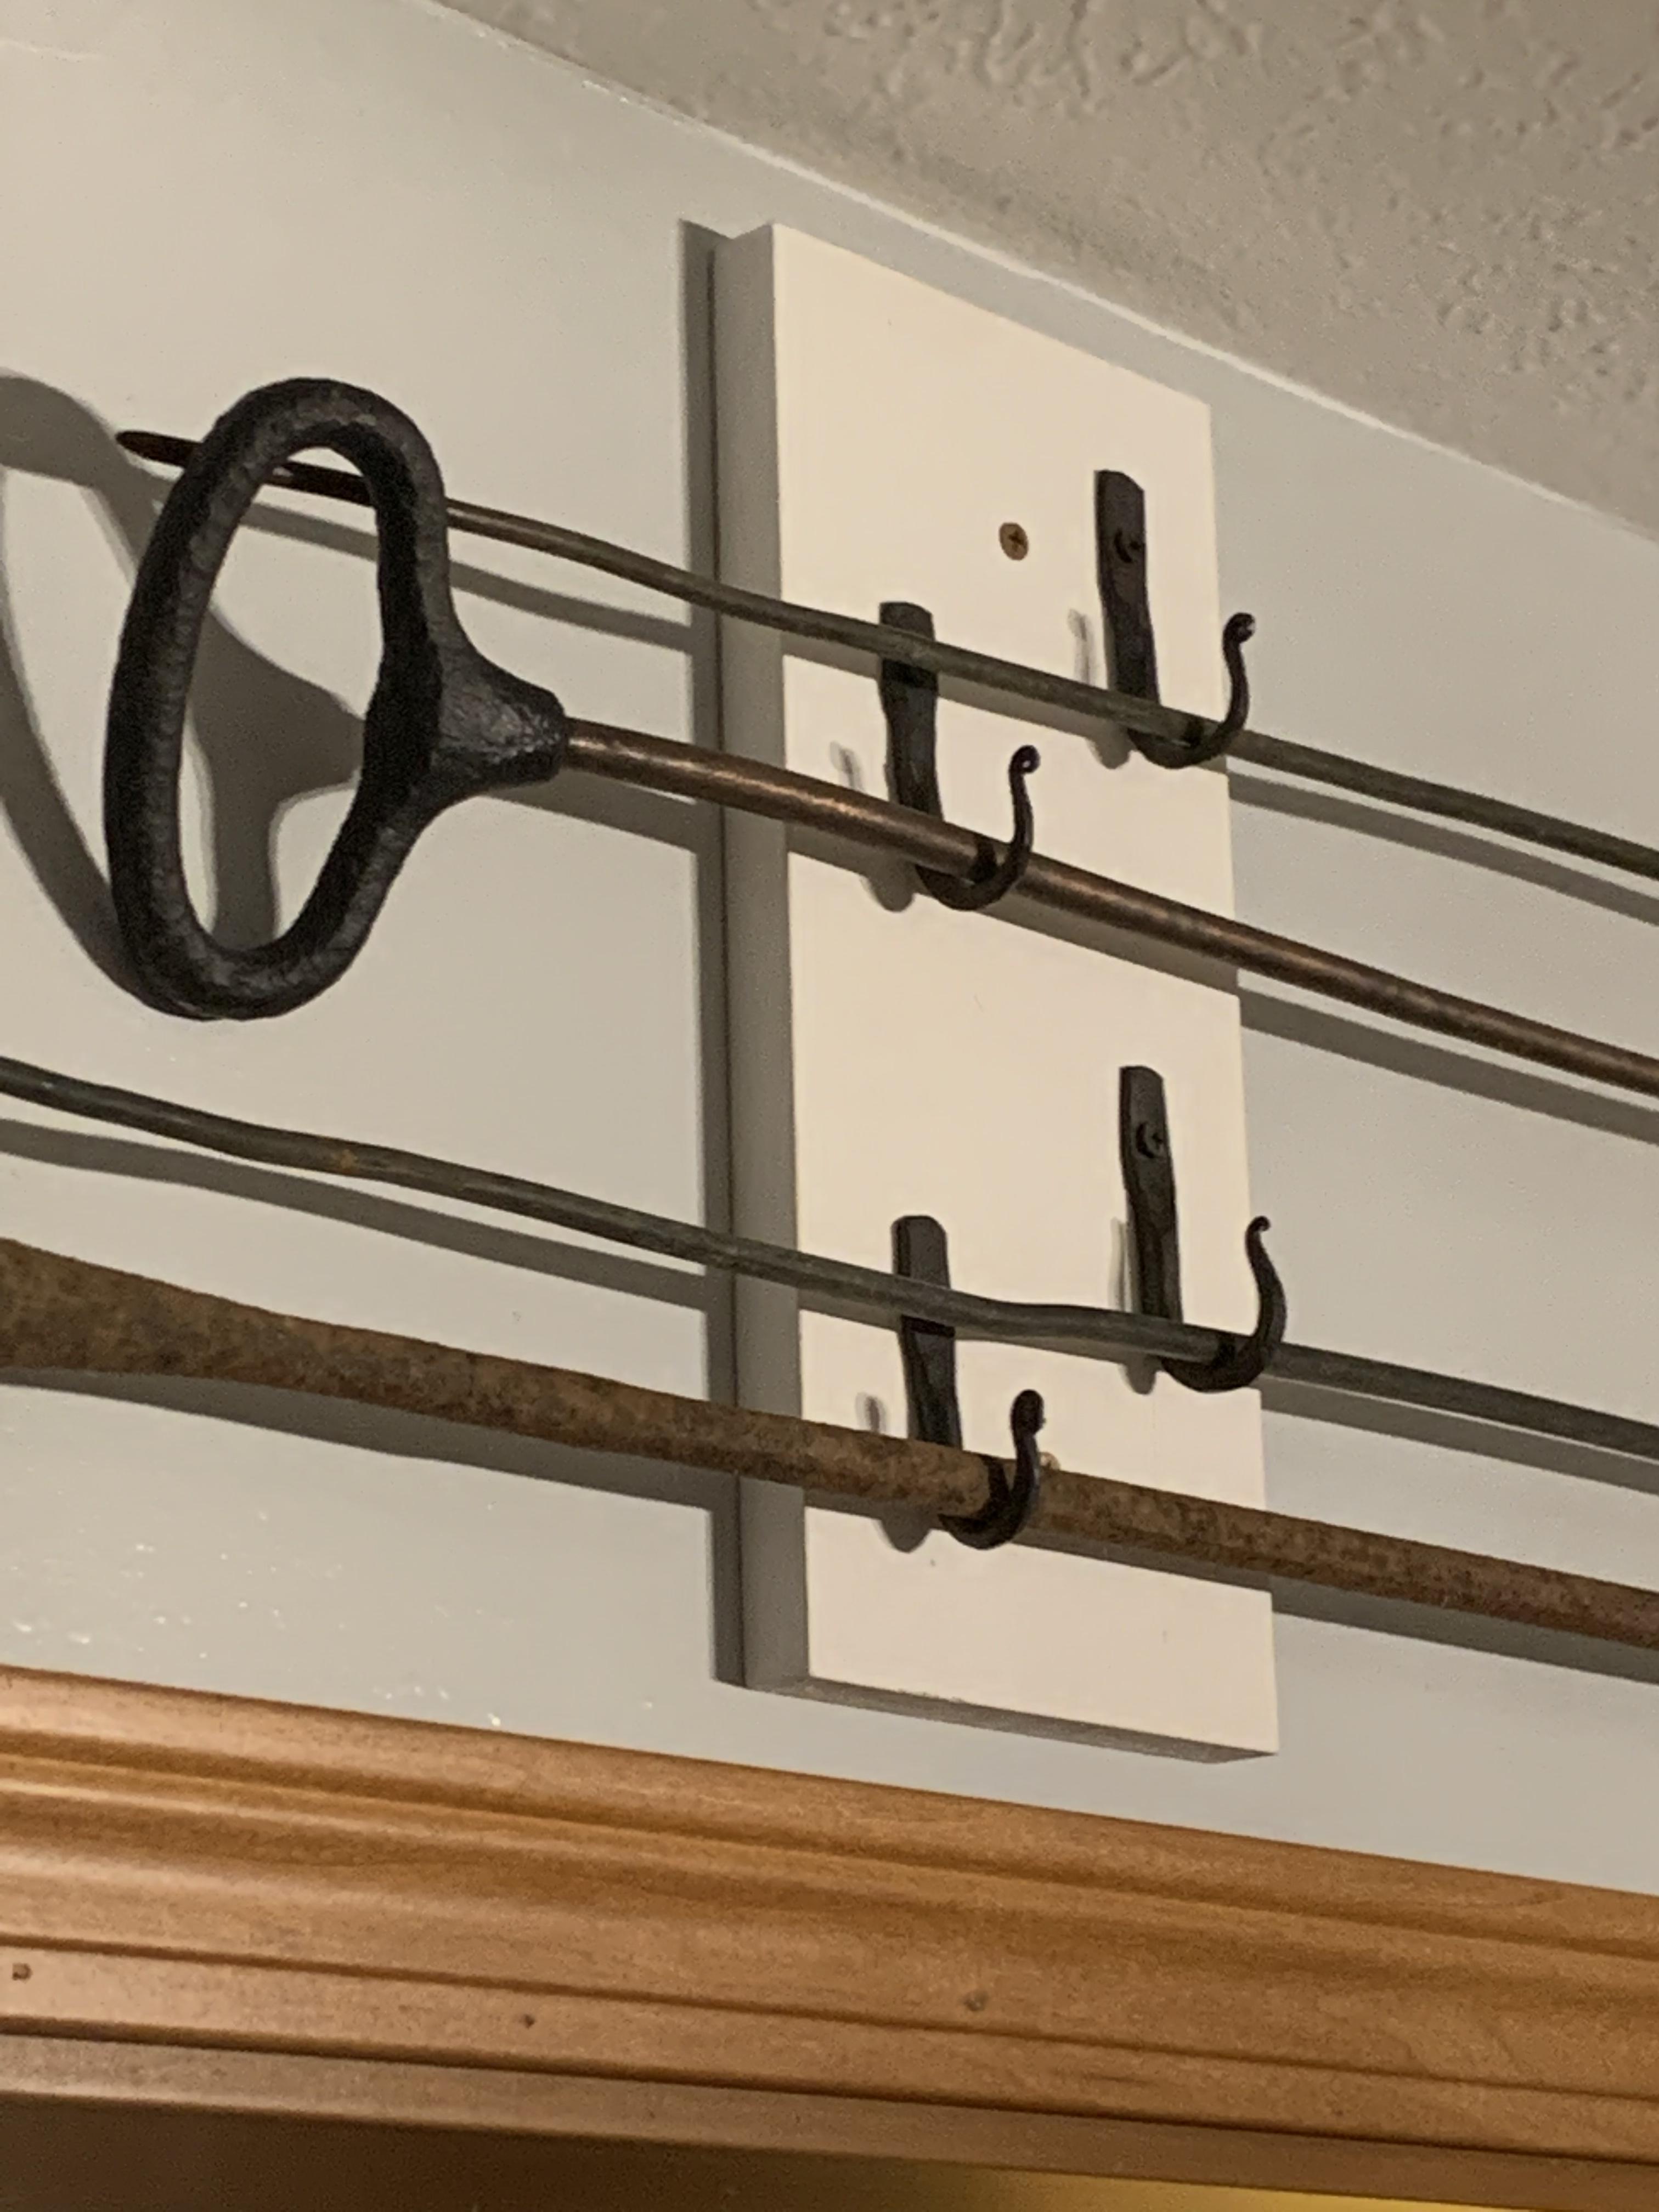
PCRDNADave replied to Mark Ling's topic in Blacksmithing, General Discussion
I finished this today. I’ll call it a key ring holder. And started on a file project that could end up like a little curved chopper with curls at the ends on top. Not sure that’ll be food safe.

-
Show Me Your Antique Drill Press
PCRDNADave replied to Brenton's topic in Drills, Post drills, Mag drills, etc
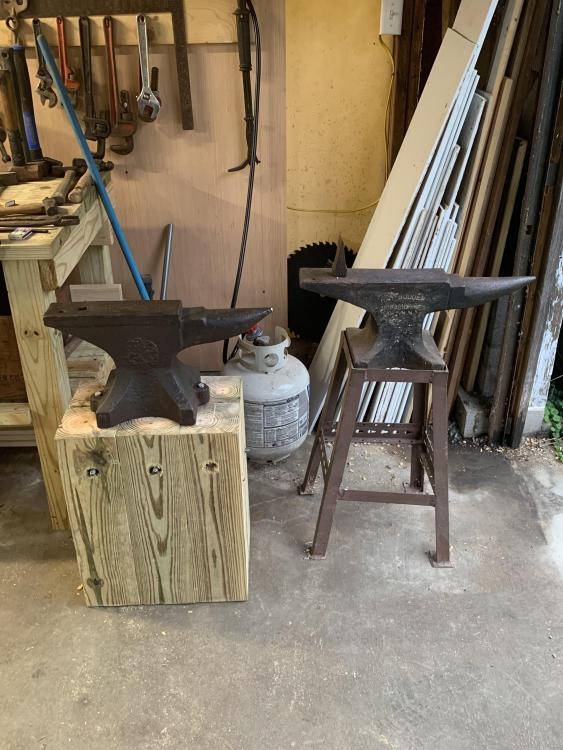
Thank you, that’s good to know. I’d like to get it mounted in my shop and use it a few times just to say I did. IMG_6849.MOV -
Show Me Your Antique Drill Press
PCRDNADave replied to Brenton's topic in Drills, Post drills, Mag drills, etc
I found this at an antique mall for $90.00. It’s no longer a lamp but I need to find a chuck.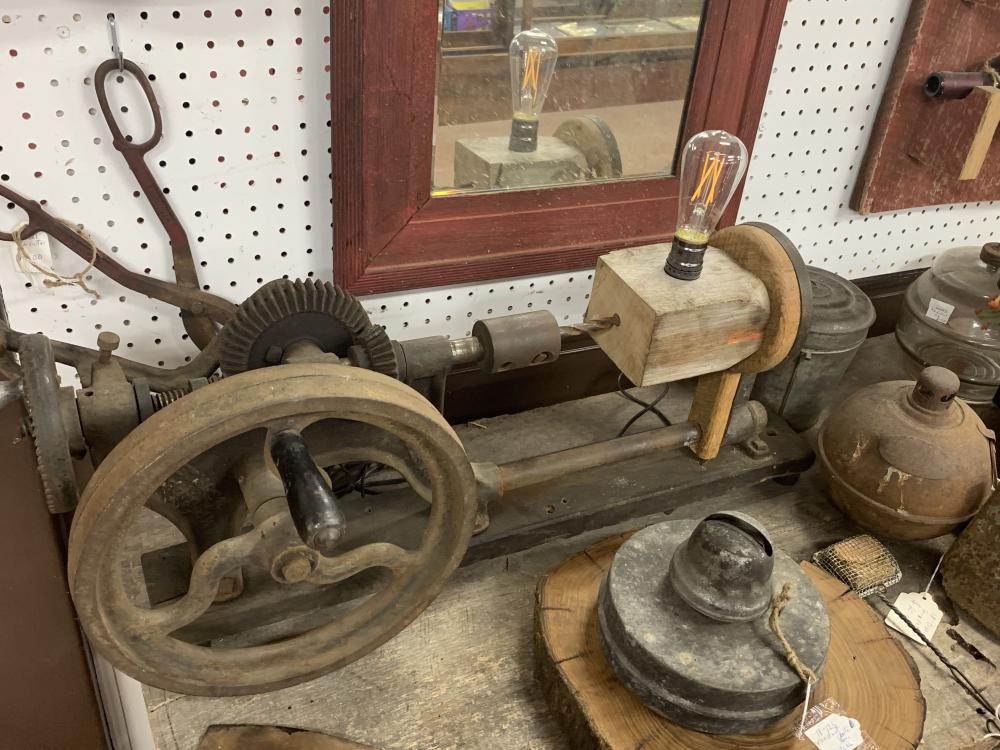
-

-
Fall 2022 challenge!
PCRDNADave replied to TWISTEDWILLOW's topic in Blacksmithing, General Discussion
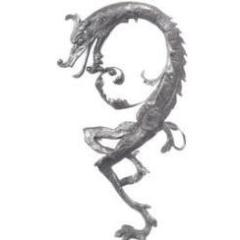
I’m going to call mine done. Scrapyard letter opener. Hope it’s ok to borrow some ideas. I like the snake and want try that w/ rebar.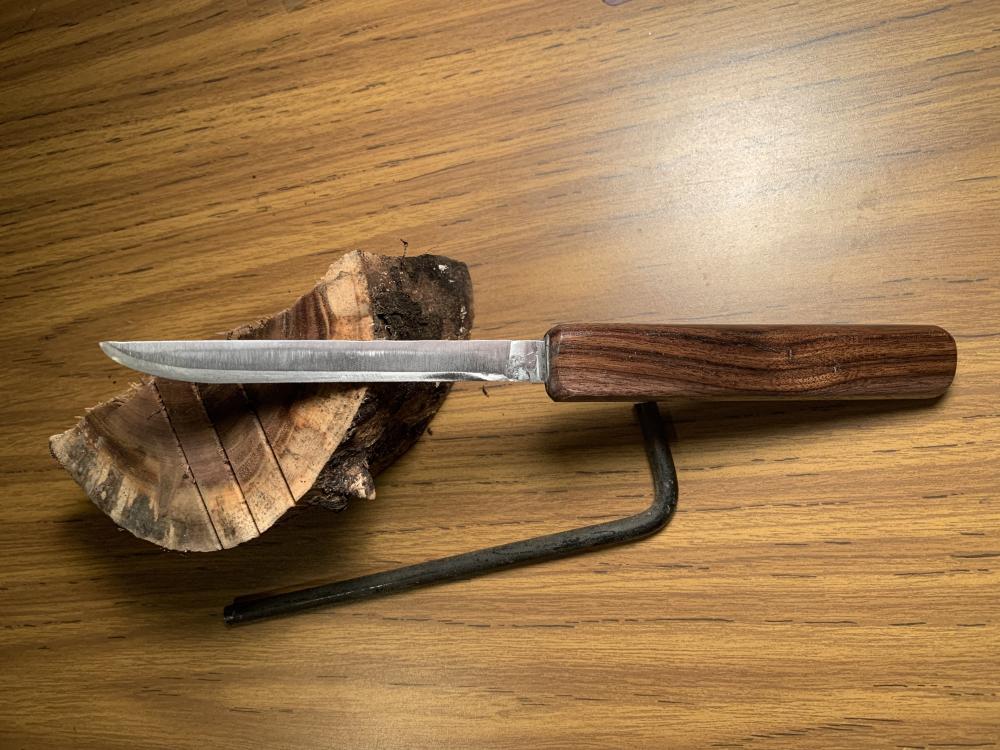
-
Fall 2022 challenge!
PCRDNADave replied to TWISTEDWILLOW's topic in Blacksmithing, General Discussion
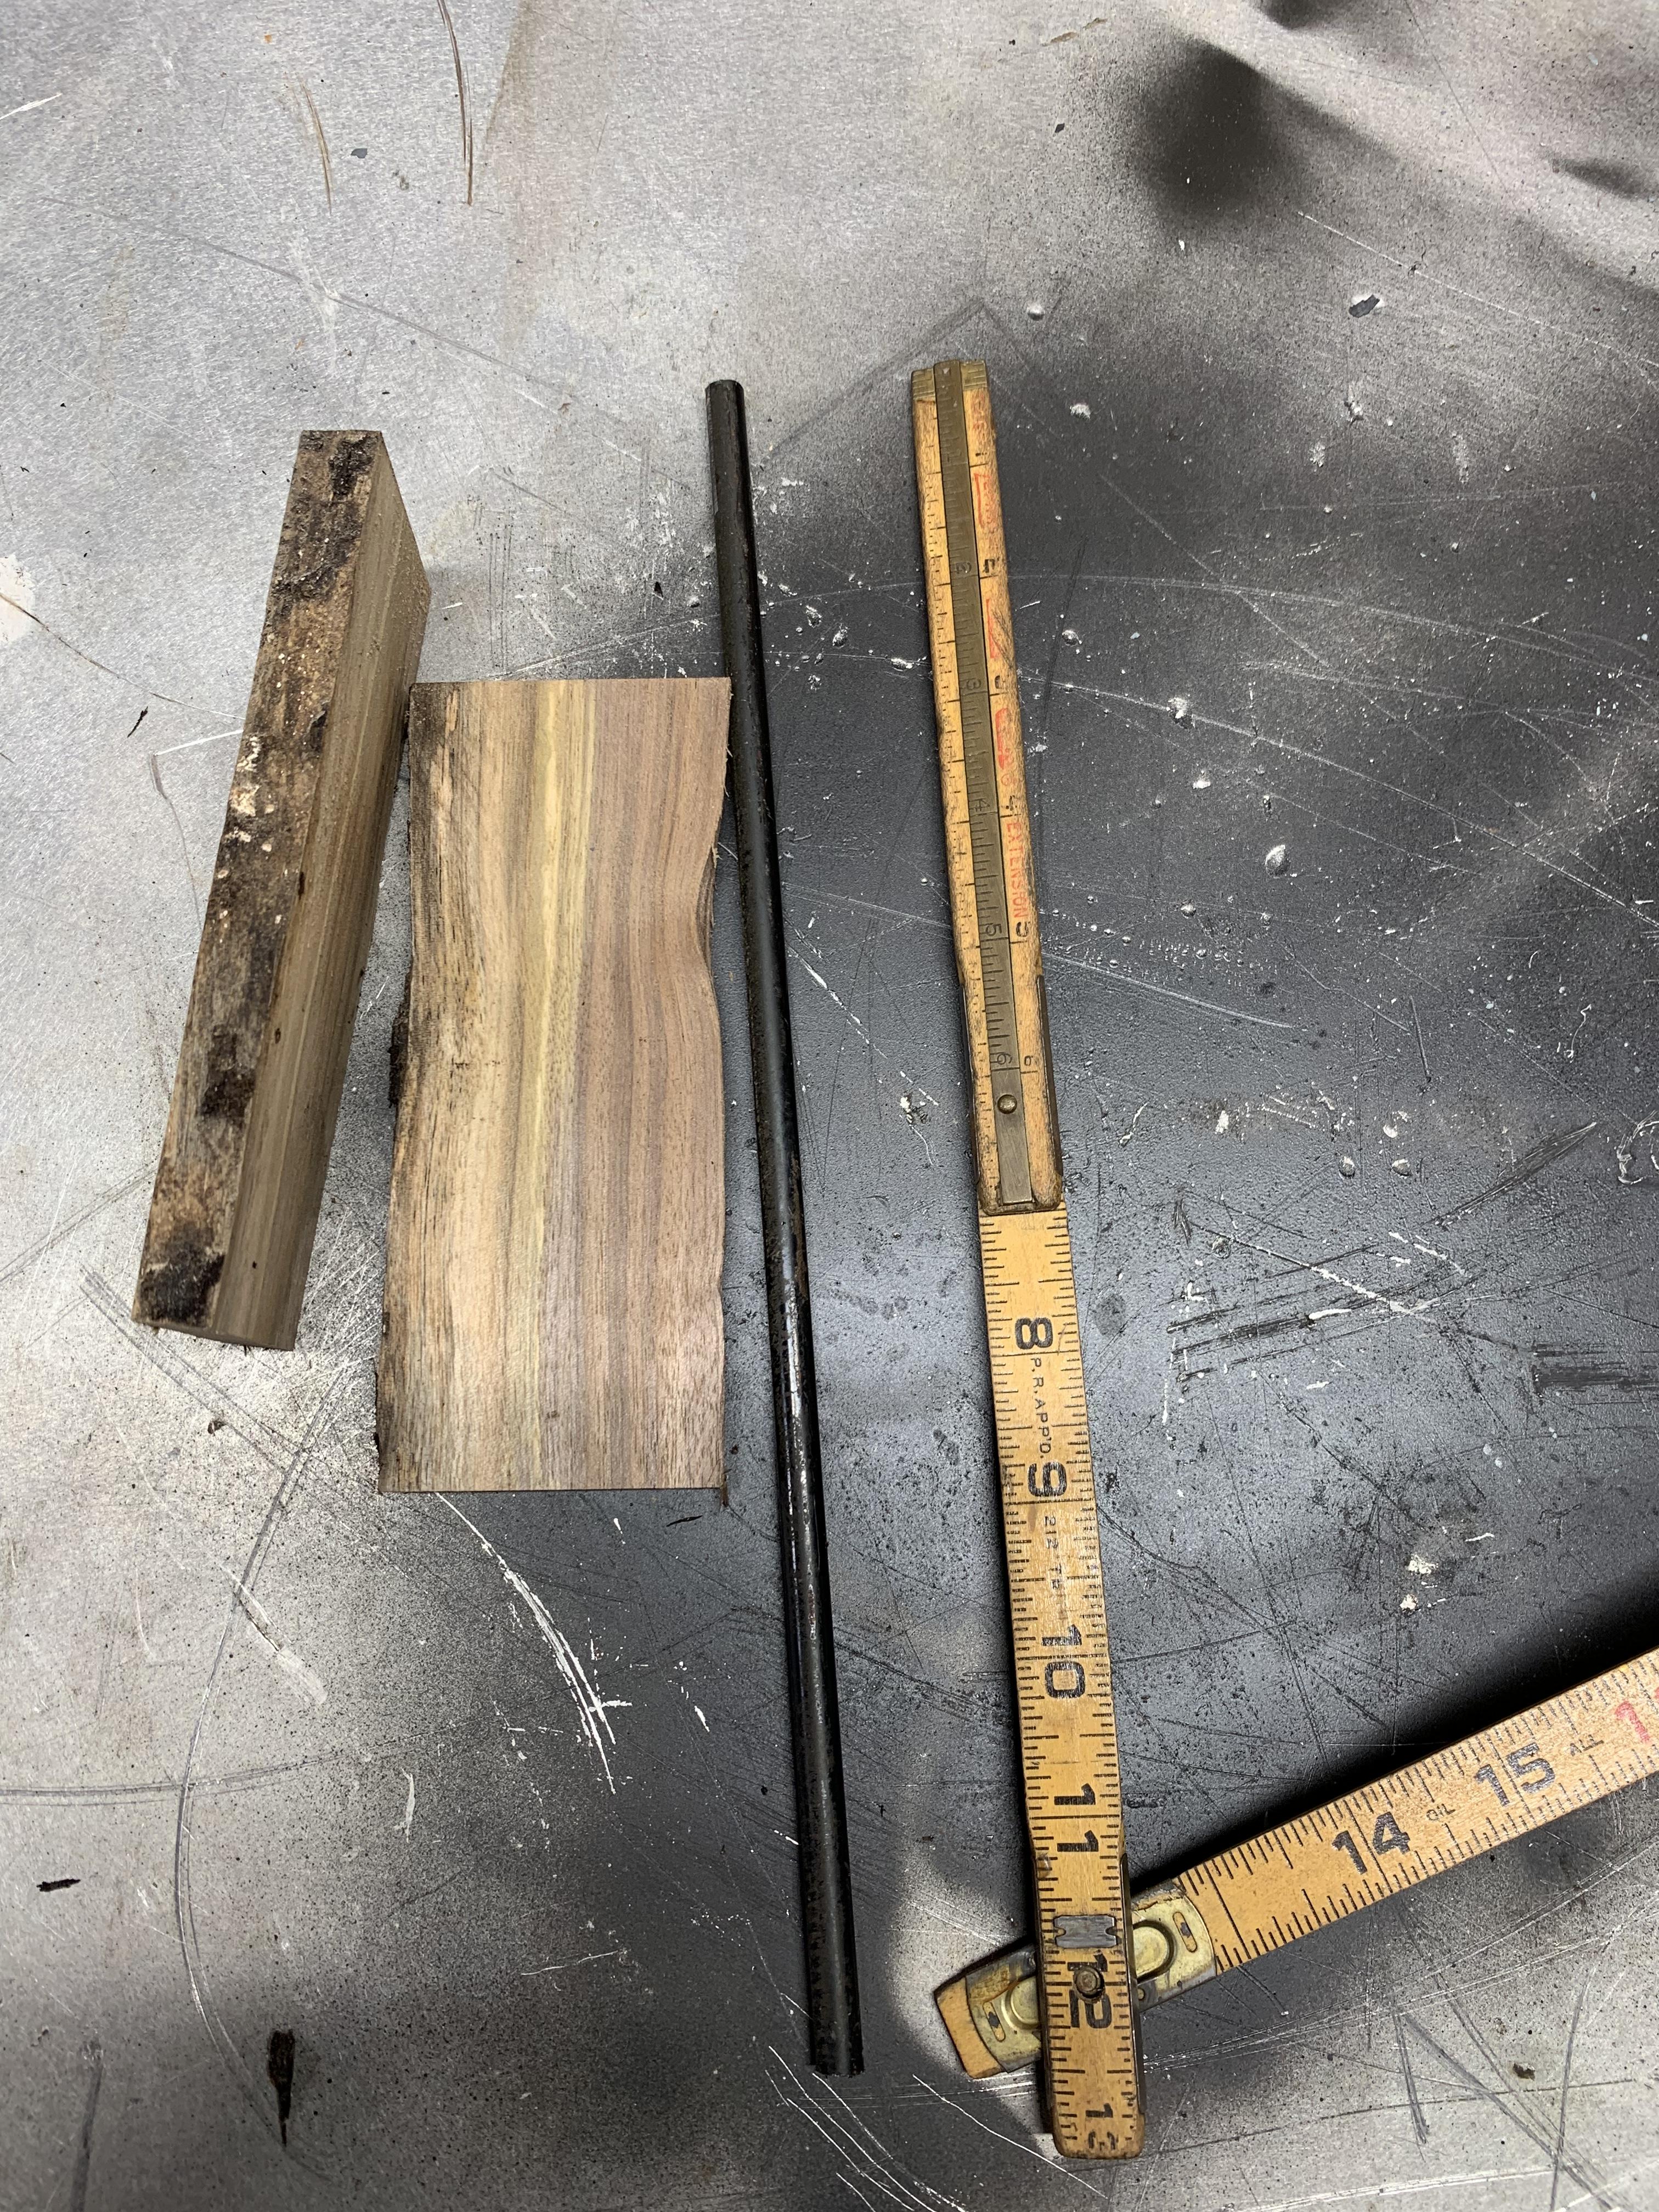
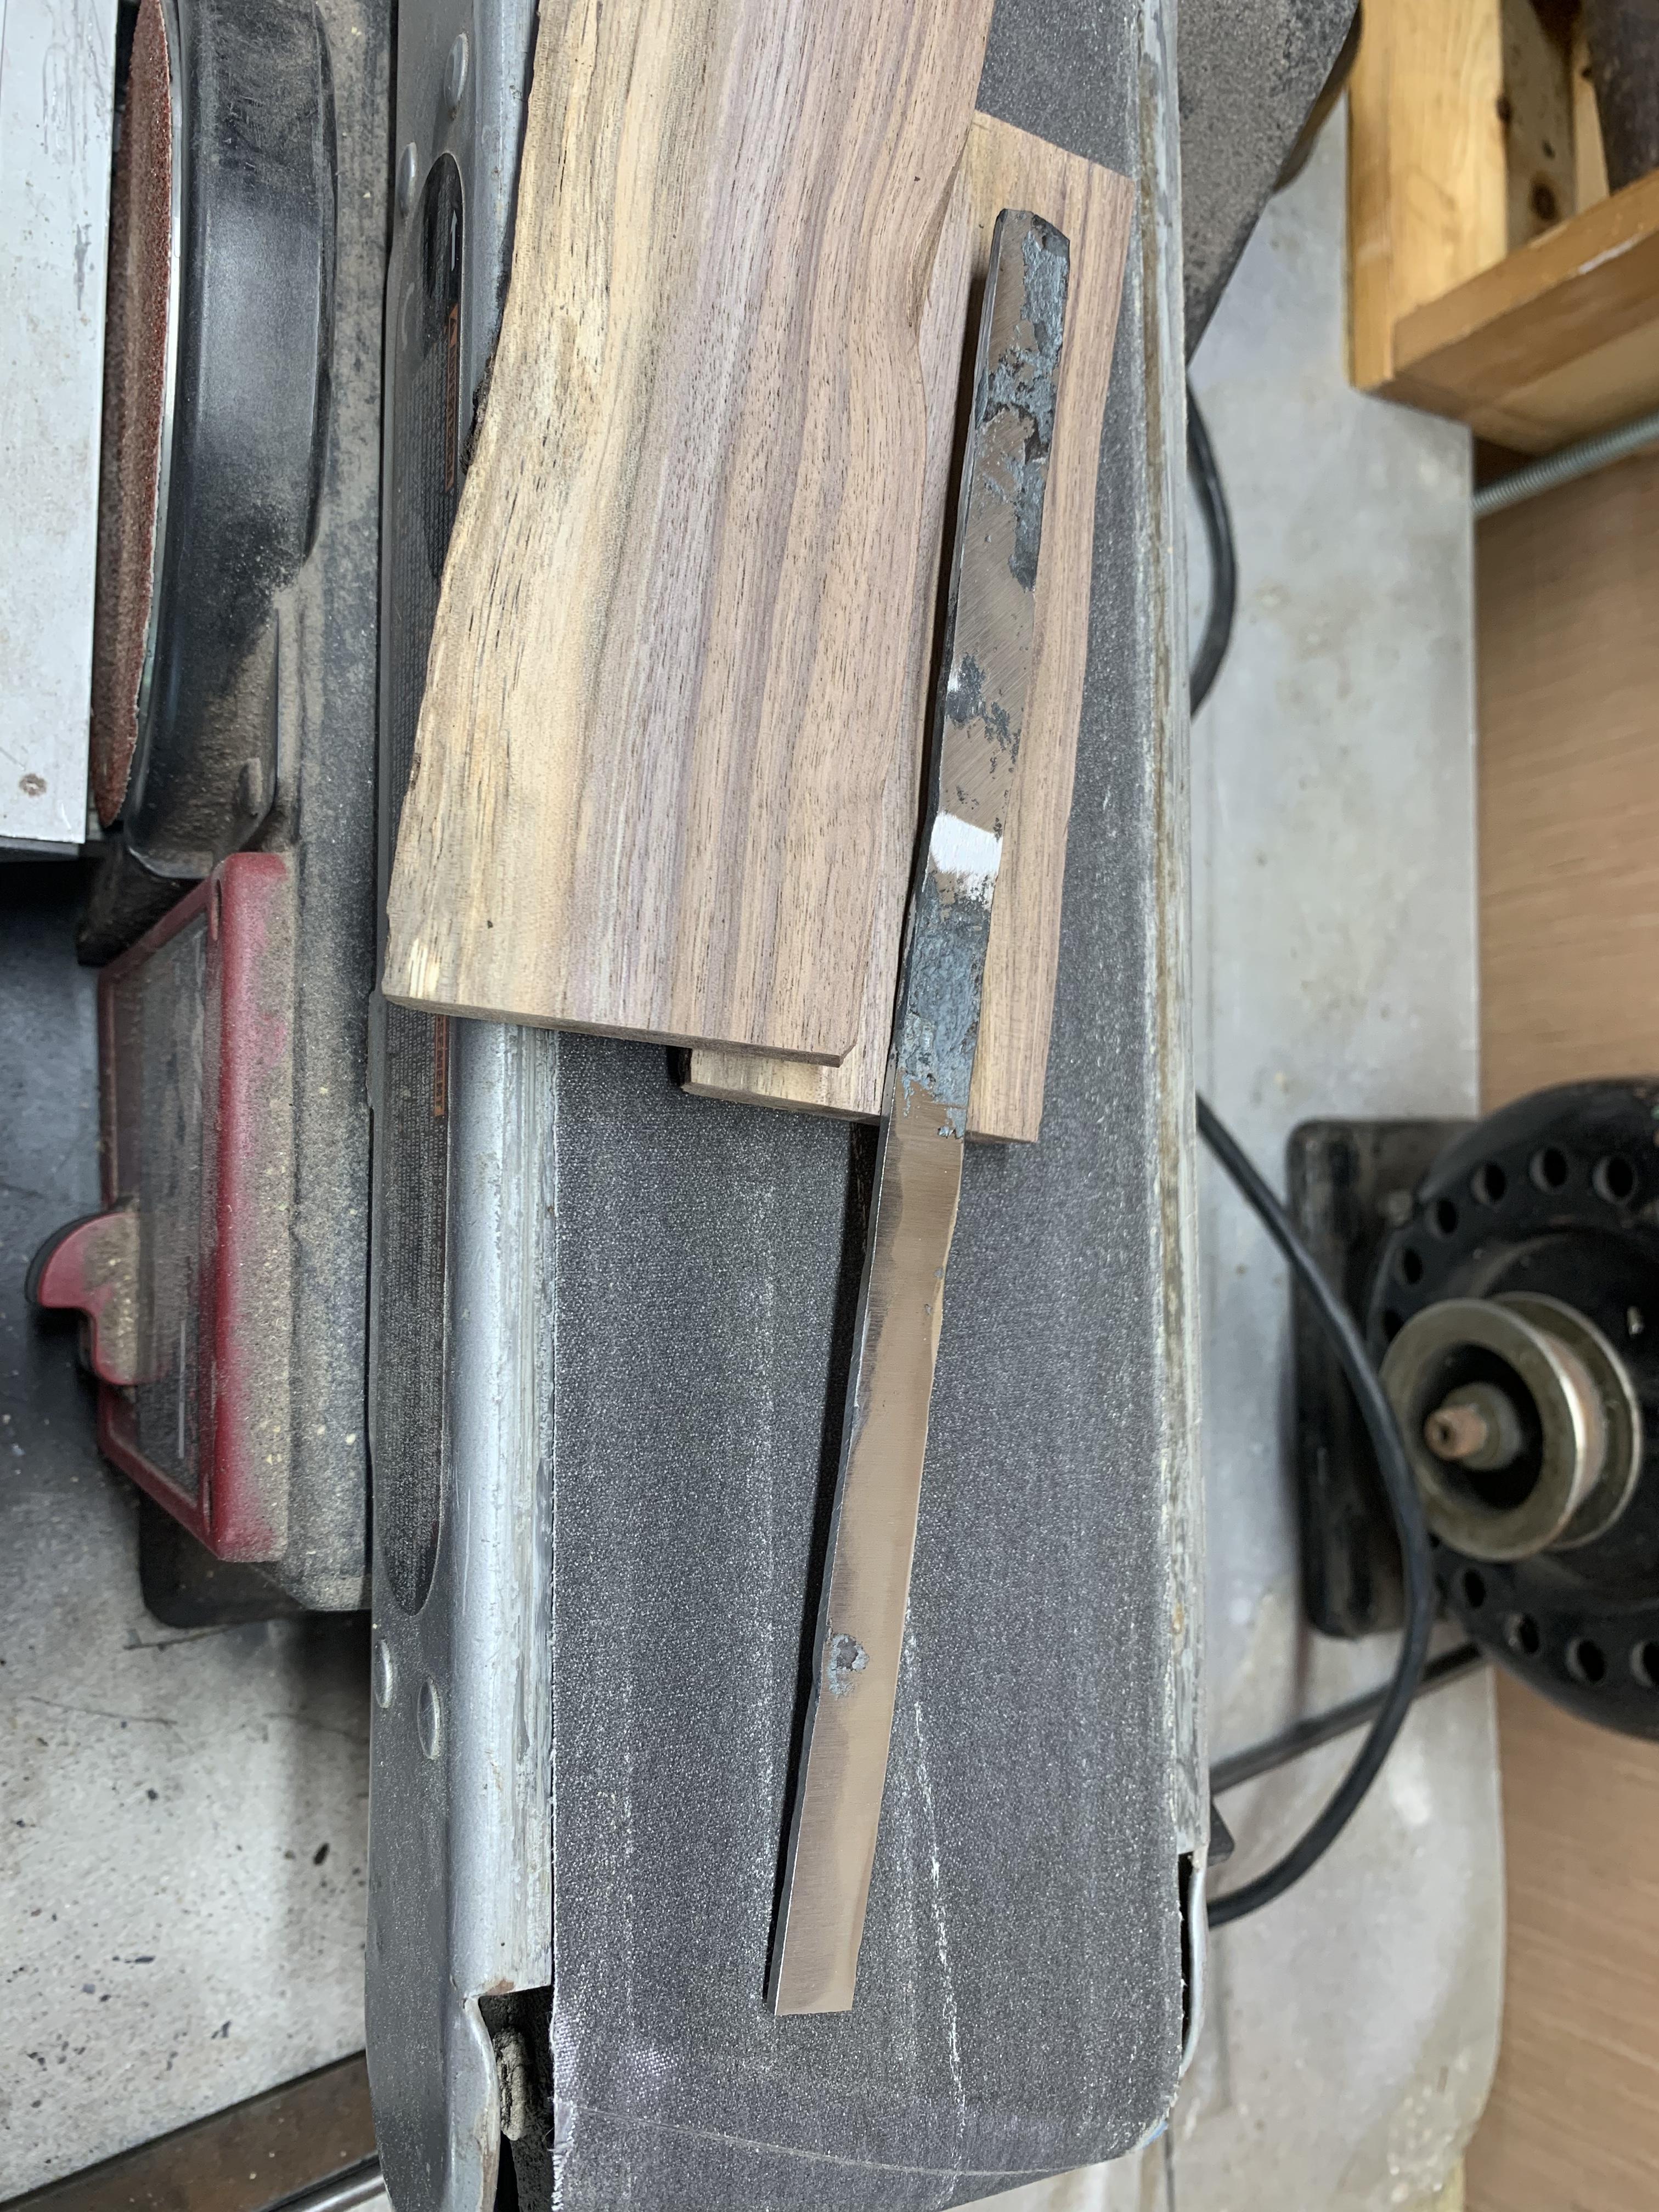
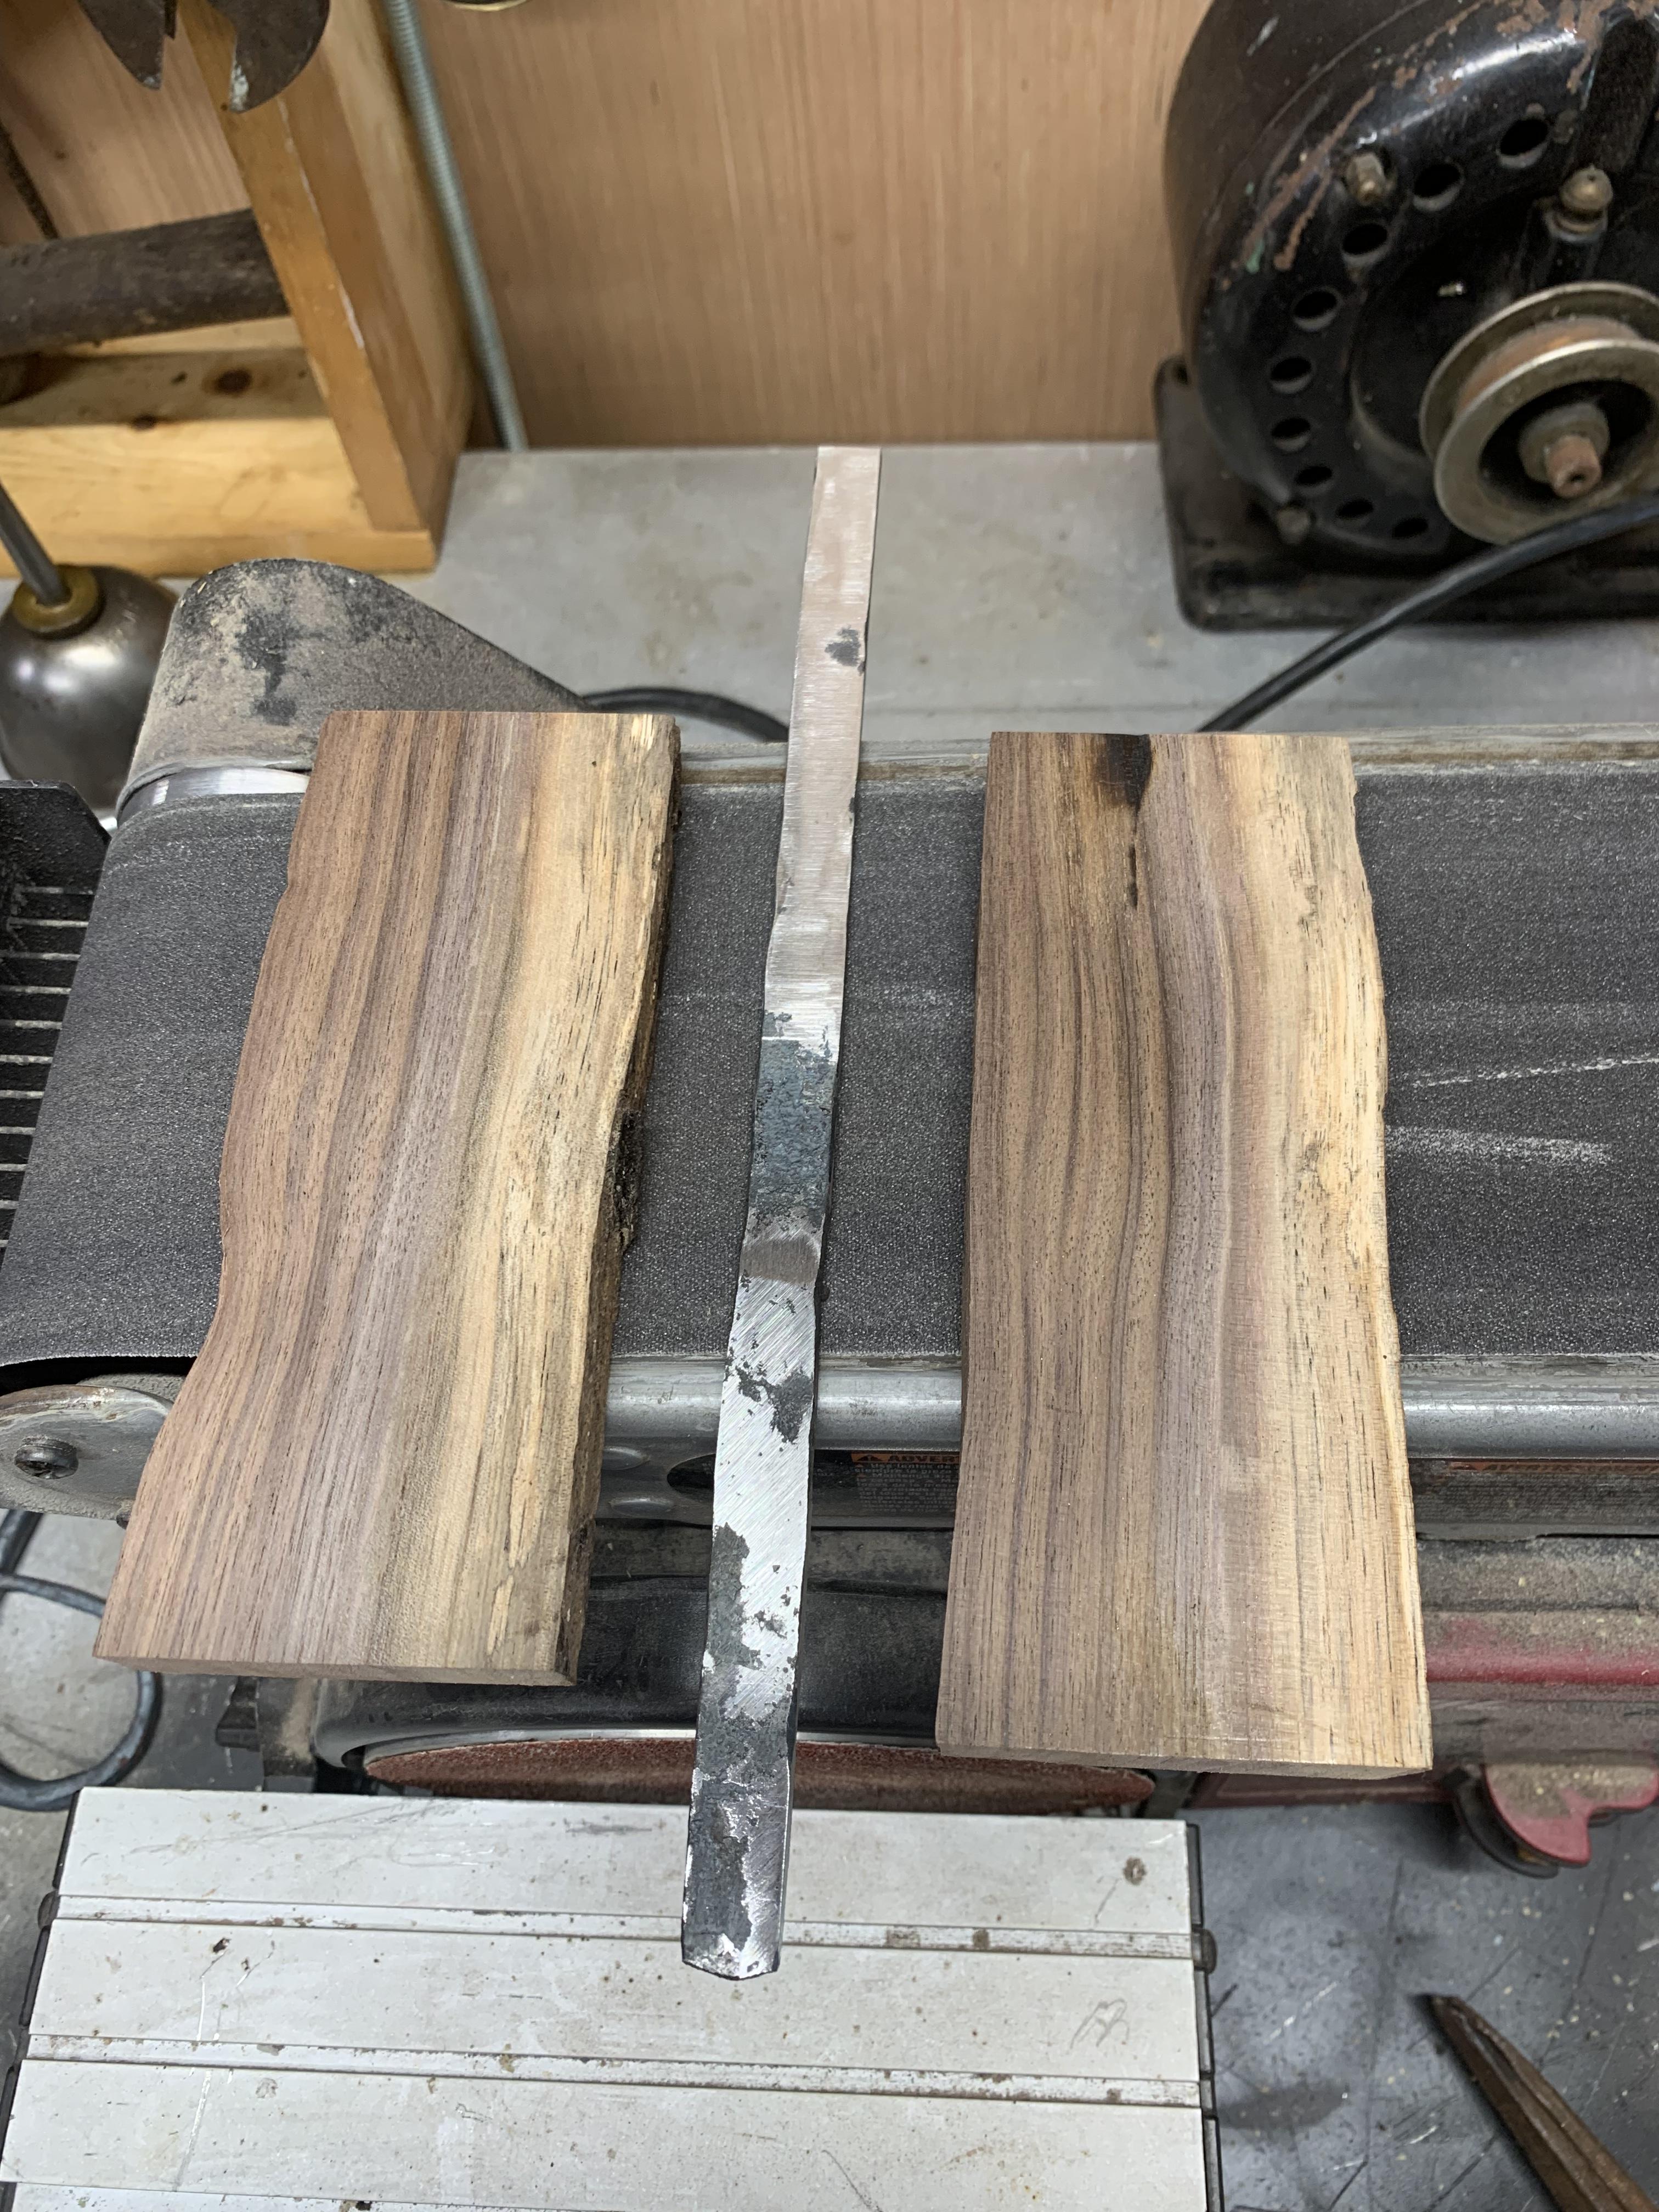
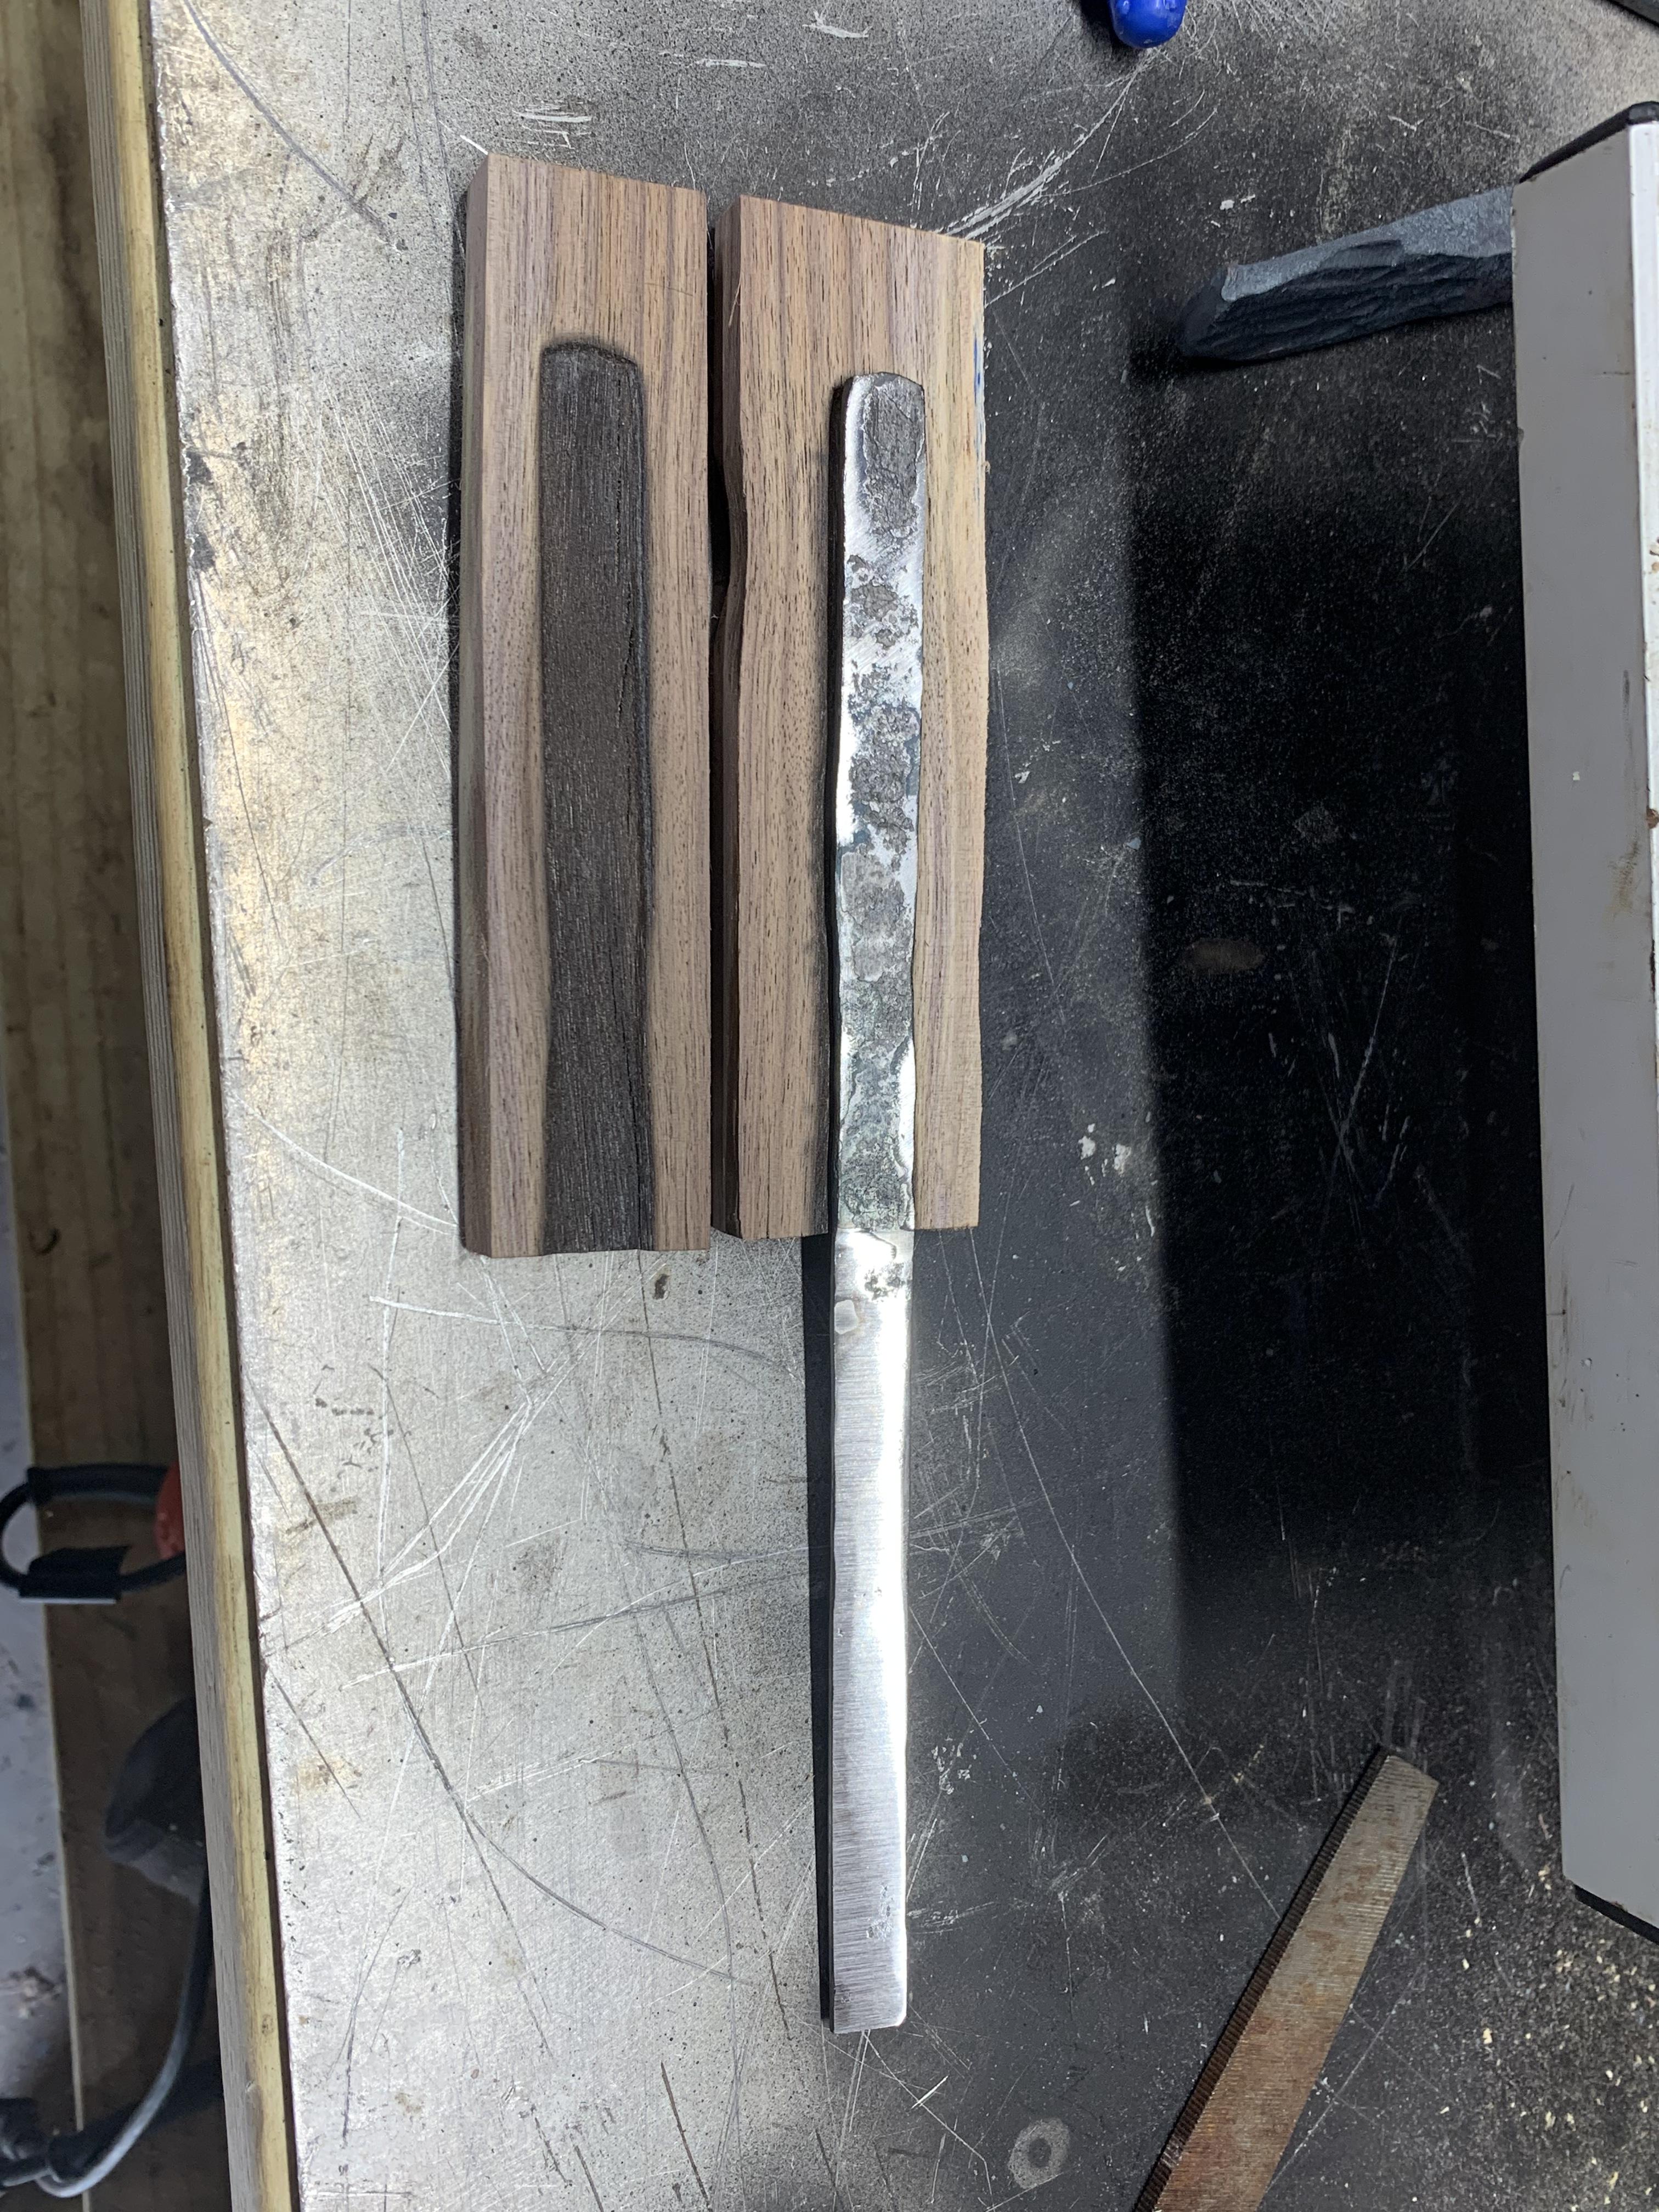
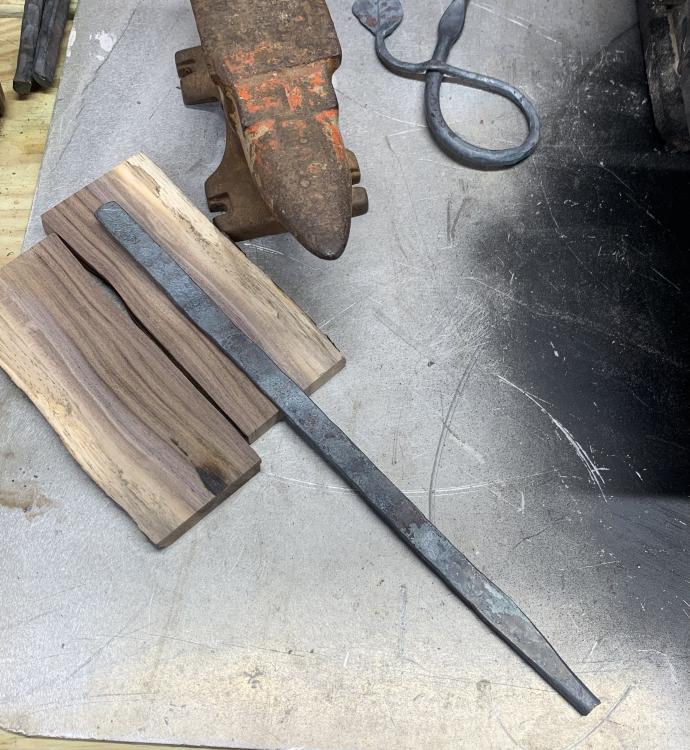
Justor, that has a nice look to it. I’ve never made a knife either and I went simple but I like what you did better. I just flattened some round scrap and had a few simple goals: 1 end up with something that looks like a knife 2 get a handle attached that will stay attached 3 don’t cut myself It’s not finished yet I have the handle drying after using some JB weld epoxy and then I’ll need to do some final sanding and finish. it doesn’t feel like I did much forge work so I’ll probably try something else in addition to this.


-
Fall 2022 challenge!
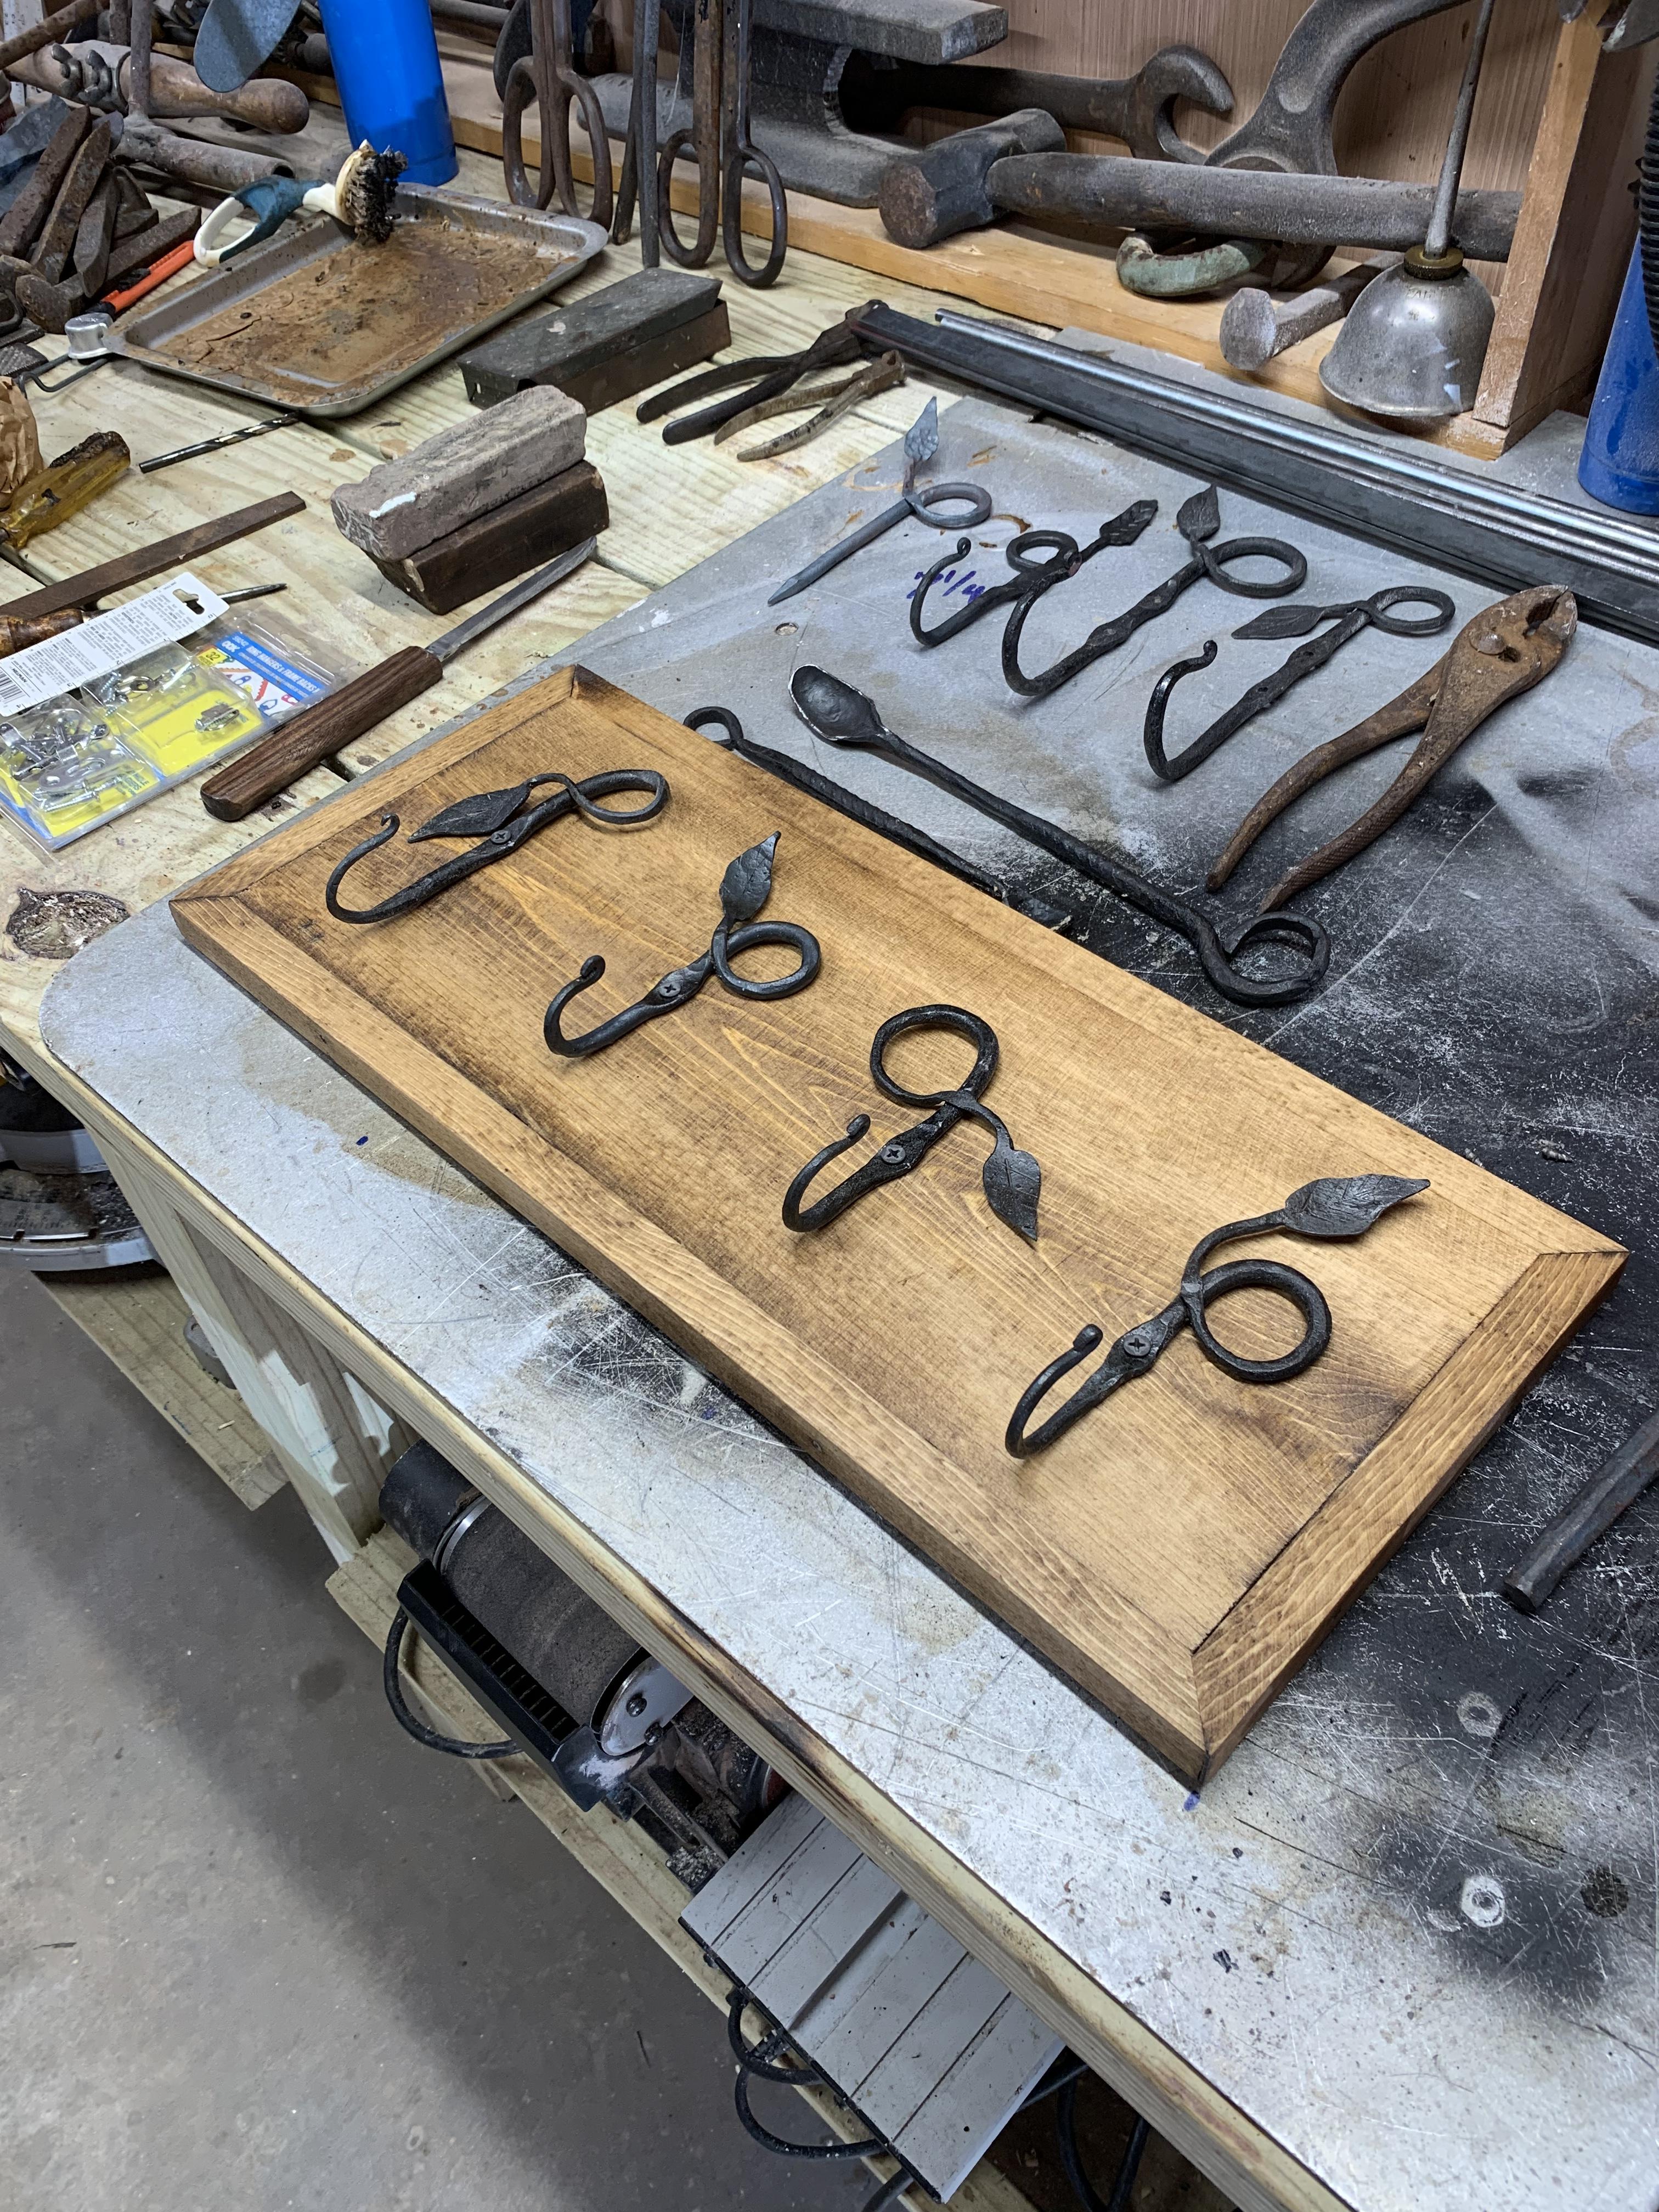
PCRDNADave replied to TWISTEDWILLOW's topic in Blacksmithing, General Discussion
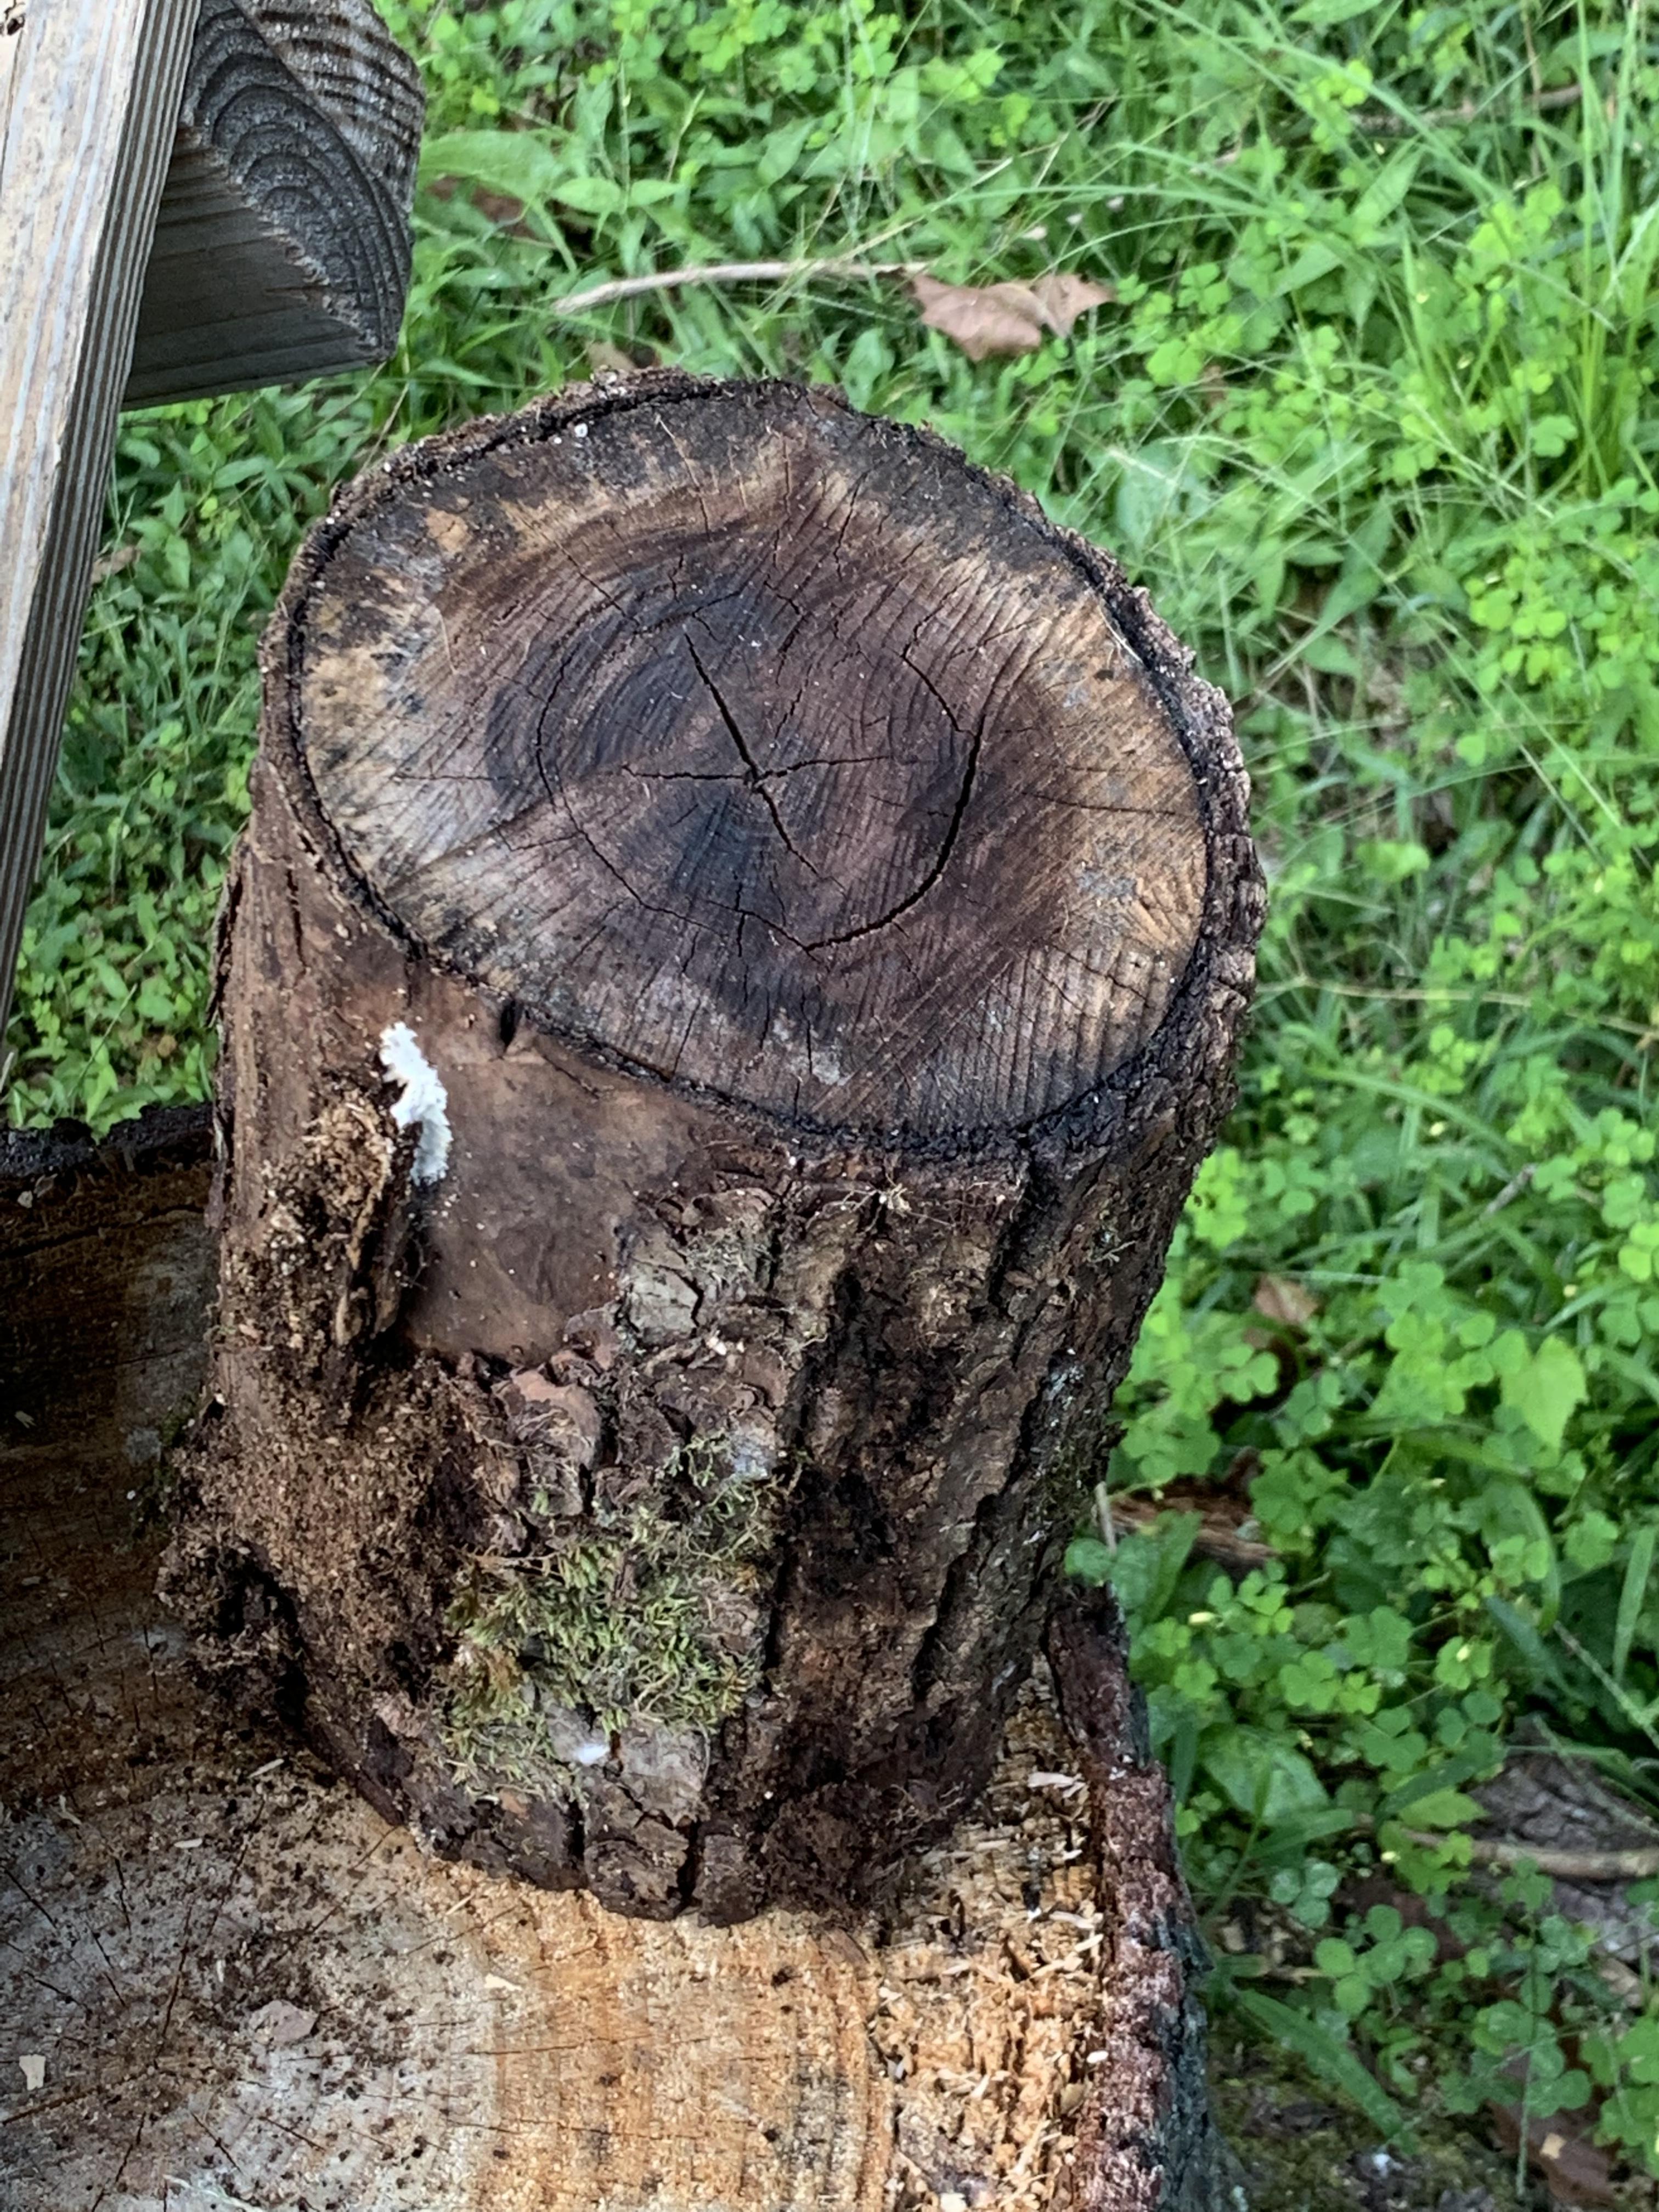
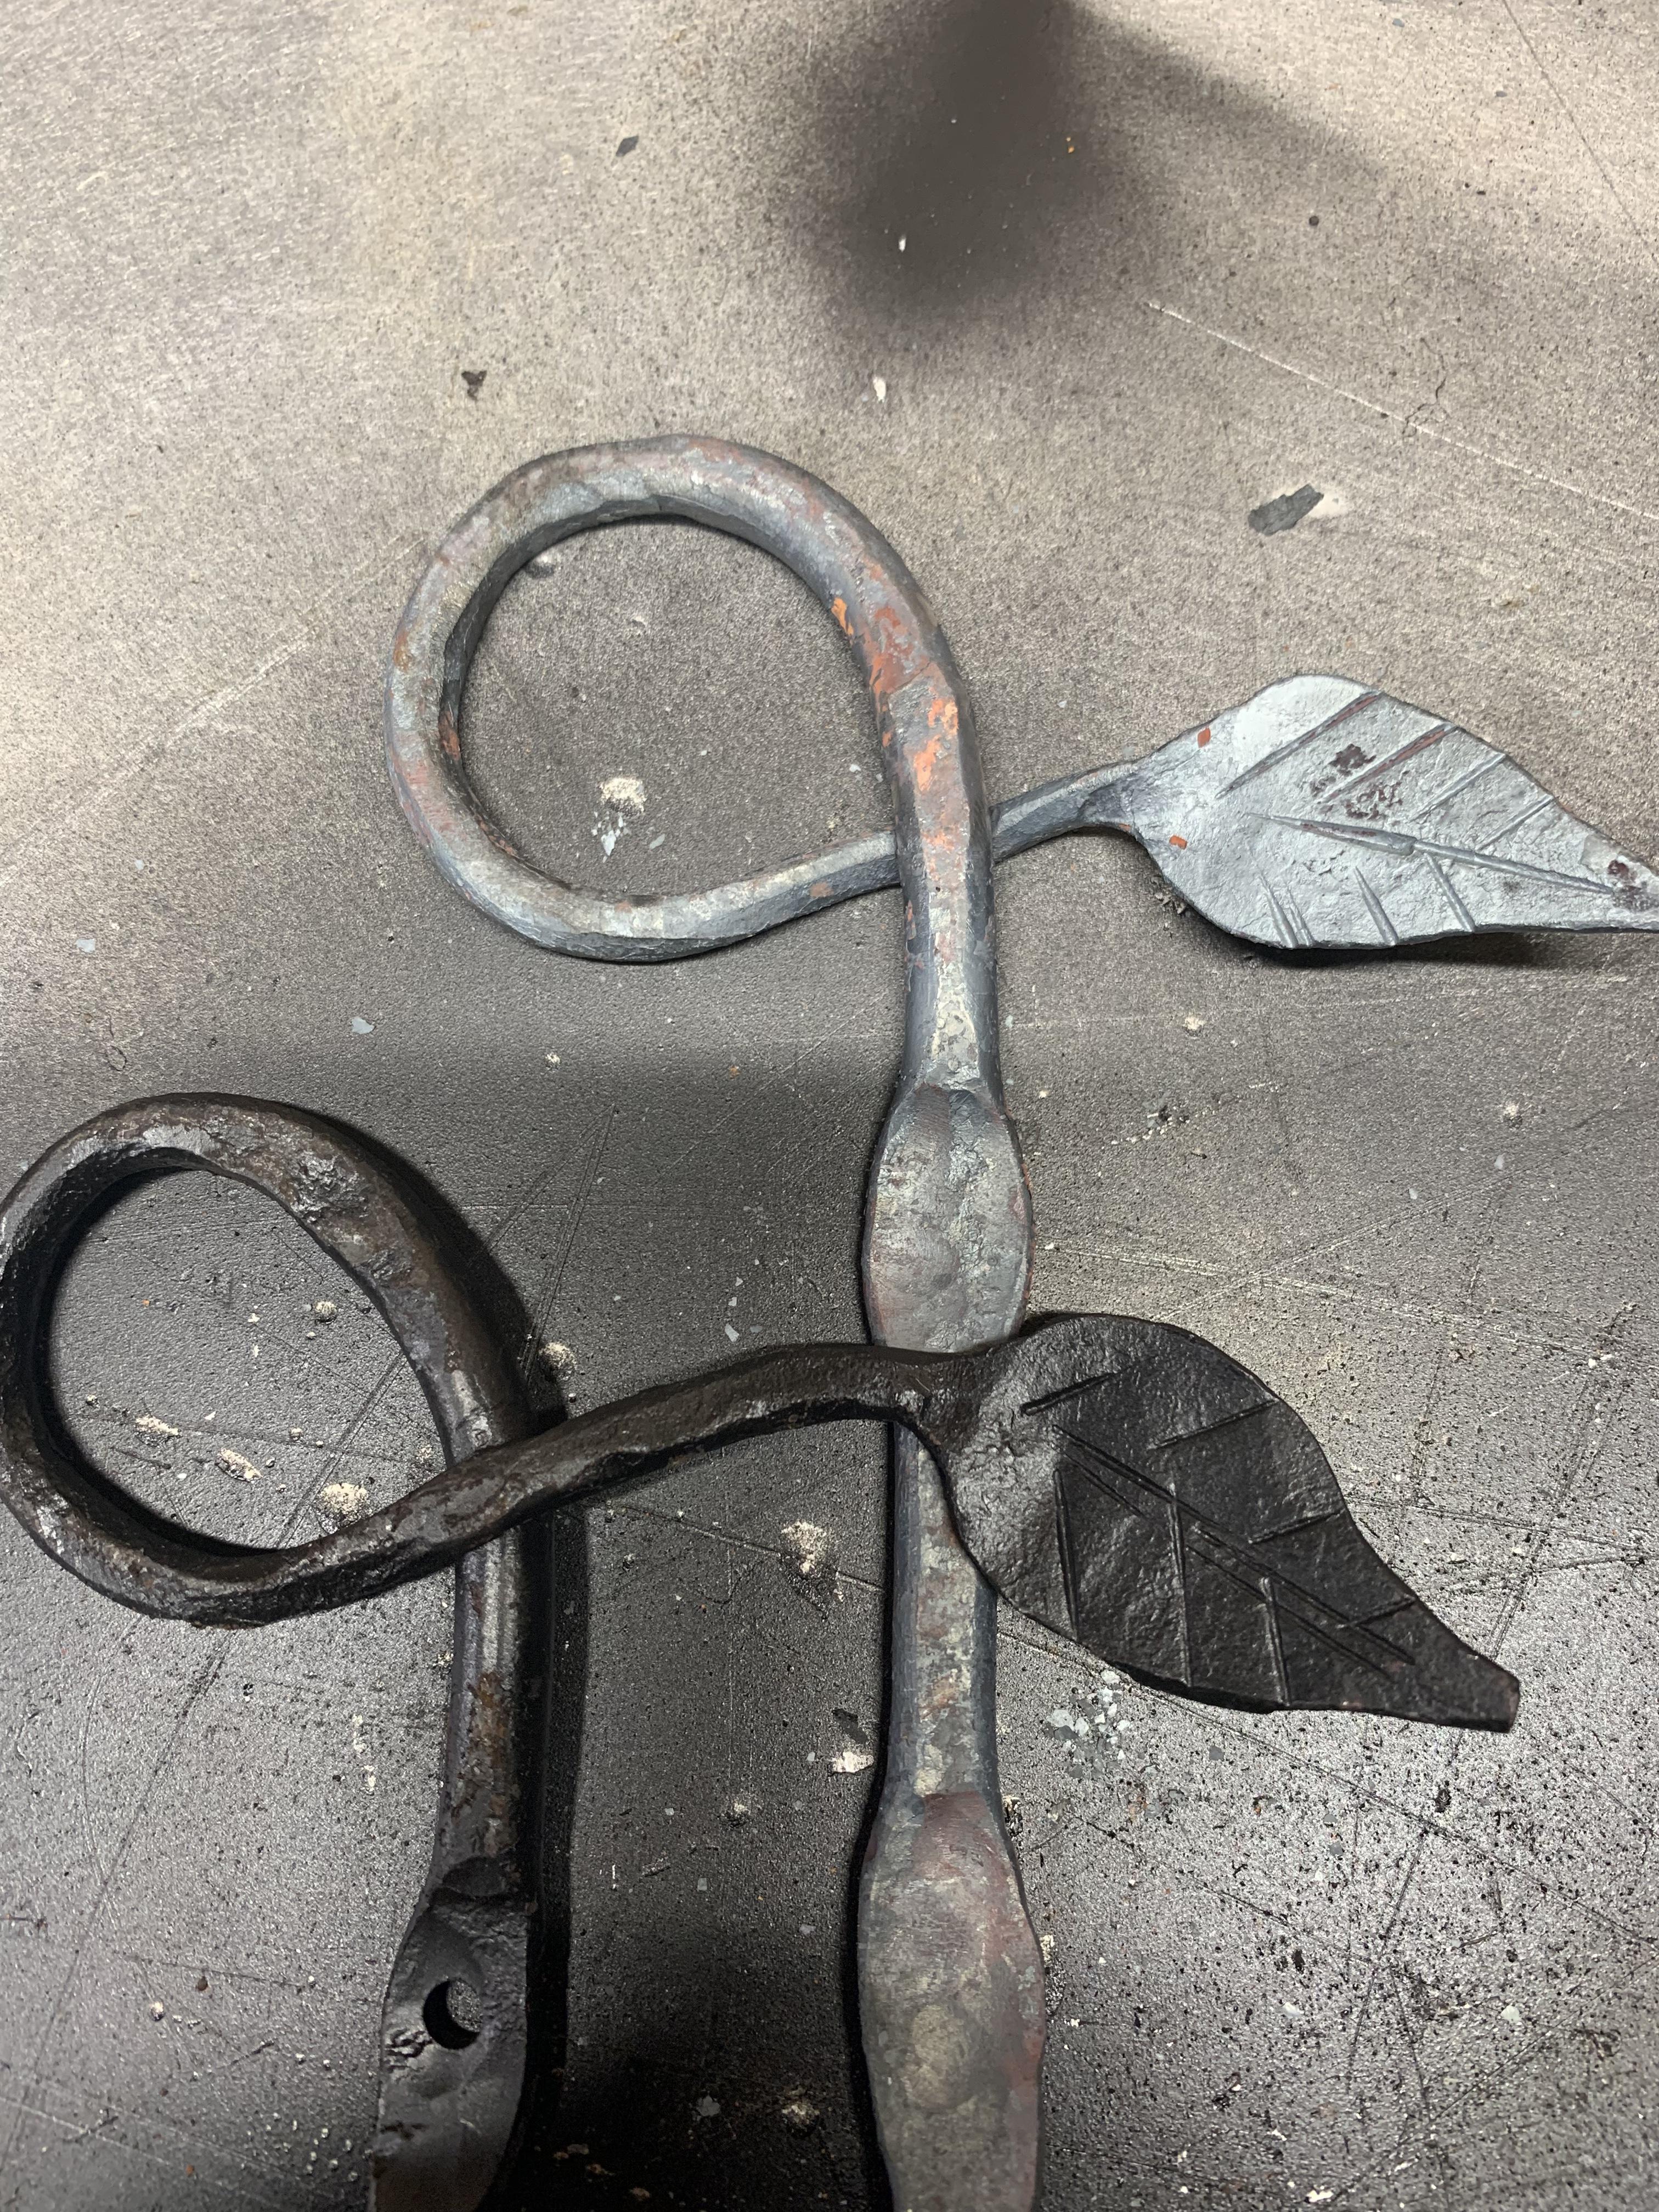
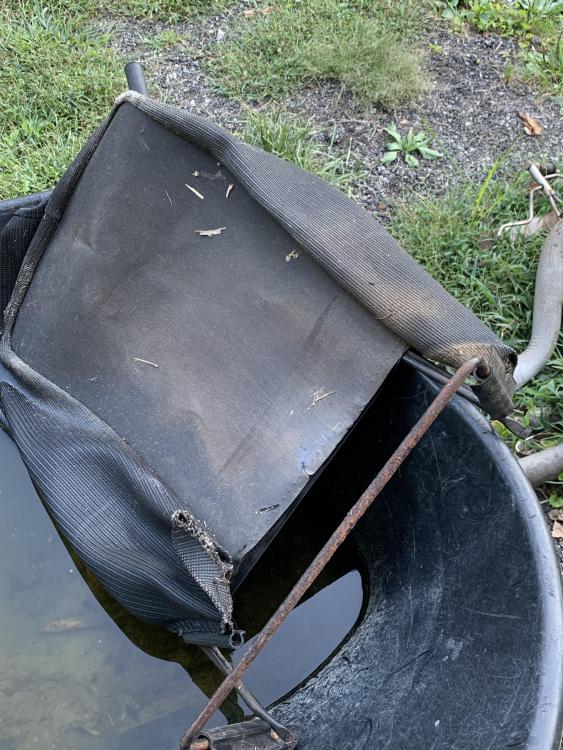
Hey everyone. I’m very new to this, just making my 3rd hook today with a leaf on the end. This is very intimidating but I’ll give it a shot. I have and old lawnmower clipping bag and a lump of walnut in the woodpile. What could go wrong?


-
What did you do in the shop today?
PCRDNADave replied to Mark Ling's topic in Blacksmithing, General Discussion
My first project. Clumsy start but ended up with a couple of passable hooks