ASA_Walrus
-
Posts
23 -
Joined
-
Last visited
Recent Profile Visitors
308 profile views


-
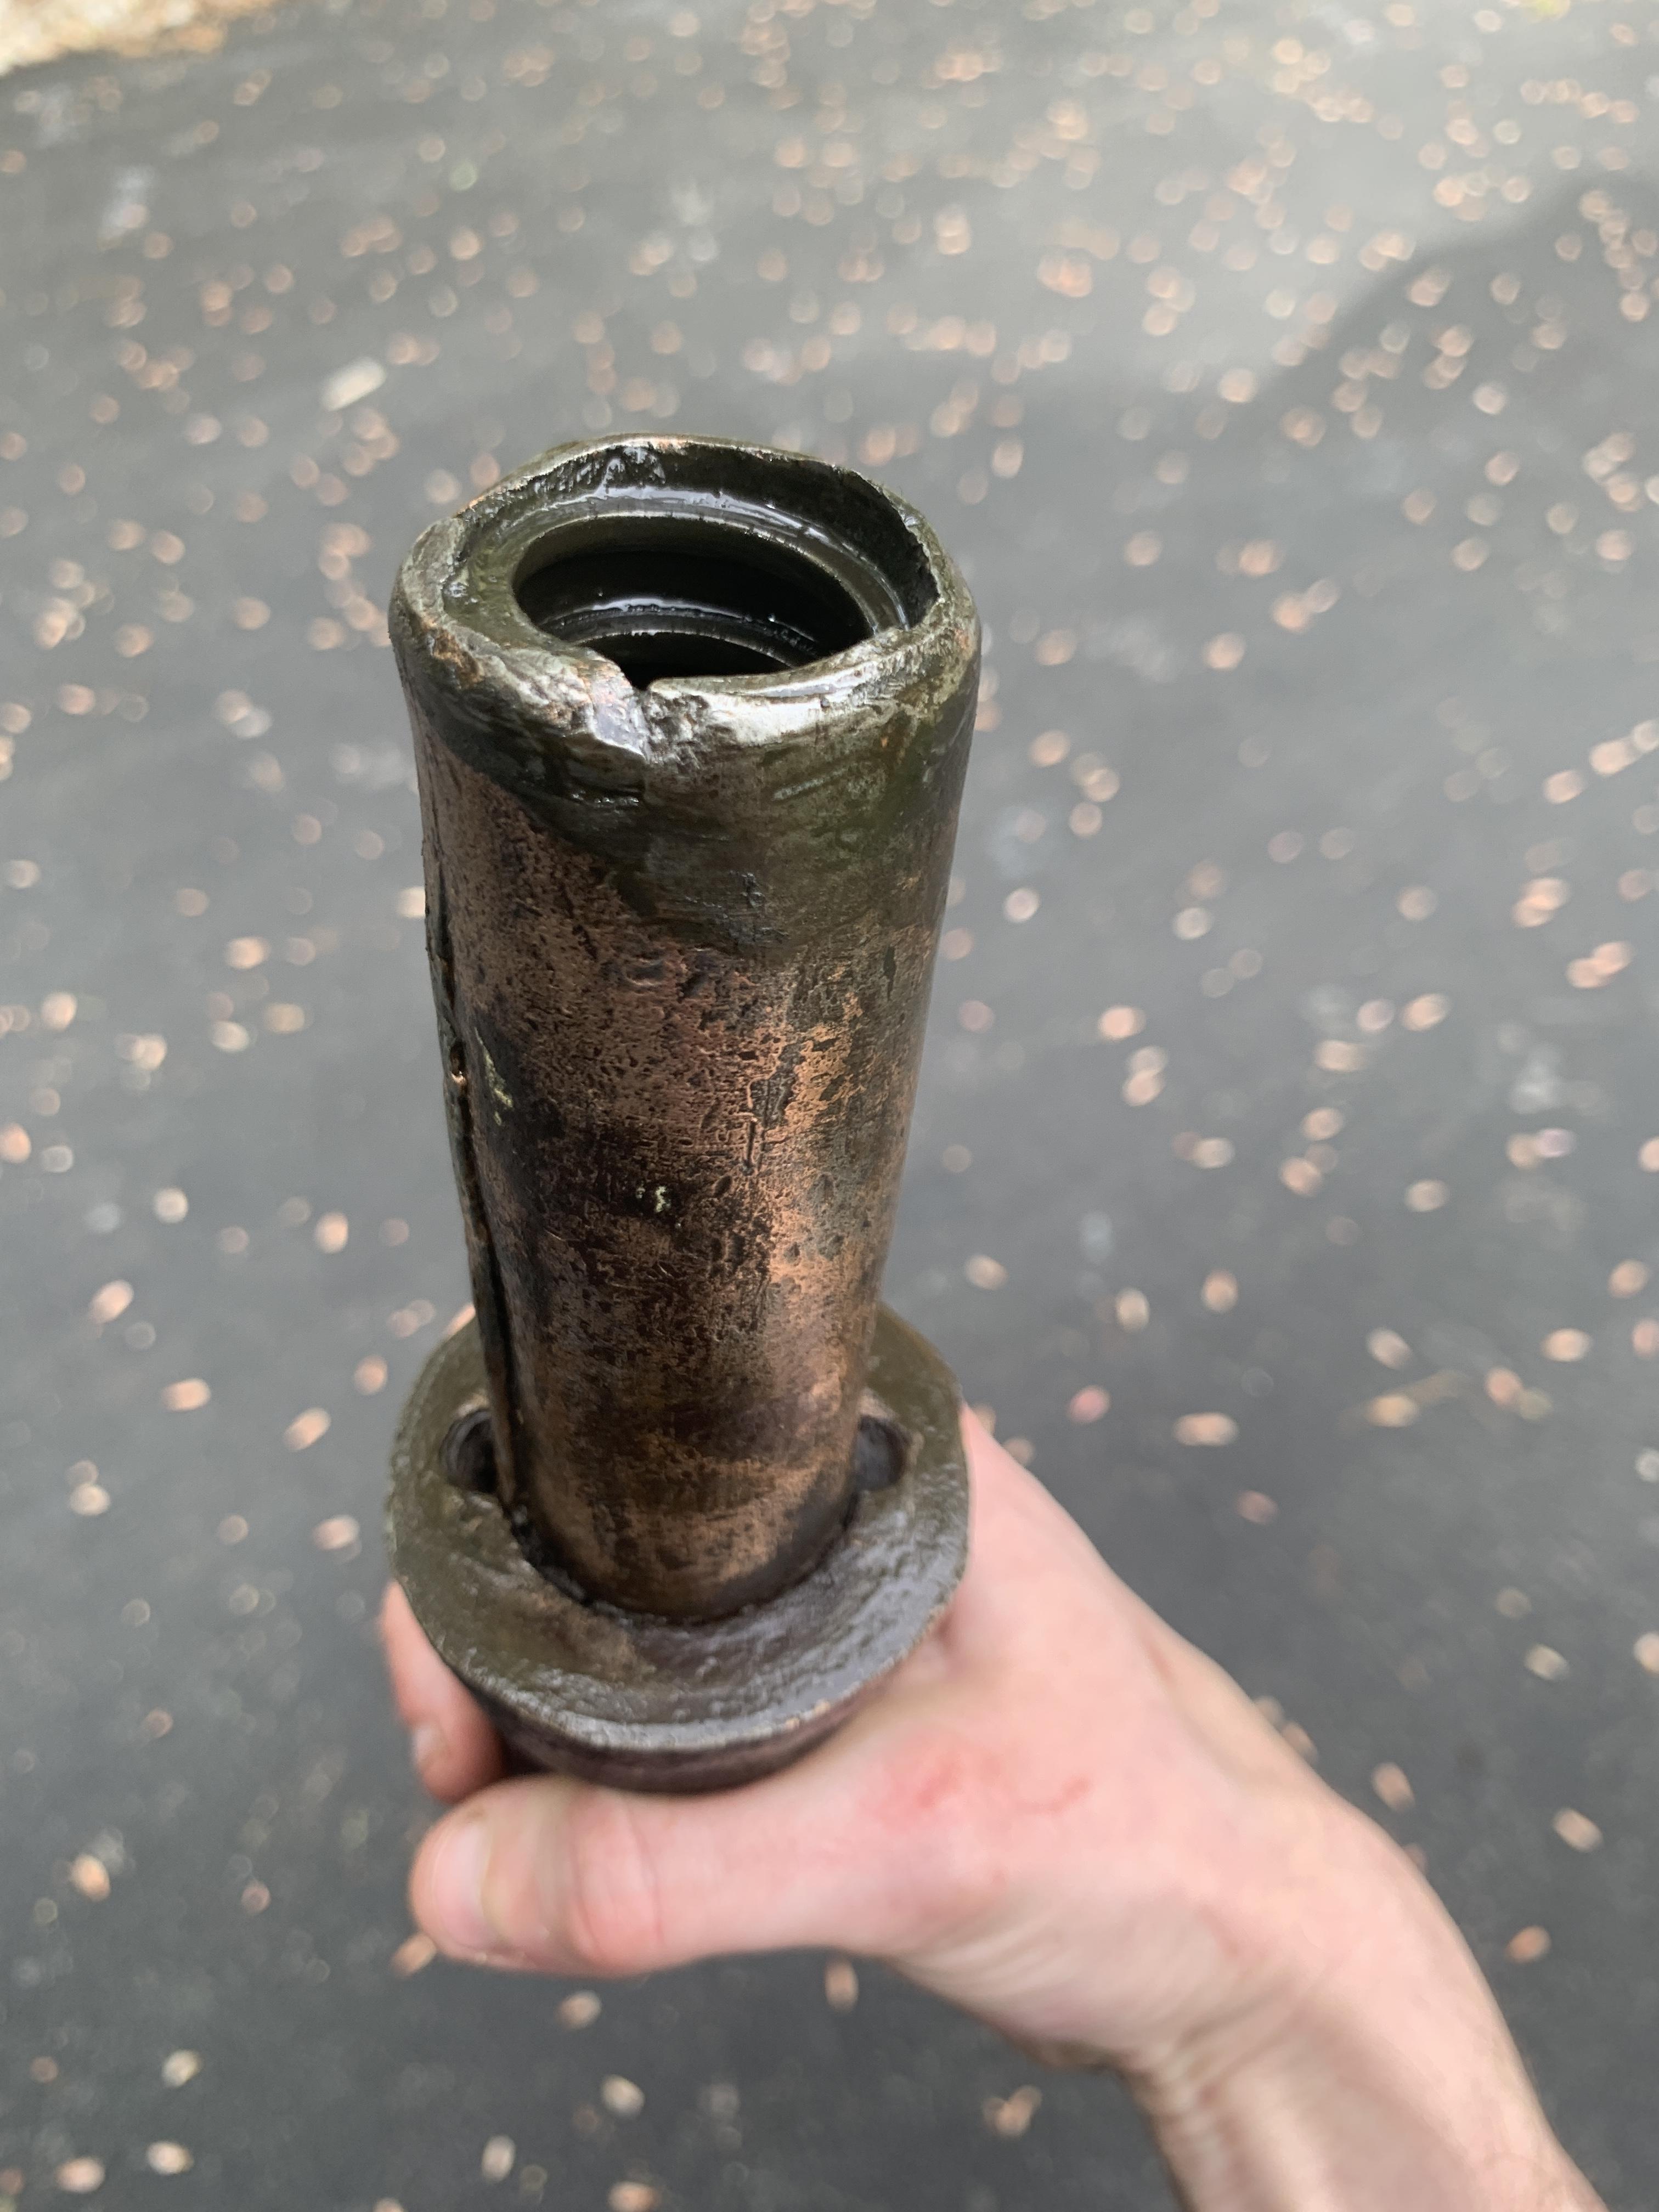
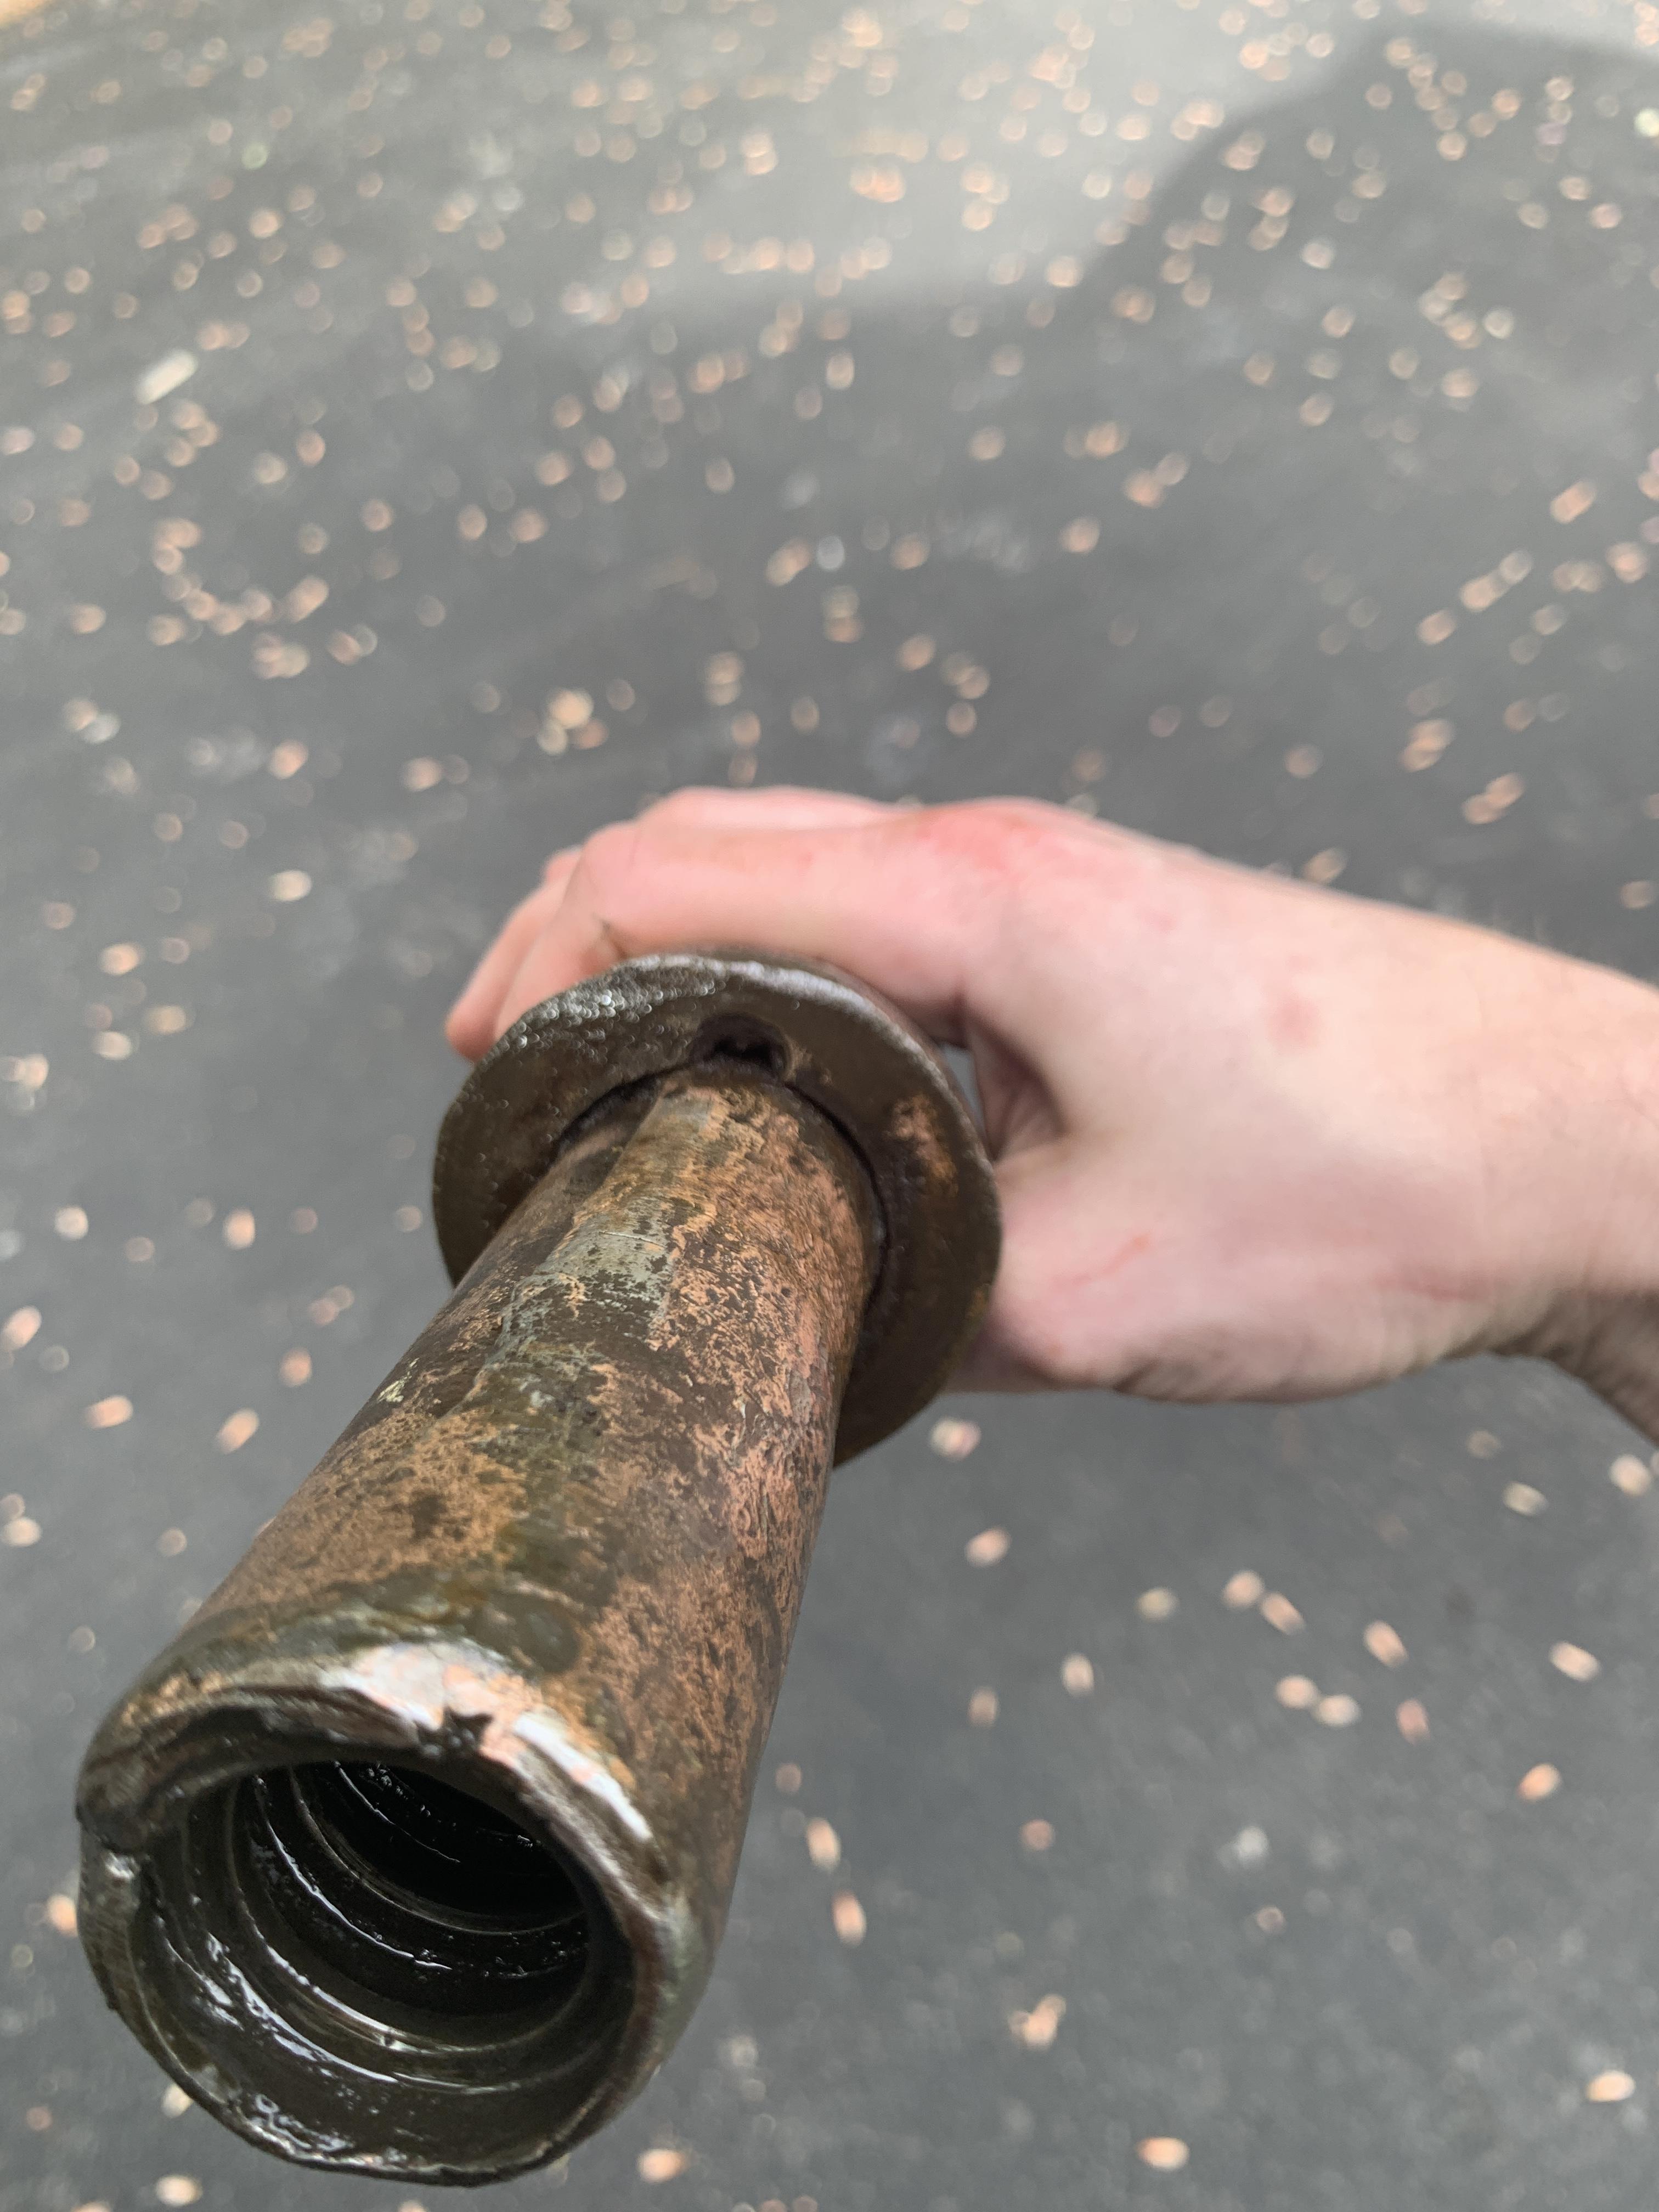
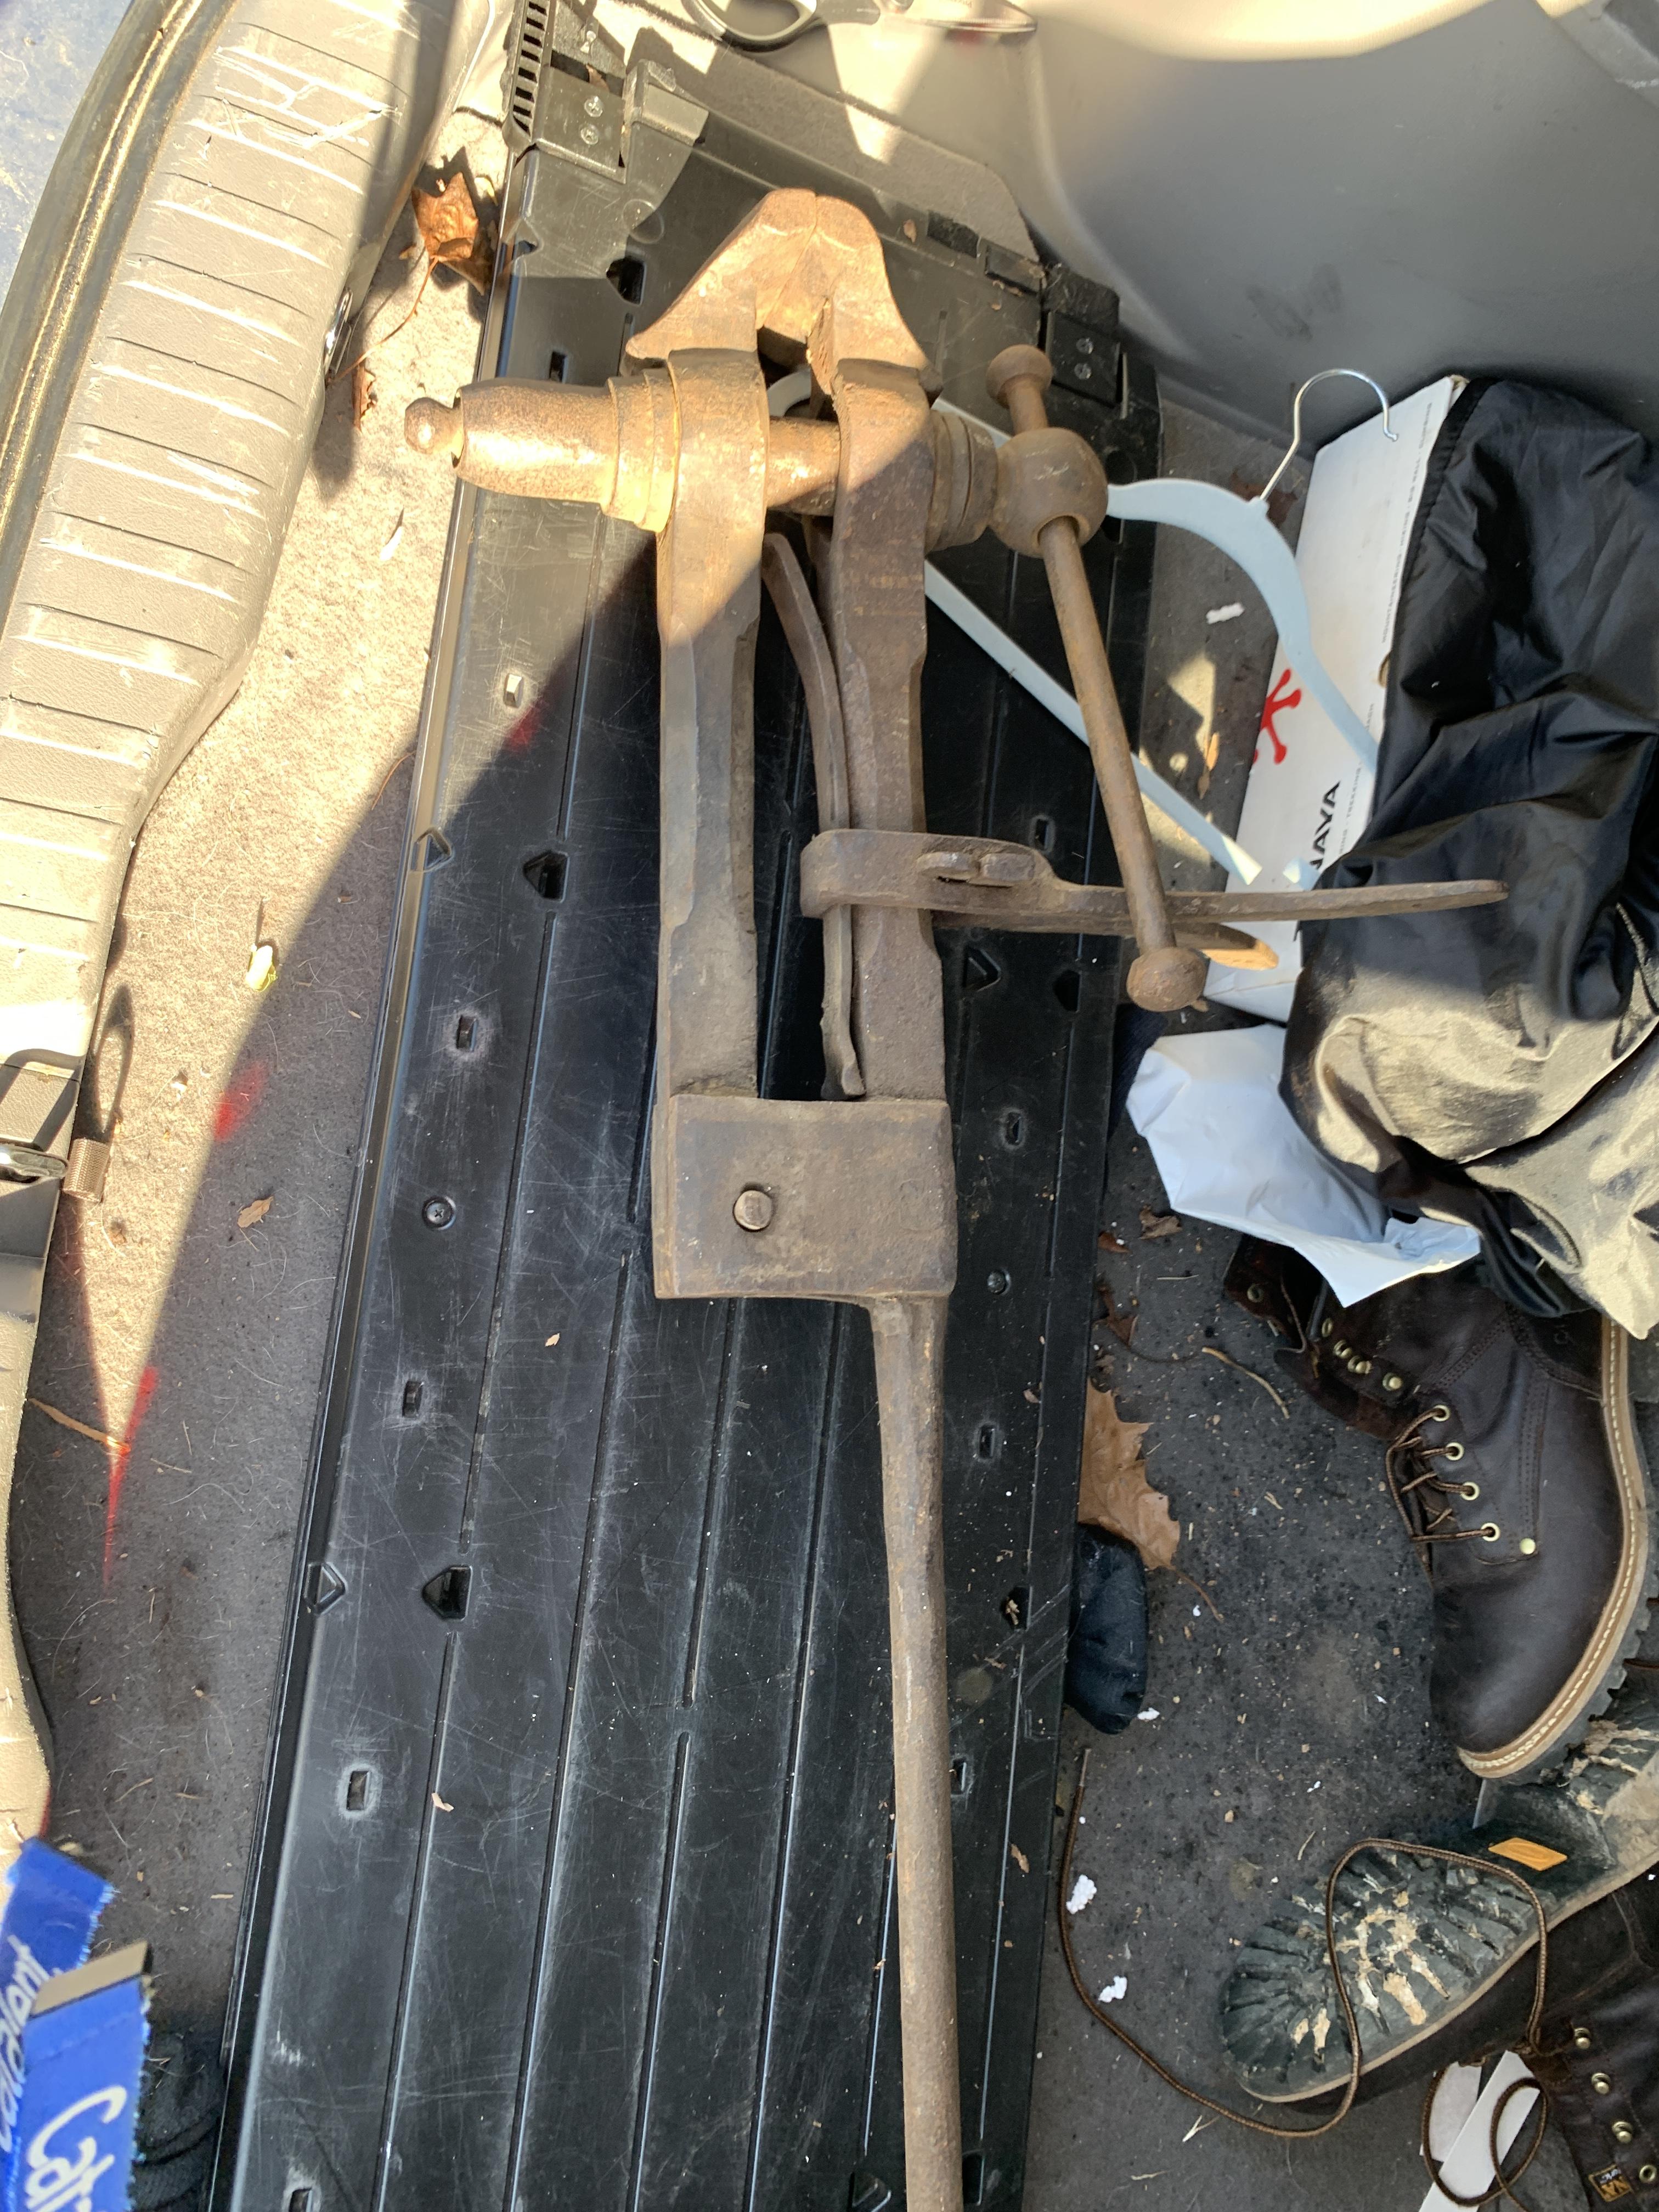
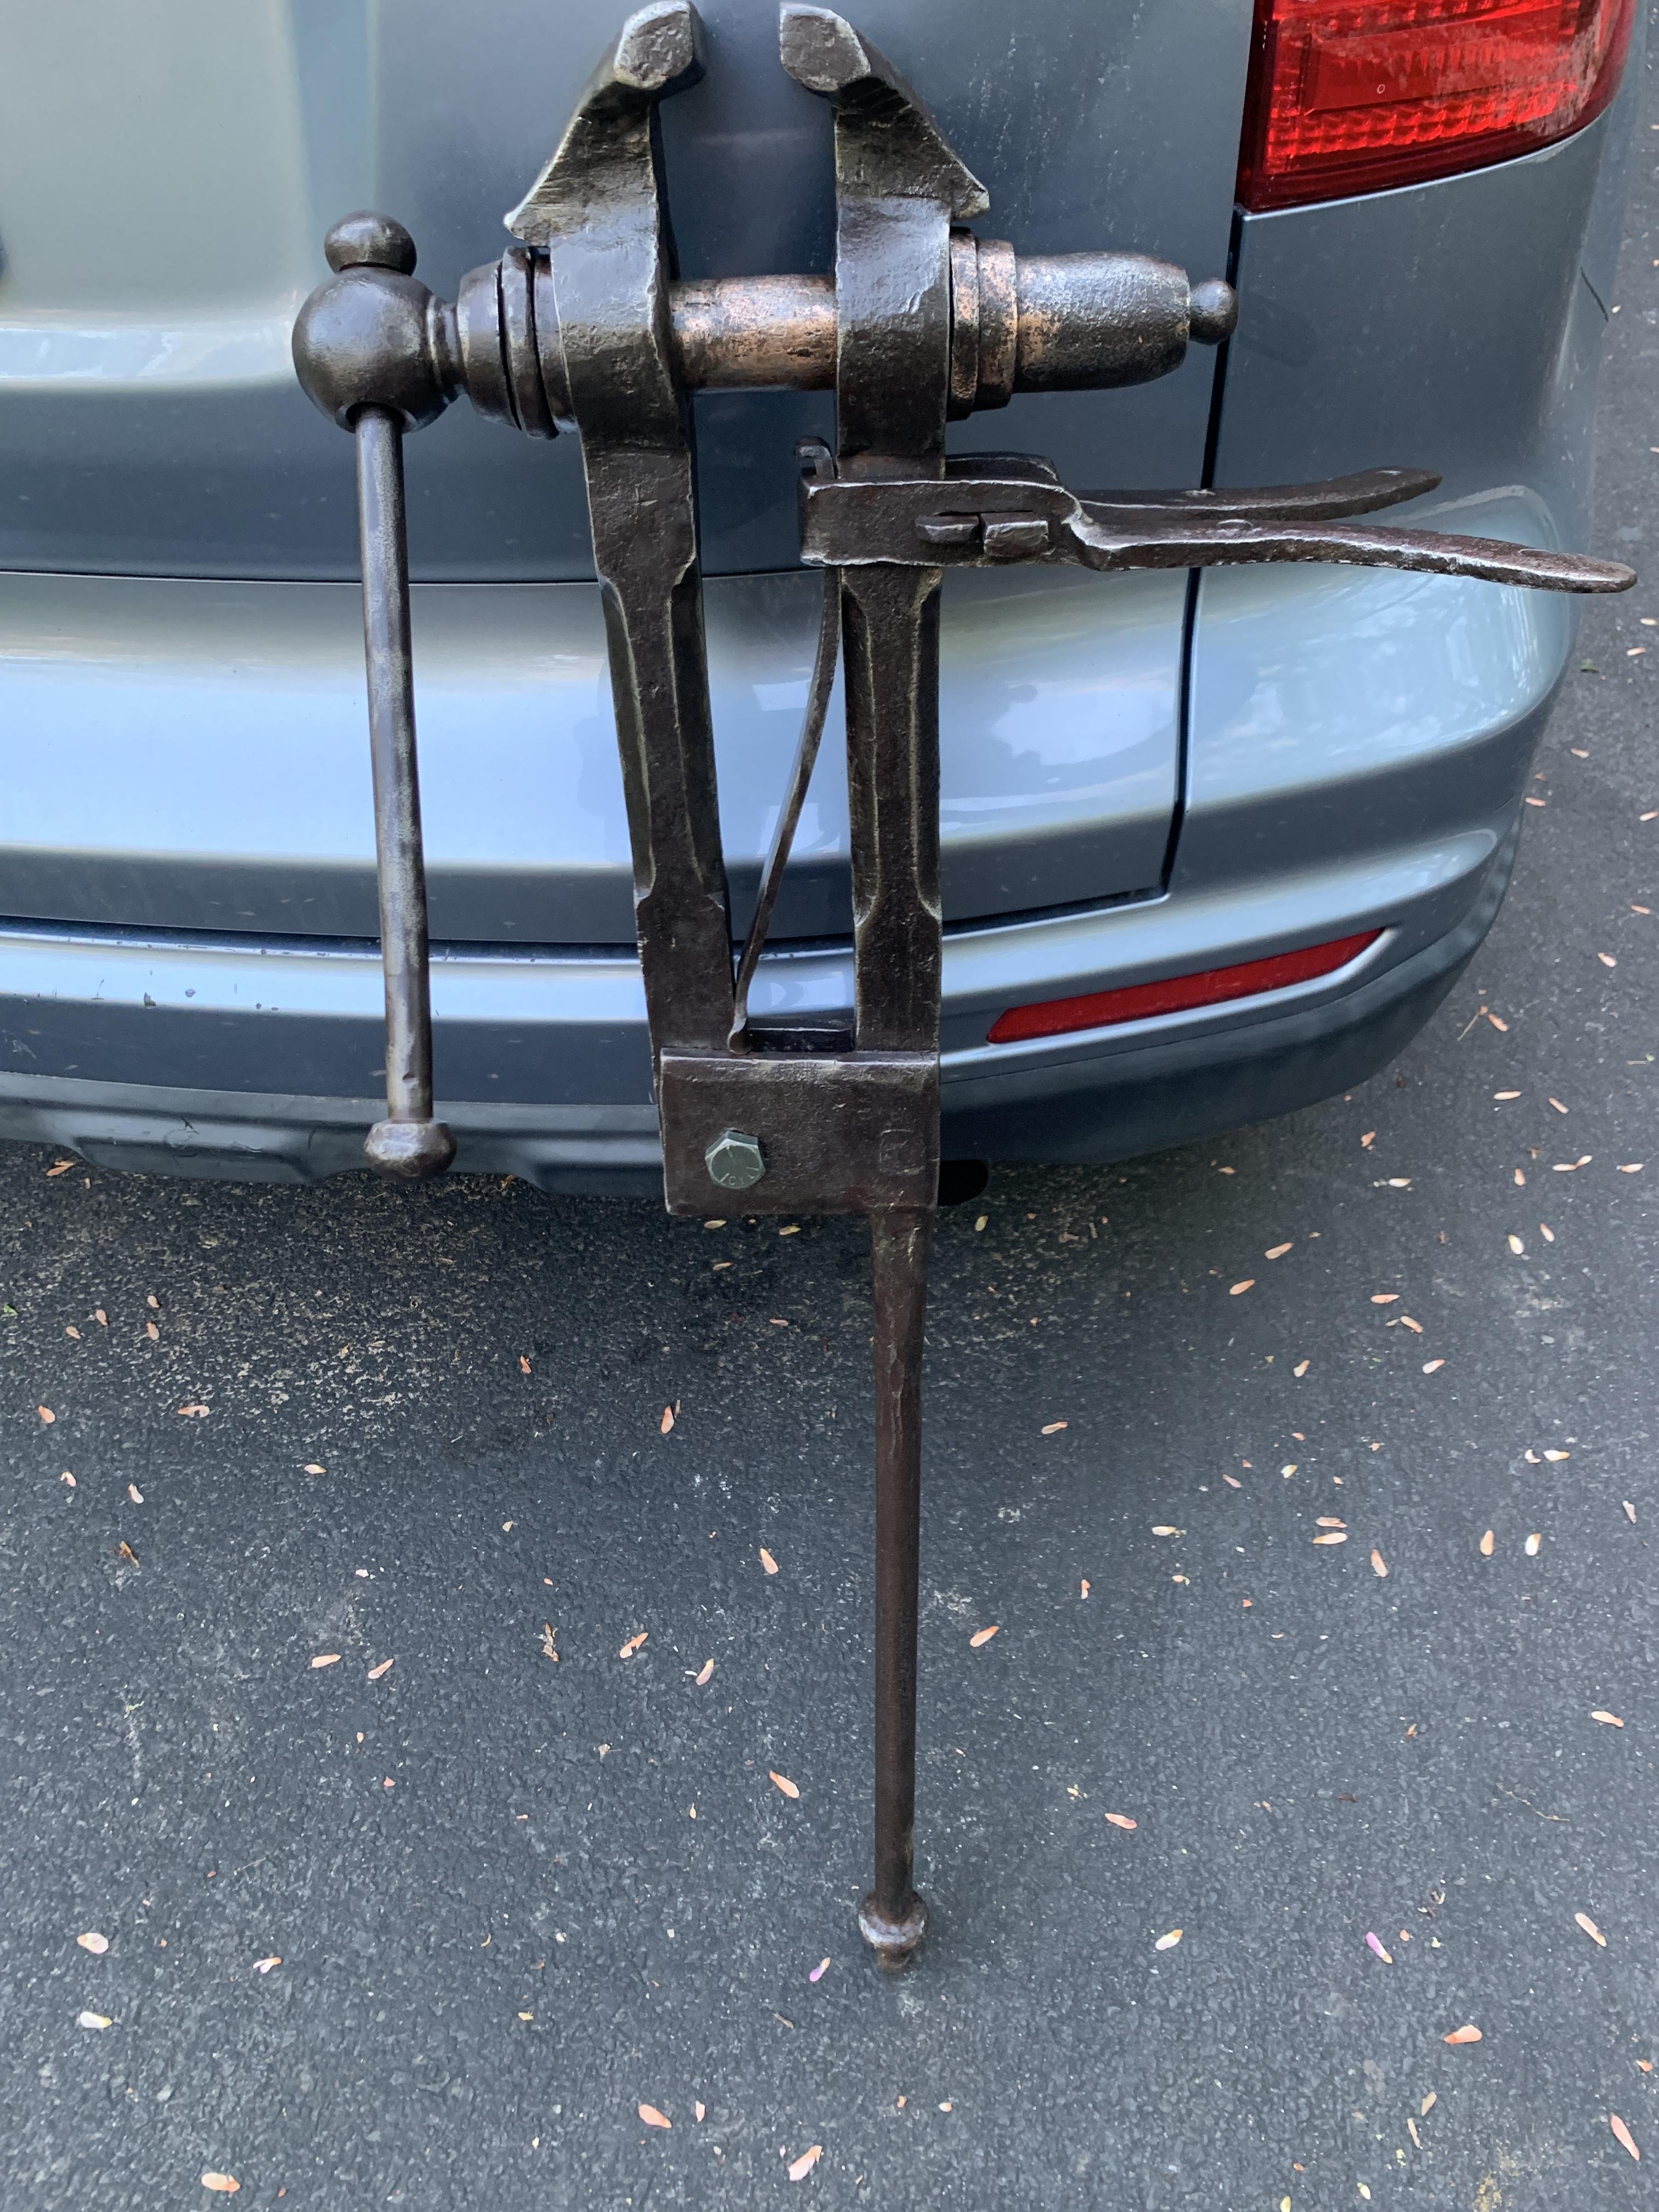
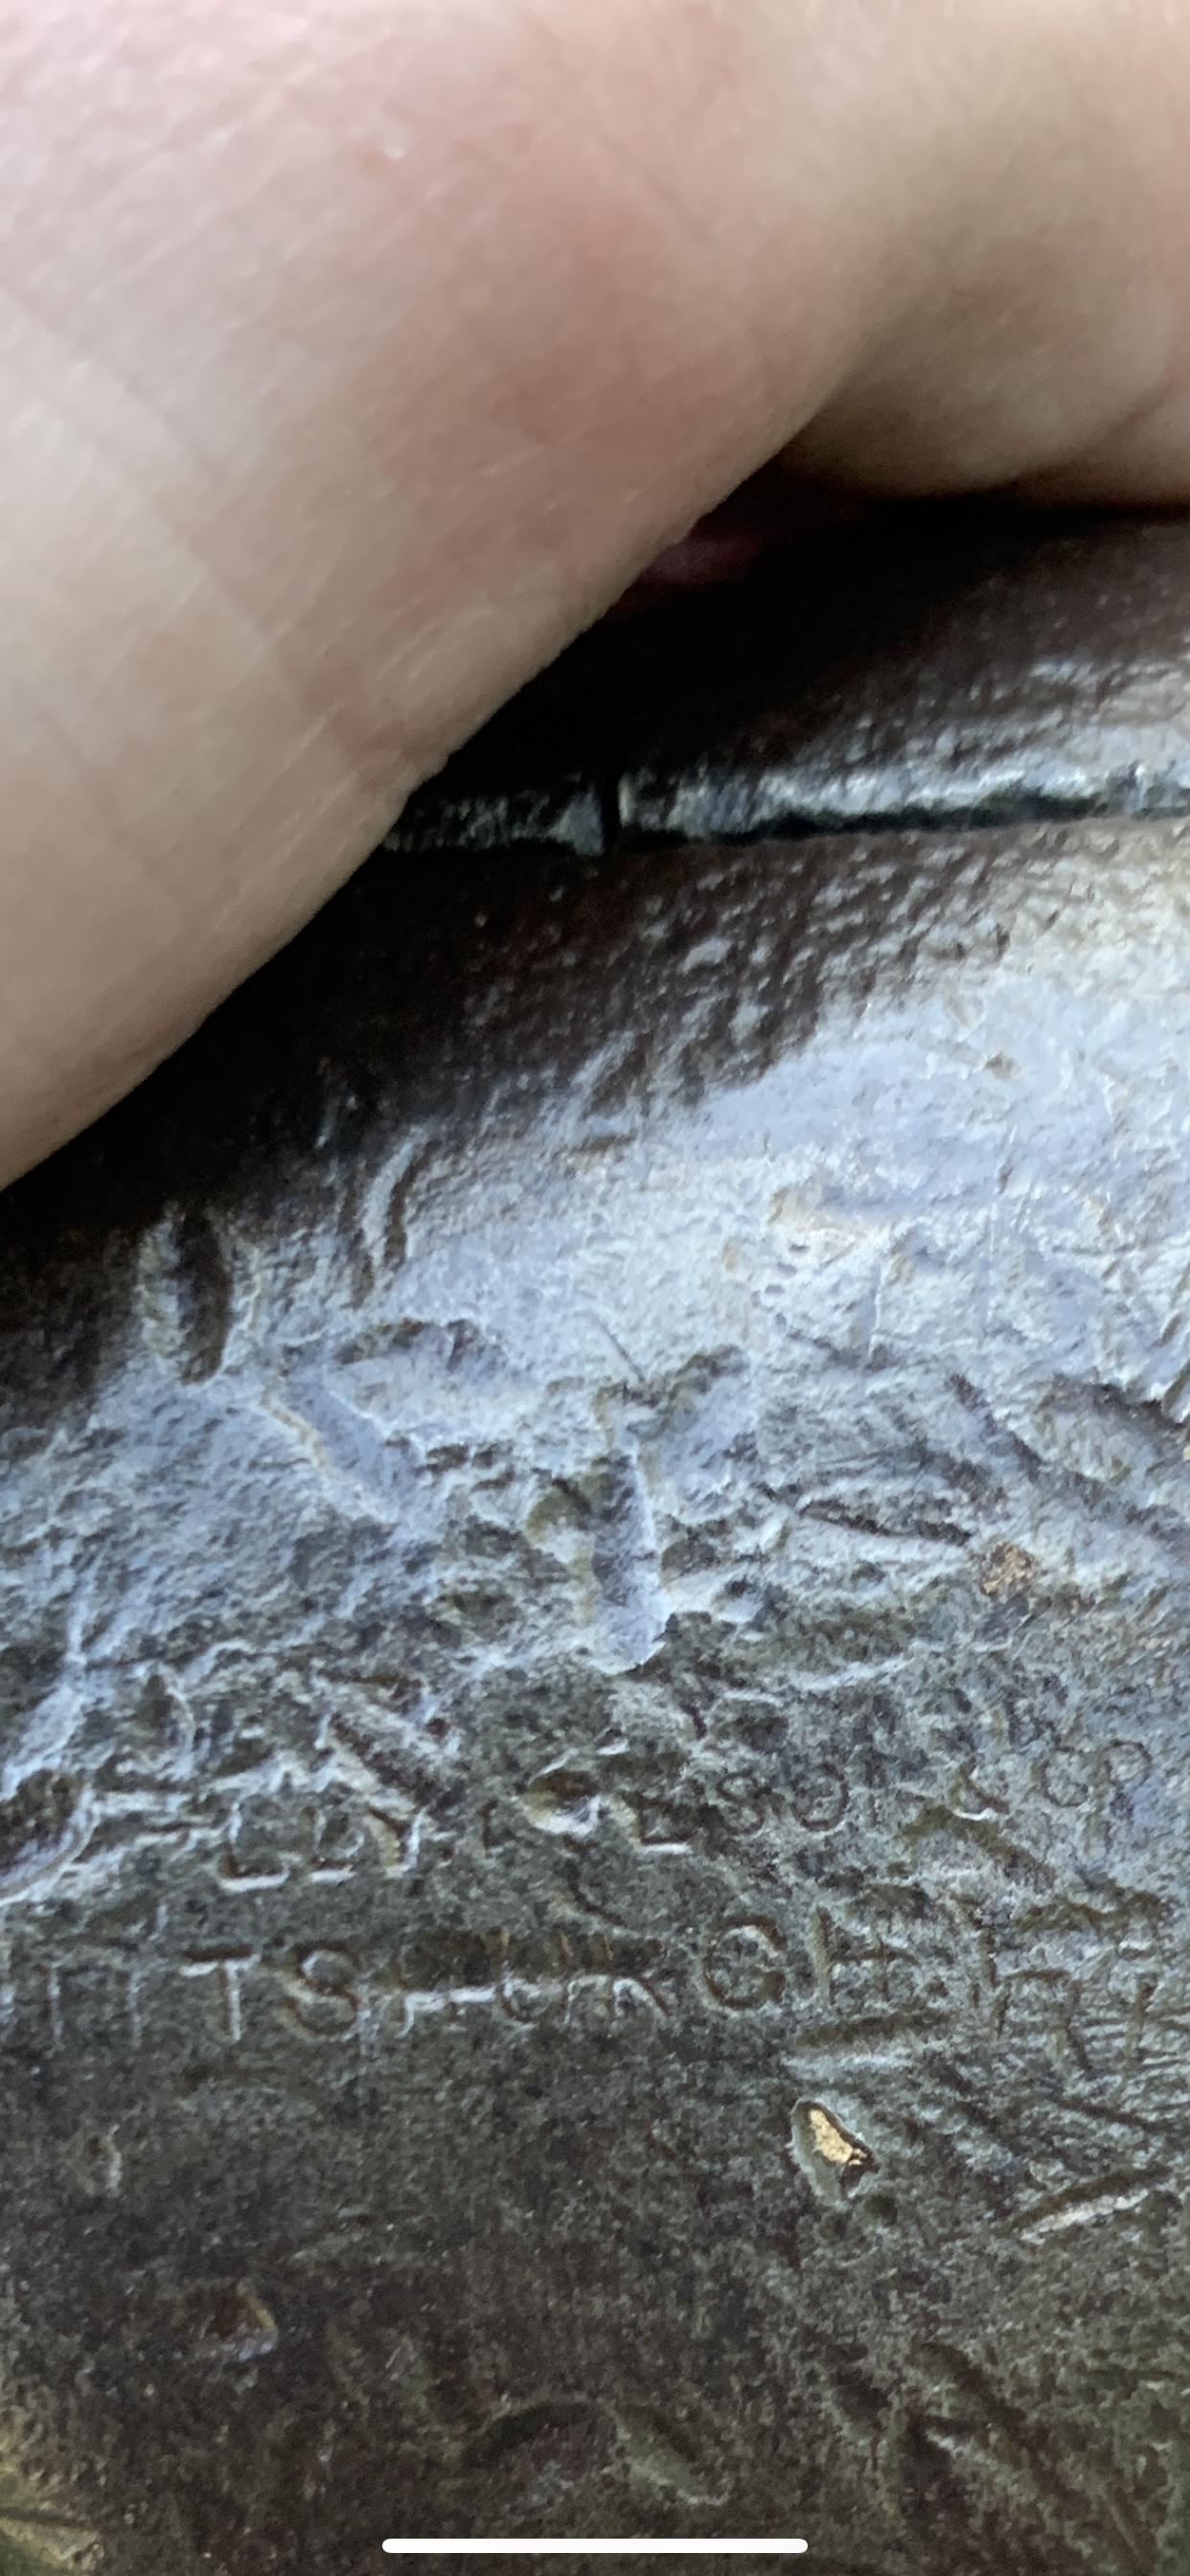
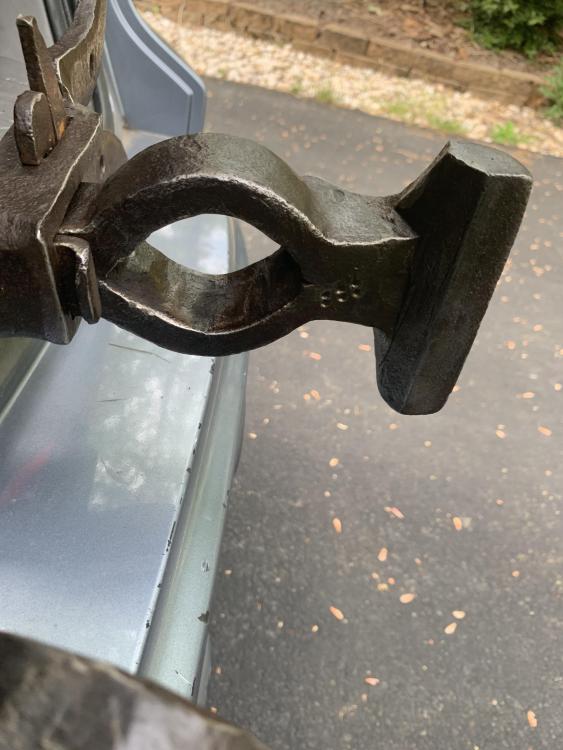
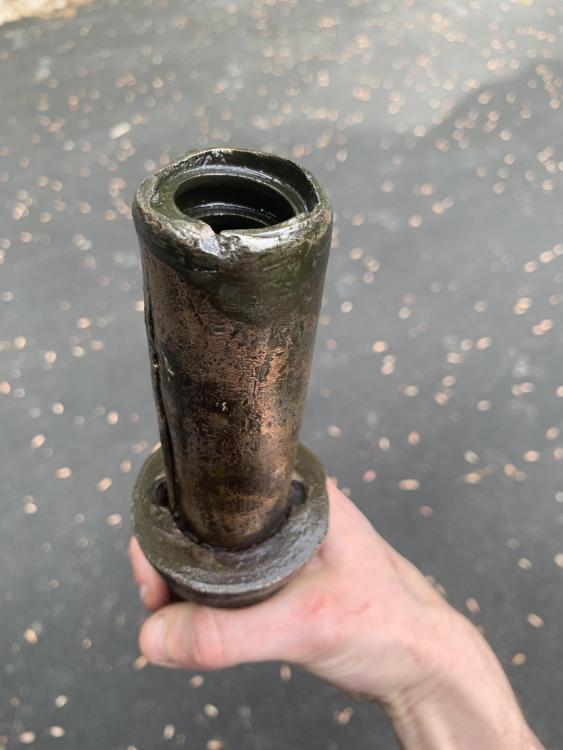
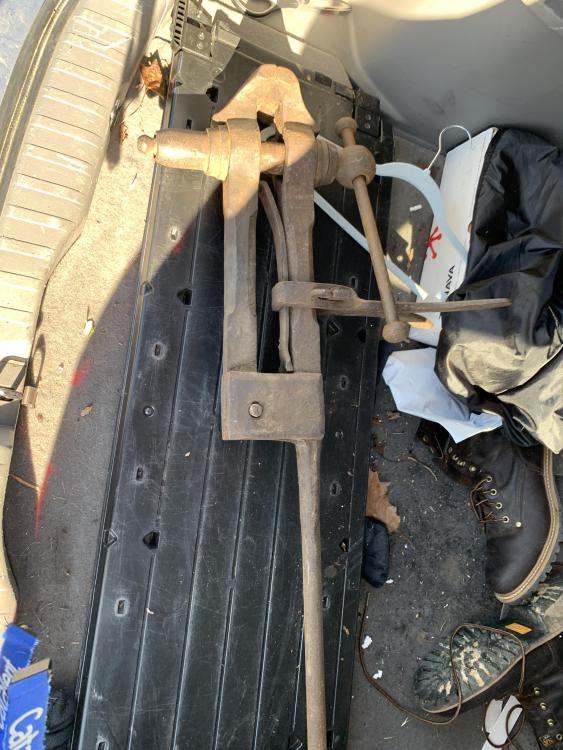
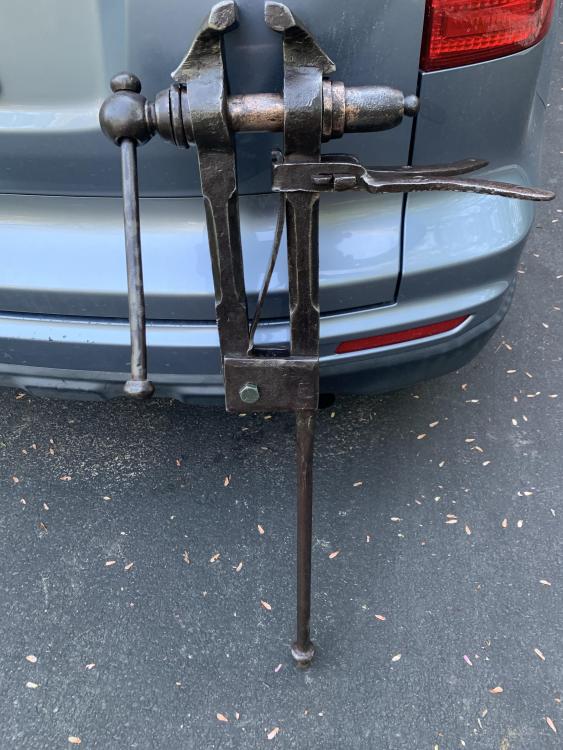
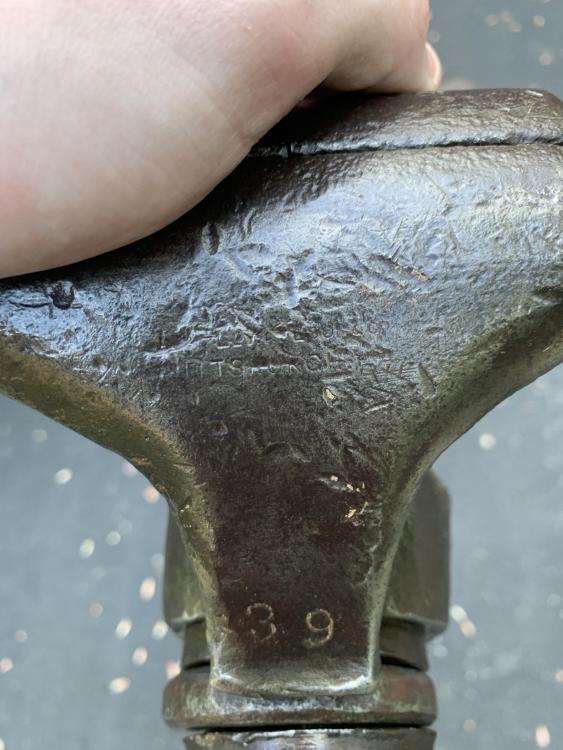
Yeah, unfortunately no key, and there’s not really a key slot on be vise either, here’s a some more pics; First few are angles of the screw box, second set are one of each leg of the vise. The only solution I see is fitting a narrow “L shaped piece of metal into each of the two holes, with the screw box oriented such that they’re vertical, so rotation would be blocked. Though I likely lack the skill to make those haha.


-
Hello all! I got lucky this week and grabbed an old post vise, and after a little wire wheel work, and some oil it’s back to moving condition, only issue I’ve had is that when turning the vise, the screw box spins independently with the handle when closed all the way, so significant force can’t be applied without holding the screw box body. The threads look great, it feels like there should be something either keying the screw box to prevent spinning, or adding friction against the vise body for the same purpose. I can post more pictures later today, but the construction of the screw box looks neat, like a roll of steel was forge welded into a circle, and then the threads bored out, and the washers on the handle side show similar construction, forge welded rings which is cool to see. Before and After Pics + Markings Attached

-
I’m young (25) and foolhardy, and have a tendency to over complicate things, so it’s usually something I’d dive right into attempting. That being said... going forward? Probably gonna be a ribbon burner for me. Only because you can make them in a variety of sizes to fit the forge, and they give good control over air and propane flow rates. Why re-invent the wheel, when I can spend more time making things. Only reason I didn’t make one for my first forge was I didn’t want to jump headfirst into the deep end of a new hobby without knowing if I’d like it or not.
-
I see what you mean, when I close the front off, I get more even heat, but I definitely can slide my workpiece into different spots for different heats. This thing is a bit of a gas hog, I keep it idle around 10psi, which takes a piece from “working cool” grey-red to orange-yellow working temp in a minute or two, overall it takes about 20 minutes at 15-20psi for the forge to really get up to temp. Interestingly to me, I don’t really have a dragons breath. But I’m new so that may be normal. My next forge will definitely be ribbon burner, just so I can make it a bit longer and get more even heat. I was thinking of trying to embed ceramic blanket in kast-o-lite for the general construction. But that’s a project for 6-9 months from now once I have some experience under my belt (and a mig welder, but there’s still a grinder needed too since I’ll be doing that by hand for now. Ugh the horrors of building a workshop) Hey Mikey! I had a question for you, given all your years of experience, I’d figured you’d either tried this once, or decided it was a bad idea before I even thought of it. But what about forcing laminar flow inside a 2inch region near the inlet of the burner using a bunch of small diameter pipes inscribed in the larger pipe. Each individual mini-pipe would force an proportionally smaller Reynolds number and “laminar-ize” the flow before the mixing length starts. I haven’t done any envelope math on the flow rates here, but I’d imagine at a slight increase in production cost, you’d get the sweet guarantee of laminar flow, even with poor construction like mine haha.
-
Oh no, so I’ve been playing with it for a few days, and it indeed gets hot, but I definitely have hotspots, and the flame isn’t circulating the chamber correctly, would using satanite to “sculpt” the edges of the “D” portion of the chamber help? I’ve played with the angle a bit and can’t seem to nail one where I don’t have this issue.
-
Our cats get it, she just gets a different kind of love.


-
There’s an entire section of Home Depot, though I’m not surprised you didn’t see it, it can be a bit tough to find.
-
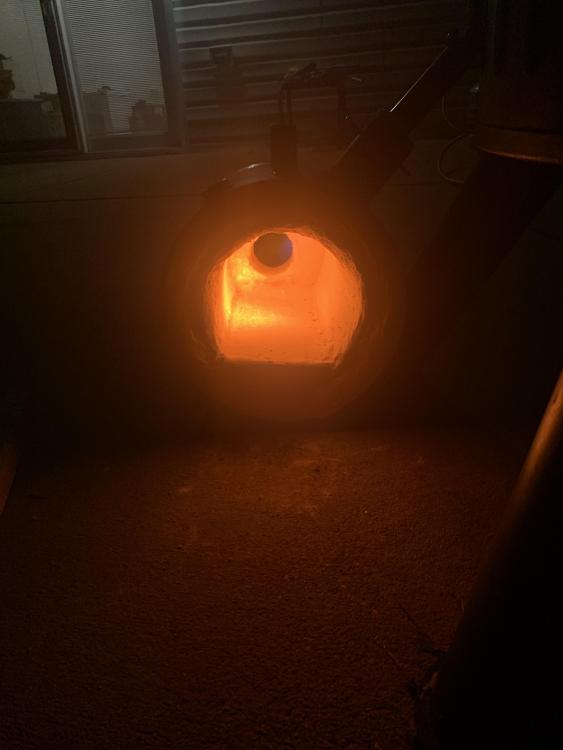
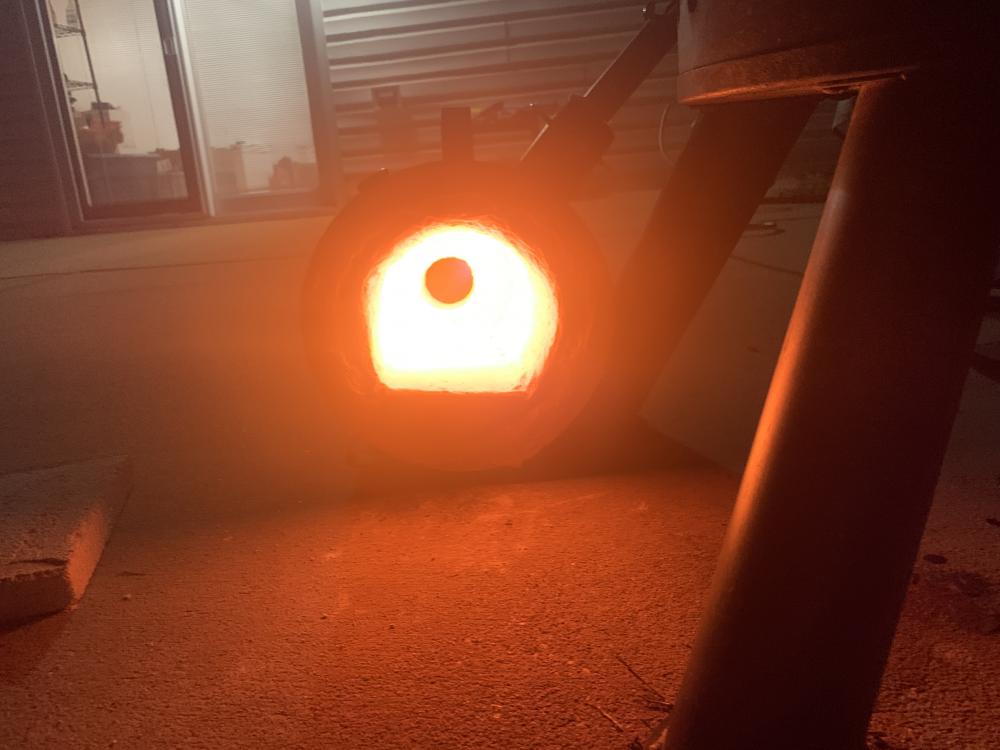
For transparency sake there was a fire brick in front while I was heating it up.
-
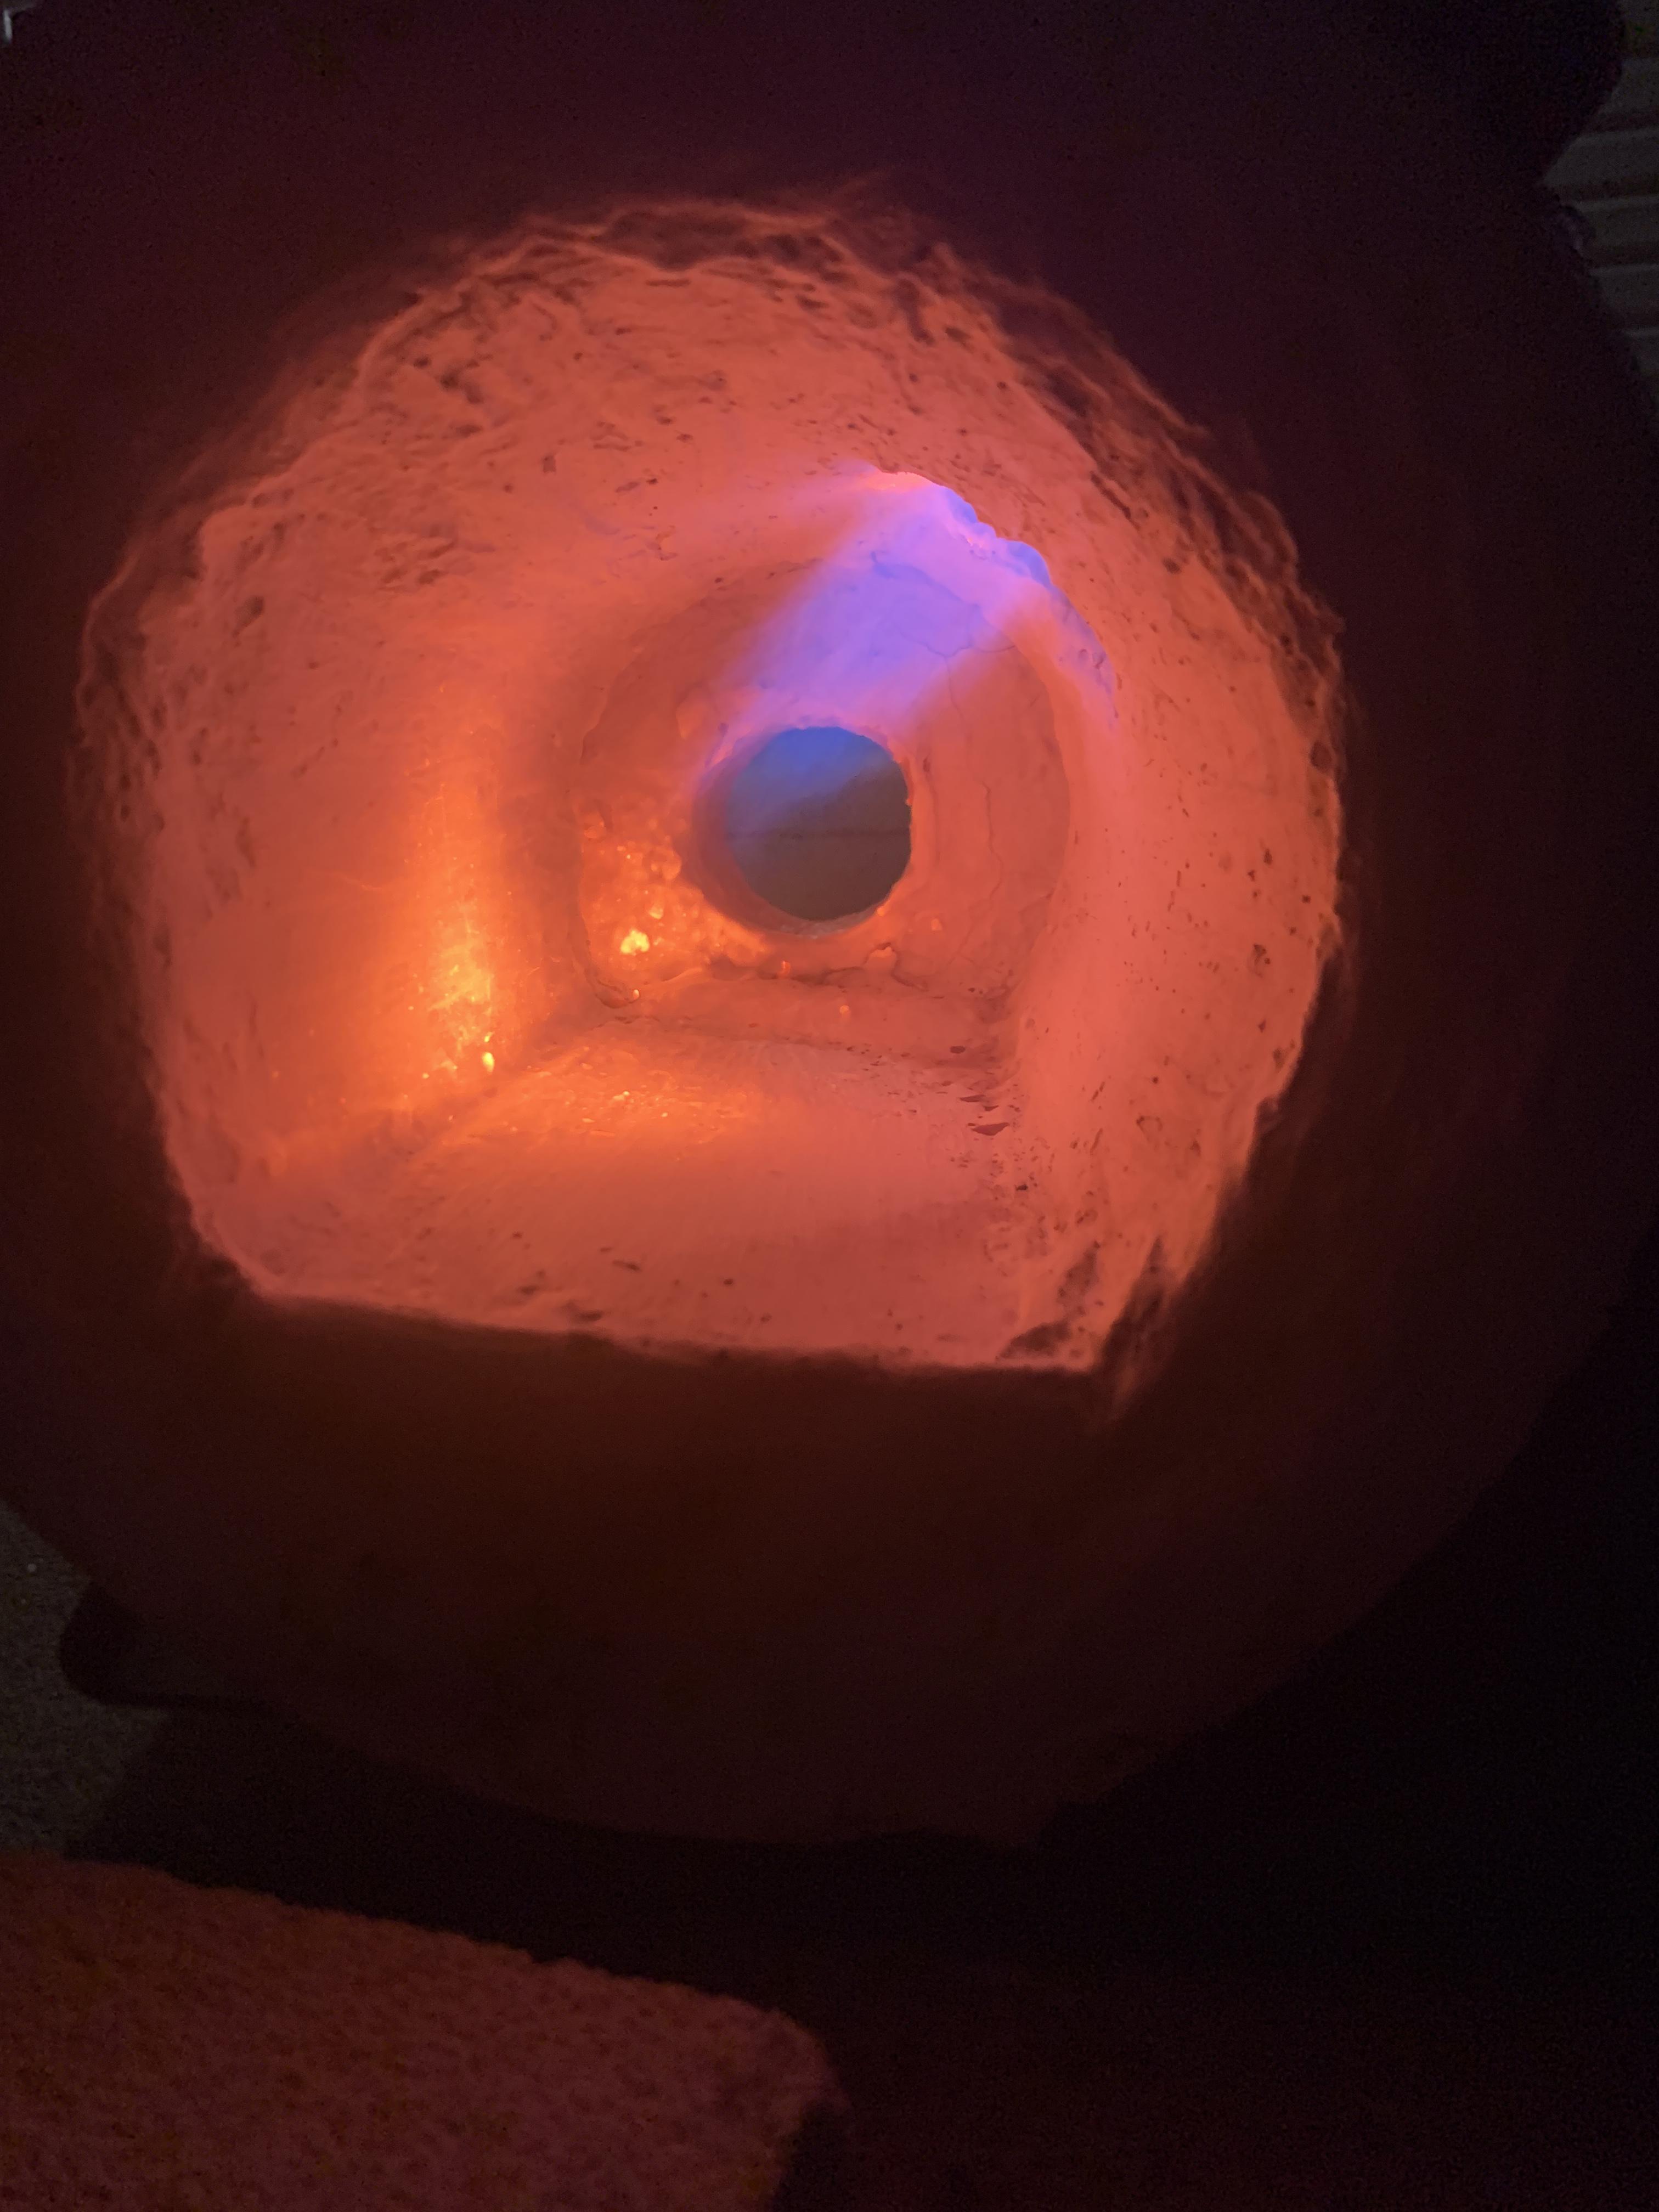
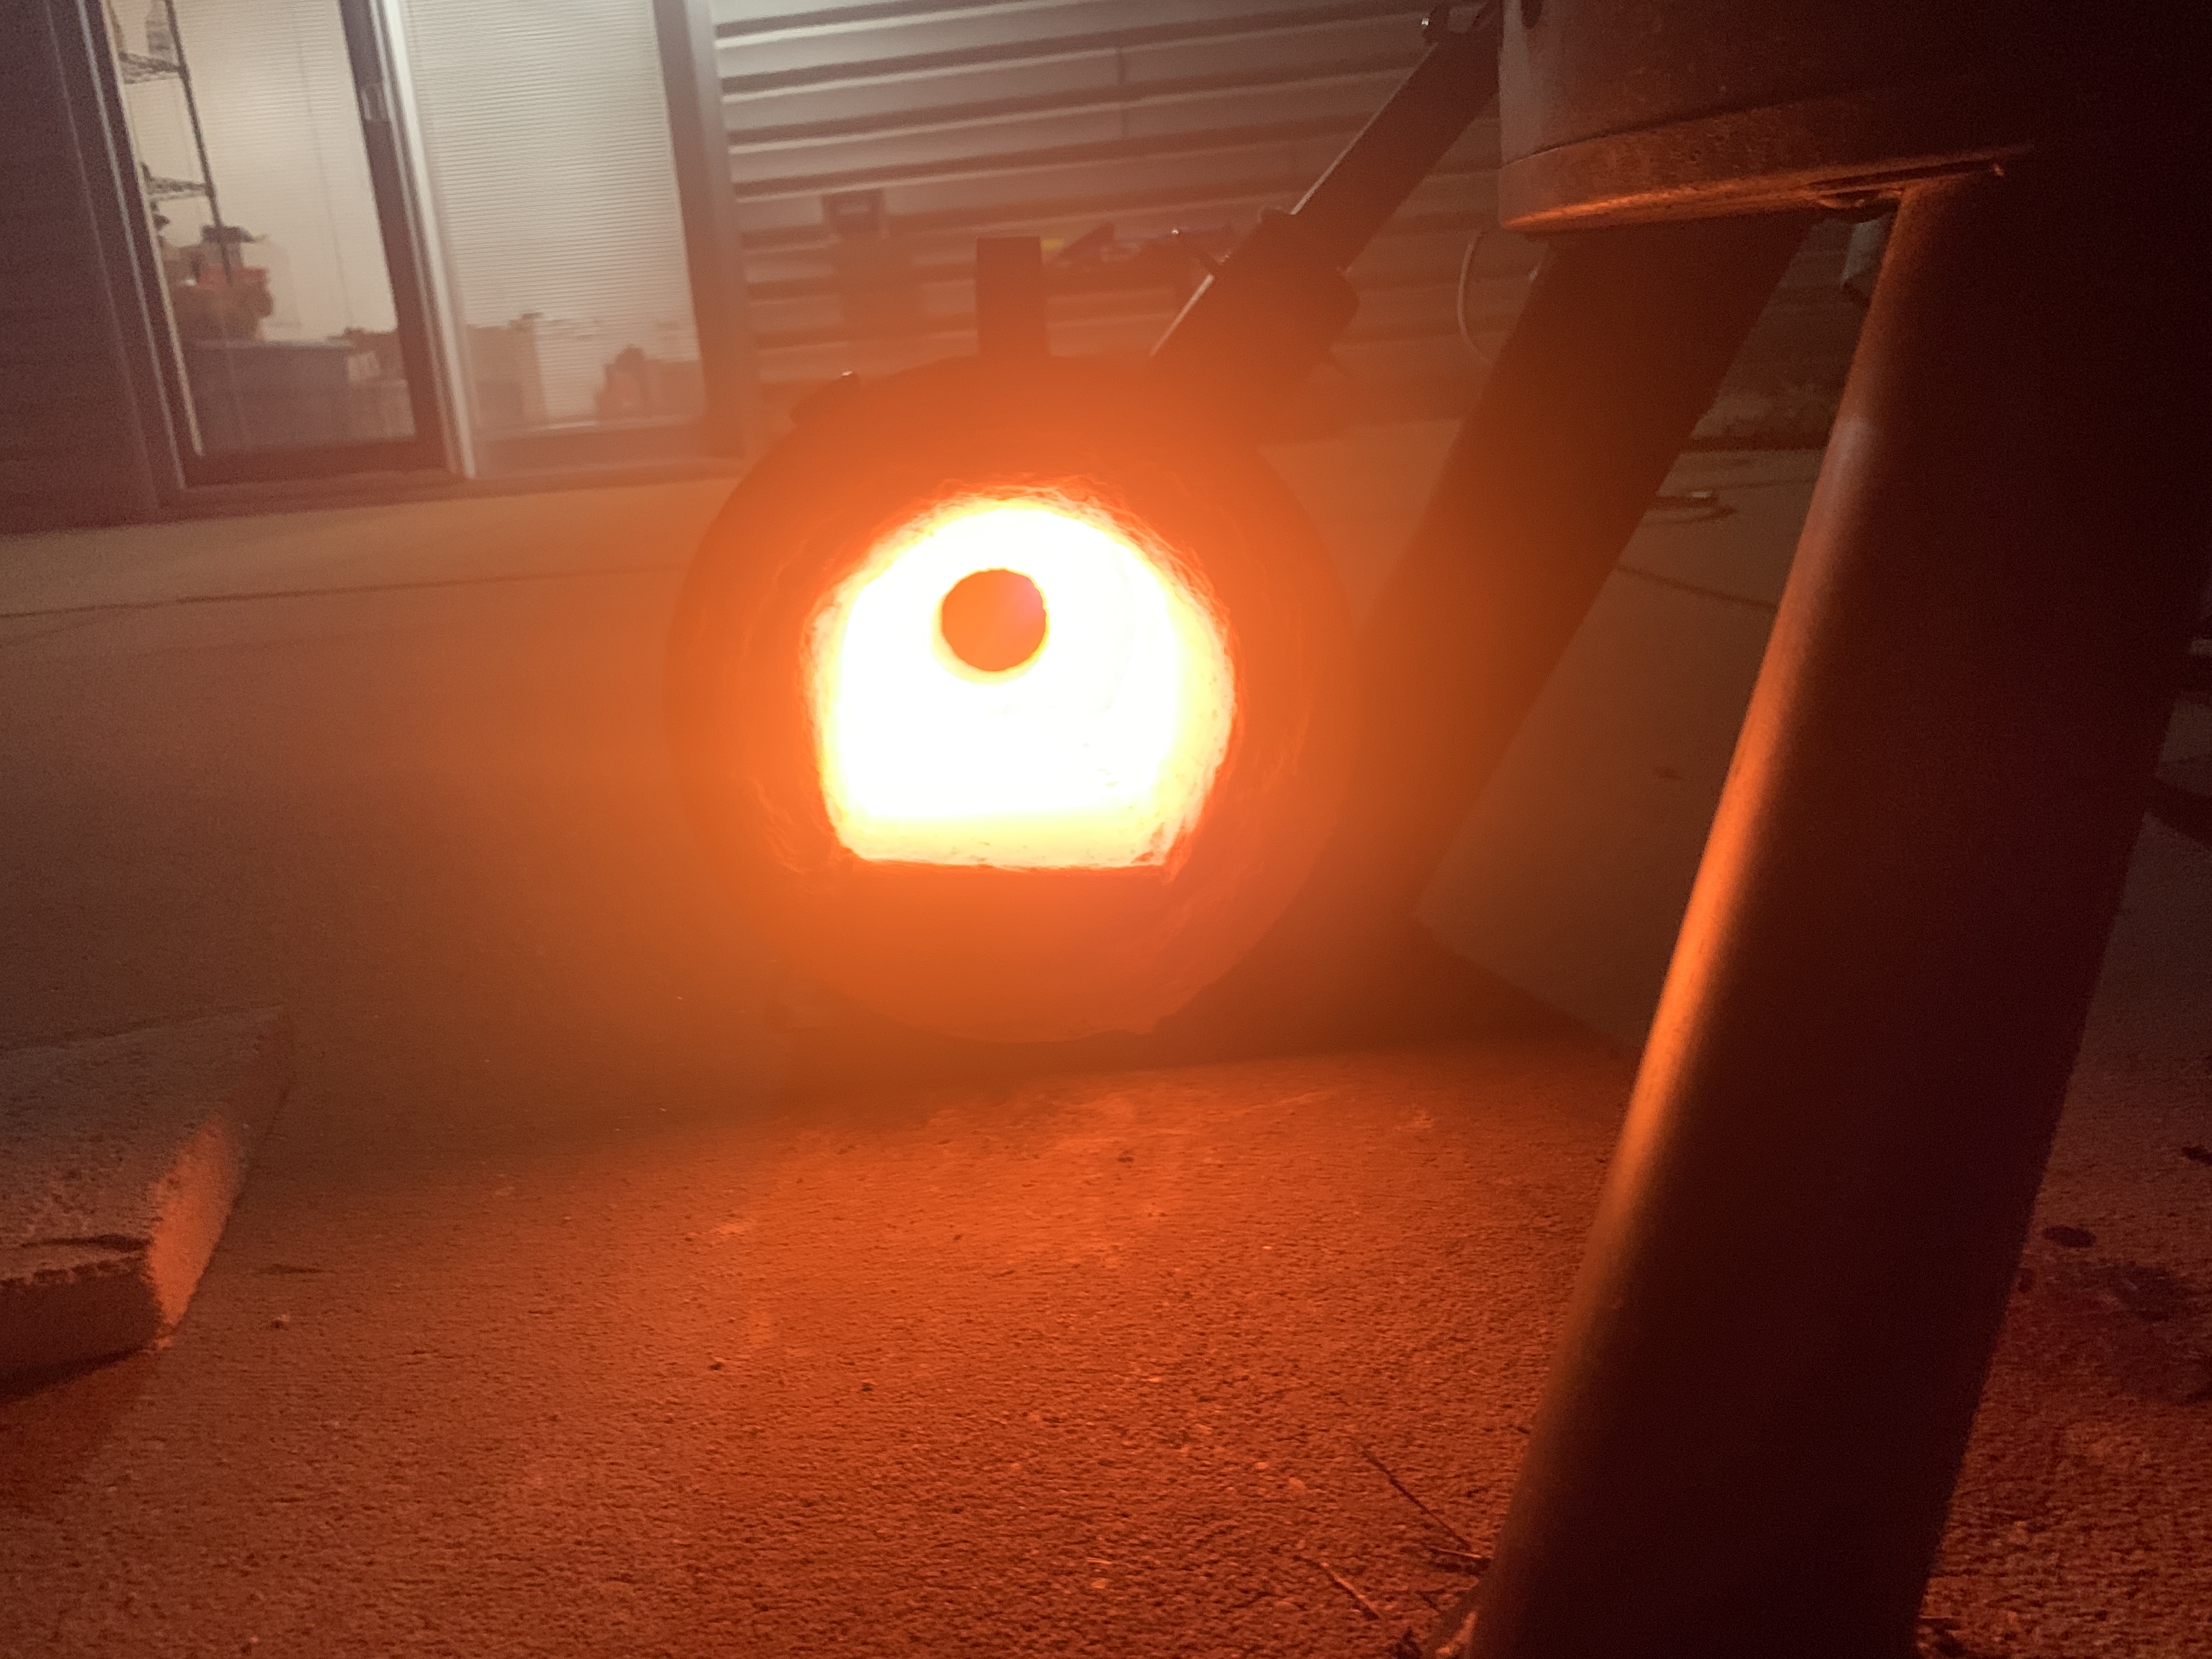
Soooo got all the coatings on and dried up, the flame looks the same to the naked eye albeit a bit brighter, as this picture, and the previous pictures, except when starting up, there’s more flicks of yellow at the edge, until I get to the point where I can open the choke. At which point it turns to picture 1. My 90% zircopax mixture seems to be working, as evidenced by the second two pictures after I turned the forge off. Note the second has not been “light-adjusted” by the camera, the first has so I can see hot spots, looks like I still need to adjust flame location, to get a better swirl. It’s definitely reradiating heat though, which is promising. Hopefully I can get to welding temp ( first forge/ burner, so I have no idea what that looks like) the burner seems to run well as low as 5psi below which point I hear it start to waver. It smoothly runs well up through 20psi, with little change in flame character. All in all, I think I have a decent first forge to learn some bladesmithing on. But first, I’ll try some leaves.

-
The secret is that my girlfriend and I both want to forge stuff, she tends to be better at fit and finish stuff, while I’m more of the tinker and build type, so I took care of the burner, and general construction plans, and she did the execution on the forge, cutting the blanket, doing the coatings, etc. Her neatness makes me look absolutely terrible. You can tell who did which part. As you can tell I still have no idea how the flame turned out so unexpectedly, because with how bad the build was going, I thought it was gonna be terrible, I almost gave up and bought a forge after my first few cuts didn’t go to plan. The aforementioned girlfriend convinced me to keep going, so I finished it, then posted it here all while telling her “time to get some hard criticism and regret posting this, based on Mikeys post history, I’m gonna get an earful.”
-
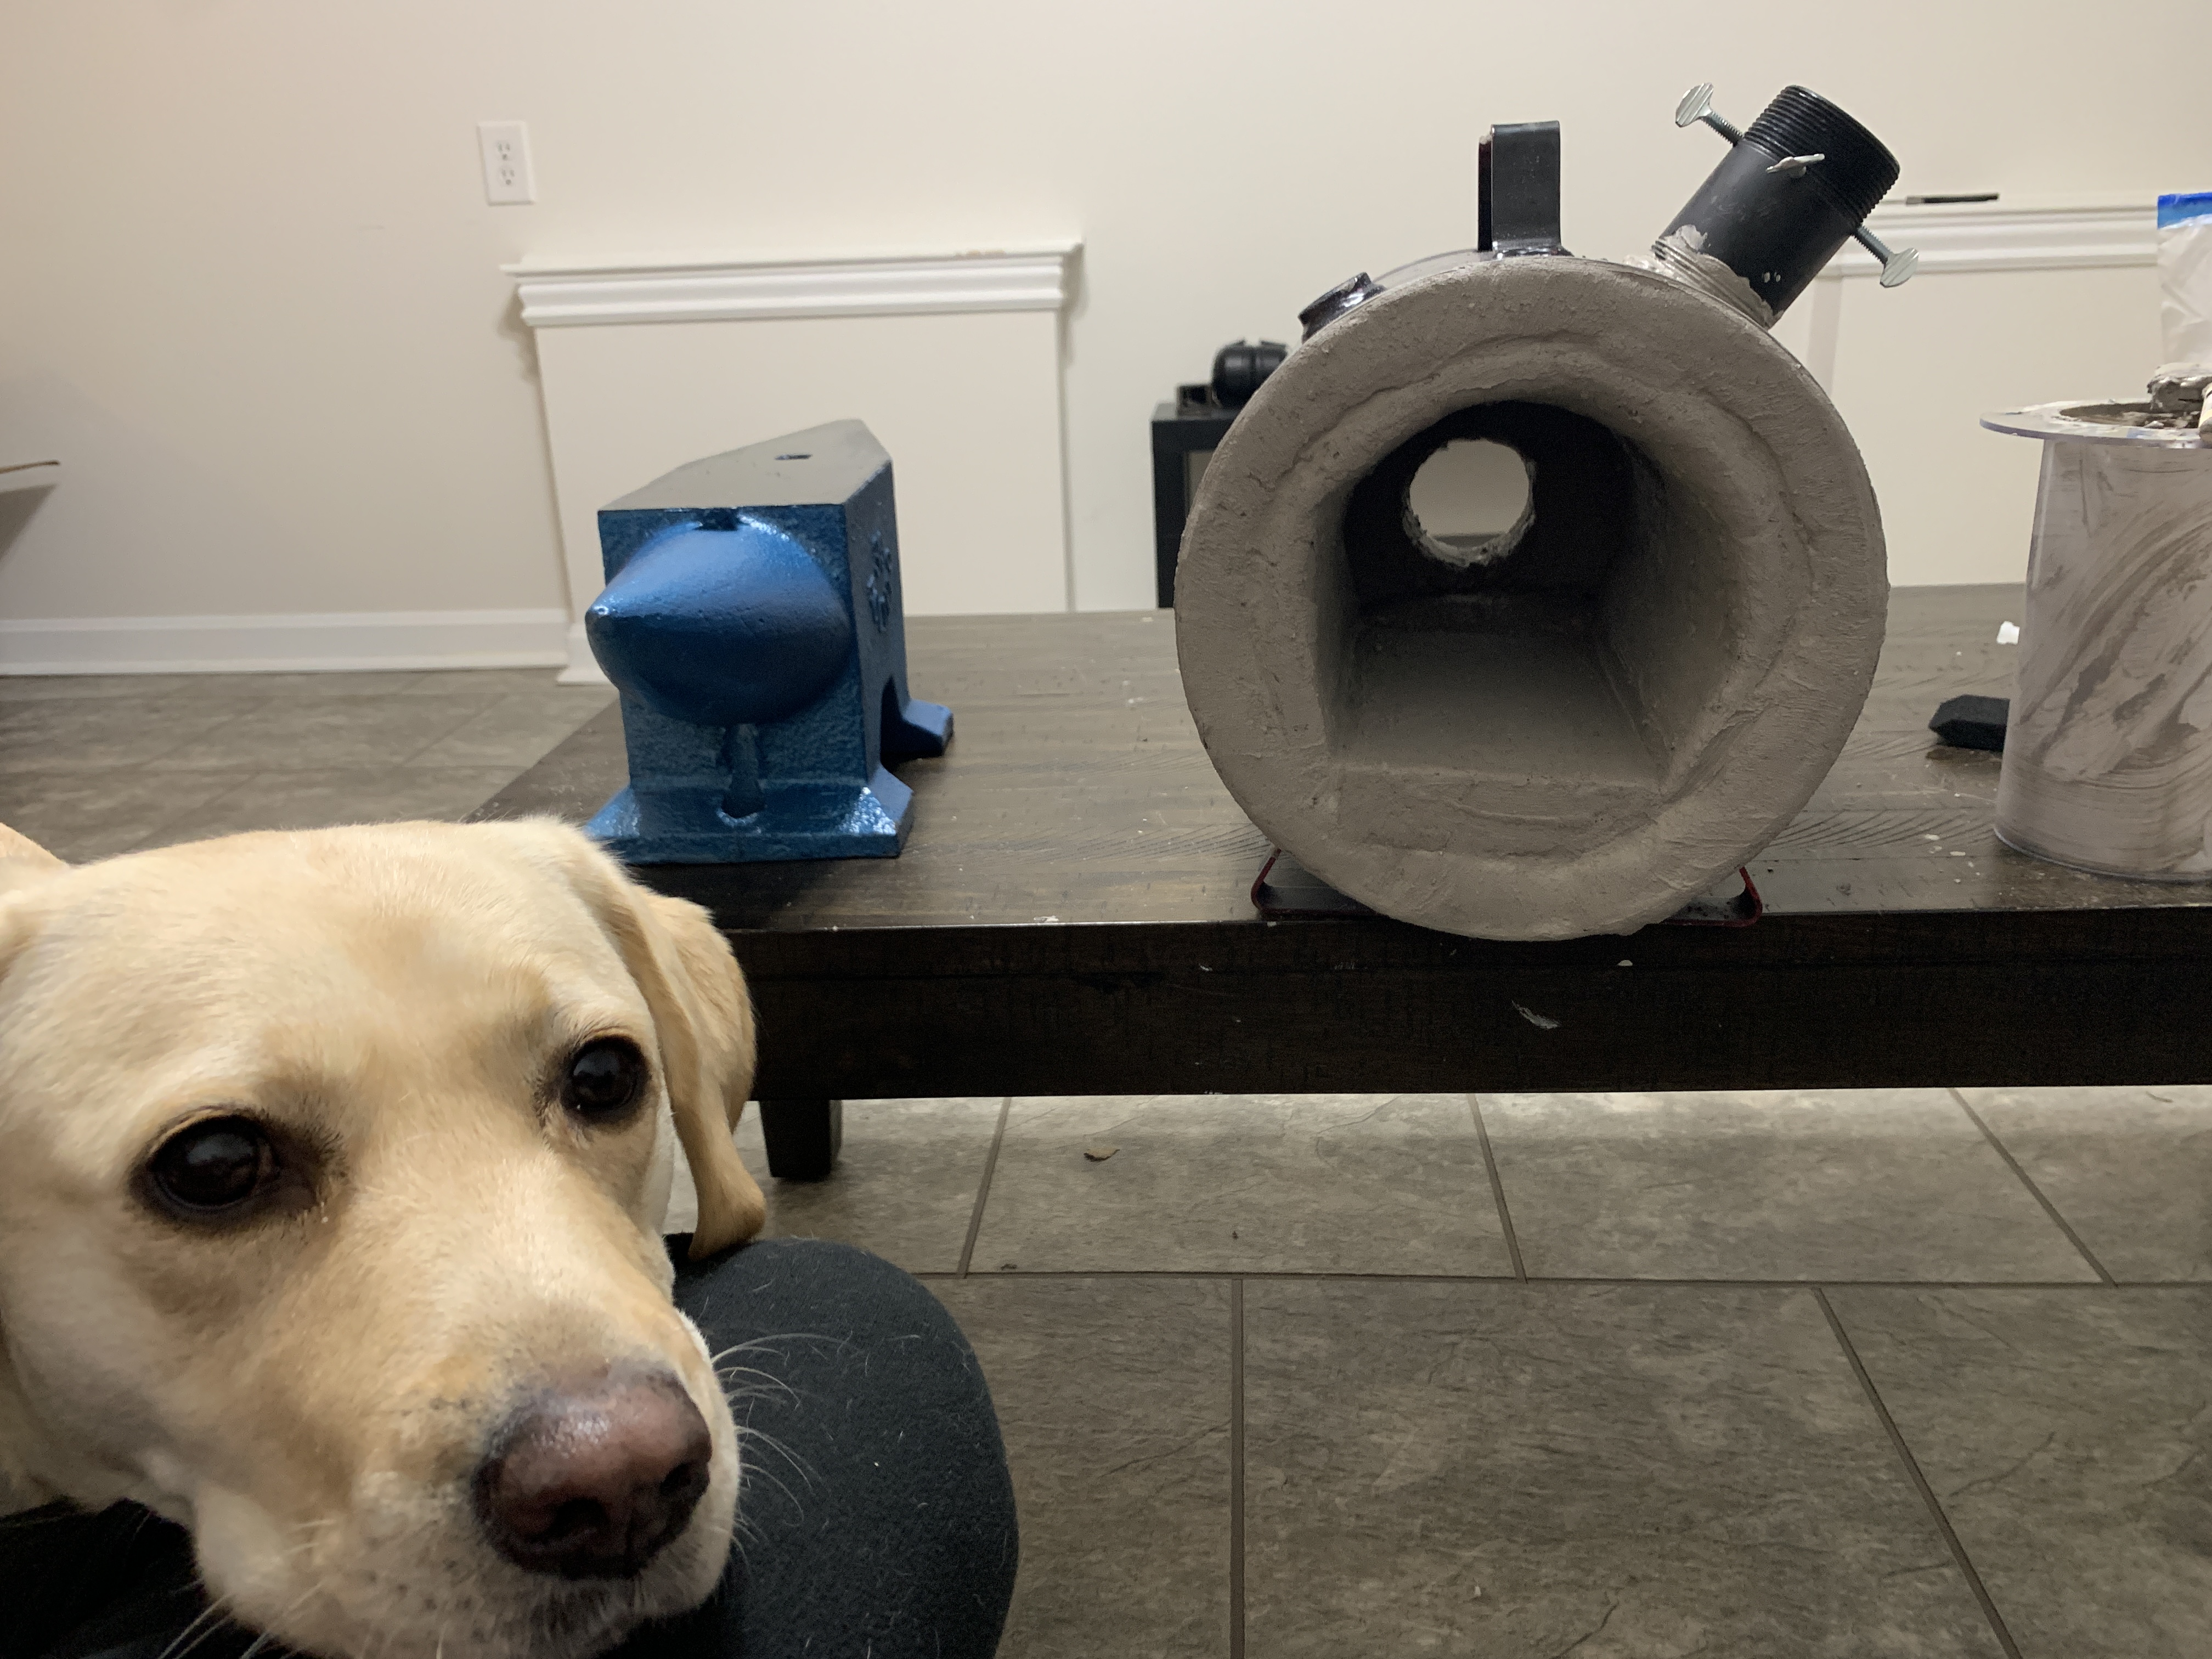
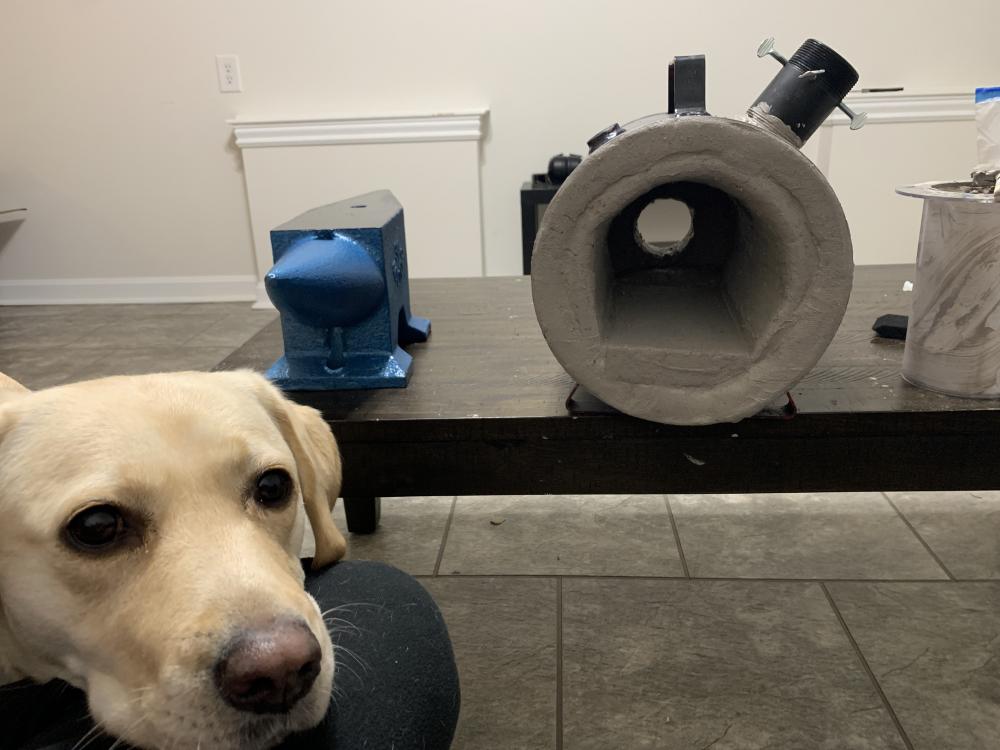
That’s Naga, she’s a big baby, if she could be attached to us at the hip she would be. Fortunately troubleshooting is part of my job, as is documentation, and it seems to carry over into my hobbys, which seems to help when I run into issues. I’ll have it up to temp today, going to cure and dry the satanite with a heat gun, then do a full heat and cool cycle, then add my zircopax-wash and repeat.
-
Alright - let’s tell a story! So I started to make the gas accelerator from the advanced Mikey burner, but had no luck, my brazing skills are... subpar at best. So I ran out to Home Depot and found that a 1/8” mnpt to mnpt coupler had the right ID to tap with 1/4-28 for my mig tip (.6mm) so I grabbed on of those and a 1/8” fnpt to fnpt coupler and connected it to my 4” x 1/8” pipe nipple, and angle ground the accelerator as smooth as I could get it (you see the pics - not great) after reading a bunch of your posts. For my burner body I drilled 1/2” inch holes into my the 3/4” pipe nipple, and cleaned up with the angle grinder, then beveled the edges out and in per your instructions. Unfortunately my air slots ended up a bit bigger than intended, there’s much more hole than there is pipe in that spot. As you can see in the images. I let my excitement get the best of me here, and turned on the burner with a step flare to 1”. I could barely open the choke before the flame blew itself out. So then I increased the step using that angle grind and hammer technique to get the 1 1/4” pipe to fit over my 1” spacer. I adjusted that until the flame would reasonably stay lit as I opened the choke, and that’s what you see in “bench test” picture. After the bench test, I cut a little bit off the end of the flare to shorten it a bit, and then played with its position and I was able to open the choke a bit more, but with a very similar flame - so no pictures there. Realized at this point I hadn’t cut the burner body to size, so I did that (approx 7”) - and put it back together, and I ended up with a flame that was better- closer to this color in the center, but a brighter blue (not the glowing white) on the outside. Then I read some more forum posts, and beveled the 1/8” x 3/4” bell to help generate smoother air flow into the burner, and that once again made the inner hollow part bigger but still had the brighter exterior envelope. Finally, I added some aiming screws to the bell to ensure my nozzle was centered, and that seemed to “center” the flame at the end of the burner, and increased the rate at which the choke could open before the flame was blown out, but no changes to color, and there were still two distinct envelopes. Then I popped in the forge, and poof, you have the pictured flame. As an aside, I got the first coat of satanite on.
-
There were bench tests between each change, I just didn’t take pictures, at the end of those, primary flame front was hollow but quite small, and was surrounded by a slightly brighter envelope, with flicks of colors (yellow? Green?) At the the end, but it was nothing like what it looked like when I installed it in the forge. The whole flame became that hollow (to me it’s purple), when the choke is opened, and adjusting the pressure from the regulator, seems to only adjust the intensity, and not the colors or opacity, which is nice. I’m pretty familiar with testing and troubleshooting but not on these sorts of systems, I have a pretty solid record of everything I’ve done though and can describe what each thing did if it gives you any interesting information.
-
Funny enough, between the bench test and the end result, I cut 2” off the end of the mixing pipe get to the length correct. I also cut 1” off the end of my makeshift flare. So maybe that info will help a bit too. Another slight difference is my “flare” , I realized that my 1 1/4” pipe nipple was bigger than expected, so I used an angle grinder to cut ridges into the end, and hammered them to close over the spacer, which coincidentally produced a slightly better taper than just the spacer. Could the not totally sealed ridges which protrude over the spacer, pull in additional air flow around the flame?
-
I attached a photo above, but I’ll re-attach below for some additional information. First is my ugly burner, poor grinding, and drilling technique and all. Second is the Burner working in free air, which I didn’t add earlier, but may give you some insight into whatever I was able to screw up so successfully.