LonelyIsle
-
Posts
34 -
Joined
-
Last visited
Content Type
Profiles
Forums
Articles
Gallery
Downloads
Events
Everything posted by LonelyIsle
-
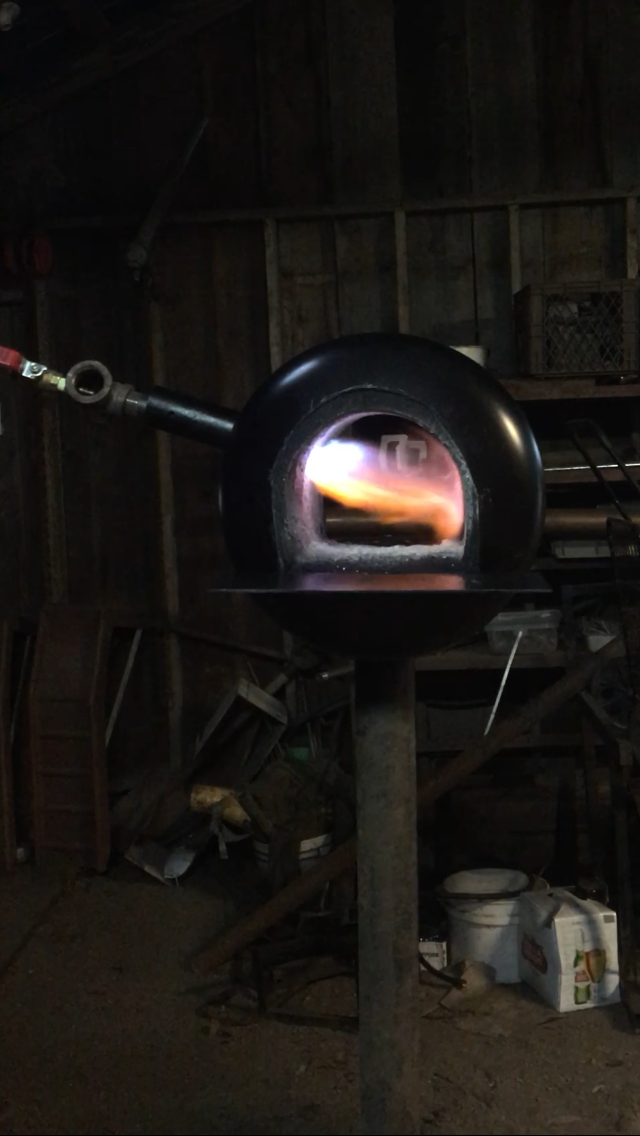
No worries, probably would have cleared the confusion if I’d have taken a photo of the front of the forge ill be buying extra fittings once I finally get to town. Since the video didn’t work here are a couple stills to show the flame I had when I was testing. There was a slight obstruction to the flare that I’ve since fixed but I feel it may need to be tuned still.


-
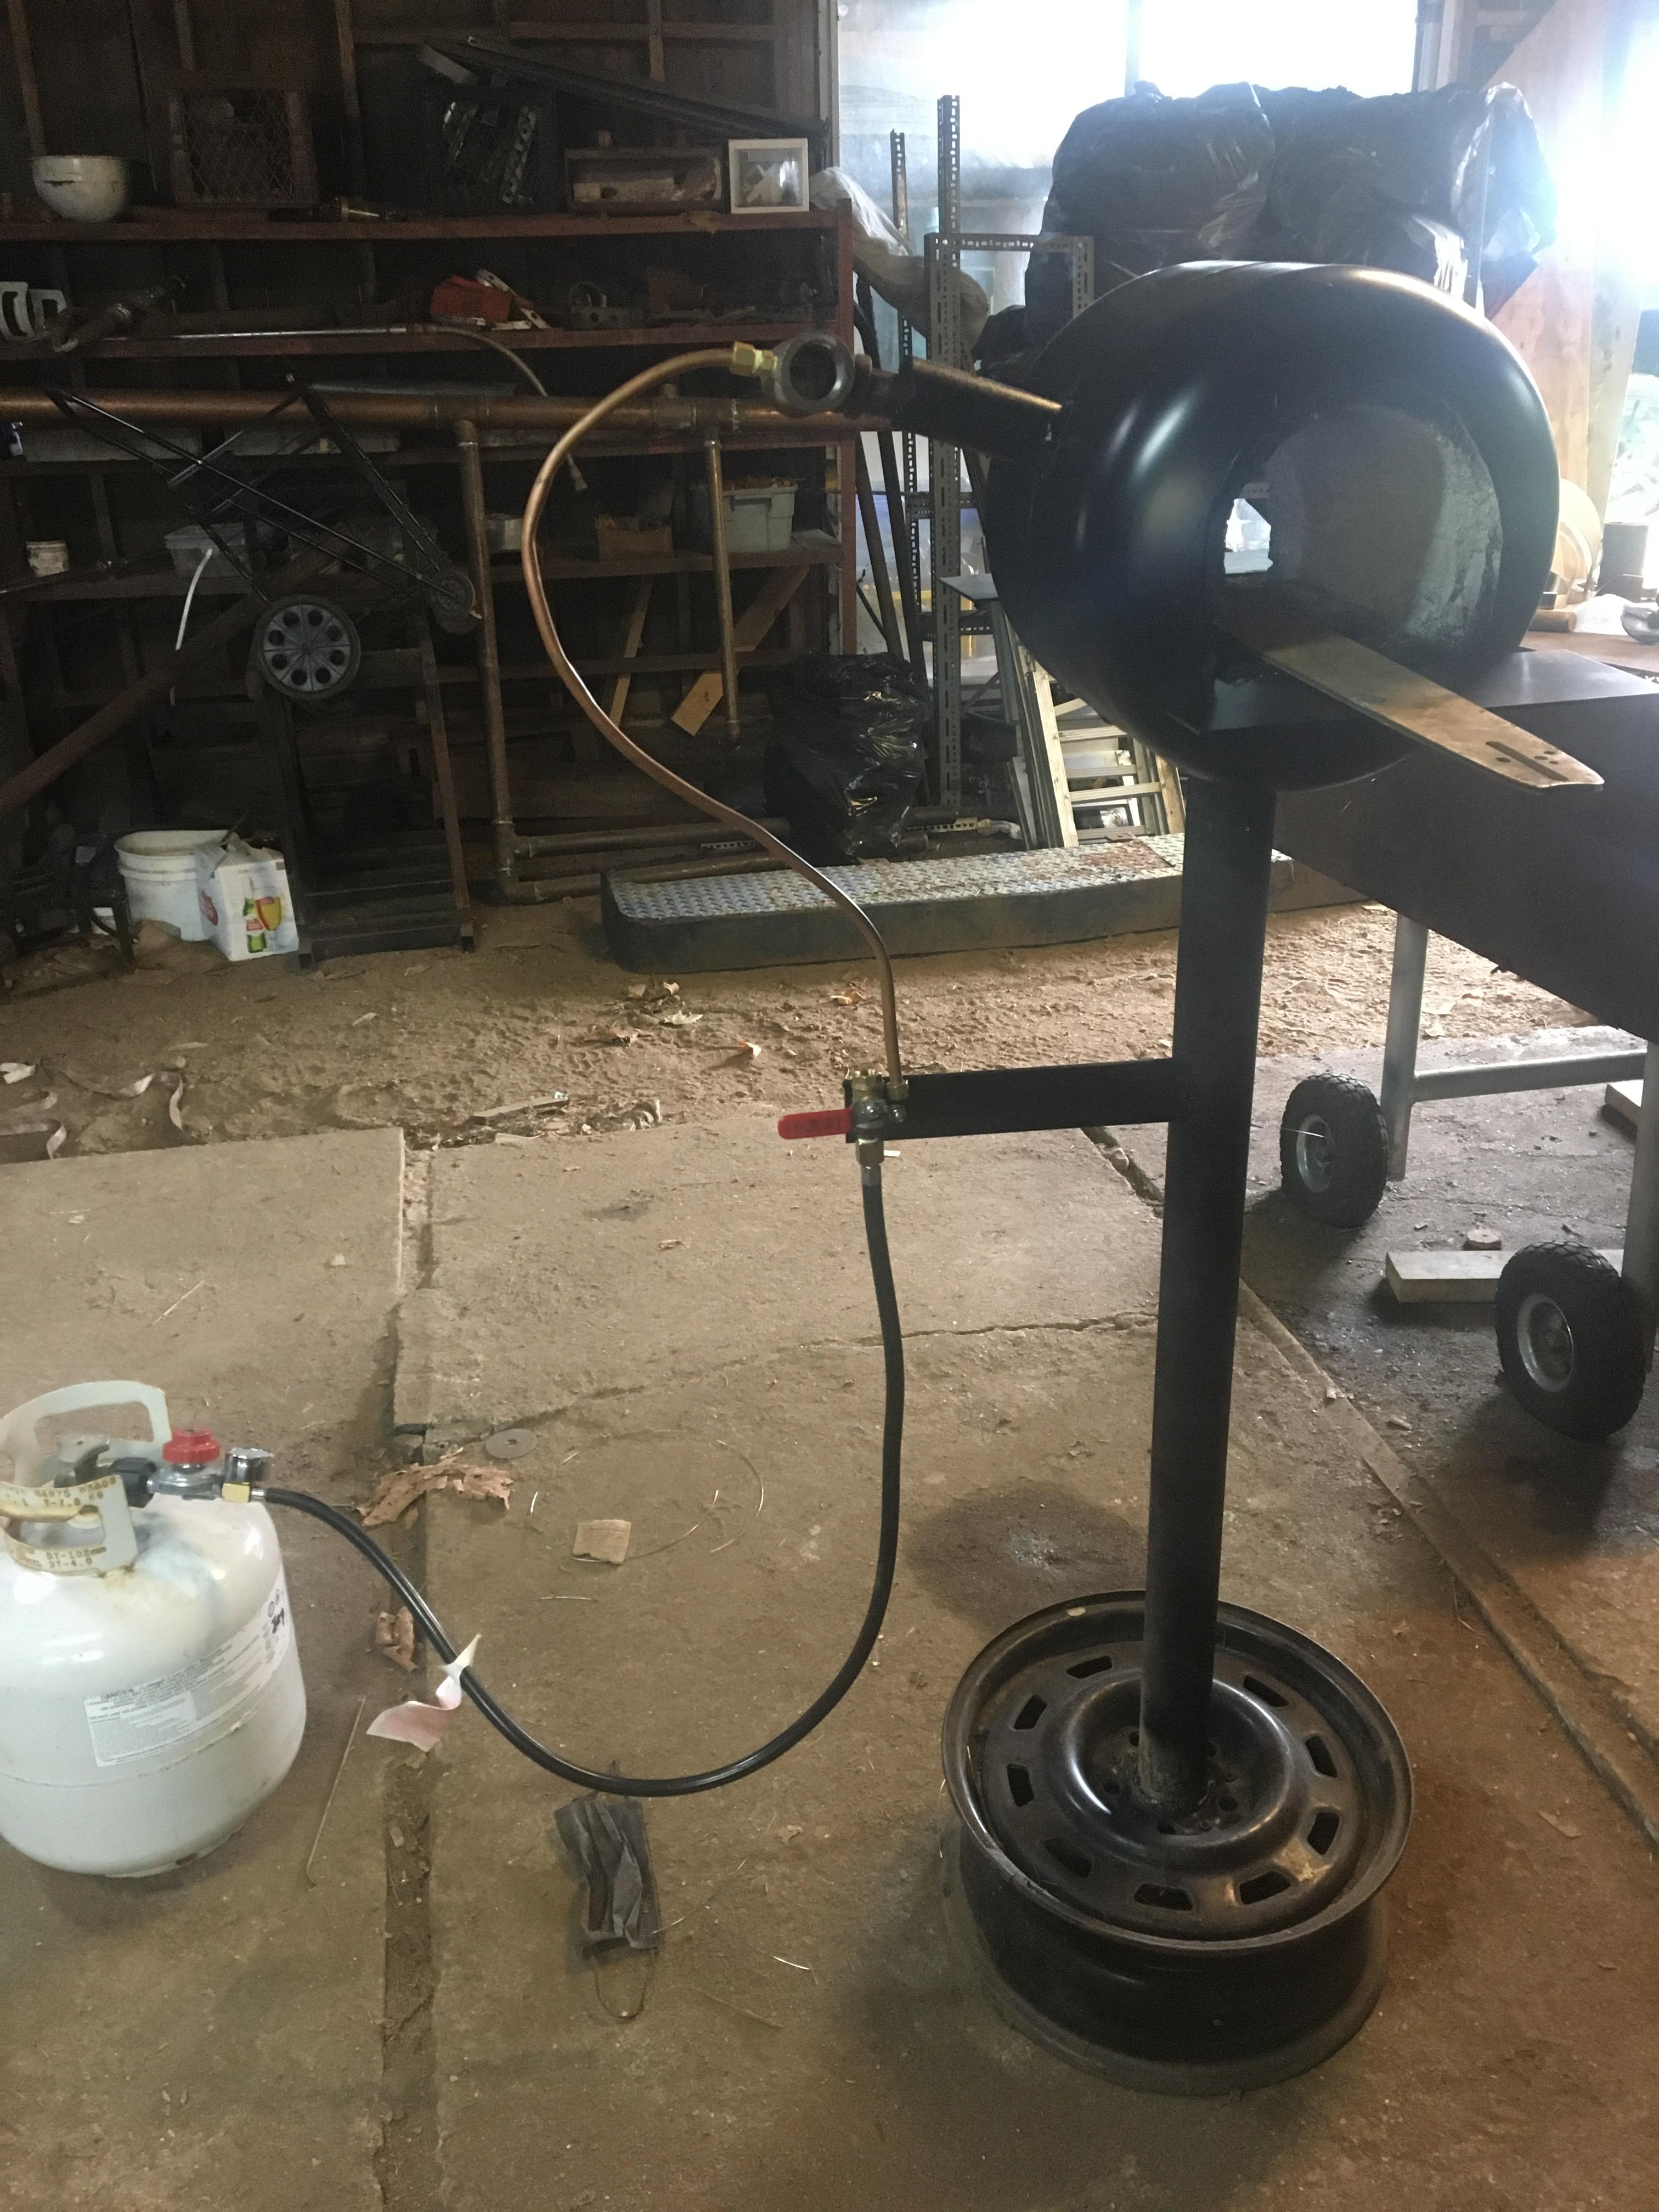
I honestly do appreciate all the advice I've gotten from everyone on this site, especially the burner help Frosty. I apologize if I am coming across as argumentative or difficult but was just trying to explain what I was trying to say in my first post. You cannot see it in the picture but there is a ball valve on the back side of the piece of metal that is coming off the side of my stand(Where the rubber and copper meet). I only have one valve in the circuit and it goes Tank--Regulator--Rubber--Valve--Copper--Burner. There is something in the background that makes it appear like there is a valve on the burner but there is not. In the video I posted (which I'm not sure if it worked) I have the ball valve attached to the Burner but I was only doing that for a test. Thank you again for all the advice, I value the suggestions you have made I just didn't think I had relayed my information properly. I think I see what your saying about moving the valve back in the circuit but it is female female on the valve I just don't see How I can do it other than removing the ball valve from the circuit and going directly from rubber to copper. (Which come to think of it would probably work until I get my other piece) I live on a small Island and try to plan town trips once ever week or two, so as badly as I want to get it working this weekend I need to wait until sometime next week because I cannot justify the price of taking the ferry and going to town when I have to go on Tuesday anyways. I'm just annoyed with myself for forgetting something so small.
-
I don’t think I explained myself very well. Sorry for the confusion, I only had the ball valve on the burner during my test before I welded the stand together. You’ve explained to me the error of having too much junk on the burner somewhere earlier in this thread when I almost did just that lol. The ball valve is now mounted on the stand where the copper and rubber meet. What I need is the 3/8 male/male fitting from the flared end of my copper pipe to my ball valve.
-
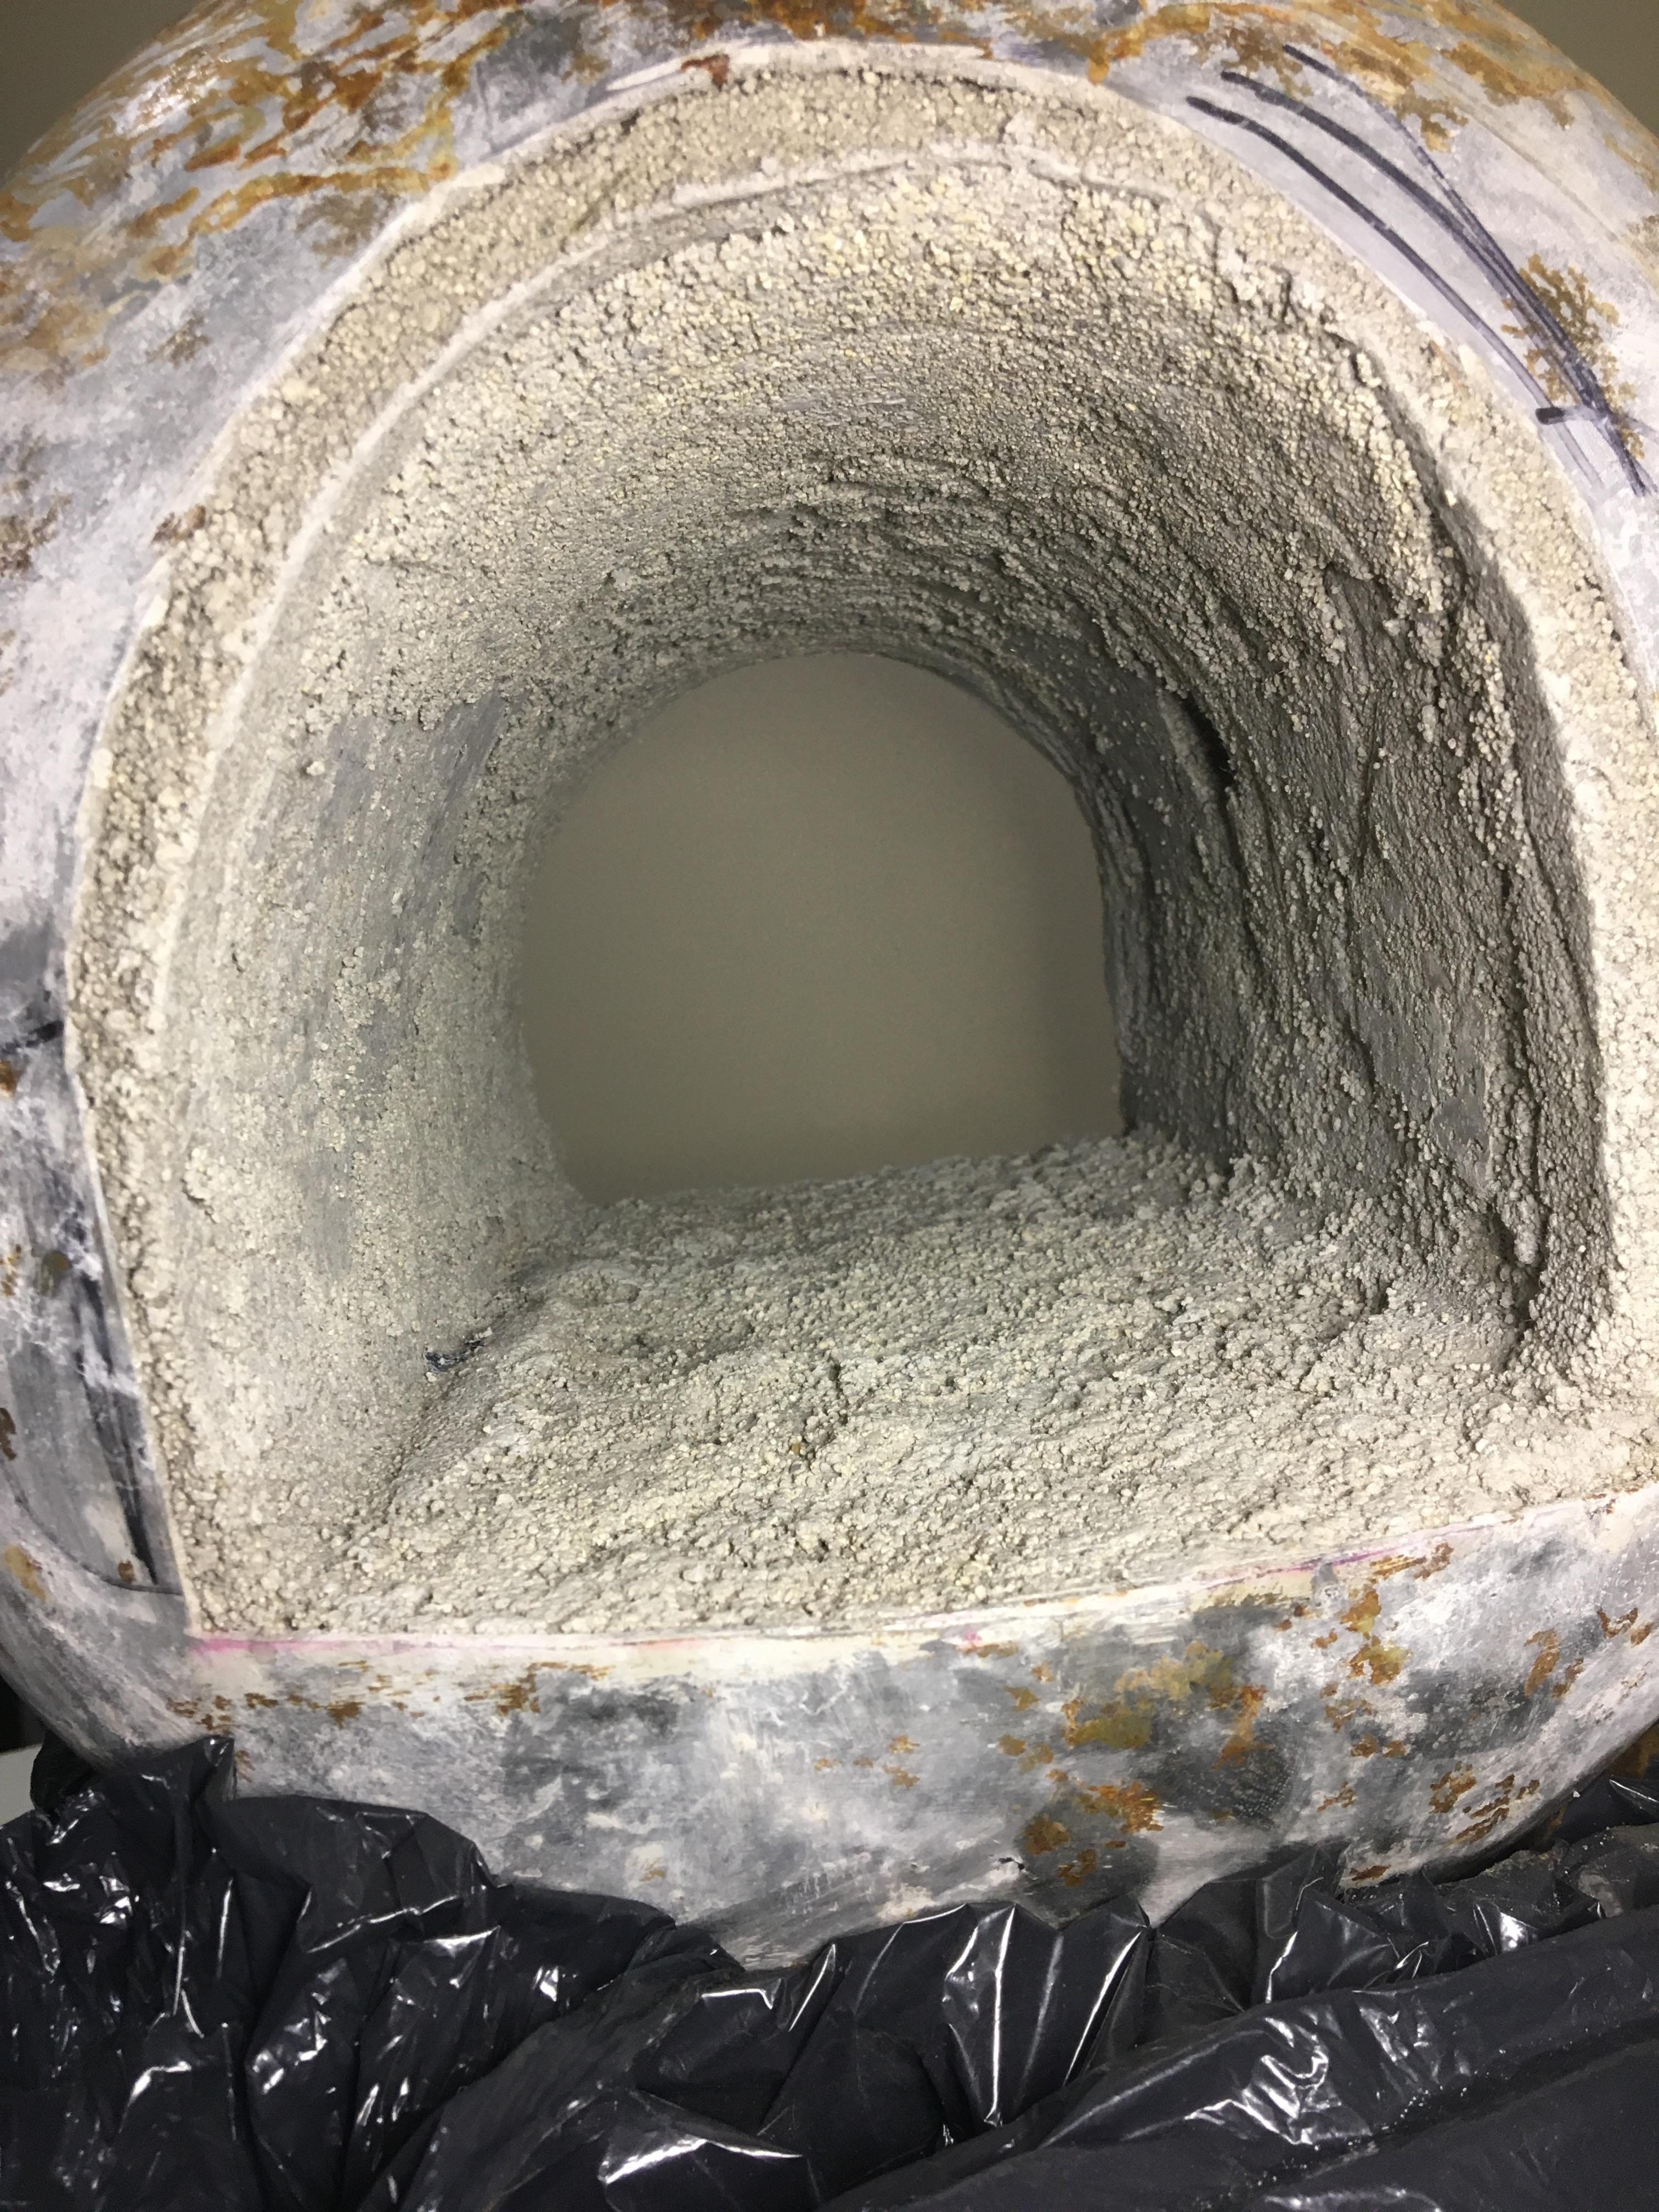
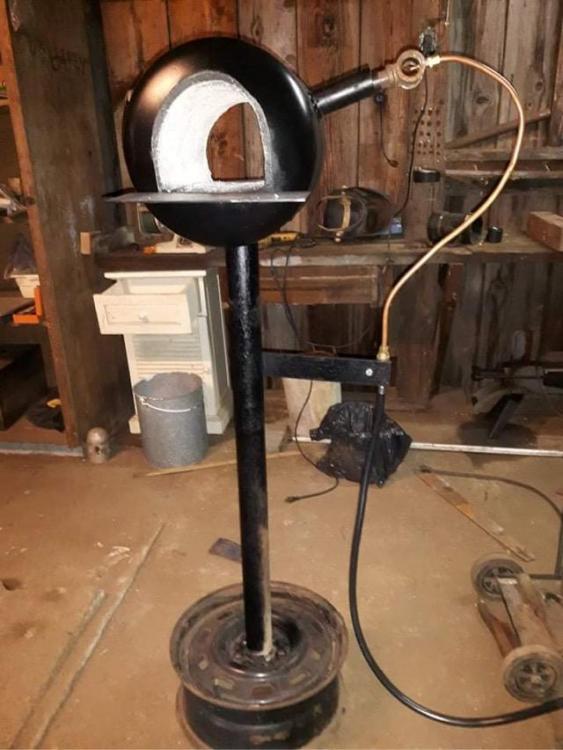
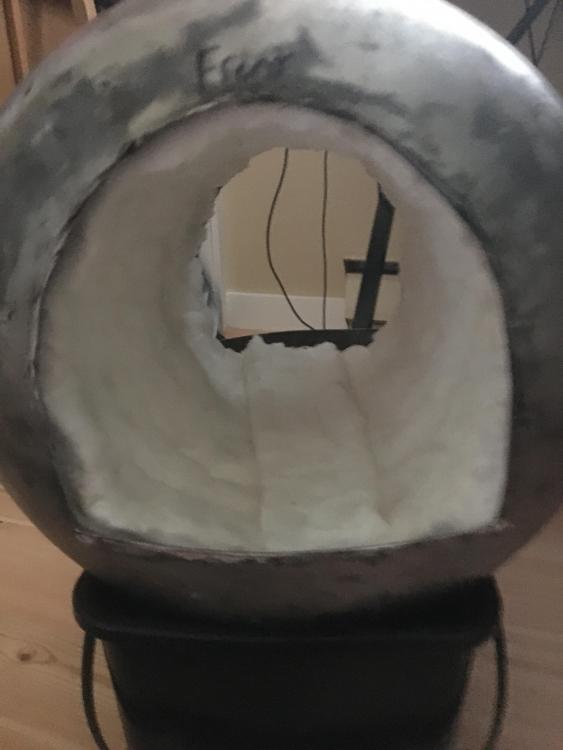
Yes I did when I was mocking it up. I need to finish tuning it but didn’t realize I was 1 piece short until I went to hook it up with the copper. I’m just missing the Flare fitting so I can hook the ball valve to my copper. I shaped my Kastolite into my Burner Flare. IMG_3659.MOV Here is a vid of one of the test runs. At the time there was a little obstruction in the hole for the burner/flare but I believe I’ve fixed that part of it. I do believe it may need to be tuned a little better though still.
-
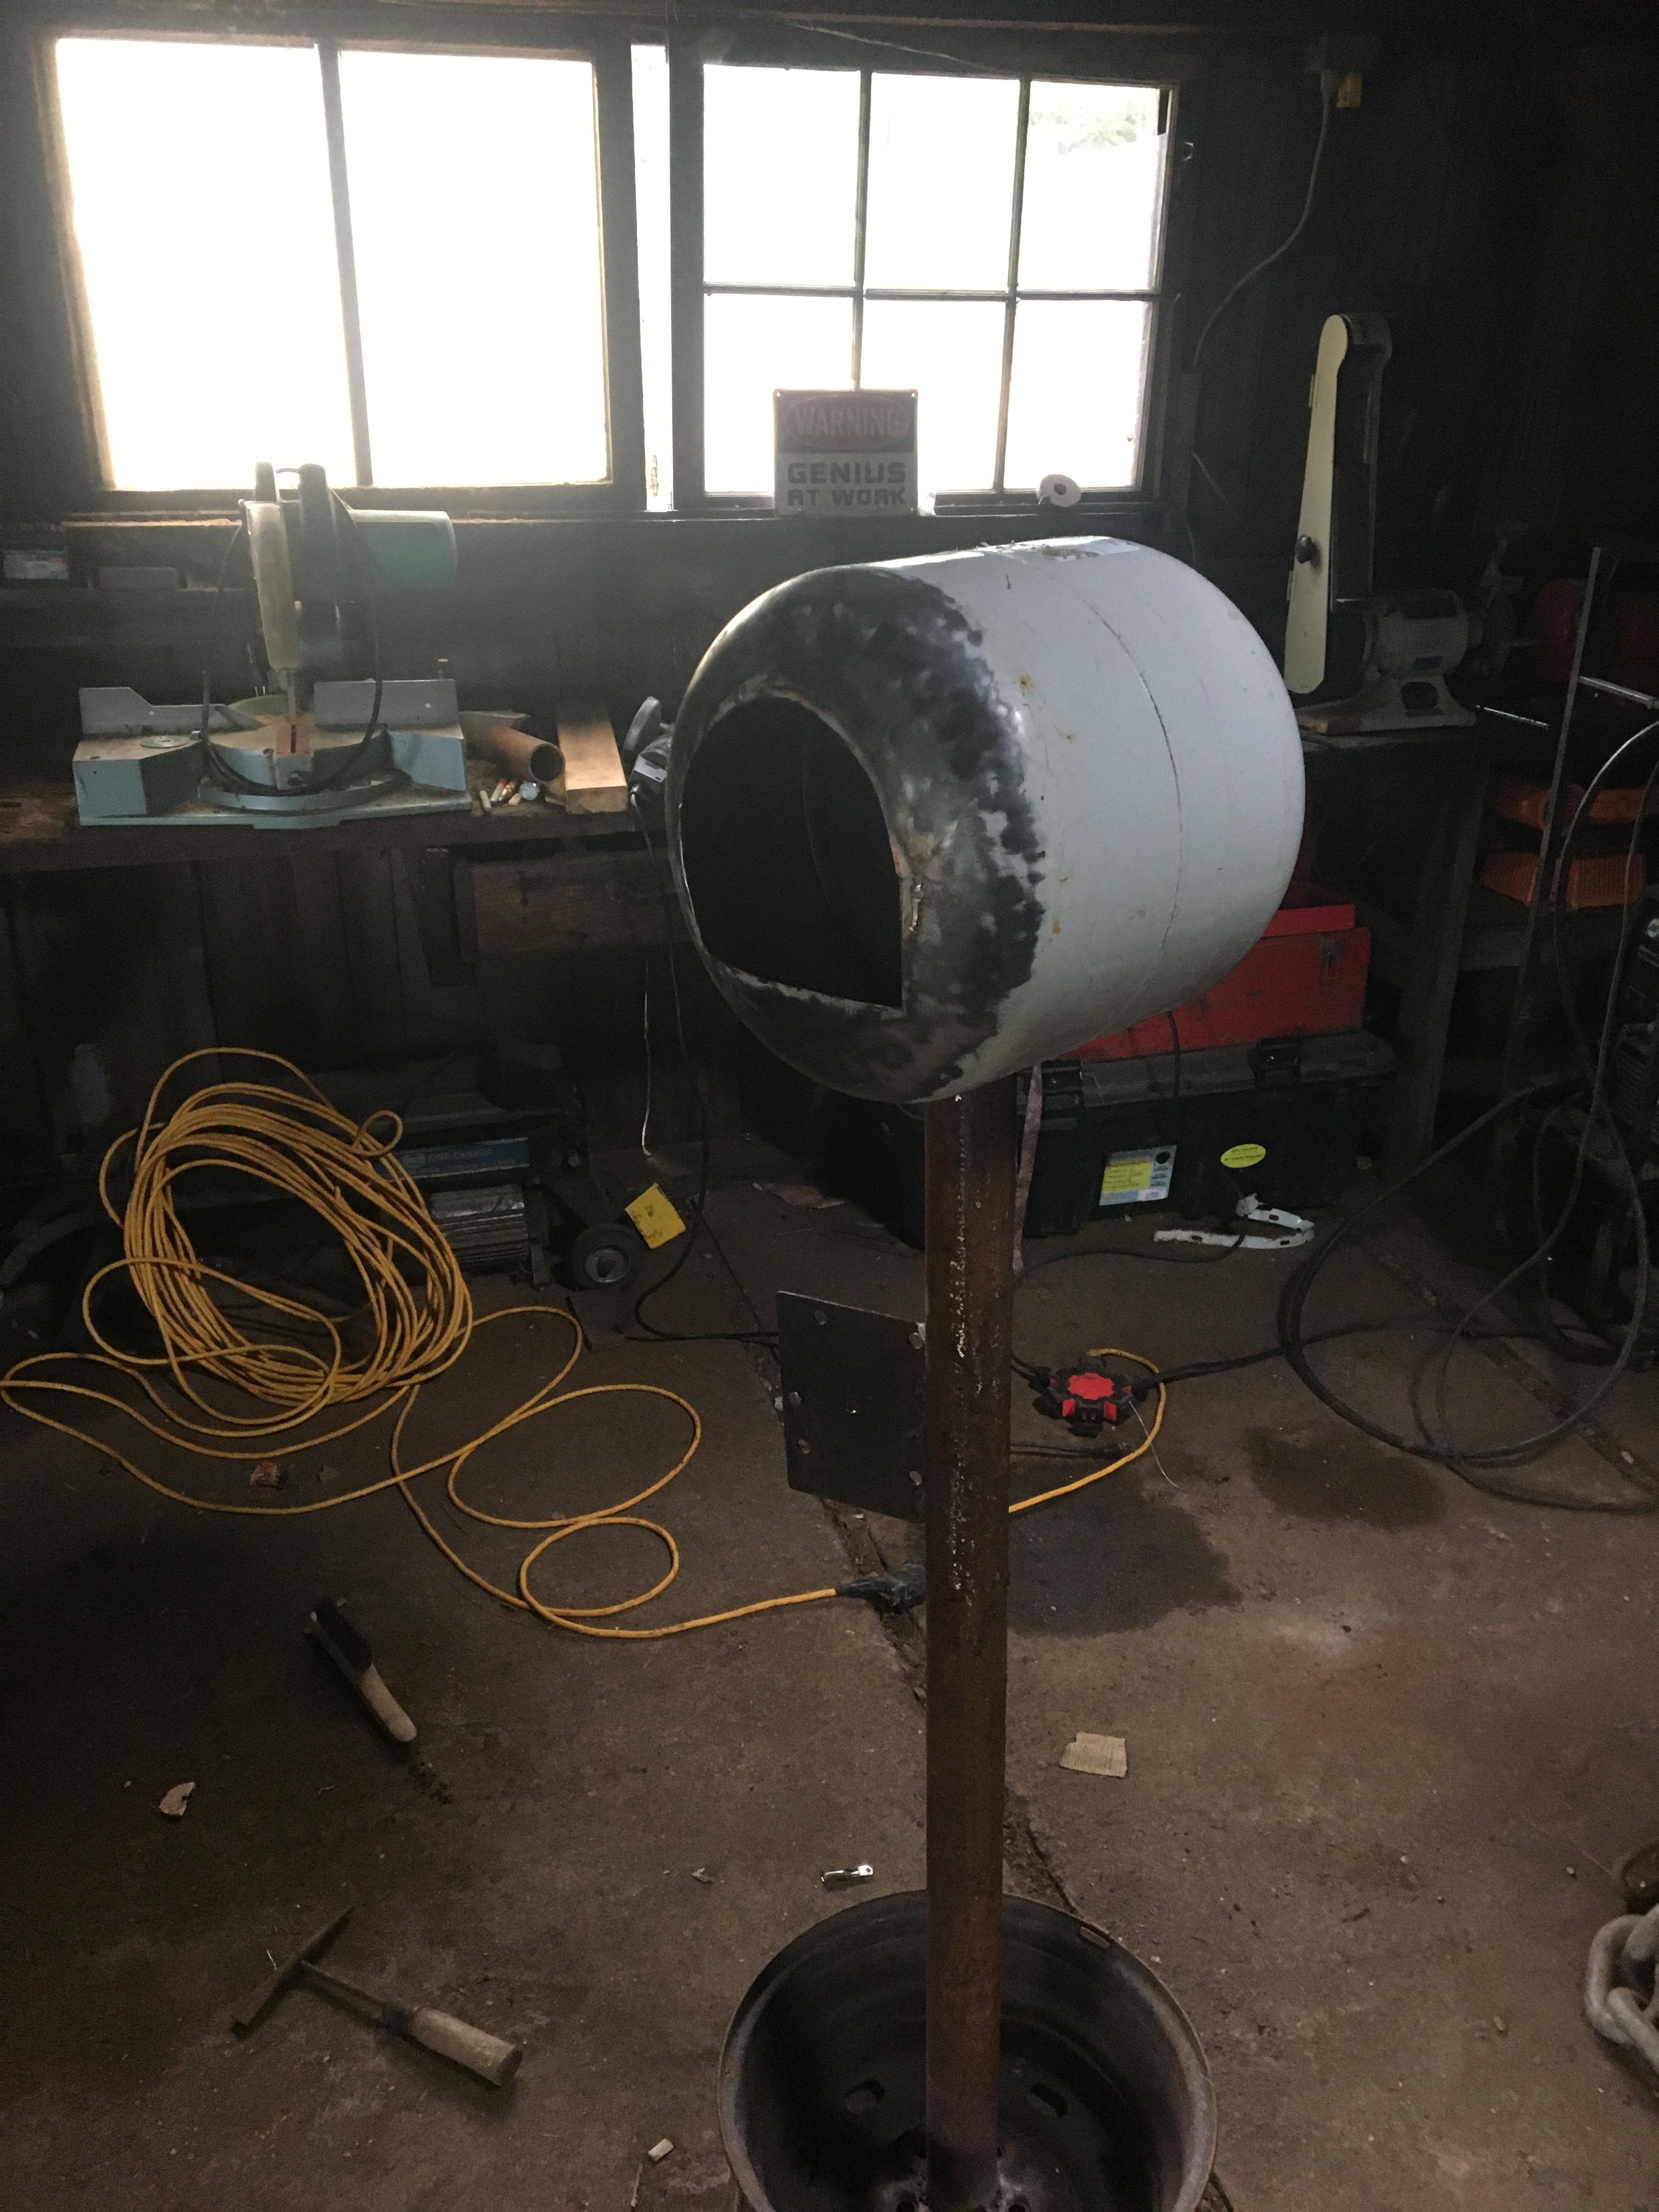
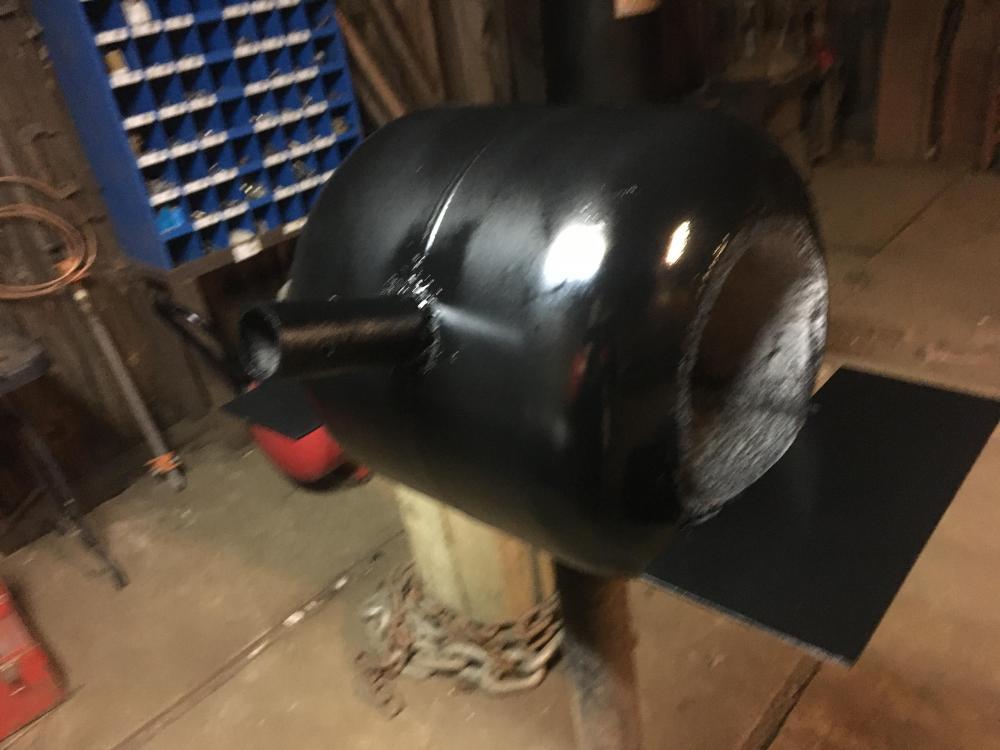
So I got the welding done and fitting everything up now I just gotta finish tuning the burner. Only problem is I live on a small island I’m missin the fitting from the ball valve to to the flare fitting. Just one more trip to town…
-
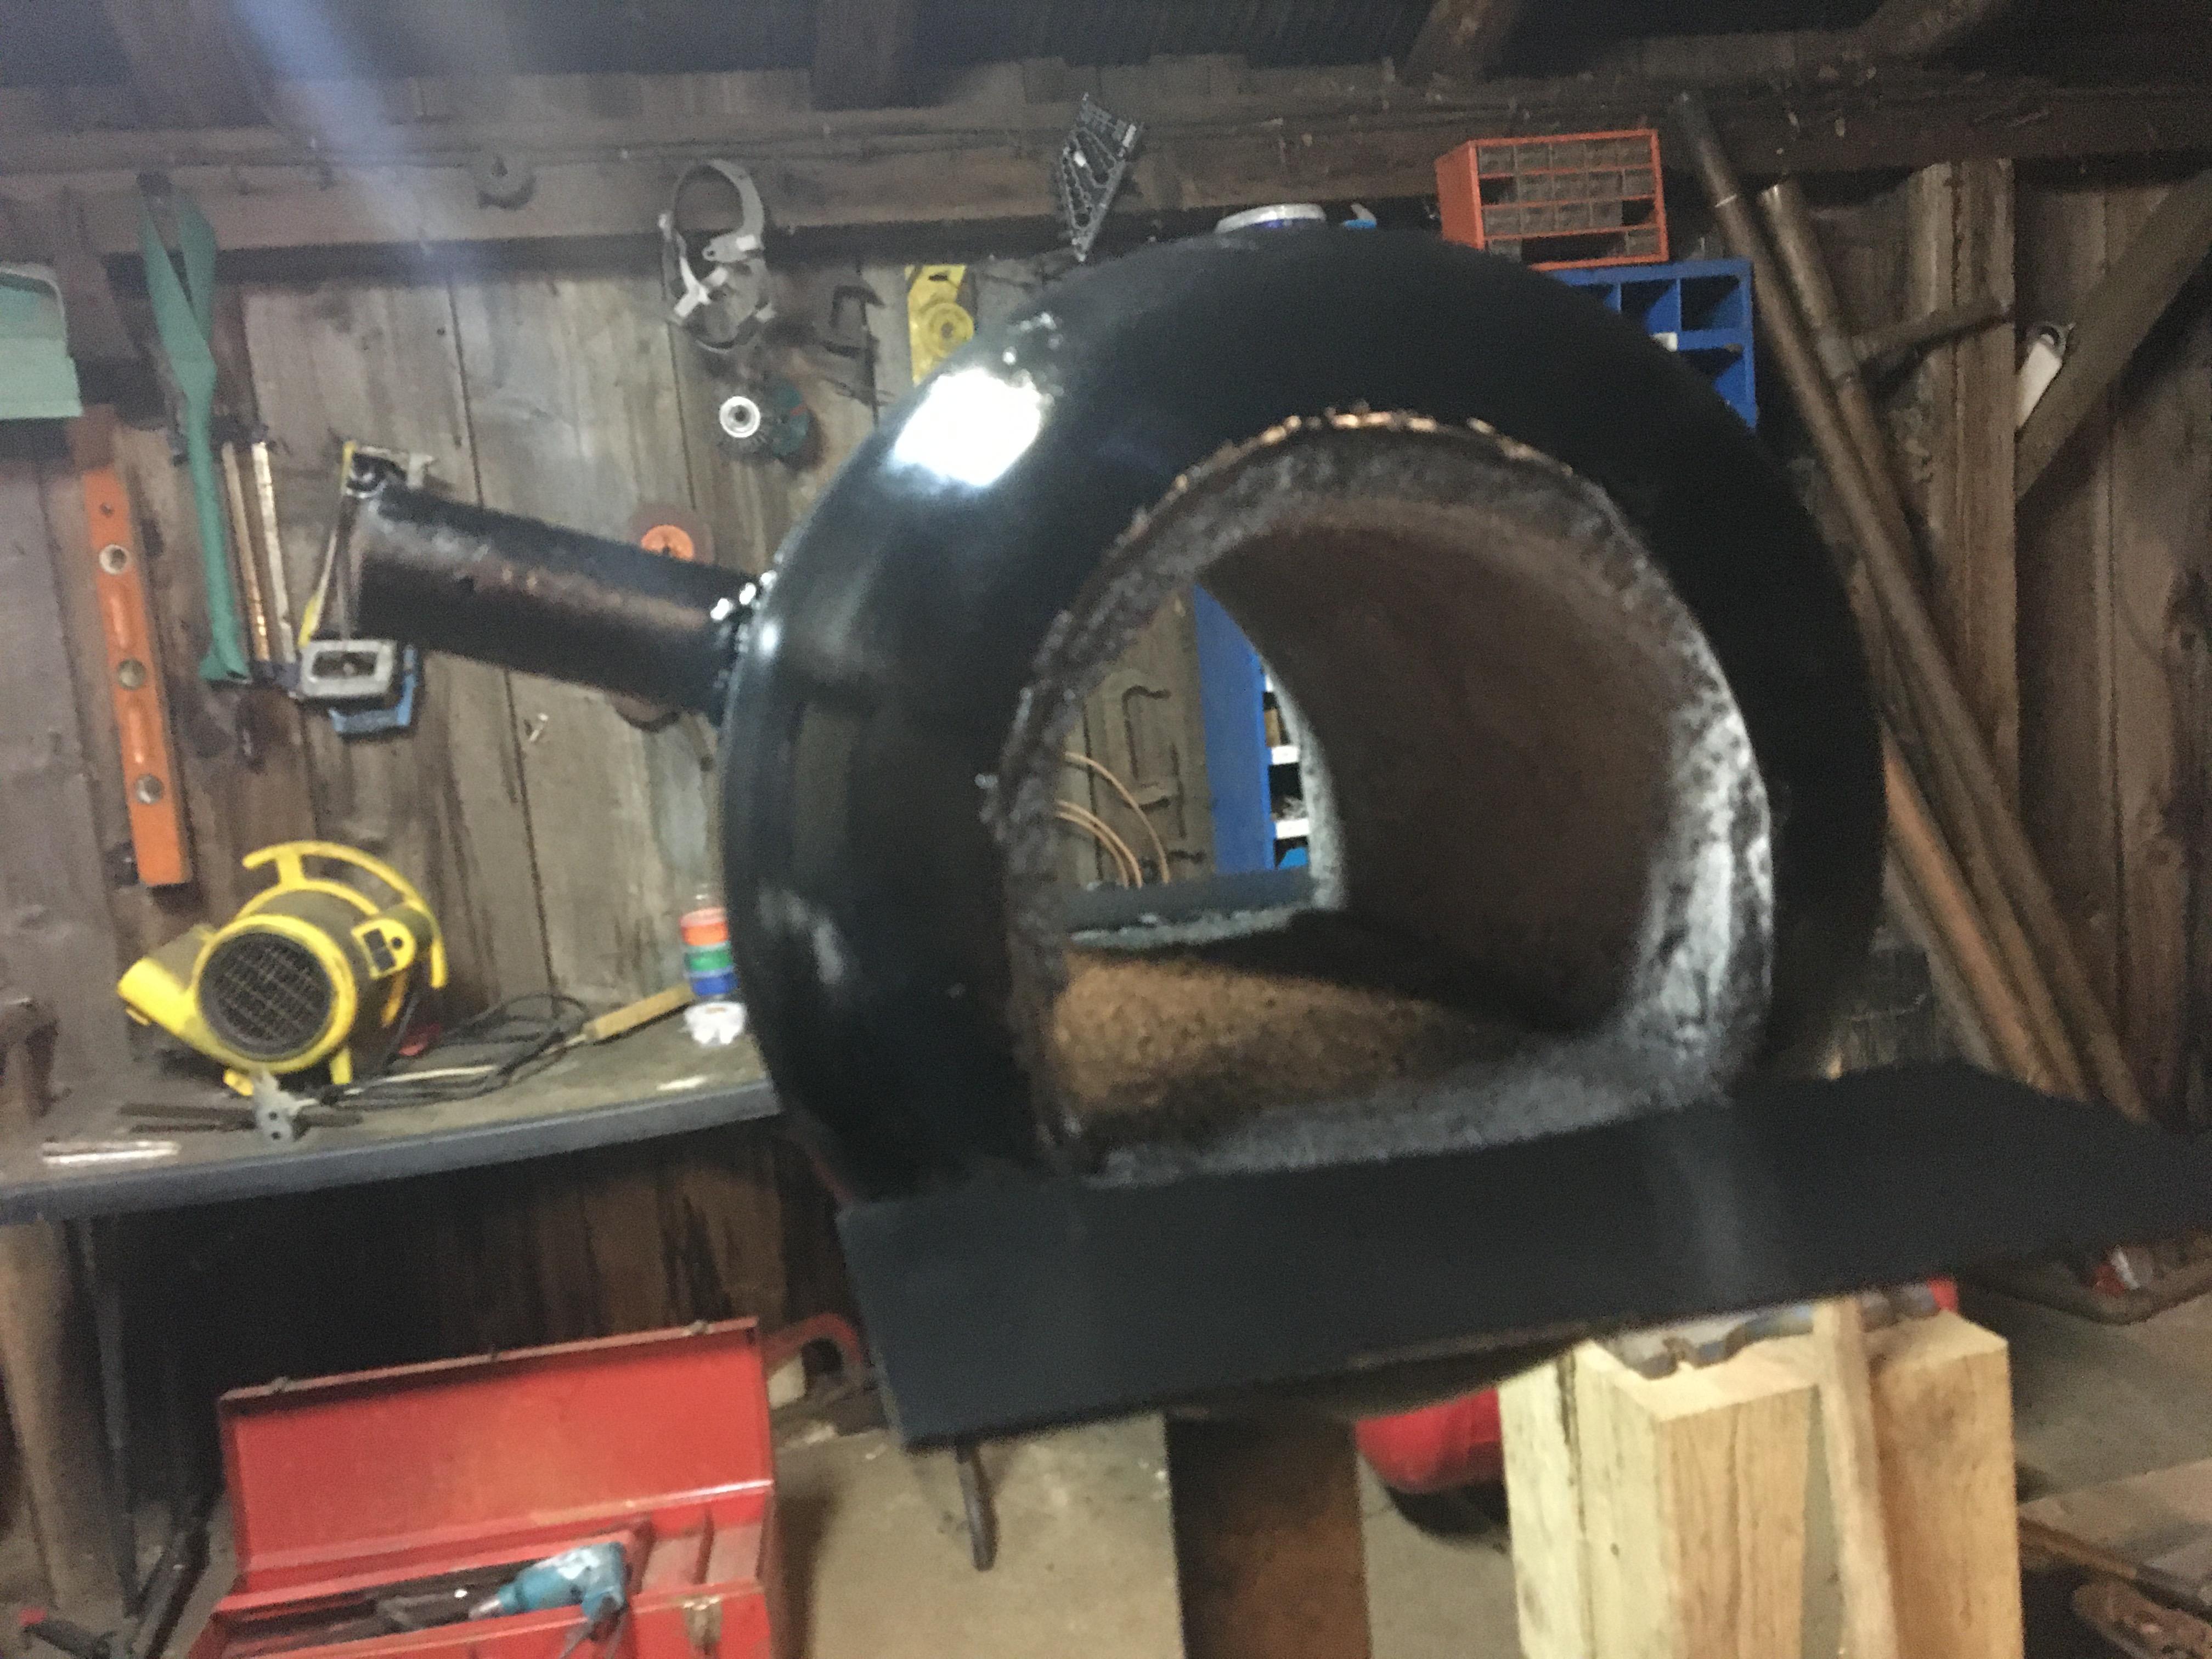
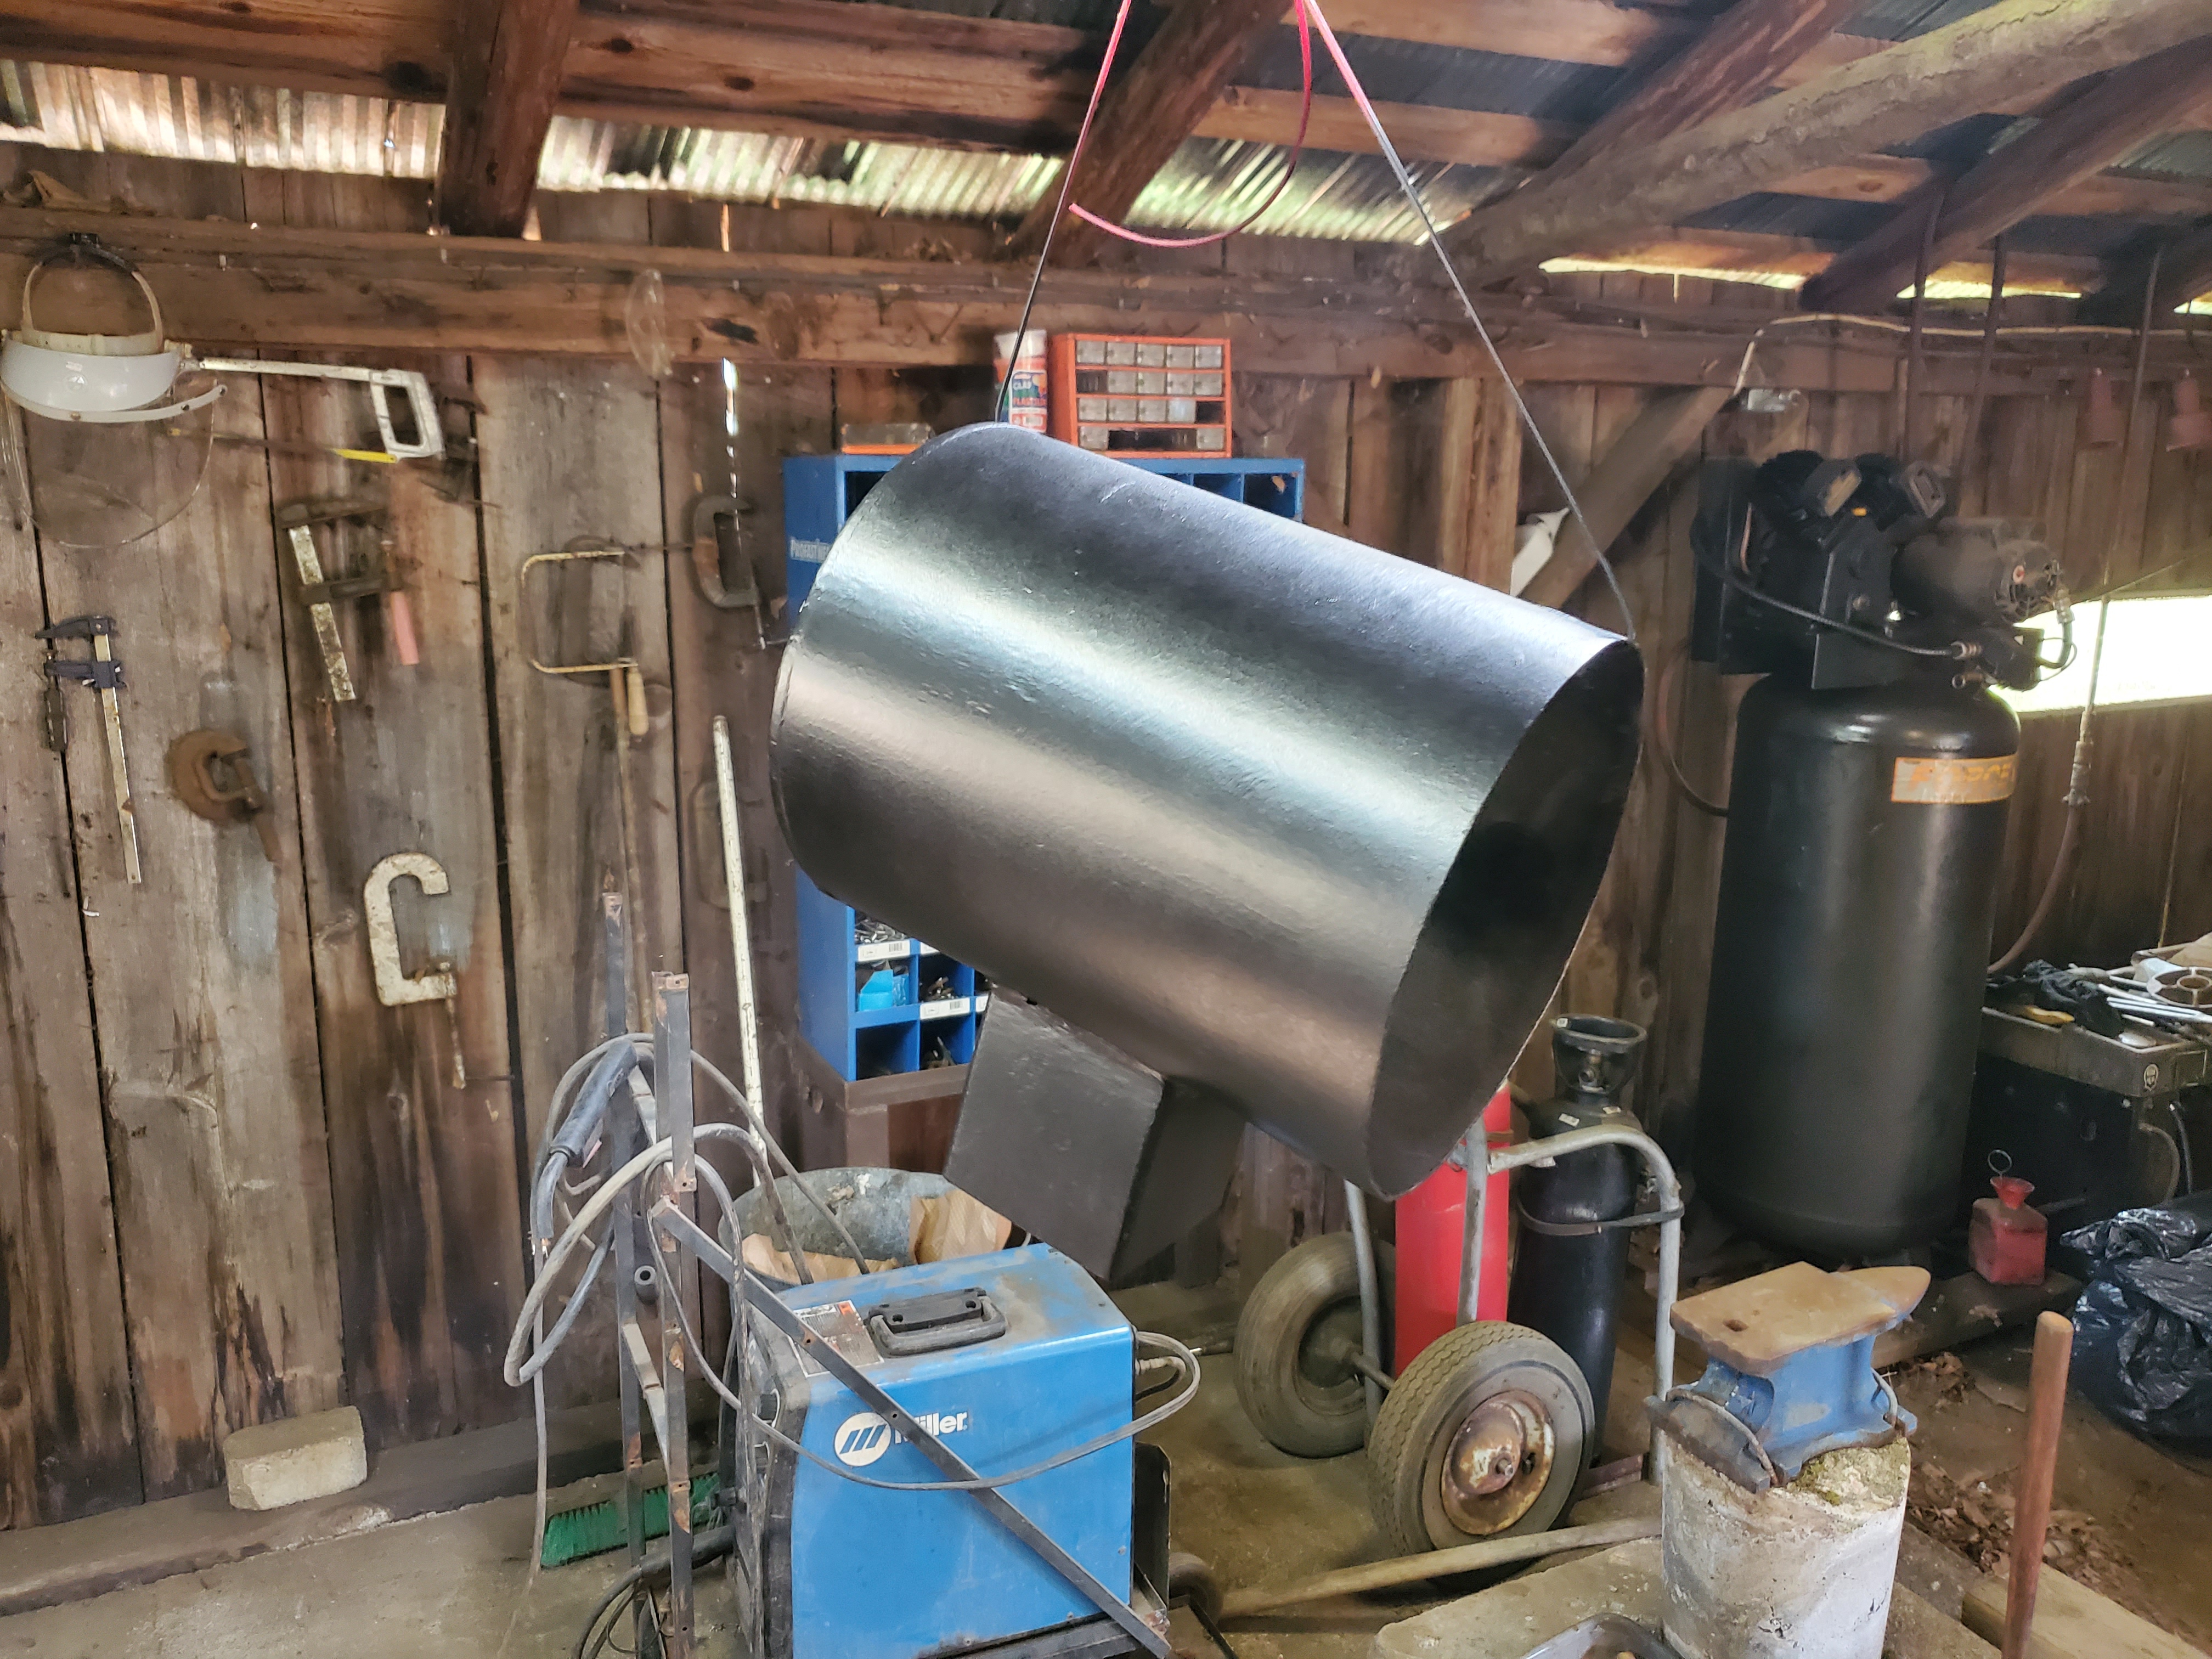
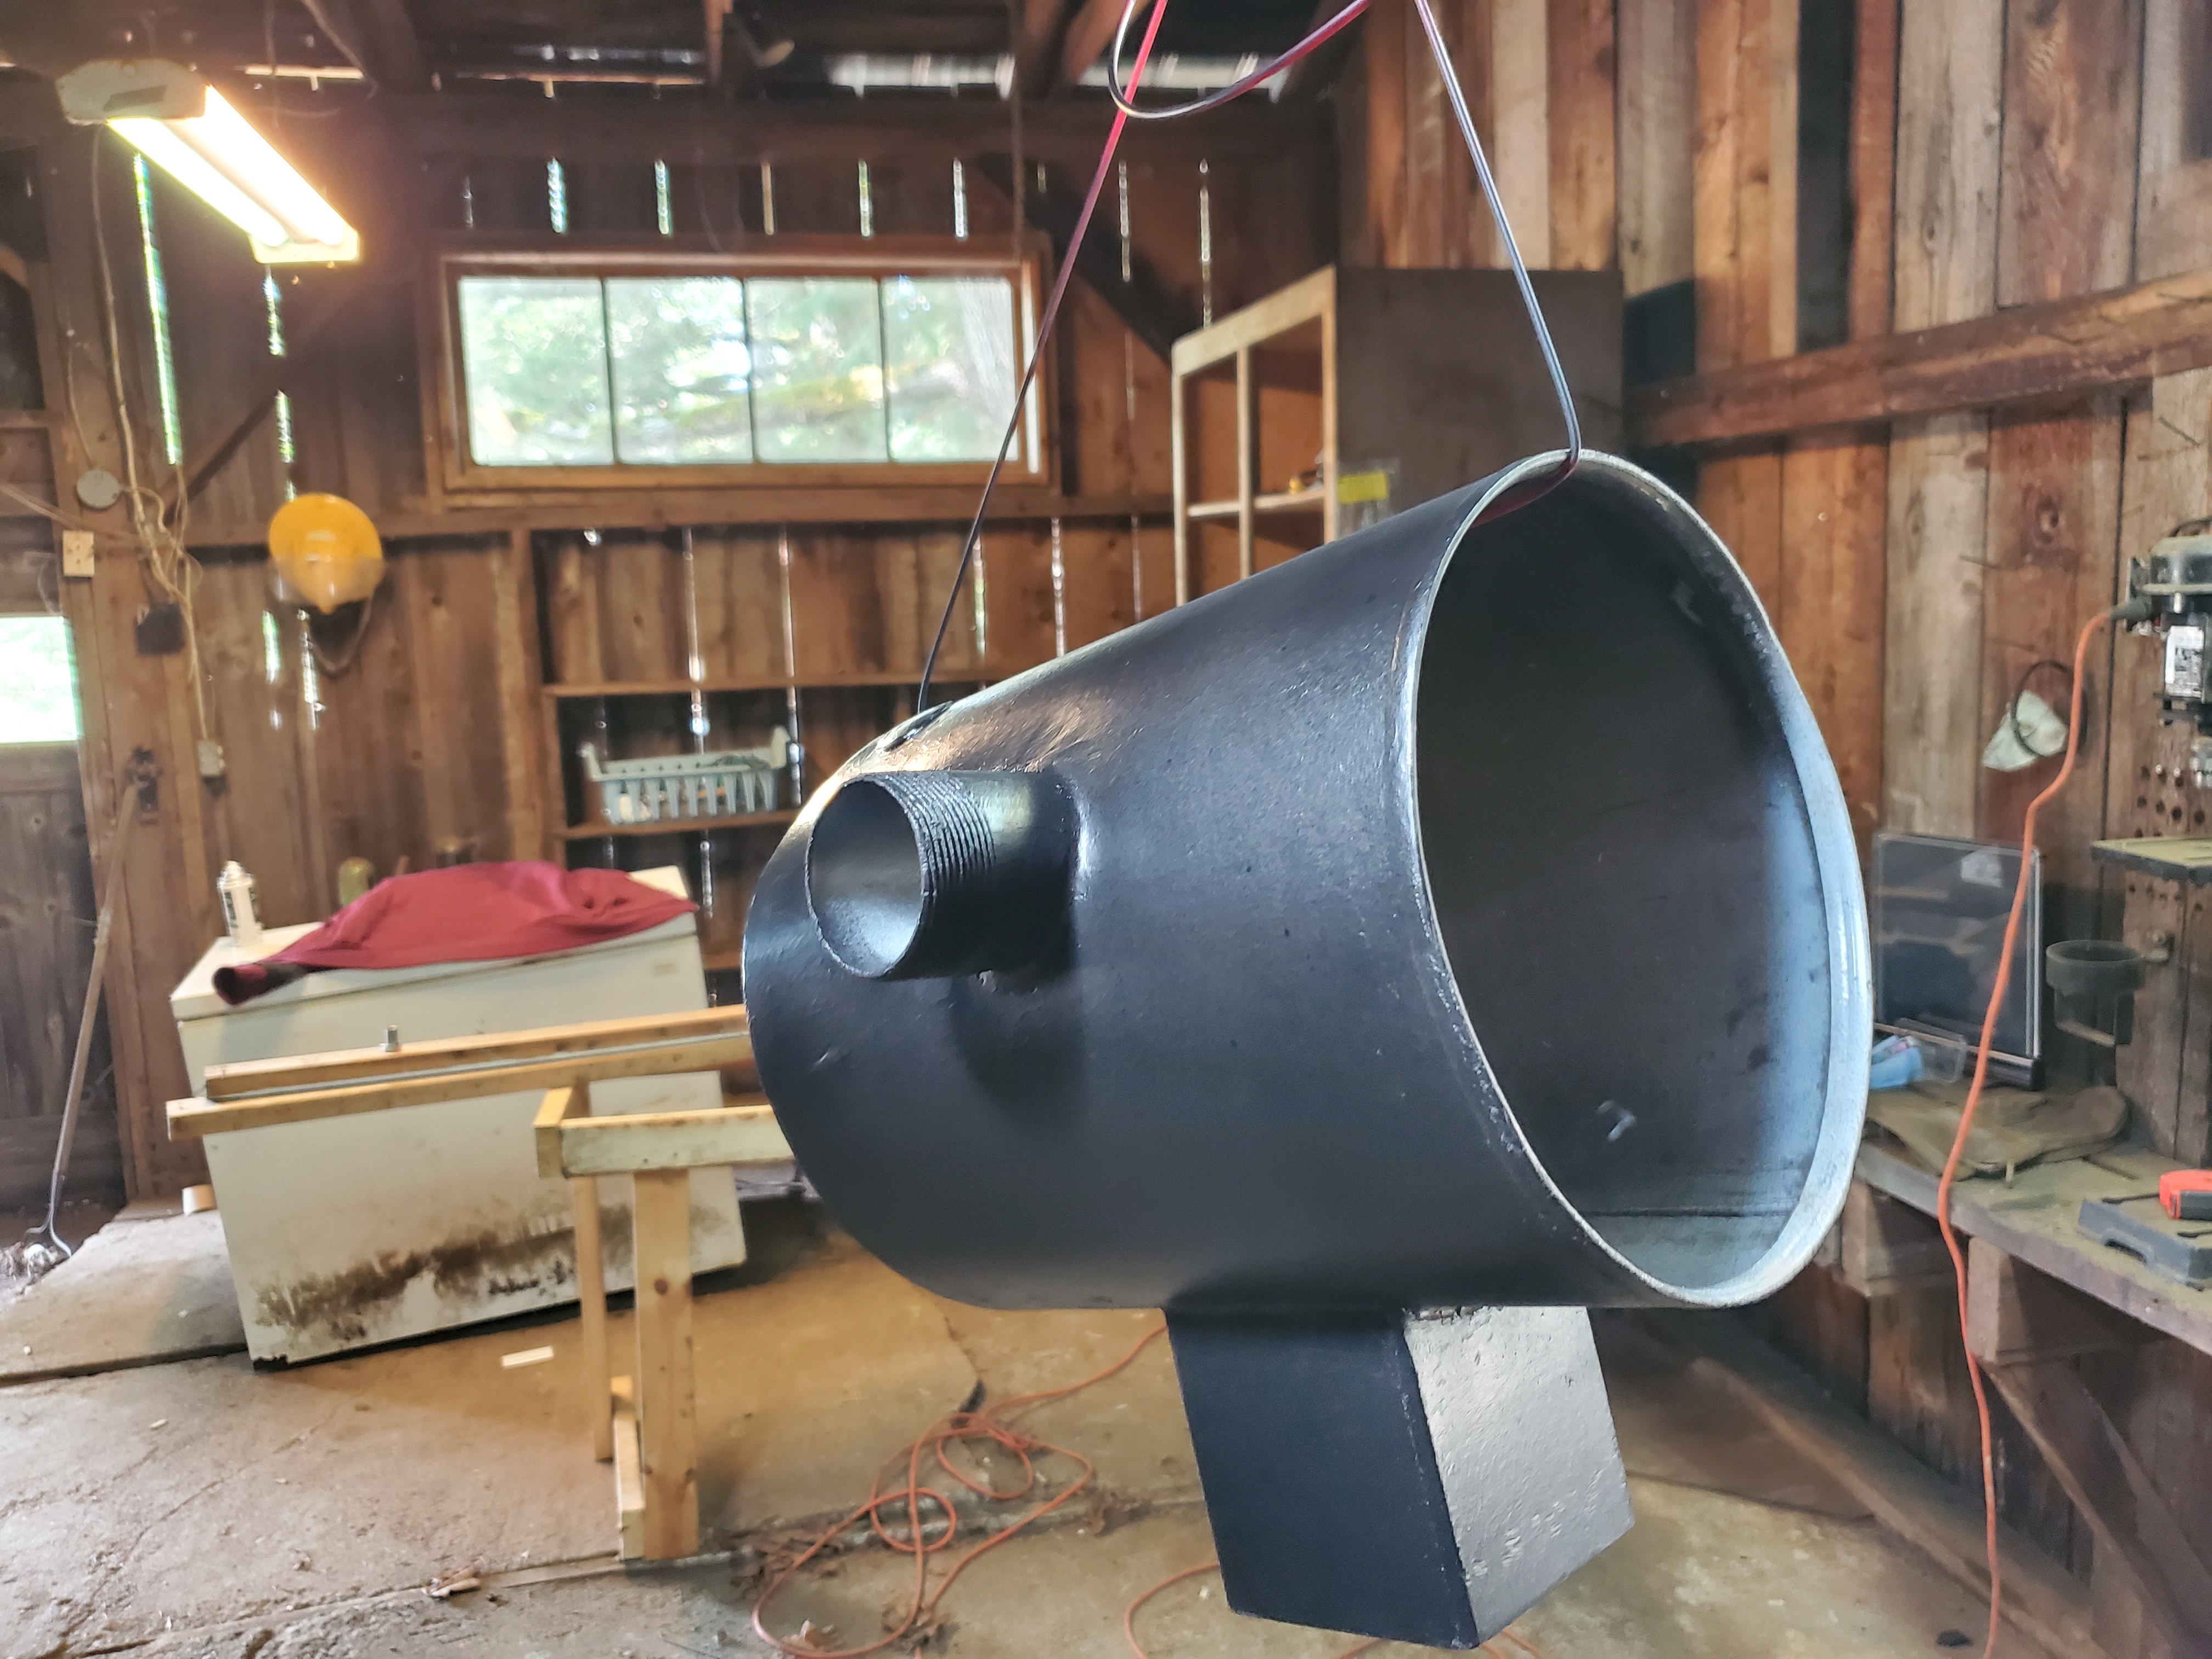
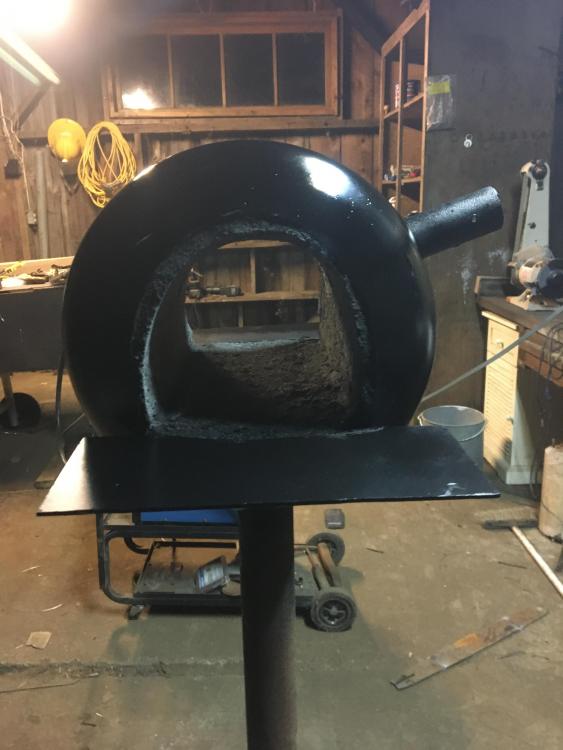
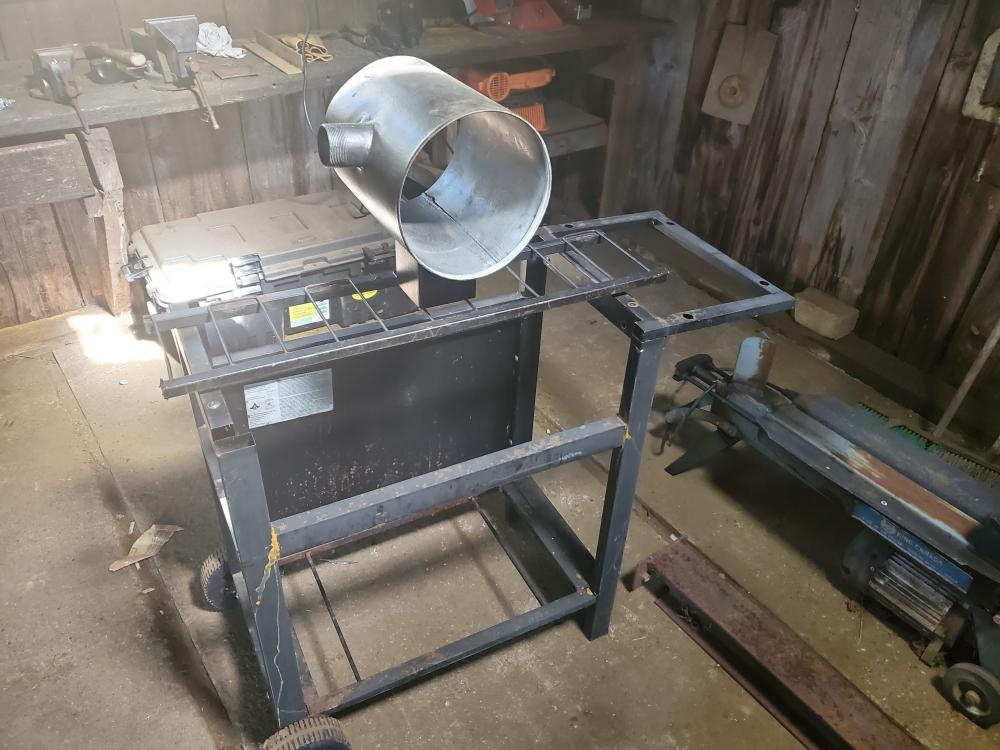
It is Kast-o-Lite 30 Mikey, I am going to be drilling the hole in the bottom then to save myself a step. Should I still hold off on the ITC until I’ve heated it up a little? Not firing in the oven gave me a chance to get my welding done and shell painted. The forge has a pipe in the bottom that slides into the stand. Tomorrow I am hoping to plumb up the burner and tune it. Still waiting on fire bricks for doors and a piece of kiln shelf but getting closer every day Maybe if I’m lucky I will have some hot metal to hit soon.

-
Thanks for the quick response and the ITC tips I am aware I could use the burner but was wary of cracking it by heating it up to quick. The instructions that came with it recommended a slow oven cure so that was my first thought. It’s already sat air drying for a few days since removing from the 100% moisture I had it in.
-
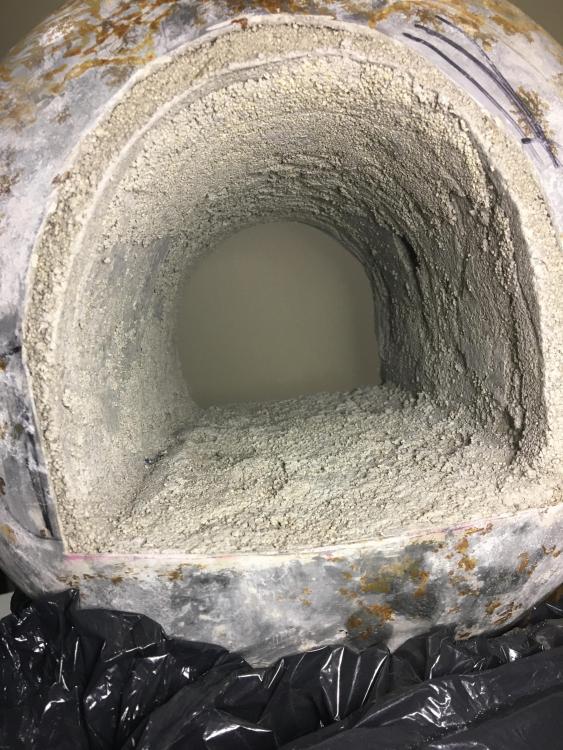
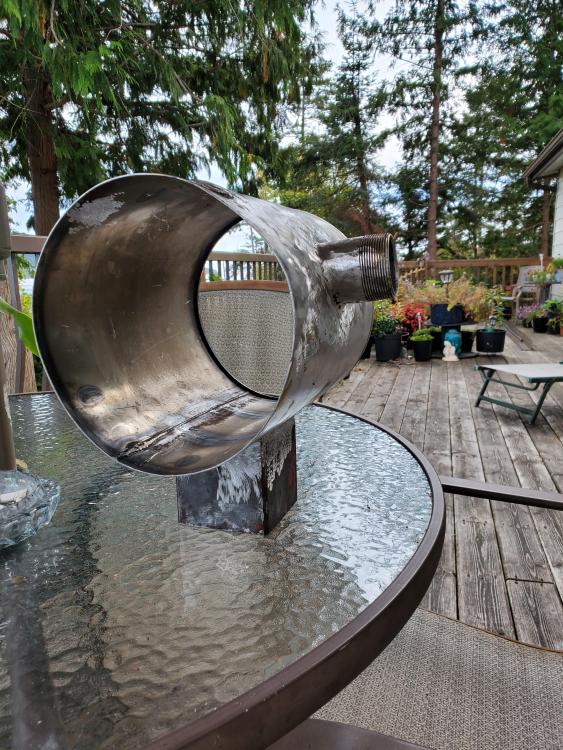
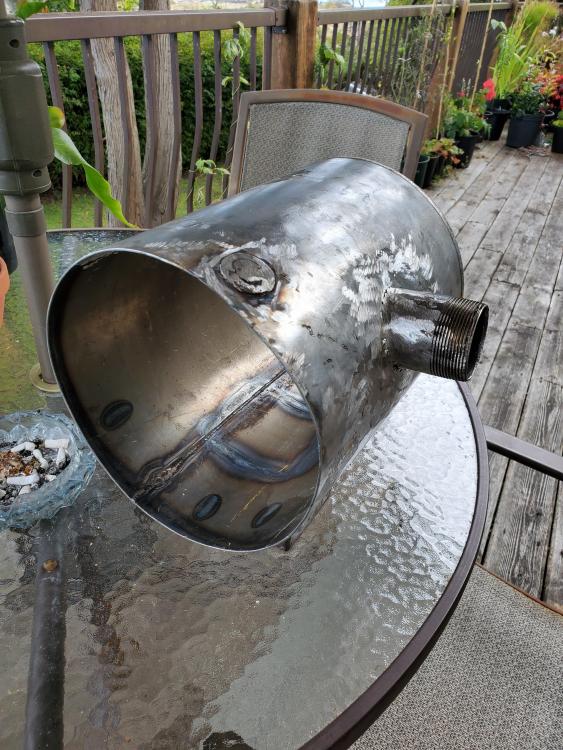
Well, it took much longer than I’d have hoped but I’m finally recovered enough to have gotten some work done on the Forge in the last little while. I ended up scrapping my last shell as I realized that I was gonna be getting pretty small once I added my kiln shelf in. So I used a 20lb propane bottle this time and changed my design slightly. I have used 2 1” layers of kaolwool and added A 1/2 inch of Kastolite 30 with maybe 1” in the floor. I’m powering it with one Frosty T burner that I will be tuning once I’ve oven fired the forge to get the rest of the moisture out. a couple of questions should I apply the ITC 100 before or after putting it in the oven? also I am planning on not making doors and using fire bricks to block my openings. Will hard fire bricks be sufficient or is there something else I should look for

-
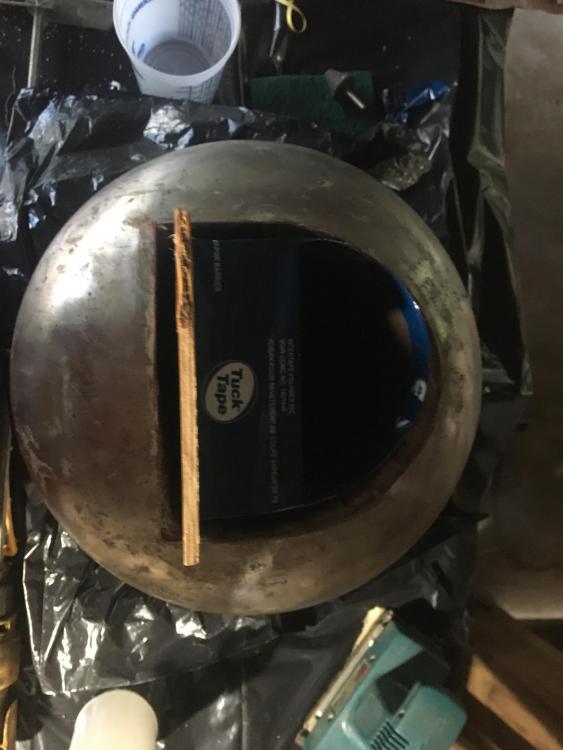
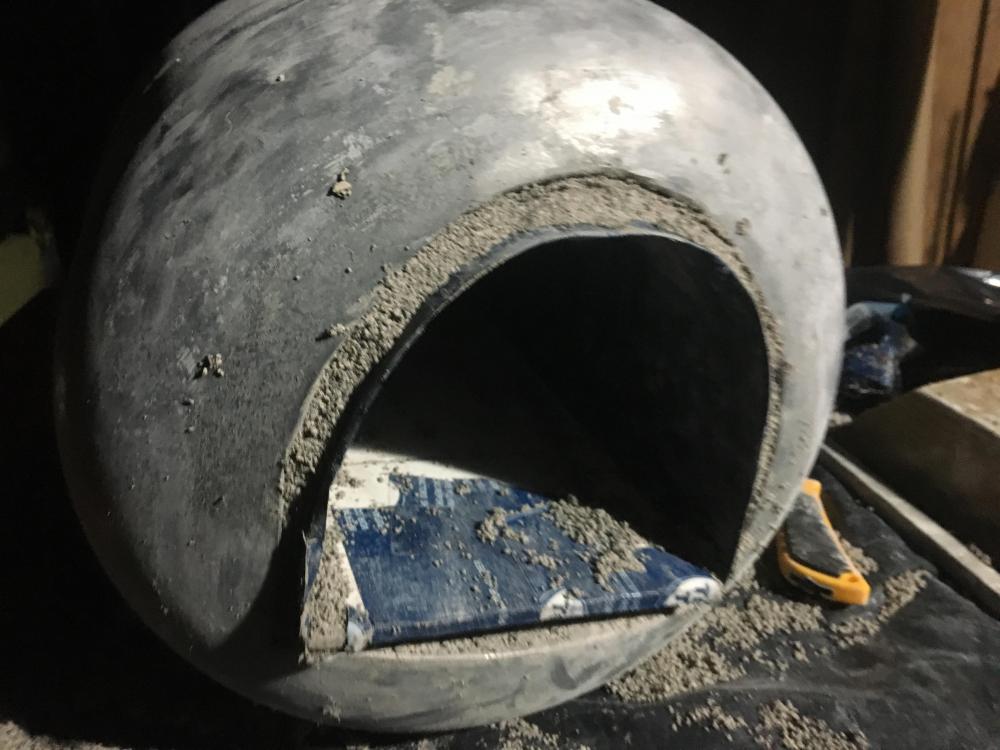
I traced my hole using the piece of pipe and a sharpie. I then used a small 4.5 disc angle grinder with a cutting disc and cut a groove in about half depth on the inside of my mark (making sure to leave the marks on it so I dont go too big). Then I used the same grinder to cut my circle into pizza slices all the way through. Then used a hammer/pliers to wiggle them back and forth until they snapped off. Hope that helps. BTW everyone, ended up in the hospital for two weeks after 2/3 weeks of being unwell. Am recovering soon and have my reg now so I will hopefully have some fire to show you soon, depending on my health.
-
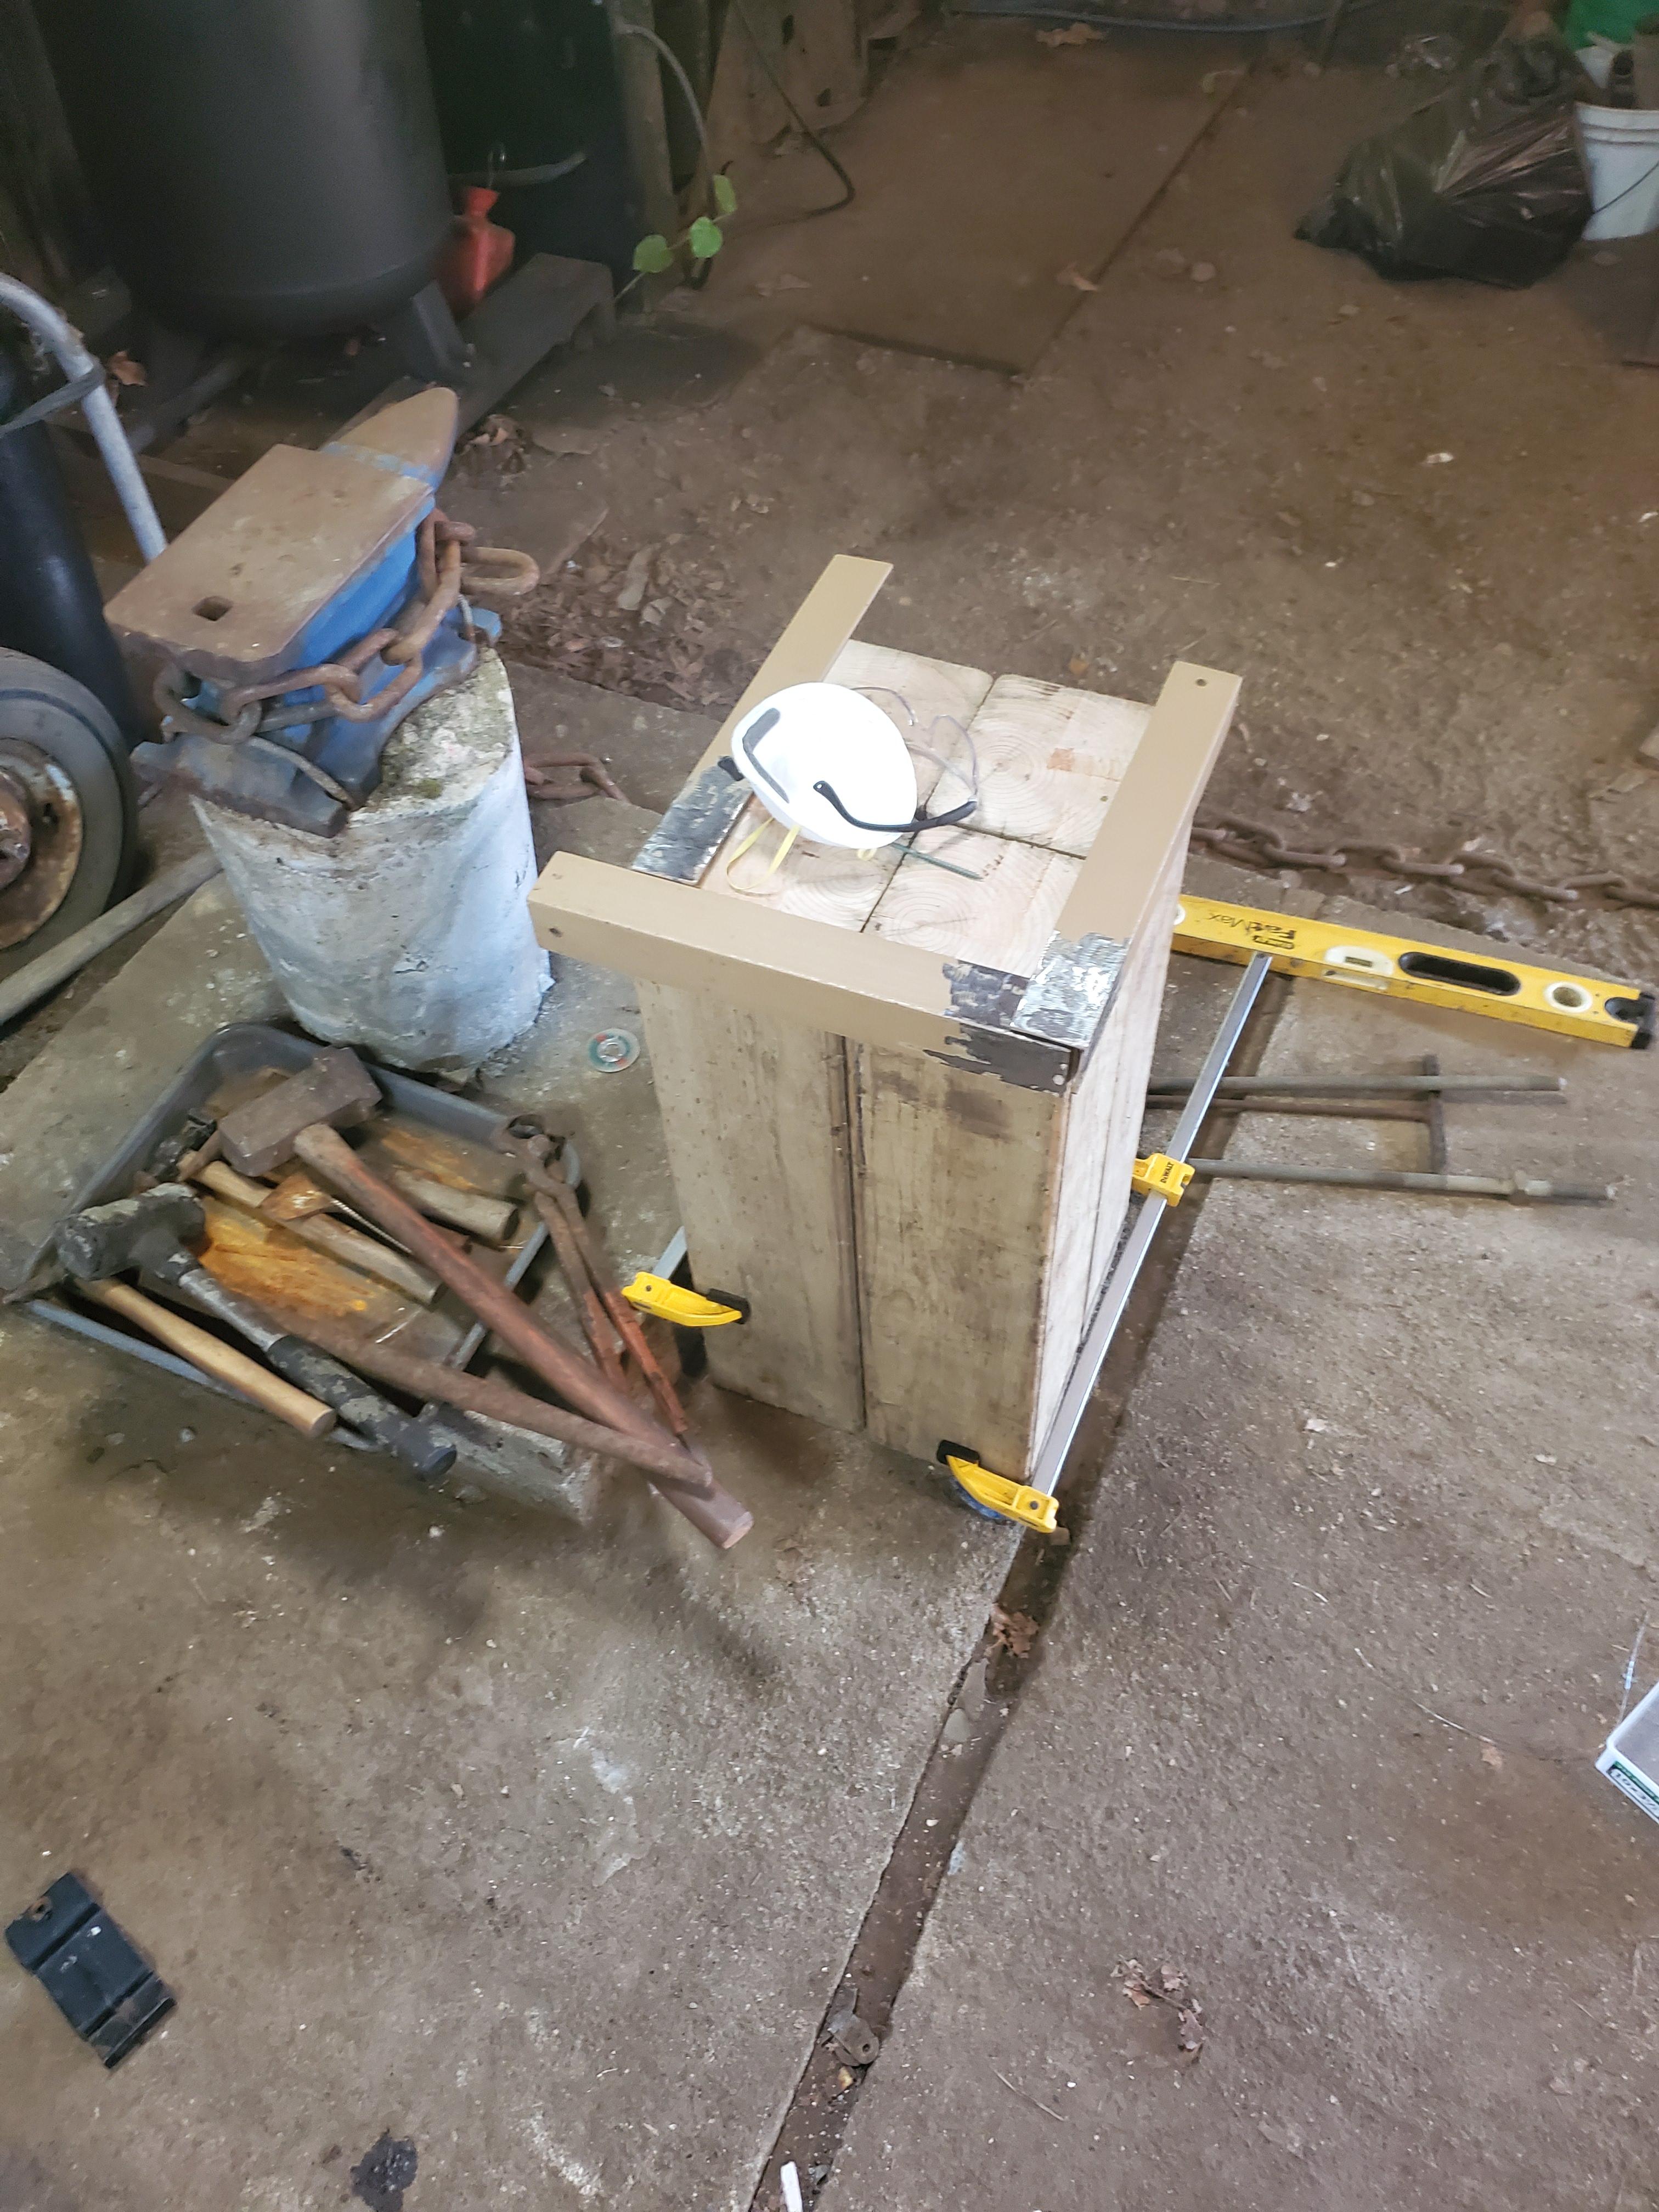
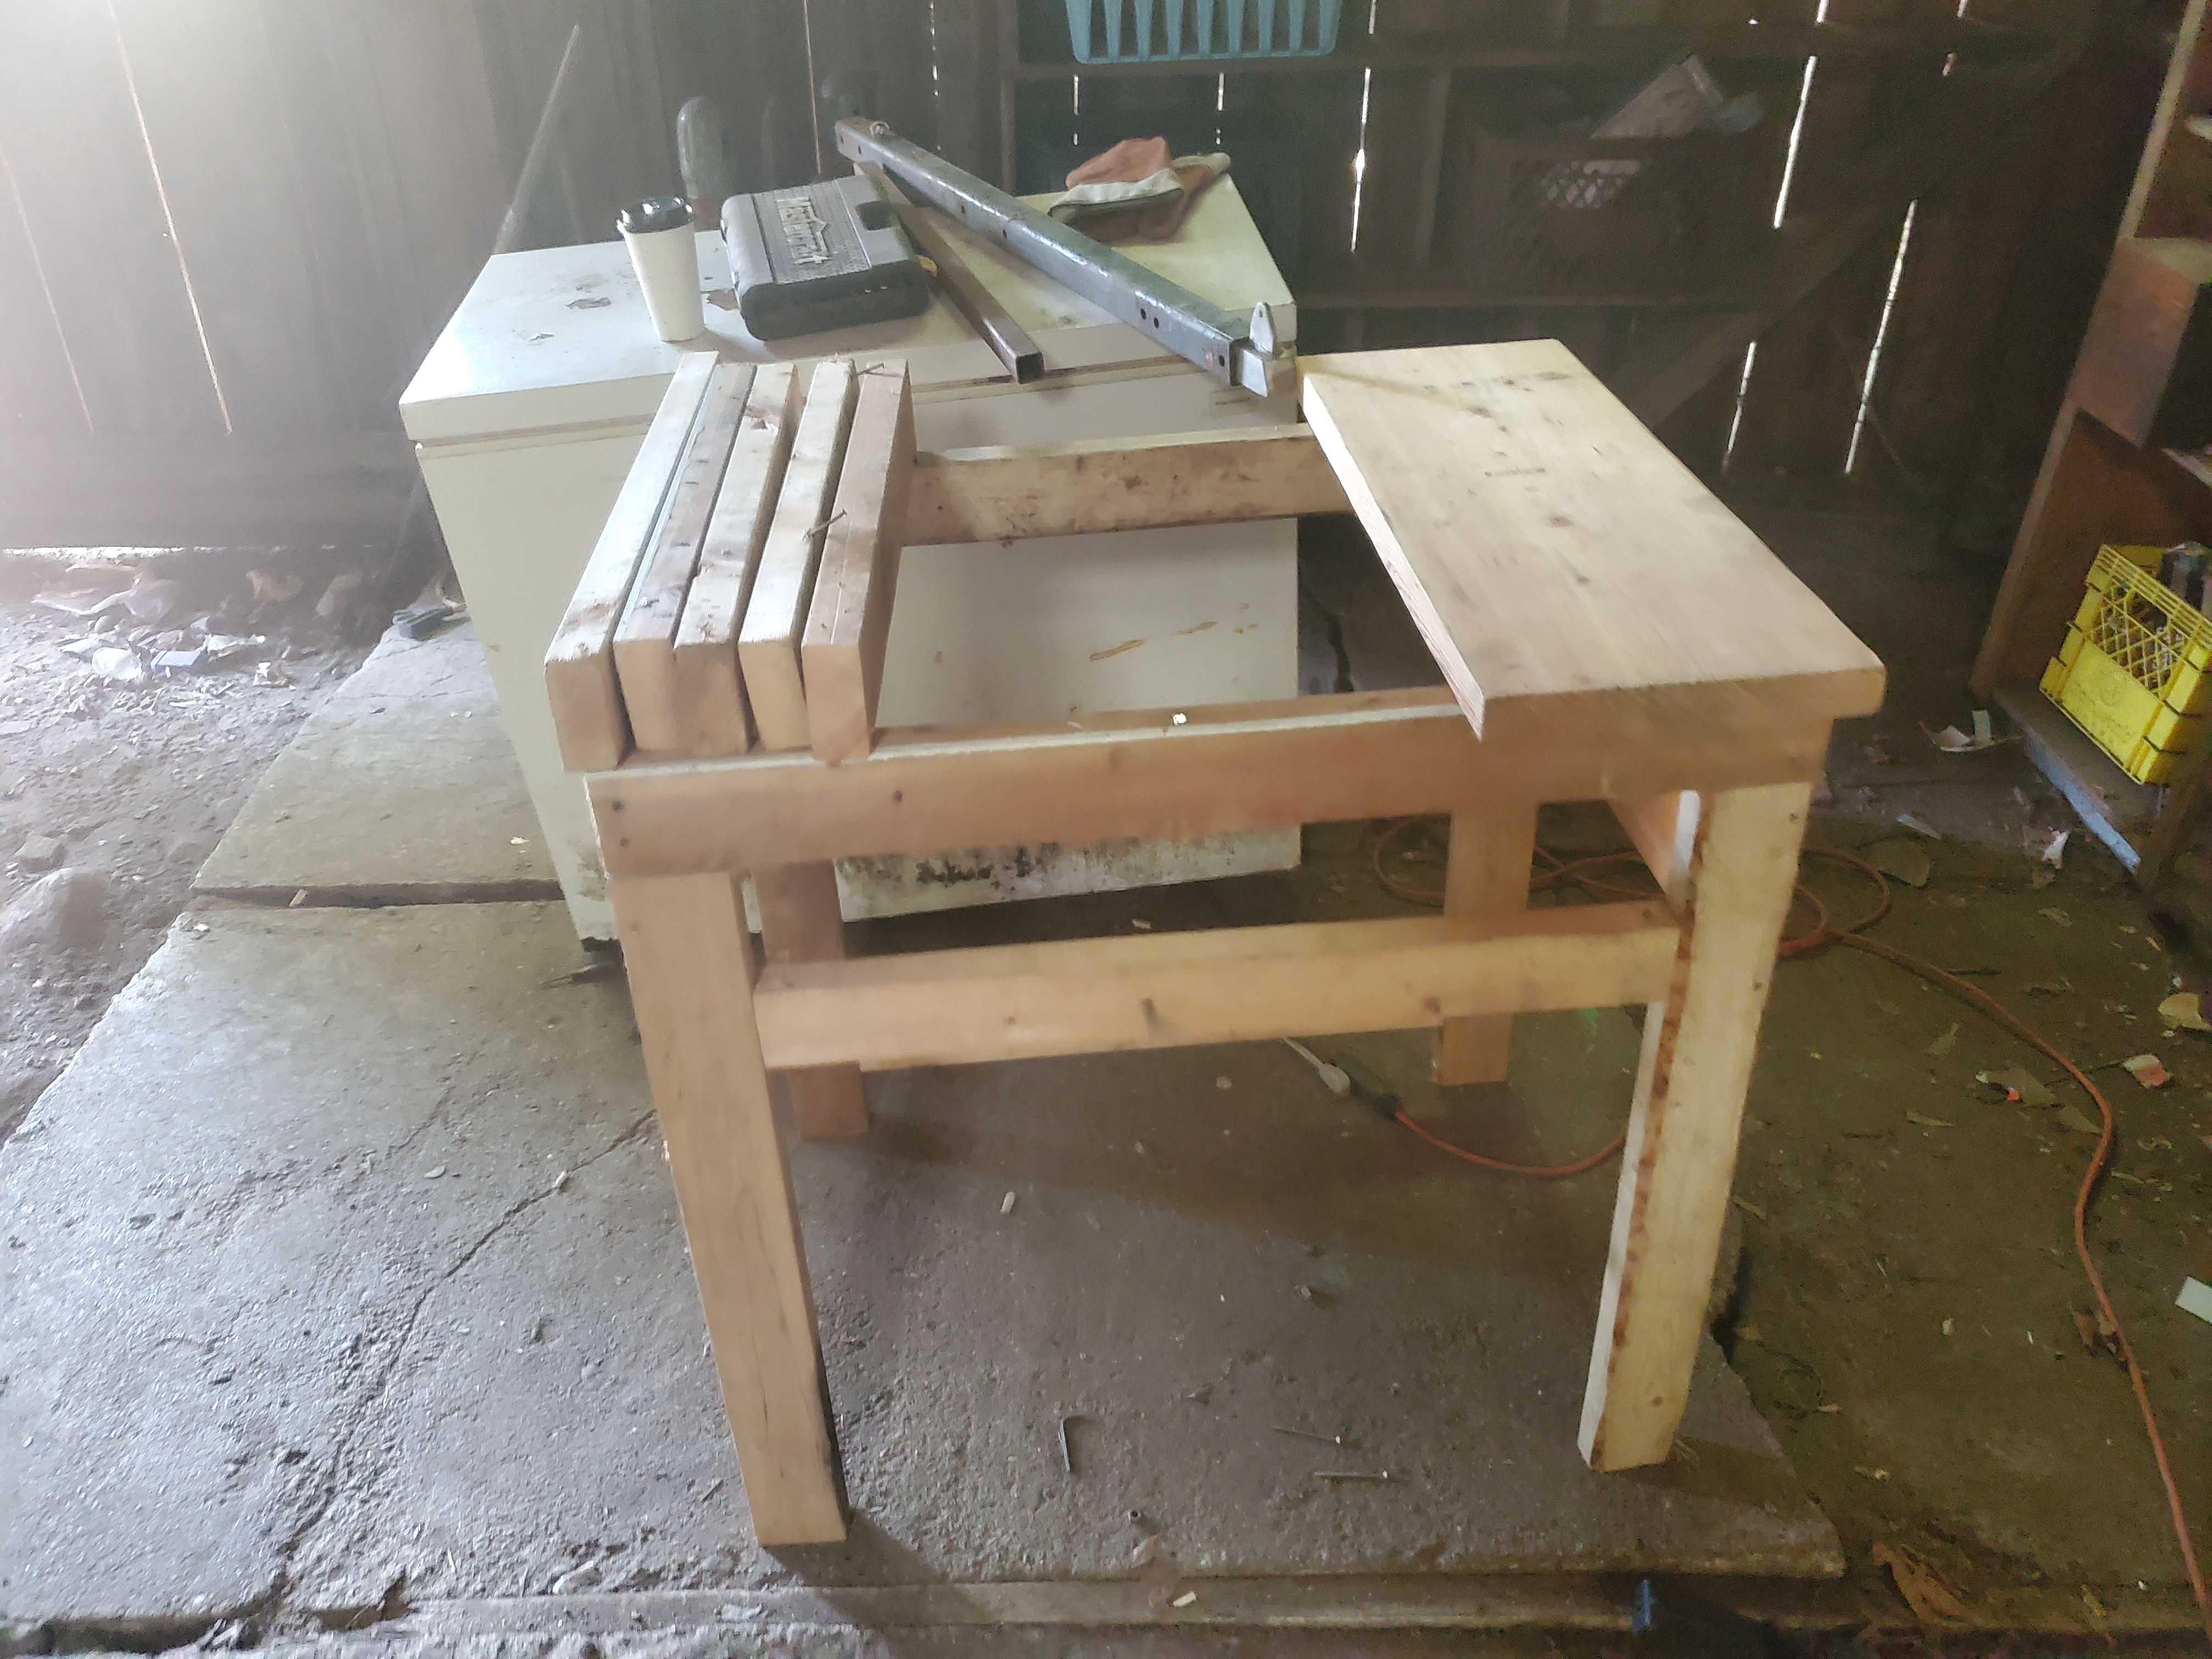
Sorry which are you referring to mikey, the forge stand is a BBQ roller that i cut the wheels off of.. the wooden workbench being built is mainly for assembly and whatnot
-
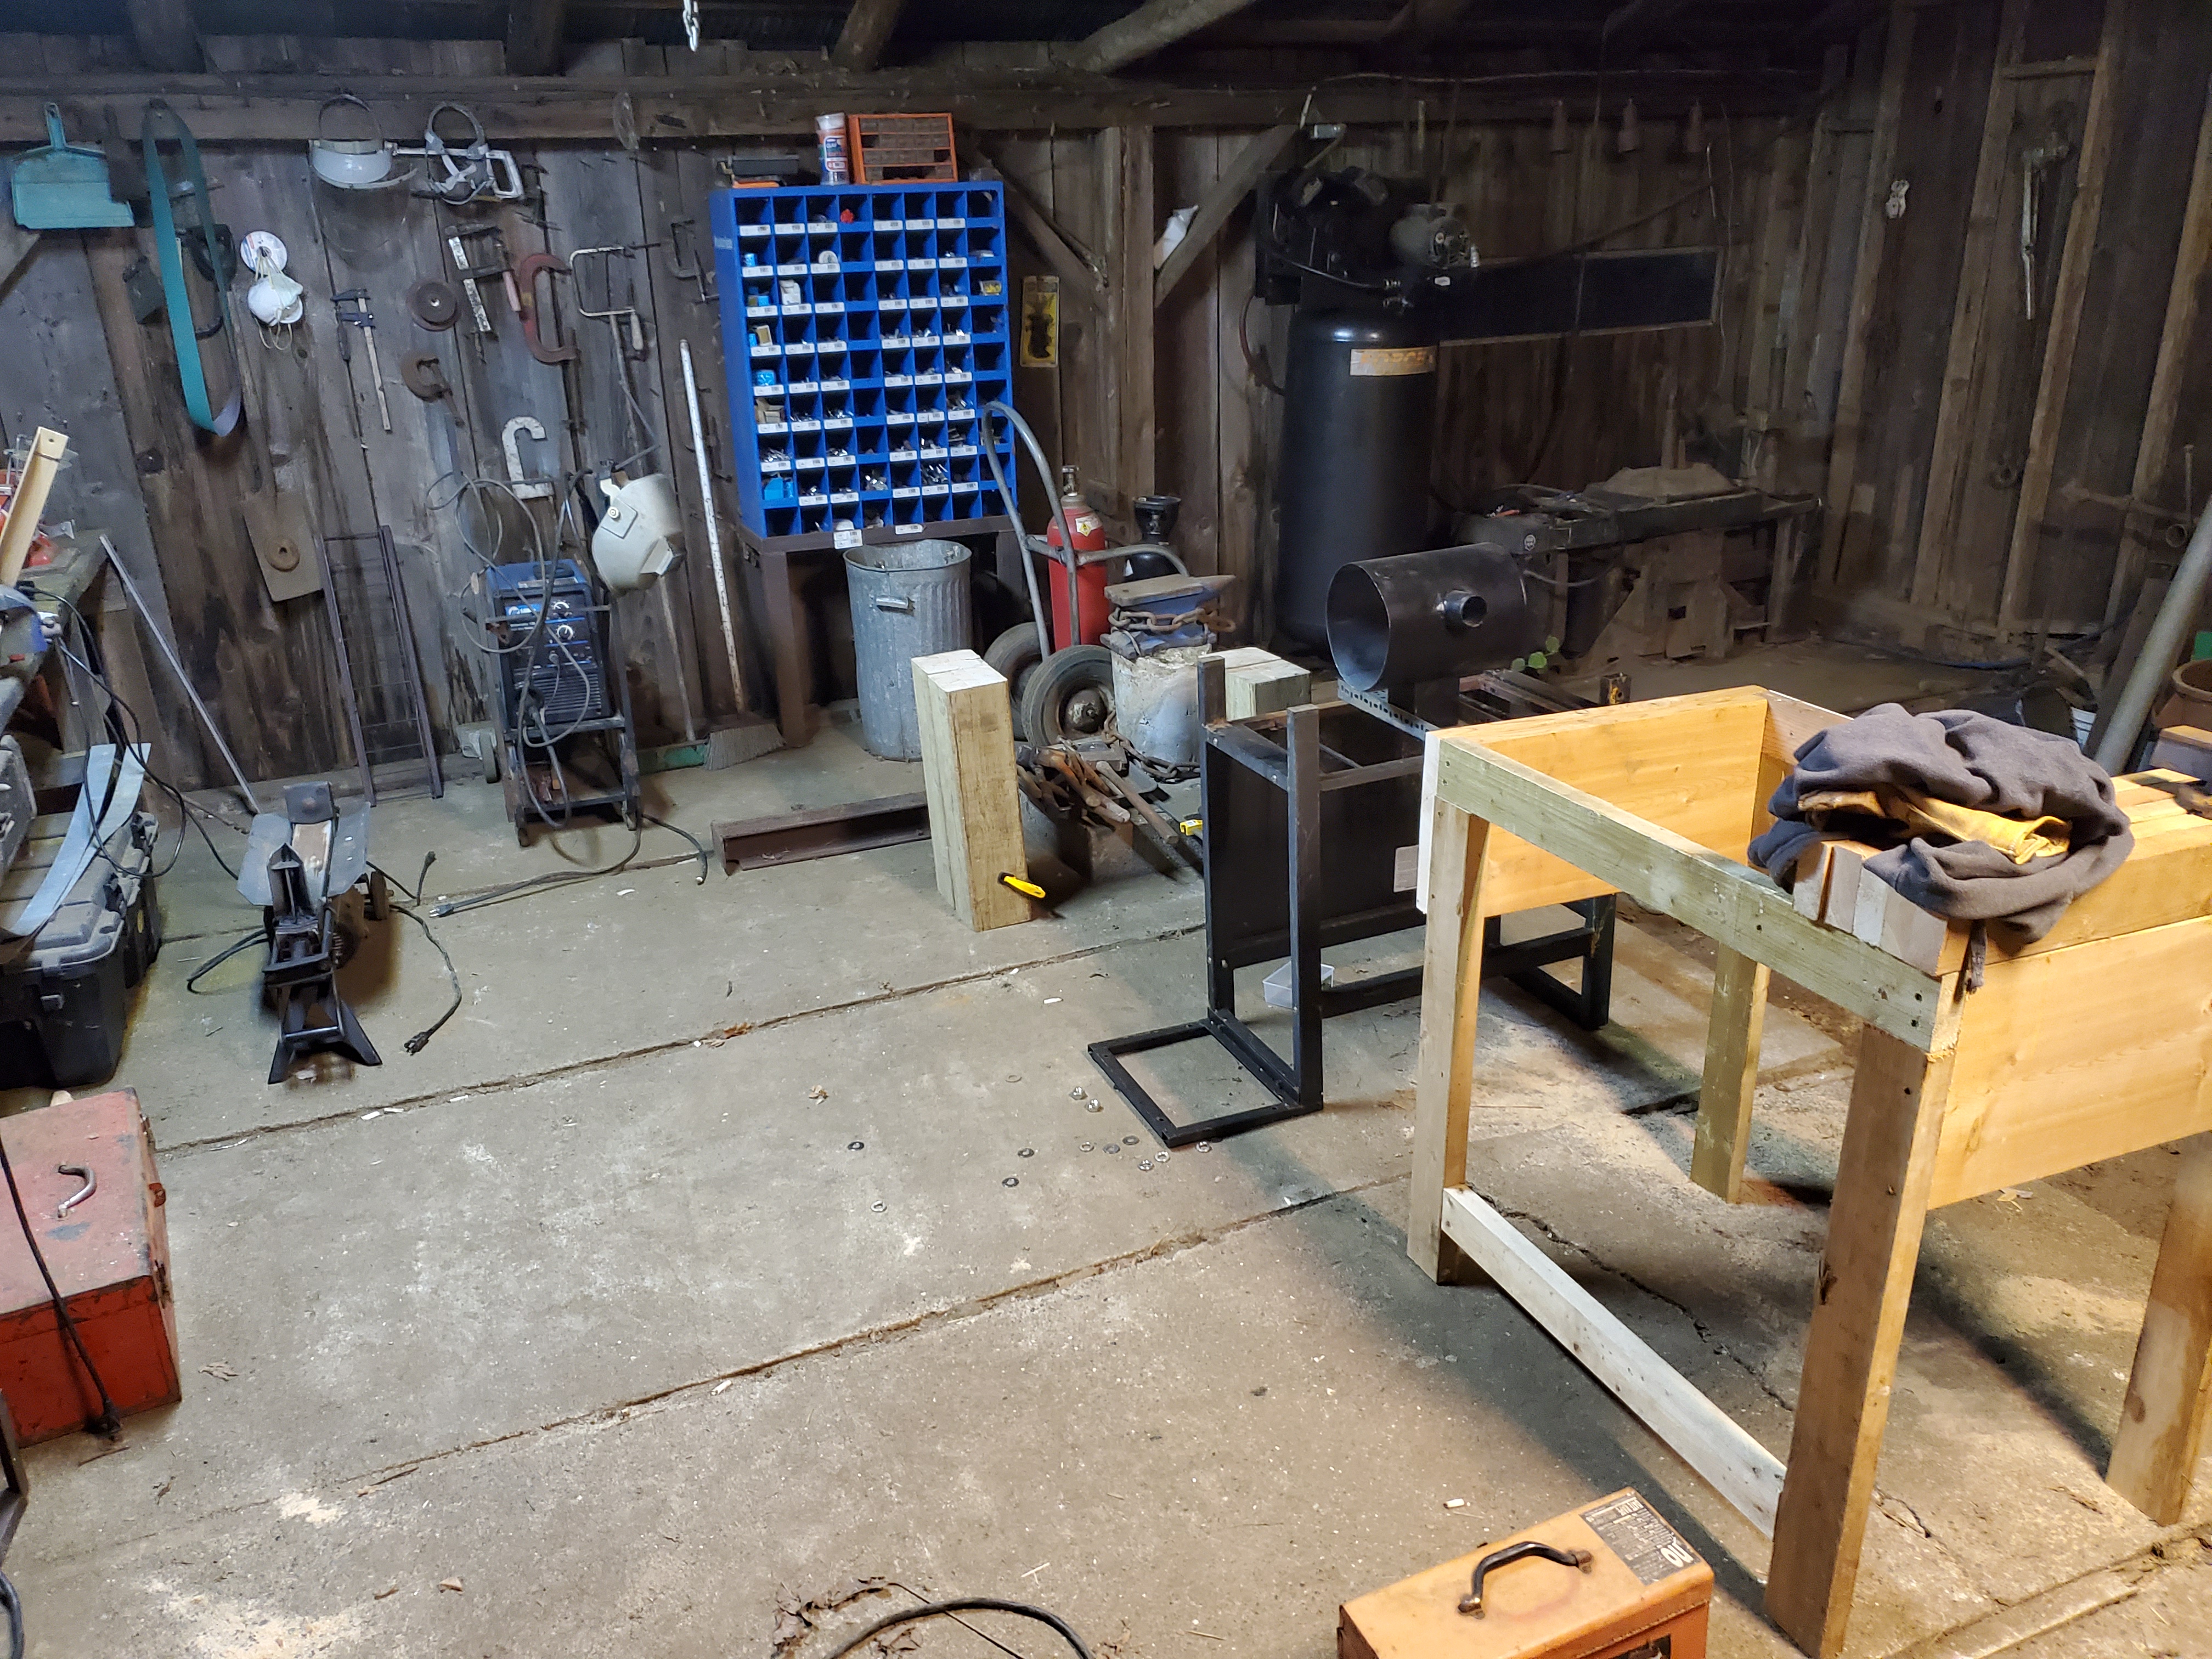
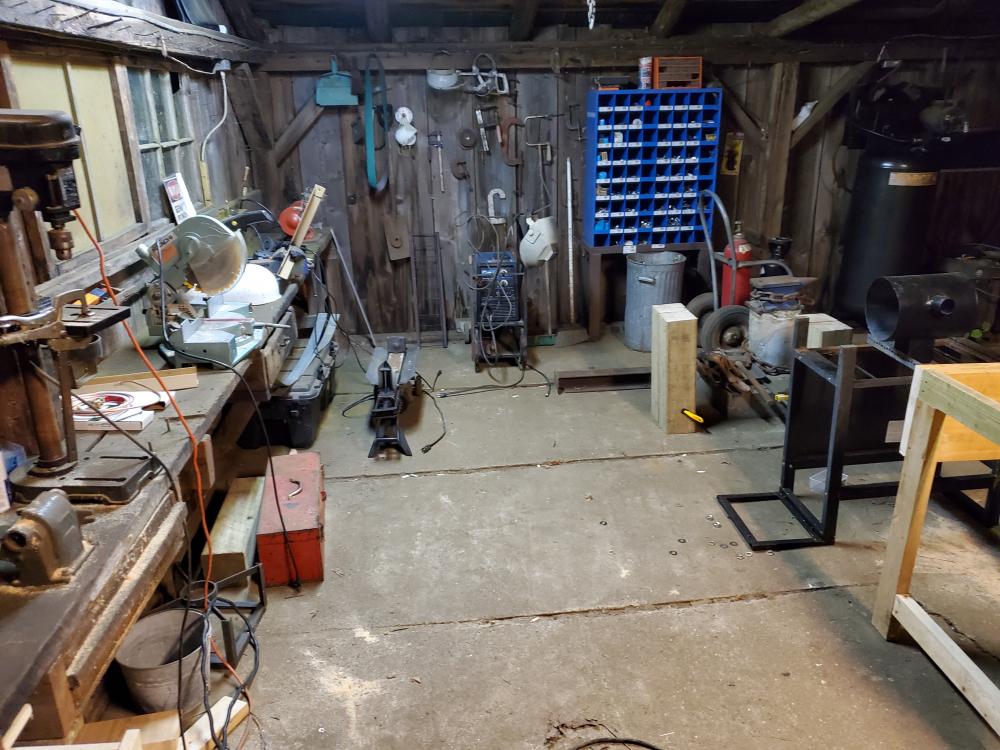
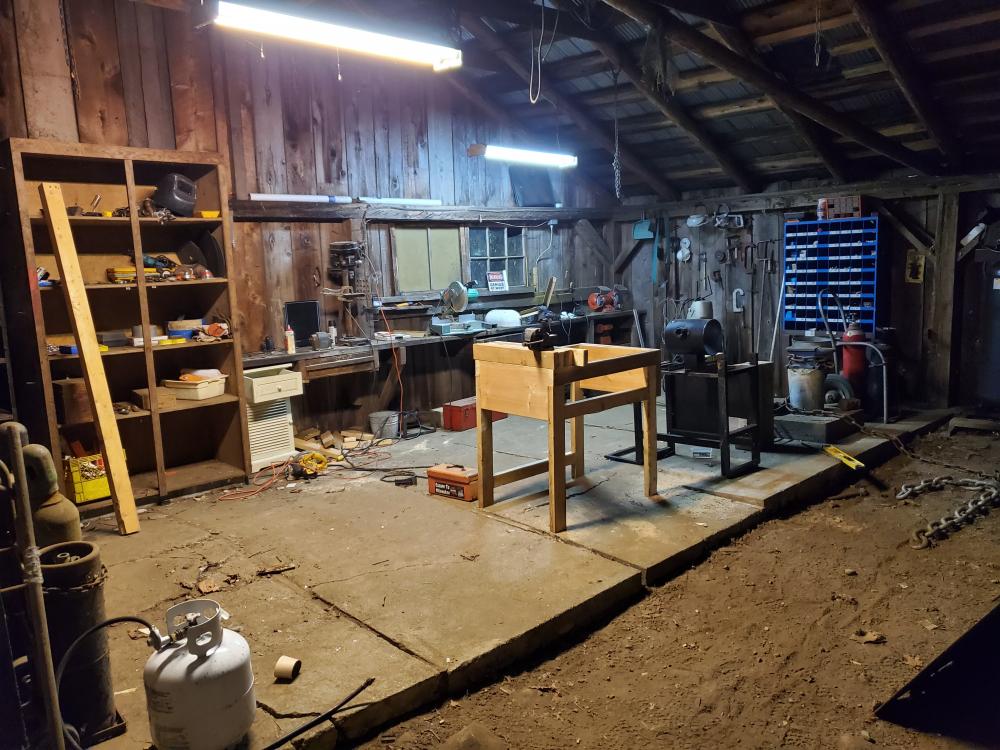
Yeah im still try to get everything in order.. by the time i get things going things will be alot tidier and safe, it would drive me nuts otherwise. Just some pics mid reno. I'm a carpenter by trade so it may not be long before I end up laying a floor. Projects on projects .... am hoping the reg doesn't take that long though.
-
Still waiting on amazon for my reg so been trying to get the shop ready. I cleared out a space for blacksmithing at my gfs uncle down the street that was just piled with junk. Almost a usable space once I finish a little workbench, anvil stand and a few other projects. Hoping it doesn't take too long but if it does I mau get my 72x2 grinder finished. It may not look like too much but its a far cry from what it was. The video is the before the before can be seen https://youtu.be/YAKDyOTknLc


-
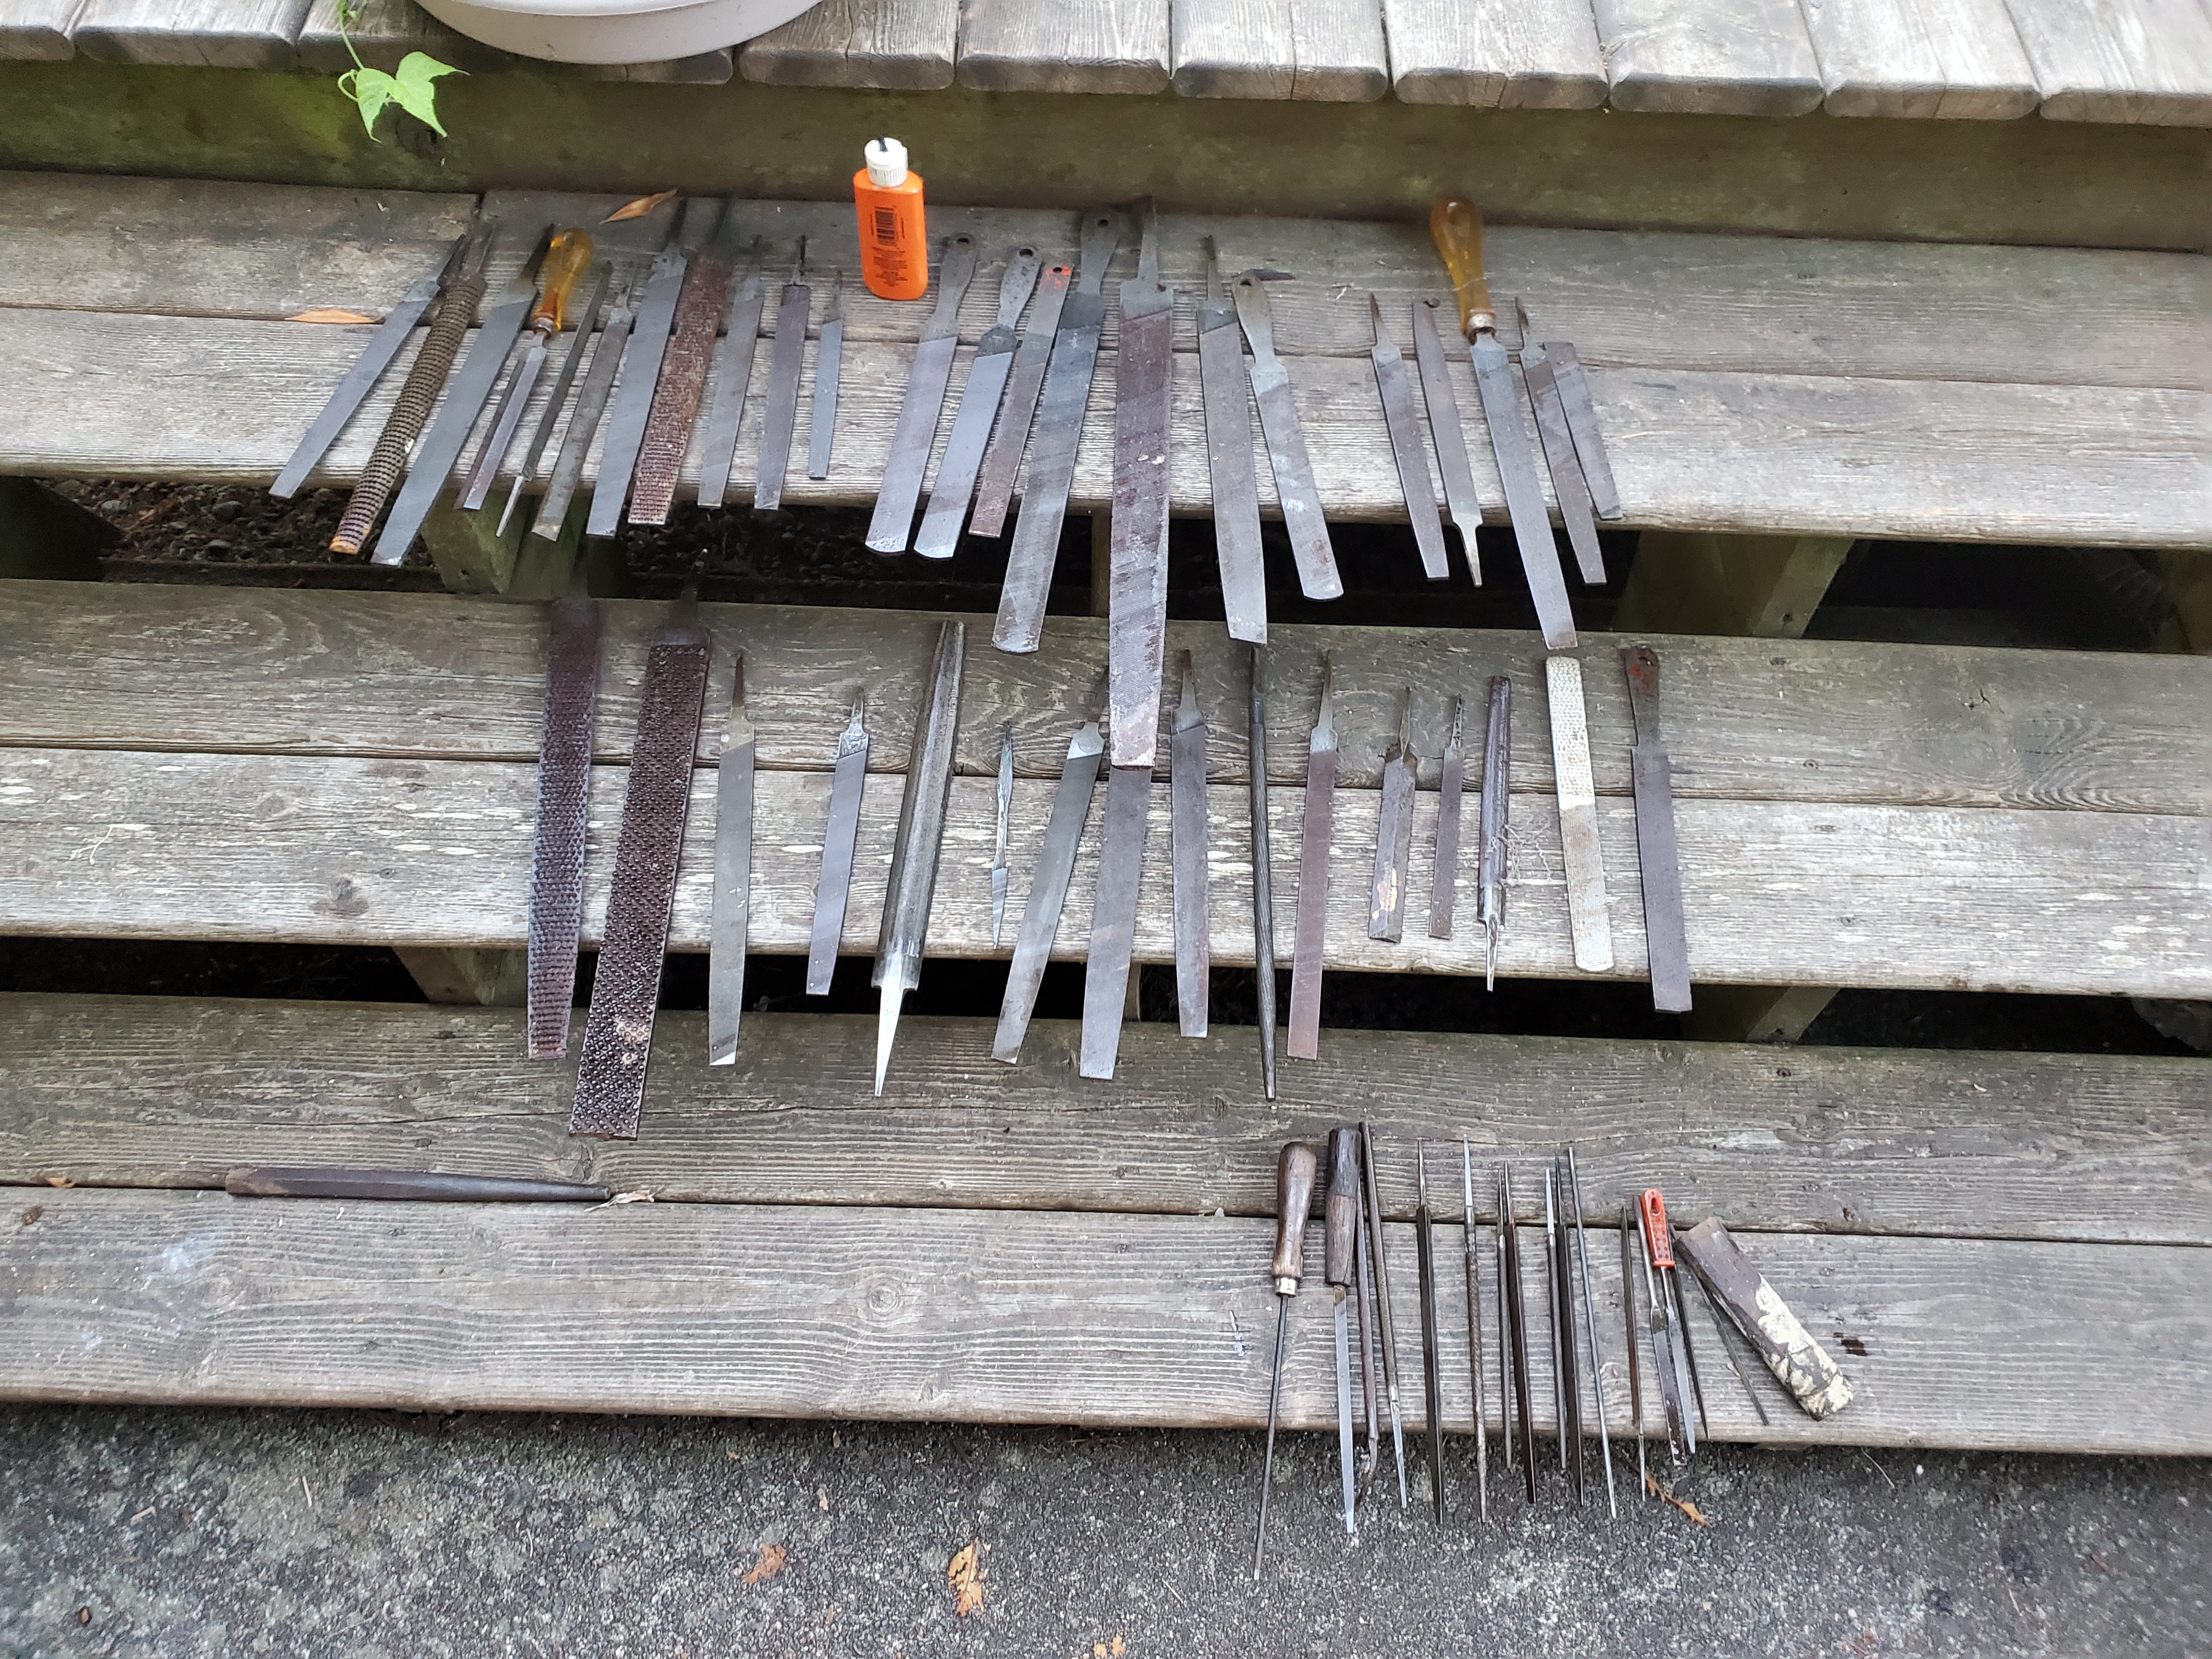
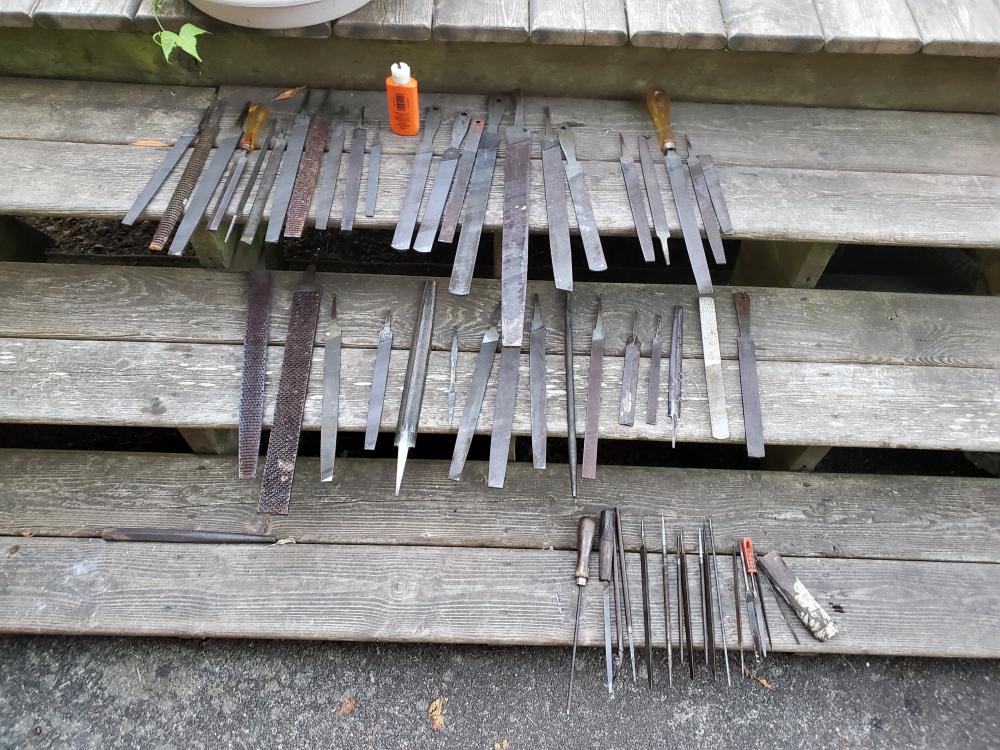
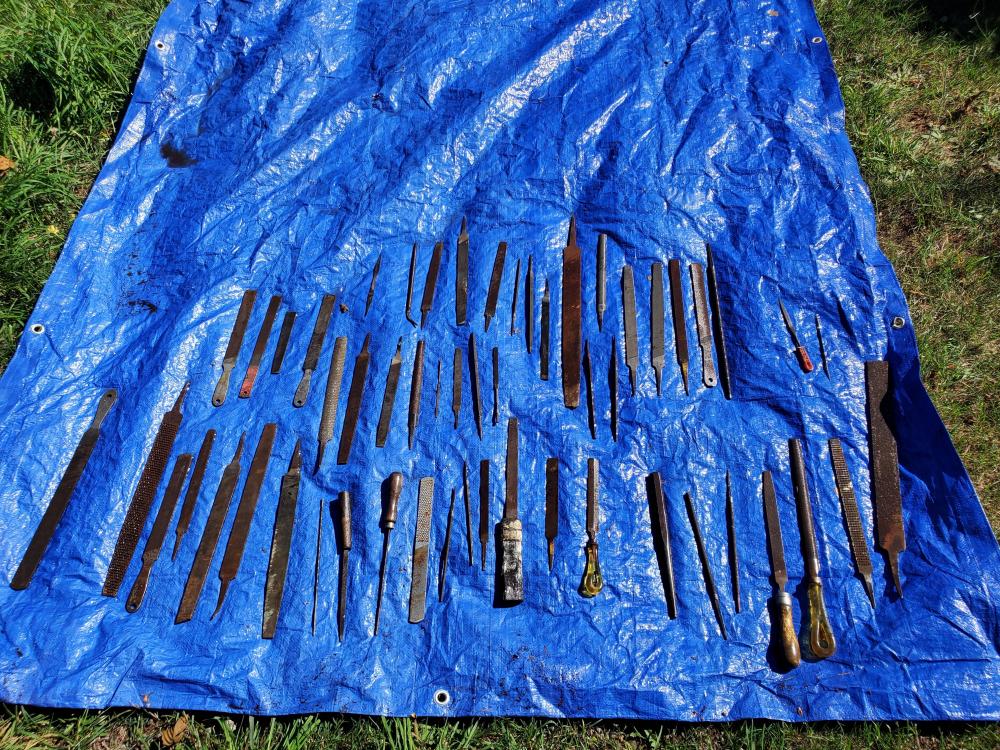
All done with the files.. waiting on parts still for the forge. On the top, to the left of the hop no 9 are black diamond, Nicholson to the right, assorted makes on the next too rungs cos, stokes bros, globe, zenith,Belmont bros
-
I hit most of them with some WD, then into a cleaning vinegar bath, then neutralized in water baking soda, just letting them dry before i give em another oil coat to stop rust
-
Most of them appear to be pretty good, some are mint while maybe 2-3 are significantly scarred. There are a few broken ones I may turn into handle fit files but their should be a few scrap. Thanks for the tip ThomasPowers, was looking them up last night and couldn't see anything. Most of these were wrapped in a newspaper from 1966
-
Haha Mikey I will disregard years of my mothers advice gladly lol and see if two wrongs make a right as soon as I get my regulator and CO Monitor in. In the meantime I did score on a whole boatload of Nicholson, black diamond and other assorted files.. been spending the day getting the shop ready for forging and cleaning these bad boys up.
-
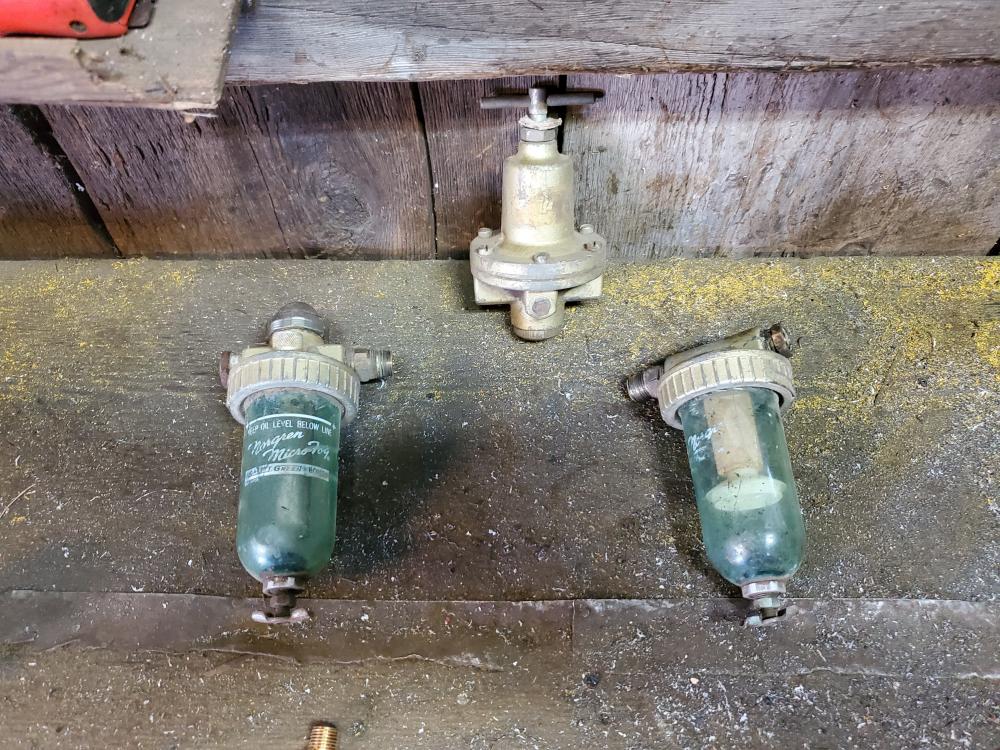
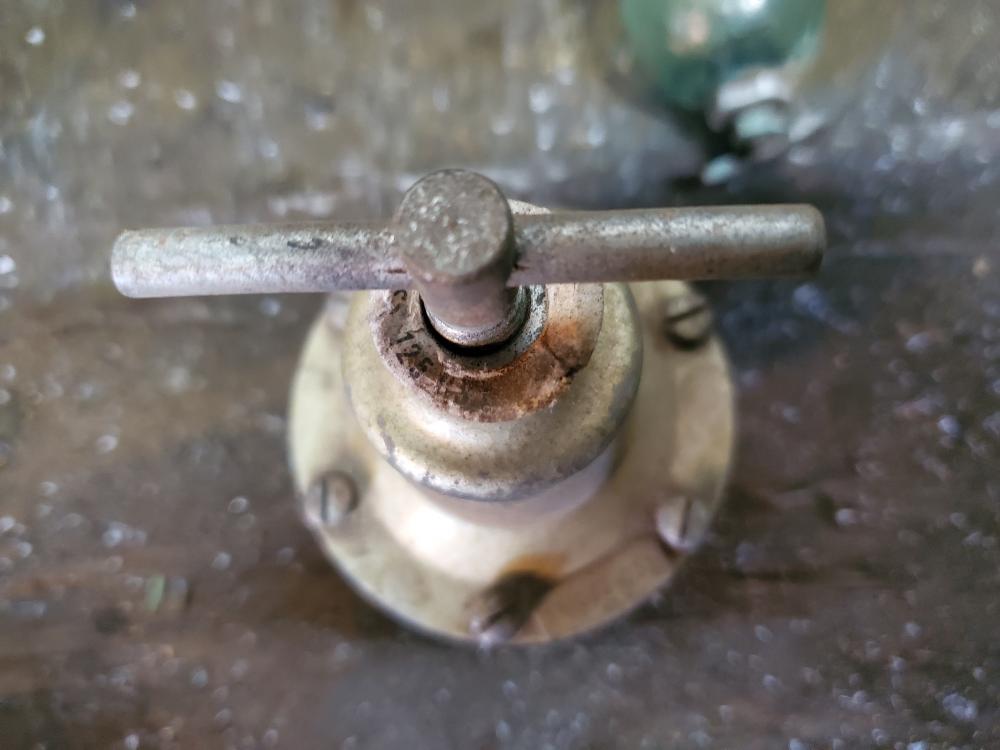
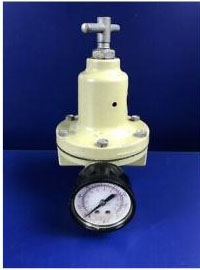
Also I found this reg during my rummaging, it says it is 125 psi, from what I've seen it appears to be a norgren 125 air pressure regulator... can I use this for my forge or is it too much?
-
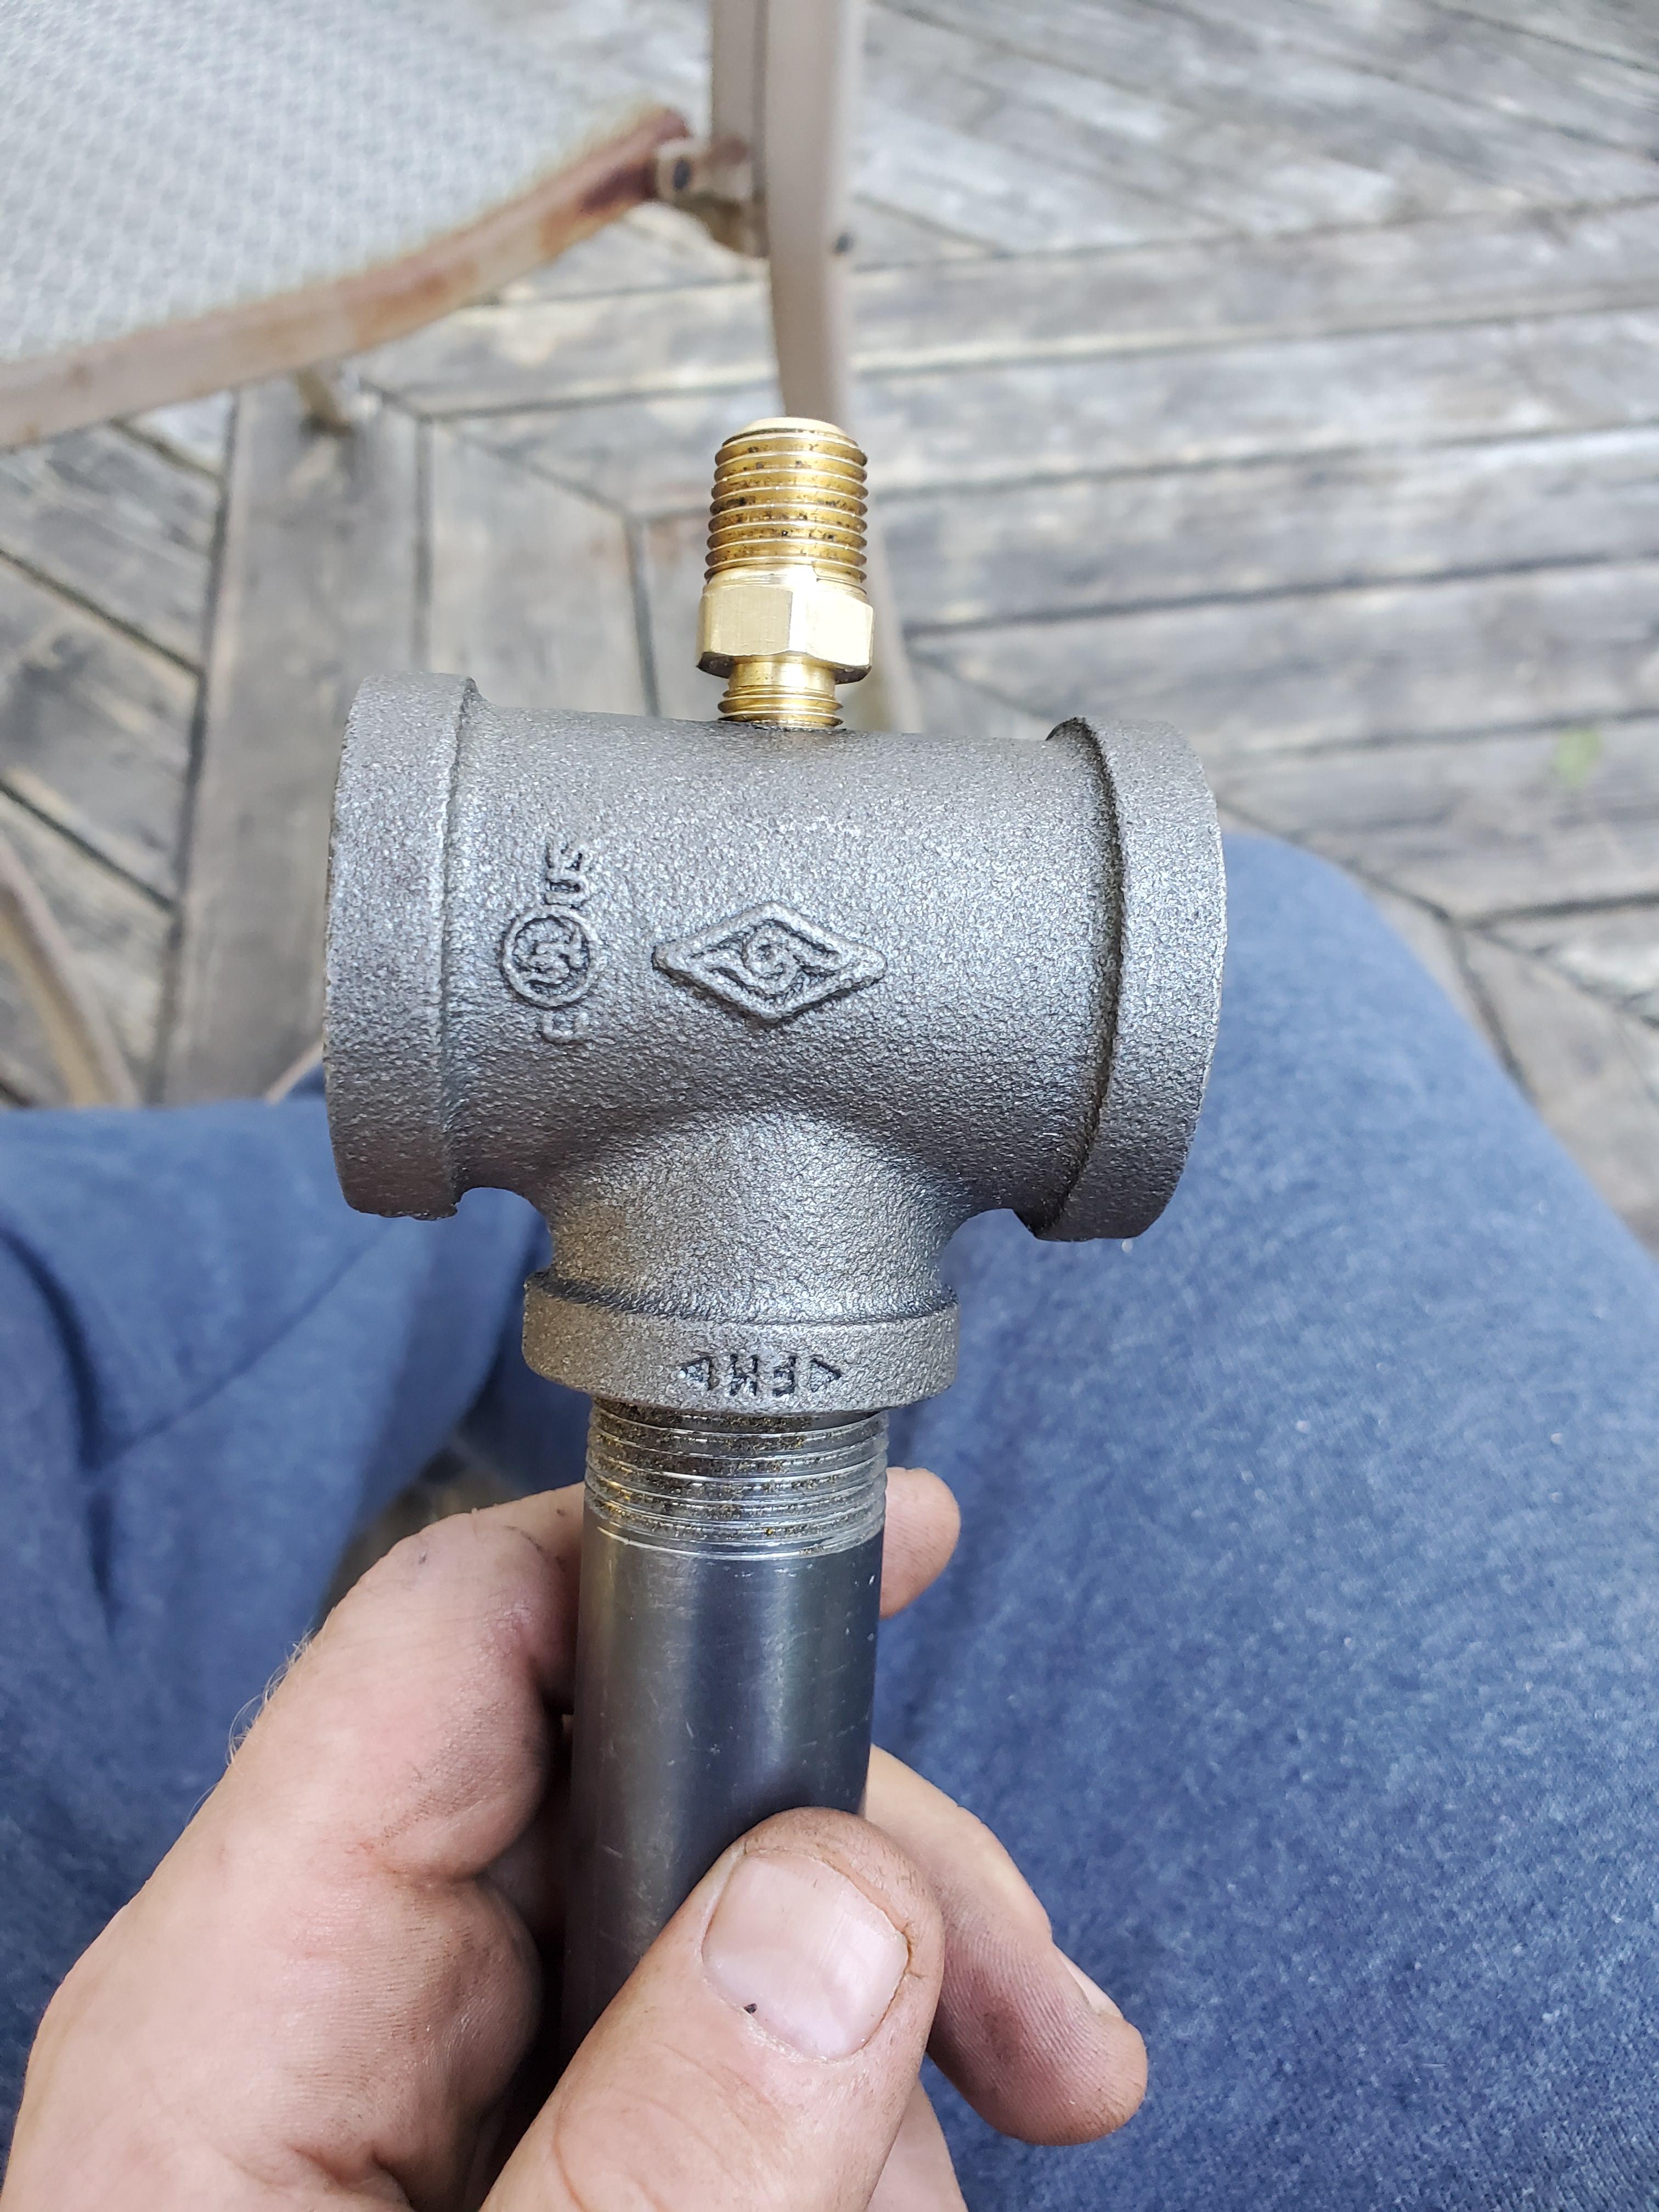
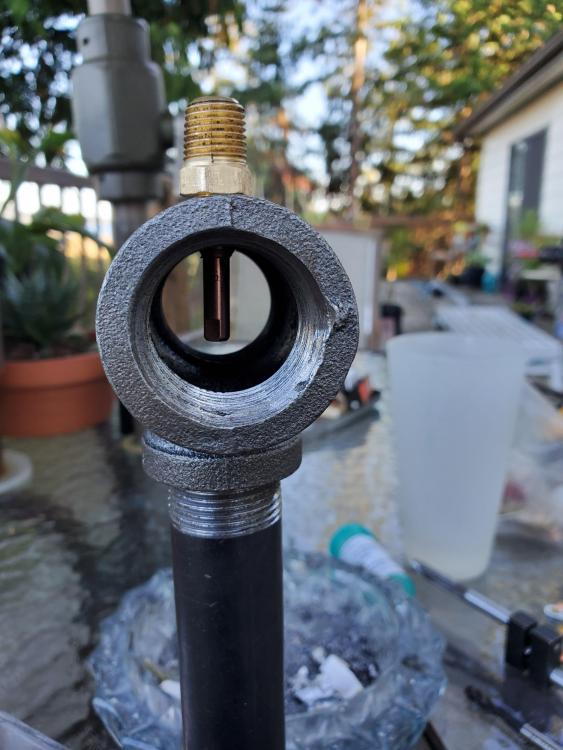
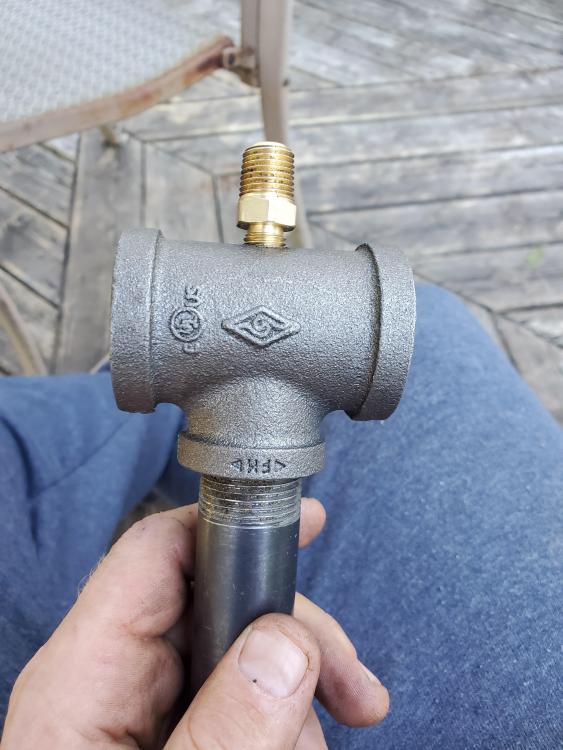
Sorry Mikey but which part are you referring to? The 3/4 opening of the tee? In terms of lining it up when we drilled it, we used a vernier caliper to find center as best we could, squared the drill platen to the bit and hand tapped it in the drill chuck as per the pdf instructions in the forum, so im hoping it will still work. If not I can try to send someone to town for me for another Tee, otherwise I have to wait for the weekend. My gf works at the island hardware store but I think I've exhausted her and the owners already in my quest for parts haha. I doubt getting 6 tees and sending back 4 would make them happy... though im not completely above trying. Ive had the entirety of their plumbing parts laid out looking through them for what I needed so I know our store doesn't have them lol Also, when I get to tuning it I am assuming I should get my forge shell lined first to approximate as best I can the area im trying to heat (Which like i said earlier should be a cylinder about 5" in diameter and about 11 3/4 long) or can I run some test runs in the shell as it stands (11 3/4" x 10")?
-
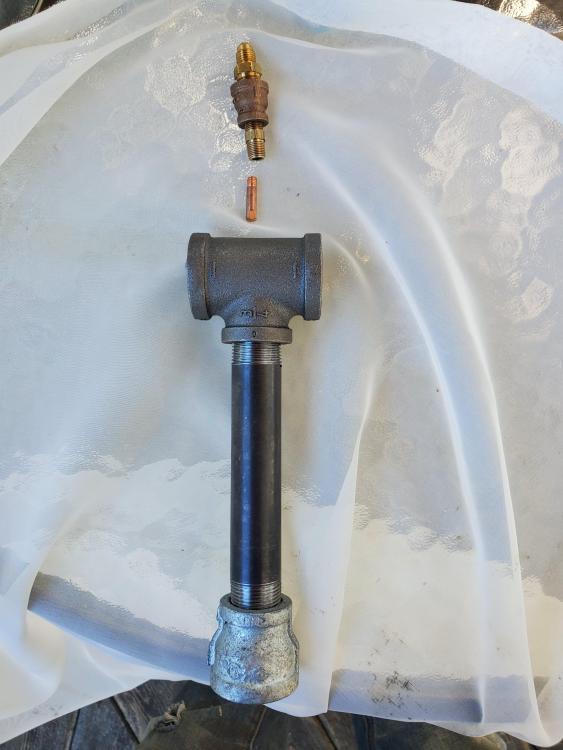
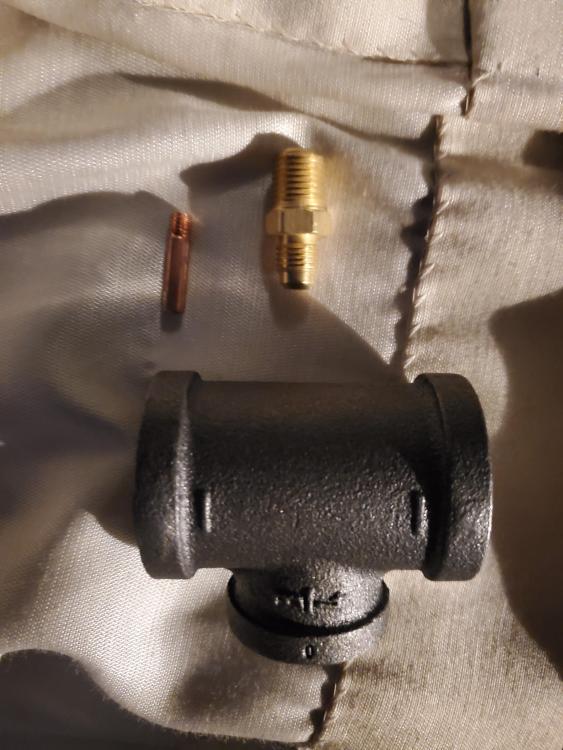
Frosty, I much appreciate the help with the burner. I'm still waiting on a high press regulator to come in otherwise I'd be tuning it as we speak. Have a few other regs around but I doubt they would cut it. I probably am going to make a second T while I'm at it so I can play with the idea of a NARB in the near future... halfway through this build and already thinking about the next lol Thank you latticino for the advice and that is something that I had been thinking about myself. I had read that bell reducers aren't necessarily the best flare and was considering myoptions. If been looking for something like that diagram to give me an idea of what to do where my burner enters so much appreciated. Also I will try not to be using galvy parts anymore Also, you guys have never heard of the tig tap two step? Thanks, Adam
-
What went wrong is we thought we had the right size.. and were proven wrong.. after some tinkering though Finally!!
-
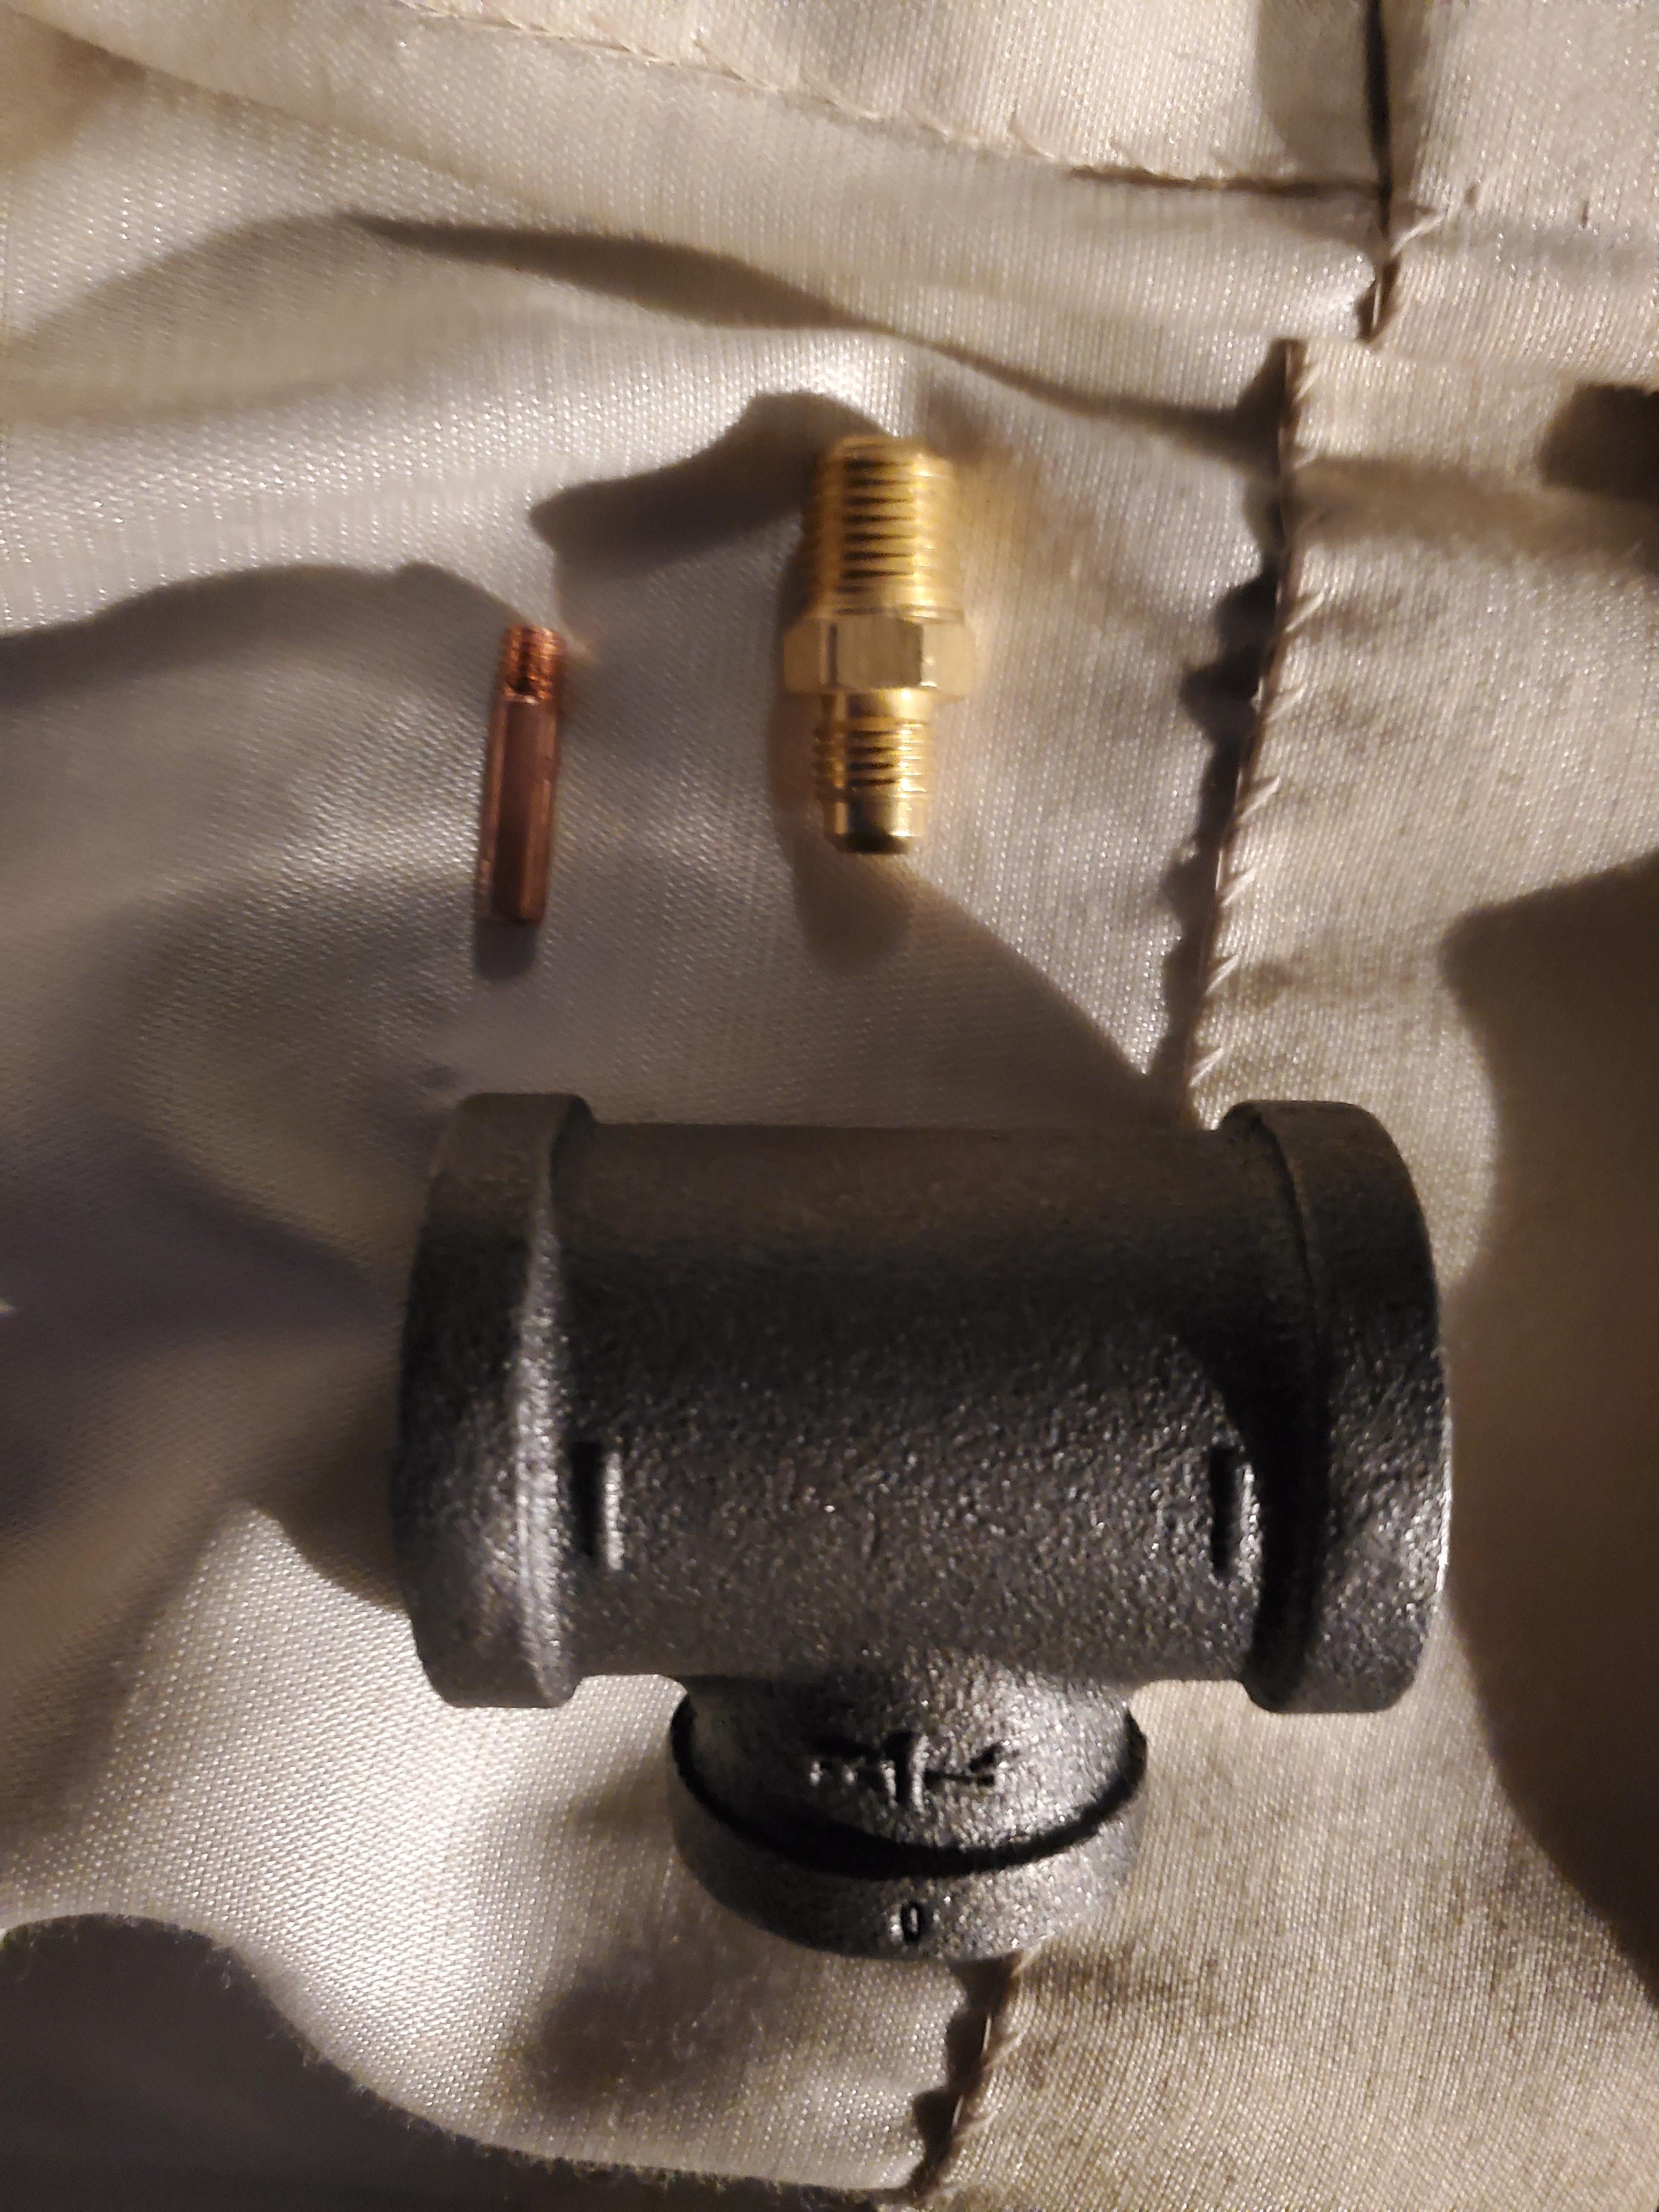
So I was able to tap the T but doing my mig tip tap didn't go so hot.. luckily I grabbed a spare union in case. Gonna search through my taps again tonight .. apparently I am in need of a 1/8 27 not 28. So progress.. in small increments lol
-
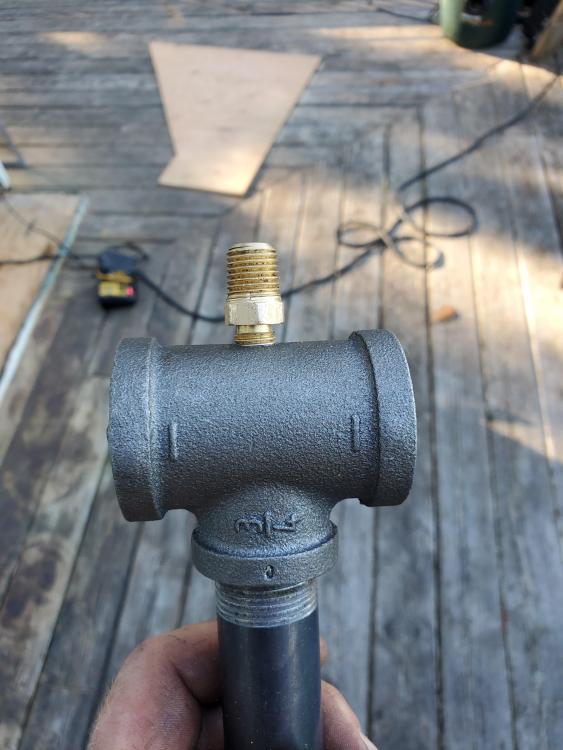
Made it into town. This the the fitting I found in town it looks like I should be able to tap my .035 in with a 1/8 m28. Need to grab a regulator and the bottle still. Then get some insulation in my shell then hopefully start cooking soon


-
Thanks for the tips guys. Got most of my shell welded together today... haven't touched a welder in 15 years but I can live with the final product
-
Okay I'll see what I can find in town.. i take it i want as little as possible attached that could throw off my mig tip placement? problem is I live on a small island off of Vancouver island so I try to only make town runs every couple weeks or more if I can help it. The little hardware store we have has a very limited supply amd asking people to grab parts in town for me has yielded questionable results at times. Going to town myself this weekend so hoping I'll have more to choose from. Yes we are Metric.. ive got a couple .035 mig tips with a m28 thread on them and the tap already. Going to have to buy a tap and drill for the for the 1/8th pipe thread but might have one kicking around somewhere. Also just bought a miller 135 so definately going to be hitting welding store anyways no matter what
-
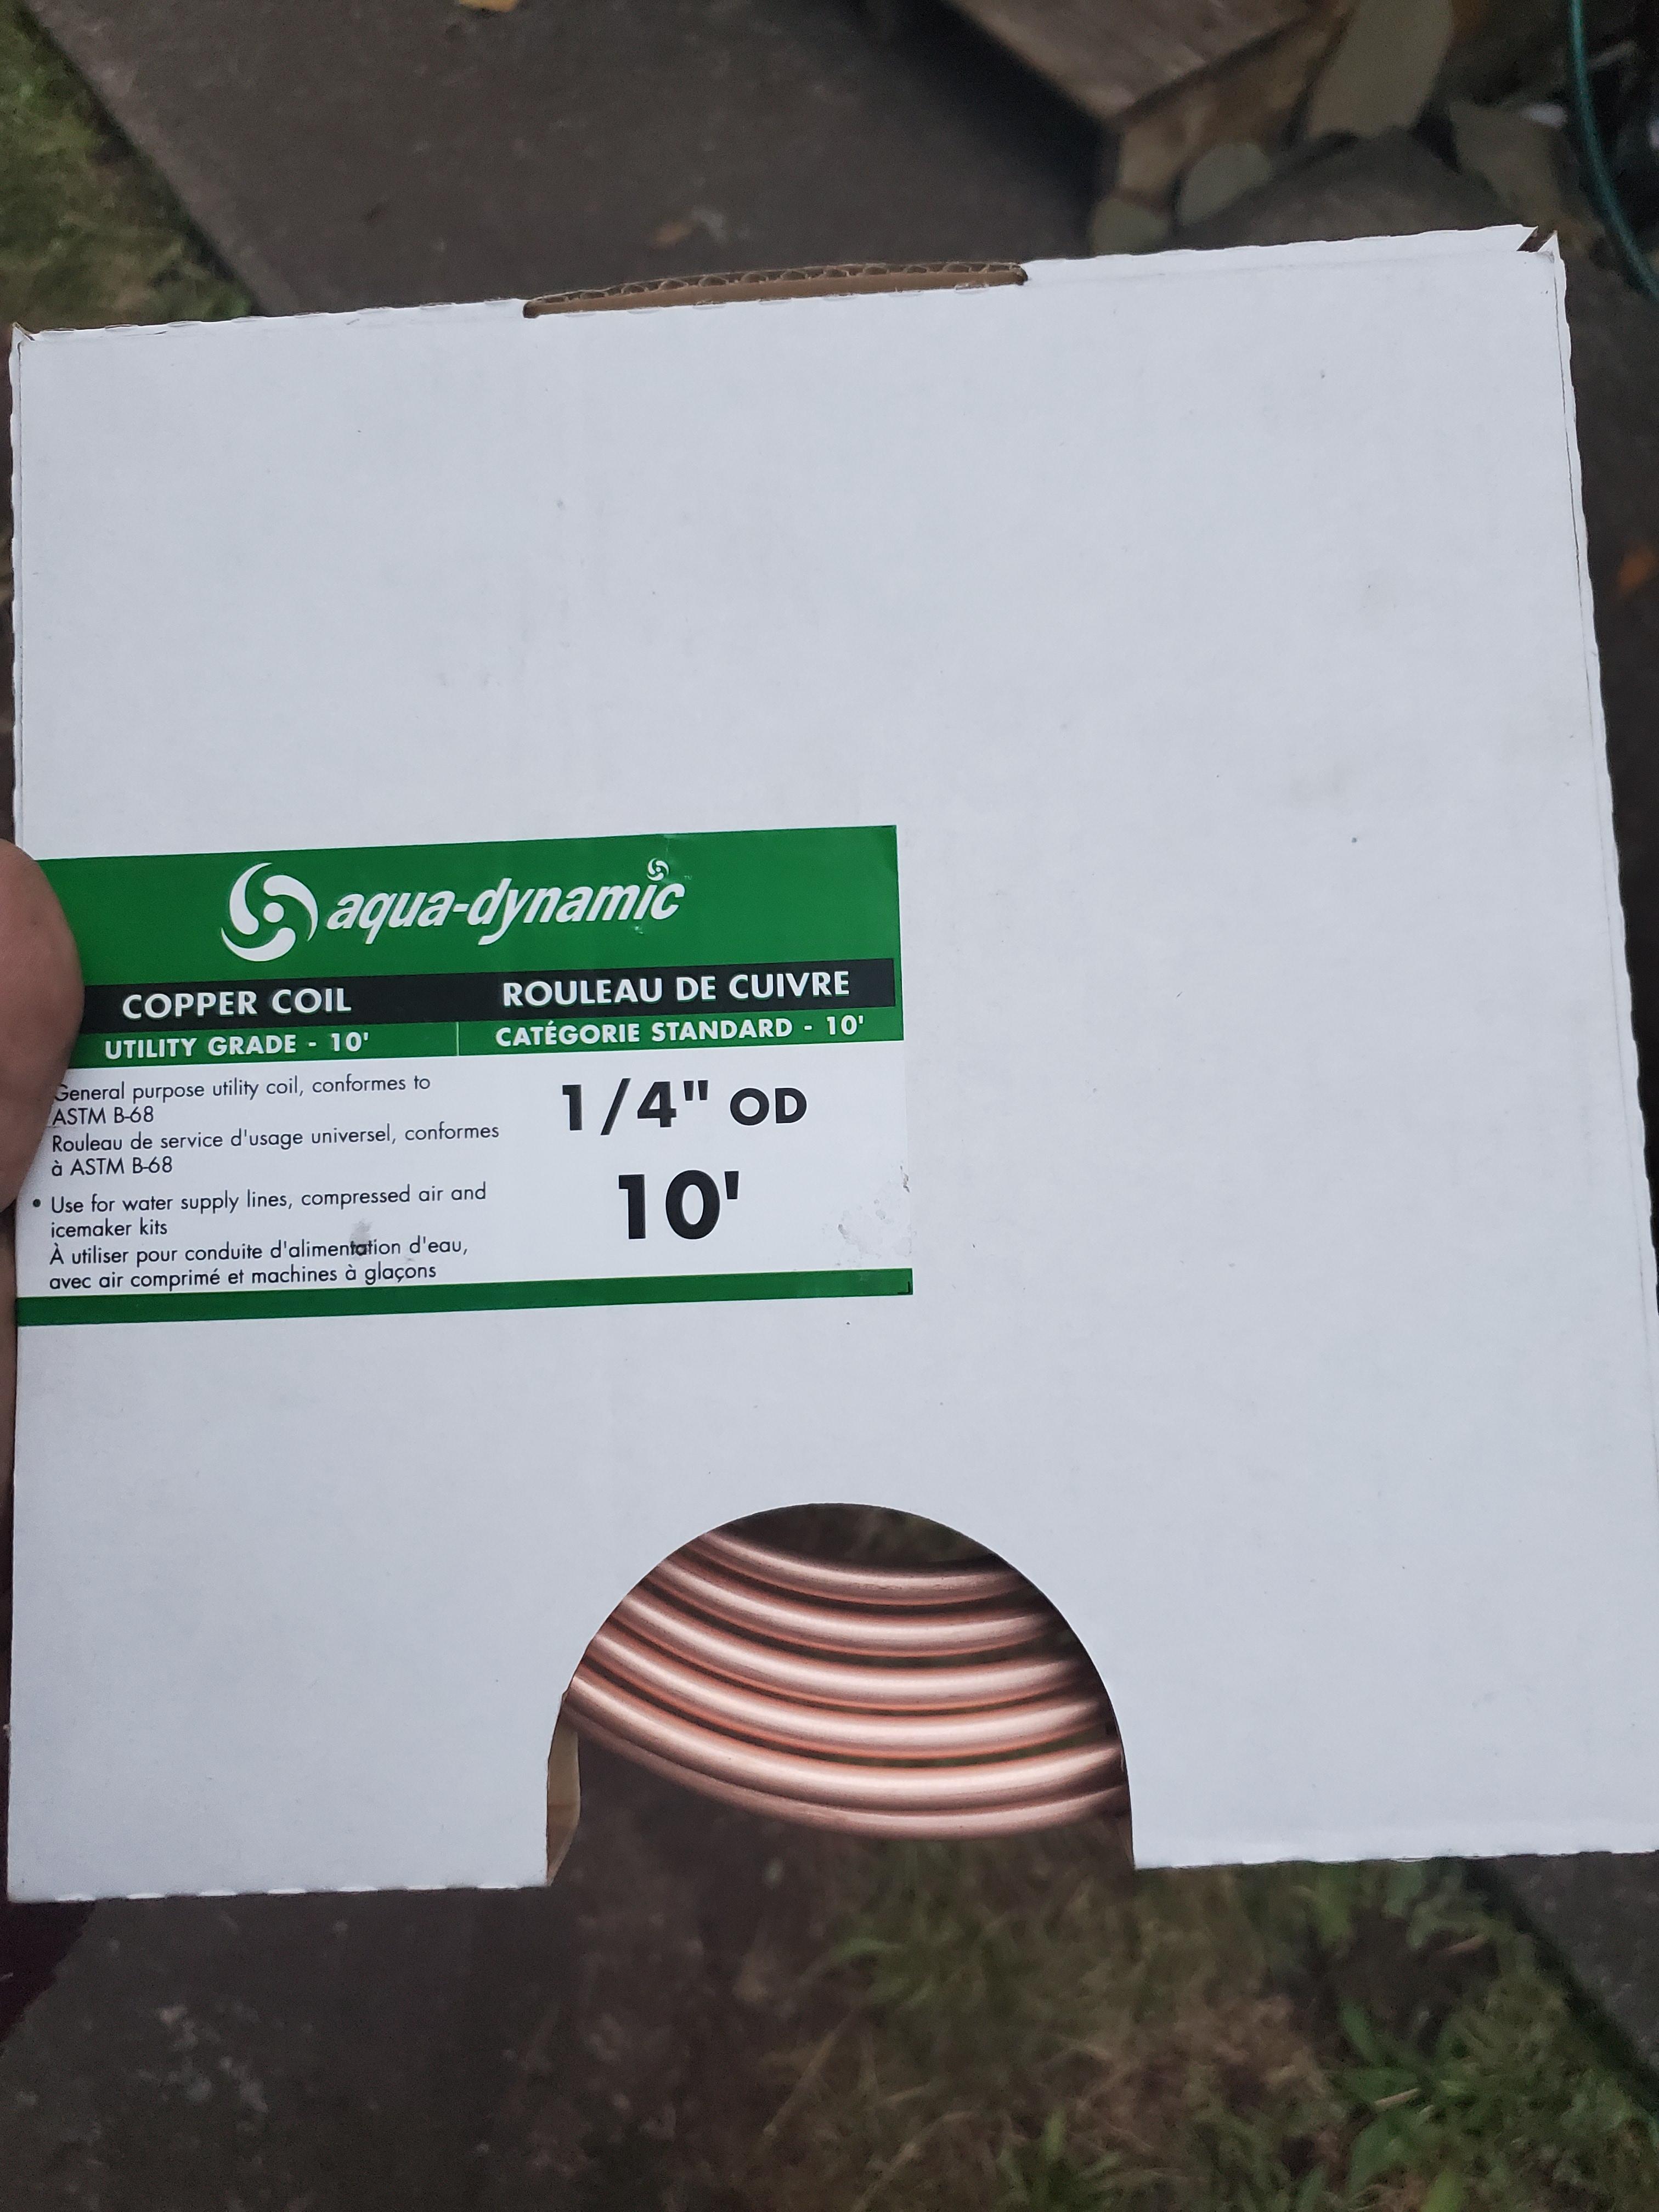
Okay so after getting back to the drawing board this is what I could come up with using the available fittings. Going into town to pick up propane and copper tubing this weekend