Duncan M
-
Posts
43 -
Joined
-
Last visited
Content Type
Profiles
Forums
Articles
Gallery
Downloads
Events
Everything posted by Duncan M
-
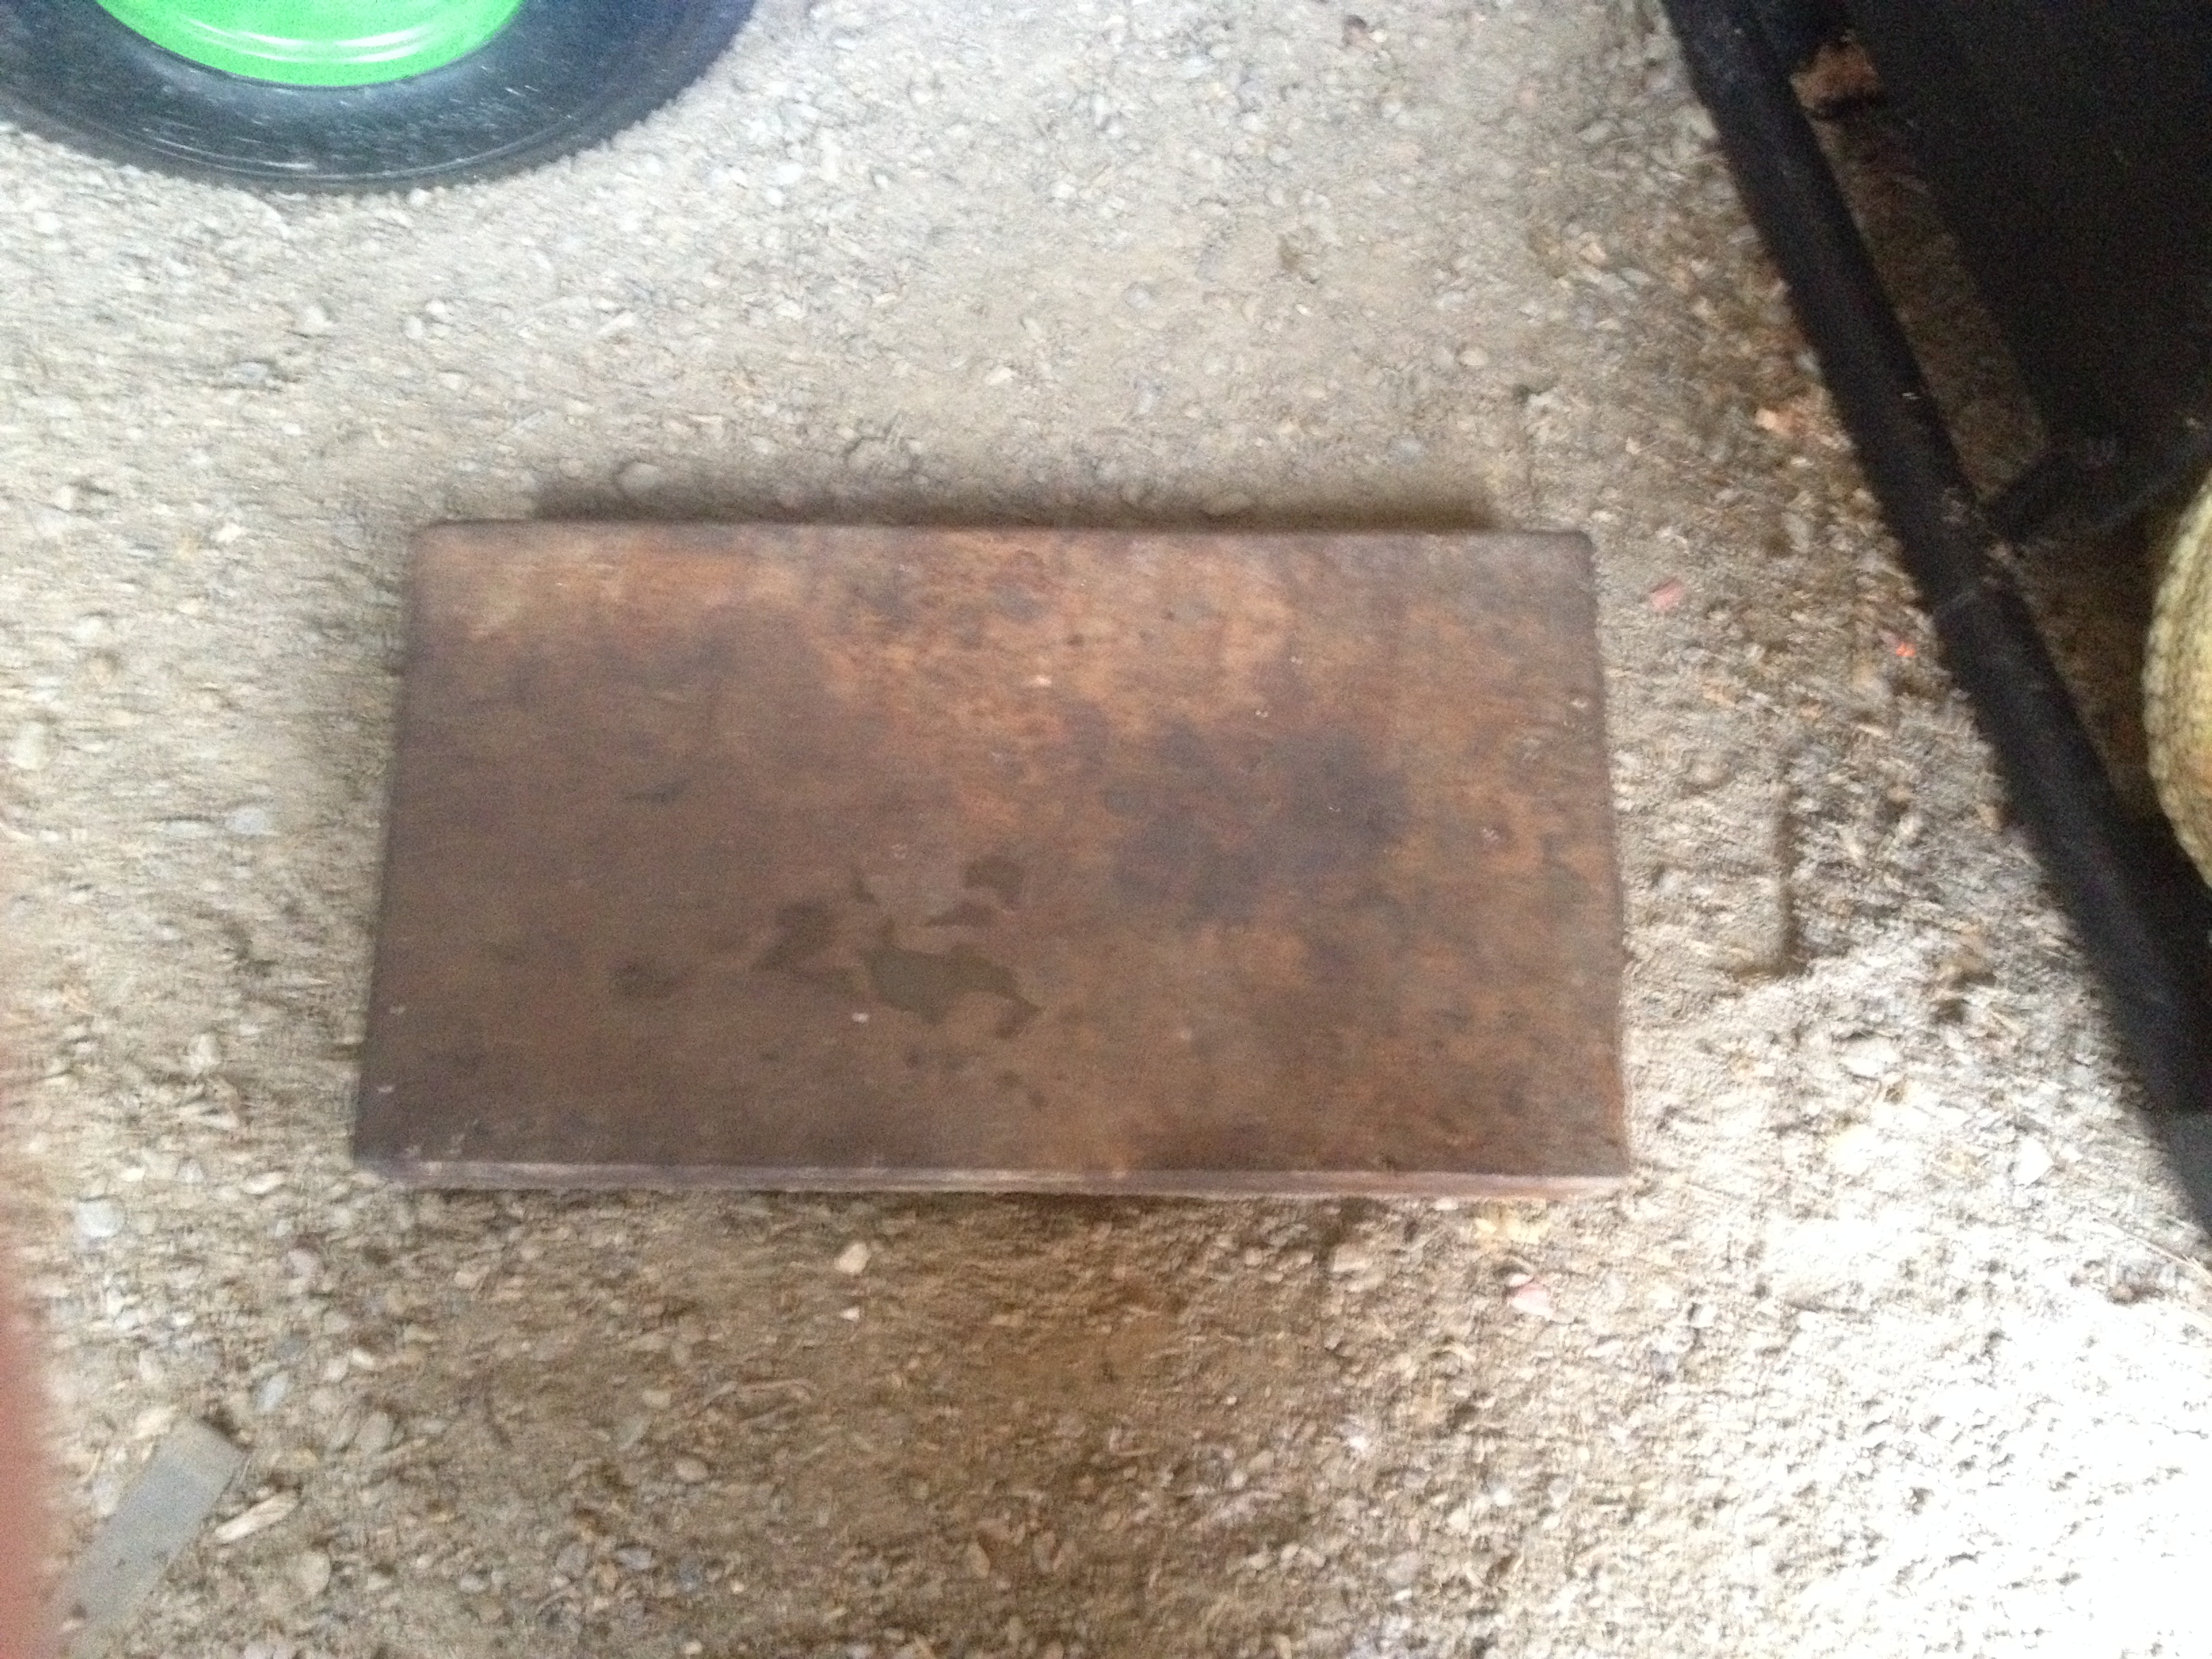
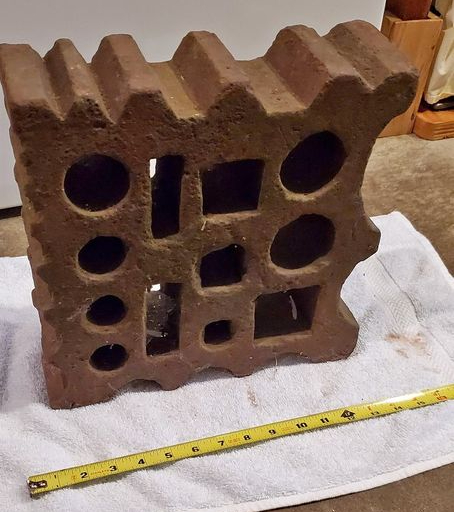
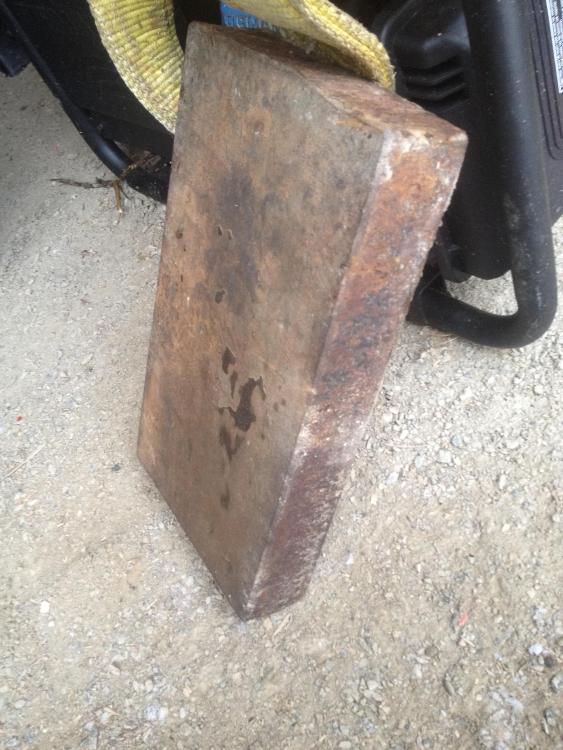
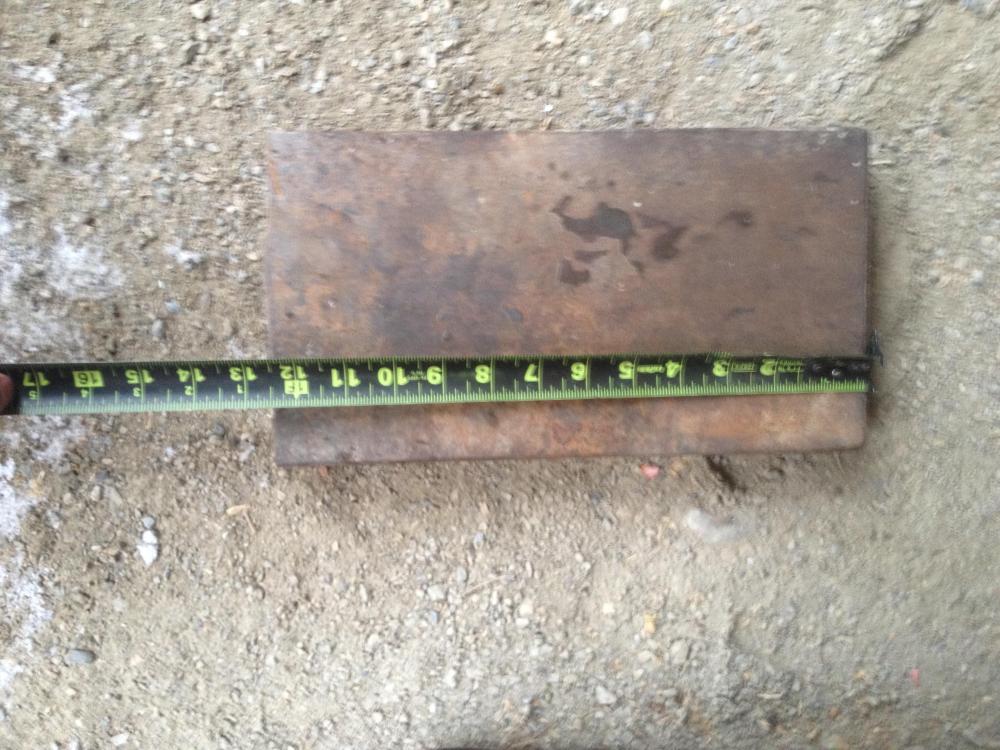
I just picked up this swage block off of market place! it's dimensions are 12.5x12.5x4 and it weighs approximately 100 lbs
-
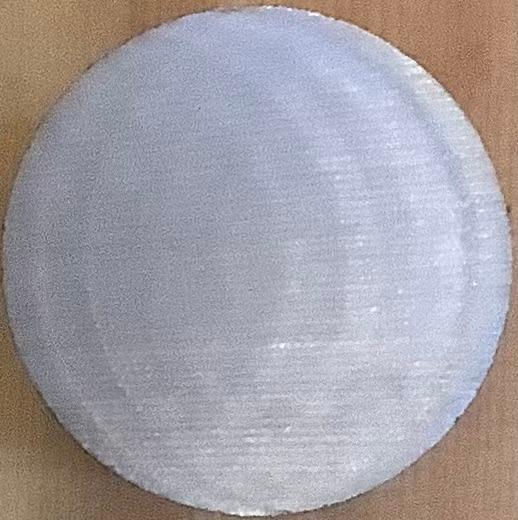
Thanks everyone, I looked up ghosting and would definitely agree that that's what the cause is. I guess that means there would be no point in trying to etch a piece then. Goods, I am sorry that i misunderstood your original post.
-
I had been wondering if it was caused in the production process, and was curious because I had never seen that before. would sticking a slice in white vinegar work to etch it, or would I need something stronger?
-
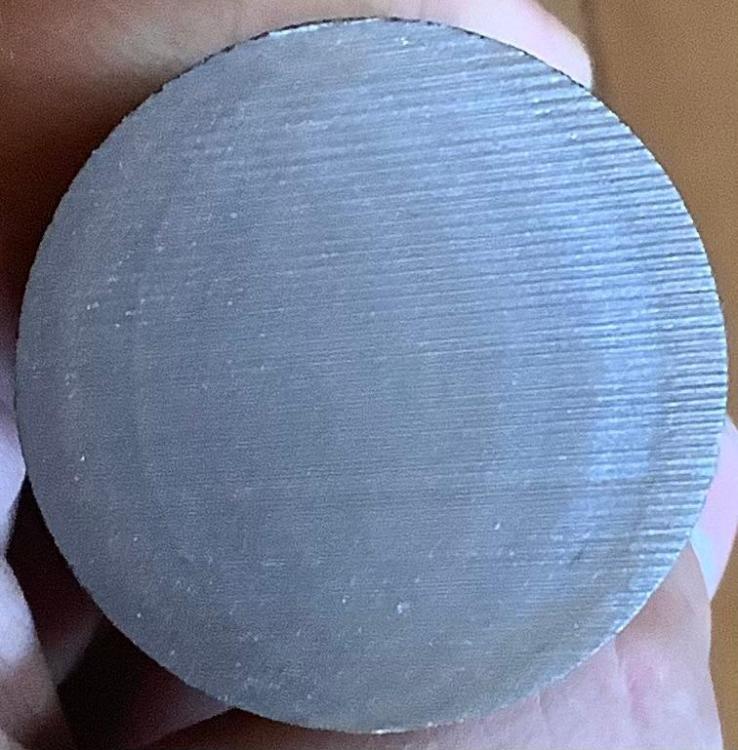
I was cutting an axle today to make a hammer and I noticed some strange patterns on the cut faces. The pattern appeared on both ends of the hammer billet and I cut the axle with a horizontal band saw. If anyone knows what would cause this I'd be curious to know.
-
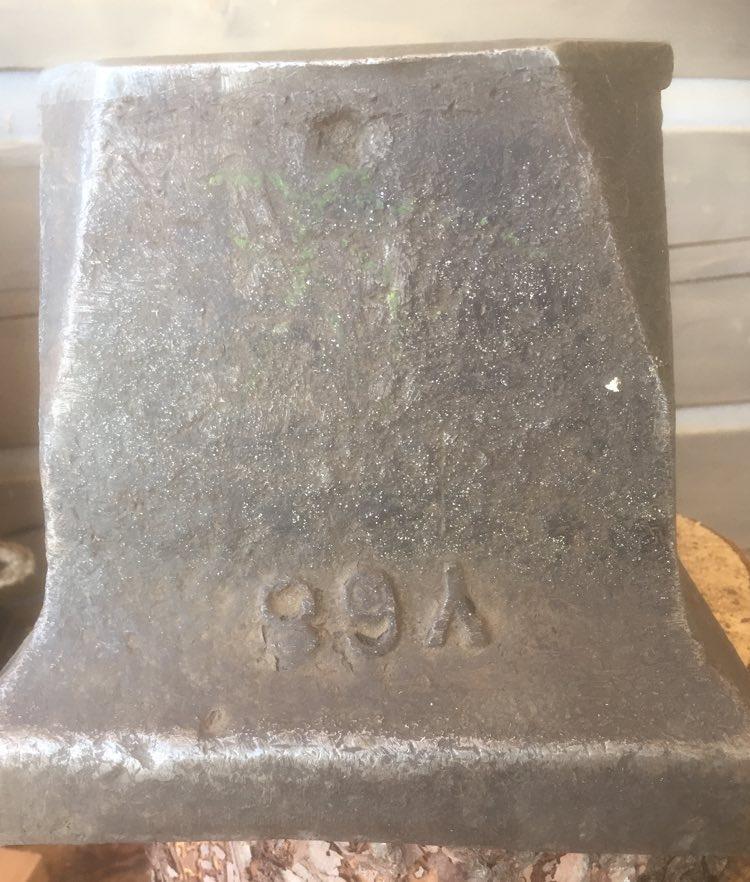
The guy that I got it from is a 4th generation saw filer and I was at his shop with my Dad to get some band saw blades sharpened for his mill. We also brought in an old single buck crosscut saw to learn how to sharpen it. He doesn't sharpen them anymore but was willing to show us how it's done. While showing us how to set the teeth he asked if I wanted the anvil. I couldn't pass it up for 50$ and he gave me a jointer as well for sharpening cross cuts.
-
I picked up a saw makers anvil today for 50$. I got it from a sawfiler who was moving shop and didn't have any use for a flat topped anvil. I weighed the anvil when I got home and it came out at 96.5 lbs. I'm not sure what the make or age of the anvil is but if anyone recognizes it that would be great.


-
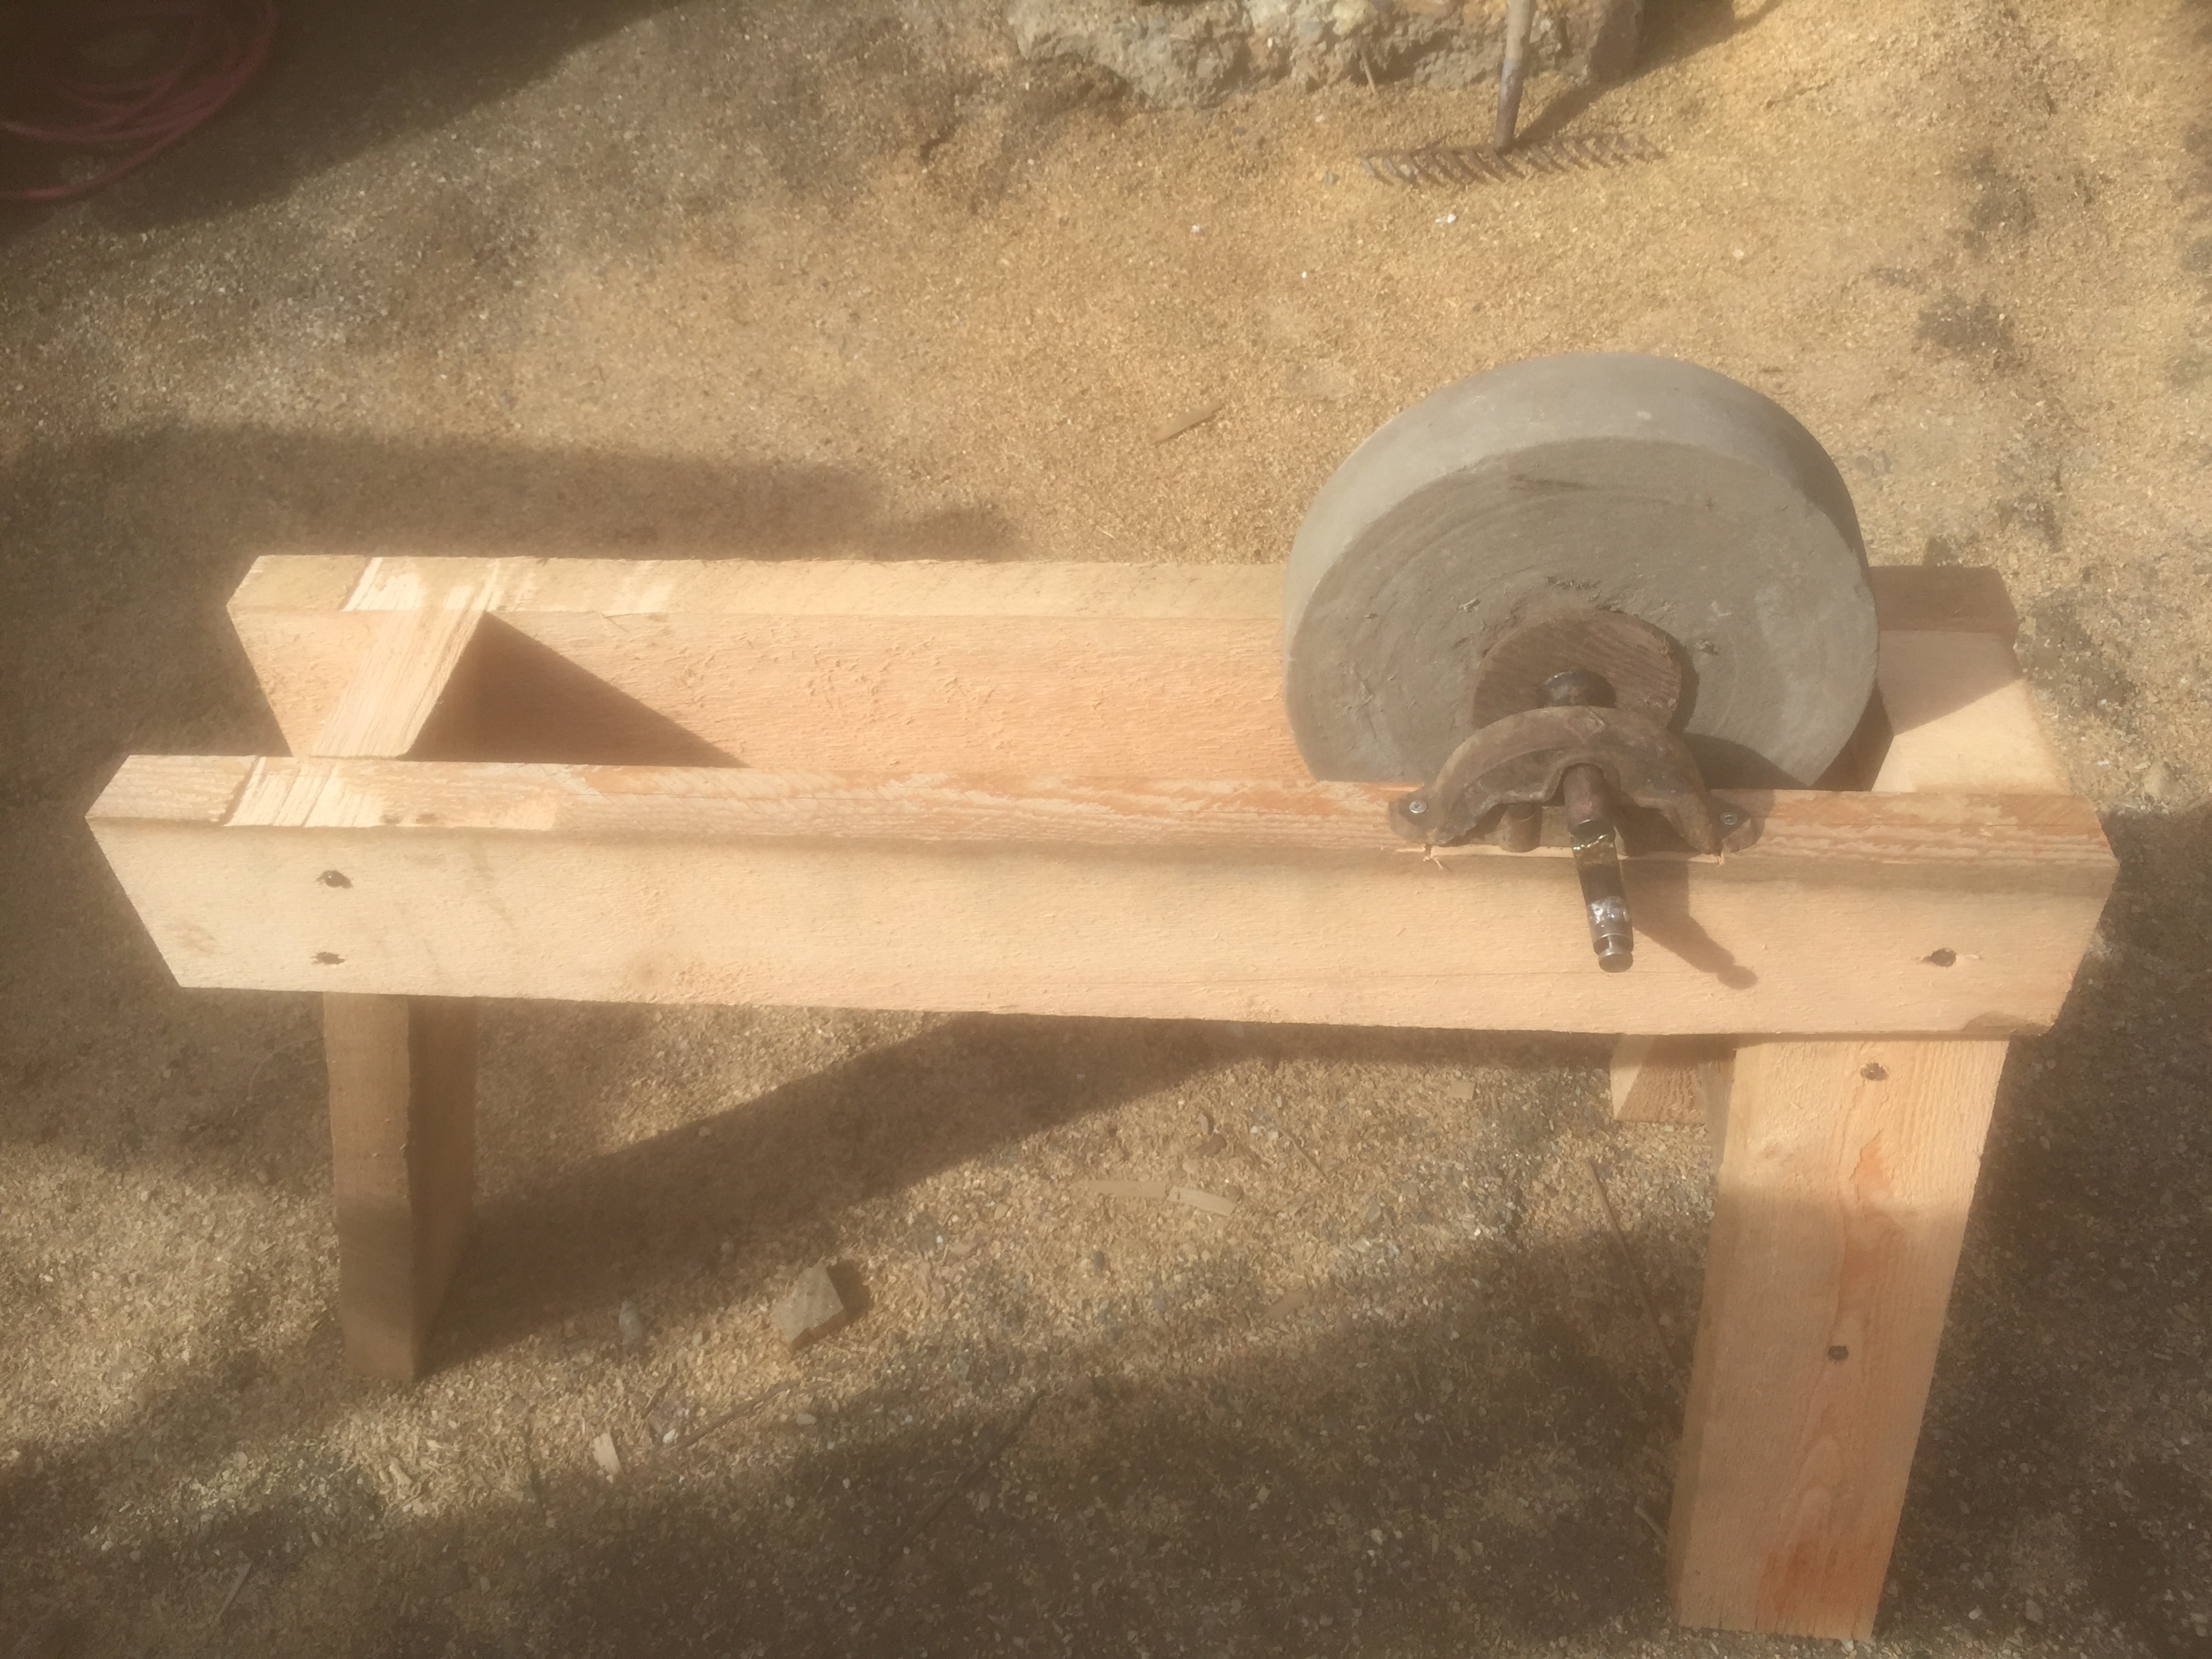
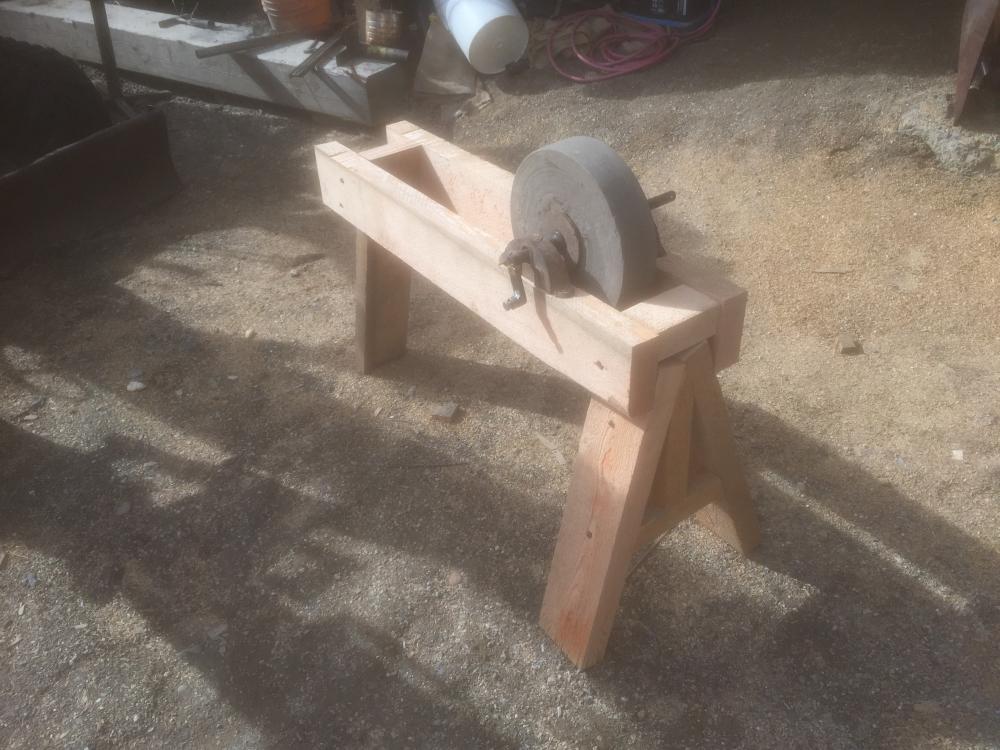
I've attached the treadle and my stone is now operational.
-
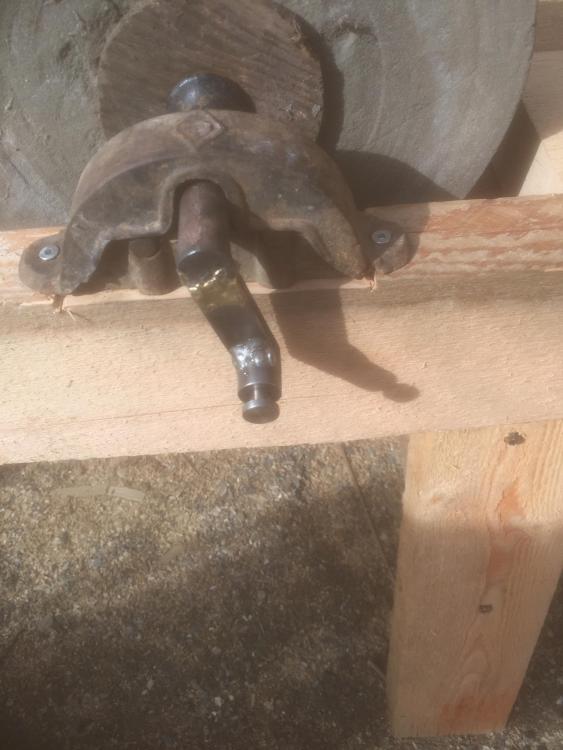
Yesterday I fixed the crank shaft for the stone (I decided to do about a 2.5" offset) and today I built the frame. All I need to do now is make a treadle peddle. I've taken a few pictures of my progress.

-
Hey frosty, I did do a web search but didn't find anything so I thought that I would try here. I am hoping that some members may have a grind that they could measure the offset on. If not, i'll just estimate. I don't think it needs to be super specific.
-
I just picked up an old grindstone that was for sale on Facebook marketplace. It is about 11 1/2" in diameter by 2 1/2" wide and the stone seems to be in good condition. The crank shaft for the stone is missing the arm for the treadle which appears to have snapped off at some point, and someone put a pulley on to drive it at some time. I know that these stones should not be spun at high speeds and plan on making it treadle driven once again. What I need to know is what the offset for the arm needs to be. I will also have to make a new frame for it. ~Duncan
-
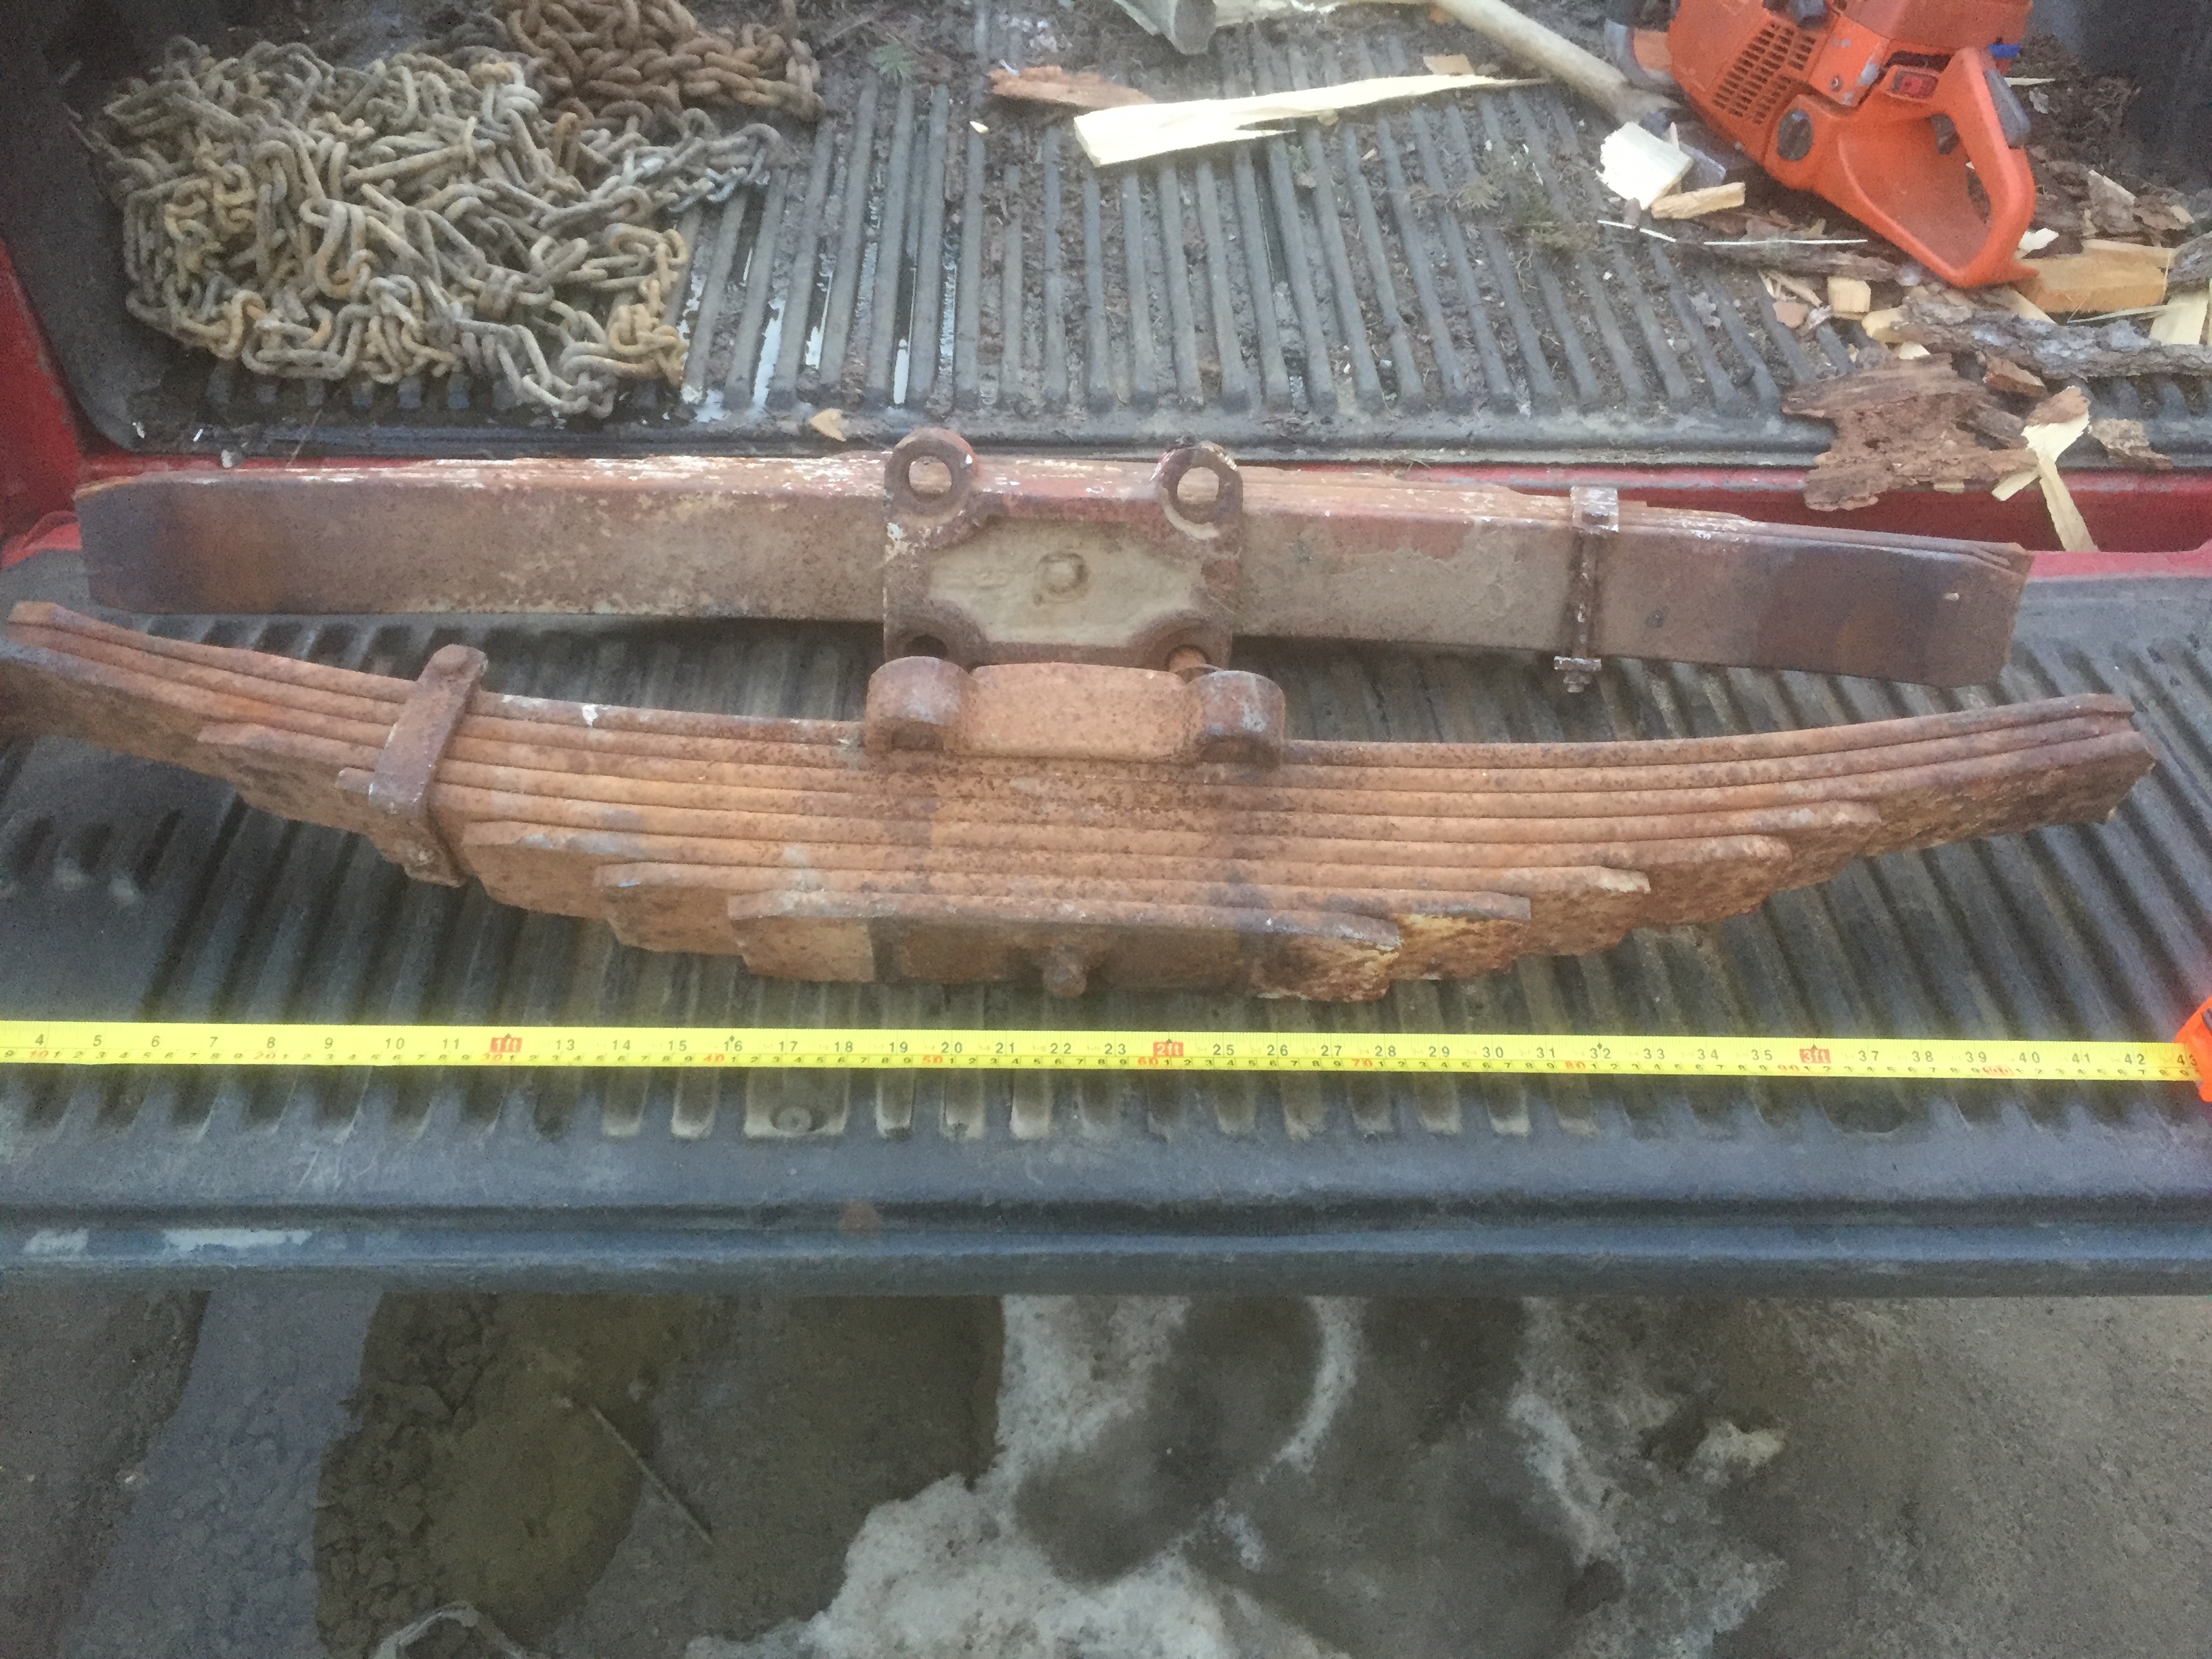
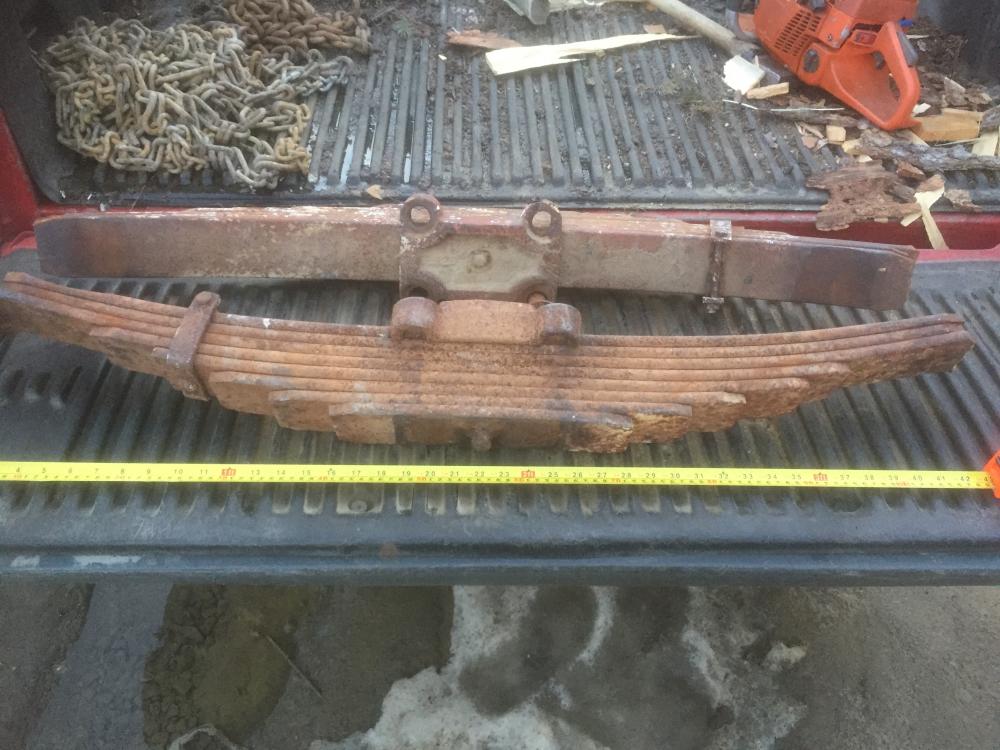
My Dad picked up a couple of packs of leaf springs from the local dump today. The leaves are 1/2" thick and 3" wide. The longest springs are about 42-43" long and there are 8 to a pack. I am planing on making a guillotine tool and using some of the spring as die stock.
-
I thought that it was a great price too. I was wondering if I would be able to make a table for it, and it's nice to know that you did it. do you have any advice on how to make the table?
-
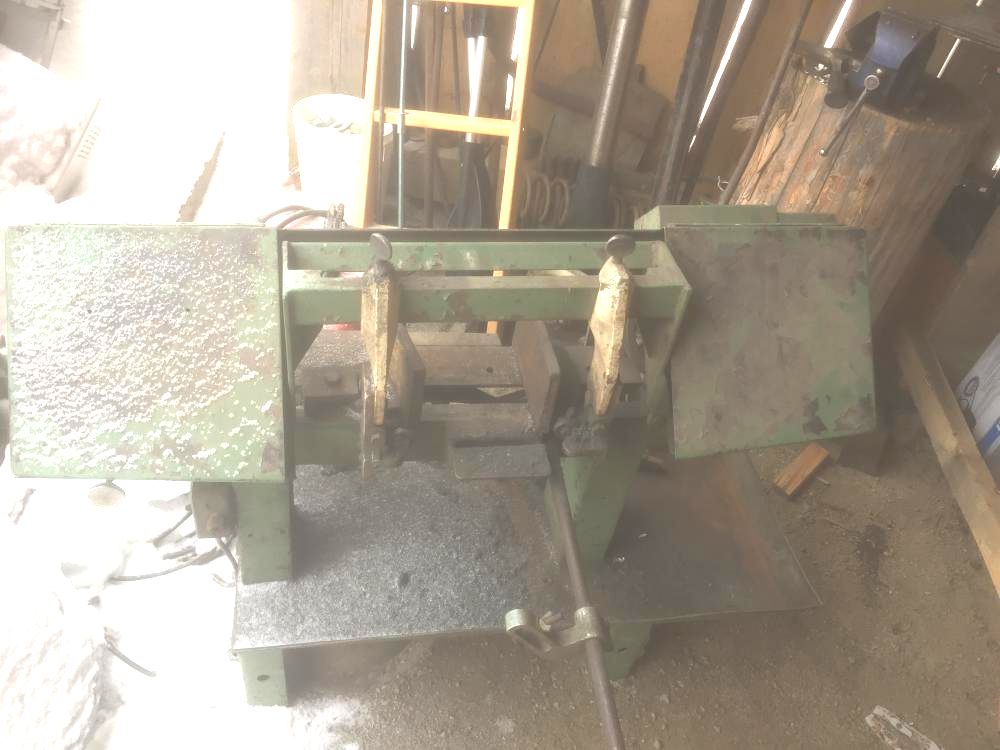
Yesterday I picked up an old horizontal bandsaw which I bought on facebook marketplace. It is a W.F. Wells model A-7 bandsaw that was made in 1970 according to the serial number. I paid 50$ for it which is a great deal! The man was also kind enough to throw in a little lincoln welder and a couple of stands.
-
Twisted willow just posted a picture of a hammer in it followed me home that has a mark that looks just like it. I'll try to post the link.
-
Hey JCloss, I am currently in school at correlieu and will be in metalwork starting mid april. If you think of something that needs to be done at the School, I'd be willing to help. ~Duncan
-
Hey Frosty, Having read some of the other posts on striking anvils, I knew your opinion on them. I was wondering when you would comment on this one and sure enough you did. Perhaps you are right, and it won't work well at all, but I have already put my hardy hole in it. I will weld some legs on and give it a go. If I find that I don't like it, the I can cut the legs off and find another use for it. I do agree that saying striking anvil is a little redundant. Perhaps I should give mine a name to avoid redundancy. Anyone have any suggestions? As I said, I have a block of steel that I plan on using as an upsetting block. It only has a six inch face but I think that'll be fine. I am not opposed to portable holes, and may still make one. They seem like quite a useful tool to have. Are there any do's or don'ts when making one?
-
Hi Andy, I will try to answer a few of your questions. The only Coal supplier that I have found is Thak Iron works. They are based in Ontario and sell 70lbs bags of coal for 45$. It is good quality bituminous blacksmith coal, but it is a little pricy. As for steel, that is more readily available. Most larger towns would hale at least one supplier. If you are within an hour of a larger center you could probably get things delivered, although it would probably be significantly cheaper to pick stuff up yourself. I don't know of any laws that would impede your blacksmithing, although you shouldn't hold me to that. British Colombia is a beautiful province, but it seems like blacksmithing equipment is most readily available in Ontario.
-
I think that an upsetting block would be quite useful, and have a piece of 6" round stock that is about eight inches long that I thought would make a great one. I will bury it in the ground in front of my forge just like you've suggested. I believe that a big advantage of having my striking anvil lower than my shop anvil would be when drifting. The height added by the drift would make it rather awkward pounding it in. Also, when forging hardy tools, I wouldn't have to worry about drawing the temper on my anvil.
-
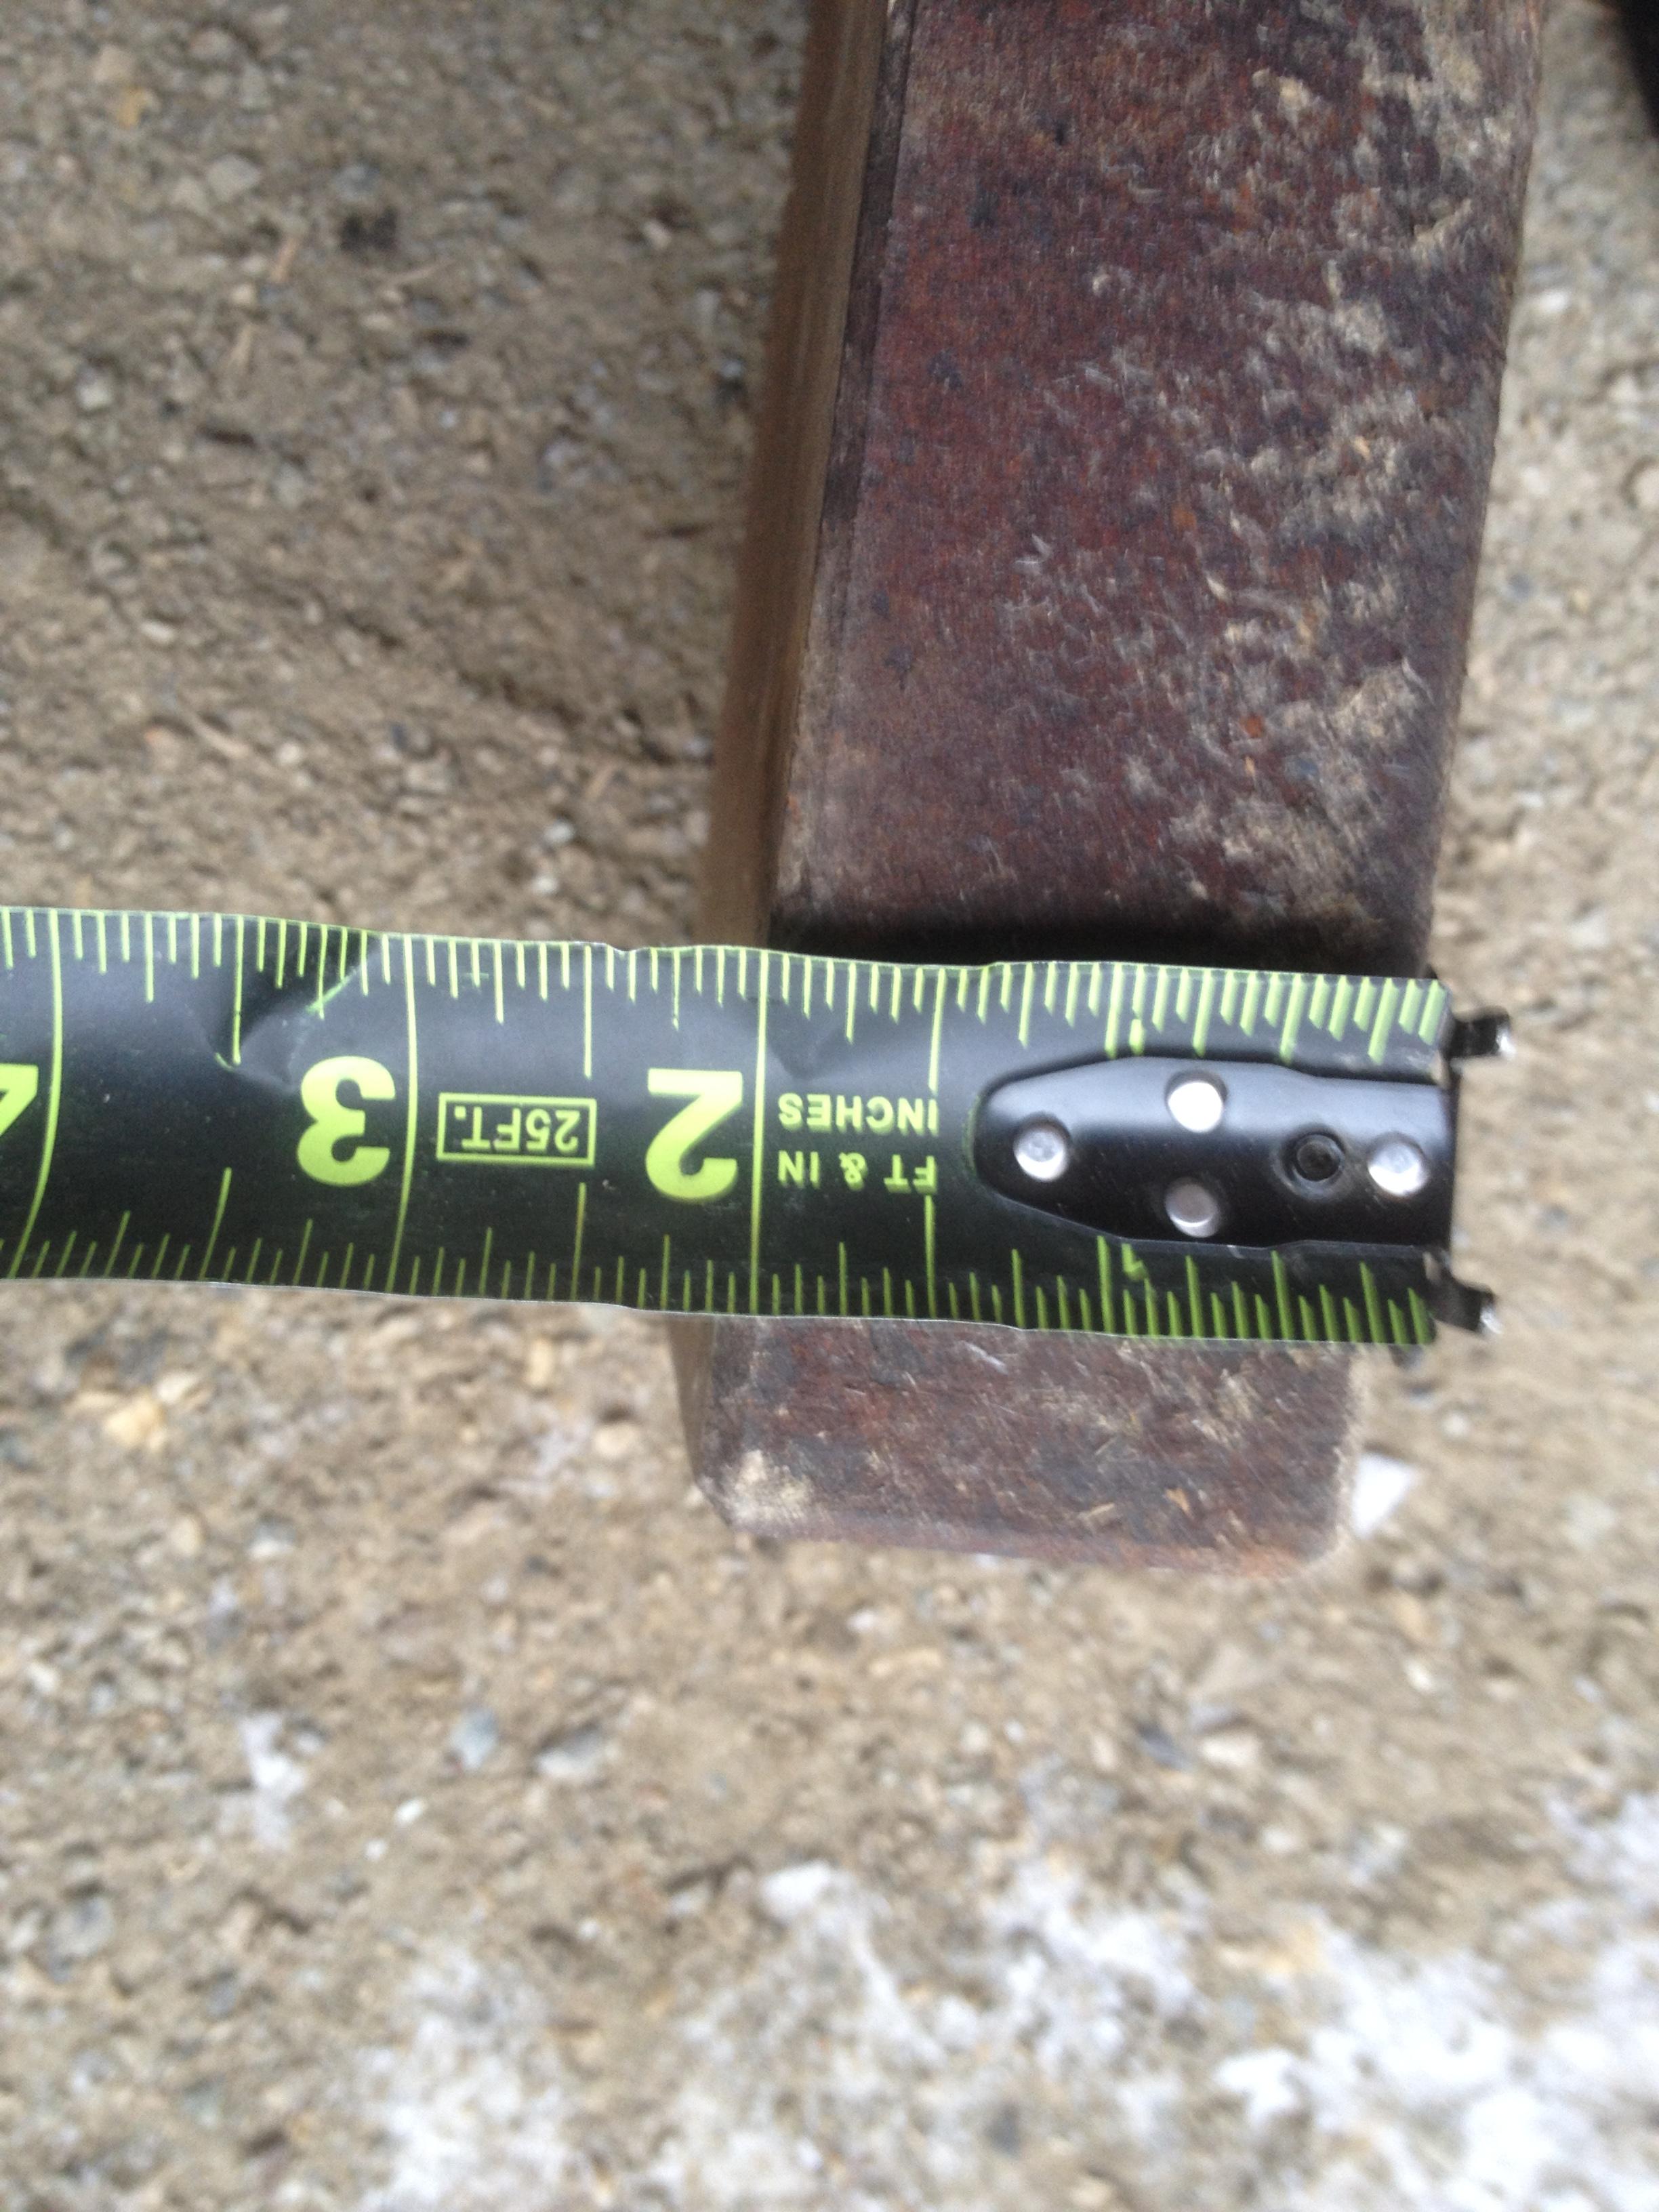
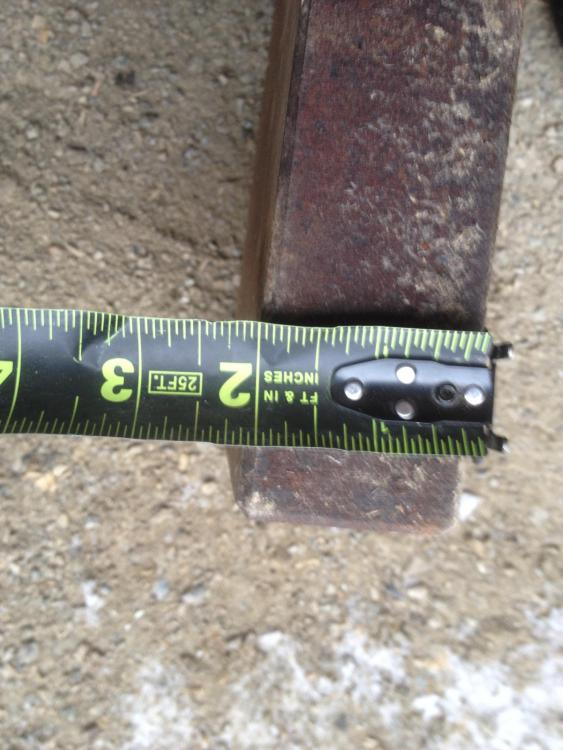
I have decided to put my hardy hole 3" in from the edge of the striking anvil. I haven't decided whether I should weld legs to the plate or have the stand separate, although a separate stand could be nice. If I did the stand separate would I have to secure the striking anvil to the stand, or would it be fine with a rim to keep it in place? Also, I have a fair amount of 2.5 and 3" that I could use for legs. Would it be worth using that instead of pipe/tubing filled with sand and oil? I have wanted to make a hammer for a while now and am curious about punching the eye. I thought that when punching the eye of a hammer, the slug that comes out would prevent your punch from striking the face of the anvil. Should the punching of hammer eyes always be done over a pritchel or hardy hole?
-
My dad has a couple that he built awhile back and the work great!
-
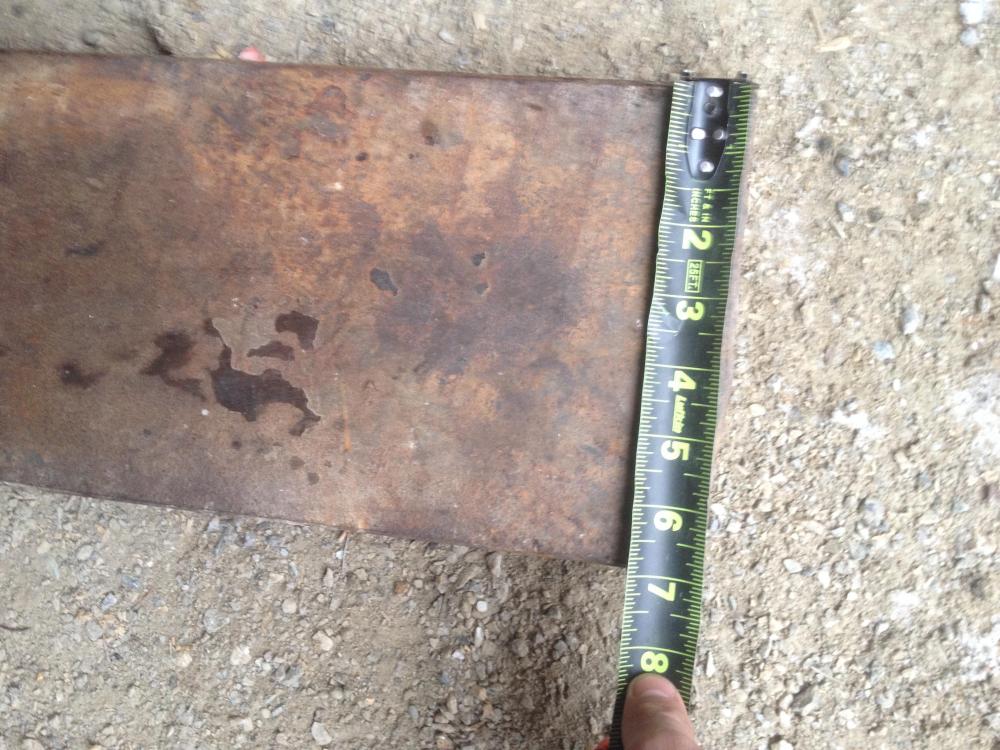
I have a piece of 2" plate that I am thinking of making into a striking anvil. the dimensions are 12 1/2" by 7" by 2", and it weighs about 50lbs. I already have an anvil but would like a striking anvil for making tools (hammers, axes, etc...) with a striker, as well as making hardy tools. A few questions that I have are: How far from the edge should my 1" hardy hole be? Is it necessary to weld the striking anvil to a plate , or can the legs be welded directly to the striking anvil? is it worth adding a pritchel hole?

-
Hmm, now I'm trying to figure out what a workman's door is. I did a couple of searches on google but couldn't seem to find anything except for stuff on workers compensation.
-
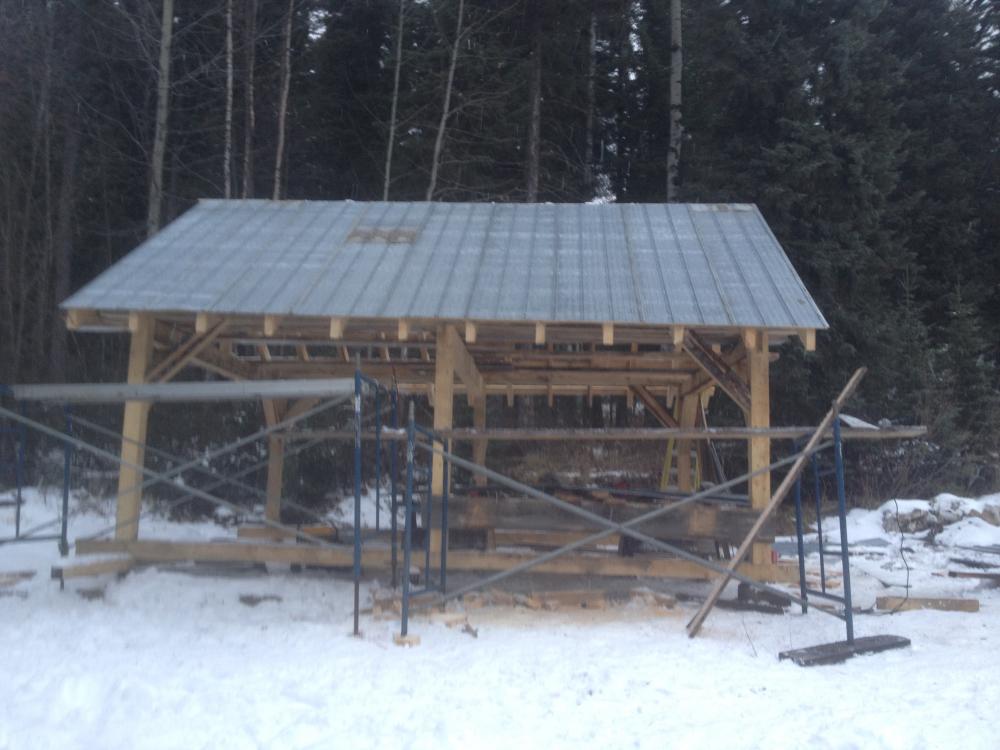
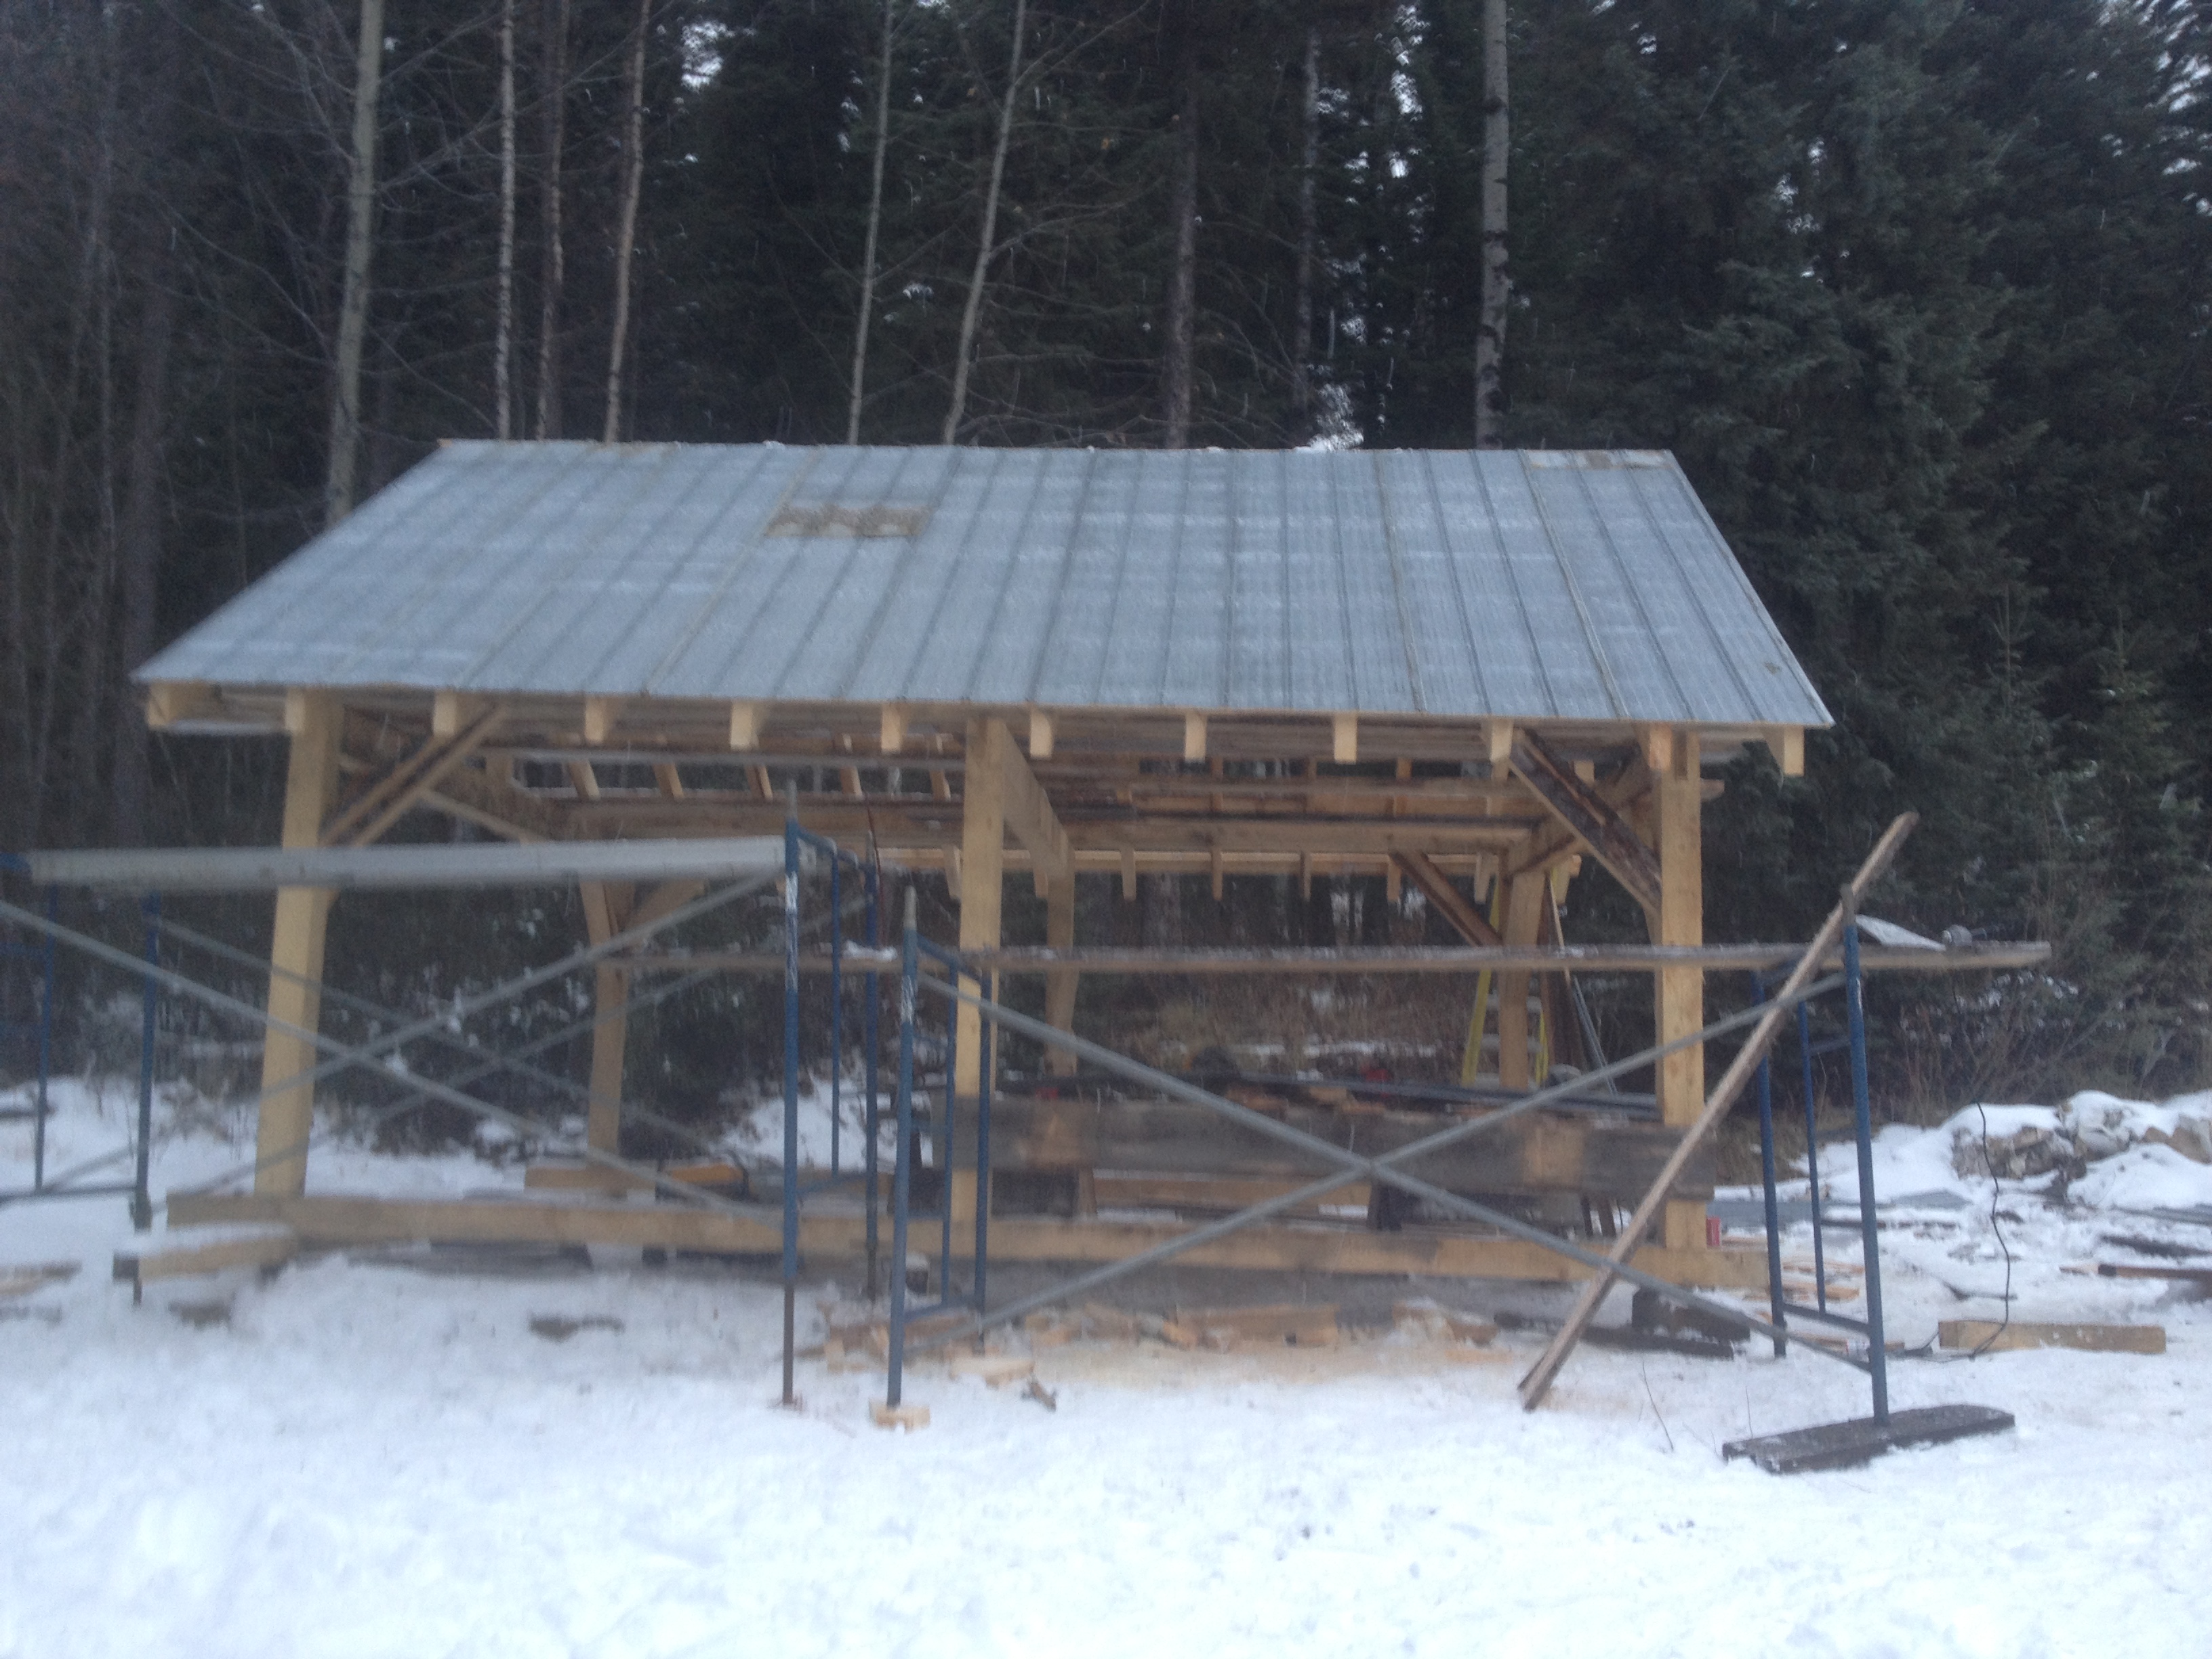
Today I got the rest of the tin and the ridge cap on. The roof is finally done!
-
I am thinking of two four foot sliding barn doors, which would make an eight foot doorway.
-
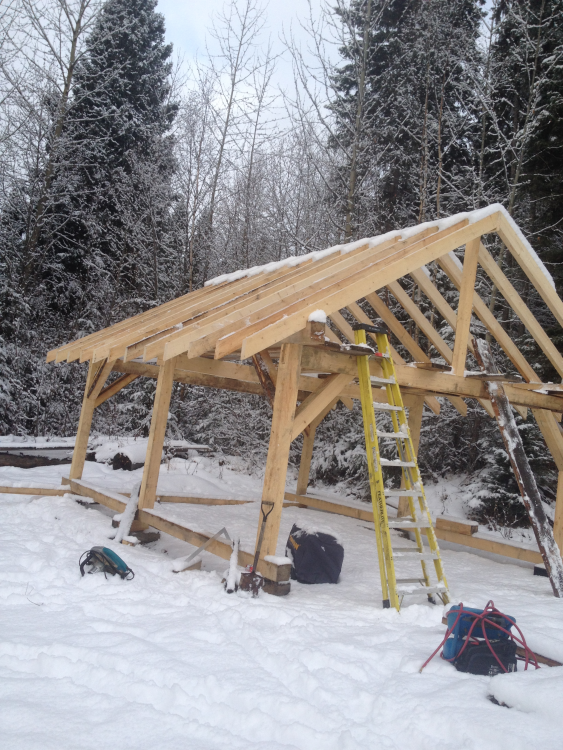
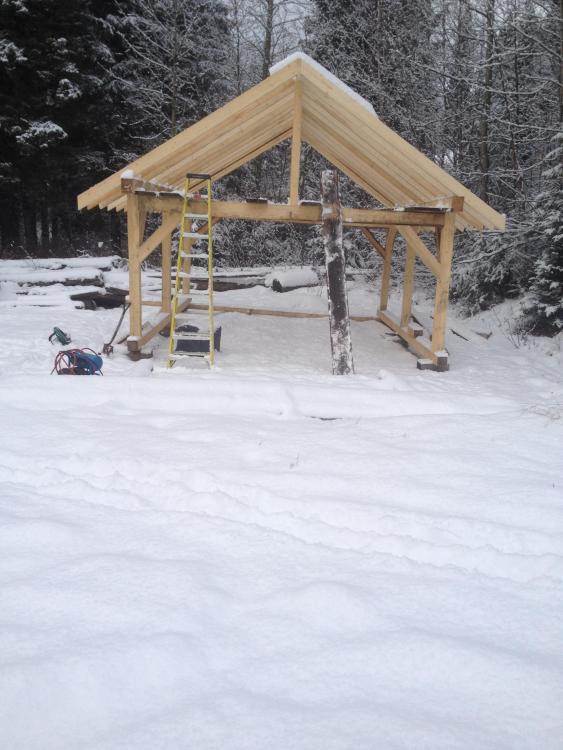
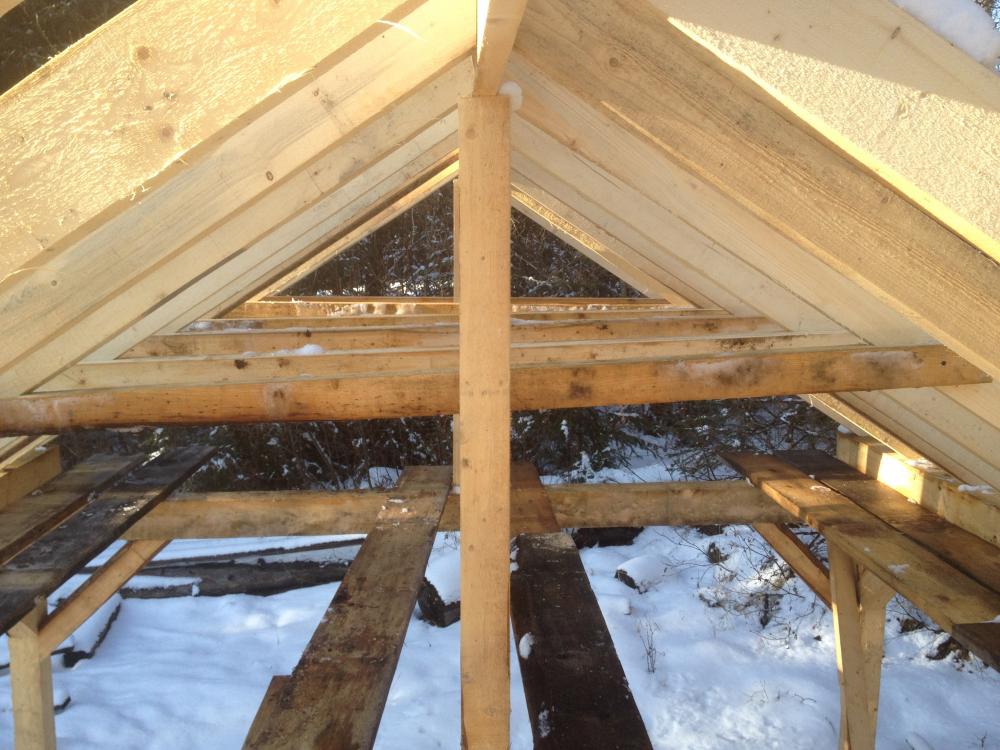
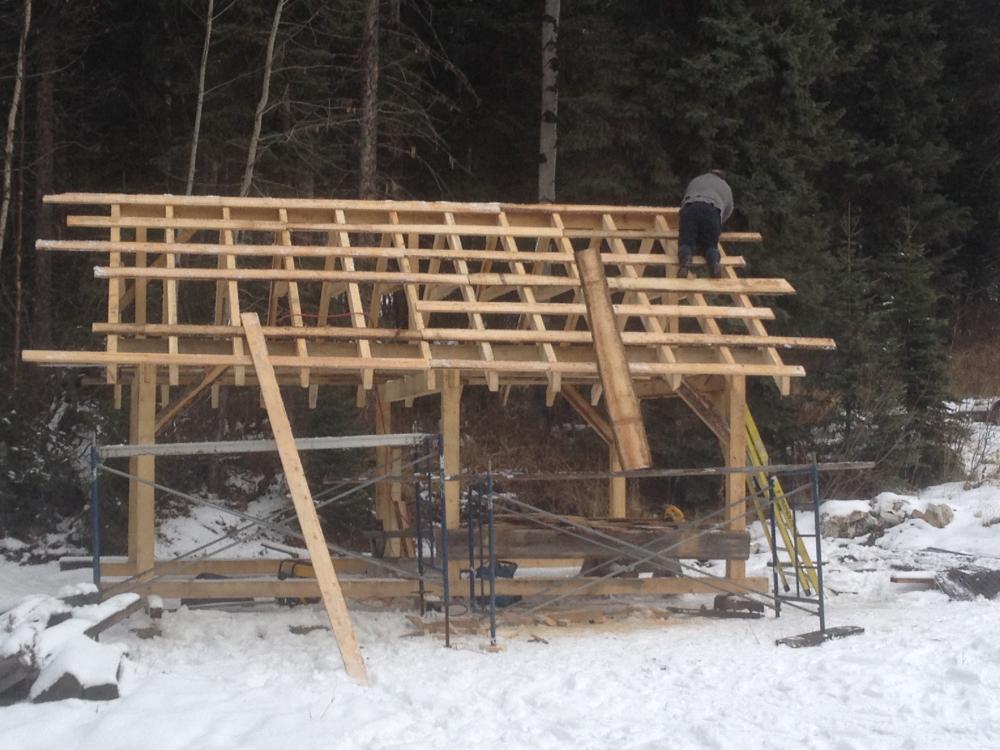
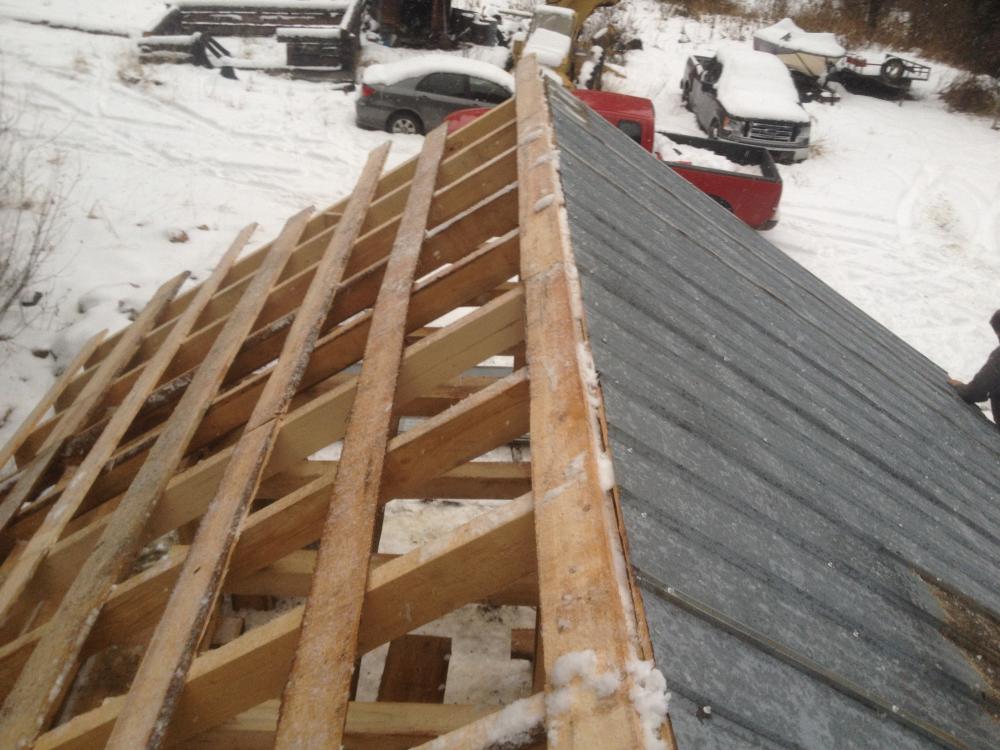
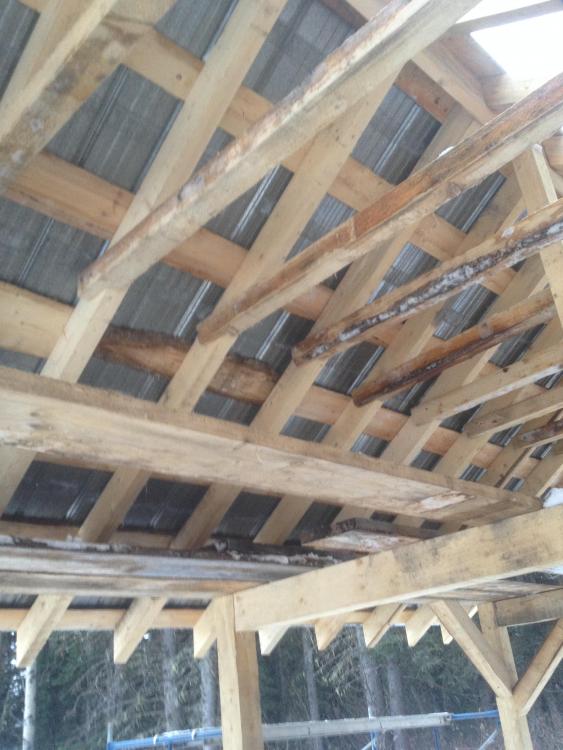
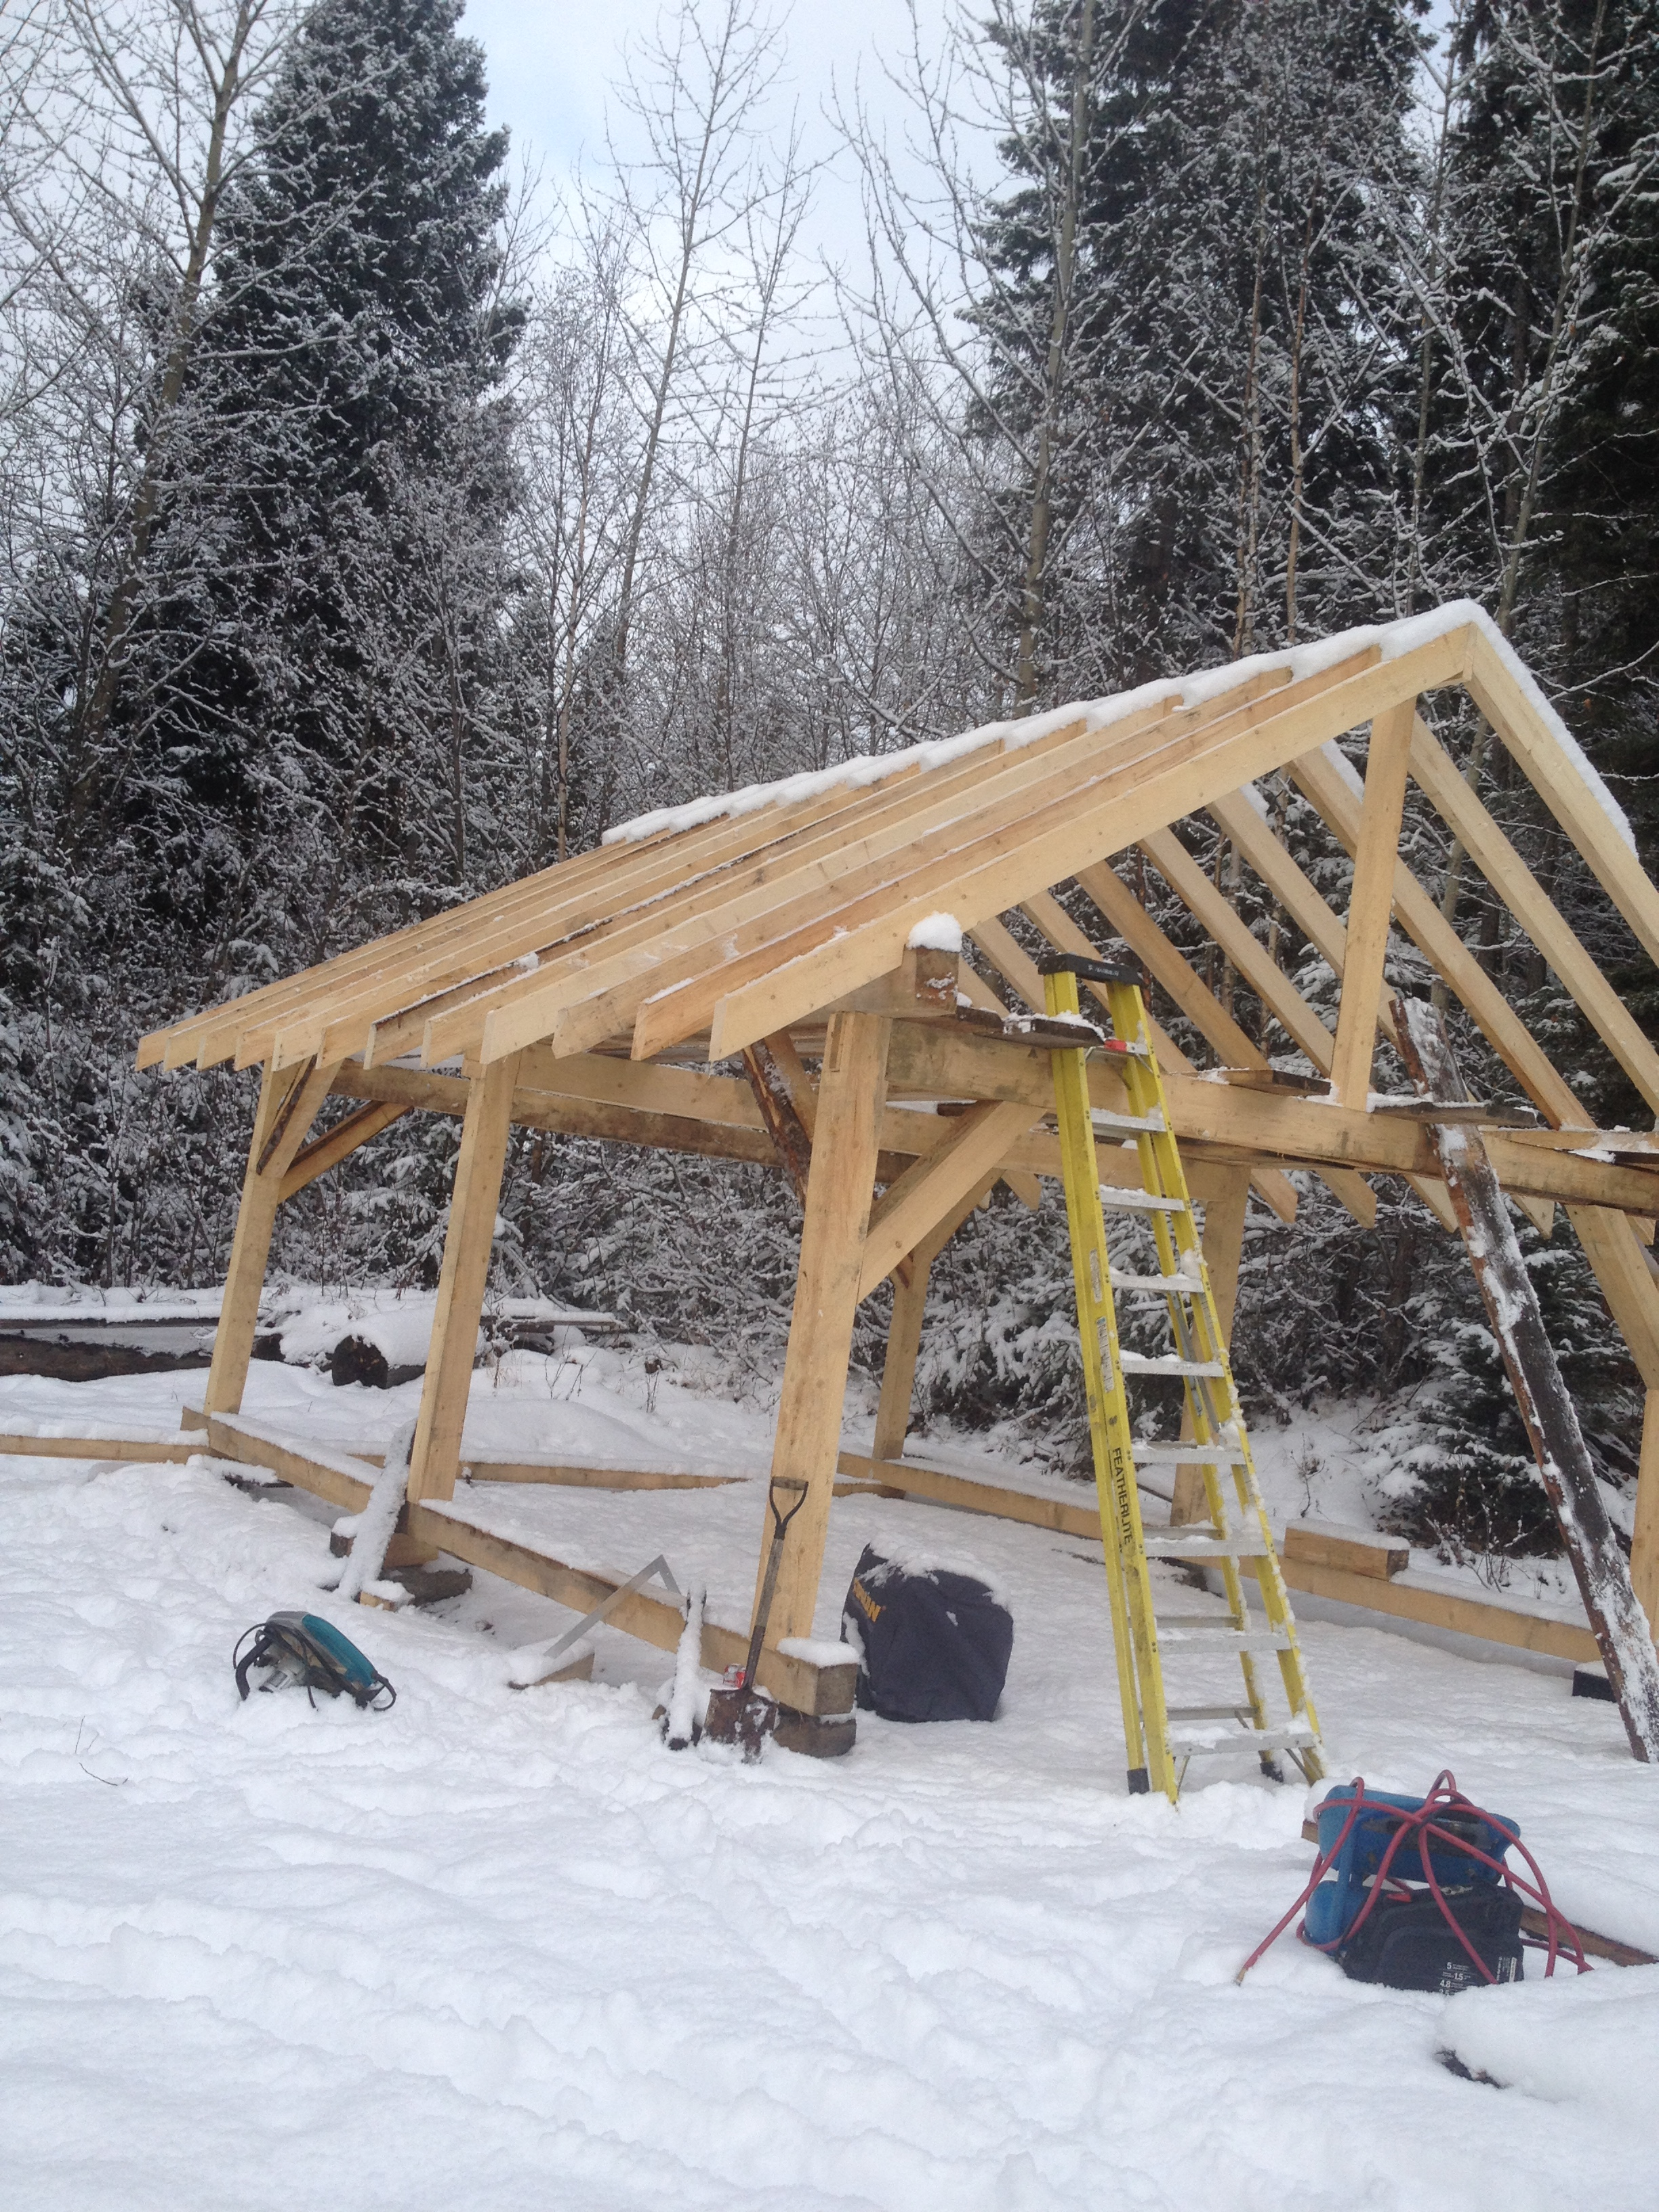
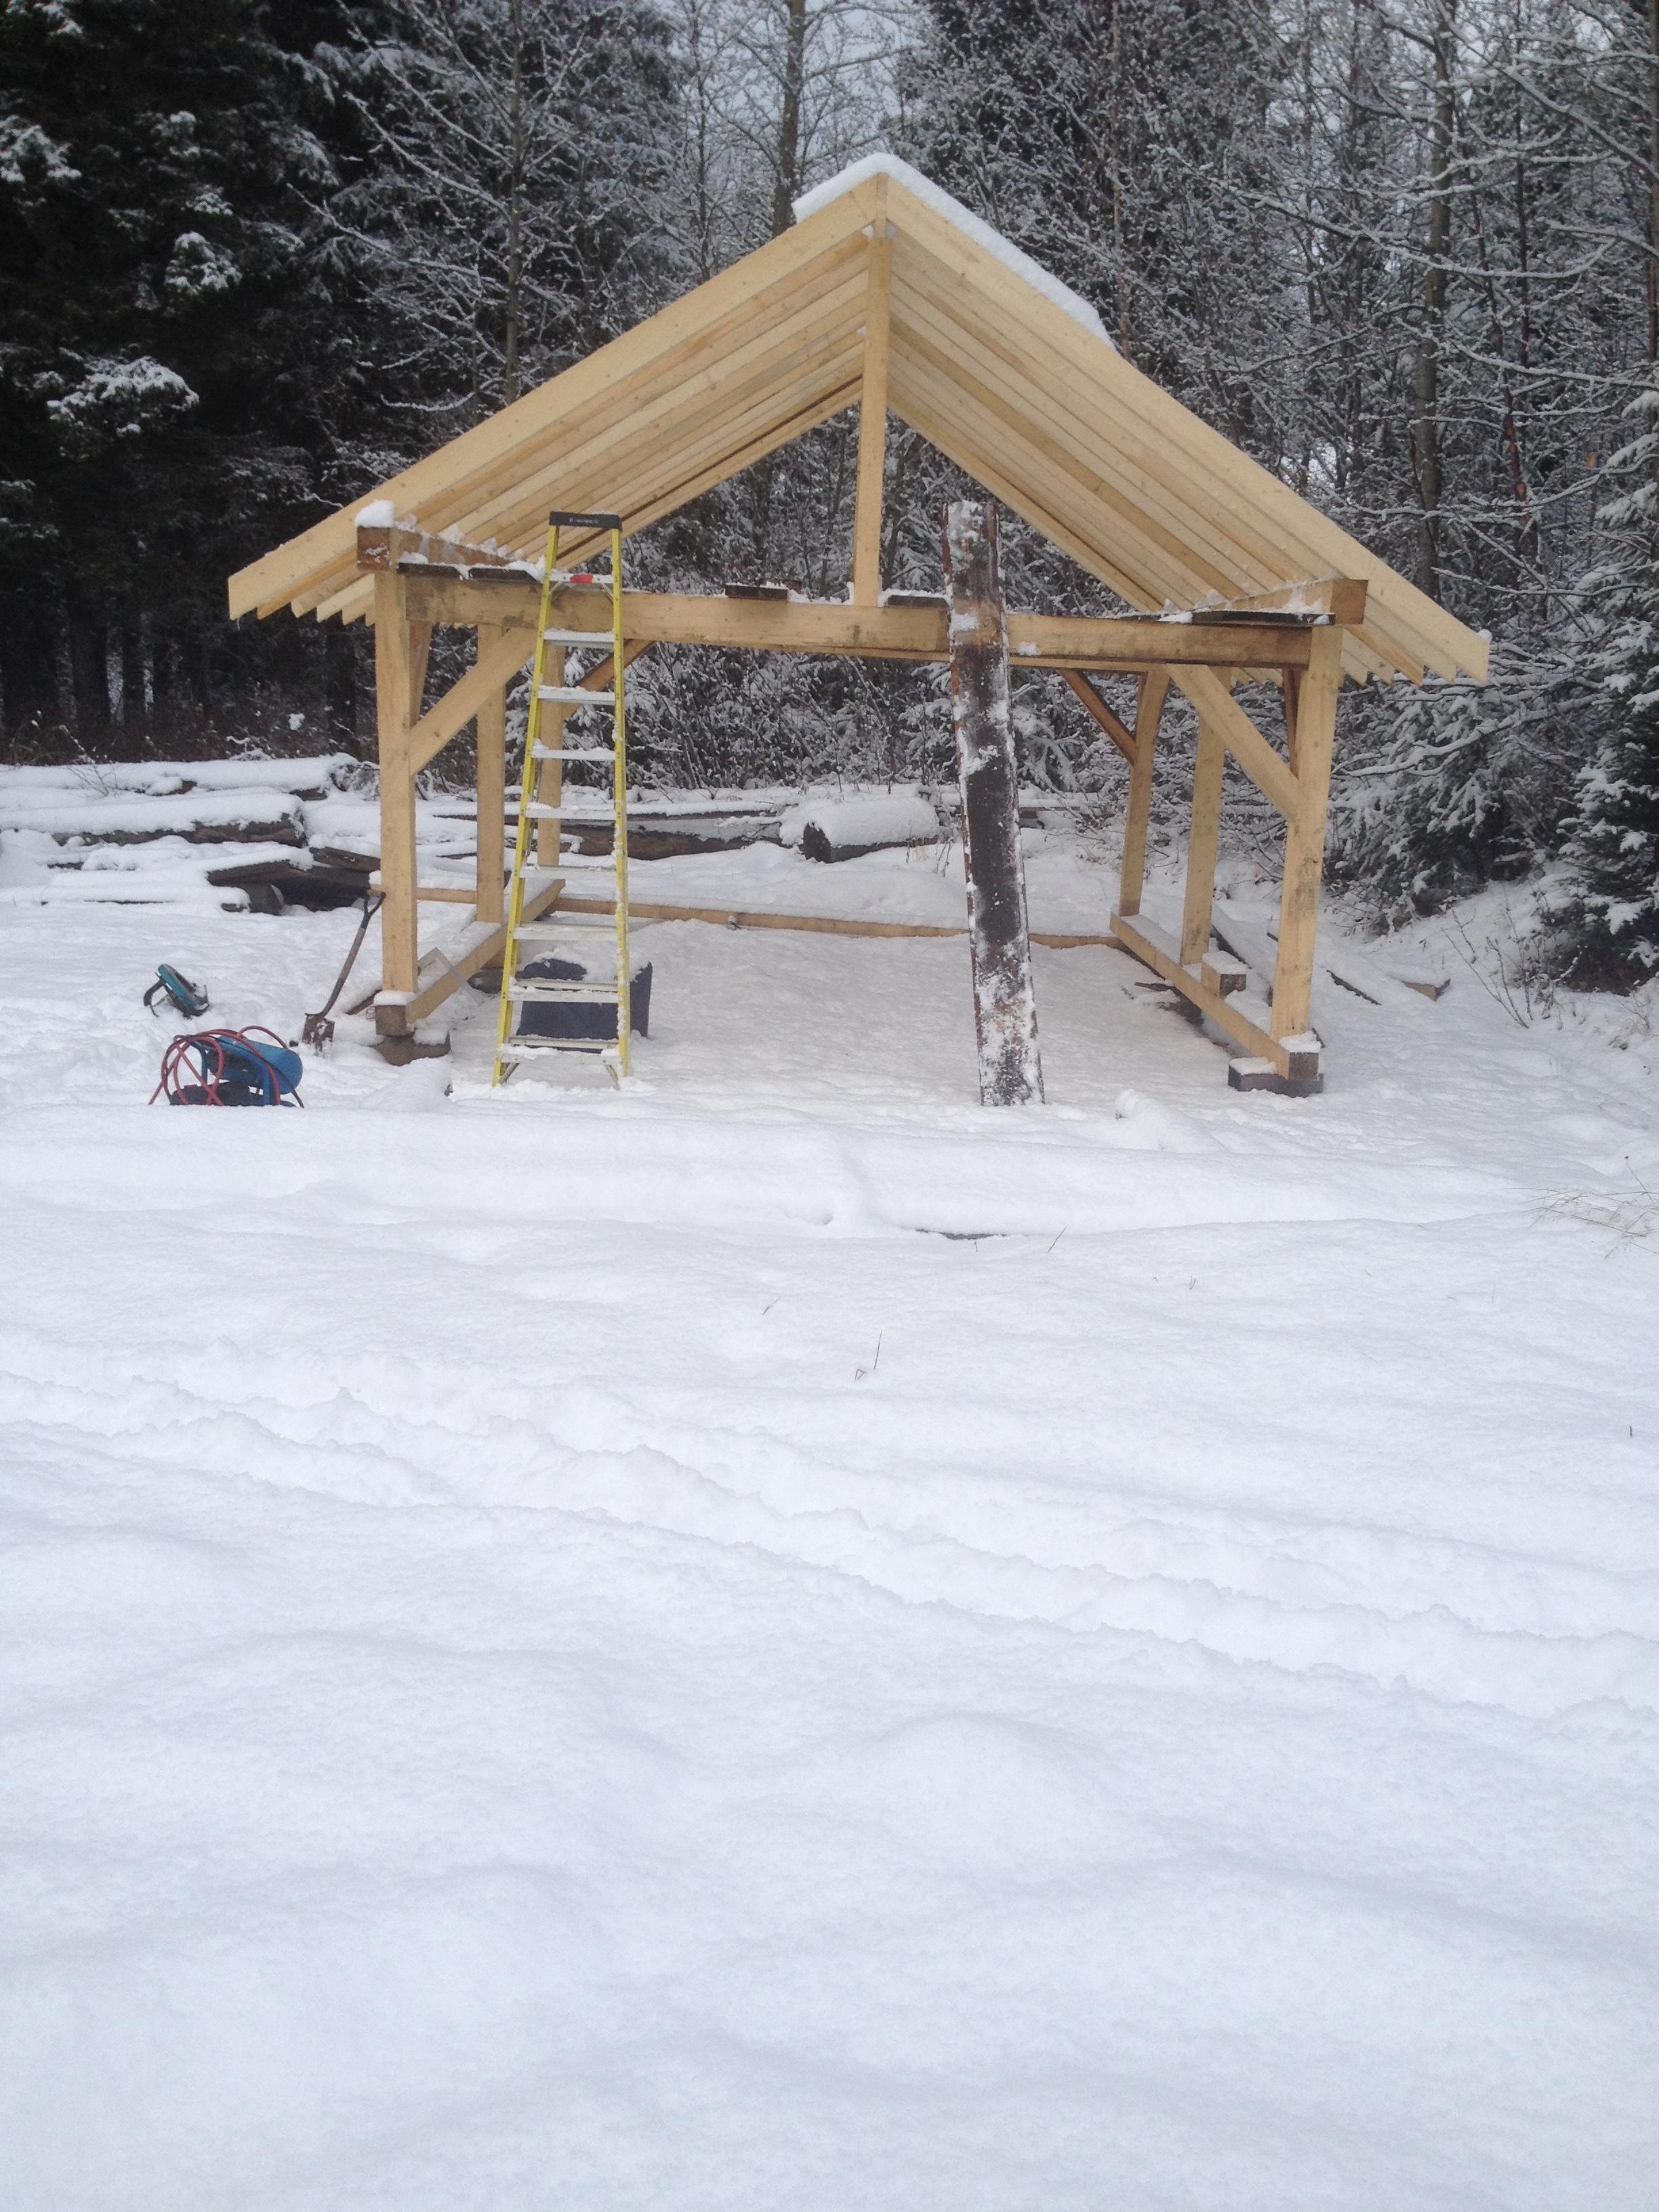
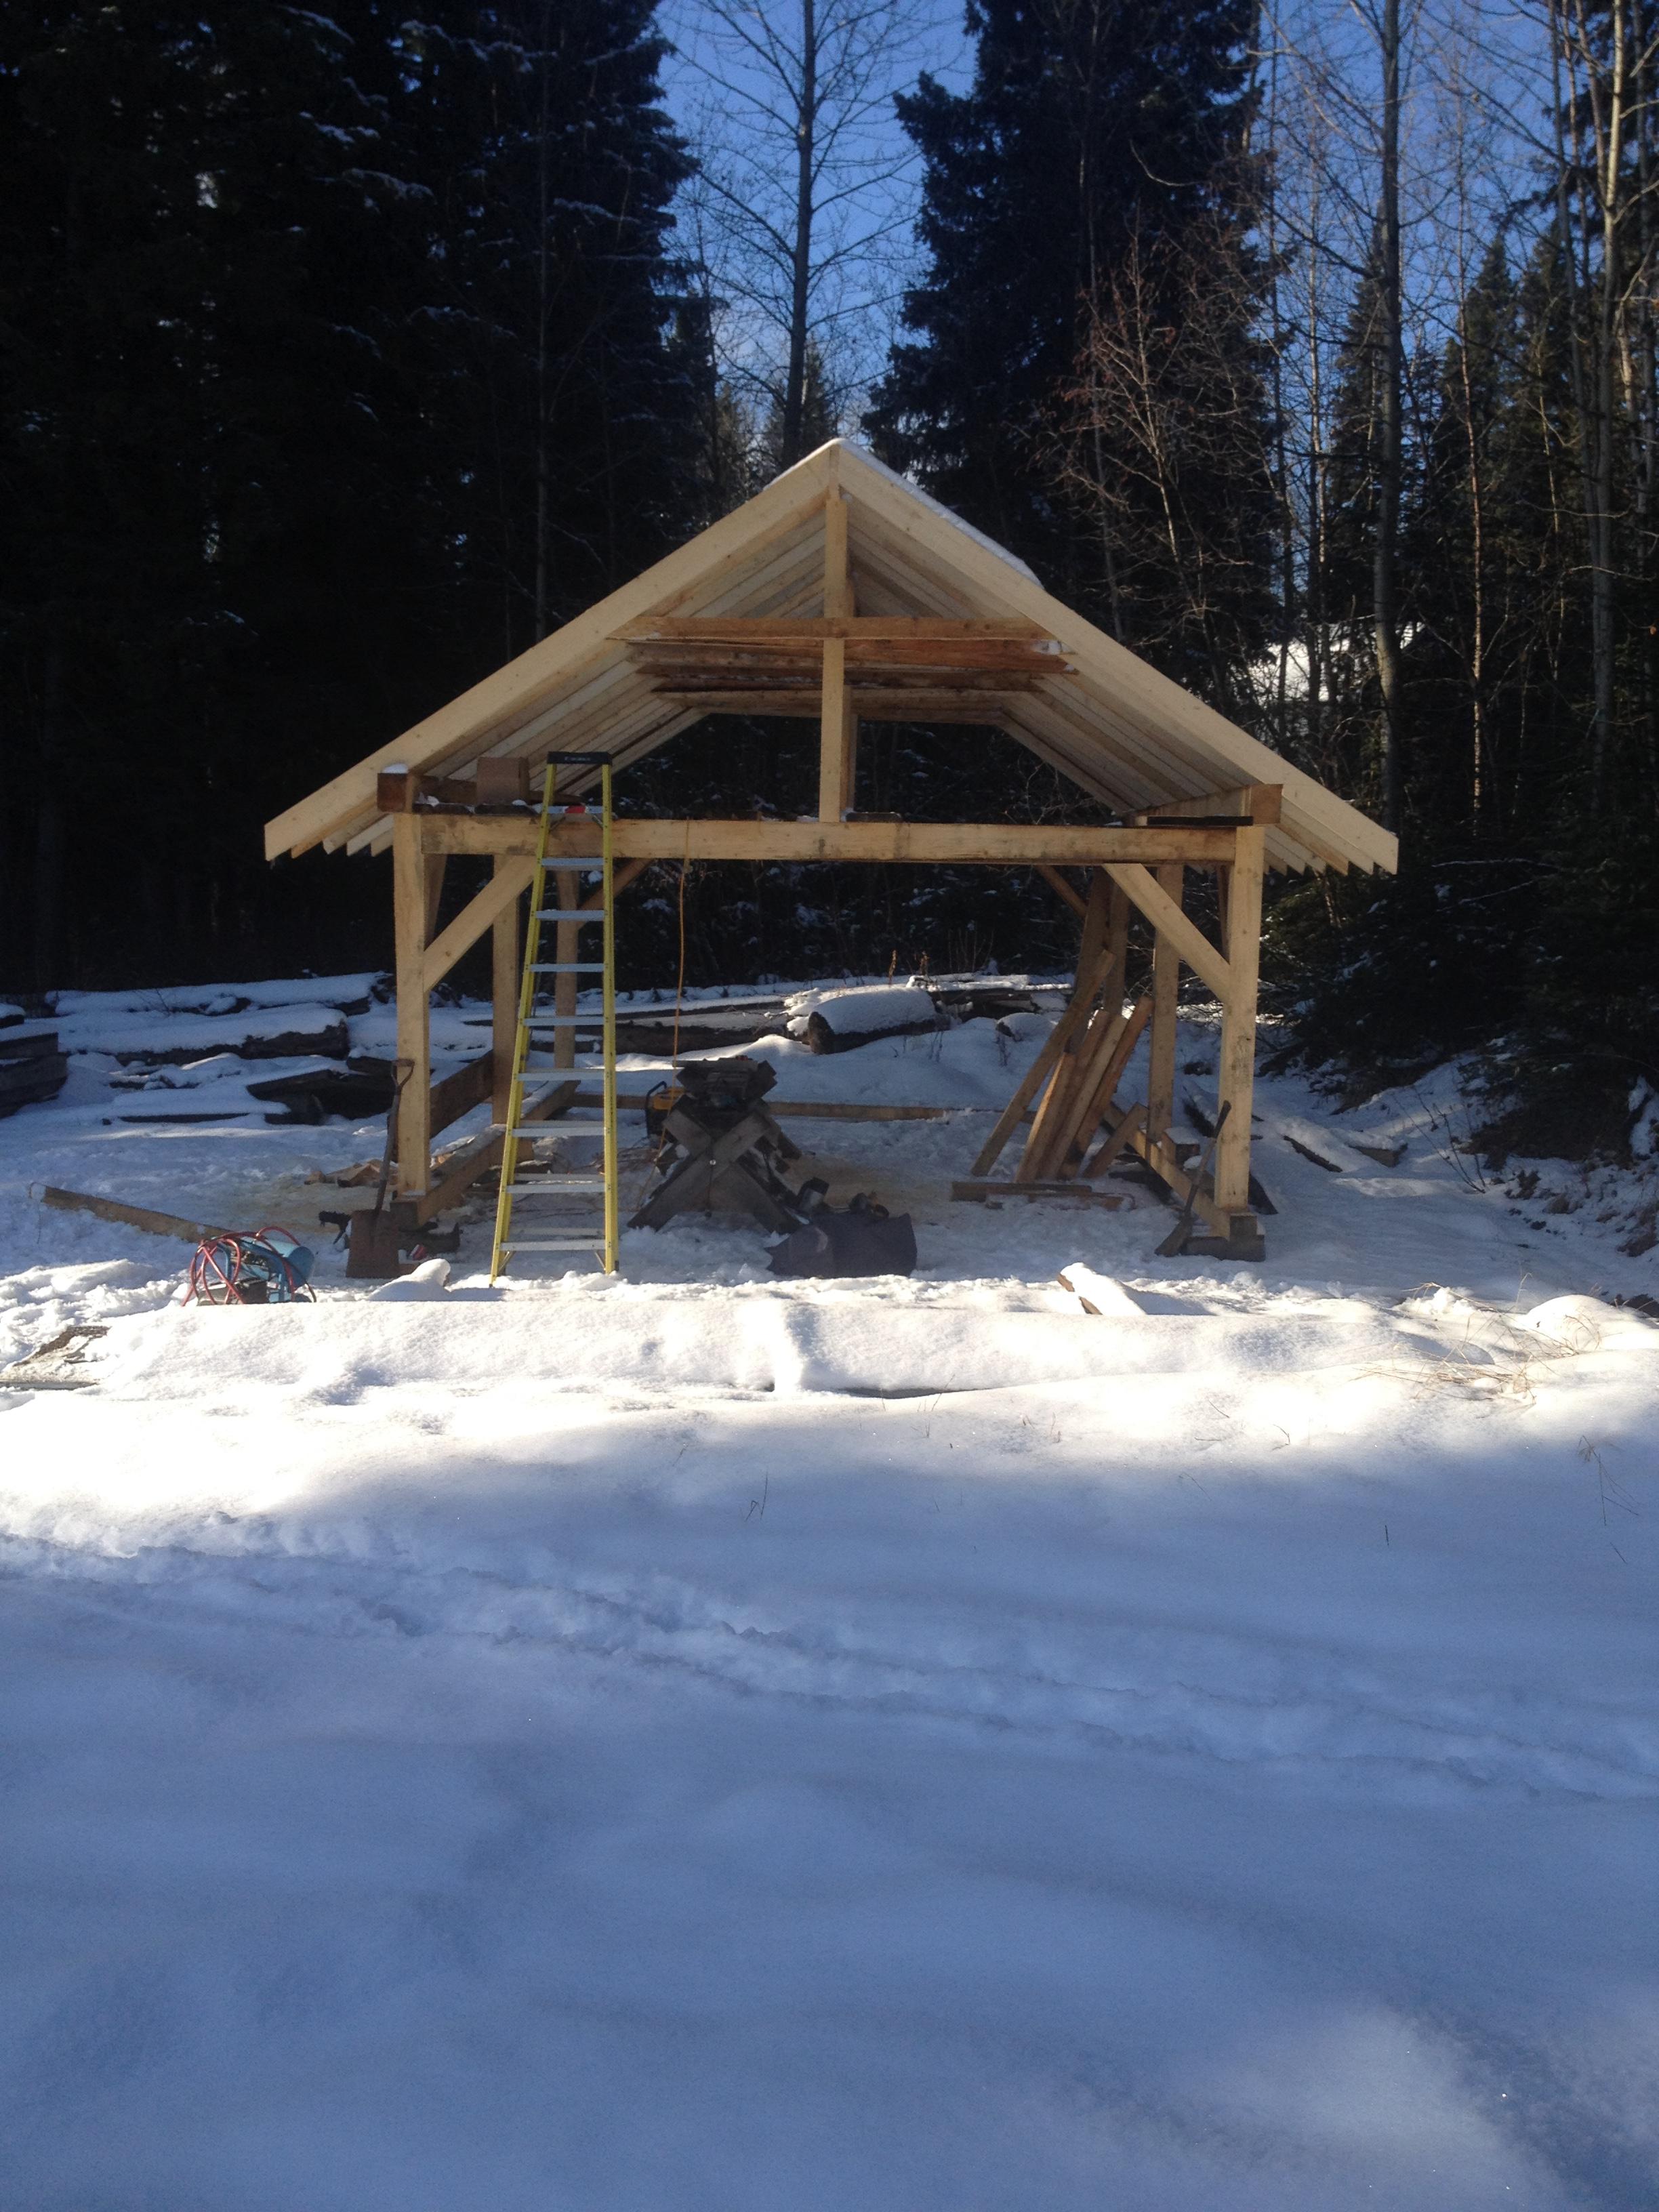
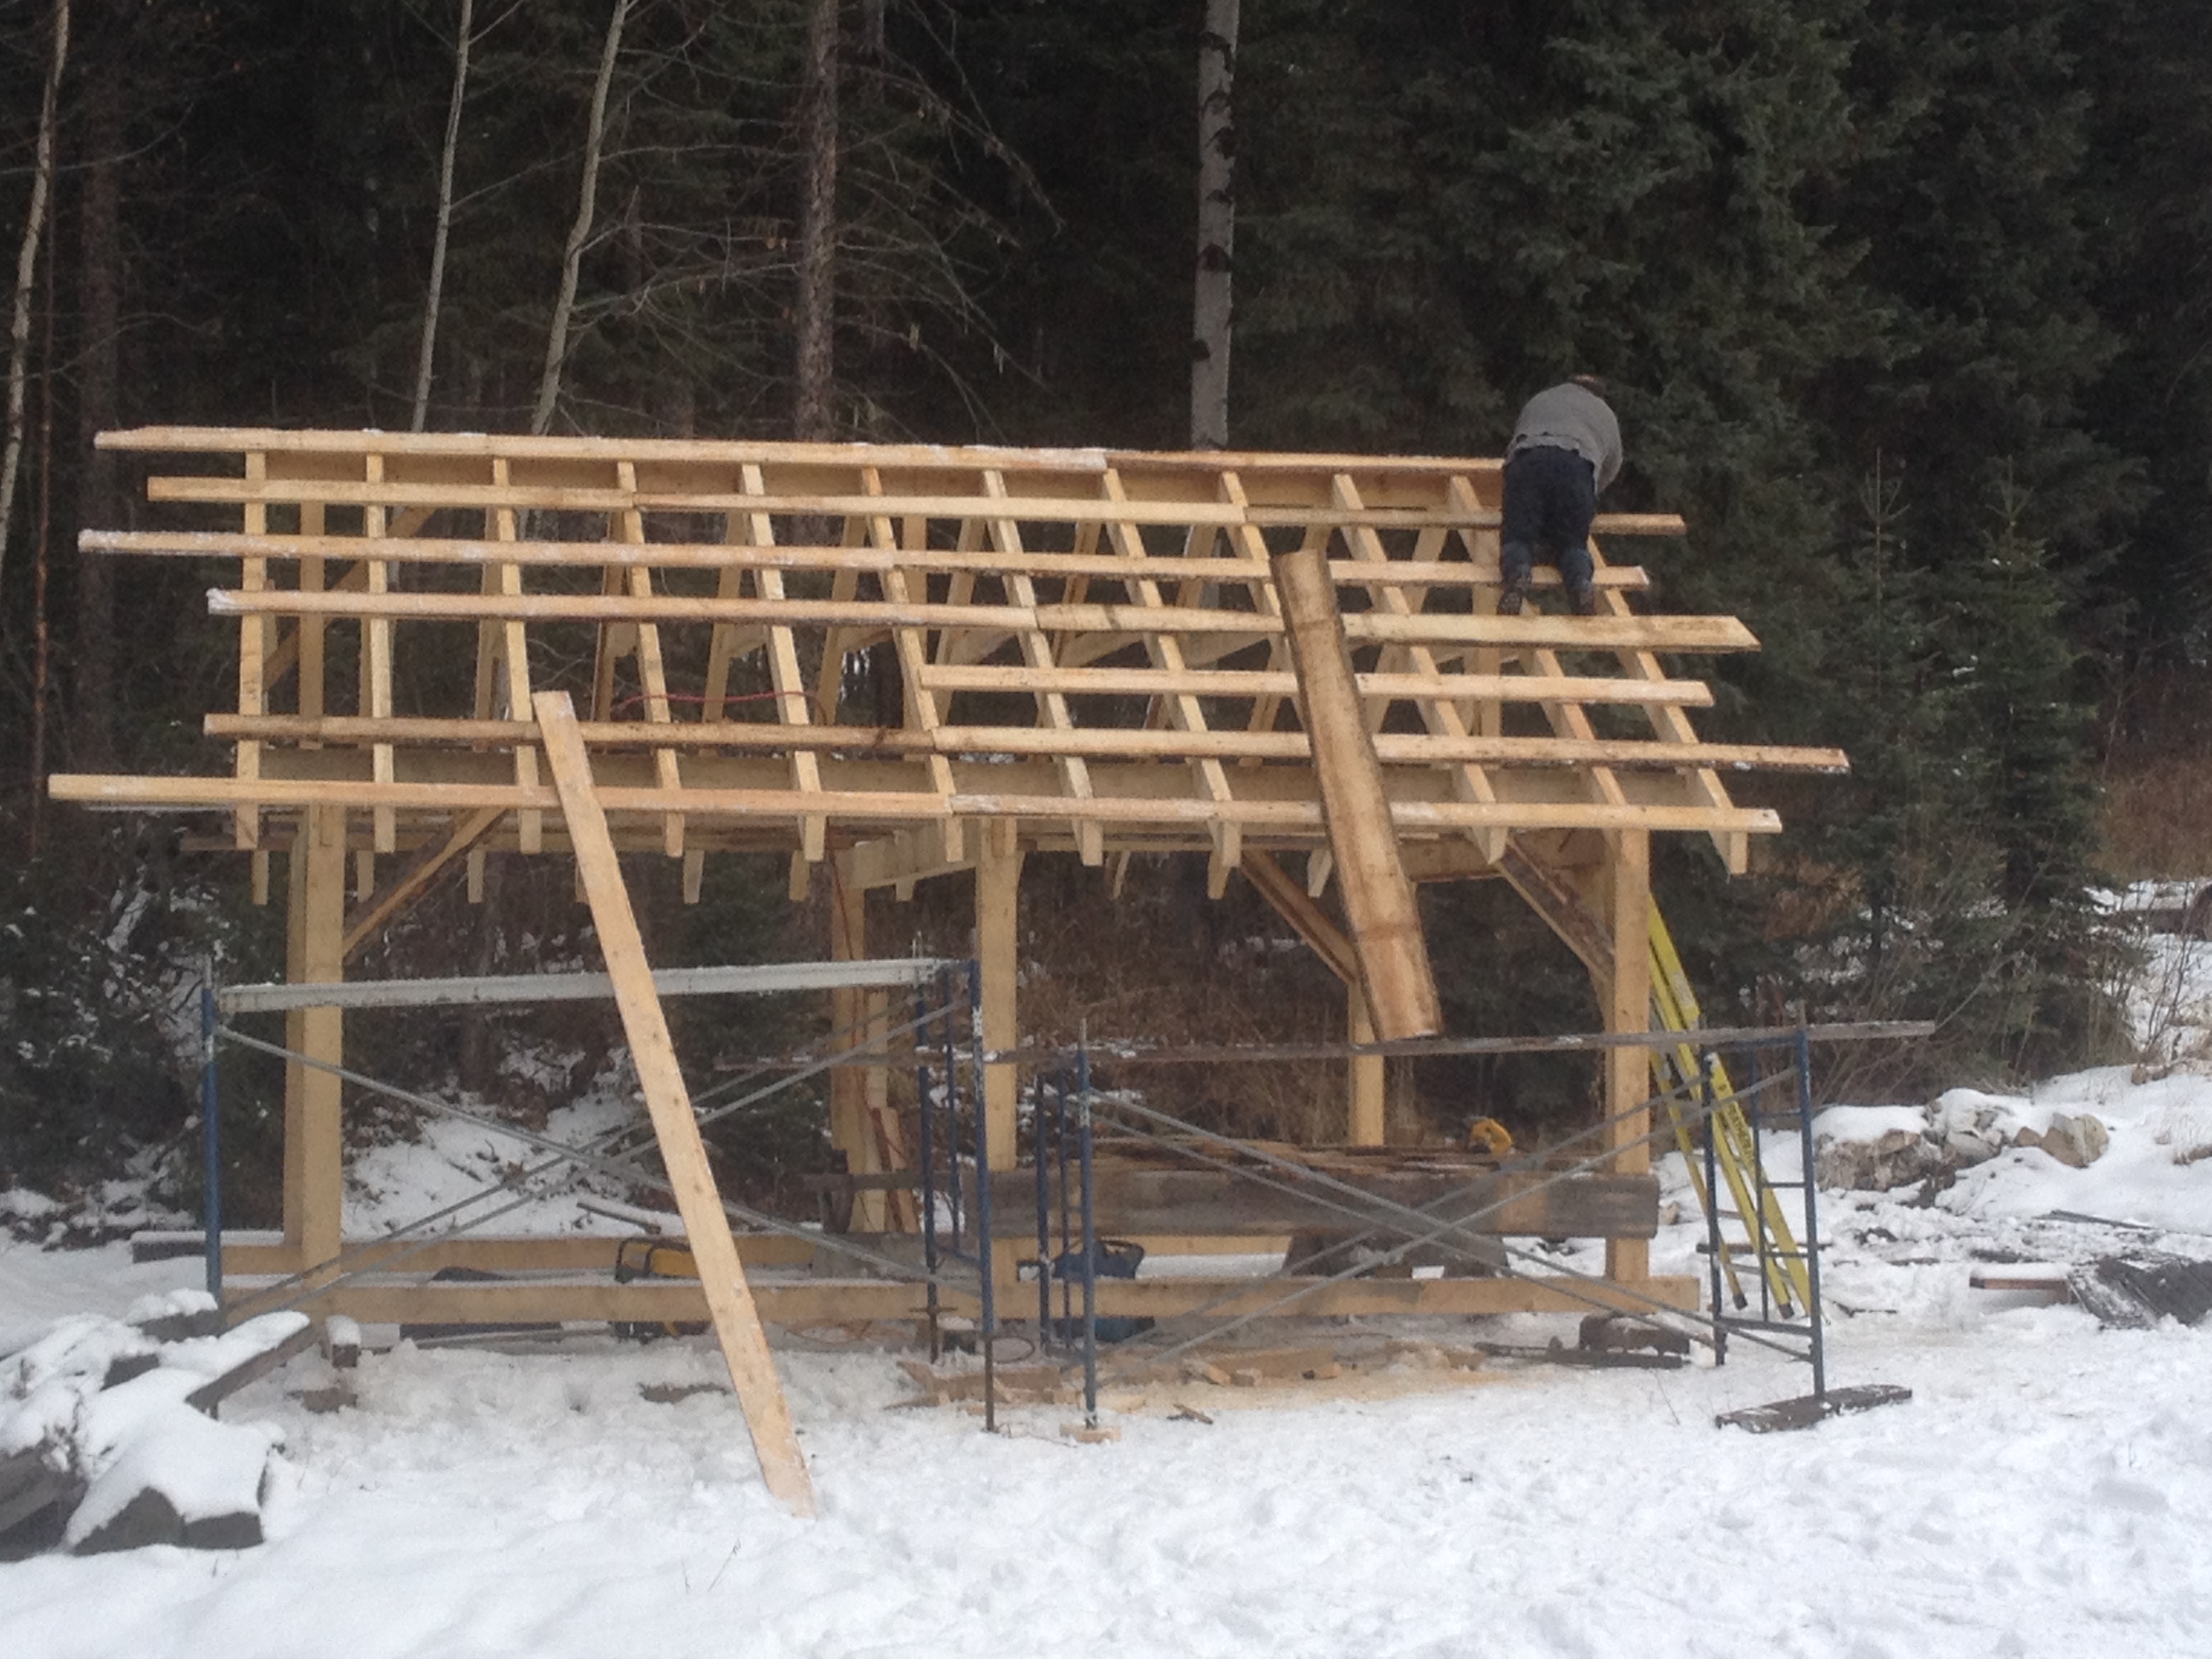
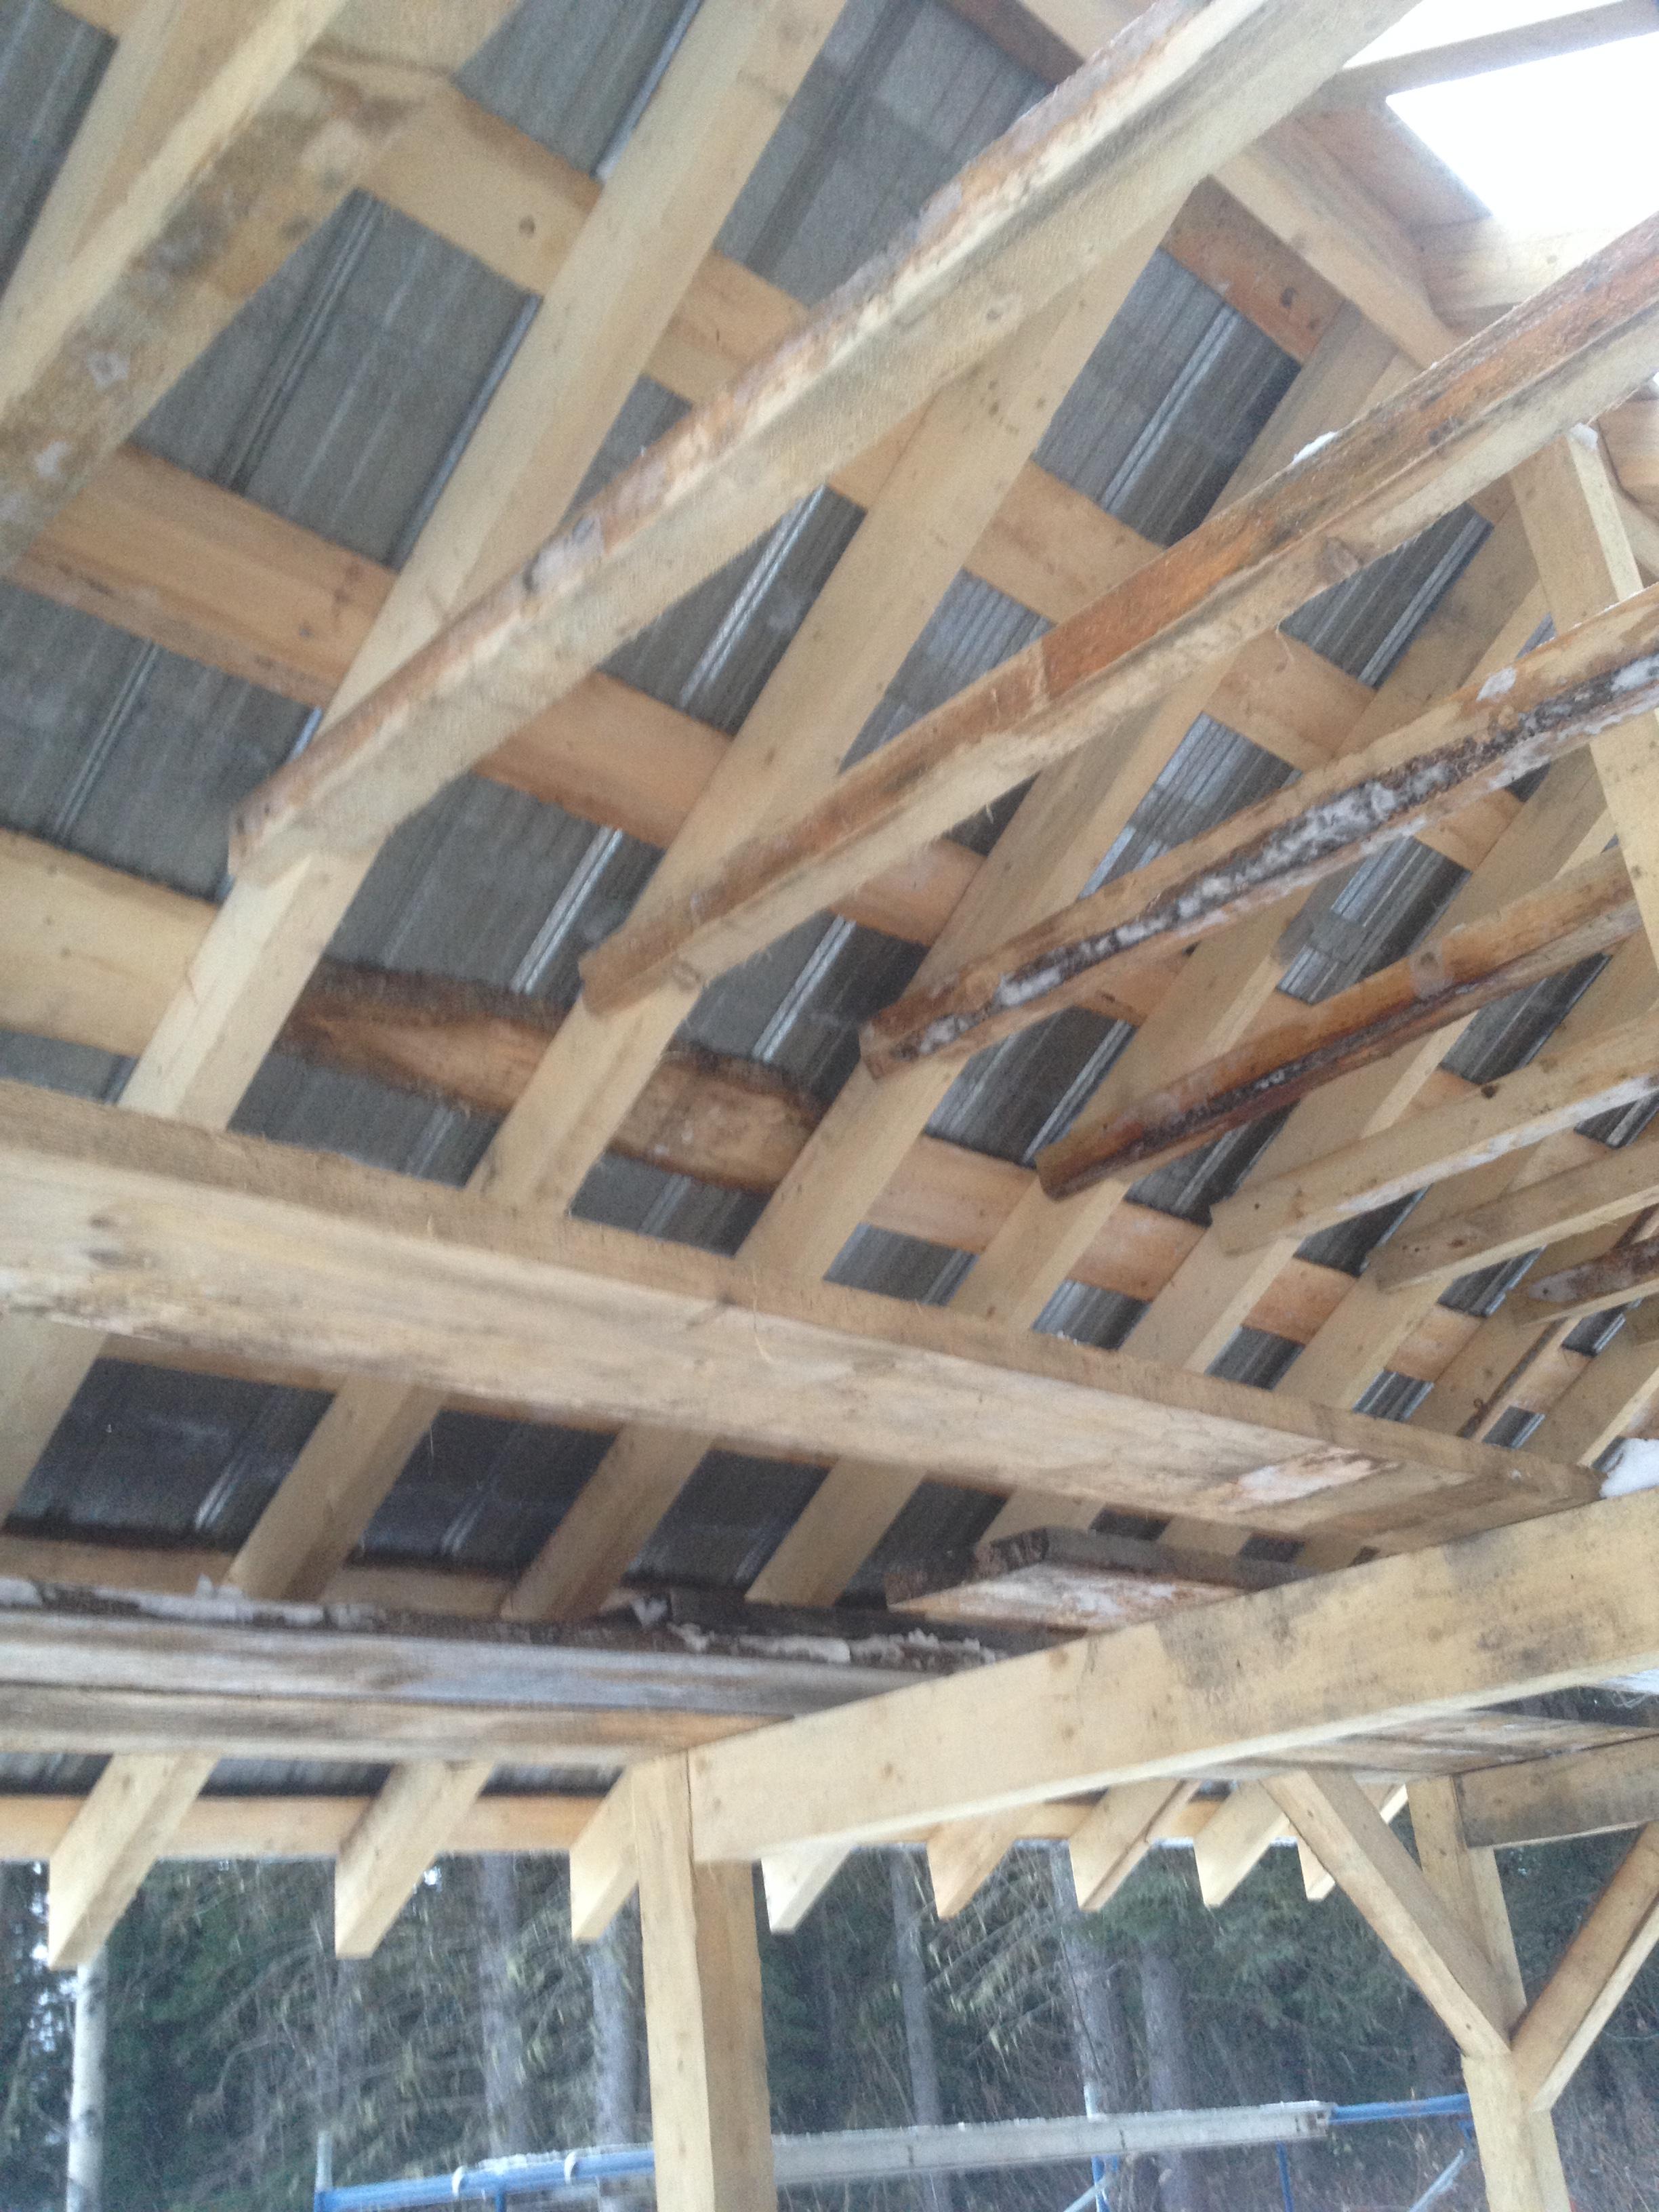
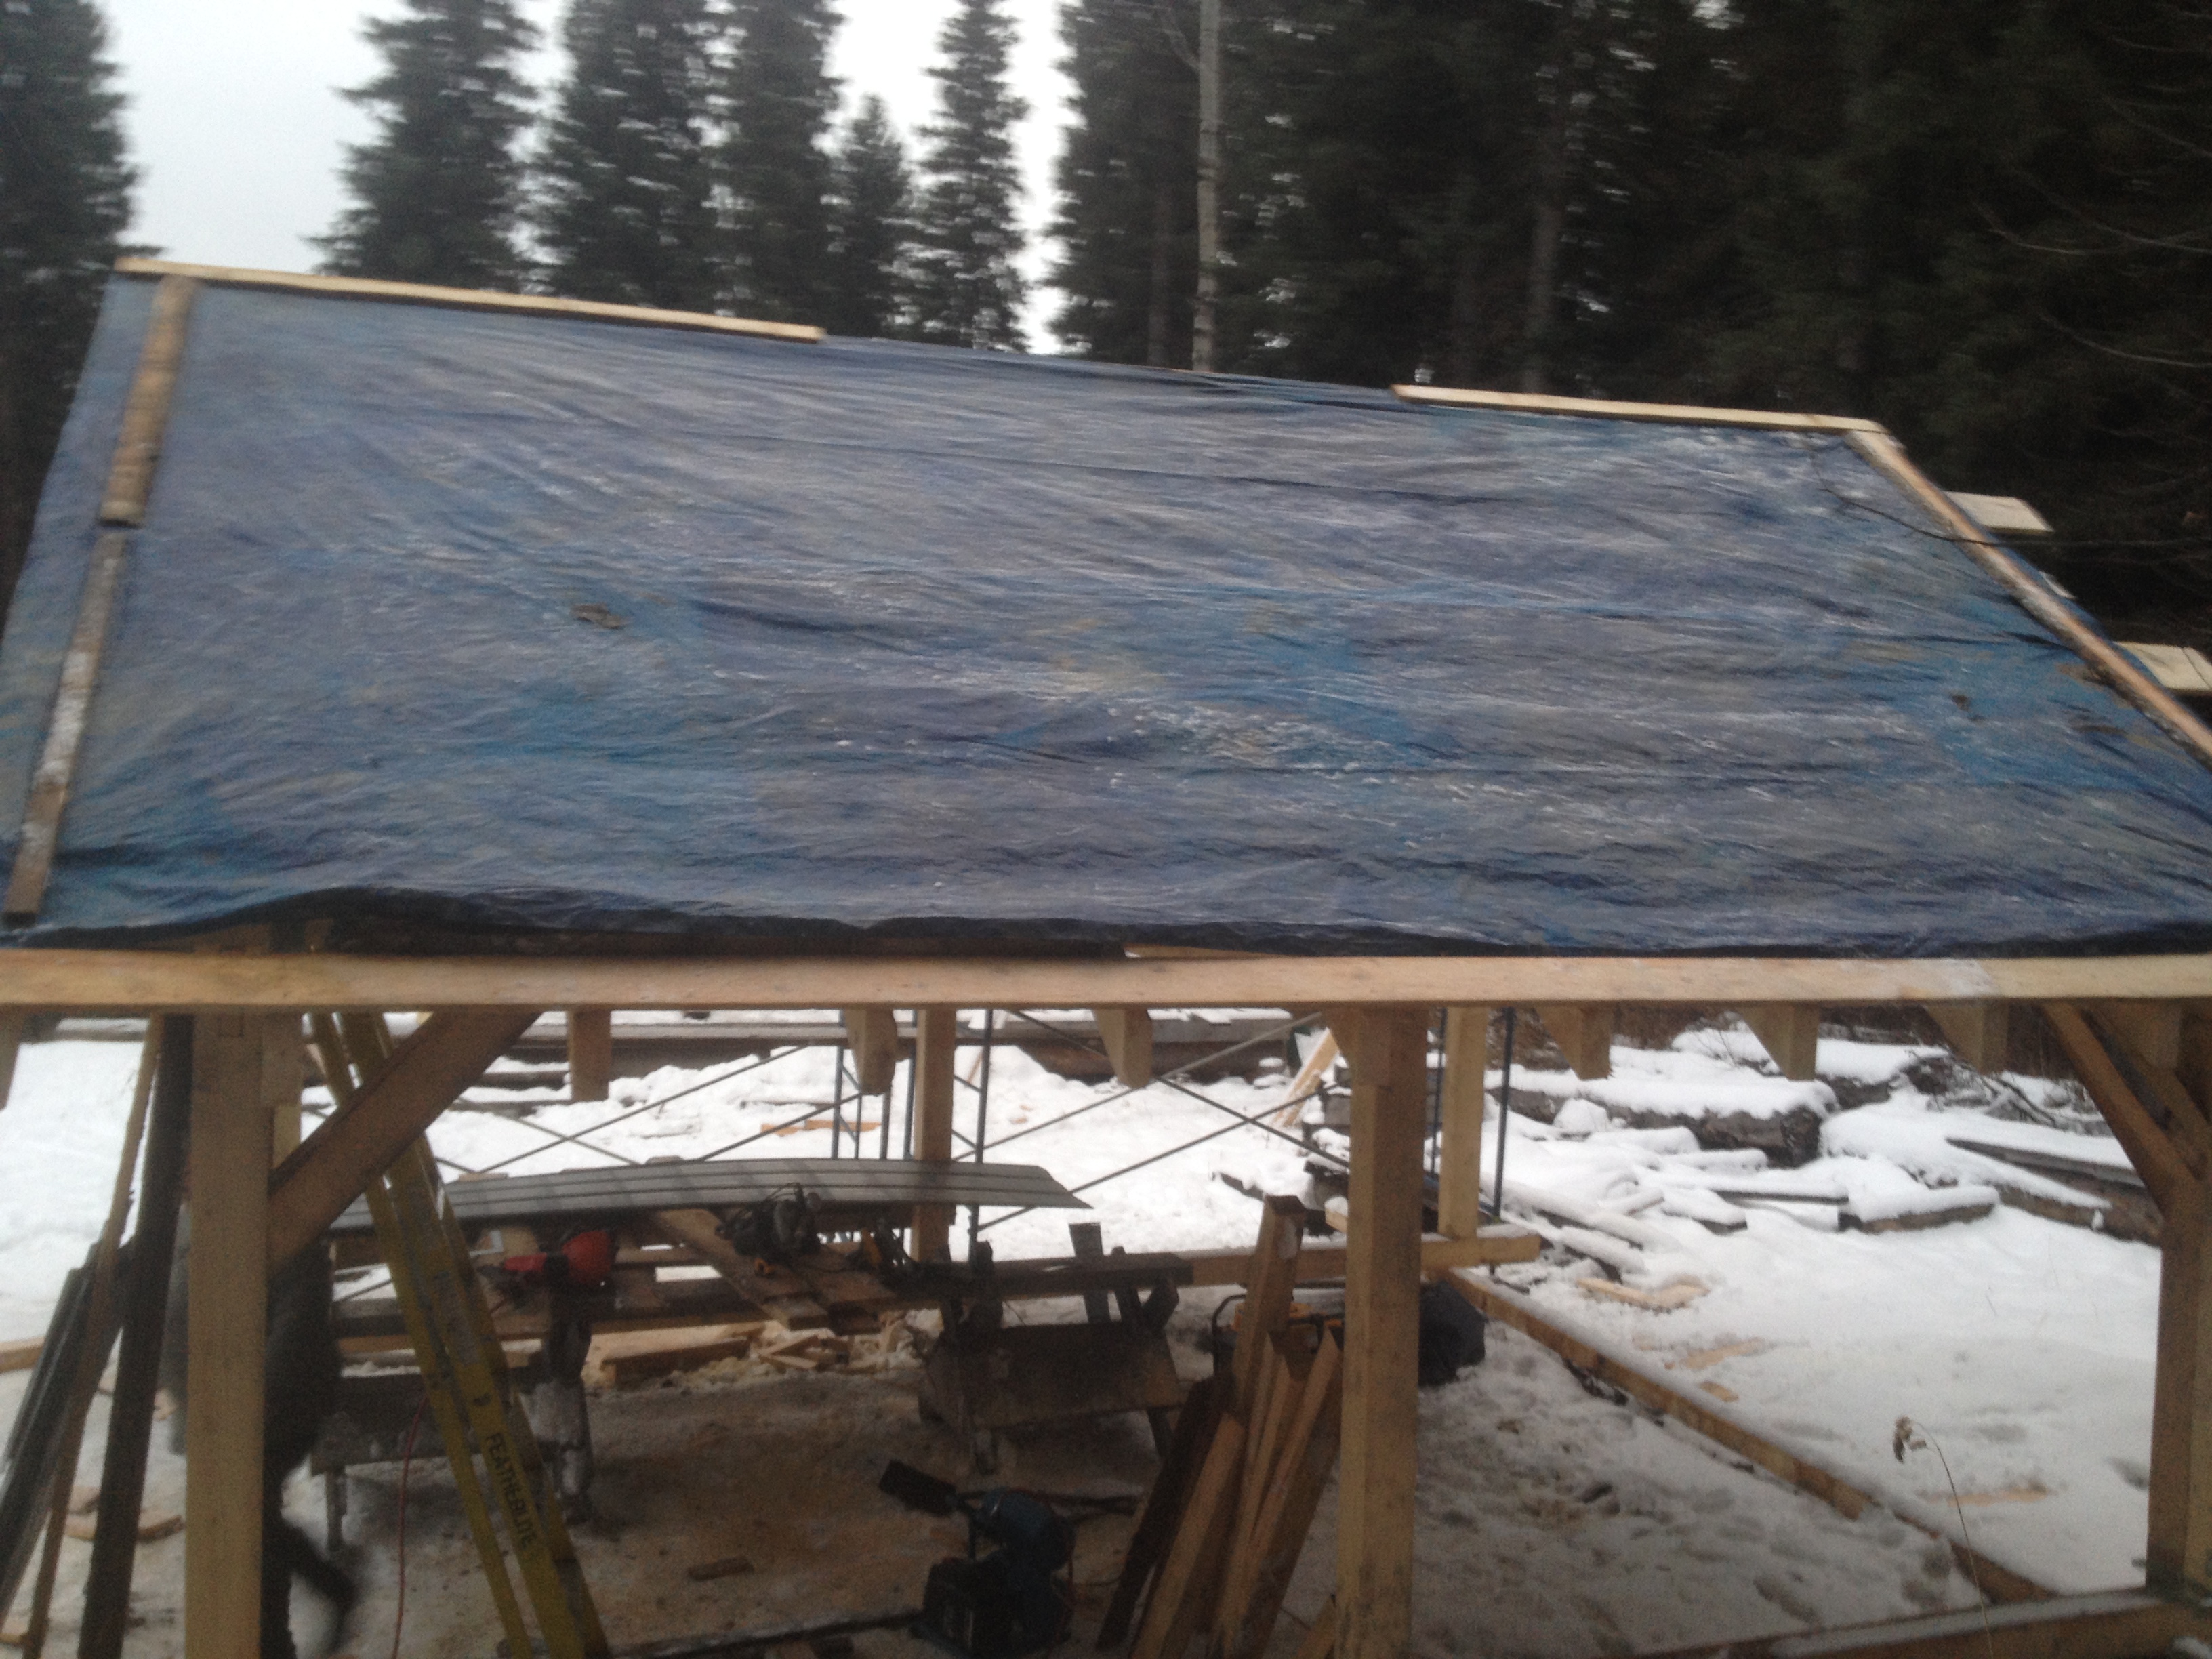
We were putting up strapping and tin today. sadly my friends couldn't make it, so we didn't get all the tin up, but we did pretty good. We got all the strapping and tin on one side and all of the strapping on the other. For the side that didn't get tin we put a tarp up. It should keep things dry until we can get out next weekend. I believe that I have now figured out how to post pics properly and hope that they work. Rafters finished. Collar ties. Strapping and the first piece of tin Tin finished on one side. tarp roof