Welshj
-
Posts
309 -
Joined
-
Last visited
Content Type
Profiles
Forums
Articles
Gallery
Downloads
Events
Everything posted by Welshj
-
New (to me) cast iron forge setup?
Welshj replied to TrailblazerForgeCo's topic in Solid Fuel Forges
From my research, the lining with clay to a decent level will cause the bottom of the forge to be higher than the grate. I have yet to line my rivet forge... as I have to repair it first. Line the pan with clay... trust me.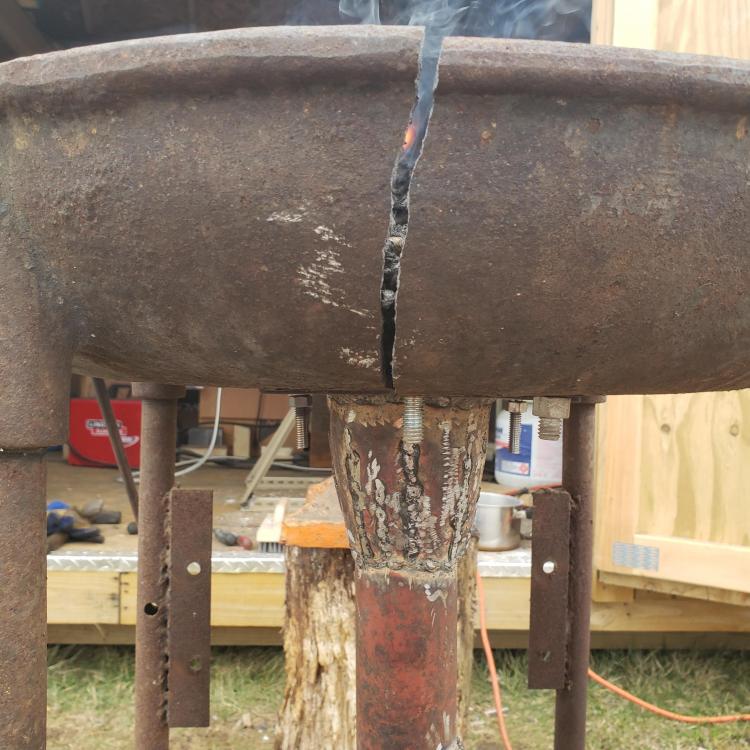
-
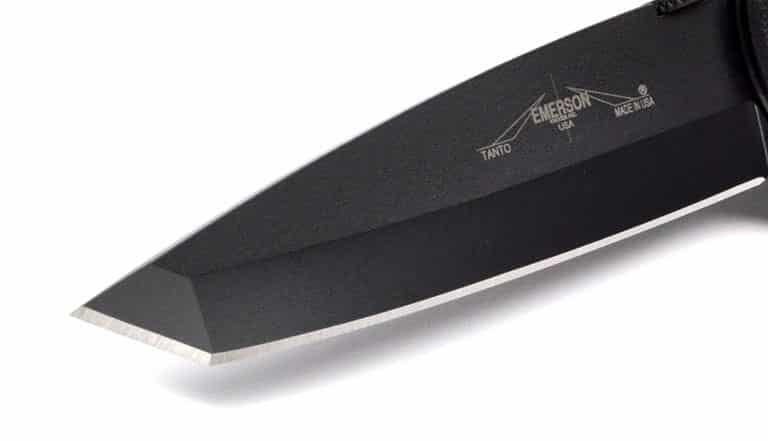
I really like a tanto style blade for a "slicing" style cut. The small angle on the bottom of the blade is excellent for it, and it leaves the point for digging under if needed.
-
What did you do in the shop today?
Welshj replied to Mark Ling's topic in Blacksmithing, General Discussion
Holy cow.... Alexander, those last pics are simply stunning work. The question I have to ask- how in the heck did you get all that scroll work to follow the flow of the curves and bends like that? Is it done in process, or after the panels are completed- rolled/bent as one piece on a large machine? -
Stainless question, electropolishing, etc
Welshj replied to somber crow's topic in Finishes for Metal
You could also lightly sand blast with a very fine media to remove scale... wouldn't remove hammer marks, and can be polished out afterwards. -
If you click on the three bars at the top right, pull up your account, then profile info- you can add your location, hobbies, info etc. Like that. Then when I read your post- I can click on your profile and see if you're close to me or not... Helpful info sometimes. Welcome to the madness Jimmy! And don't be afraid to fail. Make a bunch of crappy chunks of steel that don't look like anything useful... they are- they show you and tell you how to move metal, how to do better the next time.
-
Where are you from Adam?
-
Unsure yet... I'm not going to be able to judge it on this blade- as its going to be gifted to my friend soon. But, the knobs and handles on my belt sander are done with the same product... and they're still looking great after a couple months use.
-
Exactly George... I have a neighbor who literally lives a quarter mile from me. He runs a welding/fabrication shop out of his pole barn. I can go to him for oxy/acyt bottles, at a cheaper dealer price for gas. But he also has a bottle rental fee. So even if I'm not using my torches- they're costing me.
-
Not to sound like I'm being sarcastic- I went to the store, tankless. Paid for the use of 1 oxygen, 1 acetylene tank. Went home with 1 ea. I used them for a couple weeks, on a bigger job cutting and bending tube steel. Ran out of oxygen, went to the store with oxygen tank, paid for & swapped it out for a fresh full tank... went back to work. Its been a few years, but they have their own tanks, certified. I don't know if they still do this or if it is just a larger store? But, its a possibility? I mean to say that until you can get your own tanks set up to use- you could rent a set to use in the mean time, and not have to deal with the certification of yours until such time as you are able. And their program didn't have a monthly rental fee... you get the bottles and use them. When empty, or done with... you return them. At the time I used it- there was no time limit.
-
What did you do in the shop today?
Welshj replied to Mark Ling's topic in Blacksmithing, General Discussion
^ In regards to Helen's statement there. I'm with jungle here... I work full time at a sign shop. At home, I get into rc cars, shooting, fishing, woodworking, vinyl graphics &stickers, model cars, custom gun cerakoting, old cars, and smithing. (Knives mostly) All while dealing with PTSD, cervical vertabrea damage, old age catching up with me, and being a perfectionist to the point of frustration... The things we make, and create, are our way of dealing with life, and what it throws at us... perfect it will never be... but awesome it can be. As far as not belonging with the guys- yeah, you're right. You don't.... cause you're a female smith!! You're better than the boys! a heck of a lot more accomplished than me already! Never let anybody make you feel like you cant do something someone else can.. especially yourself!!! I tell my daughter & granddaughters that all the time. If you can think it... and figure out how to physically do it- safely... you can do it. Male, or female. -
I don't know about illinois- but here & in texas... i just went down to tractor supply, and rented a couple tanks for my setup. They came filled, and I had to sign a transportation slip? of some type. It was really cheaper than just renting a set of tanks from a welding supply place. Basically, you pay for the gas. Then go back and swap out when empty. Might be easier to deal with than getting your tanks certified? Haven't had a need for mine yet here in Ohio, so I haven't picked up tanks in years. Need to soon though!
-
Nice! Getting there man.
-
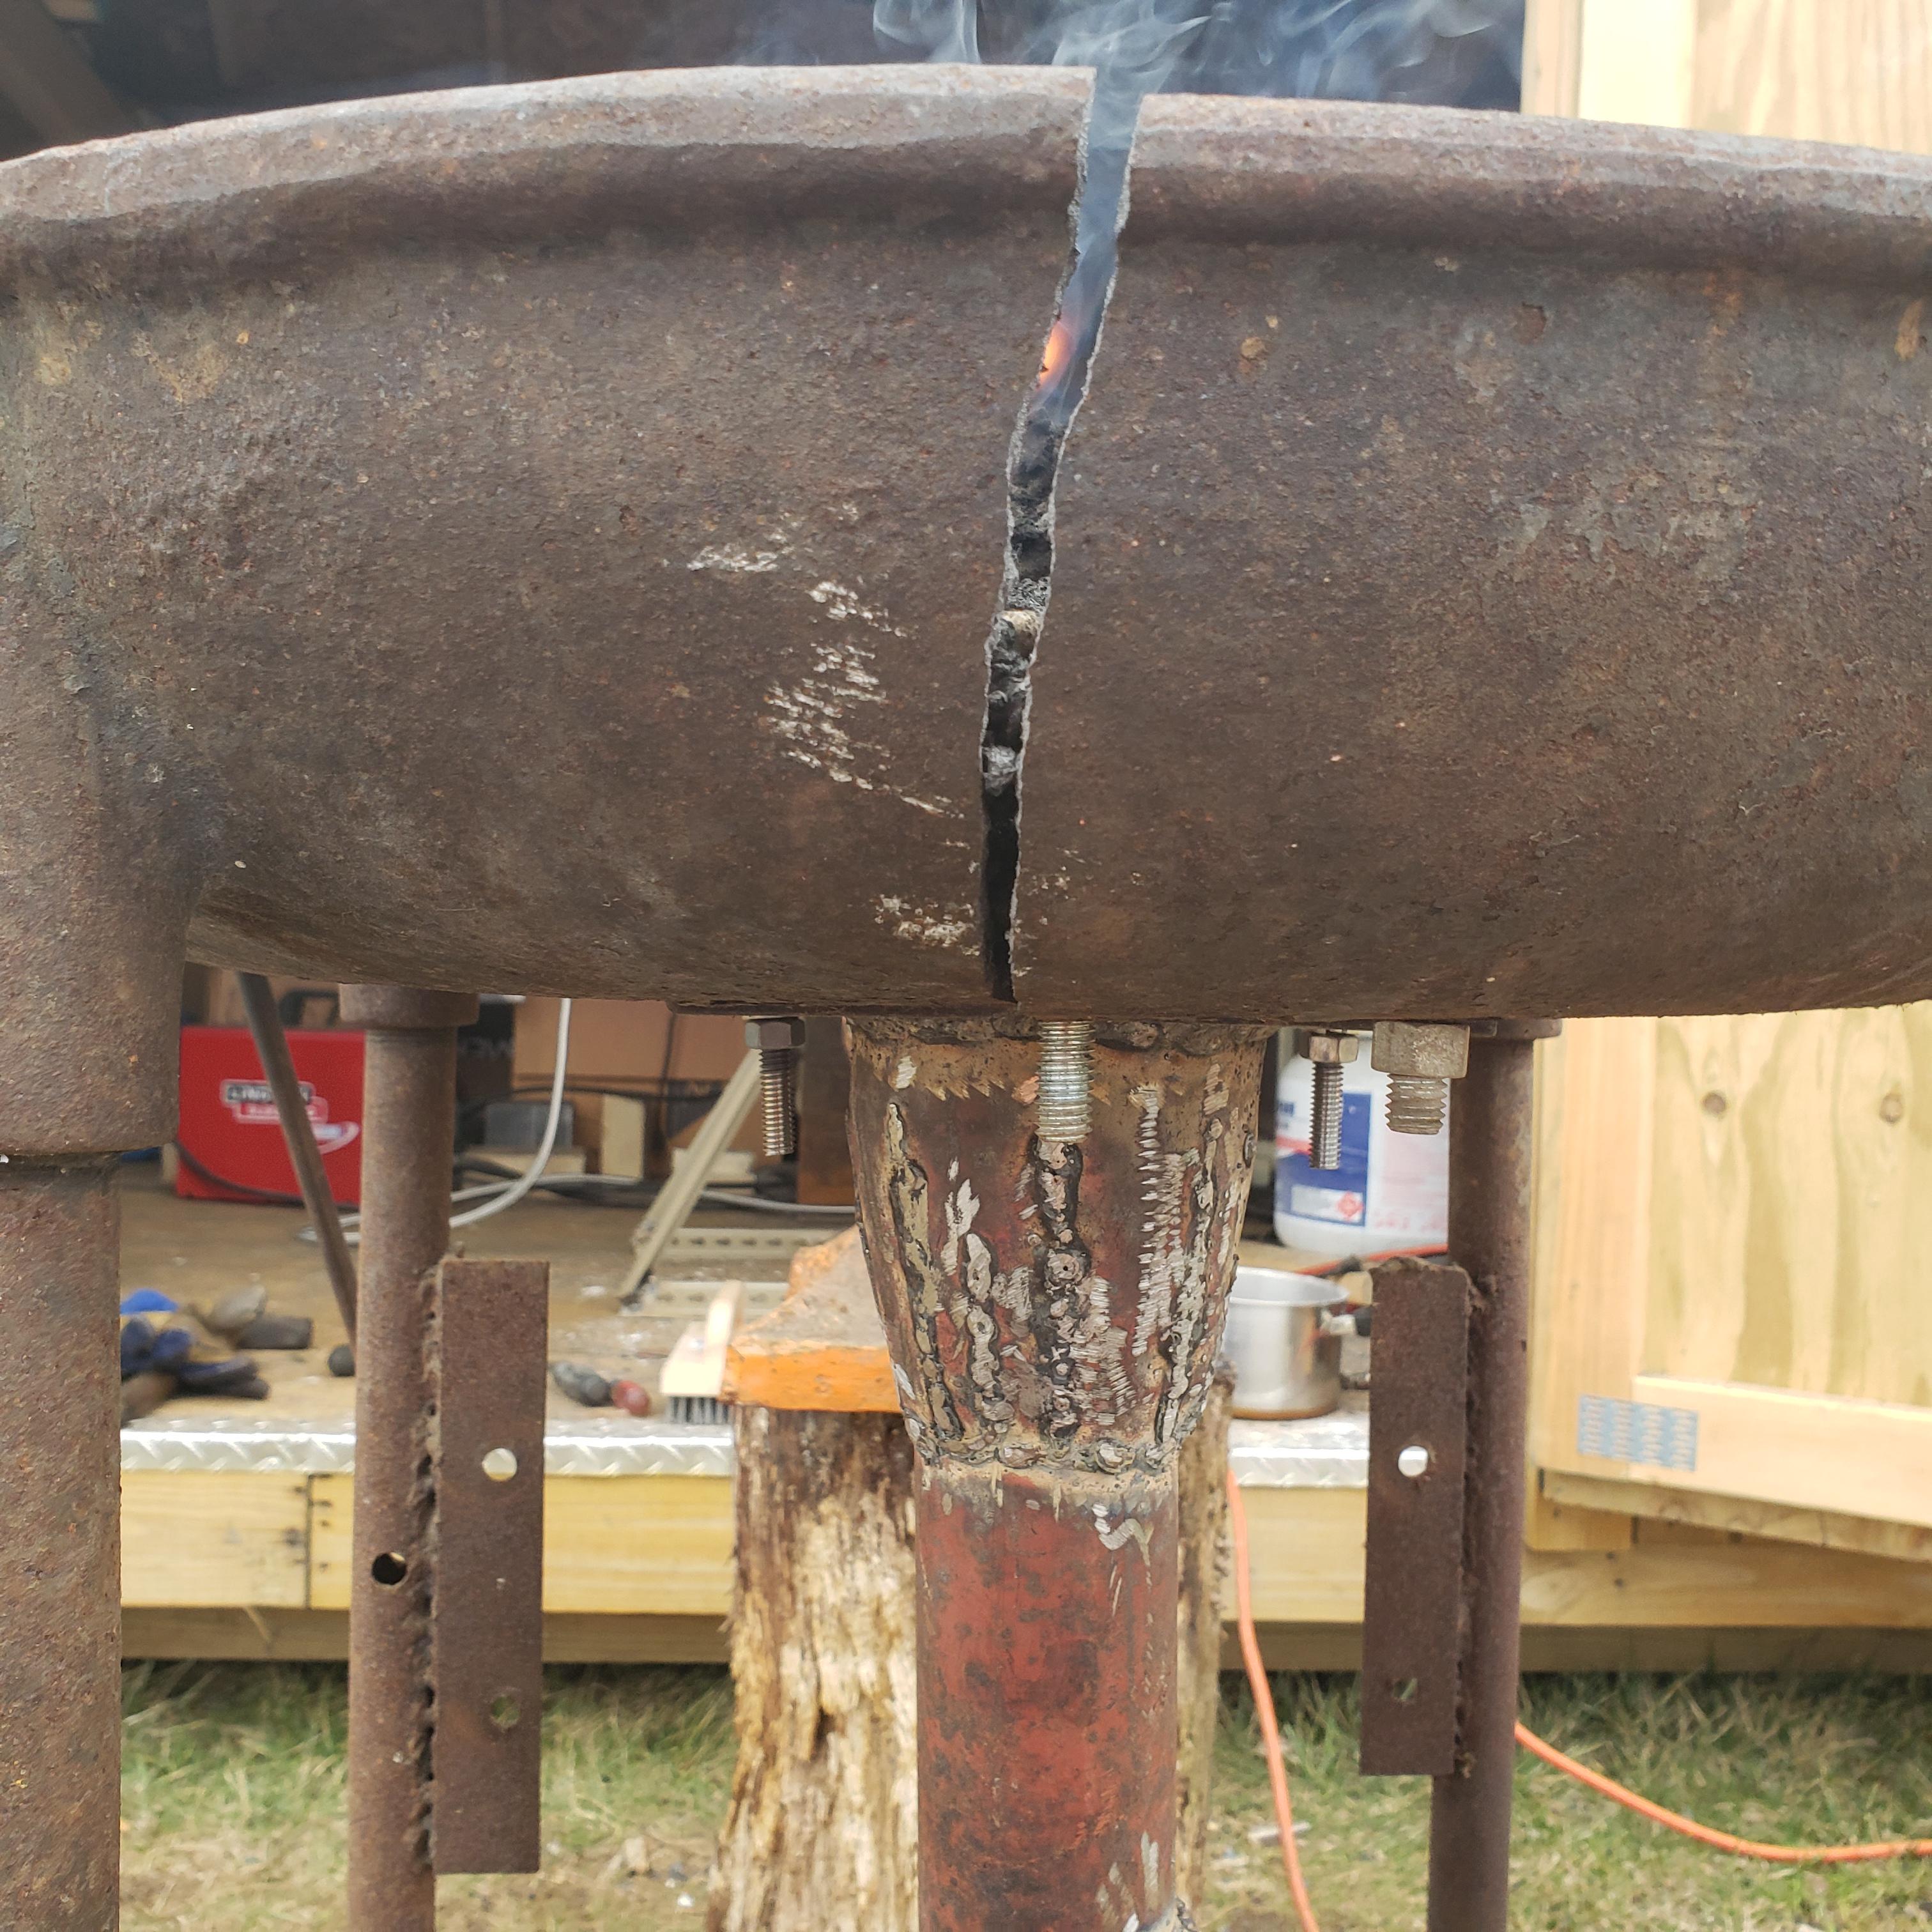
Hmm... if I were in your shoes- for this job I think I'd do two things. First, I'd build a jig to hold the pieces in alignment and clamped in place for the welding work. Then, I'd grind a decent 45 degree chamfer along/on the broken edges... so I'd get good welding penetration and fill. Any weld- if done correctly, and burned in well, should hold. I welded a 4- link suspension into a Chevy s-10 for a friend. He added airbags on a nitrogen bottle feed, and showing off- trying to hop it... ripped the rear suspension apart. None of my welds broke- he tore them right out of the frame rails around the welds. Secondly- I'd do as the others suggested too. I'd try the weld to repair the original piece, and try to get it filled and ground down to the original shape as possible. I mean, it's a piece of history... then- I'd also forge a new one as close to the original as possible. That way, they have options. They have the original piece, but have a new stronger one to use if they plan on still actually using the bell.
-
So whats covering the wool? It doesn't look coated in those pics. If not, thats a real health issue you might wanna address soon bud.
-
Another point on welding cast iron- It should be heated before welding. Not red hot, or in a forge type heating... more along the lines of a black heat... and usually something like a "rosebud" tip on an oxy acetylene torch- generally and slowly heat the area around the area to be welded to prevent further cracks and breakage from the thermal shock of welding it. Keep it heated and warm as you weld it.
-
What did you do in the shop today?
Welshj replied to Mark Ling's topic in Blacksmithing, General Discussion
Got my forge re-lined over the weekend, nothing big, just fresh refractory wash. Cleaned up my burner mount, gonna put on some better fasteners, and extending the blower further from the forge body with some 2" pvc before going into the metal 2" pipe. -
Your only other option is vfd control unit. Expensive to upwards of $300 dollars, but available on amazon.
-
What did you wind up using to weld it? (Just curious) Looks pretty decently done. Getting there man!
-
What did you do in the shop today?
Welshj replied to Mark Ling's topic in Blacksmithing, General Discussion
I was using my new 2x72- day or two back... heard a strange sound. Had a bearing smoking just like that picture! My buddy Jake helped me replace the bearing, and turned a thrust washer? to space it back out correctly. Got it all re-assembled, and was finish sanding some brass knife bolsters on the lower wheel- when the motor started spitting sparks and sounded like I was arc welding. Got some hot grinding dust in it, and burned the windings- allowing them to arc out to the armature. Smh... now I get to get a new motor to replace my new motor. Sigh...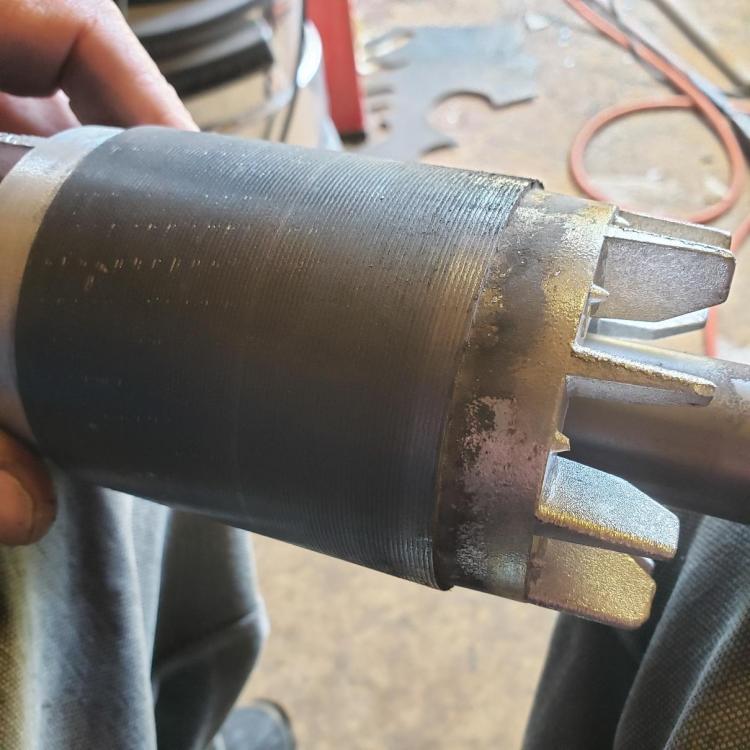

-
As a former Texas resident- Ya'll are killing me! Now I'm gonna have to dig back into some books. An isomov, Bradbury, and king fan... I haven't read any in years. And the guide was definitely better on paper, for sure!
-
What did you do in the shop today?
Welshj replied to Mark Ling's topic in Blacksmithing, General Discussion
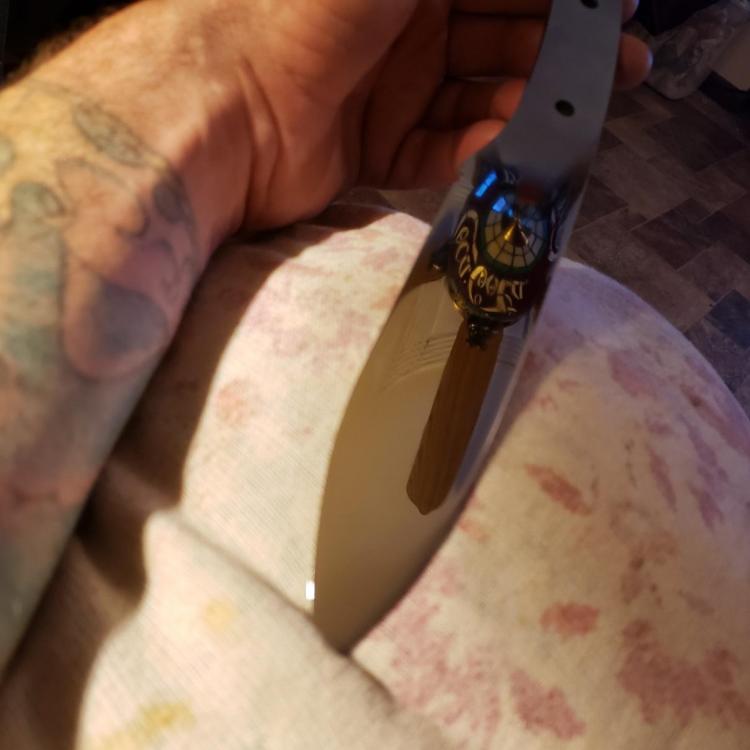
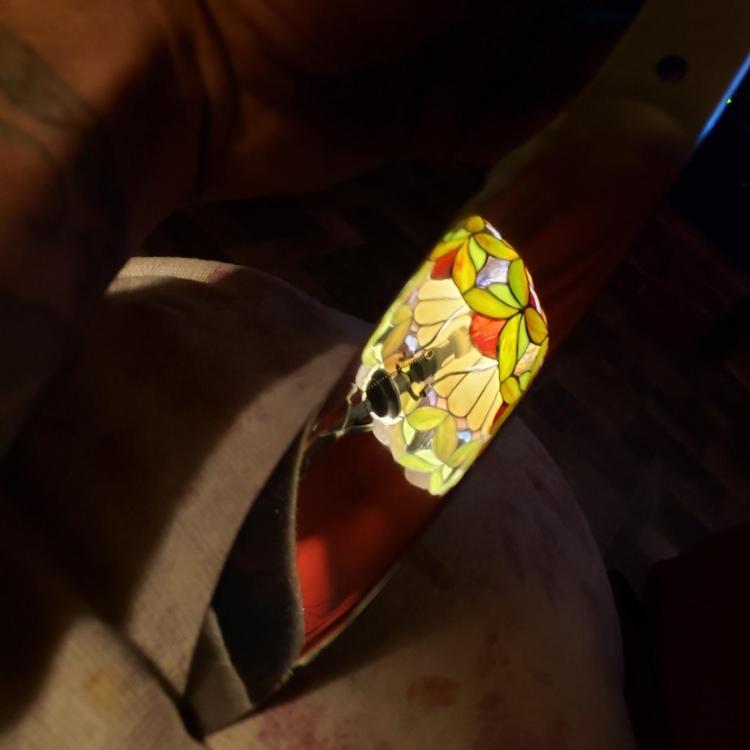
Lol... it's a Tiffany style lamp setting on an end table beside my chair. I thought it was kind of cool to be able to see it that clearly in the blade. The first photo I took caught the wife's stained glass coca cola ceiling fan in it... so I had to try catching the brighter lamp. -
What did you do in the shop today?
Welshj replied to Mark Ling's topic in Blacksmithing, General Discussion
My little brother asked me to clean up a blade he forged. One of his first ever. The bevel line was wonky, blade was a little rusty and tang was ground kind of convex- so the antler handle scales weren't even close to laying flat. An hour or so later...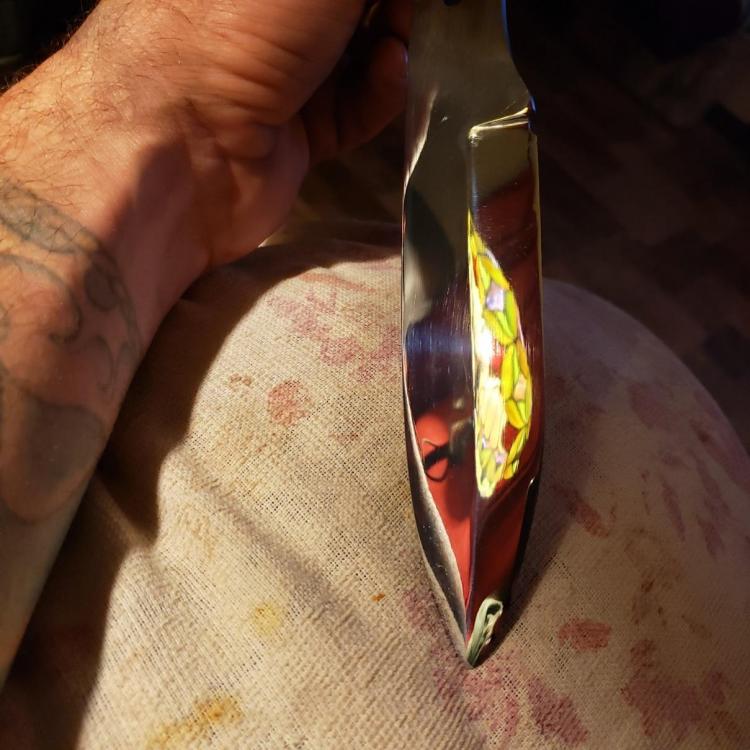
-
I've welded some cast iron- but never that thin. I don't know how that would work out? I've never tig welded- anybody? I would think WORST case scenario- jb weld steel type epoxy maybe? I know.... ugh. I have a champion blower in my shed, it has no gasket between the halves. It doesn't look like its ever been apart, and is missing the original hand crank. With the low amount of airflow these push- i probably wouldn't worry about it.
-
So, I screwed up.... I gave all my pecan I had left over to a buddy for smoking meats. I thought i had a couple pieces tucked in the shed- turns out they're peach! I had a couple peach trees in the yard, they became diseased and died off. Been tucked away for a year or so. Edit- I see I'm not the only one. Lol... So I have three or four 6" diameter pieces. Whaddya think?
-
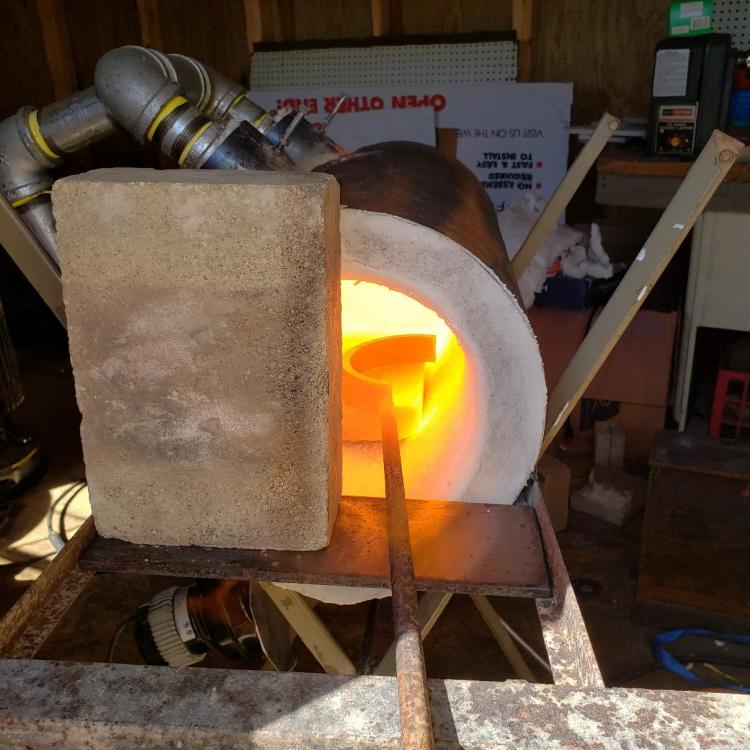
The tank- that part can be completely up to you. There's many a different forge design. I made mine from an old inline water pressure tank from an old farmhouse. I did pretty much what you're talking about- I cut one end off, leaving the back of the tube solid... and then insulated and lined it. I then later cut it in half, and added a couple flat pieces over the opening to help retain just a bit more heat. The problem with it is that ALL of my exhaust comes out the front. This picture is before dropping down to one burner, and cutting my shell in half- between the burners.