Welshj
-
Posts
309 -
Joined
-
Last visited
Content Type
Profiles
Forums
Articles
Gallery
Downloads
Events
Everything posted by Welshj
-
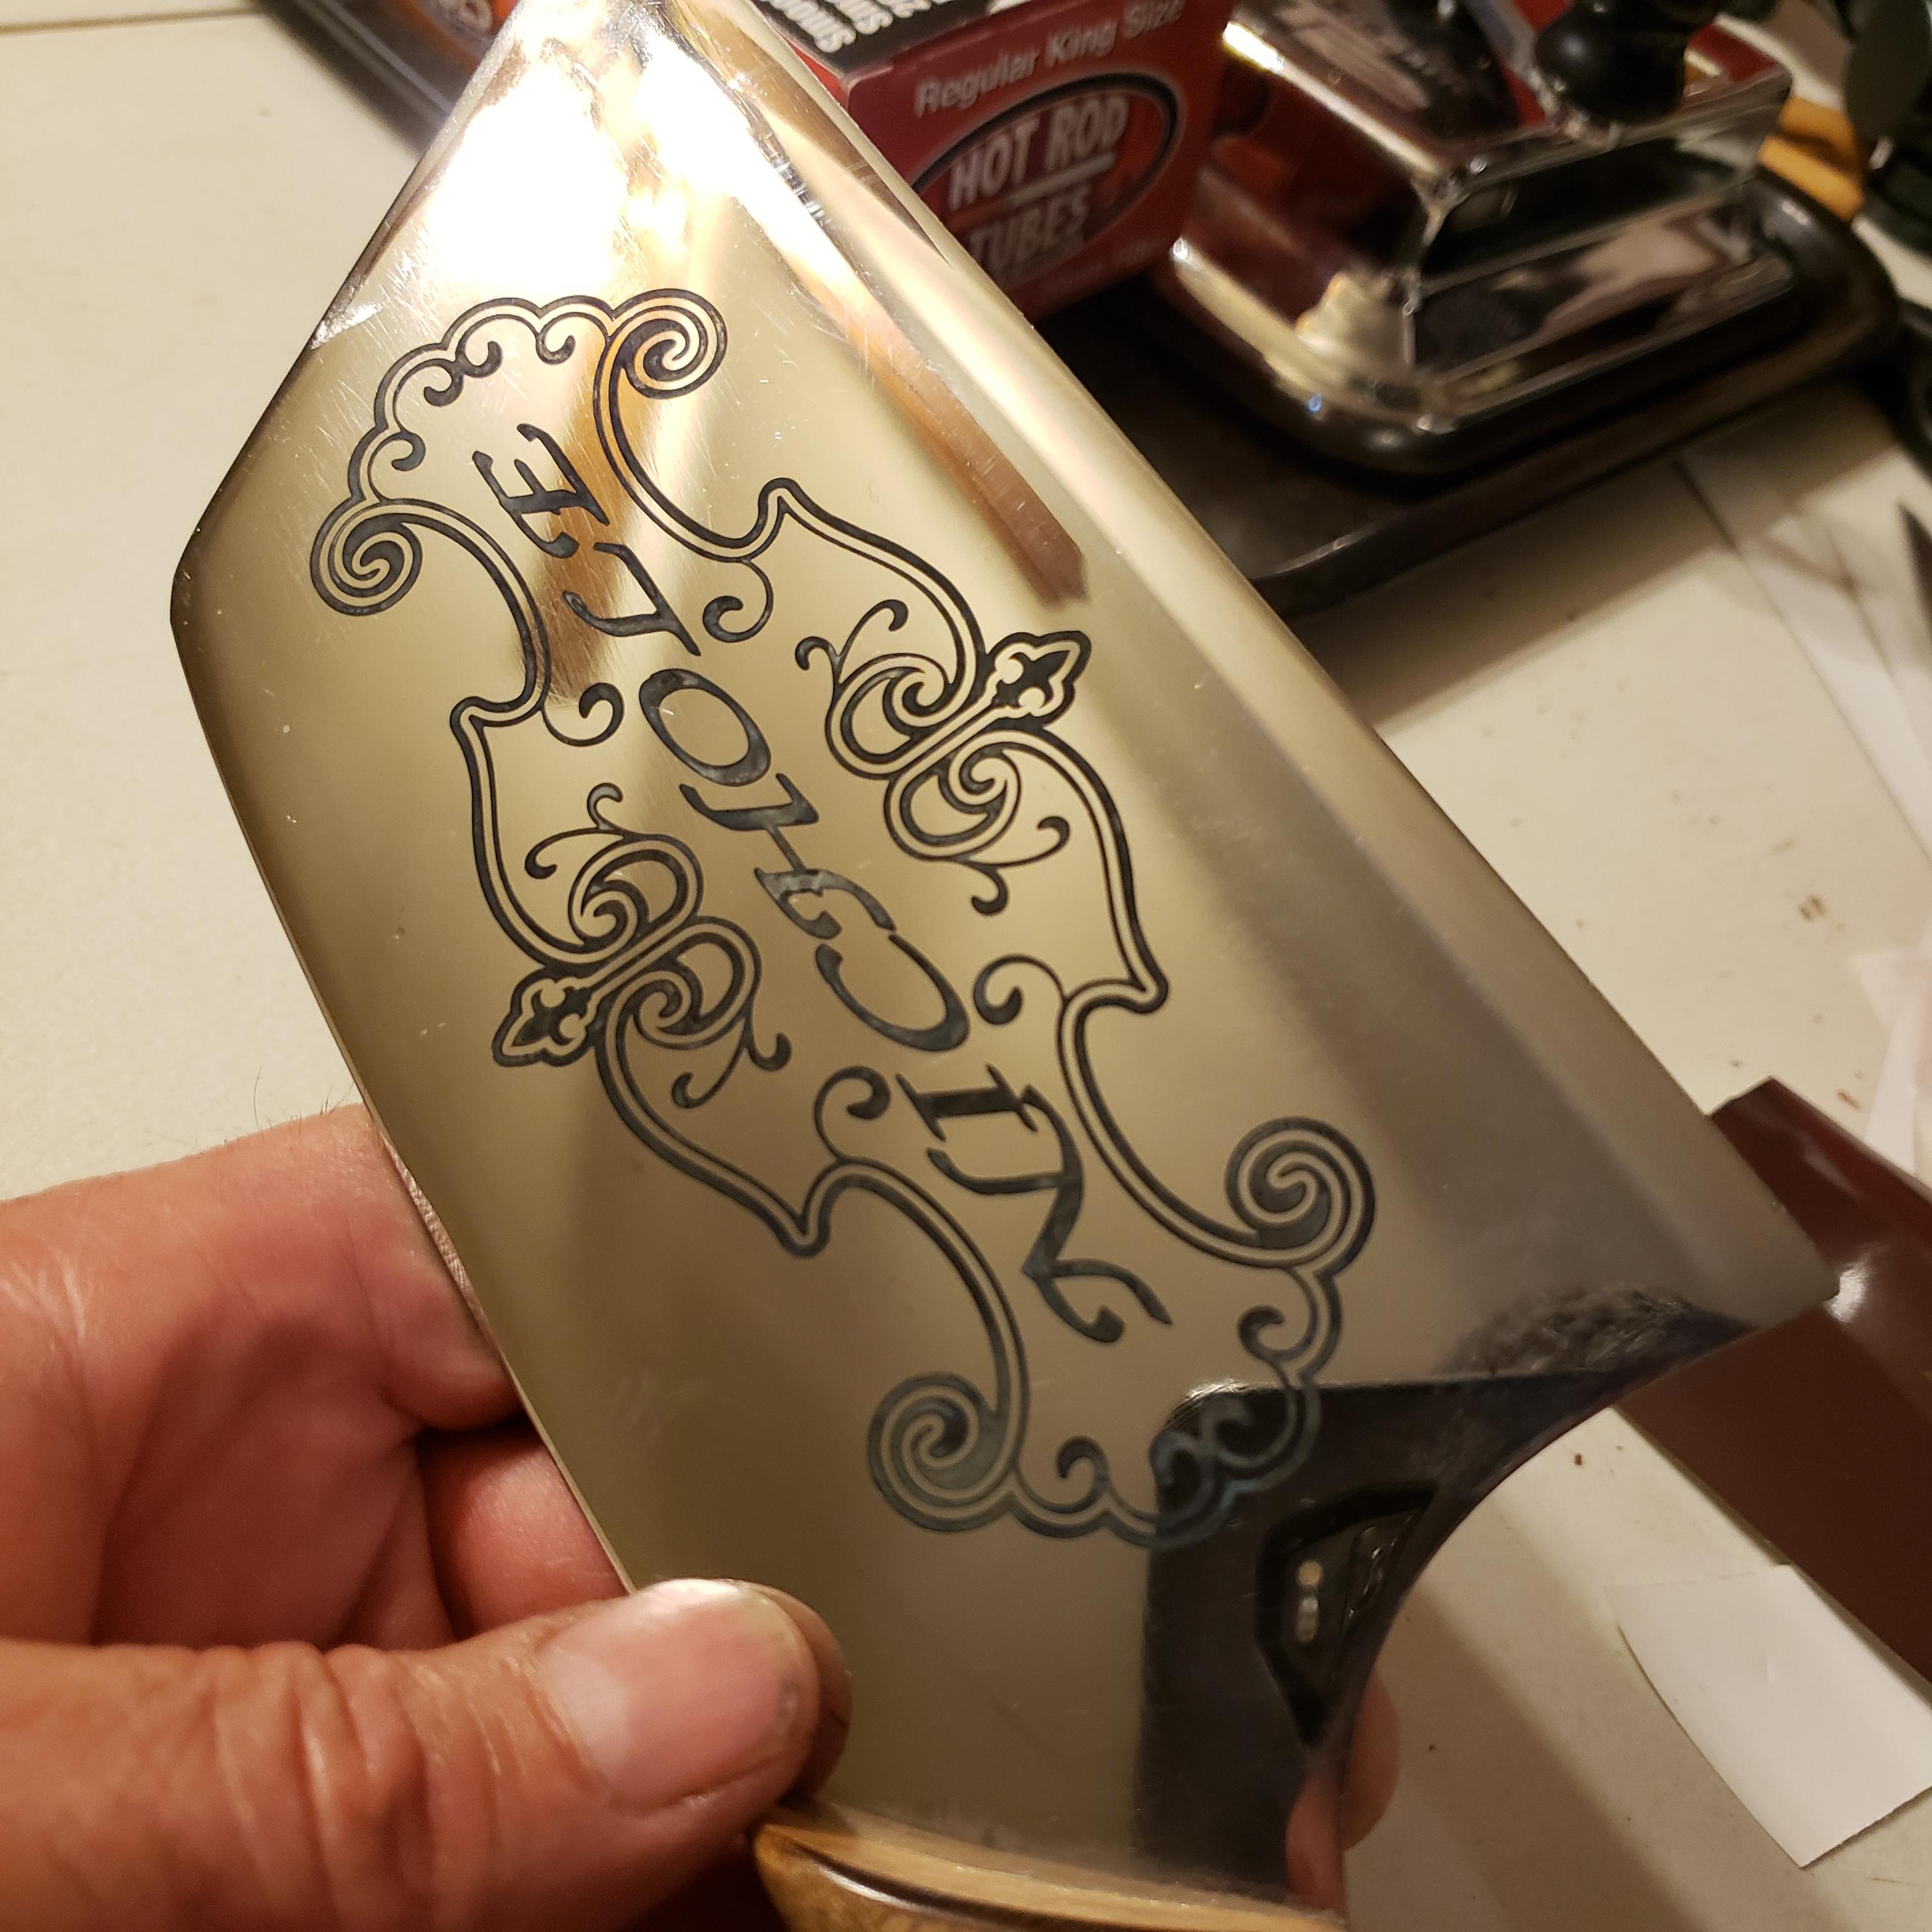
The right place? Unsure... but close enough for me. I'm the exact opposite of you- army sgt who drove heavy wheeled trucks! Lol... however I think the idea of 15n20 on the outside would give you a brighter finish, just unsure if the electro etch would be dark enough on it? For sure, a deep enough etch would give you the outline, even if you polished it mirrored... hmm. But either way- if you send me a message with some info, and possibly a decent line drawing artwork of the plane... I may be able to help you with the mask situation, and glad to do so. I have a 24" commercial grade plotter. I cut vinyl graphics in automotive grade vinyl. I know it works for a gun blueing, should be good for etching. Depending on size, and detail... we might be able to get you a decent graphic.

-
My response copied from another thread- Generally, you want 2" of 8# wool for good insulation. Coat that with rigidizer to stiffen the wool. Let that cure over nite. Google simwool rigidizer. Spray your wool with a misting water bottle of plain water. Not soaking dripping wet- just a good misting to coat the wool- this is called "buttering" the forge,, and allows the refractory to bond to the wool better. Then coat the rigidized wool with your choice of a good refractory. Satanite, kast o lite, mizzou... some choices. COVER ALL THE WOOL SURFACE. Quick down and dirty explanation... there's more, but thats basics. Read the forumn threads a bit- there's tons of info here to do it safely. Ryan- i used hellcote 3000 refractory cement. Its basically satanite. Anything that you're going to want to use would come in a powdered form. The stuff you get from the hardware store in a bucket- isn't gonna work in a forge... for long. I got mine on amazon, its the brand hells forge sends with their forge kits to line them. Its rated to 3,000 degrees. It gets mixed with water, to a thick milkshake consistency and spread on the wool. You then let it cure over night til its dry to the touch. Then, its fired up momentarily for about 30 seconds to drive out moisture. Let it cool down slowly, then fire it for a minute.... let it cool. Fire it for around 5 minutes or so... then you should be ready to run. I've never used kast o lite 30 yet, but plan to soon. I do know that its a longer process and cures more like concrete in a slower time-frame with no heat cycles... if you go to your profile page/user control panel- you can add/edit your location and other info there... That will allow anyone on the forumn to click on your name on any of your posts, and see where you are. Its useful to help give you advice on where to find things more local to you, or more technical stuff like what welder to buy for a us or other market. This is a world wide forumn with many smiths from all over... not everybody has the same possibilities for sourcing stuff!
-
Mikey, I often tell people that I know a little bit about alot of things... but that I know everything about nothing. To me- an expert is someone I judge by those very things, the experience to have made the mistakes, the wisdom to have learned from them, the knowledge to prevent them in the future- and the generosity to pass that onto those following in your foot steps. You, and frosty both fall in that category as do many others here. Ryan I hope you get it sorted out, and enjoy the process you're delving into! I made the blunder of starting down the "bigger is better" path when i first built my forge. Several here gave me some great advice, and it set me up to start actually having some good results from my efforts. Like mikey- looking forward to your results.
-
Welcome to the madness Andrew! I got into it with knives in mind as well, but found this forumn in the process. Spend some time here reading as much as you can- there's alot of good info here. Real information... that can save you alot of pain and frustration. Looking forward to seeing what you do.
-
Get rid of the meecos altogether... it won't work in a forge environment. Clean as much off the ceramic wool as you can. If you have ceramic wool to replace it with- do that. Generally, you want 2" of 8# wool for good insulation. Coat that with rigidizer to stiffen the wool. Let that cure over nite. Google simwool rigidizer. Spray your wool with a misting water bottle of plain water. Not soaking dripping wet- just a good misting to coat the wool- this is called "buttering" the forge,, and allows the refractory to bond to the wool better. Then coat the rigidized wool with your choice of a good refractory. Satanite, kast o lite, mizzou... some choices. COVER ALL THE WOOL SURFACE. The meecos is not a real refractory cement... its more like a mortar designed to be used to place firebrick in ovens and fireplaces. It doesn't get hard, it stays flexible and doesn't cure out hard like a castable refractory. Thats why its bubbling and peeling. Quick down and dirty explanation... there's more, but thats basics. Read the forumn threads a bit- there's tons of info here to do it safely.
-
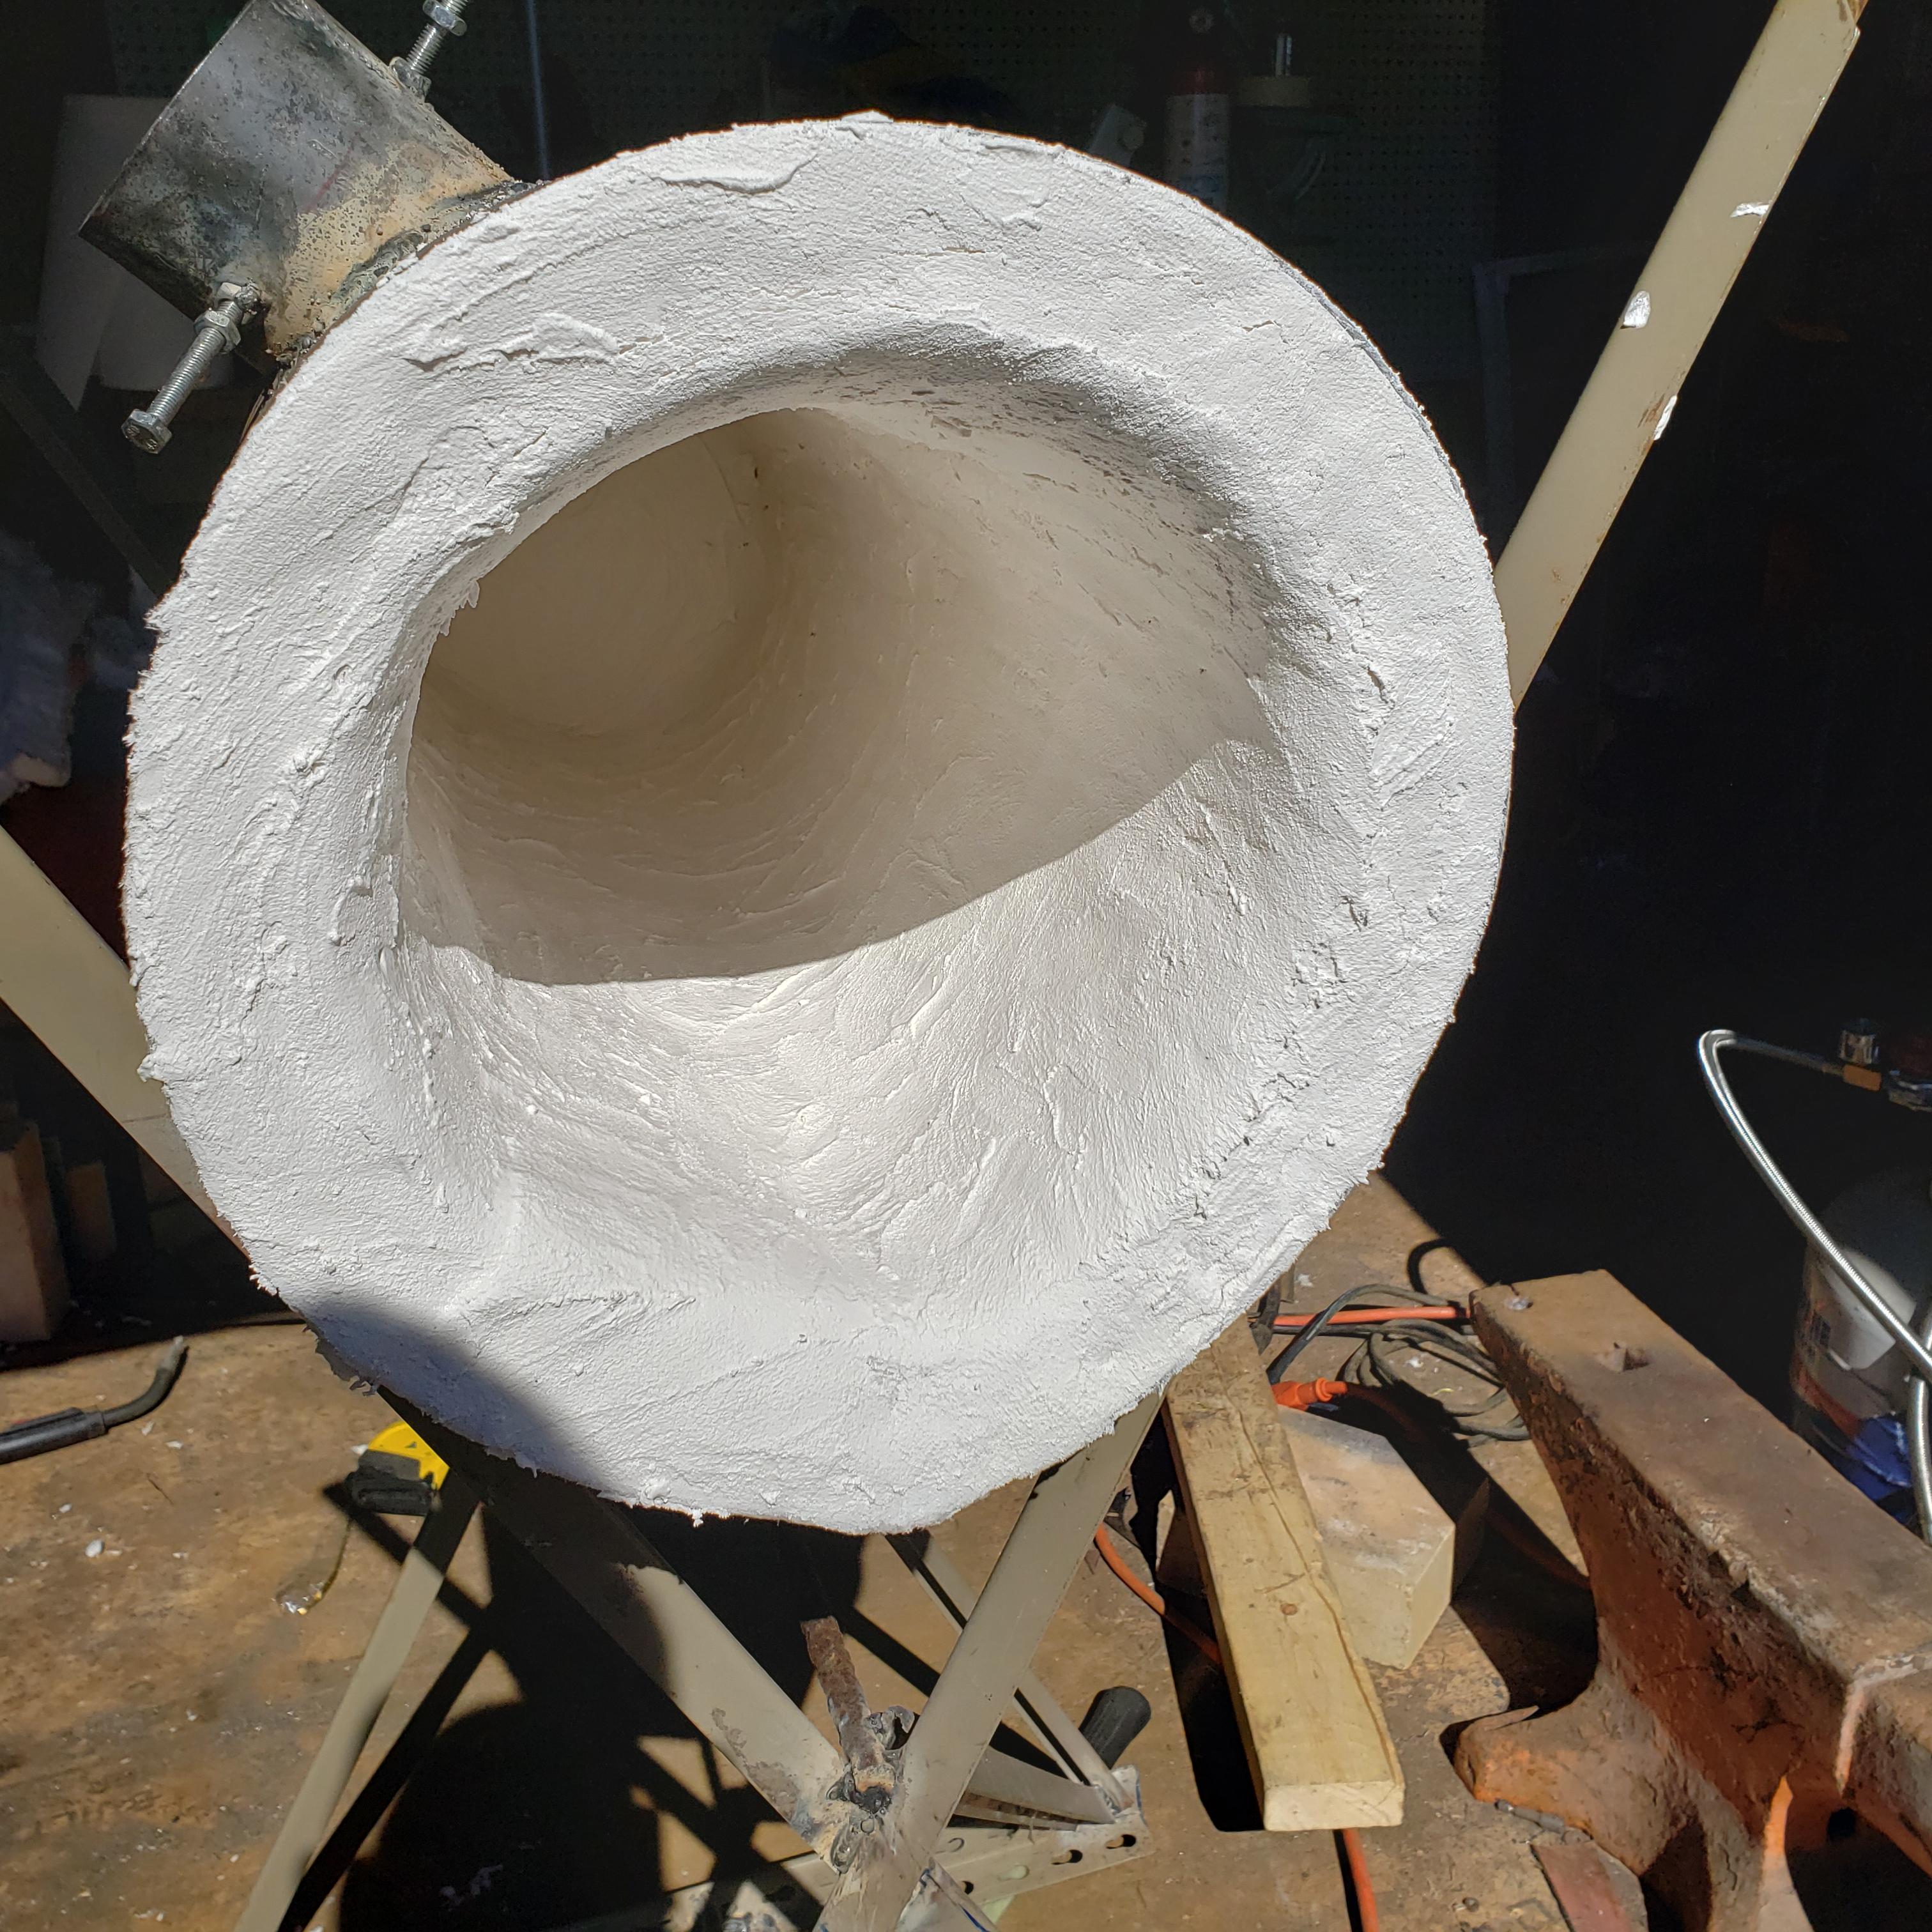
DON'T USE IT LIKE THAT. I'm no burner expert. Mikey is- one of the two most knowledgeable from my experience here. But, you have open ceramic wool lining that forge. That is a health hazard. There's alot of information on the forumn here to help you sort it out- but I'd like to see you forging for a long time to come yet... not laying in a hospital bed unable to breathe in the next year or so. It needs to be encapsulated in a refractory. The fibers from that will end up in your lungs. There are many people here- worldwide who'll gladly give you tips and help getting it sorted out, they did help me. My forge lining as a poor example-

-
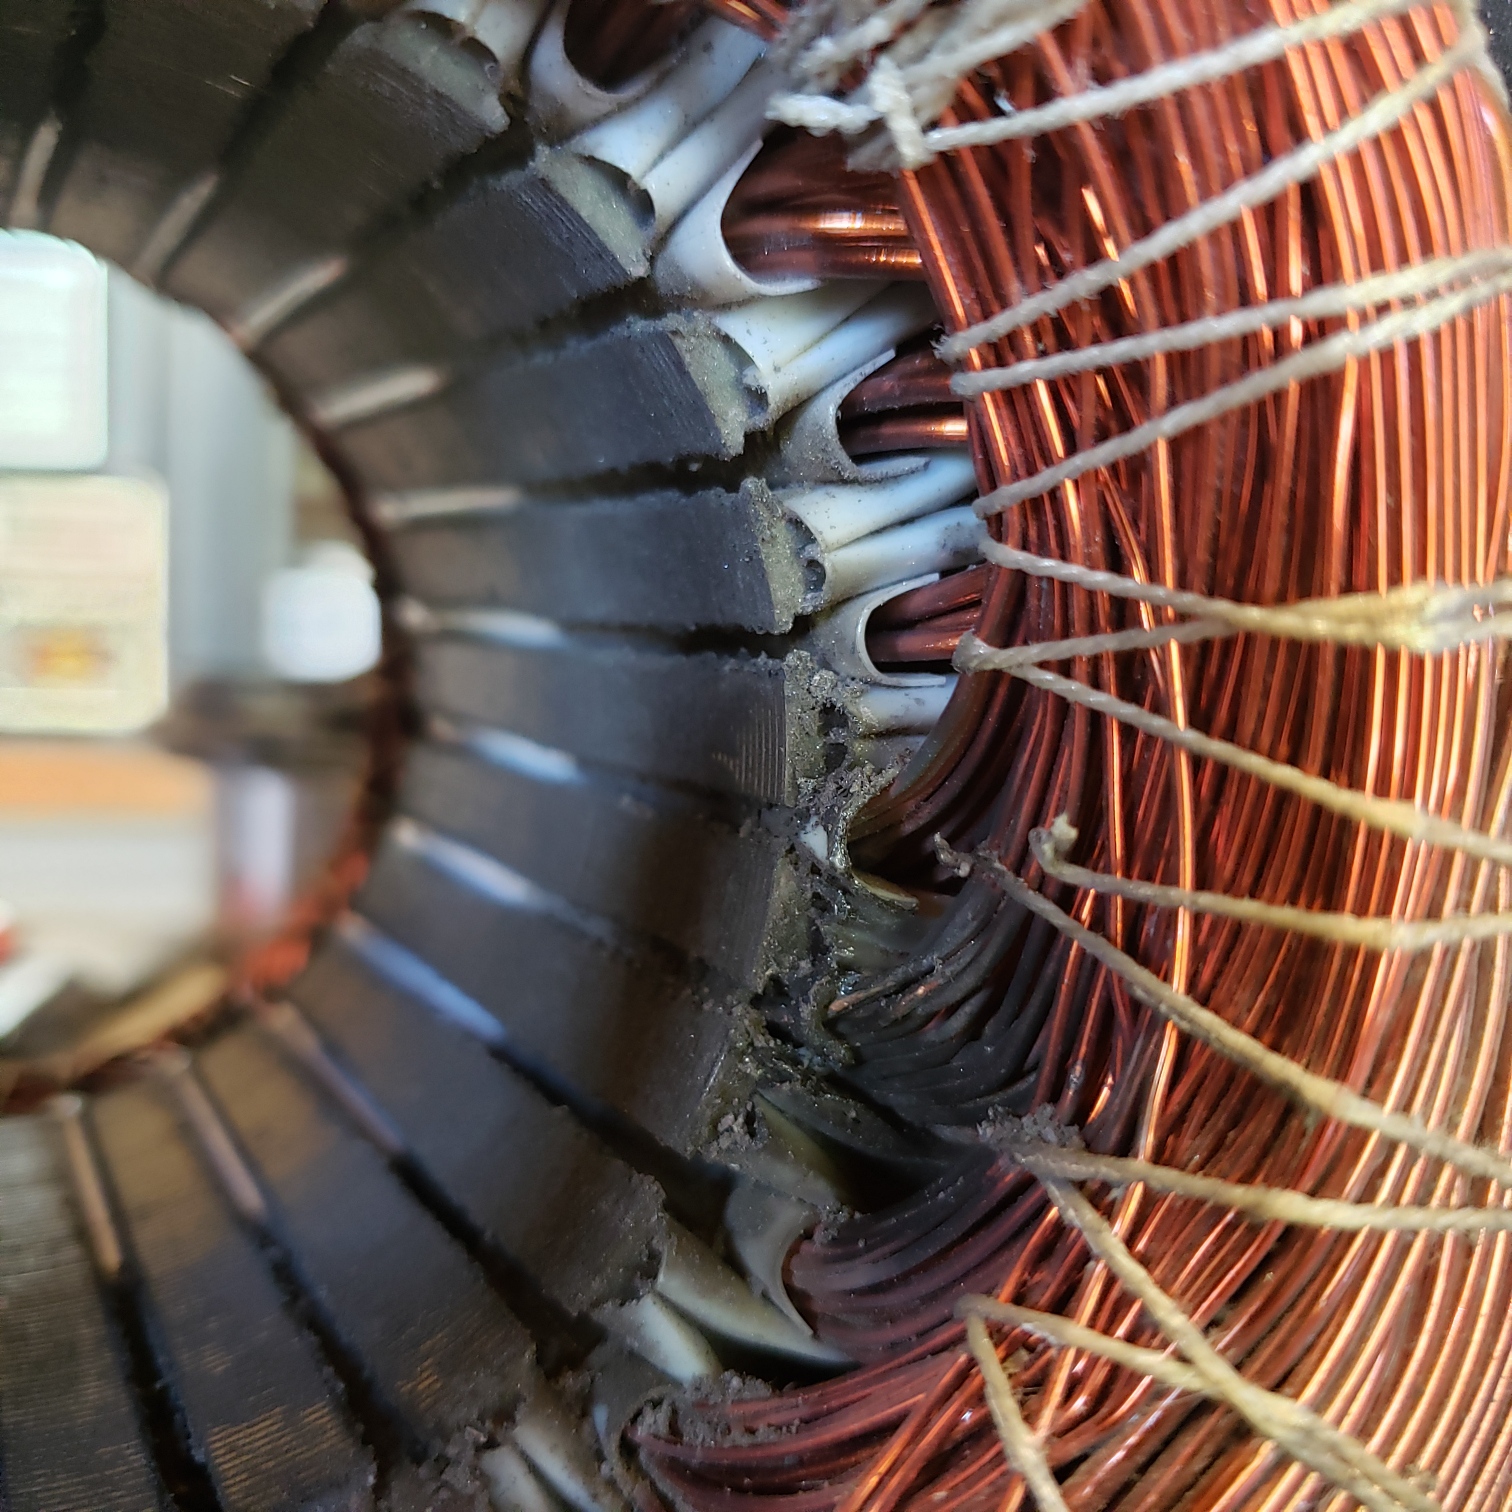
And just a note to back up what others have already said- Having just spent $300 to replace the 2hp AC motor on my 2x72 belt sander... definately look for a sealed one, or a method of... covering protection. I had a machinist friend build mine for me in partial trade for some sign graphics/work. Had it approximately one month, used for two to four hours pretty consistently when I noticed it arcing badly through the motor ports. It got worse as I turned it on and off trying to judge what was going on. It sounded, and looked like I was running an arc welder. Motor ran fine... just a pretty blue light... with sound effects. I burned through the windings with hot steel dust that got sucked into the motor. One 1/2" area effected, allowing it to arc to the armature. $300 mistake.

-
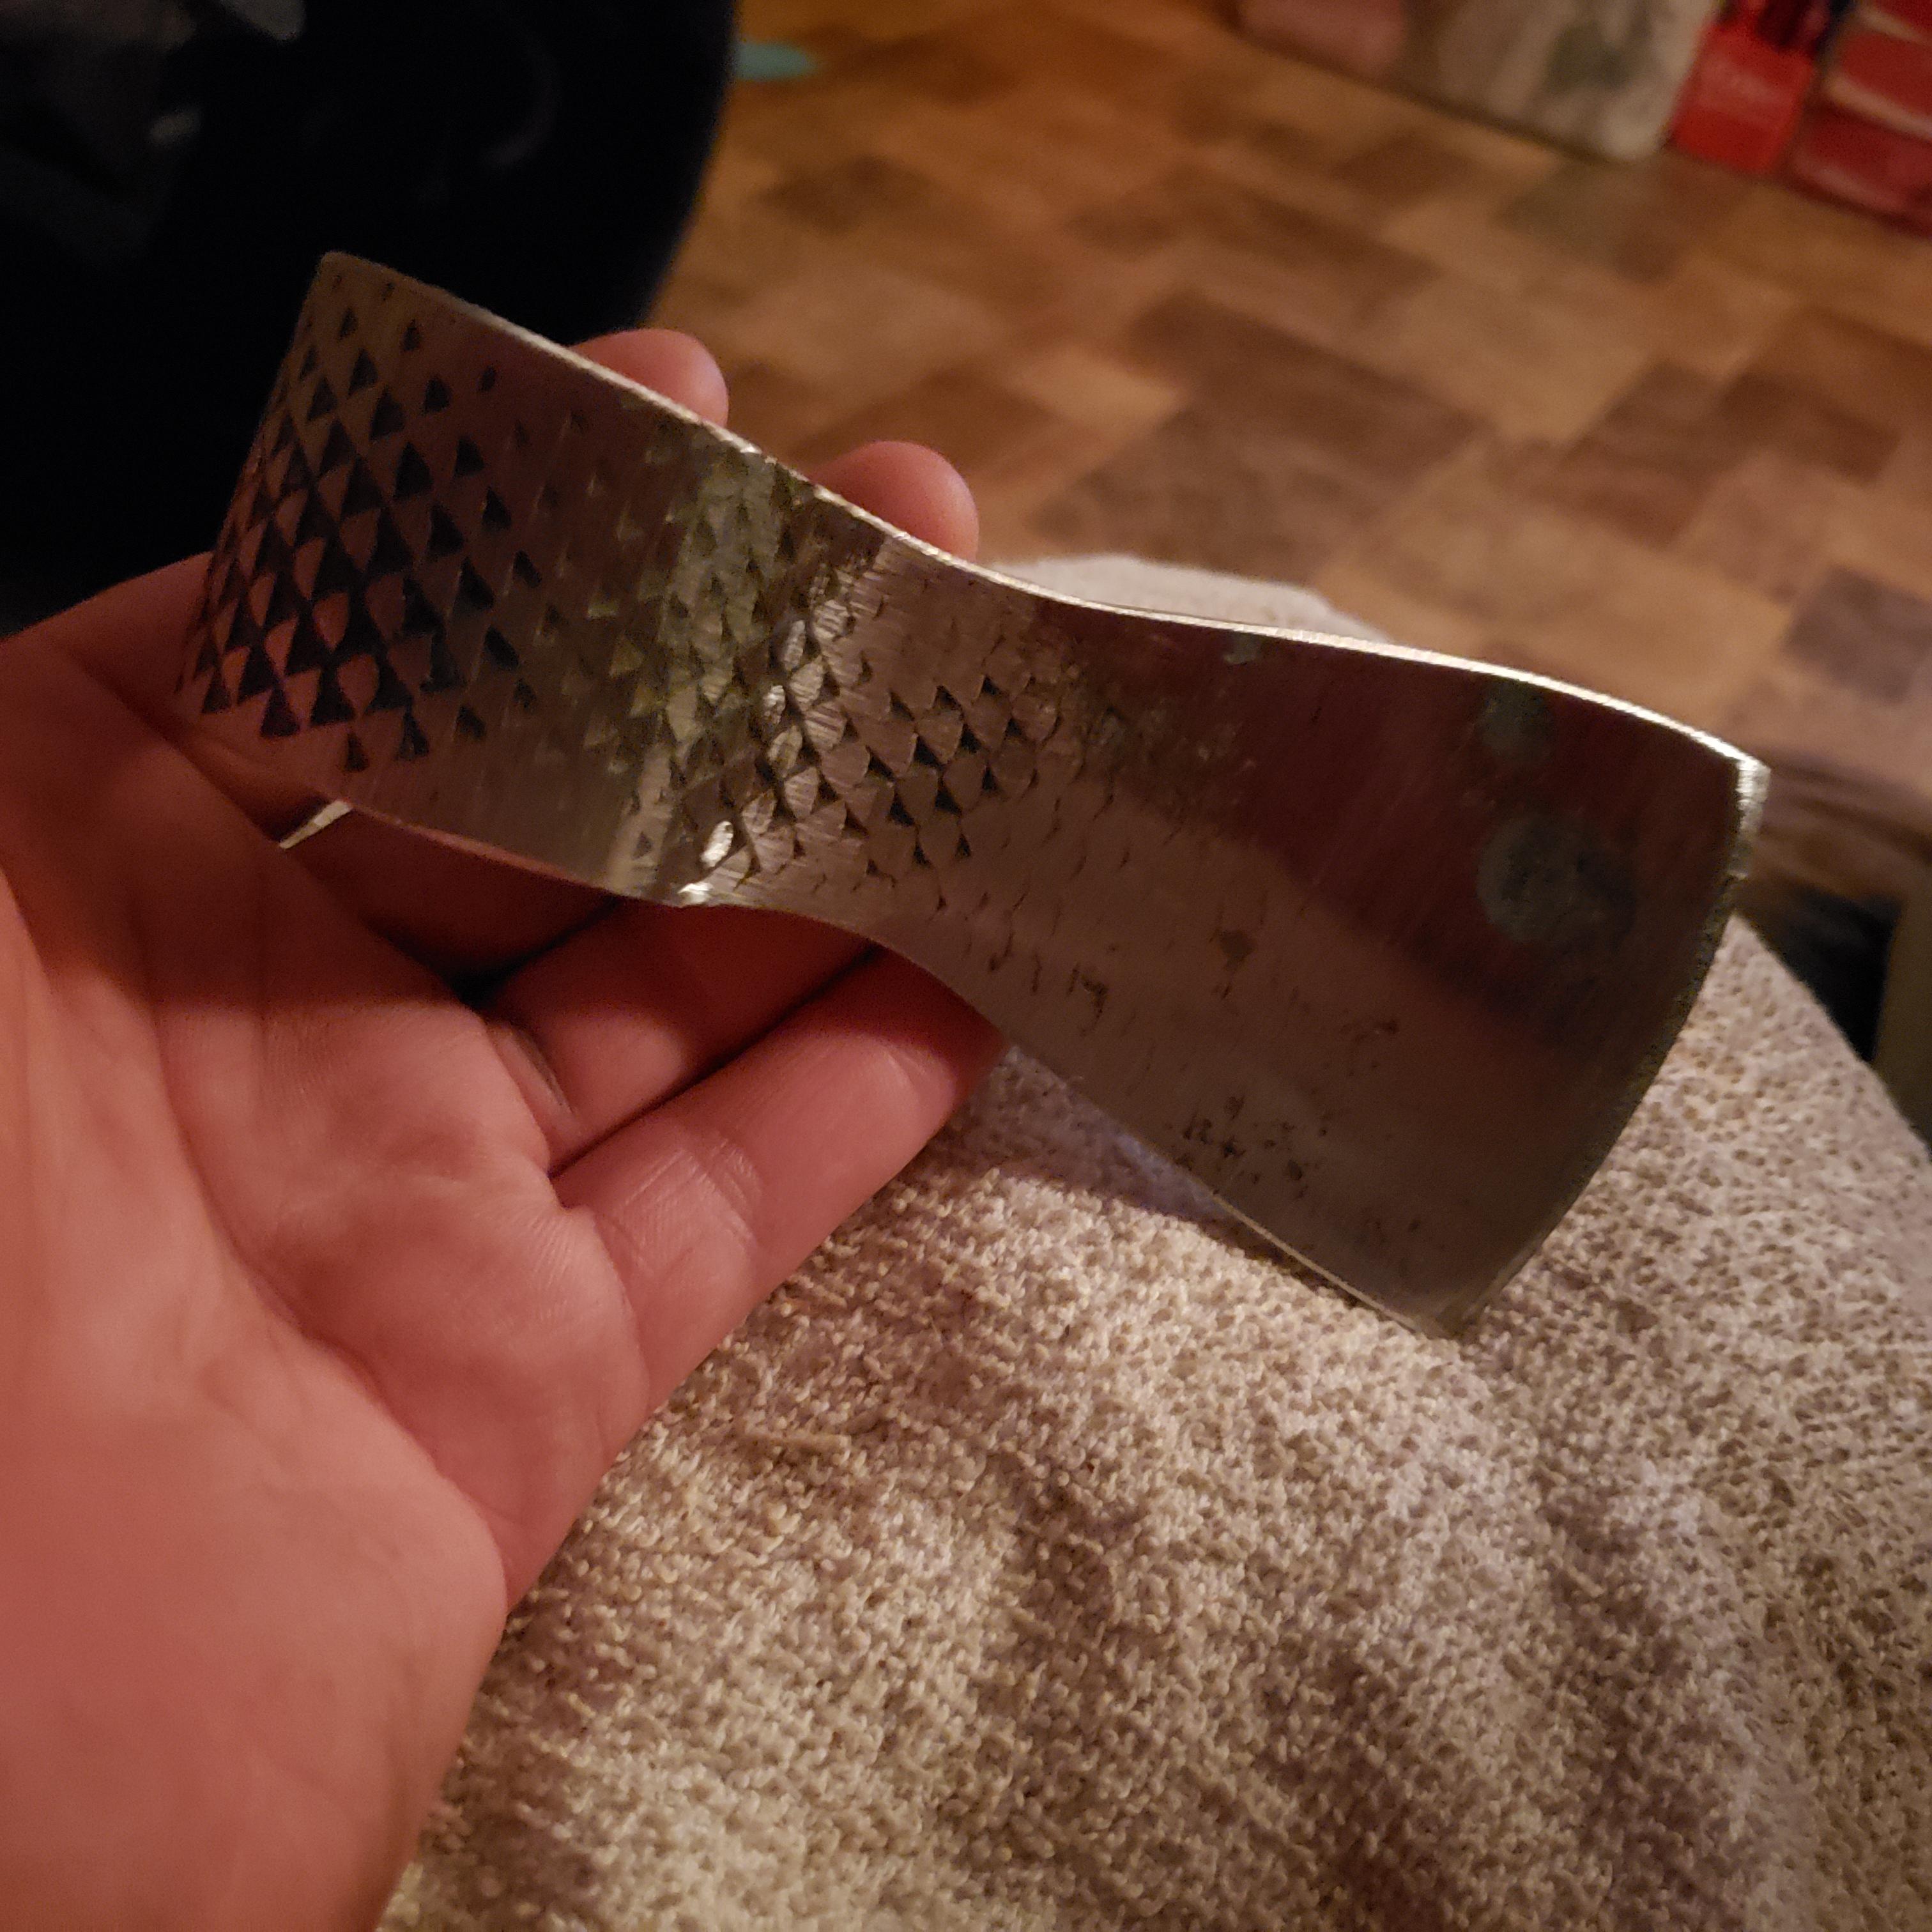
Help with tsuchime / hammered finish on knives
Welshj replied to Ian Sayers's topic in Finish and Polish for Knives
Its kind of hard to see, the image is slightly out of focus... and I have absolutely no experience with it expressly. In the interest of speedier forging- The first thing that comes to my mind would be to weld several small ball bearings together to a plate, for a texturing plate? It might not be easy...but maybe? Take an older cheap hammer and weld some to it, or make a spring style fullering jig with two texturing plates? -
Post a pic of your regulator? I can't really see it- but what's the pressure capability on it? It might be too low, or not properly adjustable?
-
Theres a couple descriptions and you tube videos of grinder build here with various motors. I dont believe its a commercial site? https://www.homemadetools.net/homemade-belt-sander
-
What did you do in the shop today?
Welshj replied to Mark Ling's topic in Blacksmithing, General Discussion
As I was reading your previous posts... I formulated a theory/guess in my head as to what kind of truck you were working on. Then I saw your other post, and figured I was pretty close. Looks to be a chevy Silverado/GMC rear bumper... center cab light... im guessing 2000's? Lol... I have a '99 silverado 2500HD that's not far from that exact same issue. I literally had to replace a rear leaf spring shackle just a month back. The other won't last much longer, but one was enough to replace in the snow and cold... -
I am not an expert by any means... but from my understanding- "most" treadmills are DC powered making it easier to set different speeds for the belt. I would probably Google the specs on the motor, model number etc... are you sure its 120v AC motor? If it is a DC motor, 120v ac will probably kill it quick? Just asking because a DC treadmill motor is a project I've had in mind for awhile for a sander set up.
-
I run my forge on an average of 5-6 psi. But, I use a forced air style burner- not venturi. From my understanding with venturi burners you need the higher pressure to pull in the air. 30 psi is kind of excessive like Mikey stated. (He's one of the burner gurus/experts btw. A wise thing to listen to his advice.)
-
I've sharpened a couple serrated edges when I worked in a family restaurant. I picked up a cheapish diamond hone kit at Walmart specifically because it had a round diamond... shaft? Rod? I guess its a hone? it actually worked rather well... but man it took some time.
-
I work out of a shed too, and what I've taken to doing is not the greatest for now... but it works. Its easy to get filled with junk in a smaller space quick! I have to clean mine often keep up. It needs it now. I have a stump for my anvil stand, and my anvil isn't mounted on it permanently. The stump stays outside my shed door, and when I'm going to be working, ill slide the anvil out of the shed and onto the stump. I then set my propane forge in the open doorway of the shed, and work standing in front of the door. It puts me eye-ish level into my forge and its literally a slight turn to the anvil. Don't have an image of it set up... but you can see the relation here.
-
they've pretty well covered it. I'd just add that the reason the firebrick doesn't work that well- they're huge heat sinks. They will retain the heat, vs reflect it. What you want from a forge is insulation from the heat to your outer surface yes... but you also want the heat to stay trapped in the forge... reflected back. Bricks are great for an oven shell, not so much for a forge body. From the way that I understand it- you want the burner to heat the forge, not the steel per se. The burner heats the forge, the forge retains the heat, the forge evenly heats the steel when inserted. Tried and true methods of refractory over ceramic wool is a great example of that. And get rid of every single bit of that white Teflon tape on your gas lines in the future! Its not rated for propane. That's a yellow colored tape in the us for propane.
-
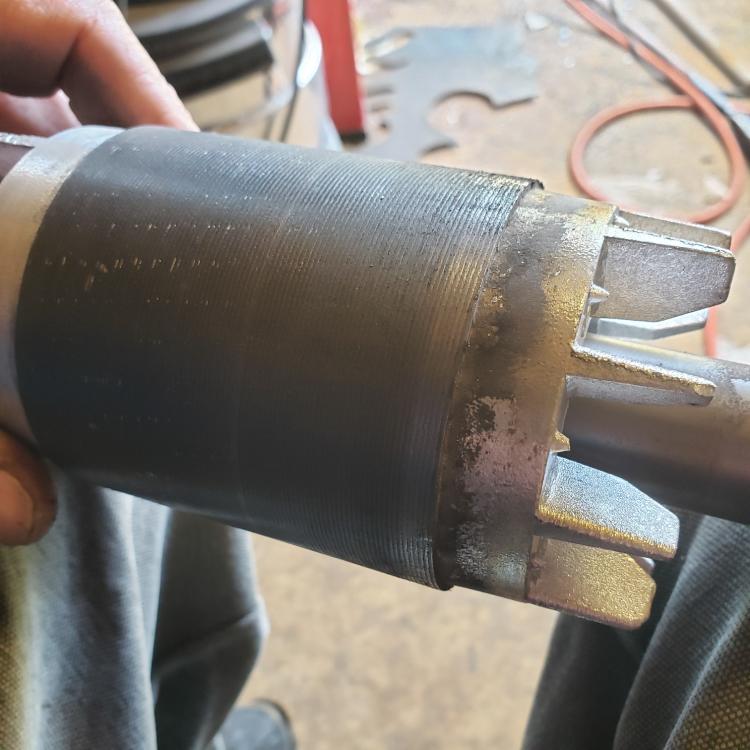
I think that's been painted, or Hydro dipped. There's no method otherwise- that I'm aware of, that gives clean lines around the colors with no blending. Those are overlapped, or printed and dipped.
-
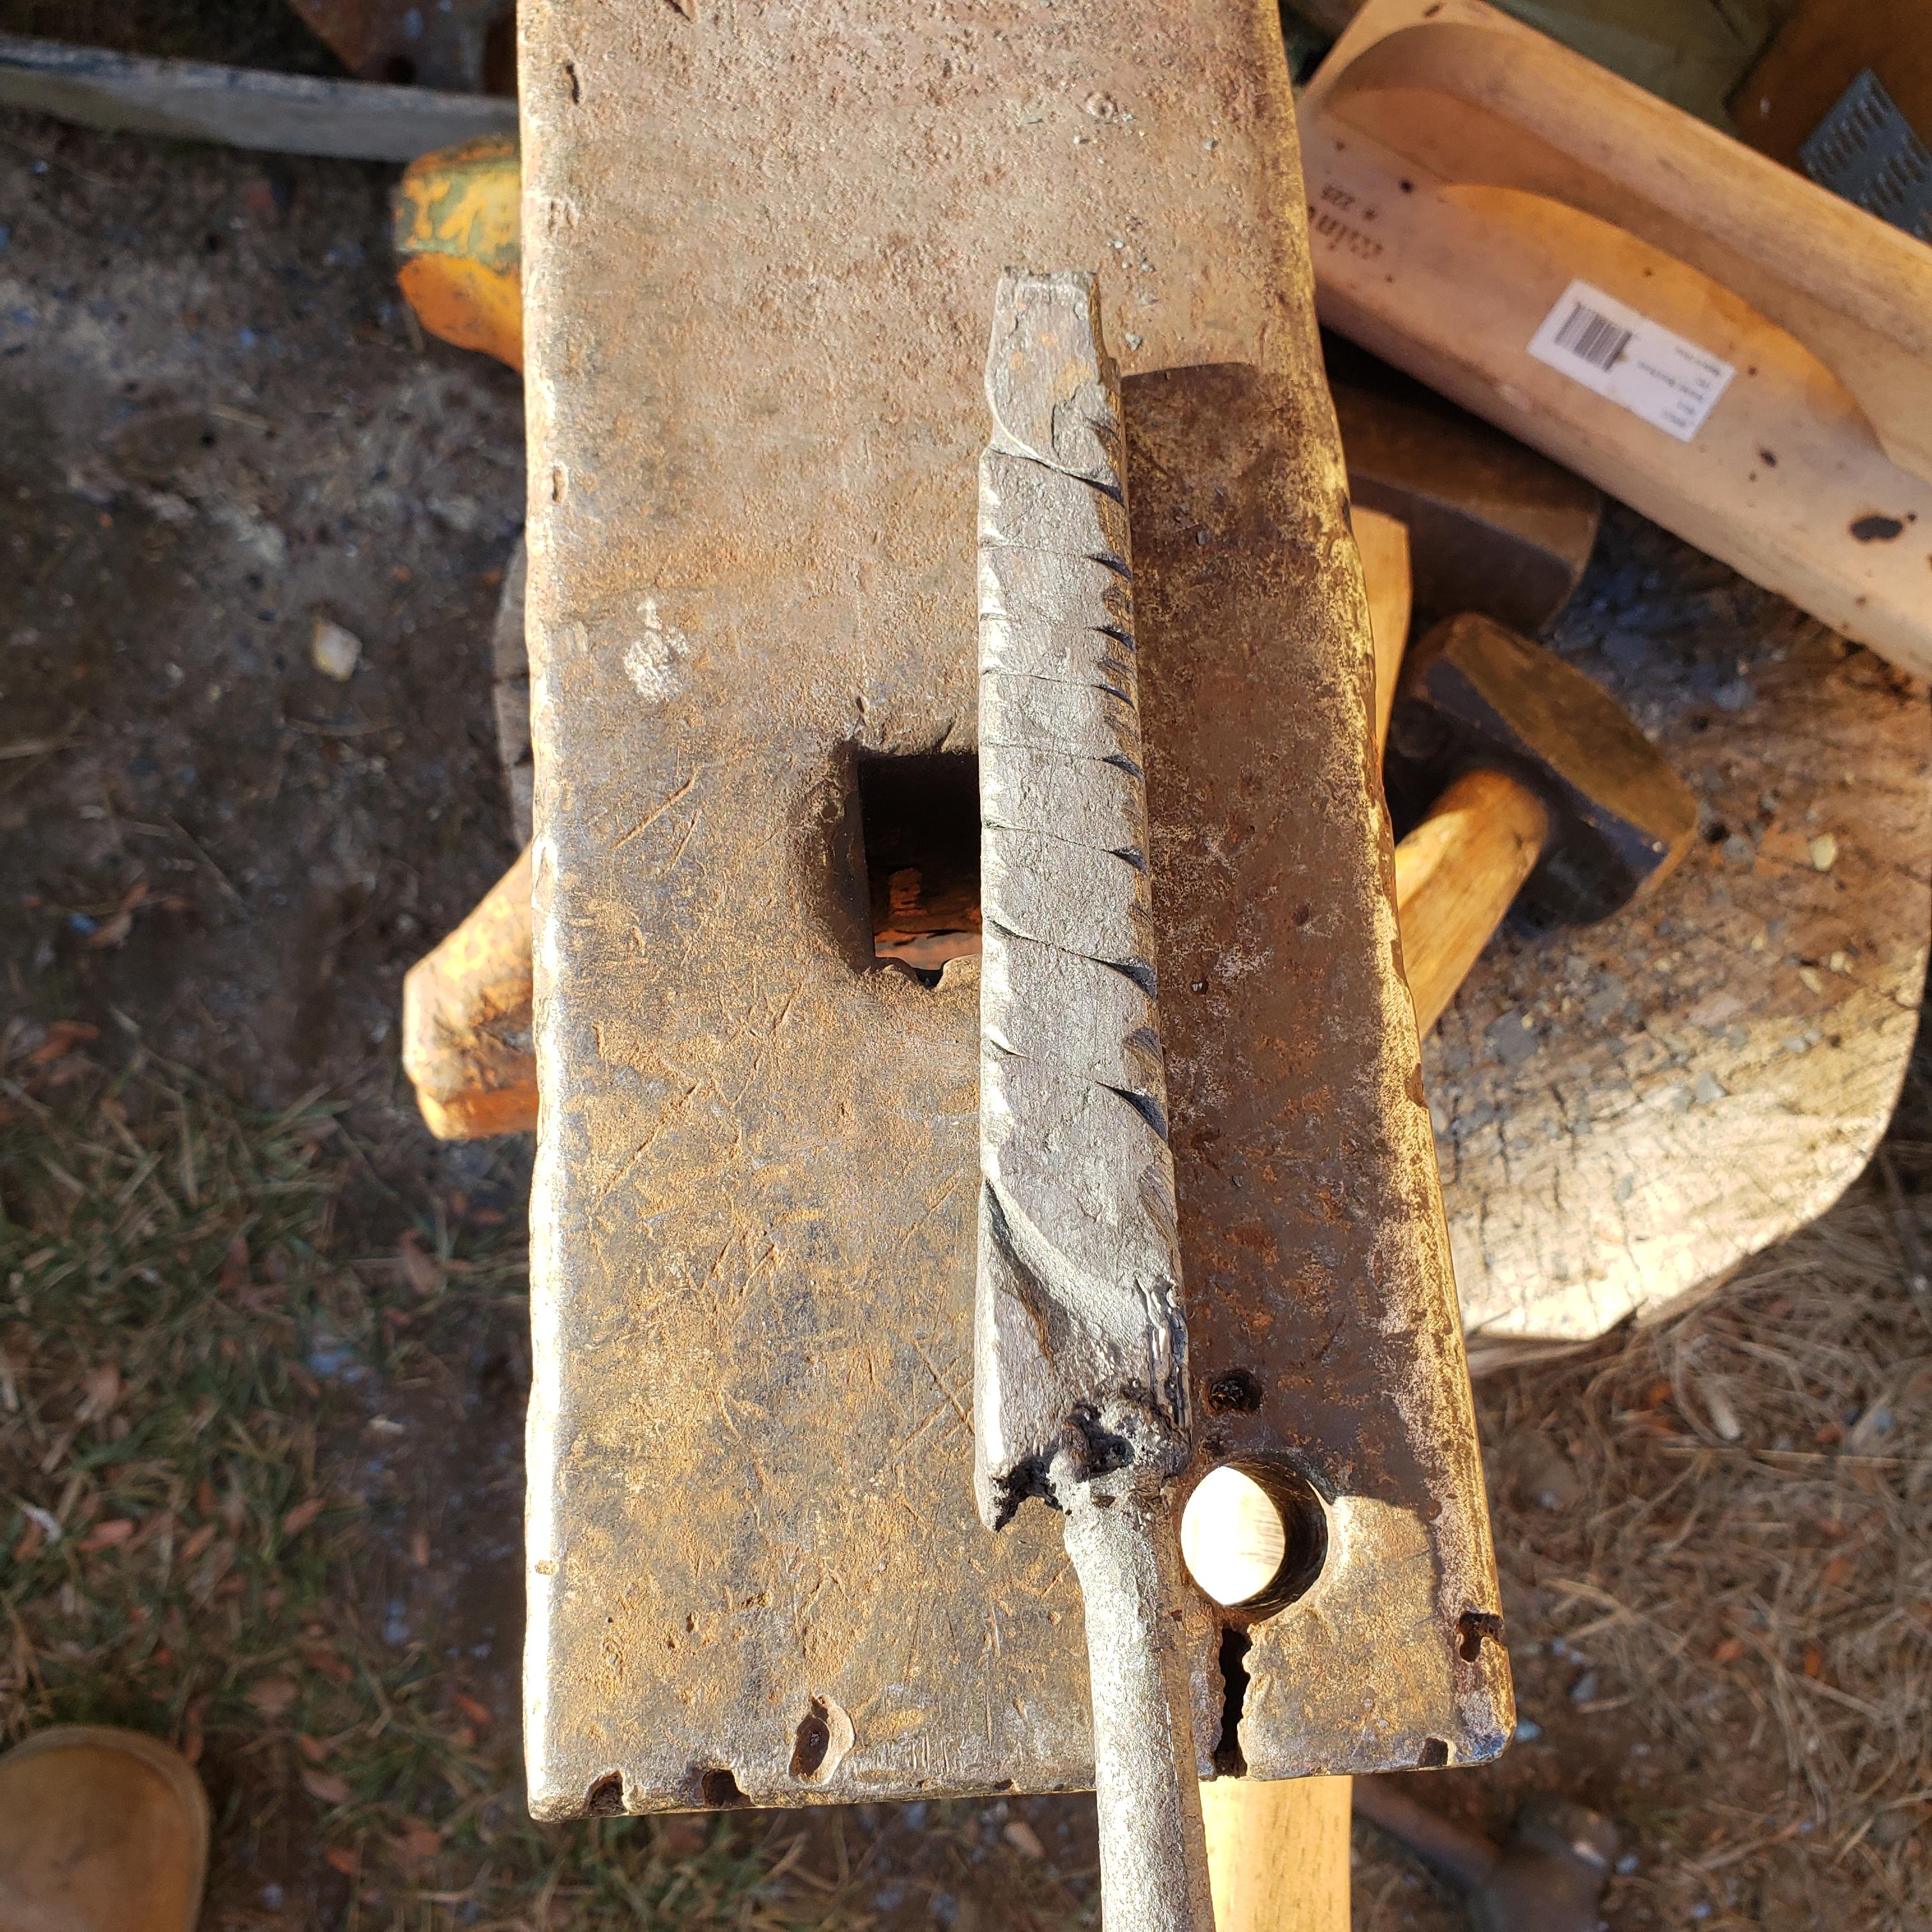
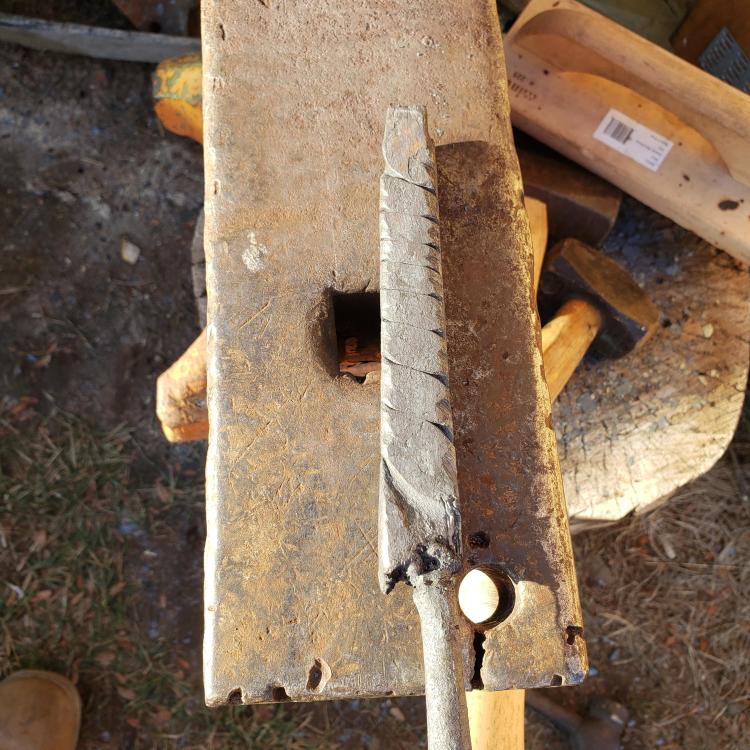
I'd guess it is an edge scribe. Probably for woodworking. The pointed end looks to be bent and twisted up... I would guess that the flat piece that has a point to it was the adjustable end used to scribe, and the pointed end would have been the hook that goes over the edge... before it was... um... modified. It doesn't look to have a very wide range, I'd guess to measure and scribe along the thickness of a board for joinery work?
-
What did you do in the shop today?
Welshj replied to Mark Ling's topic in Blacksmithing, General Discussion
Got a couple blades rough ground and quenched. Then went on to do a wrapped tomahawk blade for a friend who wanted one from a ferrier's rasp. He wanted the pattern and rough forged look... well, that I could do! Lol.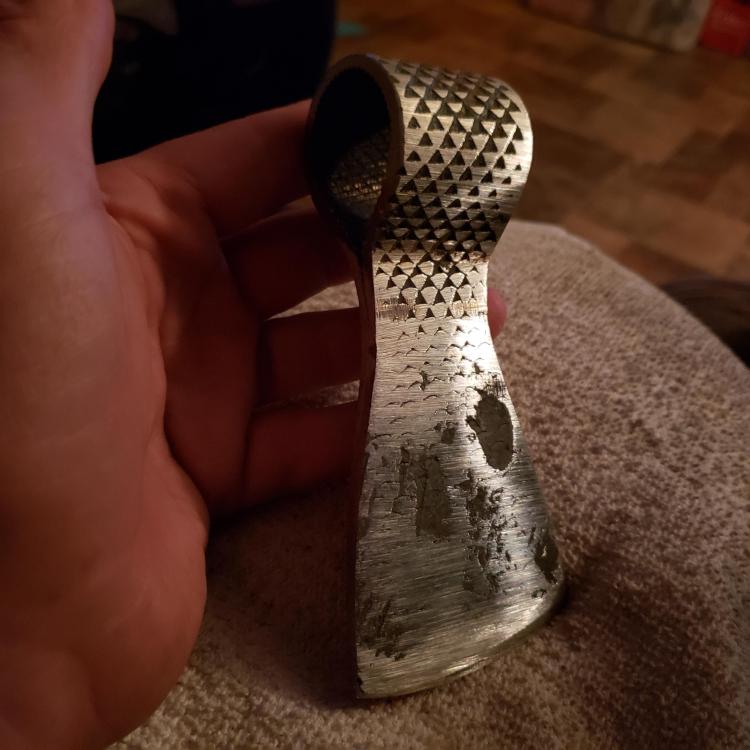

-
I spent two years in the early 90's working in a foundry pouring and casting aluminum. Metalloy in Hudson mi. We made intake manifolds for humvee motors, Ford 3.0 intakes, alternator brackets... etc...etc... I was there when someone threw a cold, frozen wet, 20lb ingot into a full 1,000lb hot crucible. It blew the entire molten contents out of the pot and covered the entire inside of the ten foot tall exhaust hood. Fortunately, the front doors were closed and prevented the guys on the pouring floor from getting hurt. Aluminum is one of the fastest thermo-transferring metals. It causes almost instant third degree burns on splash contact with skin. Wearing chaps, foot arch protection bucklers, gloves and face shields- i spilled some on myself the week I got married. I bumped the small 5lb ladle bringing it out, and splashed my upper thigh. 2nd degree burns through my chaps and jeans put me off the pour floor for two weeks... and highly heat sensitive in that area for months. It is easily very dangerous.
-
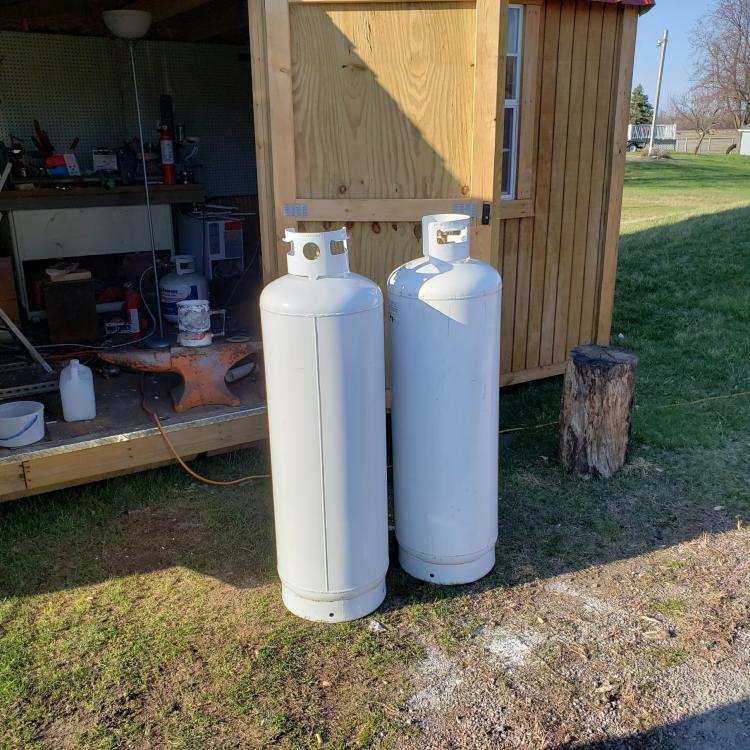
Didn't get a picture... But filled up both of my 100lb propane tanks today. $100 for 200lbs. Feel like I did okay.
-
What did you do in the shop today?
Welshj replied to Mark Ling's topic in Blacksmithing, General Discussion
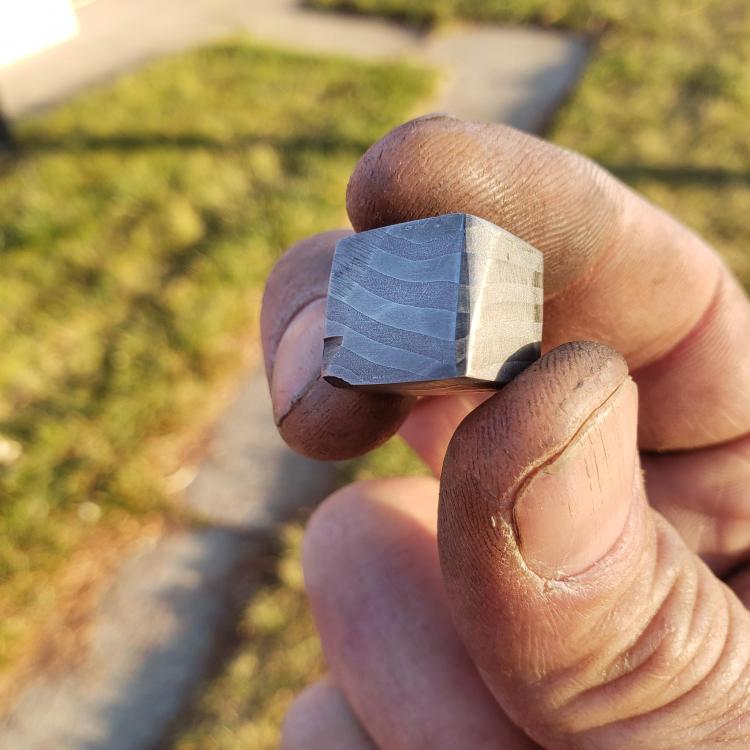
I love and hate the midwest sometimes. Woke up and went to work today- out the door to find frost everywhere, a cold bite in the air... and xxxxxxxx fog! How does that happen? On the road- 100ft visibility, spotty black ice, and three wrecks in ten miles. Turned around and called off work... back home. 1pm... its warm and bright outside. Tshirt warm. Pond is still frozen. Smh... So- go play in the forge! I am extremely happy to say I got my first good forge weld today!! 5 layers each of 1095 and 15n20. 1.5 inches by 2" by 1.25 inch tall. Drawn out by hand, twisted and started to flatten when I froze my tank and lost heat. Swapped to the small tank, and got another 20 mins out of it. Smh. But, my first blade billet- for a knife for me finally! Lol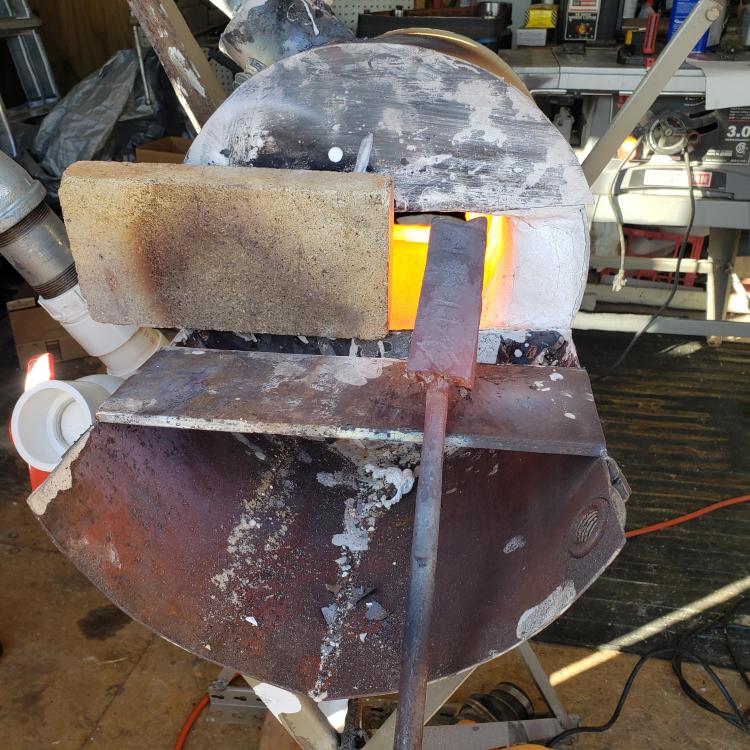

-
It cost me $50 us to have my 100lb tank filled. I put it in the truck, and drive to the propane place near my home. Ive never tried tsc or a store yet. Today, I froze up my 100lber for the first time ever.
-
Here i sit, chuckling to myself over that one... my wife, a former marine- sitting next to me looking at me like I'm an idiot. Lol... It does tend to either complicate, or clarify alot of things though... Thomas- in twelve years time in the military... I never once heard anyone use that on duty. Lol... Saw it in alot of movies though.
-
Really? Now I have to clean the coca cola I was drinking off my cell phone... thank you. I'm a big marvel movie fan, and it never even entered my mind... Ok, so burned fingerprints aren't a marvel thing? Lol... I was thinking more kung fu or James bond, or men in black.