
Frazer
-
Posts
1,403 -
Joined
-
Last visited
Content Type
Profiles
Forums
Articles
Gallery
Downloads
Events
Posts posted by Frazer
-
-
No worries, I'm just giving you a hard time. I think most people start by blowing up the WDYDITST thread; I did anyway.
Ah, well, maybe you build yourself a table when you're done!
-
I see what you did there with the thread title... Listen, we can add as as many corners as we like to IFI, but at a certain point it starts to look circular. *grin*
I like your sketch concepts. Hopefully he picks the third one so I can see how you do it.
Look up the CBA level III grille project. The beveled, conical scrolls would look cool there.
-
Yes, with torque to yield bolts it's common to torque to certain specification, (sometimes) loosen the bolts, torque them again to some relatively low torque, then turn the bolt a certain number of degrees. The reason an angle is given for the final tightening is to account for friction. The clamping force actually works out to be more repeatable (if you can reliably turn the bolt a certain number of degrees). If you don't have a angle torque wrench then a nominal torque spec is also given (it seems this will be your approach since you give the 120Nm spec).
Of course you already know that about head bolts caboverde, but there may be others that do not.
Assuming everything is torqued correctly then loctite shouldn't be necessary. I expect the heat will degrade it anyway.
Are you sure there were washers on there originally?
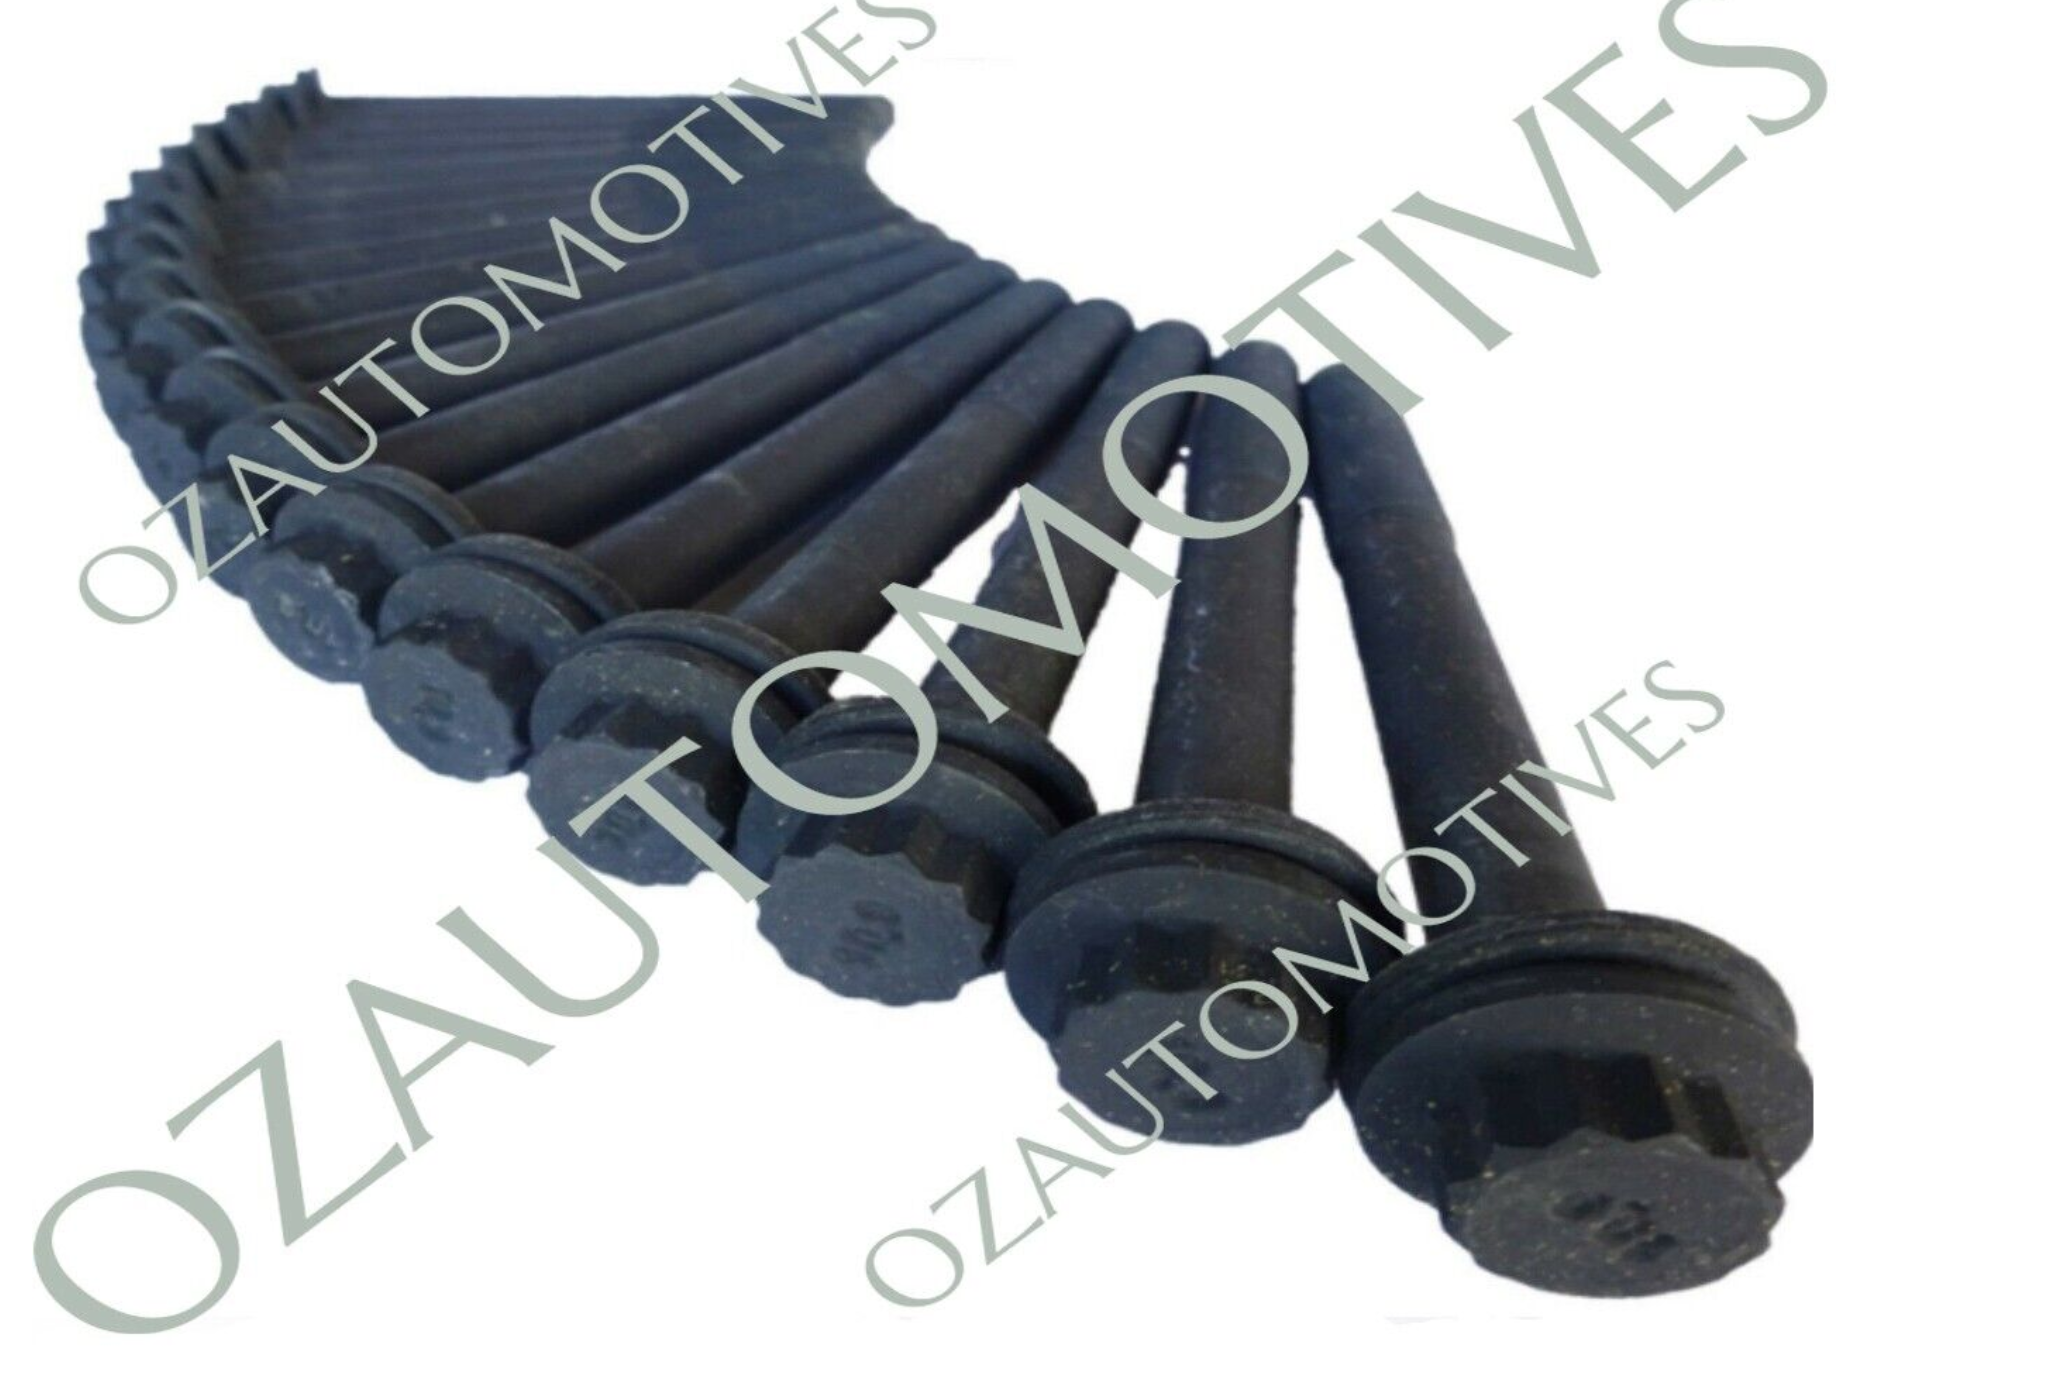
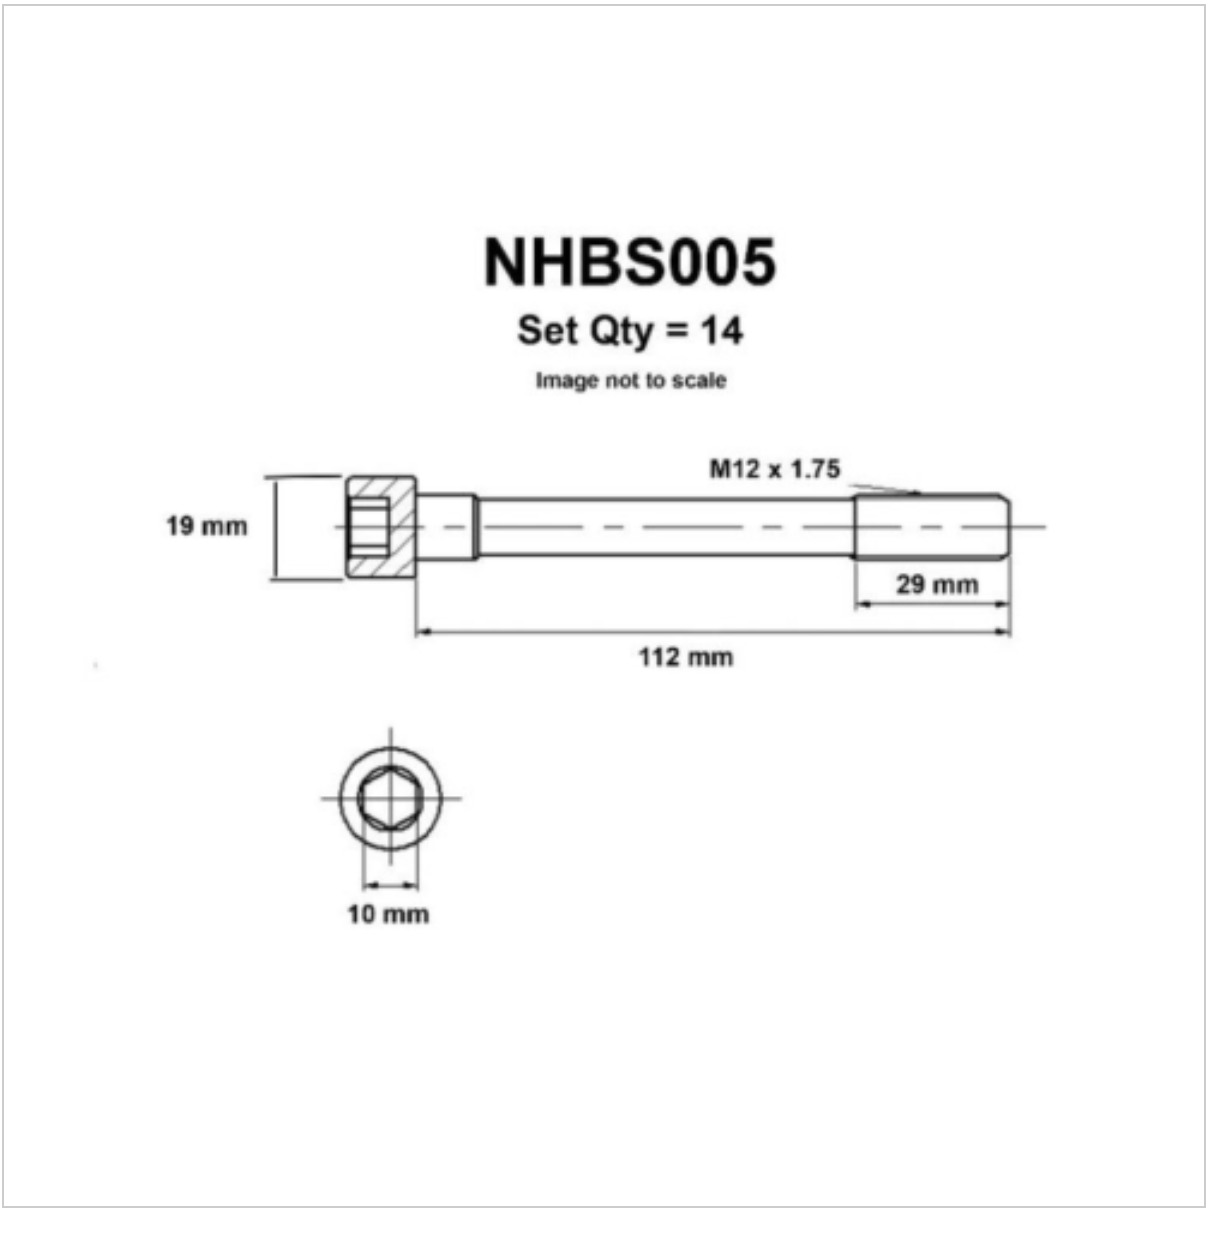
Do the old bolts look like this:

or like this:

Both of these come up for that vehicle, although the ones with washers are apparently for the non-turbo version.
If they're like the first image then, assuming they aren't excessively worn/damaged, I'd reuse the old washers (not the bolts, obviously). If it's the second one then I would be surprised if there were washers there in the first place. Regardless I would still reuse the washers before trying to reinvent the wheel.
At the end of the day it's your vehicle and it's a washer so it's easy enough to make. If you're concerned about the increased friction then I would be more worried about the surface finish (polish) of the washer rather than the hardness.
-
Quick question: Why would you need to harden and temper your washers yourself? I think it's safe to assure there are commercially available washers/appropriate cylinder head bolts (that, perhaps, don't require washers) for your engine? This seems like a situation where a $5 part ends up costing you hundreds of dollars on a new cylinder head, engine, etc.
The commercially available washers/bolts will have a much more controlled heat treatment process and reliable specifications.
The blue/purple color you mention is a tempering color. Tempering comes after hardening to release some of the stresses caused by the quench. Tempering colors are easiest to see on bare (freshly ground/sanded) steel.
I'm just going to advise you think twice before you install your washers in a critical application like an engine. If you were just bolting two things together then there isn't much risk, but for your cylinder heads... Do you really trust that you followed the correct process and know material properties you actually need vs think you need? This actually seems like an application where softer washers would be preferred.
-
You could probably sand it all off and mix some red dye into turpentine or another solvent. Then you can recolor it as you like.. It might be worthwhile to try your mix on a test piece of hickory (or similarly colored wood) so you can get the color right.
-
Your charcoal can easily reach that temperature in a "Just A Box of Dirt" (JABOD) forge.
Yours doesn't have to look anything like the one above. It depends on your imagination the materials you have on hand... For example, my first forge was the lid from a charcoal barbecue (flipped upside-down to act as a wide bowl), some firebrick, a pipe coming in from the side and a hairdryer. If you don't have firebrick then dirt would've worked just as well, if you don't have a hairdryer then anything that blows air will do. I would still encourage you to speak with a local blacksmith. He will be able to show you his tools and give advise on best practices in your area.
-
Part of that hammer's increased ability to move material is - perhaps obviously - due to the increased overall weight (which is biased toward the flat face). Another big contributor would be if the ball peen has a smaller face (in terms of square inches) vs the cross peen. The less material you're working on at a time the further it moves per strike. Half on half off blows work on the same principle.
It's always nice to find a hammer that plays nice with your swing.
-
It's probably a translation issue, but when you say you were heating with an old frying vat were you heating the steel rings in a pan with the fryer then you quenched it in water?
If I'm understanding you correctly, I doubt a frying vat is going to get hot enough to austenitize your steel. As Jobtiel mentioned, use your charcoal to heat the steel until it's no longer magnetic. That transition should happen ~750°C. The color depends on ambient lighting conditions it, but you're looking for a bright red to red-orange color. However, the since the color can be difficult to judge consistently, it's better to have a magnet available and check that way. Then you quench the piece in oil or water.
In your case, you'll probably need to use water since bolts are generally low, sometimes medium, carbon steel.
If you're curious about what's going on in the crystalline structure of the steel during these steps then might be easiest to read something published in your first language. Do a search for pearlite, austenite and martensite.
-
Dan, Mark is an active Niagara region member so he's familiar with their meeting structure, which is pretty similar to ours.
Mark, I'll try to keep you in the loop with who's doing the demo and what they plan to do, but we usually don't plan far ahead.. Sometimes someone offers a month ahead, sometimes a a week before the meeting... Other times it's the day of and we do an impromptu sort of affair, but it almost always starts ~9am.
(We must have pressed send at the same time)
-
Jennifer, there are just so many areas to explore... What's fun/interesting to me (even if it's not surprising) is when I revisit an earlier topic everything seems to go easier. Other techniques I picked up along the way can be applied to previous projects so each rabbit hole builds on the other.
I've found the best skill builder for me is/was tongs.. Particularly tongs with welded reigns. For a long time it seemed I needed to make a pair of tongs every time I started a new project. Once I had a pretty good array I went back and remade the earlier (ugly, but functional) pairs. There is material planning, matched pairs (even if they aren't copies of each other, a simple example would be box jaws), moving parts, planned dimensions, etc., etc. all wrapped up in one project.
Perfect timing since I just got another gallon of cactus juice! Feel free to send whatever you'd like stabilized whenever you're ready. (The offer stands for others who might be interested as well).
Mark, Genesee region meets every 3rd Saturday at the Arc & Flame if you want to make the trip. If that doesn't work for you I might be able to set something up outside of the NYSDB umbrella.
-
Too much tooting

Mark, I'm glad I was able to help in some way. However, it seems to me that you had plenty of inspiration and an impressive body of work from well before we crossed paths.
Anyhow, as long as we're waxing sentimental, I'll say that having a great group of folks here, at our local blacksmithing school and in our NYSDB group offering guidance/inspiration has been invaluable.
... Okay, back to our regularly scheduled program: The Friday Punapalooza
-
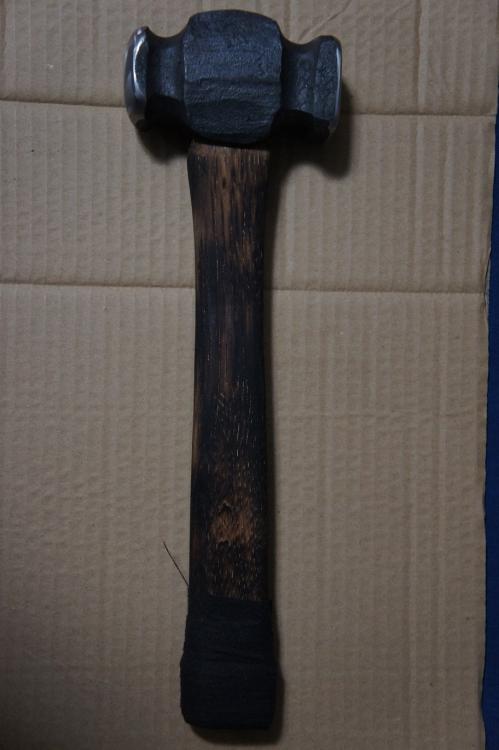
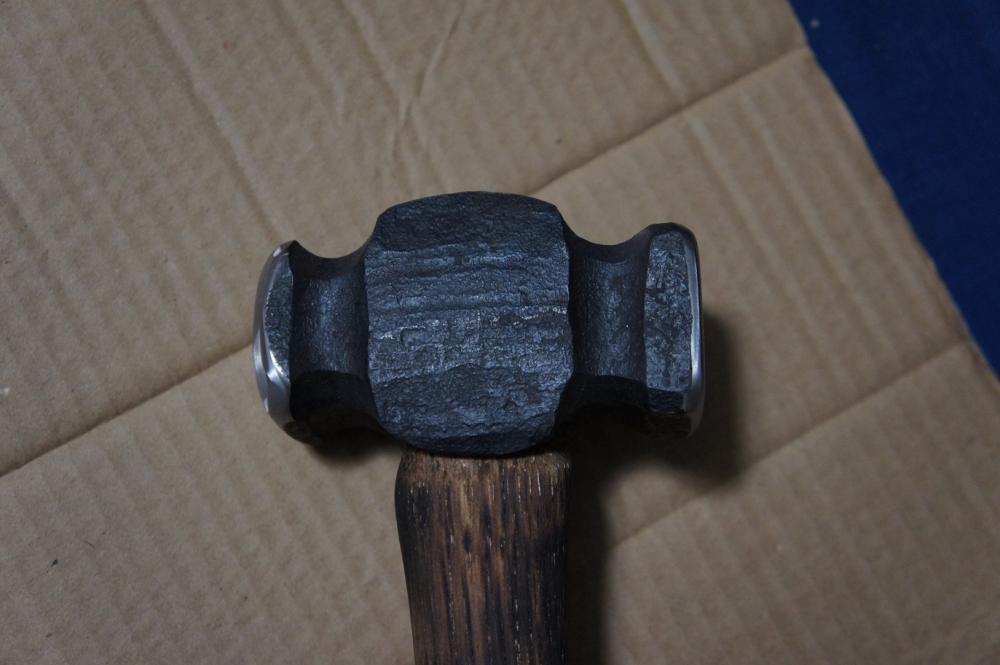
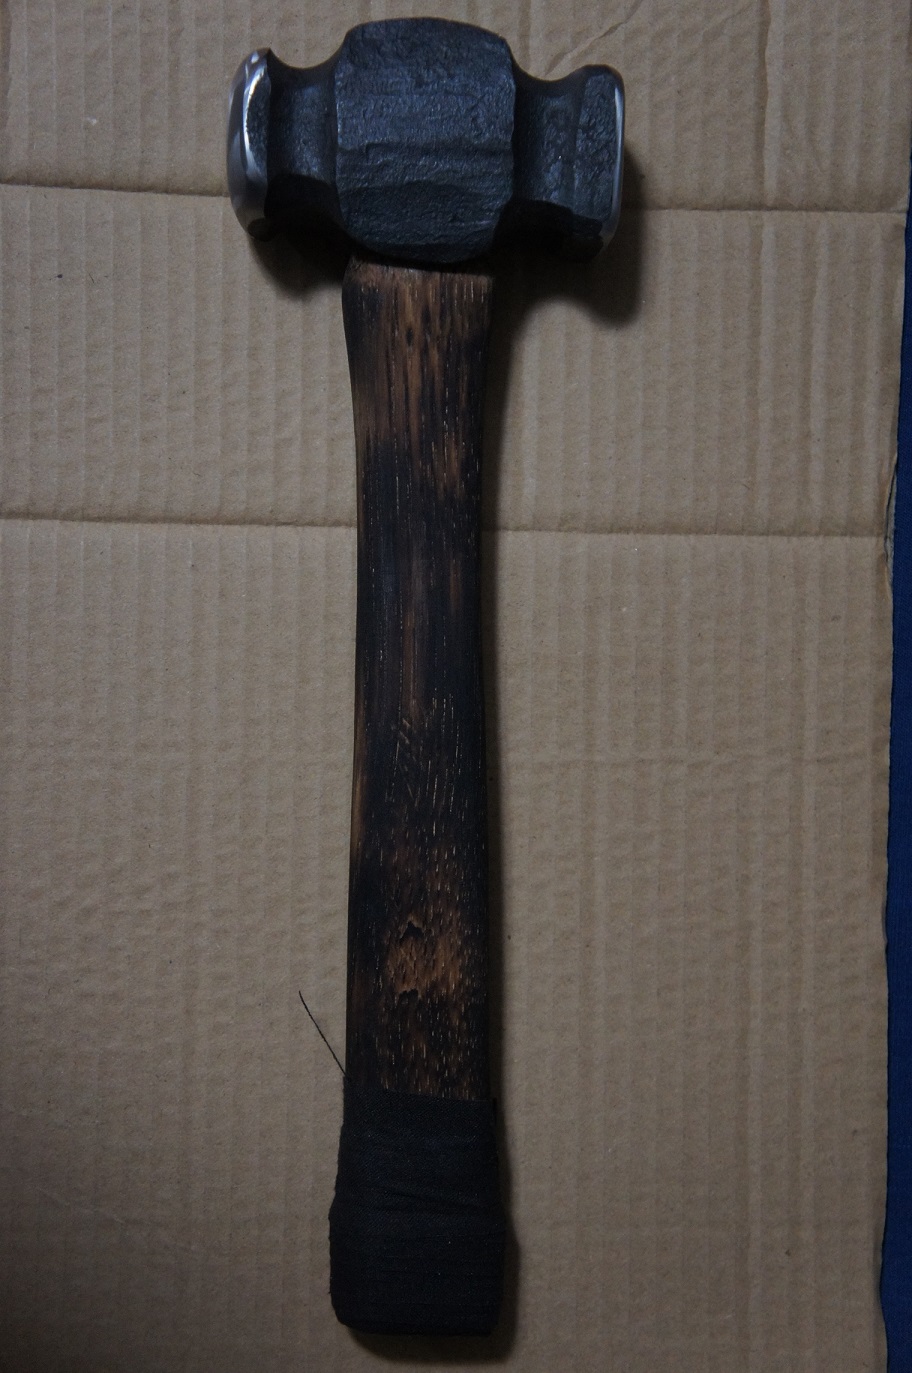
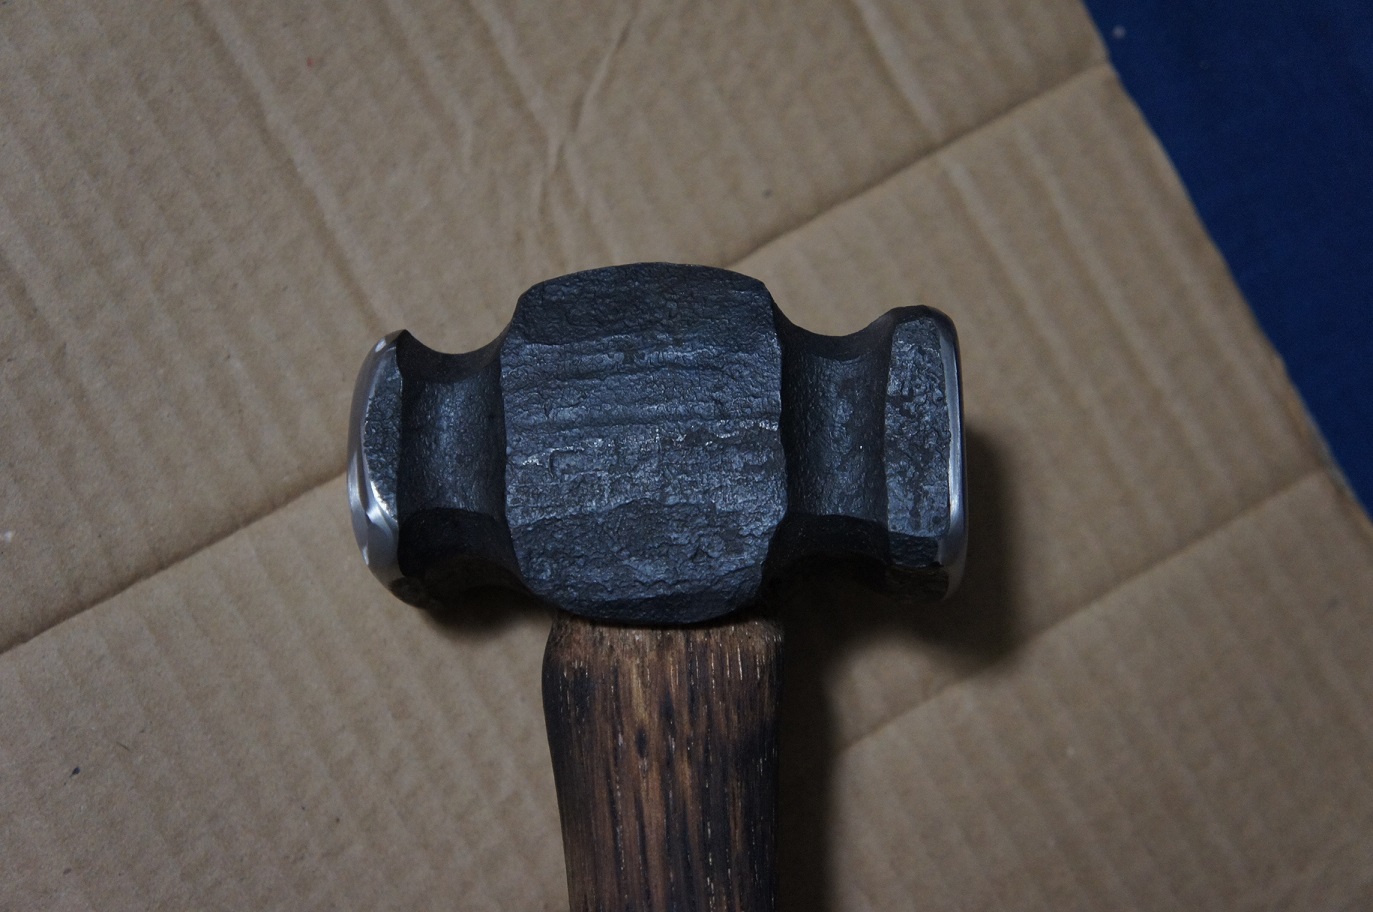
Thanks again to JHCC and Latticino for stopping by and making this rounding hammer with me. Final weight 800g (1 lb 12oz). Fitted with a shorter handle than I usually use, but I expect it will work nicely with the lighter head.
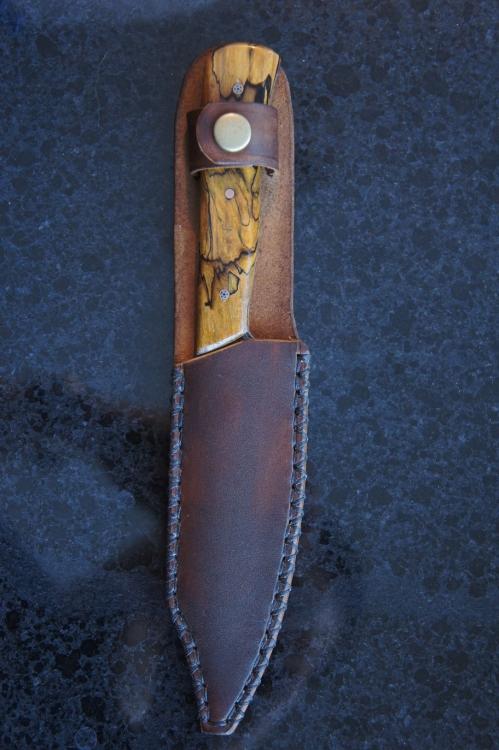
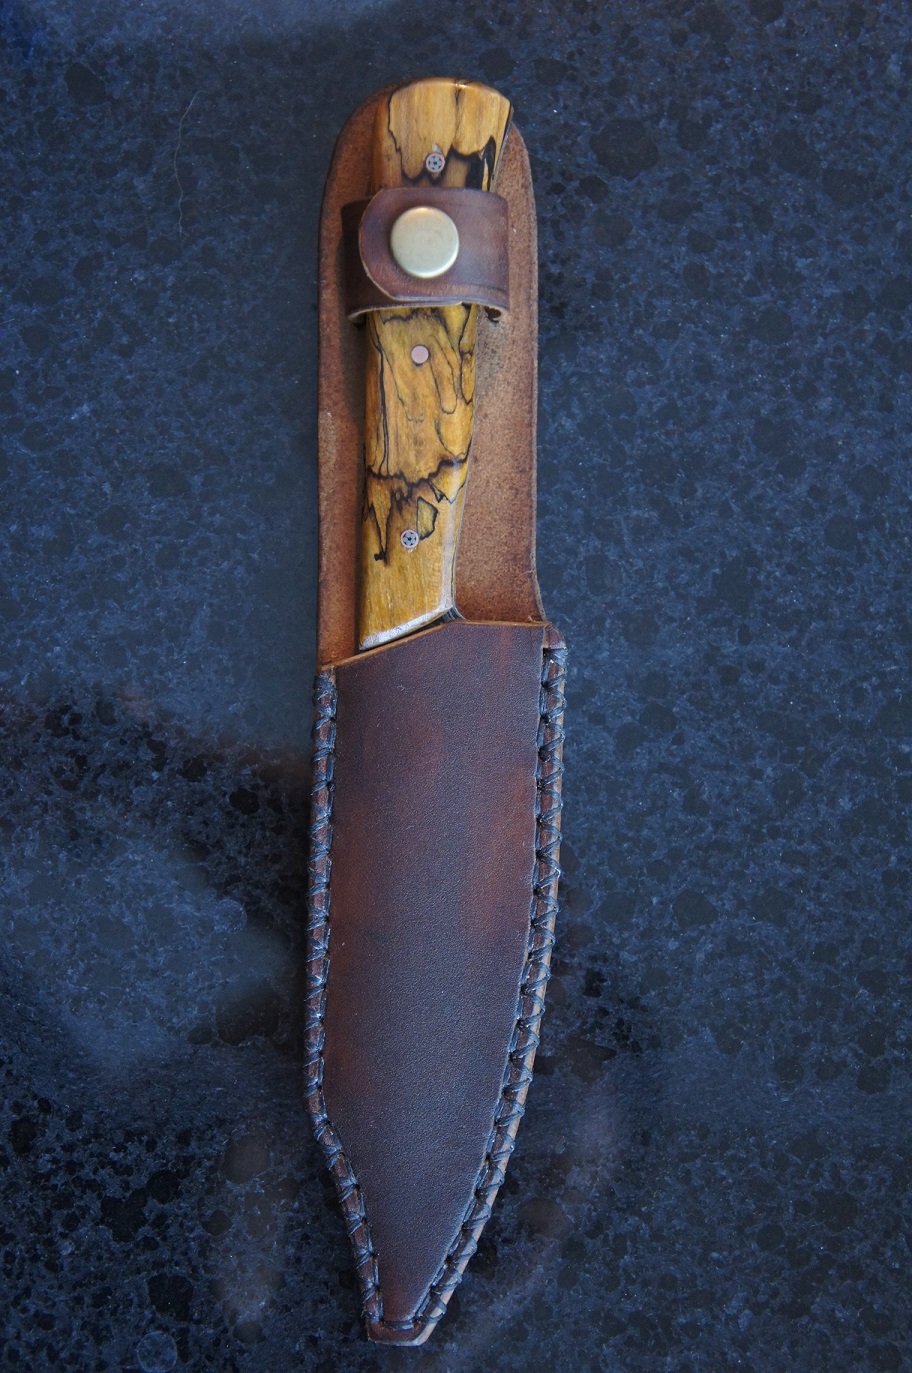
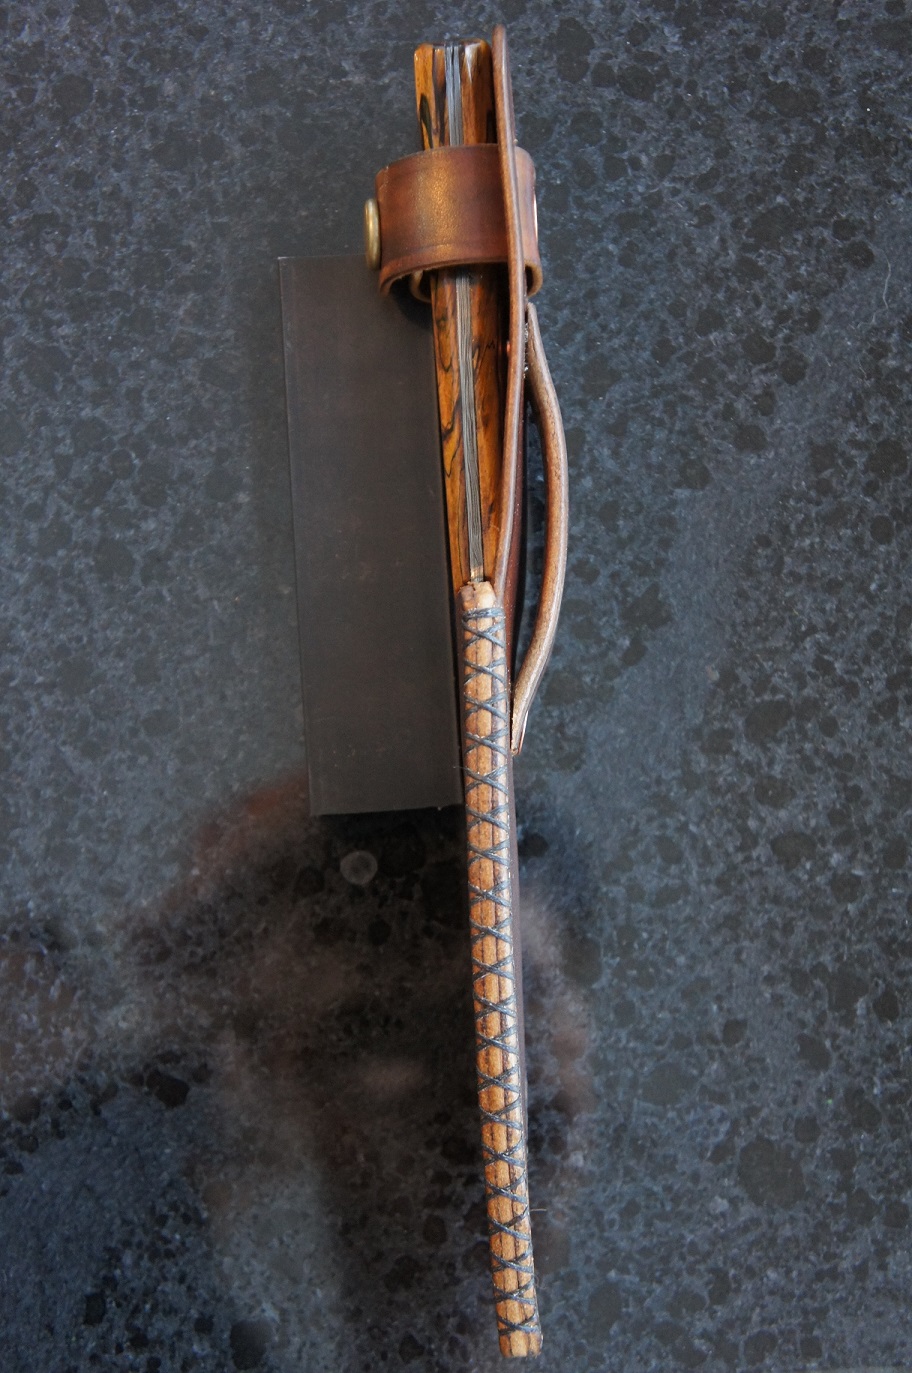
Other items that were finished earlier this year:
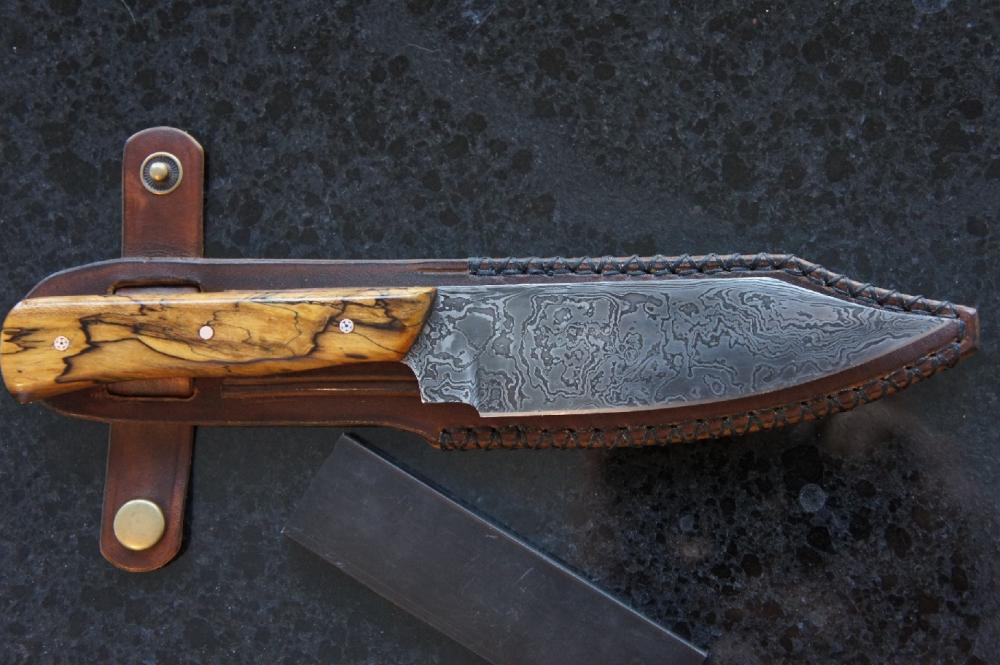
Damascus clip point
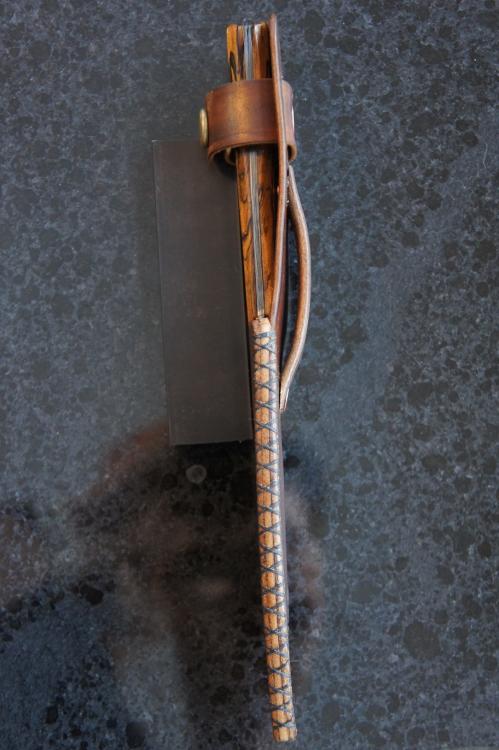
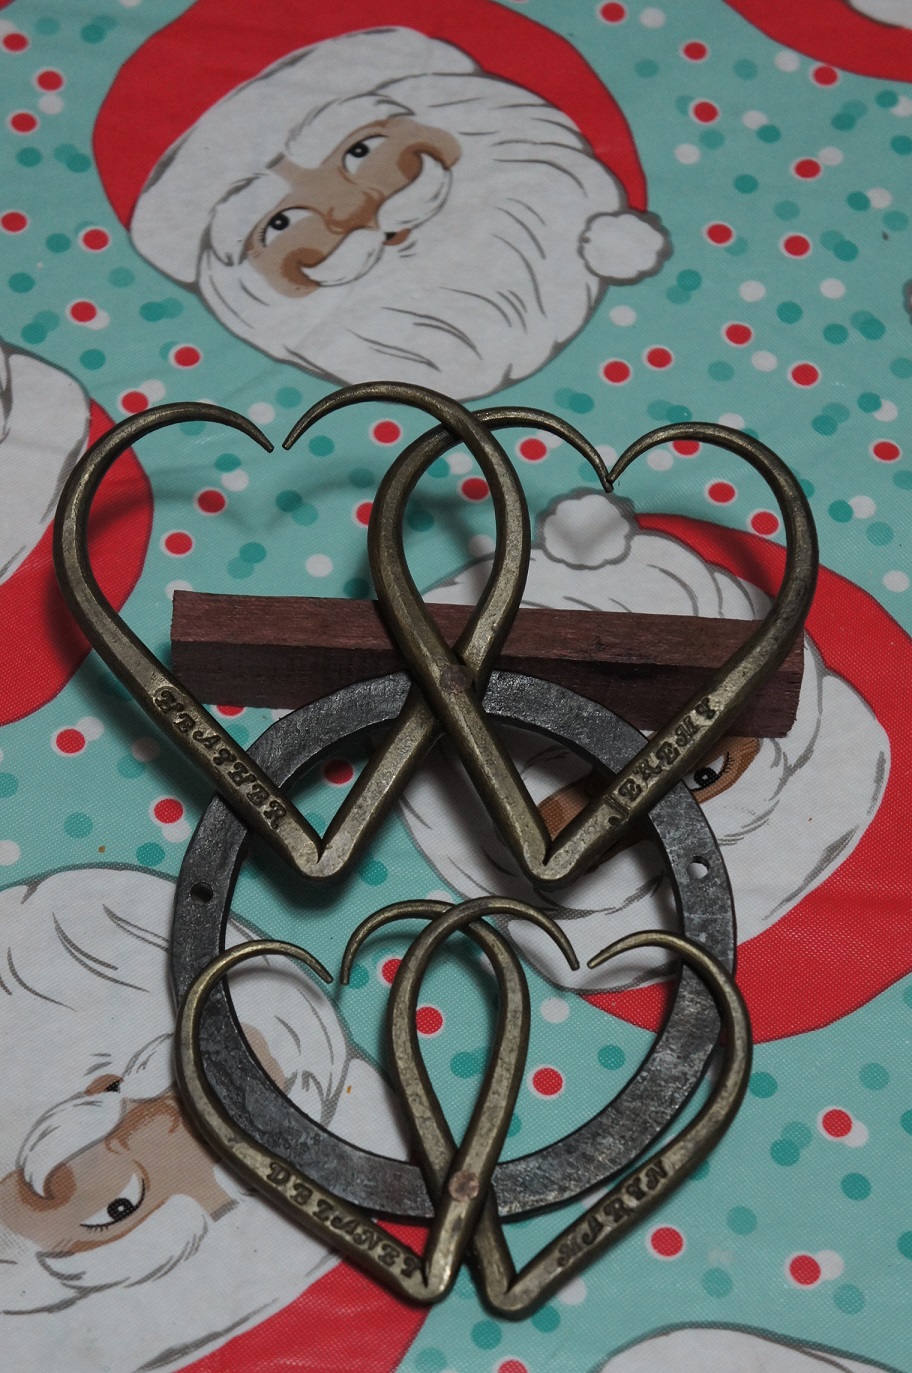
"Heart-Art" for my uncle and his family.

-
Judging by your third picture it looks like someone already had a go at trying to repair the edges with a welder. Unfortunately, the steel around the weld puddle contact quenched, hardened and eventually the "repair" broke off and left it worse than before.
If you haven't already, use it for at least a few months before you do anything. If you need a nice crisp edge, make an anvil block for the time being. An anvil block is very simple, and it's exactly what it sounds like: a block of steel with a square shank on it that you place in the hardy hole. The shank can be arc welded on (much faster/easier) or forged out. It serves as a narrower anvil on top of an anvil and can be a handy when you're working on something that's short and doesn't span all the way across the width of your anvil. It does this by effectively moving the far edge of the anvil closer to you. It is also a tool you can grind/modify without needing to permanently alter the anvil itself. If you go with a square or rectangular anvil block you can grind 4 different radii on it (one on each side) and simply insert the block as needed for the specific task.
Were it my anvil, I would knock any sharp areas along the edge down a little bit with a flap disk ASAP. Eventually I would take a flap disk and lightly dress all the edges to round them over and give them a bit of a radius. This is really a case where less is more. You can always remove more material (form a larger radius) but you can't put it back on. Dress a bit, forge for a while, dress a little more, etc. until you're satisfied. The anvil block can be your test bed for what radius you want over the "sweet spot" of the anvil and if you want to leave a sharper or more rounded section somewhere else (they can each be useful for different things); there are no rules that you have to have a continuous radius everywhere along the edge... I know my Soderfors doesn't.
Other than cleaning up the sharp edges I would more or less leave the "repaired" section alone. To grind that out would remove a lot of material and there is still plenty of useful edge elsewhere. Maybe down the road you do something more to that section, but there's no need to go crazy trying to clean it up only to regret doing it the way you did later on.
I love the anvil, it's a nice size made by a great manufacturer. As far as the age of it goes, Soderfors seems to be all over the place with where they stamp things and what they stamp on it. In my case (which is a Paragon, yours has a different logo so I don't think it is -- pictures here) the date was stamped on the foot under the horn.
-
That step stool came in quite handy. Honestly, it came as no surprise that you just so happened to come prepared.
I would say you should stop at the surplus store more often but I think, depending on who you ask, you're there plenty often as it is.
-
Well shucks, you're going to make me blush. He probably picked that picture just to see if you'd notice

The shop was even conspicuously clean for their arrival!
Sorry TP, I think he meant to say "traditional". *takes cover*
Mark, as we discussed after that demo, if you do a canister bill-bit, I would try to keep the carbon content of the billet in the medium carbon range (or at least the low end of high carbon). This is especially true if you want to weld it to a WI body. The significant difference in max/min welding temperature between WI and, say, 1095 or 1084 might to give you trouble since there is a lot of mass to heat up and the beard is just hanging there by itself.
That being said, with proper fire control the weld can certainly be done either way.
Methinks you could add pieces of WI to the canister and allow the carbon to migrate out of whatever powder you're using and reduce the overall average C.
-
Very nice! Another tool in the toolbox.
It looks like the less refined wrought you found is working well for you.
Have you tried canister damascus for the bit yet?
-
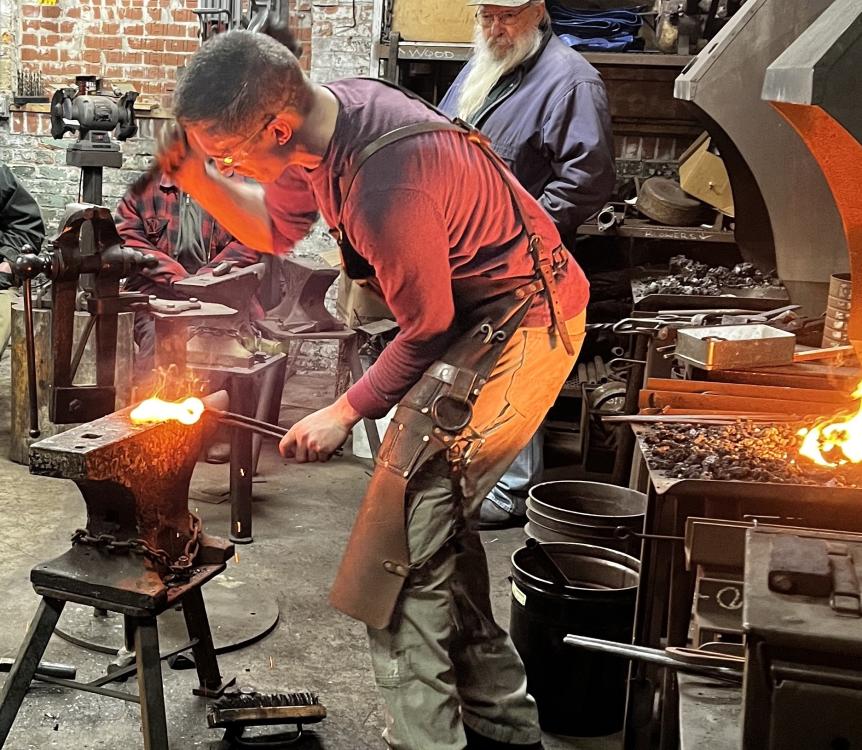
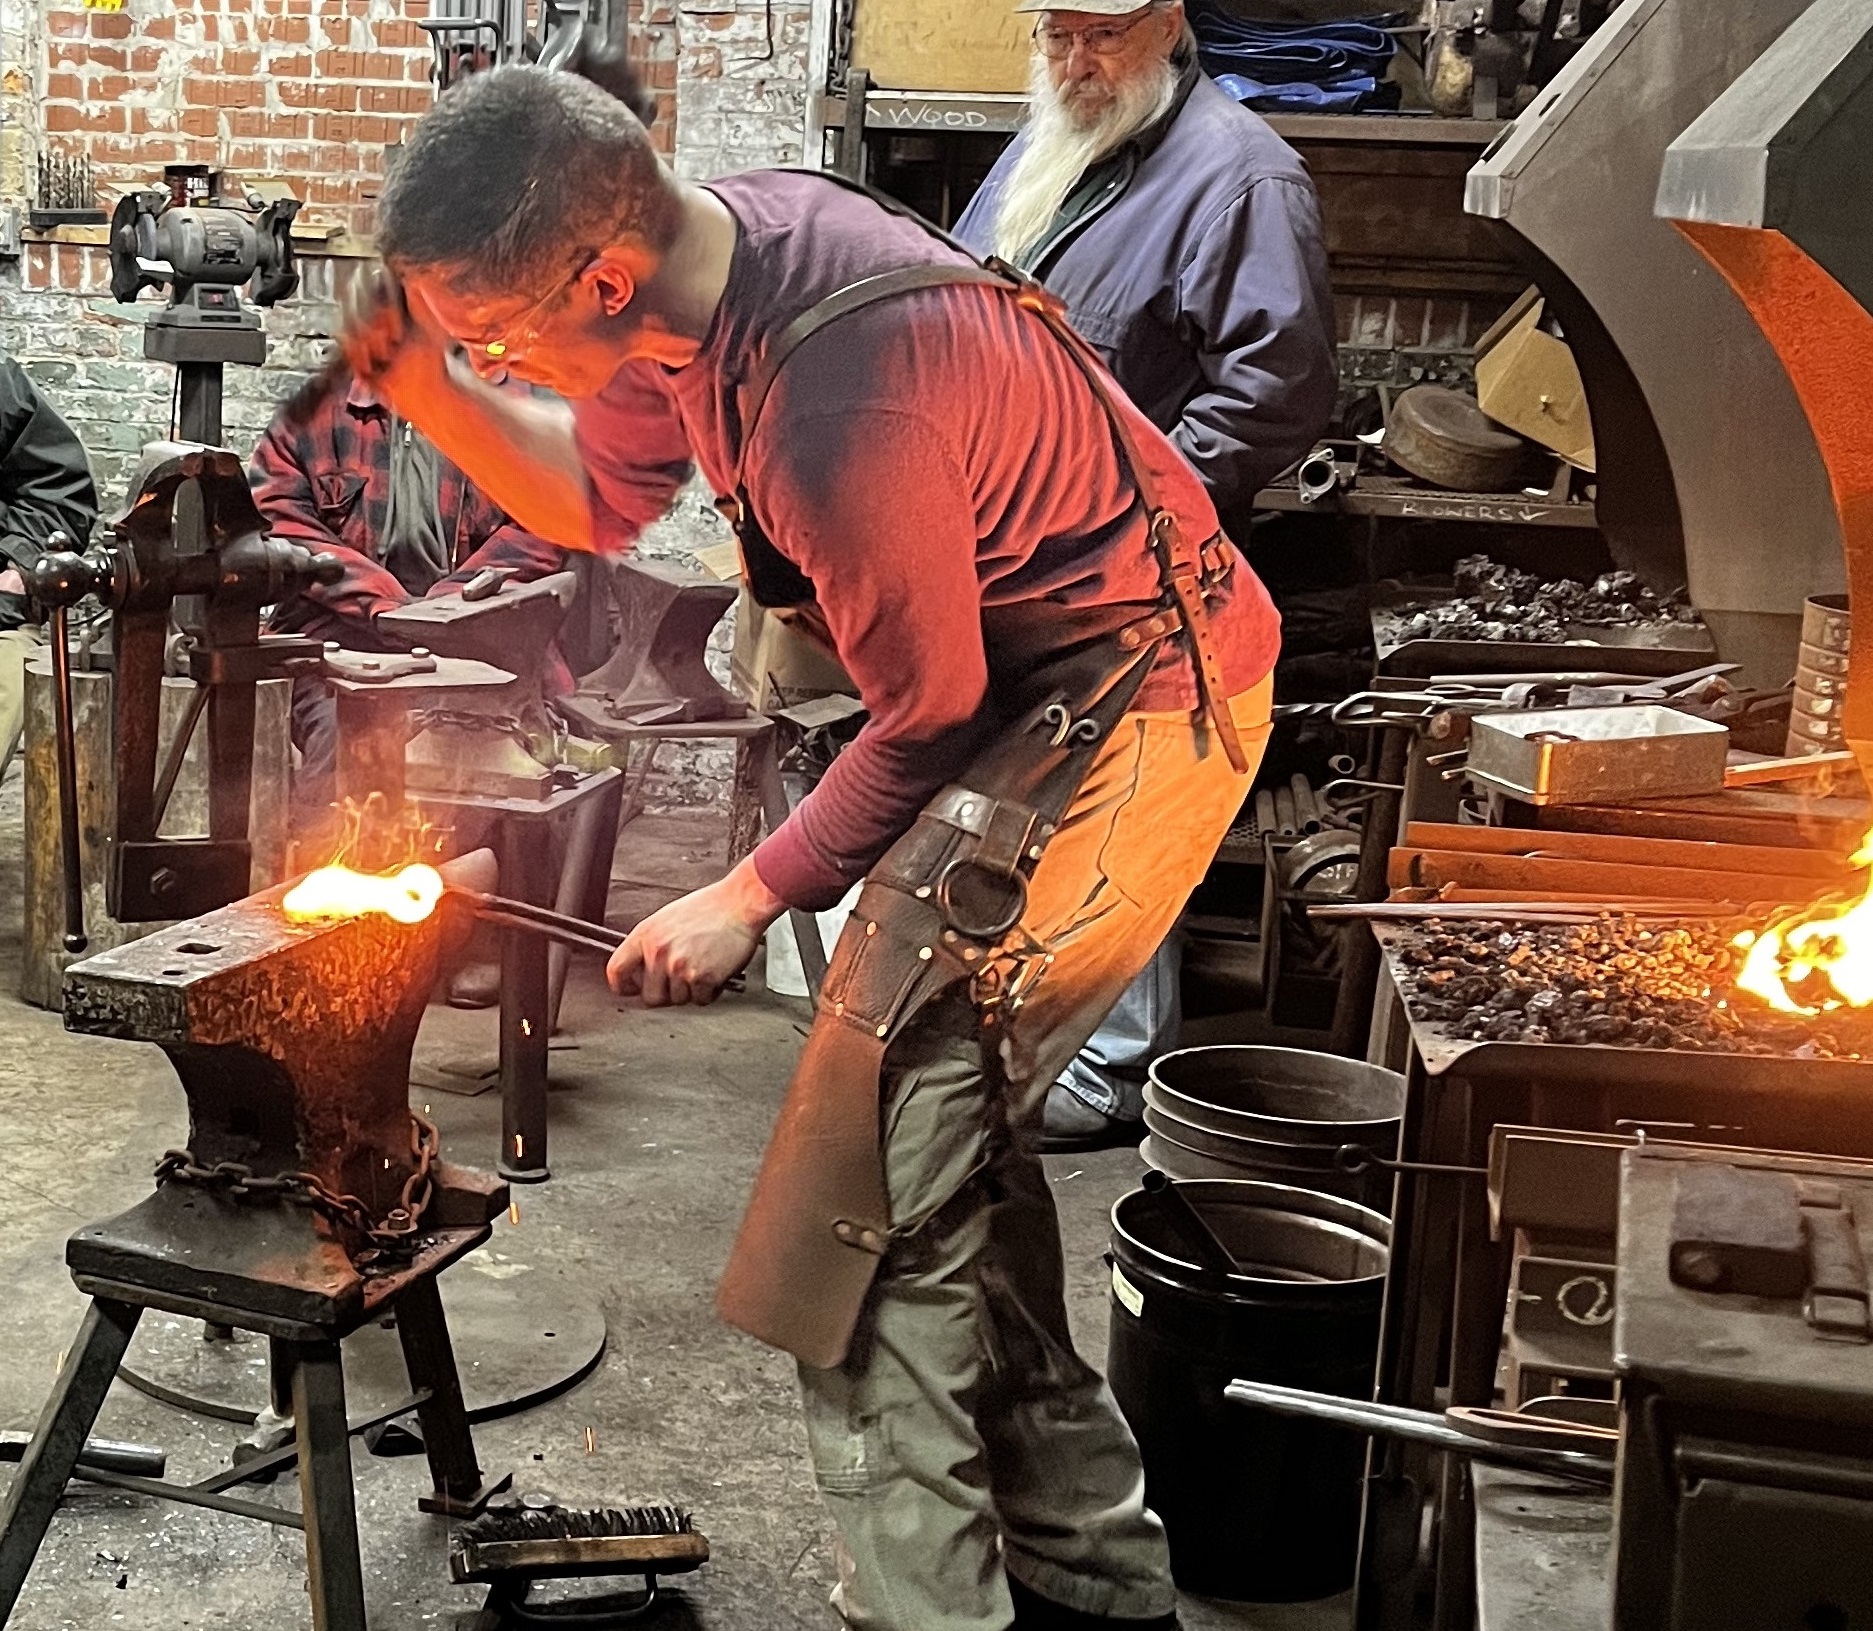
I'm the young guy who should have been striking
-
I agree with all of your points. The conversation was centered on the "increased importance" (it's always important, hence the scare quotes) of fire maintenance when working with certain materials due to the potential for sulfur contamination. I expect that when most people think about fire maintenance it's oxygen that comes to mind.
I have no reason to doubt the source of the information. Especially given that we know sulfur -- unless it's purposefully added to improve other characteristics (i.e. machinability) -- is generally not desirable. We also have the potential for a source of sulfur. I figured Patrick might have some insights on this given his experience.
As an example, if there is sulfur present I expect that it would react with the surface layer of the material given it's in the same group as oxygen. However would those sulfides just flake off like scale or would they actually migrate into the material and collect at the grain boundaries as noted above? If it does make its way in, how quickly does sulfur migrate? Carbon diffuses relatively quickly due to its size. While chromium, for example, moves relatively slowly (again do to its size). Sulfur is somewhere in between, but I don't expect diffusion rates to be linear as you increase the atomic number.
-
Hi Patrick, I appreciate your input and found it to be very informative.
On 12/28/2022 at 12:56 PM, patrick said:If the steel is contaminated by copper, it too will make the steel hot short.
I have heard that when working in a coal forge the material can pick up sulfur from the coal. I believe this came up during a conversation about forging copper... maybe it was stainless? But I think it was copper. I am, to some extent, combining ideas in the sulfur section with your comment above on tramp copper in steel. Regardless, I'm curious if you think the material (be it copper or steel) can pick up elemental sulfur from the coal under the right (or depending on one's point of view, the wrong) conditions.
Even if it does, it doesn't appear to cause problems in most cases. Otherwise I expect it would be discussed more. It's not often I can pick a metallurgist's brain so I figured I would ask.
I'm not suggesting that this is what happened to huntmaster. This is more of a conversational tangent to satisfy my curiosity.
-
Overheating can cause some of the lower temperature alloying elements (phosphorus, sulphur, and manganese for example) to begin to melt while others stay solid. The parts that melted can: form oxides and/or sulphides, thus becoming more brittle; reform and result in porosity; and/or consolidate as long disruptions in the grain structure. Essentially, you end up with very large grains from the excessive heat and/or a bar where the alloying elements are no longer well mixed. Said another way, there are veins or nodes of dissimilar materials with different mechanical properties. You've weakened the material as a whole by creating faults that, when hit it with a hammer, will crumble.
The spectacular-ness (that's not a word, but let's roll with it) of the failure depends on a whole bunch of variables. The temperatures it reached when it burned, how long it was burning, the forge conditions, the alloying elements, the fuel used etc., etc..
This is a very basic description of something that I'm really not qualified to describe and the "why" only becomes more complicated with the high alloy steels.
However, Latticino brings up a great example with wrought which has veins of silica inclusions in it that will split apart if worked too cold.
Another example would be cast iron which has so much carbon in it that not all of it stays in solution; nodes or flakes, etc. (the structure depends on the temperature and cooling rate) of carbon precipitate out as it cools after being cast. If you try to forge it then it will crumble, more or less, immediately in a shower of sparks. There are all of these boundaries in the material that don't want to move across each other and will come apart if you try to form it. It's a very pretty, albeit a useless, endeavor.
Wootz is an interesting material that I'm even less qualified to talk about. It's generally right on that boundary between cast iron and steel in terms of carbon content. There is a member here named Daniel C who has shared some of his work and it's very impressive. What I've gathered is it's very temperature and time sensitive to maintain the pattern, but also avoid crumbling your puck into 1000 pieces..
Maybe my description of the why helps? But take it with a grain of salt. I'm no metallurgist. Just a guy with a computer.
Descriptions are all fine and dandy, but hopefully you learned a little about why burning your steel is bad by watching it crumble before your very eyes. While every alloy isn't going to turn into a bunch of cottage cheese after you burn it, the more extreme cases are a good reminder that every time you burn your steel you are not only affecting the aesthetics and wasting it (to the pretty sparkly oxidation), you are also degrading it in ways you can't see without a microscope.
-
Thanks Jennifer.
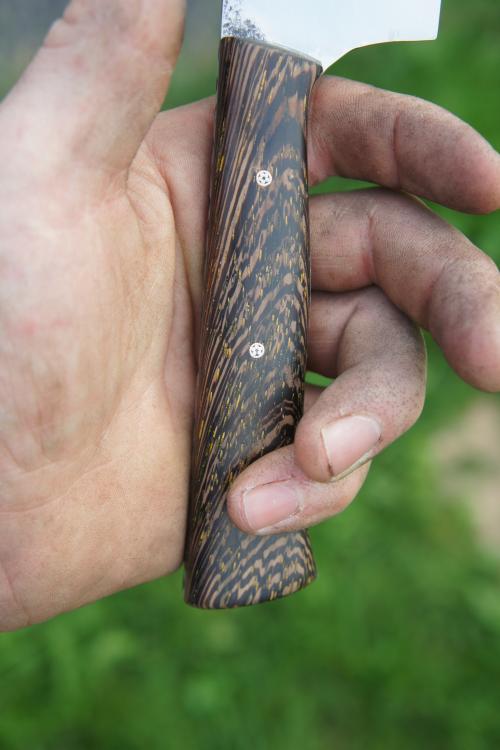
MJ, Stabilized wenge. Over time the cactus juice has taken on some color from the different woods I've stabilized (padauk seems to dye it the most). Now when I cure it all the grains that get filled in have that coppery-amber look.
-
1 hour ago, M.J.Lampert said:
a good point i realized from Frazer was that my anvil and block of steel where cold so any remaining heat to help straighten would be drawn out as soon as they come in contact
A couple of 2x4s and some C-clamp vise grips might be worth a shot. However, take some of the other comments under advisement as well.
1 hour ago, anvil said:Any recent projects?
I won't clutter up this thread, see my corner of the internet.
-
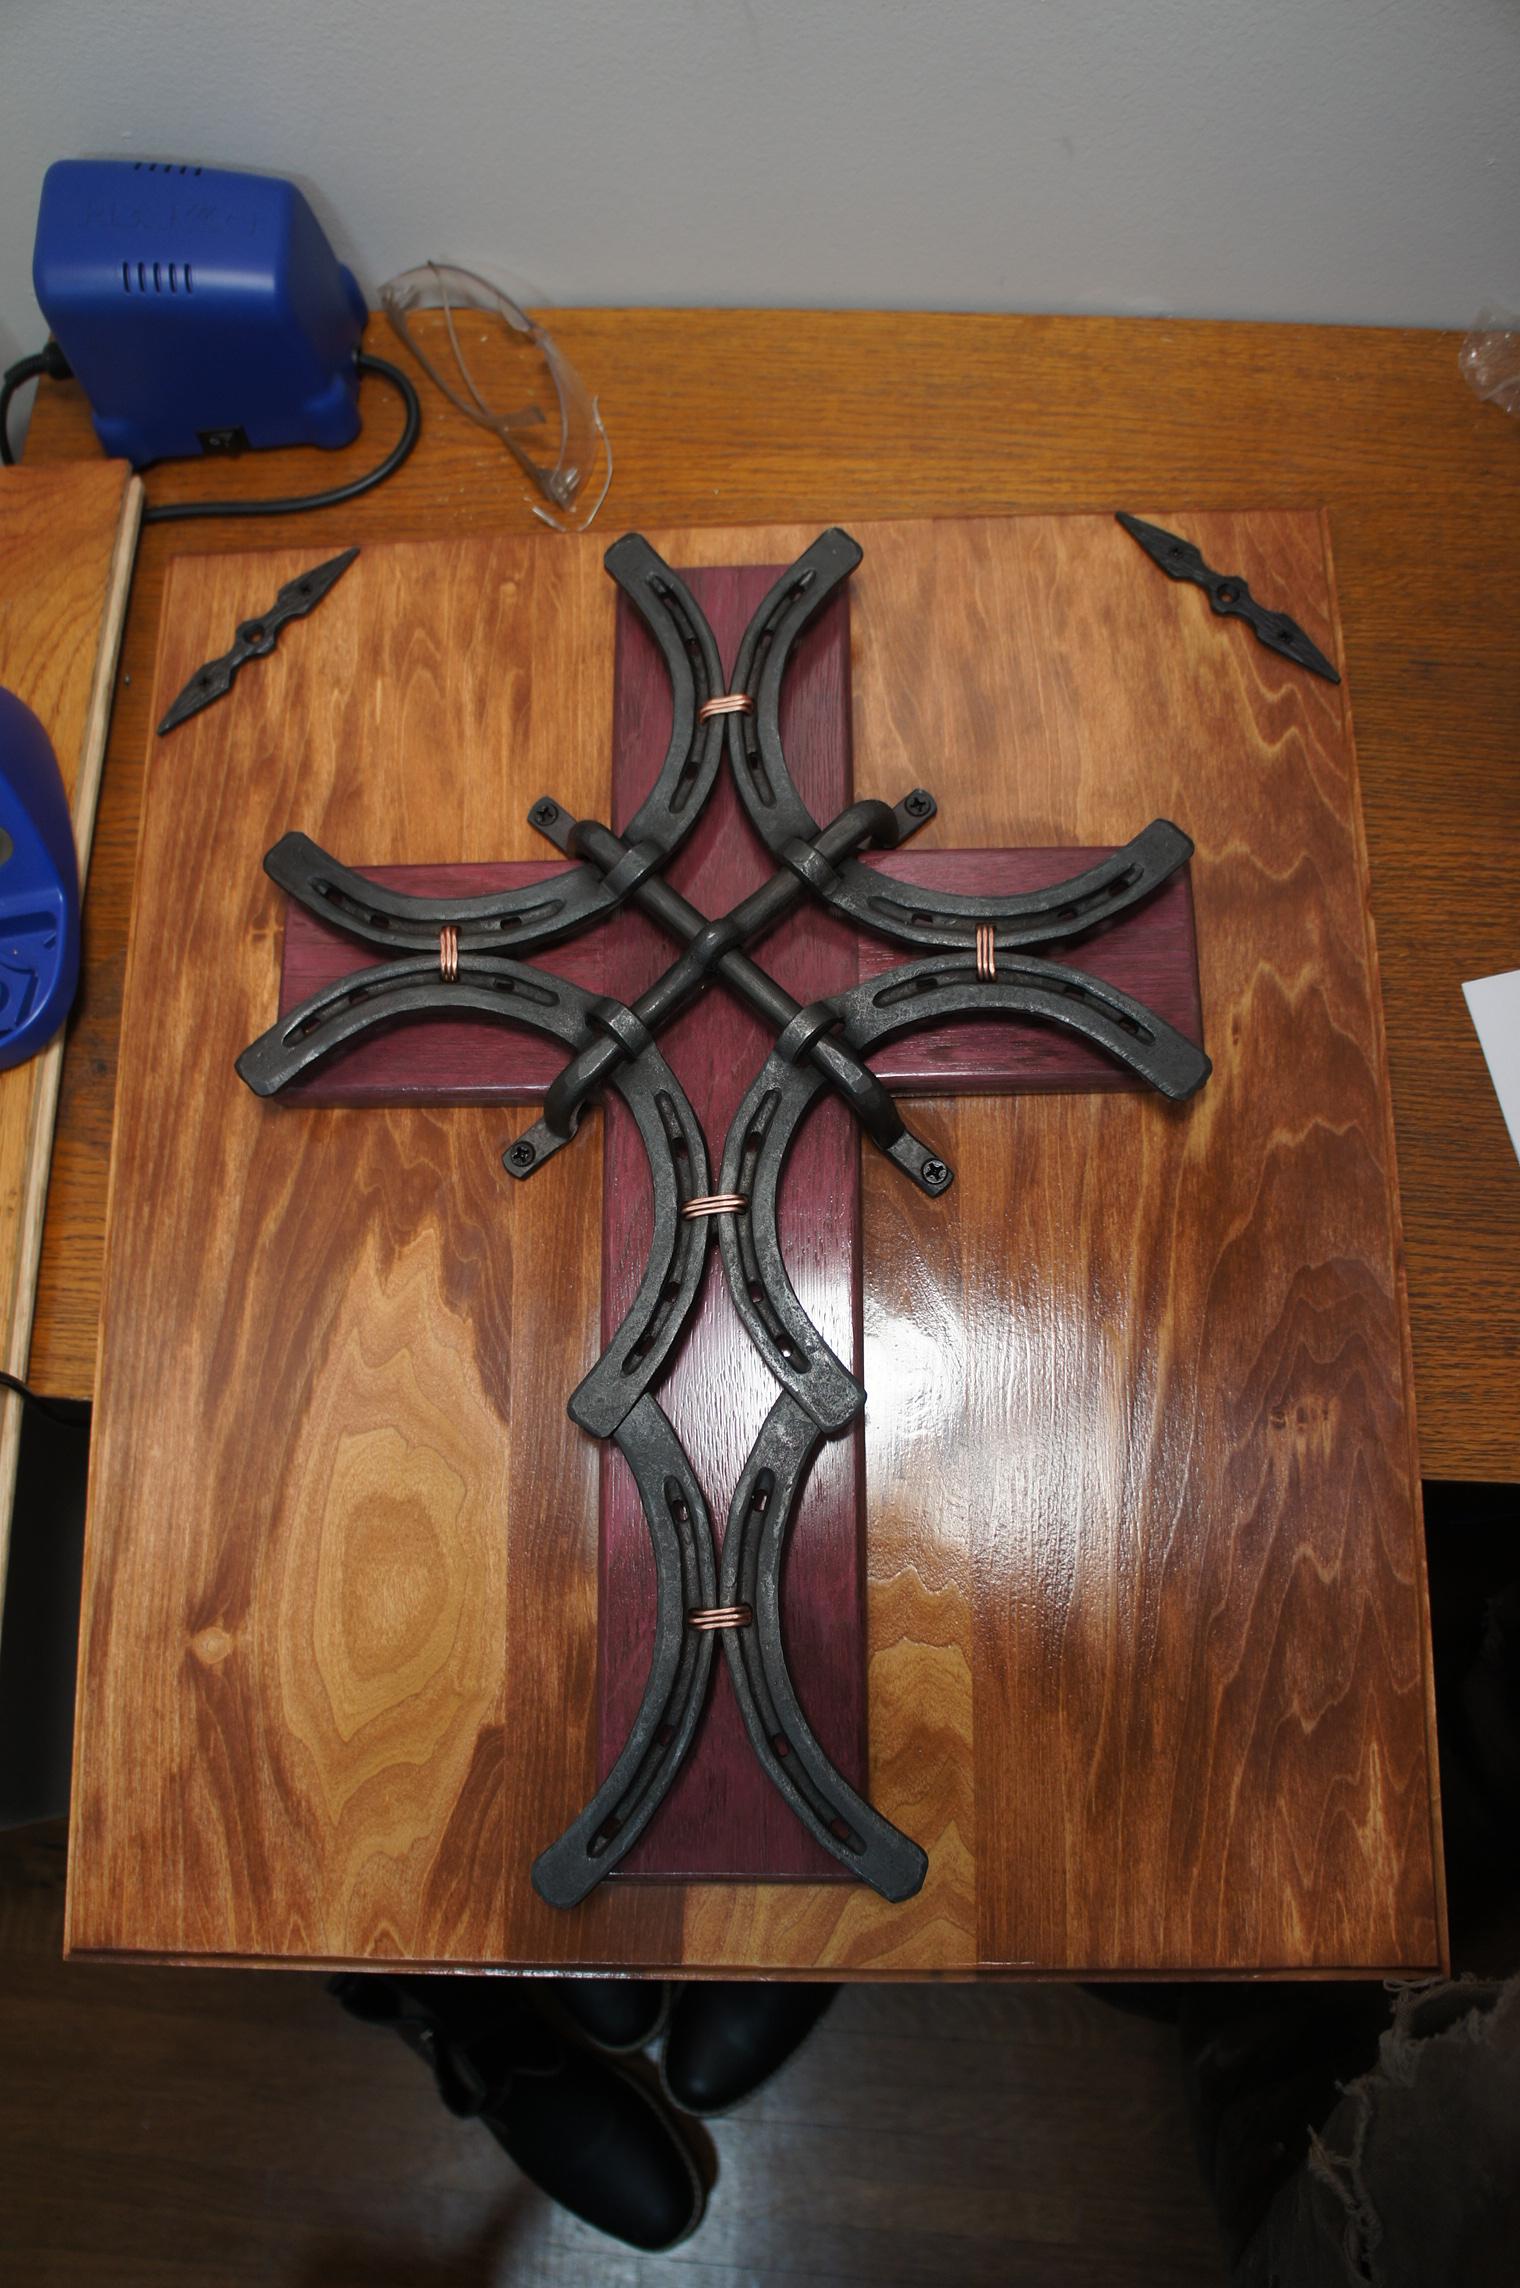
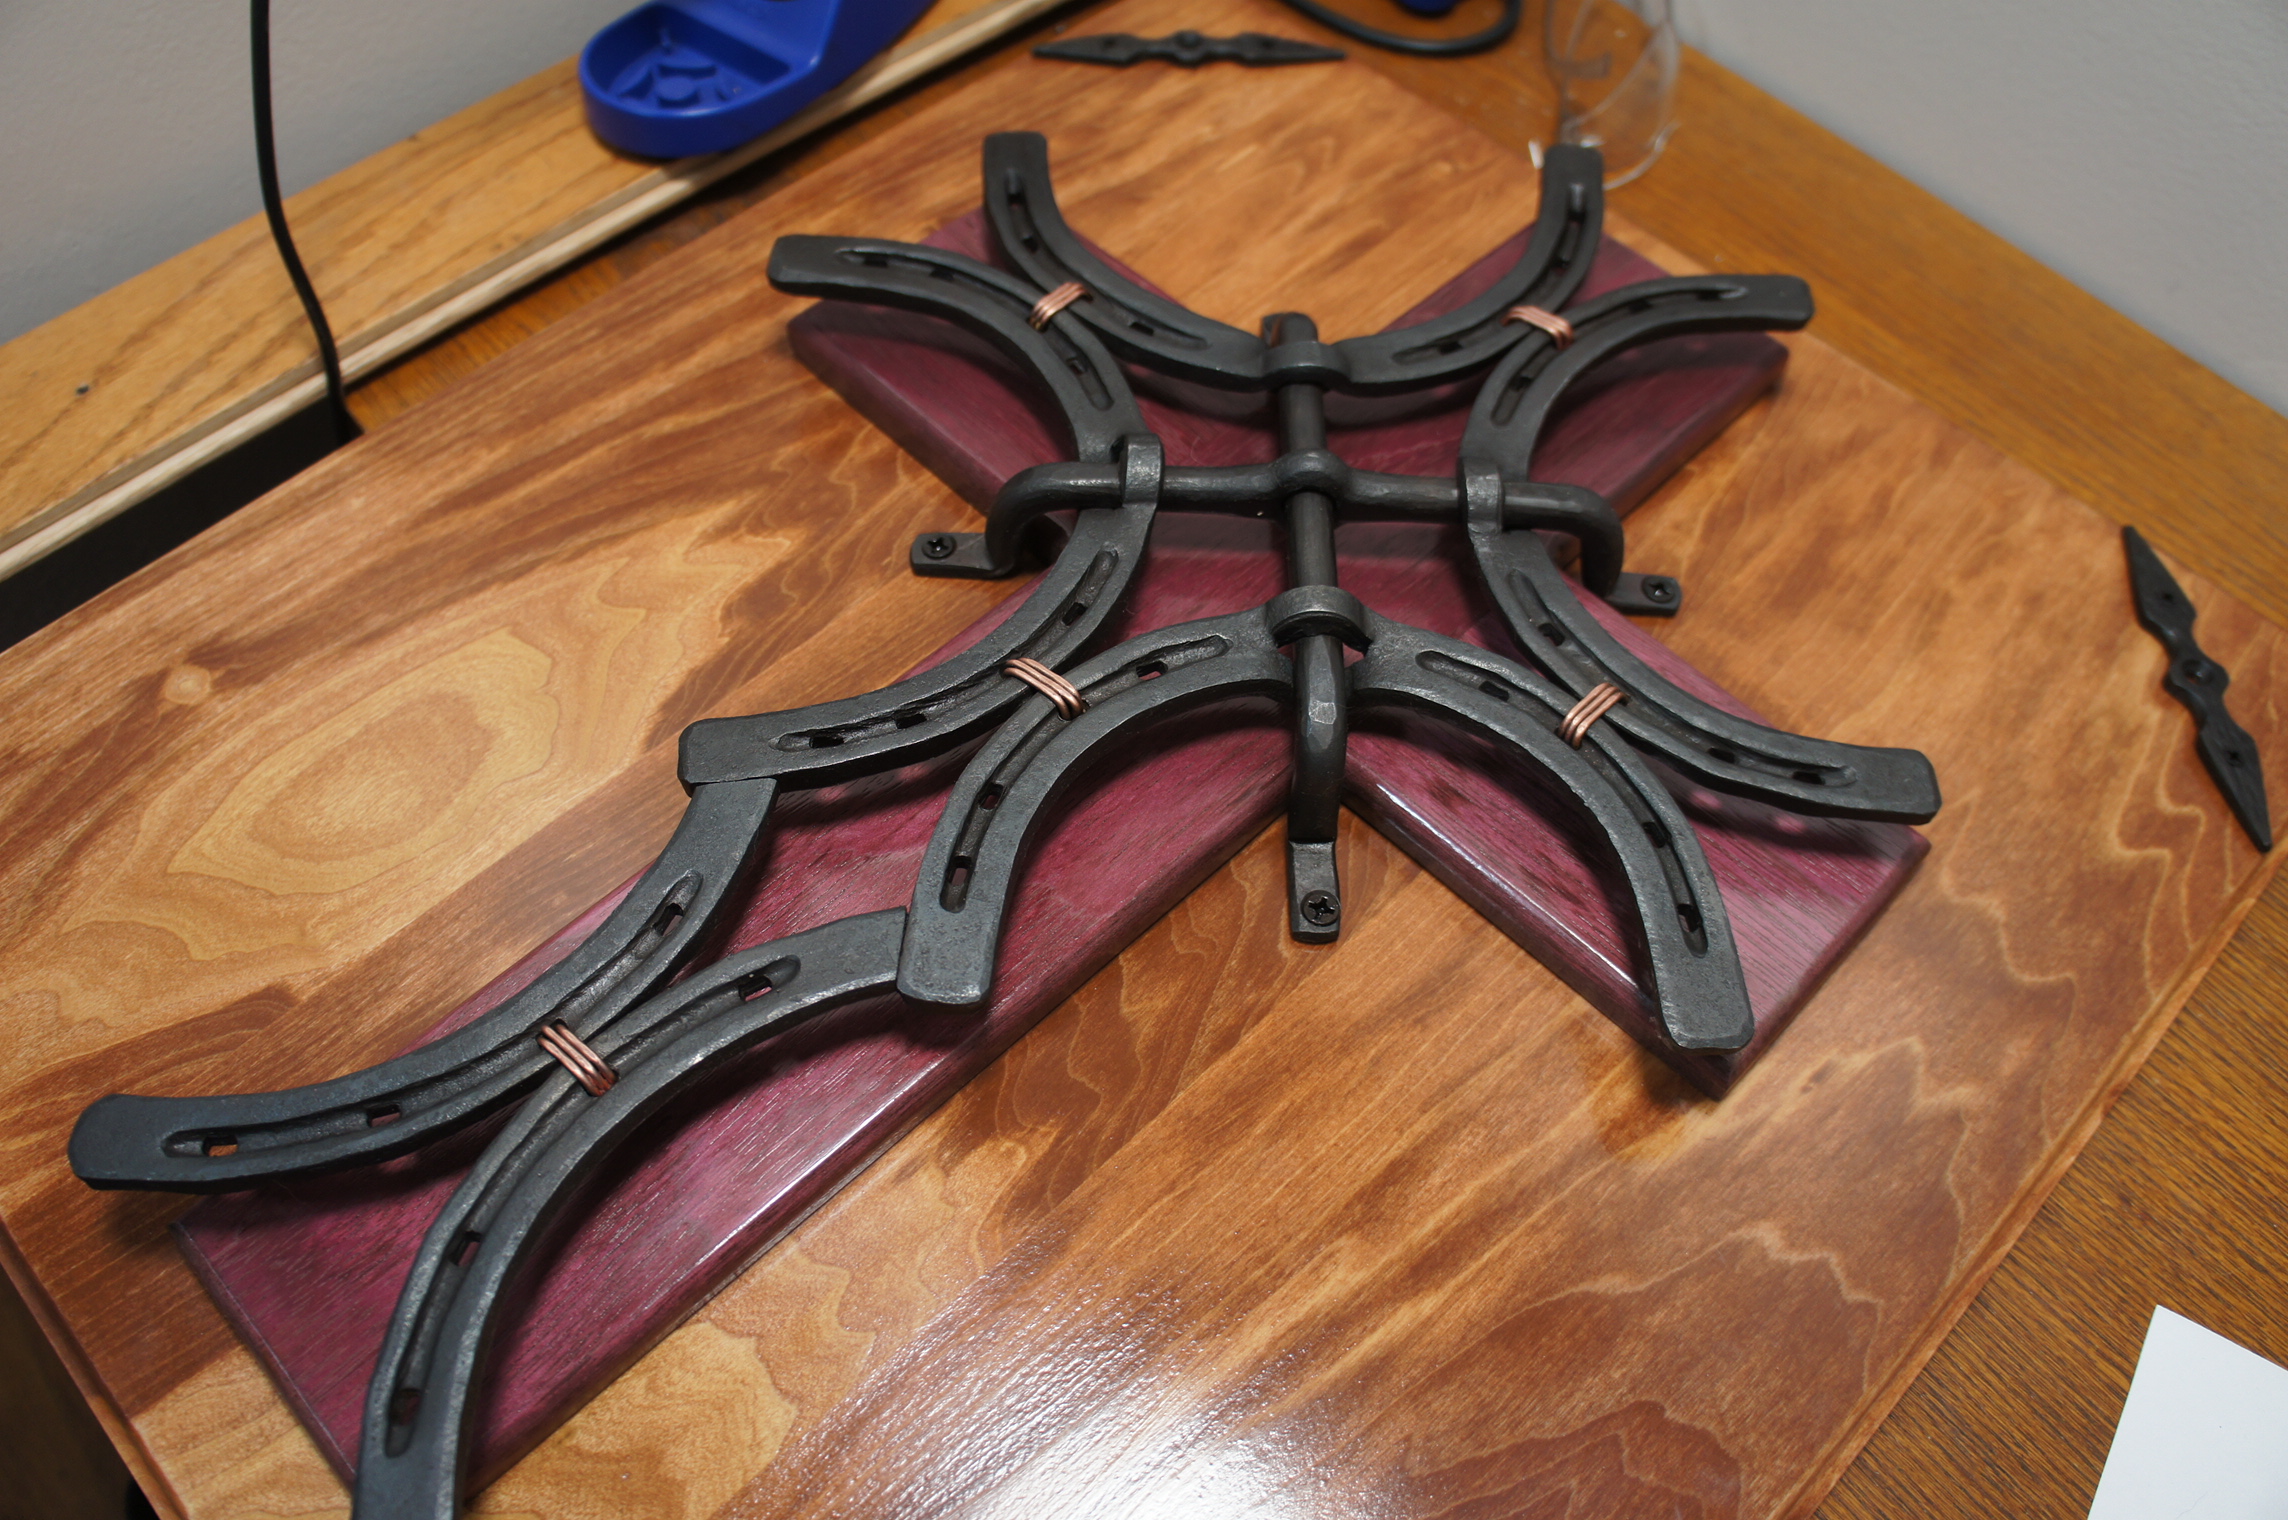
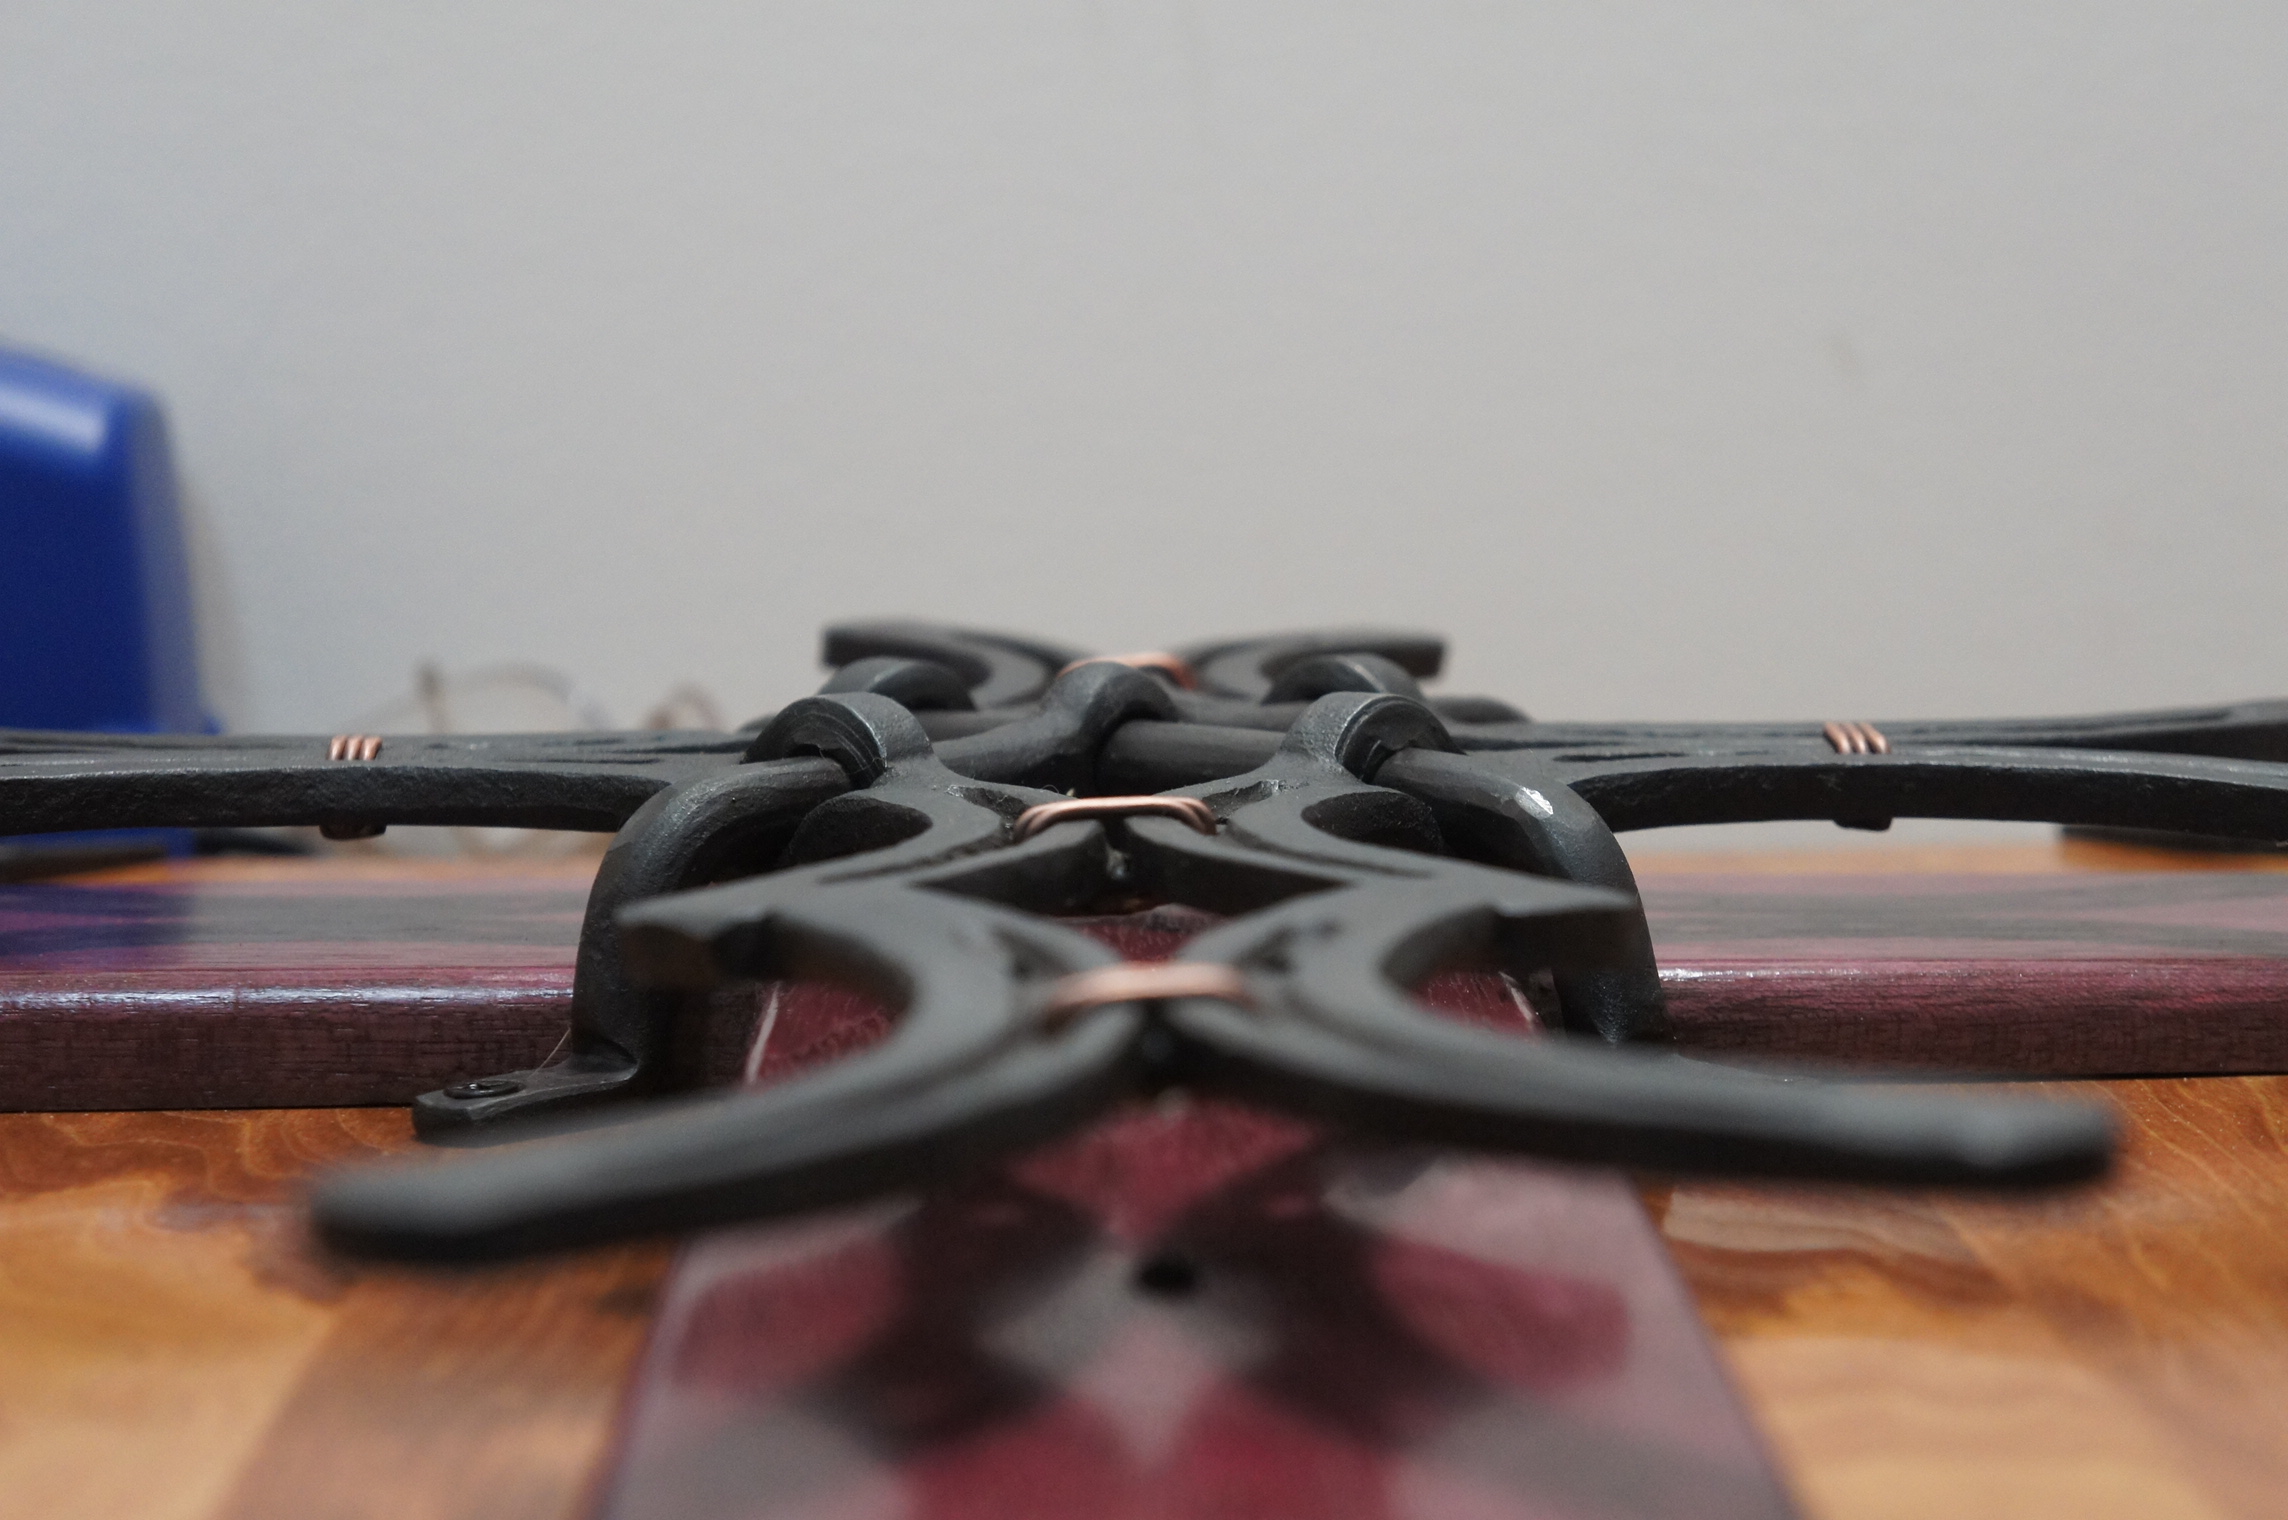
It's been a little while since I popped in here.. Updating with a few projects I've finished recently that are worth sharing..
Horseshoe cross, purple heart cross & stained poplar mounting board.


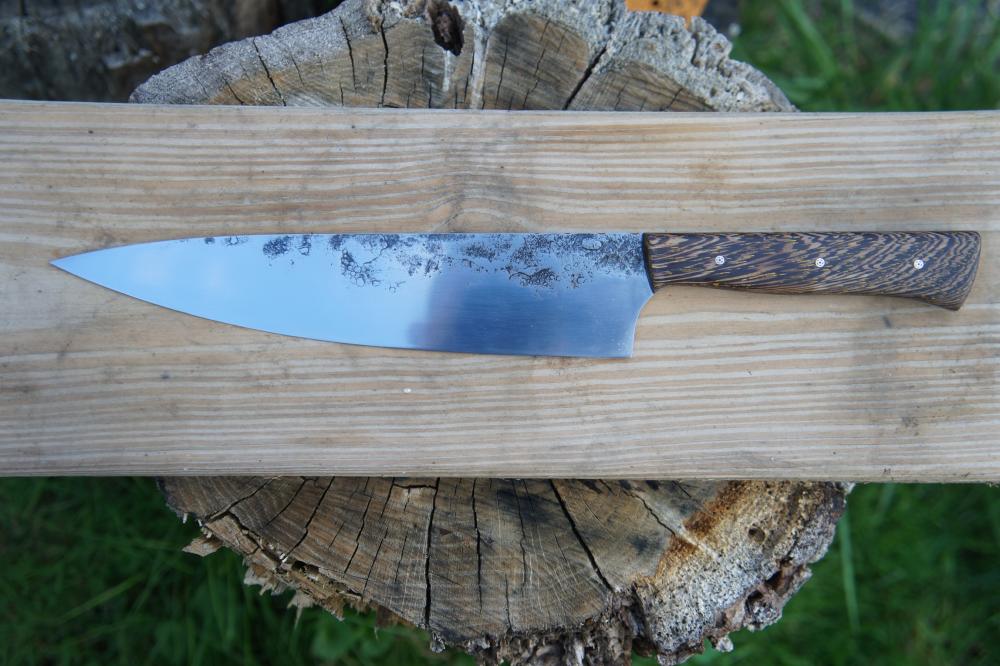
1095 8" chef knife

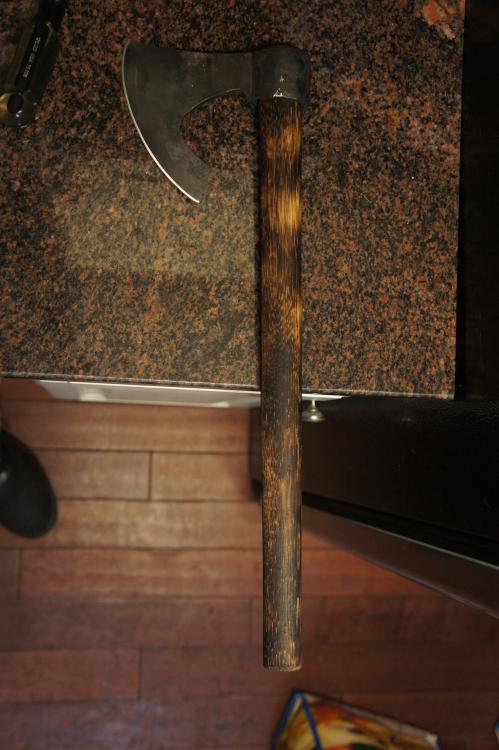
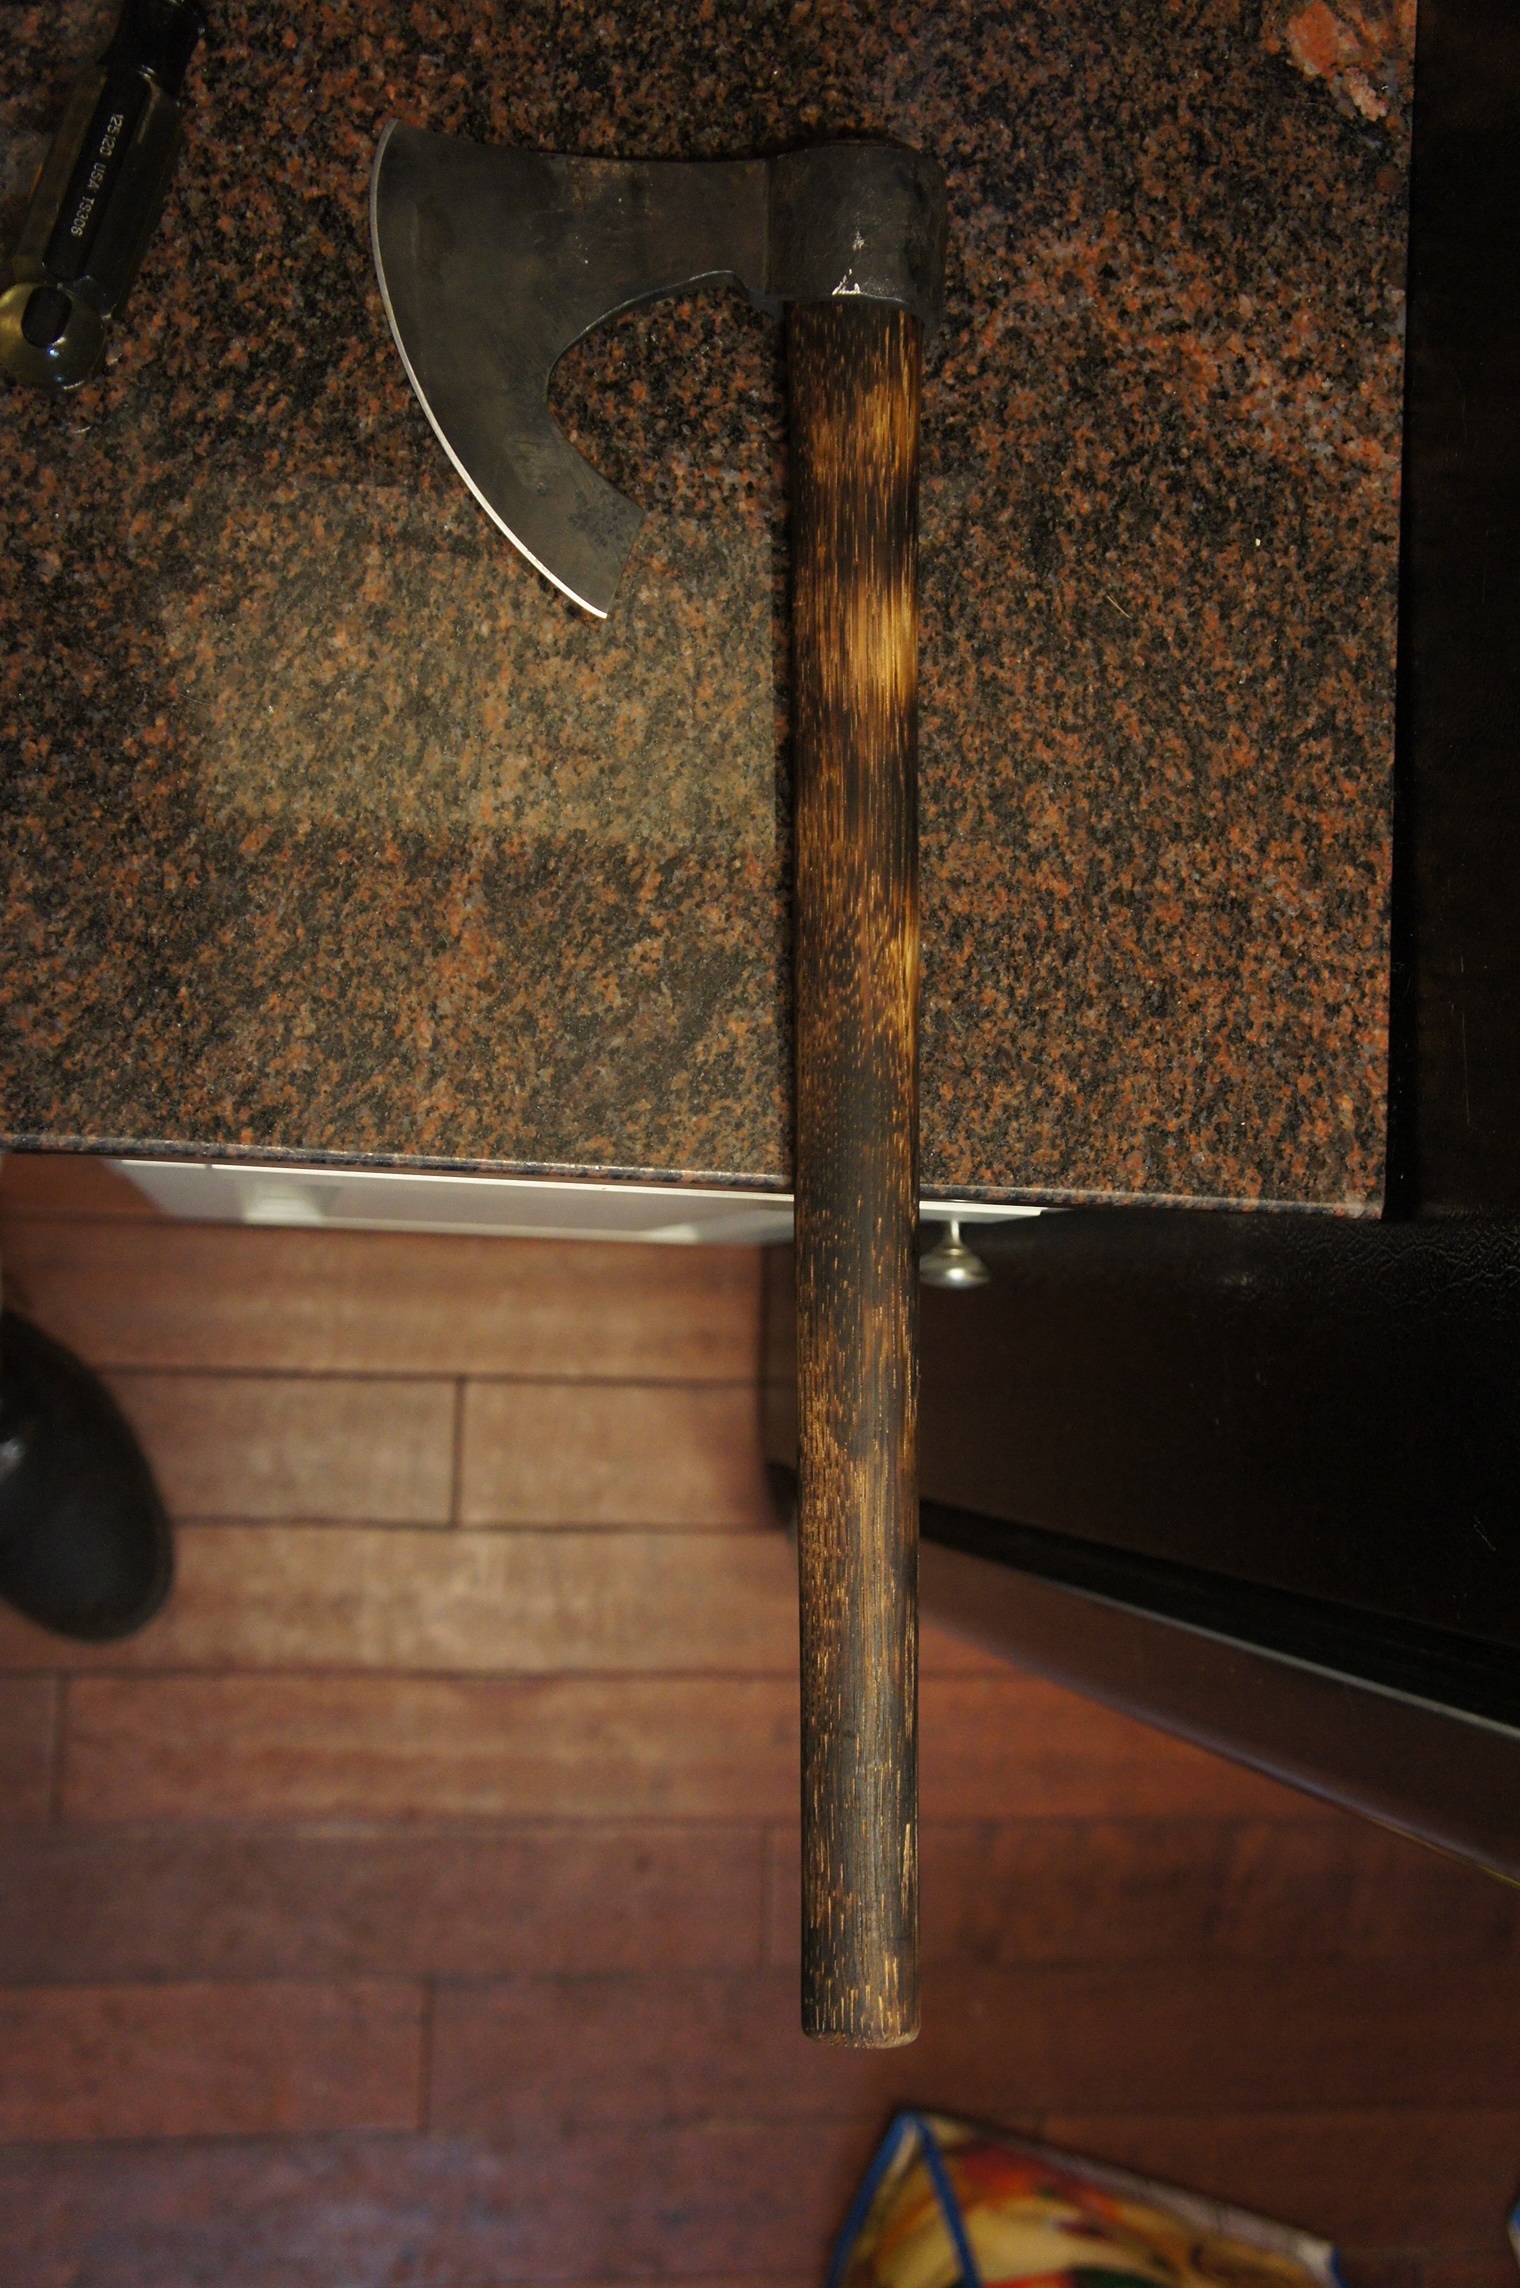
19" (handle) bearded tomahawk from Niagara region demo.
-
Note the thick cross sections of your tooling above... I agree... The specs are generally given for a 1" cross section.
I, personally, based on my experience (which is less than yours) wouldn't recommend quenching a 1095 blade in water.


harden steel rings
in Heat Treating, general discussion
Posted
I understand, well, I wish you the best of luck.
Again, I think the contribution of the hardness of the washer to the overall friction will be negligible compared to other factors like surface roughness (from forge scale after heating/quenching) and whether or not you apply grease/engine assembly lubricant under the head of the bolt and under the washer.