twigg
-
Posts
205 -
Joined
-
Last visited
Content Type
Profiles
Forums
Articles
Gallery
Downloads
Events
Everything posted by twigg
-
Thanks for clarifying. I put about 1/8" thick layer of refractory the whole way around (main reason being to totally seal the ceramic fibers. I already got lung problems and don't need more). Just to make sure I understand, you mean having the burner near vertical would be worthwhile, because it increases the distance between the flame and the work, right? Just curious, doesn't having a more horizontal angle, with the flame swirling down the wall, give an even longer distance to the work than a vertical burner? Since I have a cast refractory lining already, do you think it's worth it?
-
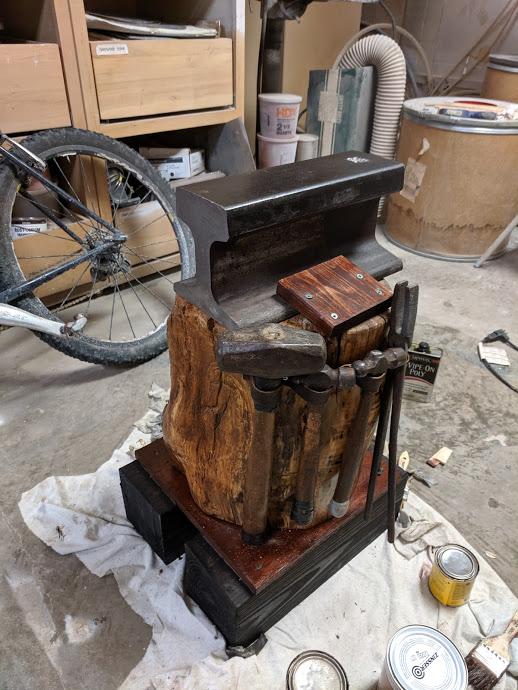
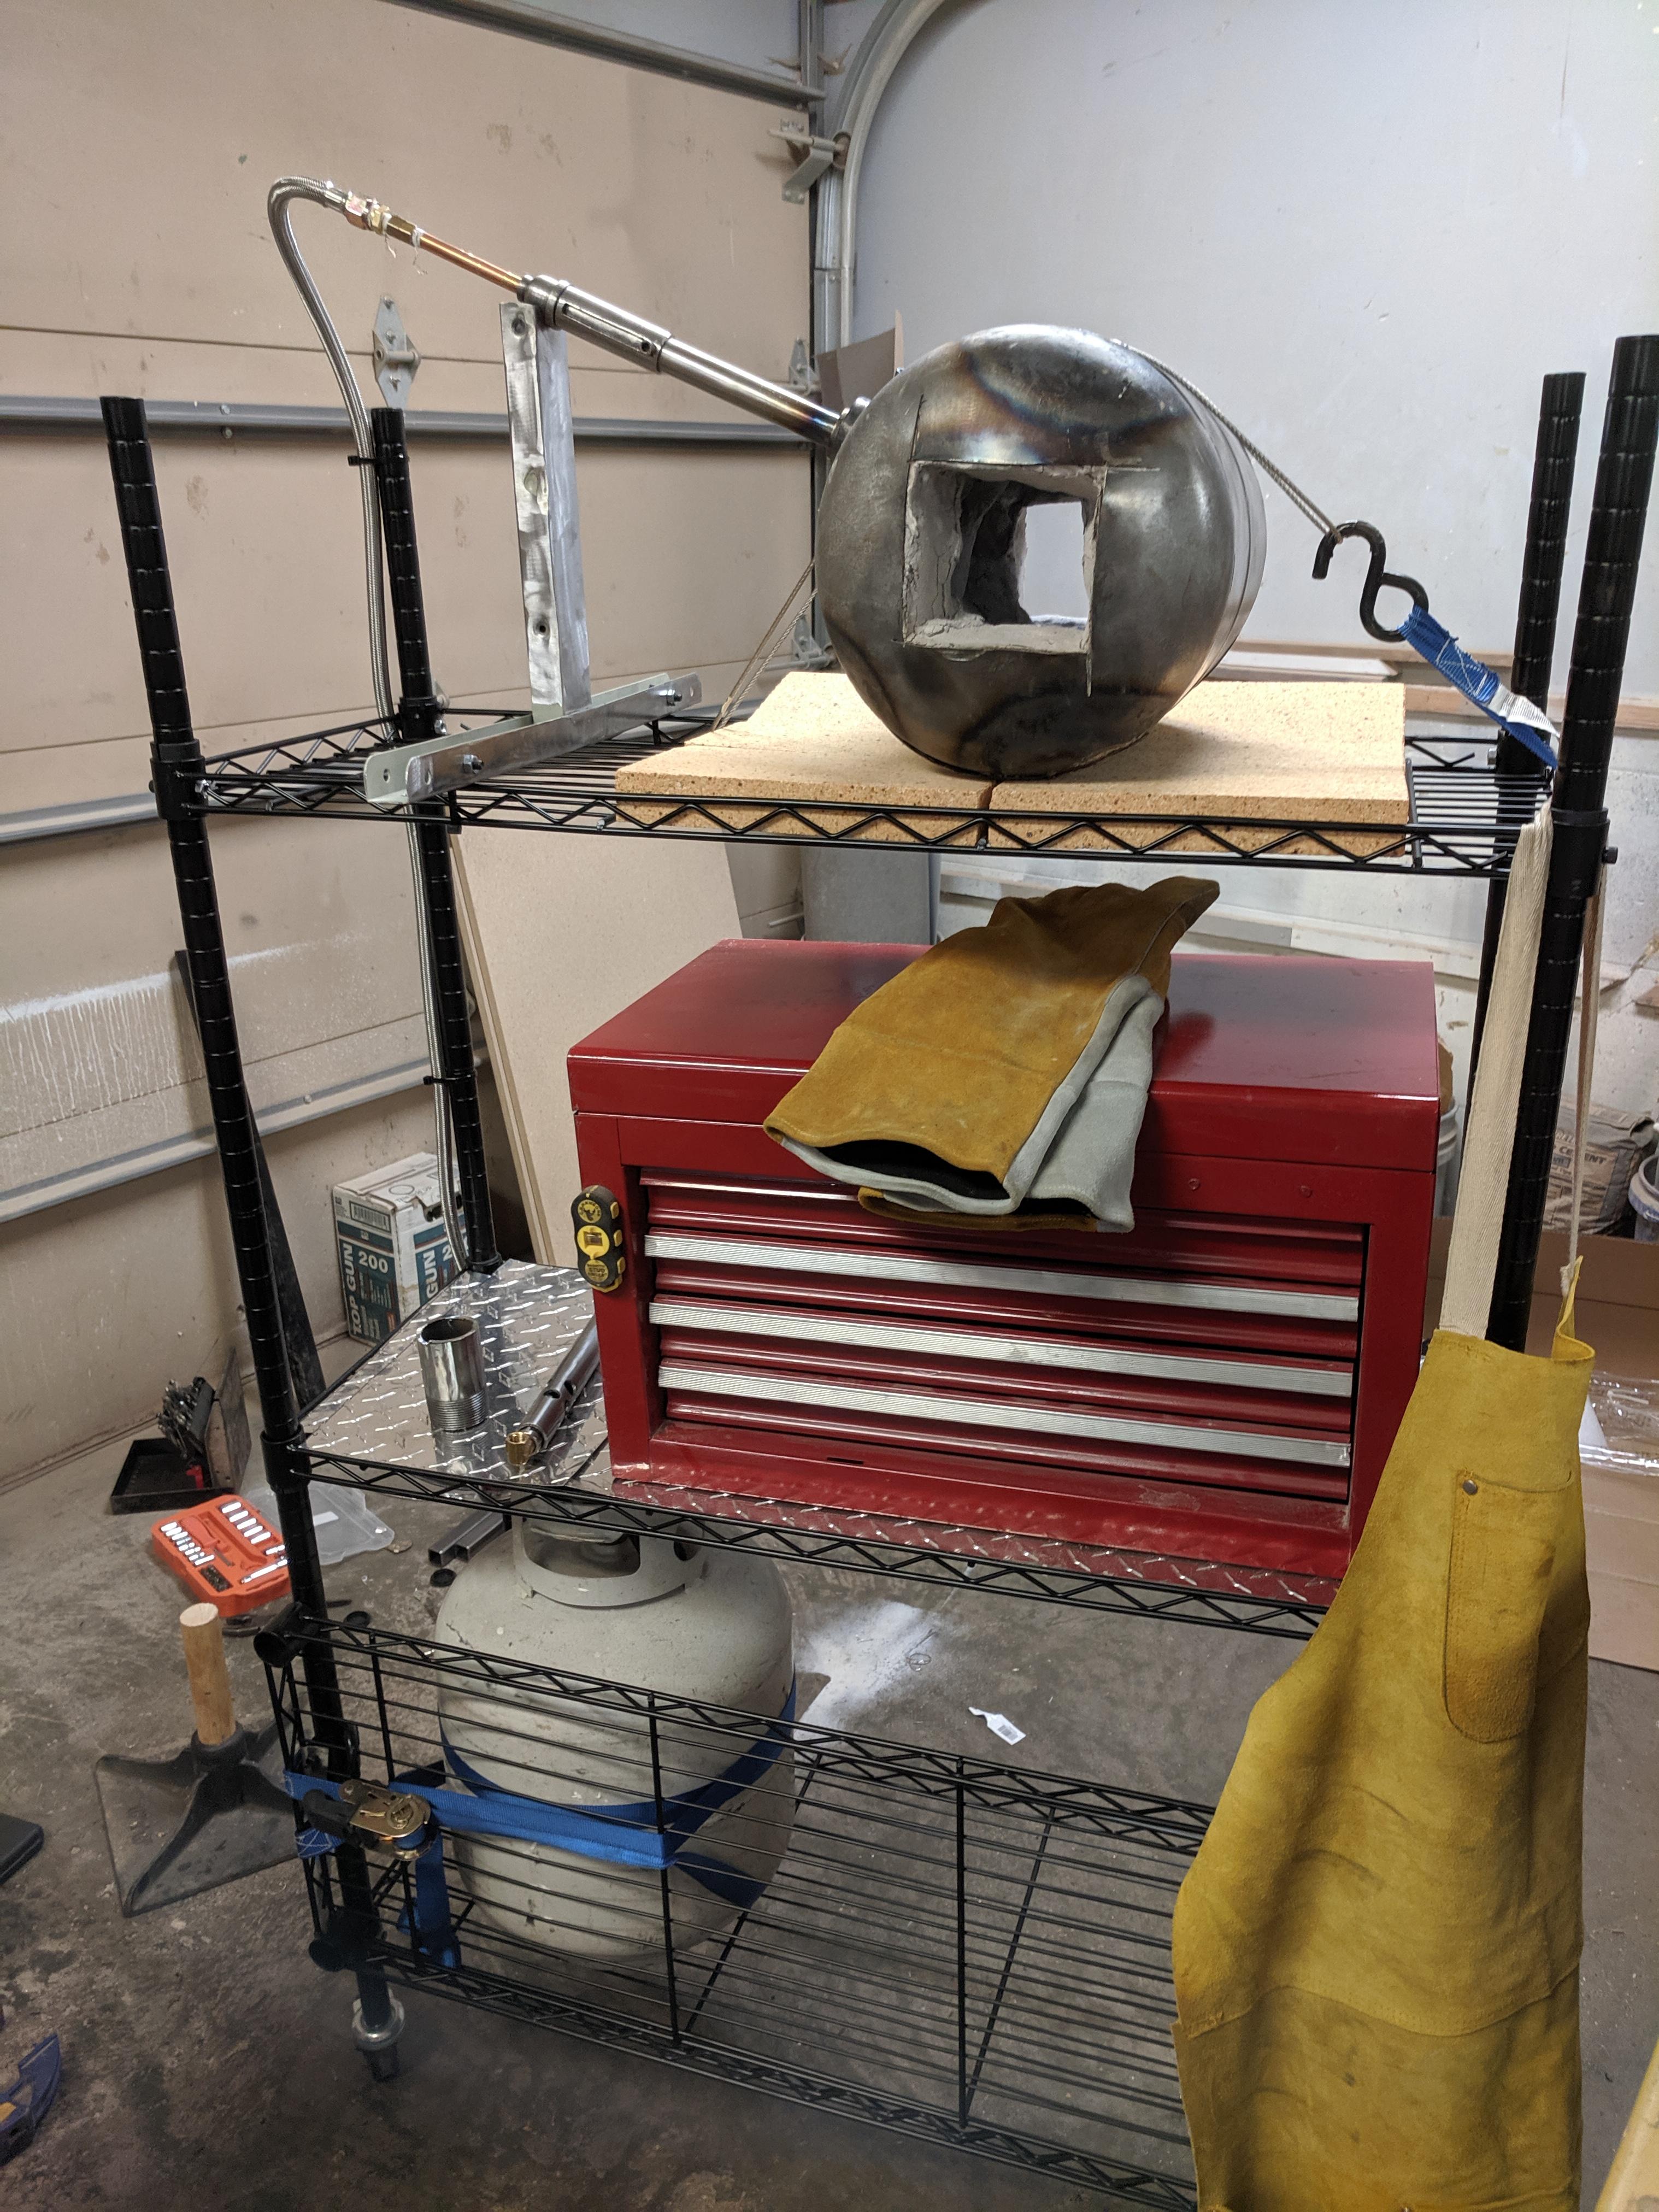
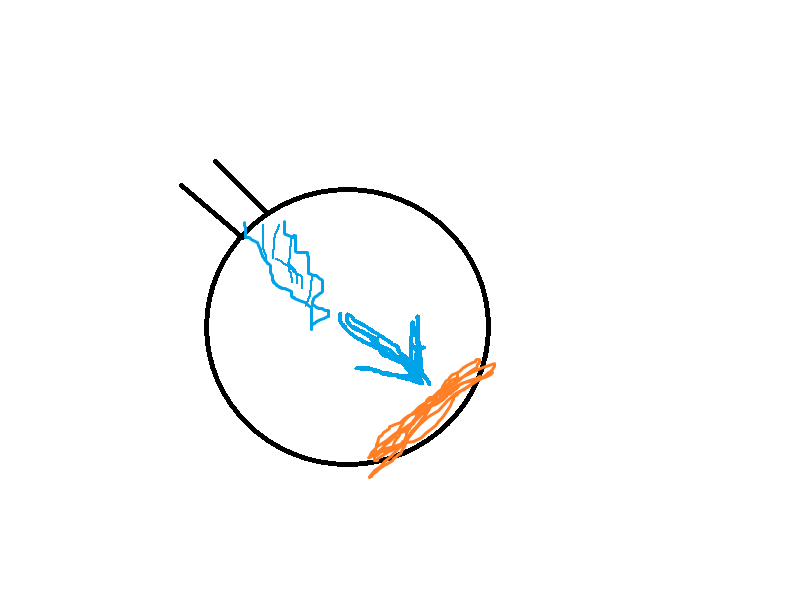
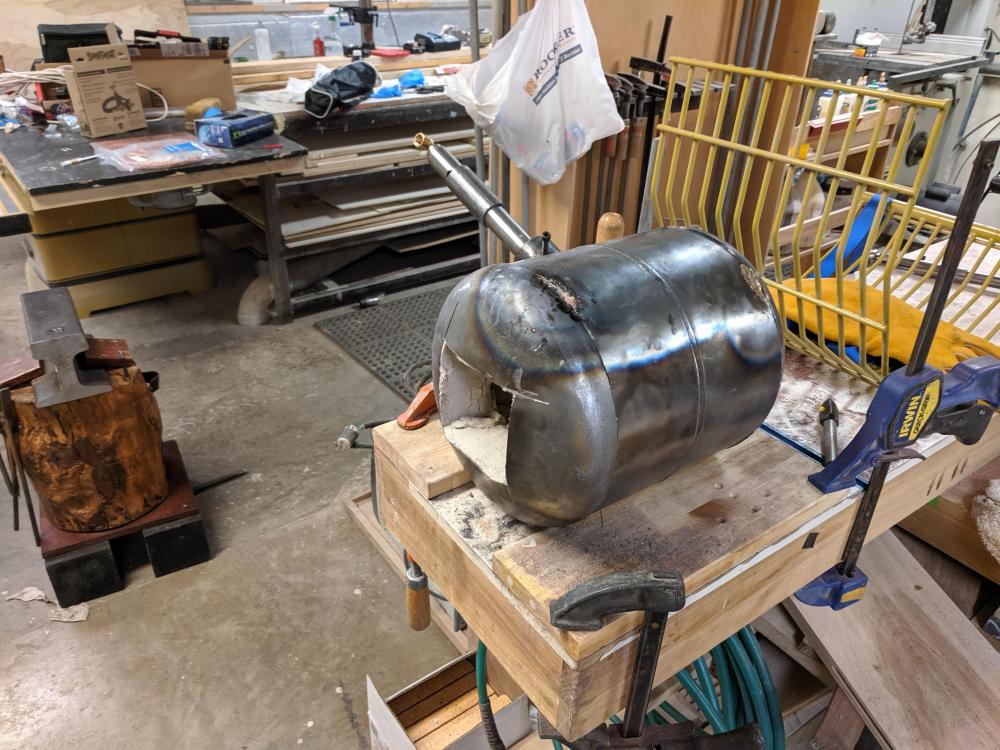
not sure I understand. Do you mean to have the burner pointing slightly less than 90 degrees off the vertical, or do you mean to have the burner only slightly angled off TDC? Also, I just realized that the pictures I put in my original post make the burner look lower than it actually is, at least to my eyes. Not sure if this threw anyone off, but just in case here's a better shot. Ignore the forge cart for now. It's not finished and there's a bunch I want to improve about it. This is just the setup I had for my test run. Also, to clarify, what I saw during my test run that had me concerned was I saw the flame off the burner hitting the far wall of the lining at a 90 degree angle (see first sketch). I was hoping to get glancing incidence to encourage a nice swirl, but I got a hard sudden stop instead. Before I read Mikey's comment, I was going to make a new burner collar with a miter so the flame would skim horizontally off the top of the forge lining and get a swirl from the top down (see second sketch). Now I'm starting to think I have the wrong idea. Can someone point me in the right direction? Just want to know which design principles I've misunderstood First sketch: what I saw happening during the test run Second sketch: what I thought would be better

-
I lit the forge for the first time to see what needed improvement. Yeah, I saw exactly what you meant during the test run. Great idea, thanks! Still need to make a few tweaks to the cart. Will post when ready.
-
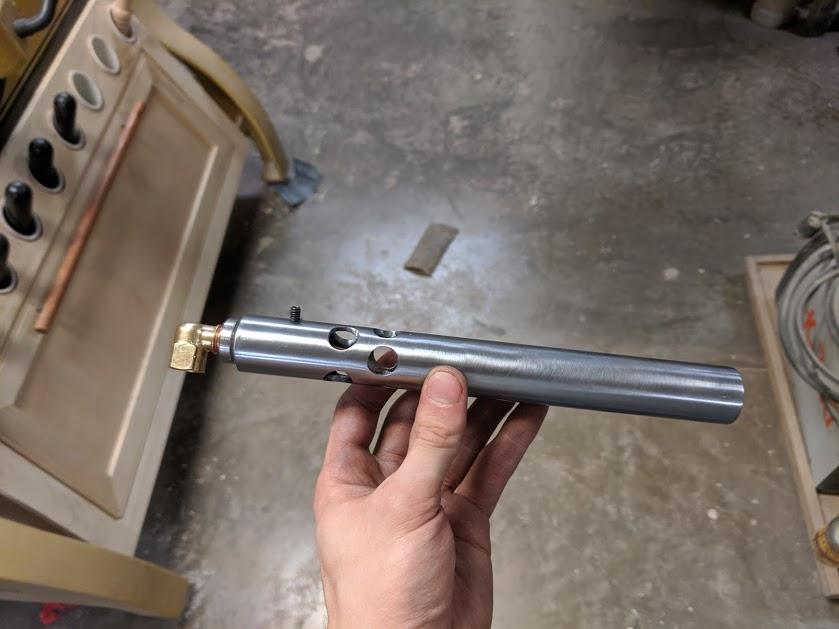
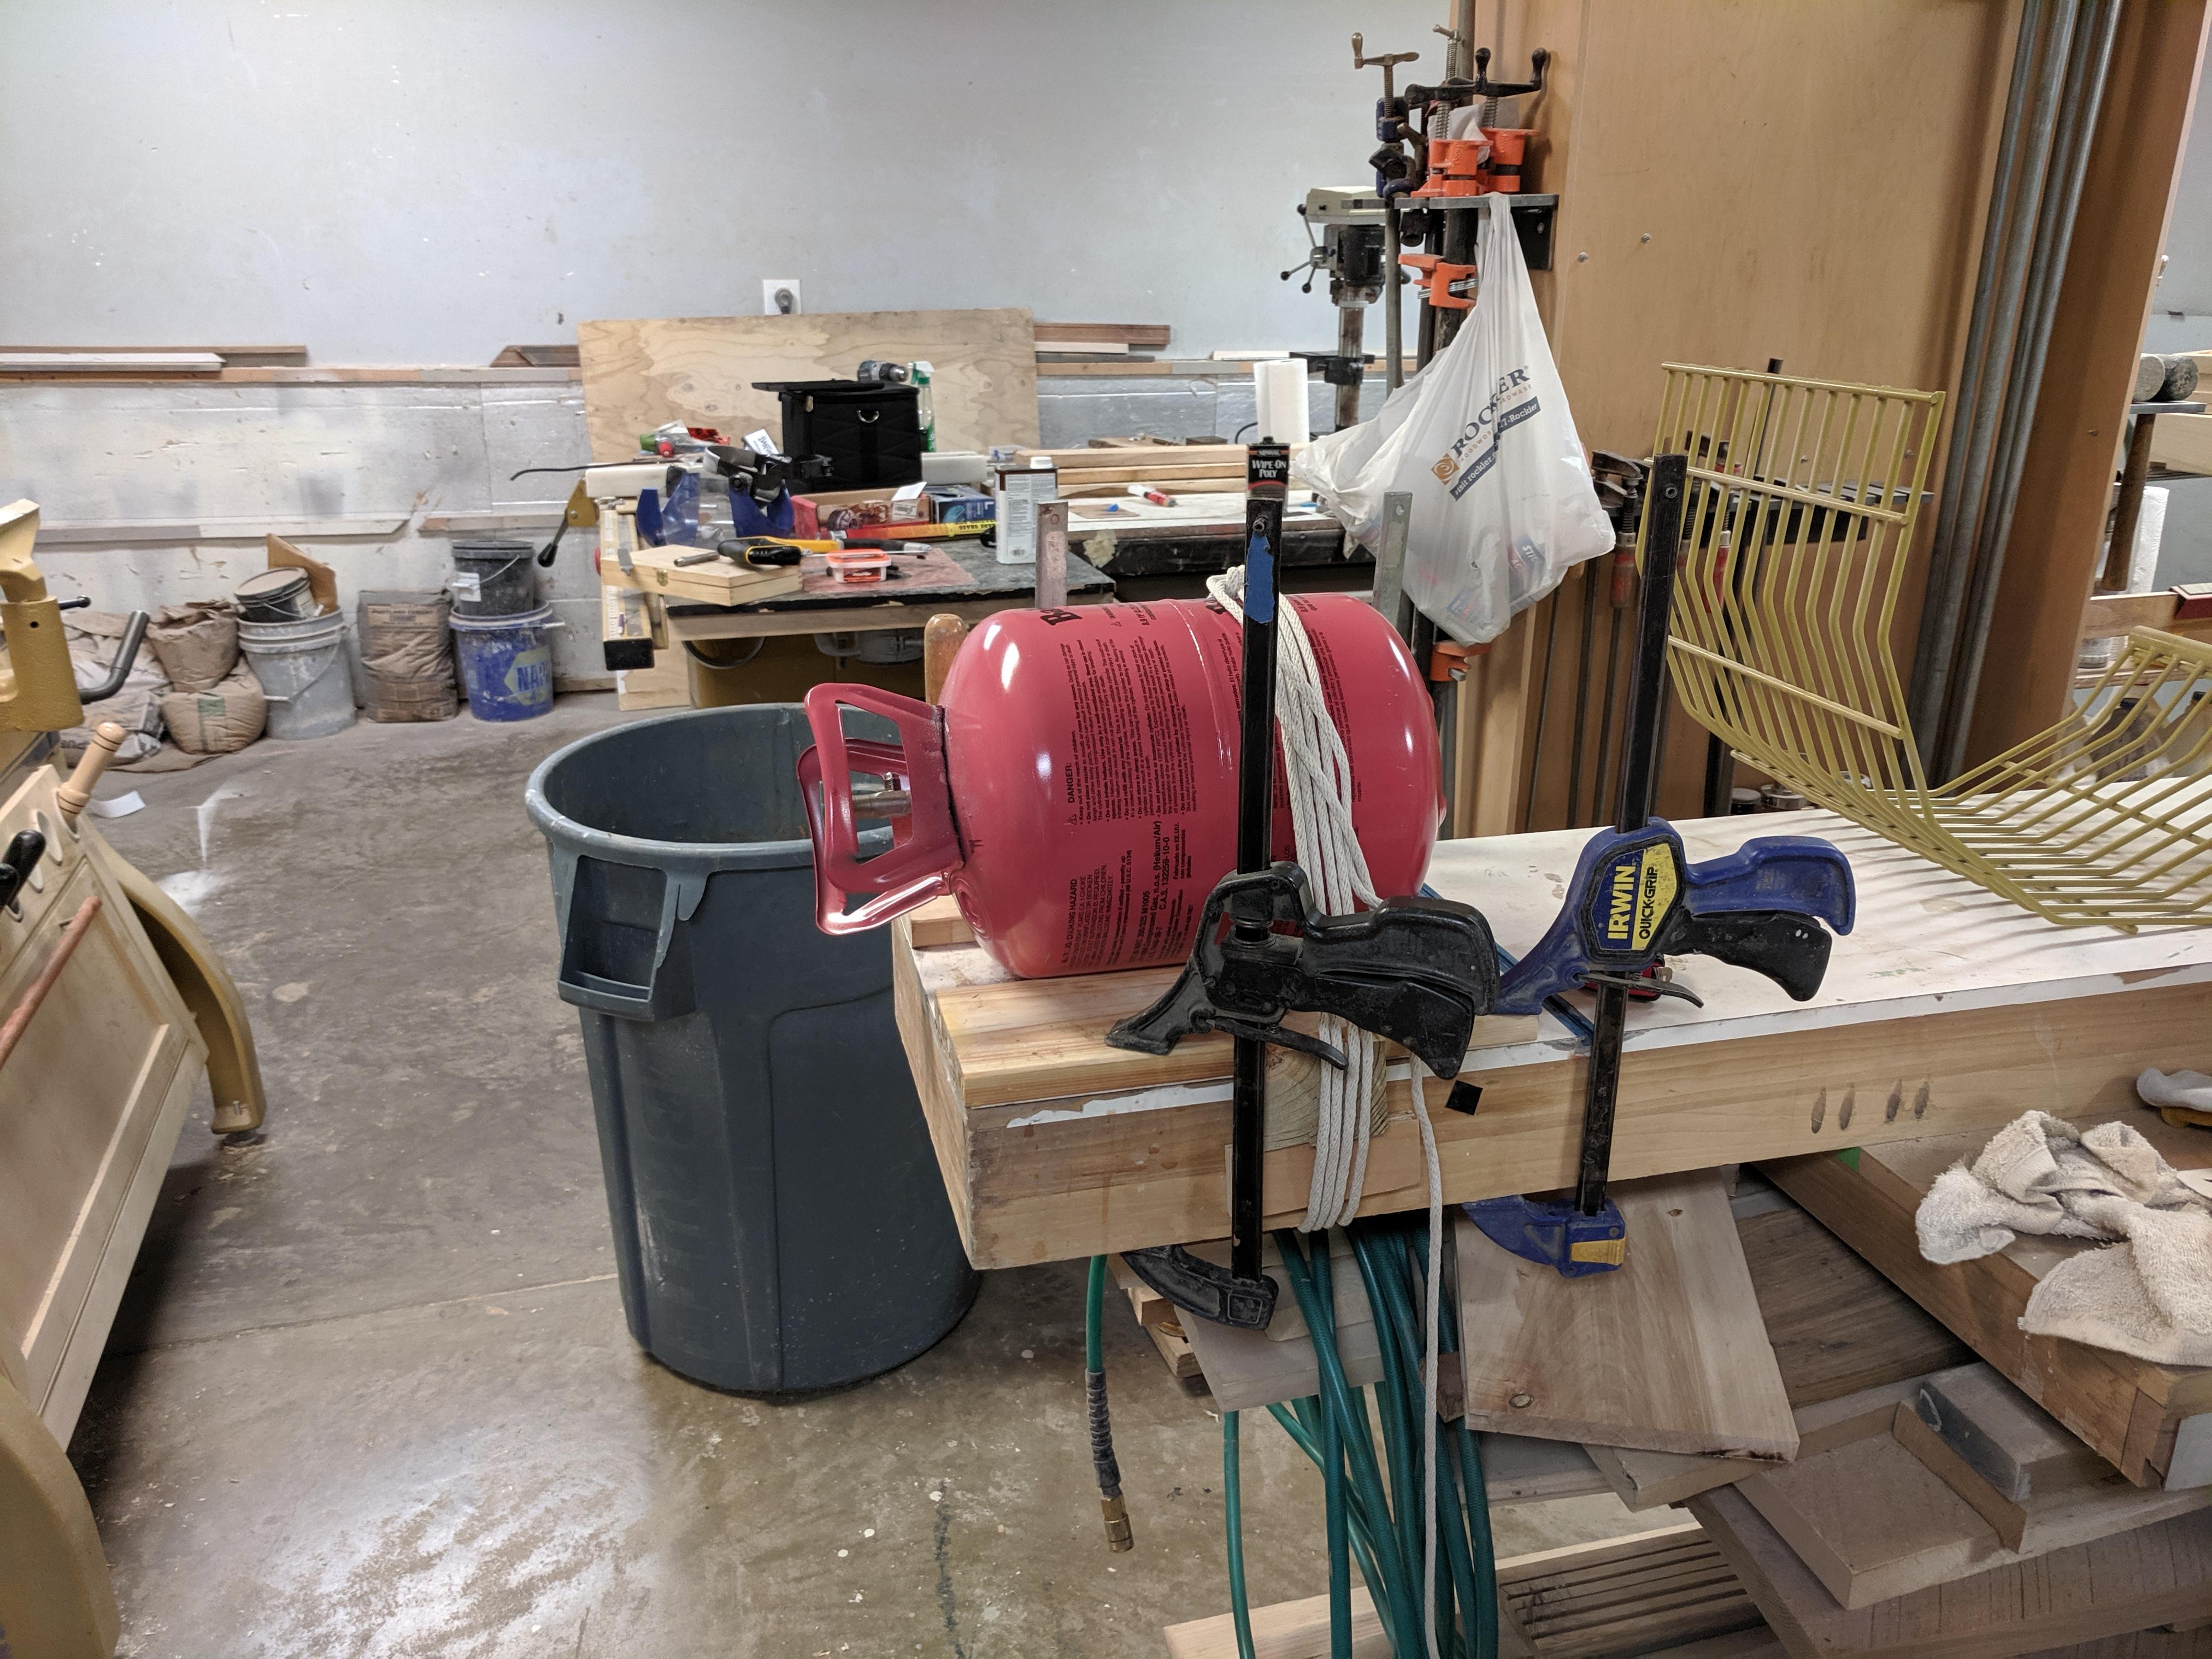
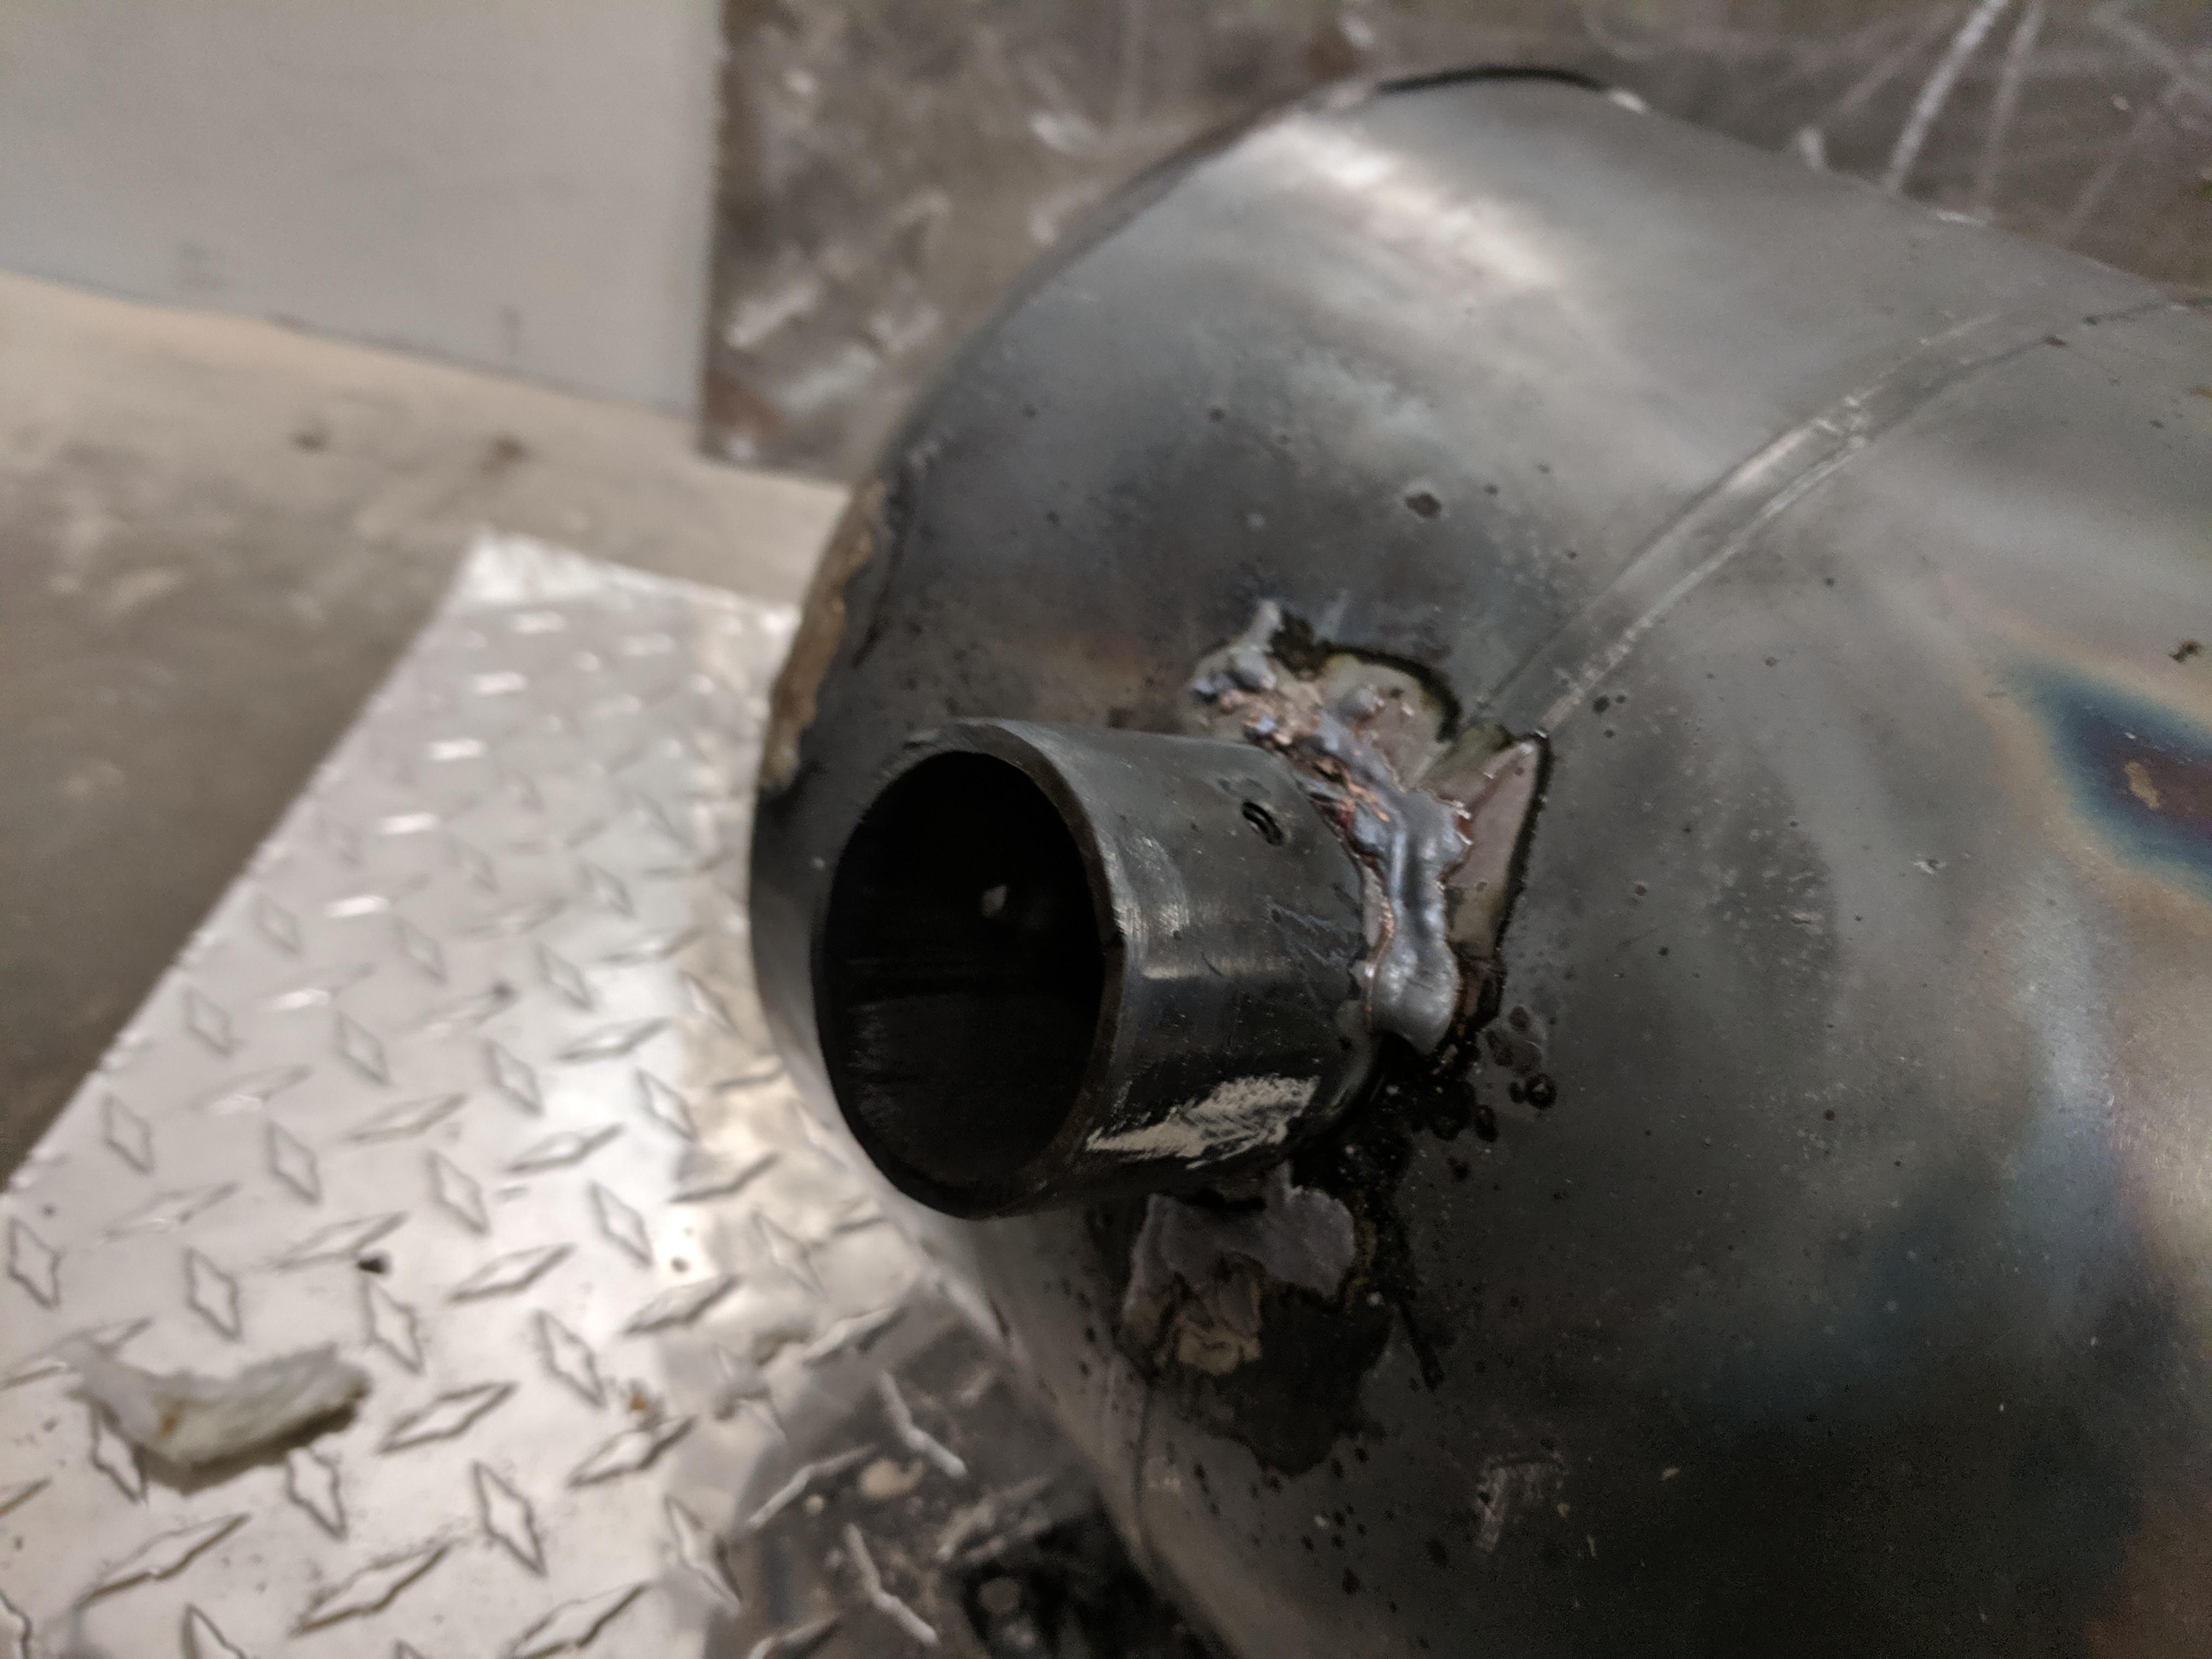
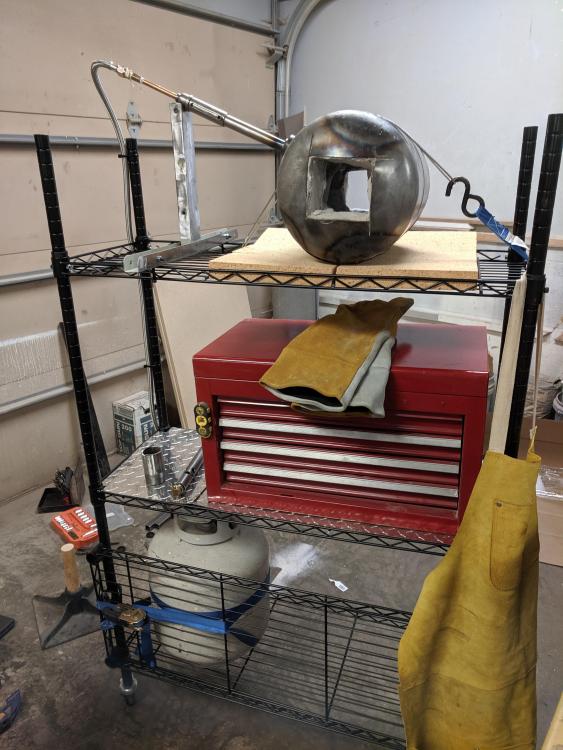
For those who haven't read my intro, I'm green as can be. I have been dreaming up plans for the past five or so months. I mostly plan to work on straight razors and kitchen cutlery, so I planned on a small propane forge. I didn't feel confident with the idea of cutting into a propane tank, so I went with a helium tank like they make for party balloons. The main difference (besides safety) is volume. These helium tanks are about 9.5" diameter and ~13" tall. I recall 20lb propane tanks are closer to 12" diameter, and a few inches taller. Since I'm only interested in smaller pieces, it works for me. The main downside was that the ceramic blanket was a tight fit. If anyone else is thinking of trying this, use four layers of 1/2" blanket instead of the usual two layers of 1" blanket recommended for propane tank forges. Lining: 2" of kaowool 8# density (two layers of 1" blanket), rigidized, followed by about 1/8" of satanite (2 coats, each approximately 1/16"), followed by one coat of ITC-100 HT roughly 1/16" thick. Floor: none yet. I couldn't fit a firebrick inside, so now I'm debating doing a refractory floor. On the other hand, on the front of the forge there is only a 1/2" lip between the bottom of the opening and the interior lining, so part of me thinks I could get away with not having a floor. (On the back opening, the lip is about 1" because I didn't take the time to do proper layout). Your input would be appreciated! Burner: I've made two kinds to experiment with. I made one 3/4" burner following David Hammer's video (shown below), and I made two 1/2" burners following Michael Porter's book designs (not shown). The forge volume, as is (without a floor), is 214 cu in, which is closer to 1/2" burner capacity. I only put the 3/4" burner in there because the 1/2" burner was still hot from the tacking. I'm gonna put the 3/4" aside for the future. Ok, I know the tacking holding that shell together is really bad. Go ahead and roast me, I deserve it. In my defense, it was my first time brazing (no welding experience either), and I was armed only with my 1/2" propane burner (not shown). Also, for the record, I do not plan on mounting the forge on that wood table. I decided to save some money on a forge cart, and just bought one of those steel racks with casters that amazon sells. I'm very short on materials, and I have yet to find a lot of scrap or drops in my neighborhood. I'm going to cut a rectangular slot in one of those shelves for the forge to sit in, and secure it with a chain and ratchet strap. Going to fabricate some kind of support for the burner just in case the positioning screws back themselves out with heat cycling. Also going to add some bolts to the joints holding the shelves up, because the last thing I want is a shelf with a forge on it crashing down. I'll show you what I come up with. Bonus photo: My crudtastic silver brazing abilities (burner collar) Yuck. As always, feedback and advice appreciated!


-
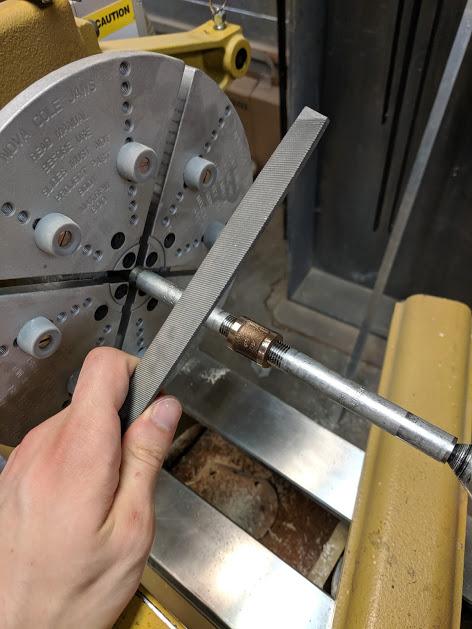
I'm a graduate student in the Boulder area. I play with lasers for a living. I've been interested in blacksmithing for a while, doing my research and dreaming up plans. I hadn't worked up the guts to invest in equipment until last month. As of now, I've got: a 12" long 55lb hunk of "railroad" track, hardened, with no features yet, mounted up on a hunk of tree trunk and some 6x6's (see photos) a single David Hammer style burner, without a flare (can't forge a tapered flare until I have a forge) that I just finished making, and is ready for testing and adjustment parts for a second burner of the same design a 12.5" diameter x 18" long helium balloon tank that I'll use either for a forge shell or a quench tank (if I made a forge out of it, after insulation, I'm estimating 400-500 cubic inches) parts for a Jeremy Schmidt style 2x72 belt grinder, in the works access to a woodshop and some access to a machine shop Bonus photo: me using a high-tech "turning tool" on a 1/4" pipe coupler, following David Hammer's burner making instructions (without a belt grinder). P.S. that divot in the railroad track was a failed attempt at drilling a hardy hole, because I forgot that I bought the railroad track already hardened. I broke three cobalt drill bits and emptied two small bottles of cutting fluid before I remembered.