

Whiskeymike
-
Posts
75 -
Joined
-
Last visited
Content Type
Profiles
Forums
Articles
Gallery
Downloads
Events
Posts posted by Whiskeymike
-
-
4 hours ago, Terrance W Winder, GA said:
Speaking of the plenum for a ribbon burner, what are you guys using for the plenum? I was toying with using ABS or PVC for the first half then go to iron pipe closer to the forge, however I'm concerned about static charge building up from the air flow in the "plastic pipe" and sparking off and causing a pre-ignition or worse.
When I refer to the plenum, it's the box that holds the refractory burner edge, not the tubing to it. My plenum is made from 16g steel bent to a box with a short 5" steel tube coming out of it to connect to the air/gas line. Connected to that, I'm using flexible 2.5" auto exhaust tubing that's about 5' long (2-2.5' too long, will cut it when I figure out a permanent stand to hold the forge). Then it connects to an air gate, and that is connected to the blower with a silicone 2.5-3" coupler made for cool air intakes for performance cars. I think you could use plastic near the blower, but I think you just have to figure out the advantages. I tried to keep mine as simple as possible.
-
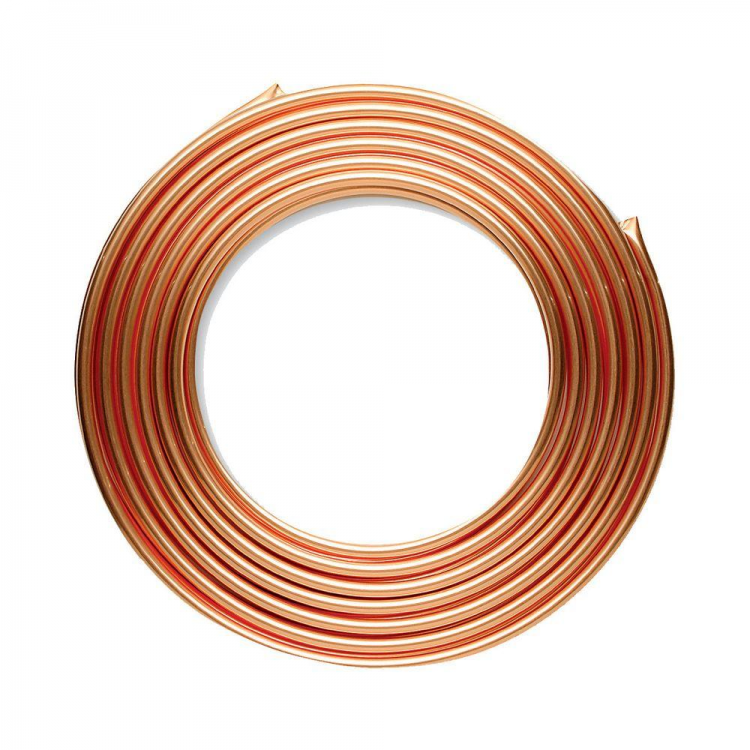
I have a 0-30 regulator with PSI gauge attached to regulator on a gauge port. Then has the gas hose, going to 1/4" quick shutoff valve, then needle valve, then 6 inch copper line feeding into air pipe which feeds the ribbon burner.
The PSI I'm referring to is the gauge off the regulator.
-
Searched around, but didn't find anything specific info on the subject. I'm about to apply Plistix to the inner face of my forge and wondering if I should apply a thin coat to the face of the ribbon burner. I don't see how it could hurt as long as it doesn't restrict the holes. Also hoping that it will keep the plenum cooler as it got pretty warm in the test firing.
-
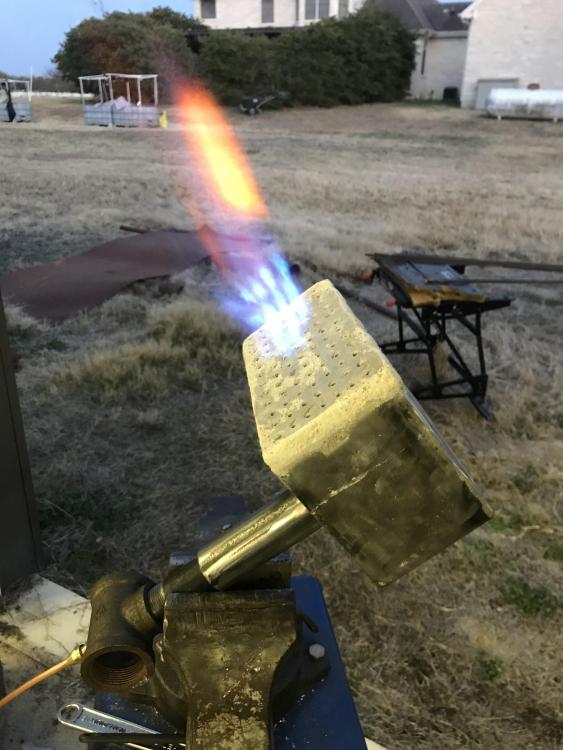
I'm finishing building a forge with forced air ribbon burner. I found that to get it to an appropriate heat, I need to bring regulator up to about 20 psi, so it's not a lazy flame. This allowed me to open air gate and get it moving through. I haven't applied Plistex yet, but will do so soon which should help. Once it's hot, I can bring it down some, but haven't had enough time with it to zero in on it.
What does it imply that I need to go up to 20psi to get it going? I notice most guys are starting at 7-10psi, and bringing it down to 2-3. Is PSI immaterial/inaccurate since I'm running a needle valve which would affect volume passed through?
Mike
-
Finally was able to get my first firing in the forge I've been working on. It's forced air through ribbon burner. I've got a lot of tuning and learning to do on getting the flames right. But I had been working on it for a while, it got late and I had my fill of adrenaline from lighting, too much fuel, too much air, too little, etc...
-
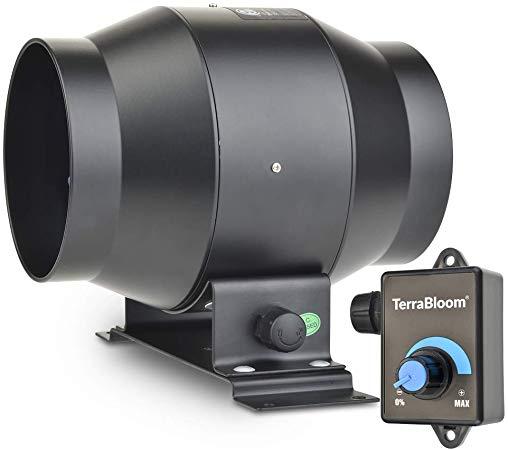
Building a forced air burner. Blower output is 3”. Tube feeding air with gas introduction is 2.5” flexible exhaust tube. I bought an air blast gate to control air flow volume and need to connect it in. And I’m not finding 2.5” flexible rubber tubing connectors to put gate in. Big box has 3” and 2”. Gonna see if auto parts stores have a 2.5 water hose I can cut 4” sections from to use. You guys have a suggestion of a suitable source of material? Blast gate doesn’t seem to have a lot of length on connectors. Also going to check the shop vac section to see if something there is suitable.
-
Has anyone tried using a blower like this?
-
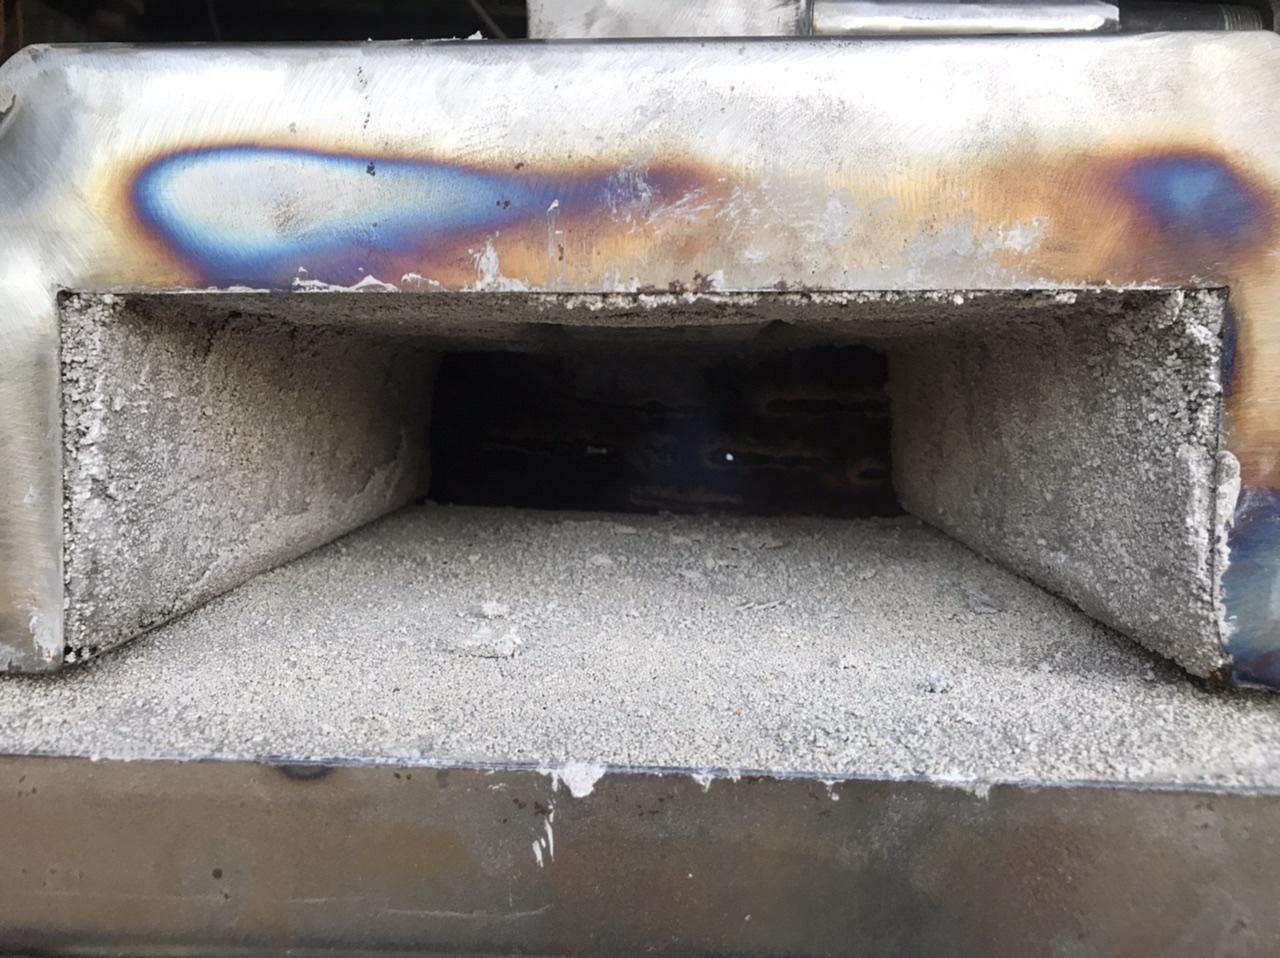
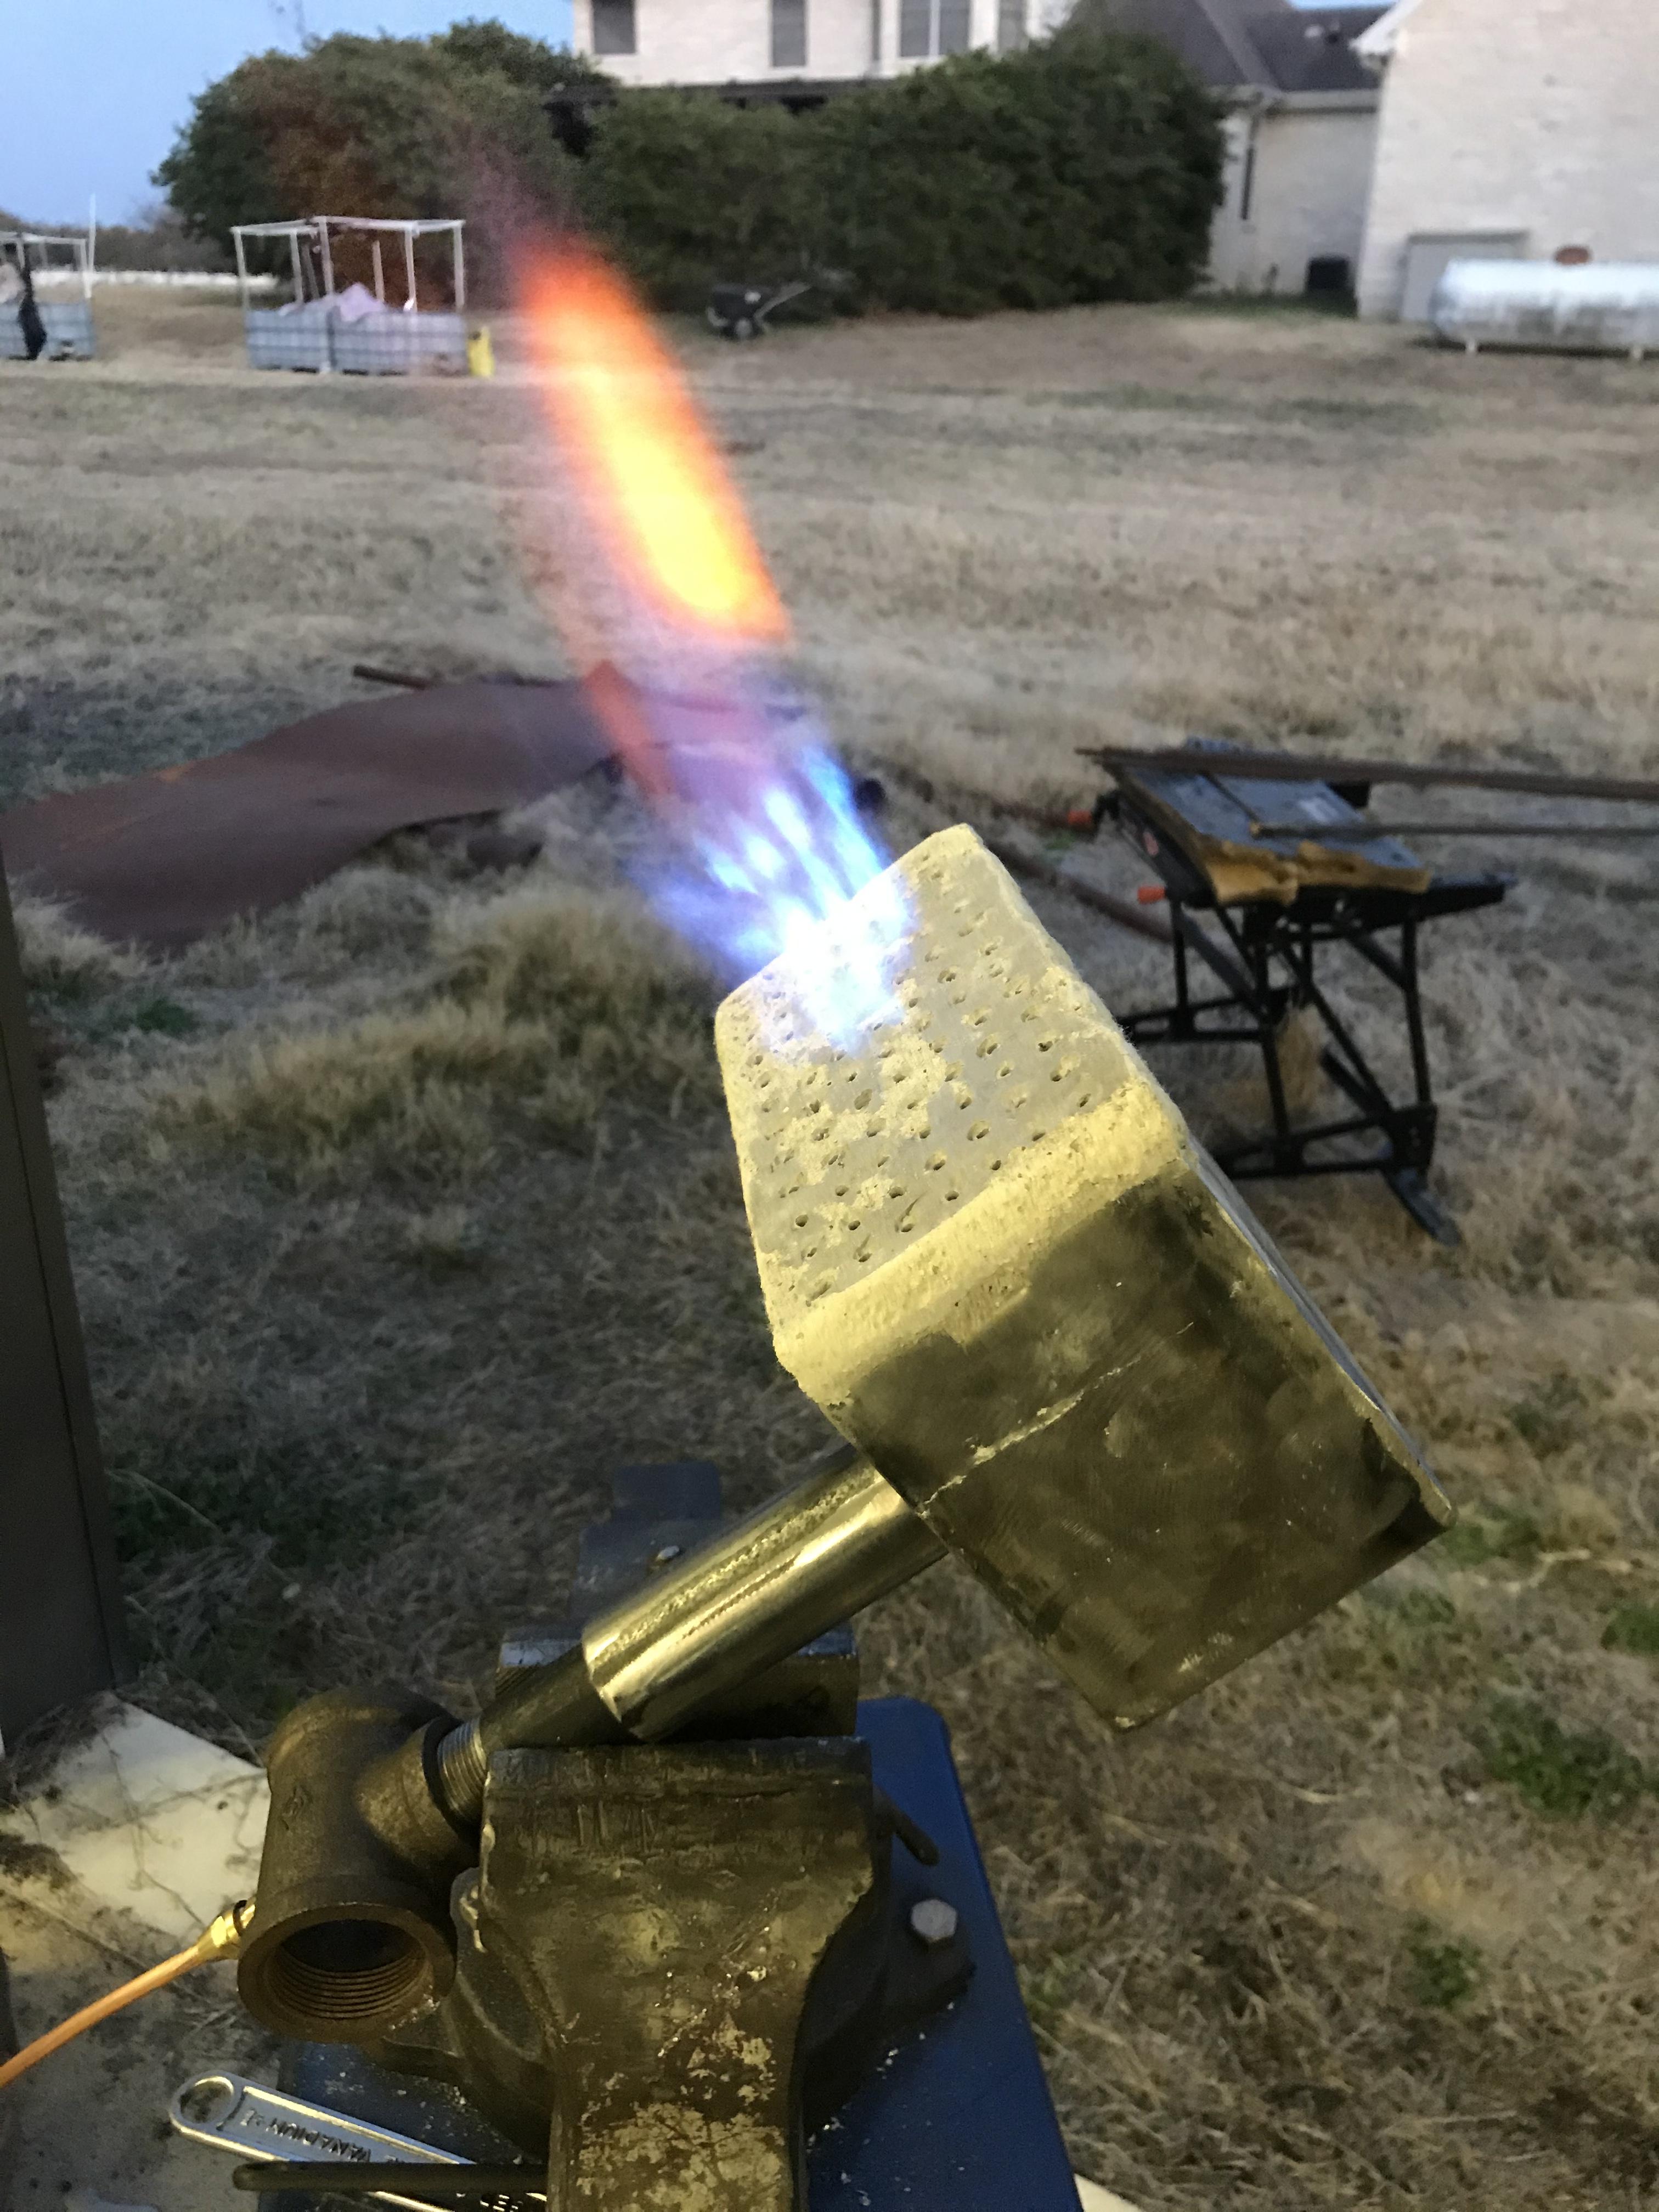
Whoa, my bad. I was clearly ready to sleep when I wrote that. The ribbon burner is 80 1/8” Or .125” holes. No clue how I typed 1/2. Sorry about that.
-
Yep, I thought Farb is Forced Air Ribbon Burner, versus Narb, Naturally Aspirated Ribbon Burner.
i started the Narb route, but found it hard to get going well, mainly because I didn’t follow the couple recipes provided verbatim. I’ve taken a few months off due to the holiday and frustration. I’m hoping adding a blower to the mix, will make it more adjustable for tuning it in.
My forge as I remember is about 400 cubic inches. My ribbon burner is 4x9 with 80 1/2 holes. My plan is to add the burner, change plumbing over to the common path with needle valve, air gate, and block holes as needed.
I’m great with over sizing the blower. But the blowers often have cfm without static pressure information, so hence I’m looking for brand/models that have been successfully used.
Thanks
-
Can you guys share which brand/model of blower you are having good luck with for Farb? Also how are you connecting from 3” to 2” pipe? Is there a good way to reduce it?
-
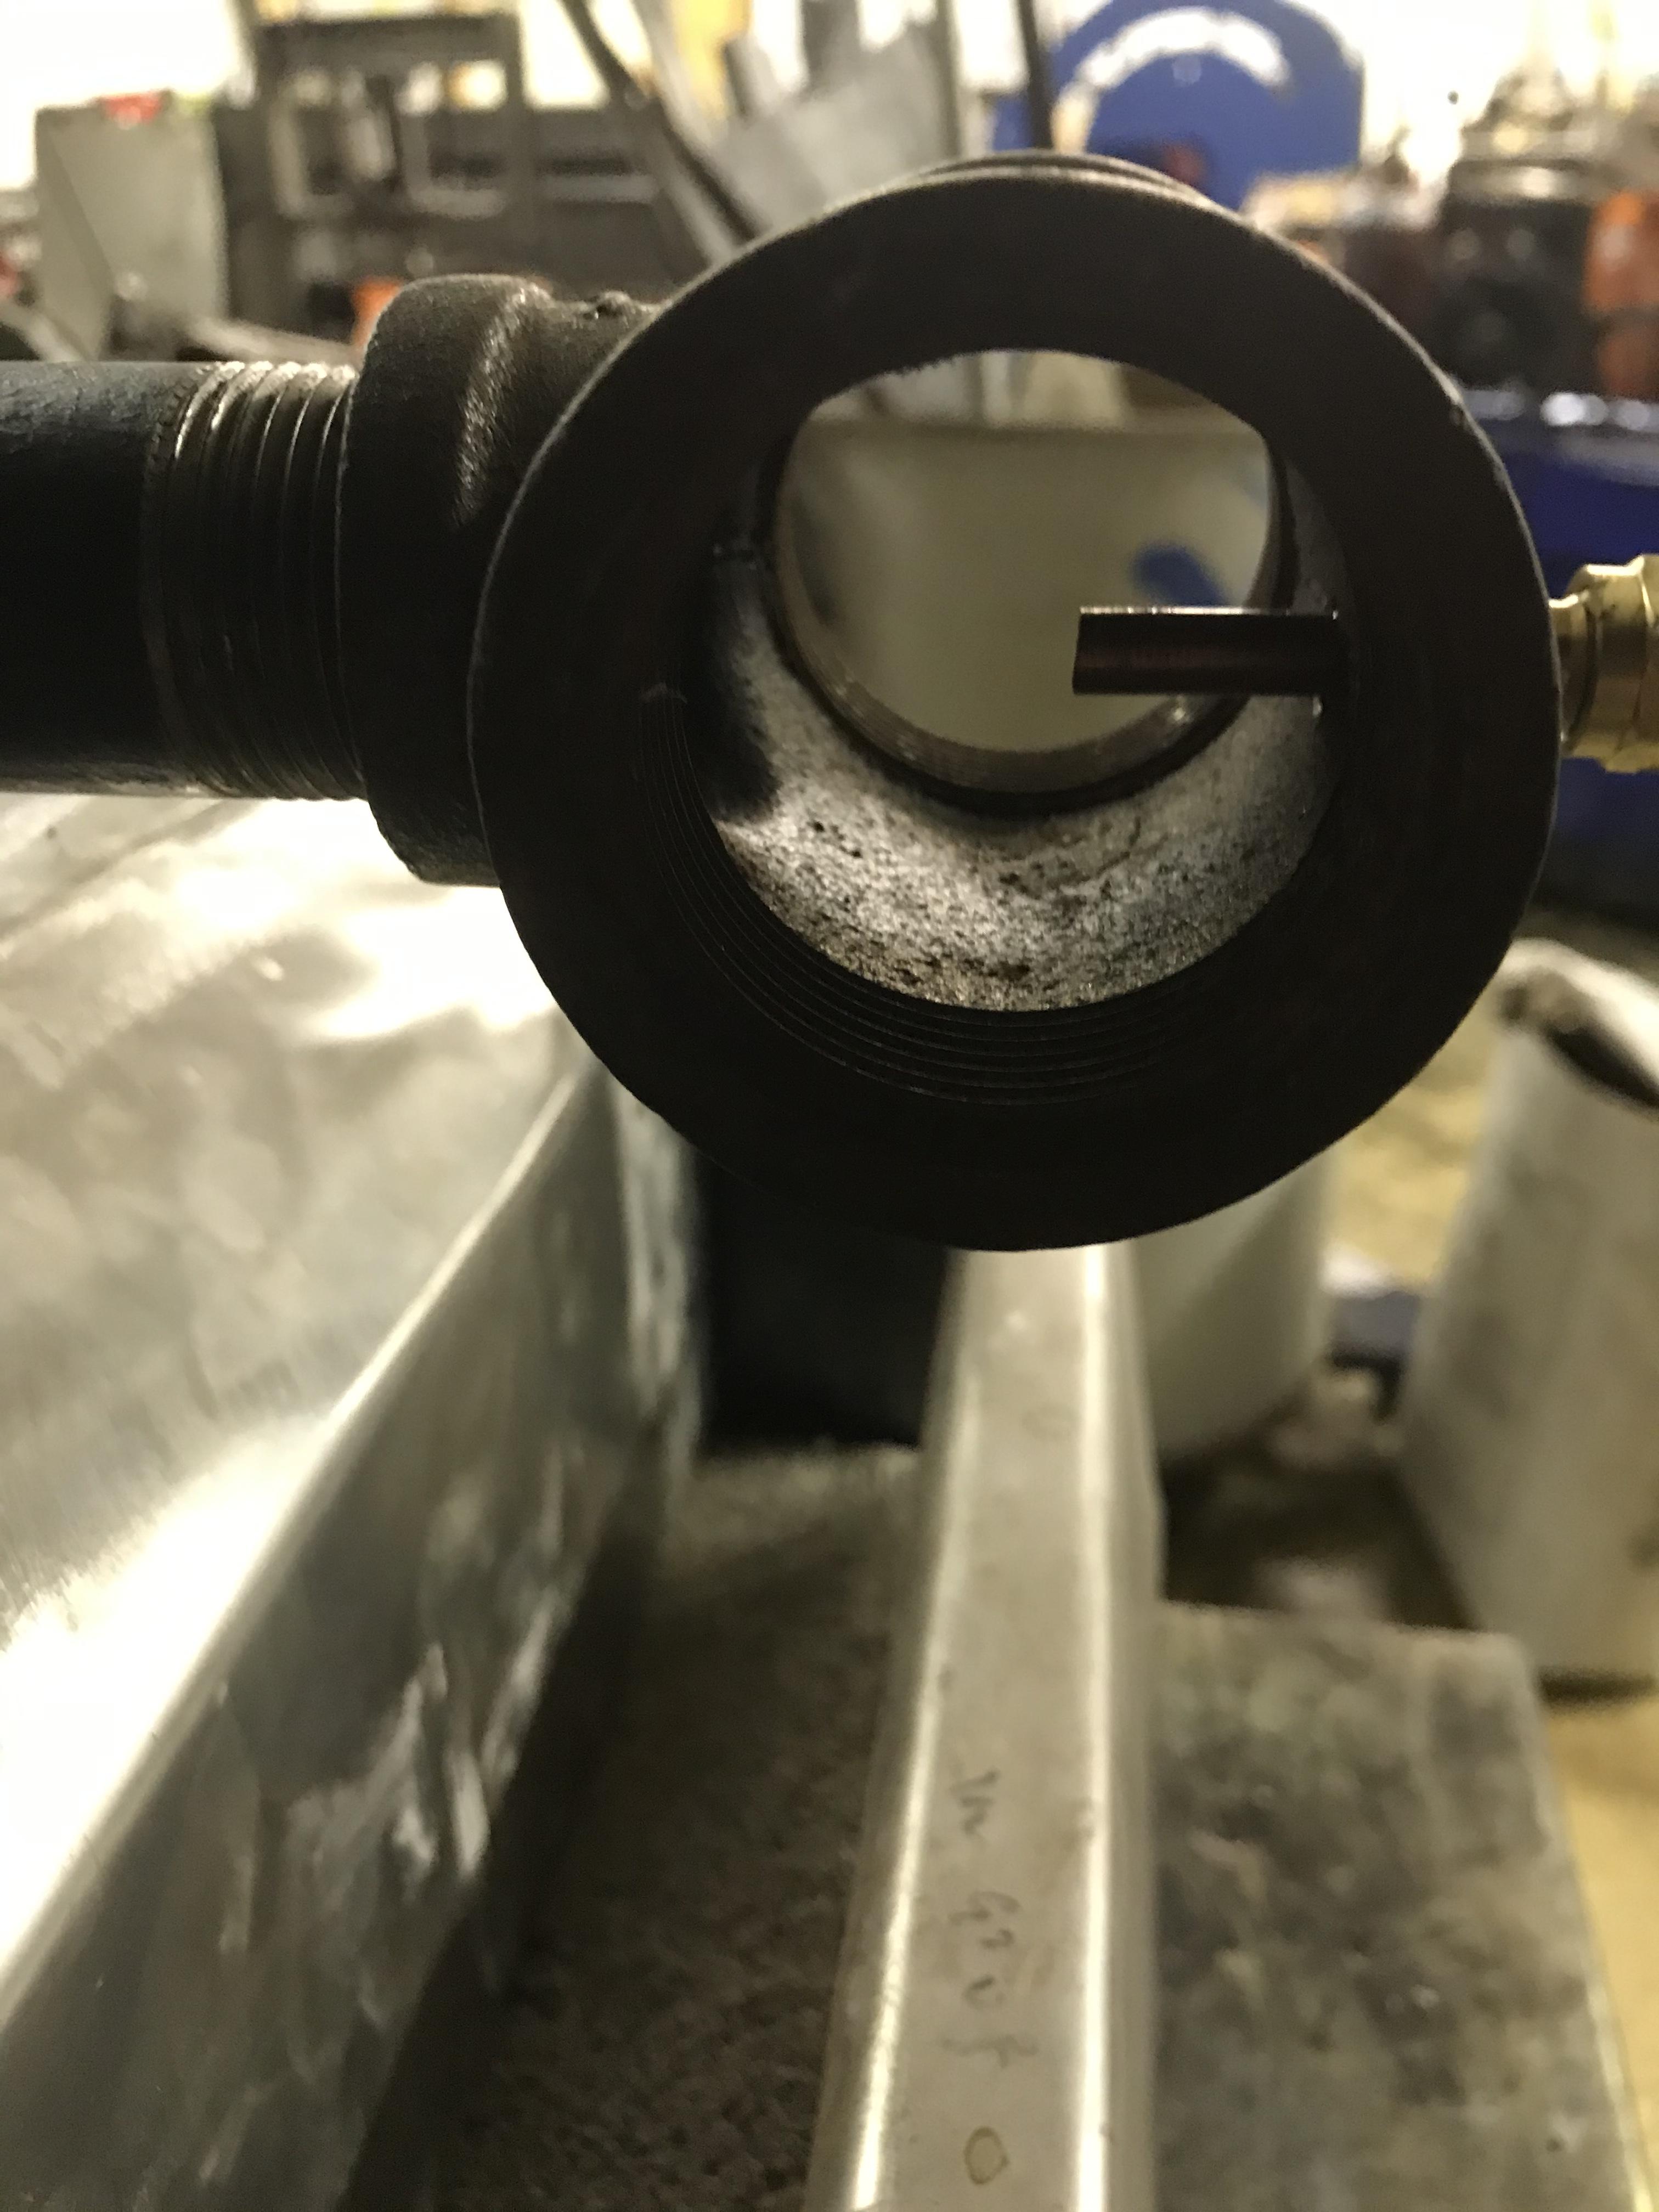
I used these which was designated by 1/4” OD tubing.
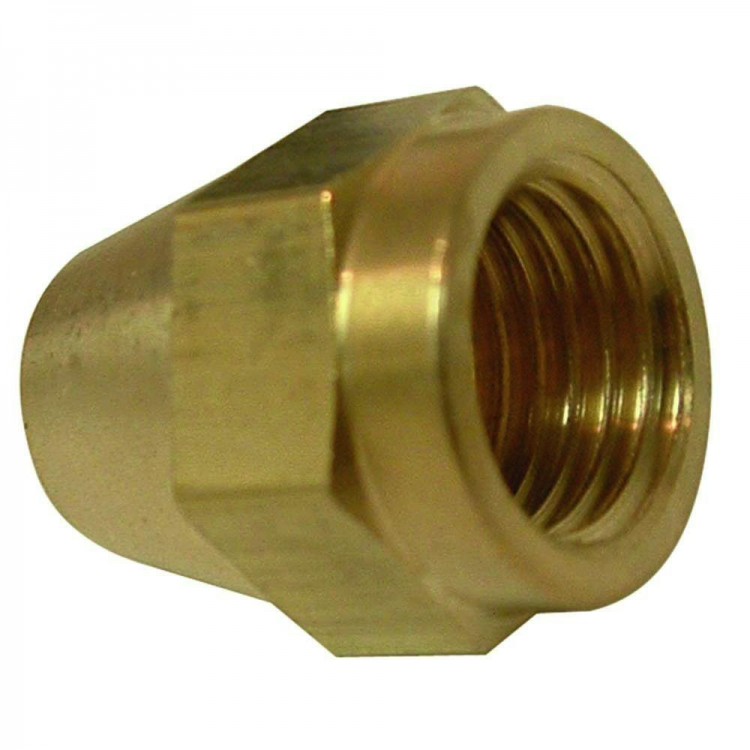
I’m not understanding your second question. The MiG tips I used was 1/4-20 which you tap on the inside of the 1/8” NPT side of the 1/8” NPT x 1/4” flare fitting with 1/4” side going to gas. The top of the 3/4x1x3/4 T gets drilled and tapped 1/8” NPT which is bigger than you would expect because it’s Pipe so that’s ID.
hardest part was sourcing 1/4” flare to 3/8” flare to attach to my gas. Couldn’t find the fitting at Home Depot or my local propane supplier. I found a solution at Lowe’s where I went 1/4” flare to 1/4” NPT, 1/4” NPT tp 3/8” NPT, 3/8” NPT to 3/8” flare.
hopefully this helps and I didn’t misunderstand or confuse you worse.
-
Thanks Dan. Does the tube and T really affect anything? (assuming it’s not too small and constricting flow). If the air flow drawn in is a combination of pressure and orifice size, should I need to go to a 3/4?
New regulator should arrive tomorrow. Looking forward to trying a few more things.
-
Yea, right before this project I was at a garage sale and they had half a bucket of large bolts of course where I immediately coveted them. But then that little jerk on my shoulder said.... you are going to get those, do nothing with them and trip over them in the shop for 6 months before scrapping them. Unfortunately I listened to him, and a month later I was in the fastener shop buying brand new bolts. Now I try to leave the jerk at home.
Wow, that’s great Crew! I will send you a note.
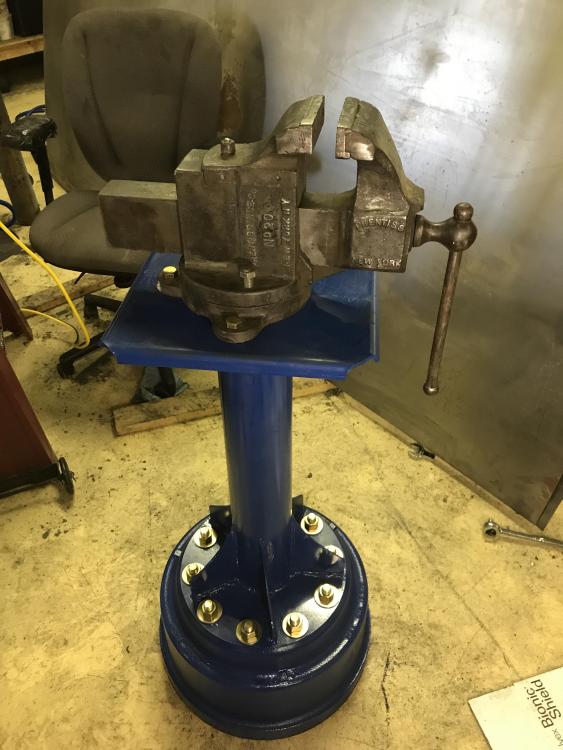
On 11/17/2019 at 7:47 AM, Jim Coke said:Nice set up . Do you know that the rear portion of your vise swivels when the pin is removed. It looks like it has not moved in a long time. Prentiss vices are great.
Yes! I love swivel vises. I think this one is from about 1926. I really like Prentiss, it’s a brand that seems pretty uncommon in TX. I have not removed the pin on this one. I tried initially and it’s wedged pretty good, but didn’t want to force it. I have a smaller one with a swivel jaw that moves very smooth and use that when I have an odd shape.
-
Yep, I appreciate it. I didn’t have much time today, so the only thing I got done was changing to a .25 tip from the .45 tip and it behaved much better. The sound was much more what I was expecting and it was hotter. Still not right, but changing the tip definitely improved it. I noticed my regulator had a slight leak, so had to hang it up. Ordered a new one and will resume later in the week. Pic attached, but it was pretty bright out, so hard to see the flames.
-
Yea, it basically boils down to 6 months of reading about all of the strategies, retaining 20% and mixing them by accident. I originally started out with a design needing two 3/4 T Burners, then switched to Forced air ribbon burner, then NARB. I figured since I was going from two t-burners to one, I better up it to 1”. As Franken Burner rightly identified, being from Texas, anything worth building is worth overbuilding!
 When I got to drilling the holes in the mold, I got intimidated with successfully doing such density and I remembered the hole count for forced air or NARB with crayons and went with that, not considering naturally aspirated needs. It’s all part of the learning process for me.
I had cut out the sheet metal for two plenums, so I can assemble that one, try some wood inserts, make a new bottom plate and lay in the Kastolite. While it’s curing I can change to a smaller tip, then try to drill out the holes to 5/16th. If it survives, I can always use it on a different forge.
thanks for the help guys.
-
Perhaps. After I make the other changes, maybe I’ll try enbiggening the holes and make another burner. At 84, the density already feels very tight. The process is surprisingly stressful trying to keep the spruces aligned, etc.
-
Ok, I’ve reached that phase of the project where the question of “are we having fun yet?” Has a definite no answer!
") But, I’m hopefully getting close.
But, I’m hopefully getting close.
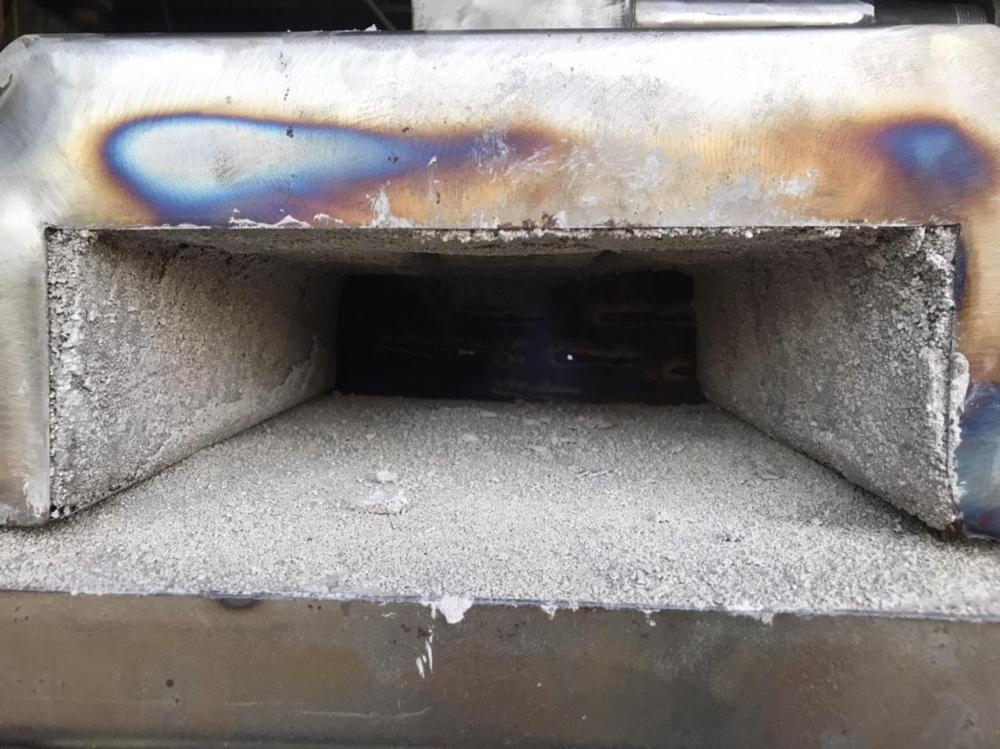
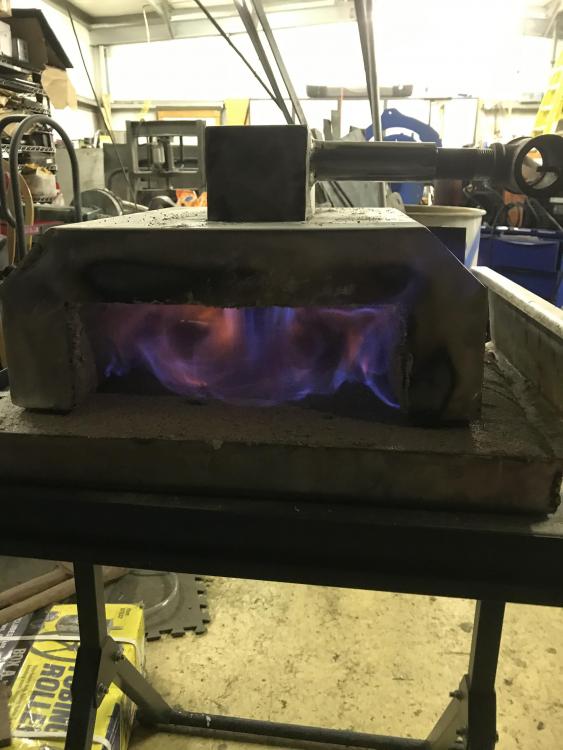
I’ve got the forge built and lined with blanket, rigidized, and Kastolite 30. I’ve got the Narb built after the first having a failure and loss. And I’ve fired it for the first time to lackluster results and need to tune further.
I’m using a 1” tube with 1x1.5 T, .45 Mig tip. I started with MIG tip dead center. Didn’t like the flame, so I shorten it to where you see it in the picture. The ribbon burner out of forge picture was with the Mig tip in the center. The burner in the forge picture is the shortened tip version. The ribbon burner is 84 1/8” holes.
First time I’ve ever fired it, so some of the orange flames could be the green Kastolite. But it definitely not the right mixture. Increasing the PSI didn’t seem to make much difference.
i have a 1x1.25 T ready to go, so will likely try that tomorrow. Also need to try a new tip and start from the beginning.
i see now what you guys have said about pictures not accurately representing reality. The Narb outside the forge seemed to have most holes with a flame, and they were almost entirely blue. In both places, the flames were a good half inch off the surface of the burner.
any thoughts for tomorrow’s next steps?


-
Excellent, thanks. Was worried it might instantly crack/shatter.
-
Has anyone tried to shape, trim, sand or grind Kastolite 30 after curing? Making a ribbon burner and the mold left some ridges/high spots I’d like to clear away, without stressing it too much. Thinking that I might be able to use a file, flap wheel, grinding disc, abrasive cutting disc, or similar to shave some down. Piece has been curing for 48 hours.
Wondering if it’s sandable without severe risk of cracking.
-
Thanks. I overpaid for the bolts. I think they cost more than everything other than the vise as I used scrap. But I do like how they look. My thought is that I could weld a cap plate on the bottom and then fill it with sand for more weight, but so far I haven’t had to go that route as the drum provides enough heft.
i think I’m going to use another to build a leg vise stand with striking anvil. I just gotta find a reasonable source for 1-2” plate.
-
I made a vise stand and love it. It’s heavy enough to not budge when I’m working on something.
-
Deleted. Found my answer from searching the forum further.
-
Makes sense. Think I’m good. Just trying to get all the steps in one place.
-
Couple quick questions. Read that multiple thin coats is better than one thick one. How long does it take to dry between coats? If I make a batch and put a lid on it, will it last a few days? Or is it more like concrete that water sets?


20 PSI for good heat
in Gas Forges
Posted
No orifice on the end of the copper tube injecting propane into the air line. I assummed I needed the needle valve to fine tune the amount of propane going into the air line. Is the regulator PSI more appropriate?
Perhaps I should set the regulator to 10 PSI, open the needle valve all the way, and then adjust it down from there?