

MCalvert
-
Posts
75 -
Joined
-
Last visited
Content Type
Profiles
Forums
Articles
Gallery
Downloads
Events
Posts posted by MCalvert
-
-
Excellent. Cardboard and cloth very doable. I will read more about F stops. I am starting from absolute ignorance regarding photography. Thank you both!
-
Why not 1095 and 15n20? Both are inexpensive, and buying from a good supplier removes those variables. Just a thought. Also, boiling an acid only speeds up the reaction. Ferric chloride is a proven way to get results. Look at the contrast from some of the beautiful blades showcased here and note the alloy choices and etchant used.. there's your road map.
-
So hold the point of focus so that little yellow flowers are thirty feet behind it? It's rare enough to find grass that's green instead of yellow here.. I suppose I could sneak onto a well-to-do's lawn and quickly start taking pictures of a sword

-
T.Powers, your suggestion is helpful. I did not think of that. The tang is approximately 6in long, maybe 6.5in.. I don't remember. I was actually a little confused about the appropriate length. It was tempered past the blues/purples.
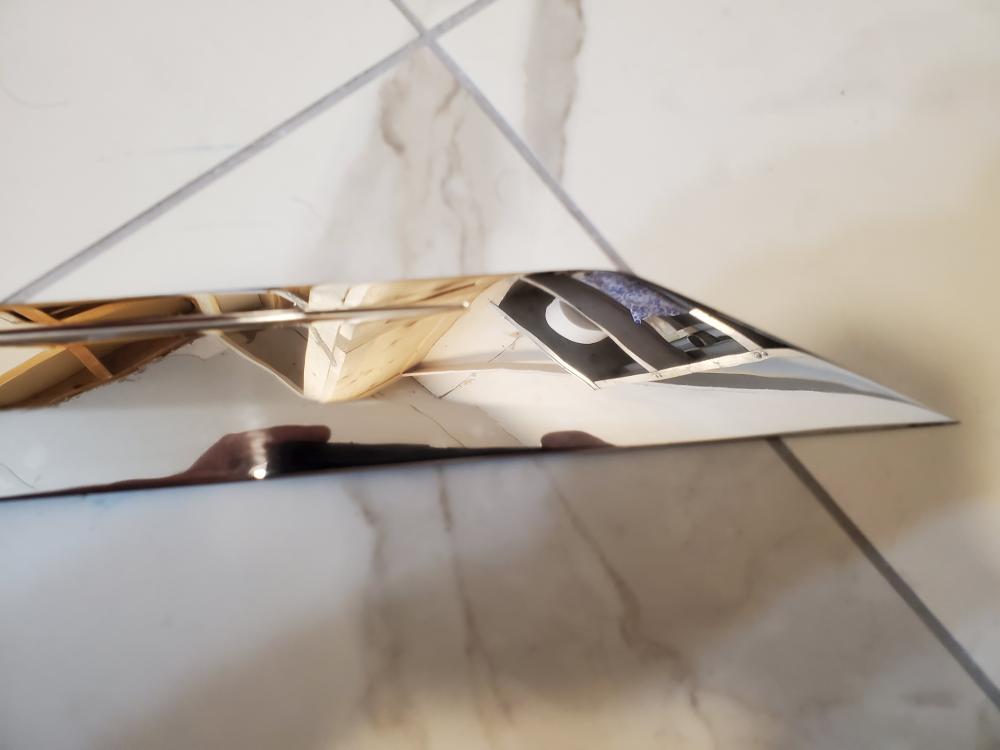
Frosty San, I wish I would have thought of the grass!!! That's brilliant. The white tile I thought would help the eye see the lines better. Thank you both for your kind words; to be validated by fine smiths is greatly rewarding.
-
To clarify the term organic material, I mean watermelons, cantaloupe, tree branches, etc...
-


Dark straw post-temper pic


-
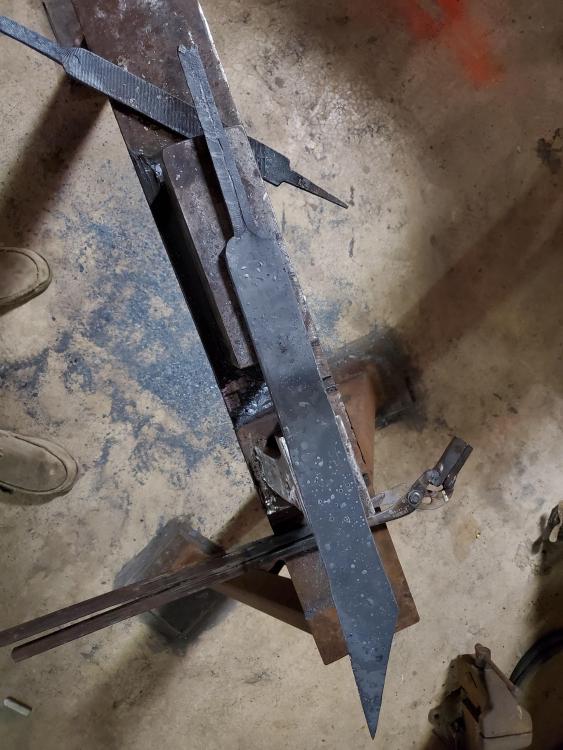
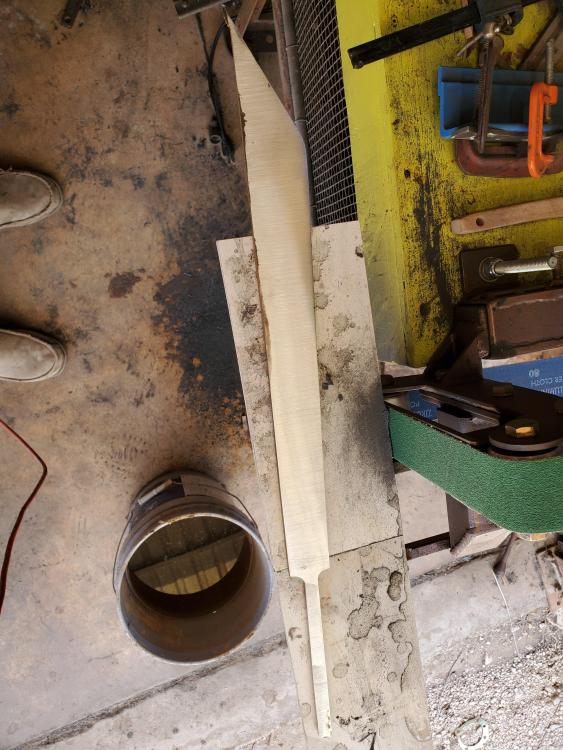
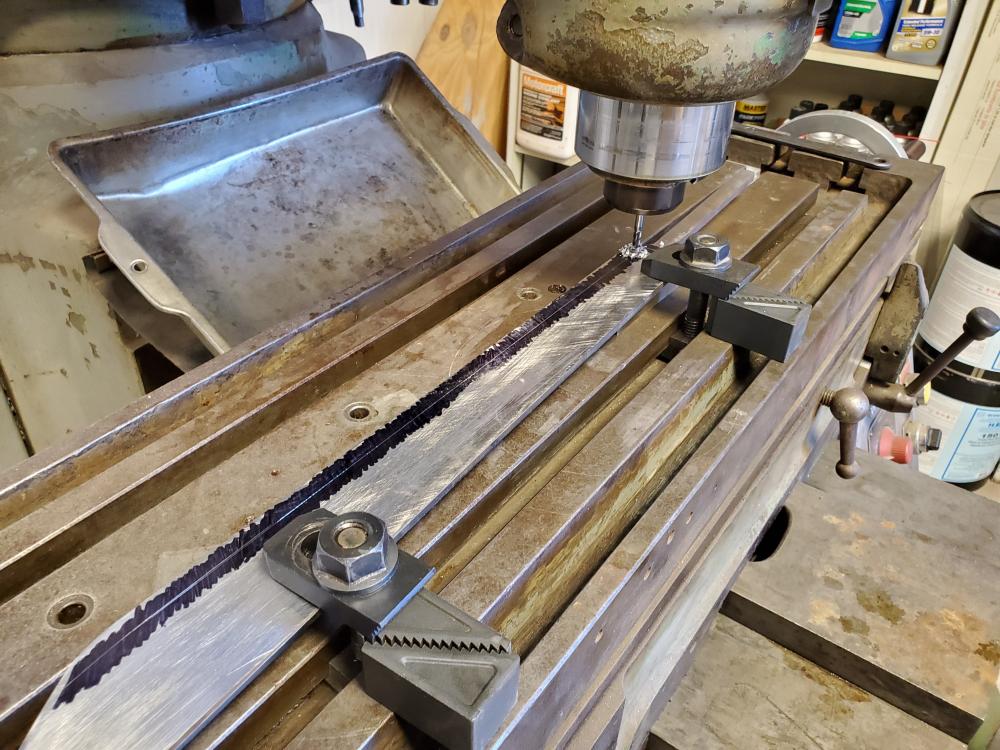
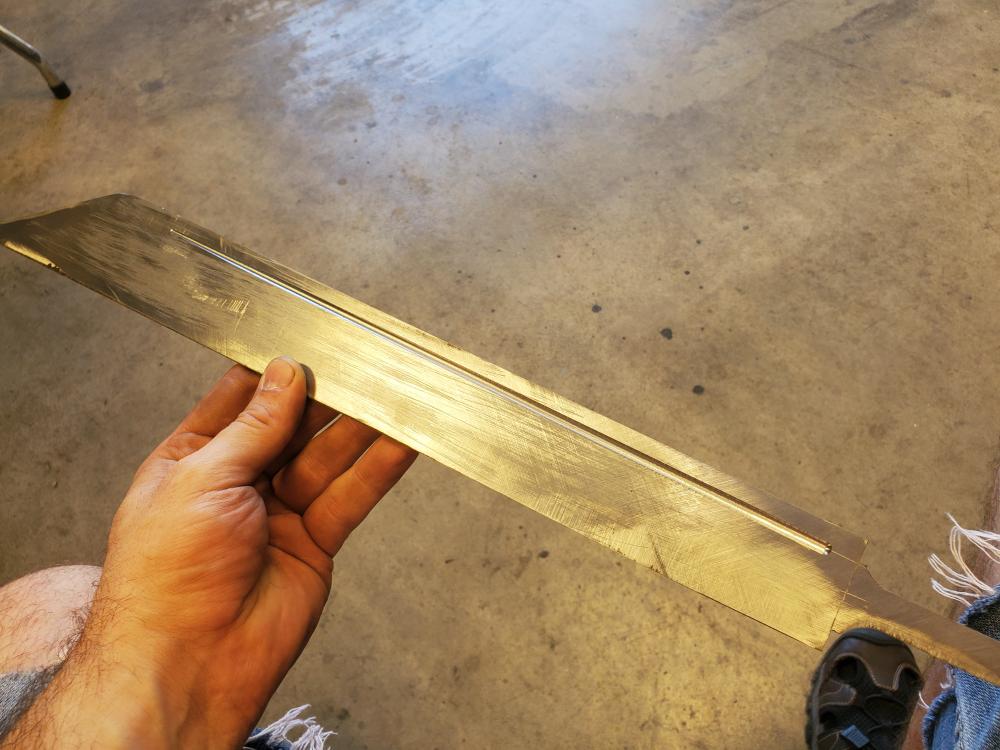
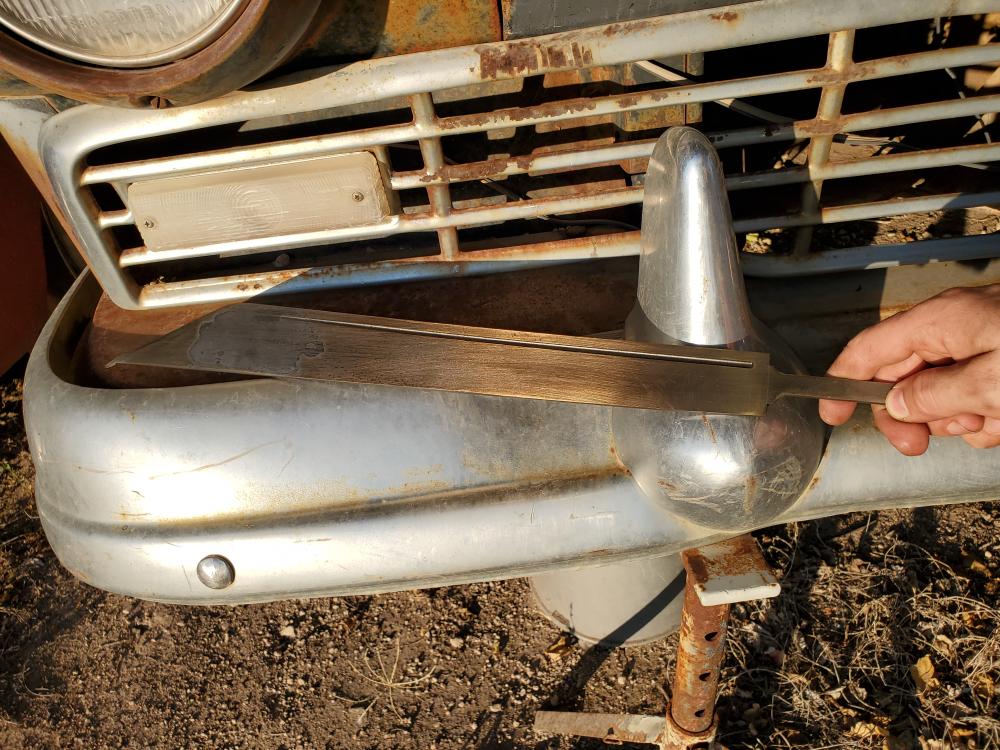
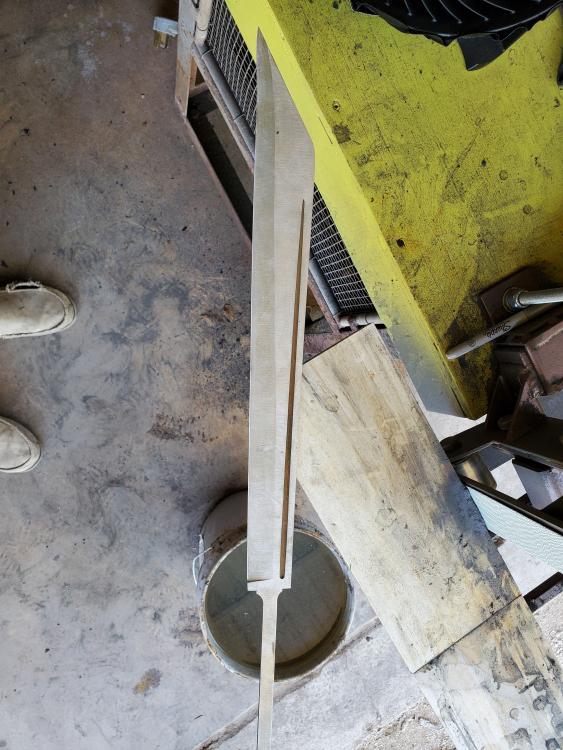
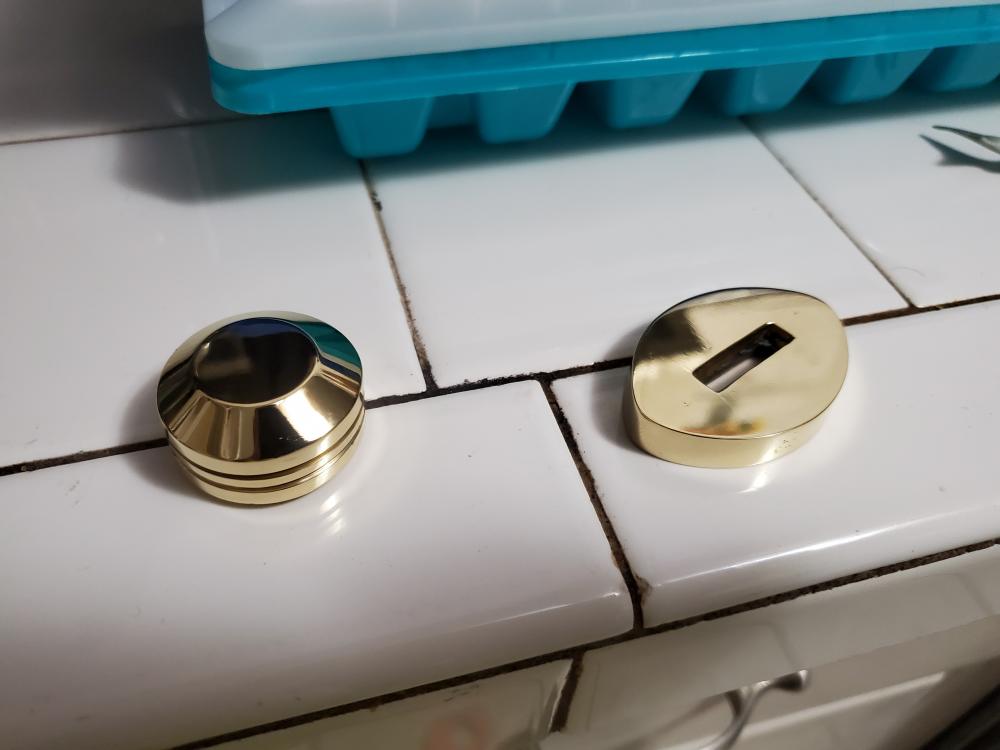
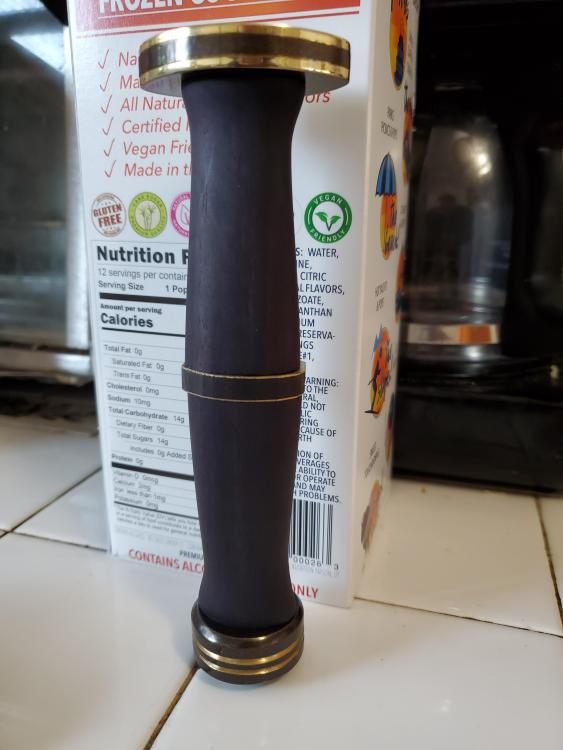
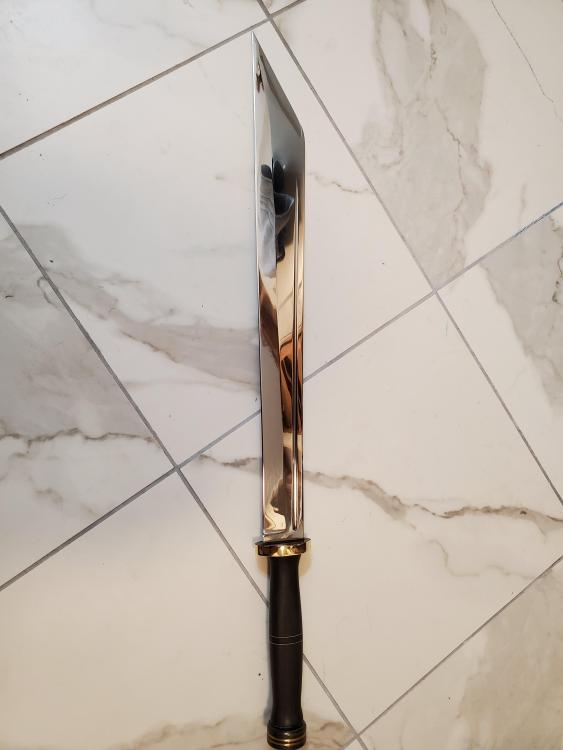
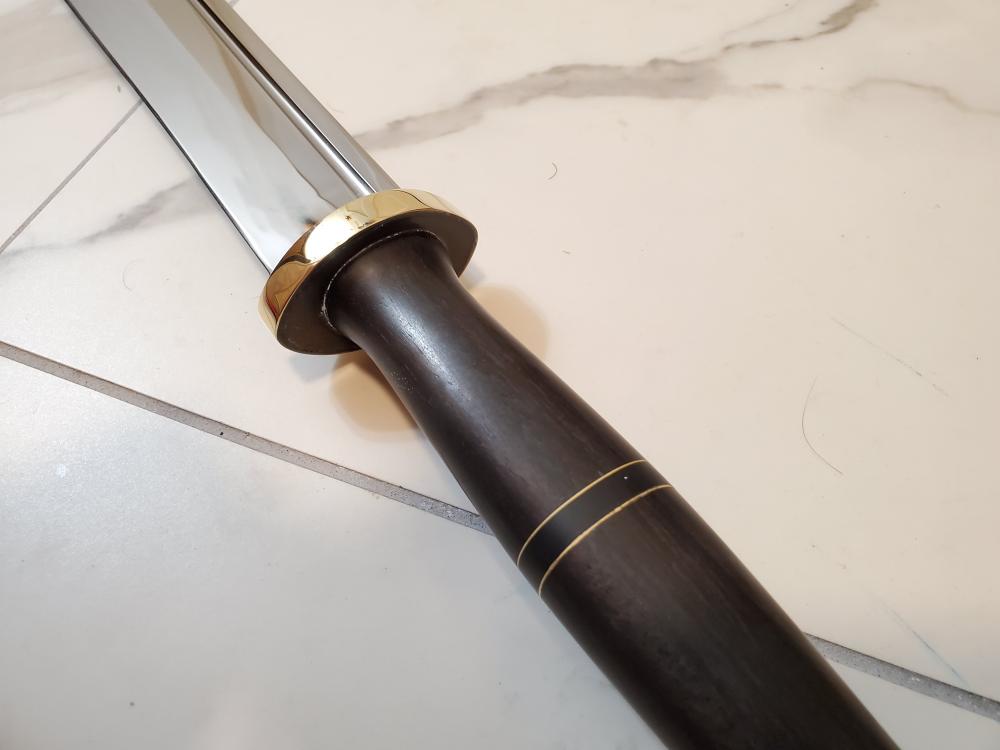
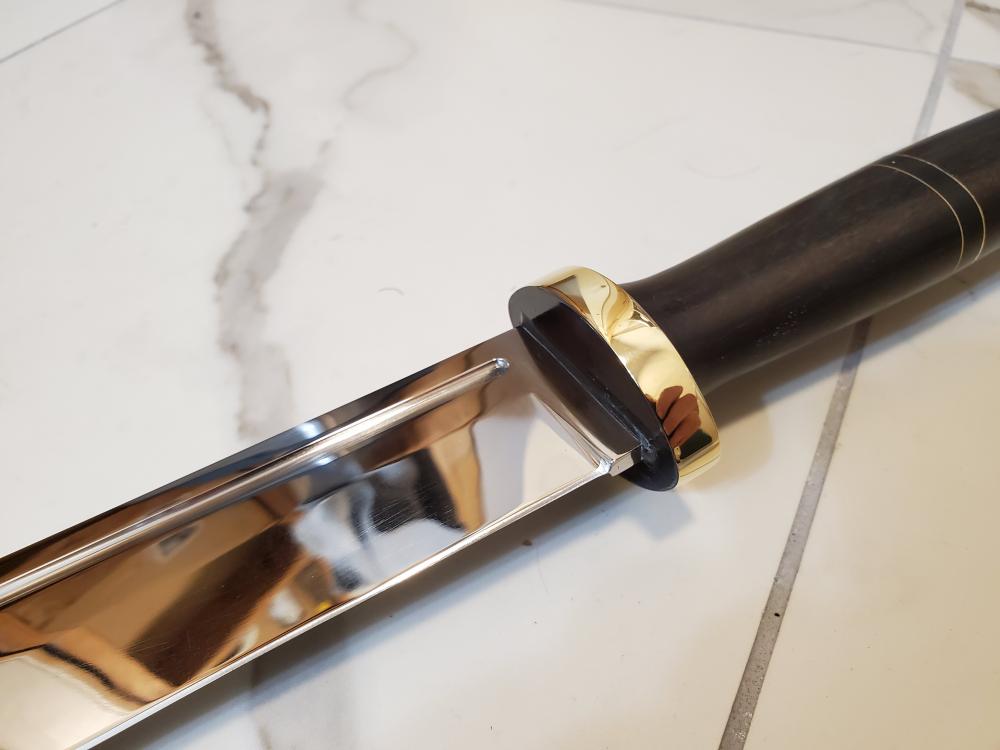
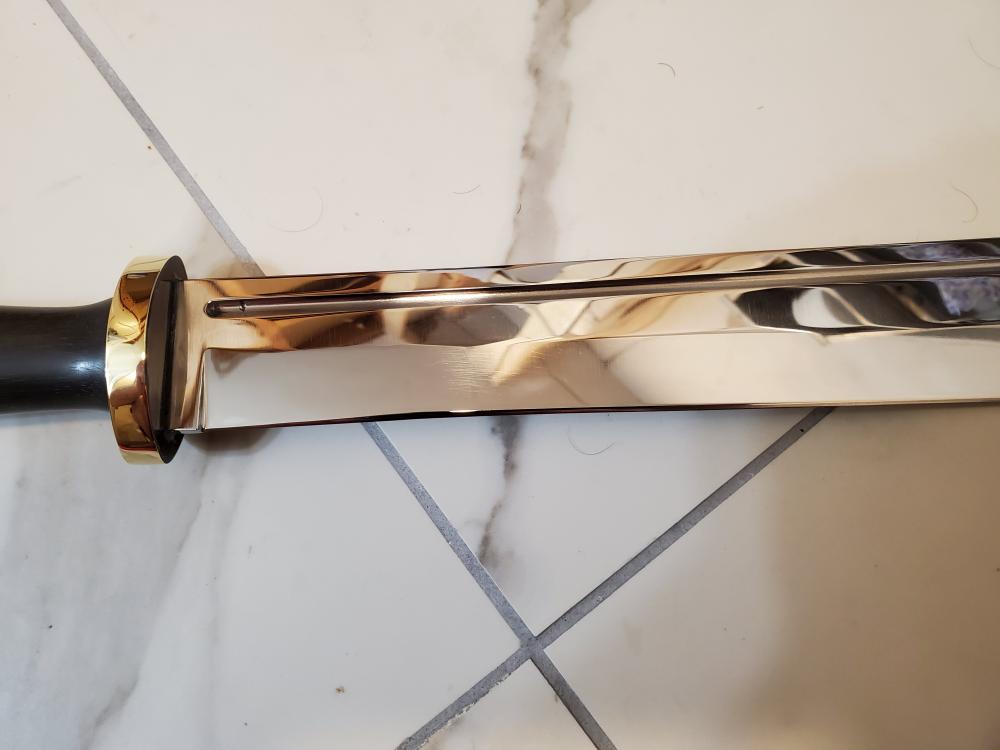
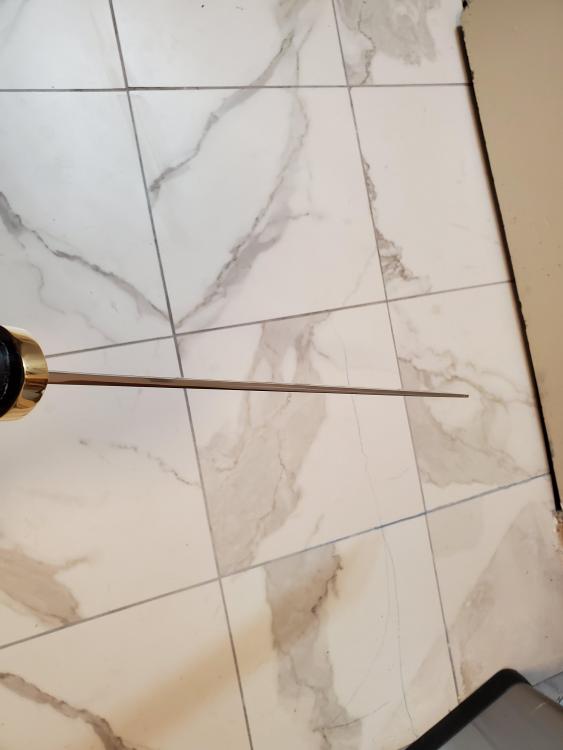
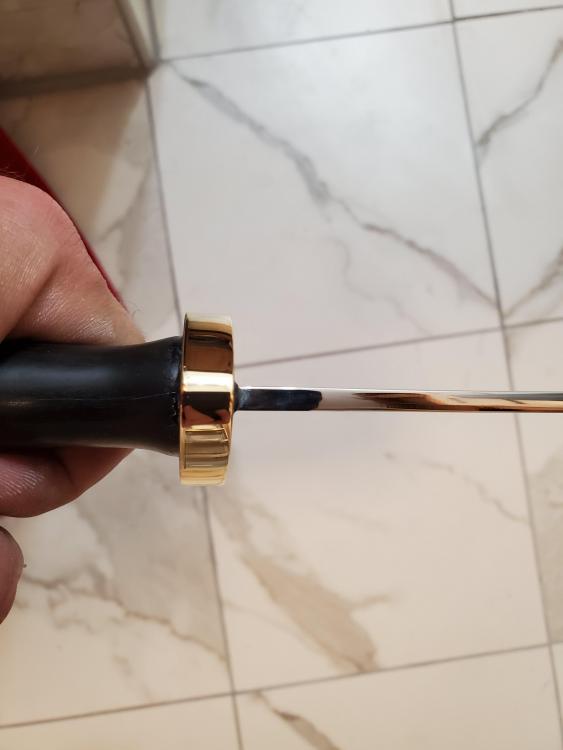
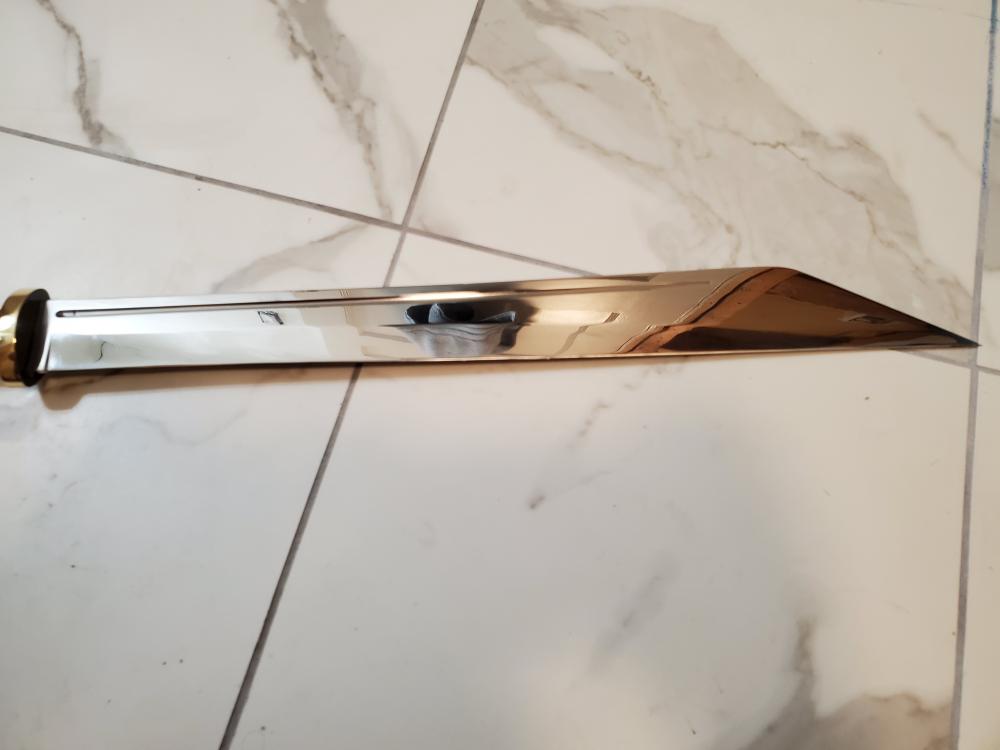
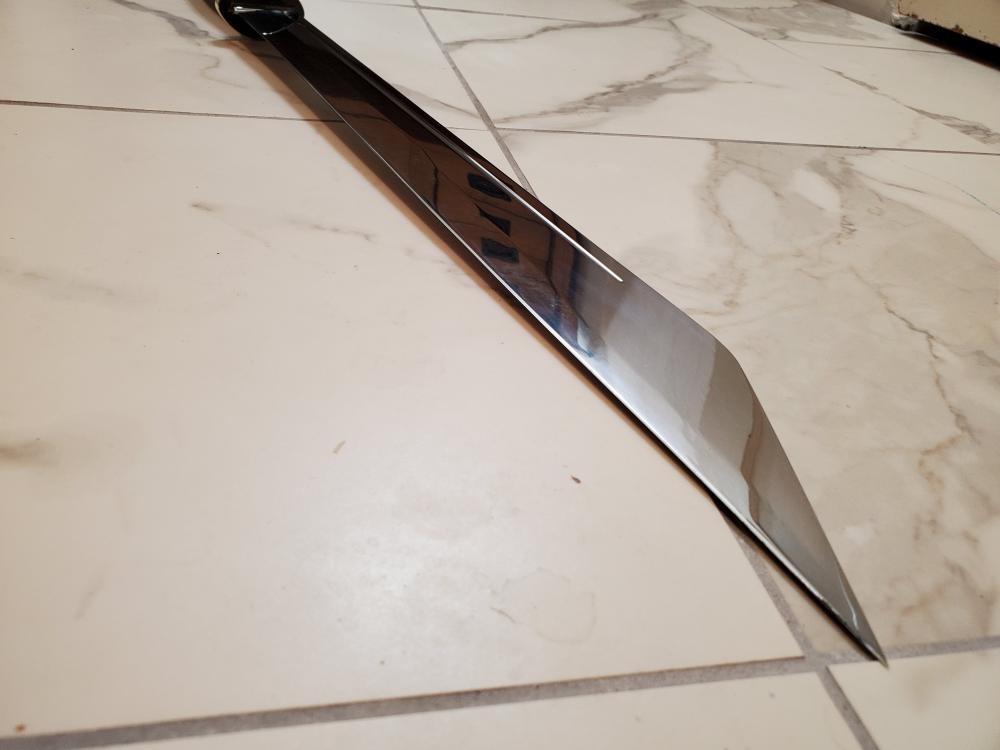
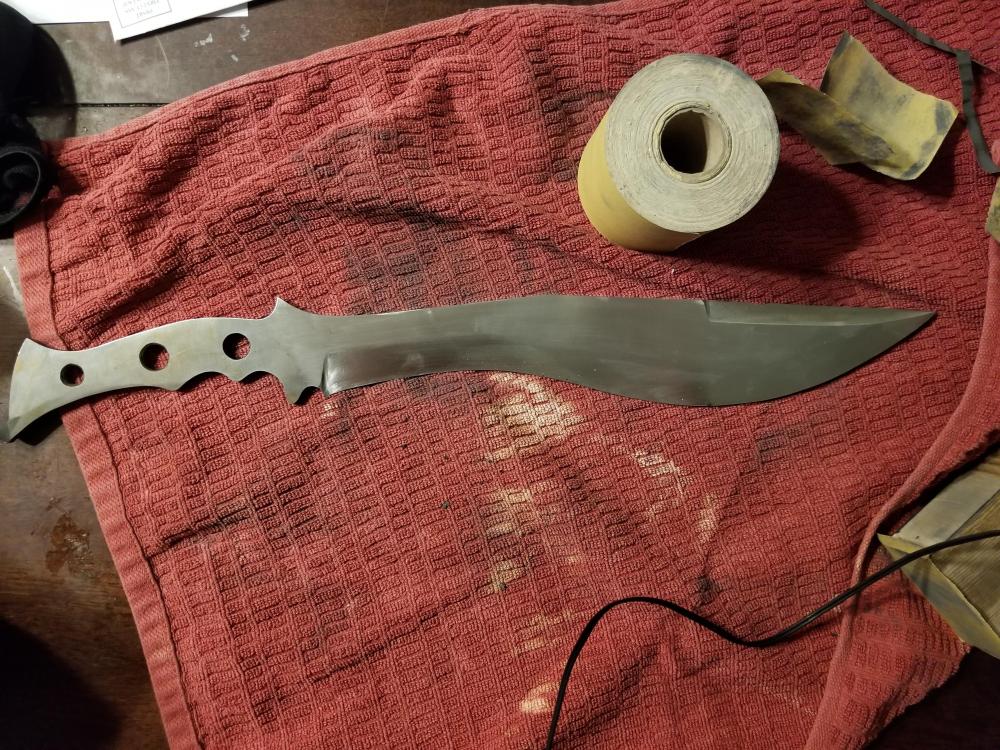
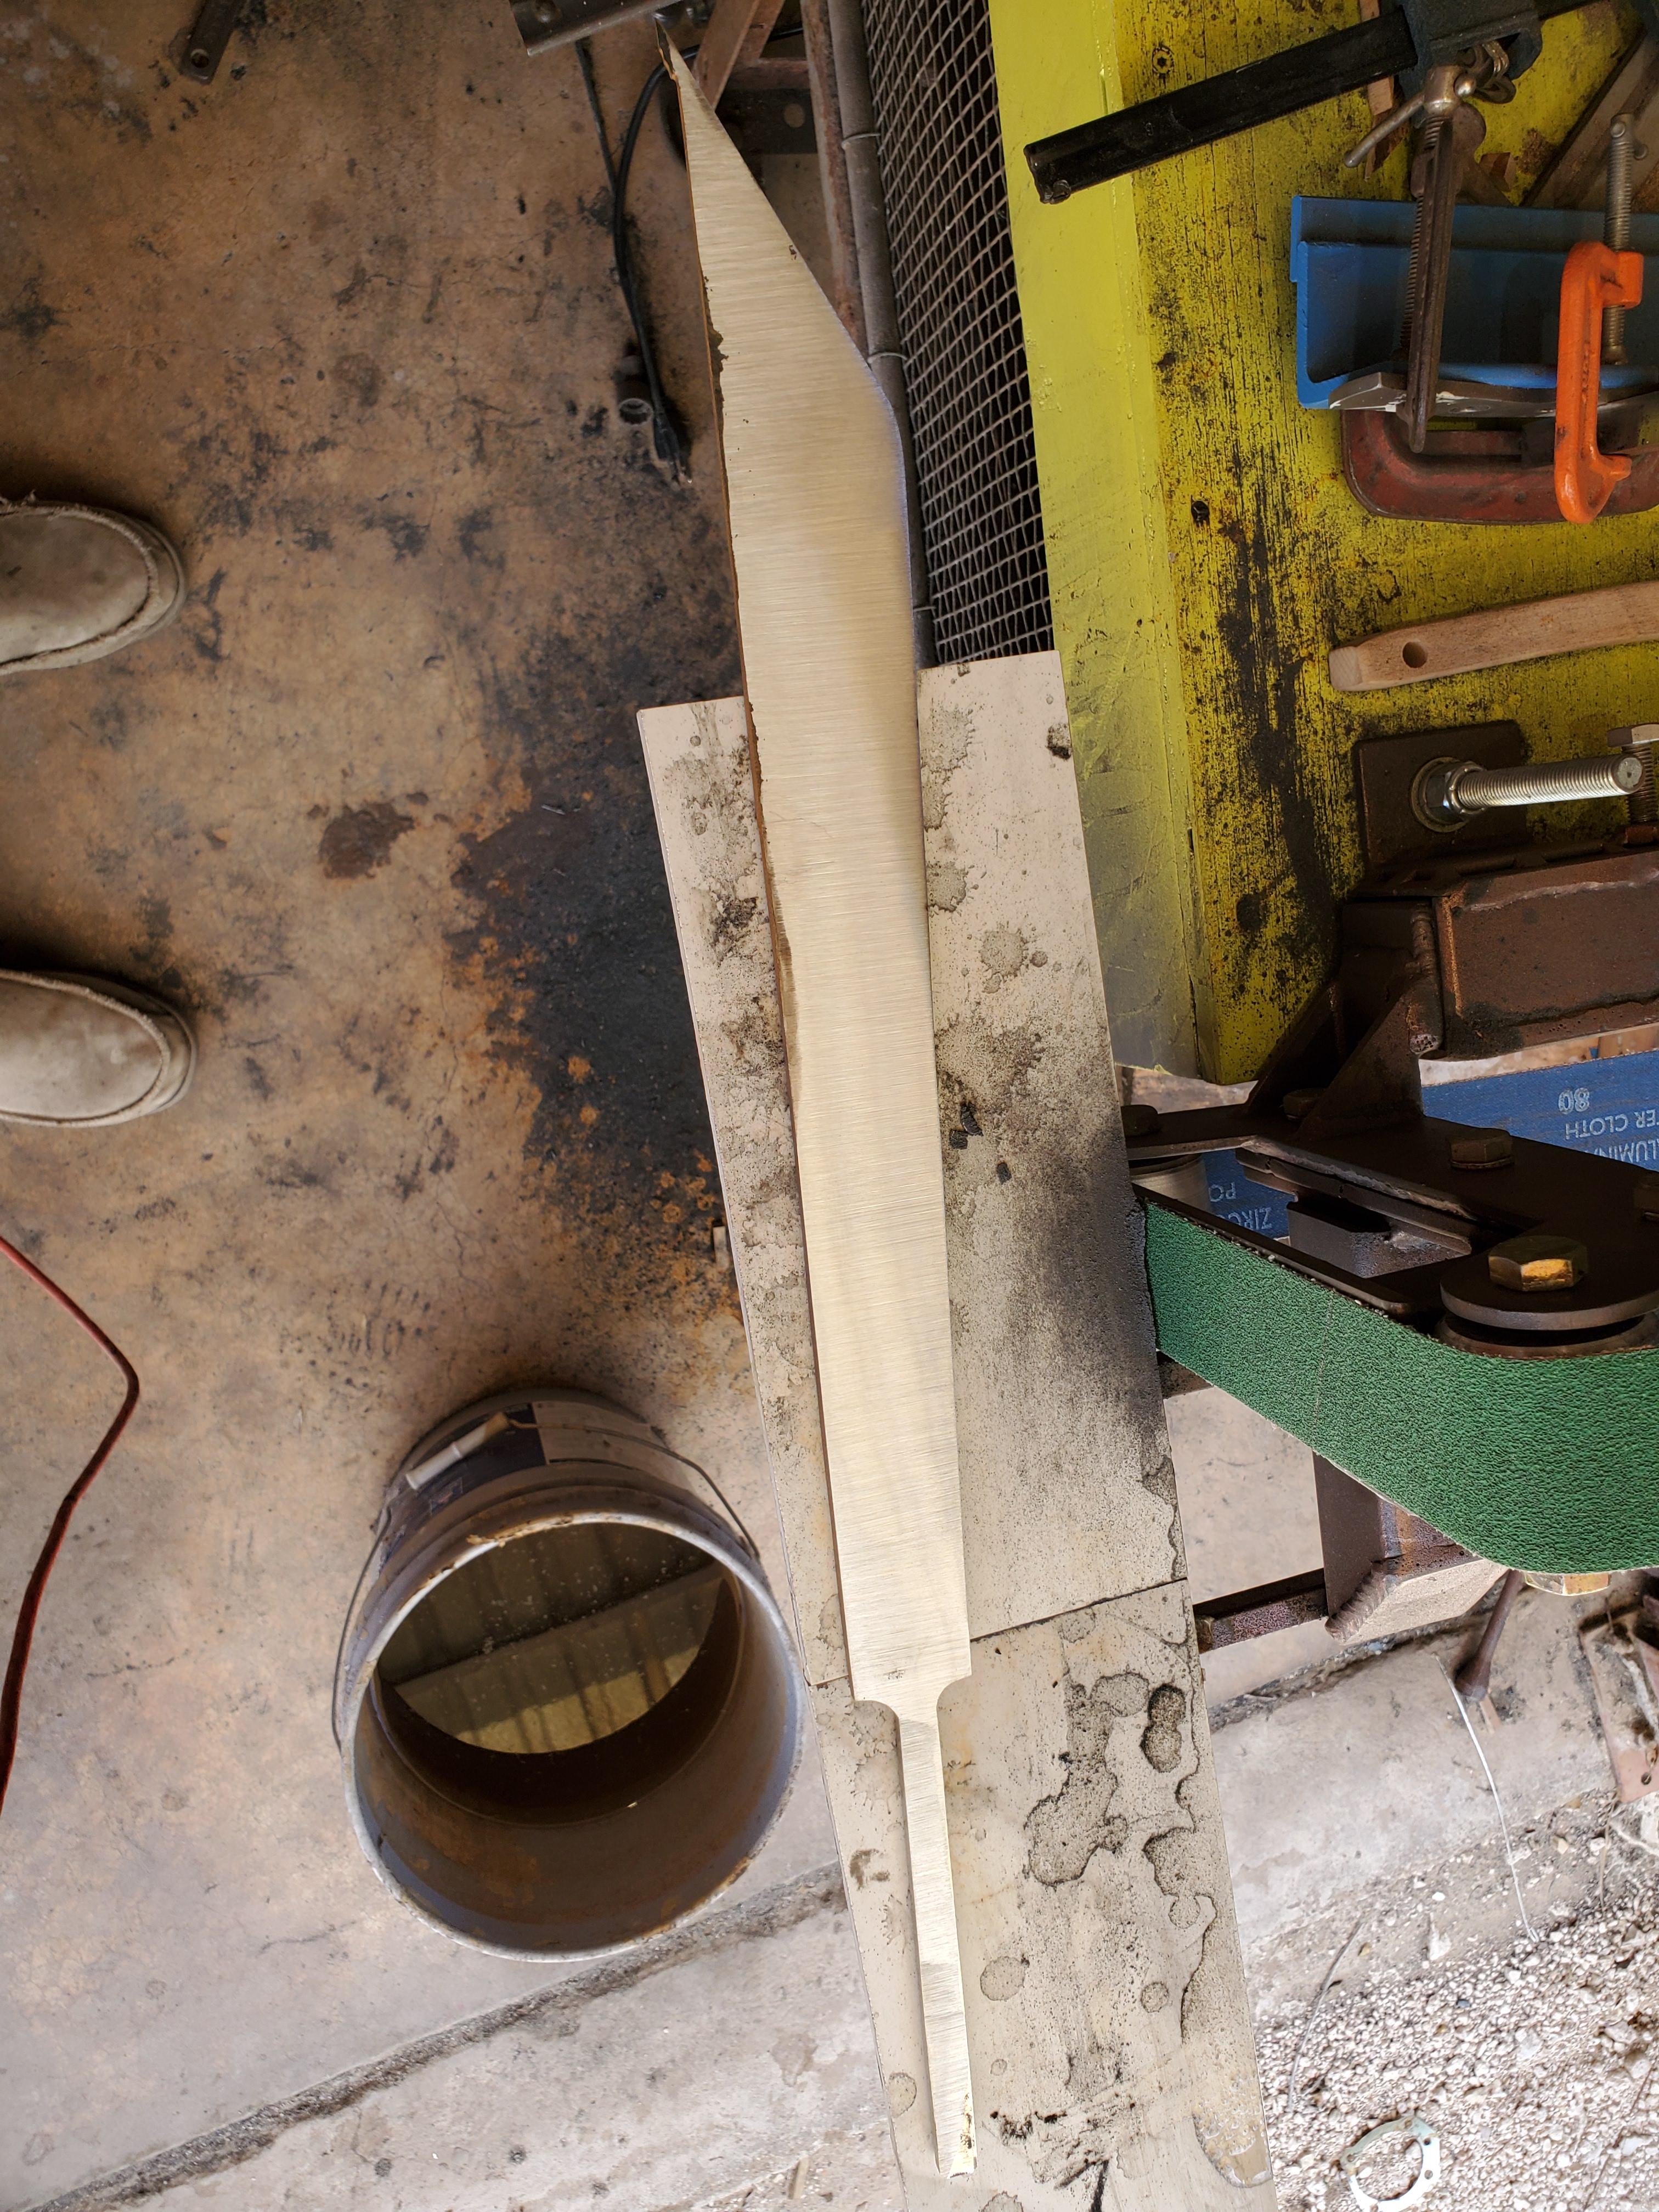
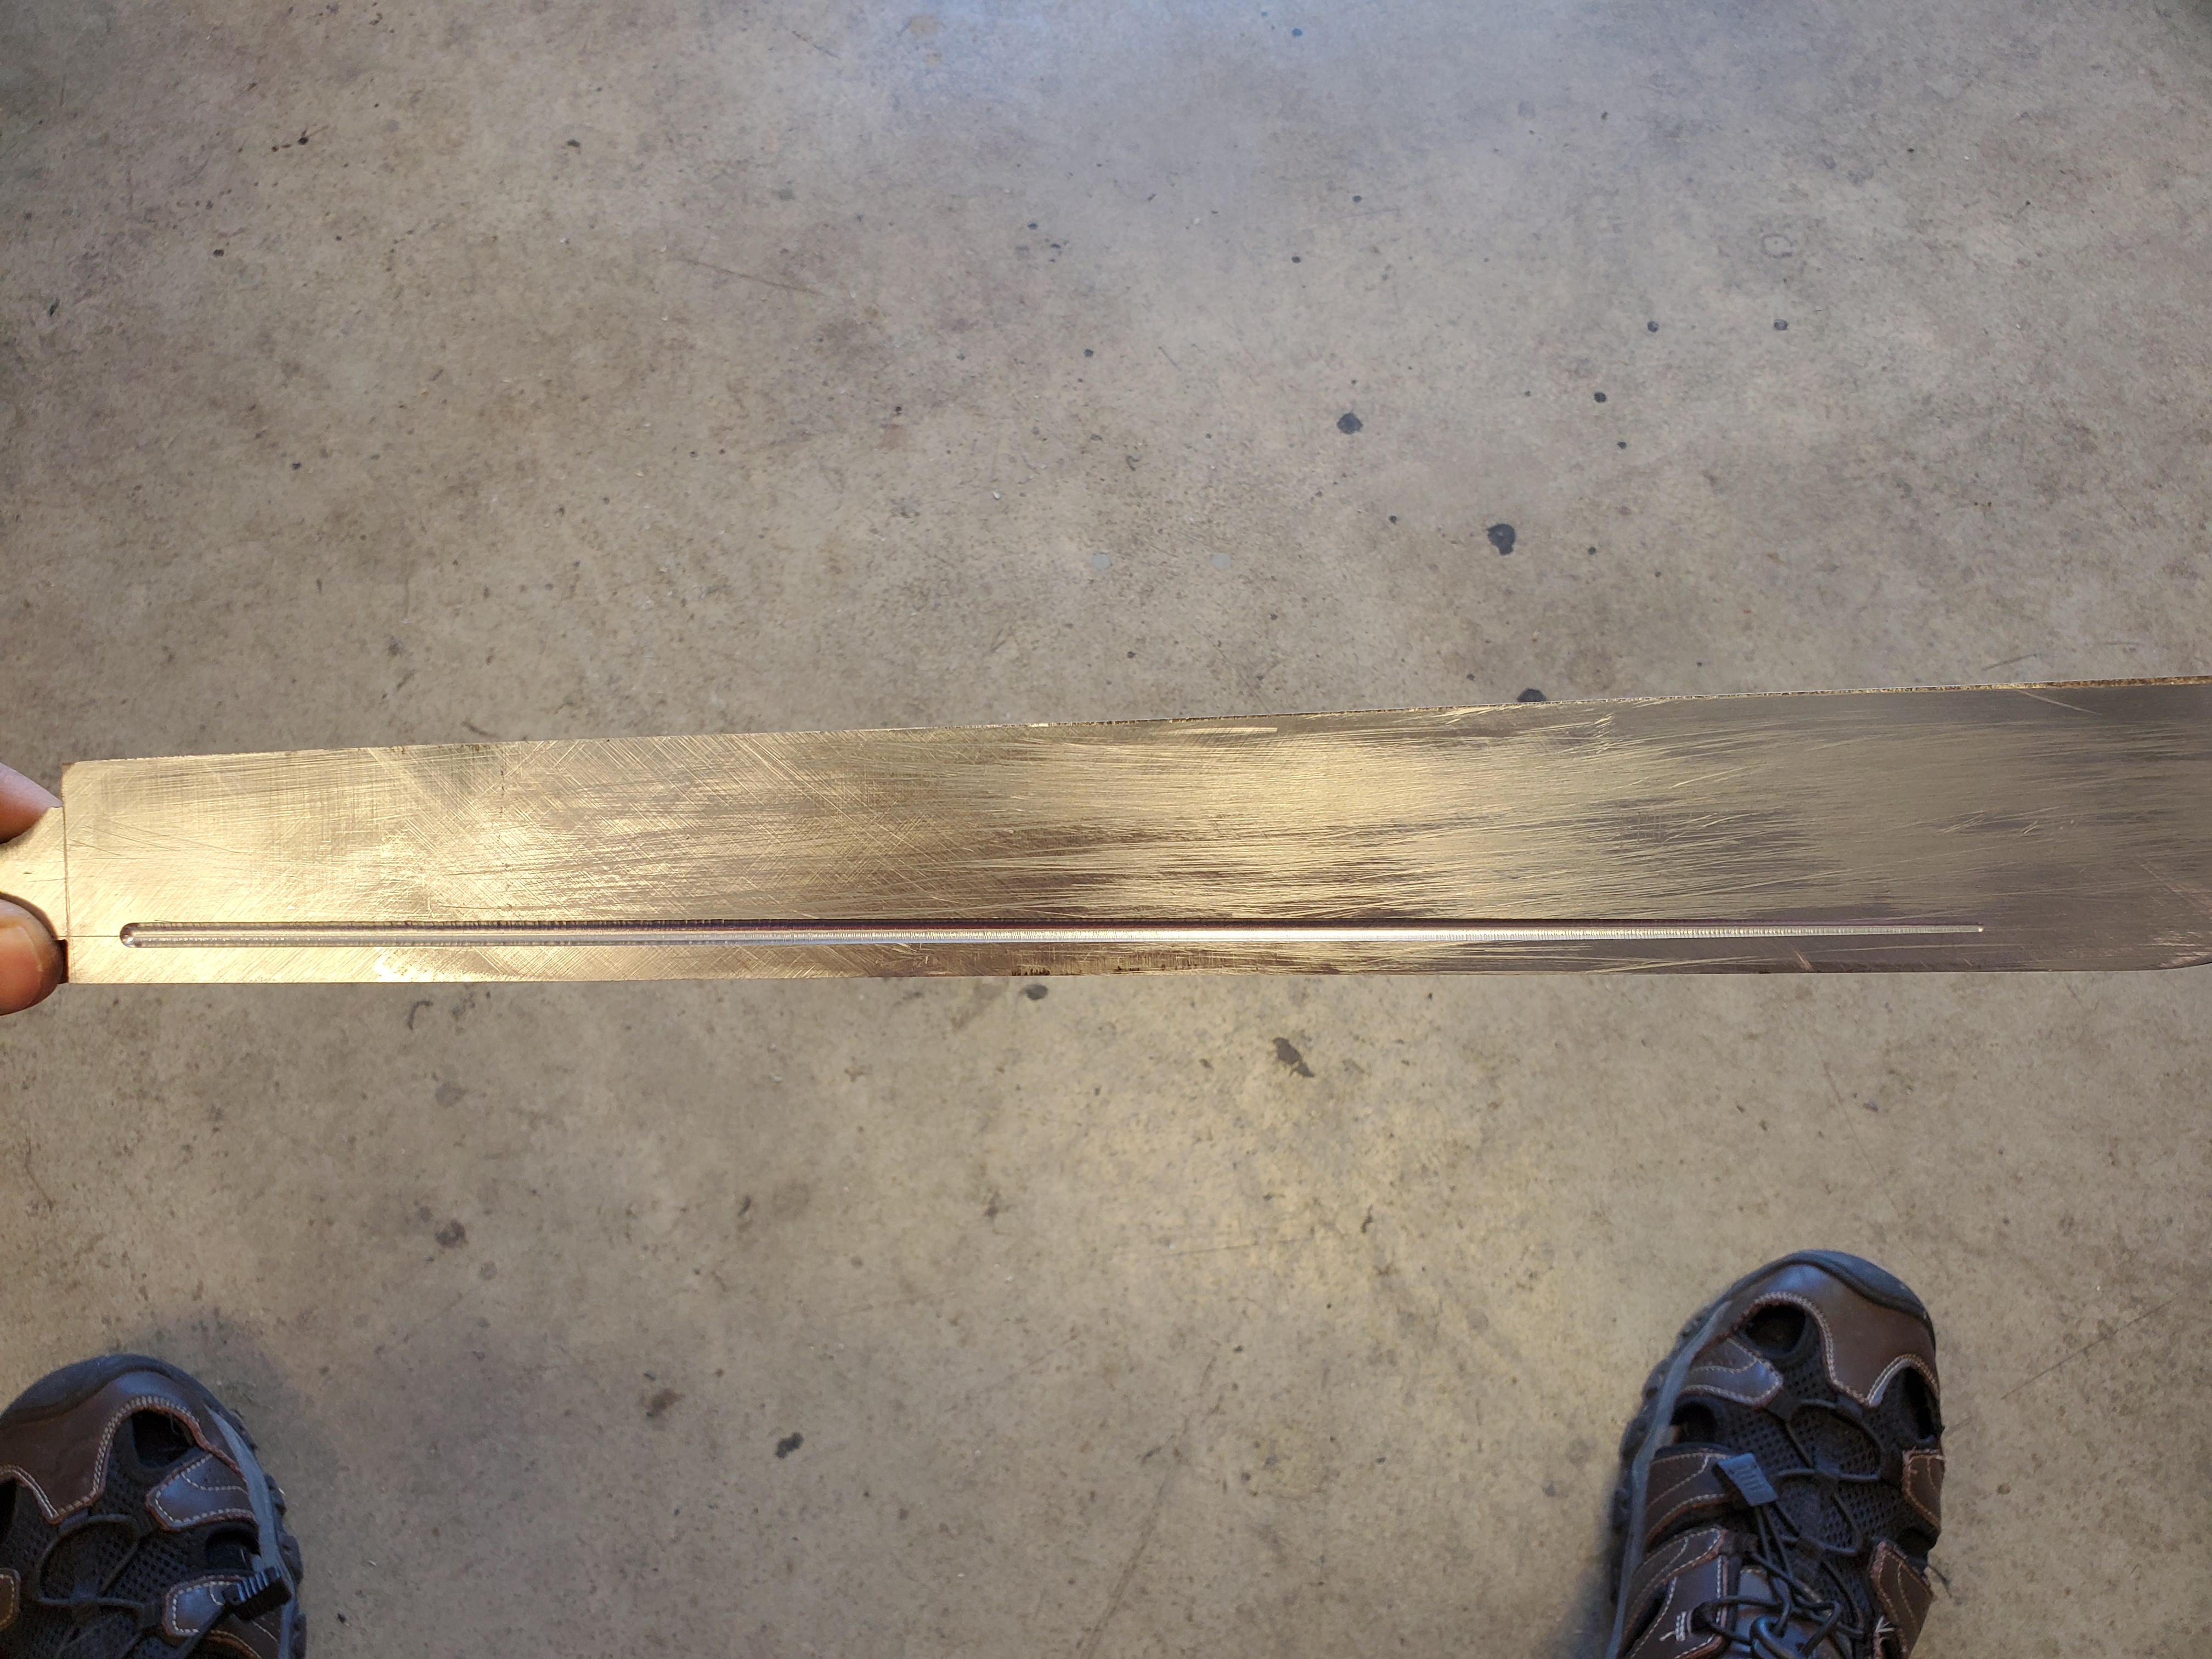
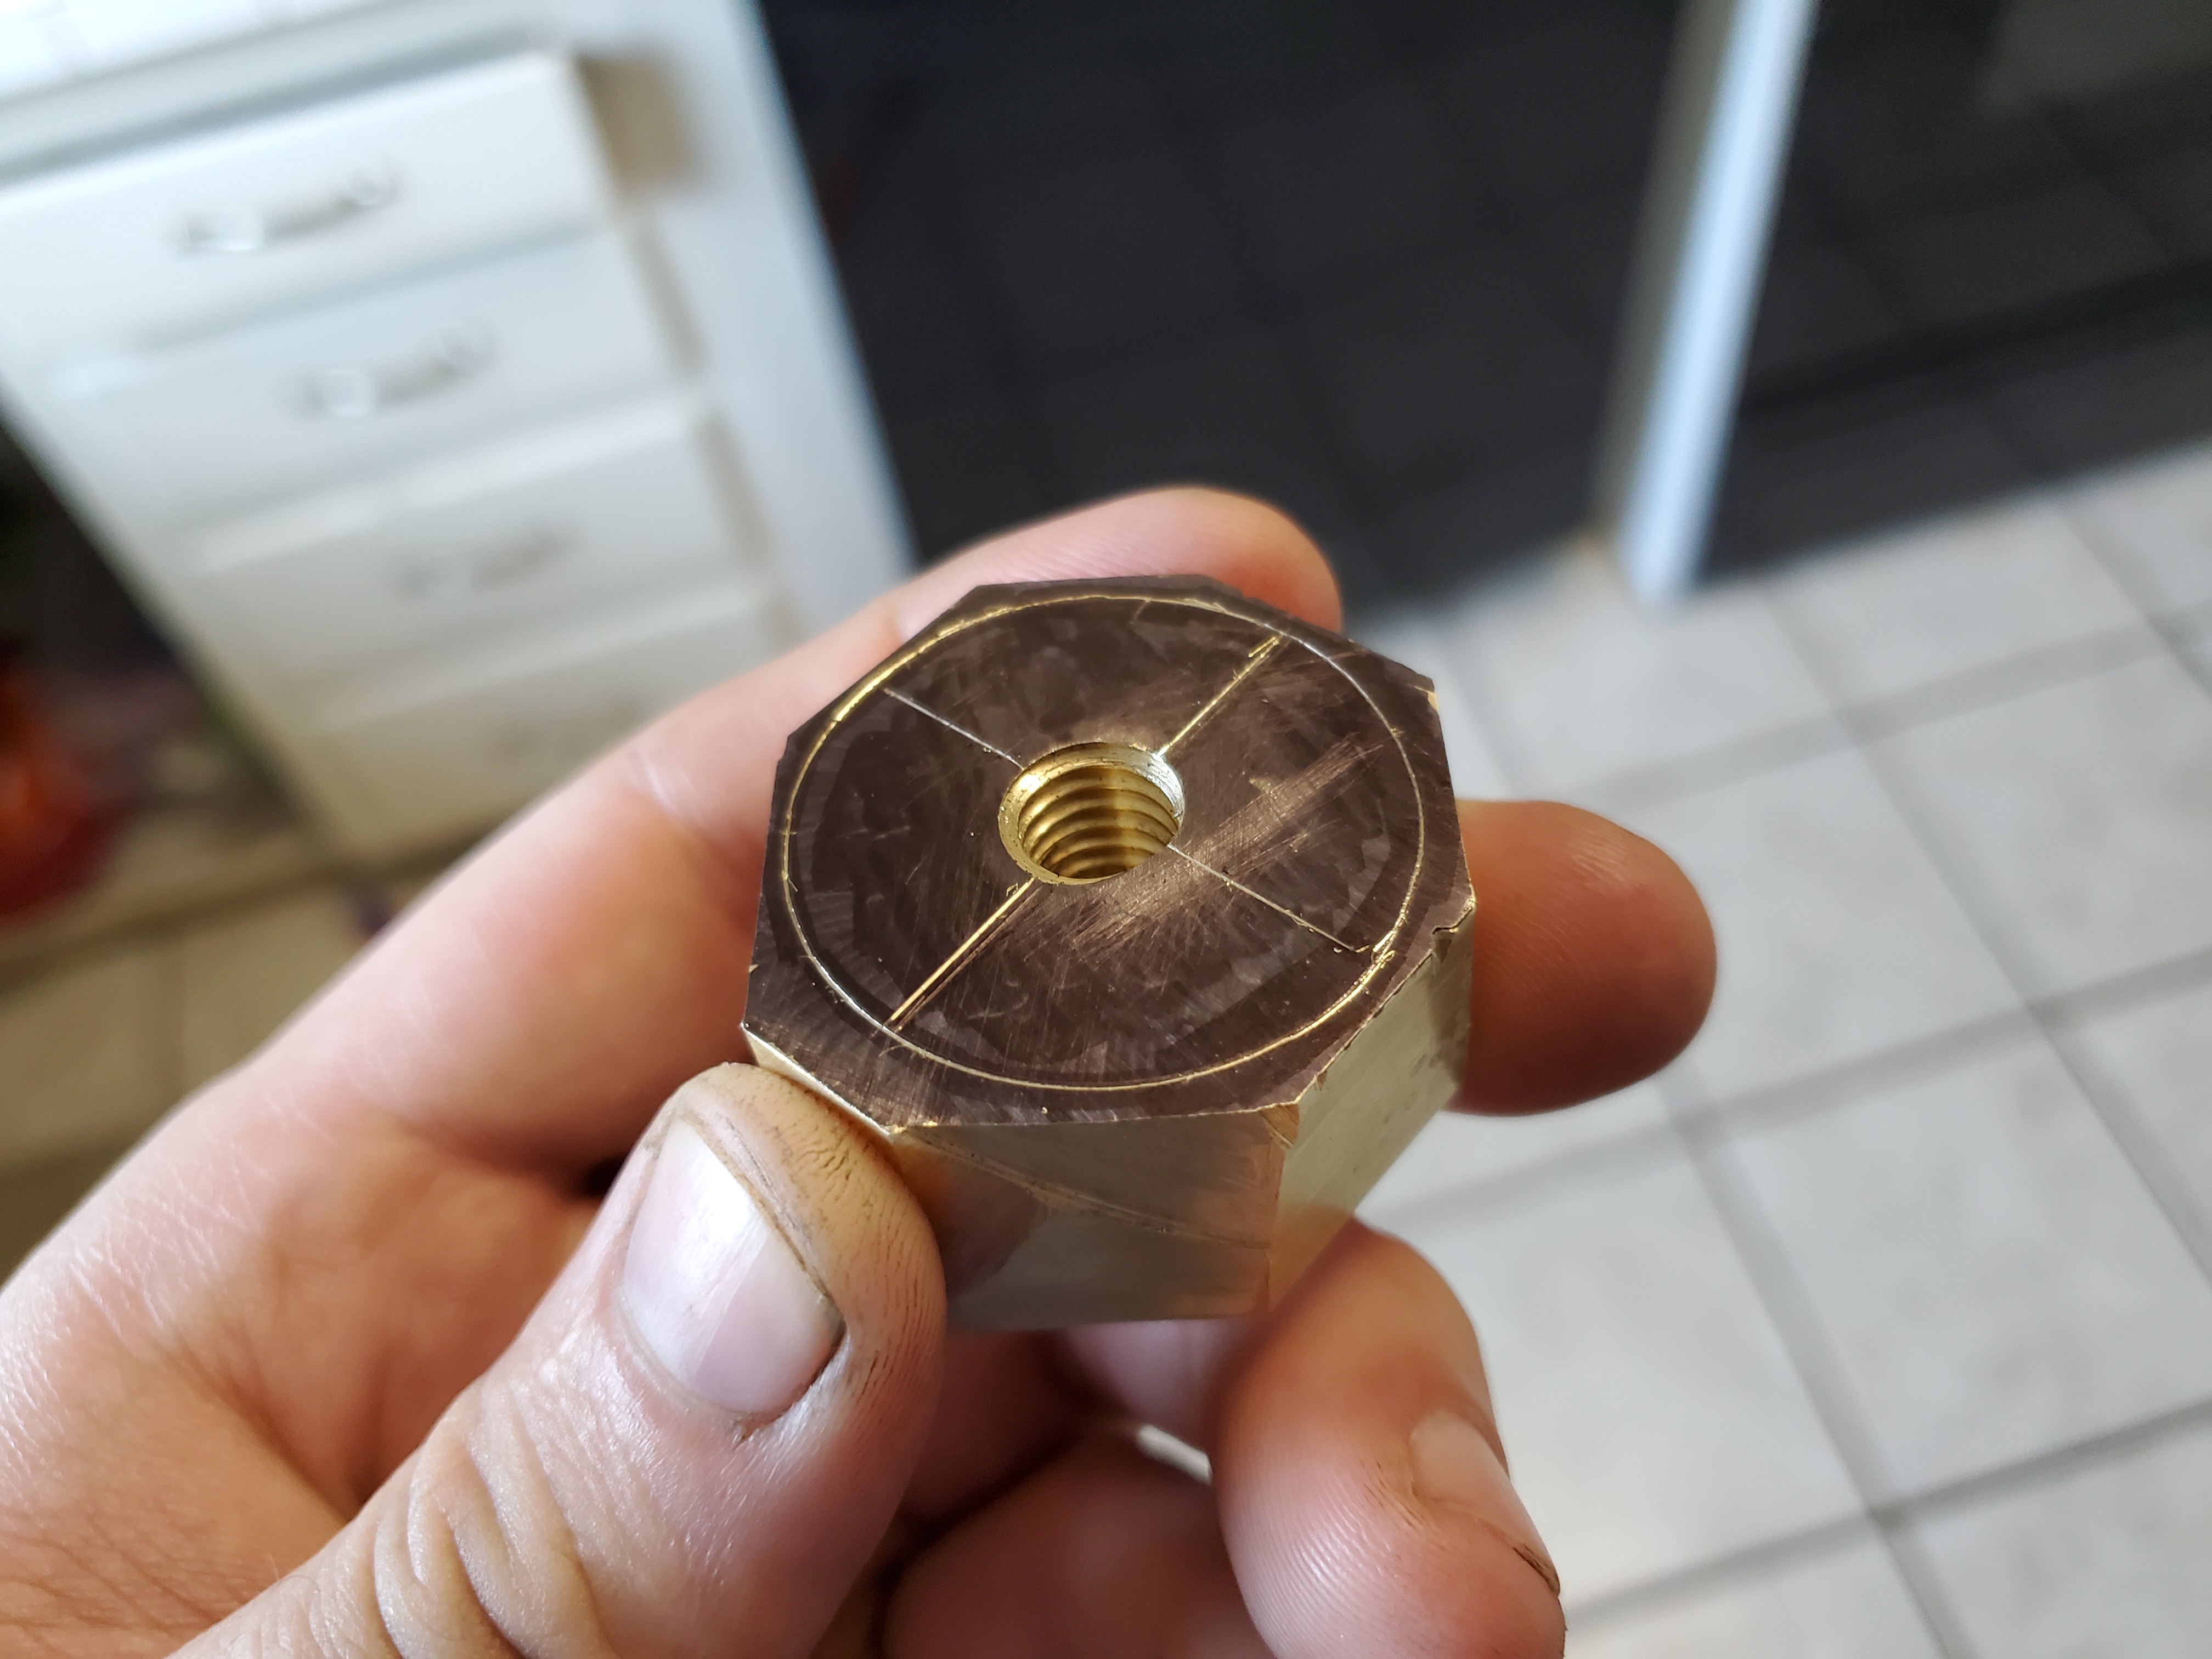
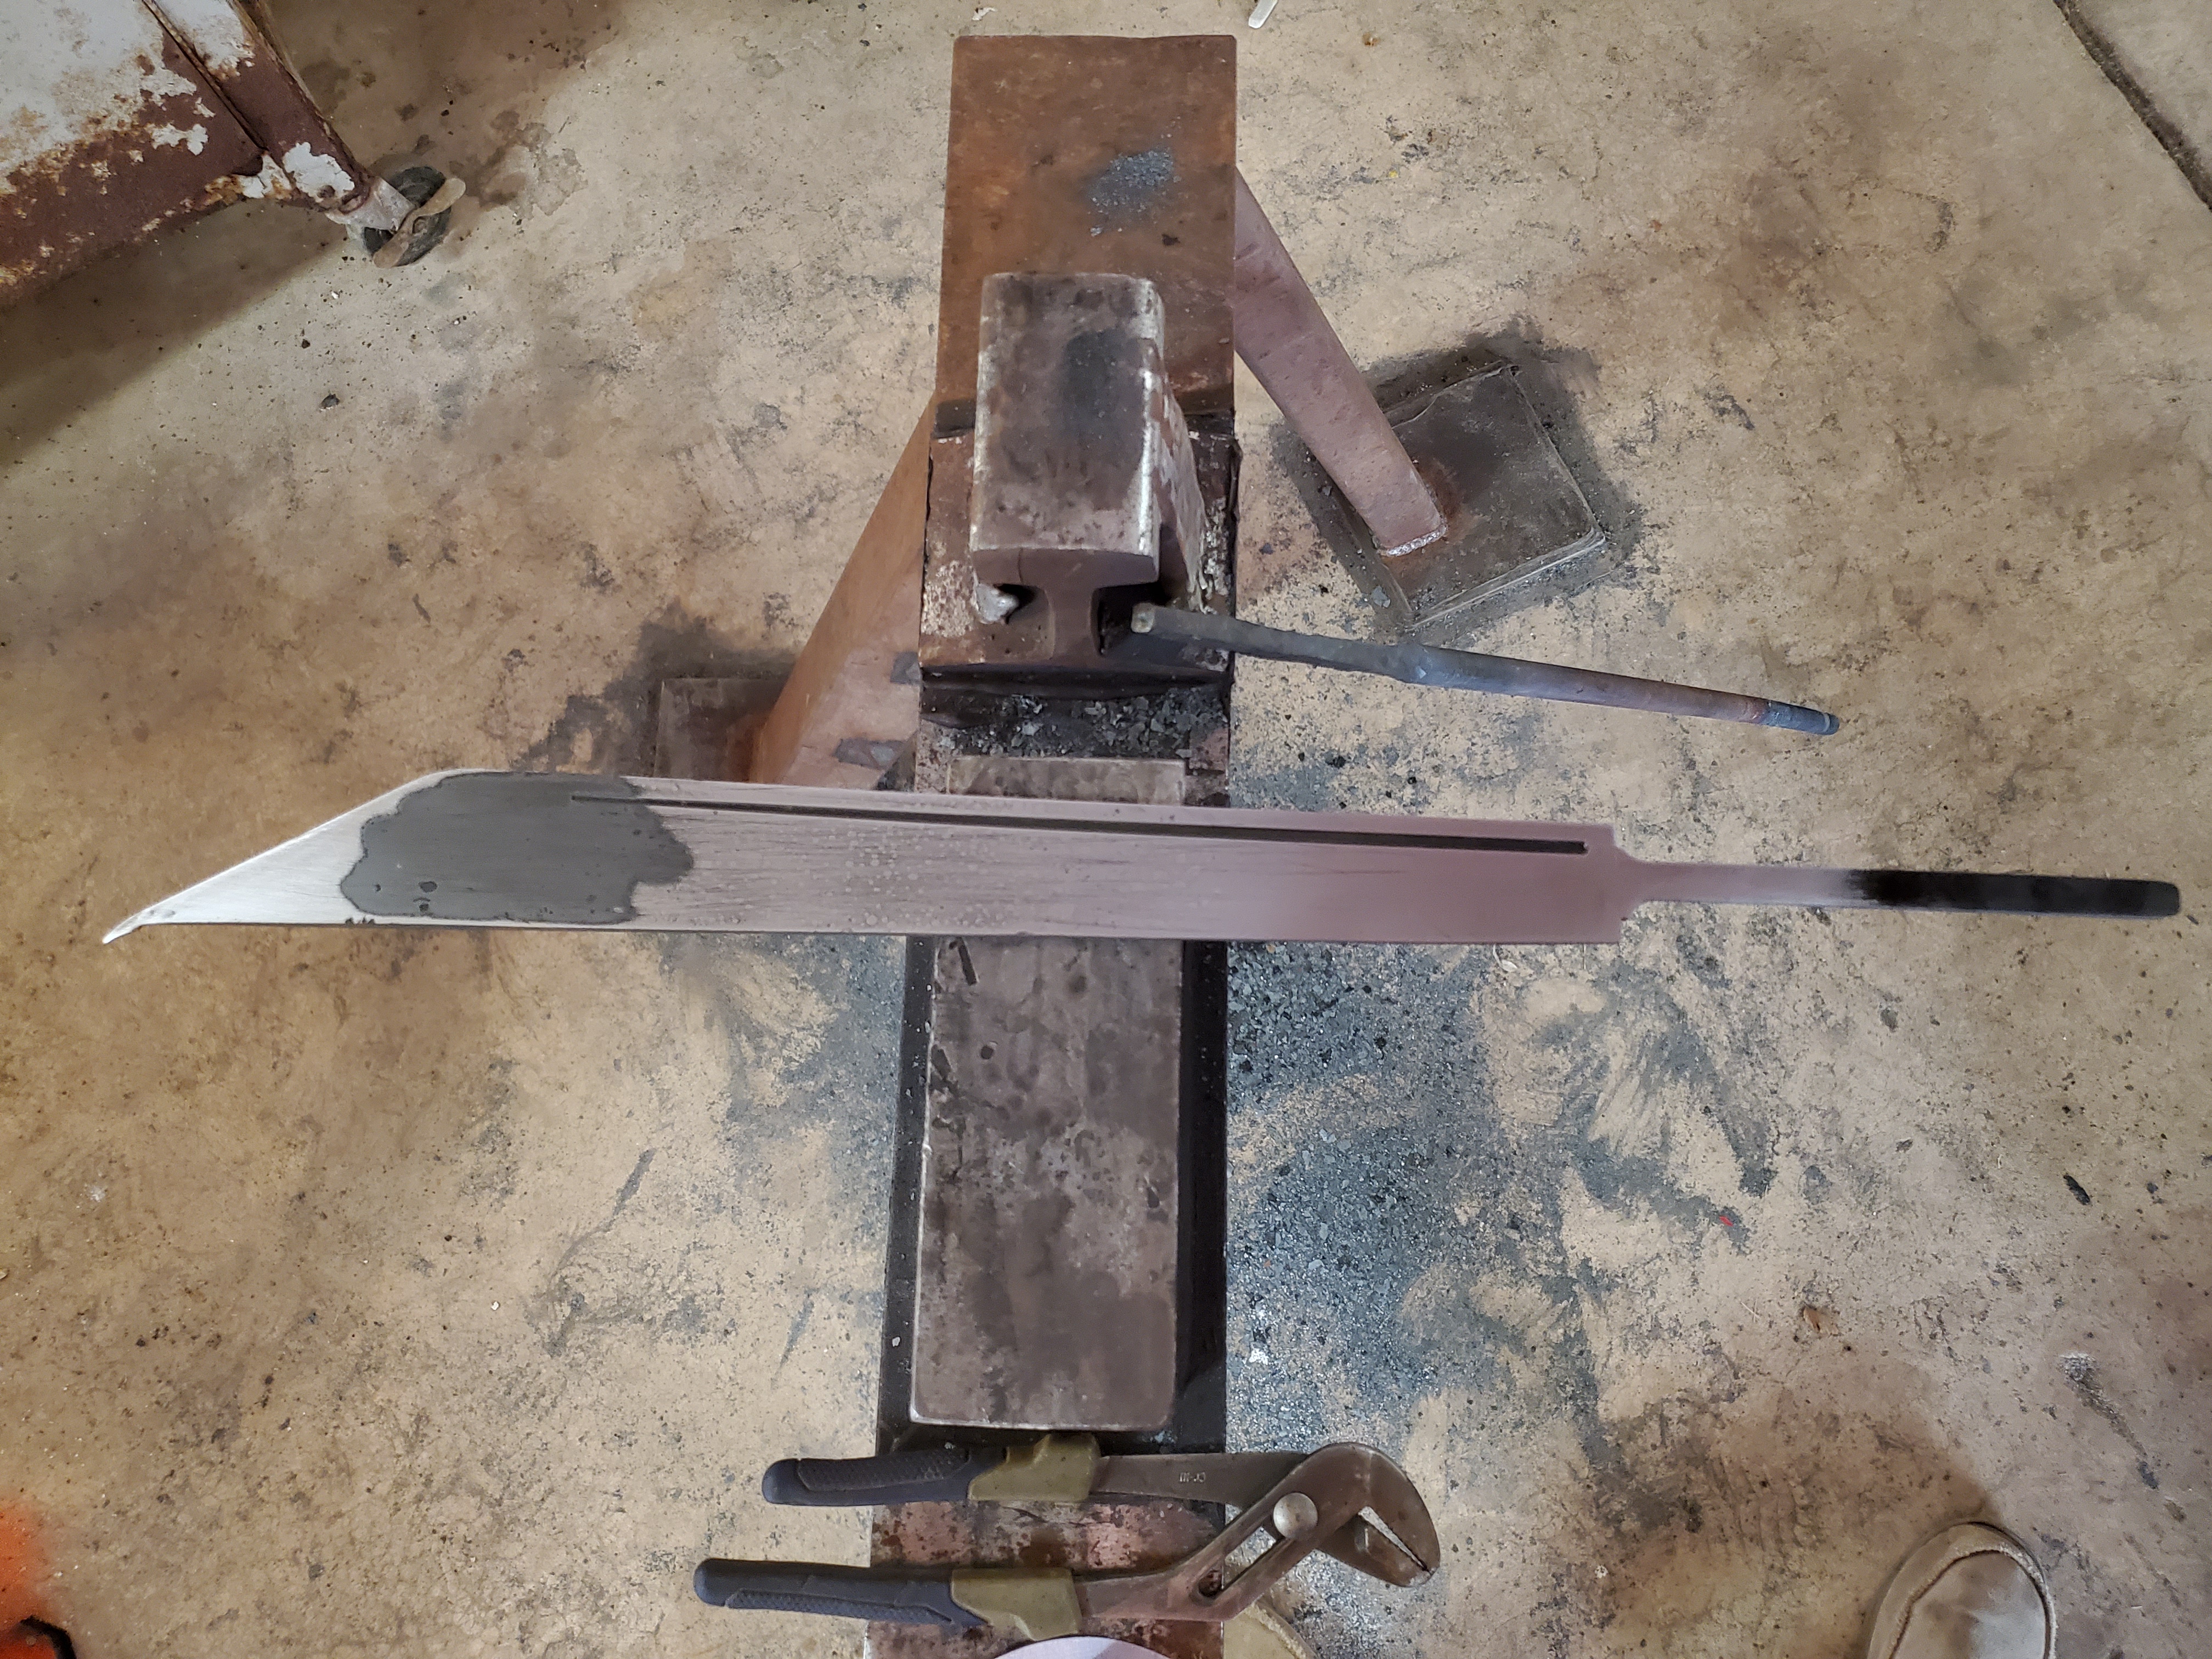
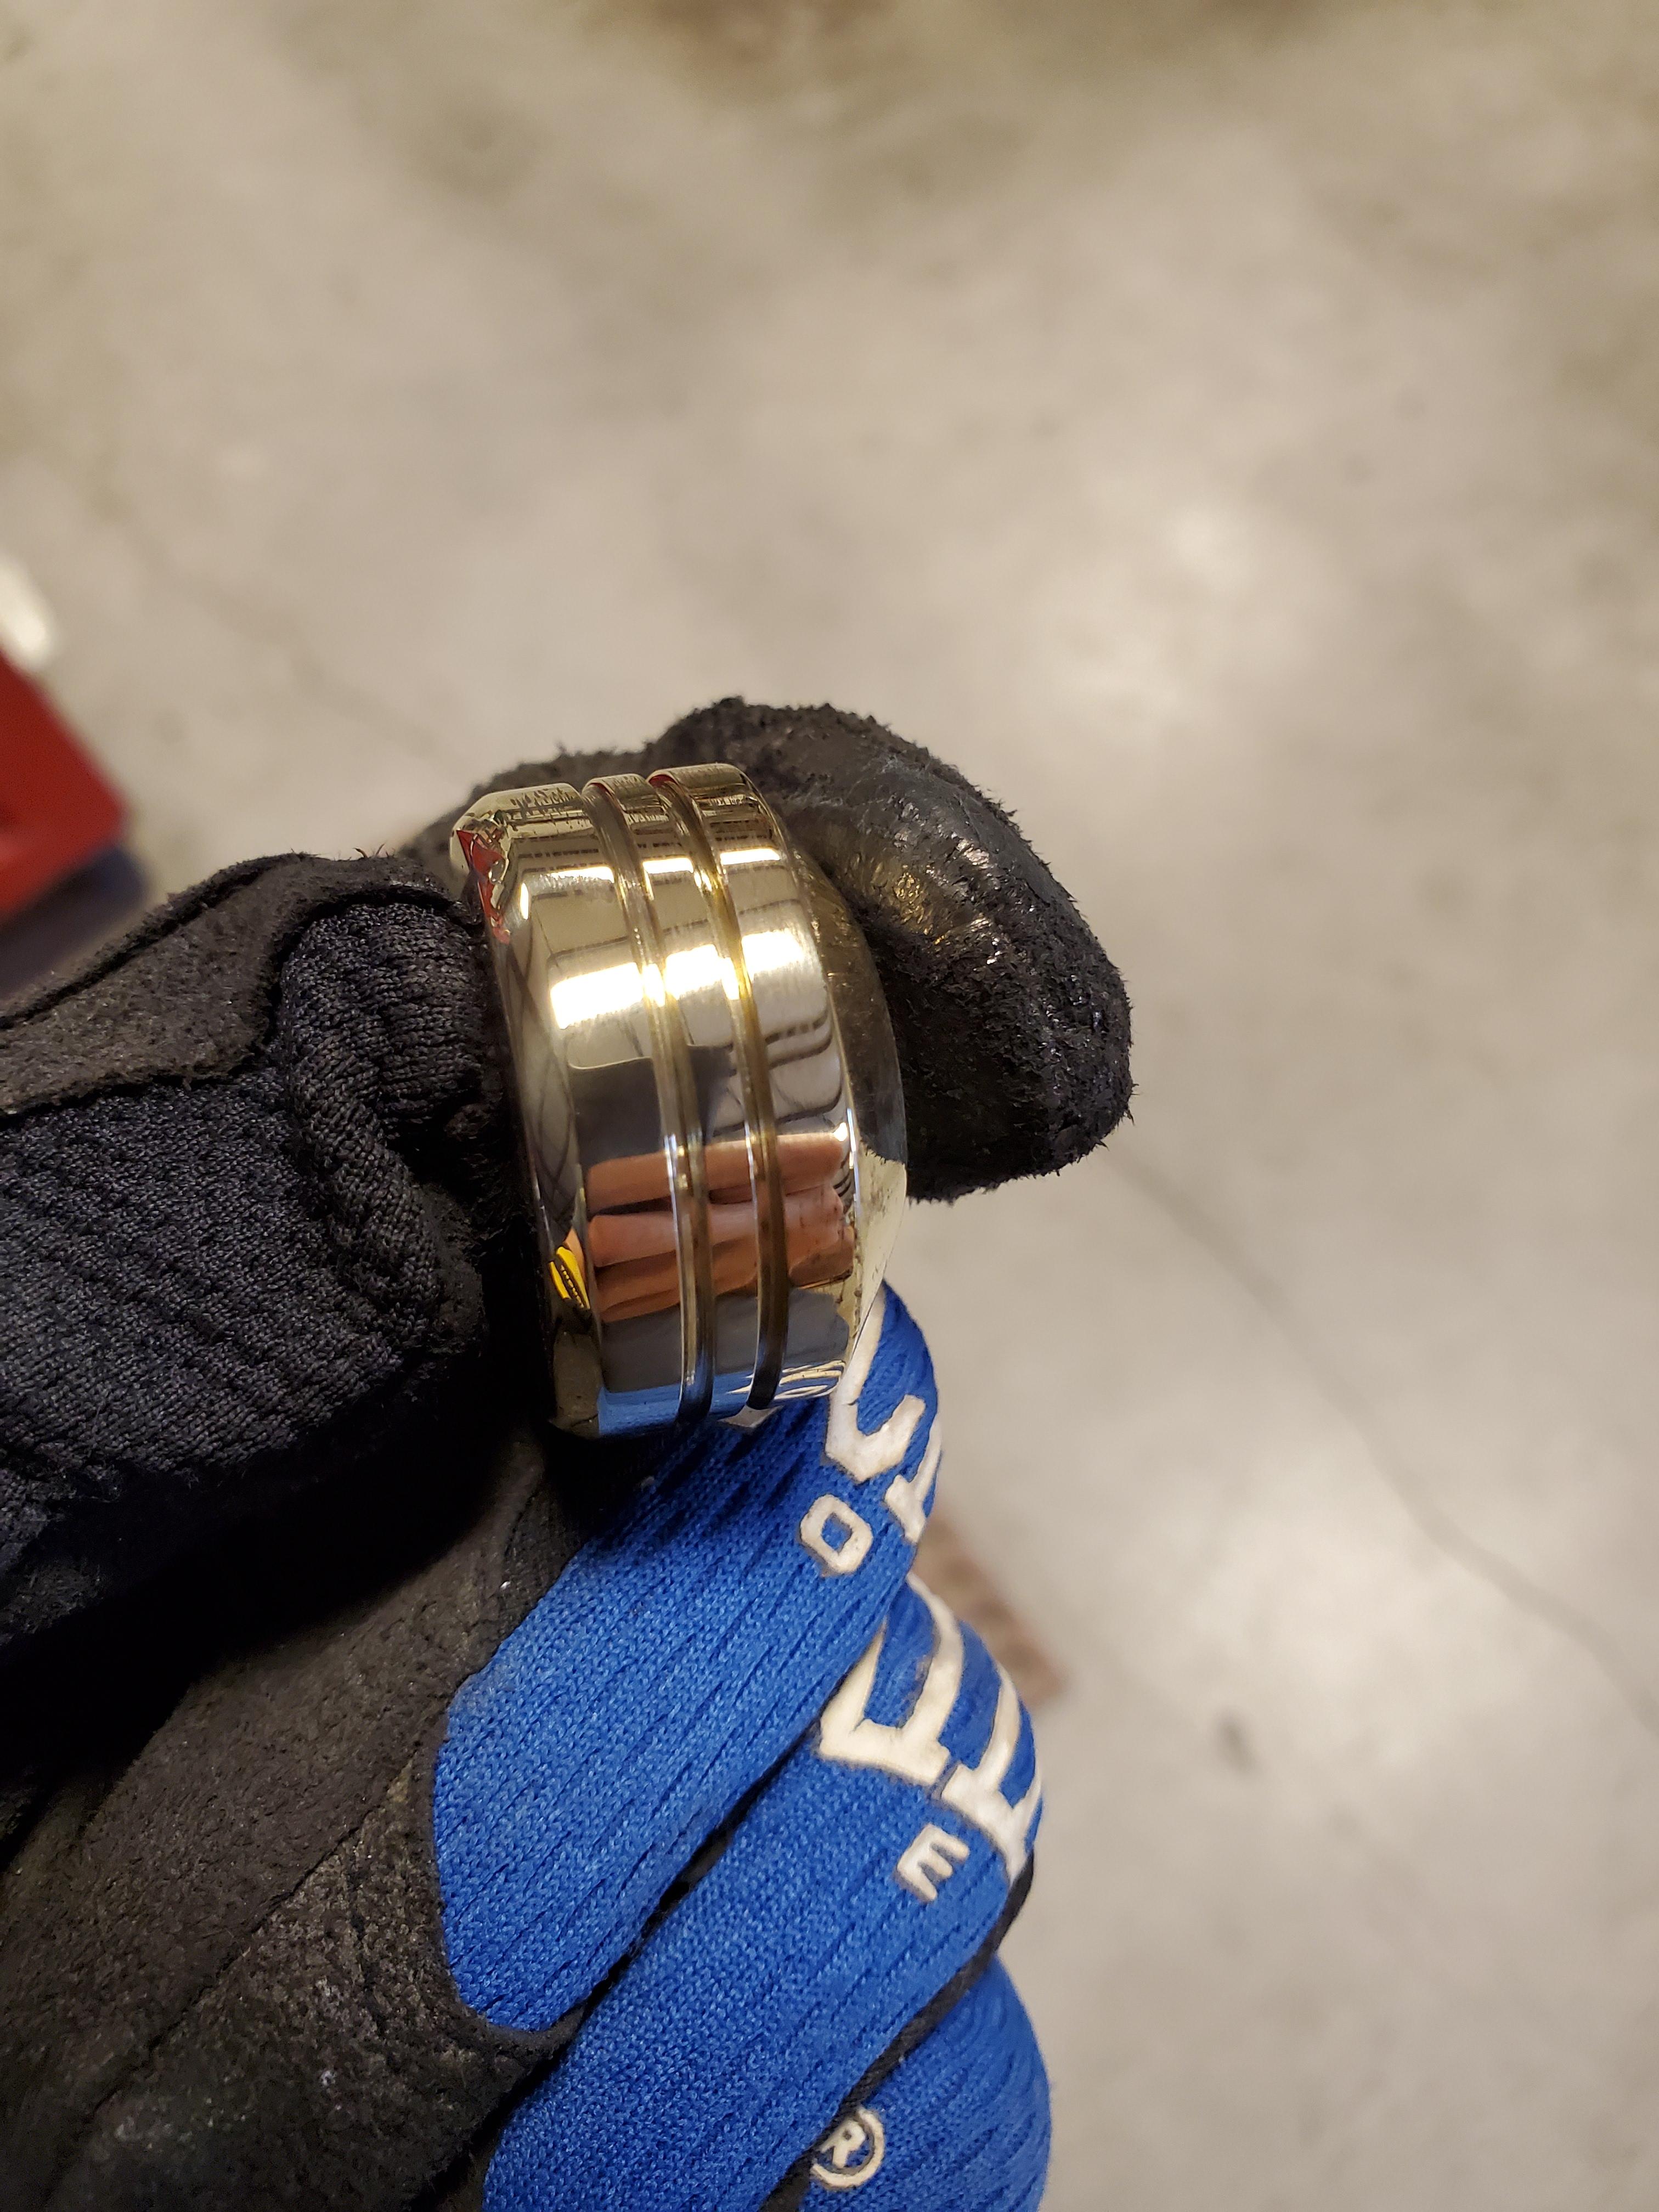
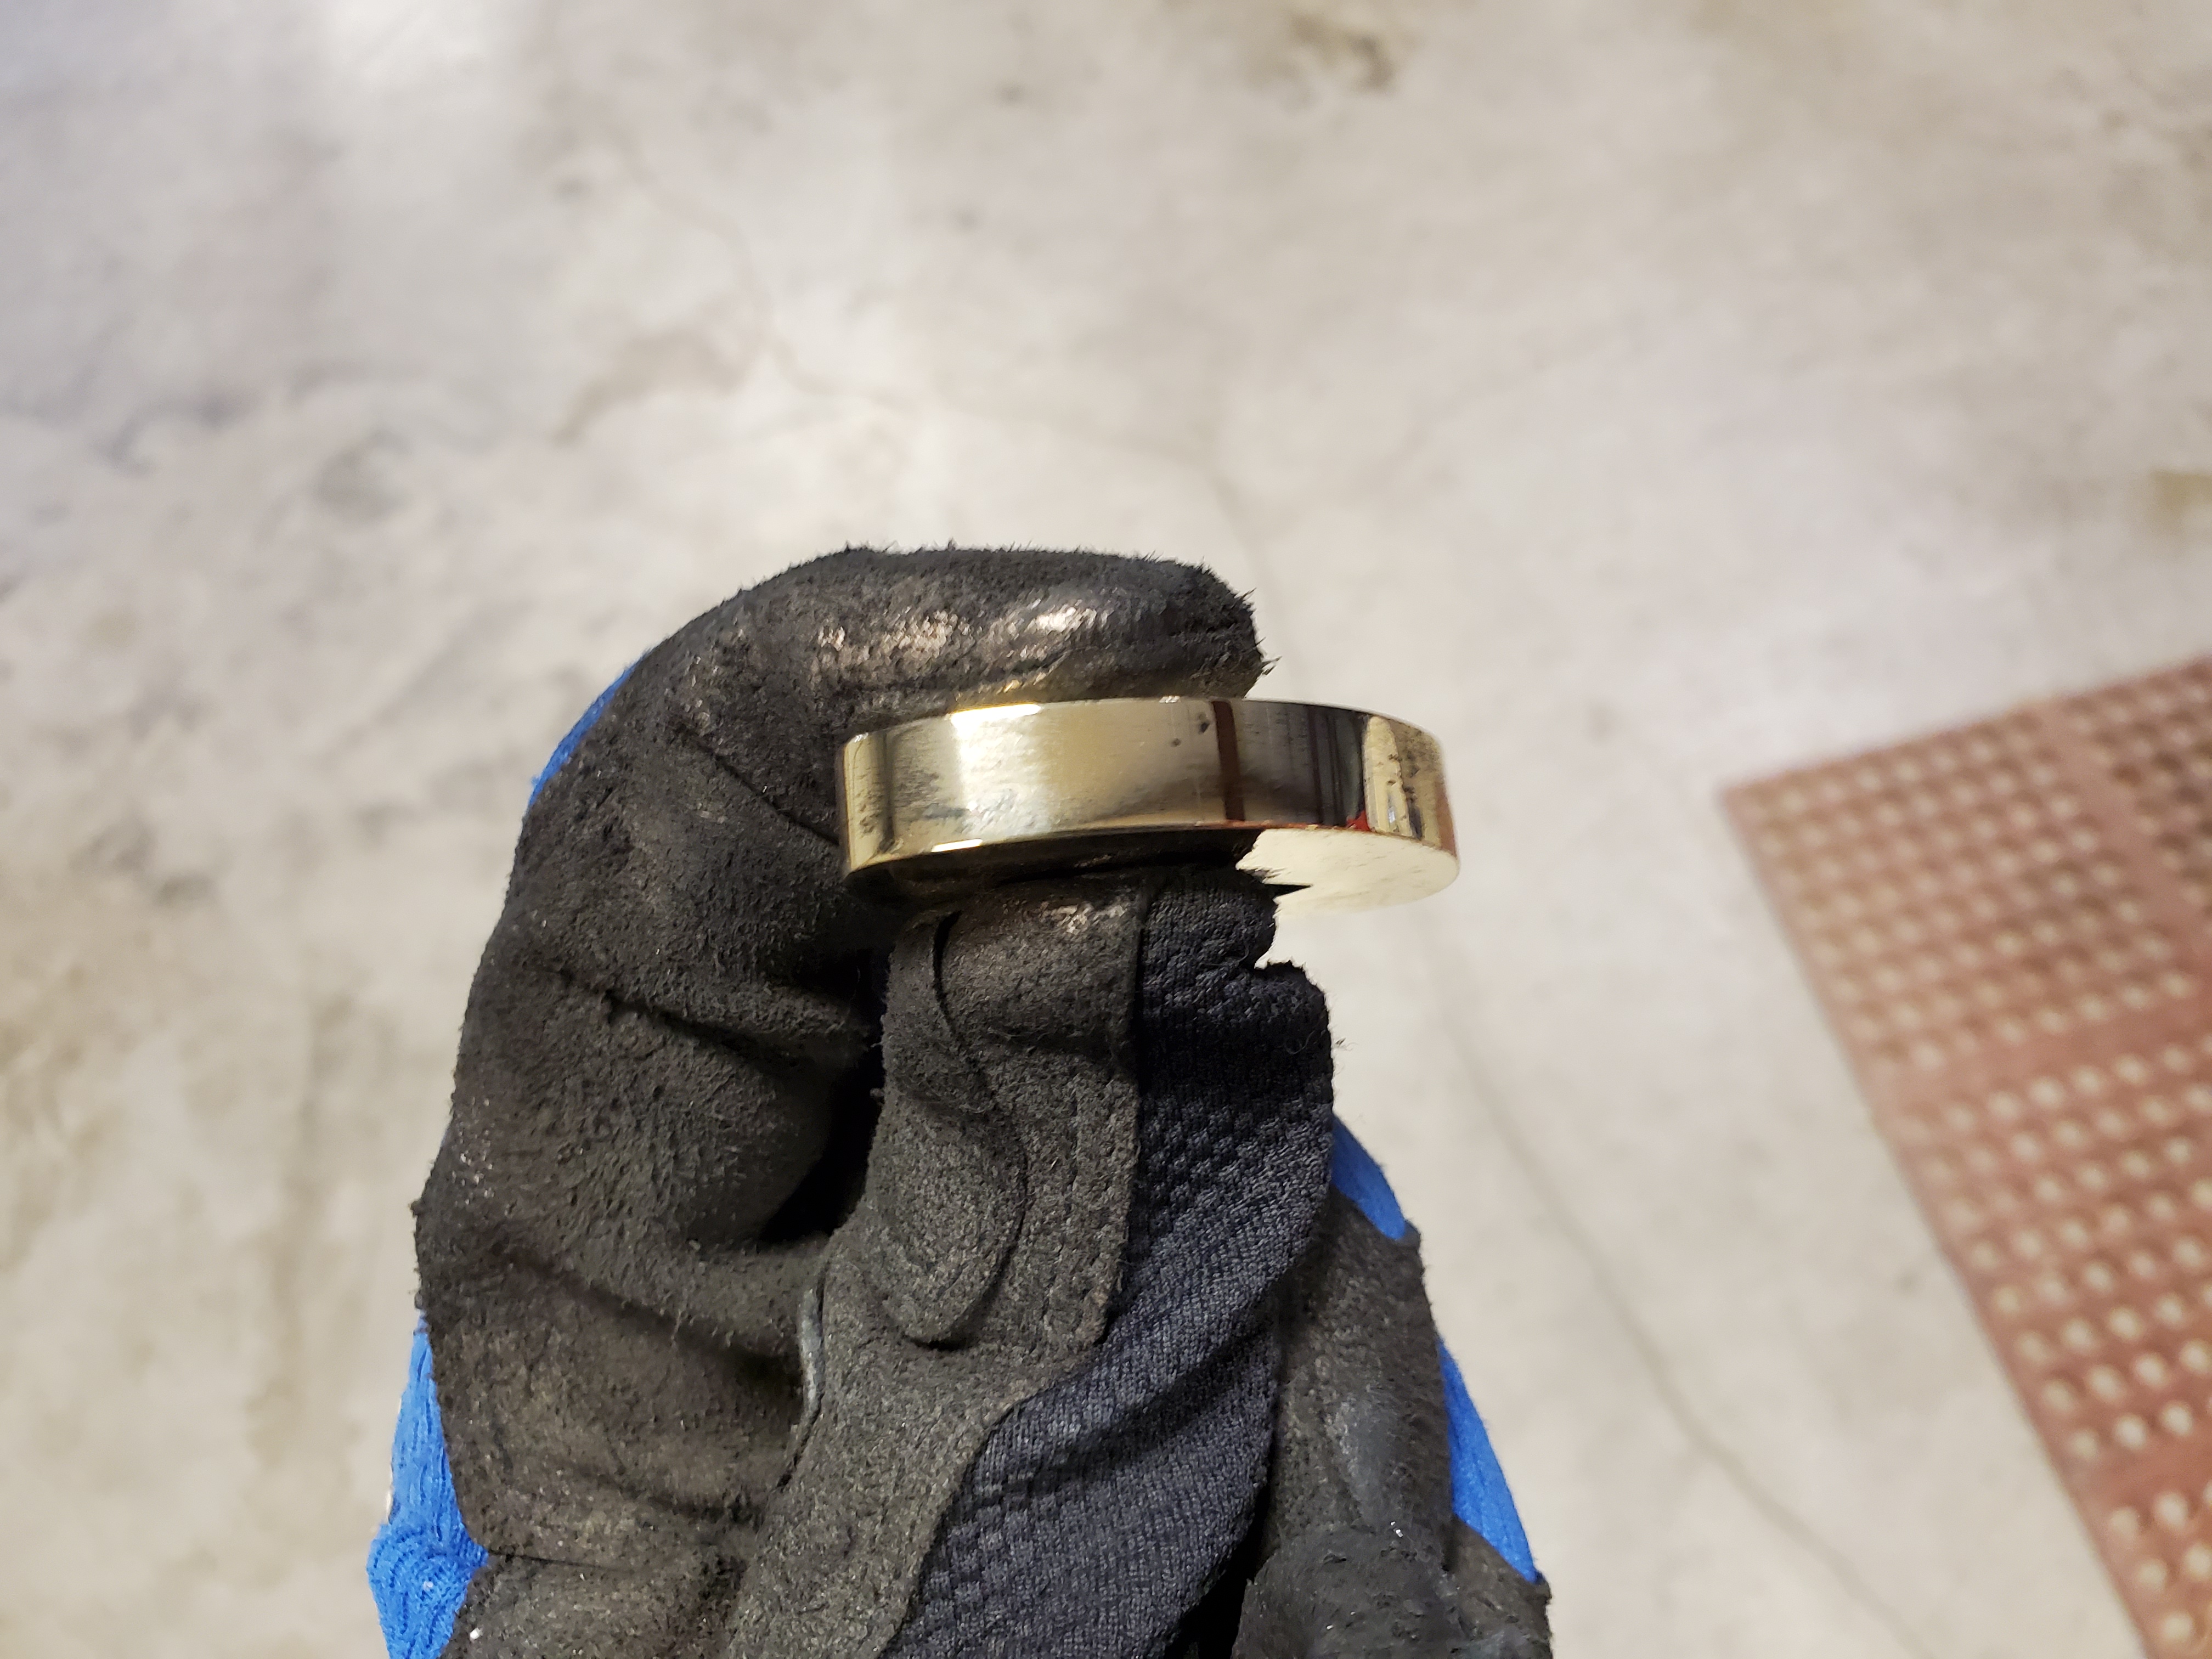
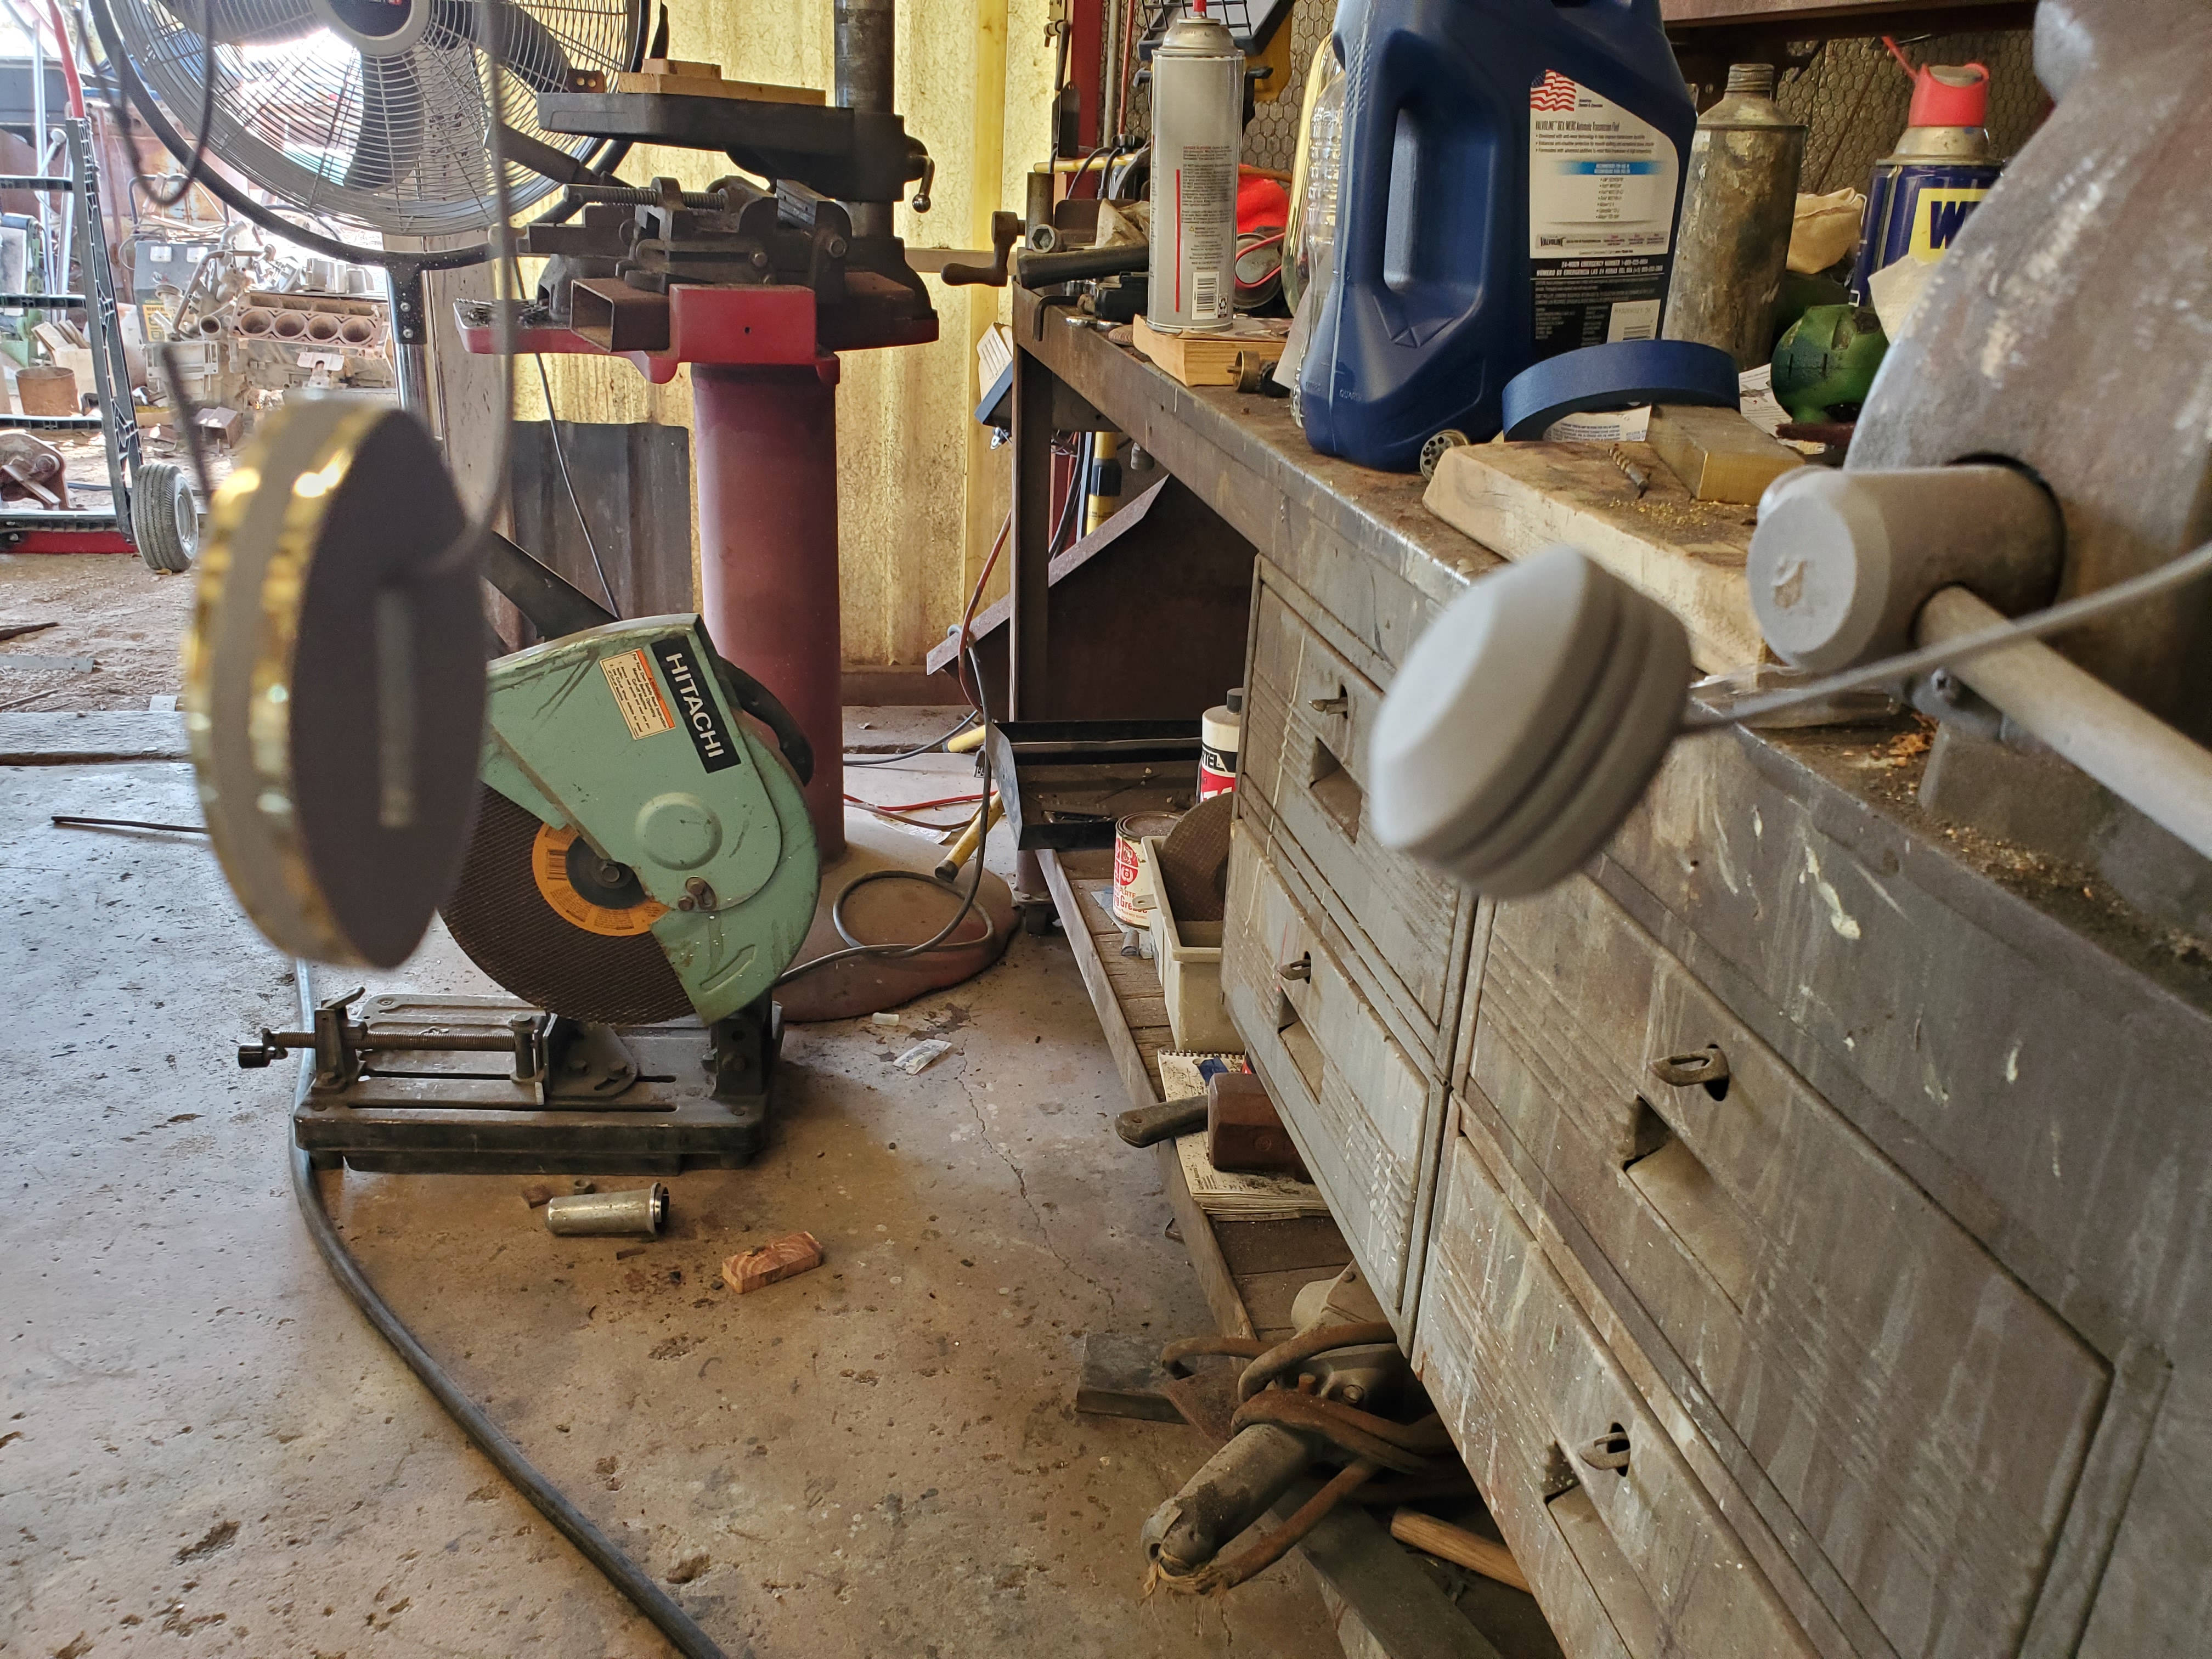
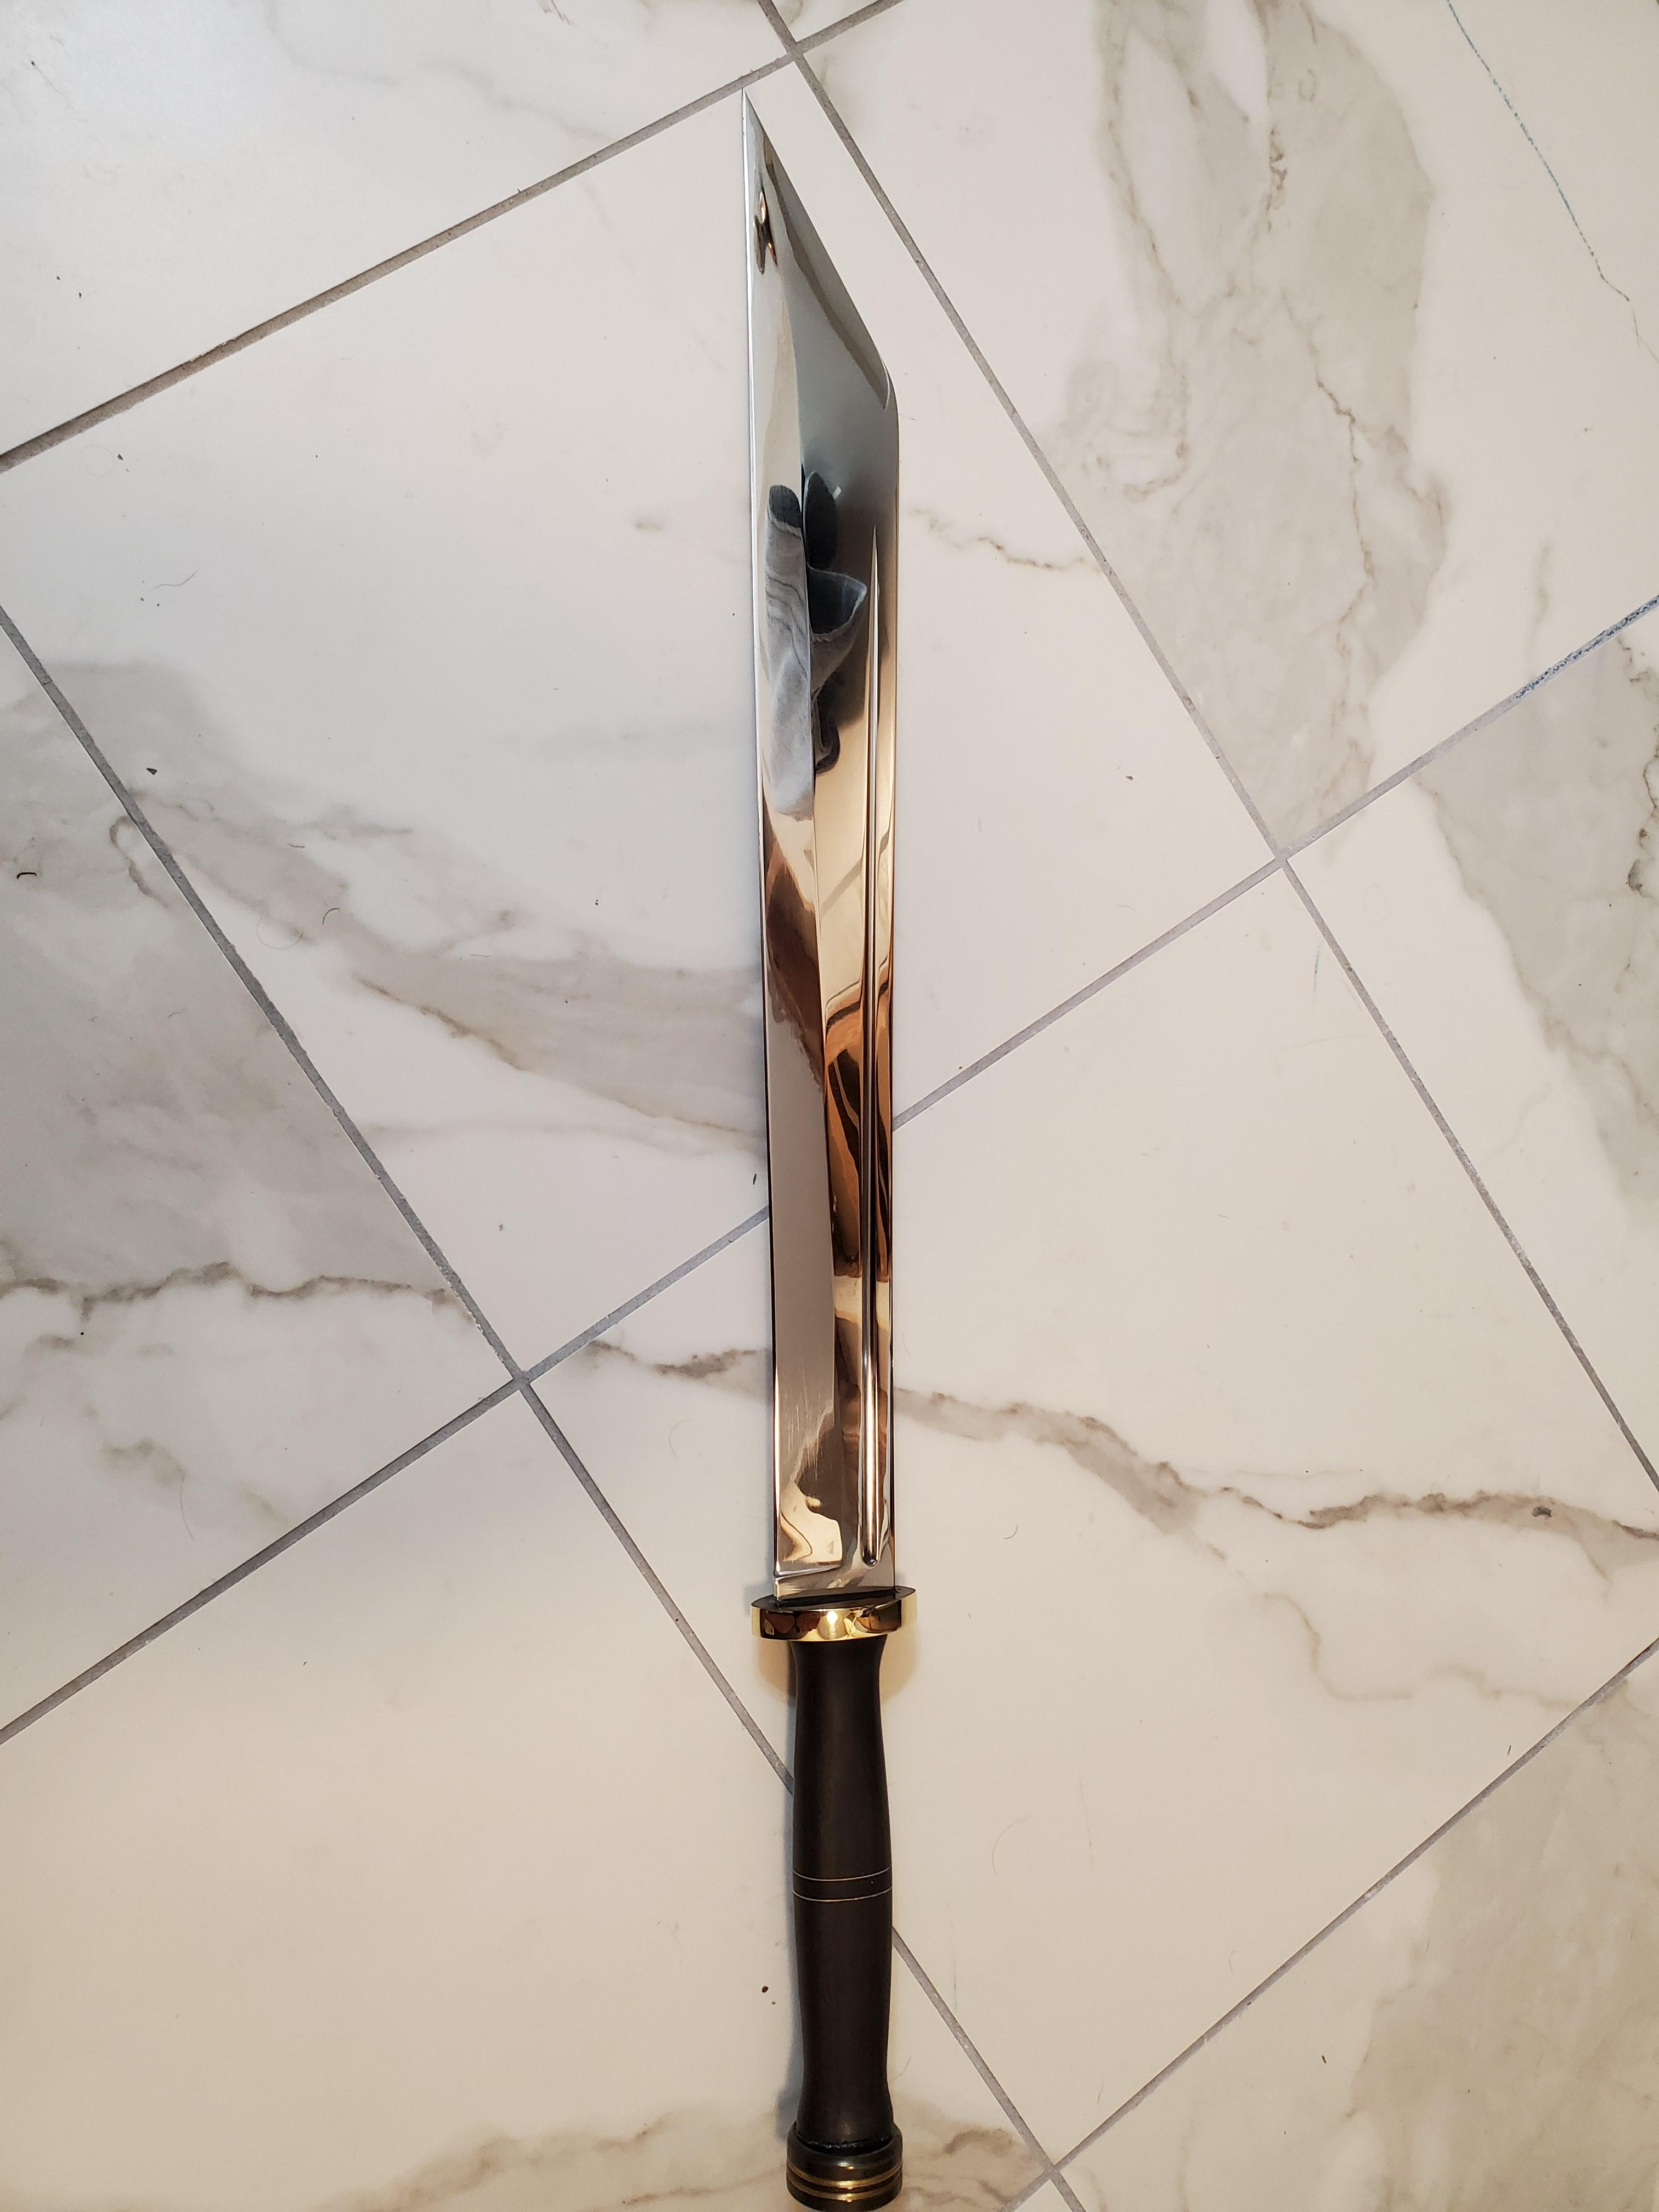
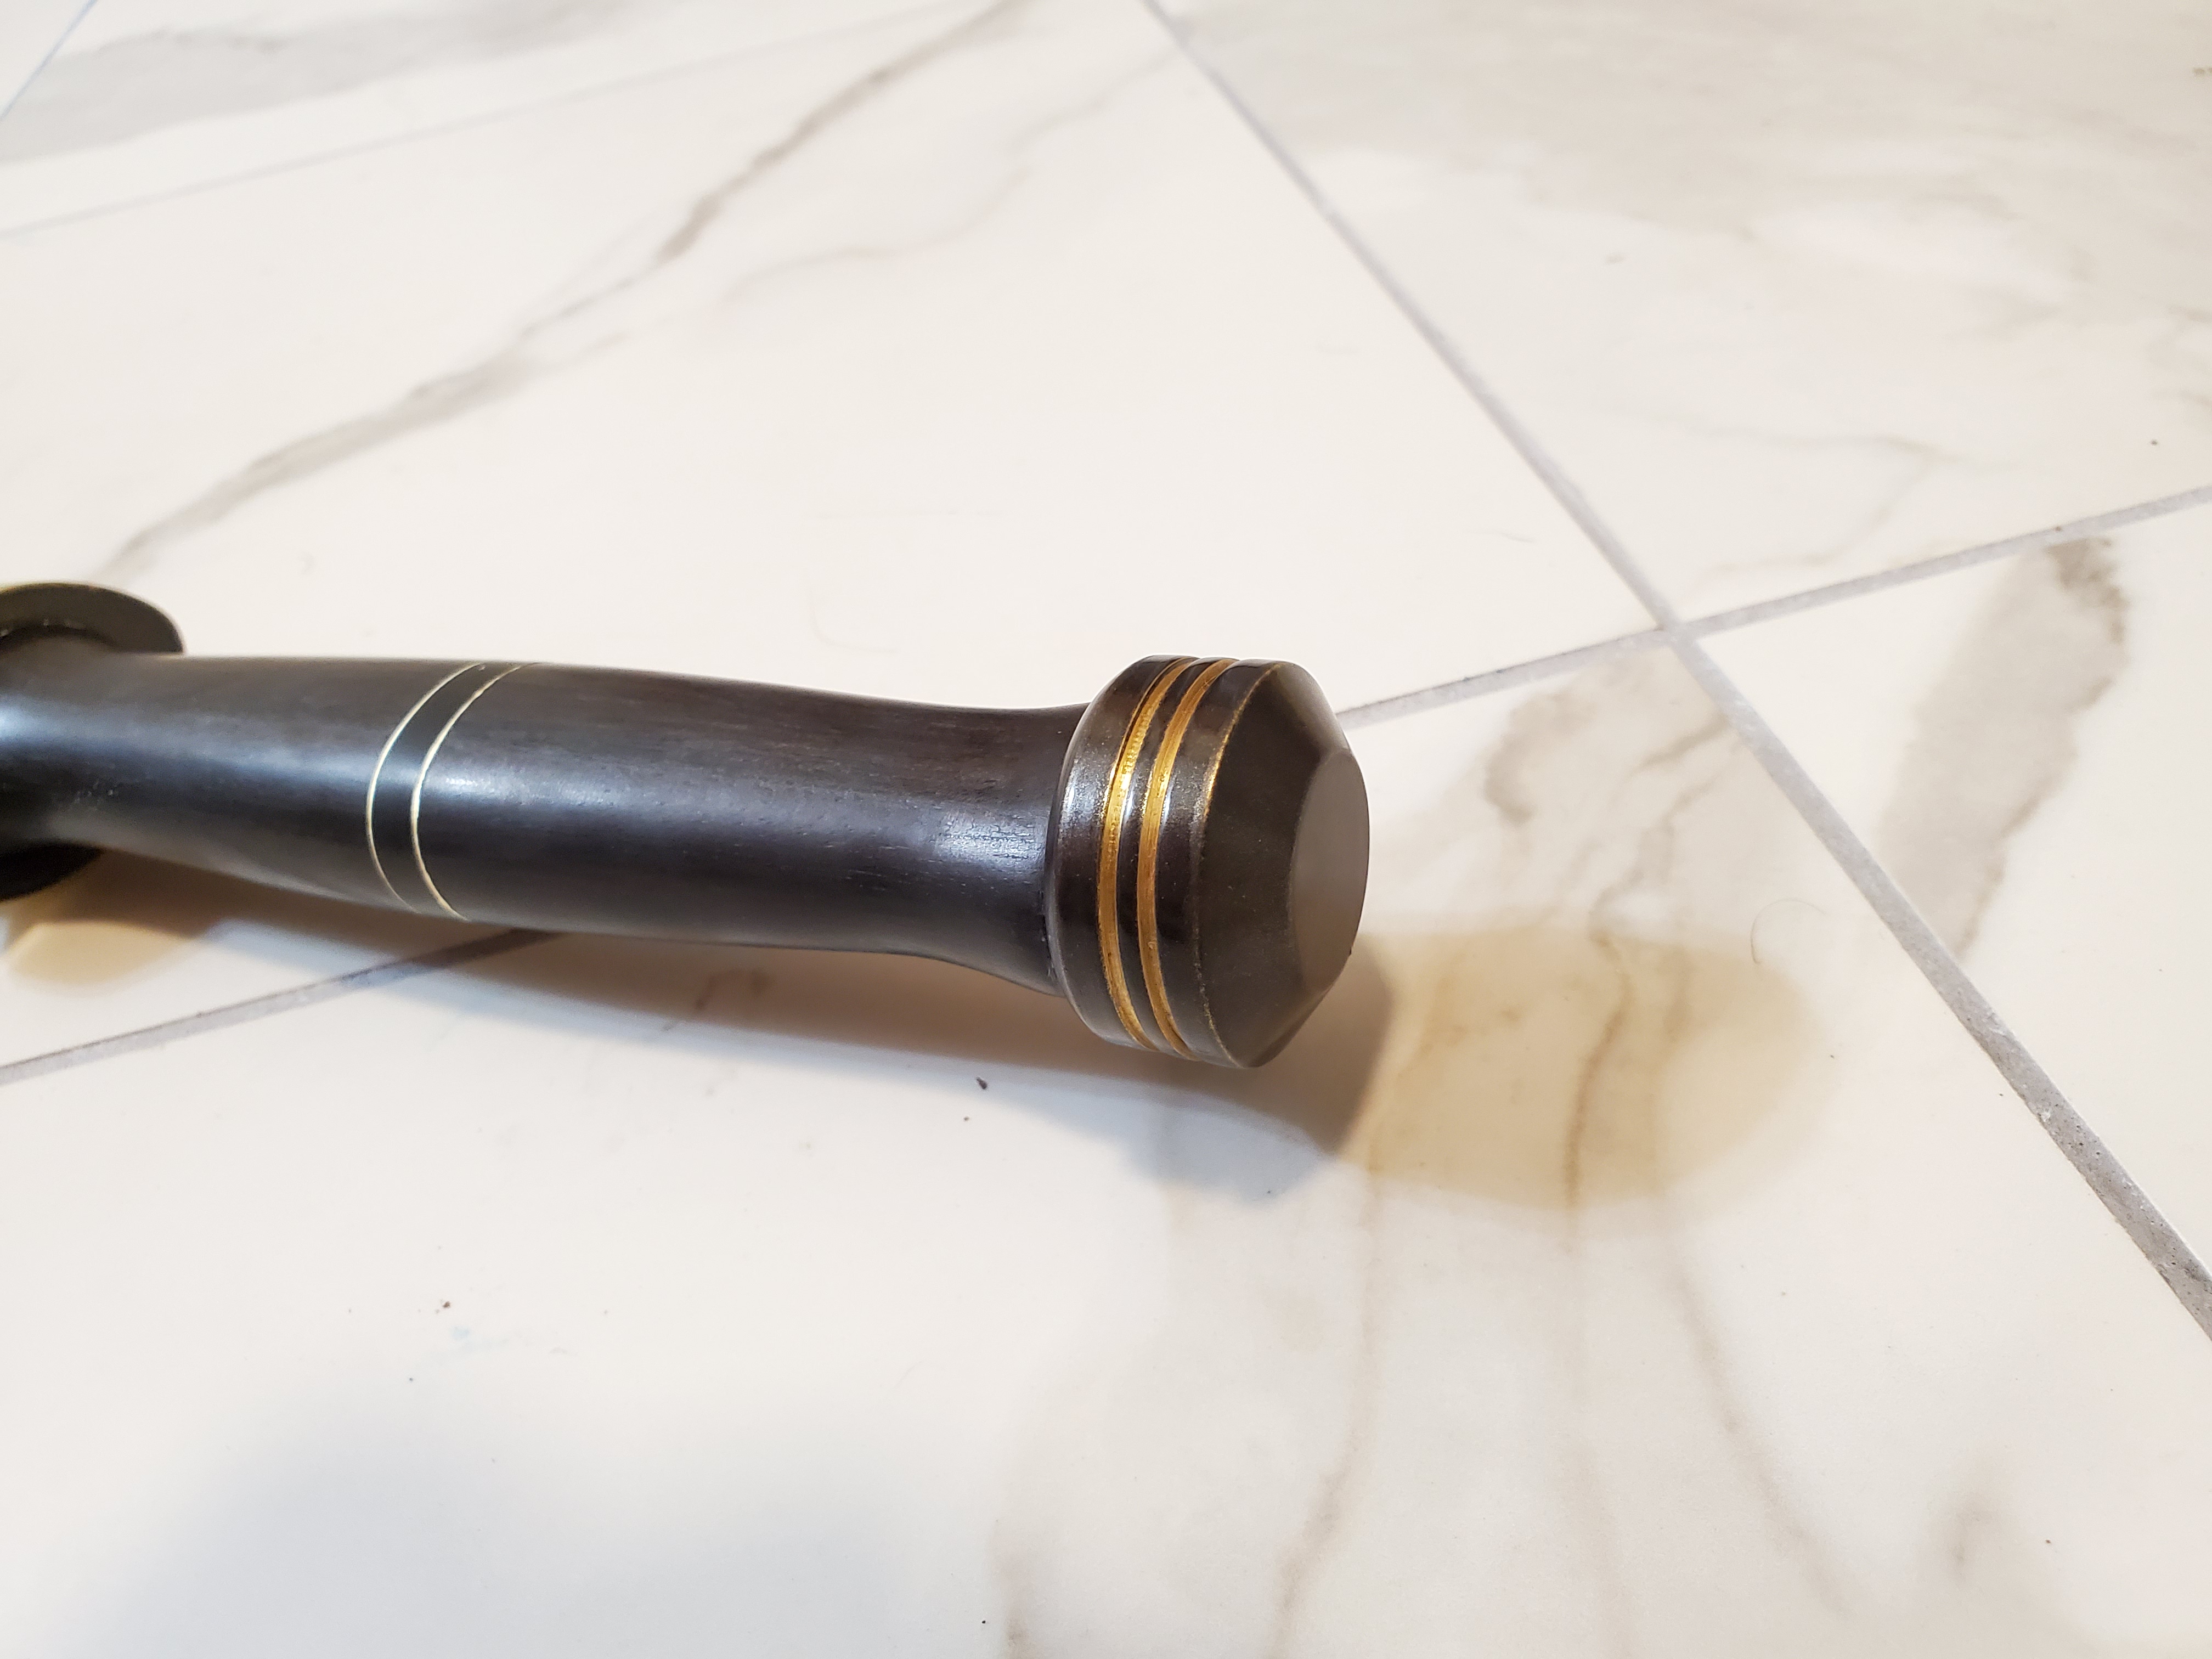
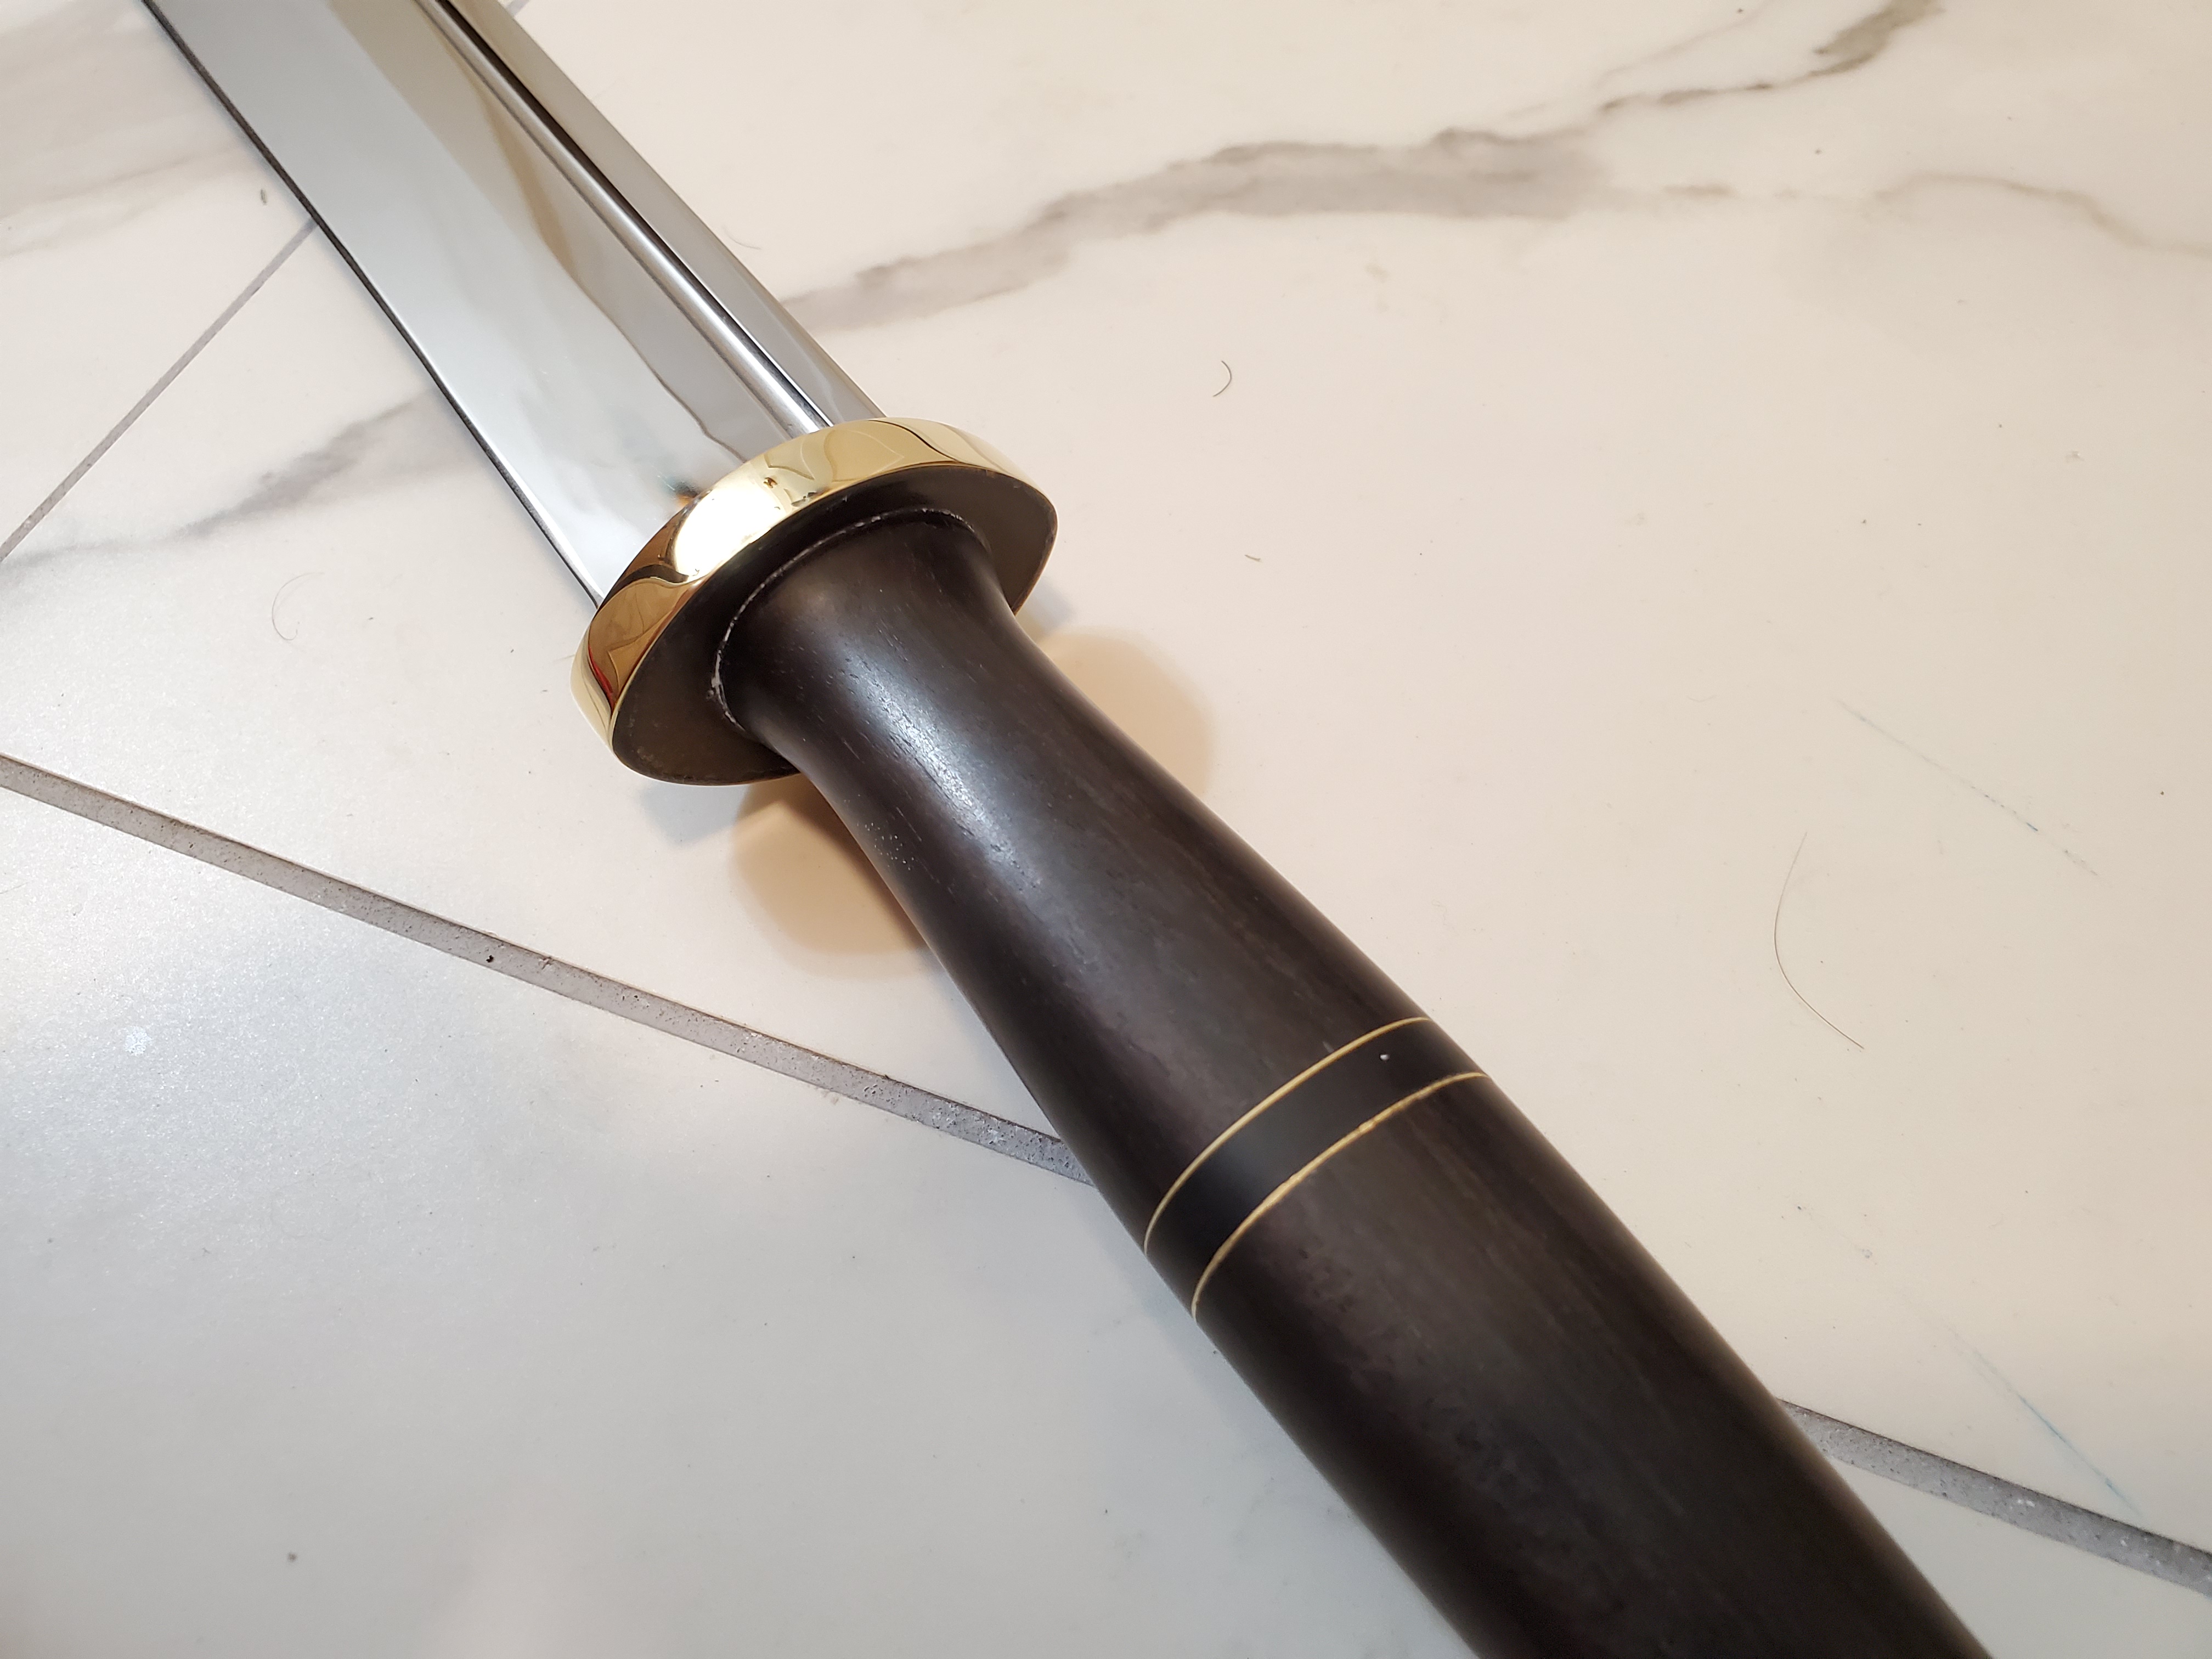
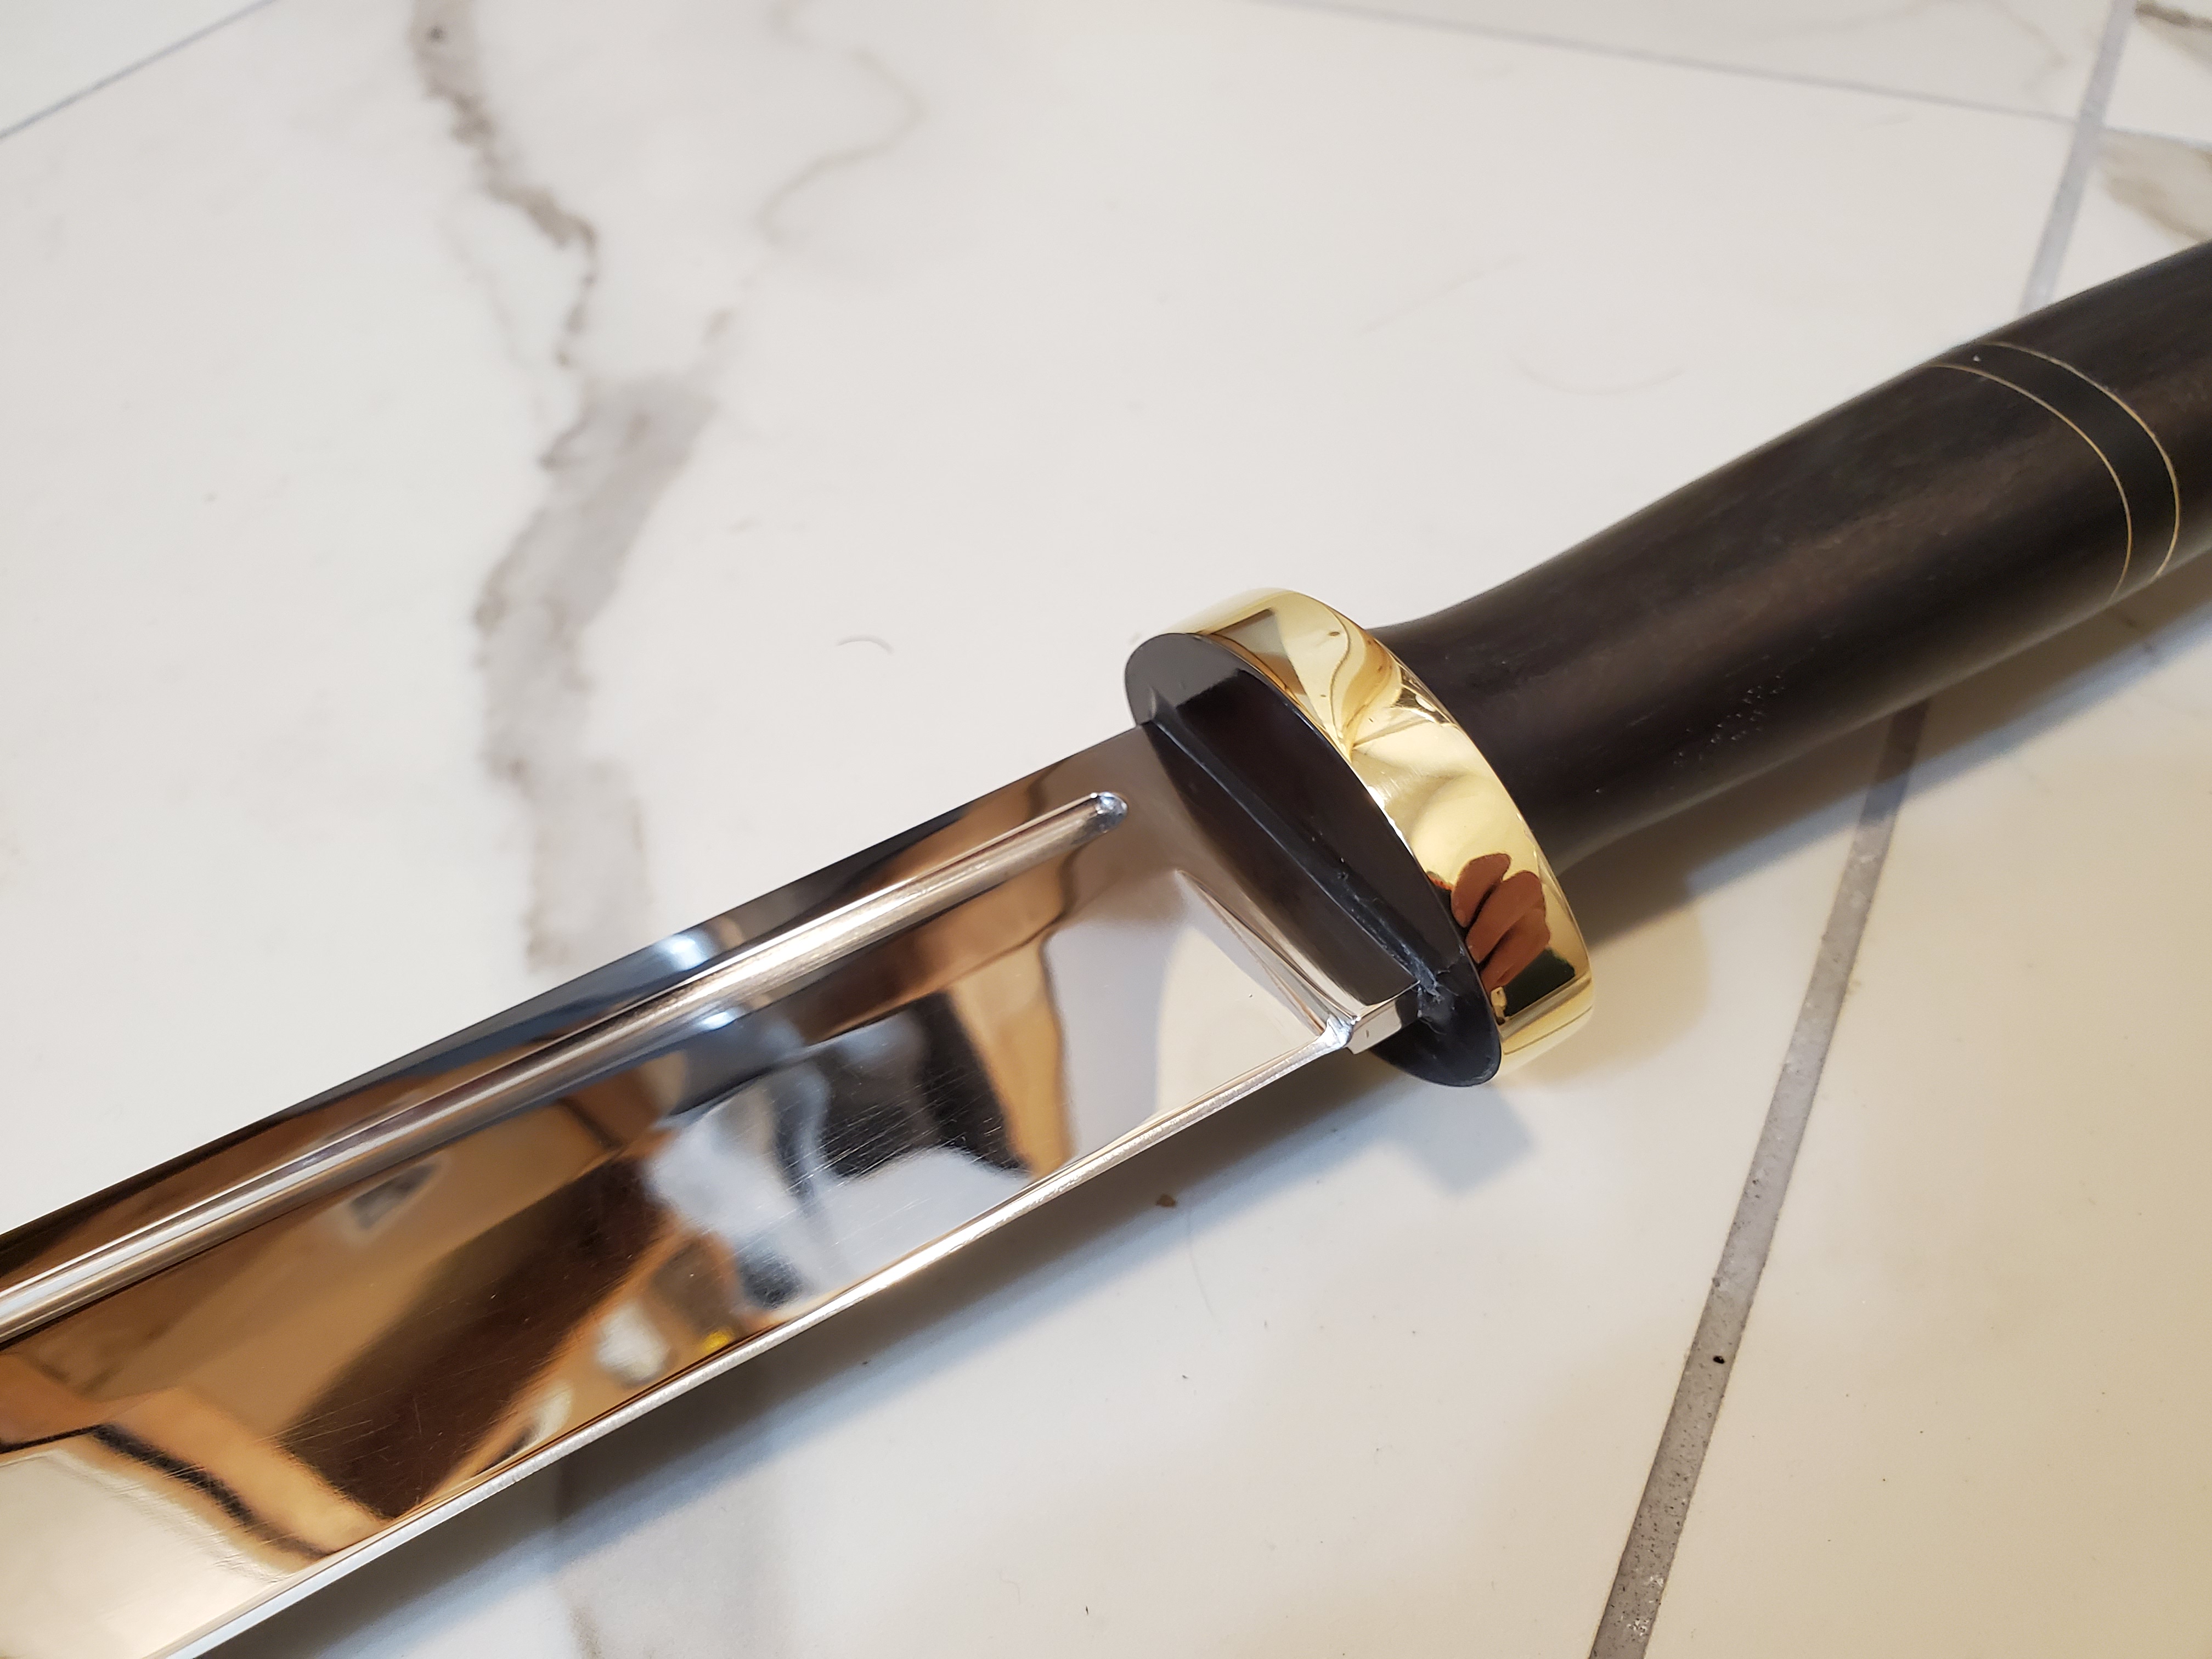
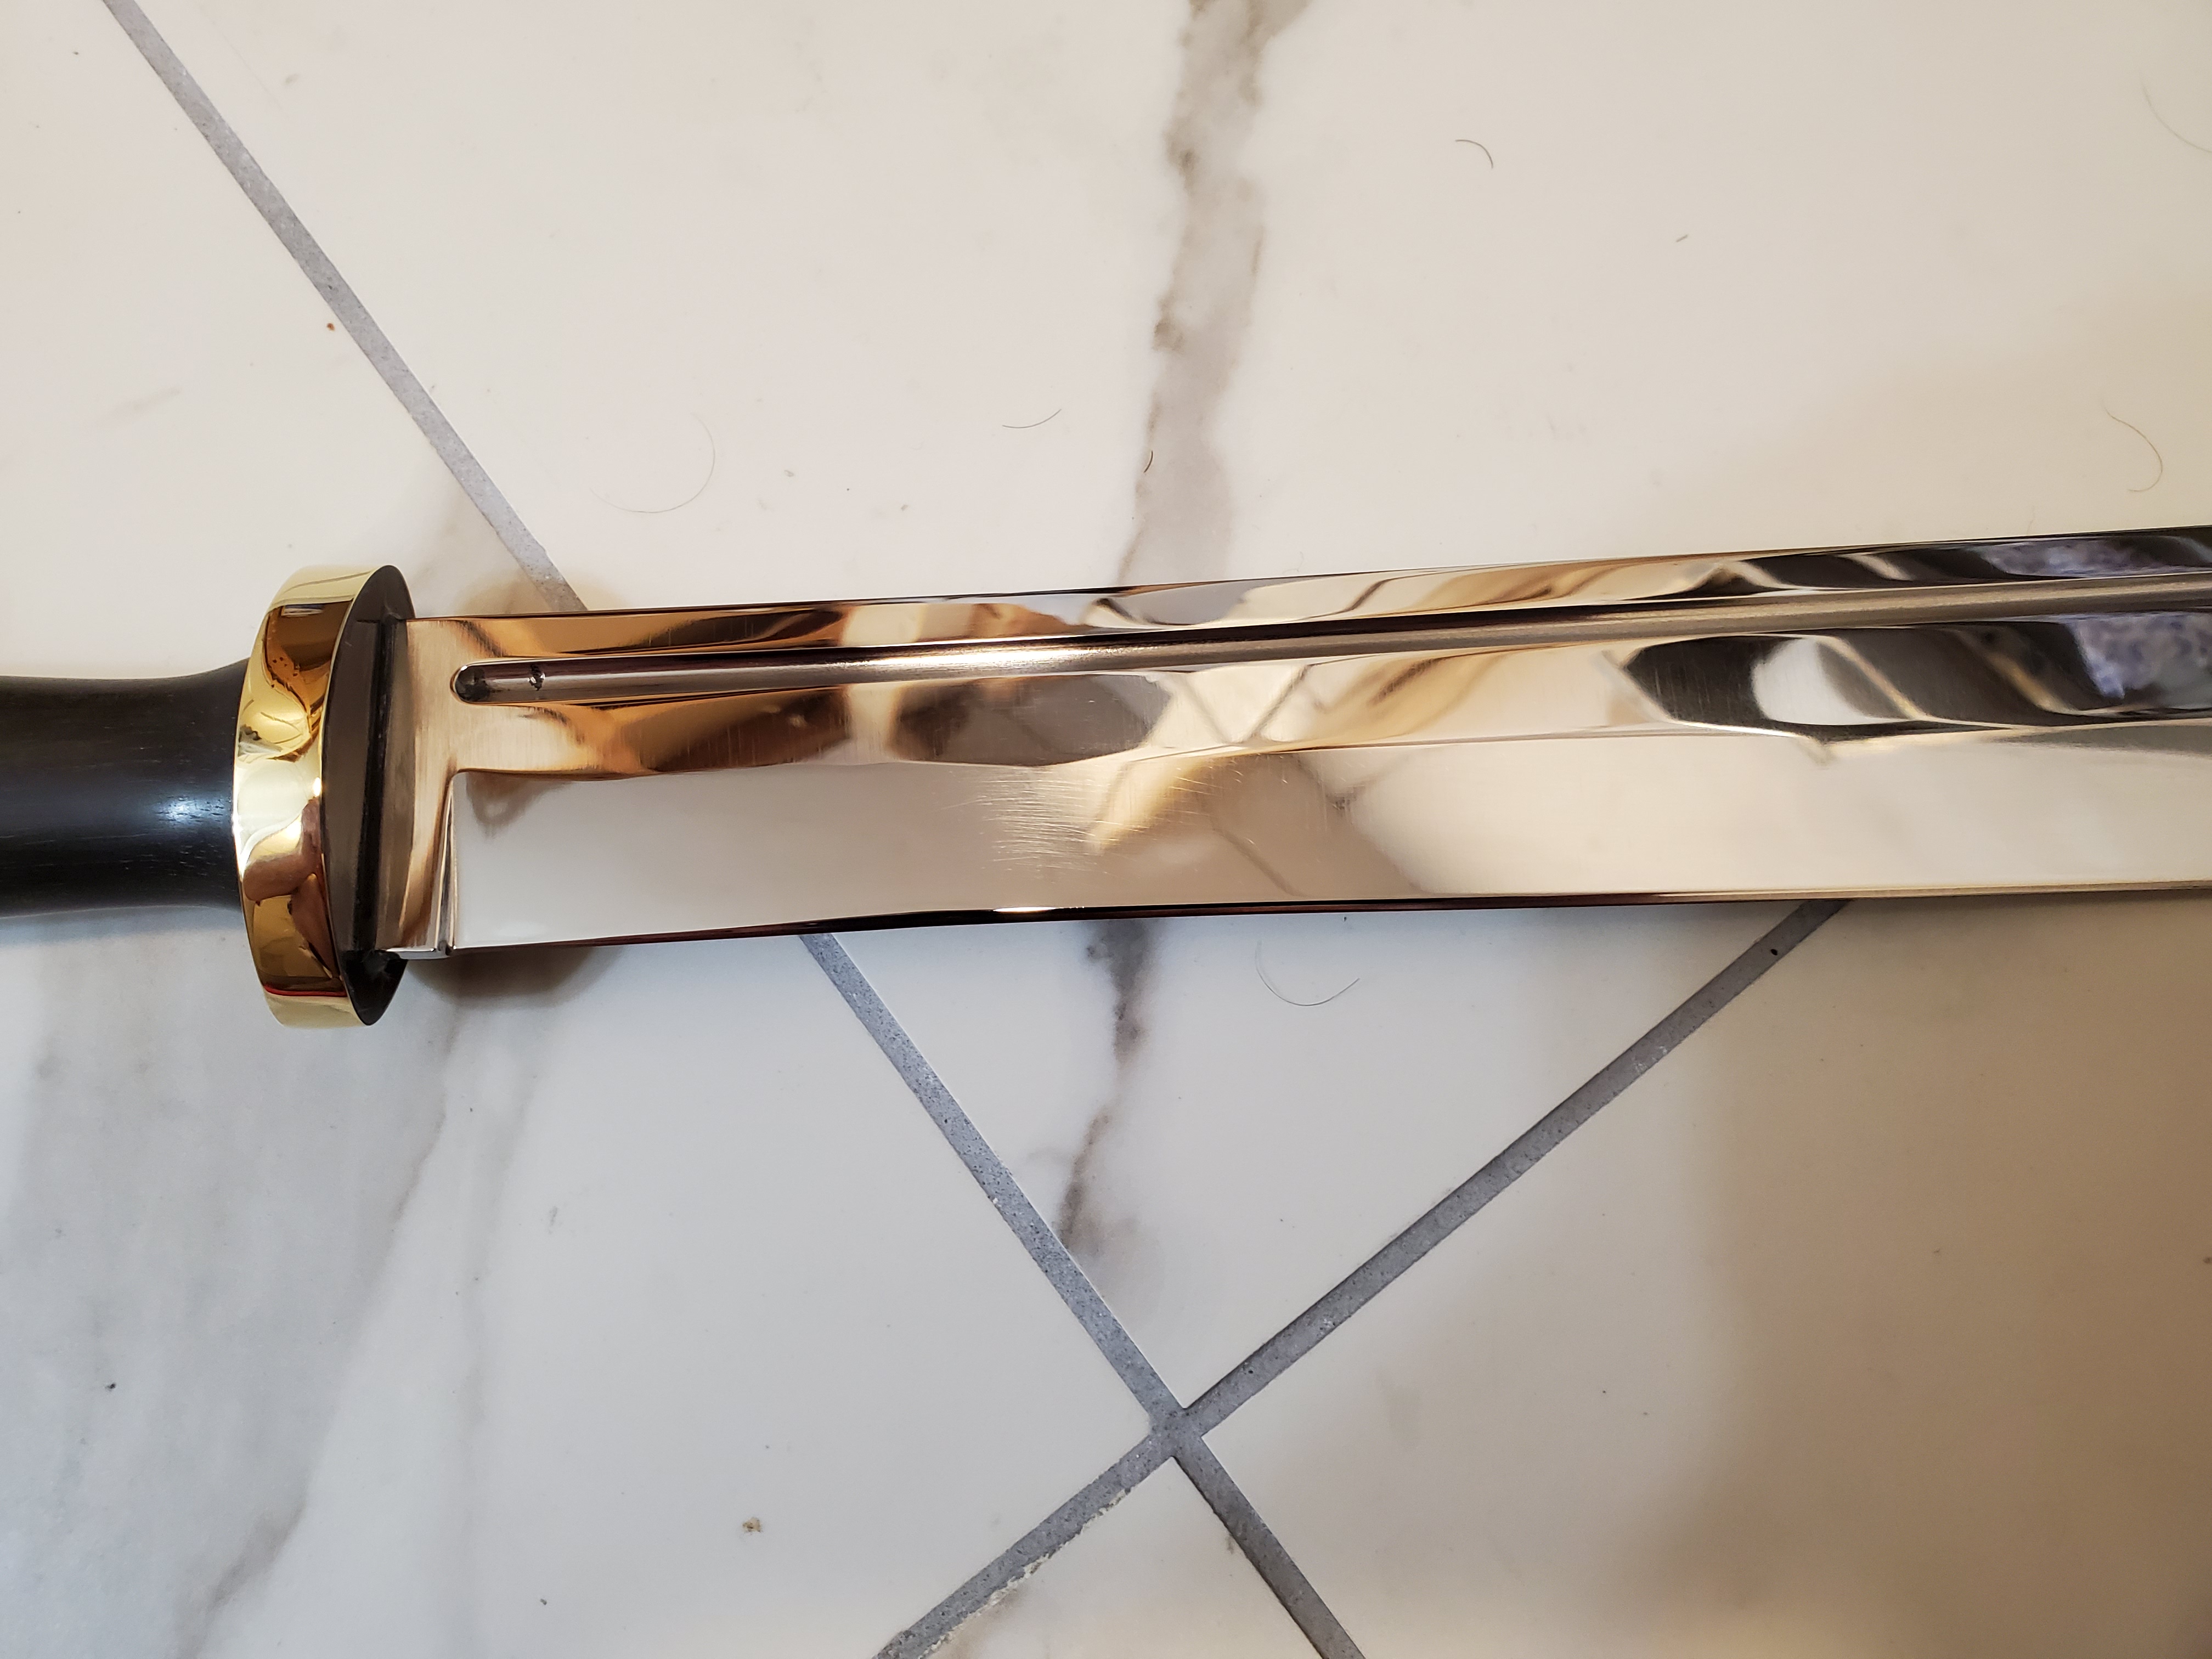
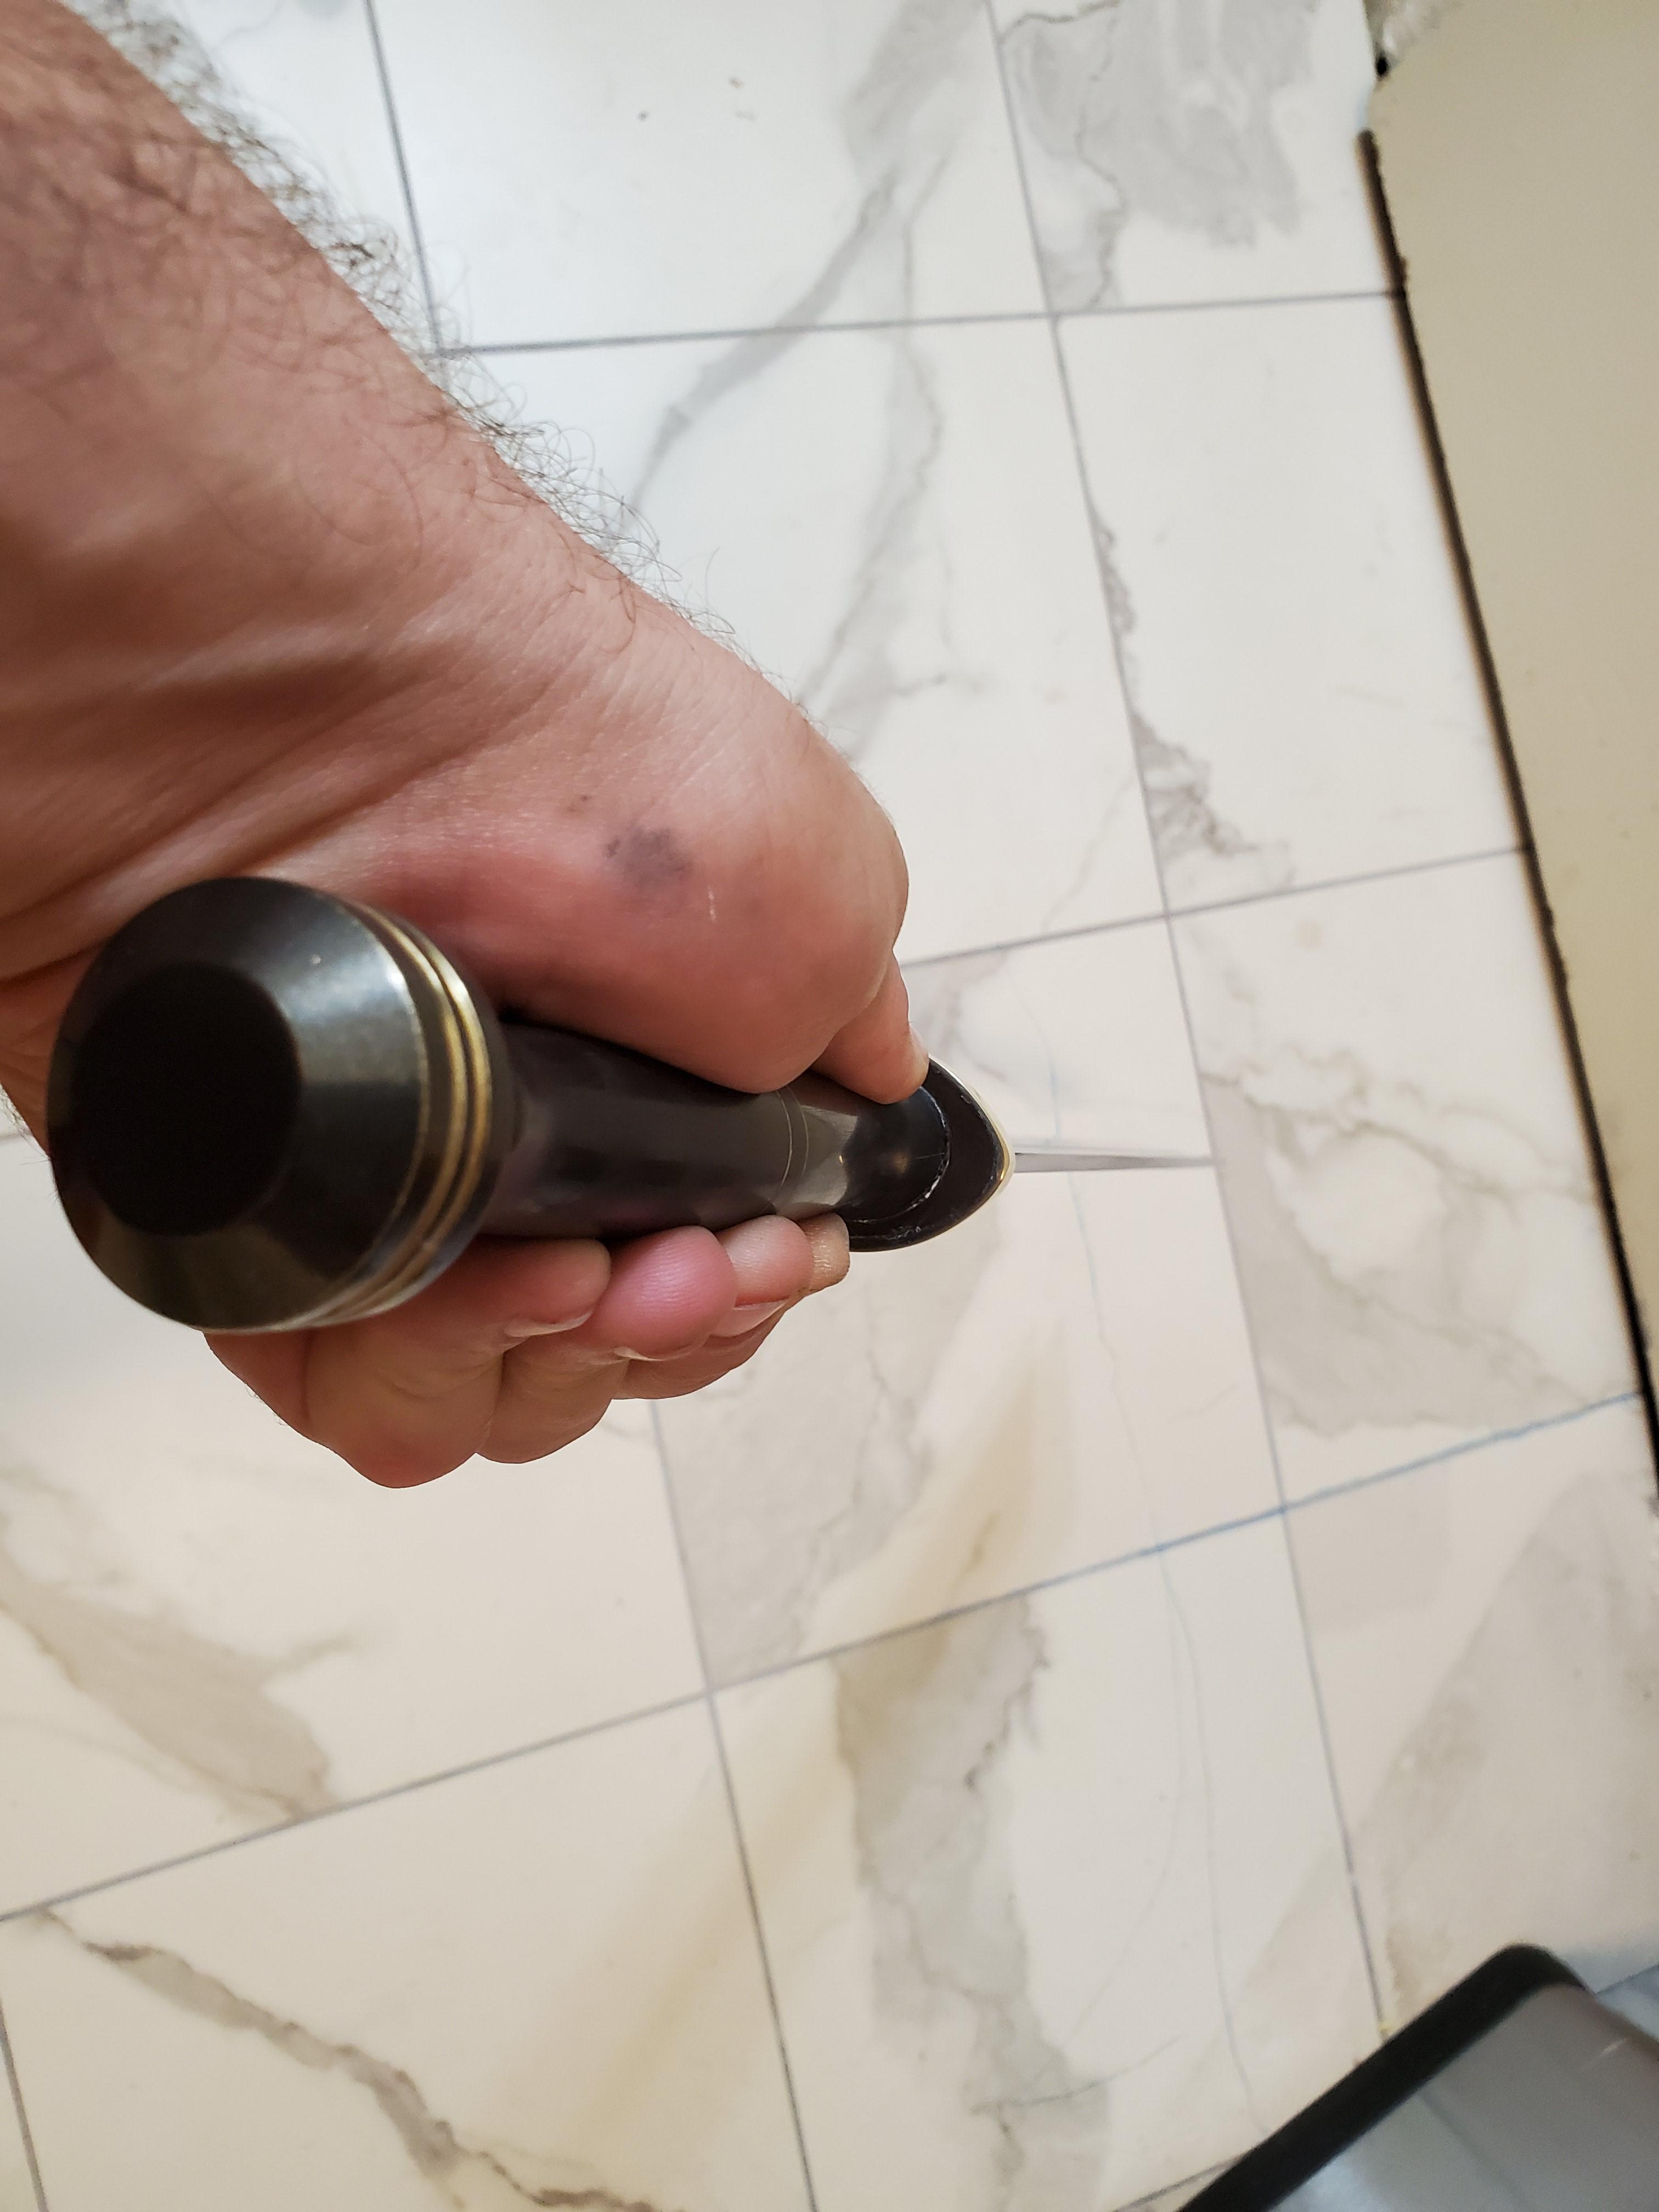
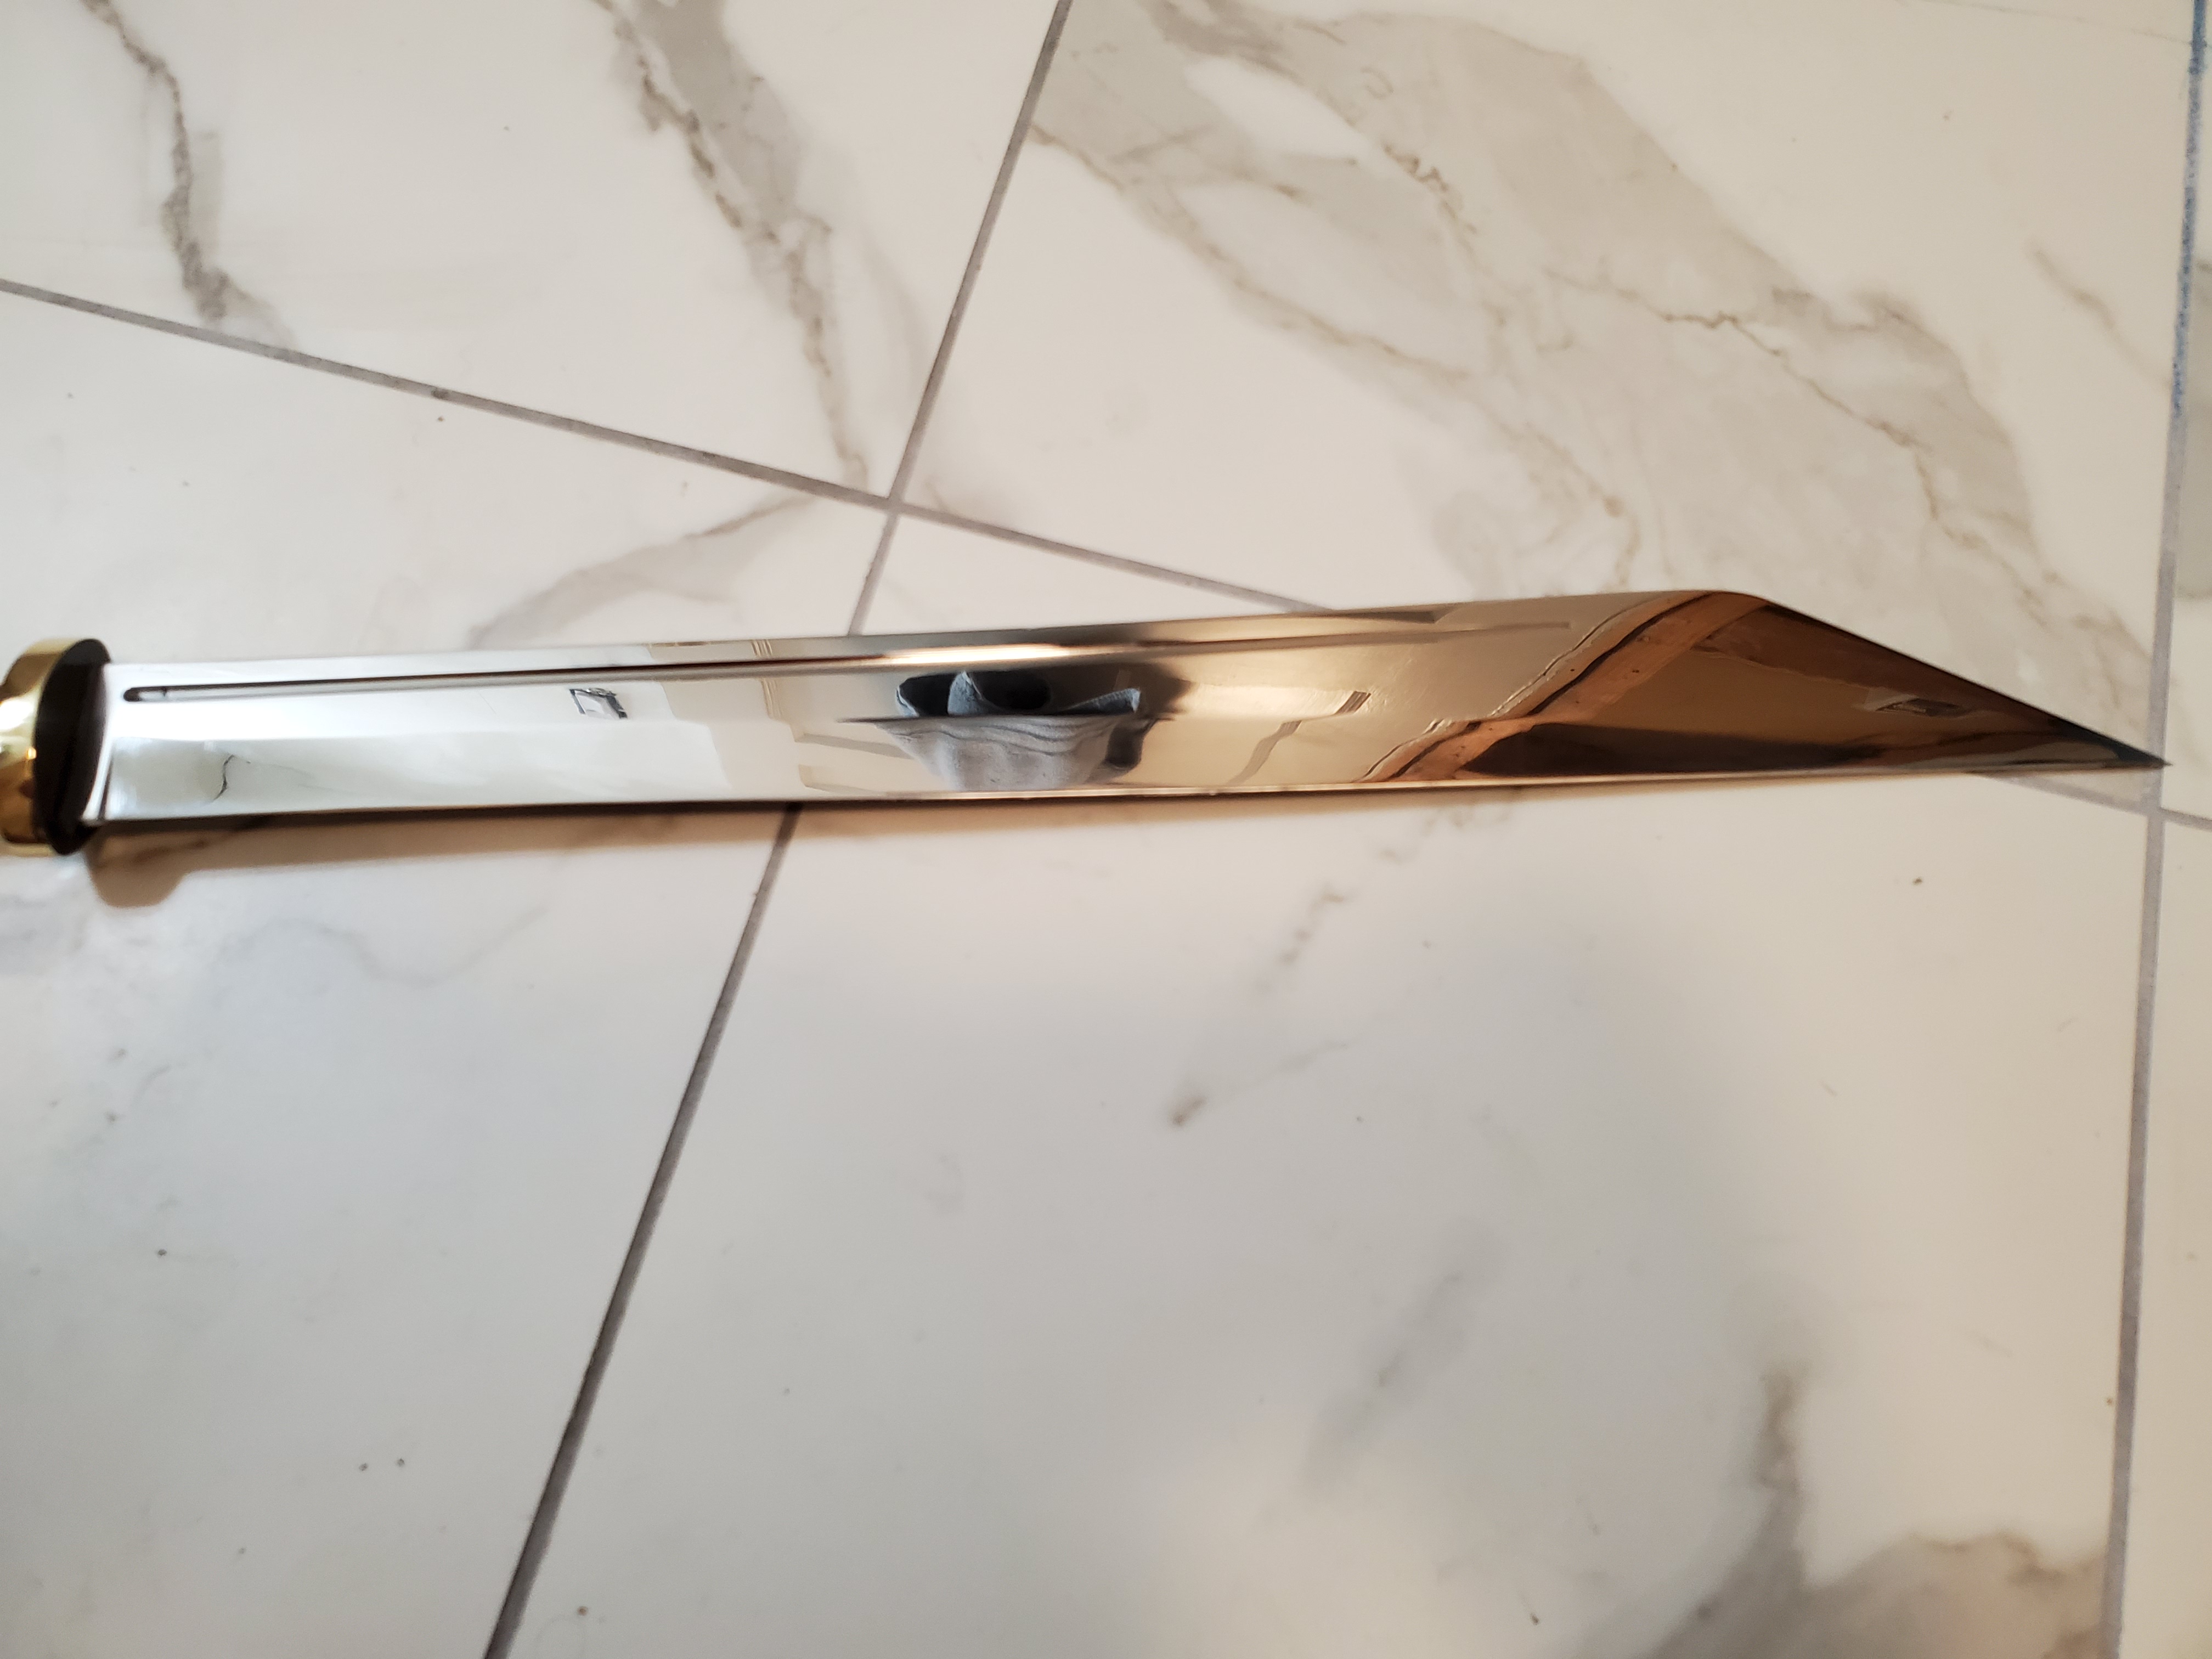
I agreed to make a large knife for a coworker, and a second for his father for Christmas. A seax was desired, so I began researching them. The more I read, the more I felt the seax should be a short sword. If my understanding is adequate, the sword decided upon and produced is a 9th century Anglo-Saxon seax-inspired blade. American 5160 @ .25in thick was the starting point. The blade was forged, re-annealed, ground a bit, heat-cycled x3, and heat-treated (quench was done in warmed veg oil 130ish°). The pseudo fuller was cut on our big verticle mill. The guard and pommel were shaped out of a (very expensive) .75in thick piece of brass stock. These two pieces were powder-coated black chrome, and the raw brass stripes were turned in my ancient lathe. I cut and stabilized the ebony. This got chopped for the brass flourishes and shaped on the tang. The tang extends into the pommel. The "customer" (only charge coworkers for materials/consumables) wanted a black color scheme, so the brass stripes were just for visual happiness for me mostly. Epoxy was applied, and final sanding was done. Chrome buffer was used on all parts including blade, which was final sanded to 2000. Aim for the blade was 56 hardness after temper, so it should be very robust. I dont remember what the final blade length was.. I want to say a touch over 20inches. I am happy with the distal taper and the blade profile. I am mostly happy with the ebony, and moderately happyish with my grinding. I am disappointed in how the join of the ebony and brass pieces turned out. I am also disappointed in my strategy during polishing close to my powder-coating. Overall I am happy with the product, but will not make another sword for a long while... unless someone agrees to pay a large sum of money, I will then. This was super high stress, and very unforgiving compared to a knife. Making sure it is safe to use in the hands of a quasi lunatic like my friend and coworker was the main factor. I am confident in my heat-treat and blade geometry, so I rated it as safe to use on organic material. This blade represents my accumulated skill to date, and forced some growth. Now I am going to make the customer matching knives for he and his father. Thanks for looking, pictures to come.
-
From what I read so far, the melting temperature can be as low as 1800° and as high as 3200° depending on what other minerals are mixed in. Satanite is rated up to 3200° I'm reading. My thought was the dense tile would reradiate well due to the glassy-ness of the fine particles. I'm seeing that there are too many variables based on what all could be in the tile. I'll give it a go anyway because its leftover powder and it'll be a fun learning experience. Me thinks to fire a square of it and then lay a little flat stock 50% on it and compare which end gets yellow first.
-
I am remodeling a bathroom at my lair, and I got some nice porcelain tile from lowes for the shower and floor. As I have been cutting tile, I have acquired a quantity of super-fine porcelain.. silt? My thought was to mix it with satanite and test it on a small square. Does anyone know if this has already been tried, or have an opinion to share?
-
If you follow the recommendations given so far you will 110% be welding your heart out; I speak from experience. Plistix is amazing stuff, don't forget about that reradiating coat. Also, thank you for serving.
To clarify, my experience is with welding heat and not pattern welding. I dont pattern weld. (Yet)
-
I used tapered crayons in my blown ribbon burner. My forge performs well, but I'm not sure the tapered outlets had any profound effect. I would postulate that the tapered outlets may be of more benefit in the NARB design. With a gun burner it doesn't seem to matter much.
-
Electroplating will cost almost nothing, as it can be done with scrounged bits. You will, however; have to do a bit of reading. You can get a grinder from Eastwood pretty cheap, harbor freight for super cheap..
-
I would consider putting the itc100 on ebay for 10-15 dollars less than what you purchased it for. Cut the loss and order the Plistix.. the re-radiators are WELL worth the money in my opinion. I think I paid around $15 for the West Systems 406 on amazon, much much cheaper than done-up rigidizer. If money is not as much of an issue, then I offer apologies for prattling on about cost/benefit details.. Looking forward to seeing a hot forge.
-
West systems 406 (I believe) mixed with water and cake coloring makes a nice rigidizer at a very economical cost, comparitively. Fyi. Plistix and matrikote were available on amazon and ebay last time a checked, been a couple months though.
-
Regarding the kast-o-lite30, my floor is made up of this with a coat of plistix/matrikote. I find that it gets super hot, and my reheats for whatever I'm working are really fast when it lays on that floor.
-
I would love to be able to do that. I hate such a waste.. the vultures get enough to eat around here. It's even more frustrating when it's a fawn that's been hit
 . It can't be helped though.. you can't hardly throw a rock outside without hitting a deer or two. That's just part of West Texas.
-
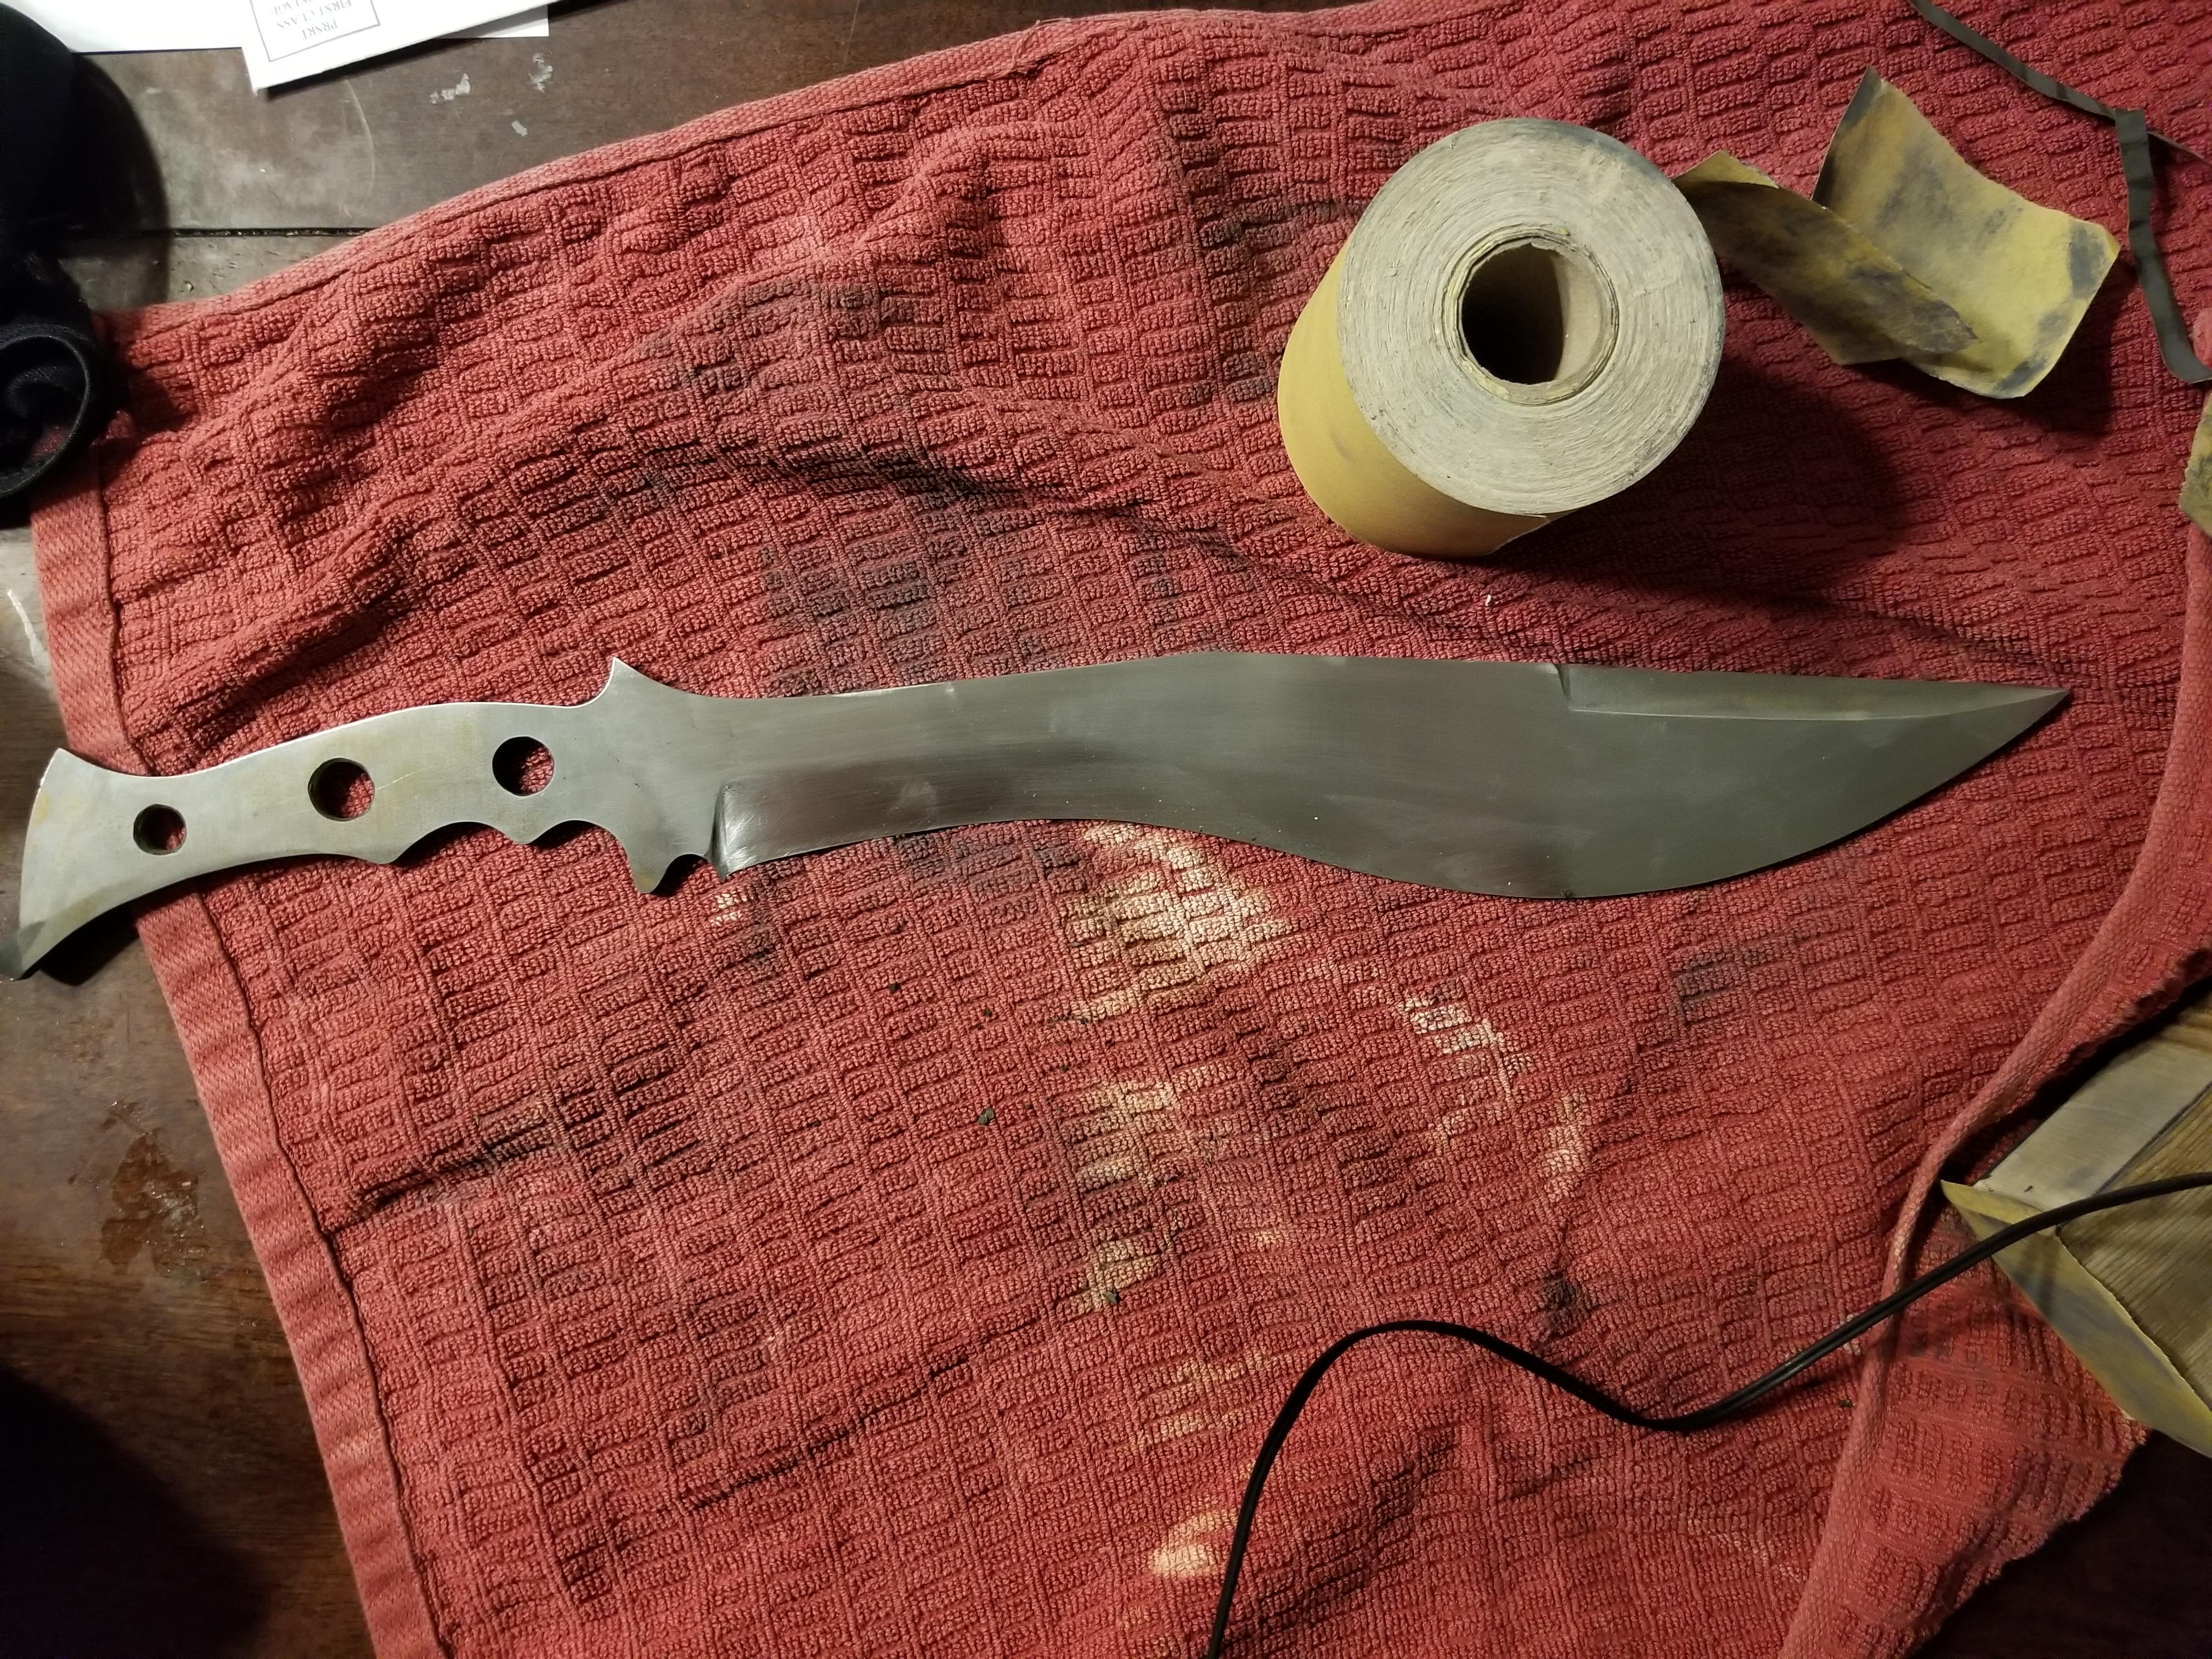
Update: The heat treat is done, belt grinder work is done, and now I am hand-sanding (a lot). I might be seeing things, but if I hold the bevel at an angle to my light fixture, I think I see the hamon. I will acid dip it after my sanding and see if it really is the hamon.
-
Well done! I love the contrast from the black to the burl, and the grinding looks really clean. Did you do much hand sanding, or was it all on a 2x72? Fantastic first knife!
-
I seem to recall a build from across the pond that utilized angle iron that was bolted together to frame the k26 bricks. A good coat of Matrikote, an ordered burner, and you're golden! A wonderful weekend project me thinks.
")
-
In my opinion, the more people that get involved in metal-working the better, so I hope you are very successful if you start doing this. I would think of some way to ship with a safety brief type document, and point troubleshooting to IFI.. maybe that will offer a good starting point?
-
Love that handle! Great job!
-
Does the company provide rigidizer, cast-o-lite equivalent, and Plistix? These necessary things may be extra costs to consider.
-
I would NOT use ITC 100... Matrikote or Plistix are going to be much better for your (hopefully) future k26 soft bricks. Itc100 is a big waste of money for what you are doing.
-
Everything they said! Seriously though soft bricks and a coat of Matrikote 90 or Plistix and you will be so much better off


First Kitchen Knife Commision
in Knife Making
Posted
The ergonomics look tip top, and that burl!!! I love burl that has high contrast eyes and veins! Did you stabilize yourself?, and is it cactus juice?