Doc Peepaw
-
Posts
11 -
Joined
-
Last visited
-
Naturally Aspirated Ribbon Burner. Photo heavy.
Doc Peepaw replied to Frosty's topic in Ribbon Burners
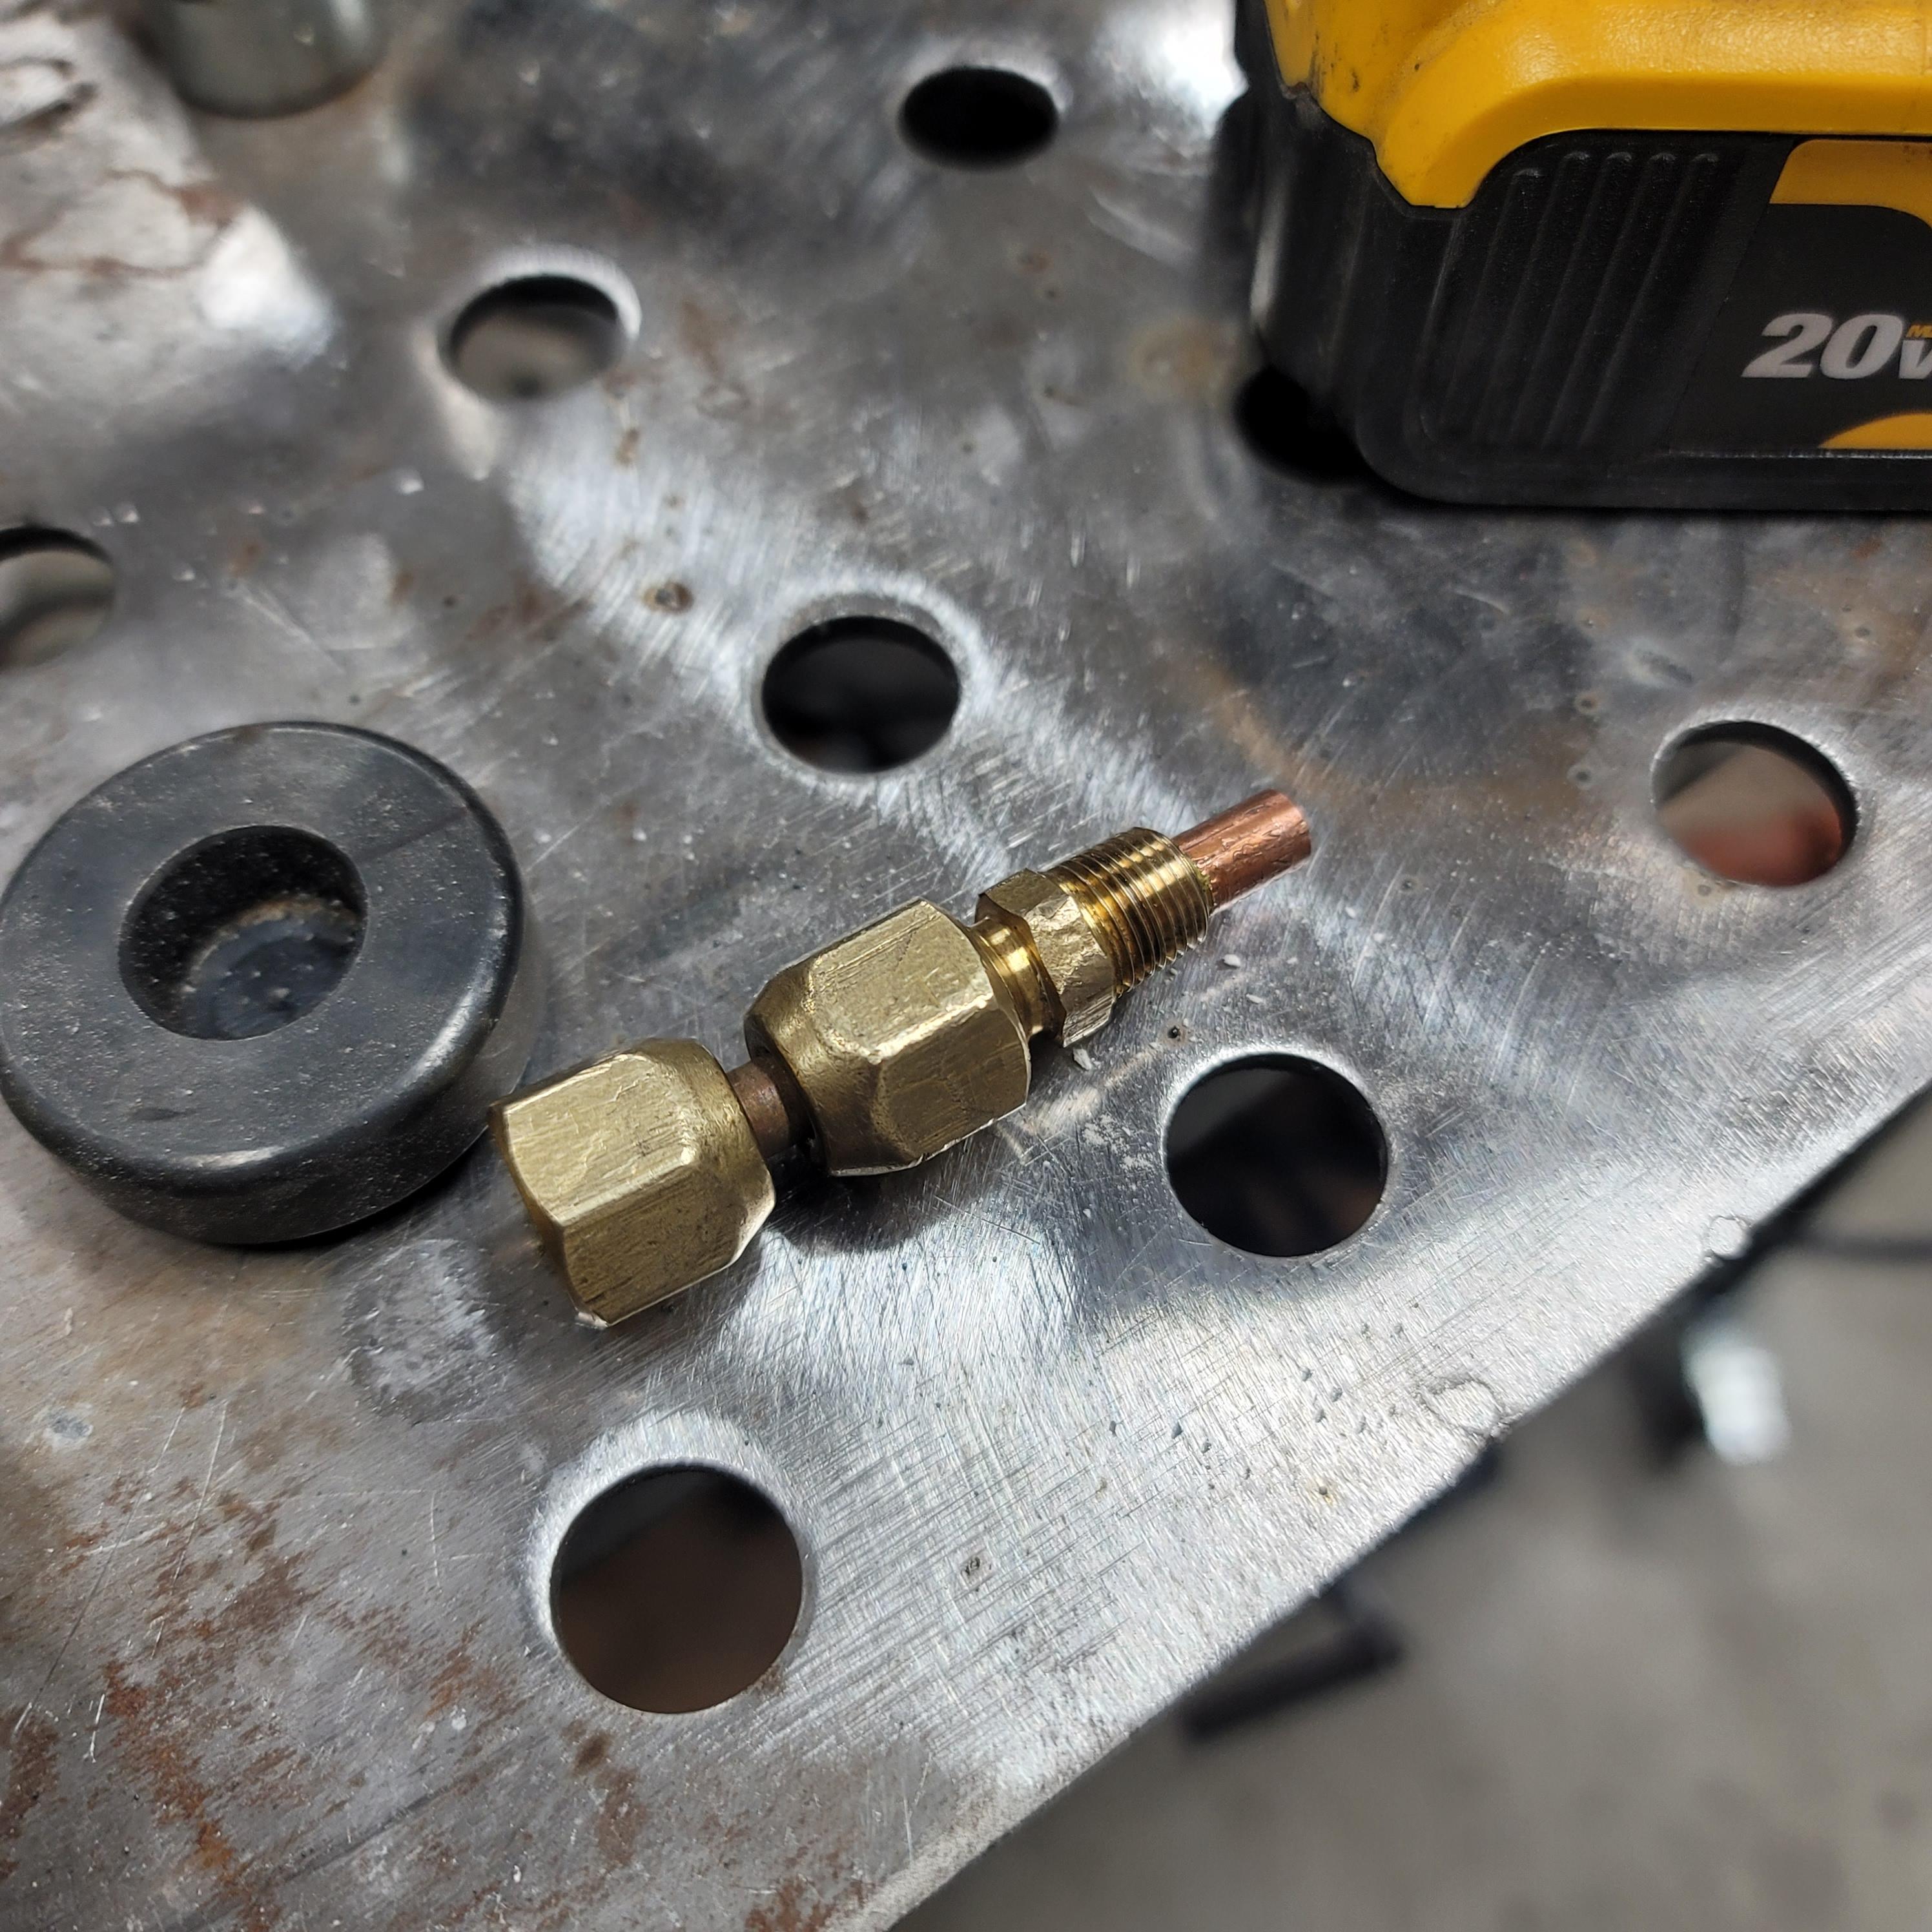
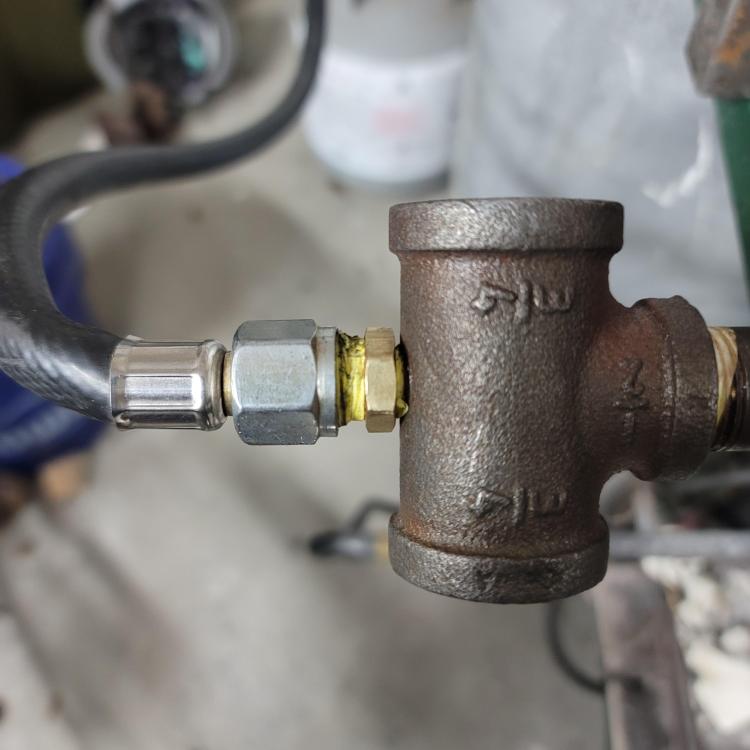
Ha, that would make me shudder too. No, it was a fire brick. It also had another wall of fire brick between it and the tank. I do some stupid things in my life but I've seen too many of my friends blown up to want to blow myself up. That said, I did run a tip cleaner through it. The issue was, most likely, a small leak at a junction which was lowering the pressure at the MIG tip and thus lowered the mixture of oxygen. I took out some superfluous parts and re-tooled the attachment of the MIG tip to the T burner. It was slightly crooked before as I tapped it by hand. Now that I've got a lathe it made tapping straight much easier. The extraneous parts the new attachment I've, since this picture, ground the MIG tip back a bit more. I think I'm still having an issue with velocity. I figured out the my area with the 41 1/8 inch holes is roughly half what you, Buzzkill, have with your 14 9/32 inch holes. So I'm printing another mold to cast another burner with 14 9/32 inch holes. Should be ready in a few days to try out. I also am continuing the build. It needs a lot more insulation. I'm going to build a box to surround the refractory so I can have a minimum of 3 inches of kaowool above it. The bottom is only going to have 1 inch of kaowool under the refractory which will hopefully be good. Despite all that I was able to get bordering forge weld temps with only 1 inch kaowool draped over it. I didn't get as much done working on it this weekend as I had hoped as I came down with a case of the 'vid. I still managed to work on it but man was it tiring when breathing is difficult. I am looking forward to trying the different burner.

-
Naturally Aspirated Ribbon Burner. Photo heavy.
Doc Peepaw replied to Frosty's topic in Ribbon Burners
I fire up the forge yesterday. It does take forever to heat up because of how thick the refractory is but it seemed to be working well. Since is was still running slightly rich I decided to try amd tune it for a more neutral flame. I ground a bit off the tip of the MIG tip, put it back in and now, for some reason it is running super rich. I didn't get any pictures but something went bad. I wanted to keep working on the problem but it got really cold and I was coming down with something, so I stopped for the night. Still a little under the weather and it's still cold so I don't think I'll get to troubleshooting what went wrong until some later date. I'll post pictures of how rich it ran next time I'm out in the shop.

-
Naturally Aspirated Ribbon Burner. Photo heavy.
Doc Peepaw replied to Frosty's topic in Ribbon Burners
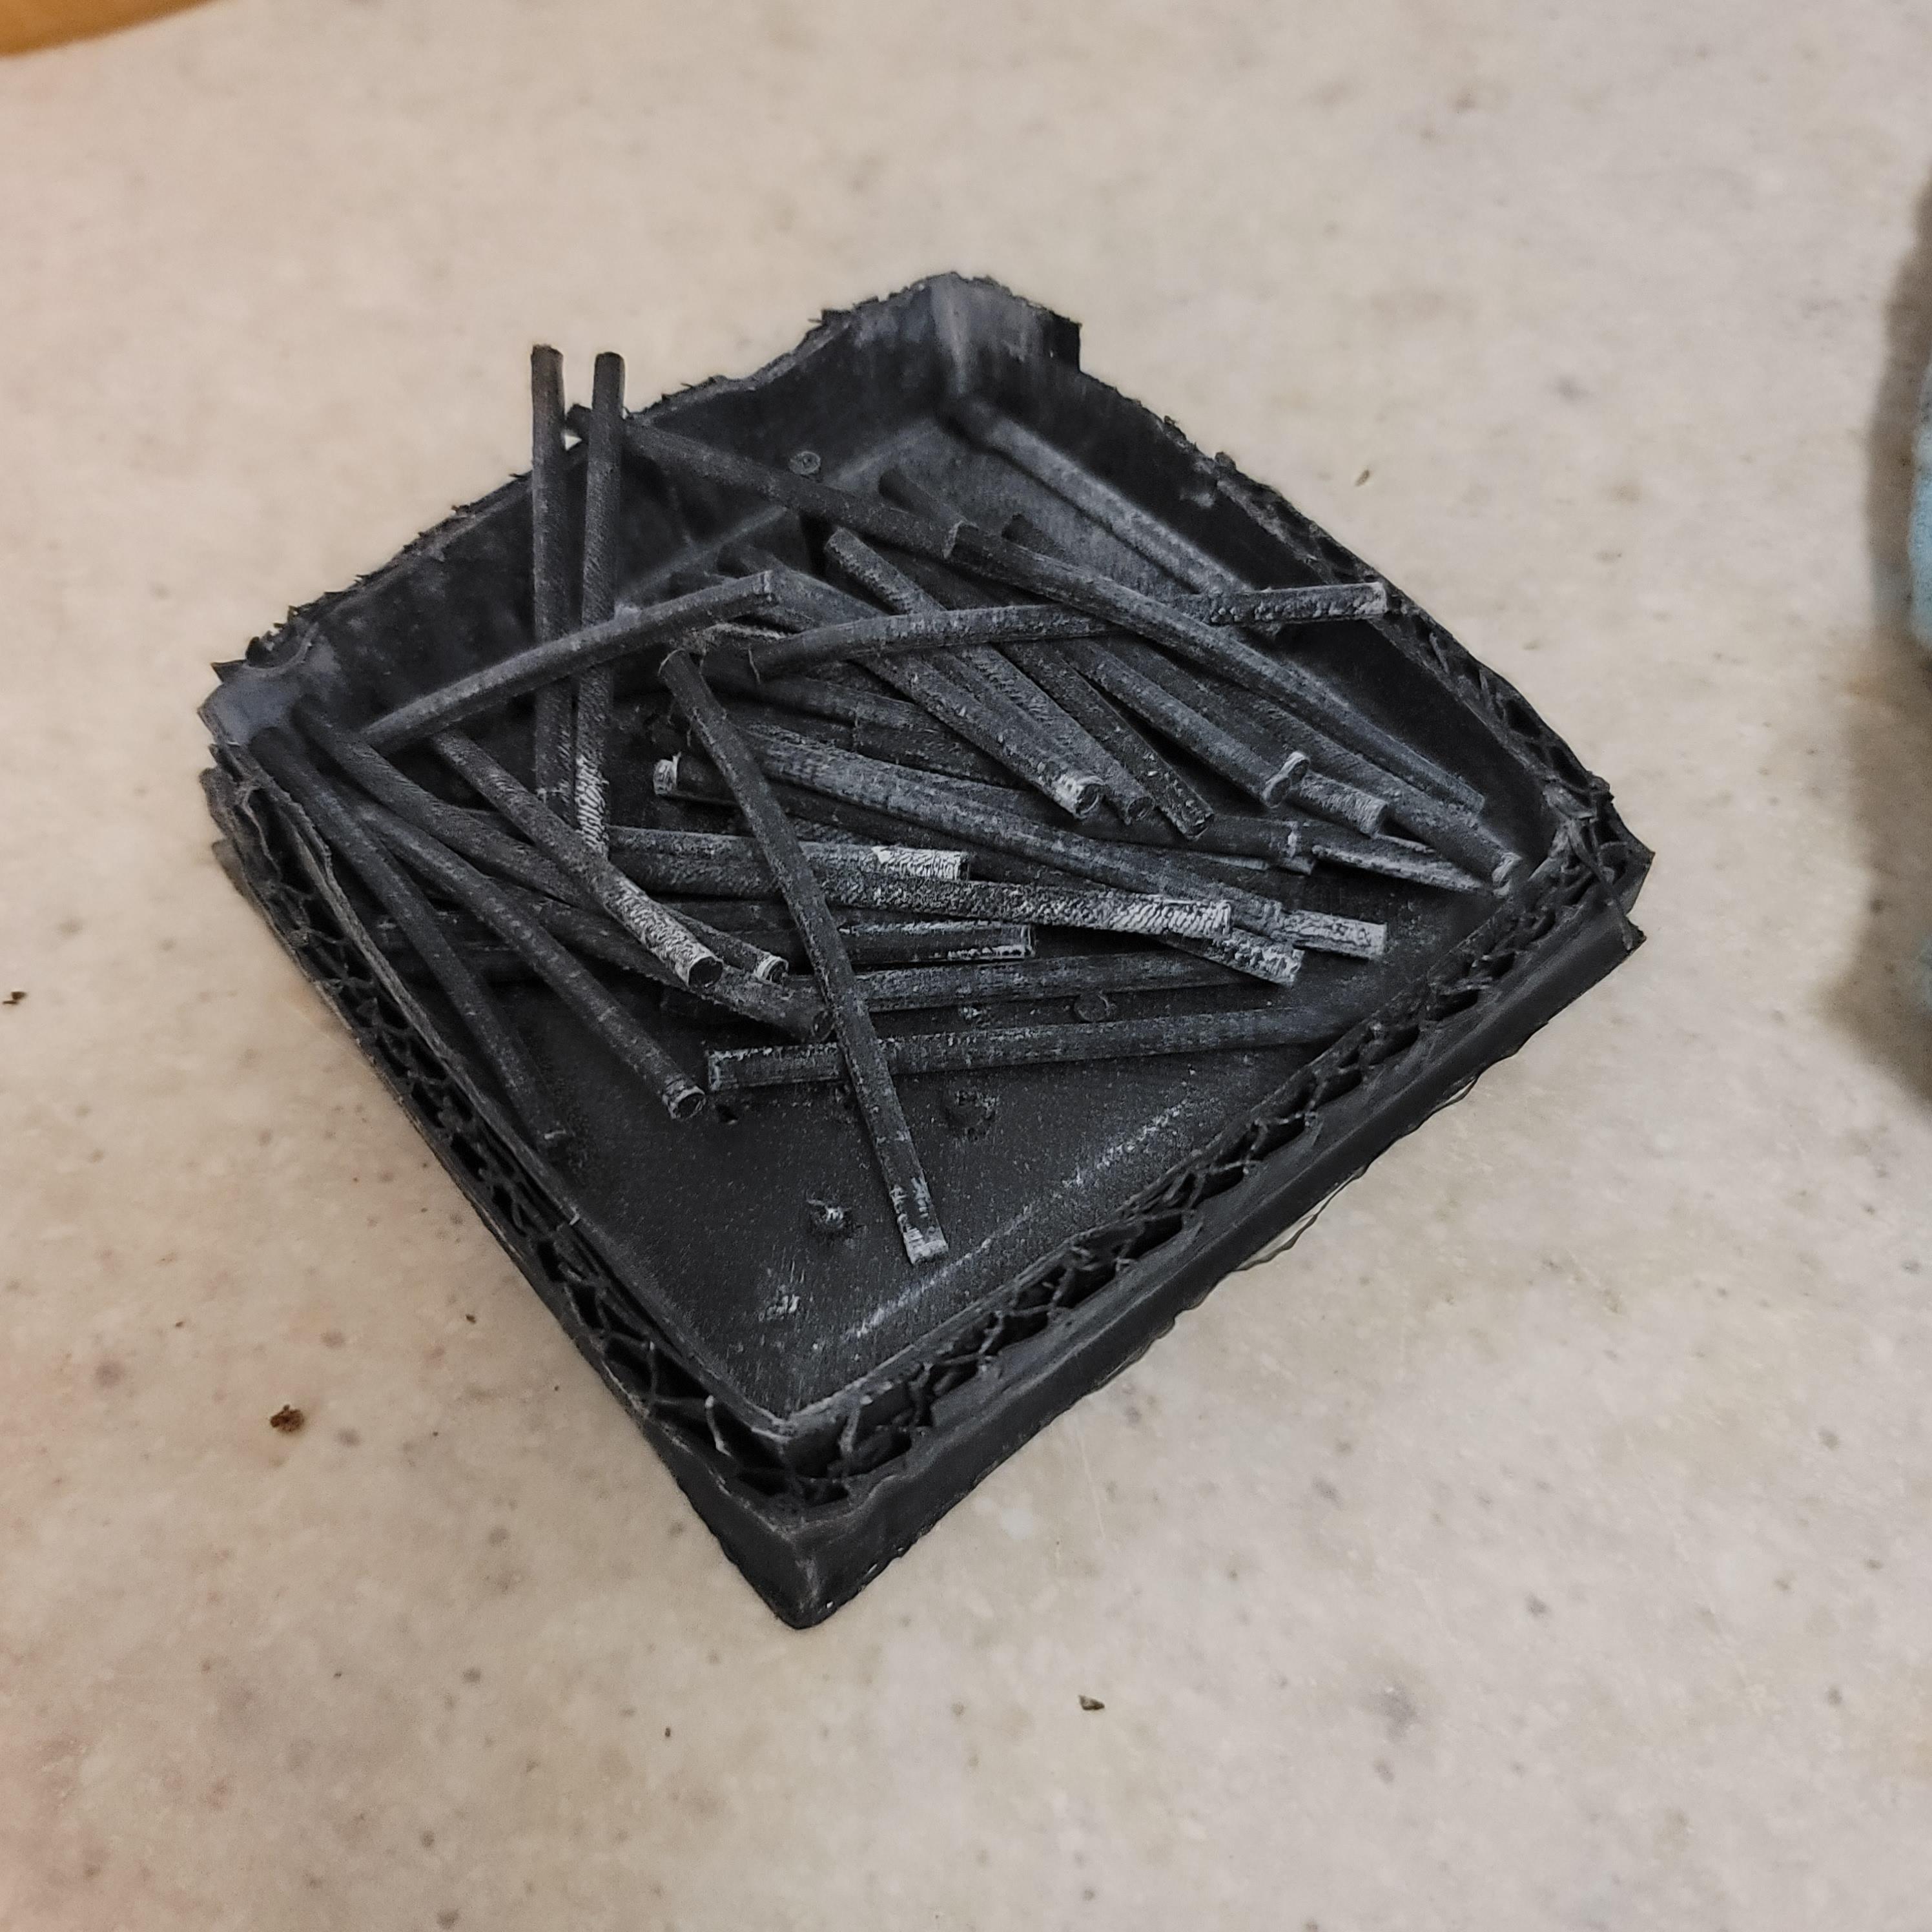
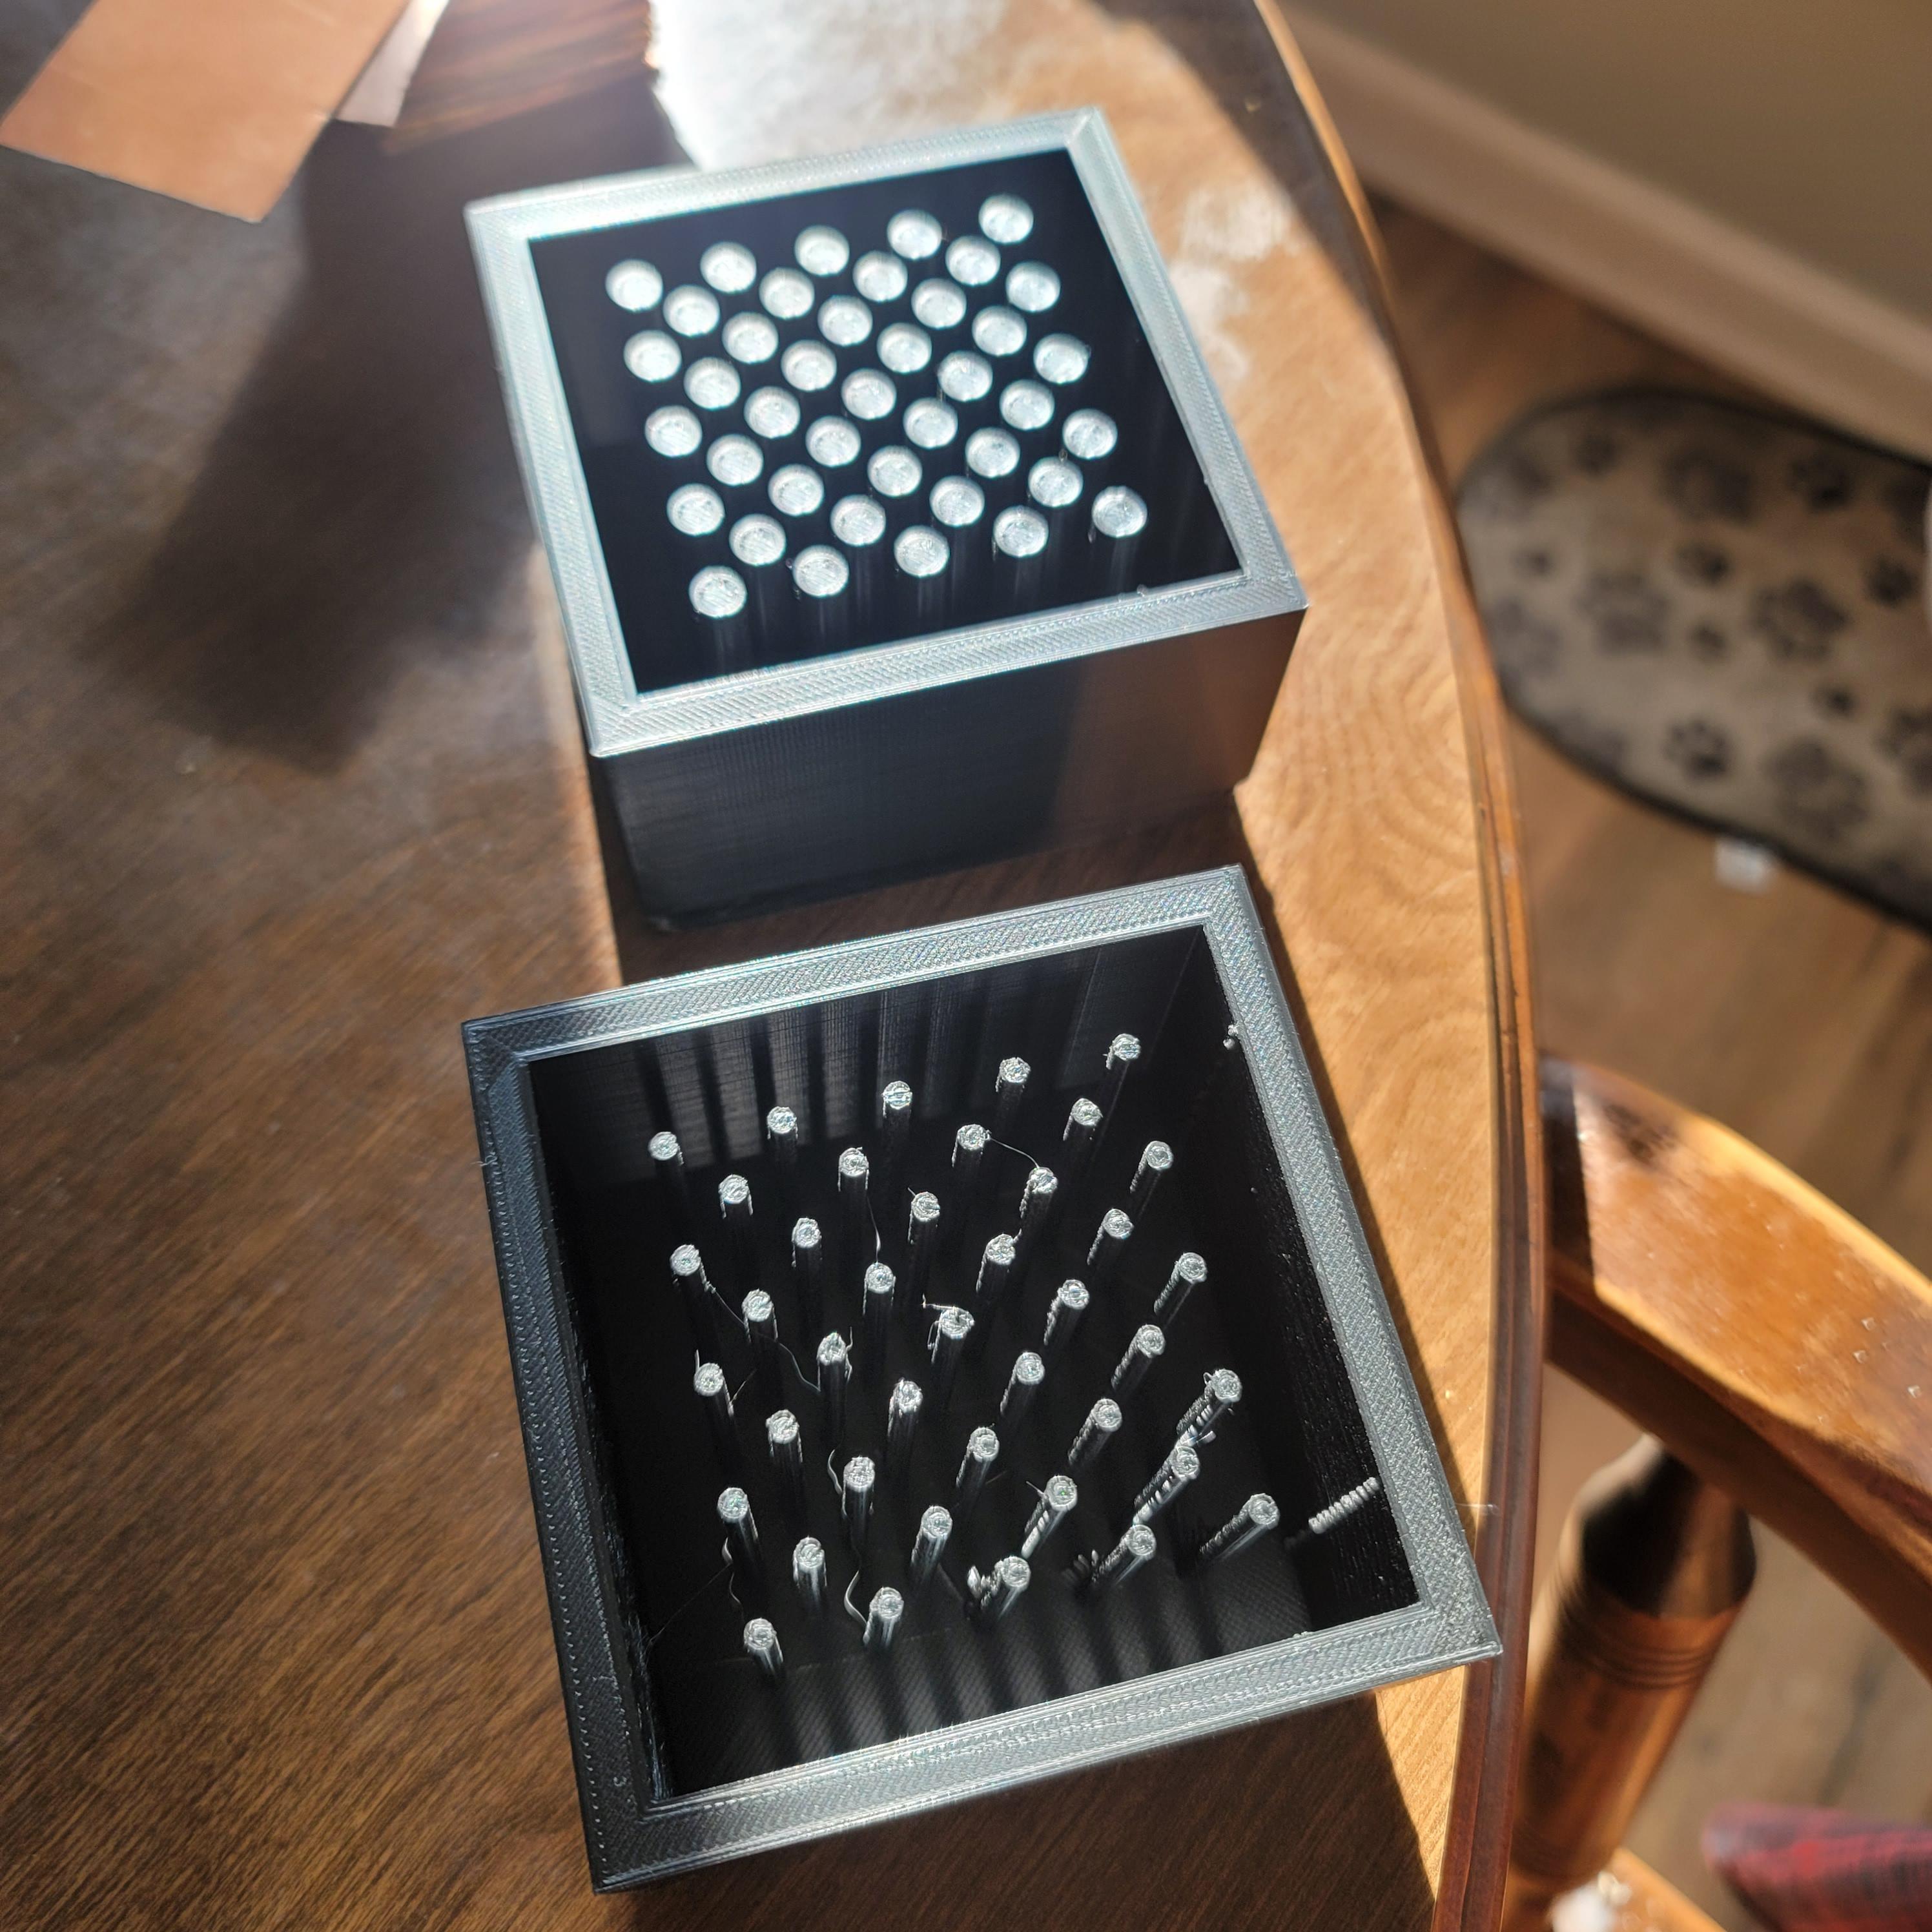
If I do have to make another ribbon burner mold, I need to extend the sprues or tines or whatever you want to call them and make them stick above the level of the edge of the mold. I had to drill out the holes to get air flow through them. Learning is fun. -
What's your latest blade look like? Post em and let us see.
Doc Peepaw replied to HondoWalker's topic in Knife Making
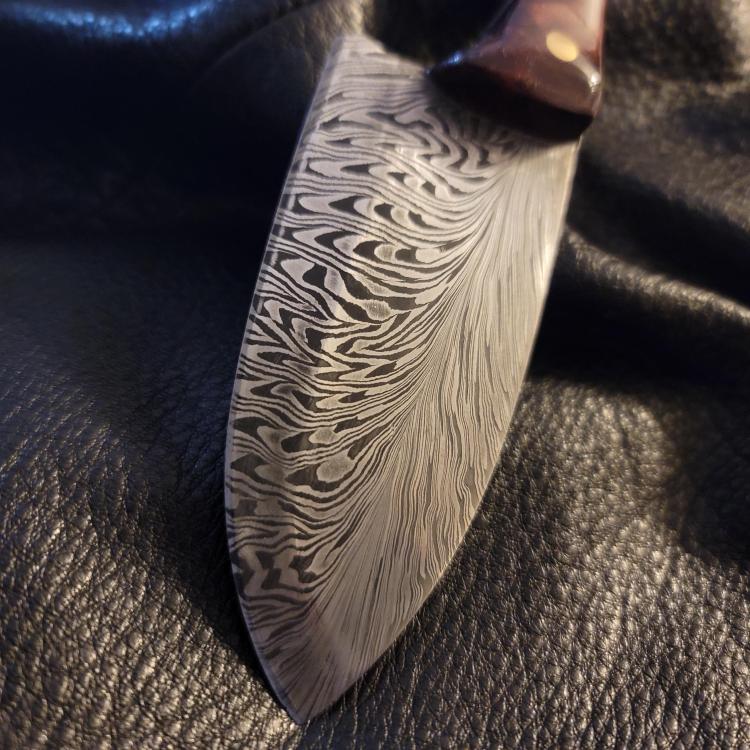
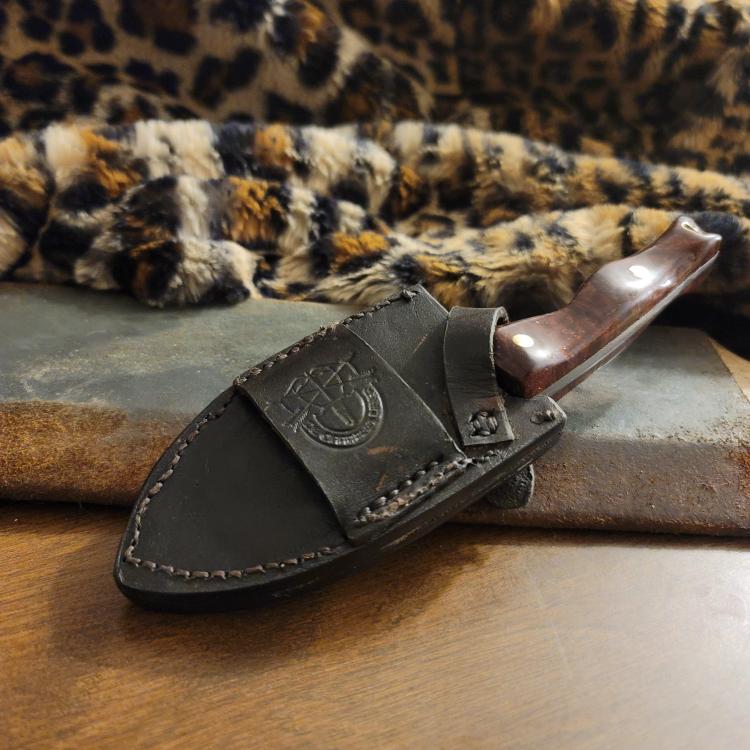
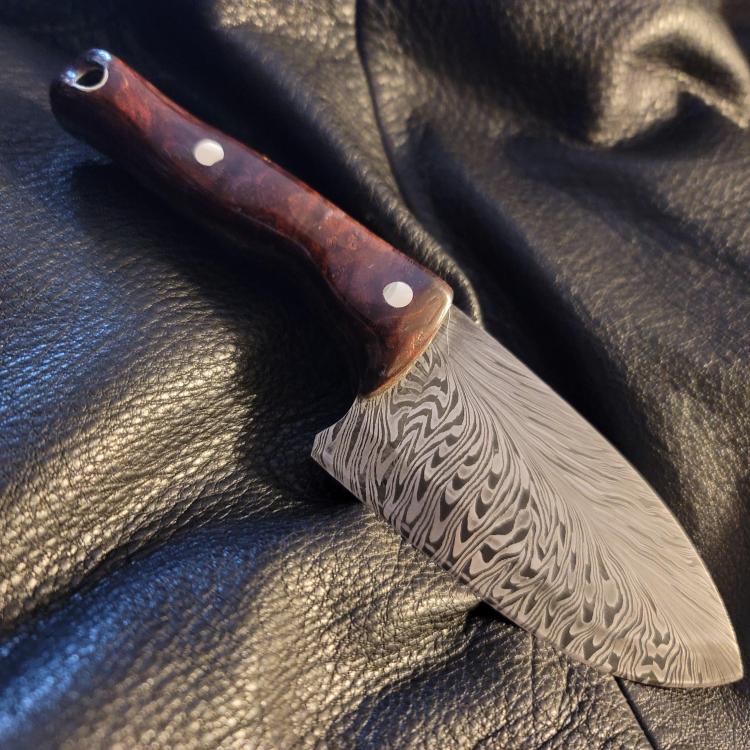
My latest creation, a feather damascus from 1084 and 15N20. The handle is stabilized wood from Mad Scientist Knife Scales with a CA finish. I gave leatherworking a go too and made a leather sheath. Soaked it in beeswax to harden it and keep the blade from rusting in the humidity where I live.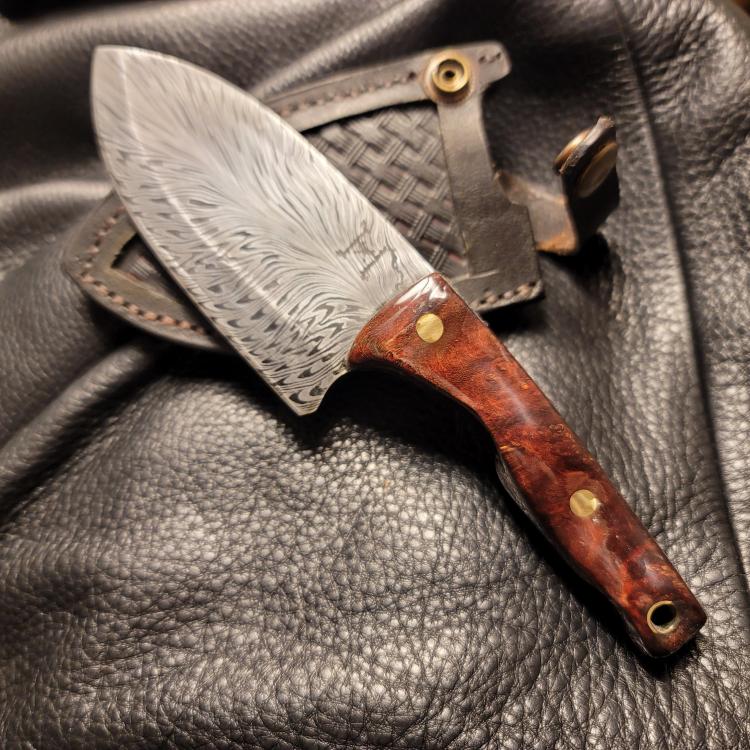
-
Naturally Aspirated Ribbon Burner. Photo heavy.
Doc Peepaw replied to Frosty's topic in Ribbon Burners
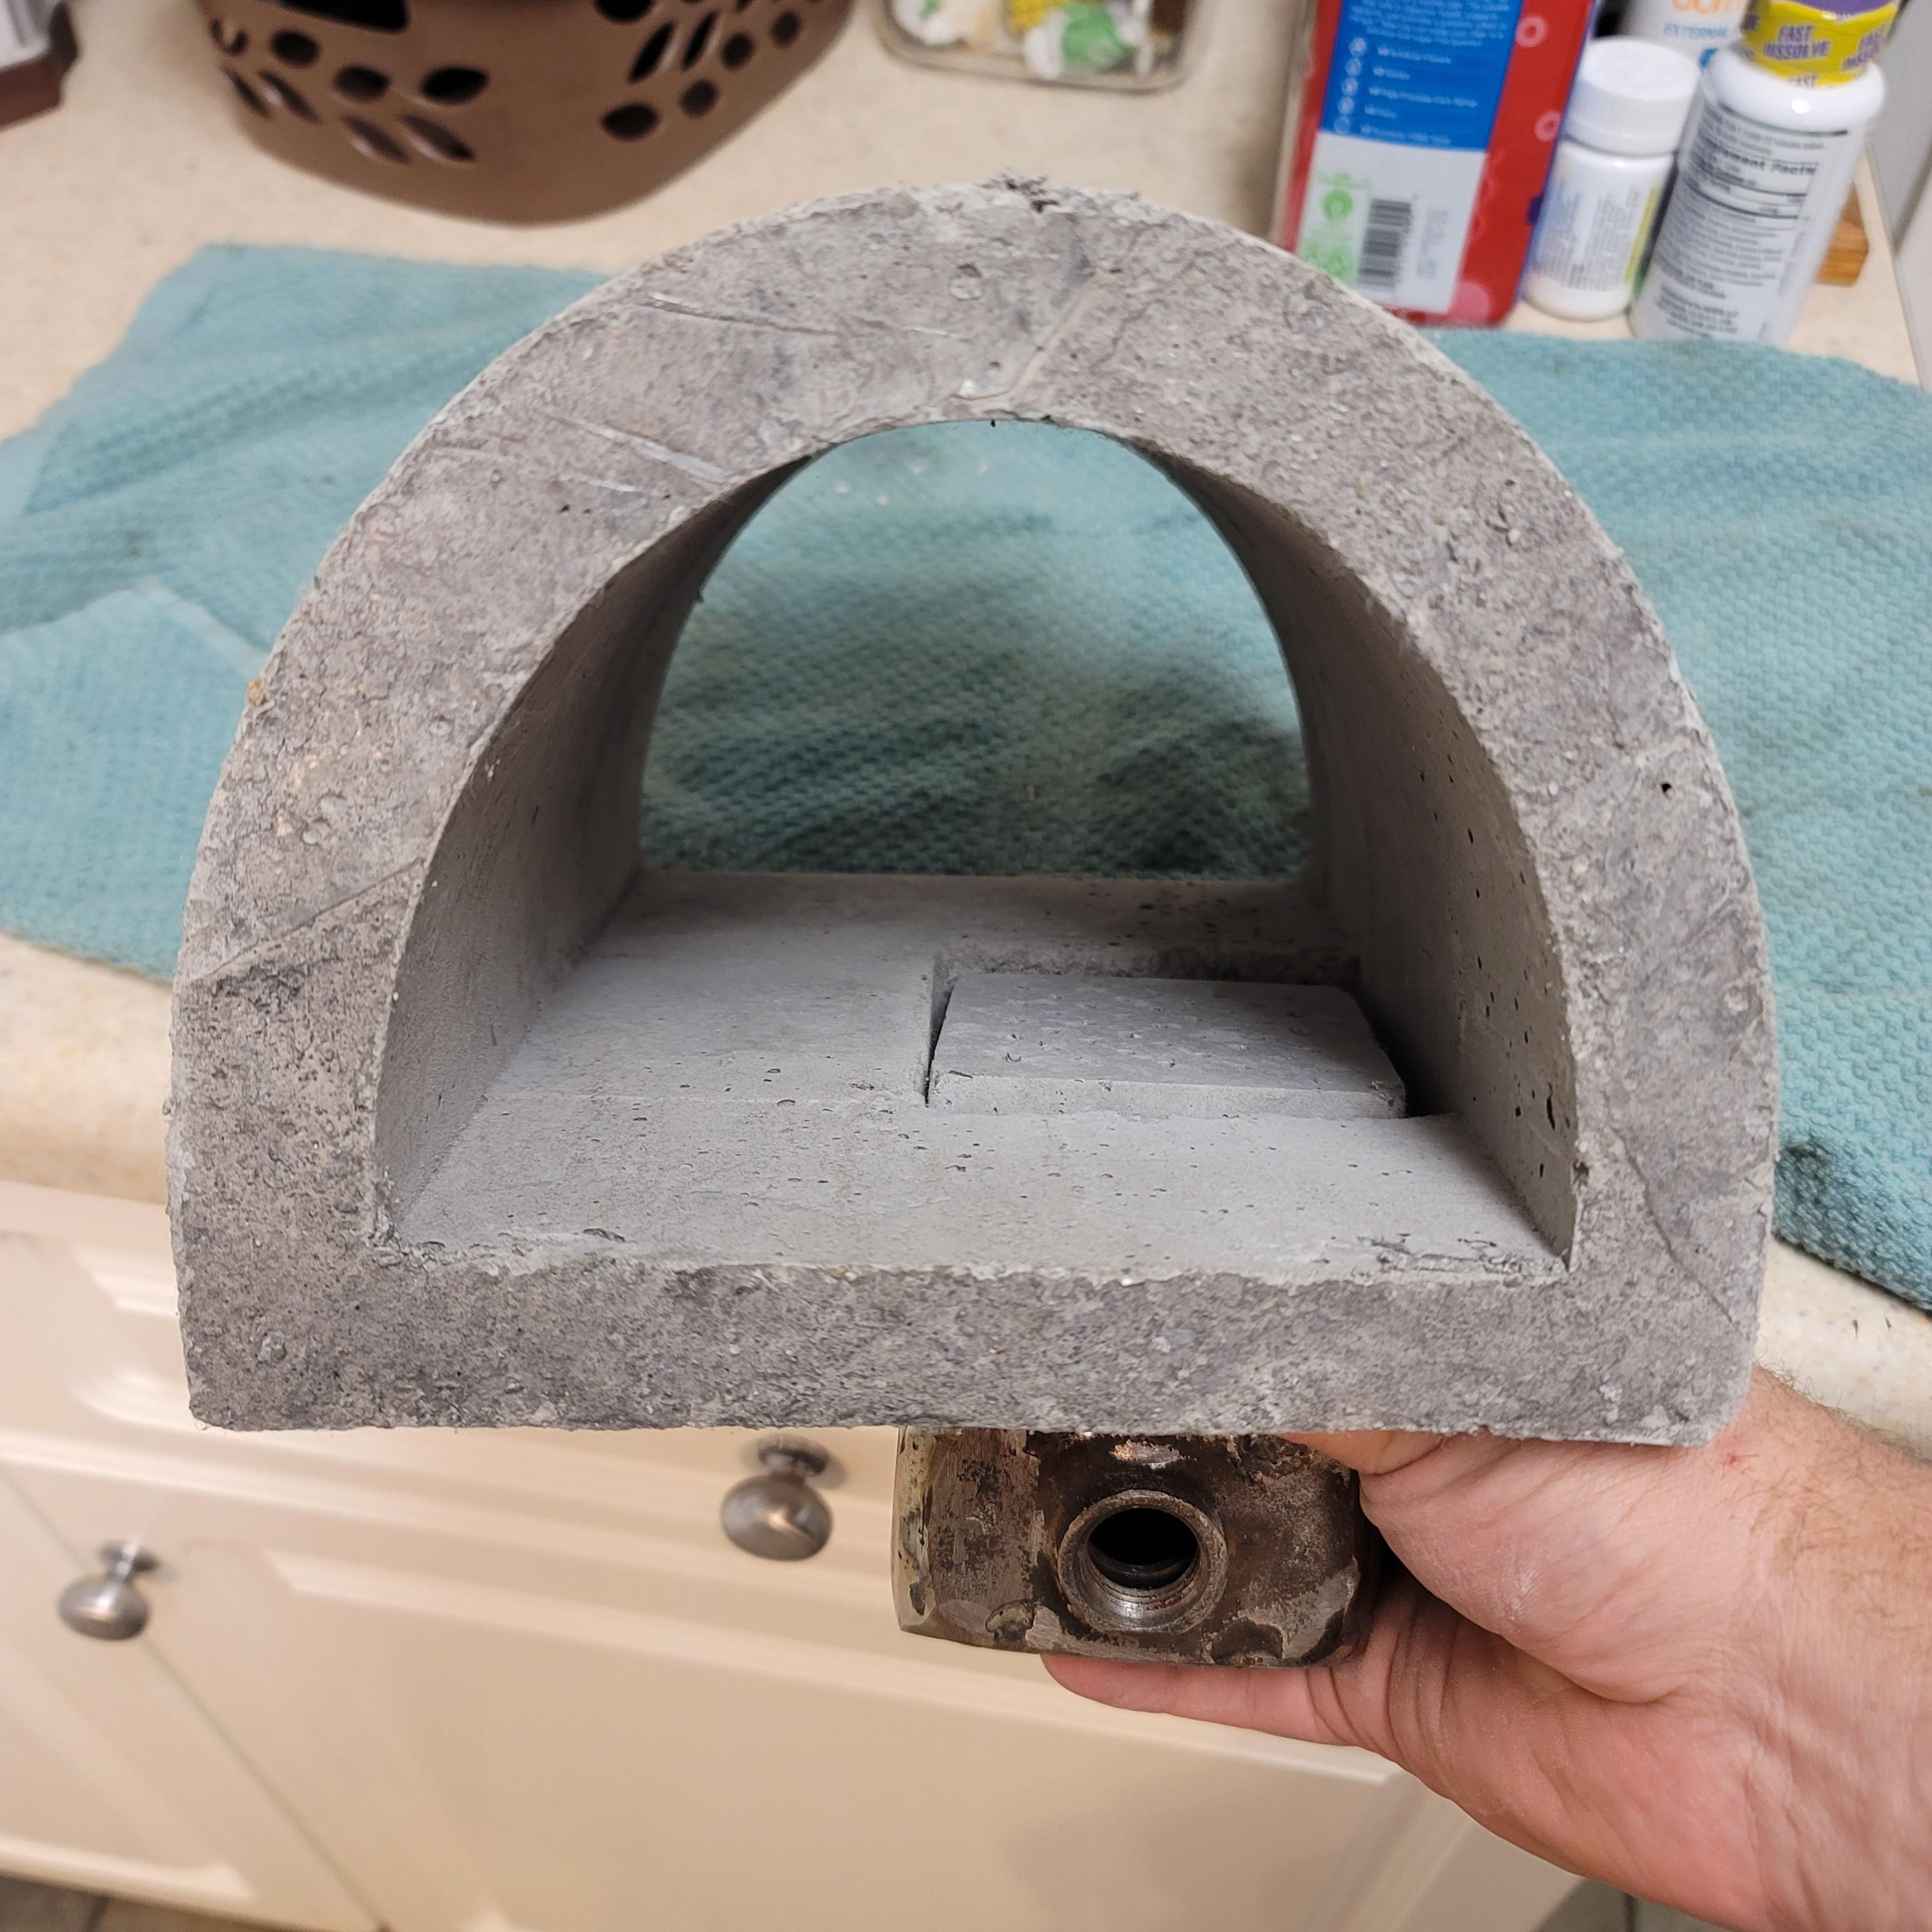
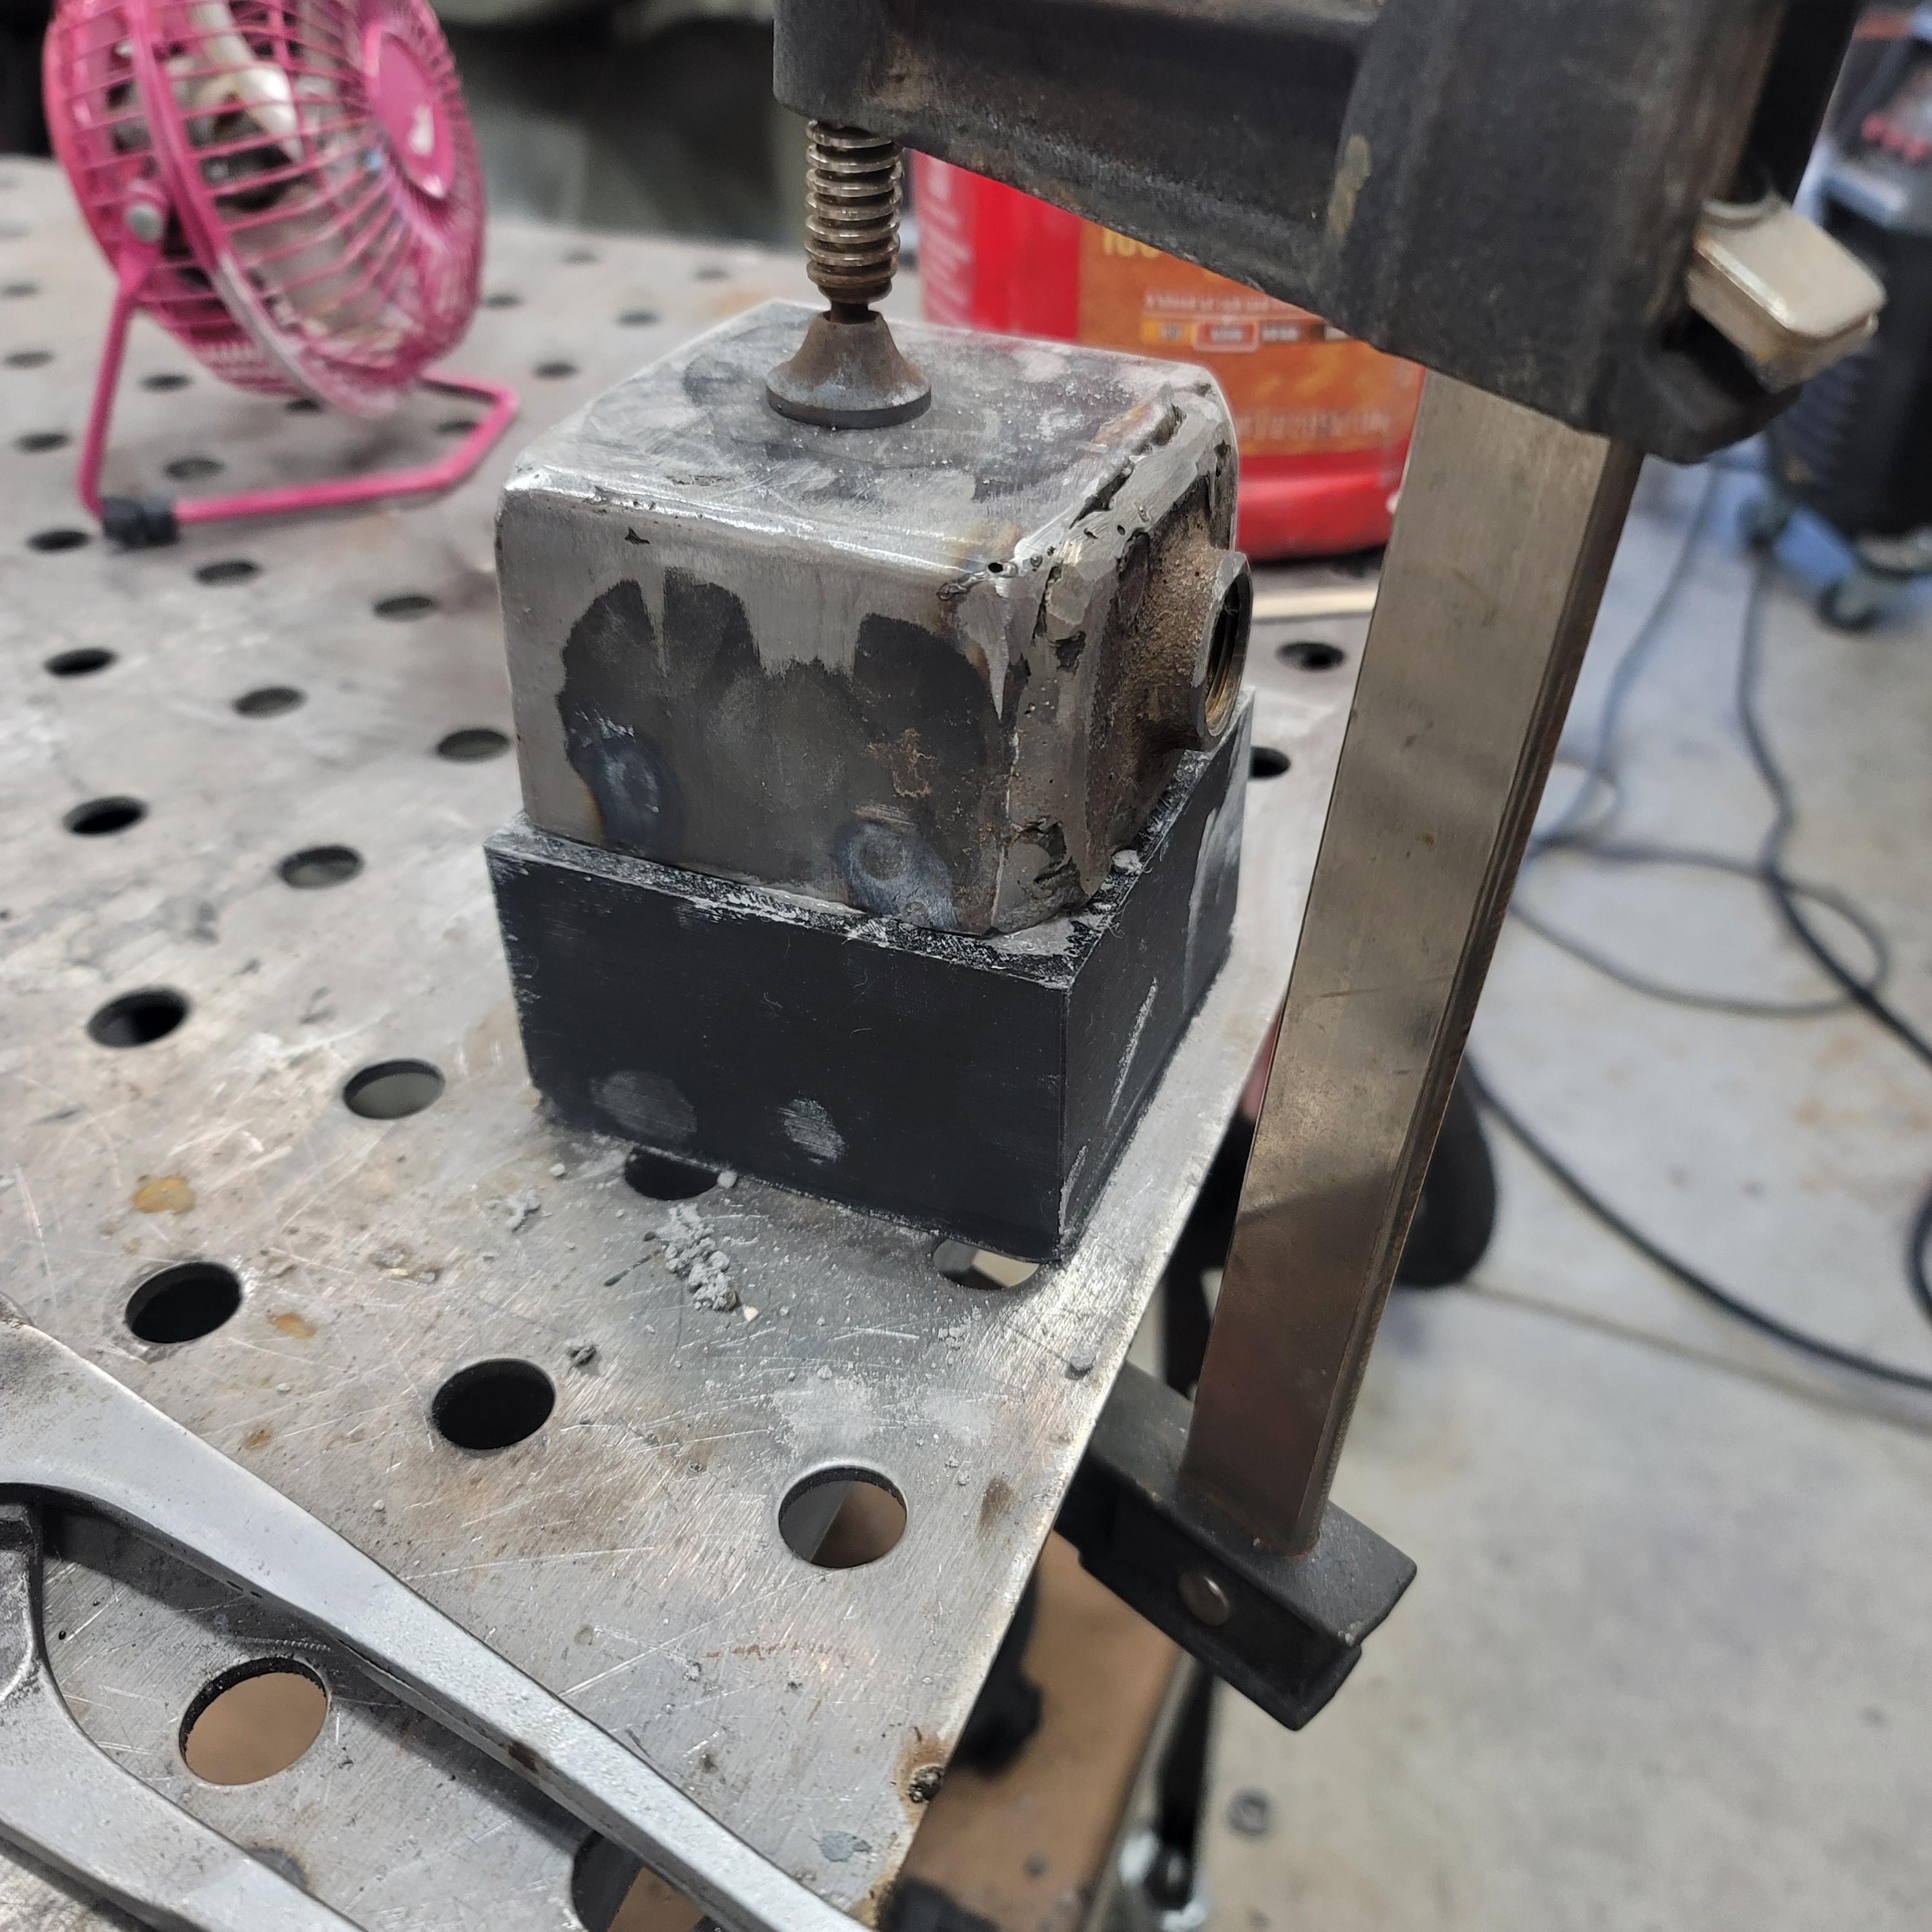
I had some leaks in the last one at the plenum refractory junction so I rebuilt it. This one came out much nicer aesthetically. I sprayed the pla mold with WD-40 for a release agent and the sprues pulled out without any incident. I also cast a new forge body. I realize by making it of refractory and being so thick it will take some time to heat up, but it should make it more resilient to travel. I am looking forward to firing it up this weekend but it still has some drying and a coat of ITC-100 to go before that. The volume comes out to 155.455 in³. It should be a good weekend.


-
Naturally Aspirated Ribbon Burner. Photo heavy.
Doc Peepaw replied to Frosty's topic in Ribbon Burners
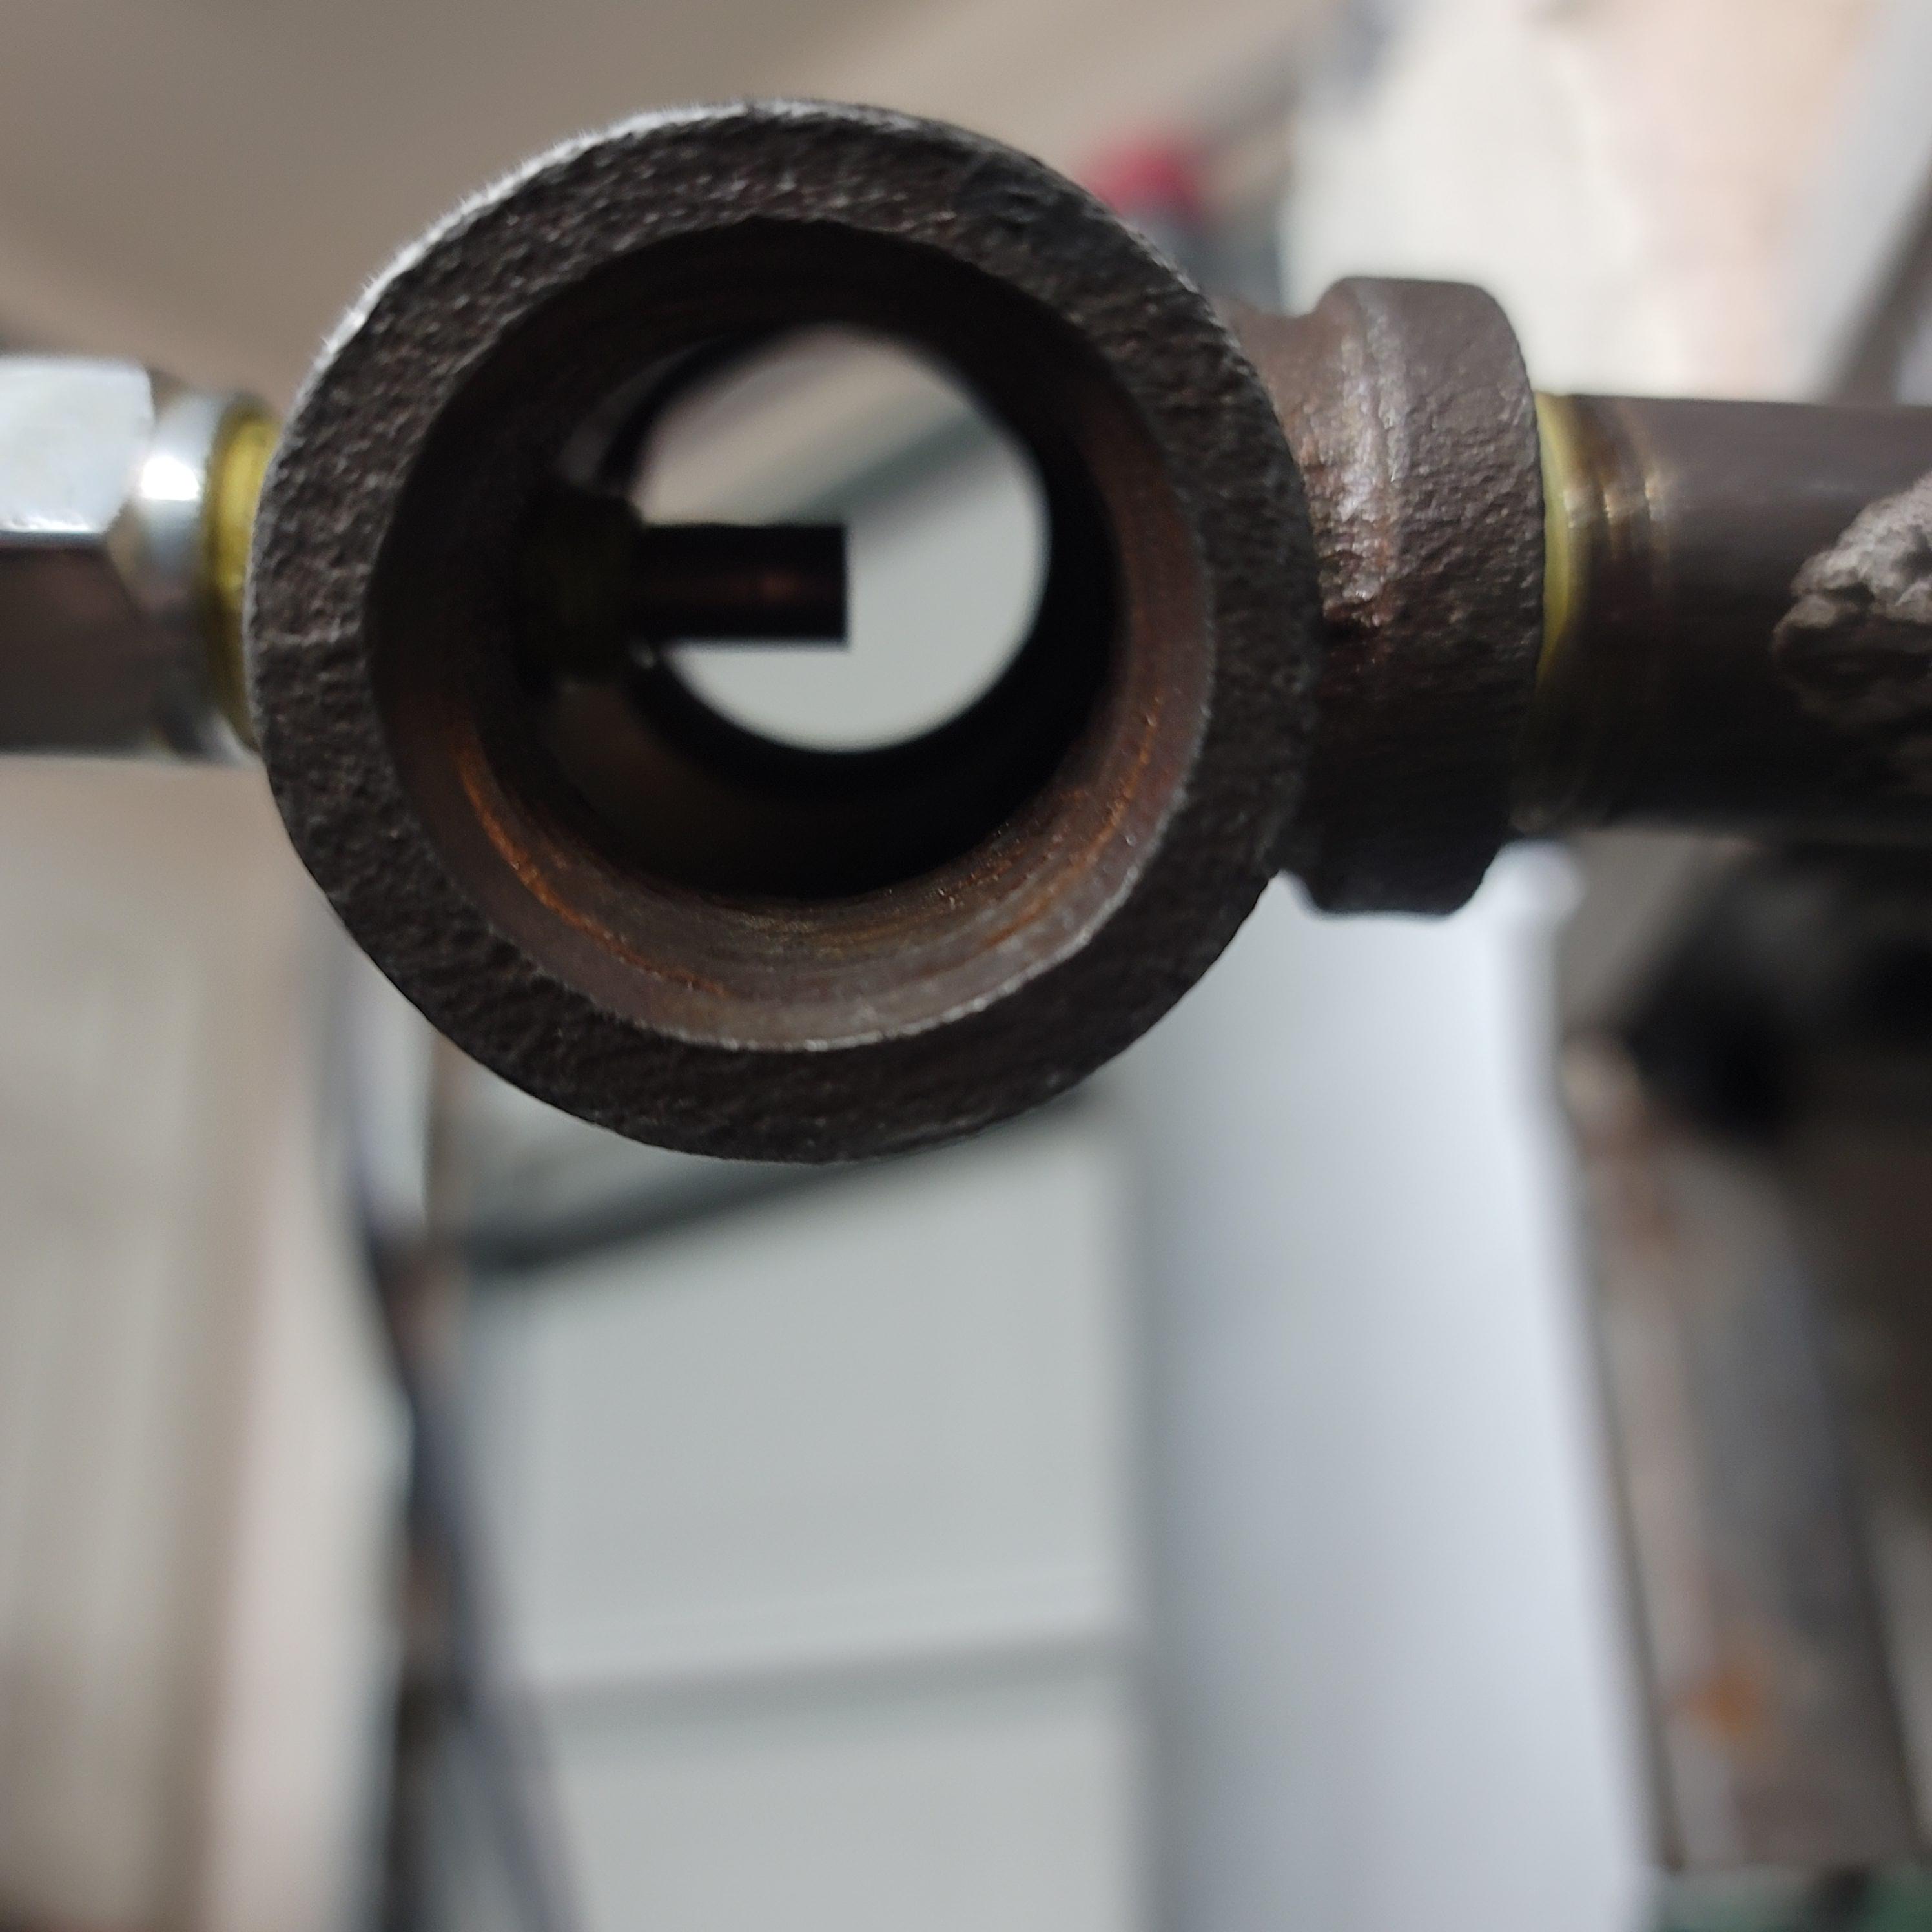
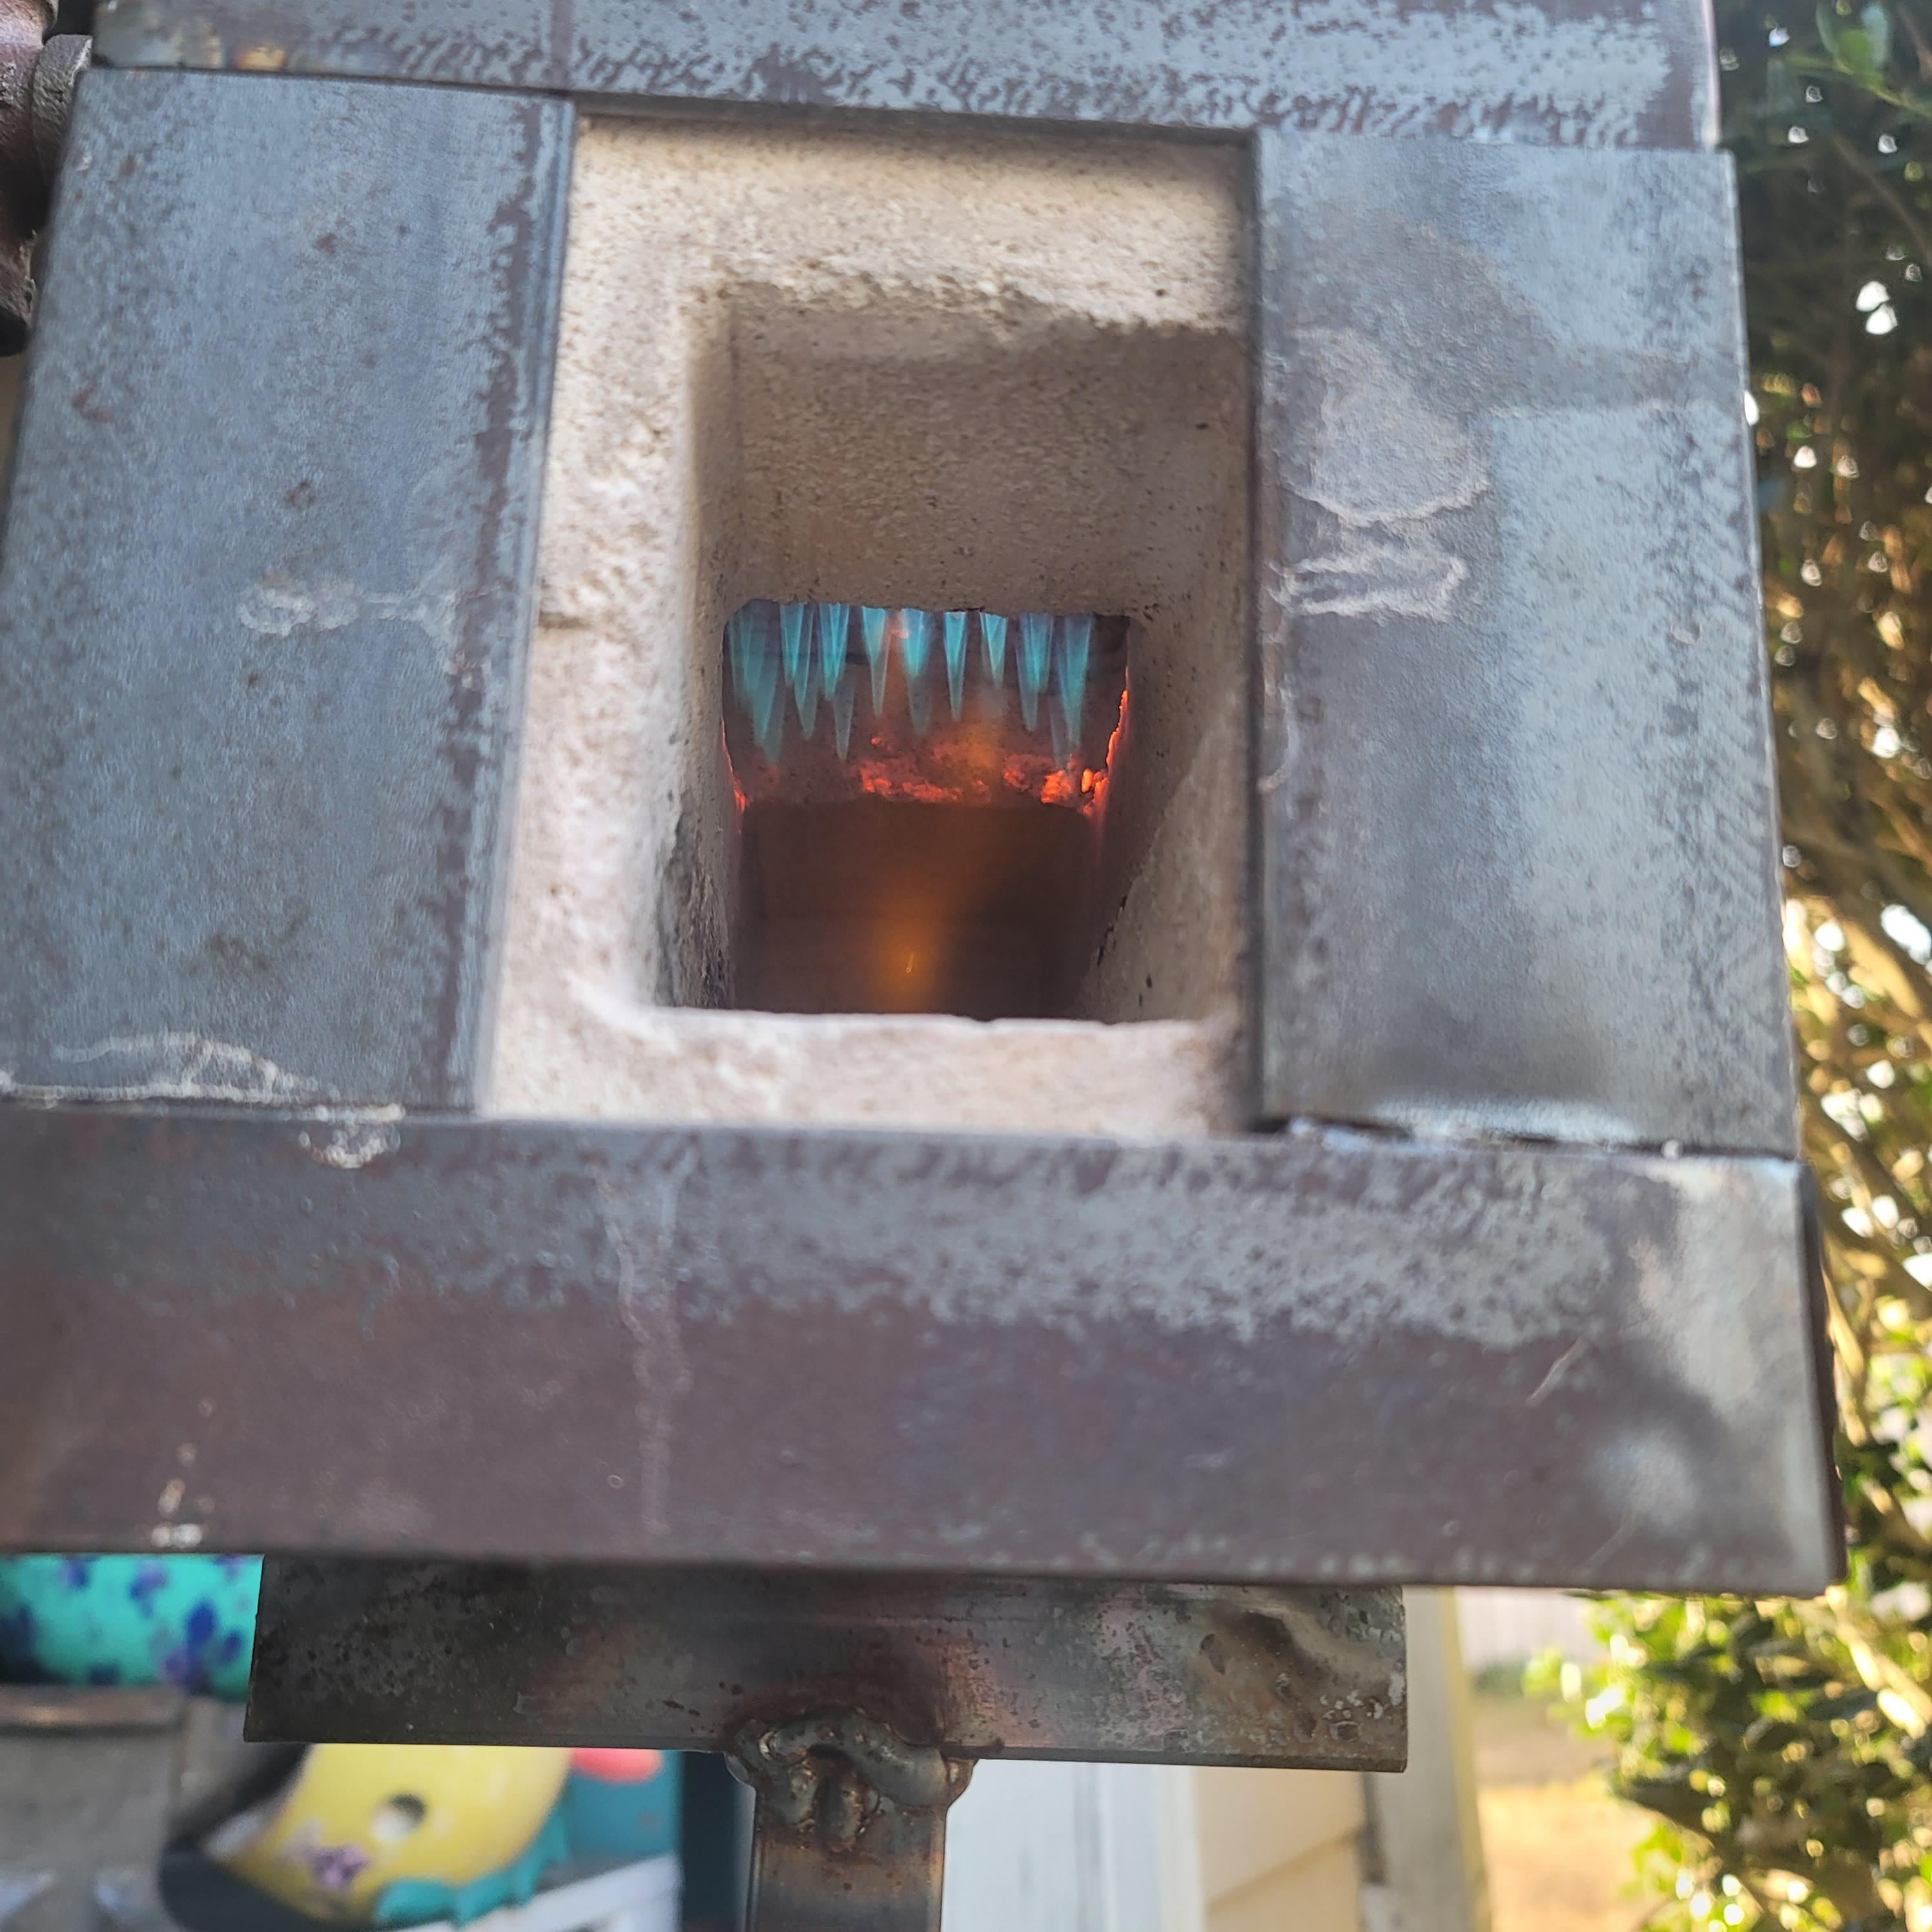
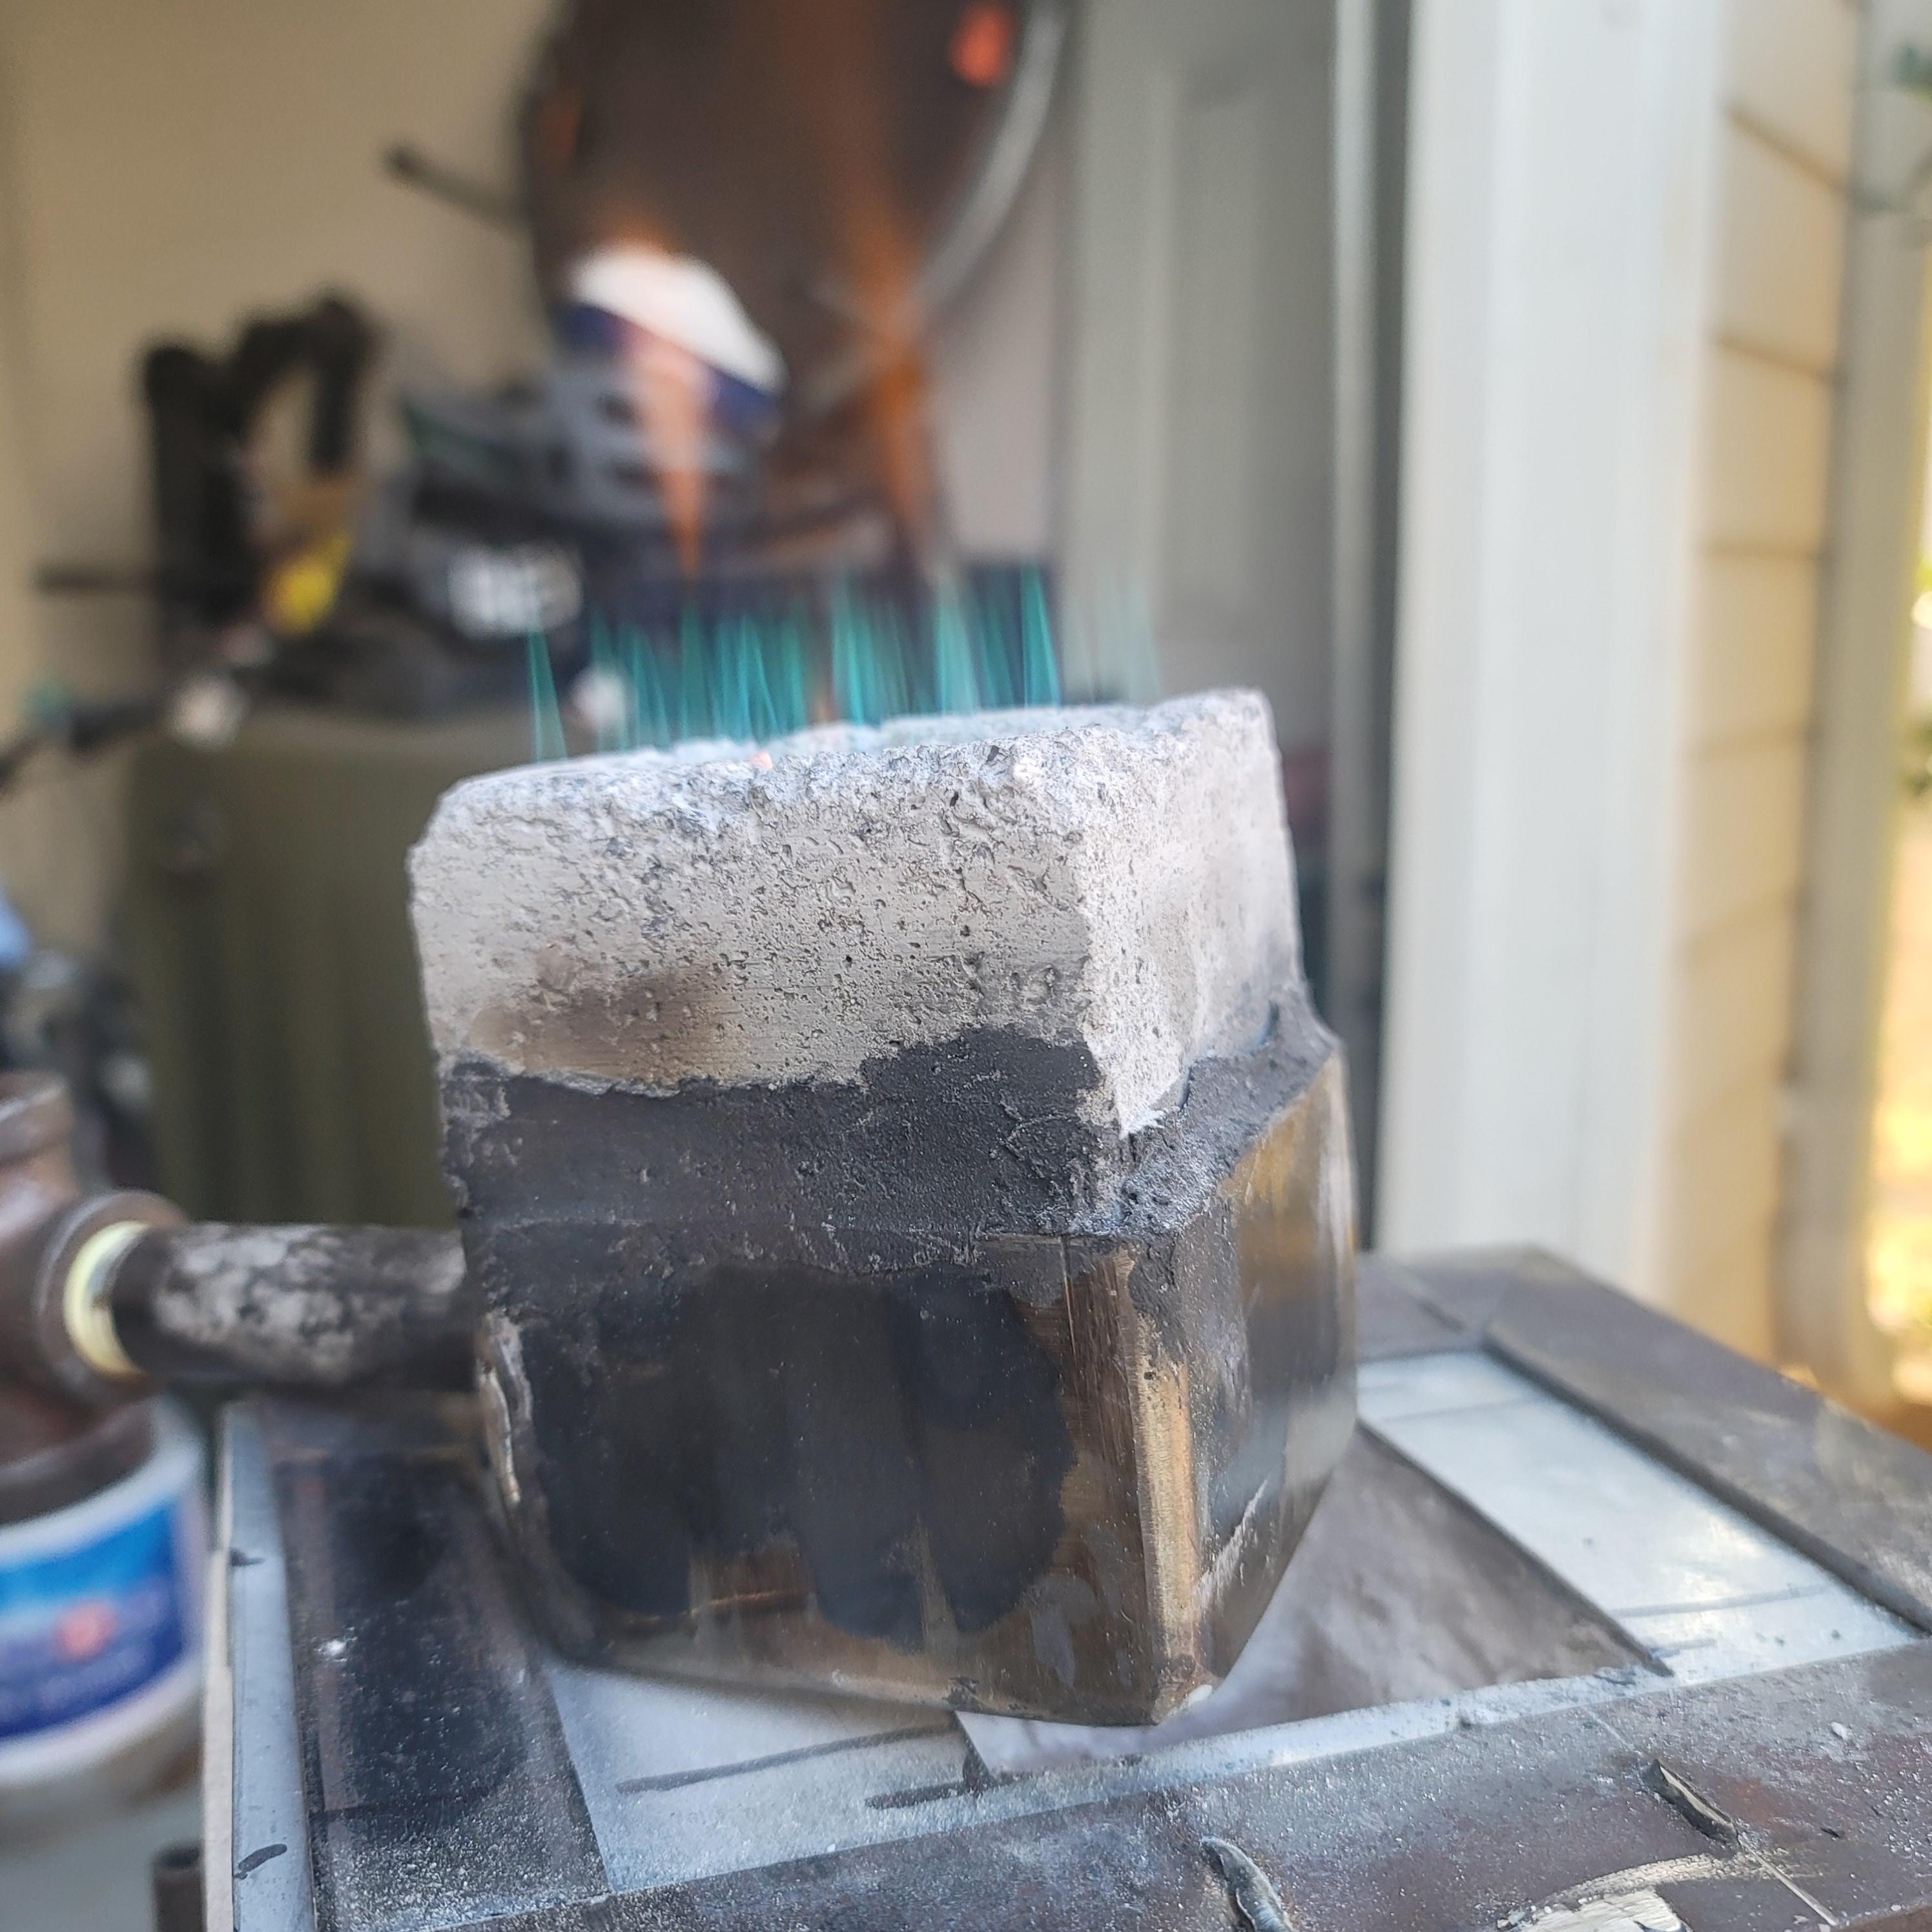
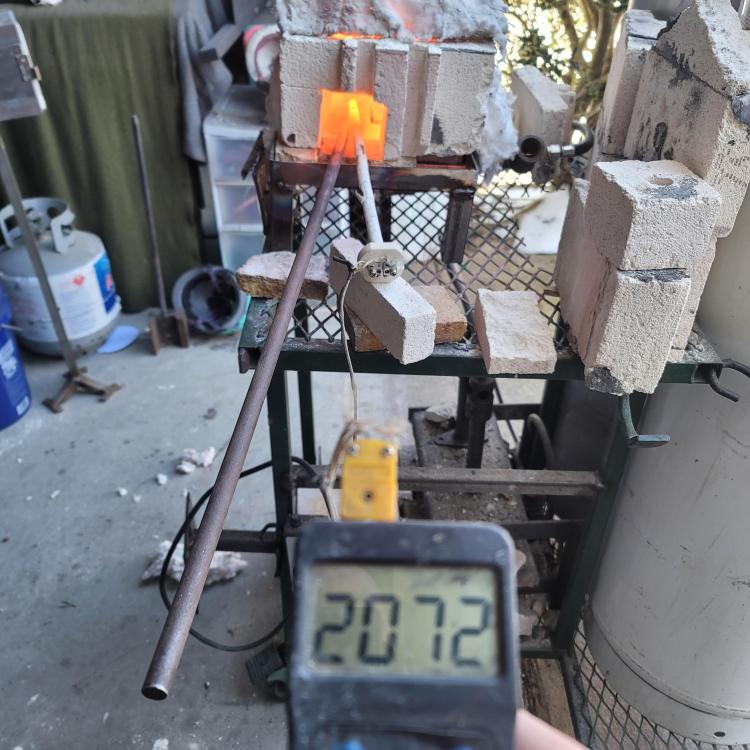
I had built my T burner off the design I saw on YouTube, I believe it was Red Beard Ops's video. I ran out of welding gas a few weeks ago and have been putting off getting more, providence. I went today to buy welding gas and seemed as good a time to pick up some 0.023 MIG welding tips. Holy cow, you guys were right. Thanks Frosty. Today's tests were positive. 4 psi 5 psi Burner in open air butbi forget, I think it was around 5 psi. if I had to guess, I would say I'm still running slightly rich but I'll wait to fully tune it until the new forge is complete. Frosty, if you were a guessing man, what cubic inch volume would this size burner power? Current forge interior is 67 in³. The forge I've drawn up would be about 280 in³.


-
Naturally Aspirated Ribbon Burner. Photo heavy.
Doc Peepaw replied to Frosty's topic in Ribbon Burners
The refractory I used was Mizzou Castable Refractory from on line, the 55 pound bag said Harbison Walker Monolithic and I couldn't remember what it was off the top of my head. -
Naturally Aspirated Ribbon Burner. Photo heavy.
Doc Peepaw replied to Frosty's topic in Ribbon Burners
I just called it cement, it is refractory from Harbison Walker. Cement just makes sense in my mind, since it looks like it. I thought videos would be better, I'll do a mix of pictures and videos for my next tests. Good tip for changing out the tip to a 0.023 tip, I'll give that a go. I've already started brainstorming my next build of a smallish forge that I can take with me when I travel. It is going to be bigger and most likely an arch design with the flame at an angle or even on the bottom/floor aiming up the arch. I've done the floor burner on my blown forge before and it worked gang busters. I did coat the inside with some ITC 100, I found some from Mr. Volcano on Amazon that was cheap for ITC 100. I did take some pictures from last night as well. Unfortunately I don't remember the pressure I was using at the time. One it from when it was mounted on the side and the other is mounted at the top. I tried to get a picture of the flames coming out of the burner face on both but it's a hard angle to get. I just checked my welding stuff looking to see if I already had a 0.023 tip and found I actually was using a 0.03 not 0.035. I didn't have a 0.023 though.

-
Naturally Aspirated Ribbon Burner. Photo heavy.
Doc Peepaw replied to Frosty's topic in Ribbon Burners
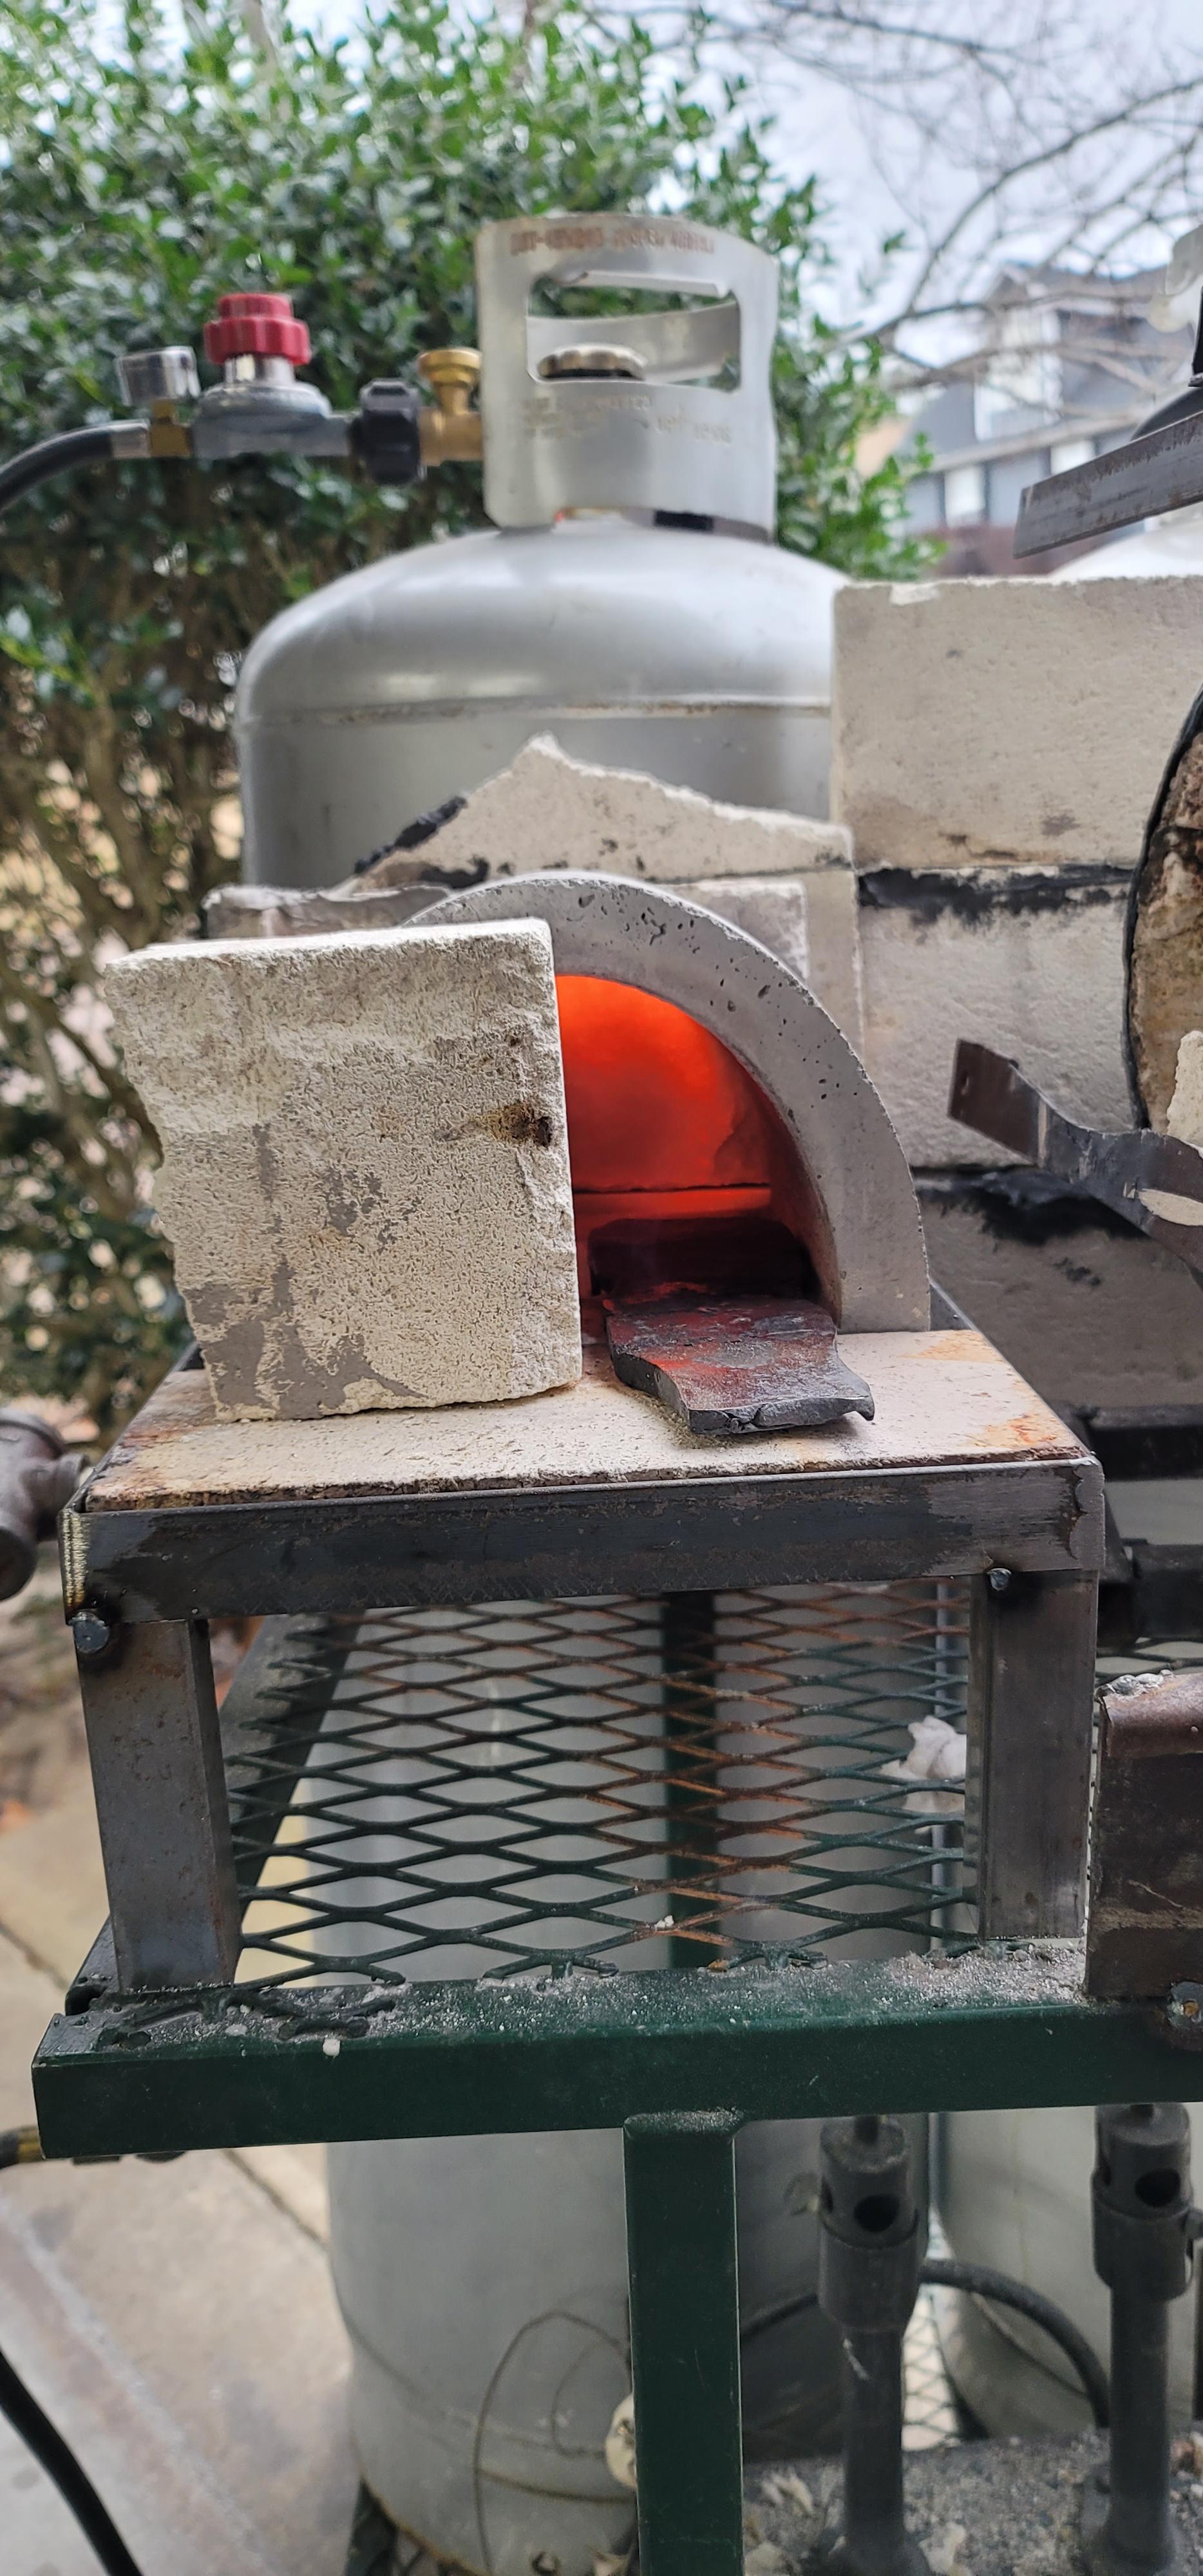
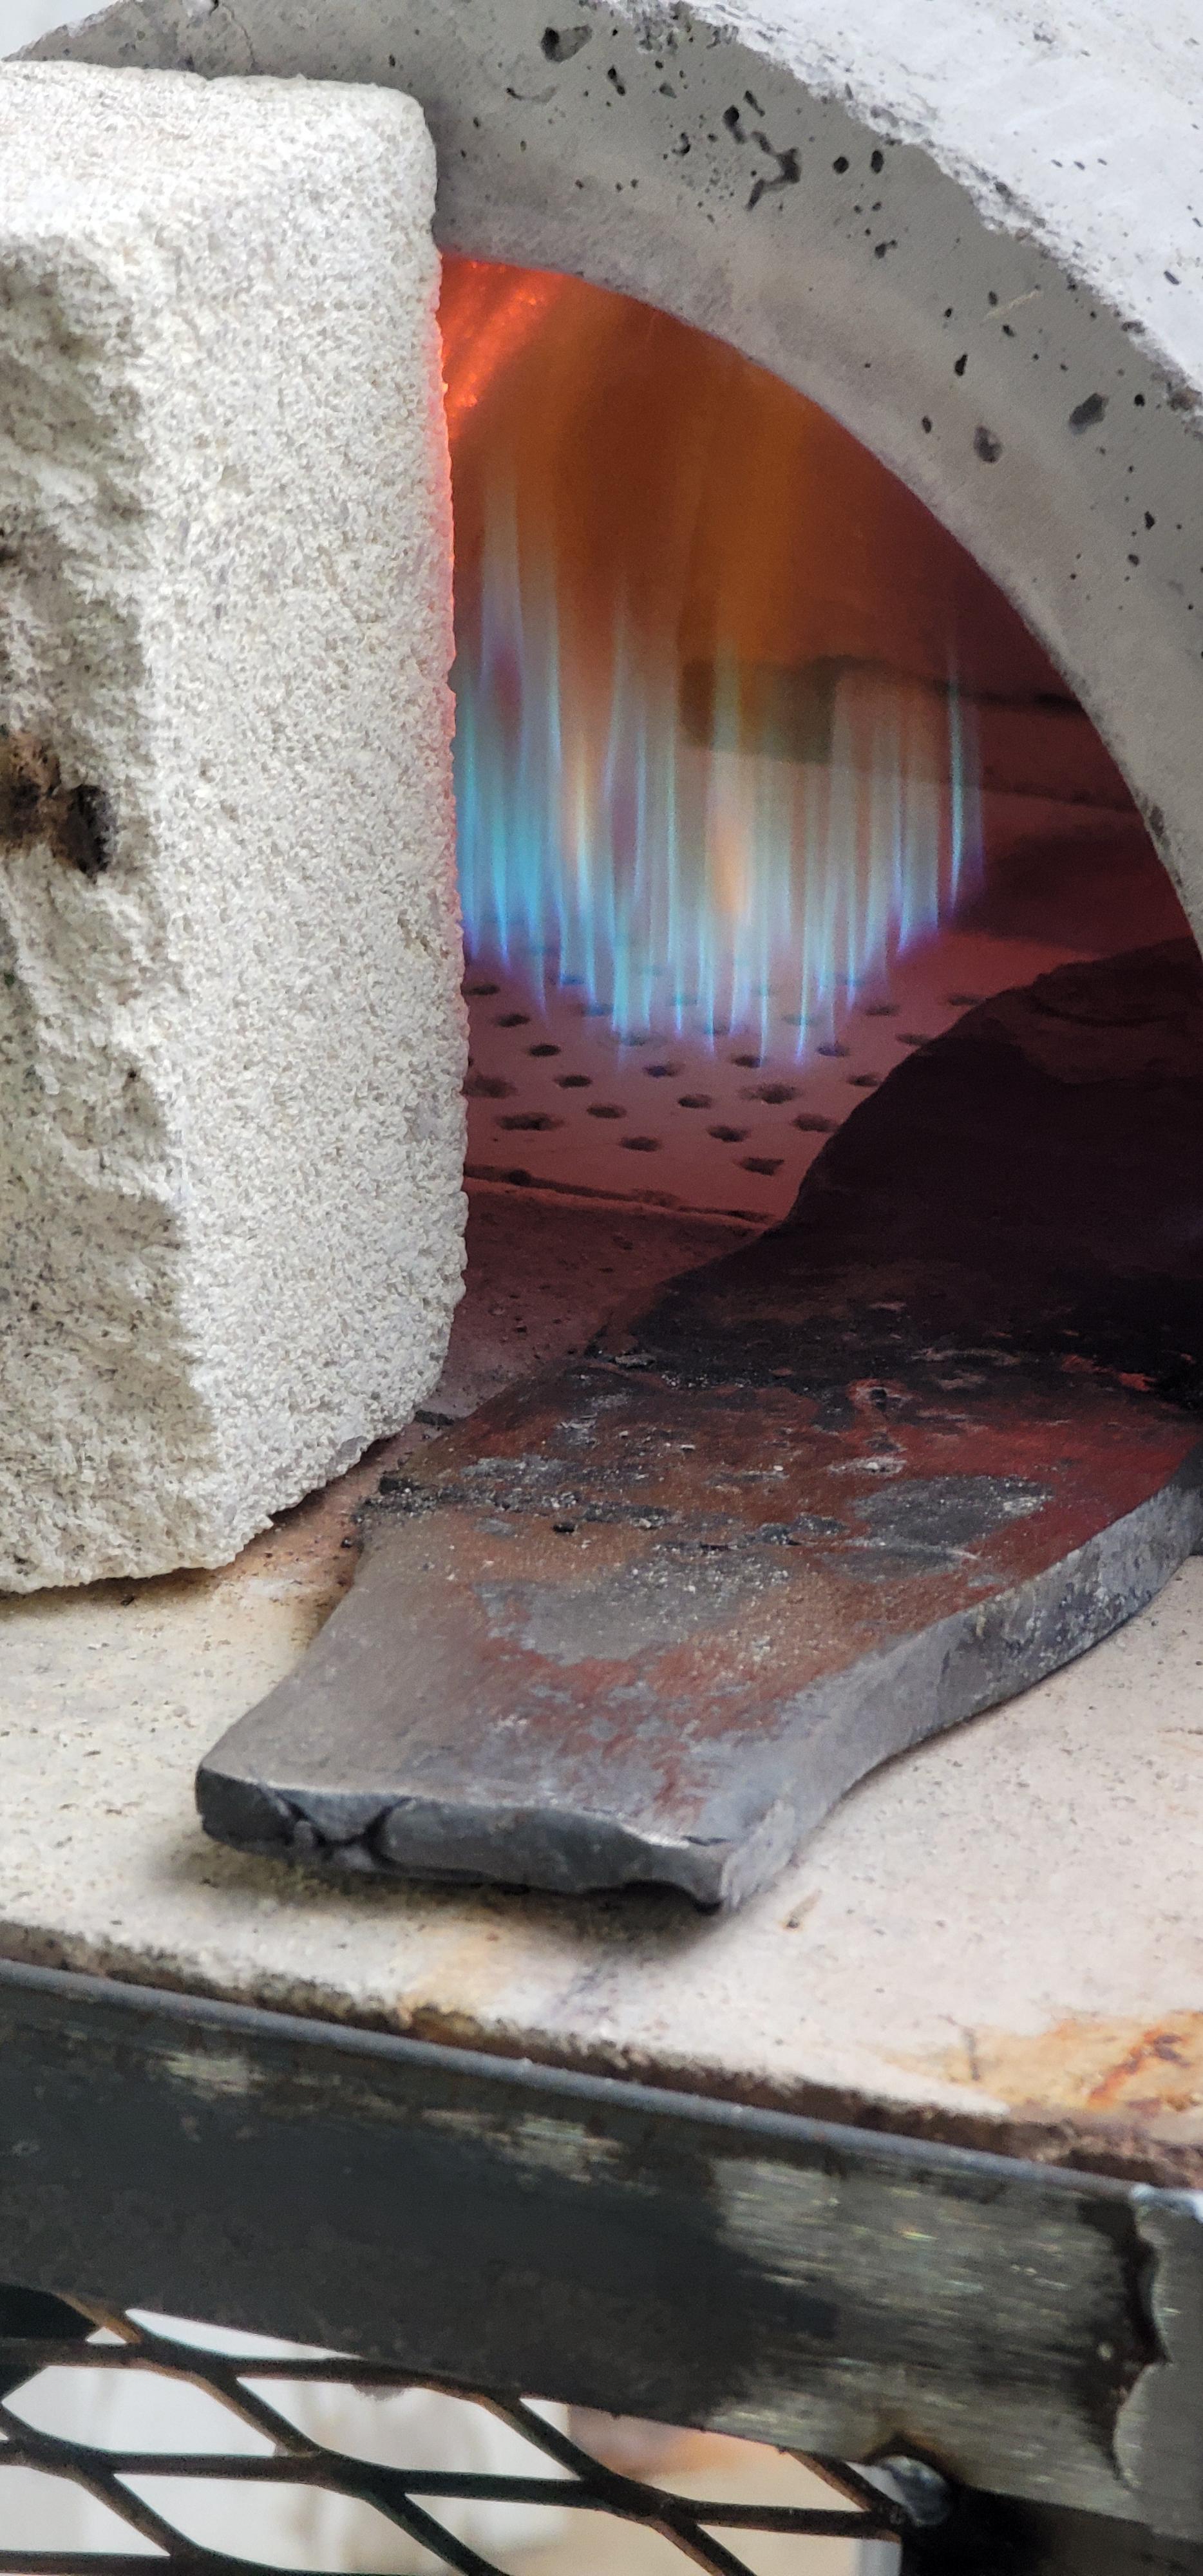
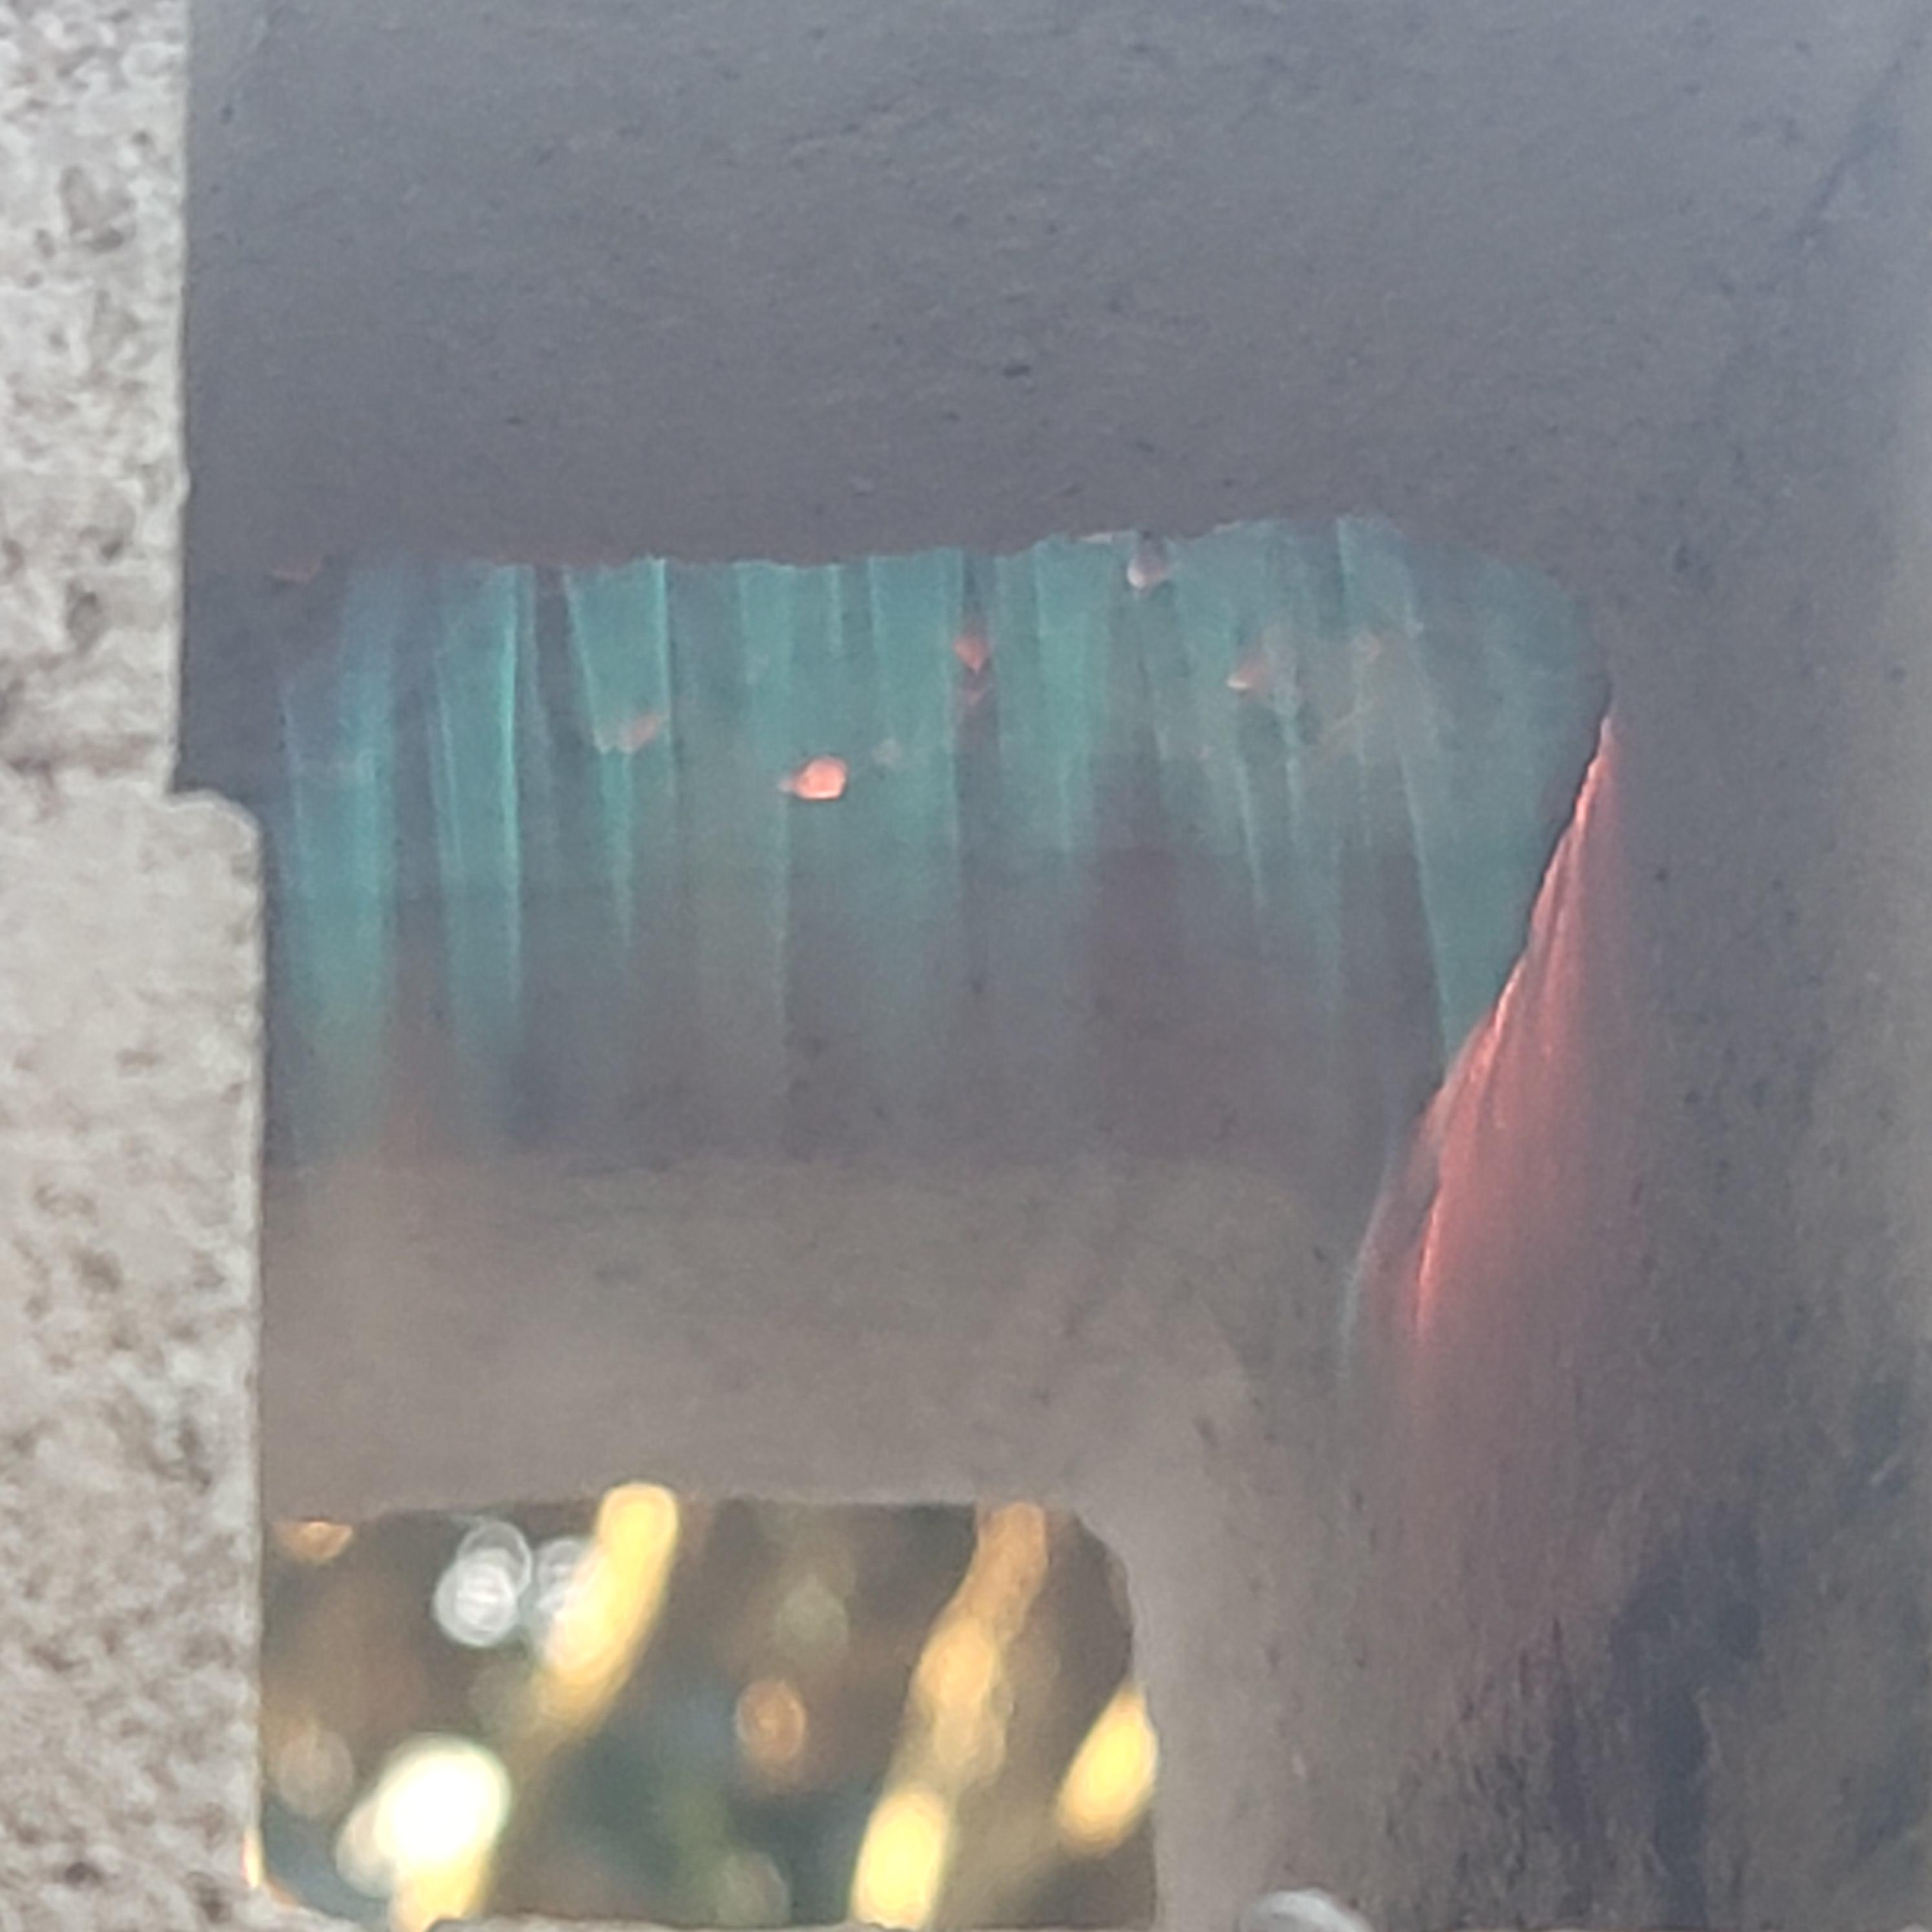
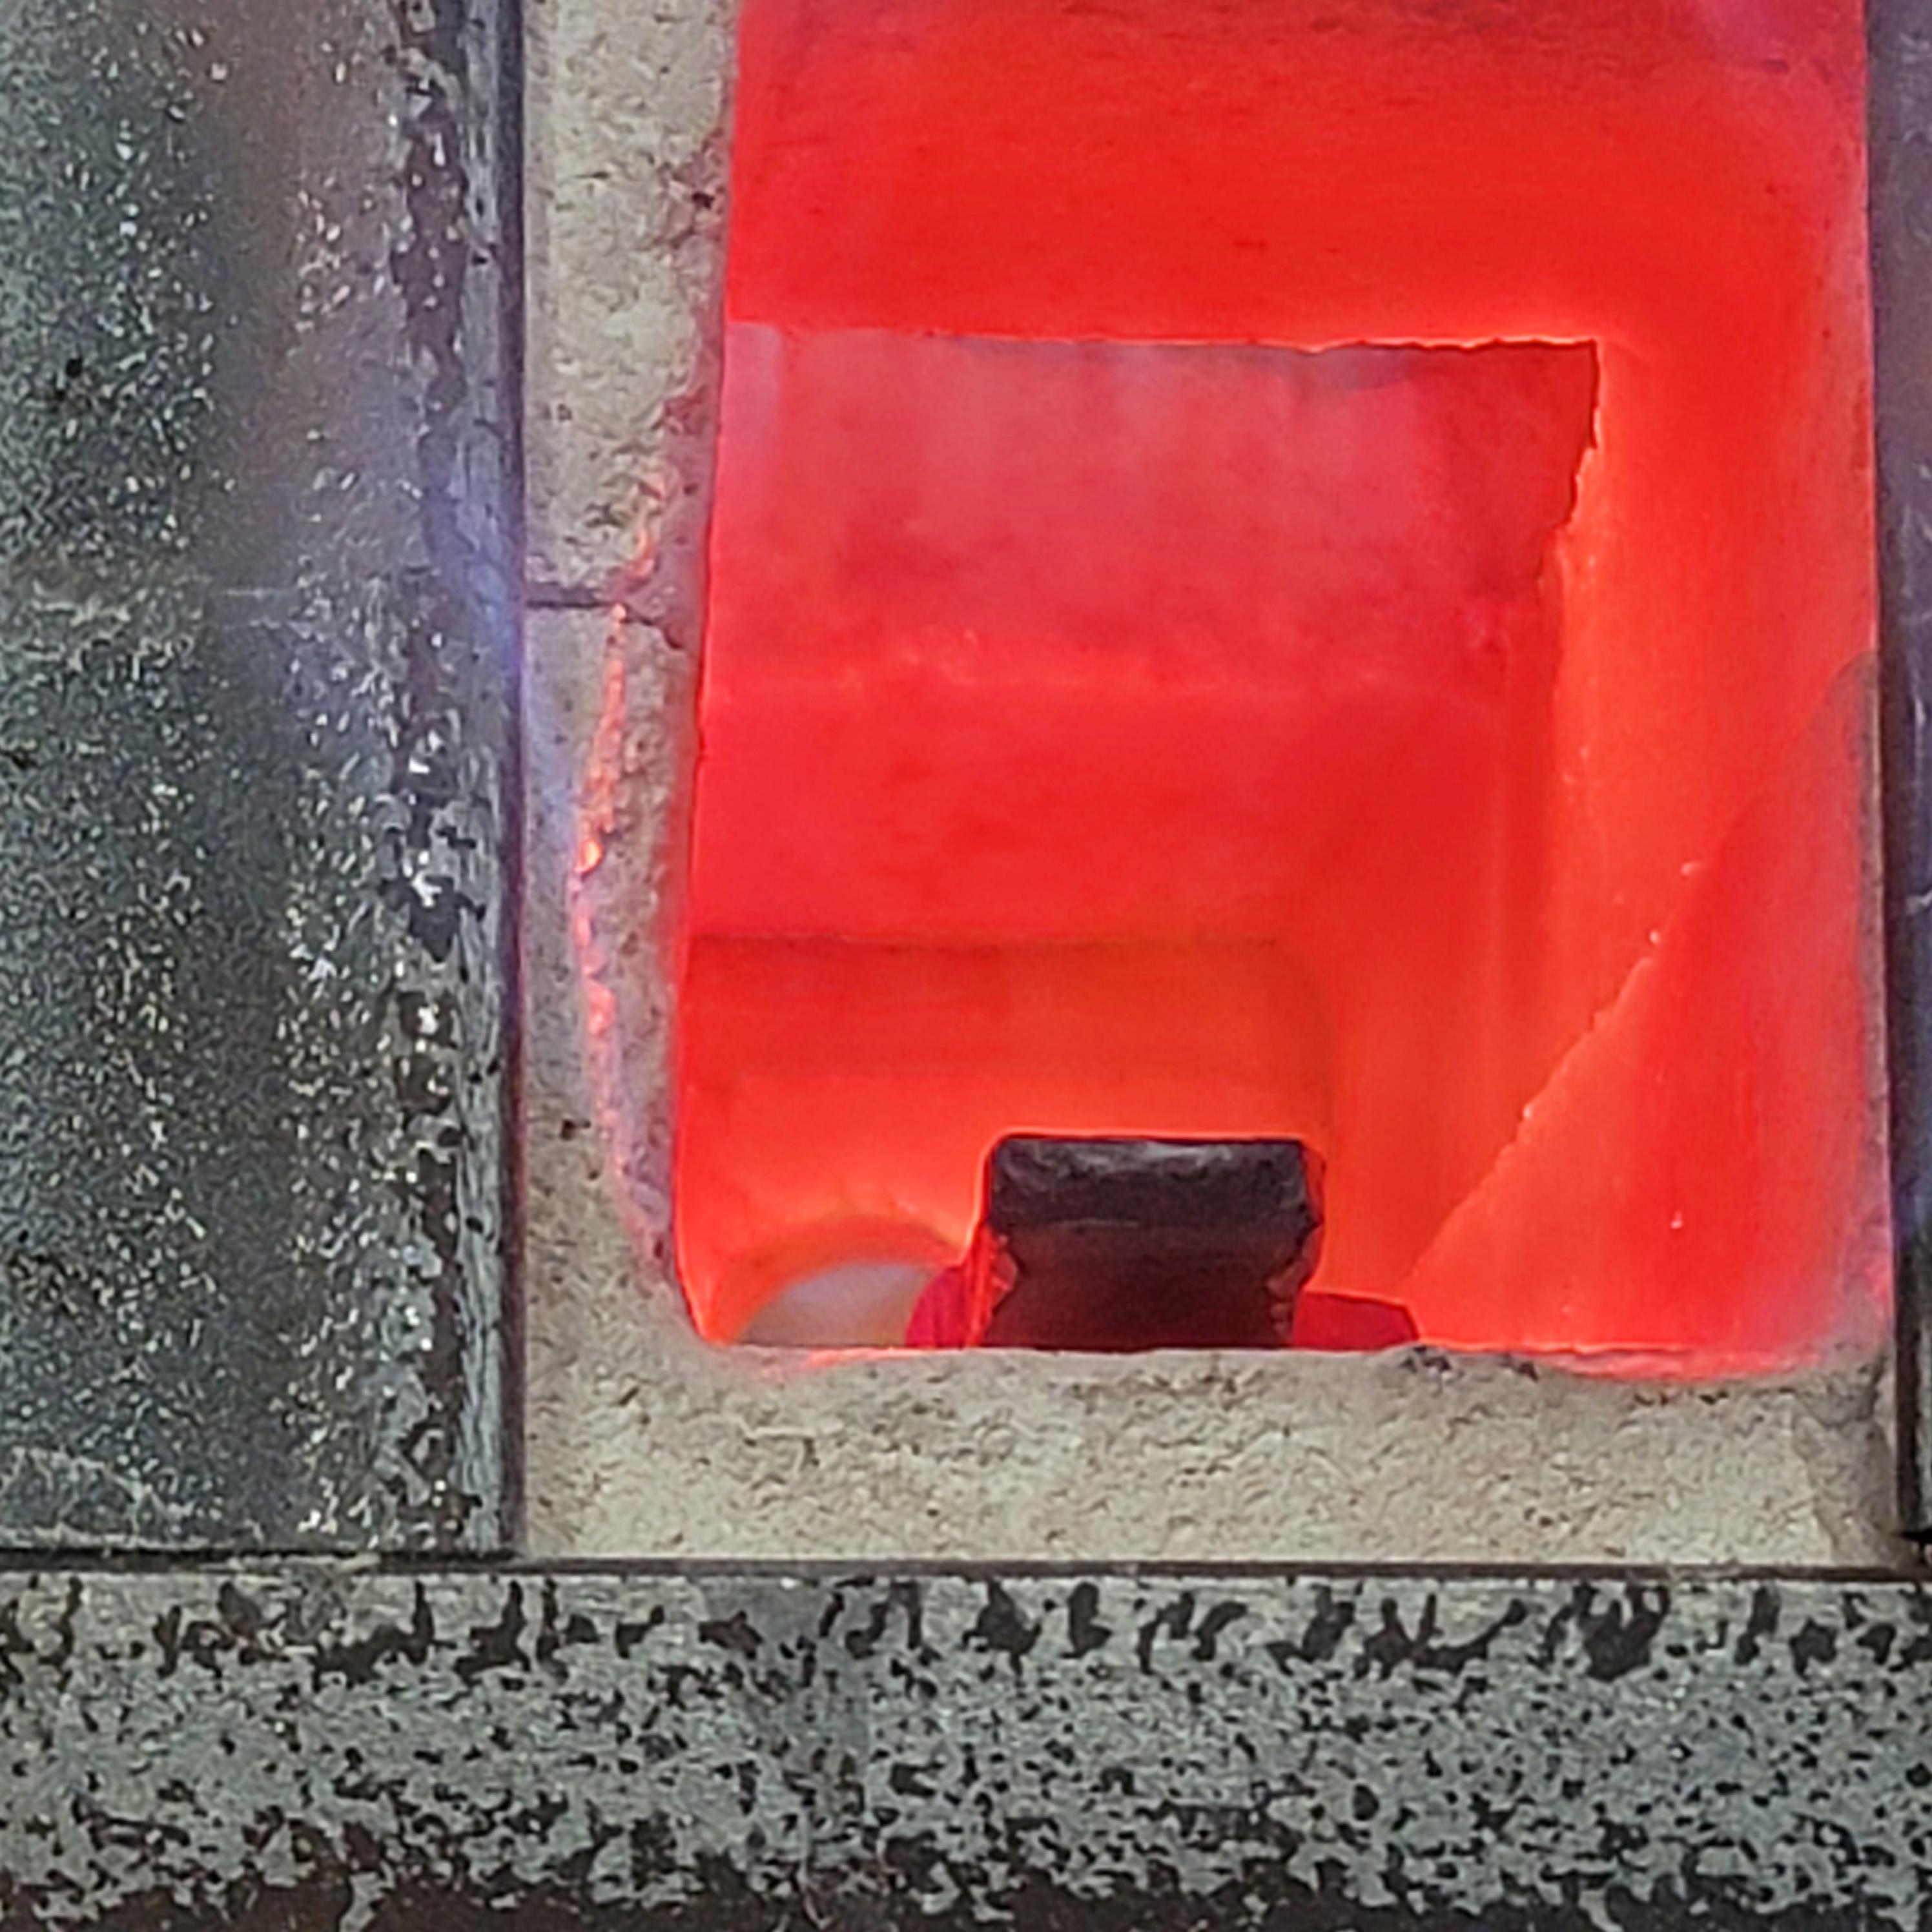
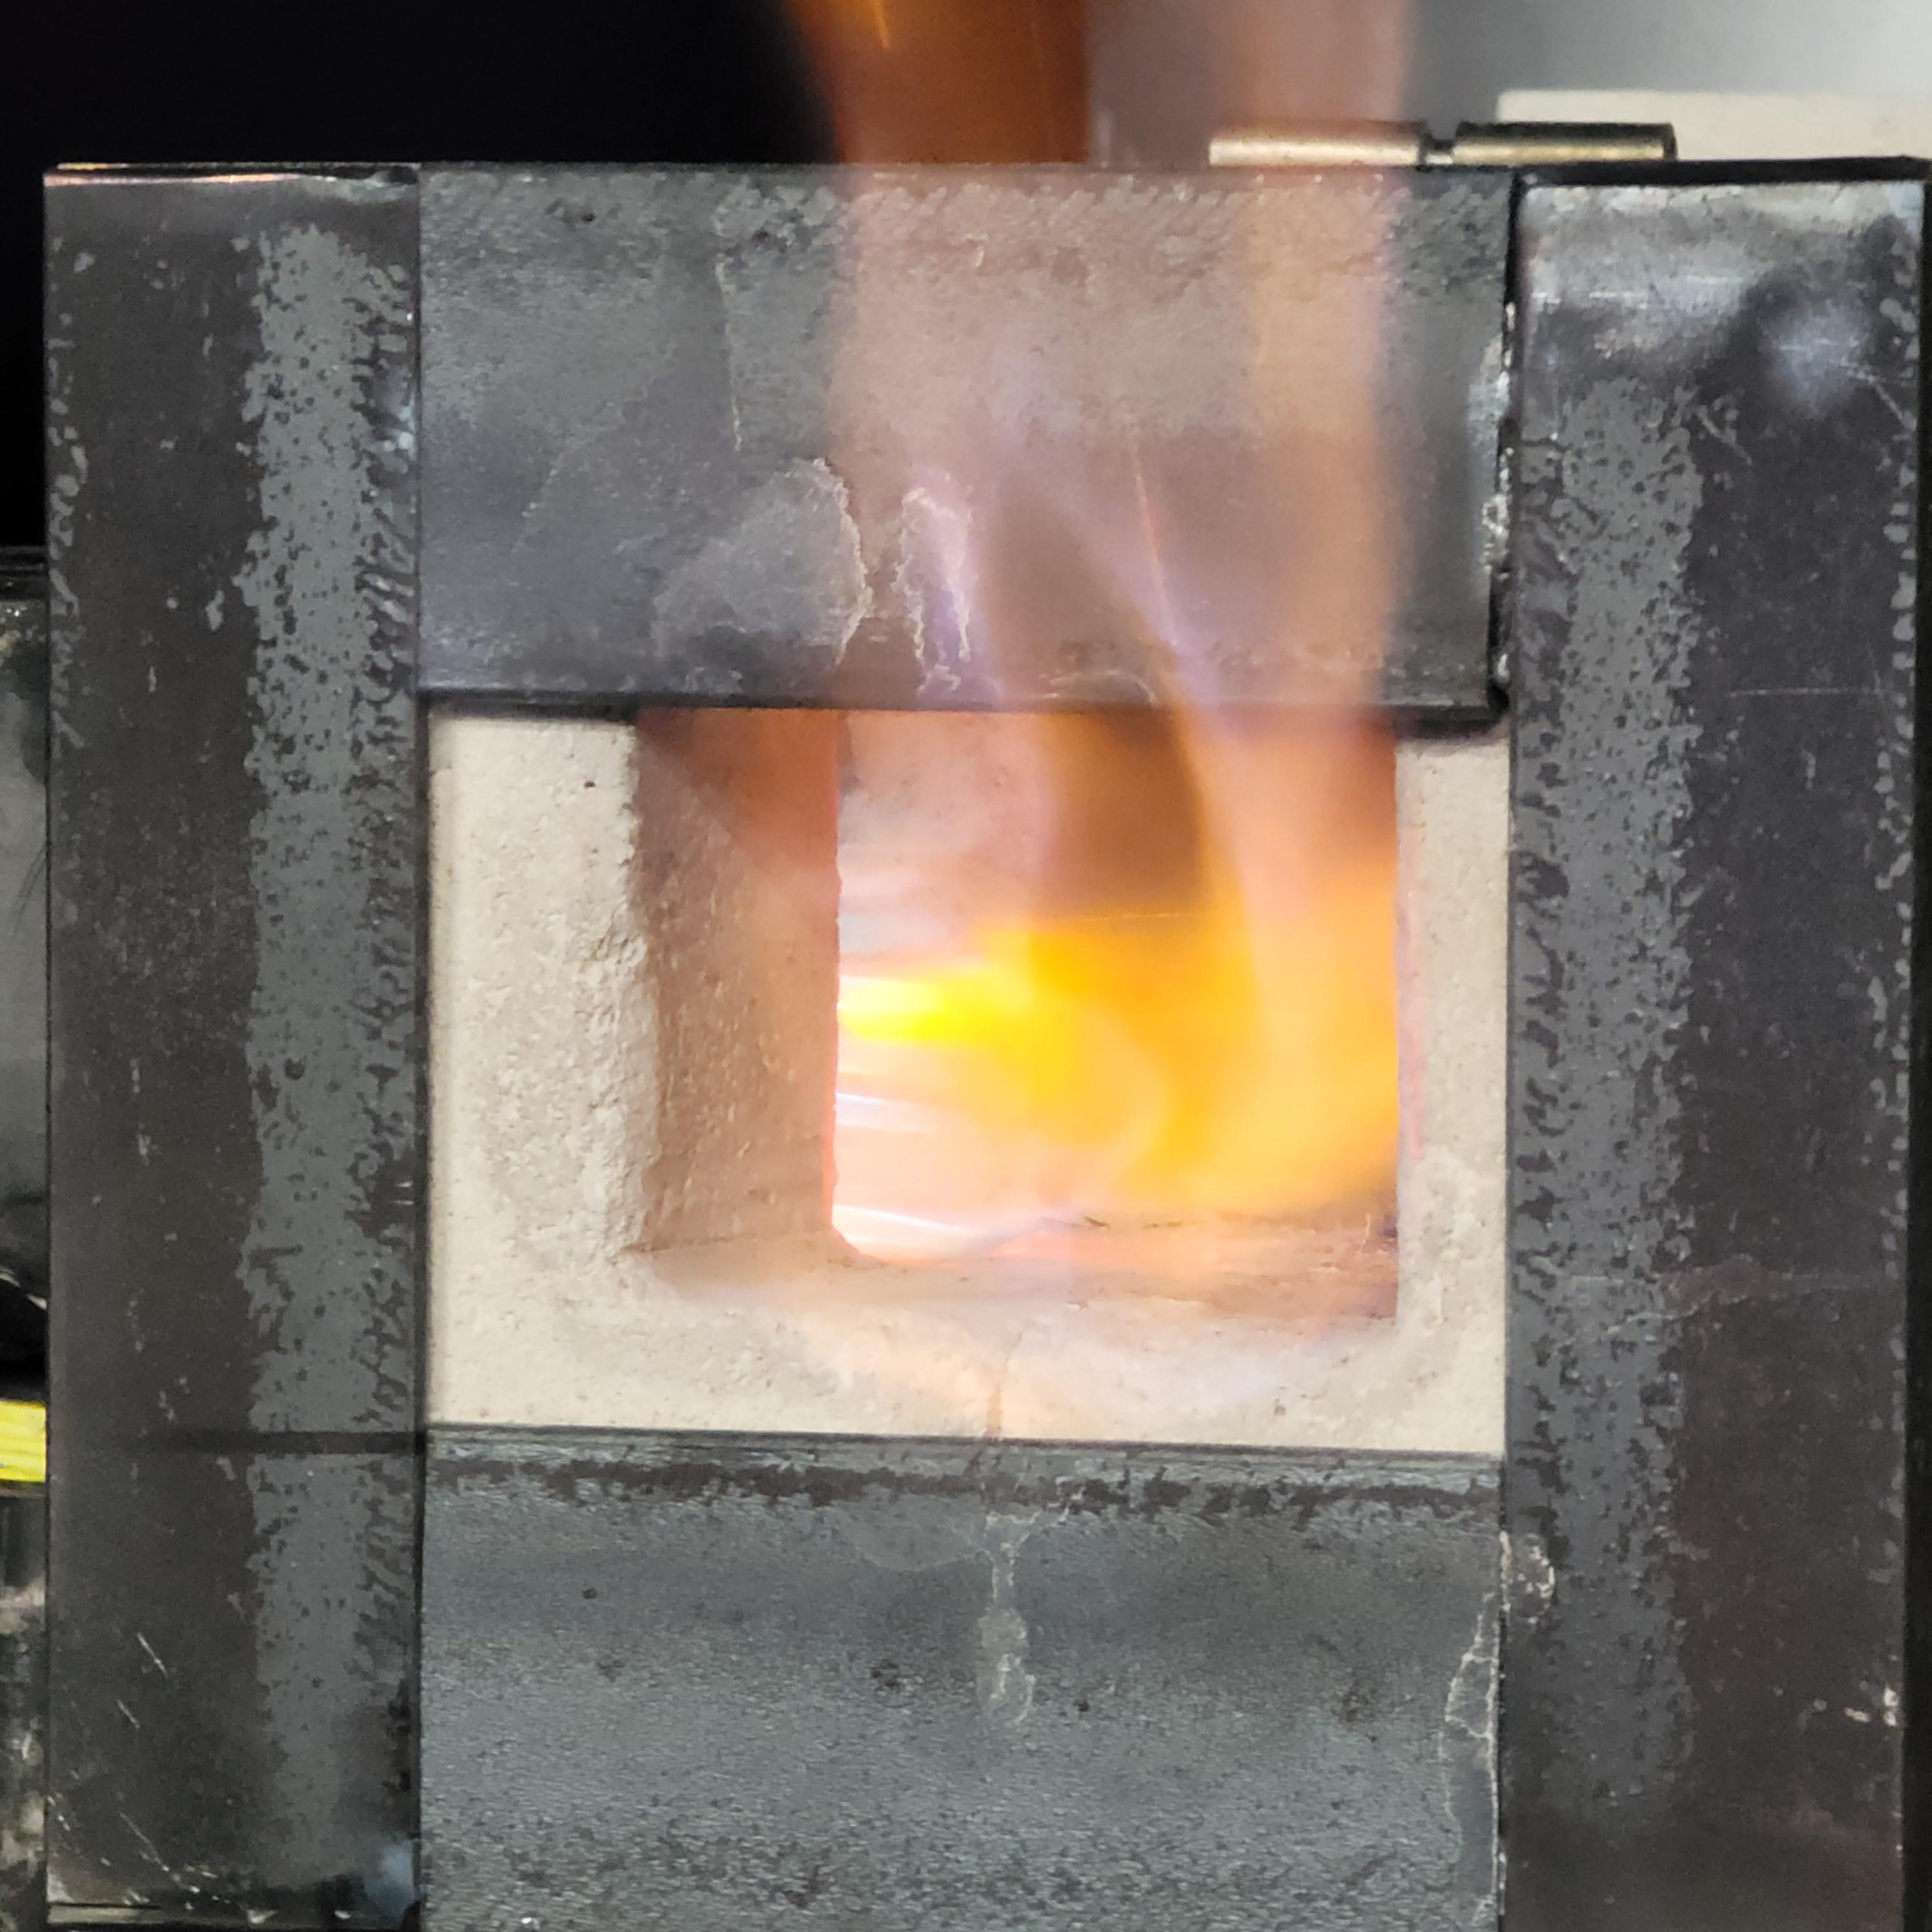
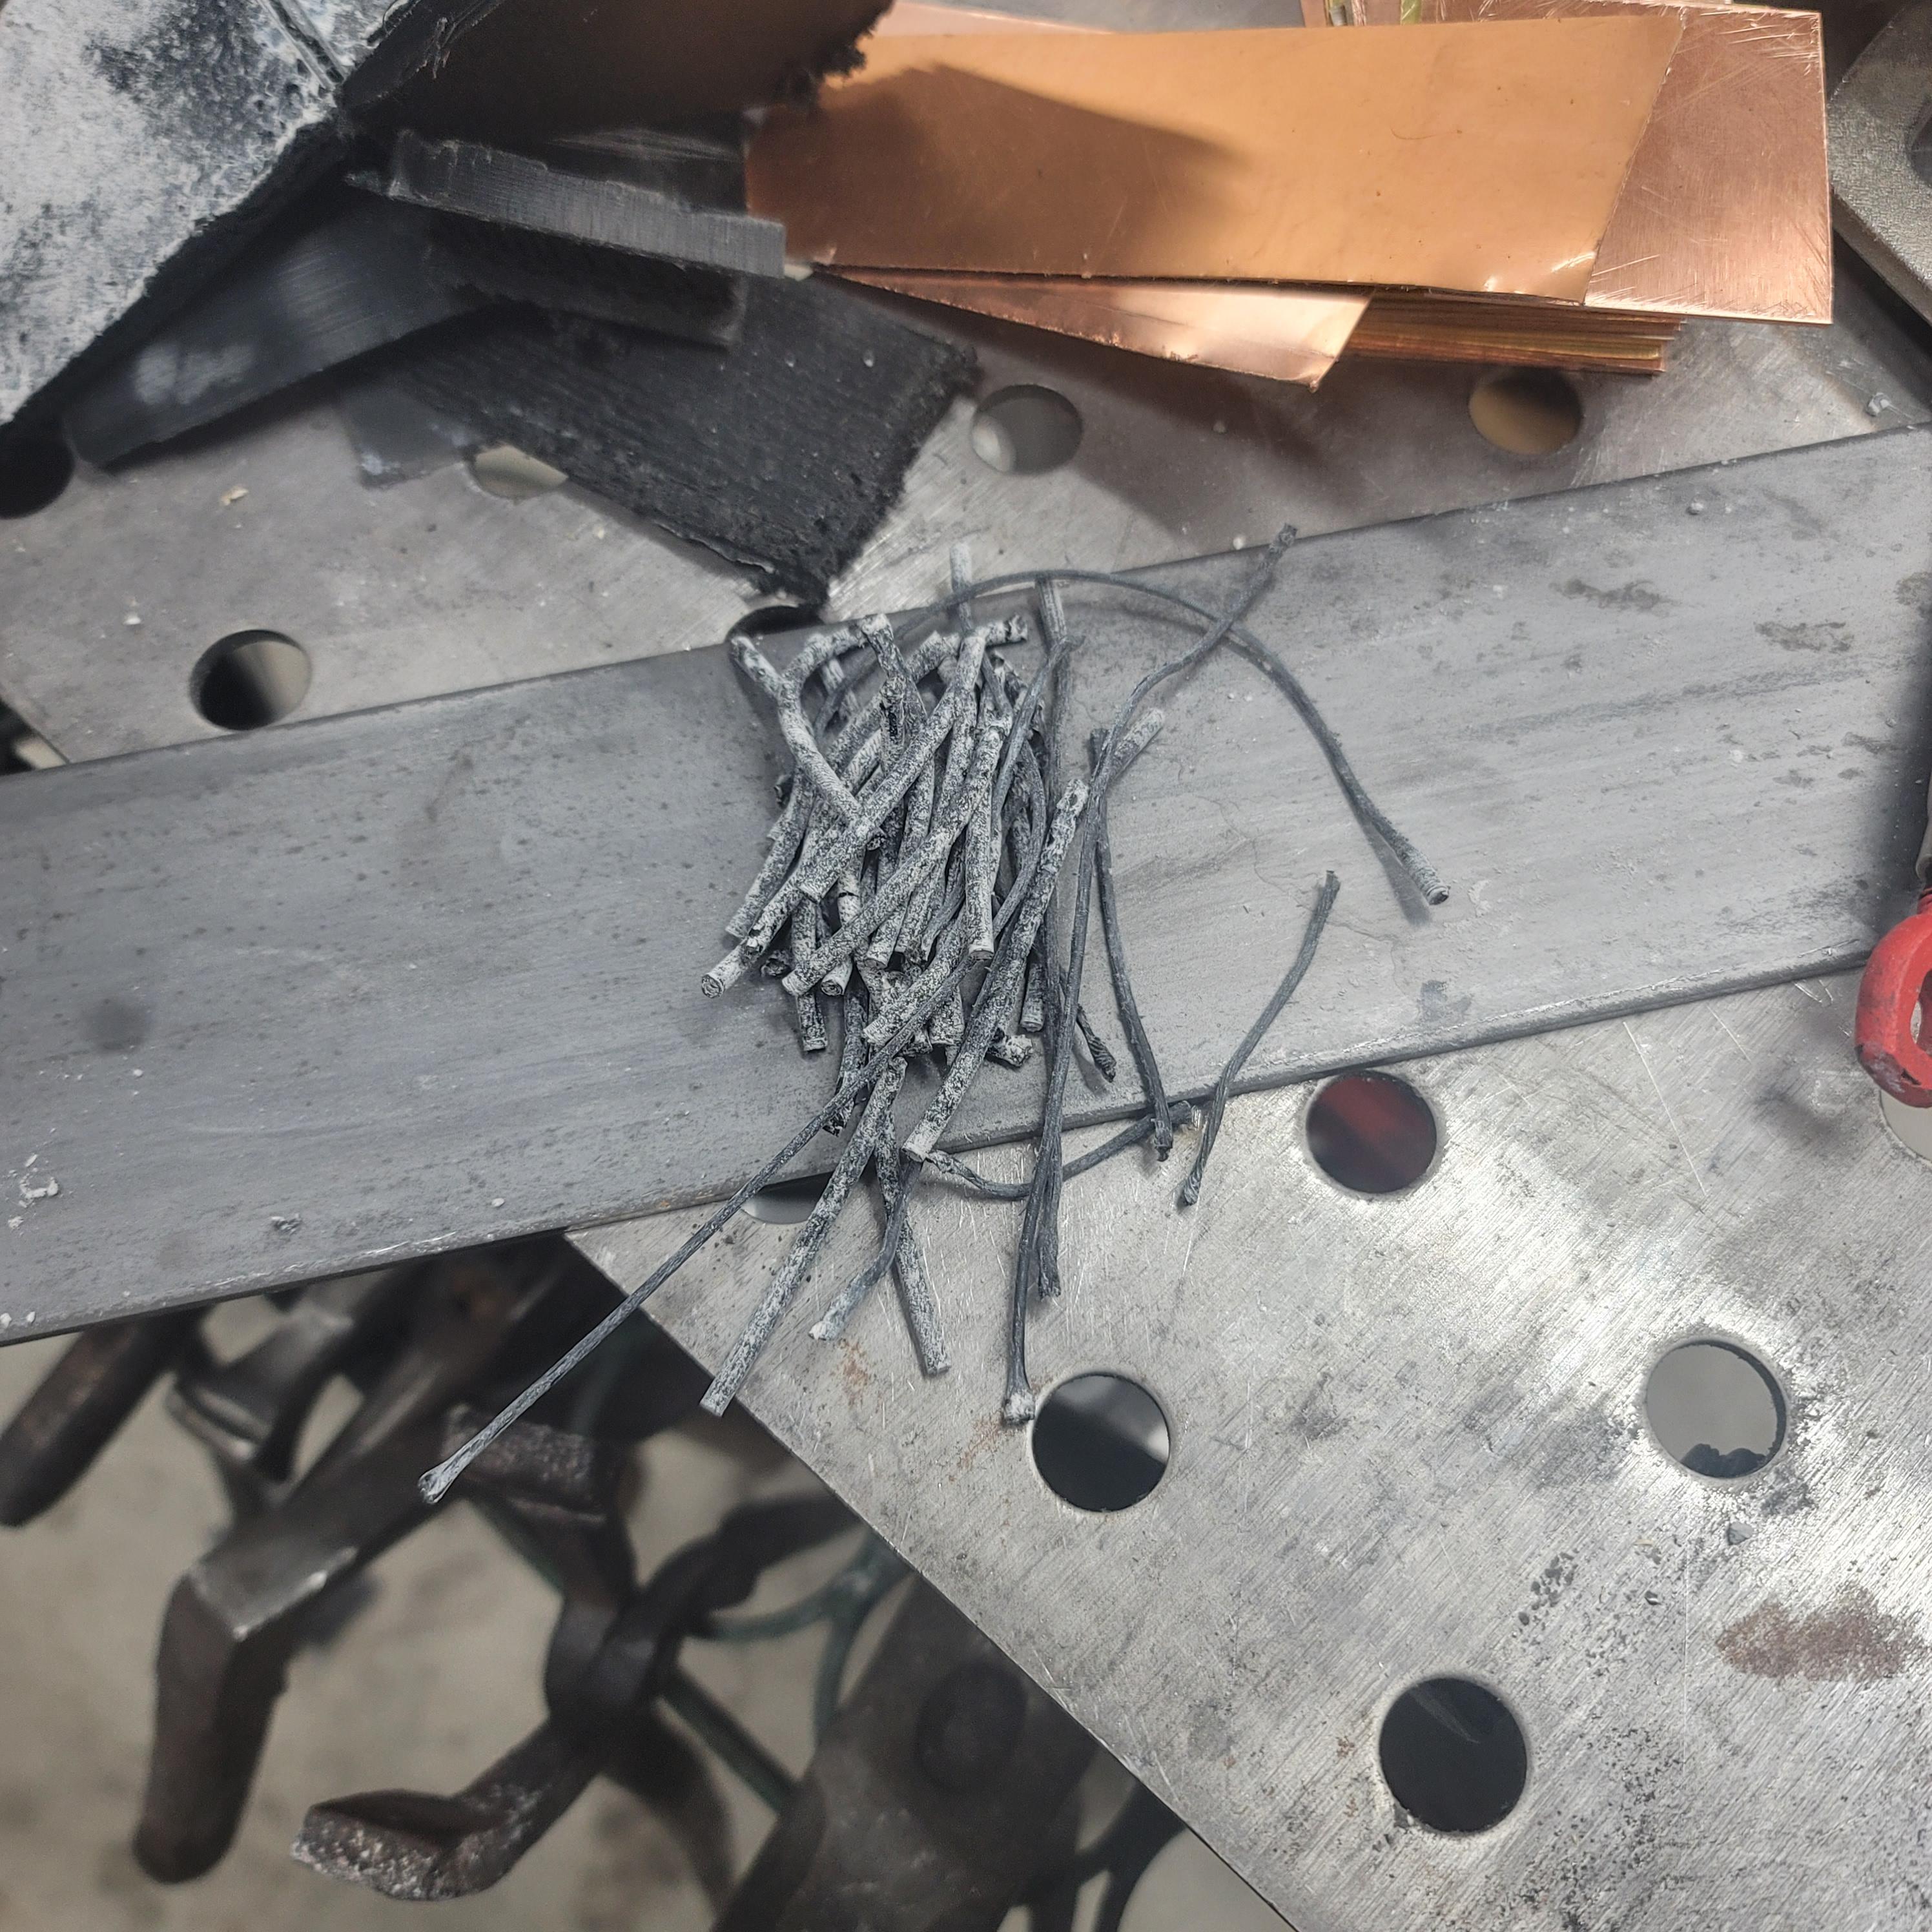
I hade some time today while the wife and kids played with their new toys so I fooled around with the NARB. It seems to be doing well. It can get my travel forge to almost forge welding temps, just below by my best estimate. Initially with the door closed the back of the forge wasn't getting hot, not enough flow in that area I'm guessing. Opened the door and it did better. I drilled a 1 inch hole in the door amd it does well, though it might need even more. I started with the burner on the side, then tried on top. It seems to like being on top better than being on the side, I get that *smirk*. I tried 2 psi, 5 psi, 10 psi and 15 psi. At 15 psi a lot of fuel is being pushed out of the forge before it burns, it is a very small area inside. The forge does seem slightly overpowered by the burner since lots of flame is escaping out the front and the hole it drilled in the door. I might need to build a bigger travel forge. I did try it in the big forge, made from a 20 gallon propane tank. I let it run, holding it in the door for 5 minutes but it is too cavernous for such a small burner. Even with the burner set at 15 psi running for abour 15-20 minutes the plenum never even got hot. I was able to hold it in my hand once I shut it down. Here are some of the videos I shot. The PLA pulled out of the holes fairly easy at 200⁰F though some broke off and had to be melted out completely at 400⁰F. At 200⁰F they stretched and got narrow. After pulling and melting out the PLA I reamed the hole with an old drill bit. I did try blocking off some of the holes with Satanite gasket cement based on the comment that I had too many holes. It ran way worse, though I didn't get video of it. I drilled out the satanite and returned to testing with the 41 1/8" diameter holes. Based on the flame pulling away at the corner holes I wonder if I have enough.
-
Doc Peepaw changed their profile photo
-
Naturally Aspirated Ribbon Burner. Photo heavy.
Doc Peepaw replied to Frosty's topic in Ribbon Burners
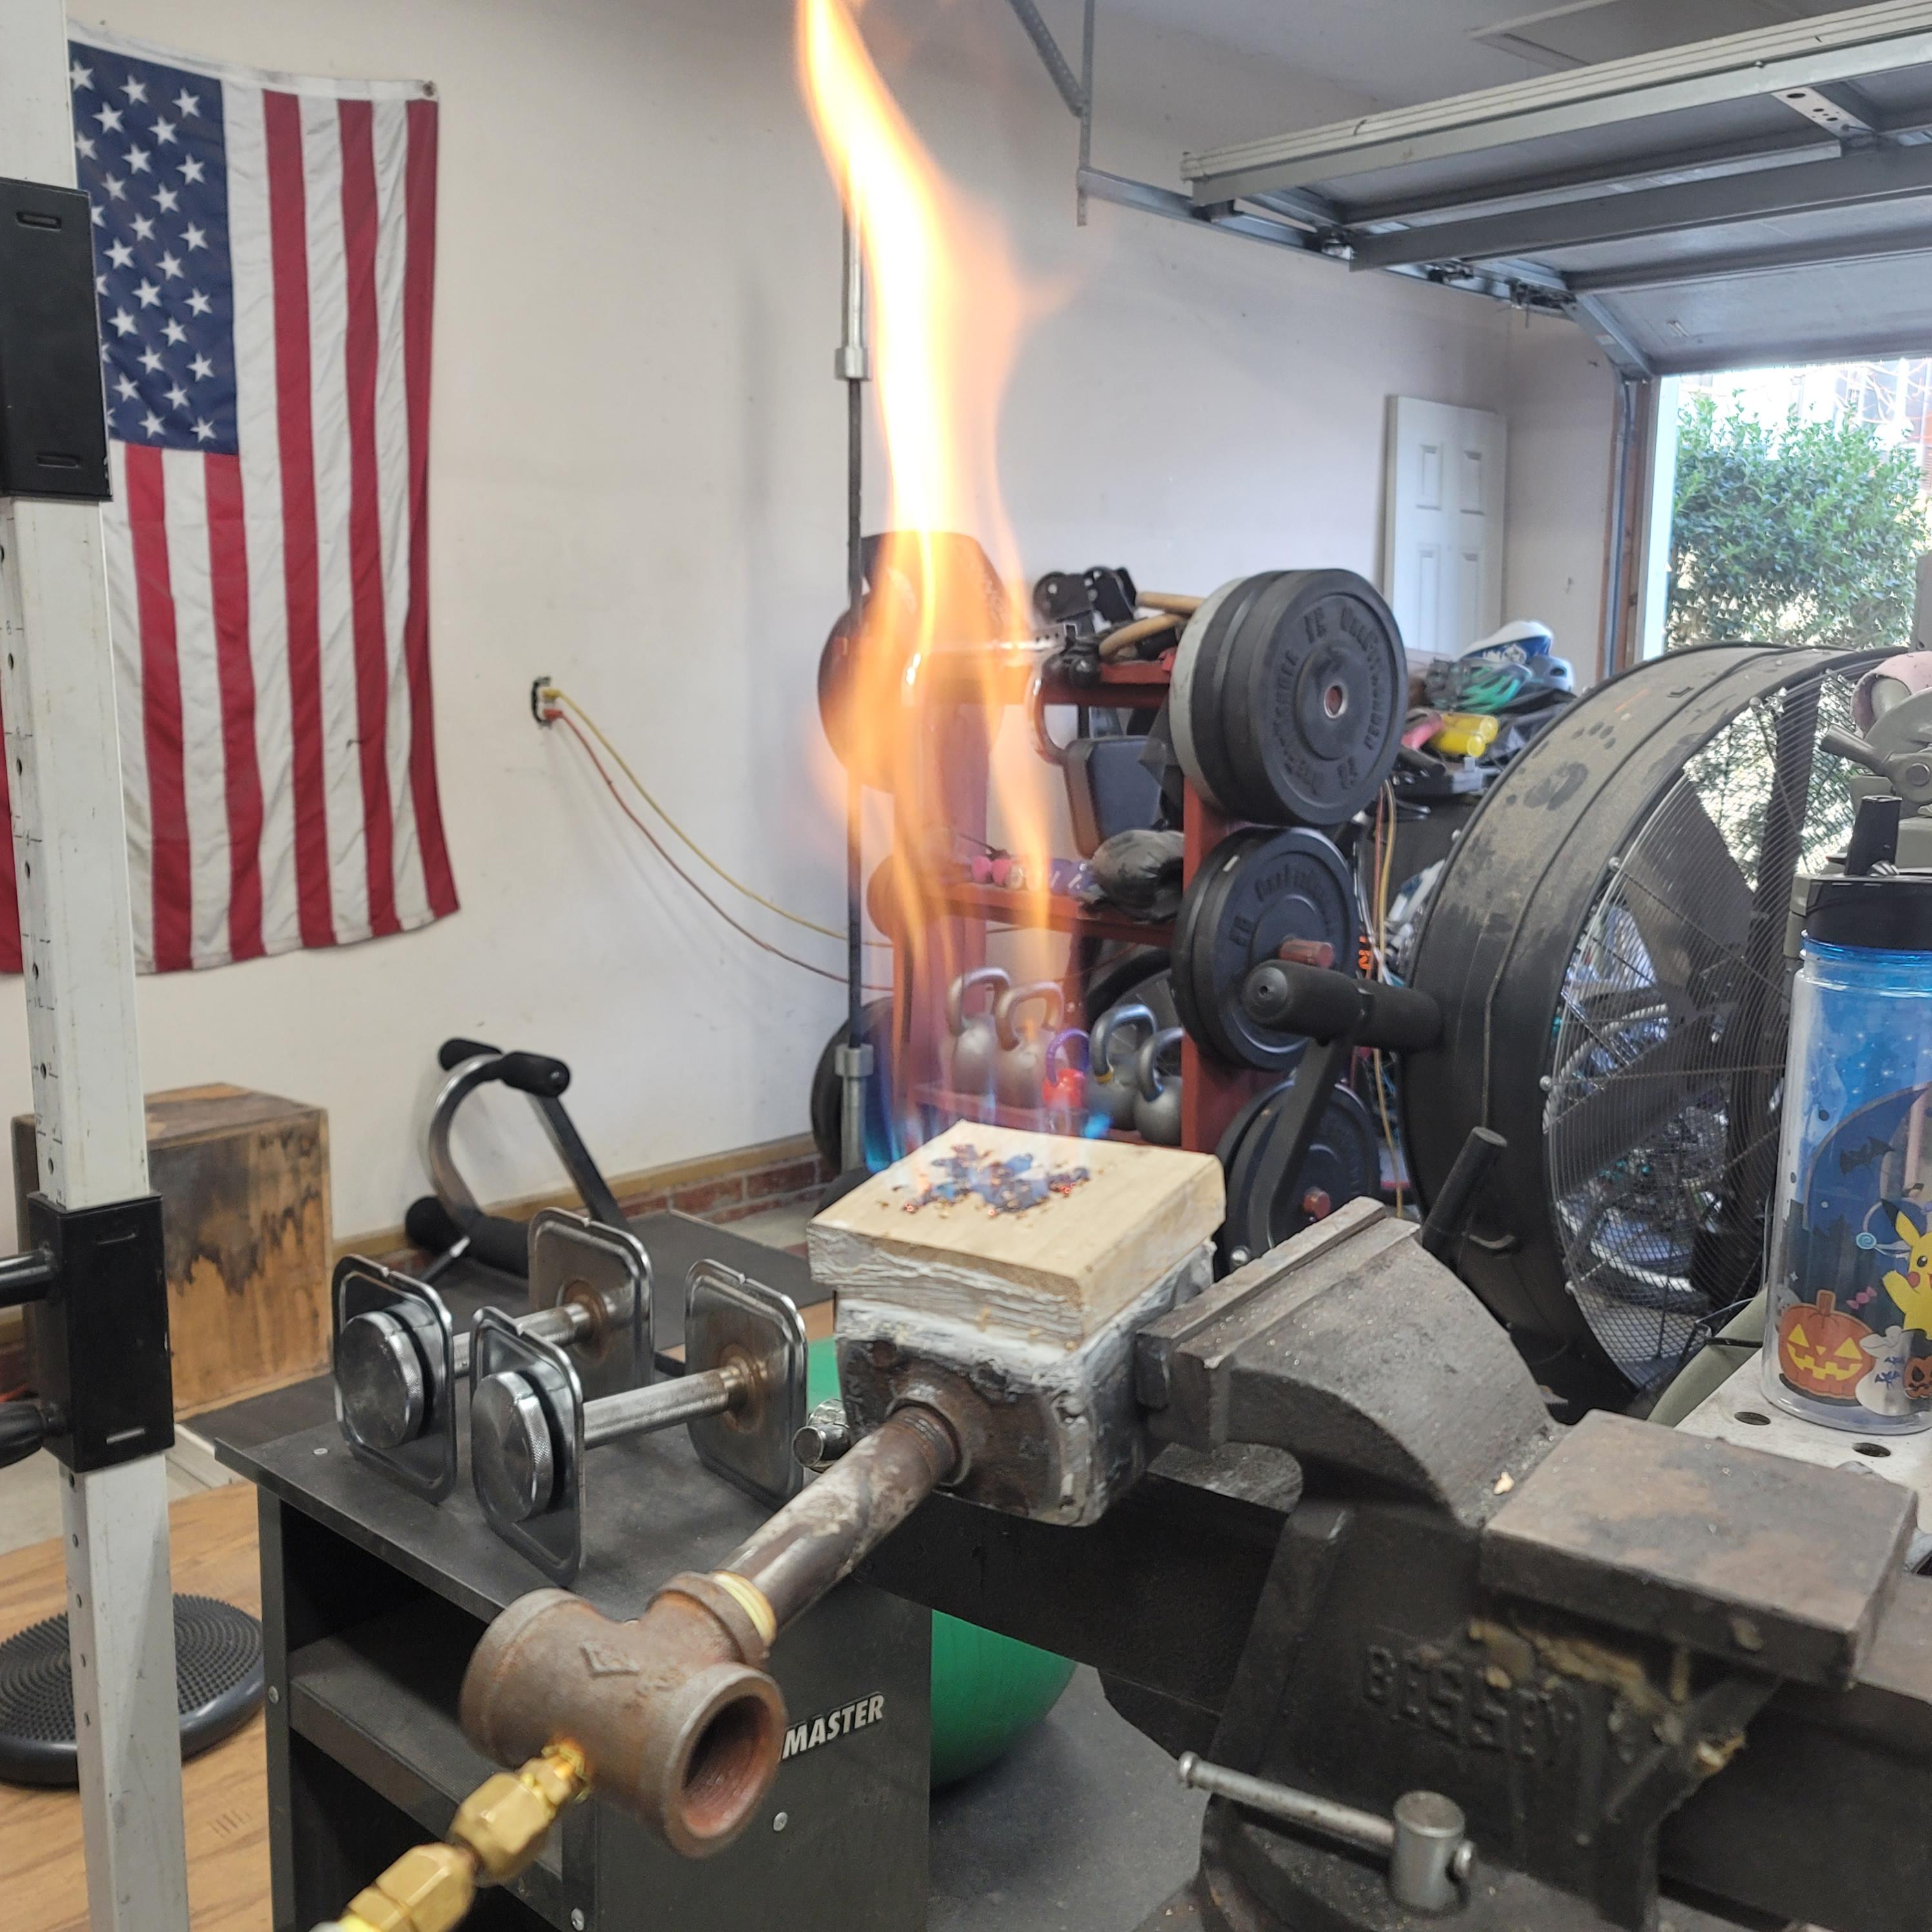
Good call on the YouTube. I uploaded both my test fires. I think the picture of the test fire looked like it was running very rich because it was in wood face and didn't do justice to the actual effect and mixture I'm really getting. -
Naturally Aspirated Ribbon Burner. Photo heavy.
Doc Peepaw replied to Frosty's topic in Ribbon Burners
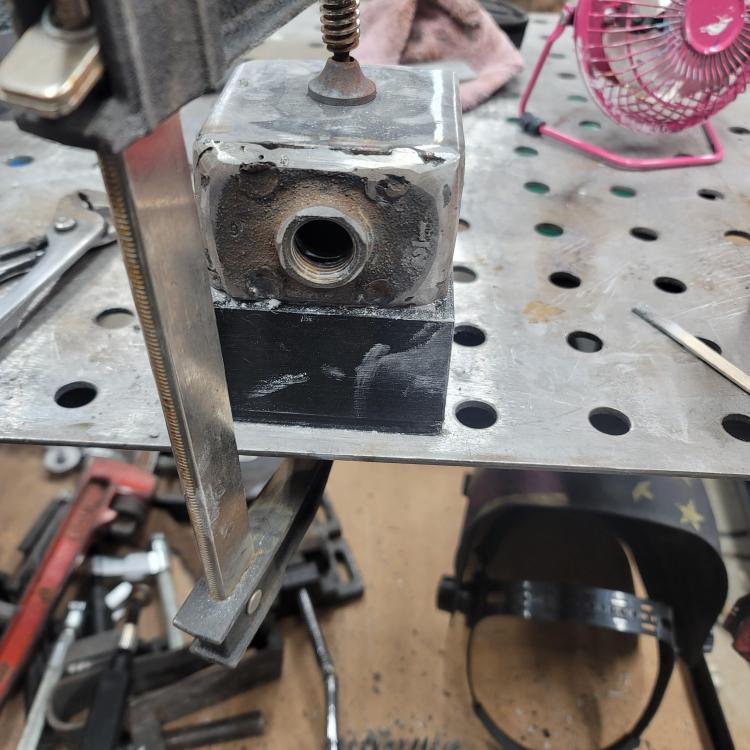
I've been reading through the text here, lots to read, lots of good information. I decided to switch over my single port naturally aspirated burner to a ribbon burner. I've got a big blown ribbon burner that I use for my main forge, works great. When I travel for work I can't take it with me since it needs electricity. My travel forge has, er, had a single port naturally aspirated burner made from a 3/4 to 1/2 T reducer with a 0.035 mig tip and a had a 1 inch flare to attempt to slow down the velocity of the gas and lessen the hot spot. After reading through a bunch of the posts here I decided to give it a go. I hated drilling out and burning the crayons so I didn't want to go that route this time. I recently bought a cheap 3d printer on Amazon and have been reading about lost pla casting when I realized I could make a mold for a NARB and it "should" melt out without issue. I designed two versions, one with 41 1/8 inch diameter holes and the other has 41 1/4 inch diameter holes. After I printed the 1/8 inch holes mold I thought they might be too small so I printed the 1/4" version. It is 3" x 3" and 1.75" deep. I welded up a plenum, don't just my welds, I'm out of argon so I'm practicing my stick welding. It is 3" x 3" and 2" deep. I had planned on inserting it 1/4 into the mold but my measurements were slightly off so, fingers crossed it is not going to leak. I angled some 1/8" A36 steel to keep the cast burner face on the plenum. If it fails to work I plan of scaling up the mold a bit and reprinting it. I did a test burn with a block of wood and 41 1/8" holes and it came out like I wanted so I mixed up the Harbison walker refractory cement I have, it worked well for the other ribbon burner, and packed it down carefully in between the 1/8 inch rods and pressed the plenum up against it as tightly as I could. I hope it holds but I've got a plan if it doesn't. Thanks for all the good help here. This is my first post here so if it shows up weird, whoops. Doc Peepaw 20211224_141425.mp4 The video didn't work, not sure how to upload them. Here is a picture of the wood block test at roughly 2 psi.