Zrognak
-
Posts
89 -
Joined
-
Last visited
Content Type
Profiles
Forums
Articles
Gallery
Downloads
Events
Everything posted by Zrognak
-
Thank you all, means a lot. As for the spoons are made from copper I always thought copper was bad for you if you use em for acidic foods or hot beverages.
-

What did you do in the shop today?
Zrognak replied to Mark Ling's topic in Blacksmithing, General Discussion
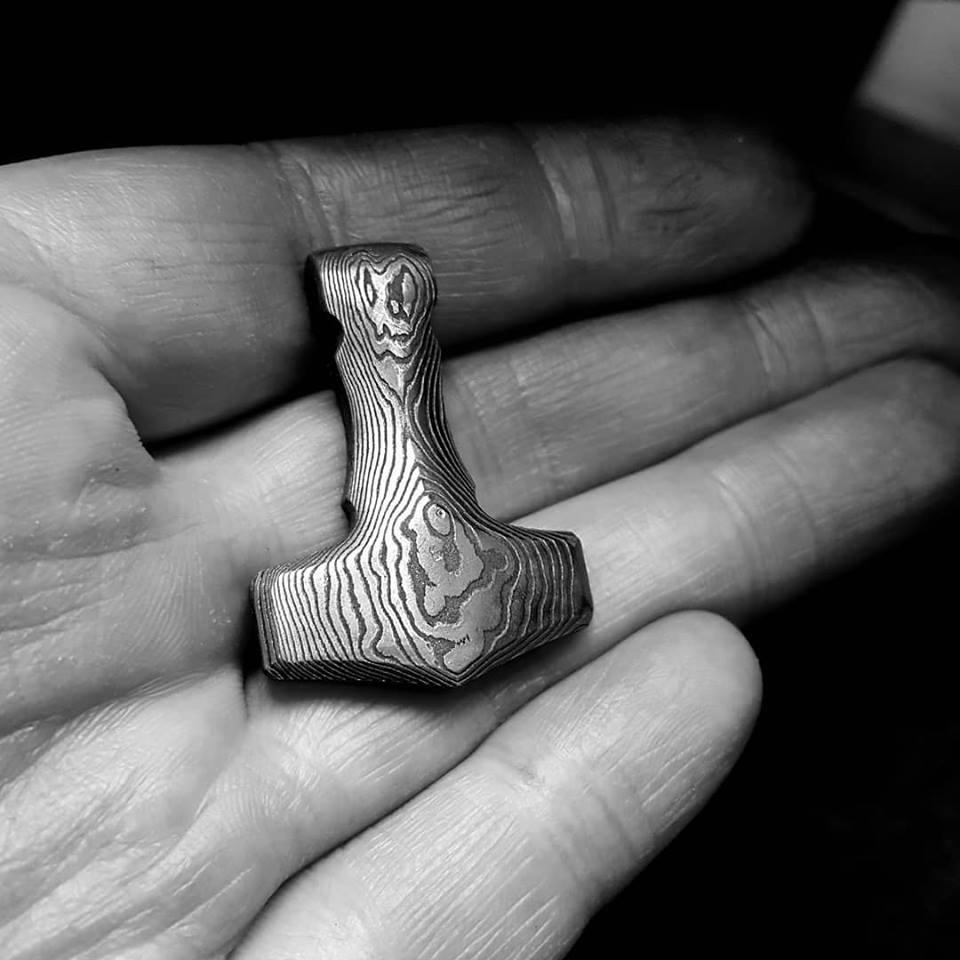
Did this in the shop today, well not my shop but the schools workshop, had a piece of damascus i made more then 2 years ago with me so made a mjölnir pendant from it.
-
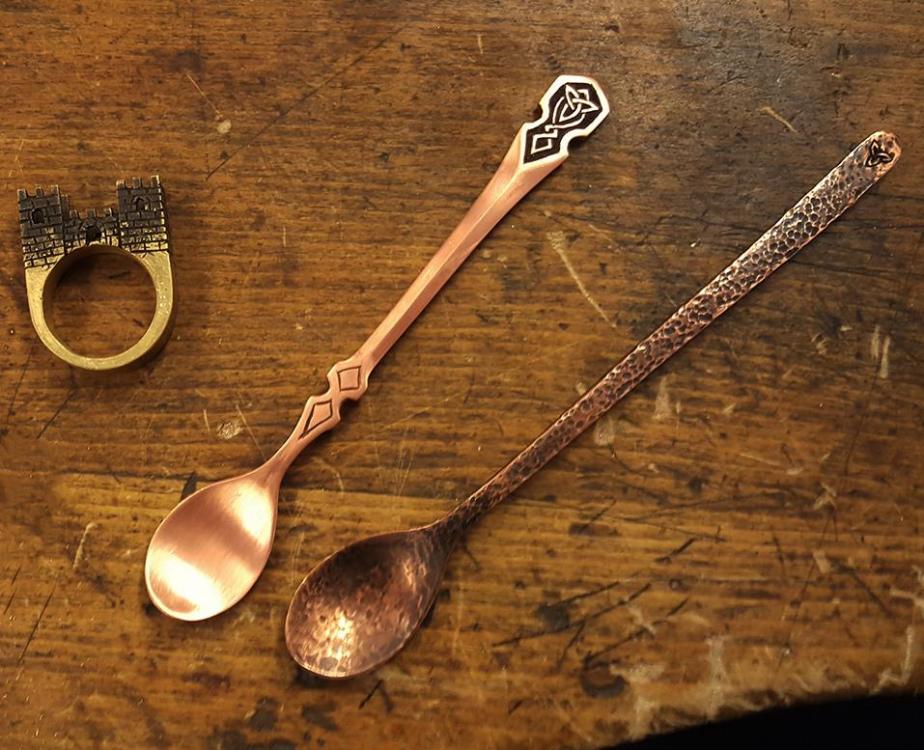
More stuff, the ring was a task we got to make a hollow ring solder each piece together, I made a castle out of mine, the spoons are forged copper, cant use em but it is also for practice.
-
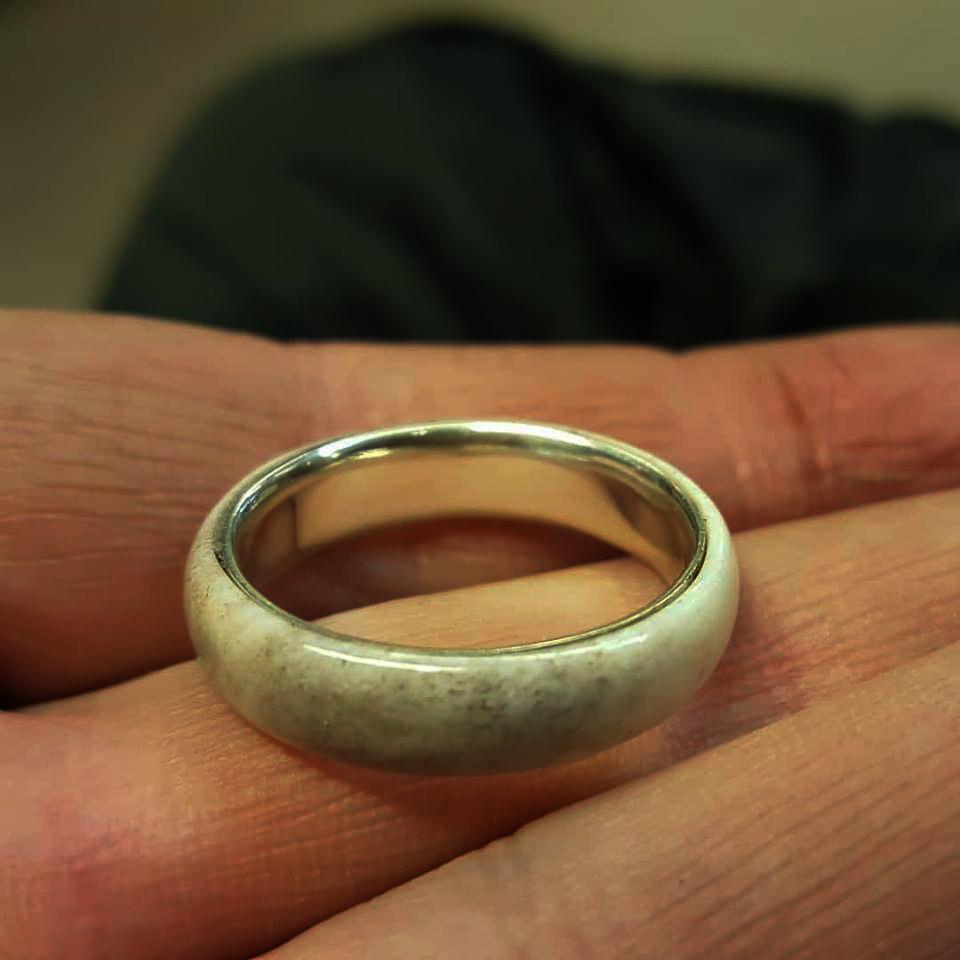
Soldered a pendant it is dome like shaped on the front and flat on the back hollow inside, I had to solder it 4 separate times to assemble it correctly with 4 types of melting temp for the solder. Soldered my first silver ring today, I found it harder to solder silver then brass and copper but it turned out ok in the end, made a really simple design with moose antler around the outside. I made more stuff but I forgot to take pictures of em ill do that later. Cheers!


-
Sure will, and thank you good sir.
-
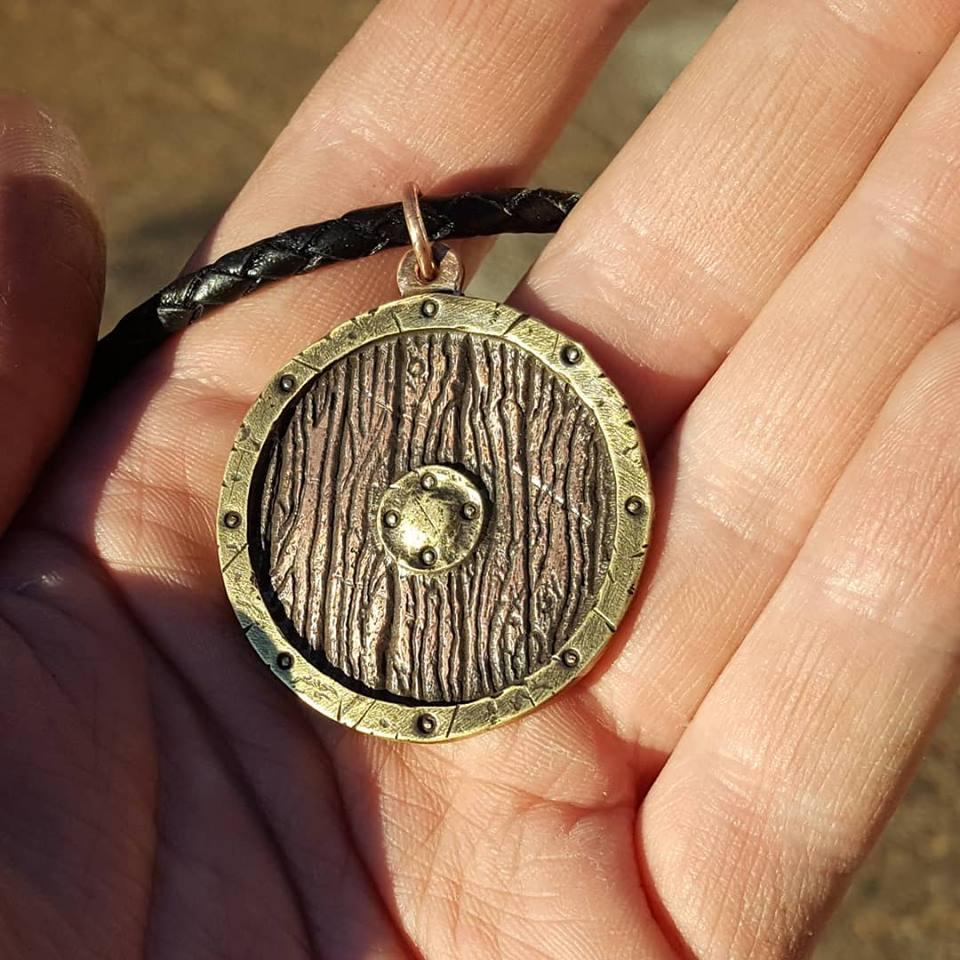
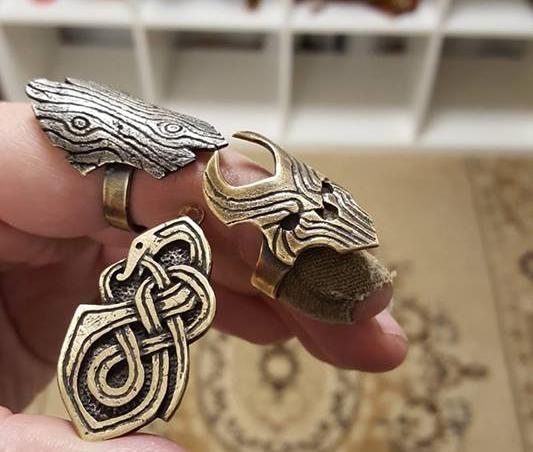
So I just moved 900km away from my home to start a school for silversmithing, We as students have access to the workshop 24/7, we have not gotten to do much yet but I got to practice soldering brass and copper with some silver solder and I enjoy it, im using copper and brass in the beginning to learn how to solder correctly cause my funds are not huge enough to start with silver, anyway during the weekend I made a few things for practice nothing great but pretty ok, cant wait until we get to move onto casting. Here are some of the stuff. Here are two rings made from brass, nothing fancy. I put the solder seams under the top of the rings. Also a simple Jörmungandur pendant, not too found of the design drew it up too quickly. Here is something I wanted to try a long time, mixing copper and a lighter metal, wanted to use silver for the rim part but like I said im learning so dont want to waste silver so I used brass, it is a viking inspired shield pendant. Did not quite get the thing centered but it is all good since its practice.

-
Yet again you keep impressing me good sir, I can see as Steve said you didn't quite get the ladder effect fully there and I can understand that since it is a thin blade but to be fair it still looks really good, I like the patterns you make cause they are not all even everywhere I never been a fan of pattern welded steel where the layers are so perfect its like every layer is perfectly straight and flat, so this gives it so much more life, reason I prefer hand forged over pressed cause it will be a lot more life in the pattern. The shape of the blade is great Im not a chef but I do cook a lot and the shape is useful for a lot of things. Good work on the finish the handle looks really good, not sure about the wide shape but I think I would have to hold it in my hand to judge it, it looks great.
-
"Charcoal," she retorted
Zrognak replied to Ohio's topic in Solid Fuels: Coal, Coke, Charcoal, Wood, etc
That is really cool man, thank you for sharing -
Im from Sweden and I would proudly own one of em, look great and should be a loyal companion for a lifetime good work man keep it up, we need more good quality axes, got nothing against mass produced stuff we got a few good axe companies here in Sweden still that make pretty good commercial axes but personally they don't meet the quality like this these days, they did once upon a time when they forged less but the mass production that has come to fill everyone need around the world for axes has made the quality go down where some are good and some axes are poorly made(due to many different people making em). but still they make some of the best commercial axes in the world that are mass produced so for the price it is good. Went a bit of topic there, but my point is im happy to see people like you who bring in the hand crafted stuff back, the quality is going to be so much better so keep it up man. I hope you charge the right fee for one of these cause you deserve it, people who know a good axe knows when to pay for it. Cheers!
-
Yea that looks great man that is definitely a seax, cant wait to see you finish it keep up to good work and keep doing the work you want to do the way you want to do it this looks good man.
-
"Charcoal," she retorted
Zrognak replied to Ohio's topic in Solid Fuels: Coal, Coke, Charcoal, Wood, etc
Yea that was the plan, the vent hole on to is just so it wont explode, the drawing is poorly made sorry, I got a vent like a hook shape so the dust does not clock it up or smaller pieces of stuff though is not clear down at the bottom where the fire is so it pushes in the gasses that are made from the wood so they are burned when the top vent is closed if that makes sense. Sorry been drinking since its my last day home, and the school im going to dont allow beer im just having some of my favorites, the drawing is poorly made if i spent another 10 or 20 minutes it would make more sense. meant the drawing to show that the gases would be pushed into the heat source so they would burn or retort is that the right work, anyway thx for the info. -
"Charcoal," she retorted
Zrognak replied to Ohio's topic in Solid Fuels: Coal, Coke, Charcoal, Wood, etc
As always, thank you Frosty for sharing -
"Charcoal," she retorted
Zrognak replied to Ohio's topic in Solid Fuels: Coal, Coke, Charcoal, Wood, etc
I had an idea a few years a that might be stupid reason I posting a poorly drawn drawing here, I have never tried this nor im I sure if it would be a good idea or not, but here it is, I had a hard time getting a good seal so I thought what if we use the ground as a seal and for insulation, so I thought what if we make the lid on the bottom instead, and weld a casing around the insulation, so you would put the retort on its side fill it up then put the lid on and lift it upright(i know you got to be strong to lift it up but can be done with all kinds of things) and then burry it slightly with sand or clay. This might be a stupid idea with all of its own problem, some might be able to tell without even trying that it is a bad idea but since I have not tried it myself I don't know. Sorry not wanting to hijack this thread but it came to my mind cause of the sealing issues discussed.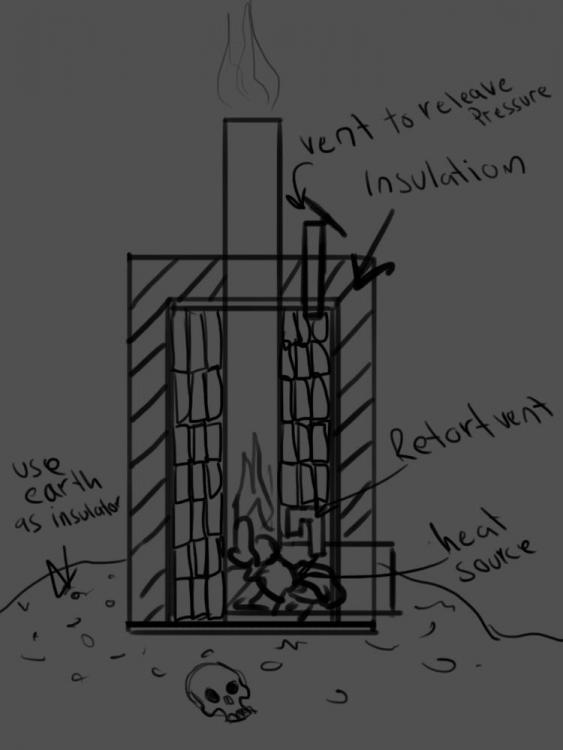
-
"Charcoal," she retorted
Zrognak replied to Ohio's topic in Solid Fuels: Coal, Coke, Charcoal, Wood, etc
Cool and thank you for the information it should come in handy when I make my 2nd retort. -
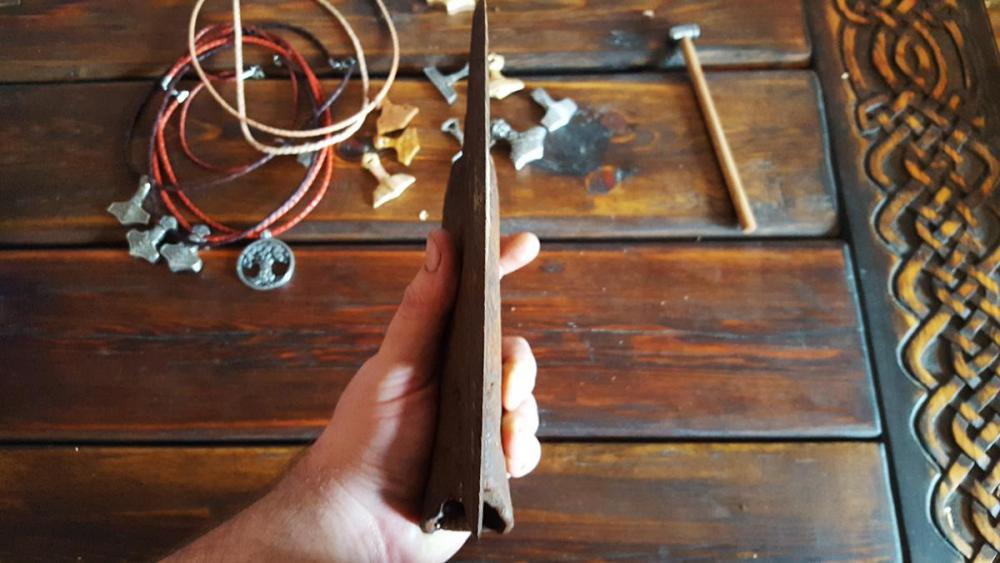
Not exactly sure how thick they are but are we talking like 1/3th of an inch or 1/4th, anyway either way if they are 1/6th of an inch I could still use em myself, since i carve wood and other things I would forge carving knives out of it, as well as small chisels and other carving tools, maybe even make a touch mark or two for smaller projects.
-
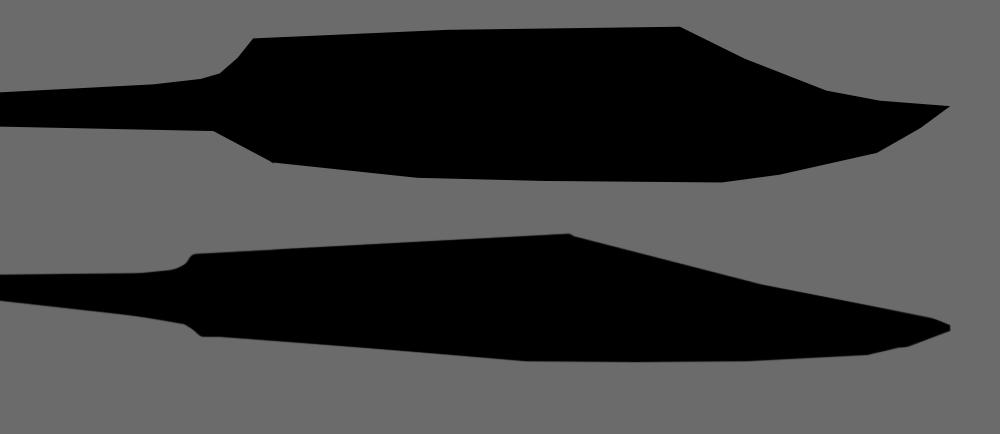
Maybe this helps a bit, I cropped your seax out into a silhouette as well as a historical seax that you where talking about for a comparison for you good sir. Note: size is not accounted for. Edit: also note im not asking you to change your design, you are the artist and you should make the knives you want to do, just posting this for a reference to compare and stuff.
-
"Charcoal," she retorted
Zrognak replied to Ohio's topic in Solid Fuels: Coal, Coke, Charcoal, Wood, etc
that looks like it works really good, much better then the one I made, I did not insulate mine probably one of the reasons why i had to go for so long, but I see you got a nice load of charcoal there how did it turn out, is it hard and glassy when you break it or soft and fragile? -
Oh i see, and im sorry man im sure they don't mean any harm it just comes off a bit hostile at times, im sure they will respond when they see your question, we are all human here and we do make mistakes from time to time. Personally i do feel that if one gives critique or makes as statement in one post they should point out their reasoning for why they said it, and im sure you will know eventually, I haven't seen any bad people here, maybe a bit stubborn like myself but that is all. but as for the knife good luck with it, it looks good right now probably will be even better finished, keep up the good work
-
Never been a huge fan of straight handles but it works for this knife and the handle material looks good, the paws pins where a nice touch too so good work man looks cool. if there was one small thing I would say to try end remove the glue from where the knife starts and the handle material begins, but maybe it shows up more on a photo than in real life, not a big deal, its function is always to be nr1 and that looks like it will work great so, good stuff.
-
Really clean work, the pins are a bit off might be personal to me but I find it looks better when they are placed more evenly in the handle, but you did a good job on sanding and finishing it, sure looks good, keep up the good work
-
I can understand why some feel it is not a seax I love making em myself and I think there is a fine line when making one how much curvature you can get away with to call it a seax but there are so many designs that have been found, there are a lot of historical seaxes that has been found that had almost this shape, yours may be a bit more to the bowie shaped at the tip but I would still call it a seax, or seax styled bowie knife. Either way I think you did a good job going to be fun to see you finish it, as for personal preference i would bring the tip down a bit more If I was to make it and make the belly of the edge a bit straighter, but it looks good man, hope all the welds are tight And you make what ever you want man, make what you feel looks good.
-
What did you do in the shop today?
Zrognak replied to Mark Ling's topic in Blacksmithing, General Discussion
Sorry I missed this post, humorous -
Is it worth saving 100 year old fencing?
Zrognak replied to JW513's topic in Blacksmithing, General Discussion
Could not agree more -
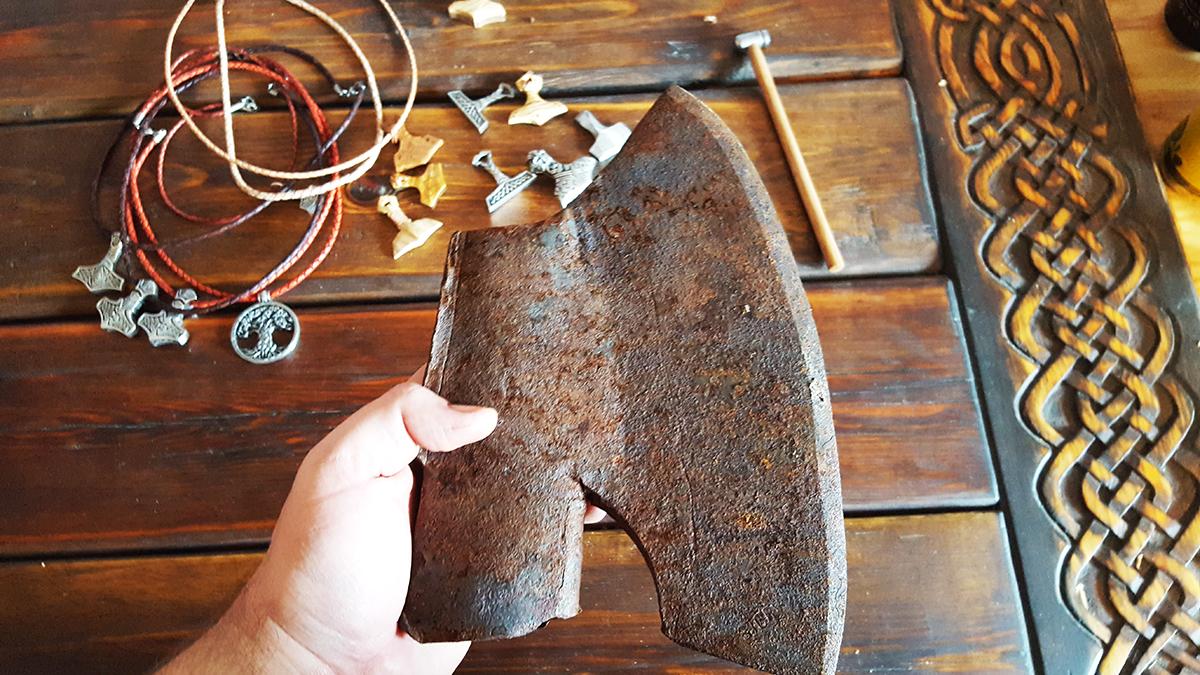
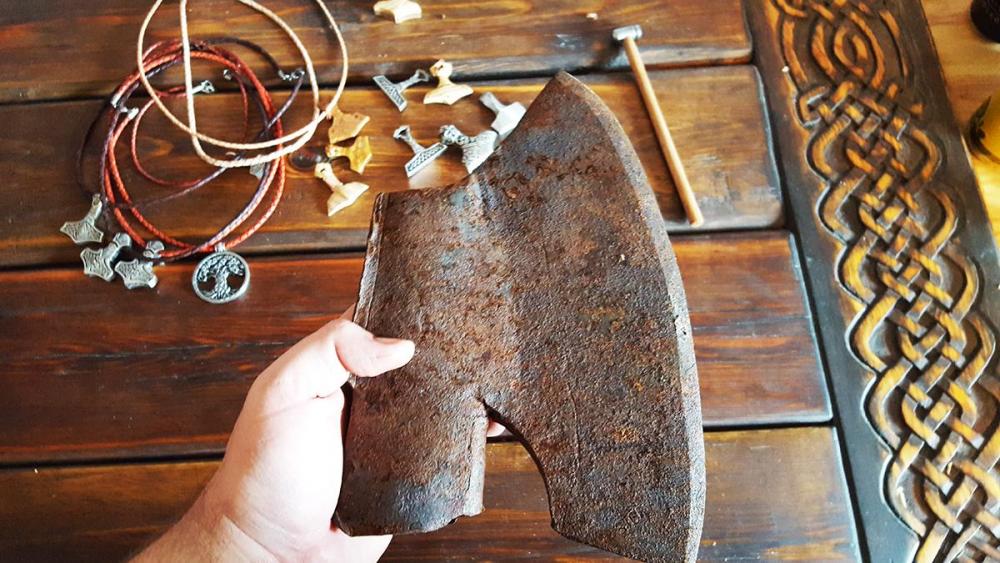
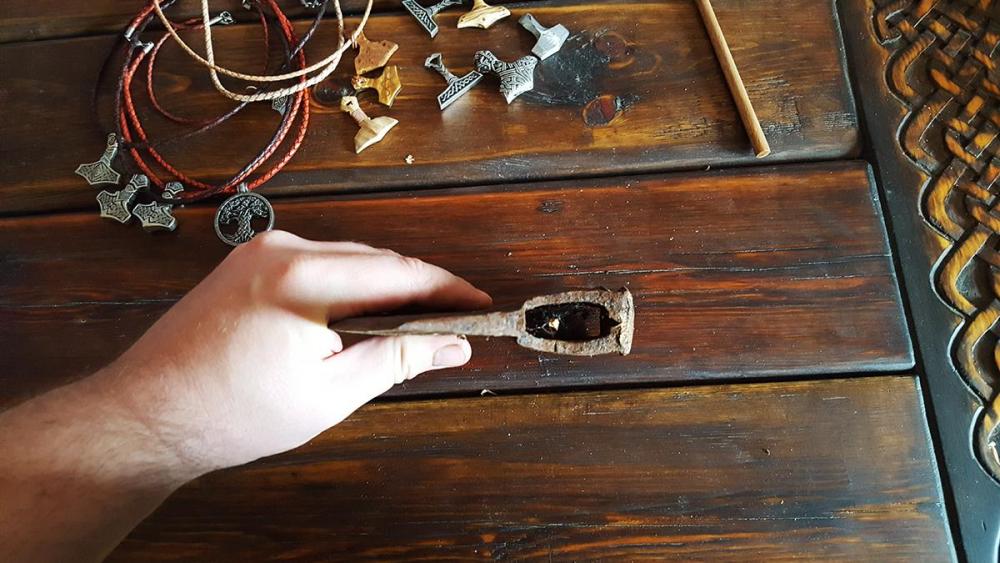
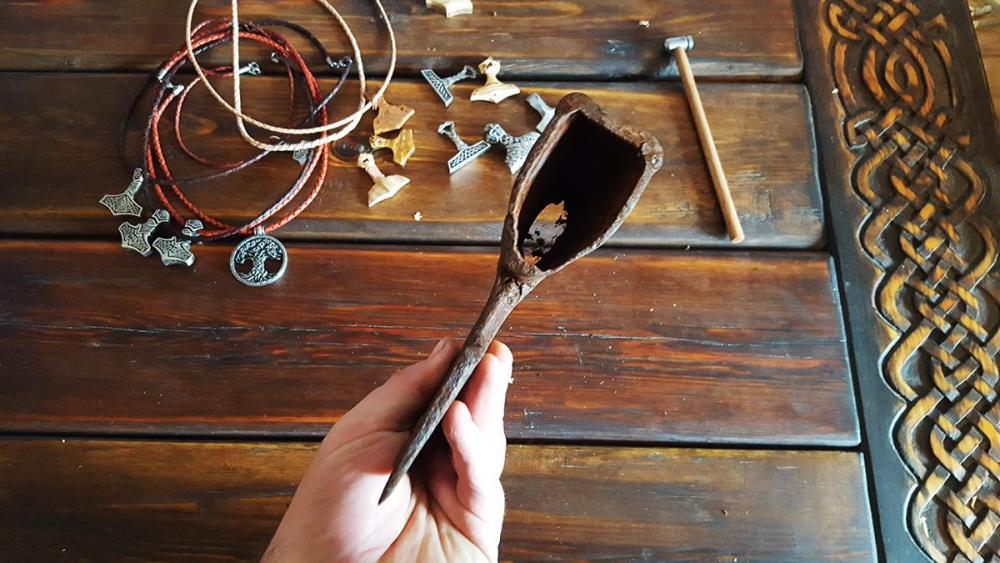
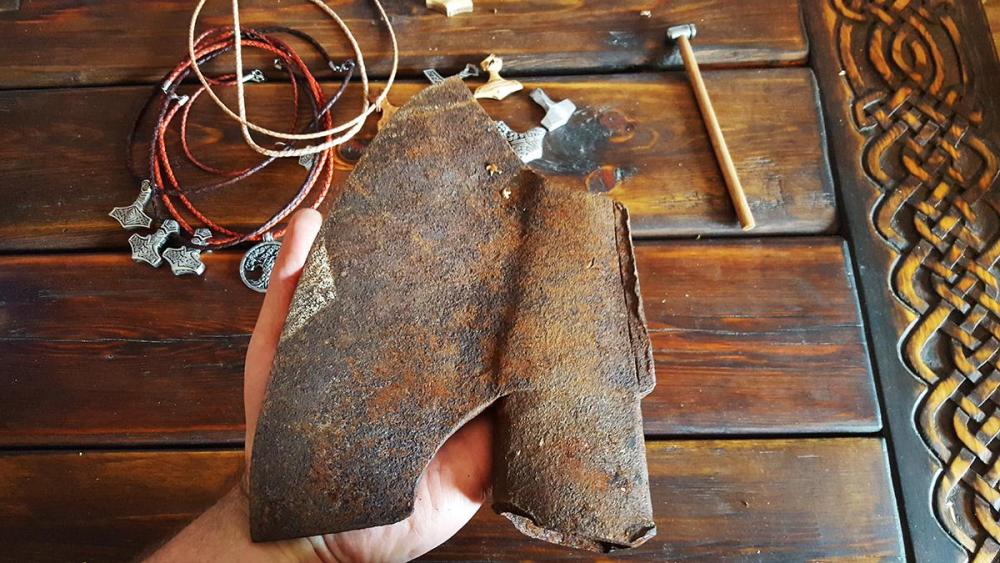
Got this axe for free from a house in the village, it is hand forged and has no stamps, probably by one of the village smiths long, long ago also also good chance one of my relatives. Thankfully though it is rusty the axe have been inside this whole time and is in good shape. pardon the mess and the rushed photos, im moving on Saturday so im packing.
-
Is it worth saving 100 year old fencing?
Zrognak replied to JW513's topic in Blacksmithing, General Discussion
I would get em depending on how much they want for em, if free then I would always grab stuff like that.