
Chris Pariso
-
Posts
35 -
Joined
-
Last visited
Content Type
Profiles
Forums
Articles
Gallery
Downloads
Events
Everything posted by Chris Pariso
-
 bah, in my haste to respond I use the wrong term. The stock I started with was 1/4" (.635 cm) thick, and the final blade is pretty close to that.
 -
Steve - I apologize for the confusion. When I said 2h machete, I was referring to a machete that could be swung with one or two hands. Originally, I was envisioning a tool about 25 to 30 inches in overall length, that could be effectively wielded with either one or two hands. However, after testing the design, I decided that what I wanted to make was beyond my current skill level, and instead decided to make a tool that will be primarily swung with one hand. The steel I am using is 5160, and I started with flat bar stock that was 1/4 inch in diameter. I hope this clears up an ambiguity in my original post.
-
Oh, that comment should be read as "epoxying and bolting", with the sheet metal acting as a third layer of reinforcement.
-
Could be an intentionally heavy training aid - I've got a 30" x 3/4" steel pipe filled with sand that I use sometimes for training Kali stick work. When I switch back over to an ironwood stick, its like swinging a plastic straw. Then again, if the guy is off training Marines in Okinawa, he way have just wanted something that could stand up to whatever punishment he threw at it (or threw it at, as the case may be)
-
Thomas - That's pretty impressive for a kama yari! What kind of steel did you use for it?
-
Thanks for the advice Latticino! I had planned on slitting the top of the handle and epoxying/bolting the blade in, but I like the idea of adding in a band of sheet metal for a little extra reinforcement. The handle won't be quite long enough for a decent 2-hand swing, but even still, I'd like to secure that section as much as possible. Given that this will only be the third sharp thing I've heat treated, I do eventually want to torture test it a bit (including the ABS tests), to try and get an idea if the heat treating is indeed on target. I'm happy to destroy a few blades to see if I'm doing things right or not.
-
So, after sketching out the profile that I wanted to make, and doing a cold run on a block of plasticine, I realized that I was punching above my weight a bit. To date, I've only made two knives, a pair of tongs, and a handful of hooks and spikes. The design I want to make is going to take a bit more control/skill than I currently have, so I instead hammered out a simpler sickle-like blade, about the width and curve of a banana (for lack of a better comparison). Still plan to mount it onto a hatchet handle and carve through some brush with it, the former hopefully being done this weekend. You win this round, kuk-bill... but your day will come!
-
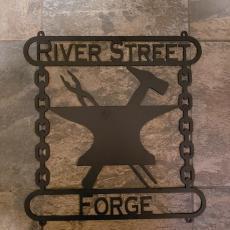
Just added a bit in the "about me" section of the profile, and changed my avatar to the forge sign my wife had made for my birthday. If I ever progress to the point of selling my work, it'll be under the name of River Street Forge!
-
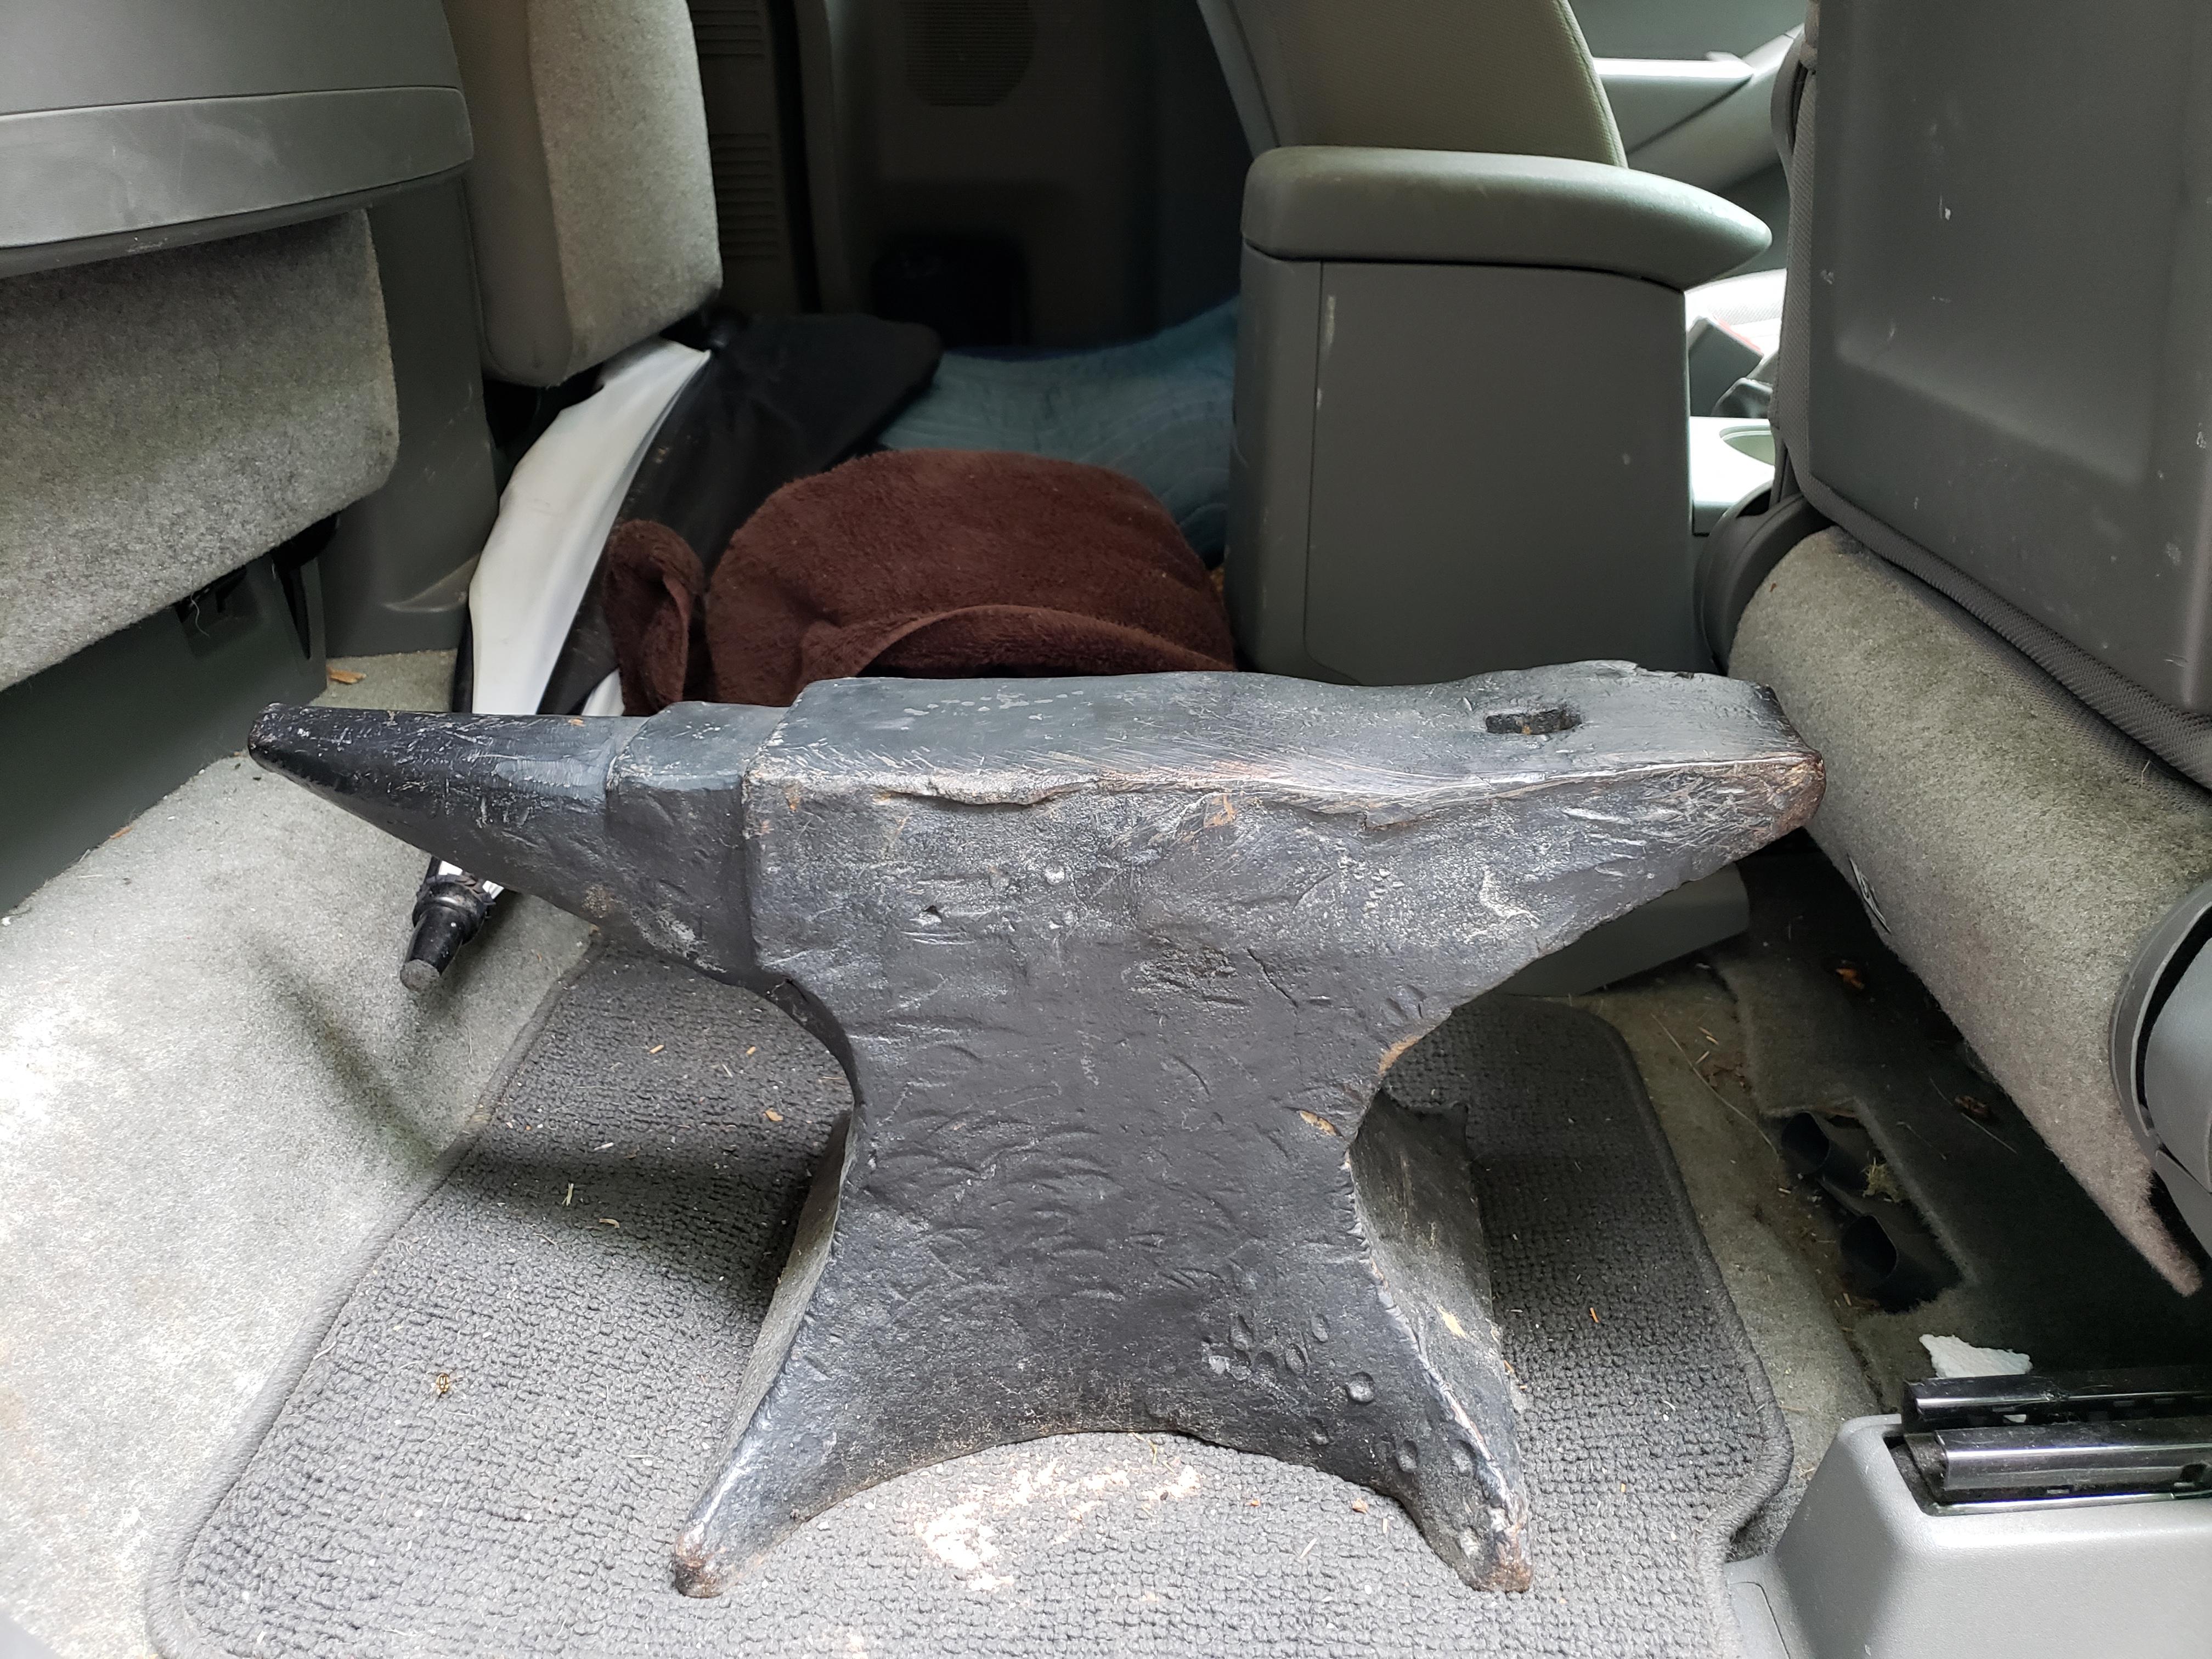
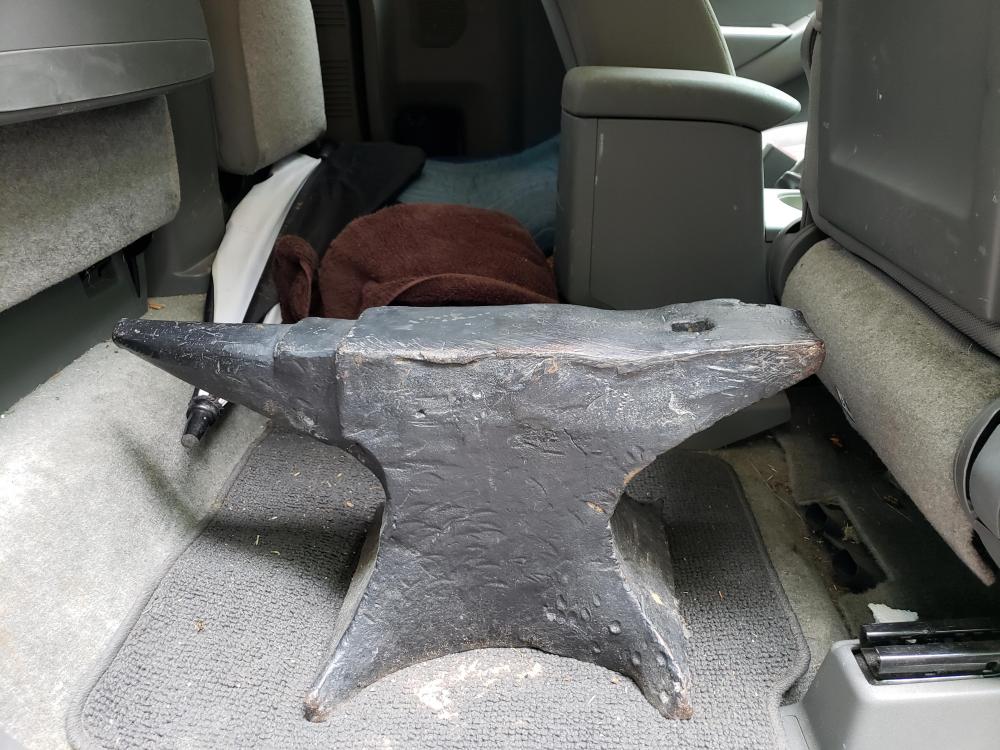
Starting to read more about anvil identification... when they bring the anvil over to my place tomorrow, I'll take a few more pictures from all sides, measure it, see what the ring is like, etc etc and post all the info in a new thread. When I posted the picture earlier, I was still in shock (and awe) that they had found an anvil this size, actually bought the thing, and somehow managed to keep it a secret for the last month.
-
My in-laws just won the birthday game... the top has definitely seen some use/abuse, but it beats the 50# chunk of cast iron I've been using. There are no markings that I could see about maker or weight, but it feels like it's at least 125#, if not more. Any thoughts on what make or type it might be?
-
Also, Stage 1 and 2 are cyclical: Thoughts during Stage 1 - Man, I wish there was a faster, more efficient way of doing this. Production takes too long! Thoughts during Stage 2 - Man, I wish there was more variety out there. Everything looks the same!
-
Thomas - That's an excellent point, and actually one of the reasons that I got into forging. If you can't find exactly what you're looking for, or exactly the right tool for the job, why not make it yourself? Whenever I get the blade hammered out and profiled, I'll be sure to post a shot of it on here.
-
SLAG: I appreciate the different perspective on the situation - thank you.
-
(forgive me, JHCC, I knew not what my actions would bring) SLAG - for what it's worth, I spent about 11 years working in professional kitchens. Knives (and other items that come in contact with food, like cutting boards) with various textured finishes were common enough. Properly washed and sanitized, the texture isn't a problem at all. Again, I was just curious how the texture performed between washings.
-
Oh boy, I didn't mean to kick a hornets nest with that... To be clear, I'm not worried about it harboring bacteria while sitting in a knife block, or anything like that. So, maybe I should simplify the question: if you just chopped up some carrots, and you're going to move on to chopping an onion, would you give it a quick rinse first, or no?
-
Absolutely beautiful - very well done! I especially like the handle geometry that you went it. It has a unique style to it, but still looks like it would be comfortable to hold all day. I've been curious about chef knives with a brut de forge-like finish: do you find the texture is deep/rough enough to hold onto food particles? I'm not worried about stuff staying behind after use so much as I am cross contamination between chopping one thing and another (ex, if you go from chopping carrots to onions, will your onions have a few orange bits showing up in them?)
-
I second what Lou said - much of the lore surrounding Japanese swordsmithing (folding steel, etc) comes from the fact that they were often starting with pig iron, and had to refine it any way they could. Speaking as someone that has trained in a variety of martial arts for 20+ years, I've found the myth and legend surrounding katanas has far outmatched their actual performance. Traditionally forged, they can be fantastic blades in the context of feudal Japan, but I think they are far outclassed by many European designs (long sword, gladius, etc), and especially by modern blades. I think traditional katanas are a perfect example of making the best of a bad situation. (Admittedly, I might be slightly biased from years of dealing with mall ninjas in the dojo.)
-
To be fair, traditional doesn't mean best... bladesmiths and metallurgists have learned a lot in the last 700 years.
-
A collection of improvised anvils
Chris Pariso replied to Charles R. Stevens's topic in Anvils, Swage Blocks, and Mandrels
BIG - Getting a better anvil (or anvil-like object) is definitely at the top of my wish list right now, so it can't hurt to check out. But, I doubt I'd be able to find a buyer anywhere around here that would be willing to pay that much for it. The guy selling it knew exactly what he had (what the item was, history/backstory, etc), only had it listed for $40, and was willing to take $30 for it. The market he was at isn't exactly small, either - it draws people up from NYC every week. Still, it can't hurt to look in to anyway, so thanks for the heads up! -
A collection of improvised anvils
Chris Pariso replied to Charles R. Stevens's topic in Anvils, Swage Blocks, and Mandrels
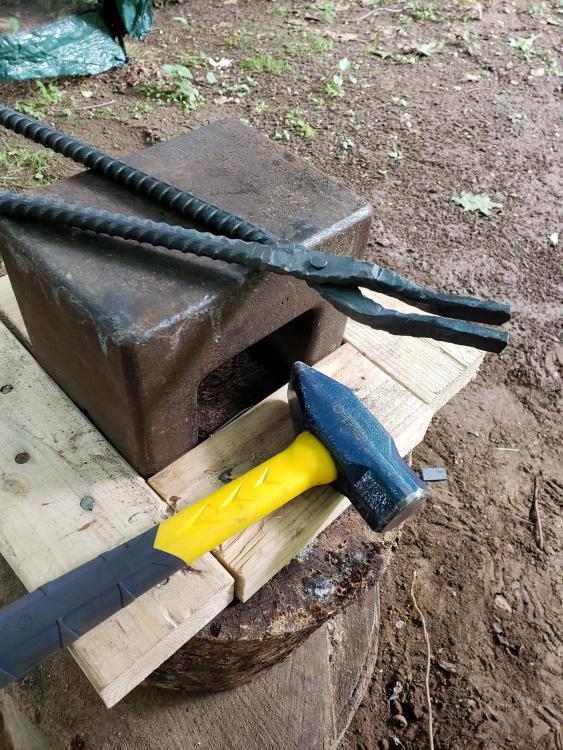
JHCC - it's wedged tightly between the 2x4s, but I can pry it out when I want. I had the same thought about using the handle as a sort of horn, but the first time I tried it that handle itself moved as much as the piece I was hammering (I believe it's cast iron, so it's relatively soft). But, for small things like curving the jaws of a pair of tongs, or a small hook, it works well. -
A collection of improvised anvils
Chris Pariso replied to Charles R. Stevens's topic in Anvils, Swage Blocks, and Mandrels
Found this at a near by flea market for $30. It was originally used to calibrate Howe scales. Upside down and mounted onto a stump, it makes for a great first anvil!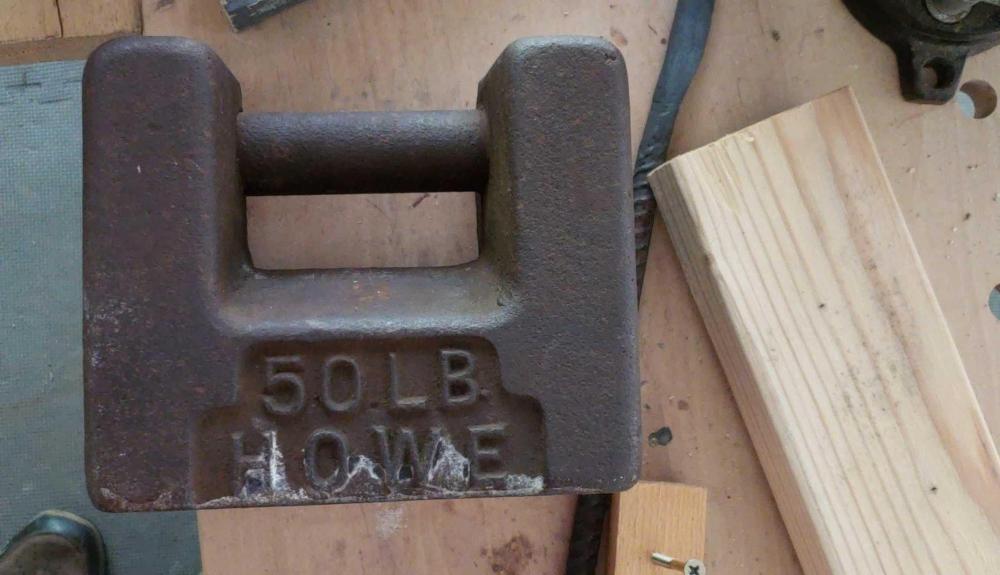
-
JHCC - I had originally considered a kukri-like blade for a few reasons. First, I have used a tool like that in the past, and really liked how it performed. Most of the cuts I made were quick, one-handed swings while walking the trail, and the forward cant of both the blade and handle lent itself well to that. When thicker branches or limbs were encountered, a good two-handed swing took care of it. If anything was too big to chop, I usually carried a folding saw in my pack. Also, I've trained with kukris for many years now (Kali and Silat), so it's a blade type that I'm very comfortable and familiar with. That said, given what the tool will be used for, the final shape and geometry of the blade I forge will probably fall somewhere between kukri and billhook - thank you for the suggestion about that. As for the stickies, I've read them several times, as well as most of the posts in the heat treating forum, and they've been very helpful. Buzz and Lou - I appreciate the second opinions. Logically, that seemed like the way to go, but the logic of a novice is sometimes flawed. Steve - Could you elaborate on that risk a bit? Are you saying that the blade could essentially split somewhere along the line between the harder and softer tempered steel?
-
Hey all, I'm planning on forging a kukri-like blade out of 5160, which I want to mount onto the end of an axe handle. I've used something similar in the past, and it's a great tool for clearing small to medium brush, limbing branches, and otherwise chopping through things up to 3"-4" thick. The stock I'm starting with with .25" thick and 1.5" wide, so the final blade will be close to those dimensions, and approximately 8" long (not including tang). The question is, what do you all think the best heat treating process would be for it? Should it be more like a knife, with the entire blade hardened and tempered, or more like an axe/hatchet, where only the edge is hardened, and the spine is kept softer? Under the harshest conditions, the blade will be swung two-handed at the end of a 30" axe handle into fresh wood as thick as your forearm. Most common use will be more like speed cuts into brush and small vegetation, to clear hiking trails. Logically speaking, I would guess that edge hardening and keeping the rest of the blade relatively soft would be best - worst case scenario, I hit something, the blade bends, and I can pound it back into shape. If the blade is fully hardened, on the other hand, it might straight up snap on me, and there's not much coming back from that (outside of reforging the pieces into smaller blades). But, I don't know how likely quarter inch thick 5160 is to snap, especially when the blade is 1.5" wide. So... thoughts? Ideas? Suggestions? And of course, thanks!
-
Favorite handle materials?
Chris Pariso replied to Steven511's topic in Finish and Polish for Knives
JHCC - thanks for the reminder about working with cocobolo. A respirator is standard any time I have dust flying, and I had forgotten that cocobolo can be a little harsher. Likewise, I'll have the respirator on when I apply the layers of superglue to the handle when finishing, as the fumes from that can be downright nasty. -
Favorite handle materials?
Chris Pariso replied to Steven511's topic in Finish and Polish for Knives
Cocobolo is one of my favorite woods to use - great contrast in the grain, polishes amazingly well, and there almost every piece looks unique. It's an extremely hard wood, but moves easily with sharp tools. Wenge wood and bocote are other favorites. As for finishing them, I like to sand fairly course, about 250 grit, then give it a quick wipe with rubbing alcohol to remove all dust. Once it's completely dry, I'll coat the handle with ultra thin superglue, the kind that is meant for whicking into hairline cracks. It's thin enough to soak into the rough grain and penetrate the wood a tiny bit. I'll do 5 or 6 coatings, giving a few minutes to set between each, then polish smooth beginning with 800 grit, and working up from there. The end result is a clear, waterproof, rock hard, polyurethane-like coating, that can be polished to a mirror shine if desired. Best of all, it takes a grand total of 30 minutes from start to finish.