

jlblohm
-
Posts
196 -
Joined
-
Last visited
Content Type
Profiles
Forums
Articles
Gallery
Downloads
Events
Posts posted by jlblohm
-
-
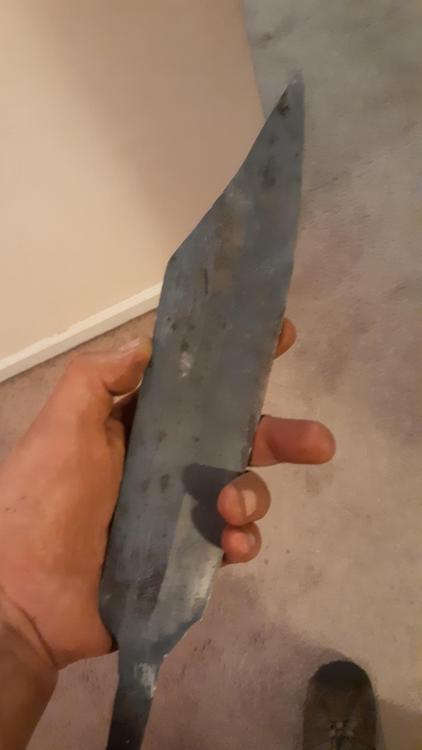
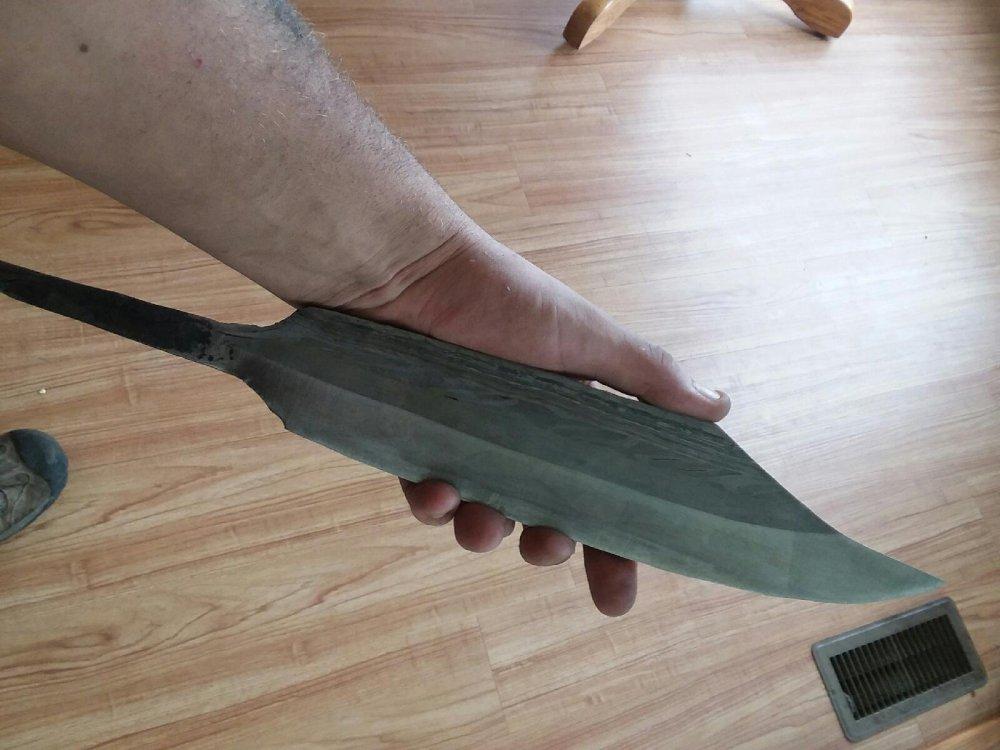
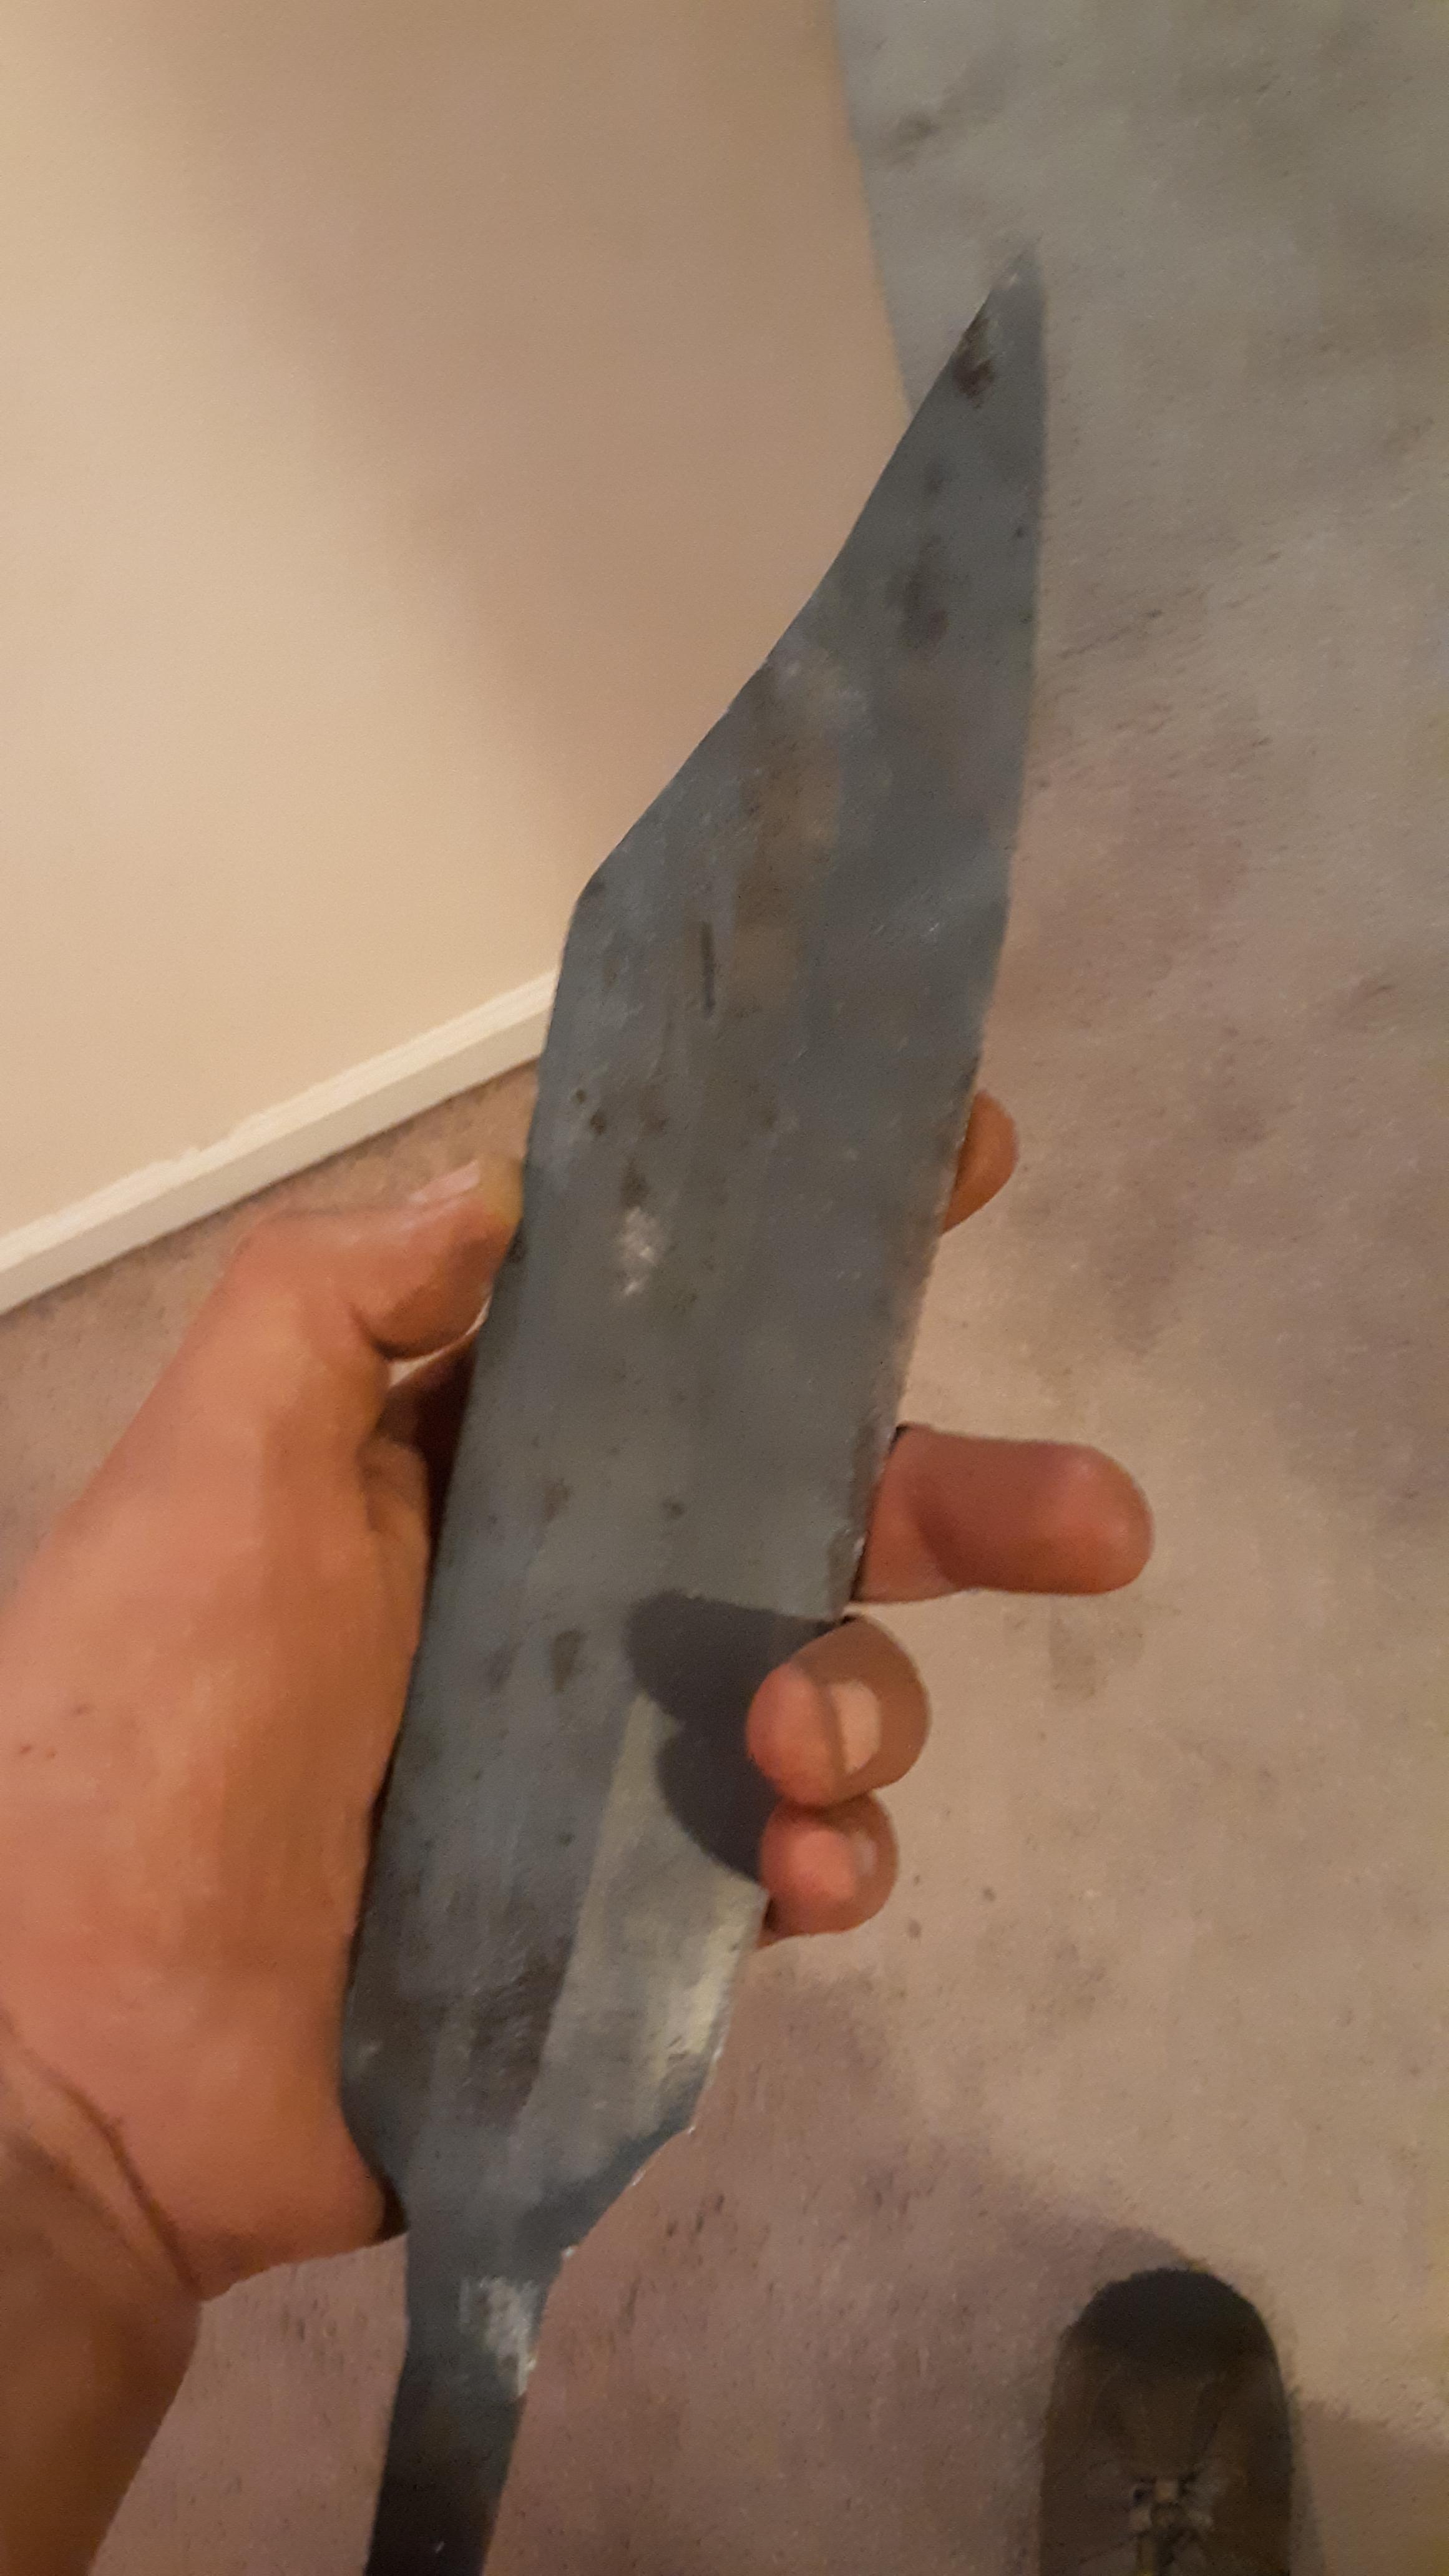
This was my inspiration.
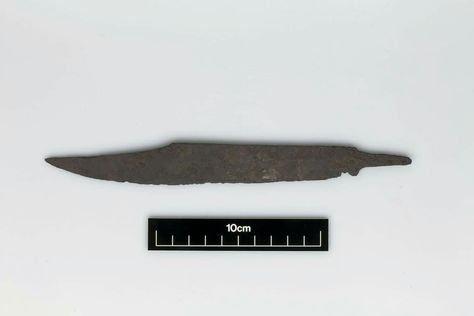
I can't remember the name but it is London _________ type III/II. I couldn't get the length and width I wanted because the wrought moves so much easier than the steel it would have distorted the pattern on the spine so I had to live with it.
the first photo is not the same profile as what started this thread
-
Thank you Zrognak it is based off of a type III/II SEAX. and I still have to do the finish profile grind. I just feel frustrated with the way some people are treated here and some comments that are made by some people in particular. Then you ask for there reasoning and..........
-
That doesn't answer my question. Please tell me why it's not a seax?!?!?!?
If you want to get technical. This looks absolutely nothing like what an original Bowie would look like.
Come on Steve...break it down for me. What's not seaxy about this knife?
On 8/23/2018 at 8:19 AM, Steve Sells said:thats not a seax
???
17 hours ago, Steve Sells said:and in period the wrought was carbonized
Wrought iron CAN'T be carbonized...it can be carburized but not carbonized!!! I just wanted to point that out sense we ARE on a world wide forum where translators will play havoc with misused terms.
-
Please elaborate why this is not a seax. The word seax is the Anglo saxon word for knife so in theory all knives are seaxes. And if carbon migration is that much of an issue why do they use wrought in kitchen knives where there is more surface area contact for carbon migration to occur? And again please tell me why this is not considered a seax?
-
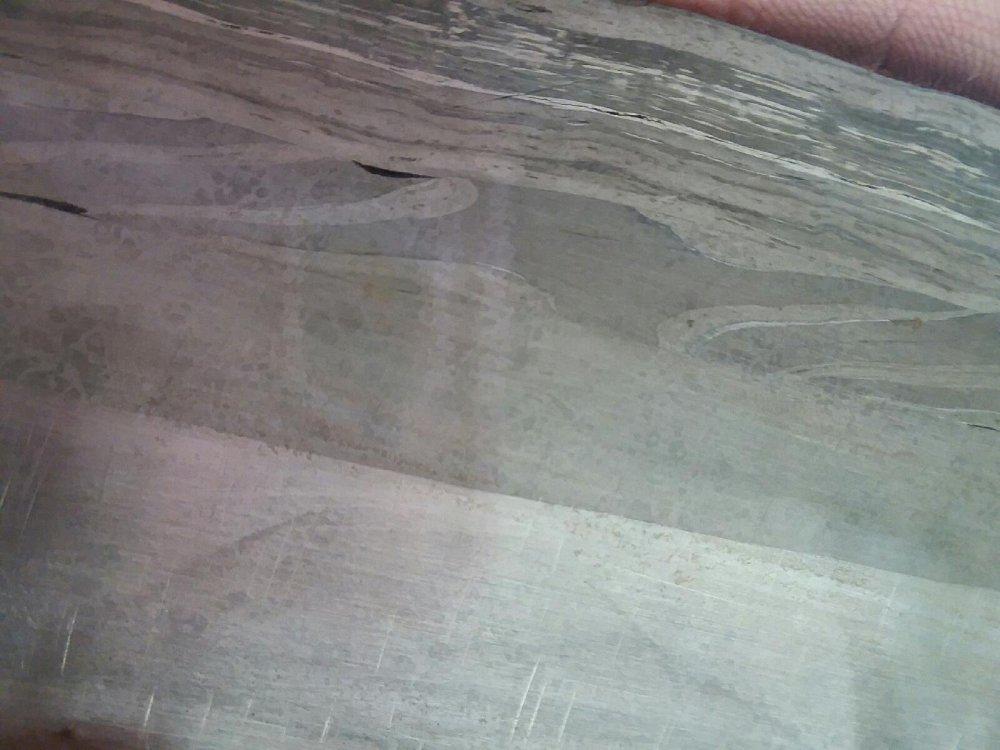
Starting with the edge. 1060, then a wrought iron with some carbon, 10 layer twist of 2 kinds of wrought iron, and for the spine is a really low carbon wrought. So it has progressively less carbon as it meets the spine.
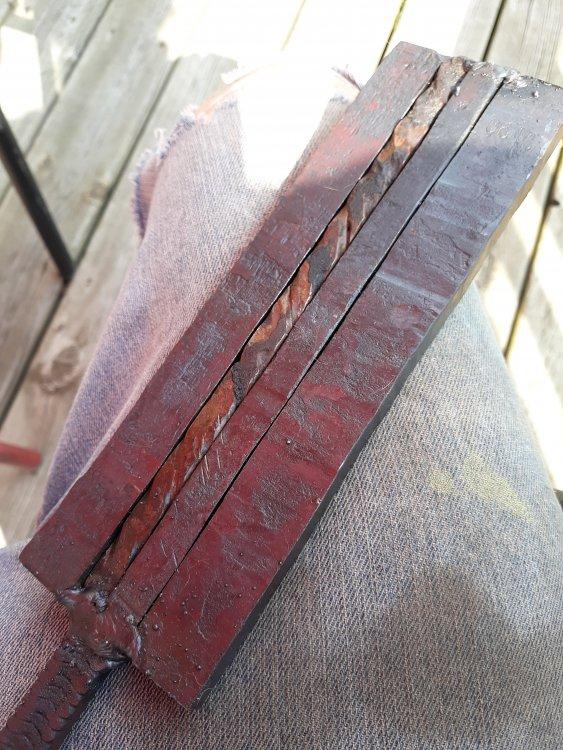
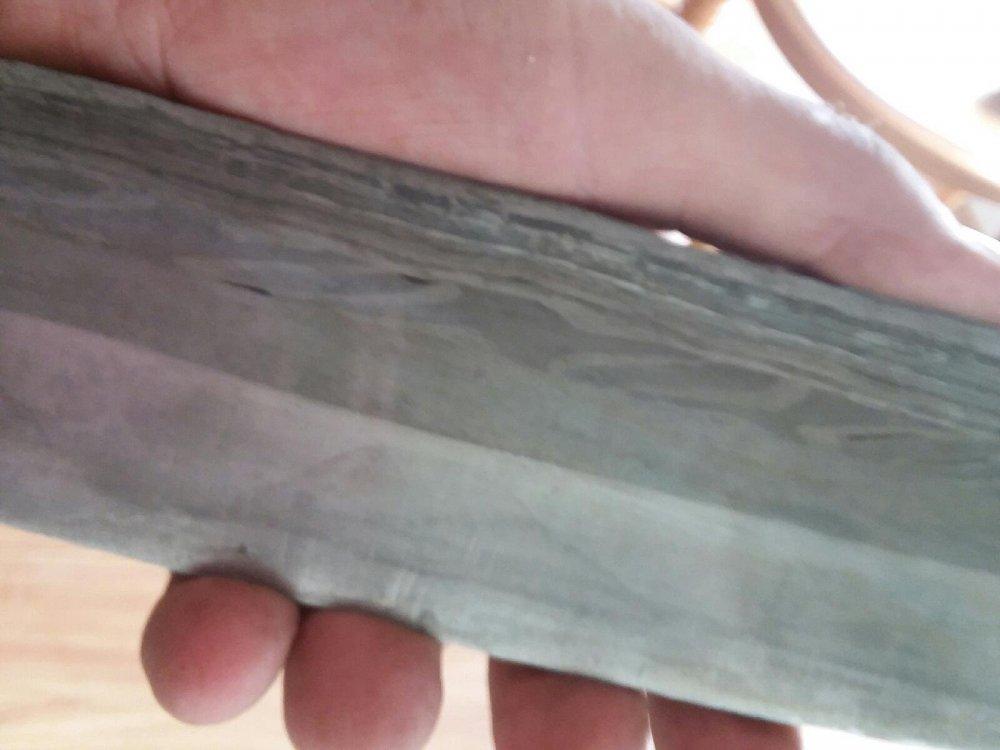
This is where I left off today. I will finish it up and post final pictures.
-
First time seeing the handle oriented that way. Mine is horizontal.
-
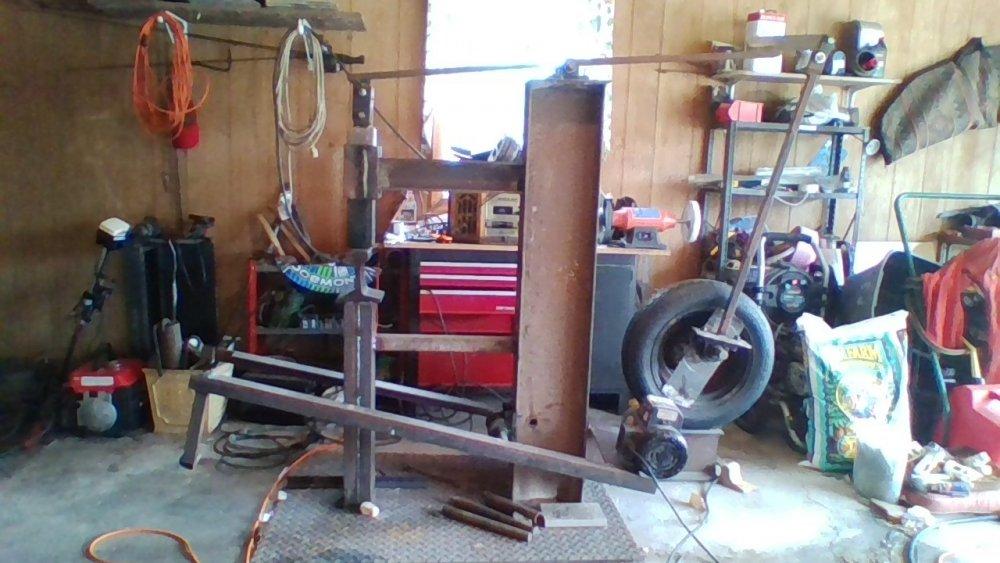
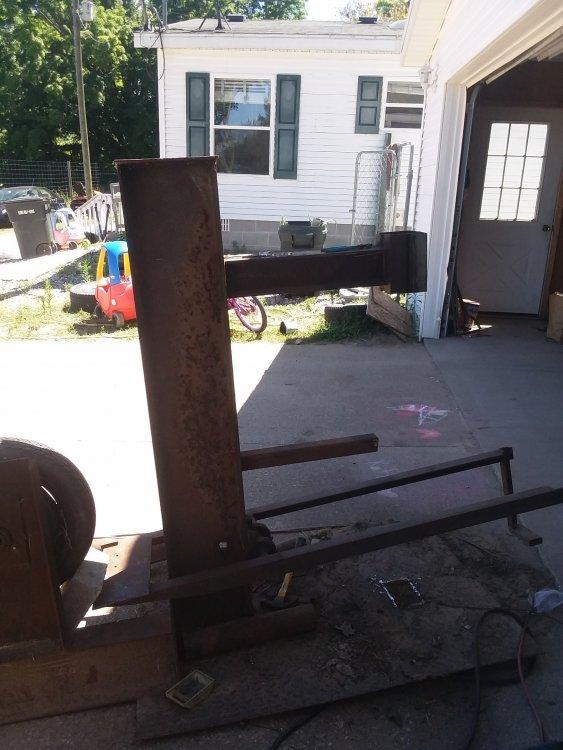
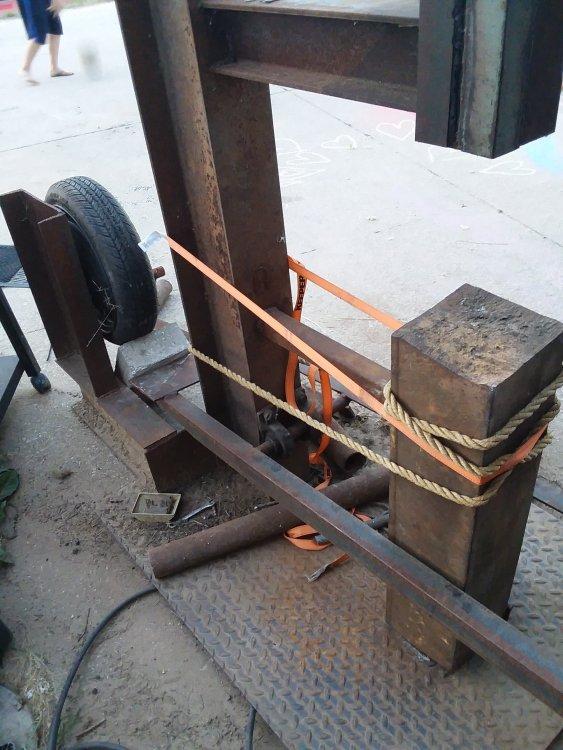
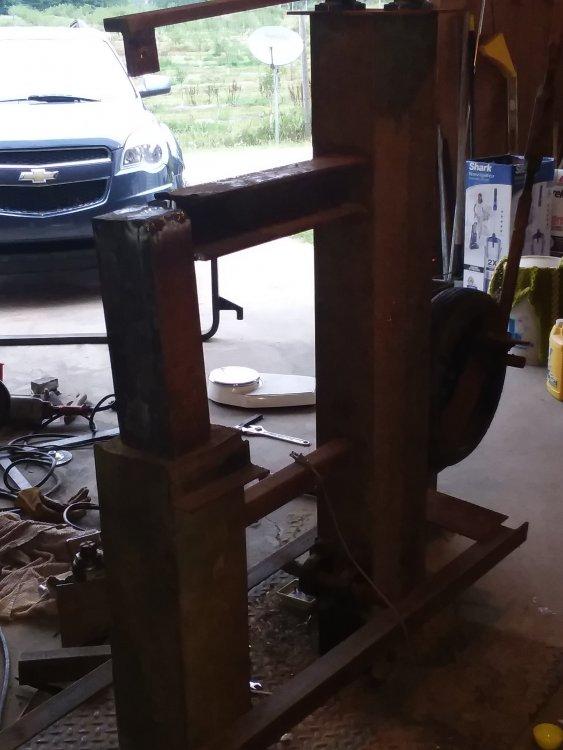
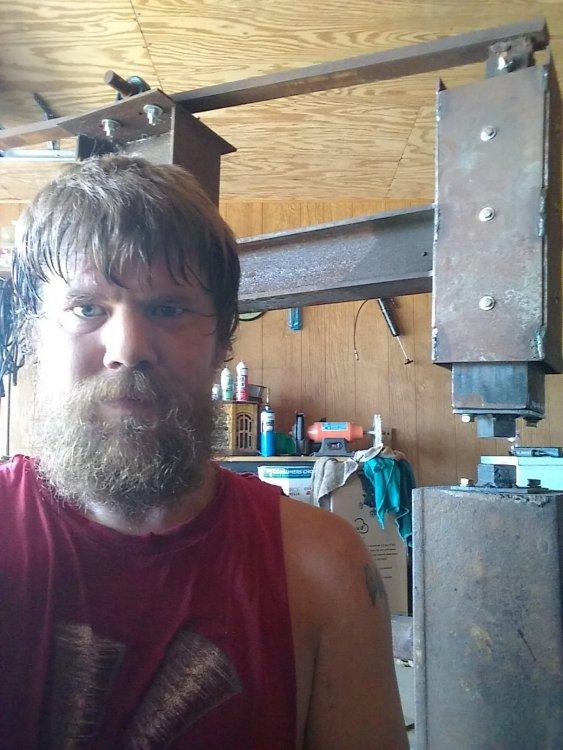
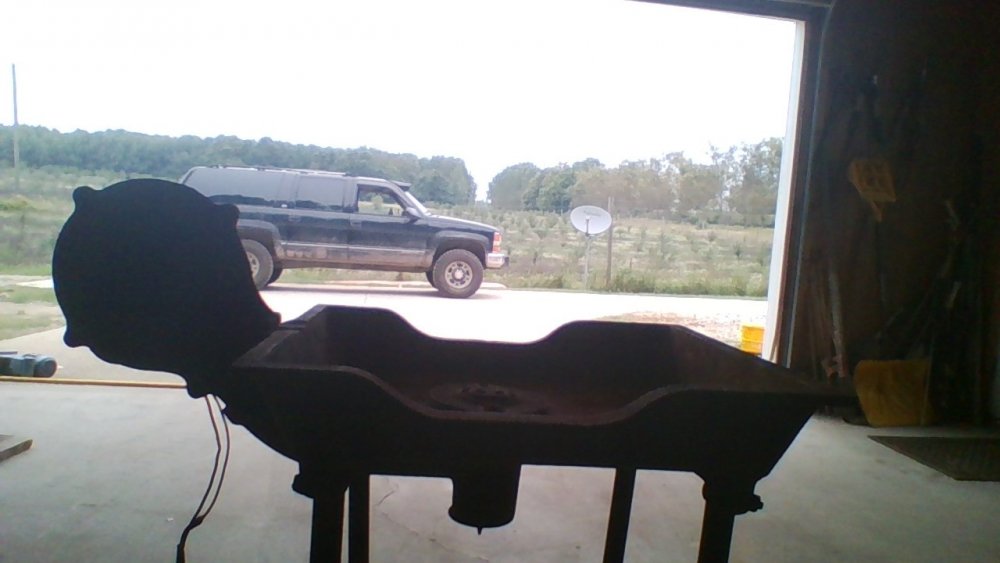
Got it on its wooden base and some more supports so it doesn't twist anymore. Now it's time to get it moved out to the shop and anchored down to the concrete.
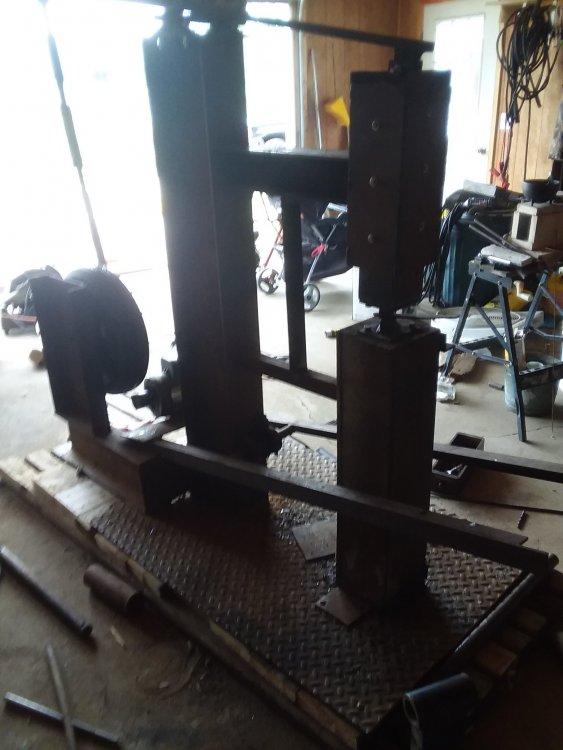
Next I'm adding a brake and a spring to pull the motor down and the brake into the tire. And I'm going to swap the motor out with a 1750 rpm and add a VFD so I can have crazy control over it.
-
Oh yeah i forgot to mention i am building a wooden base to bolt it down on and it will get anchored to the floor in the shop. Right now it is in the garage where i have 220 power for the welder. I will update it when its set in place. I am also going to add some gussets to help brace everything and make some guards and sides for it. Oh yeah i also have another 250 lbs of steel to add to the anvil but i want to do some experimenting with anvil to tup ratios. Right now it's 1:5.5 ratio. If i feel it could use some more weight i have all kinds of forklift tines i can weld to it. Thank you for the kind comments. And honesty is the best way to go especially if i can get people to learn from my mistakes.
Thank you for the edits also i forgot about the paper clip for attaching video.
-
Original build.

The anvil was 2 pieces of c-channel filled with sand and oil capped with a rail track. It was a terrible design. Here is the original video.
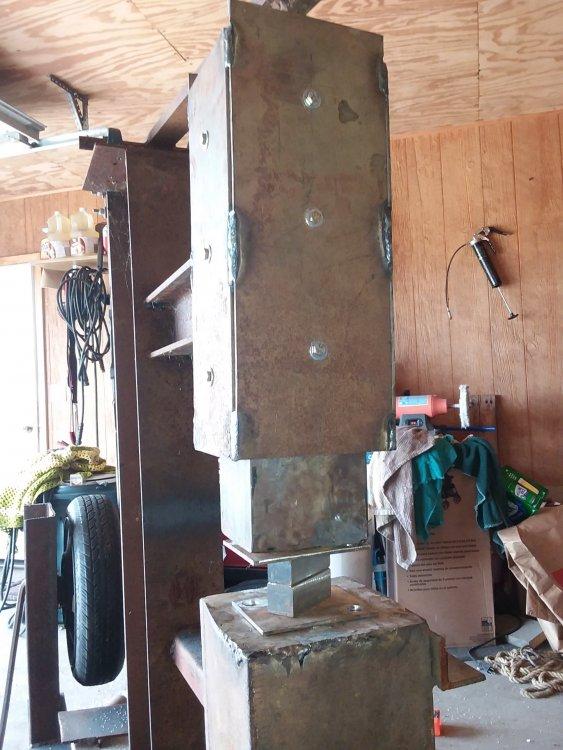
Now here is the rebuild.
Cut out the old anvil.
Here is the new anvil. Almost 500 lbs
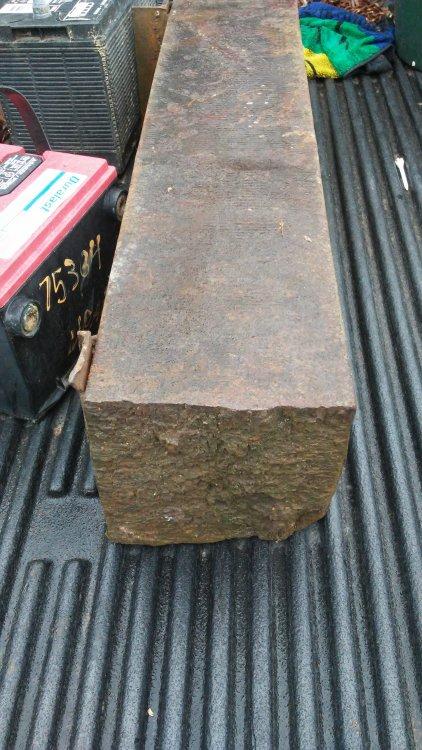
using a forklift tine to add 20 lbs to the tup.
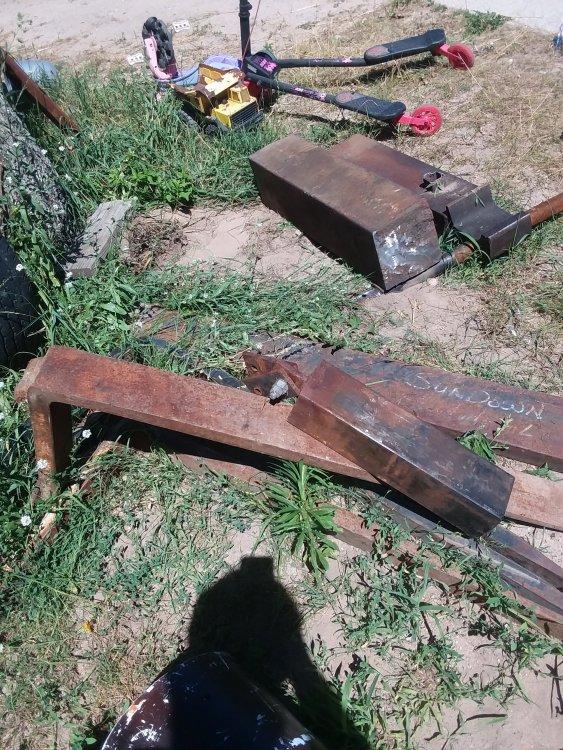
getting ready to weld new anvil in
.jpg.6ac9ae734af8579f9e9152256b75fdf5.jpg)
Built a new guide so it isnt metal on metal.
used a different forklift tine for dies.
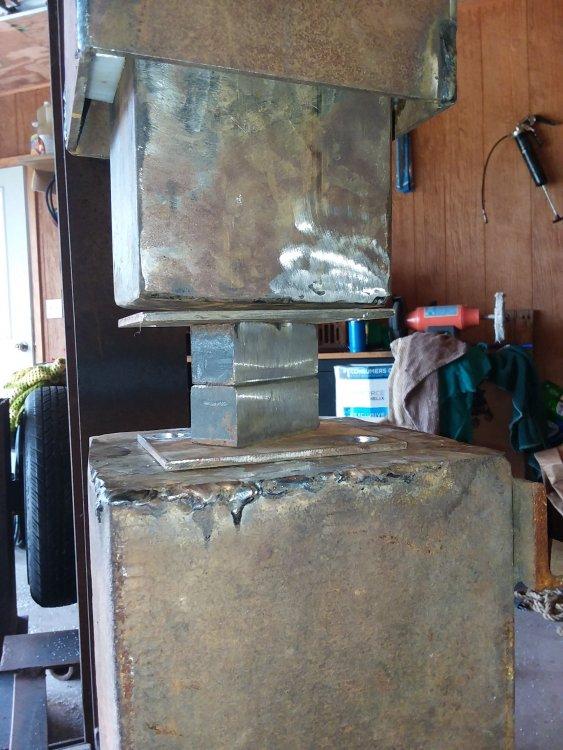
and here it is done with a video.
-
Your location is a big factor. You need to be by a large port or waterway. Otherwise you either need to travel to get it from port or set up your own shipping from the port of your choice.
-
The UK is in europe.
-
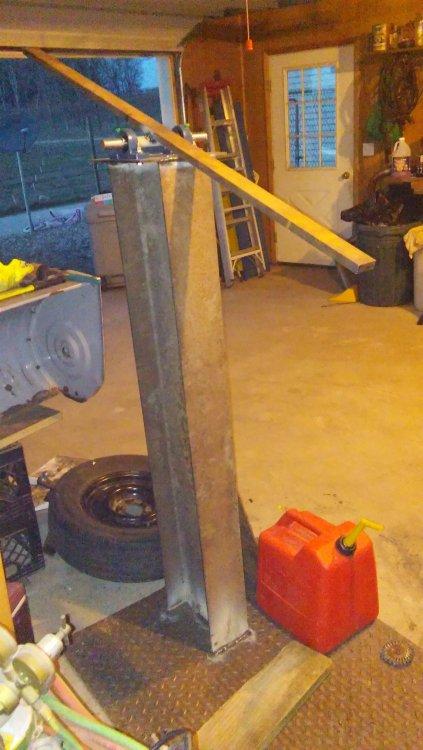
I have thought about making a piece to support the back of the leg. On the other hand it seems to work fine the way it is but then again i have only used it once sense i built the stand.
-
The chain idea is a good one. And this will be anchored to the floor so i can put as much torque on it as want
-
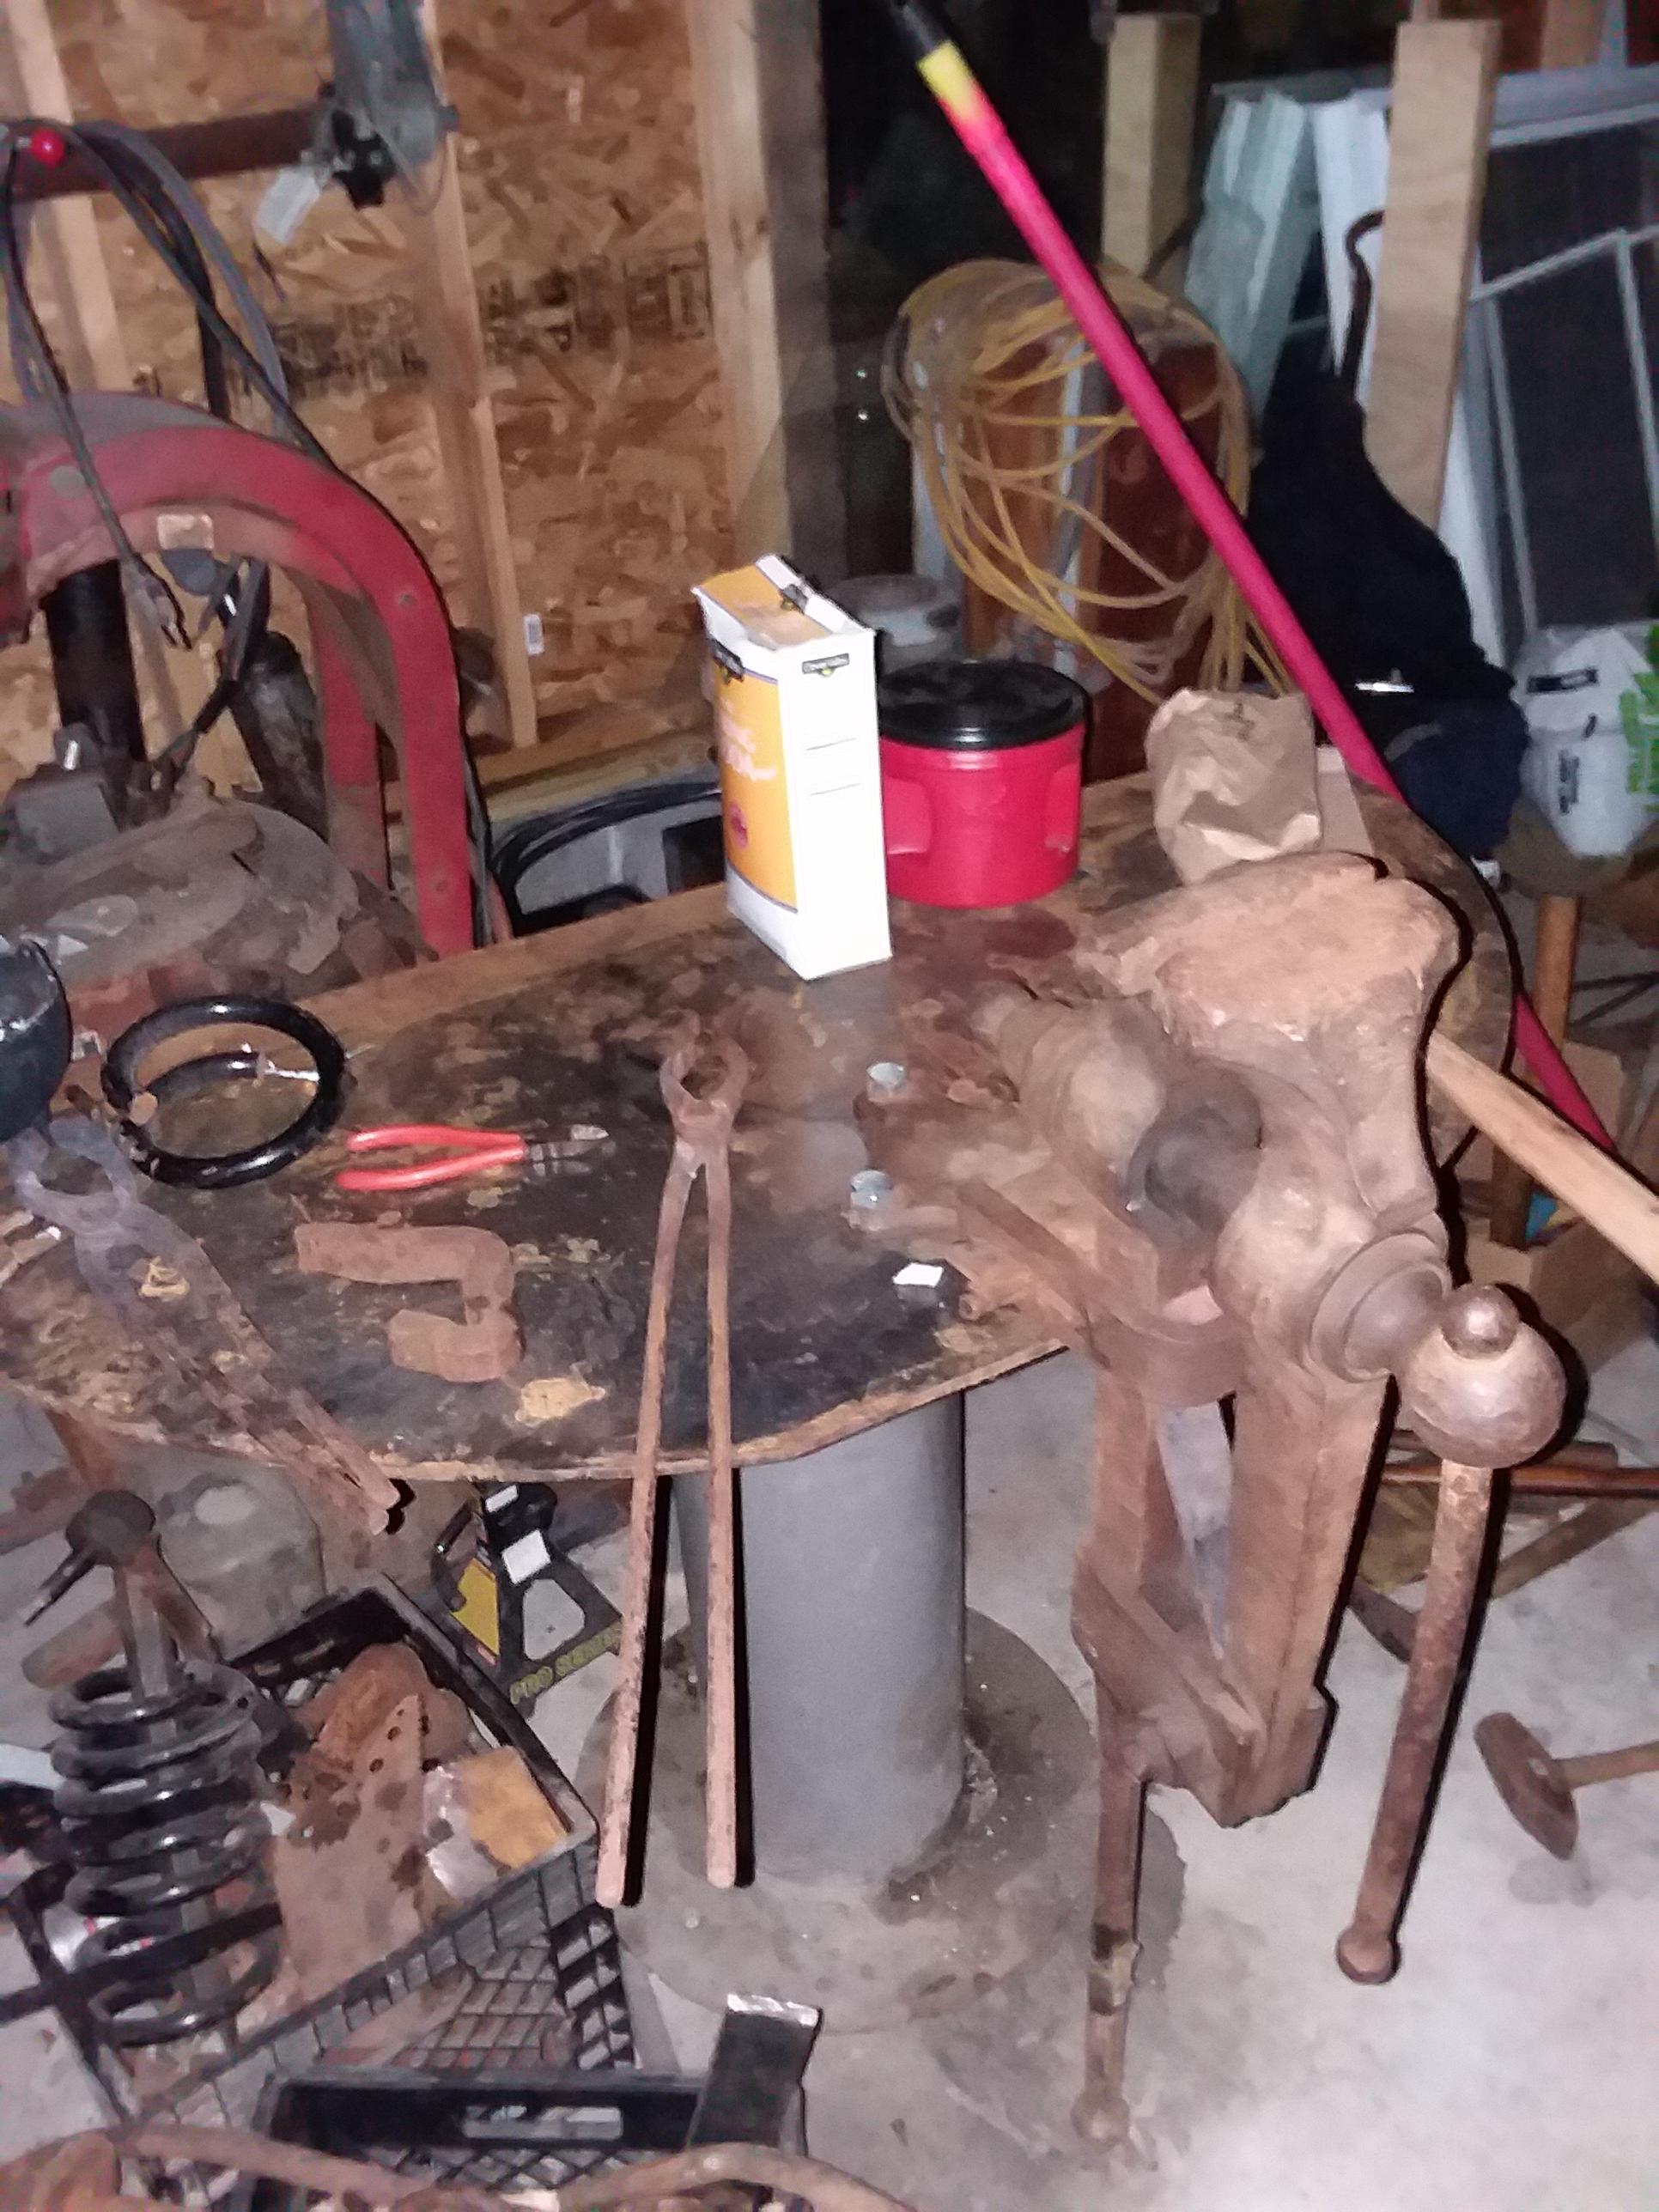
No plans for anything like that. I borrowed the idea from steve prillwitz of matchless antiques. Every time im on ebay i check out what he is selling and all of his hand tools are setting on a vise stand similar but not as big. I just used what i had.
-
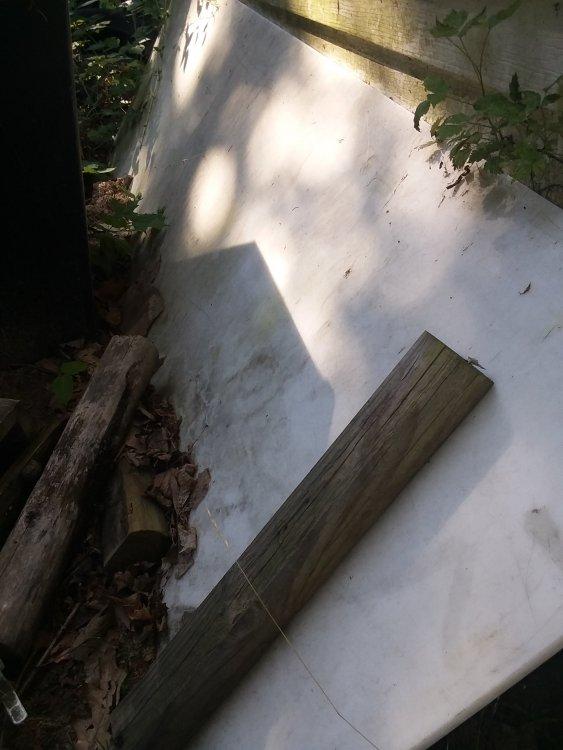
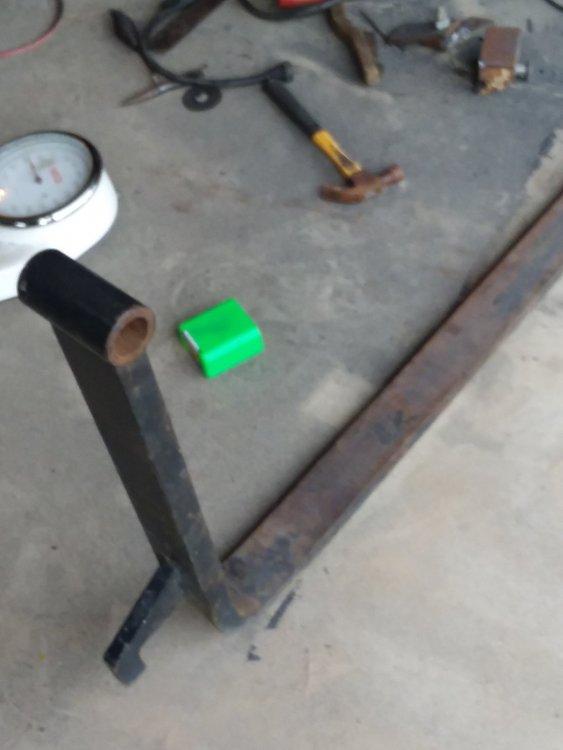
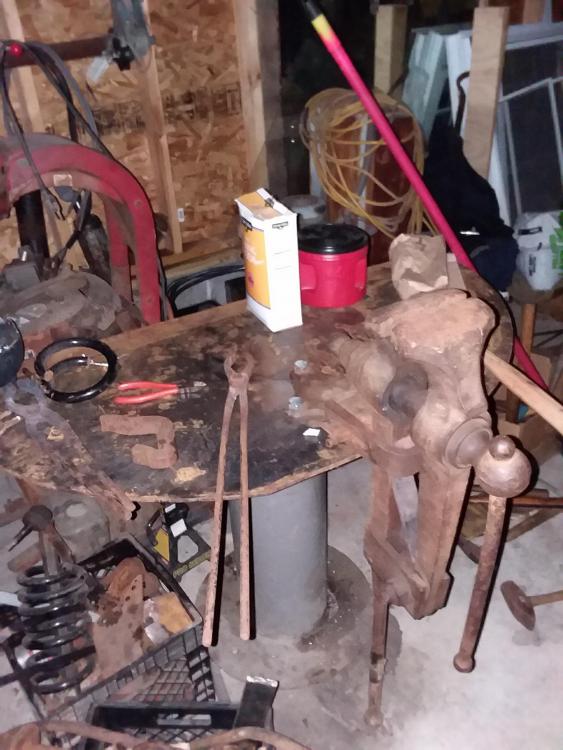
I made this stand for my post vise the other day and figured i would share. The base is filled with scrap nails, sand and used motor oil. I am going to weld on flat stock around the edges so things dont roll off.
-
Good to know
-
Alright i was going to stay silent but i cant gelp it. I belive this kane brake is actually "Travis" the guy who runs the facebook page anvils and forges for sale. If im wrong please correct me and i know im going to get a rash of crap for slandering someone's name but if you were to check out the page (its not private) you would find the guy sounds just like Kane and if im wrong i dont care because Travis has no buisness running a public forum. Check it out and let me know if you think im wrong.
-
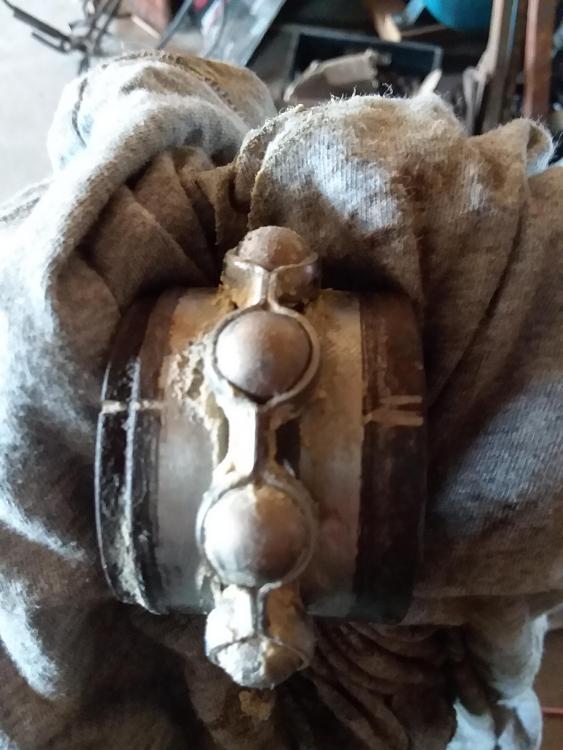
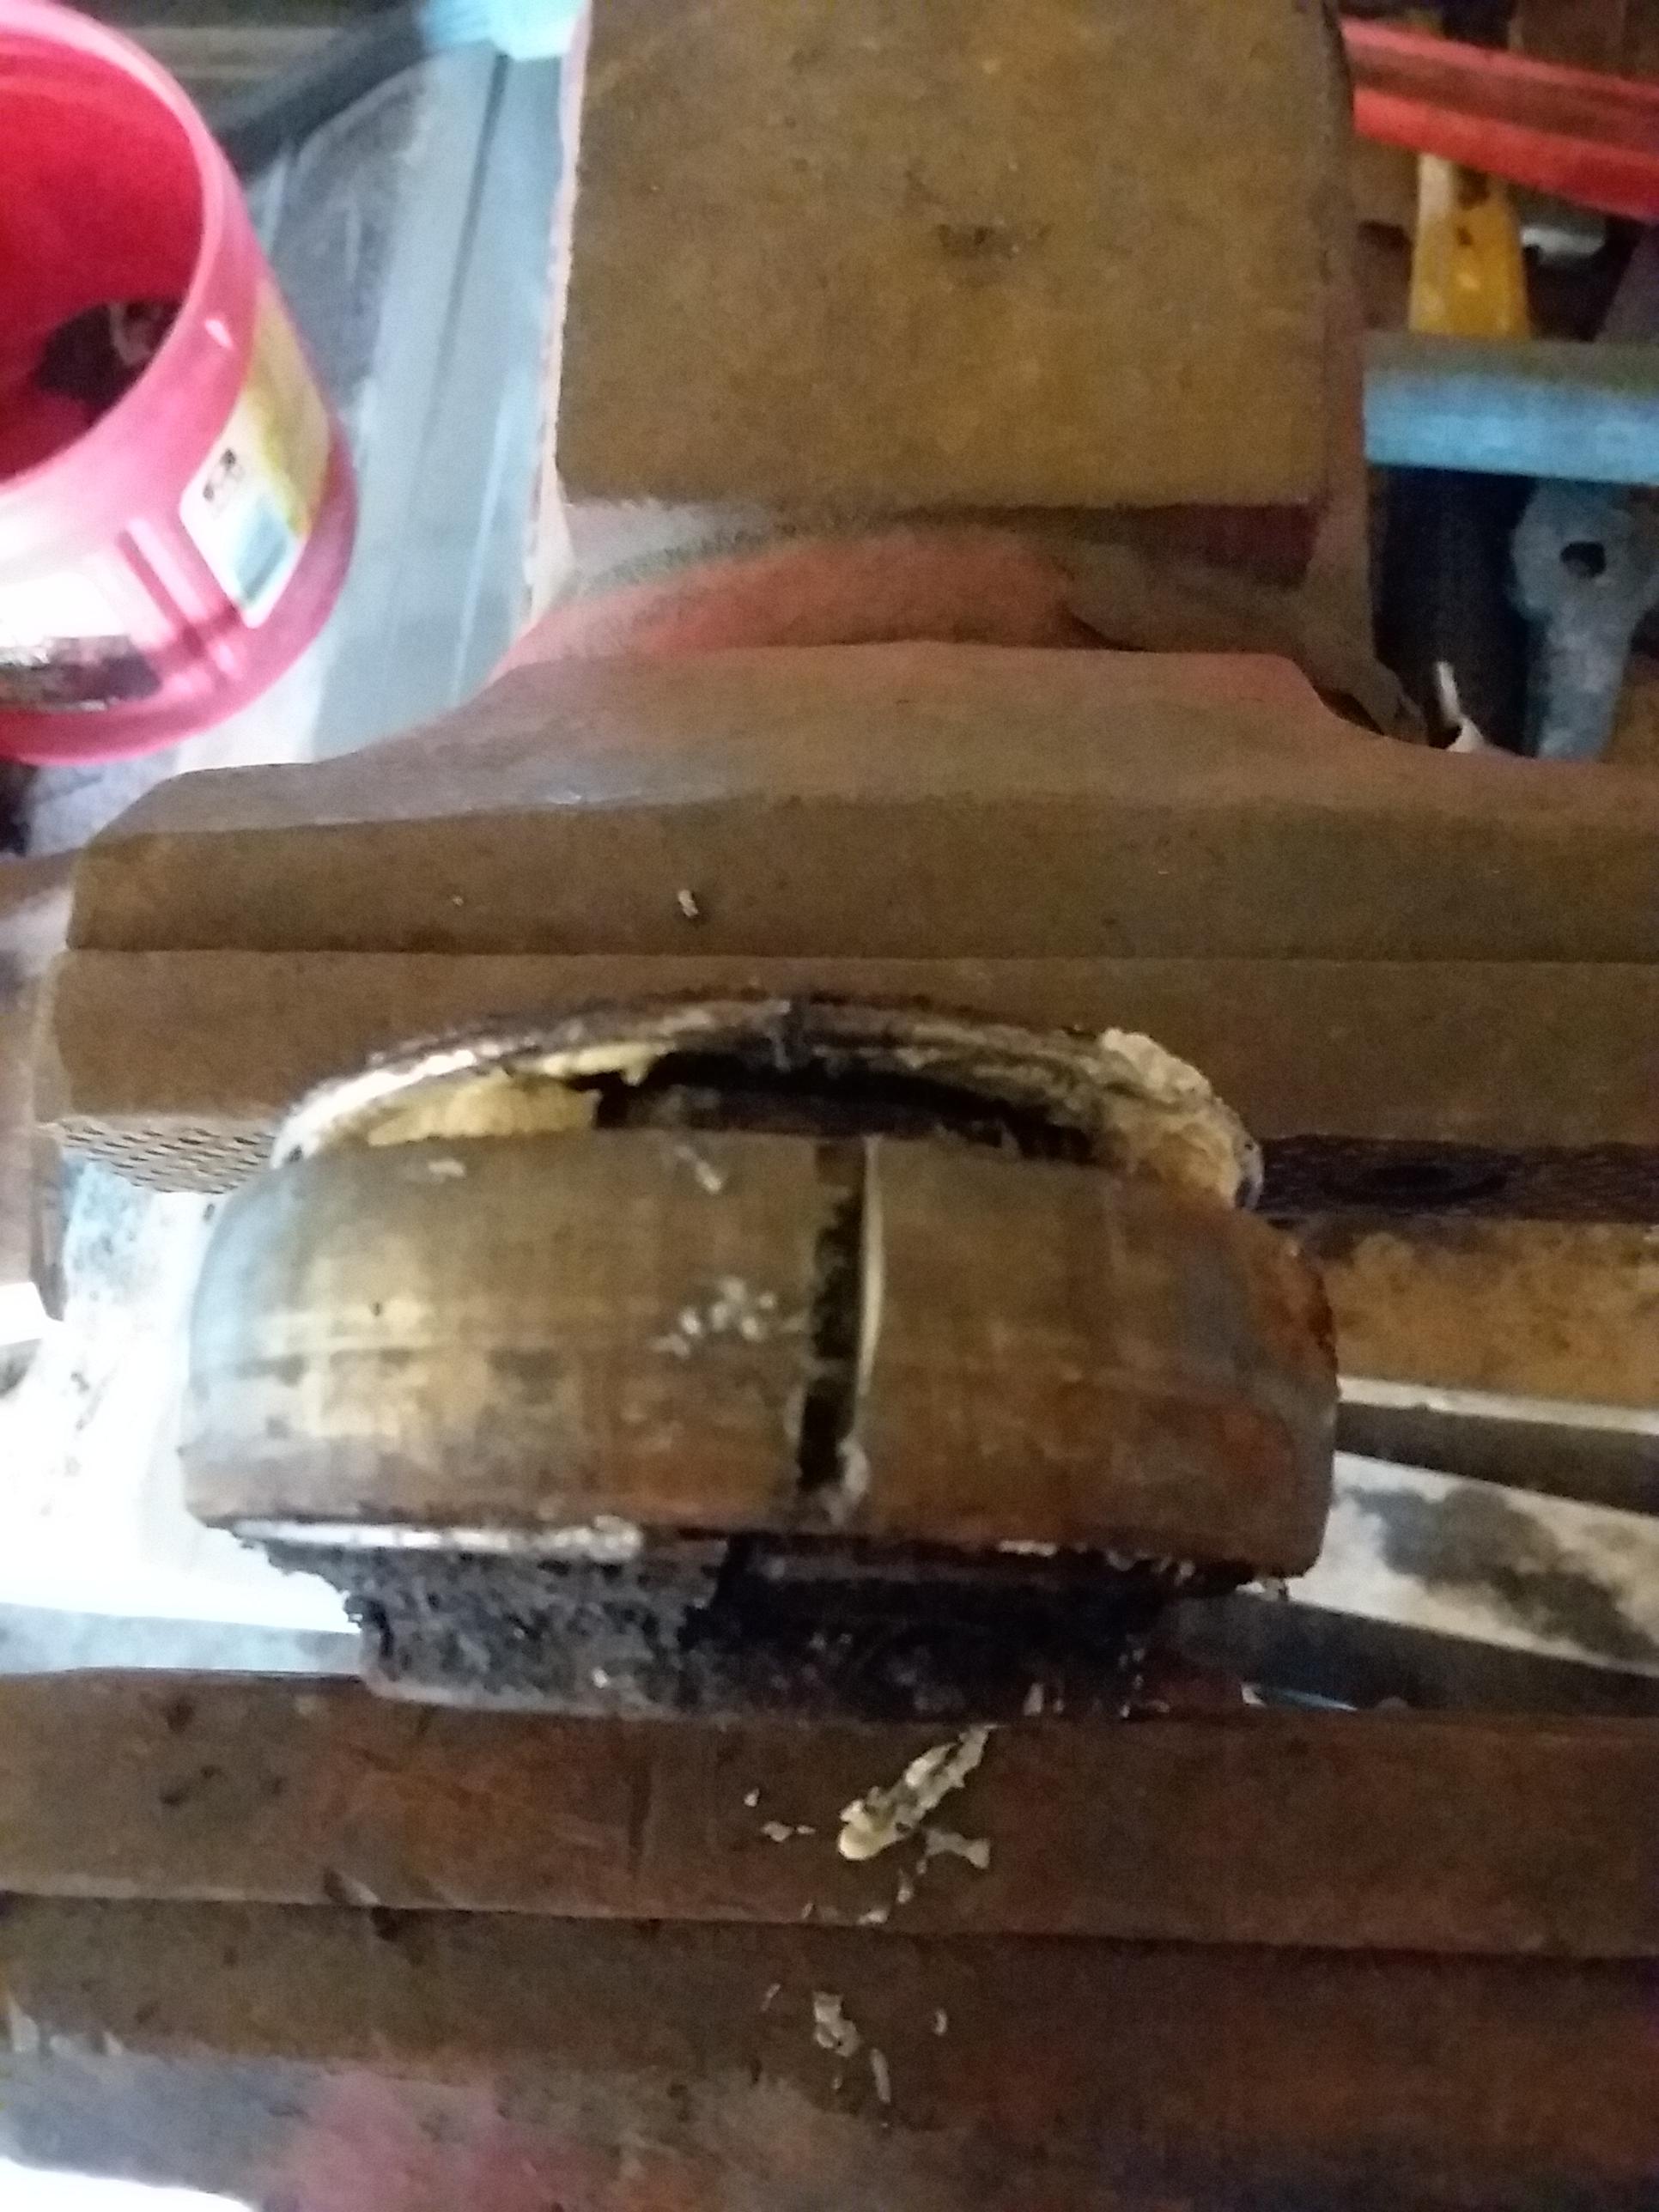
Once it is spun it should pop out

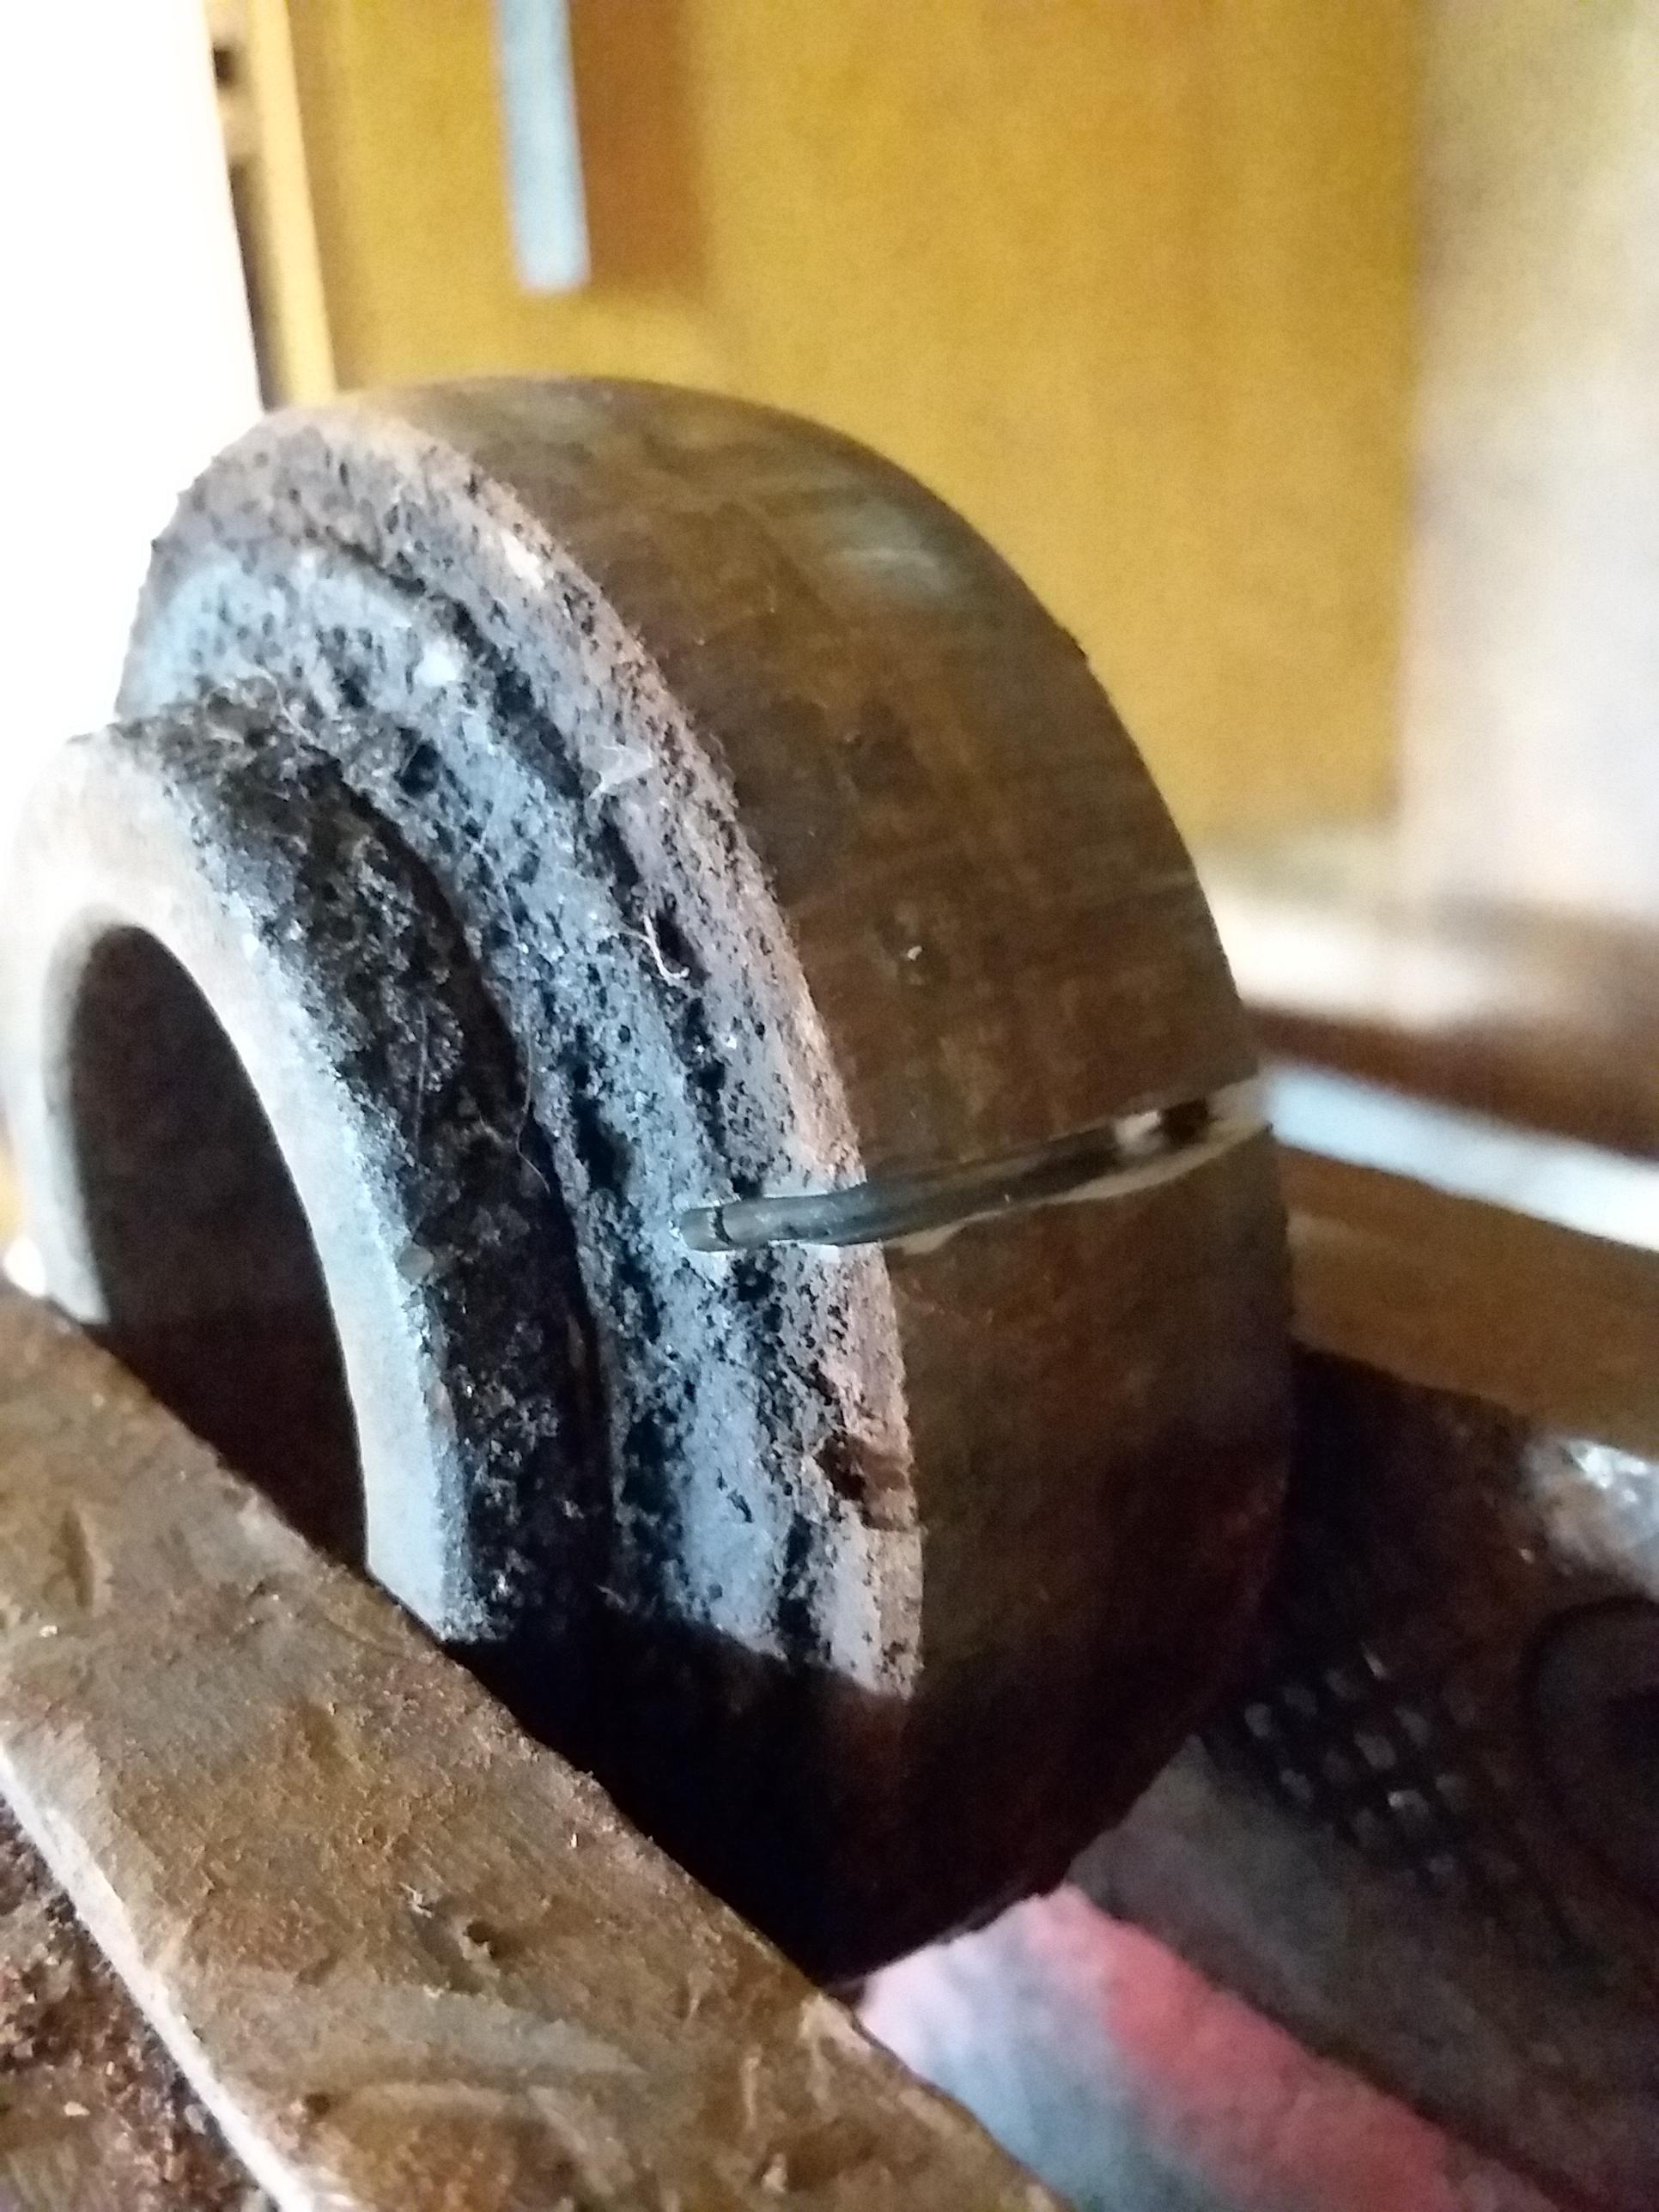
Lock it in the vice and cut the outer race 180° from each other

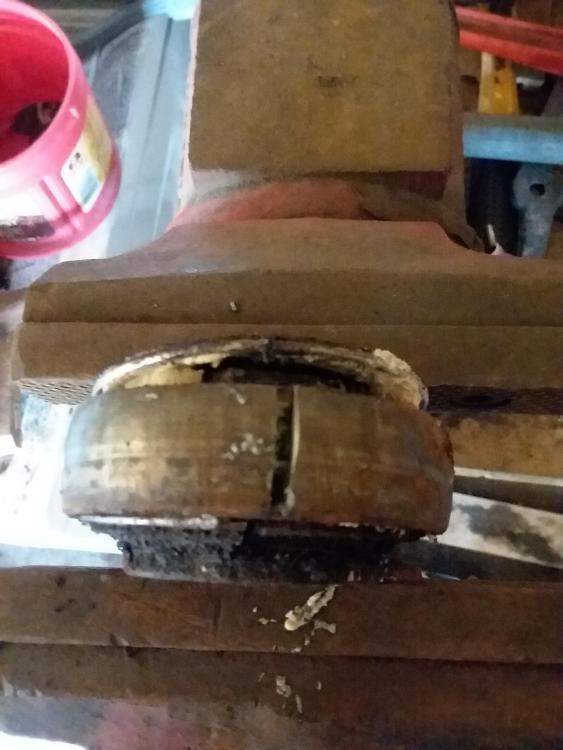
give it a love tap with a hammer 52100 steel is very hard and should break.

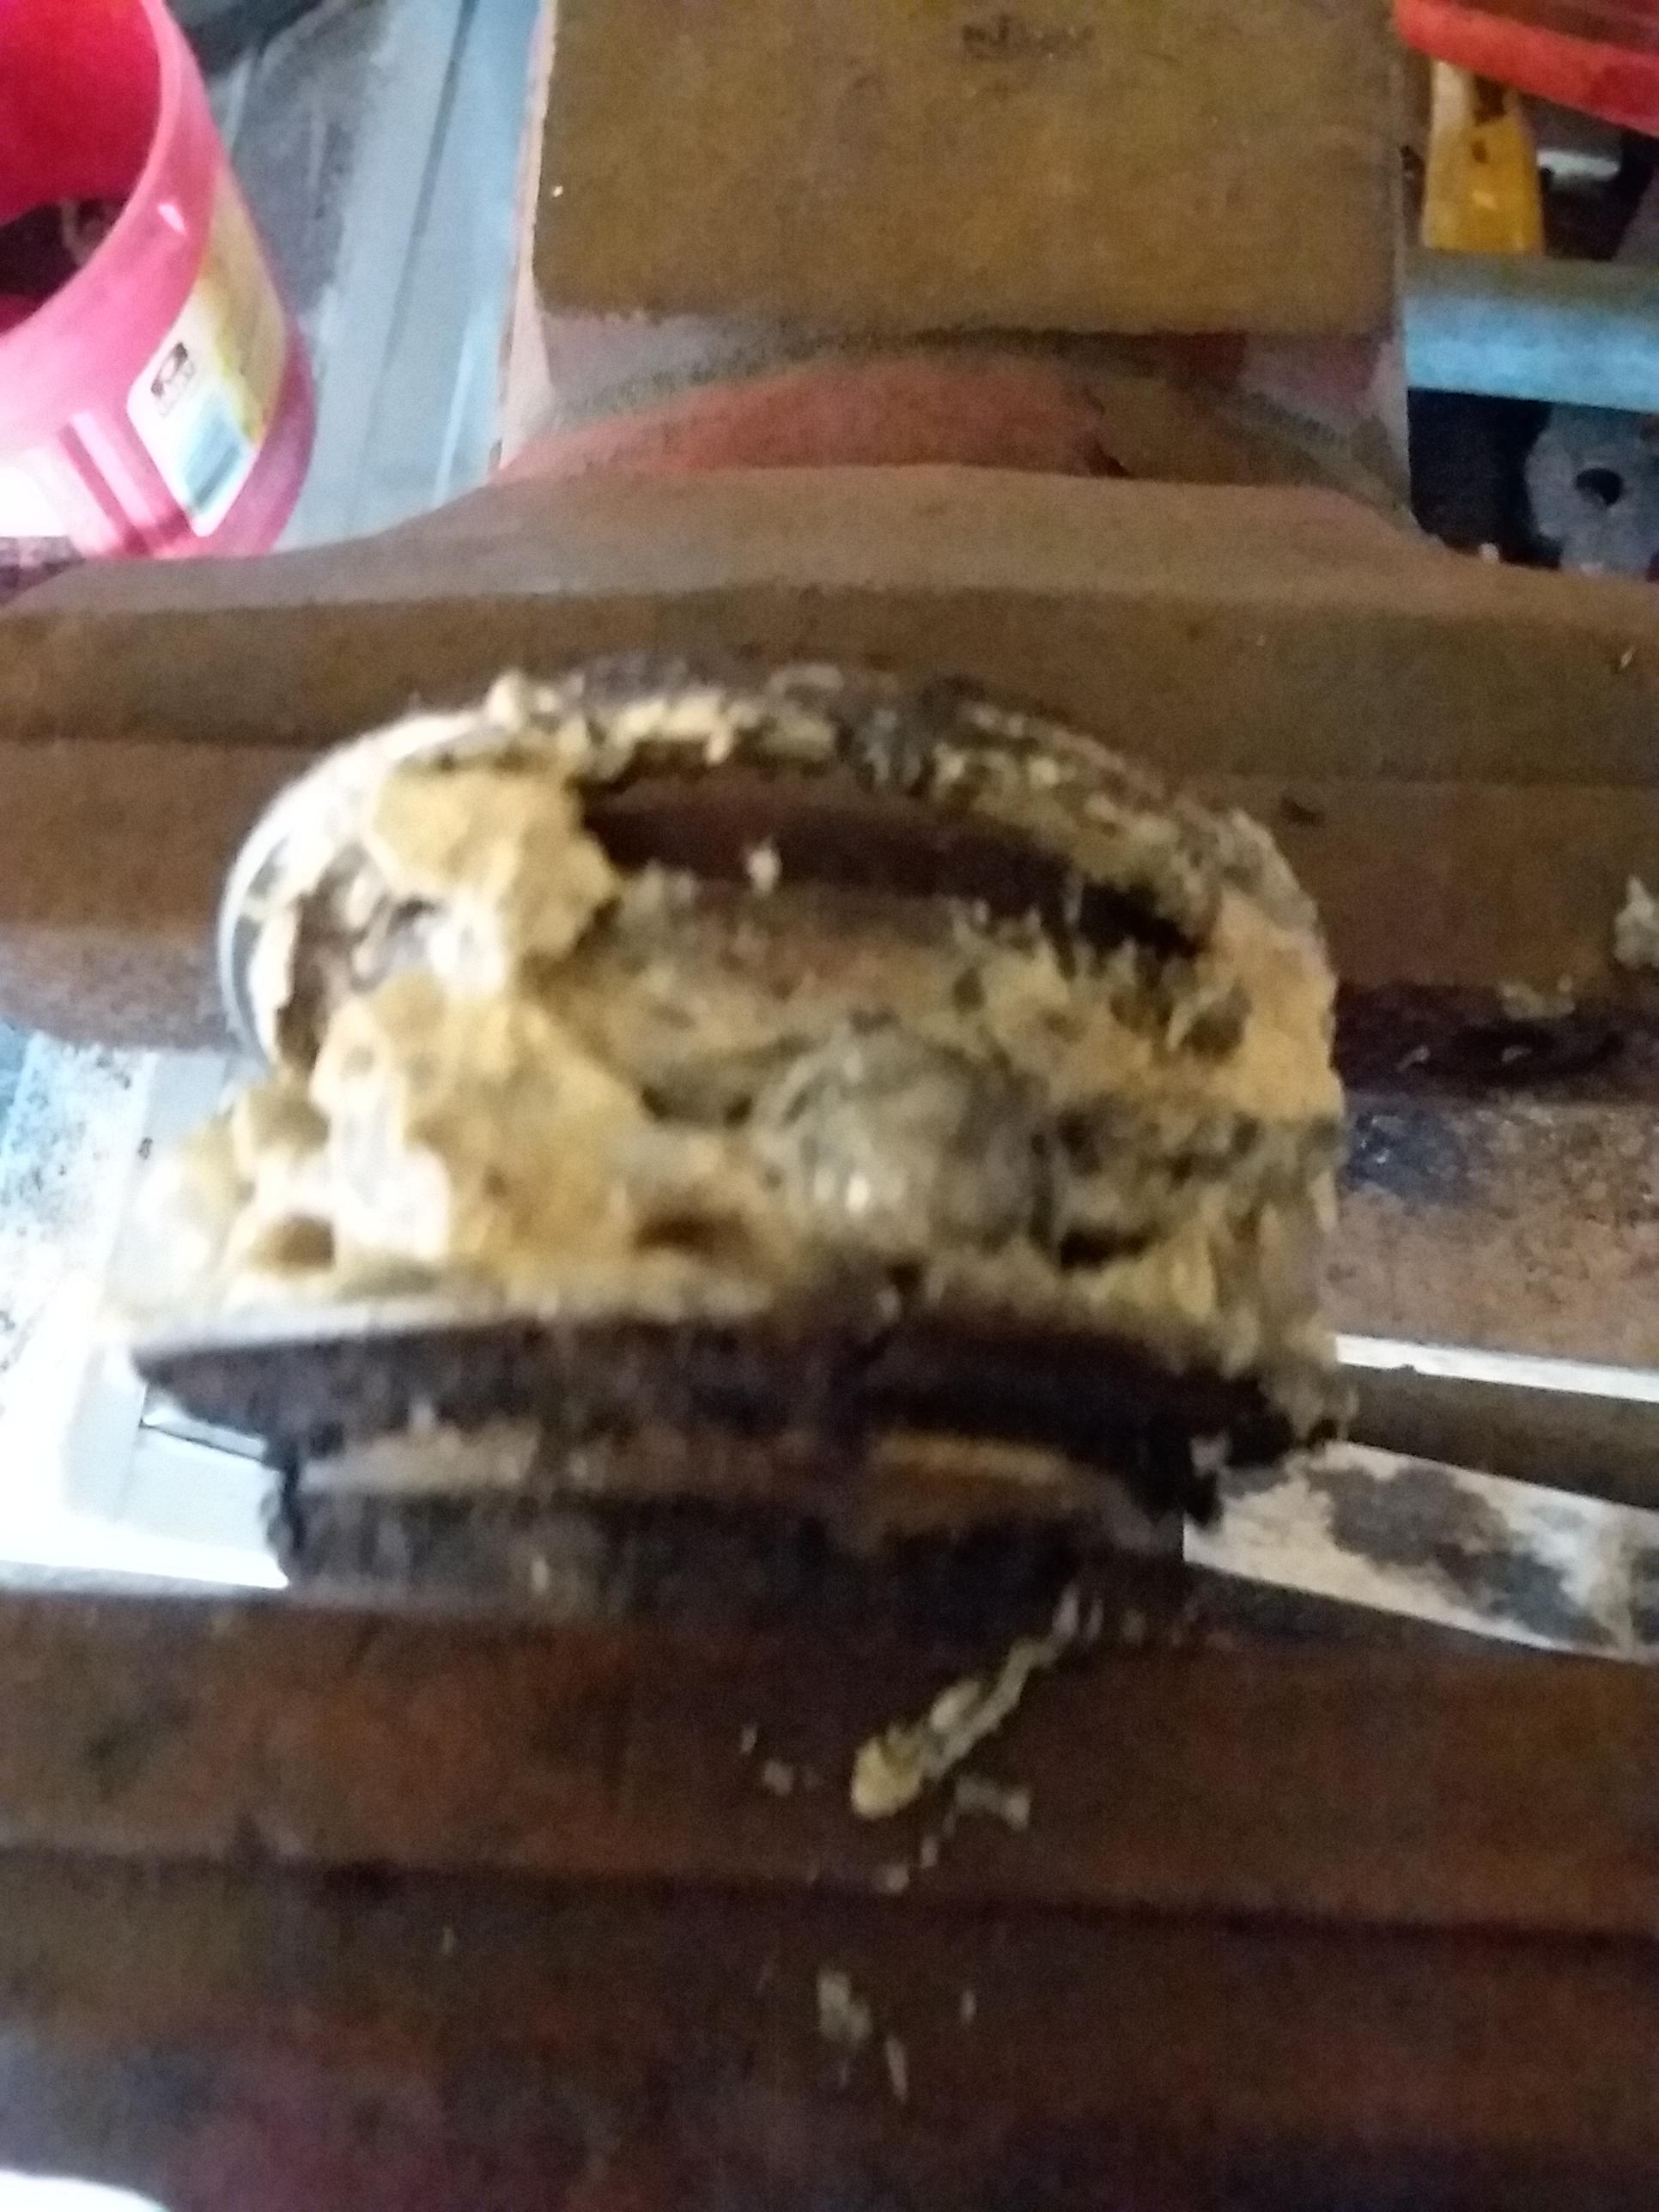
This white grease is food grade grease so it came from a food processing plant.
Back to fighting for service again. It has taken almost an hour to get this last batch of images to upload.
-
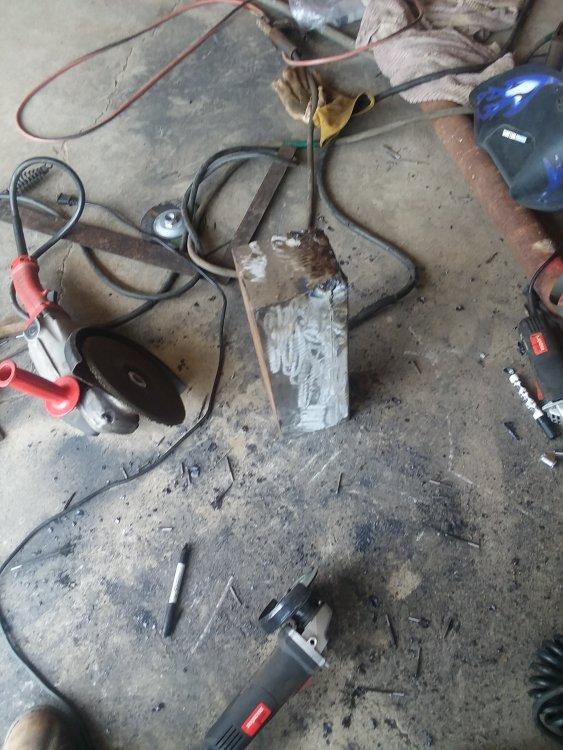
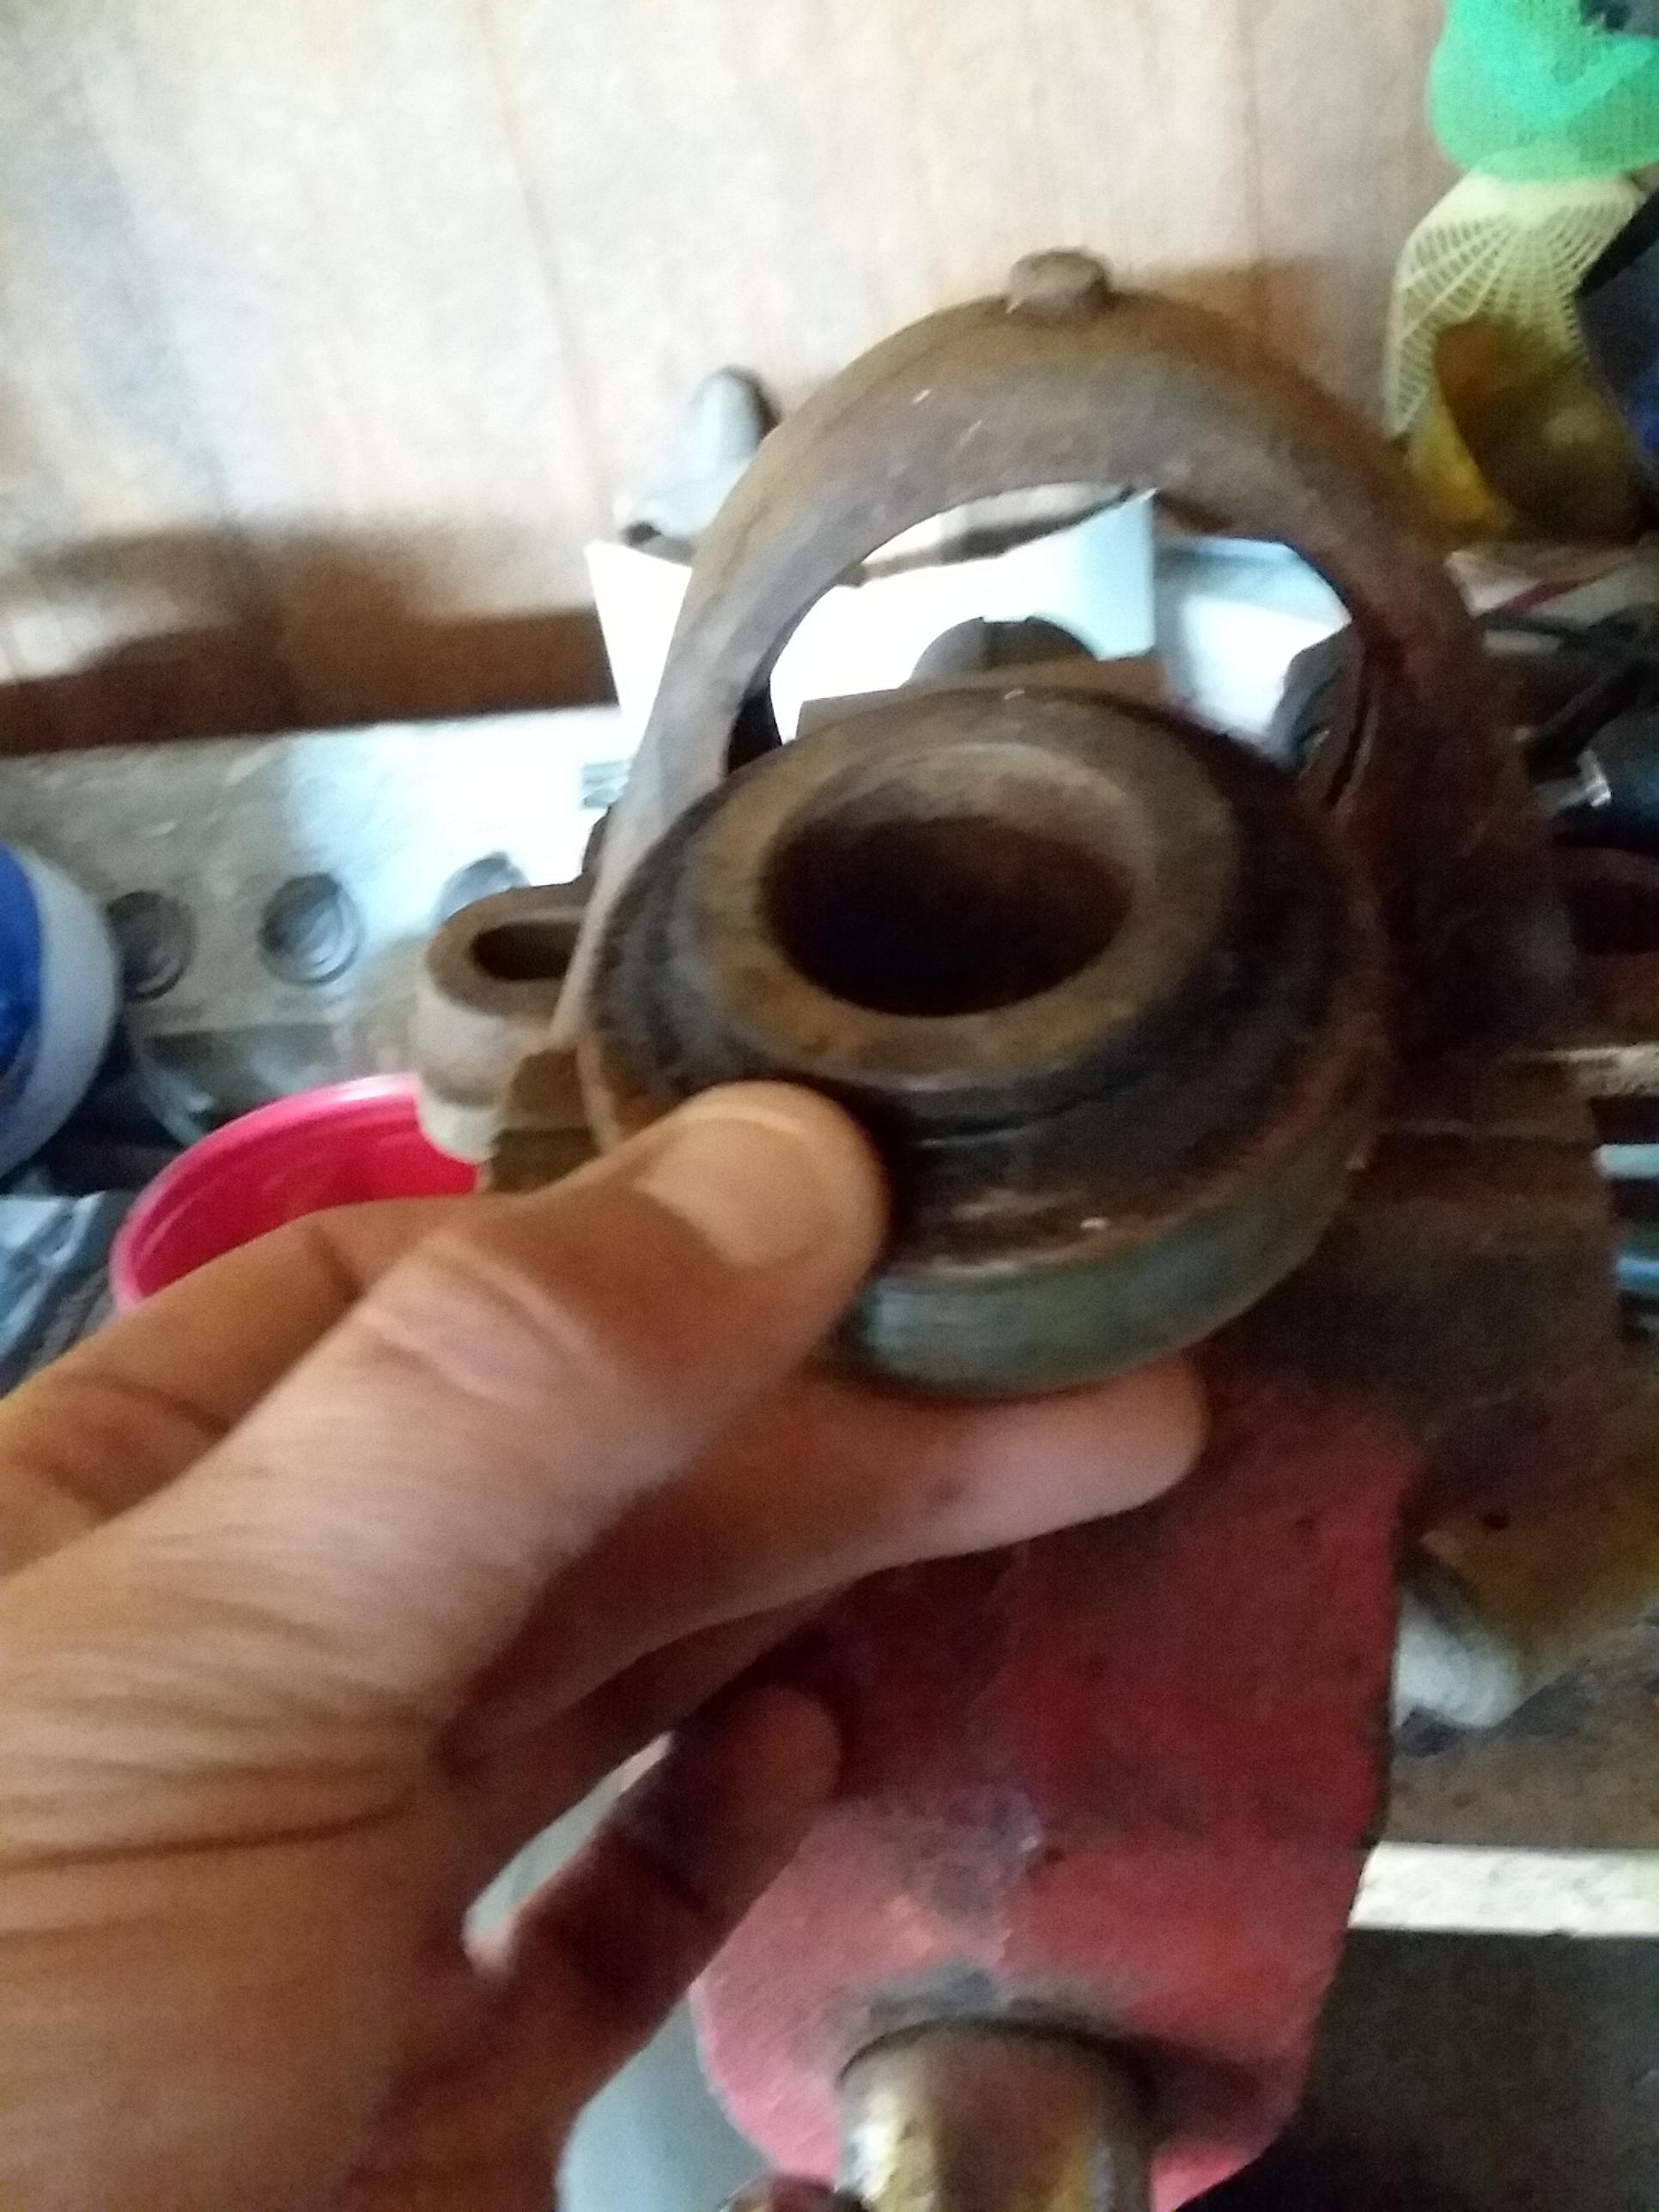
It all starts at the scrap yard. You can see the bearing in the lower left corner of this picture.

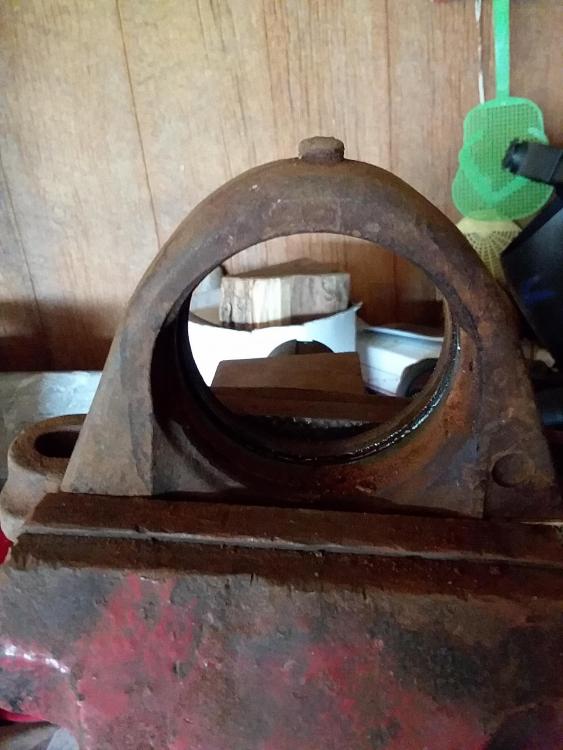
Lock it in the vise so the 2 openings are facing you. You will see what i mean in the next couple pictures.

Place a bar in the hole the bar must be slightly smaller than the hole if its too small you cant get the leverage you need.

Pry down until the bearing starts to turn and then put the bar in the backside and pry up.

And the bearing should spin almost 90°

Im fighting for service with 75,000 hippies at a festival about 5 miles from me. I have more pictures to upload but im going to post this for now before i lose half if it again.
-
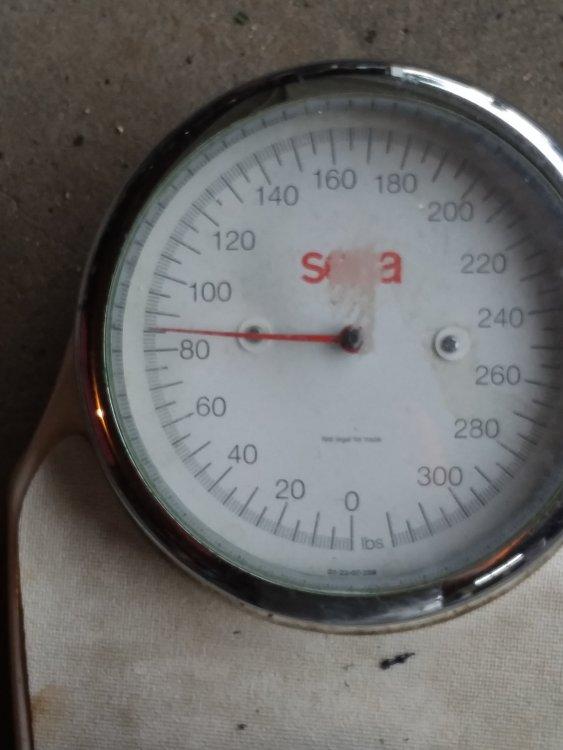
80% is a good rebound! Im still going to start a topic about finding ball bearings in a junk yard.
-
Im going to have to give it a try.
-
My solid fuel forge doesn'thave a very deep fire pot so i dont think wood will work very good.
I try to use my solid fuel forge during the summer because i can drag it out on the apron of the shop and use it outside instead of a 2400°forge heating up the already hot shop.
I decided to buy some charcoal so i didnt have to make any.
-
I plan on doing some more testing. I just need to make some more charcoal or just suck it up and buy propane. Its just too hot to make charcoal and its too hot to run a propane forge. Maybe i will just buy charcoal but its too expensive. I wish there was a local source of coal but the only place was tractor supply and they quit carrying it.
-
I got a bearing just like the one in the picture today from the junk yard and i will take it apart and take pictures of how to get the balls out tomorrow.


Multi bar seax
in Knife Making
Posted
Personal attacks happen all the time on this forum by mods and members alike and this is what I'm frustrated with. Sometimes I wonder what is easier to leave some of the xxxx comments or keep it simple polite and point someone in the right direction. Or maybe explain instead of leaving a comment then leaving the conversation without explanation. Or a mod editing a xxxxxx comment into your comment in a post for absolutely no reason.
If you feel the need to ban me at least I had the opportunity to speak my mind. Good day to everyone!!!
You not being able to understand the reason(s), does not mean there were none