Peppie
-
Posts
228 -
Joined
-
Last visited
Content Type
Profiles
Forums
Articles
Gallery
Downloads
Events
Everything posted by Peppie
-
TY, DRotblatt. I like the design of the floor forge in the link you provided. I will in corporate some of the ideas in my build. Frosty, TY for the input, I value your opinion. I think you have forgot that in this forge design that it will be divided into 2 chambers. Each chamber will be approx 750 cubic in. The chambers will be separated by a removable wall. I am going to try to reduce the interior cubic inches by approximately 200 cubic inches per chamber before I start to build. This will be my second forge build. I currently run a 350 cubic in forced air forge, It works great....but I am not pleased with the flame from the burner pointed directly on or near the steel in the chamber. Sure makes for alot of decarb. Peppie
-
JHCC , after reading several post here on the forum, I have went back to the drawing board. Leaning towards an expandable design ,when and if needed. Thanks for all the info this far Peppie
-
Buzzkill. You are the man! You stated in another thread," How small can I make it, and still be able to do what I intend to do?" Something like that. I am now headed to plan "B" Thanks. Back to the white design board. Peppie
-
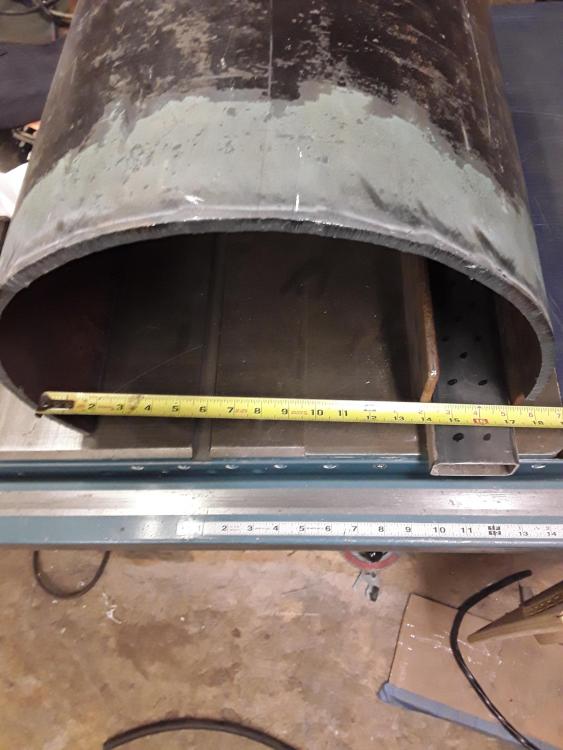
TY Buzzkill for the info on the pipe diam. The numbers I am working with are a bit misleading.....in a way...To get a 6"-7" wide floor space, along with a floor mounted ribbon burner, 2"+ wool and refractory I have piece of 18" diam pipe that I have cut. So needless to say the width is right ... but the height is a bit much IMO. That height adds a lot of unusable cubic inches just to get a swirl action, and no direct flame on the steel. I have a 4X8 sheet of 1/8" steel for plan "B" that I can fabricate into a not so high forge. Decisions, decisions!! The length of 20" would be used once in a blue moon for ornamental pieces. I would rather it be there and not use it very often....than to need it and not have it. As I stated before . I will have a removable wall for a divider.

-
Adding another fuel injection for the second burner seems to be an easy enough fix. What about the pipe diameters that are shown in the picture? 2 1/2" for the pipe directly off the blower, then dropping to 2" after the T fitting. I am under the assumption that a larger diam of sq inches should be used, than the total sq inch of the combined "straw" ports. Am I in left field on that assumption?
-
TY Frosty Let me k ow where I went wrong in the picture above.

-
TY Frosty
-
TY JHCC
-
Will a small stainless tray work on the floor as well? Also does the wall( were your burner flame hit) show any sign of heat damage?
-
Again TY Buzzkill. That will also be the main function of this build. Doing some research, so I only have to possibly build it once.
-

-
TY Buzzkill, that helps. The burner will come into the forge on the bottom and pointed up. No direct heat on the metal.
-
So based on Frosty"s info. I could cast a RB that is 3X7 with 20-24 holes, and it would heat a 800 cubic inch chamber to welding temp. Keeping in mind that it will be powered by a blower.
-
Yes, a ribbon burner for each chamber. The ribbon burner(RB) will be powered by a blower. I am wanting to know how many crayons hole I need to cast into each burner to forge weld in a 800 cubic " chamber
-
Frosty the forge will be separated into 2 chambers. If and when I need the full interior space I will remove the divider wall. This will have a ribbon burner for each chamber, not a NA burner. TY for the quick response Dave
-
I am designing a ribbon burner forge. The interior cubic inches (after wool and refactory) is1600cubic inches. This interior will be divided in half. Each half will house a burner. I can do math, but I am not sure how to calculate how many outlet holes I need to cast in the burner to bring each individual chamber up to welding temp. Tips, formulas, advice . All welcome
-
Little something for Frosty!

-
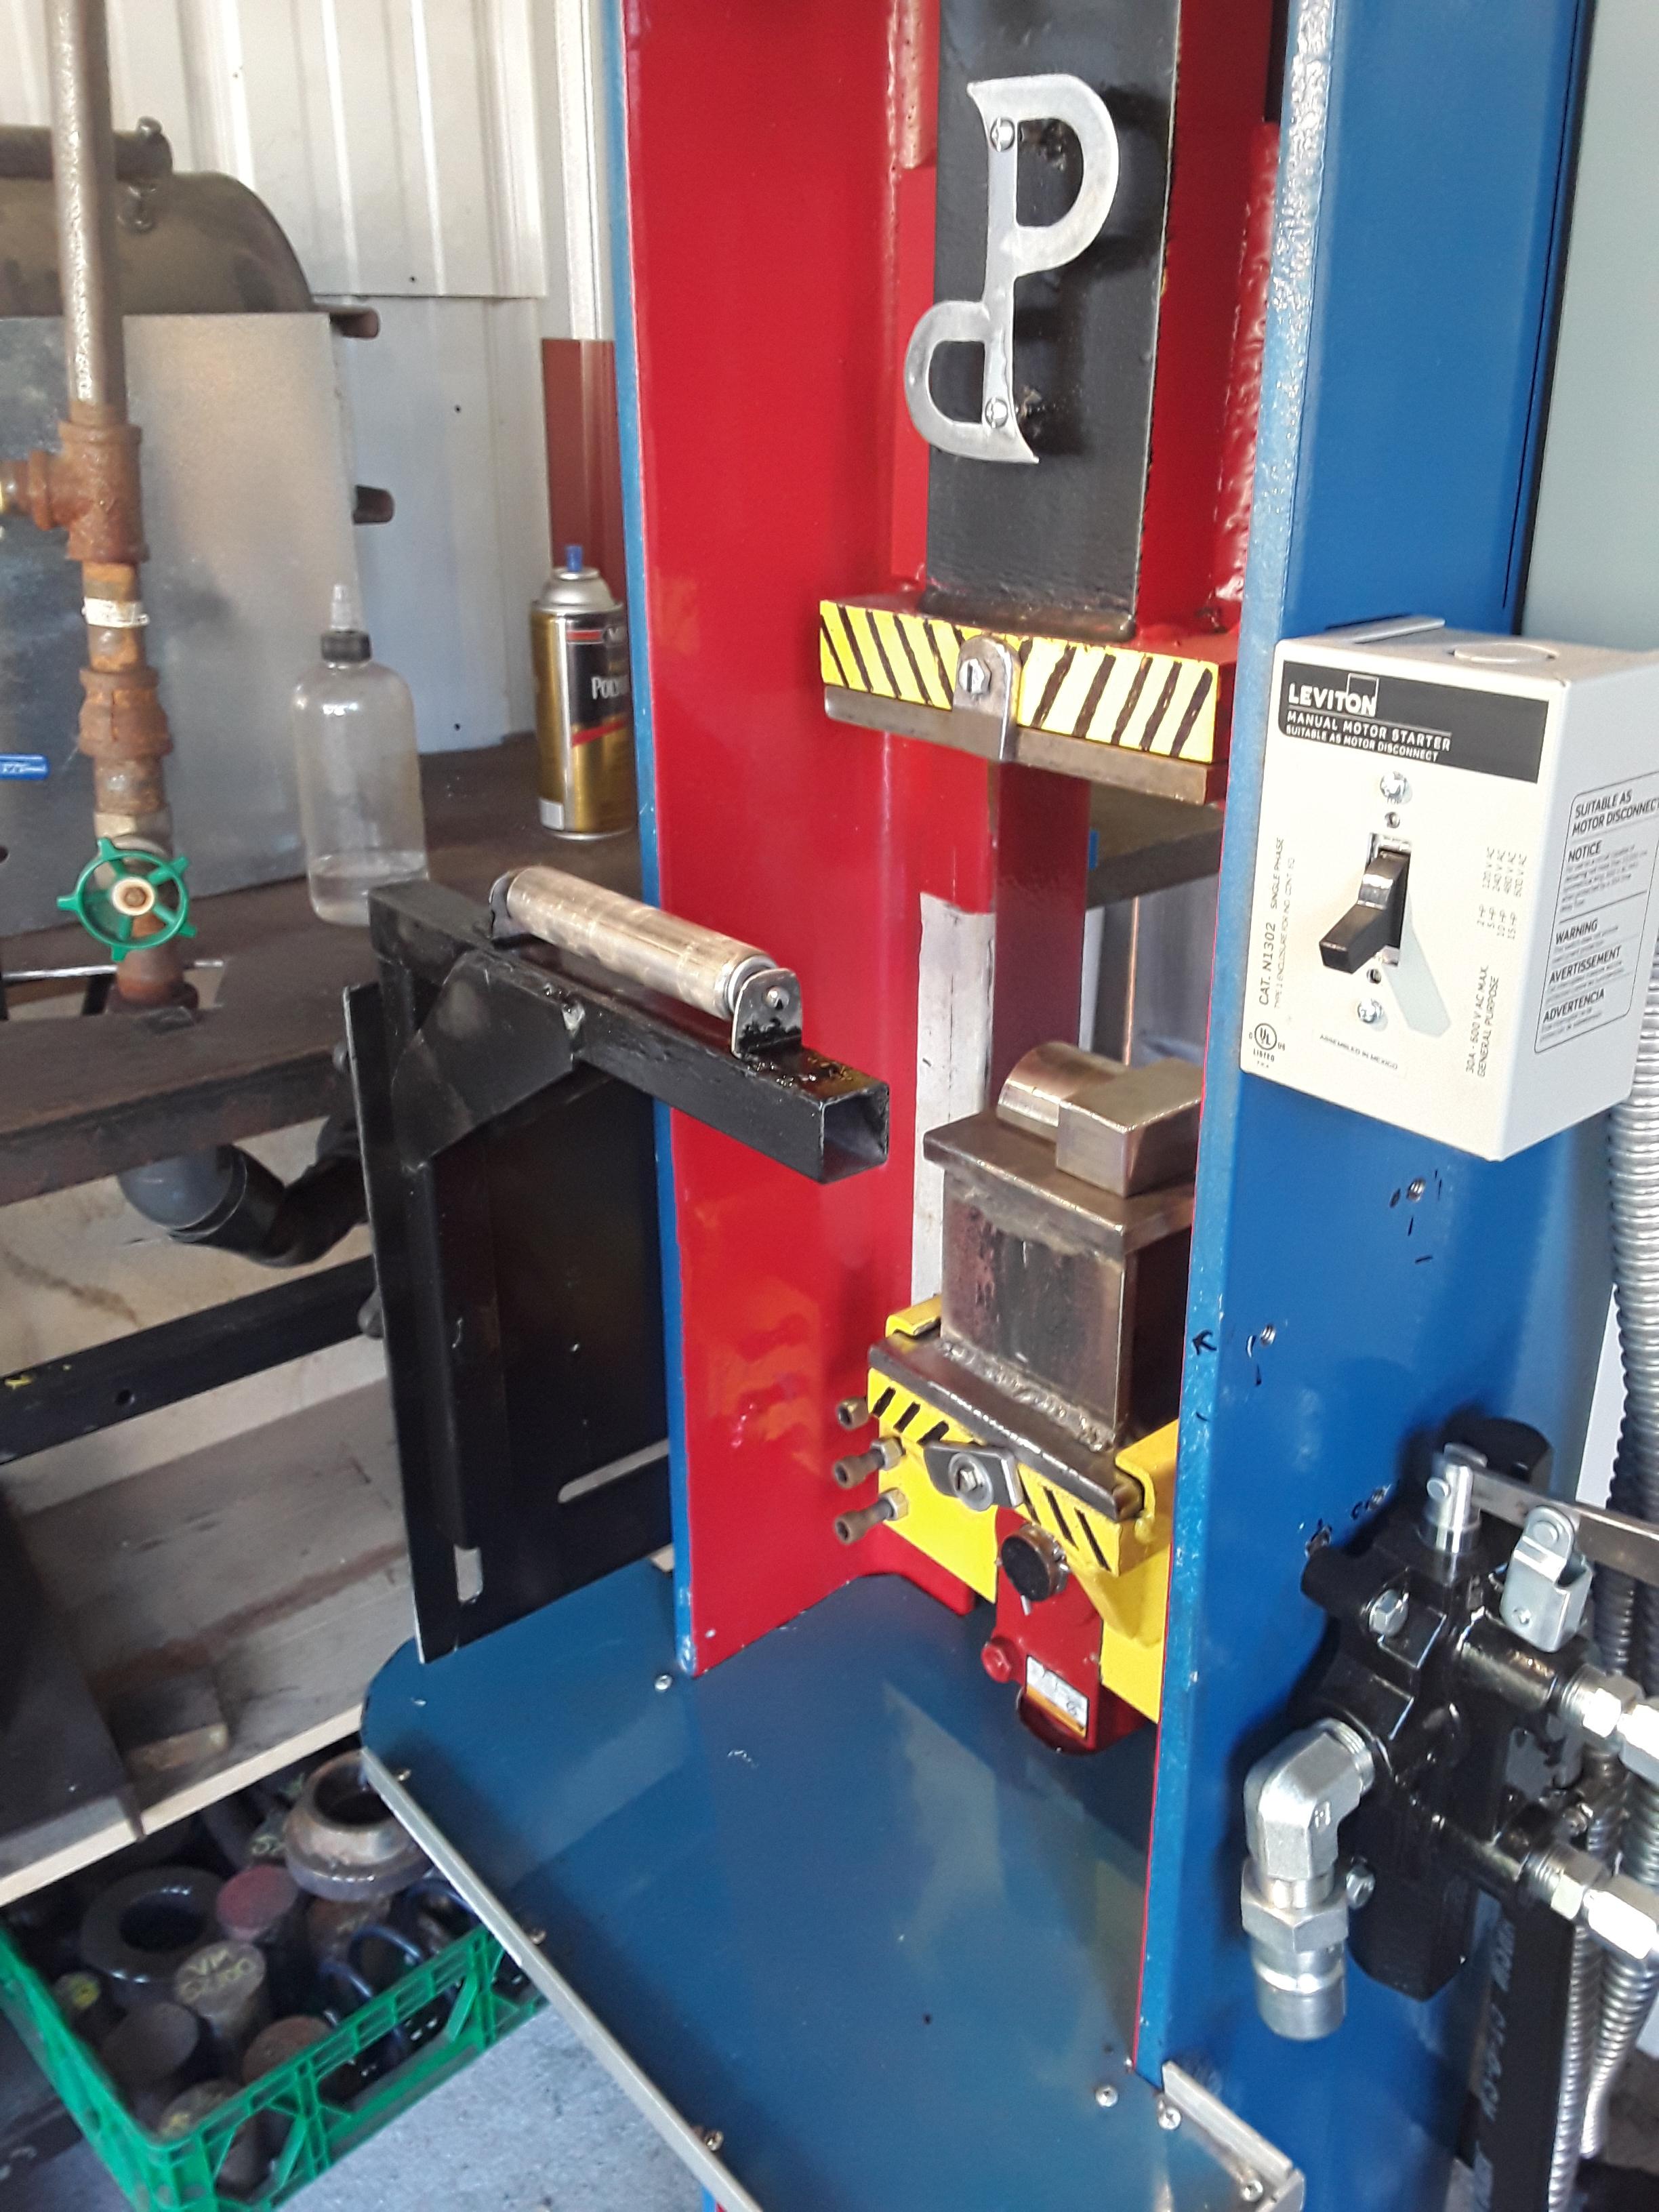
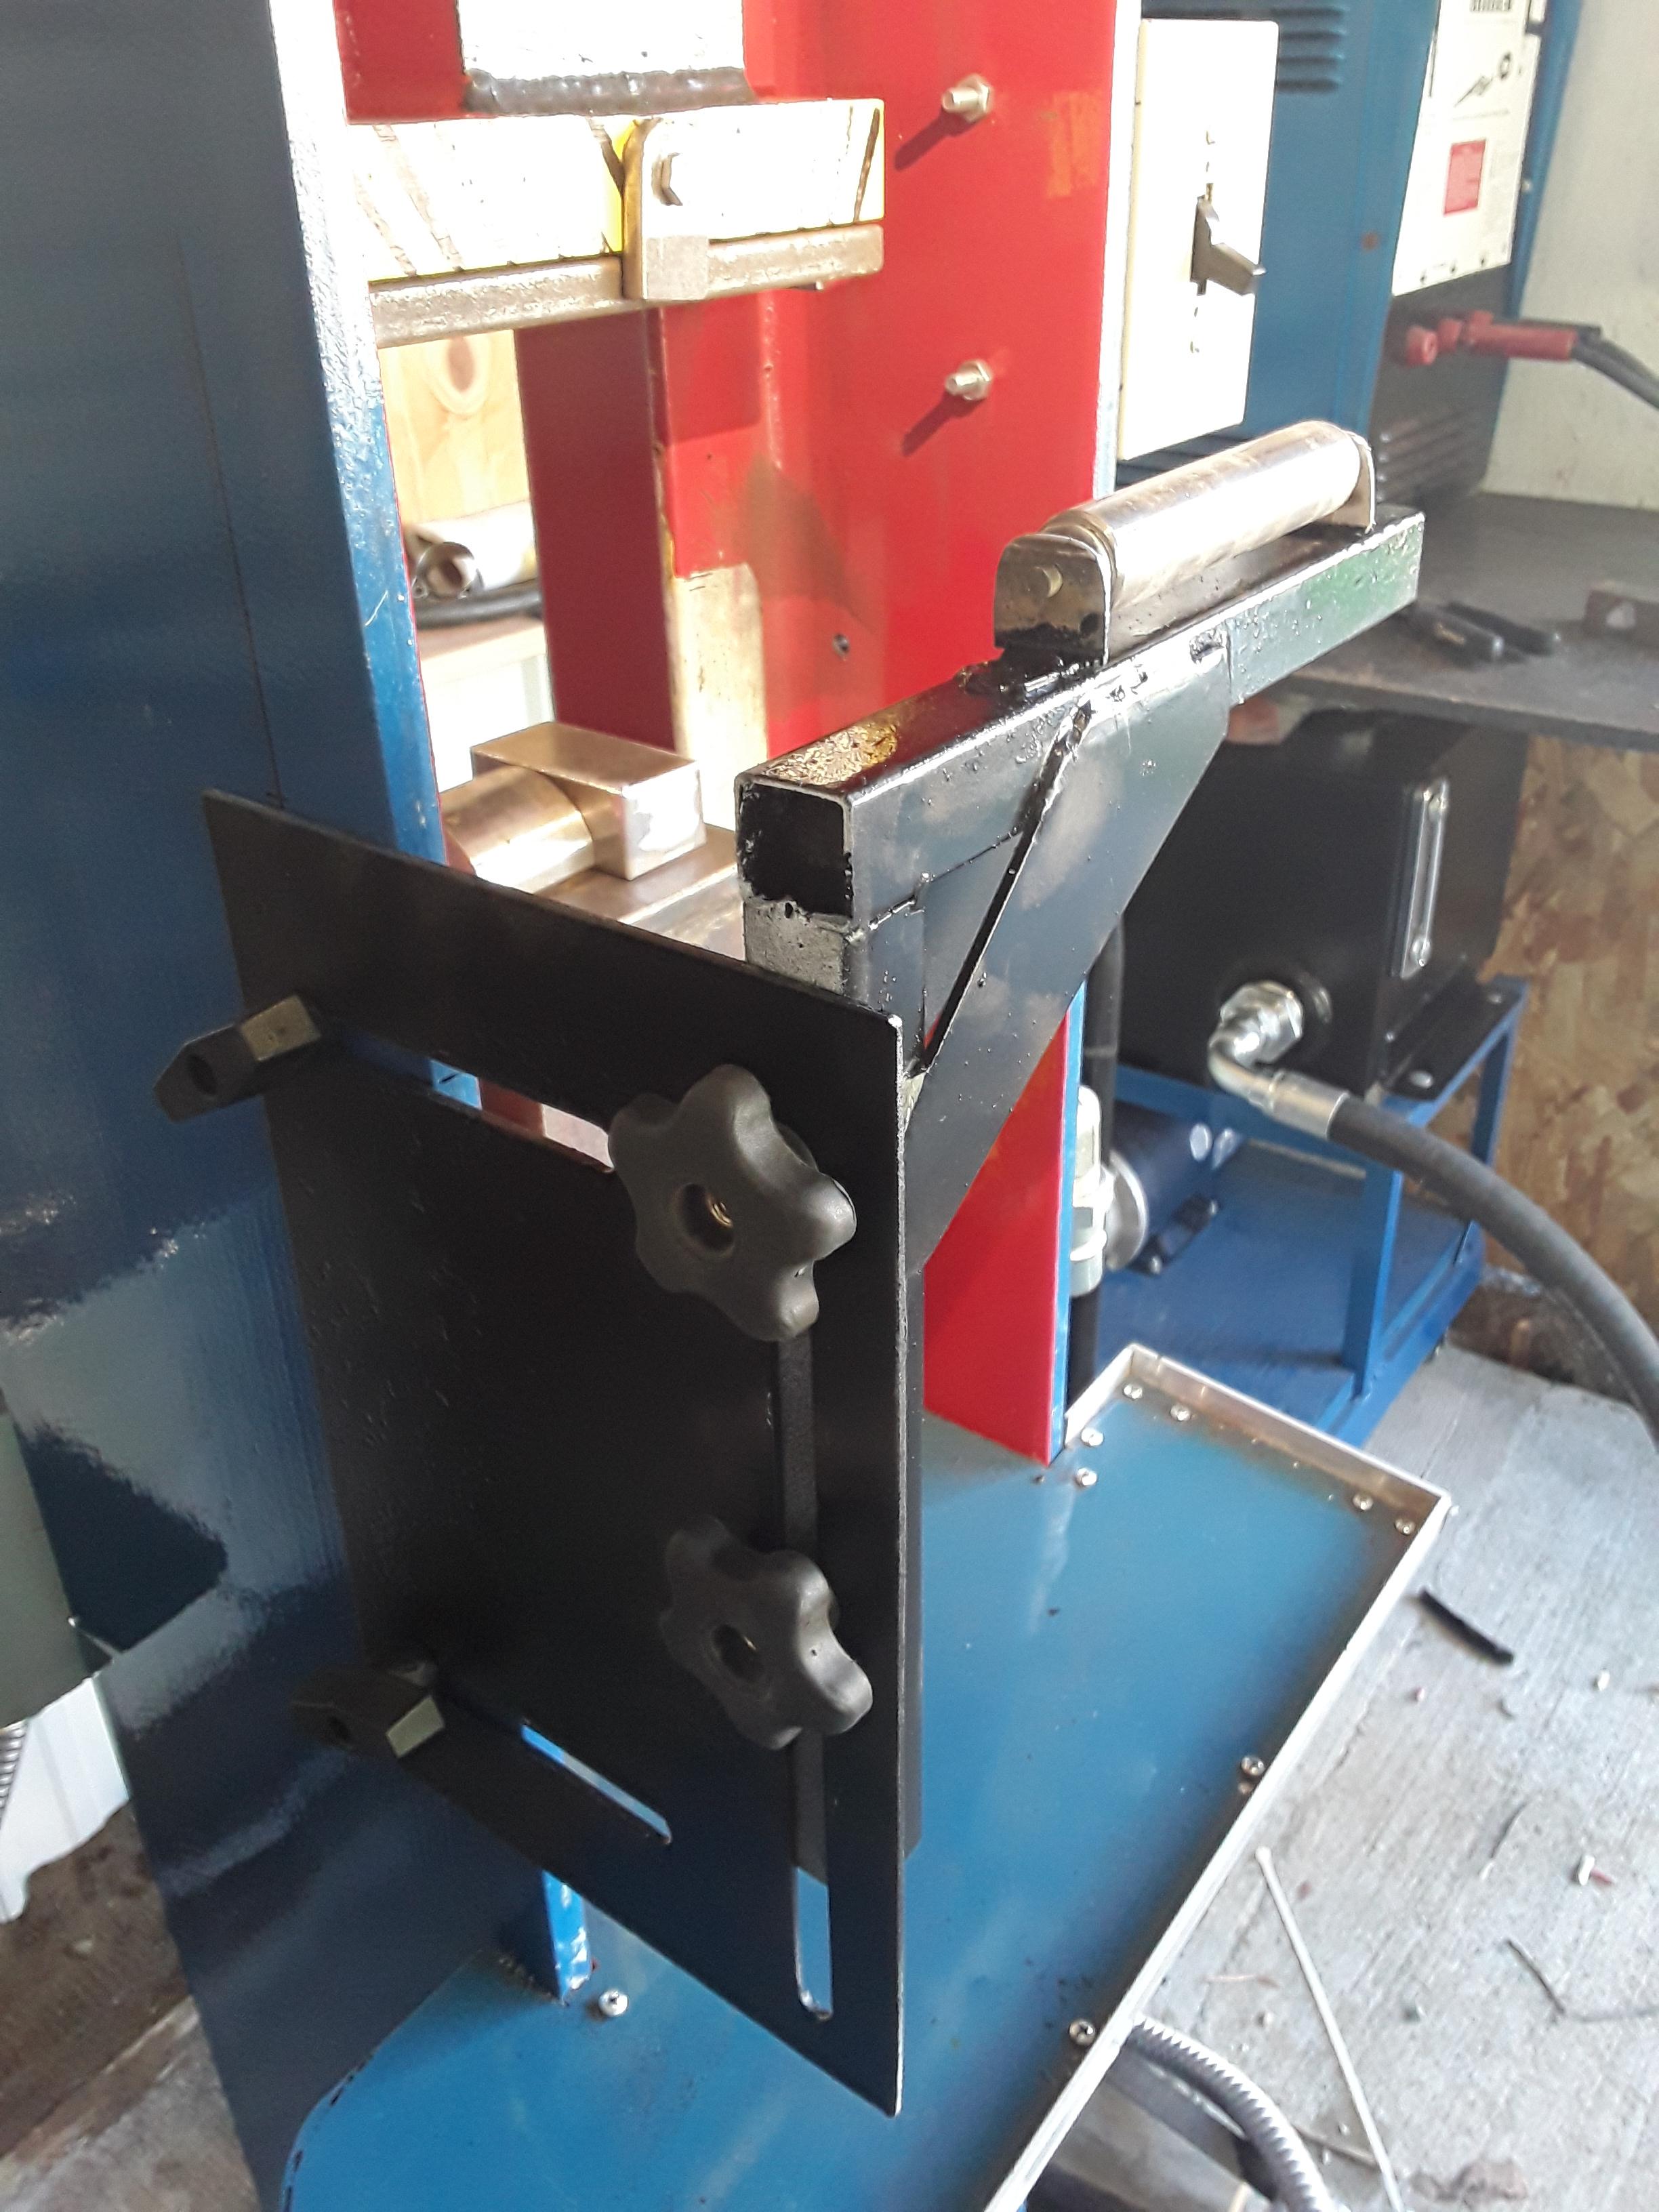
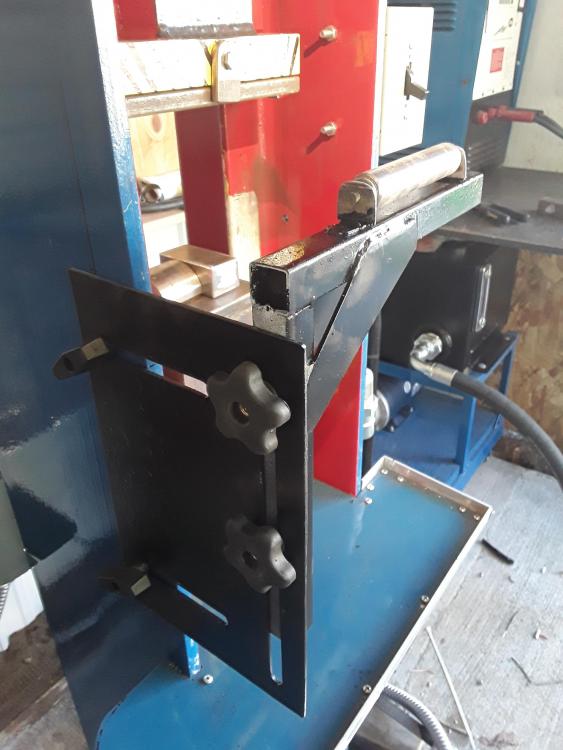
Little odds and ends, while I wait for my electrician. Added a steady rest to help hold up the hot metal. It is fully adjustable, in and out, up and down.

-
Have been a woodworker for years. Having your work secured makes for higher quality work. You can focus on what you are doing, instead of having to adjust to what is going on.
-
What did you do in the shop today?
Peppie replied to Mark Ling's topic in Blacksmithing, General Discussion
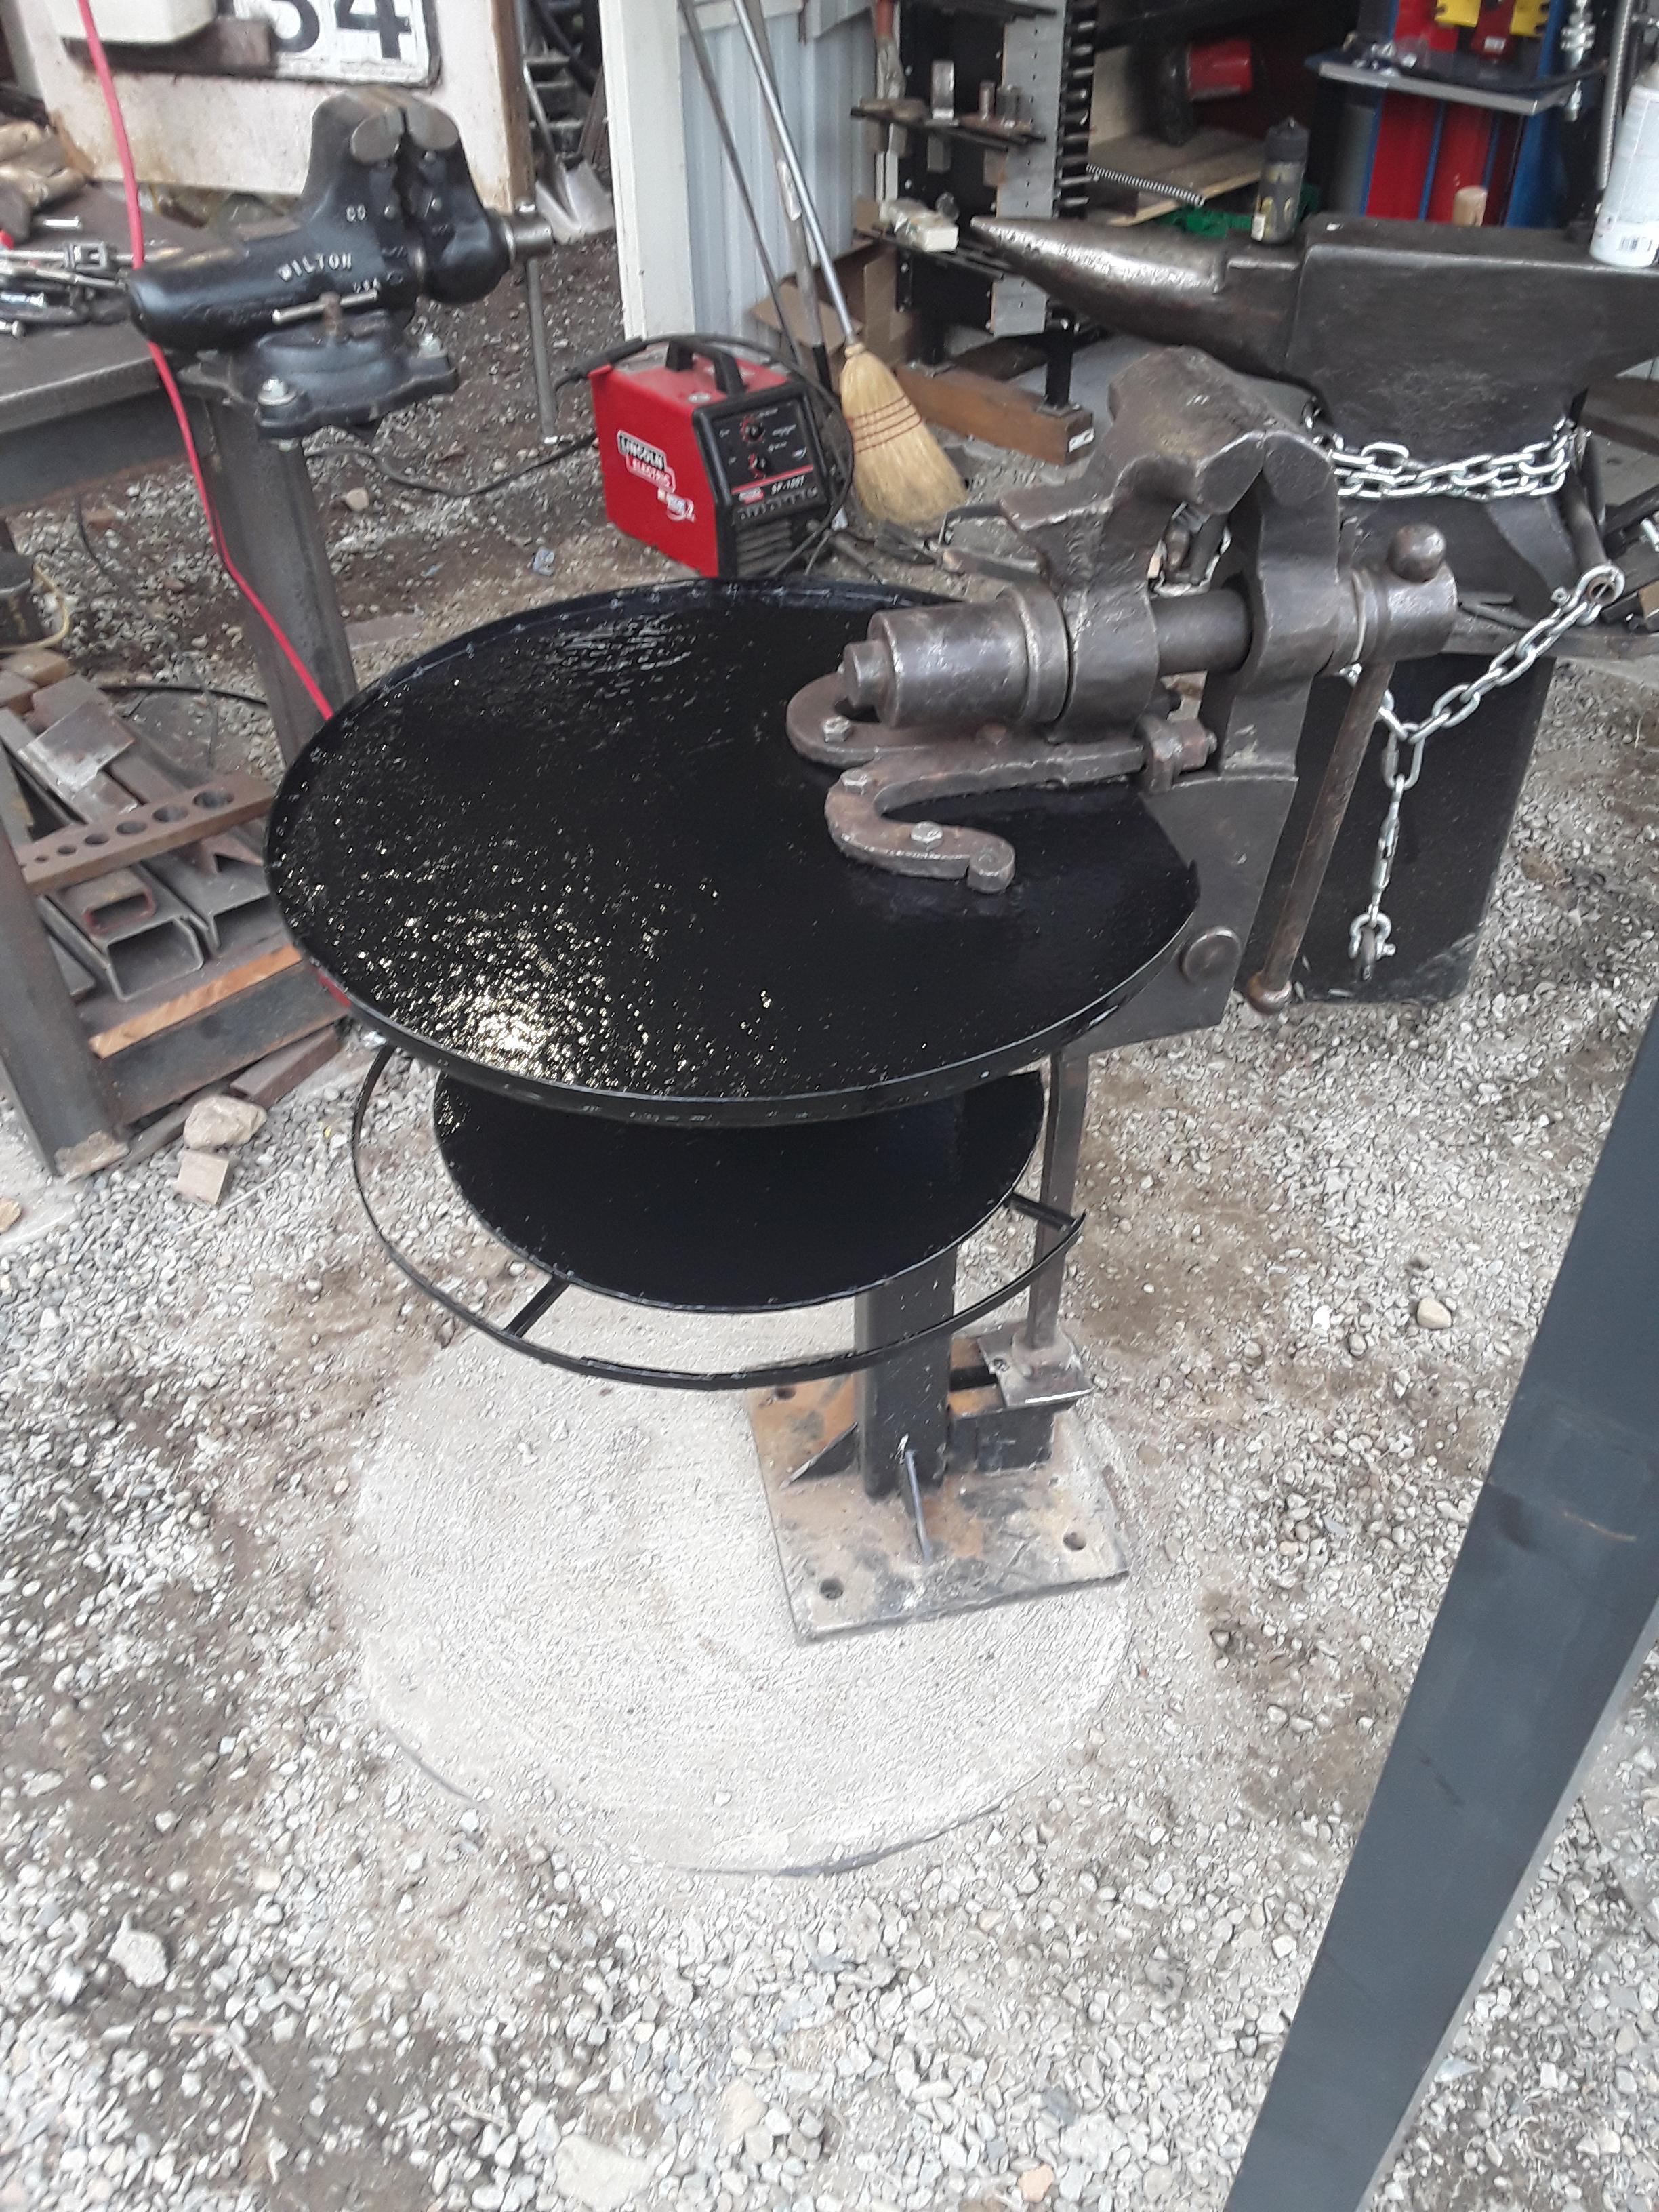
JHCC The post sits in a pocket on the base plate. The base plate will be anchored to the concrete pad that it is sitting on. Solid mount. No movement while twisting with this vise. TY btw -
Dont mind at all. TY. Imitation is a high form of flattery.
-
The stand is sitting on a concrete pad. I will be anchoring it to the slab.
-
What did you do in the shop today?
Peppie replied to Mark Ling's topic in Blacksmithing, General Discussion
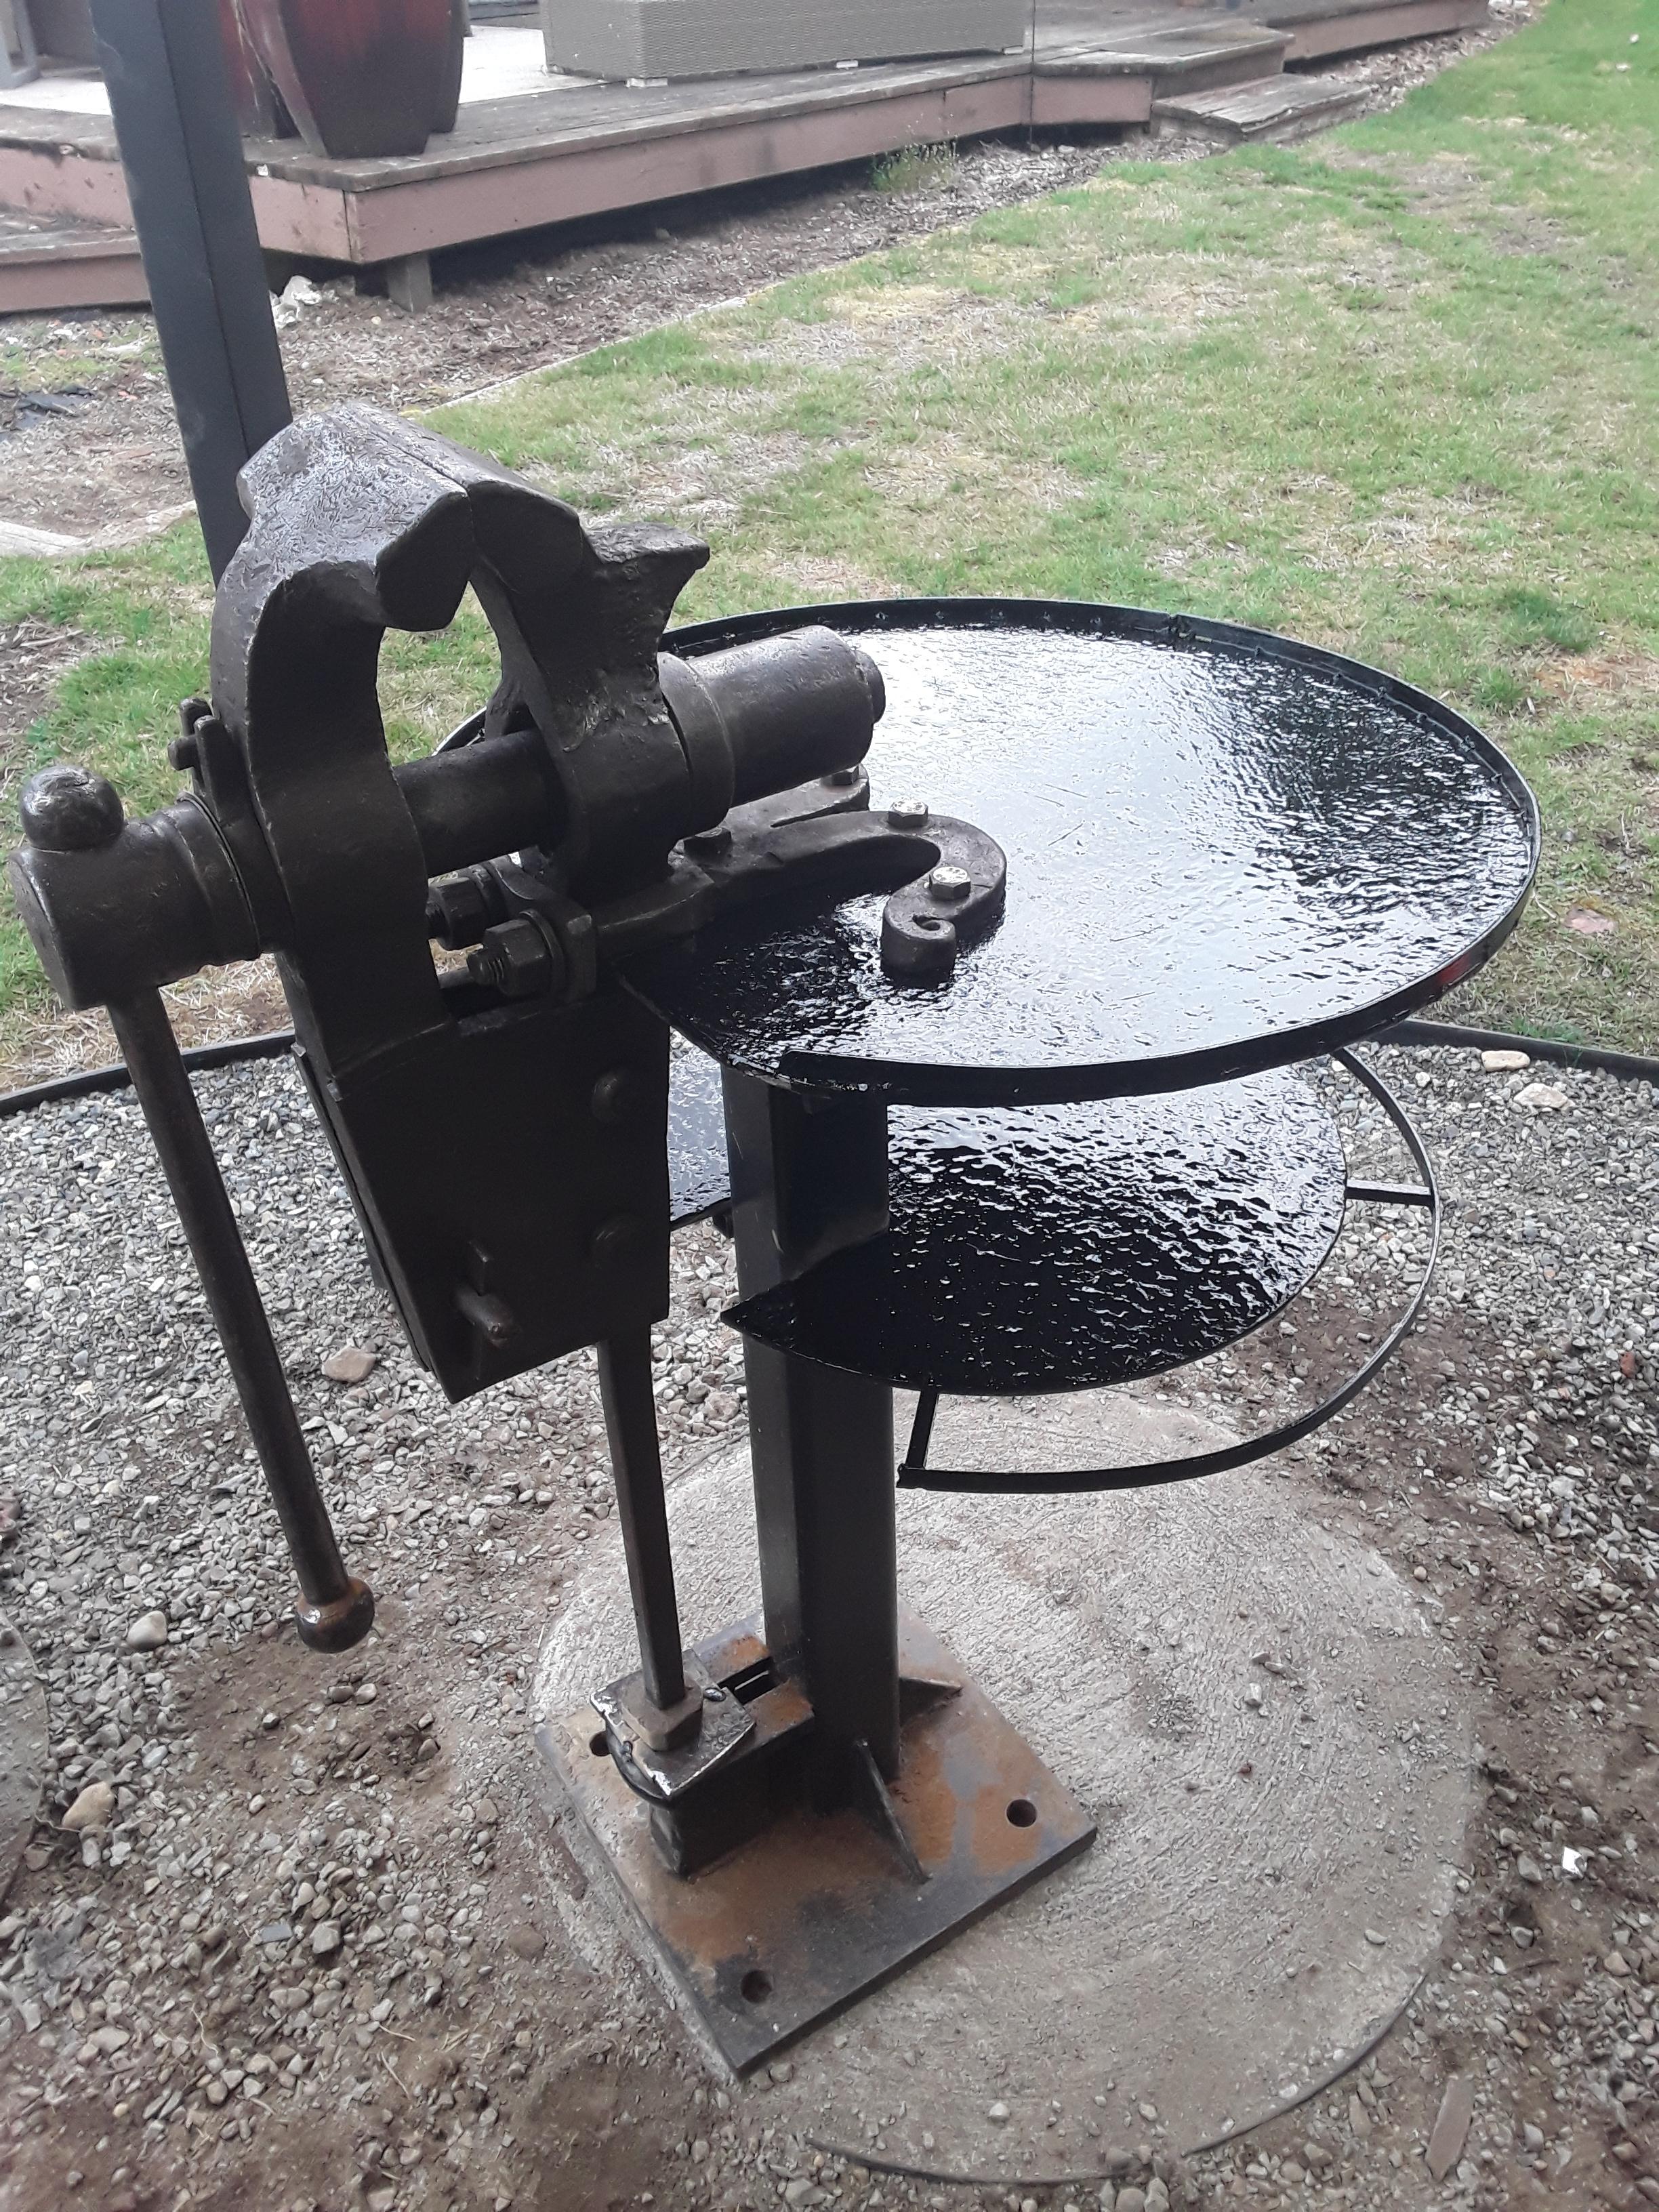
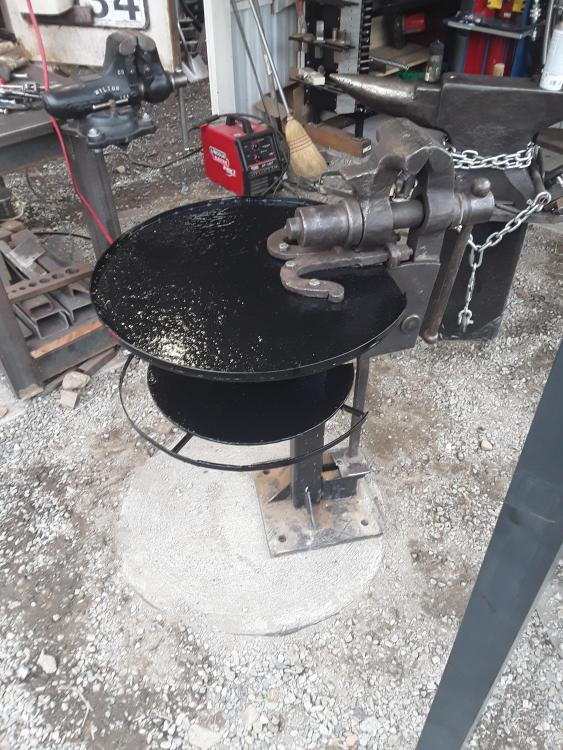
Built a vise table, stand,catch-all, hammer holder, tong rack, thingy today

-
Had this vise mounted on my bench. I have since repurposed the bench to hold my forge. The vise needed a new home. This is what I came up with

-
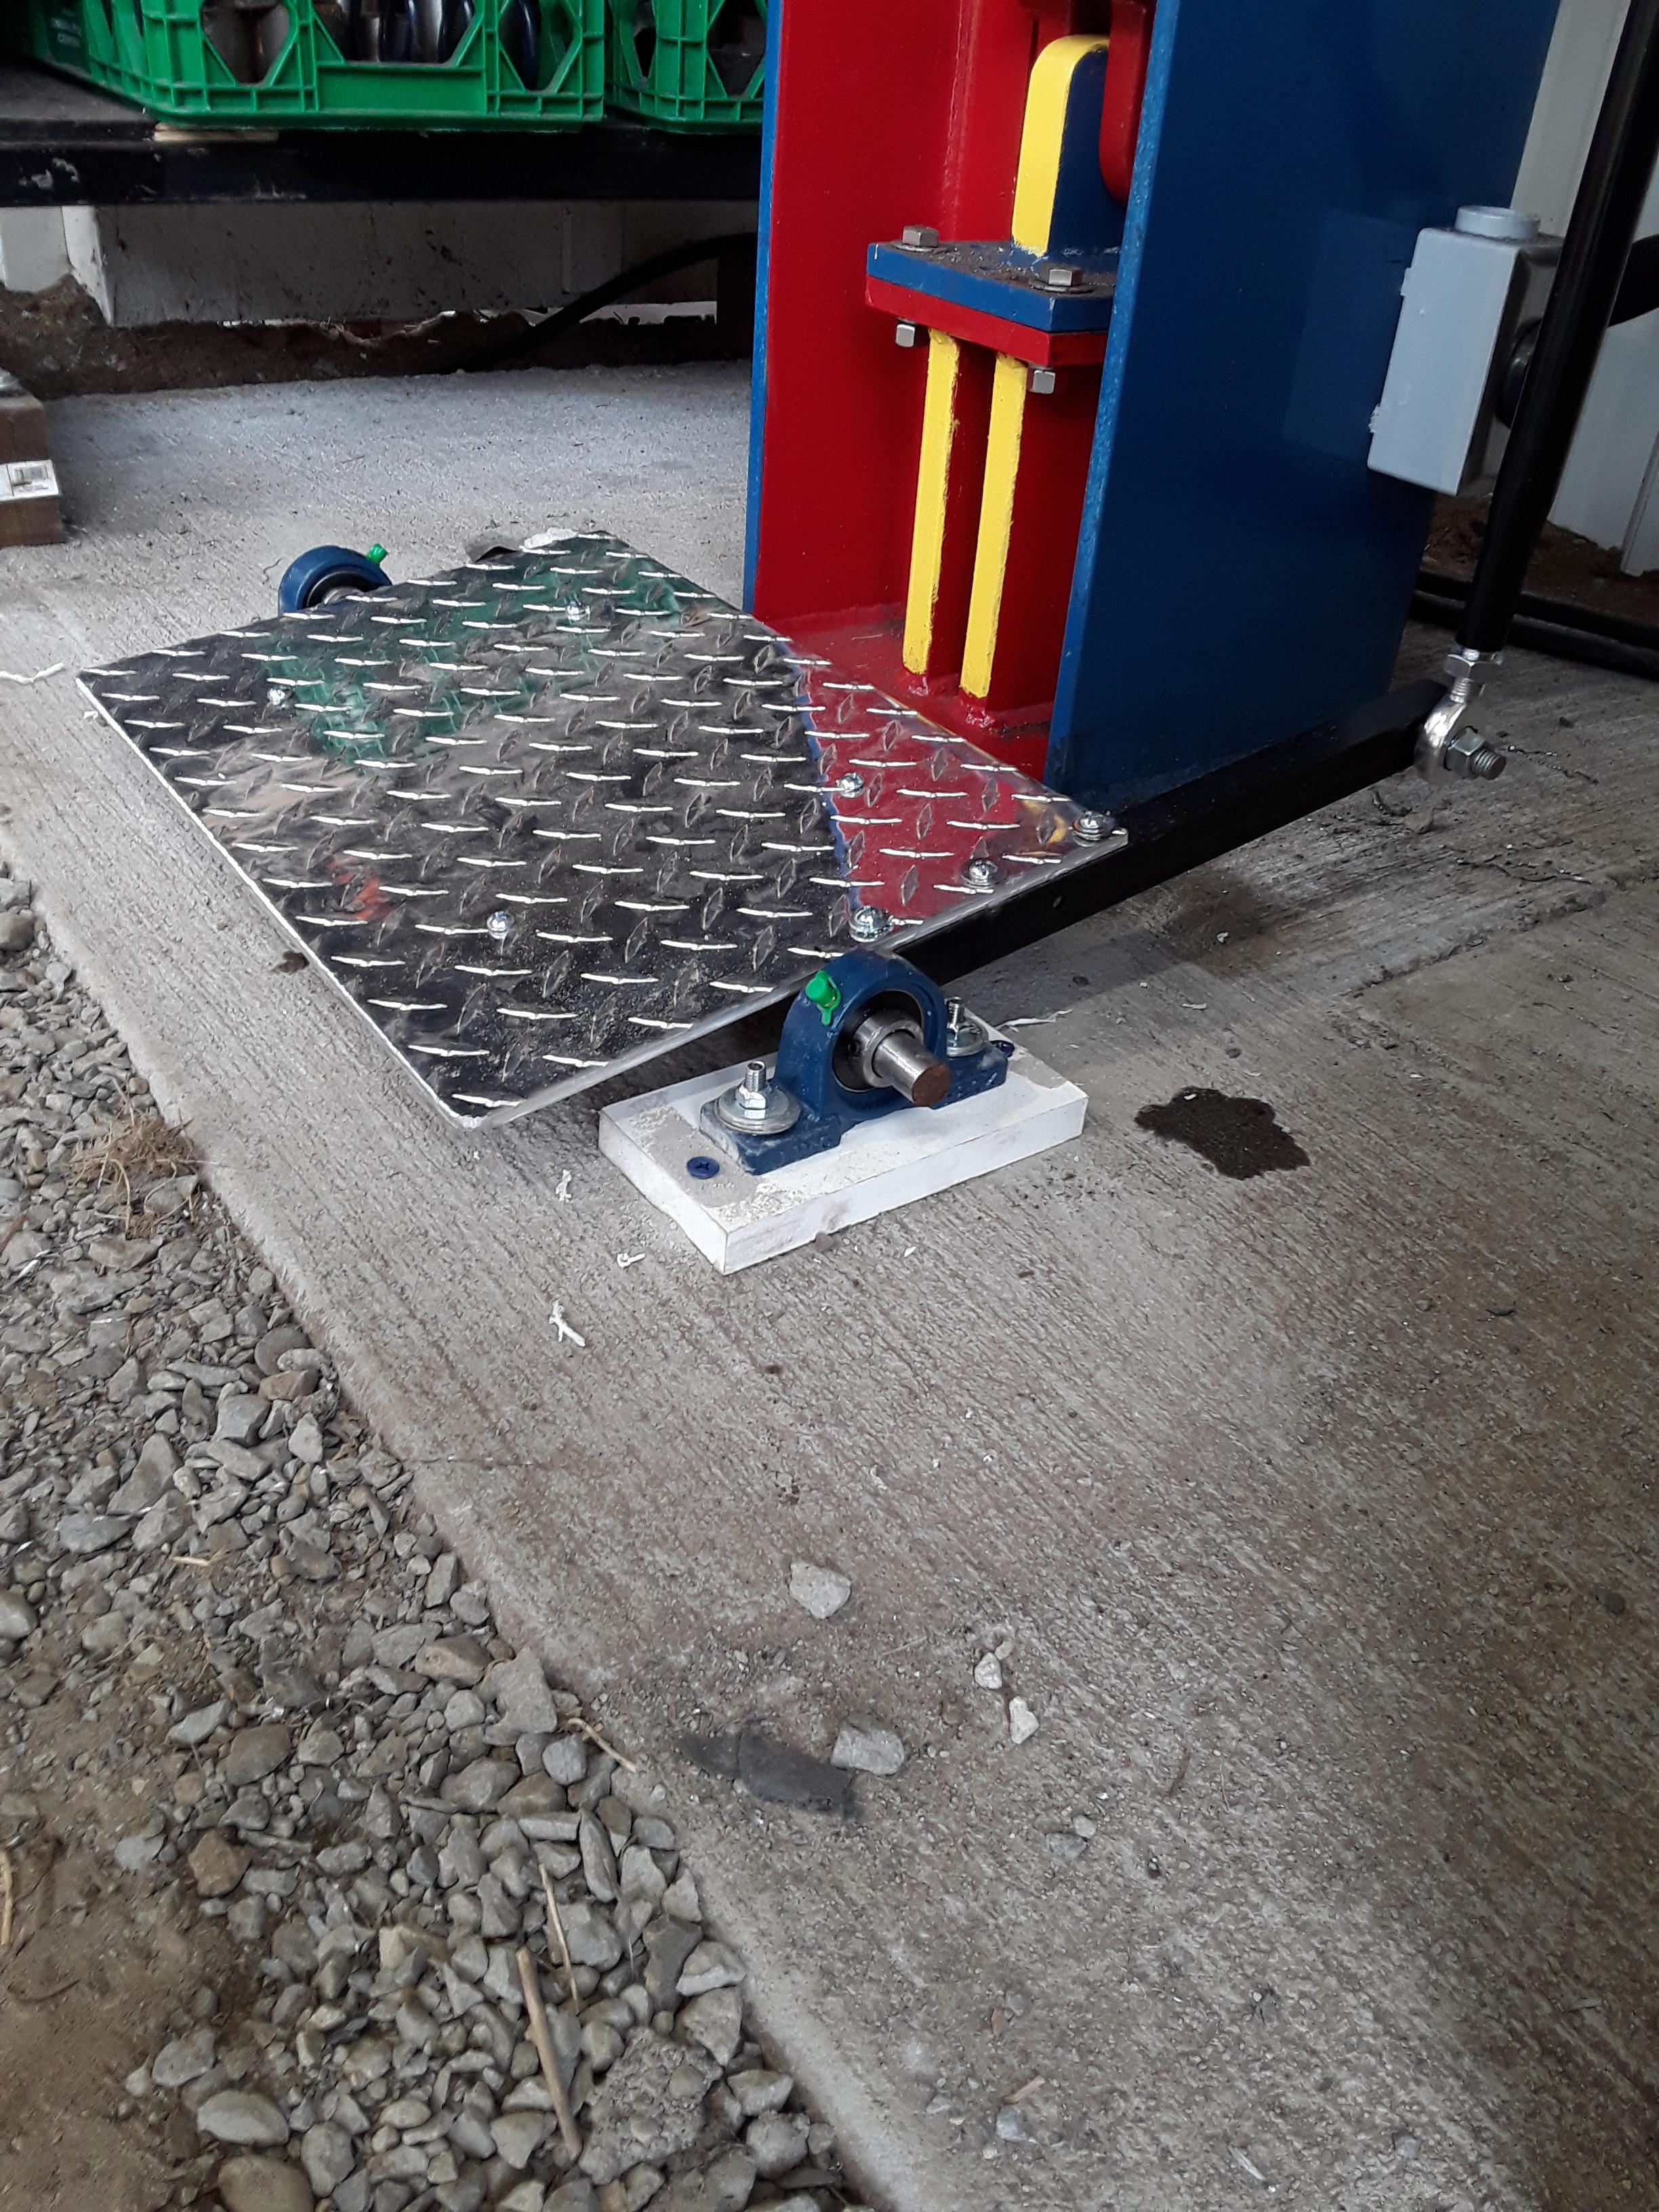
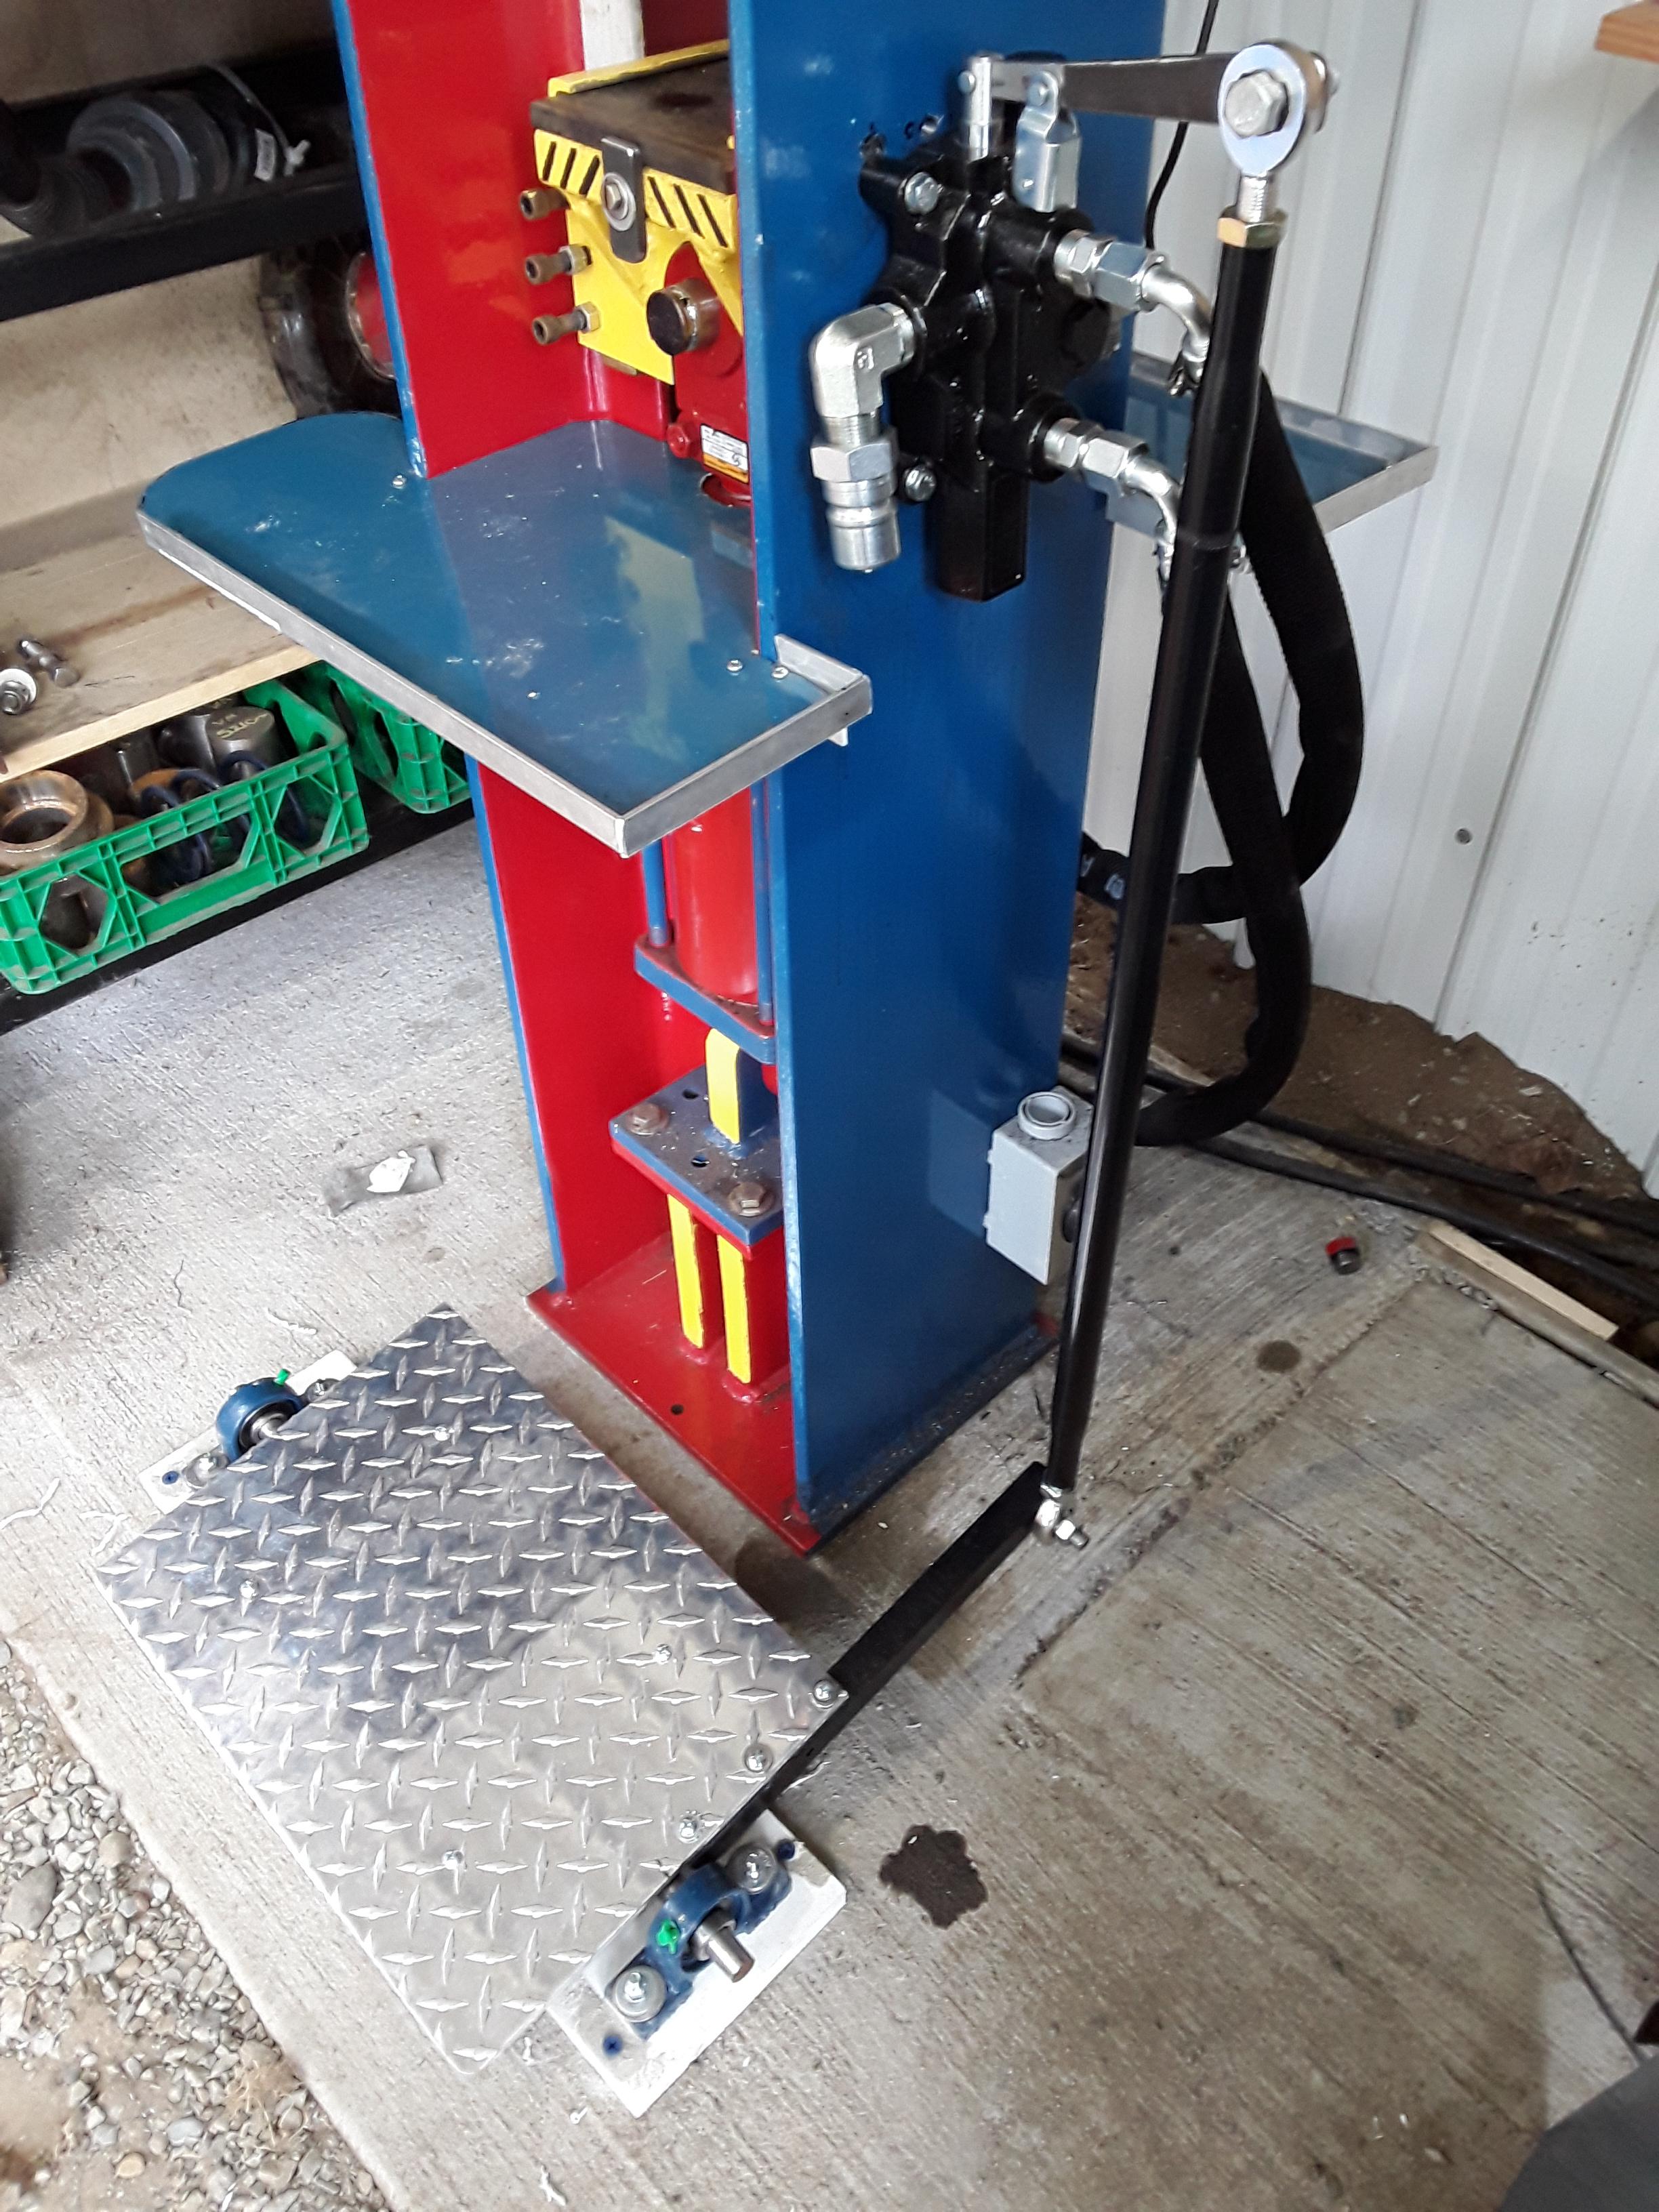
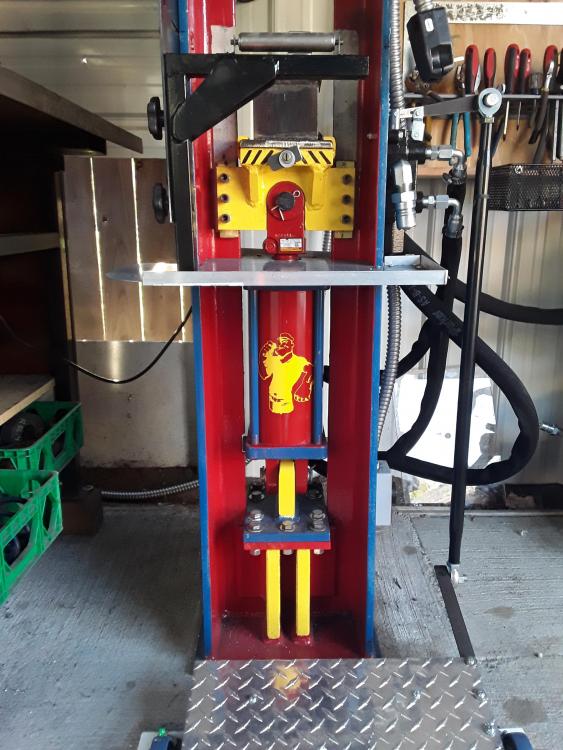
Got my foot control all fabricated and installed.