

Jason Fry
-
Posts
175 -
Joined
-
Last visited
Content Type
Profiles
Forums
Articles
Gallery
Downloads
Events
Posts posted by Jason Fry
-
-
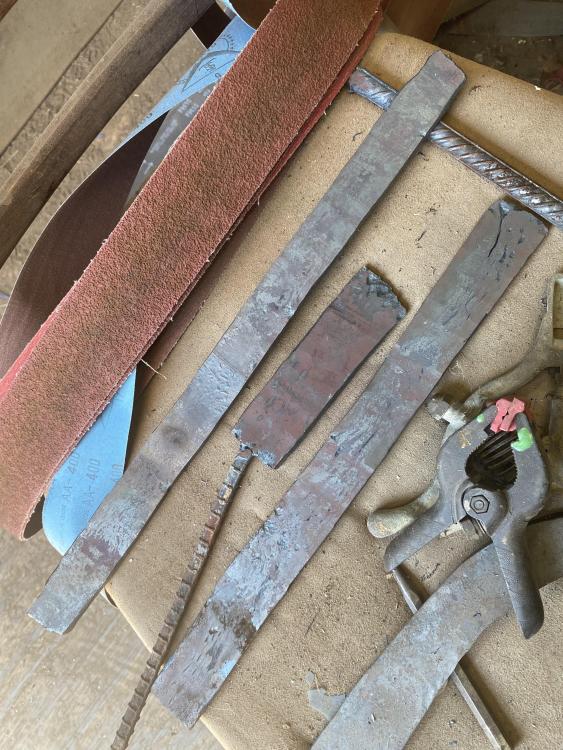
I have it all ground out to finished dimensions. There's one bad spot on the blade flat and a couple of shallow ones on the spine, but nothing that challenges the integrity of the blade. I'll finish it out at least. Outcome TBD.
-
After grinding and heat treating the meteorite bowie, there are some inclusions/bad welds in the billet. TBD what I'm going to do with it. Probably grind it as much as possible to get around the funk, then finish it out. But with an obvious flaw, I won't be shelling out a few hundred more bucks for meteorite fittings.
-
I'm pondering butt cap and/or guard out of plain meteorite to show the patterns, but I want to get the blade ground and hardened first before I decide to invest a few hundred more in material for fittings. Y'all blacksmiths may be made of money, but us knifemakers are broke lol.
-
Correct, goal isn't to maintain the Widmanstatten, but to have some visible meteorite element in the final product. It always comes down to the smith's word in the end. That's part of why I document things like this in public ways.
My billet ended up 1123 layers. I intentionally didn't include any 15n20 in the mix, so that whatever nickel bright lines etc there are in the billet are from the meteorite.
Here's the as-forged bowie. As noted above, I messed up the layer count in the videos. It'll be a bit before I get to work on it again, but I should have it at Blade in Atlanta.
-
I was given some good scraps of Aletai meteorite to forge into damascus in exchange for the source guy to get a billet back. He needs a 1.5 by 6" by 3/16 billet, and I can have/use the rest. Googling and looking on youtube for "meteorite damascus" yields mostly stories of crumbling and failure. Reported compostion of this meteorite is: Fe-76.76, Ni-13.28, Co-.56, Ti-059. With that high of nickel and some cobalt, I expect it to be brittle and red short.
To deal with that, and because I have small pieces put it in a can with 1095 powder. This should do several things. First, it'll add some carbon to the mix since the meteorites don't have any. Next, it'll fill all the tiny gaps and holes. Even so, I expect cracks and bad spots. To deal with that, I'll take whatever billet I get out of this and re-stack it with some more 1084 and 15n20 as many times as it takes. I figure three or four restacks at least, but maybe more. If I can get a billet out of that, I'll likely twist it, or maybe san mai it over a core, TBD. I'm thinking this time I'll also do mostly videos, not just pictures.I mixed up the layer count in this video. I originally thought the first re-stack was a 5, but pictures confirmed a 7. Ended up with 560 on the billet in the video.
-
That's kinda what I was thinking. More of a novelty flux than anything, but sometimes novelty sells
")
Most of my damascus I use kerosene and go from there, with borax sometimes on the second pass if the edges don't look like I want them to.
I'm going to just have to try it. Even if it doesn't work well, the steel will still have "some volcano in it."
-
Late reply to this one, but I'm a fan of G flex. I used Blade Bond for a few years also with no regrets.
One thing I've noticed is that you can speed the cure up a bit with warmth. I set the glued up knife in front of my shop heater in the winter, or out in the sun in the summer. Cuts the time down to 2-3 hours and lets me get back to working on the knife faster.
-
I'm pondering a volcano themed knife. My mind wandered from Indian George using his wife's ashes in a damascus canister to "what would volcanic ash in a canister do" to "could you use volcanic ash for flux?"
What do y'all think? Recipe for disaster?
-
The shenanigans continue
-
-
His name is Piotr and he’s from Poland. Smart fella. From the Lego he did one on CAD then built a real one for his shop. Clean build on YouTube.
-
-
Yeah I stand in front of the forge and shadow it and can judge decently. With the power hammer, I can feel when it stops moving. I'm sure it would still show dark red in shadows. I've used this forge for 4 years now, welded a few dozen damascus billets. Today was just day 1 for the blown burner, not for me or the forge
")
I have at least three more solid sessions of forge welding before this one's anywhere close.
Here's the WIP for the knife I'm doing.
-
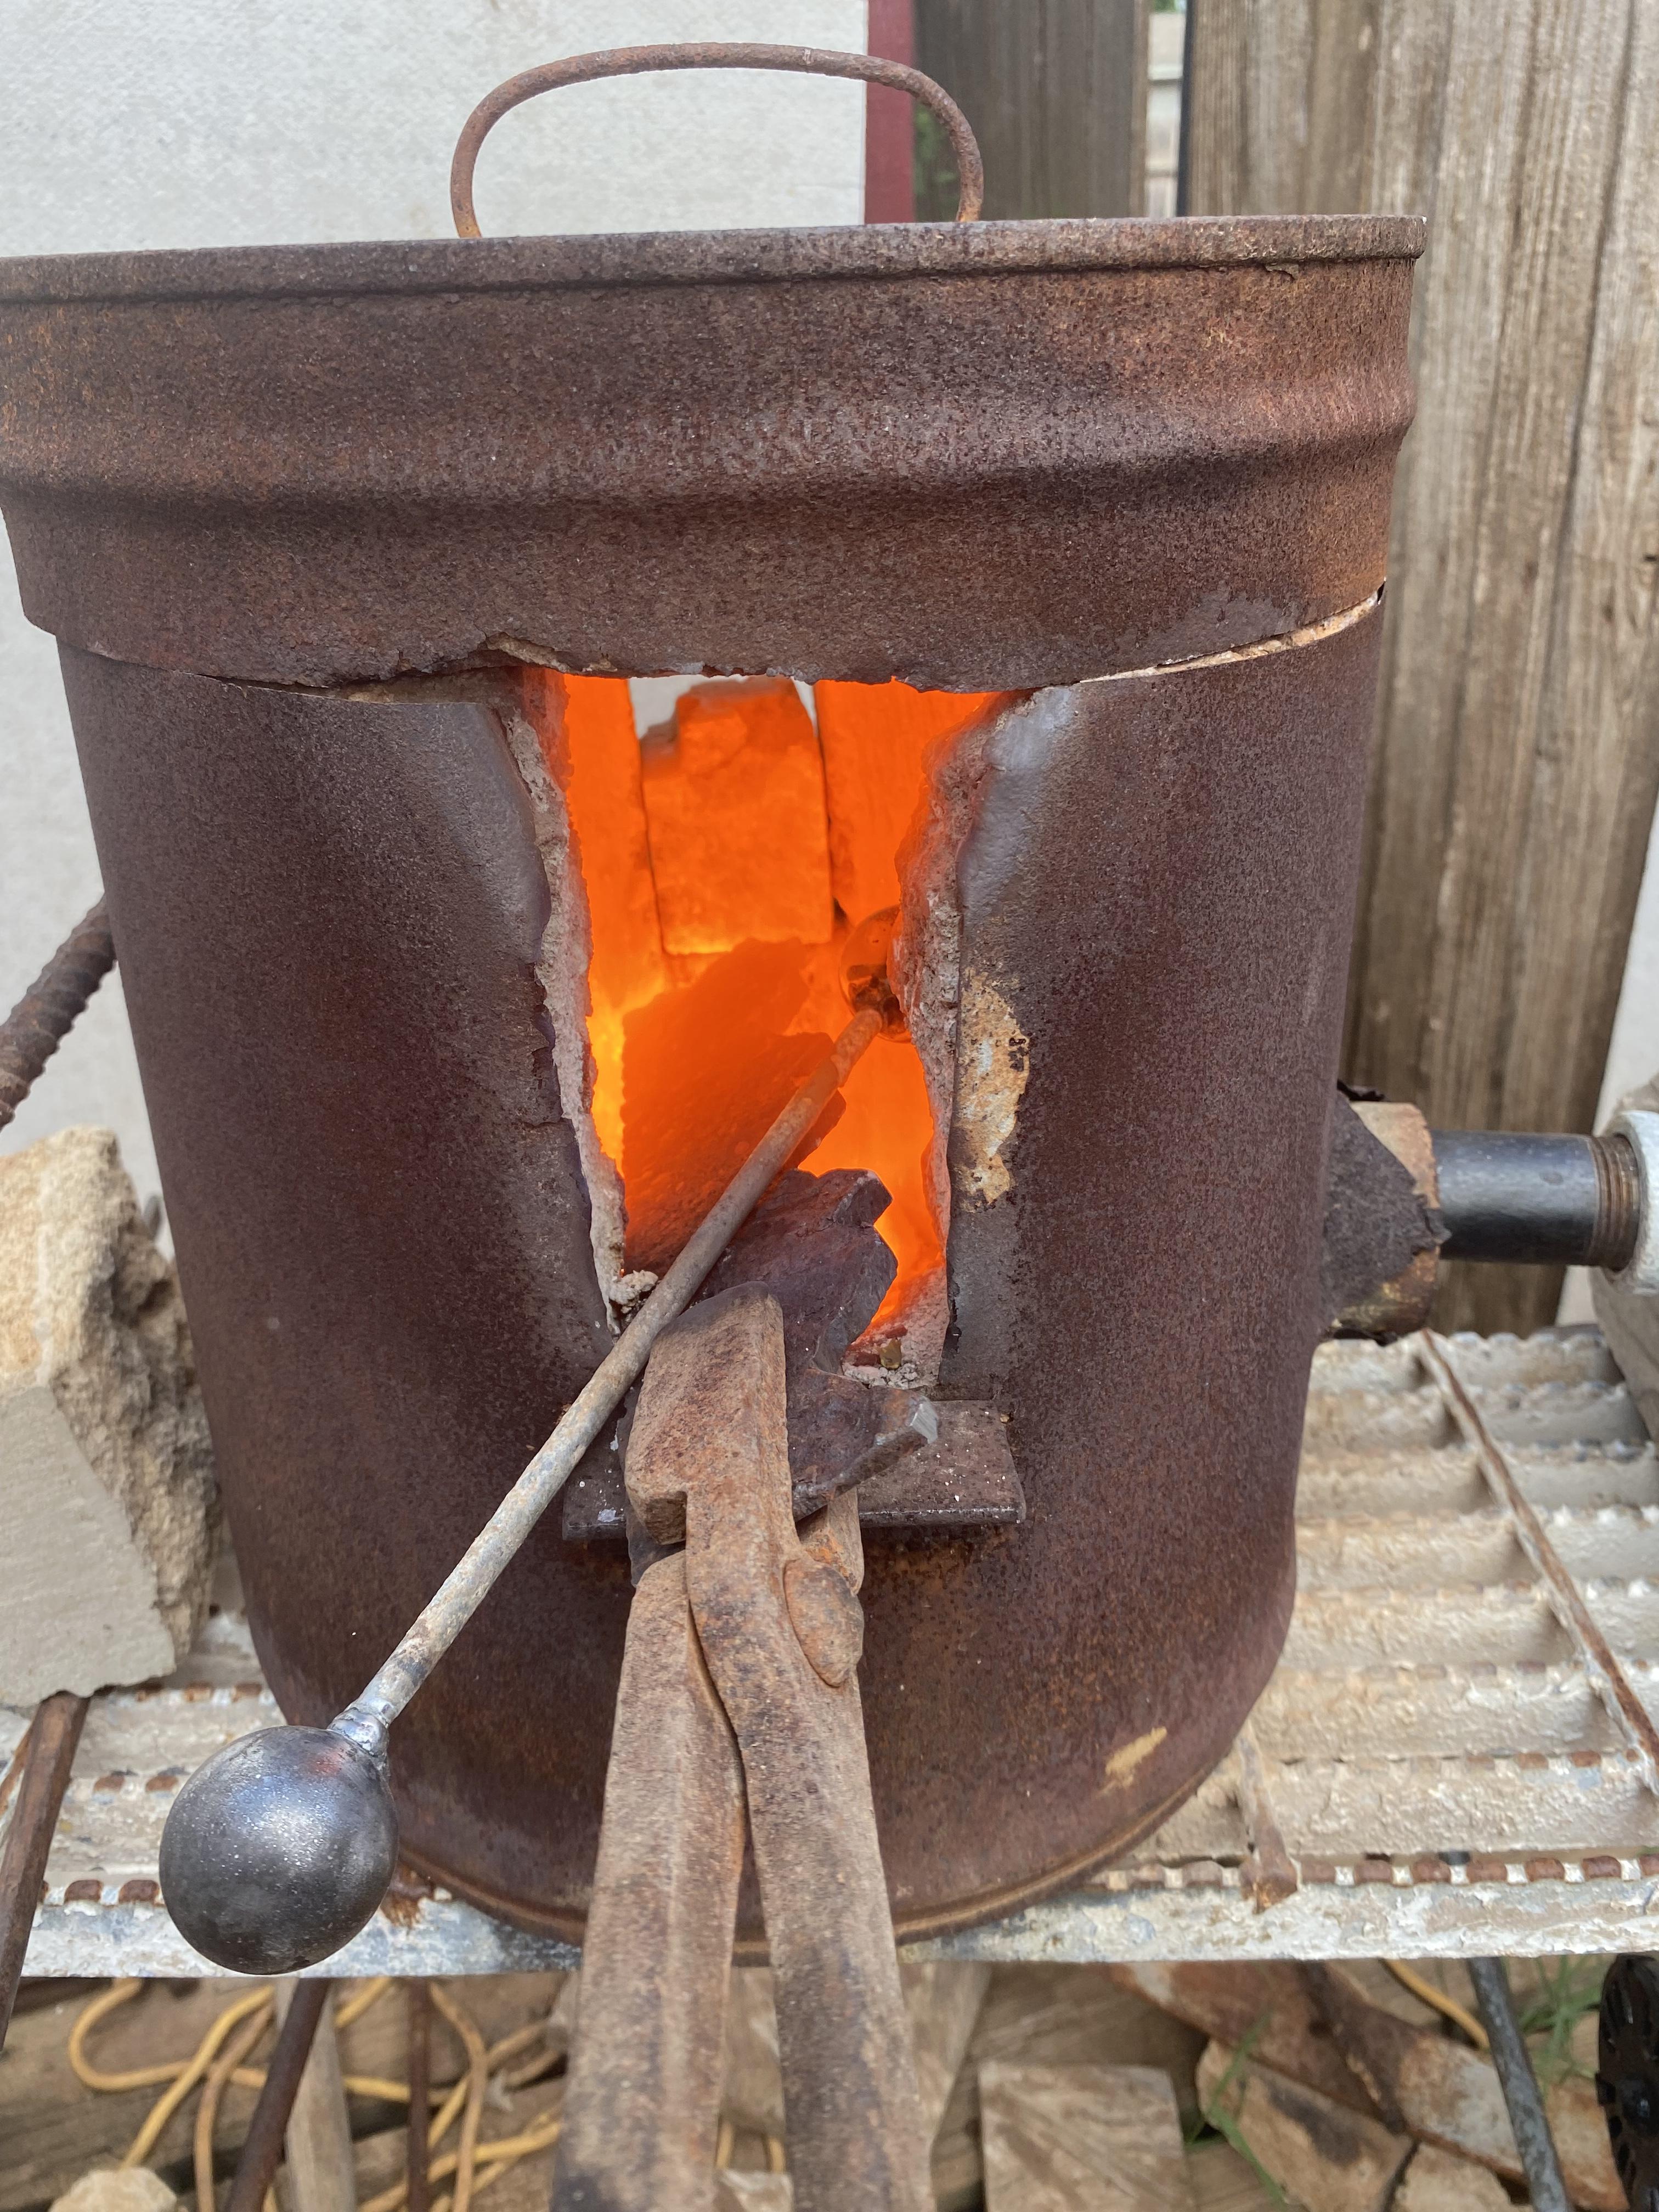
Well, it worked. Smashed some ball bearings, forged some mild, and did three billets of damascus this morning before I ran out of propane. It is hard to judge temp by color, and you can't see the dragons breath, when it's SUPER bright sunlight, but that's what I had. Even so, by color it was getting a couple of shades hotter than it was before, with not malfunctions. Scale wasn't out of line compared to before, and I did manage to catch a nice piece of scale in my shoe


-
That also makes sense. No point in all the hot stuff burning out the doors. Thanks for that thought.
Trial and error
-
I kinda get that. I kind of figure I can set either the gas PSI and adjust the needle to get it right, or choke down the air and adjust the needle to get it right at a lower temp.
What I don't get... what are the limitations? If I'm pushing too much gas and air into too small a space, will it just not tune right until I turn it down? I assume some trial and error to find a setting that holds a consistent high welding heat, but also some trial and error to set a regular forging heat?
-
I've got a forge shell, vertical, 2" thick cast liner. 250 cubic inch interior. I have a blown burner on 1" pipe. I know how to basically tweak the gas and air to get a bit of dragon's breath and a neutral to reducing atmosphere. I've changed from a 3/4" venturi that will weld clean stacks but struggles on long soaks. I'm changing burners to get closer to yellow/white than orange/yellow. My question is this: What happens if my blower is just too much? Choke down the blower and the gas a bit more? Leave the air alone but mess with the PSI at the regulator and the flow at the needle valve?
Sorry I haven't been around in quite a while. Work internet was blocking the site. Now I work from home
-
Today is Texas Independence Day, and a fitting occasion to finish this knife project. When I say I am patriotic, be clear that my loyalty is to Texas first. All of the visible parts of this knife are connected to the events of the Texas Revolution.
I’ll summarize the knife here, although there is more detail in the WIP thread in Shop Talk over on Blade Forums.
-1836 layer Damascus with Powell nails
-nail Damascus guard
-Sea of Mud grape shot spacer
-1836 silver half dollar
-Sam Houston Oak
-Sea of Mud harness decorations
-14” overall with a 9” bladeKenny Rowe is working on leather, and this knife will be available at the ICCE show.


-
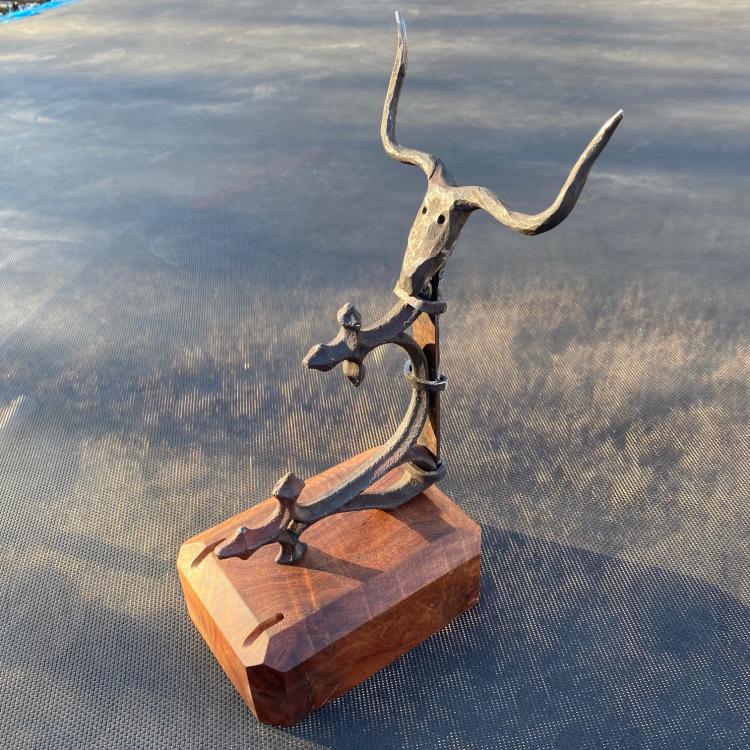
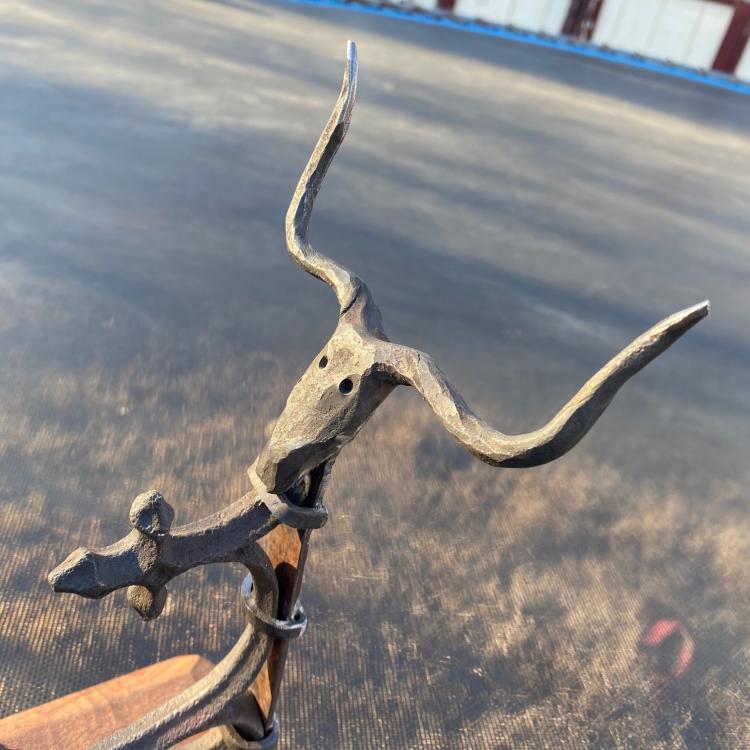
I have a cattle drive themed knife that needed a stand. I forged this yesterday. The head was about a 3" piece of 5/8 sucker rod, and the cast iron element was from a 125 year old cemetery gate. The cast broke the first time I tried to put in the final rivet, so I ended up going with the collars instead.
-
Folks, I finally finished the book I've been working on for three years. It's a 26 chapter anthology by 17 authors around the theme of "next level knifemaking." Advertising link removed No firm print date yet, but we are expecting to be out this winter.
-
Finished this one a couple of weeks ago. The blade is 1836 layer damascus and includes nails from the house where the Mexican army met after San Jacinto. The handle pins are from a harness decoration found at the Mexican camp in the "Sea of Mud." The handle is from the Sam Houston oak, where the Texian army camped on the first night of the Runaway Scrape. Finally, the design is intended to recall the coffin handled knives of James Black, similar to a knife found in the "Sea of Mud" excavations. Enjoy!
-
9 hours ago, pnut said:
I just have to say, I dread YouTube links. Watched your video and now it's 30 minutes later. Hahaha.
Pnut
Lol very true!
-
Here's a short video of the three hammers I use the most. I seriously need to re-dress the faces.
-
Yeah, Pounding out the Profits is the one I thought of also.


Meteorite damascus project
in Knife Making
Posted