Cavpilot2k
-
Posts
210 -
Joined
-
Last visited
Content Type
Profiles
Forums
Articles
Gallery
Downloads
Events
Everything posted by Cavpilot2k
-

What did you do in the shop today?
Cavpilot2k replied to Mark Ling's topic in Blacksmithing, General Discussion
Thomas Powers - I was just able to pick up a copy of ToMAR from the author. A bit pricey ($125), but not the obscene prices I see elsewhere online ($300+). It's even signed by the author. -
What did you do in the shop today?
Cavpilot2k replied to Mark Ling's topic in Blacksmithing, General Discussion
The sheet I am looking at getting now from a local supplier (in 4'x8' sheets) is A1008. I was hoping for 1018, but at that low carbon content, I'm not sure it really matters since it isn't hardenable. I was in the SCA about 25+ years ago for a while, but not anymore, so it doesn't NECESSARILY need to be used. I am more interested in quality historically-based costume armor that COULD be used if needed (except for the helm - since I don't plan on fighting in them I will keep them visually historical). So I am using 16 and 18 gauge for plate pieces (16 for larger parts and those more likely to take full force, 18 for less critical parts and lames). I'm on Armourarchive and have been into armor for a long time, but now am starting to try my hand at making my own. I've not read the book, but I am familiar with much of the content by secondary sources. Finding a downloadable copy has been on my to-do list for some time. I just ordered Tobias Capwell's book on English Armor from 1400-1450 and I'm super excited for it to arrive when it makes it across the pond. My forge is still outside, so armoring gives me something to work on on rainy days. -
What did you do in the shop today?
Cavpilot2k replied to Mark Ling's topic in Blacksmithing, General Discussion
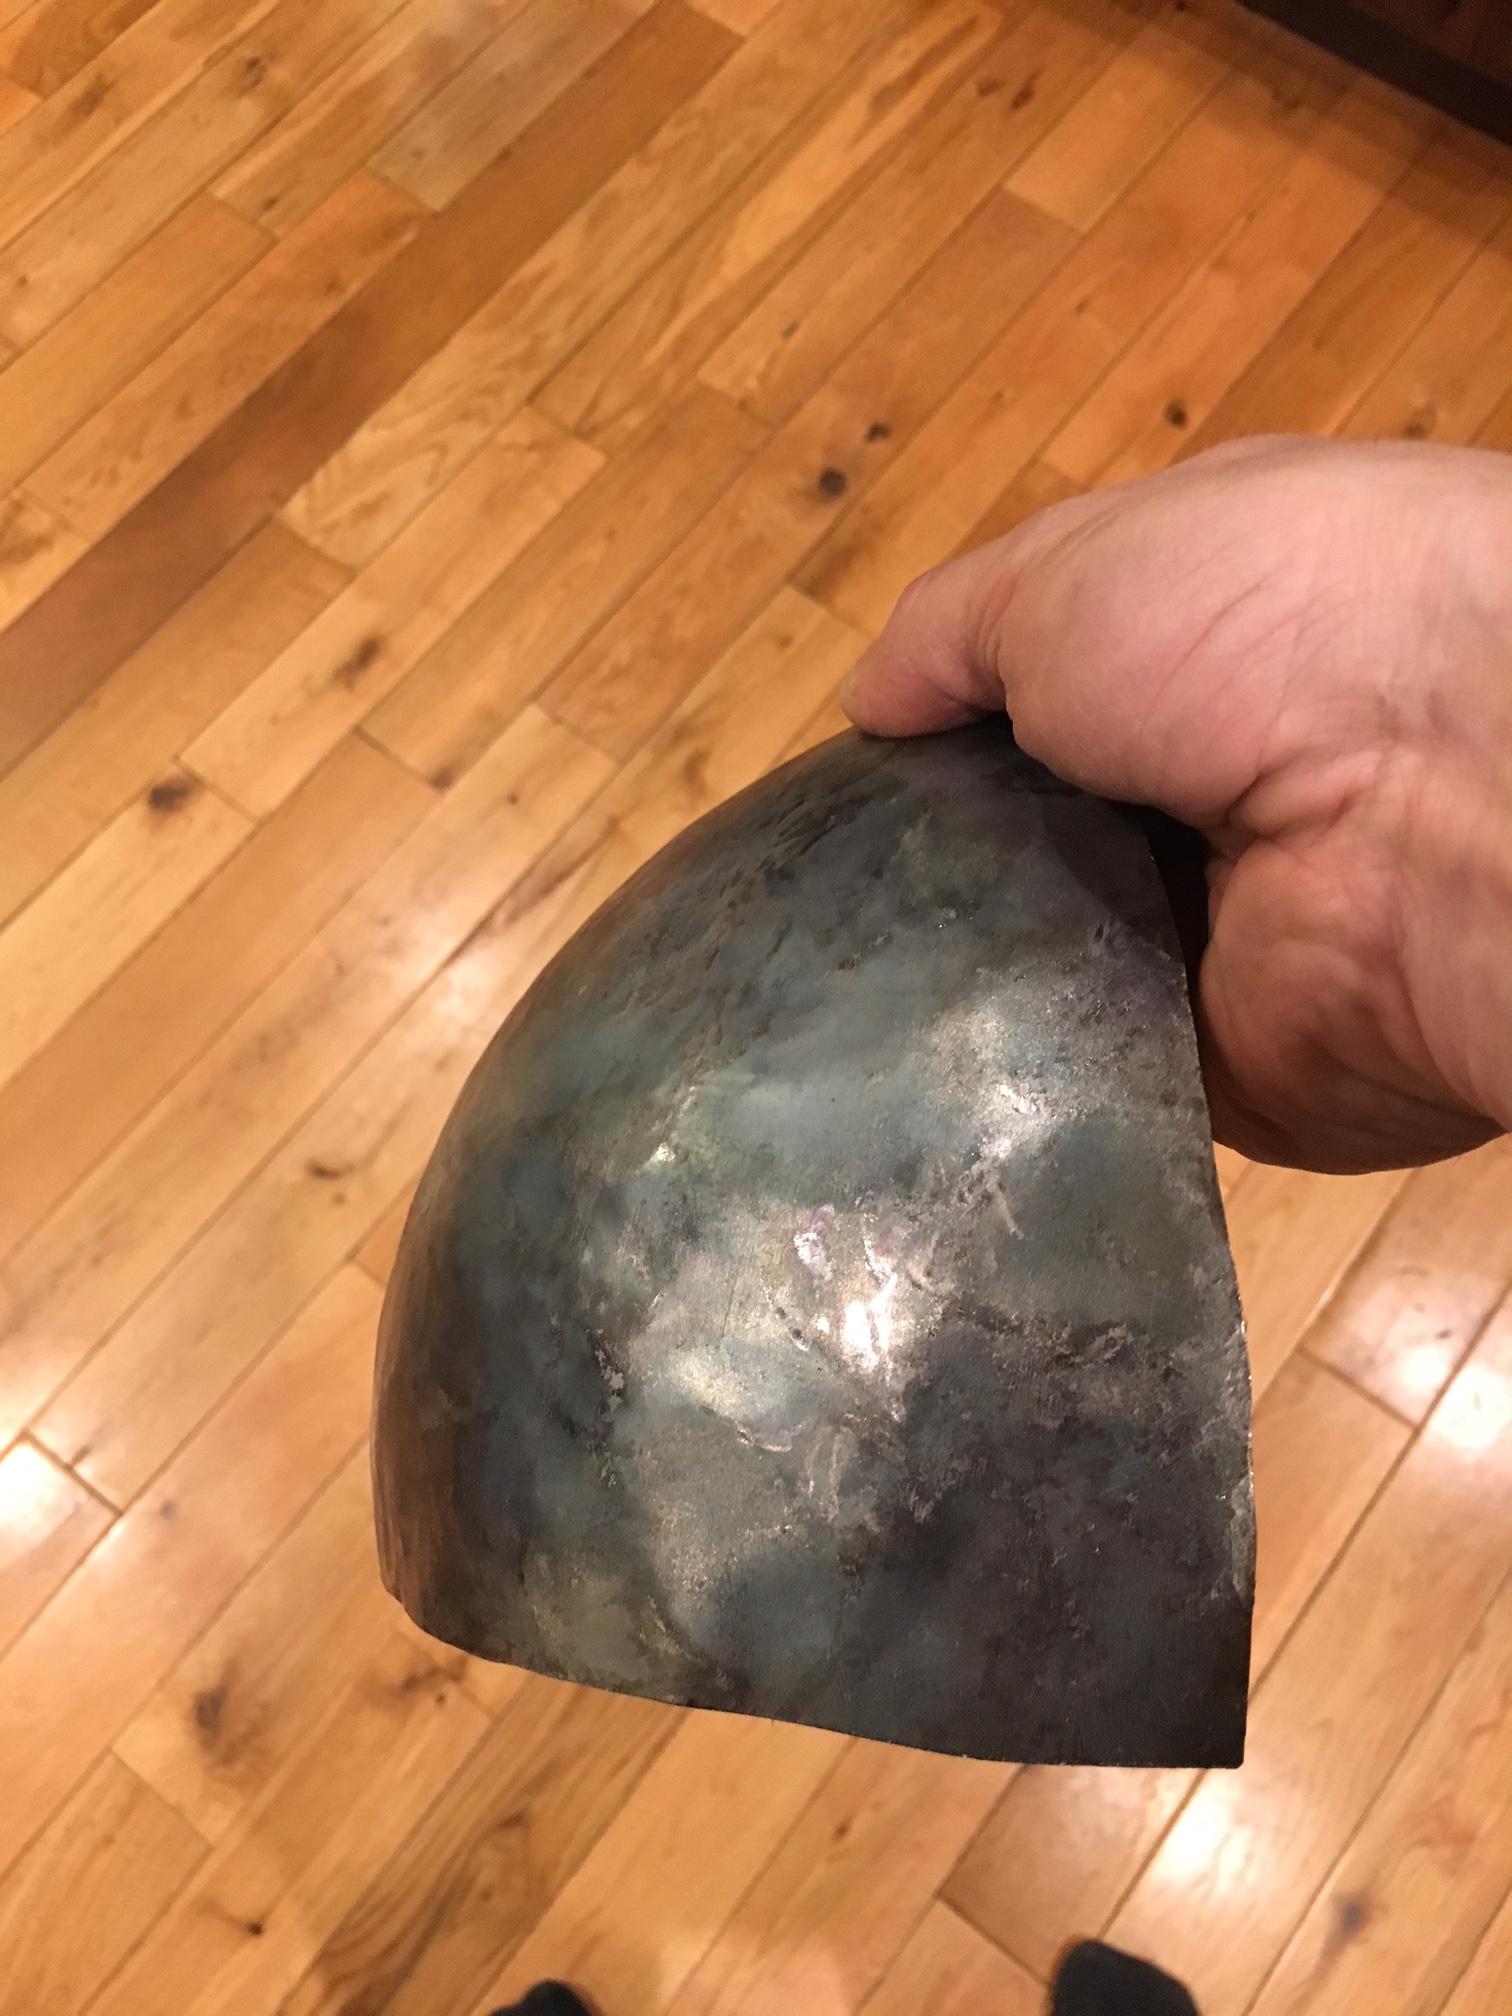
I could be mistaken, but I think it is still technically a SPangenhelm with two plates, as the term spangenhelm is derived from the riveted framework style of construction. Mine will have a central (front-to-back) strip to which the halves will be riveted (though I may tack weld them together for additional rigidity) and a bottom strip around the circumference. I have not yet decided if I am going to add hinged cheeks, a back plate, an aventail, a nasal, or even "spectacles". I'll figure that all out once I get the dome built. I am using 16 ga mild cold rolled. It was really a PITA to dish cold until I normalized/annealed it with a torch. Now it moves much easier. I didn't think the cold-rolled stuff would be that much tougher than hot rolled. I think my next sheet will be hot rolled for easier dishing. Once you beat the heck out of it like this, you pretty much lose the advantages of CR anyway. BTW, this is my first attempt at something like this (armoring involving dishing). -
What did you do in the shop today?
Cavpilot2k replied to Mark Ling's topic in Blacksmithing, General Discussion
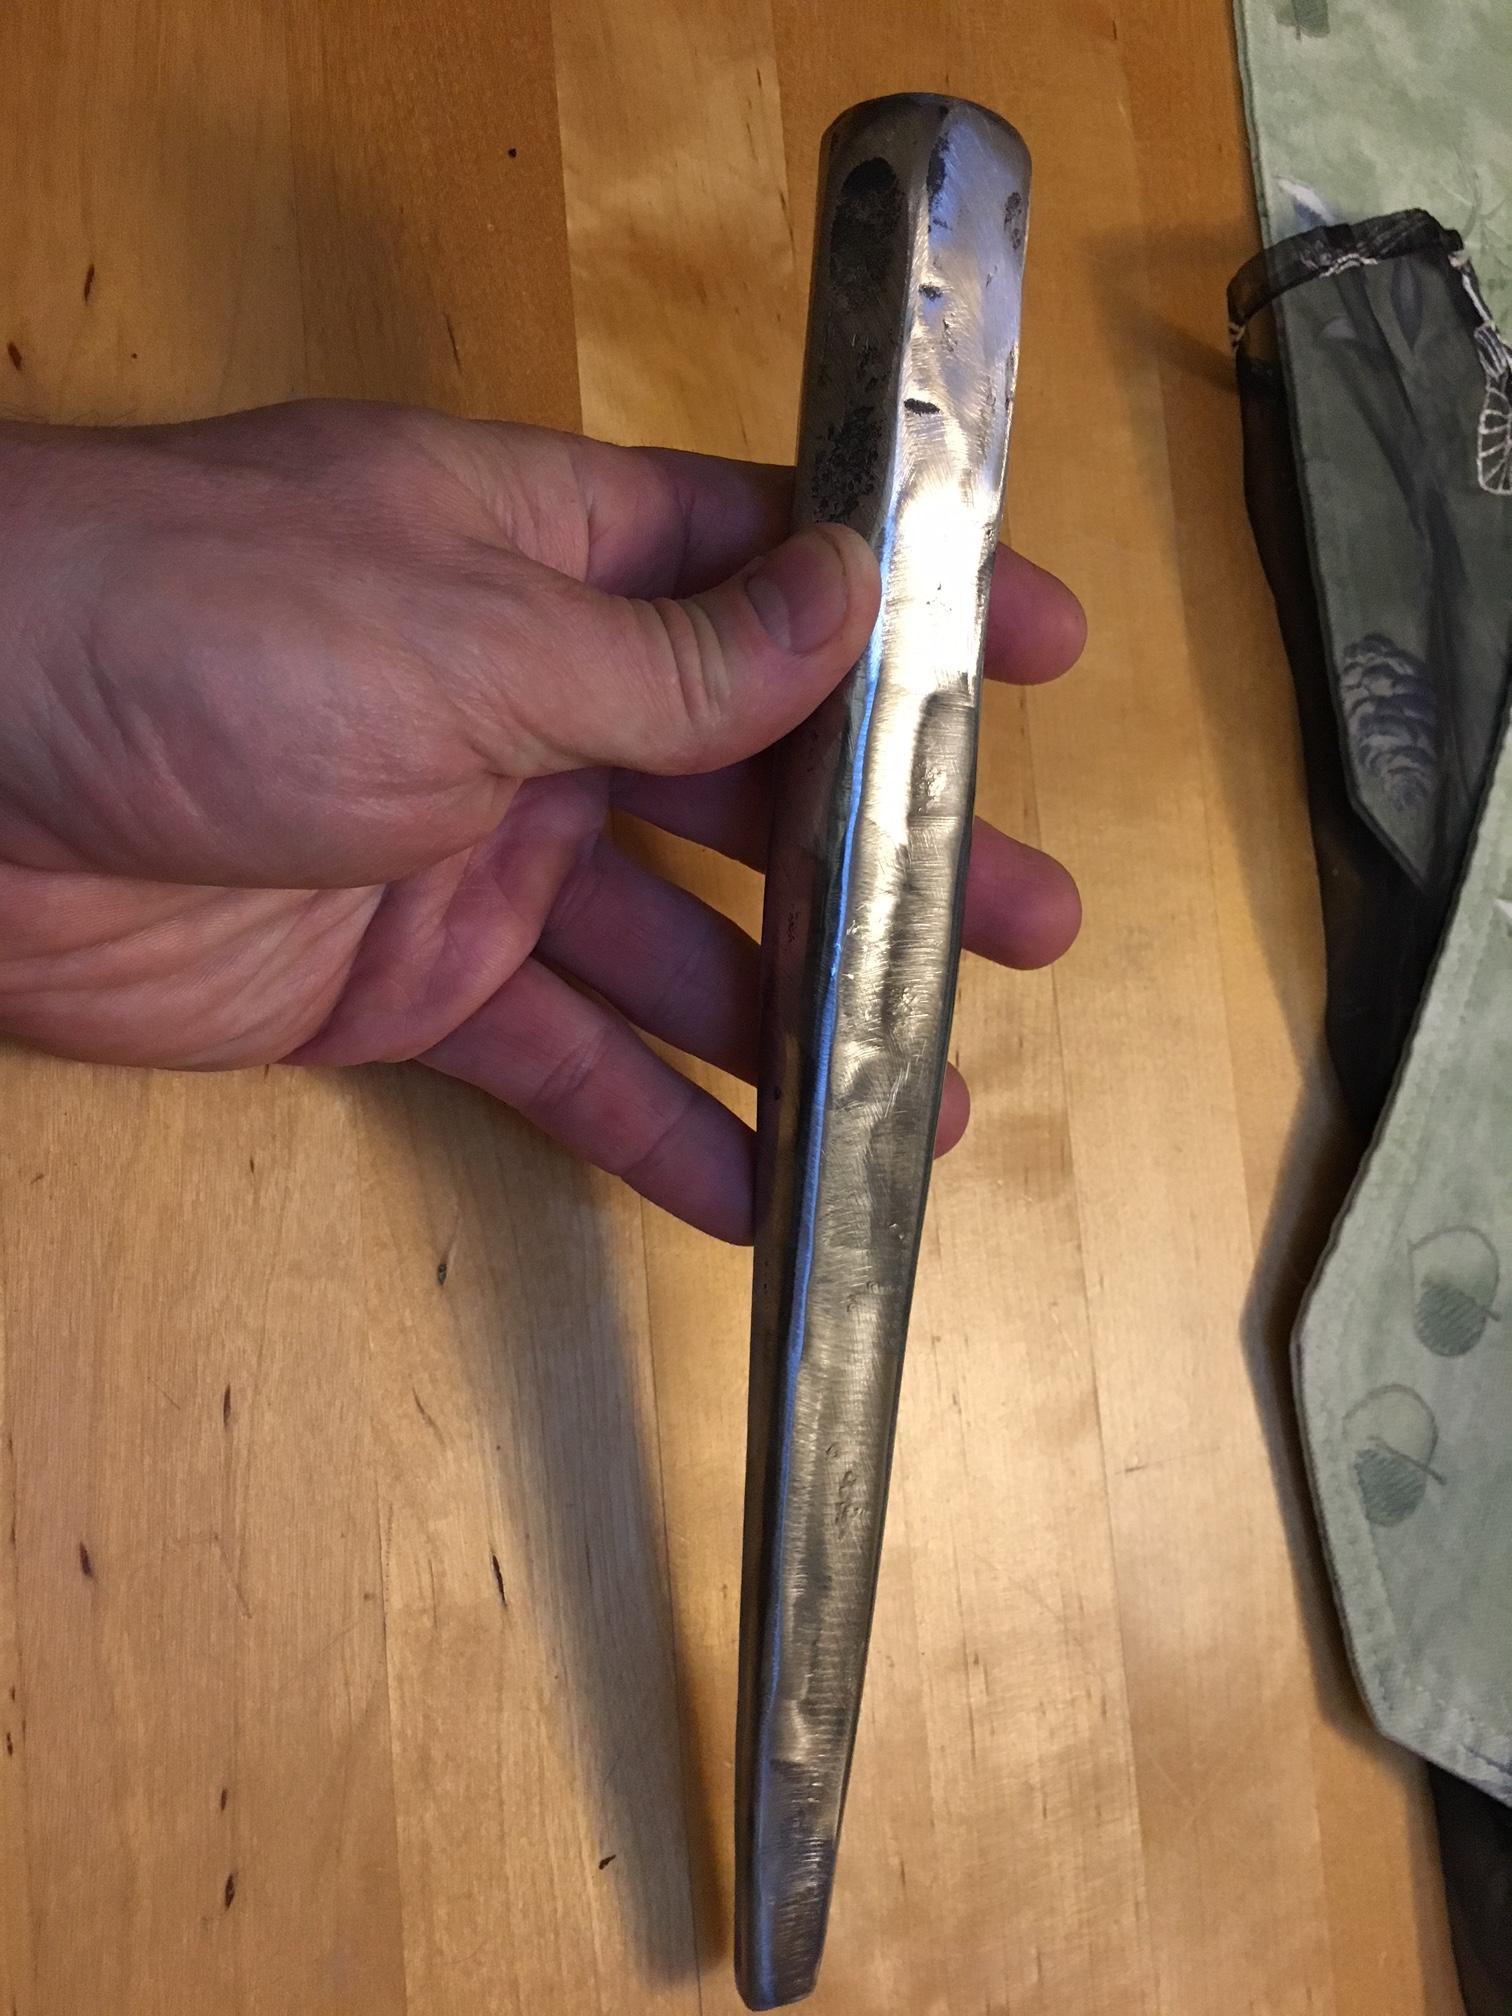
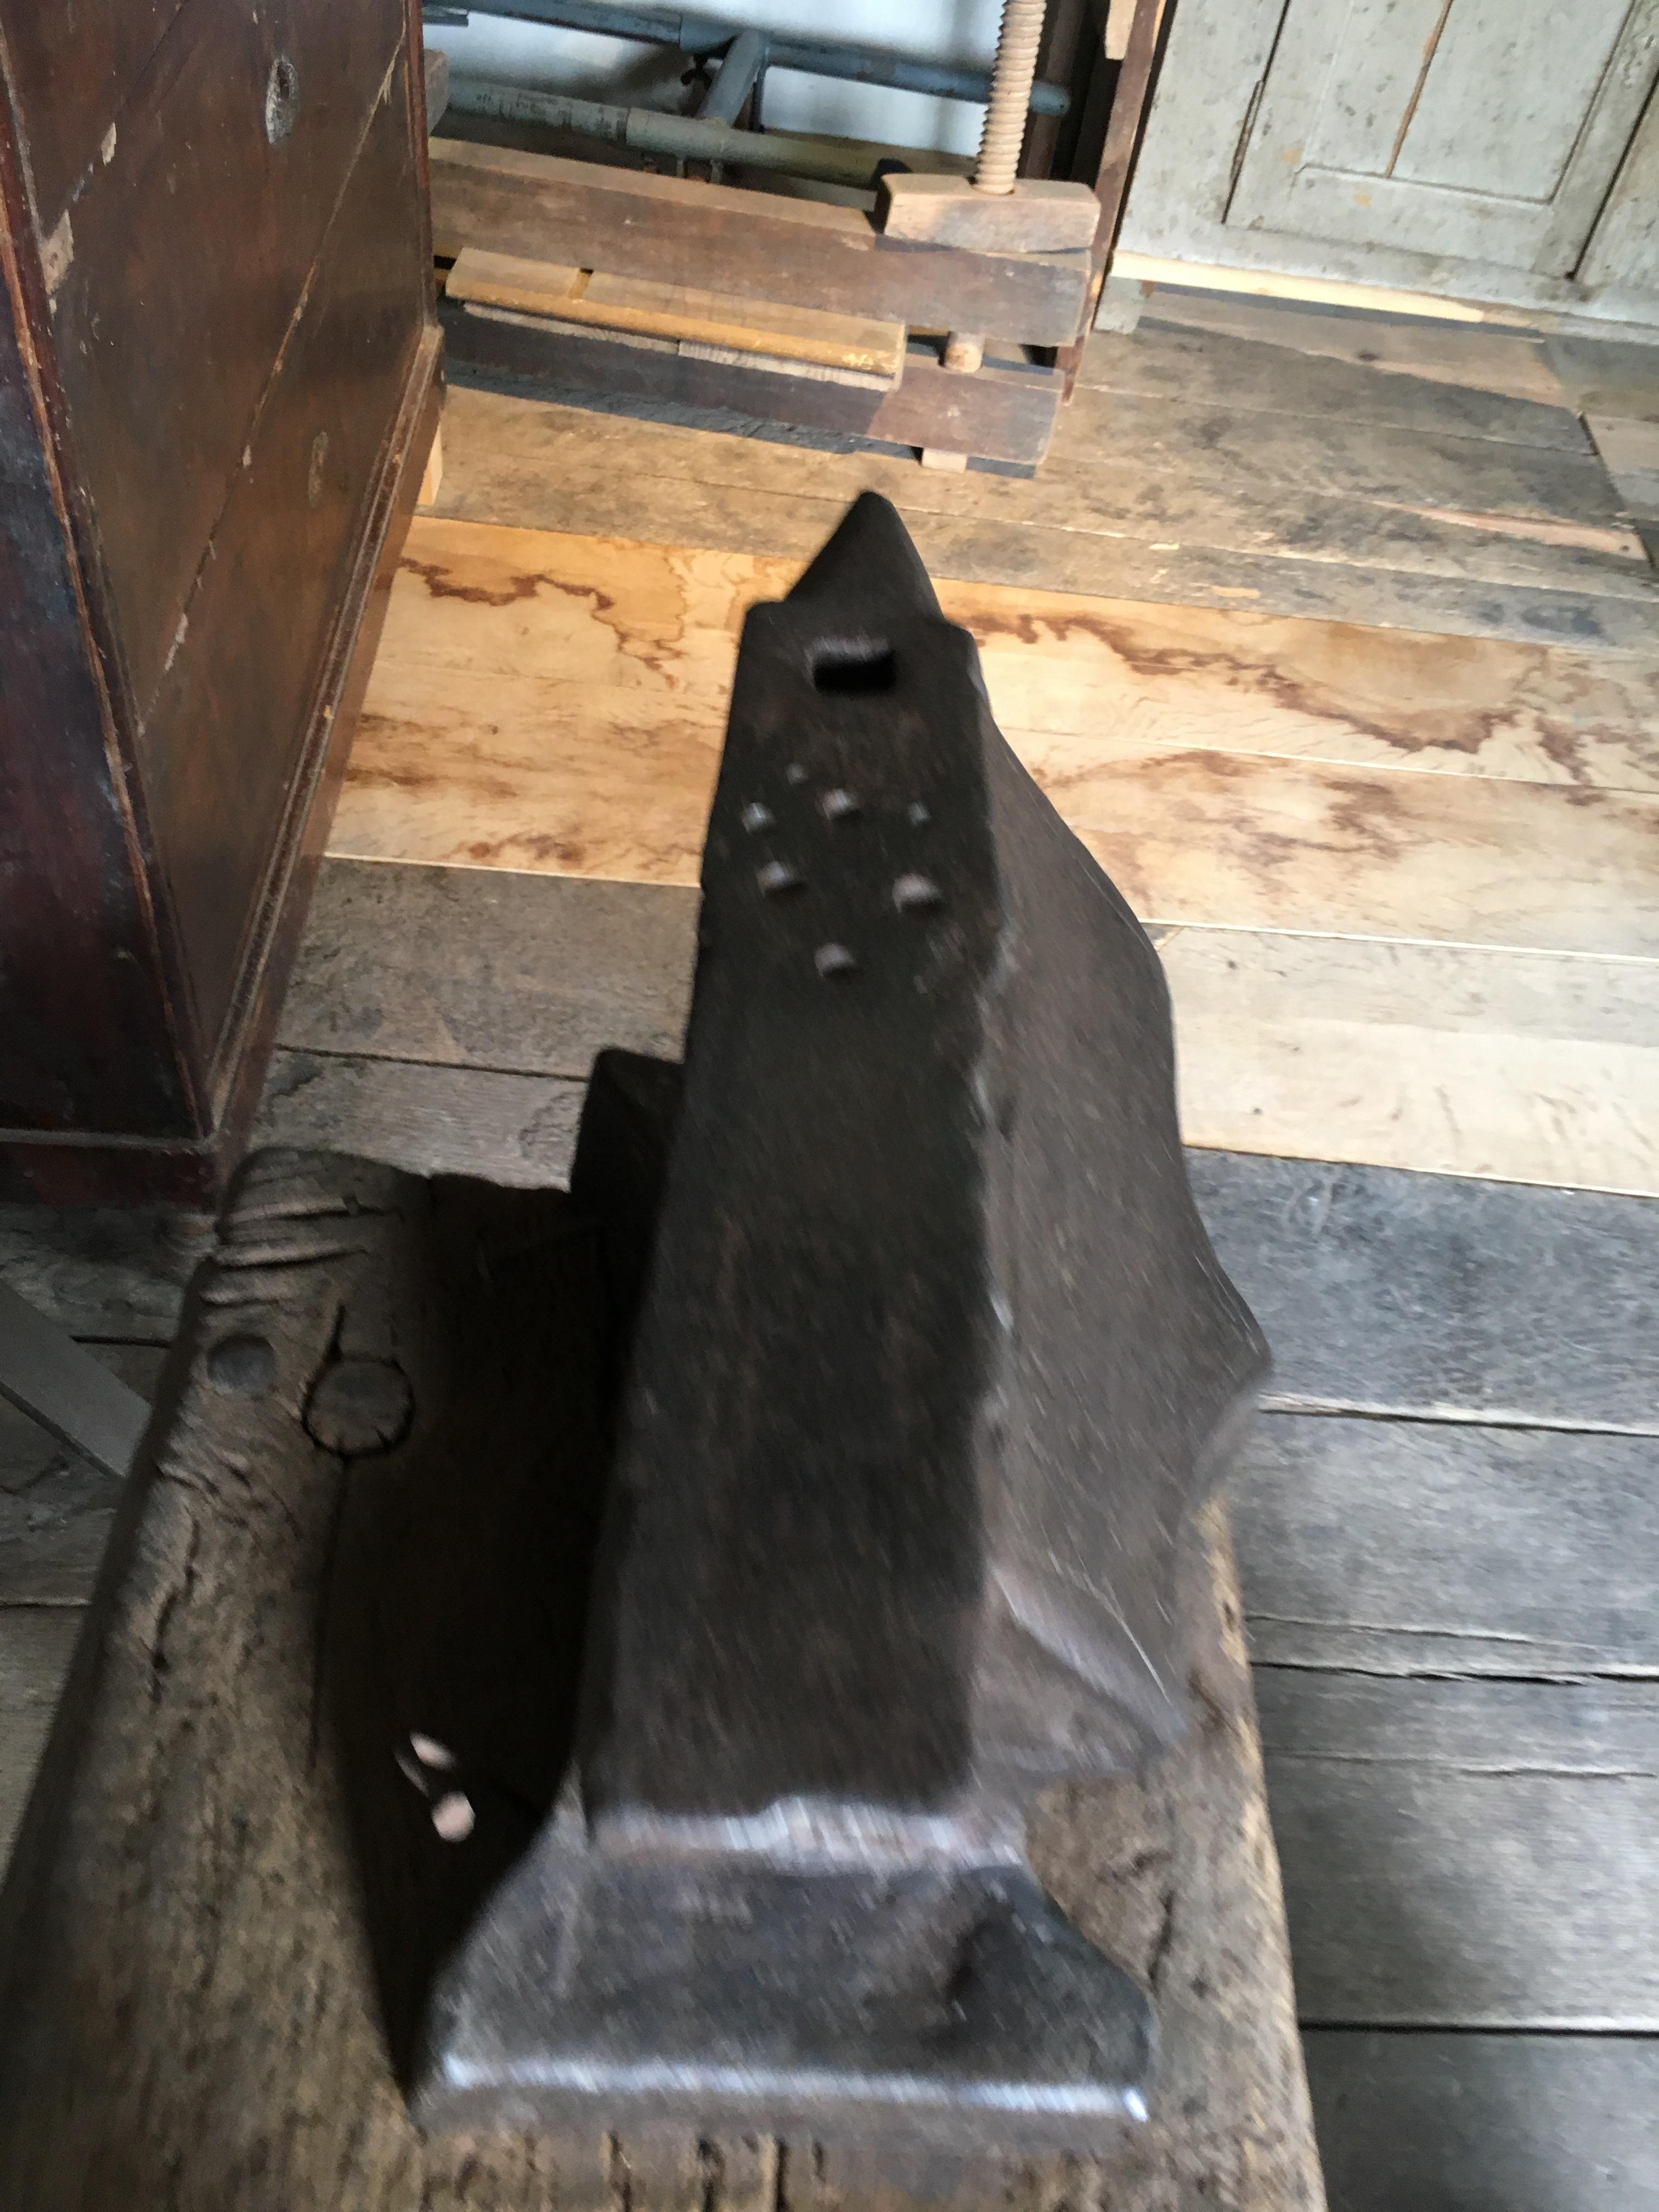
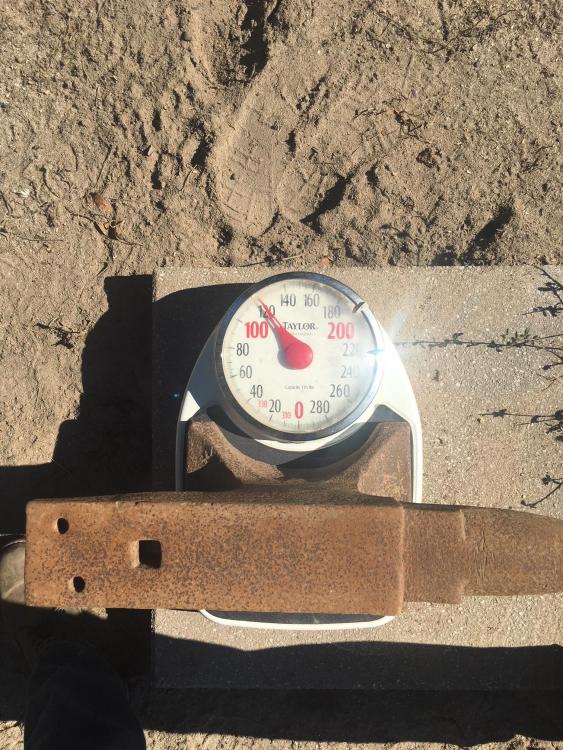
Finished a hammer drift I forged out of a pavement breaker bit and did some dishing for a spangenhelm half.


-
I use "blacksmith" coal (a fairly clean burning bituminous) and get basically no pops or sparks leaving the fire area unless I crank up my blower to make a volcano out of it, but that's not a proper, or even usable, volume of air flow. But yes, there is some smoke that close neighbors may find objectionable if you have to start up with a fair amount of green coal.
-
I like the idea of normalizing them to relieve stress. I've made a few punches from another coil previously, and I did exactly what you said - cut as needed. No reason to unroll the whole thing (although the one destined to become a spring fuller is going to get a few feet straightened out - that'll be "fun"...
-
Best coating for wood handles
Cavpilot2k replied to Hayden H.'s topic in Finish and Polish for Knives
I've started using a product called Real Milk Paint Half & Half for all exposed wooden handles, whether hammer, knife, or anything else. It is a blend of Tung oil and Pine oil with an orange solvent mixed in. It will not make a glossy finish if that's what you want, but it makes a lovely satin luster and is food safe. Plus it's really easy to use and requires no mixing. The only downside is that it isn't cheap. -
Went by the scrap yard and picked up 2 coil springs, one about 5/8" dia, which is destined to become a spring fuller and some fine punches, and one that's around 7/8-1" dia, that will be turned into various other things (punches, maybe a blade or two, etc. I also found two brand new lawnmower blades that I may use for blade stock or axe bits. Normally I would avoid mower blades because of all the stress they take hitting rocks, etc, and I know they usually have microfractures, but these two are brand new, still fully covered in black paint with not a scratch on them. Planning on test heat treat over the weekend.
-
Knifemaking 2.0 Advanced Studies
Cavpilot2k replied to Steve Sells's topic in Books, Printed Material
Ordered. Looking forward to it! -
Welcome to the addiction!
-
Found My Dad's Old Anvil
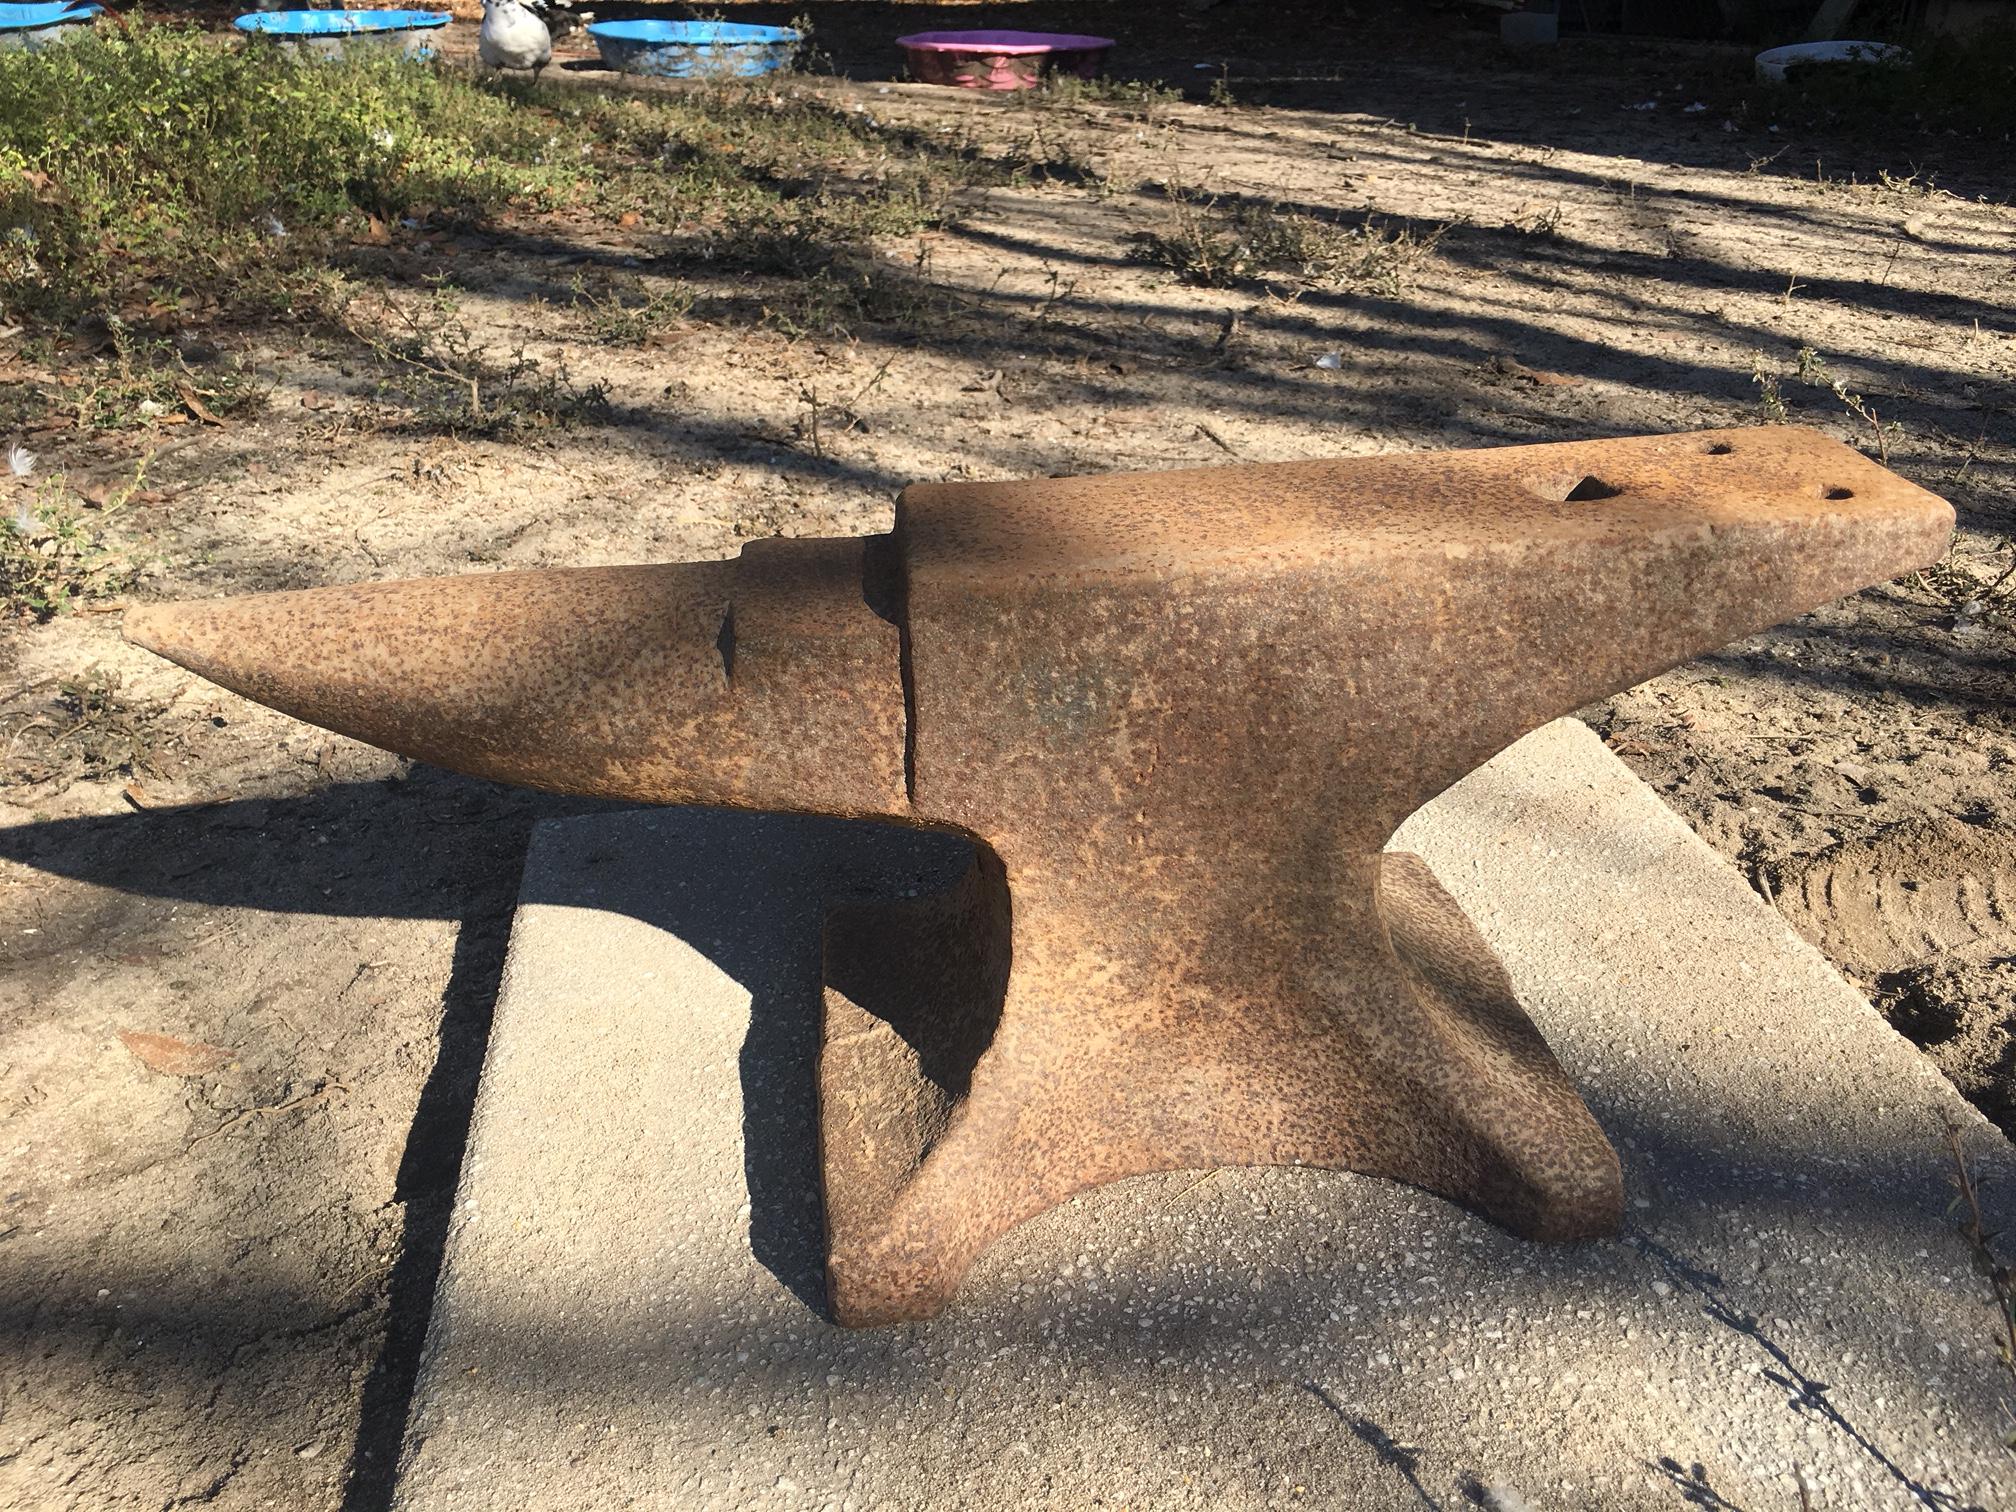
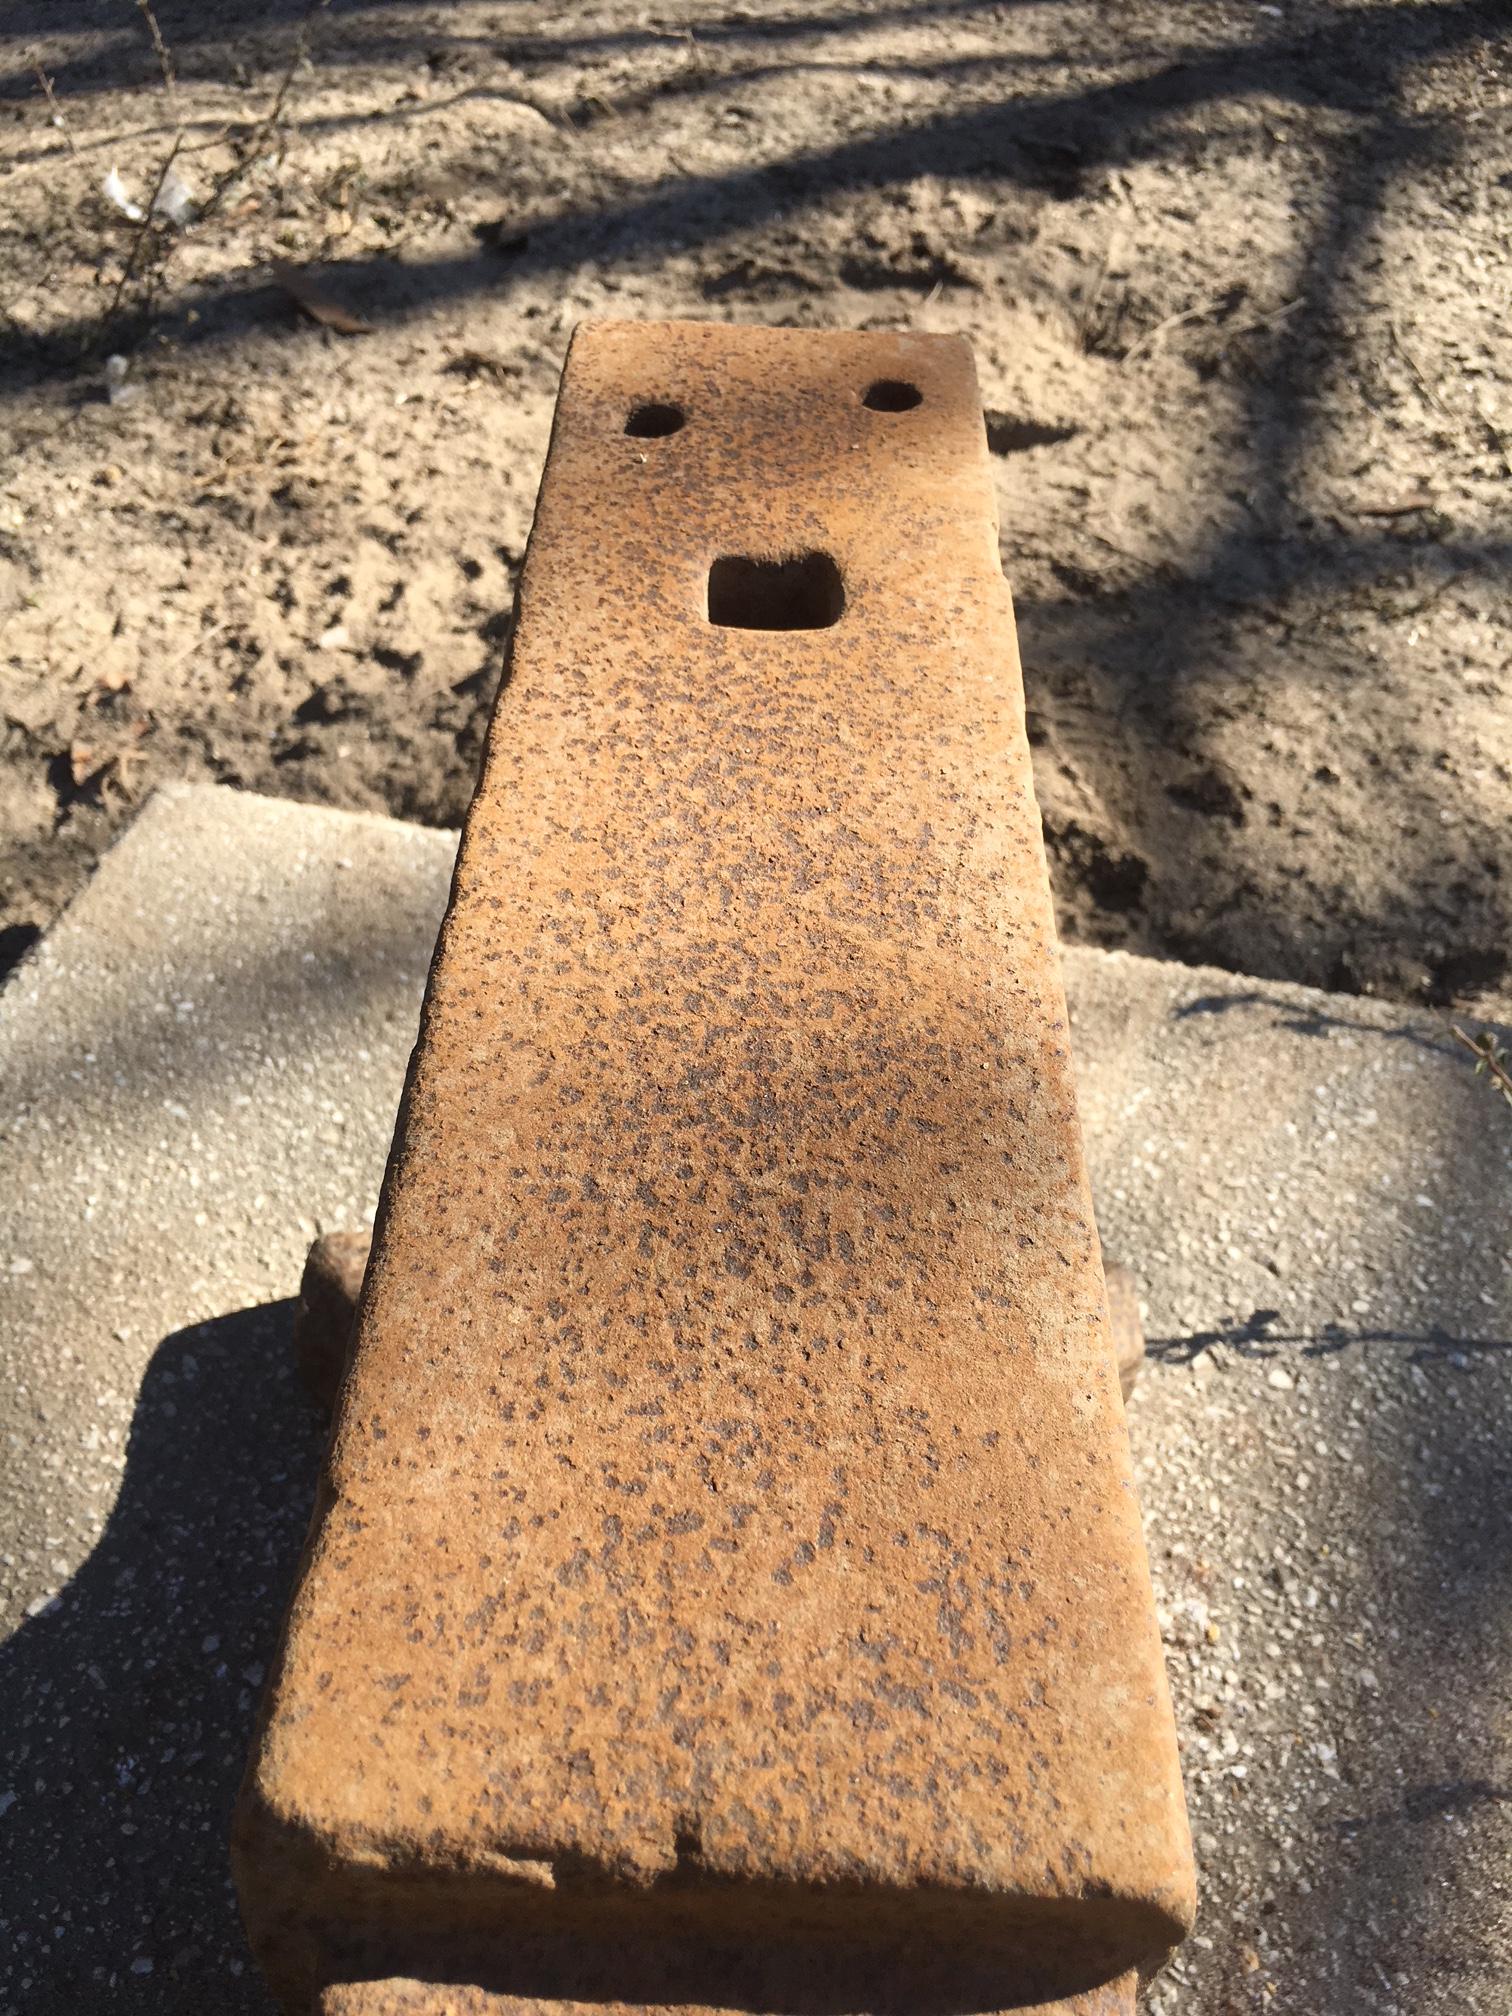
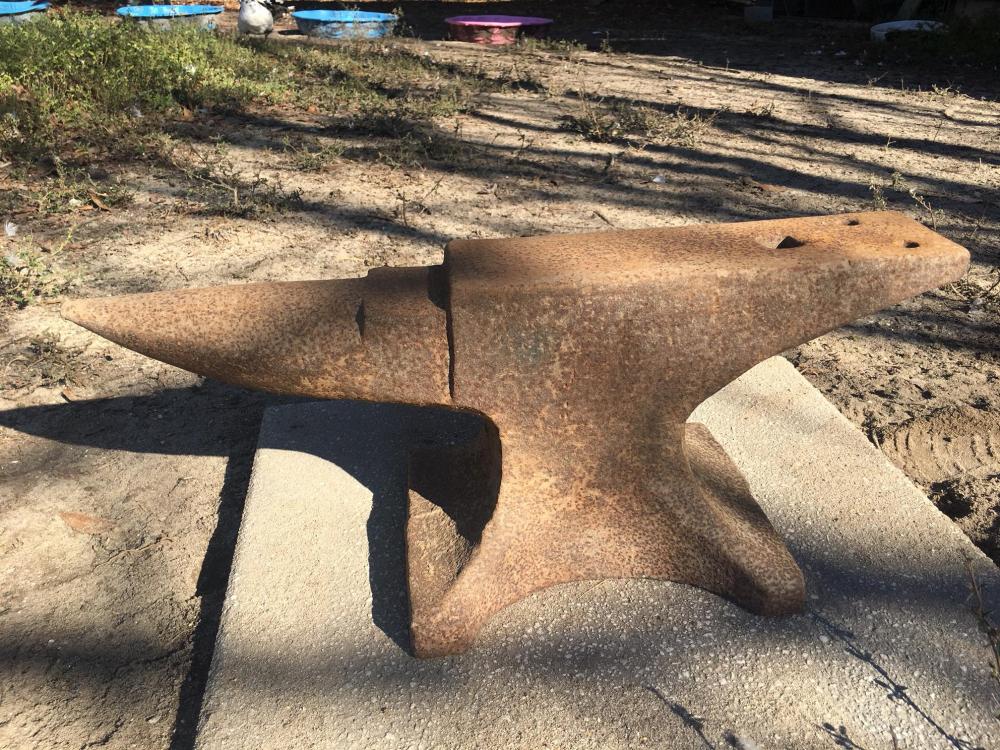
Cavpilot2k replied to Cavpilot2k's topic in Anvils, Swage Blocks, and Mandrels
Awesome. Now I just have to get the thing from South Carolina to Massachusetts. I considered it as a check bag on my next flight, but that would cost $150-200, depending on the carrier due to weight. -
Found My Dad's Old Anvil
Cavpilot2k replied to Cavpilot2k's topic in Anvils, Swage Blocks, and Mandrels
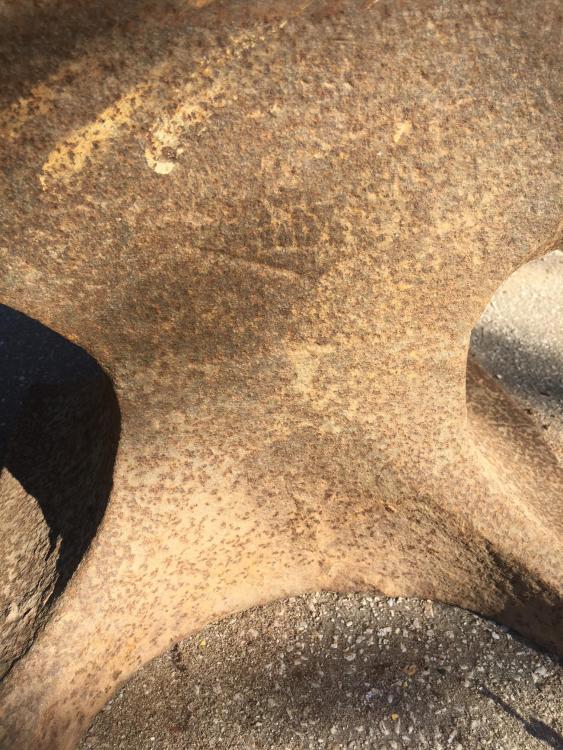
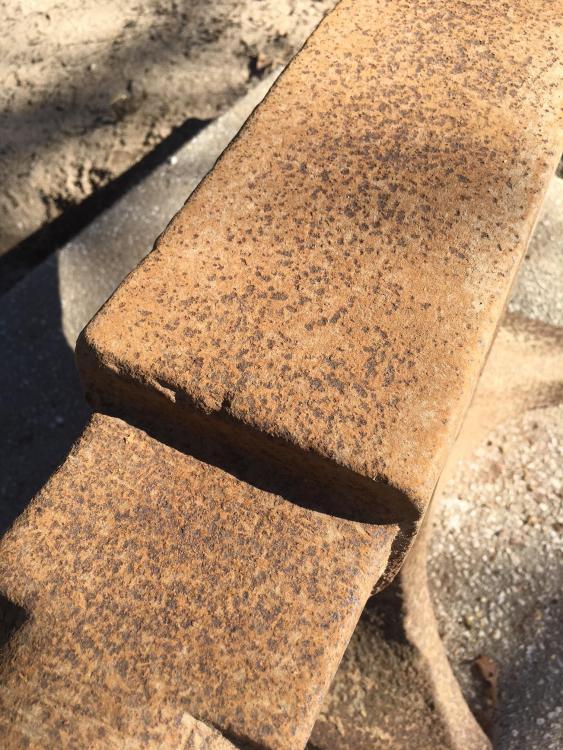
I think so - there is definitely a weld line around the waist, which is how I understand they were built in that era. -
Found My Dad's Old Anvil
Cavpilot2k replied to Cavpilot2k's topic in Anvils, Swage Blocks, and Mandrels
Yes. I must confess to being fairly ignorant of this process. Is there a sticky or post somewhere explaining the process in detail? -
I remember this being around as a kid. My dad wasn't a smith, but was one of those guys who could do just about anything. An electrician by trade and an accomplished welder, he really could build pretty much anything. I always wondered what happened to his anvil so I asked my brother and he said it is buried under stuff in the barn on the old family homestead where my parents retired back to. So I dug it out. 120 lb Trenton. In need of some cleaning, but generally in decent shape once I get the rust off. Now I just have to transport it from South Carolina to Massachusetts...

-
My namesake ancestor sailed to the US from Kent back in the early 1700's. Maybe we are related! lol
-
Well, it was in the cooper's shop in a museum of an old village in Germany. I don't know it that side slab or the holes had any specific purpose in a cooperage, but allegedly that's what it was used for. There were some other really interesting coopers' tools there as well.
-
I ran across this one in a museum in Germany last year. It's vaguely London patterned, but with that big, sloping side. Never seen anything like it before. Anybody care to guess what profession it was associated with (it was in an historic __________ shop)? Anyway, I had never seen its like and I thought y'all might enjoy it. -John


-
RubinPerry, To echo what some of the much more experienced folks here are saying: You're biting off more than you can chew. If you don't have an anvil, how do you intend to forge weld all this stuff together? I assume you may have access to a press or power hammer that you envision using? If you haven't really done any forging, you really shouldn't be looking at forge welding yet. Forged In Fire makes it look easy, but if that's what you're basing your assumptions on, look at all the experienced smiths on there who get bad welds, delaminations, and whatnot. It's far more complicated than putting some metal together, fluxing the hang out of it and smashing it with a press or power hammer. Nobody here wants to discourage you in this craft - we're just trying to help you set realistic goals so that you won't get frustrated right away and abandon it. Get some sort of forge, an improvised anvil, some tools, and some steel (free salvage stuff is fine for learning basic technique). And more importantly, if at all possible, get some professional hands-on instruction. YouTube is great, but it's no substitute for someone who knows what they're doing standing next to you correcting bad technique and showing you how it's done. Good luck, and forge on.
-
I find brass work hardens and cracks on me too if I don't anneal it often. Another option would be modeling clay like one might get from a crafts store makes an acceptable alternative to steel and probably better than other metals. You will be surprised how resistant it is to light hammer blows.
-
Ok, one more and I think I’m done for awhile.
Cavpilot2k replied to Jamully3's topic in Tools, ID, and pictorial reference
What is a "mill ball"? I mean I understand what a mill is, but my frame of reference is generally oriented toward grain milling (big stone wheel or roller mill). WHat sort of milling would the balls you reference be used for? -
What did you do in the shop today?
Cavpilot2k replied to Mark Ling's topic in Blacksmithing, General Discussion
Yeah, I'm finding that 16 ga is the thickest I would be willing to work cold. 18 ga - no problem. 14 ga will definitely be hot work. I'd love to work carbon steel, but I shudder to think what a 4' x 8' sheet of, say, 1050/1060 would cost compared to around $85 for mild. Also, One would need a huge forge and quench tank for a piece the size of a breastplate. I like the drilling the ball idea - at least I wouldn't have to worry about a weld breaking from hammering on it and dropping a large metal ball on a foot. -
What did you do in the shop today?
Cavpilot2k replied to Mark Ling's topic in Blacksmithing, General Discussion
Thomas: At this moment, the best I have for a spherical planishing stake is a 12 lb sledge head rounded on one end. Currently working on sourcing something else. I had considered a shot put, but I don't know that I am good enough a welder to get a cast iron (as I understand most of them are) shot put to stick to a medium carbon stake (pavement breaker bit). If I go that route, I'll probably take it to a pro welder. -
What did you do in the shop today?
Cavpilot2k replied to Mark Ling's topic in Blacksmithing, General Discussion
Finally finished my dishing stump for some armoring work I've wanted to do for a long time and got started on dishing a helmet half (no pics yet - it's a stump with a depression and an incomplete helmet half - nothing much to look at...). Turns out that being used to hot work, cold-dishing 16 ga. cold rolled sheet is WORK! -
Spears and javelins
Cavpilot2k replied to Ibor's topic in Spears, Arrows, Pole arms, Mace/hammer etc.
One more thing I hadn't considered - thanks again, Frosty! I have some old redundant tongs I can reshape. You just saved me headache of a mid-project pause to make a new tool. -
Thanks for the tip, Frosty, I'll keep an eye out for stress strands. Not something I had even considered.