

(M)
-
Posts
136 -
Joined
-
Last visited
Content Type
Profiles
Forums
Articles
Gallery
Downloads
Events
Posts posted by (M)
-
-
Oooh I want it
")
Beautiful sweeping lines, practical design, and incredible worksmanship!!
This looks exactly like what I have been thinking about making. Love the style
keep up the good work!!
-
Looks just like something forged for Sauron.
Incredible
-
Its a MONSTER!! love the look!
maybe a charred wood handle would go well with it?
-
Looks like a real beater! Can you post a closeup of the blade and tang?
-
Beauty!! Amazing work, let alone for your first! I hope to get there some day....
What are some of "the things that could be better"?
-
Very nice! I hope to try some cobras or regular snakes sometime with a 15ft piece of threaded rod i found on the side of the road.
-
Thanks guys, i will definitely flatten my future knives with a flatter to true everything up and smooth out the bevels. Then i'll file completely flat. Then i'll mark centre and set plunges with chainsaw file, then judicially file with the jig. I rushed that one a lot!!
I will post the next knife and i guess we'll see how it turns out!
-
Sorry i just edited it
-
Ok, i thought this might be the problem. how do i retain a true flat grind without the grind going convex? Its easy to slip slightly.
Would you reccomend drawfiling or normal filing?
-
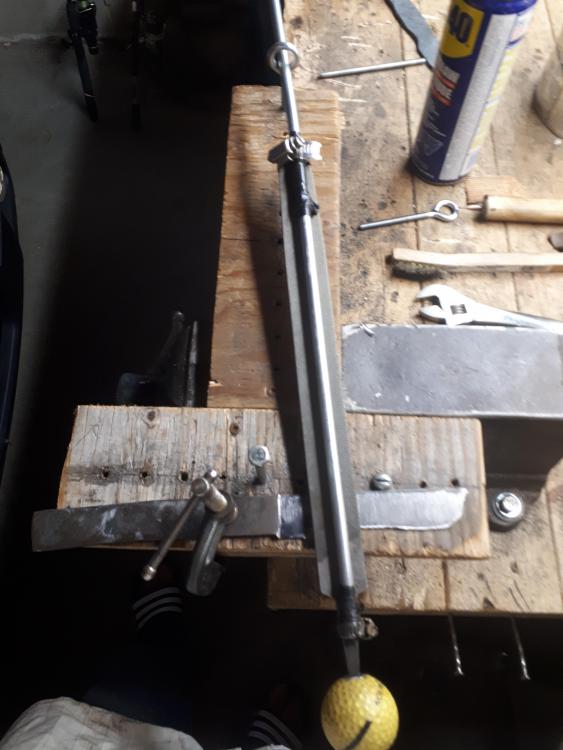
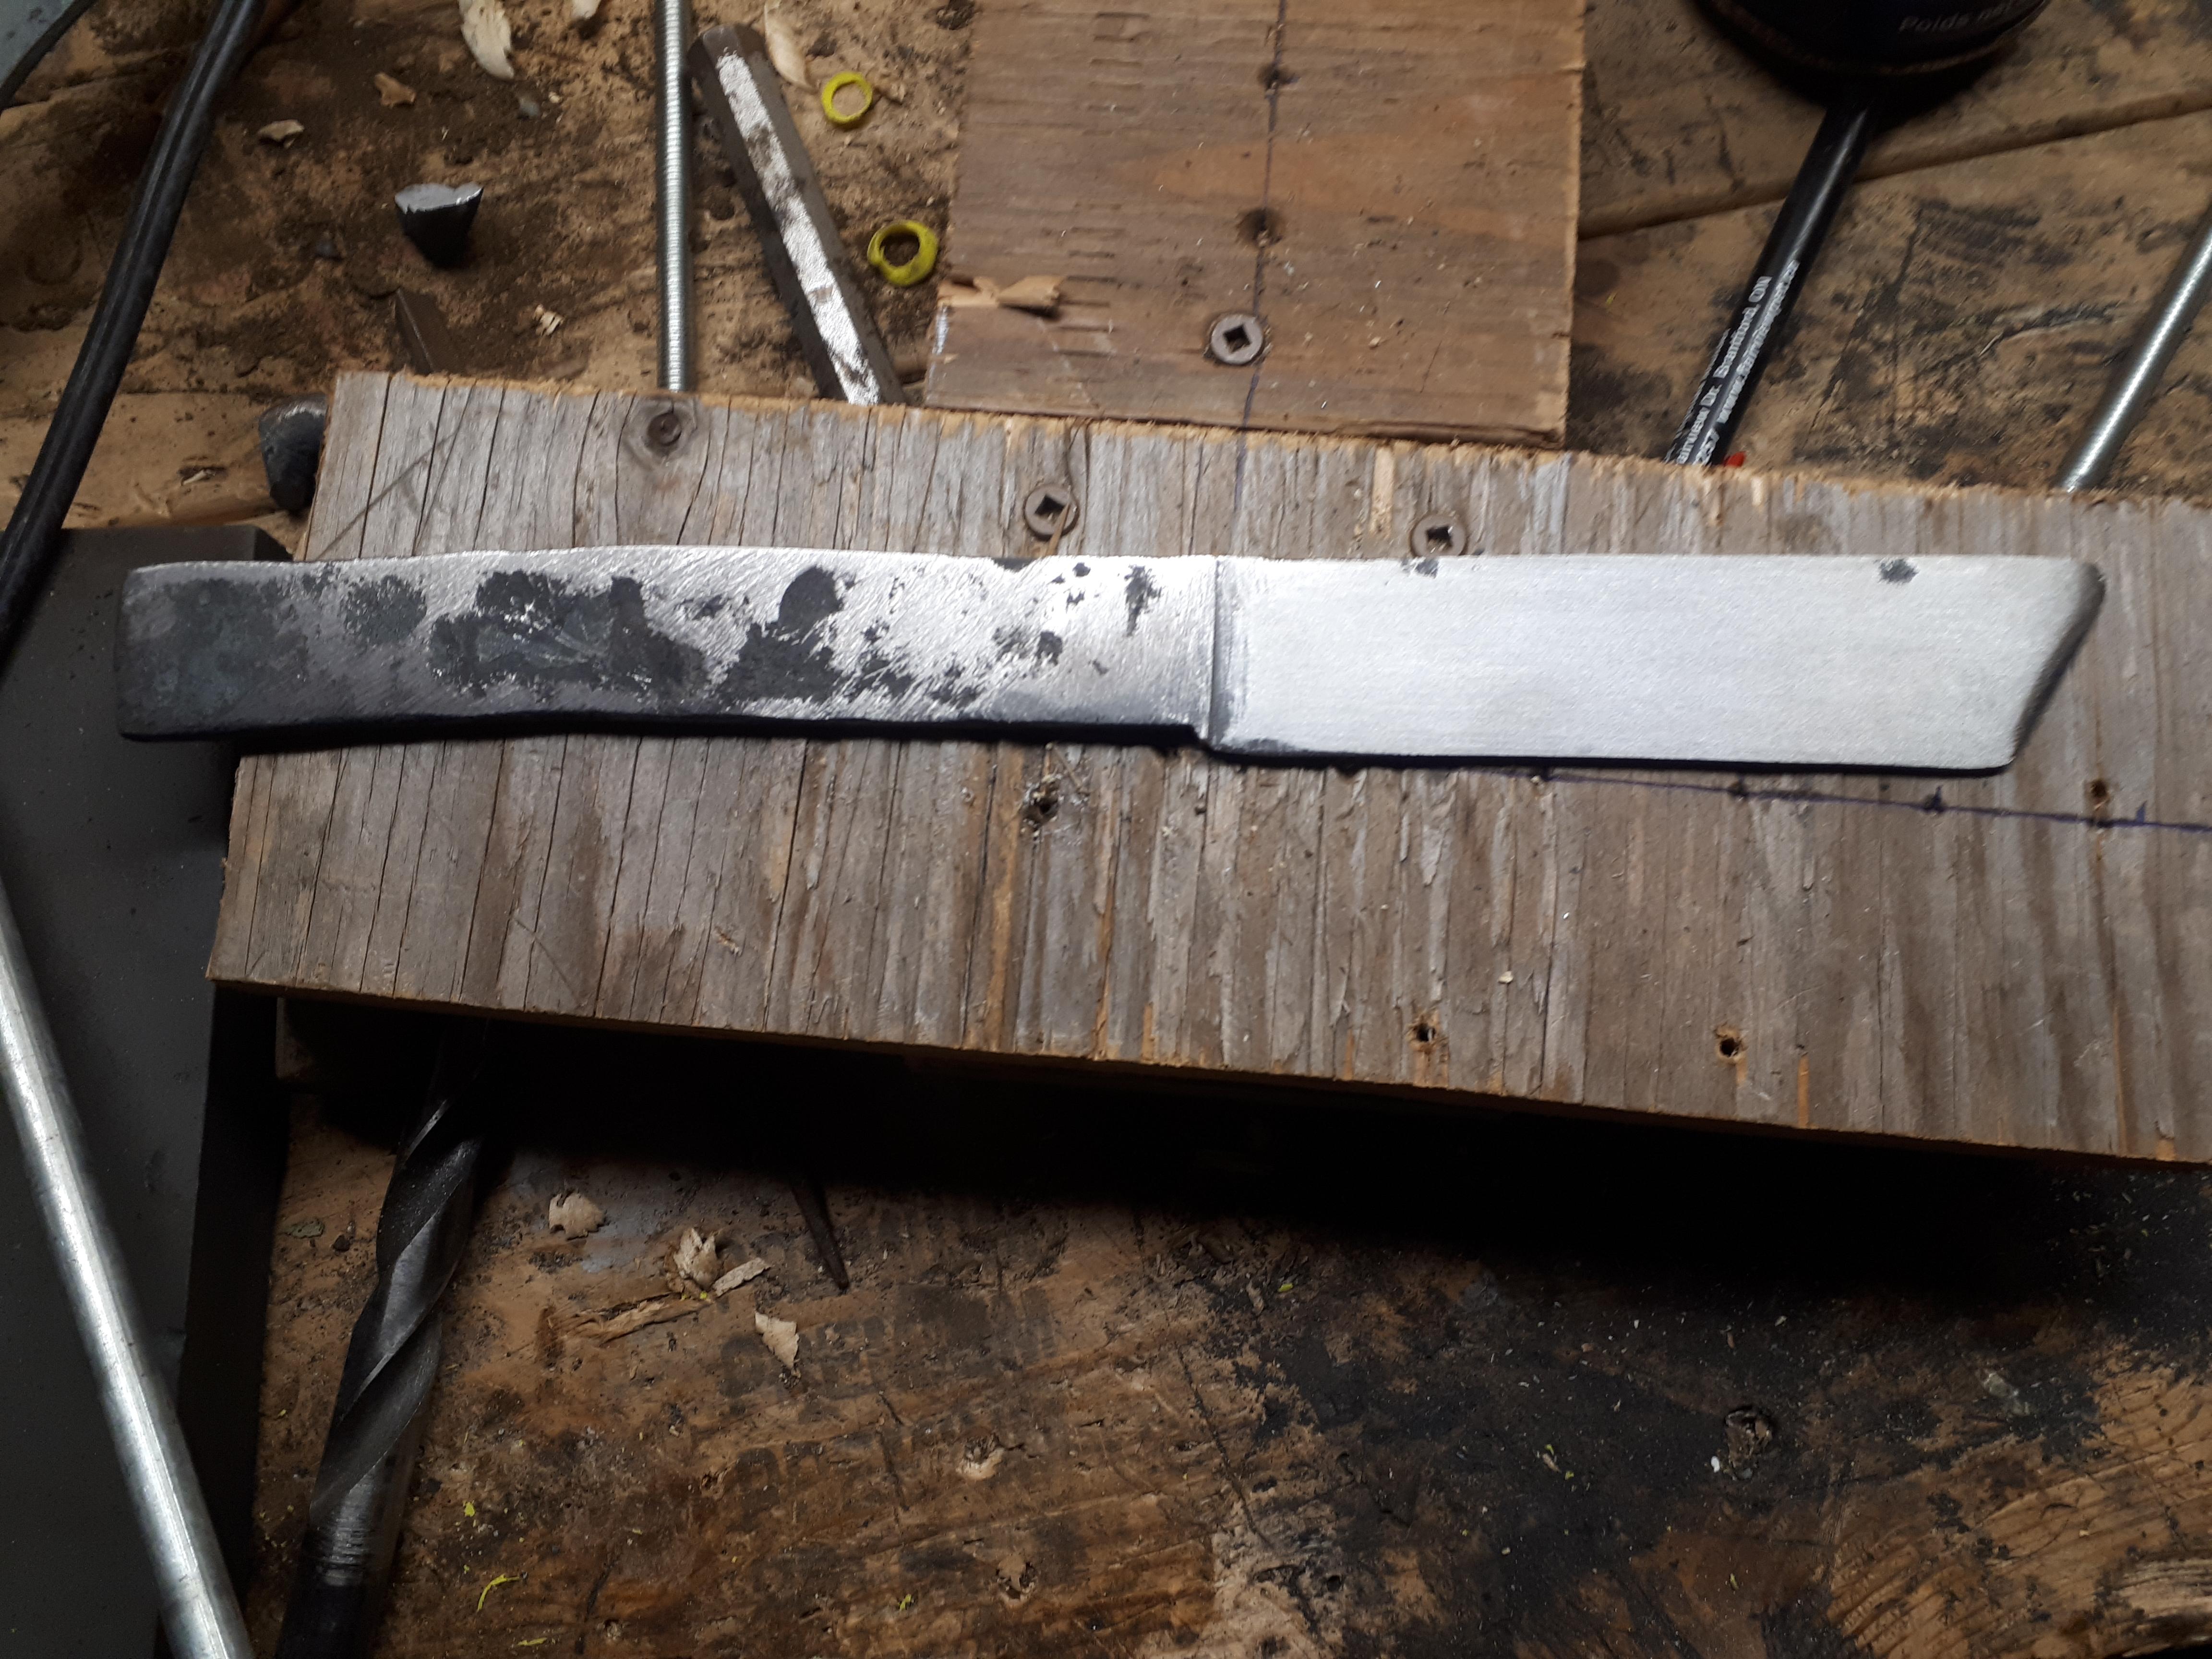
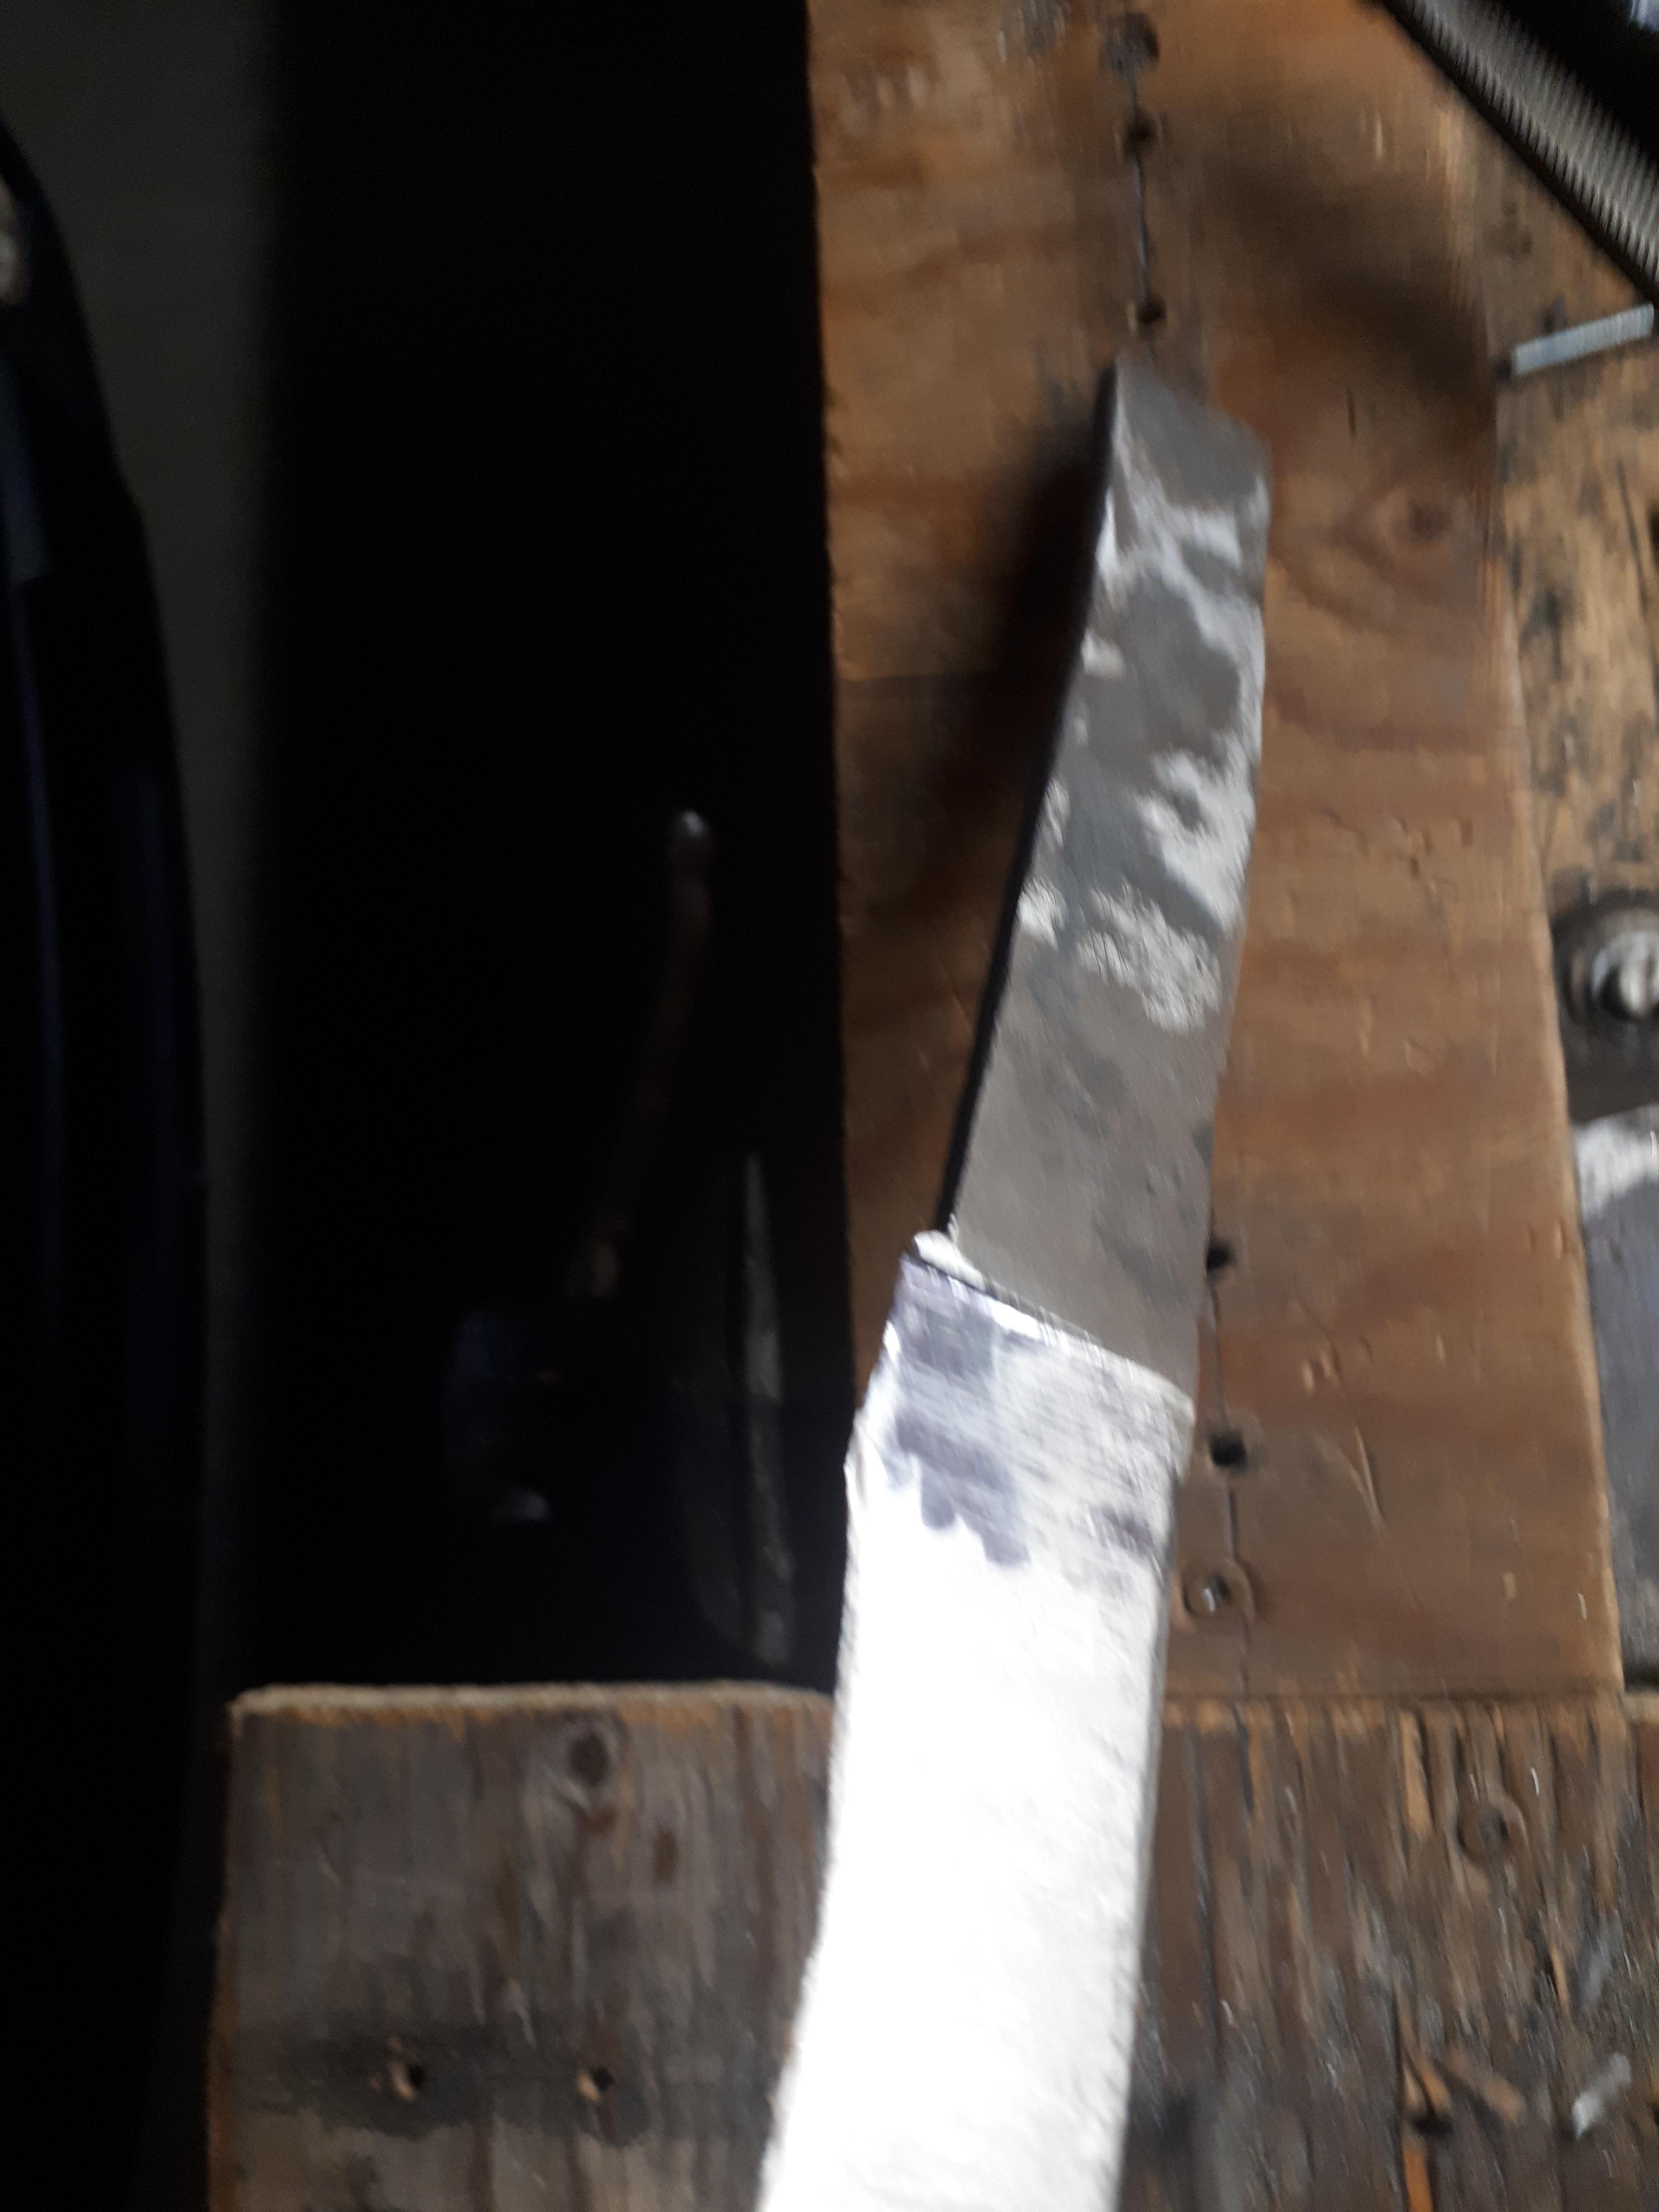
So i wanted to make a knife for my mom to use in the garden. I opted for a tanto style just for fun. I forged it out of a coil spring, forged in bevels. Then i drawfiled it, making the nice partially unfinished knife here. Picture 1 and 2
Then i made this filing jig. Then i filed one side (sort of) to a flatish bevel (it came out of the drawfiling slightly convex) picture 3
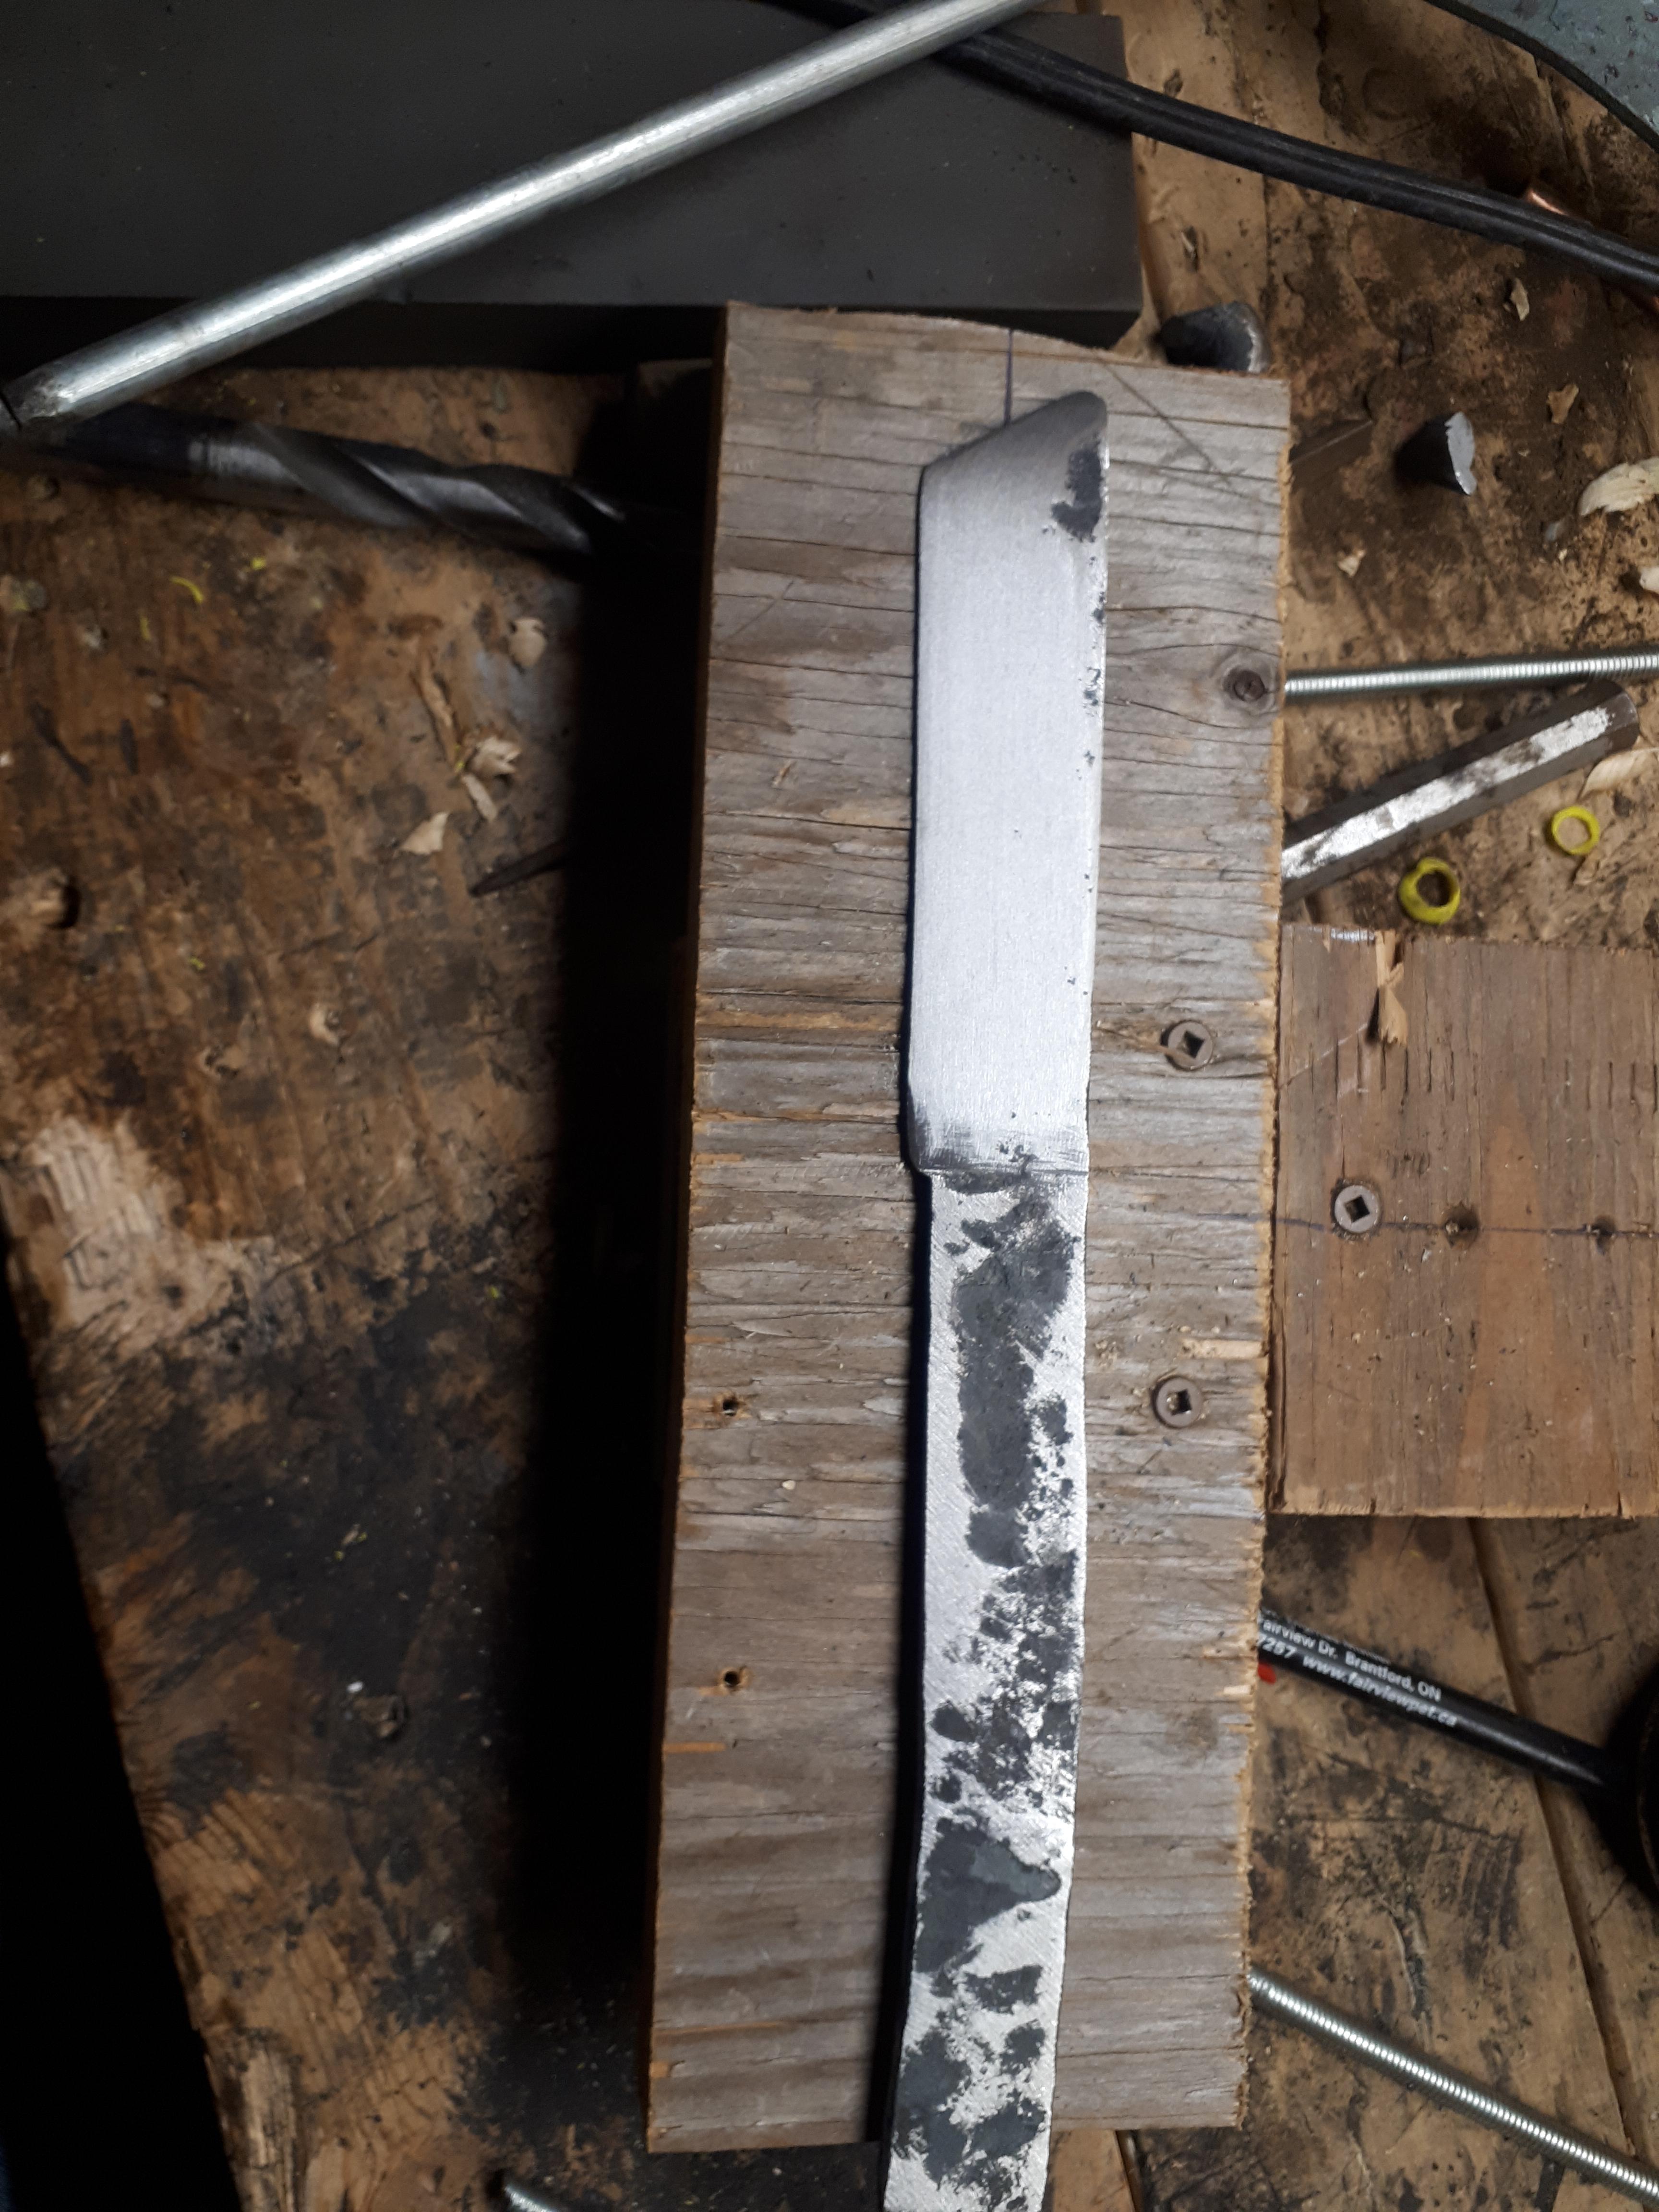
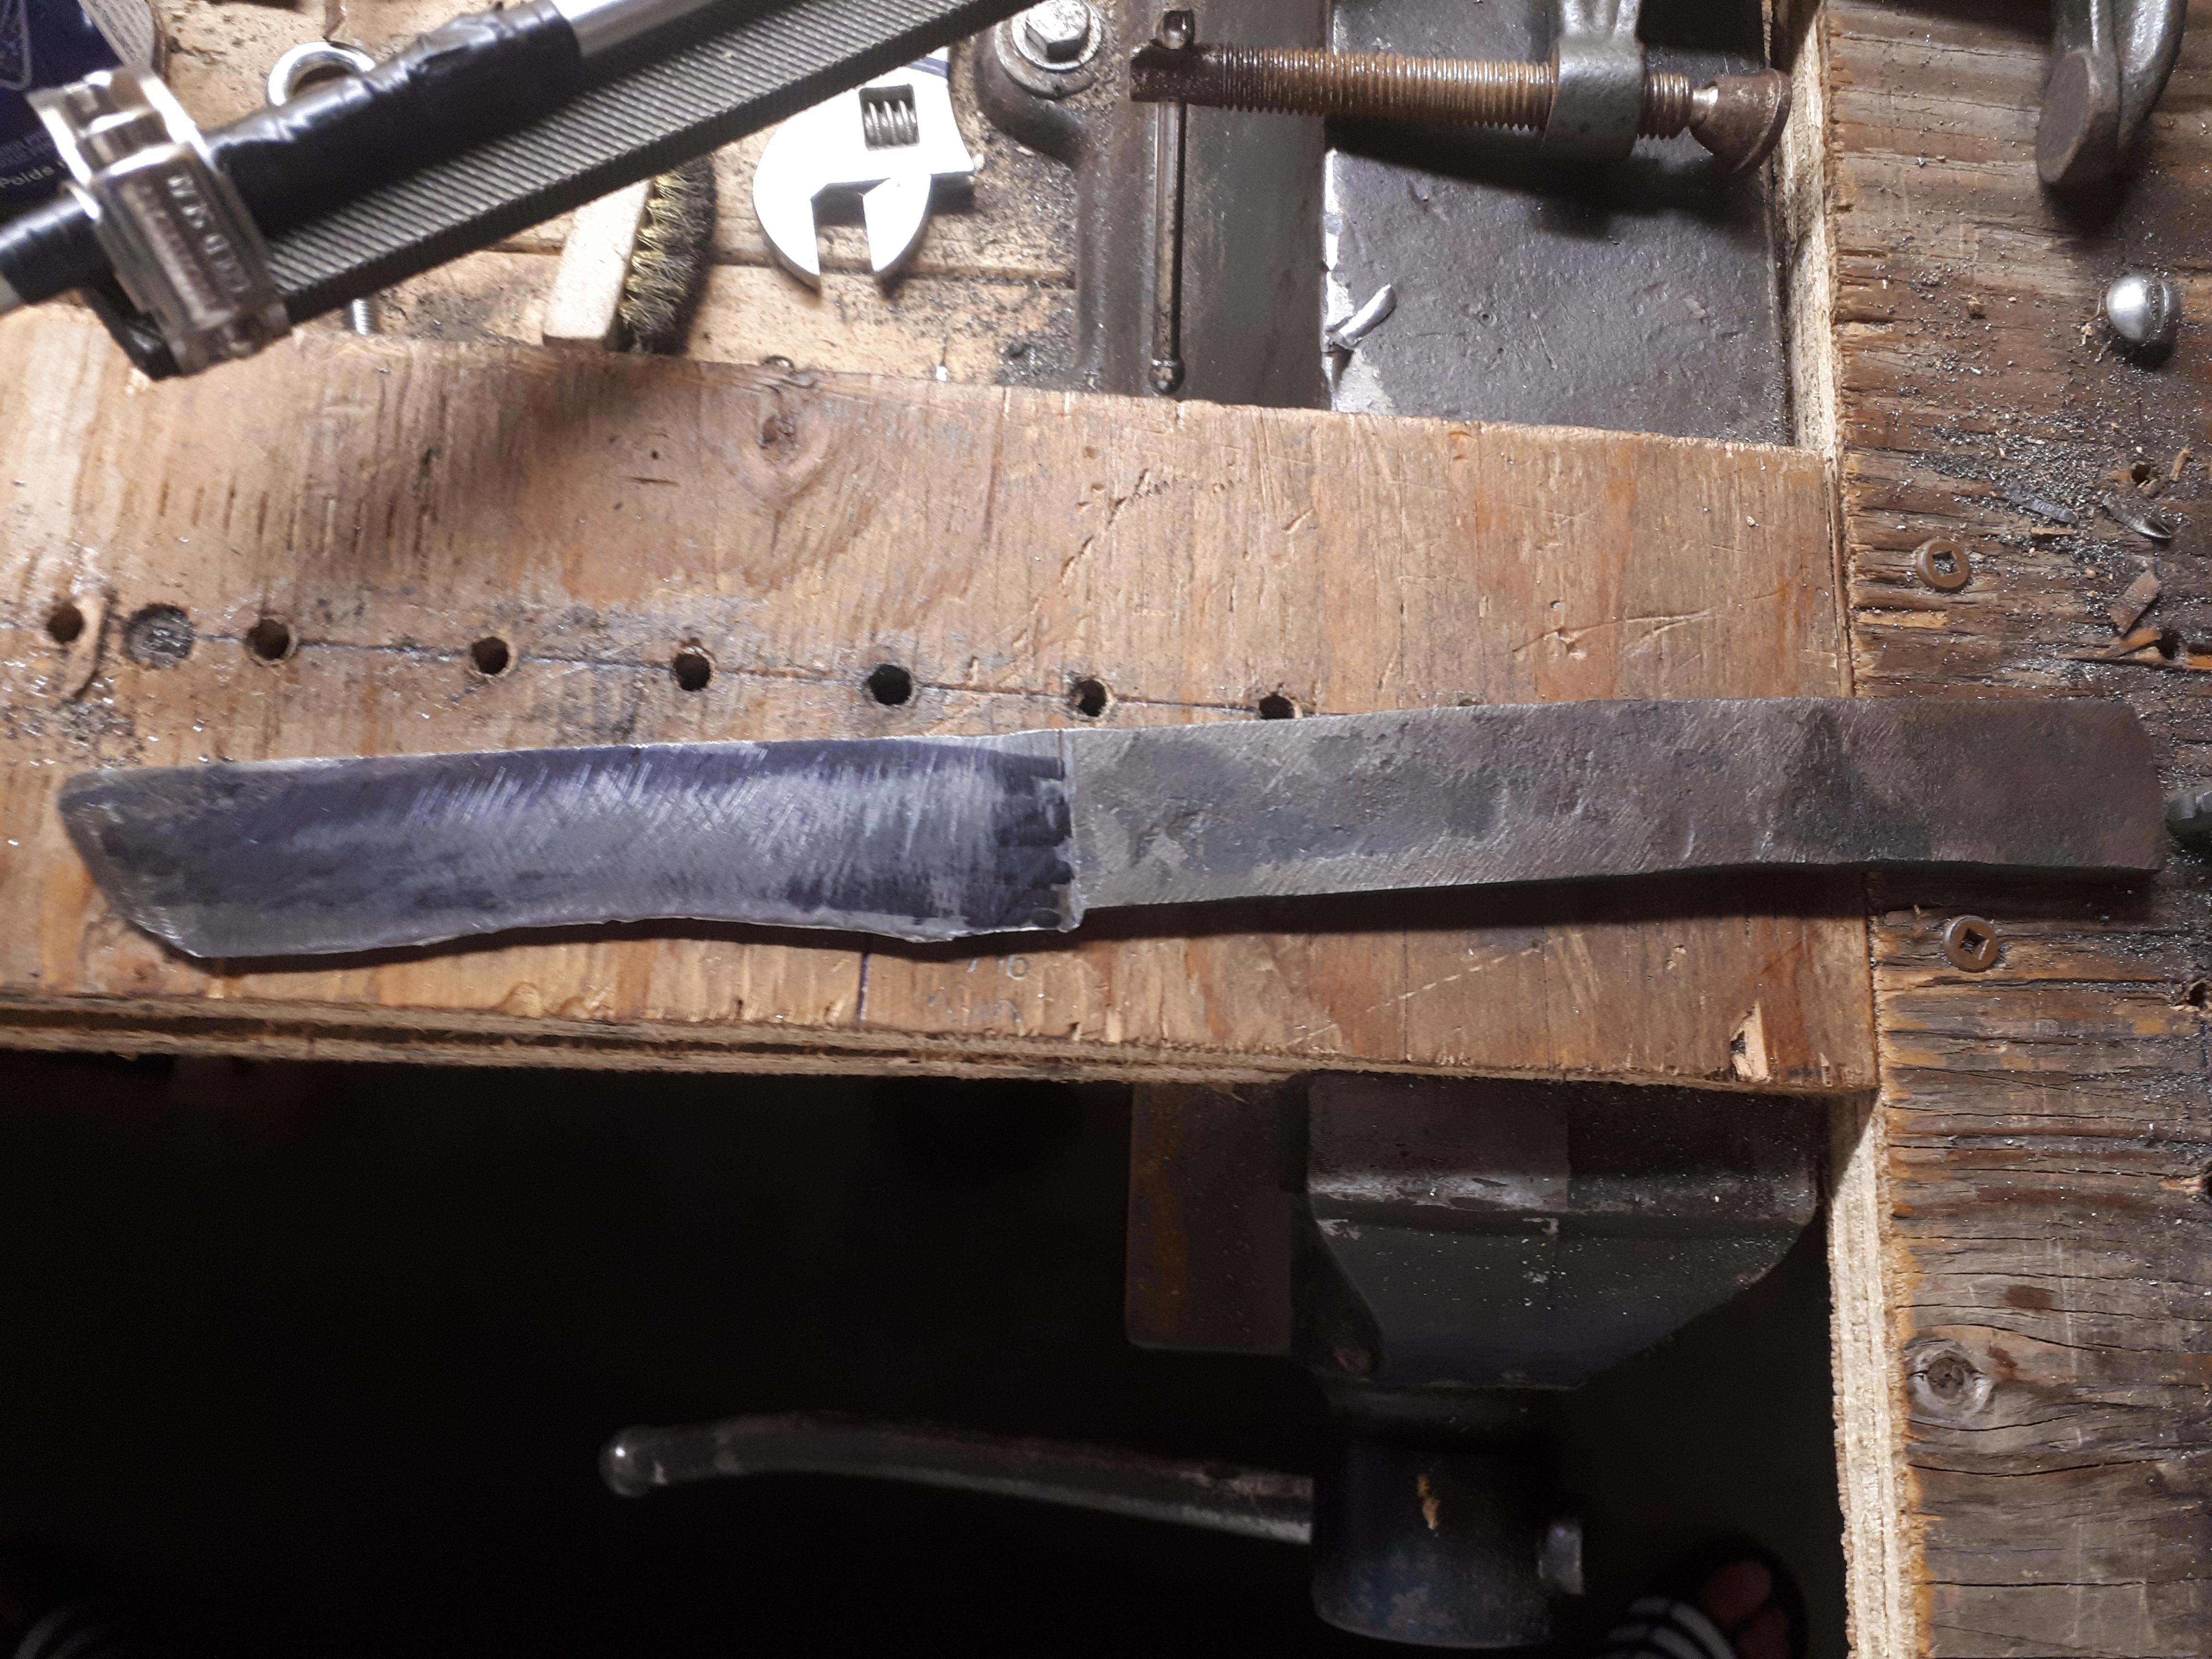
Then, using the same bevel angle on the other side, i did a more thorough job. To my dismay, 1/4" deep of my edge had rolled over and was useless, leaving the blade shape below. I will have to start again...... picture 6
So i want to diagnose the problem. Some factors to consider.
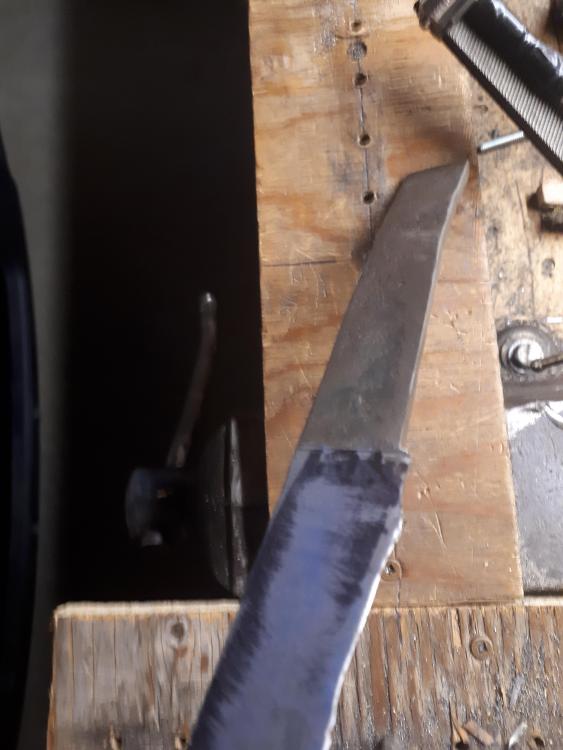
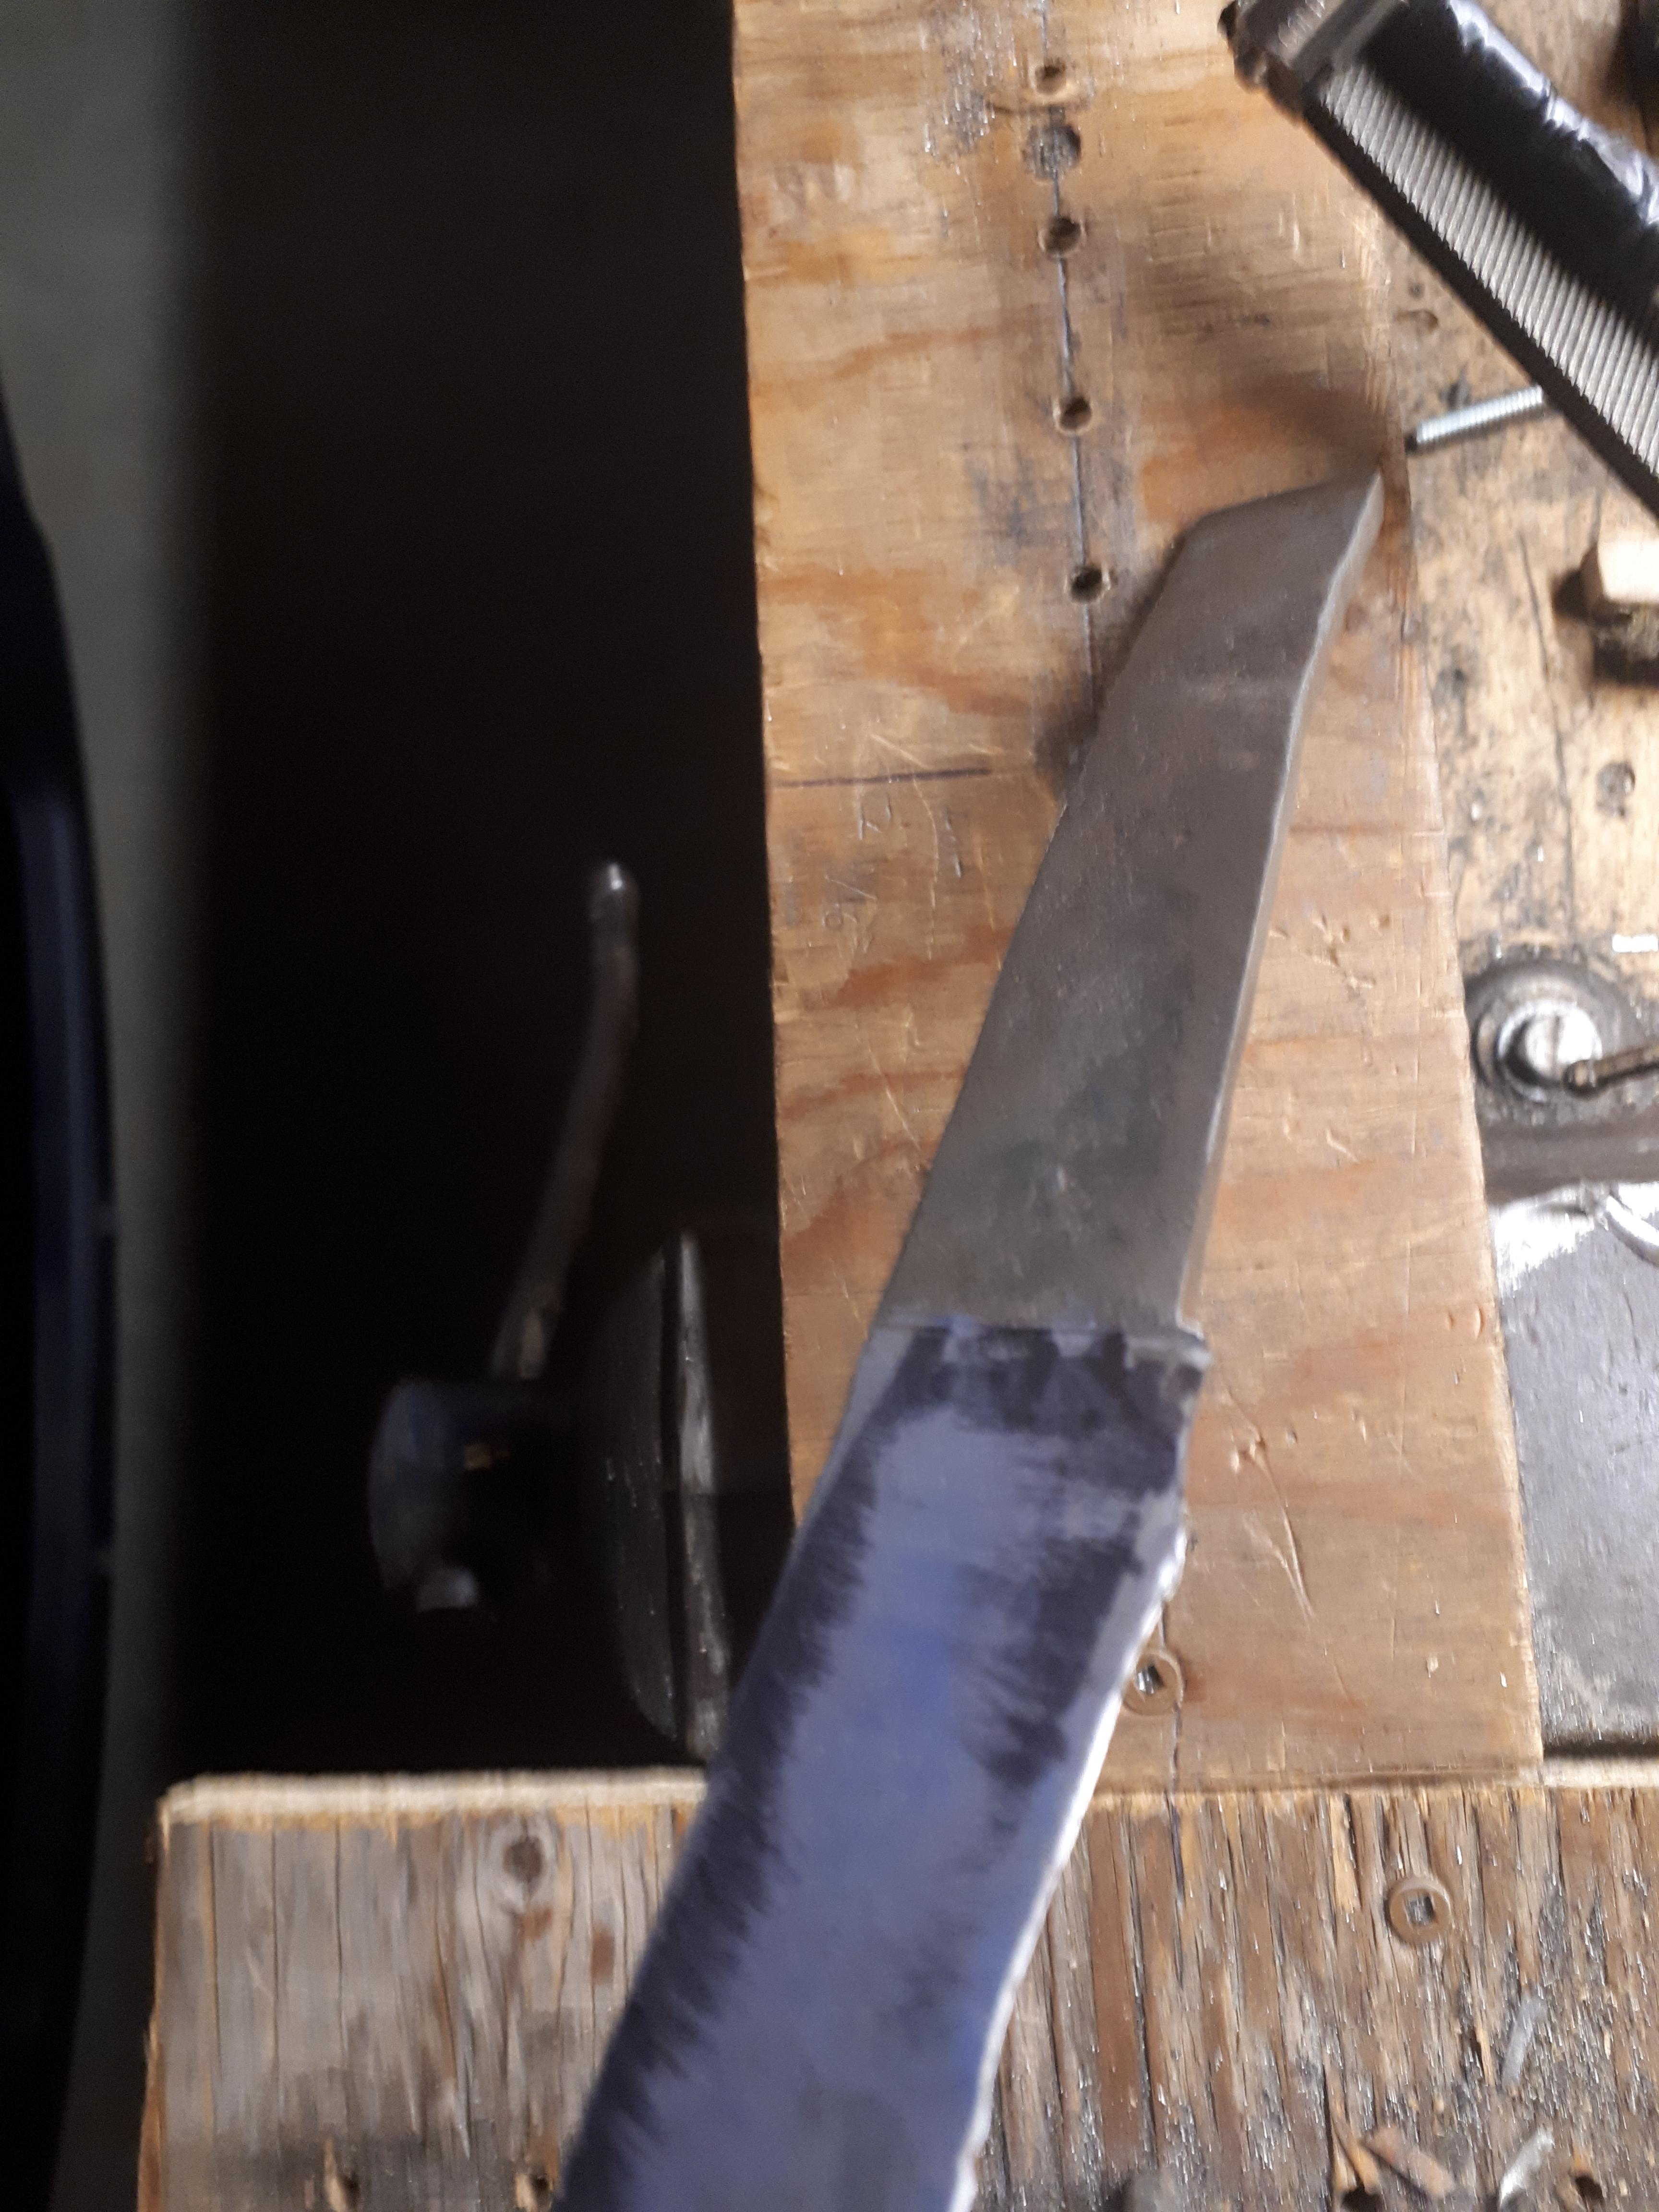
1 the plunge line is far deeper on the second side i did, i removed much more material. (This could also be as a result of being shy on the filing near the plunge) *Picture 4 and 5
2 the knife was not completely straight or flat when i started filing, it still isnt.
3 due to the use of a plywood jig, the c-clamp accentuated the problem of non-flatness, so depending where the clamp sat, the blade was at a different angle.
My working theory is that the bevel on the first side was not completely accurate, so when i did it on the other side it was too much. I think this was accentuated by the lack of flatness.
What are your thoughts? I would like to not have this happen again.
Thanks in advance!


-
It does look very similar to Alec steele's. Very nice!! It would be a shame to use it and get it all dirty and scratched
-
Fire brick is probably not the best choice, lots of thermal mass, and it will be eaten by welding flux, and it may crumble. A kiln shelf from a pottery supply store is quite tough.
Whats the volume without the brick?
As to the burner, This is where i get into deeper waters, wait and some real burner experts will come along. It looks good to me, but i dont know too much.
So to clarify, you designed the burner?
-
Thanks TP, i will have to ask one of my buddies to come strike for me. I probably should get around to buying a sledge too. And making more tongs....
Lots to do!
-
Looks like a good start! It may be a little large for the one burner, what is the internal volume?
What kind/design is the burner? This is essential to answer any questions
I think end openings are more of a trial and error thing. They look good, but it really depends on how it works with the burner.
-
Do you have letter punches? Thats an option i think on the softer steel. Touchmark would work too
Spraypaint?
You could put tape and a sharpie lol on the bottom, or you could roll up a paper with your name on it and stick it in the horizontal square hole in the body of the forged steel if there is one. Anything that you can prove its yours and noone can sabatoge. Brass inlay?
")
-
That's very advanced, and requires lots of skill and experience, and a pretty hot and generally large forge.
Buying a good forge is hard these days from what i've heard. DYI is the way to go! Can you give more information? Does he live in the city? That would mean a gas forge might be better. What stock does he have/want to use?
How much experience does he have?
There are a lot of variables here, rarely are there plug and plays that work for everyone.
Good luck!
(M)
-
Thanks swedefiddle! It seems to work but when i get some more steel i might make a new one or rework this.
As to the upset though? right now i only have one pair of tongs, and no post vise. Should i just hold the bit upright and pound it and hope it doesnt fly away? I have found that quite difficult.
-
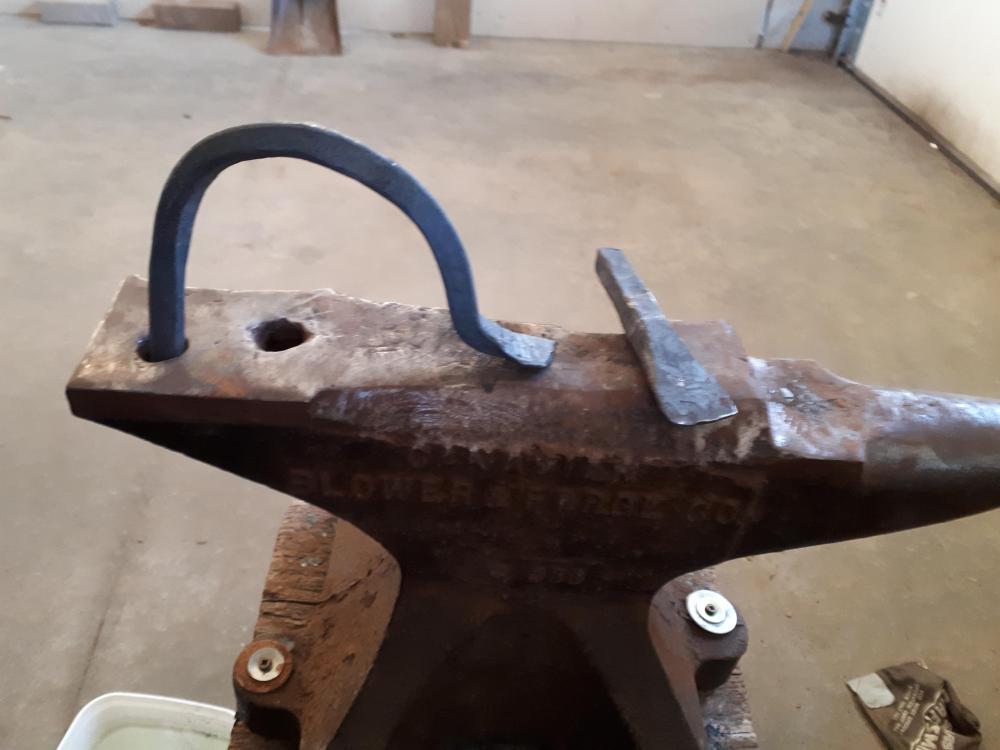
I have made one out of a jackhammer bit, but its really small and unfinished. Its sitting on the anvil there. I didnt upset it any before i started. I think i'll make a new one. Any tips on how to hold the bit steady while upsetting? Hold with tongs vertically on the anvil?
Thanks
-
2 hours ago, Ethan Yap said:
I really wish I could have posted data, but I'm here because I couldn't find any
Lol i just googled plibro pilcast 31 and got the temp rating. Google is our best friend! As long as what you have is a castable refractory it should work(with the temp rating i saw).
For curing and construction, see my thread. People answered all my questions at least.
Again pls pls read forges 101 fairly thoroughly. It will give you the background info we all need for these things. . You will learn loads.
Happy forging
(M)
-
I know what youre saying, but a 30 minute skim throught forges 101 would solve all your questions. Or most of them.
As to the refractory, it should be a castable refractory good to ~3000. I looked at the data for Plibrico Plicast 31 and it should do the trick, but next time posting some data for us would help. Live and learn.
I started my time here by asking some really dumb and demmanding questions, bbut ive been learning. Not saying yours are dumb questions, but you can read forges 101 and possibly "construction of a gas forge" which documents my build to make your life easier. Enjoy the learning and make a great forge! Who'd a thought you could make a forge better than any you can buy for ~$200!
Best of luck! Keep us posted
(M)
-
Ok, ive heard that before. What kind of chisel/slitter do you use usually?
-
Ok, i googled those qnd i see what you mean. I think they look quite funny!

I can definitely see the resemblance.
I will have to try them tomorrow, the problem is that i am really bad at hot-splitting...
-
I just googled longhorn cows, and the ears all seem to be small and just hiding under the horns.
Maybe try that?
I dont know even how to begin to make one of those, how do you do the horns in the first place? I really liked these since i first saw them
-


Kitchen knife with sumac handle
in Knife Making
Posted
Not sure how this got missed!! Awesome work.