
Arthur210
-
Posts
238 -
Joined
-
Last visited
Content Type
Profiles
Forums
Articles
Gallery
Downloads
Events
Posts posted by Arthur210
-
-
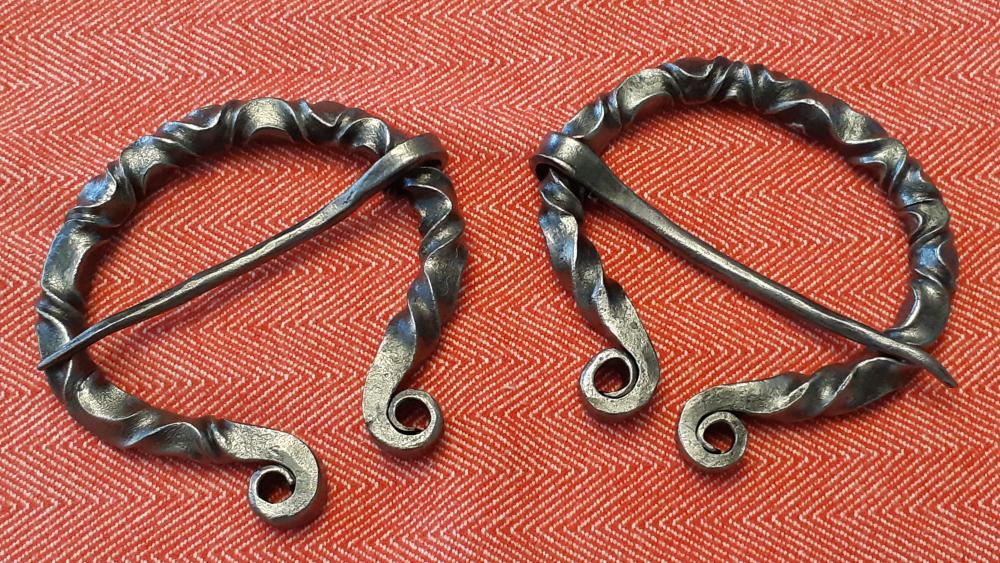
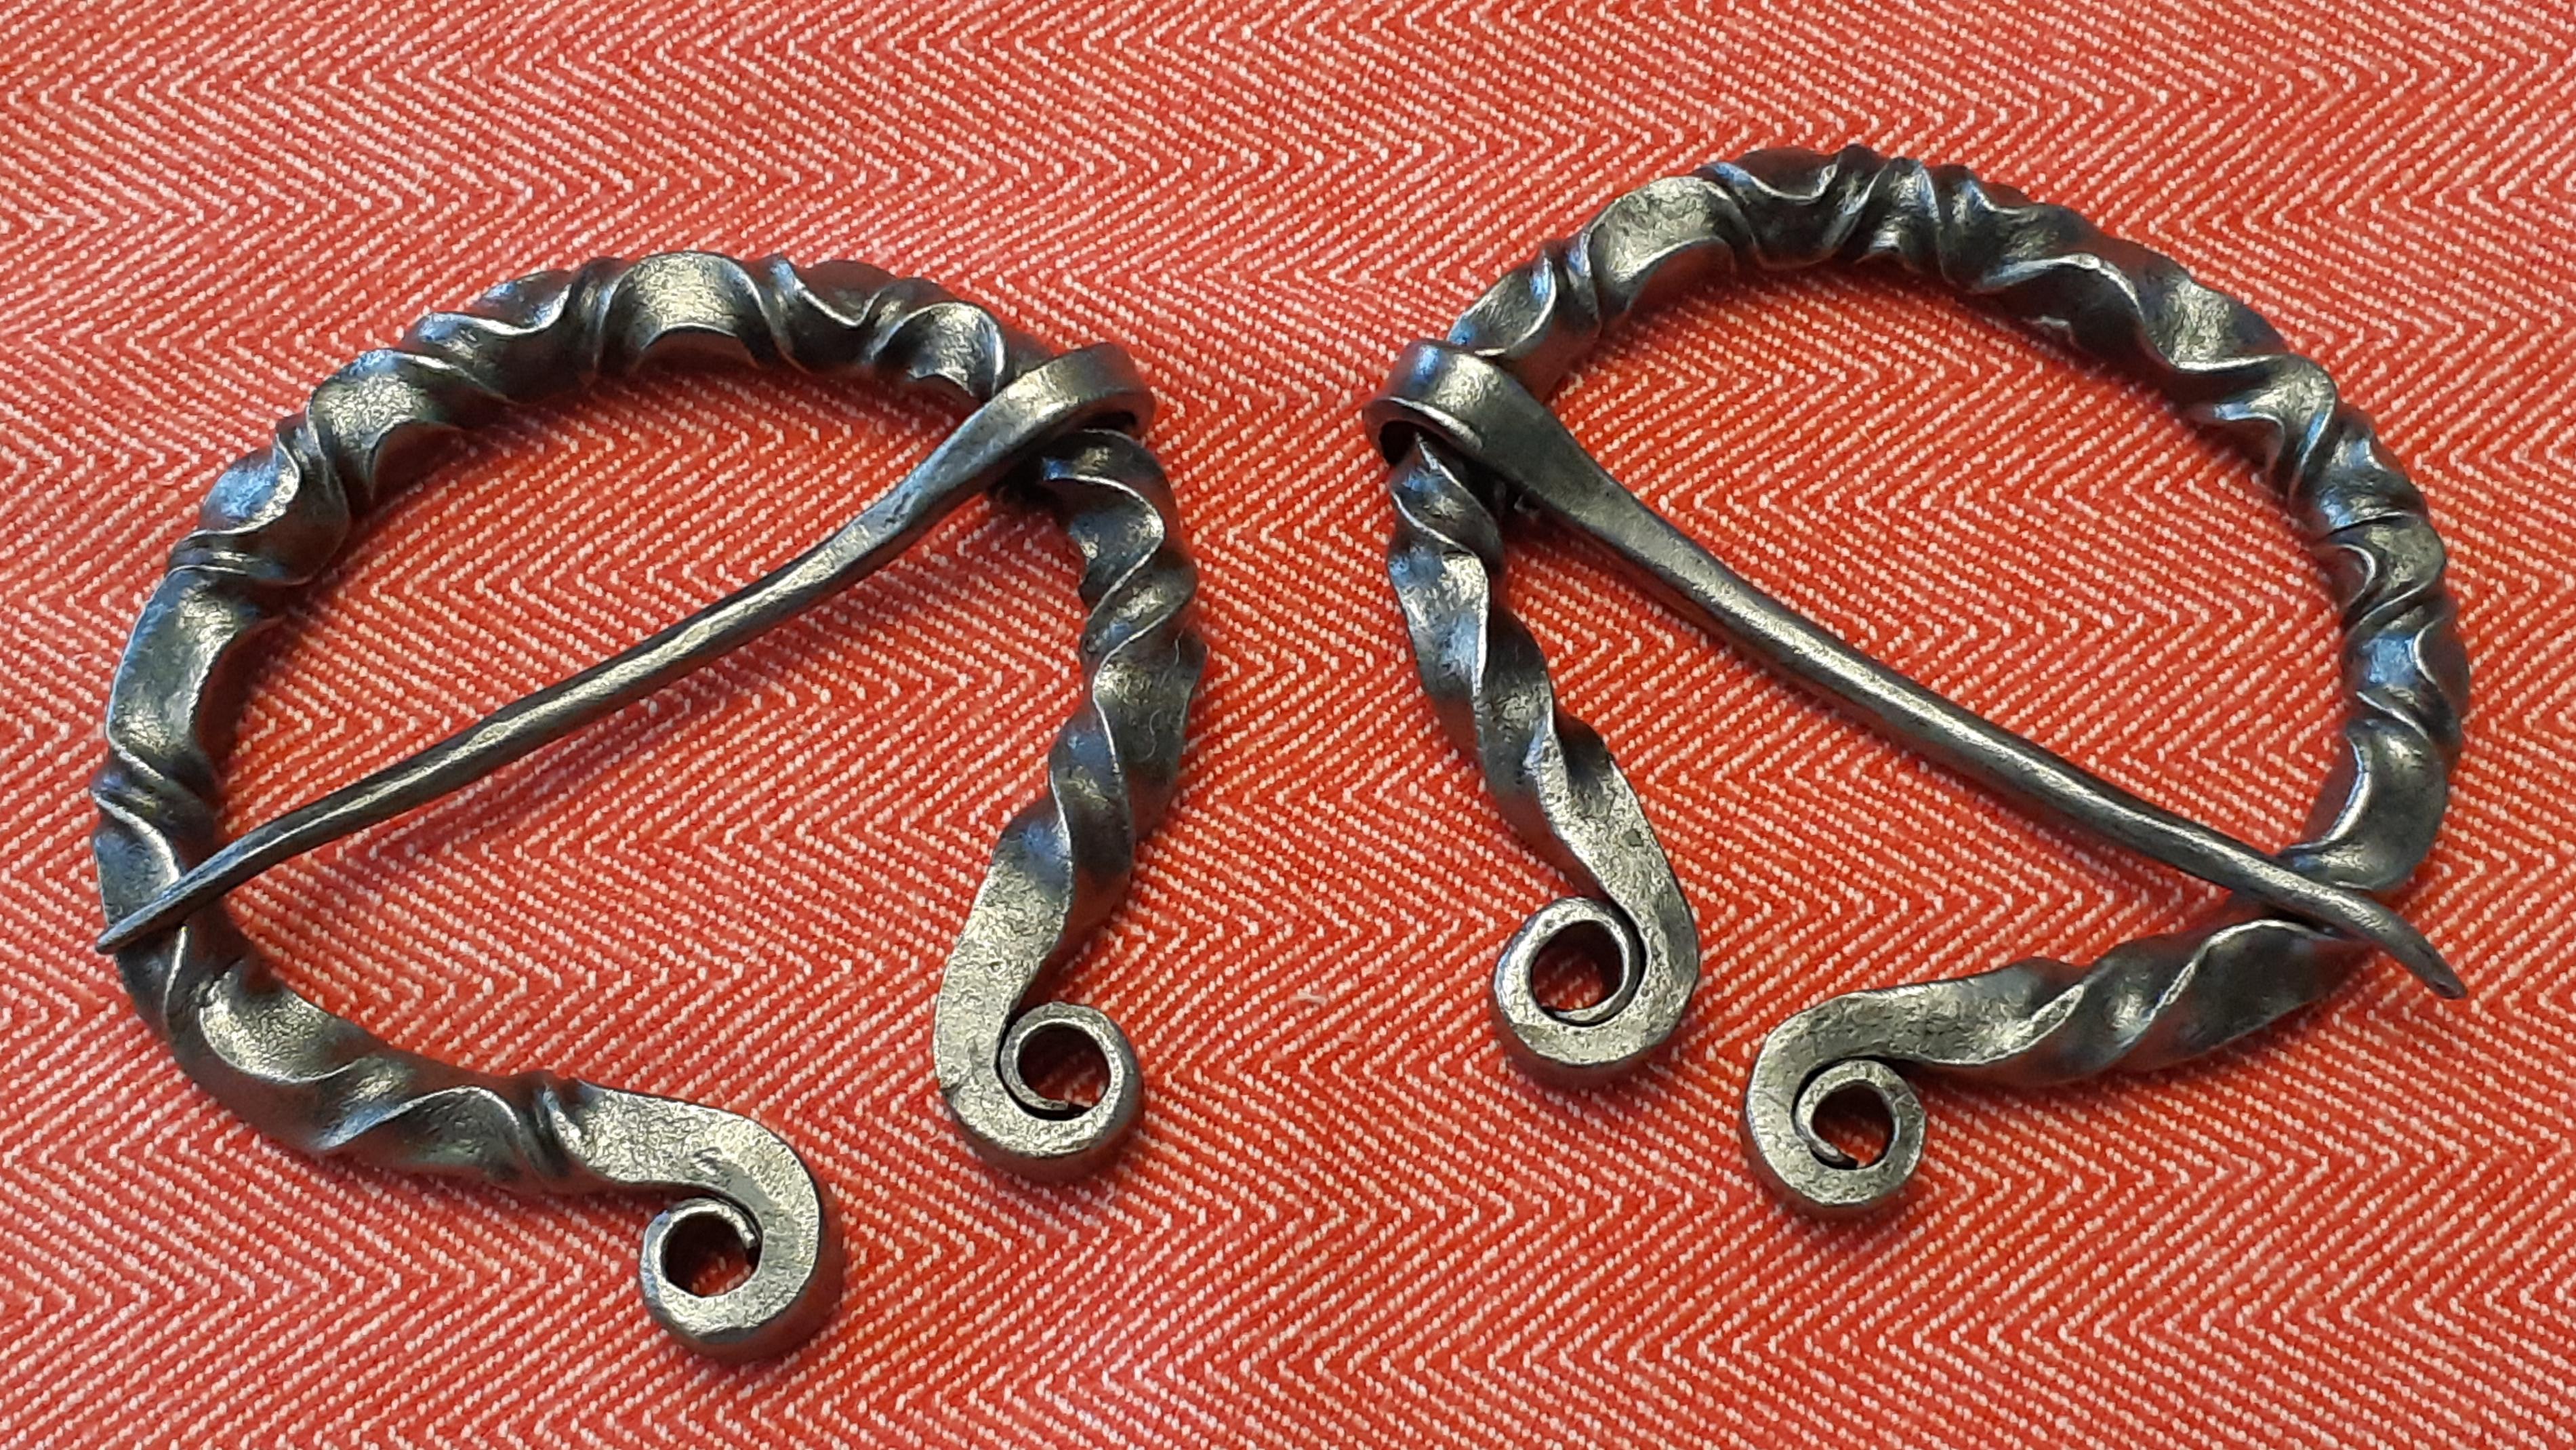
Last Saturday, two more penannular fibulas (also known as Viking or celtic brooches). Made from 5/16" square bars.
-
4 hours ago, Chad J. said:
I've had very good luck selling hair pins. I usually start with 1/8 inch stock. When I started with quarter inch my gf felt it was too heavy though I do start with that size of I'm going to split the end and draw it down for something decorative. Here's one I've done in the past.
Very nice!
Yes, I remember reading that forged hair pins are usually considered too heavy. The one I made is from 1/4" stock, so I don't expect it to really be useful as a hair pin. It was more of a test piece on reverse twists (those were the first I made and thus uneven) that I turned into something potentially useful, if only for display.
-
7 hours ago, George N. M. said:
Chad, penannular brooches are not intended for the hair. They are fasteners for things like capes, cloaks, shawls, scarves, etc..
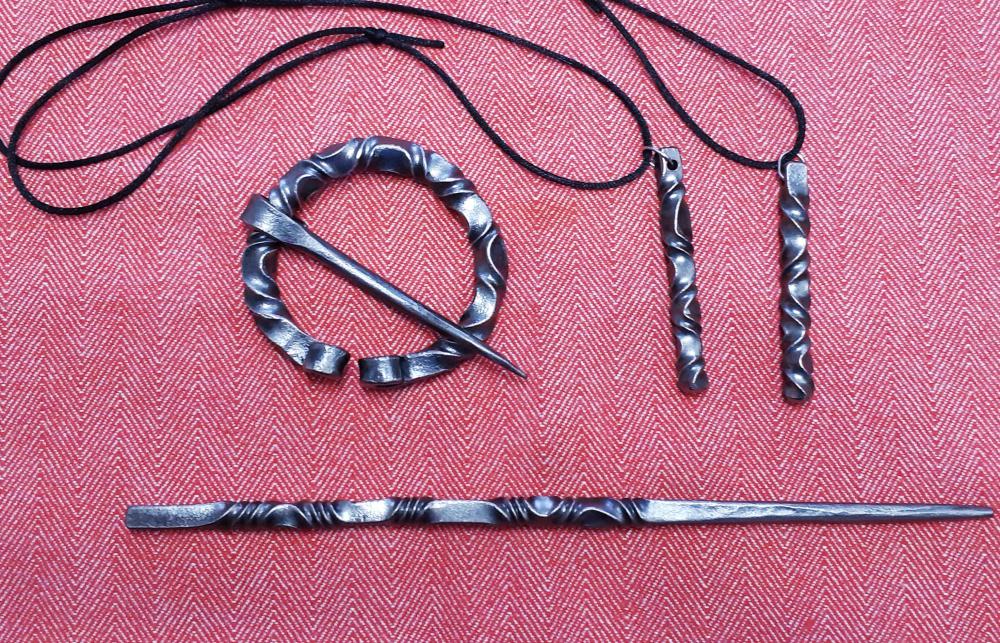
I think he was referring to the hair pin at the bottom of the second picture. Of course, I called it a hair pin but it could also be used as a chopstick or a magical wand.

-
I was able to spend some time is the shop yesterday and this morning. Made a few things the were new to me.
First, a pair of simple penannular fibulae (for scale, they are 3" wide):

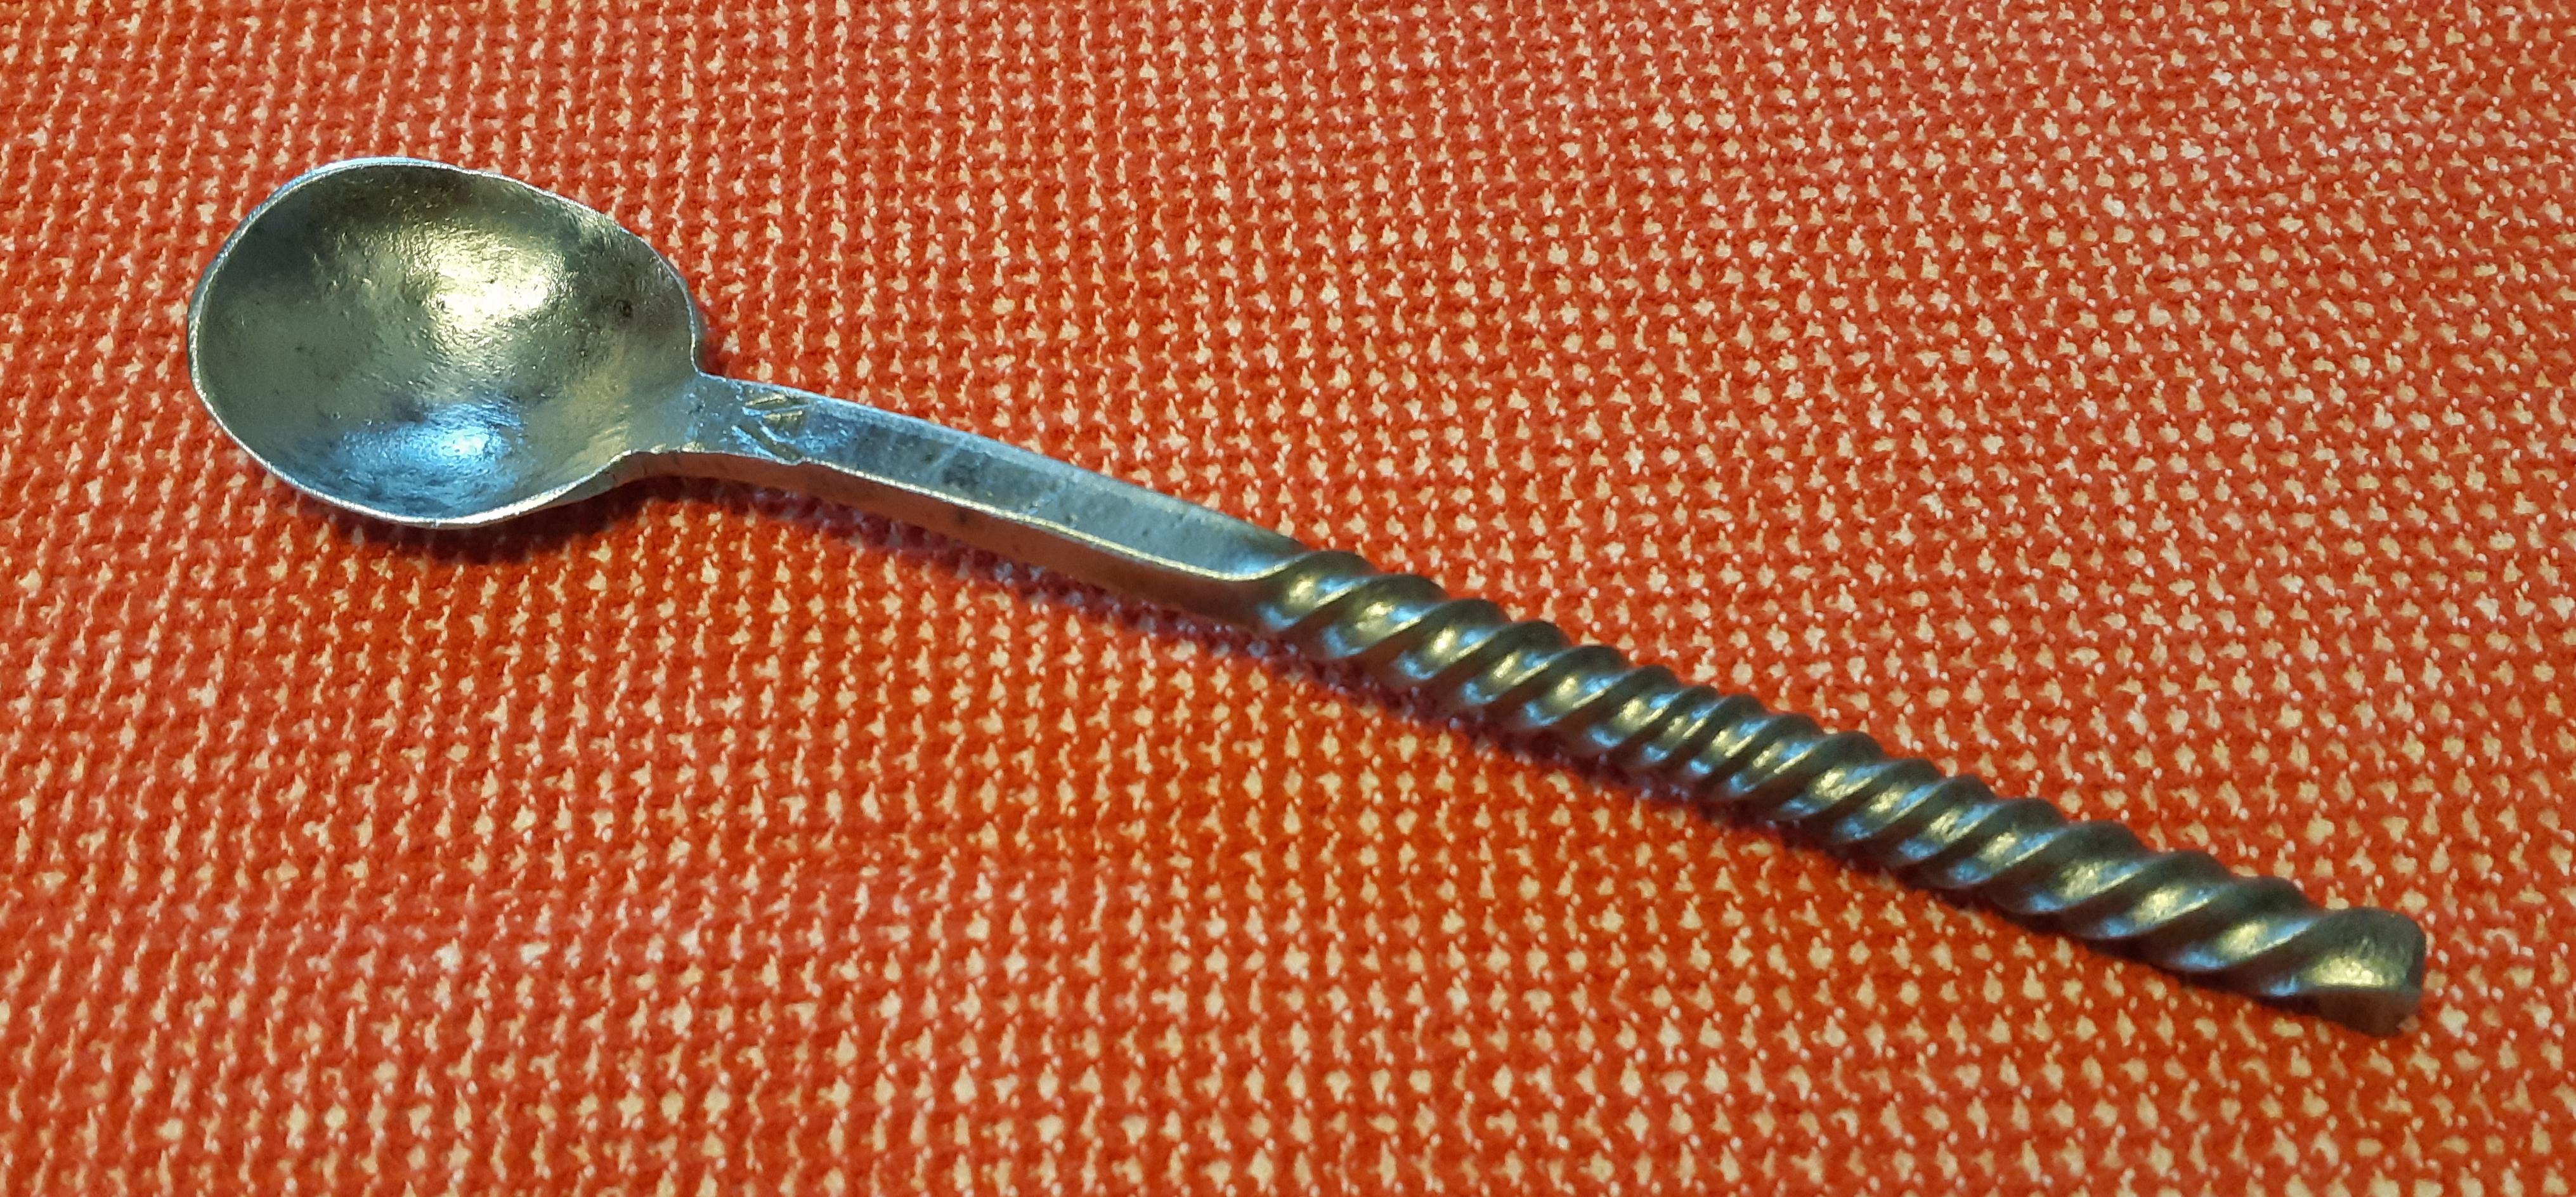
Then this morning I practiced making reverse twists. Turned the first few experiments into two pendants and a hair pin. Then made another fibula:
Very satisfied with them. Learned a lot and nice results.
-
-
Very nice!
Good(s) job!
-
Just finished fabricating a number of tools for the shop last night, made over the last 2 weeks.
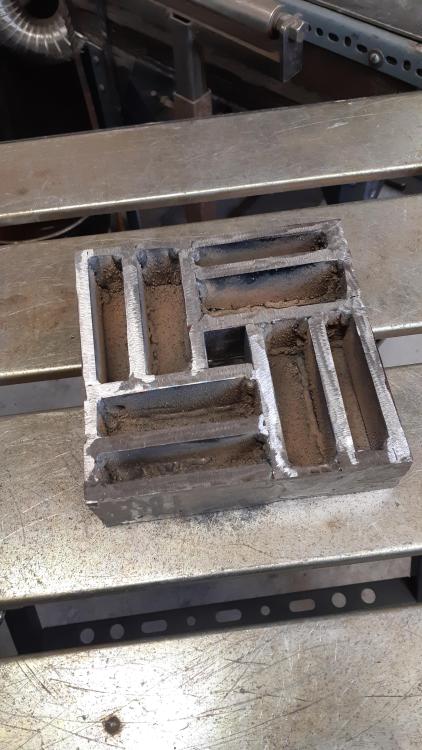
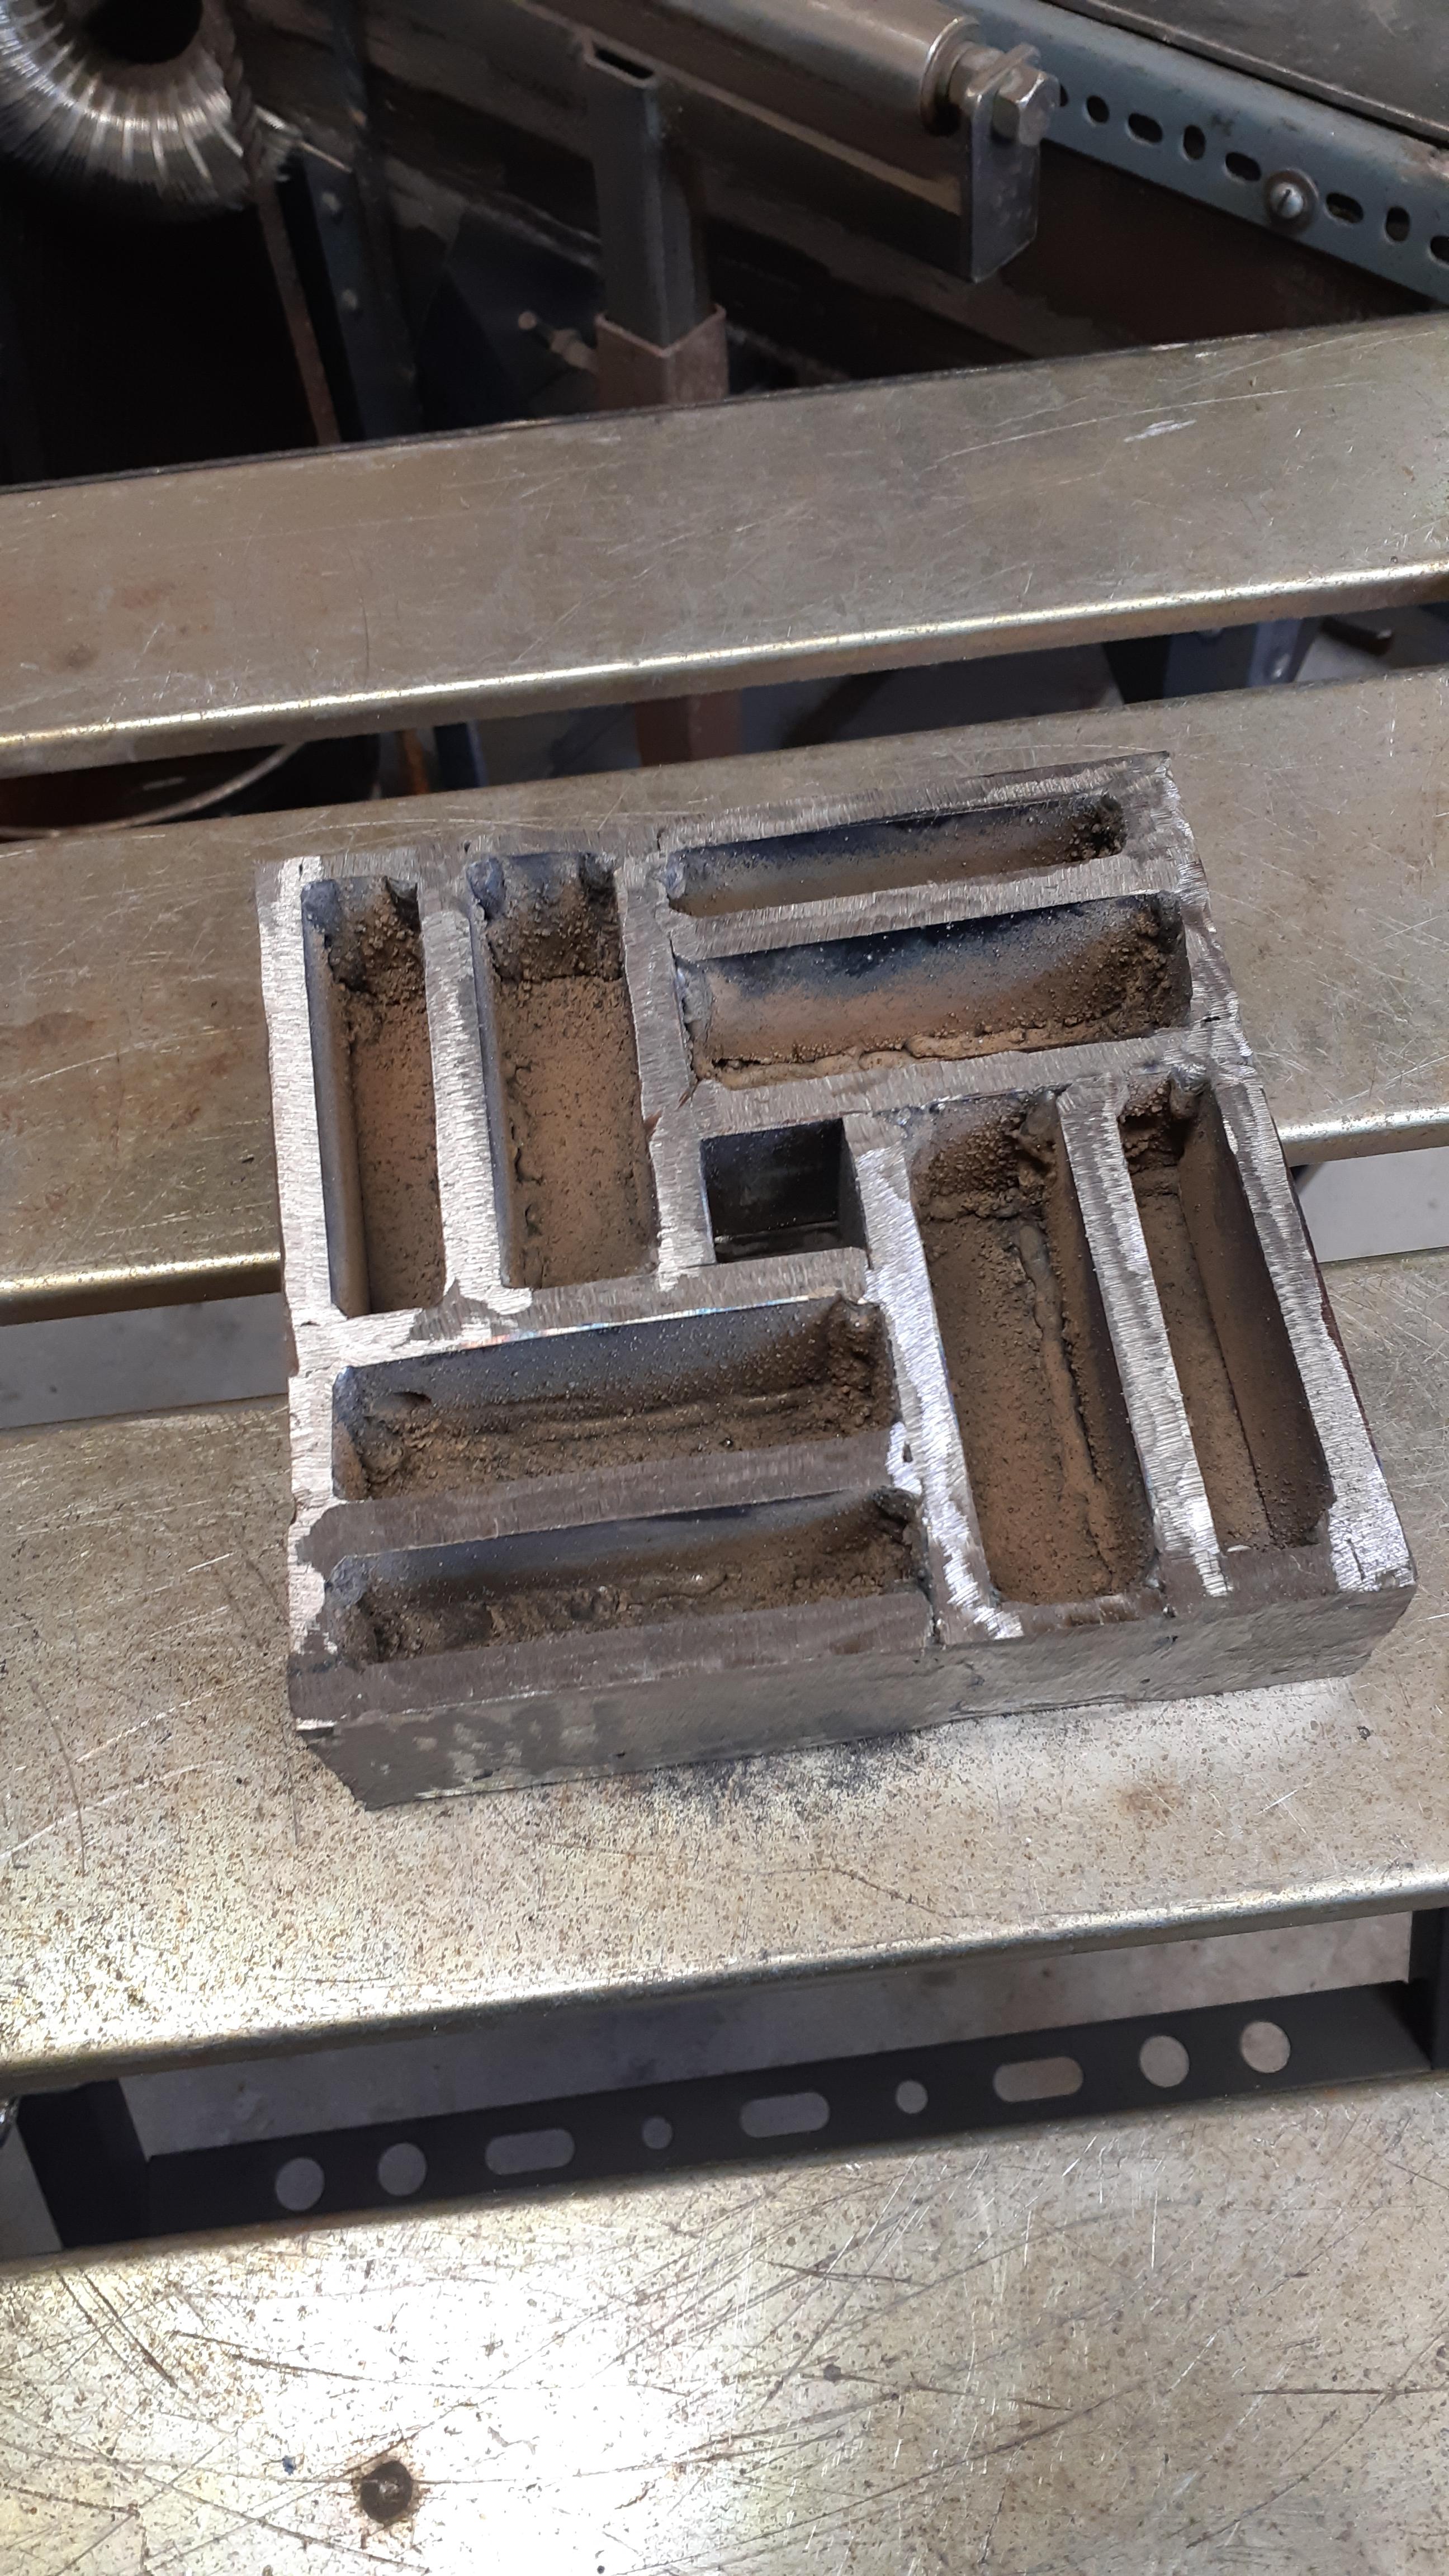
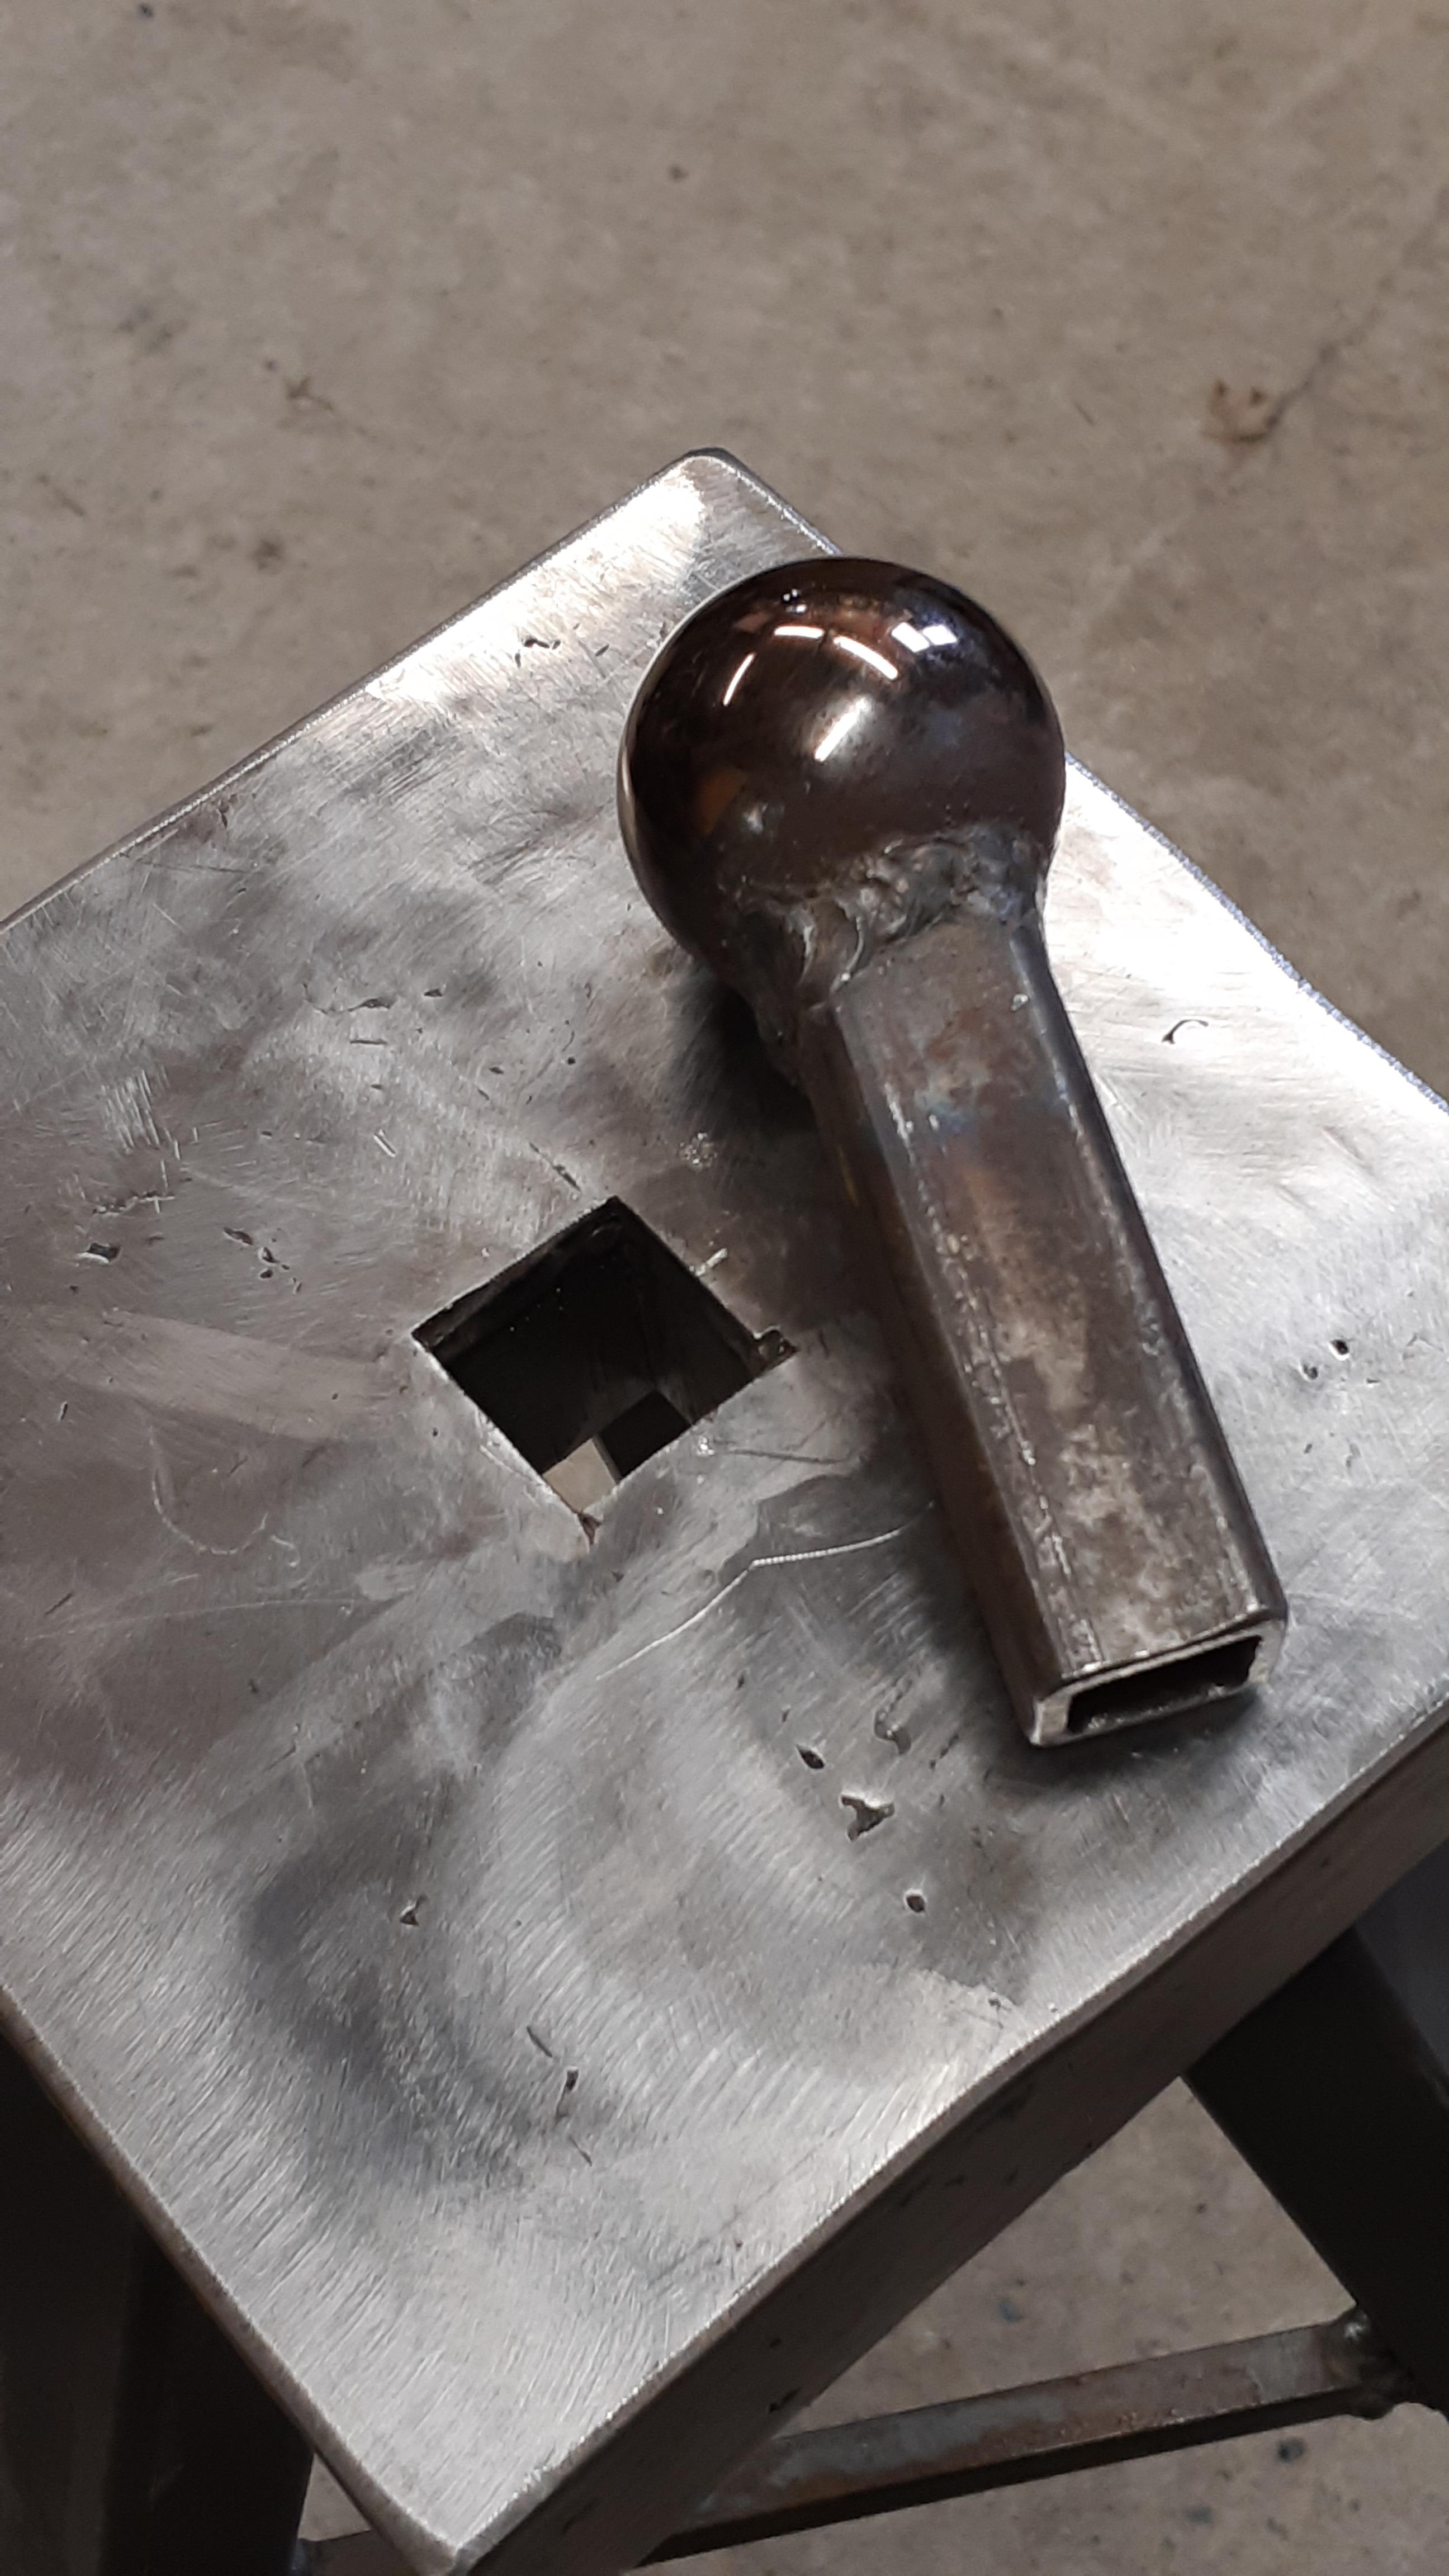
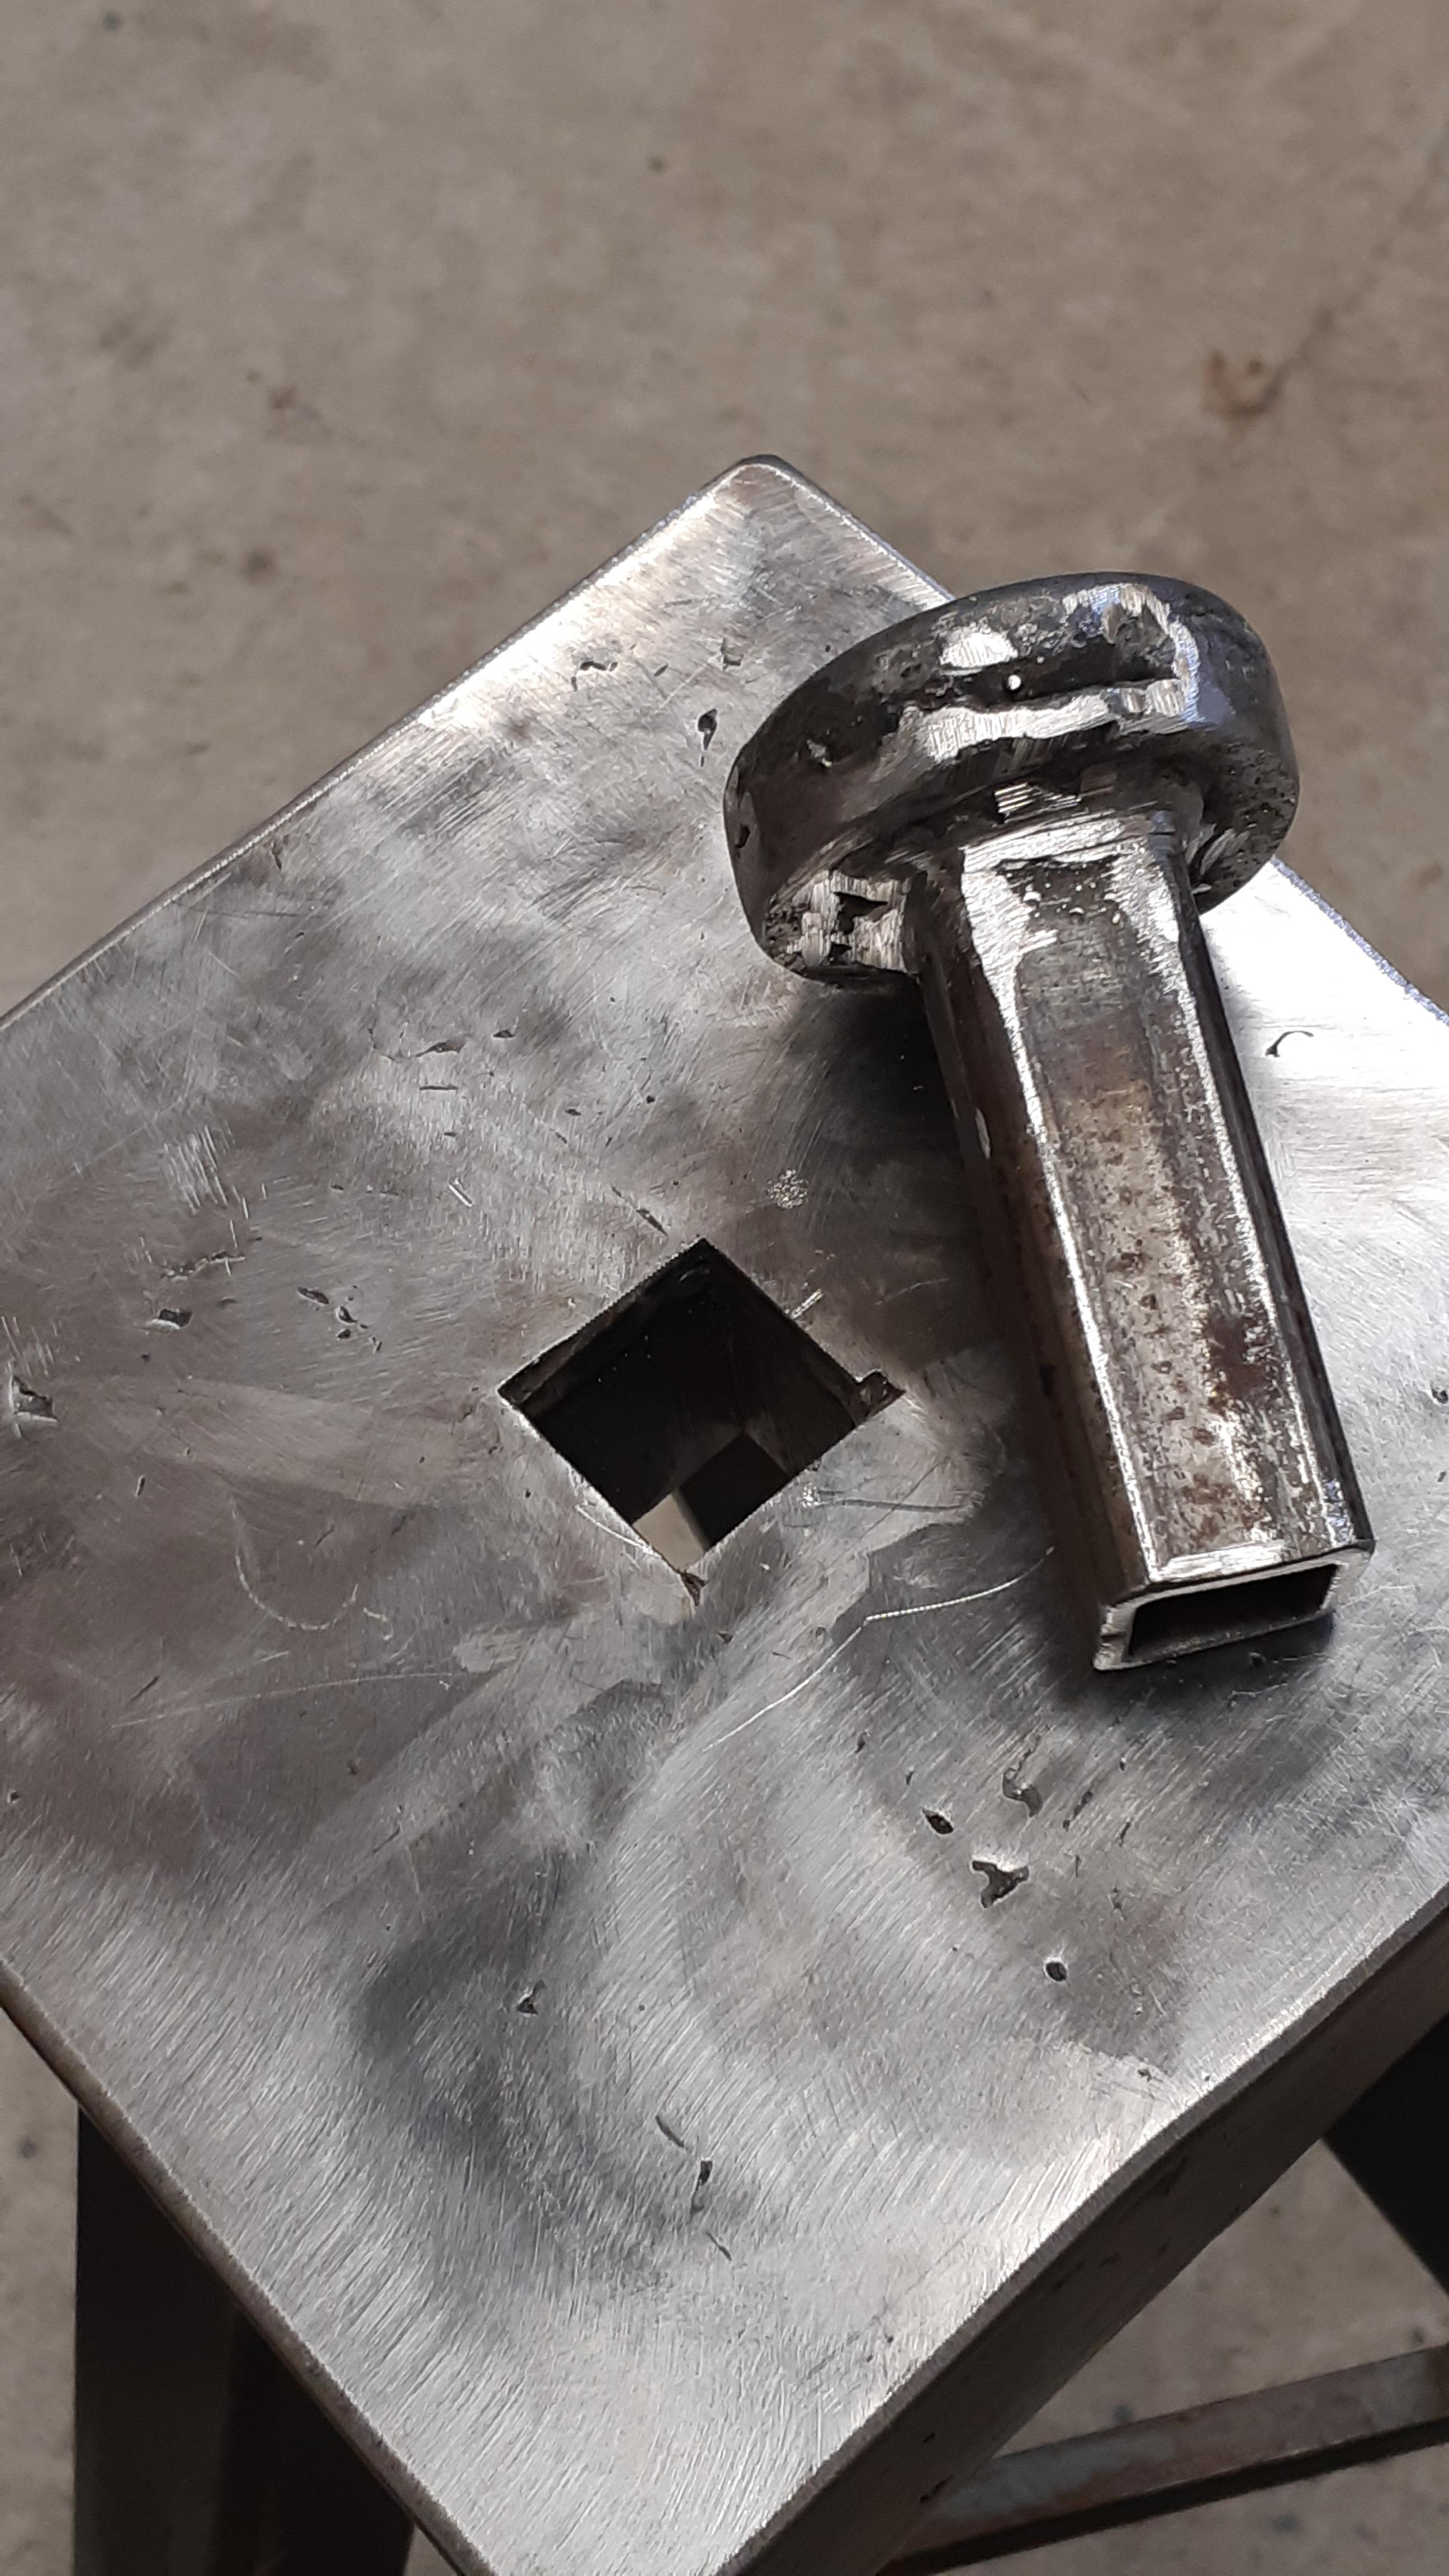
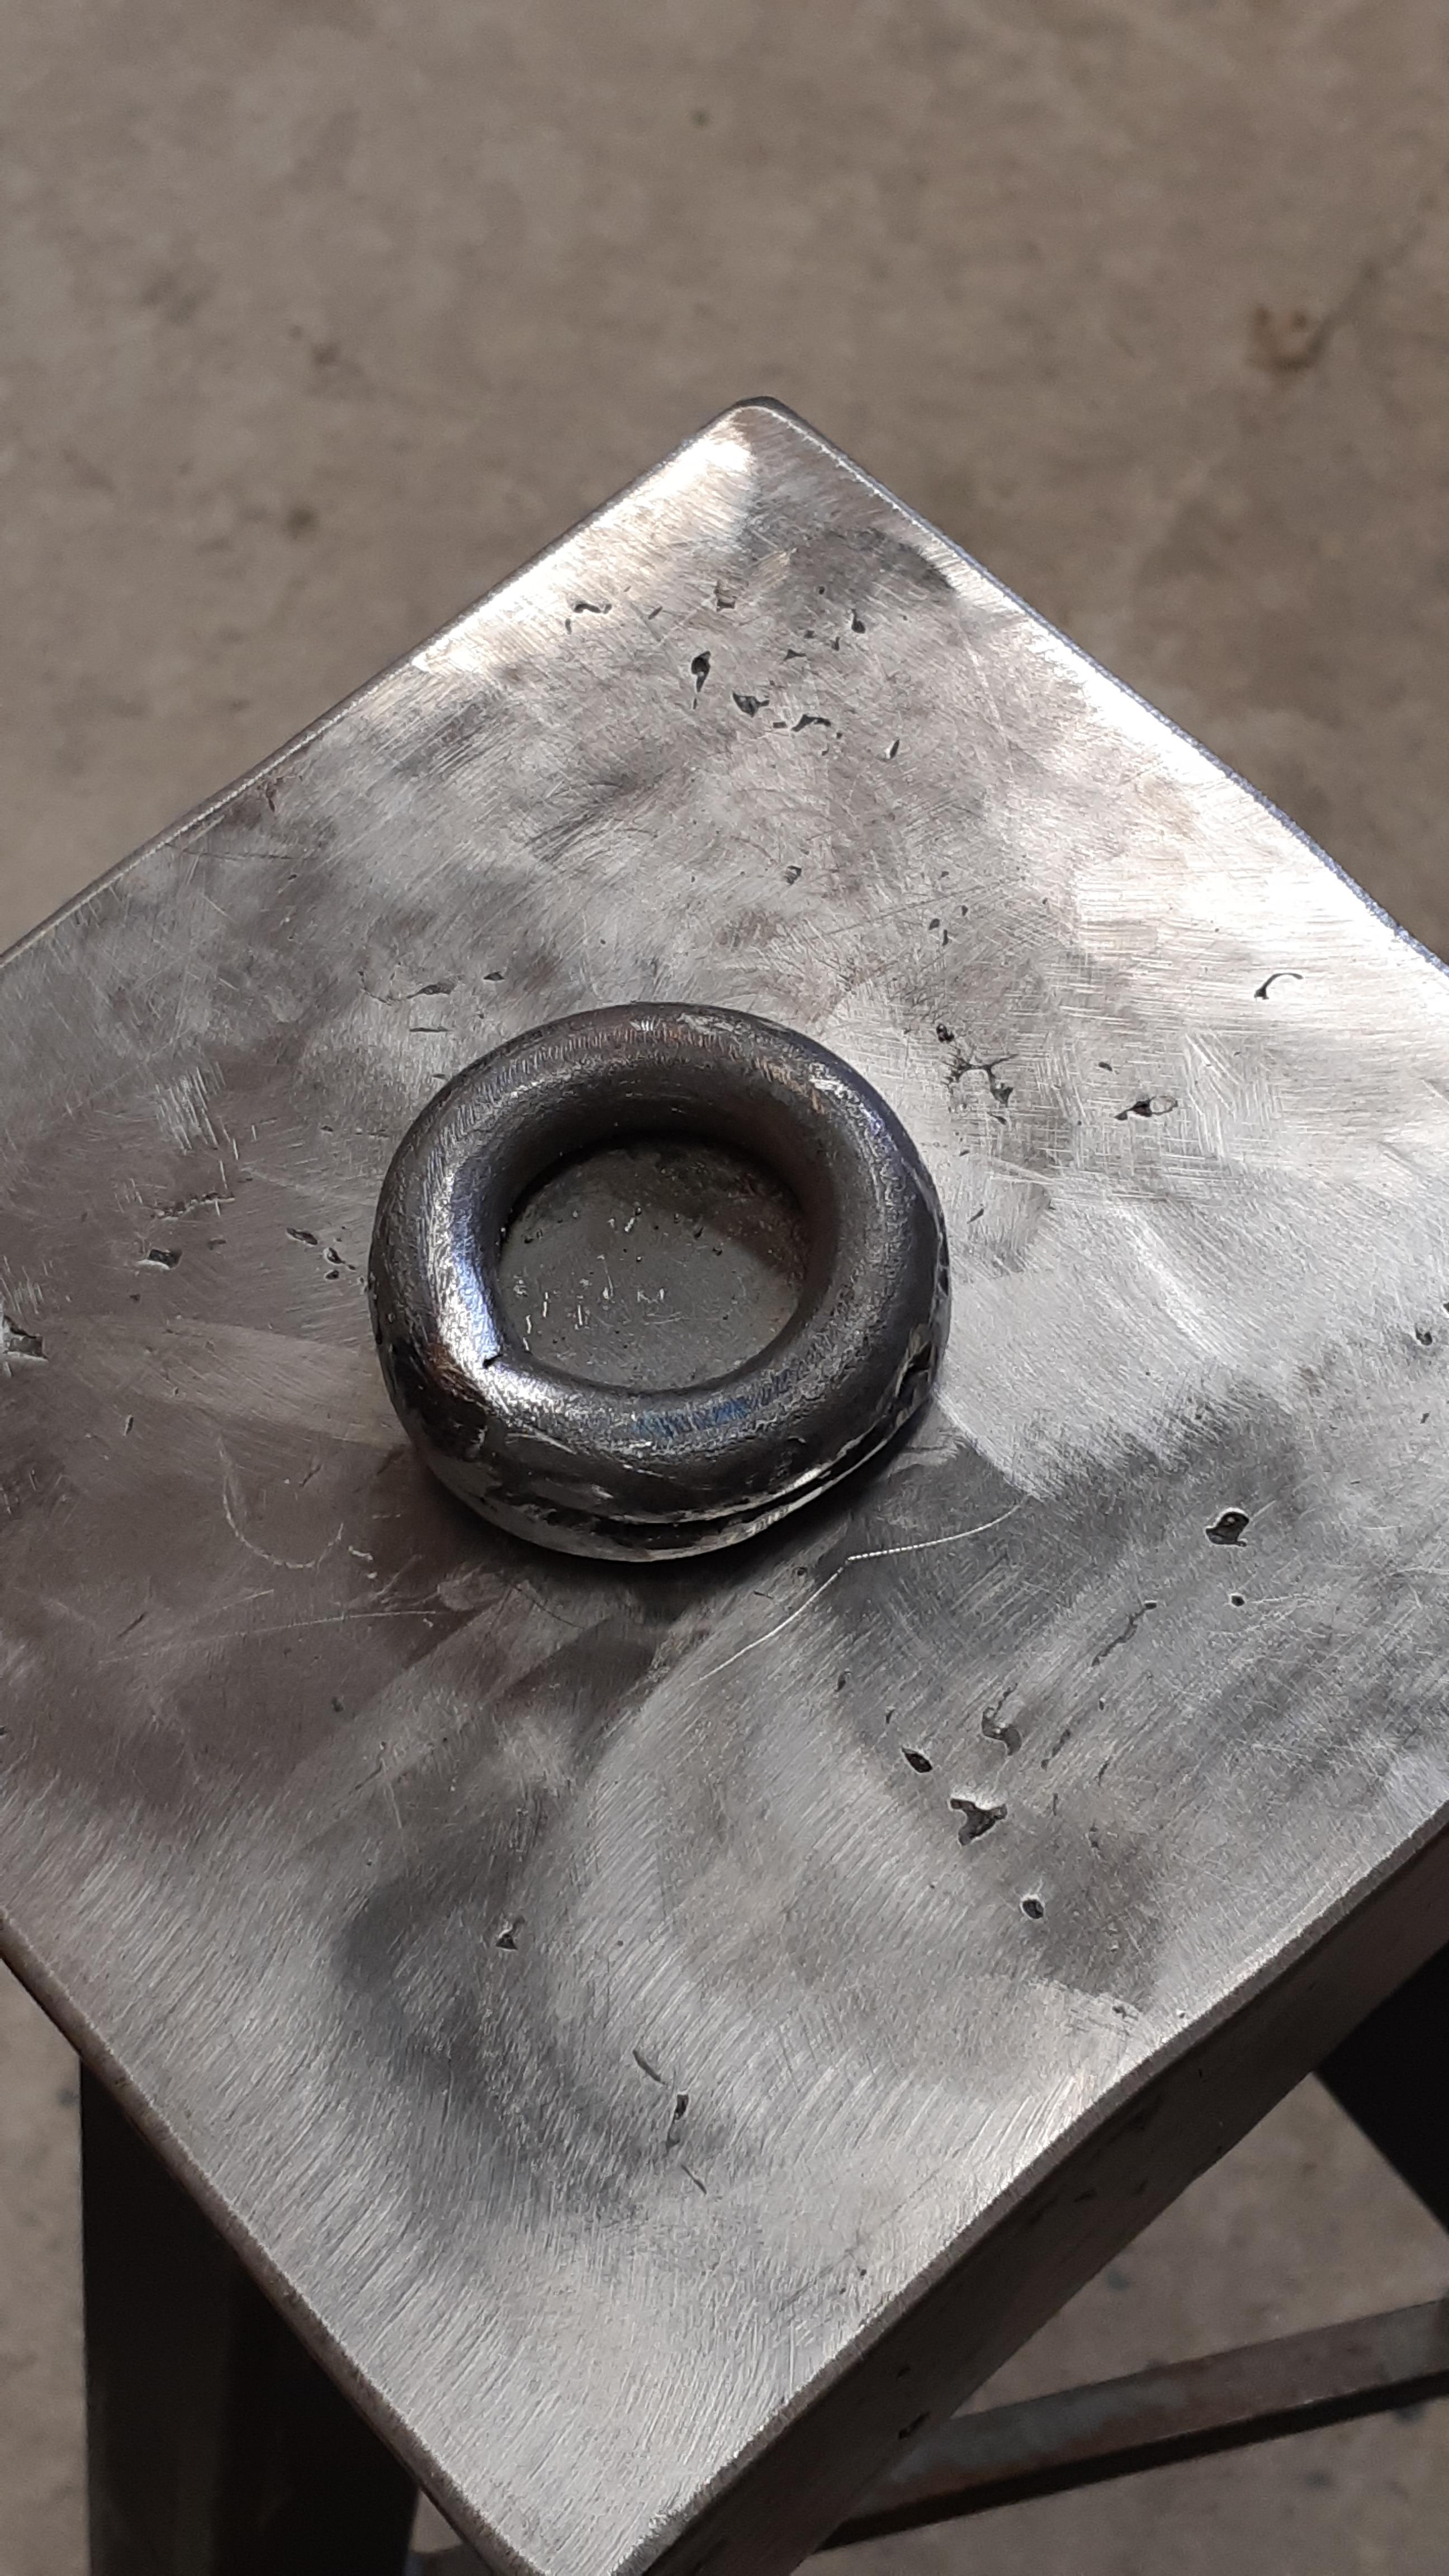
First a portable hardy hole, because the one on my anvil is uneven and slanted, and I did not want to have to remake all my tooling if I ever decide to change my anvil again in the future. The surface is welded together from pieces of 1.5" x 3/8", the hole is 1" (to fit square tubing that I'll use for tool stems) and the legs are filled with sand.
Then I made a pair of tolls that should make shaping spoons and the like much easier.


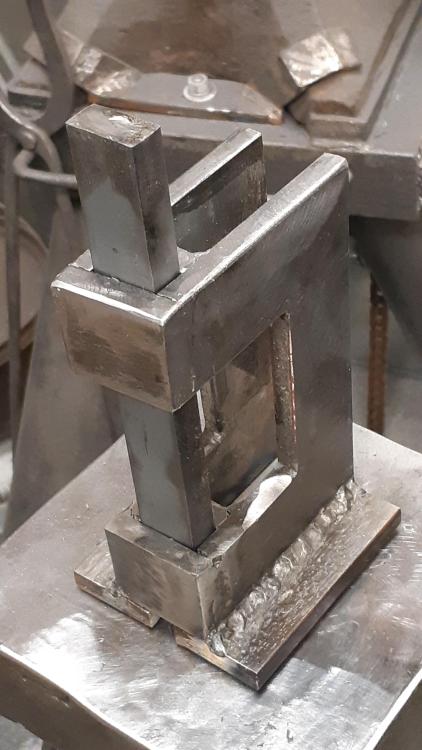
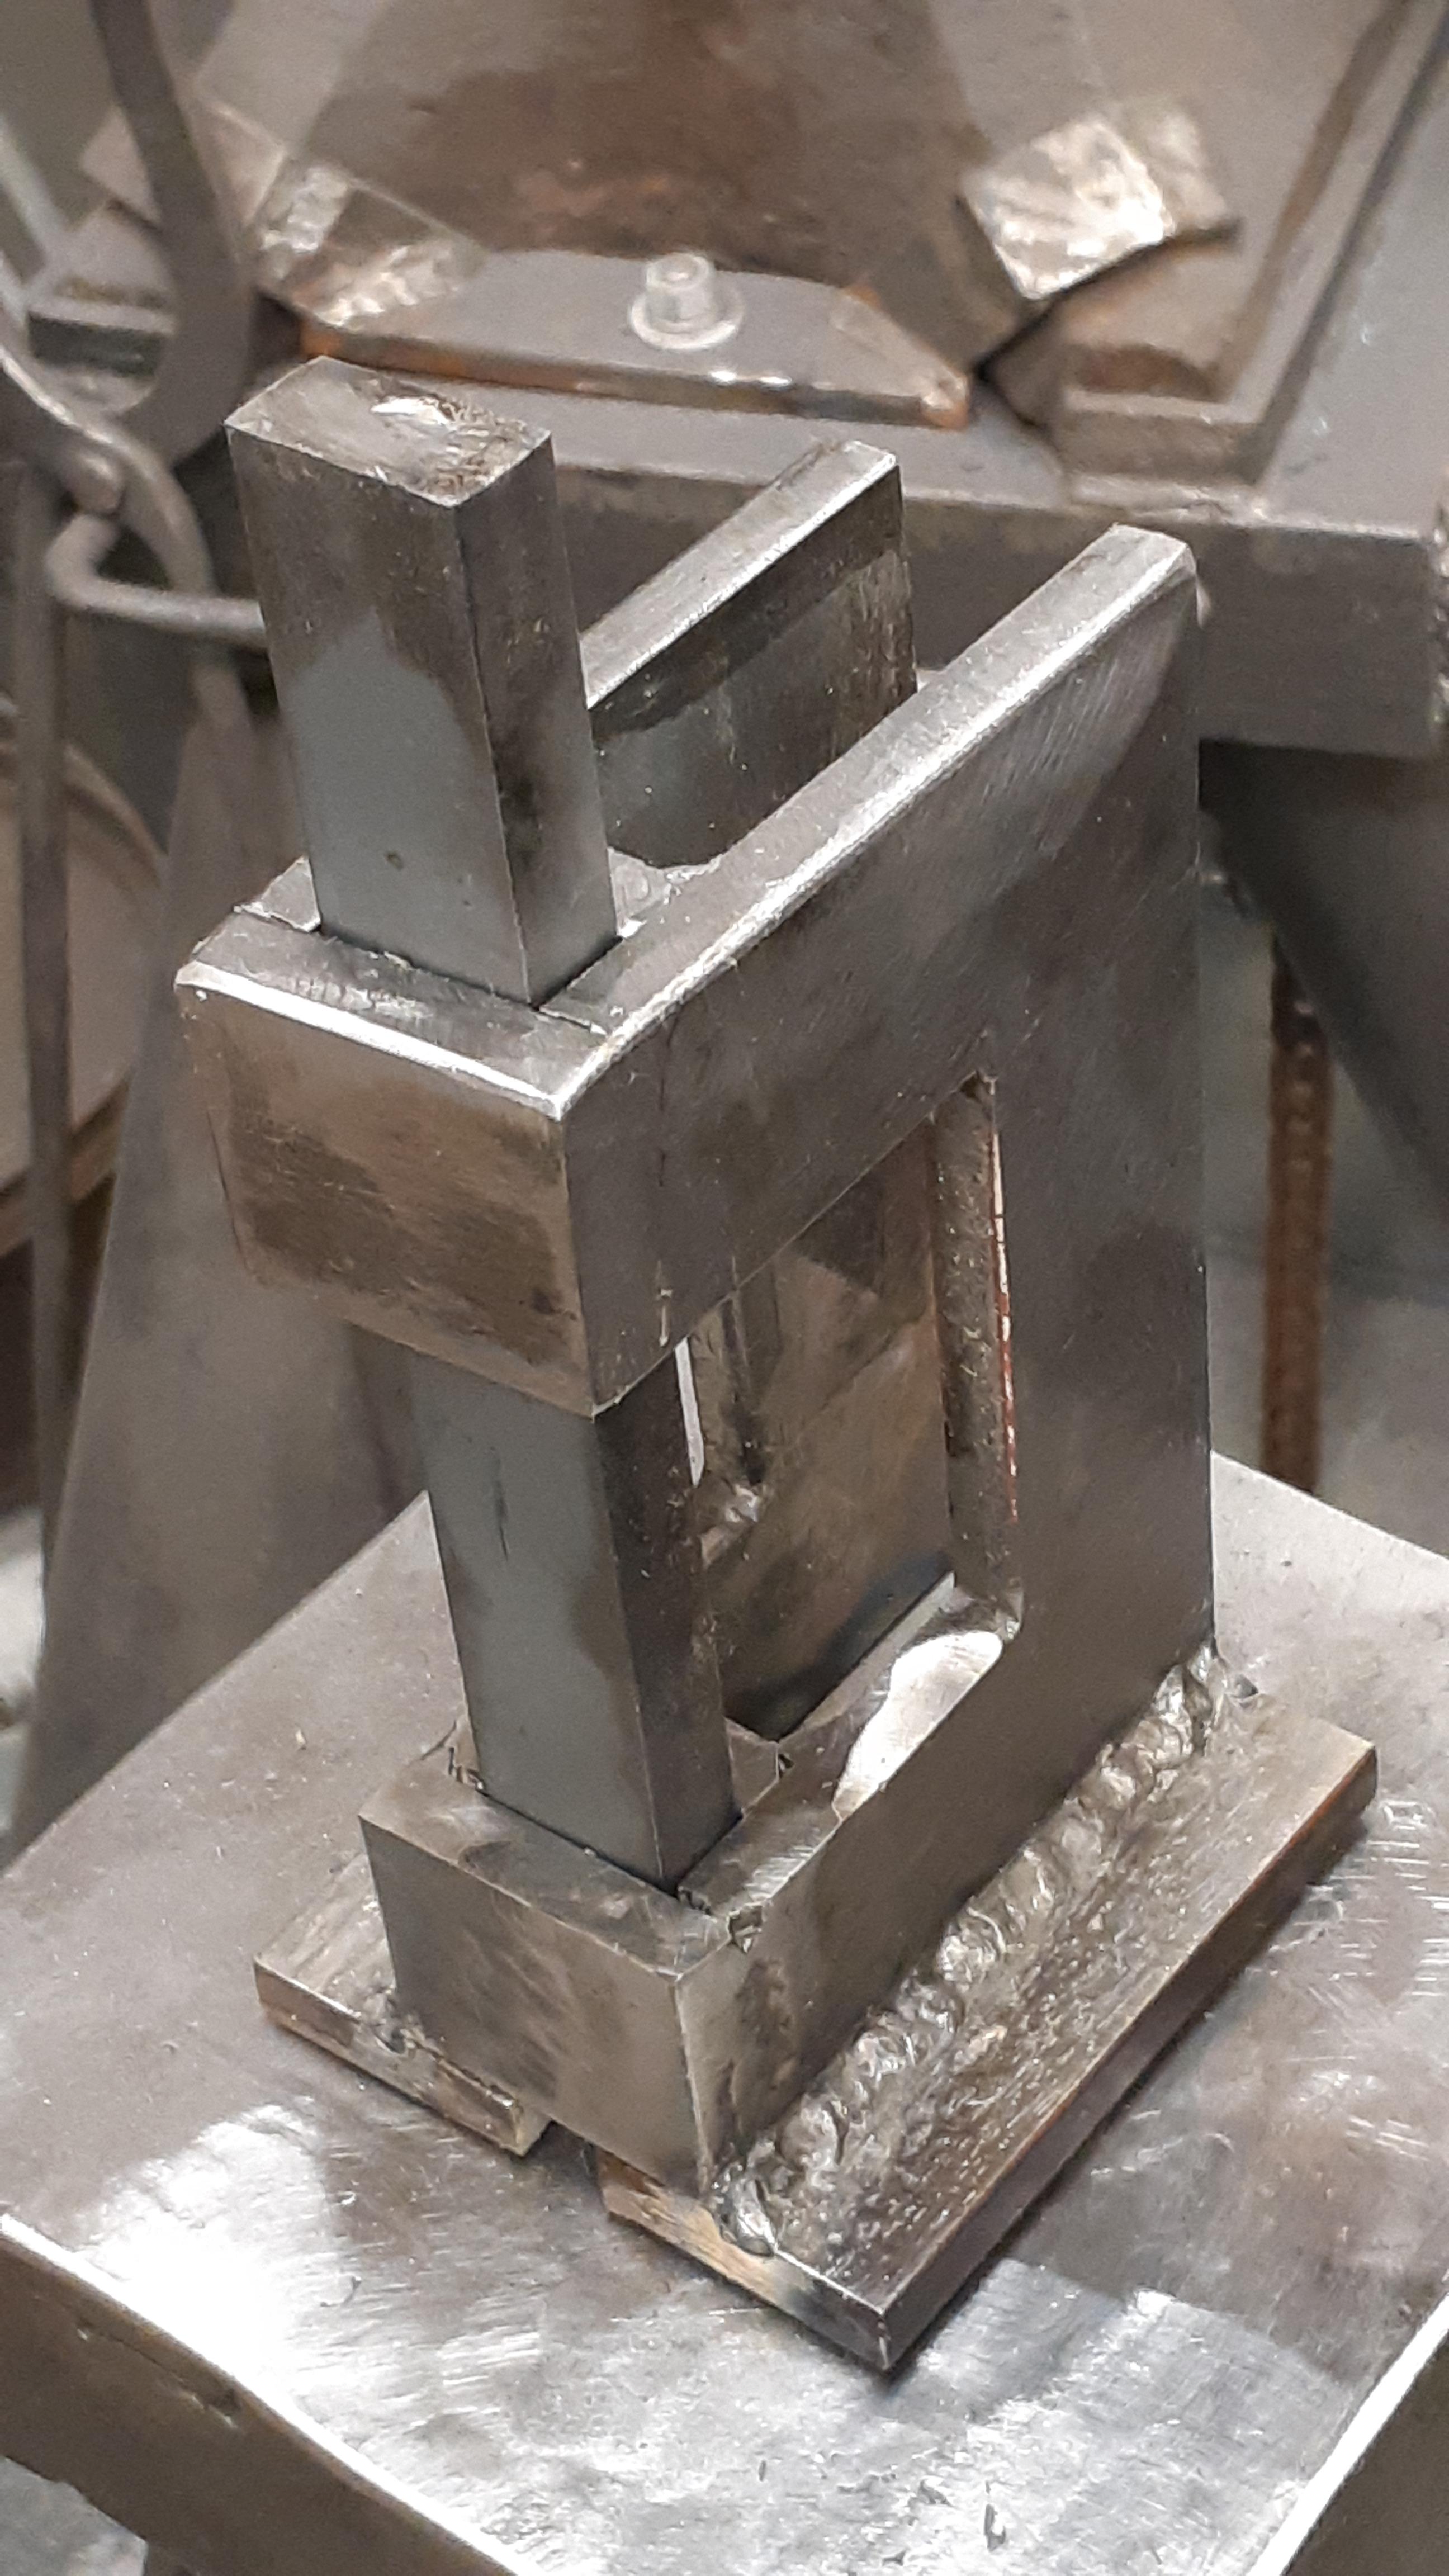
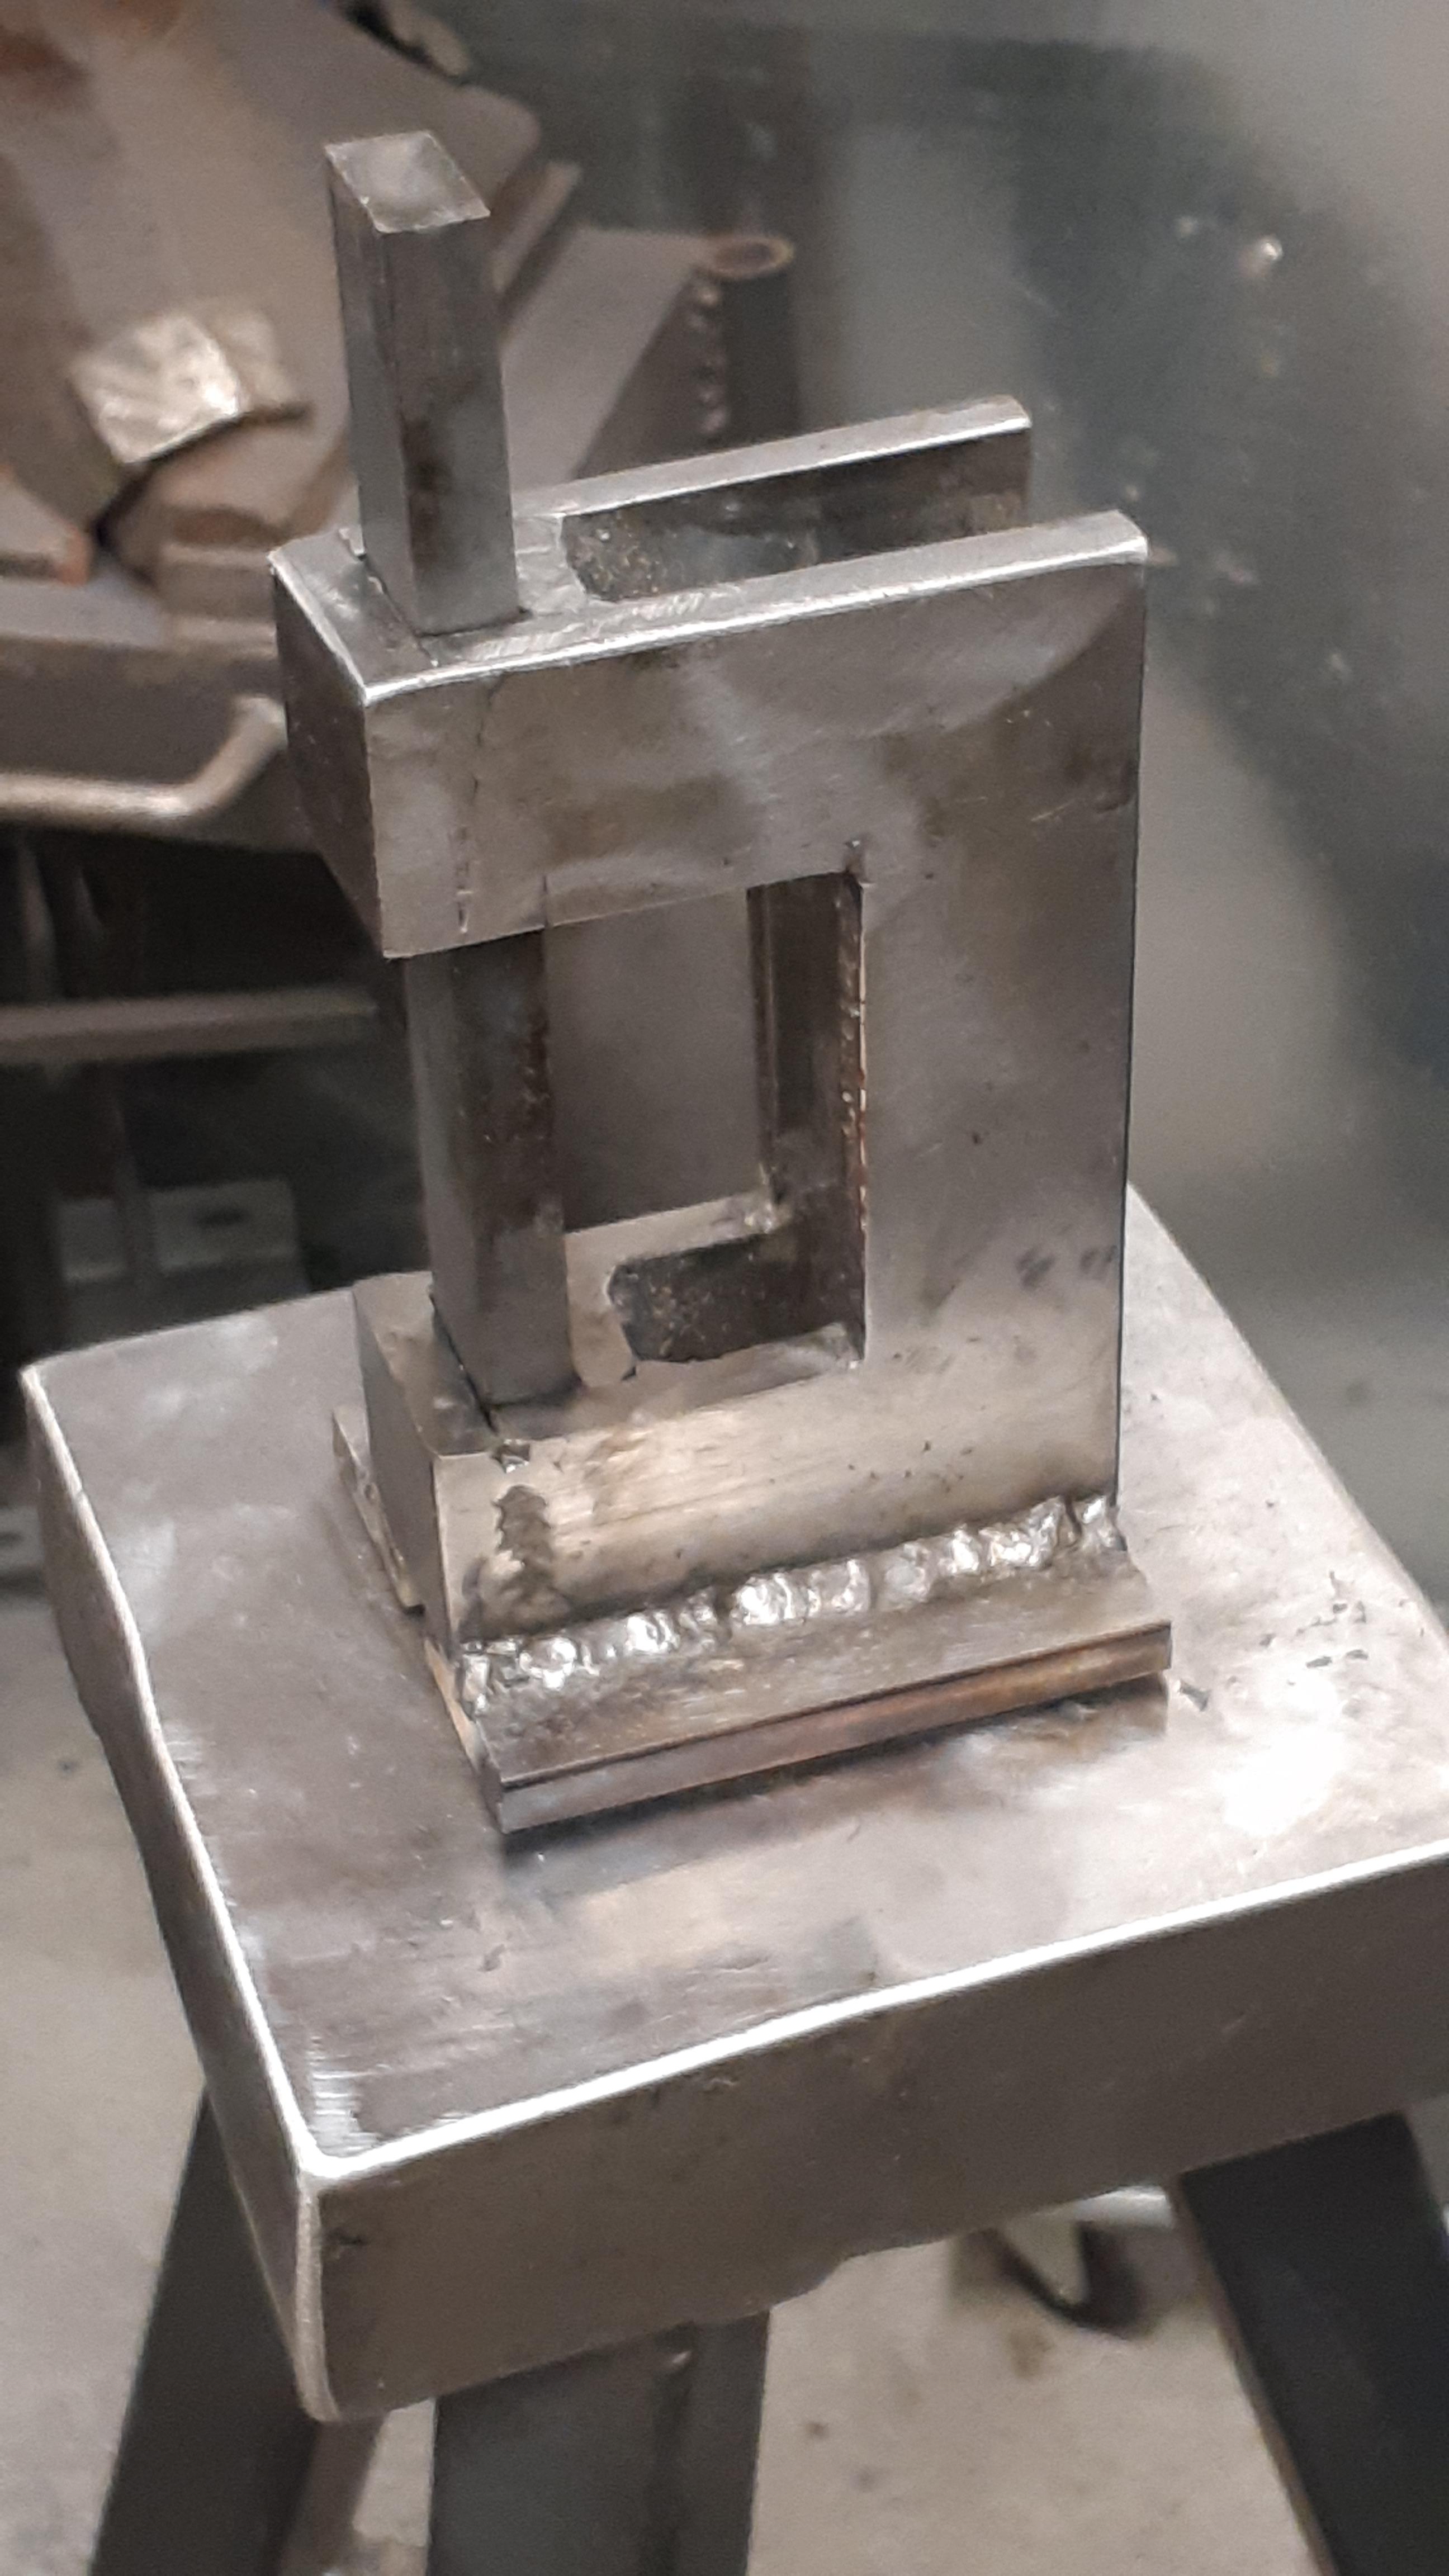
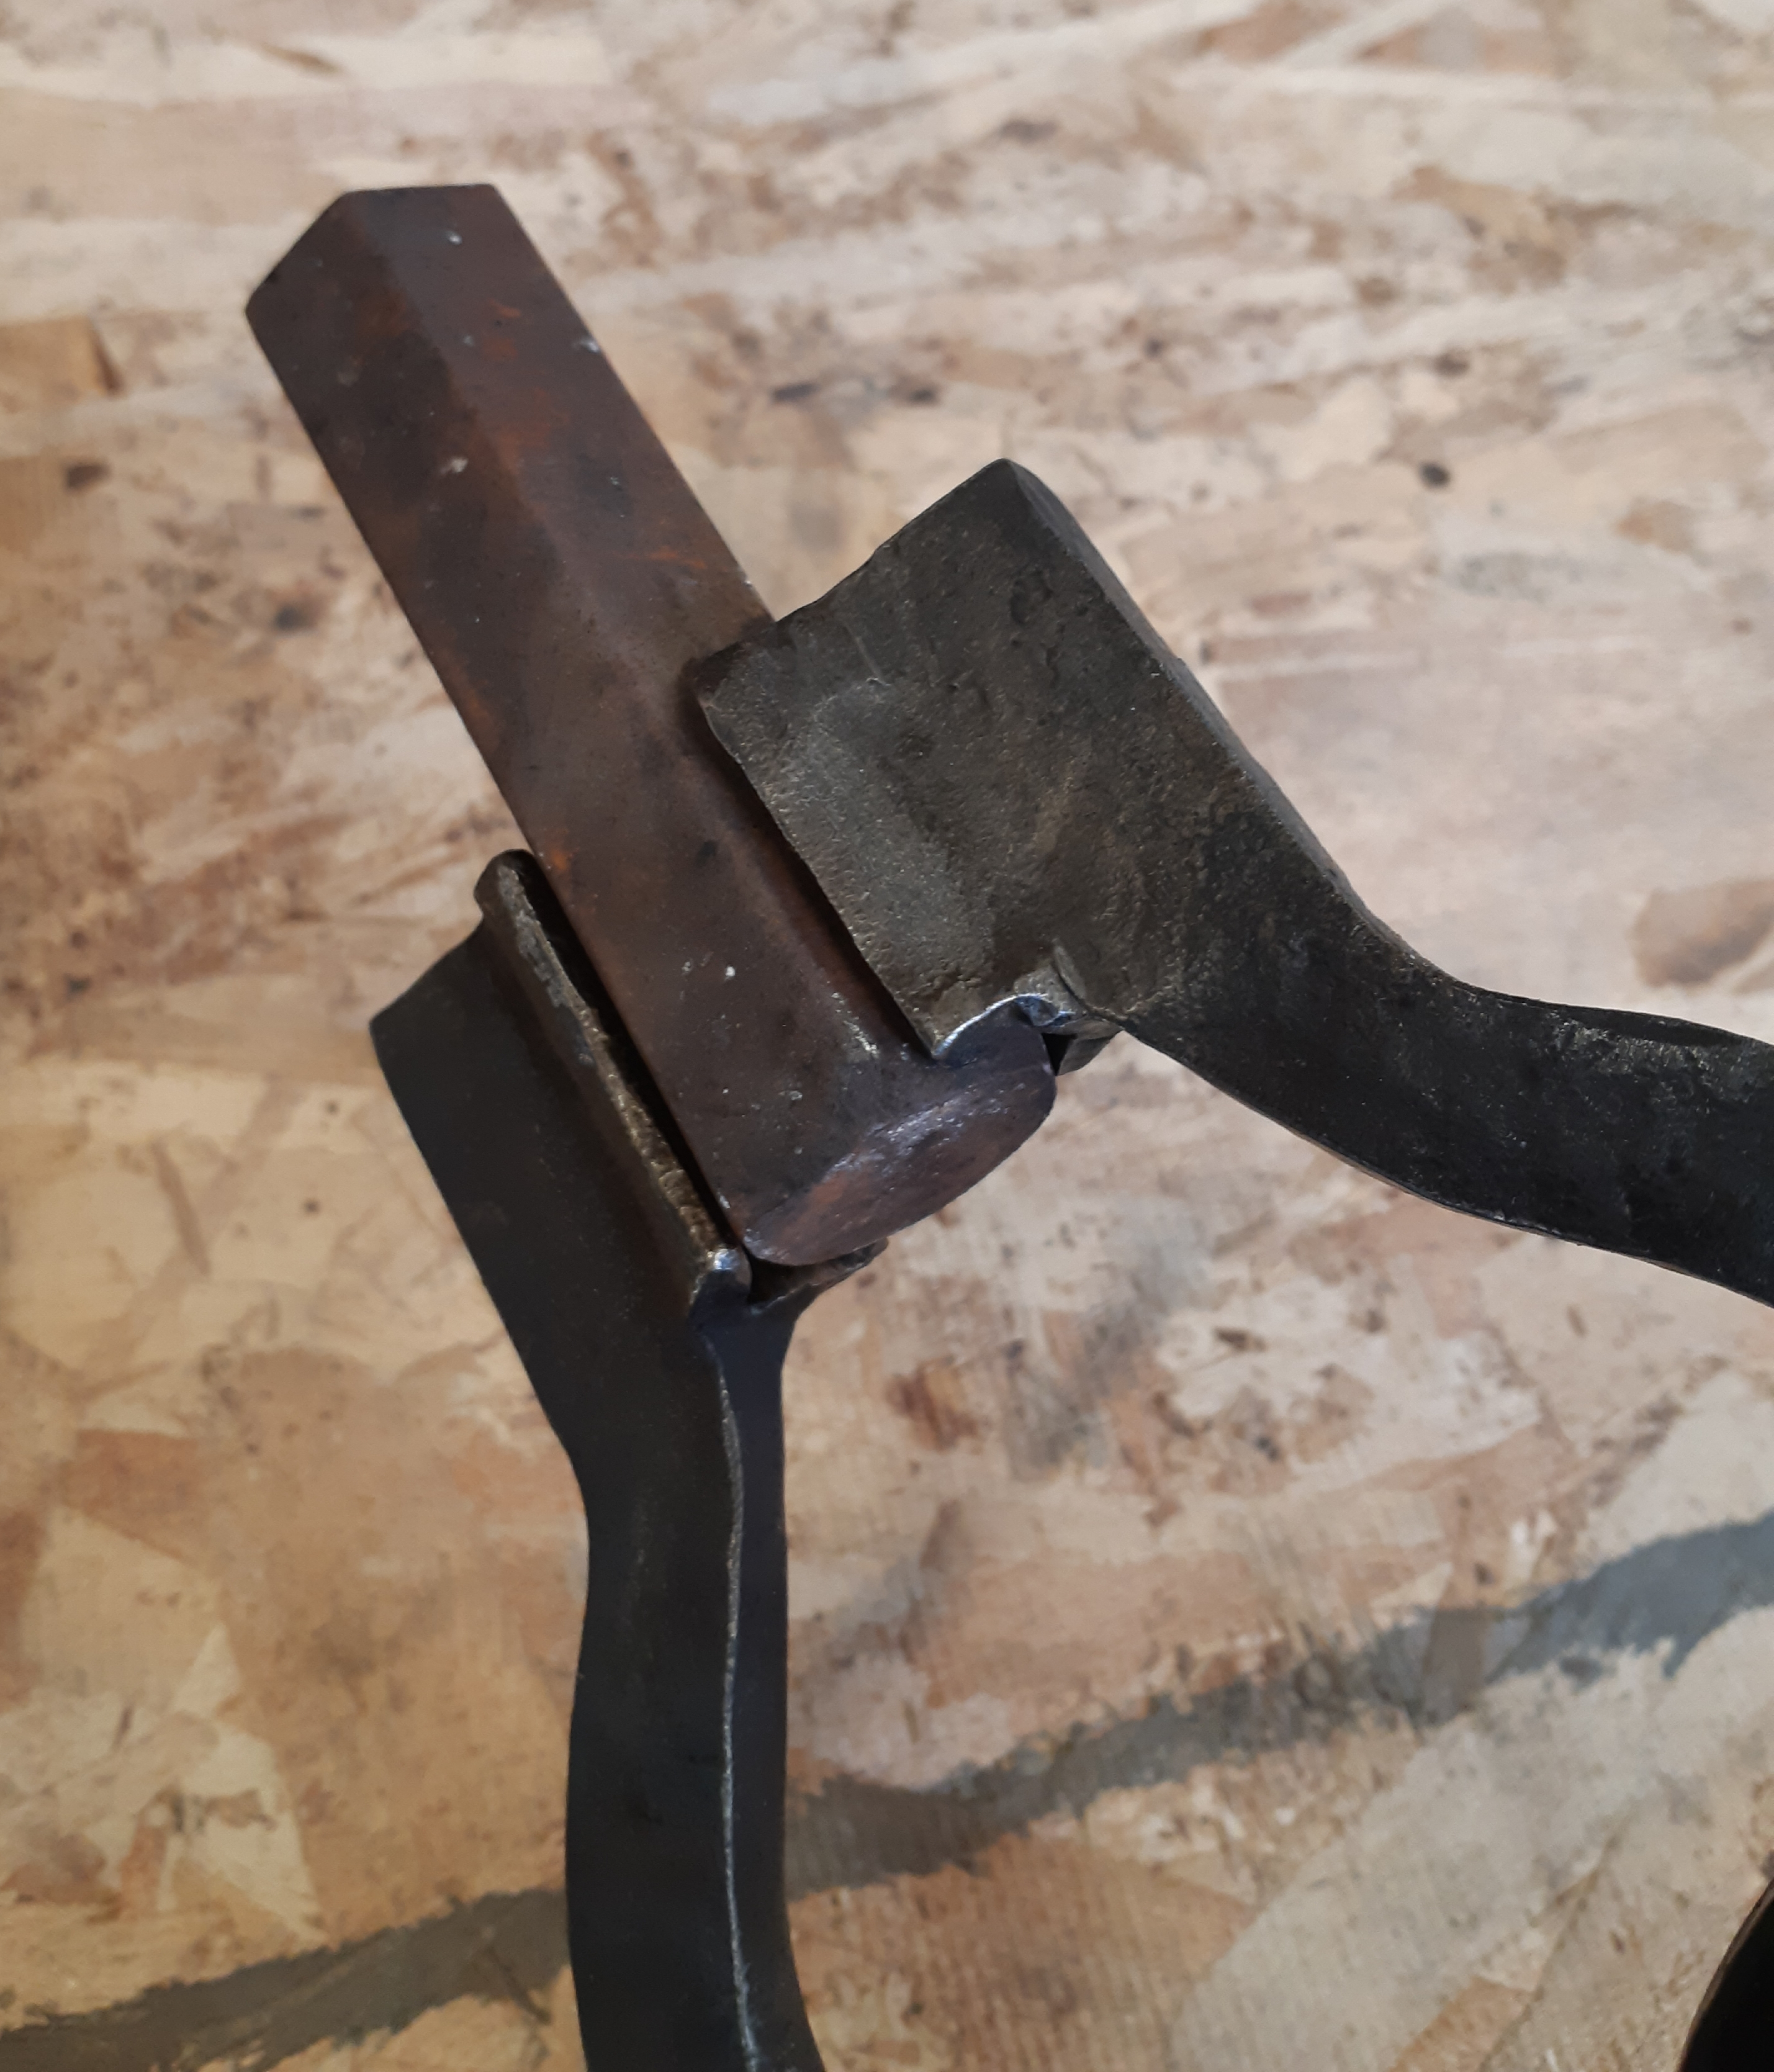
And finally, a small guillotine tool (for 1" x 1/2" tools), also welded together using 1.5" x 3/8" bars. My welding is getting better too!
")

Looking forward to the next time I light up the forge. Probably not today, it is rather chilly at -13 Celsius.
-
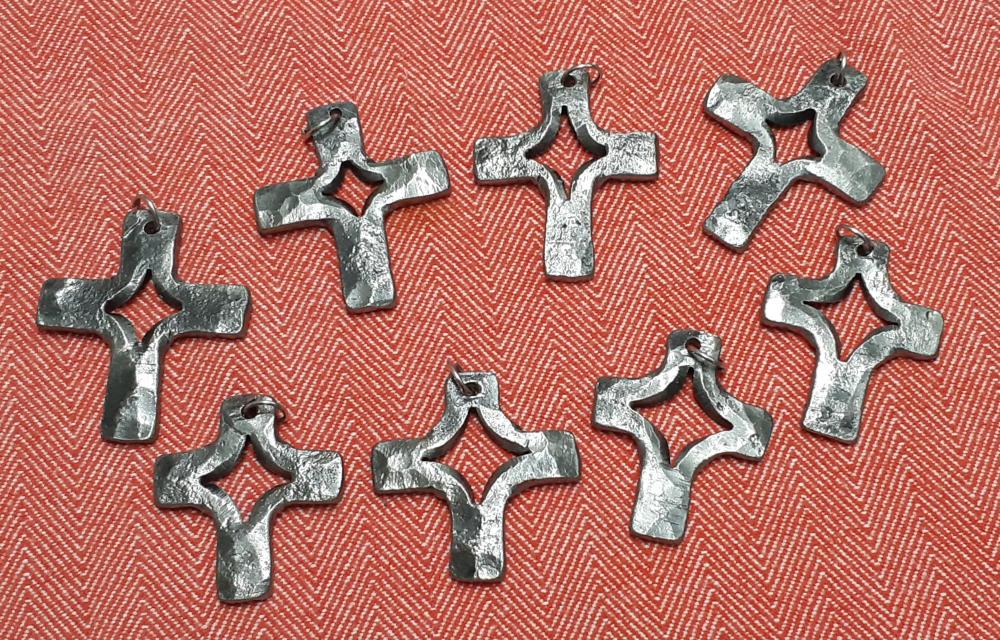
Made a few changes in the way I make small split cross pendants. New batch took me half the time of the last one. Still experimenting with the size of the split and general proportions.
-
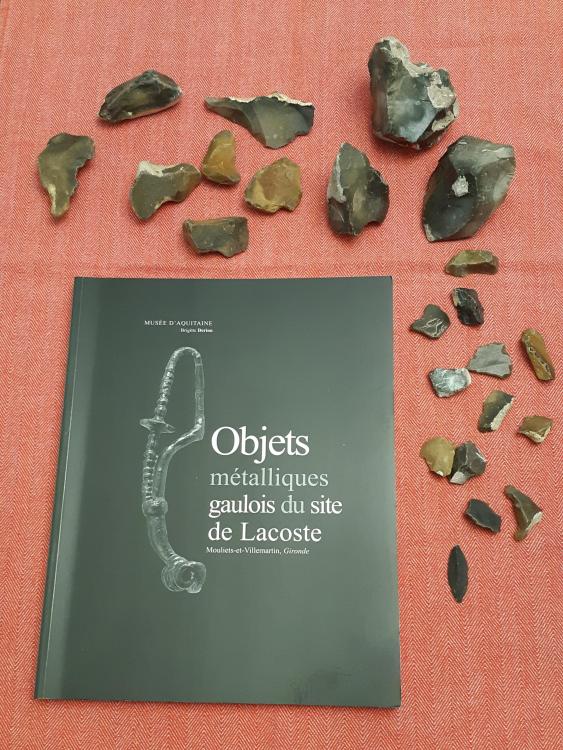
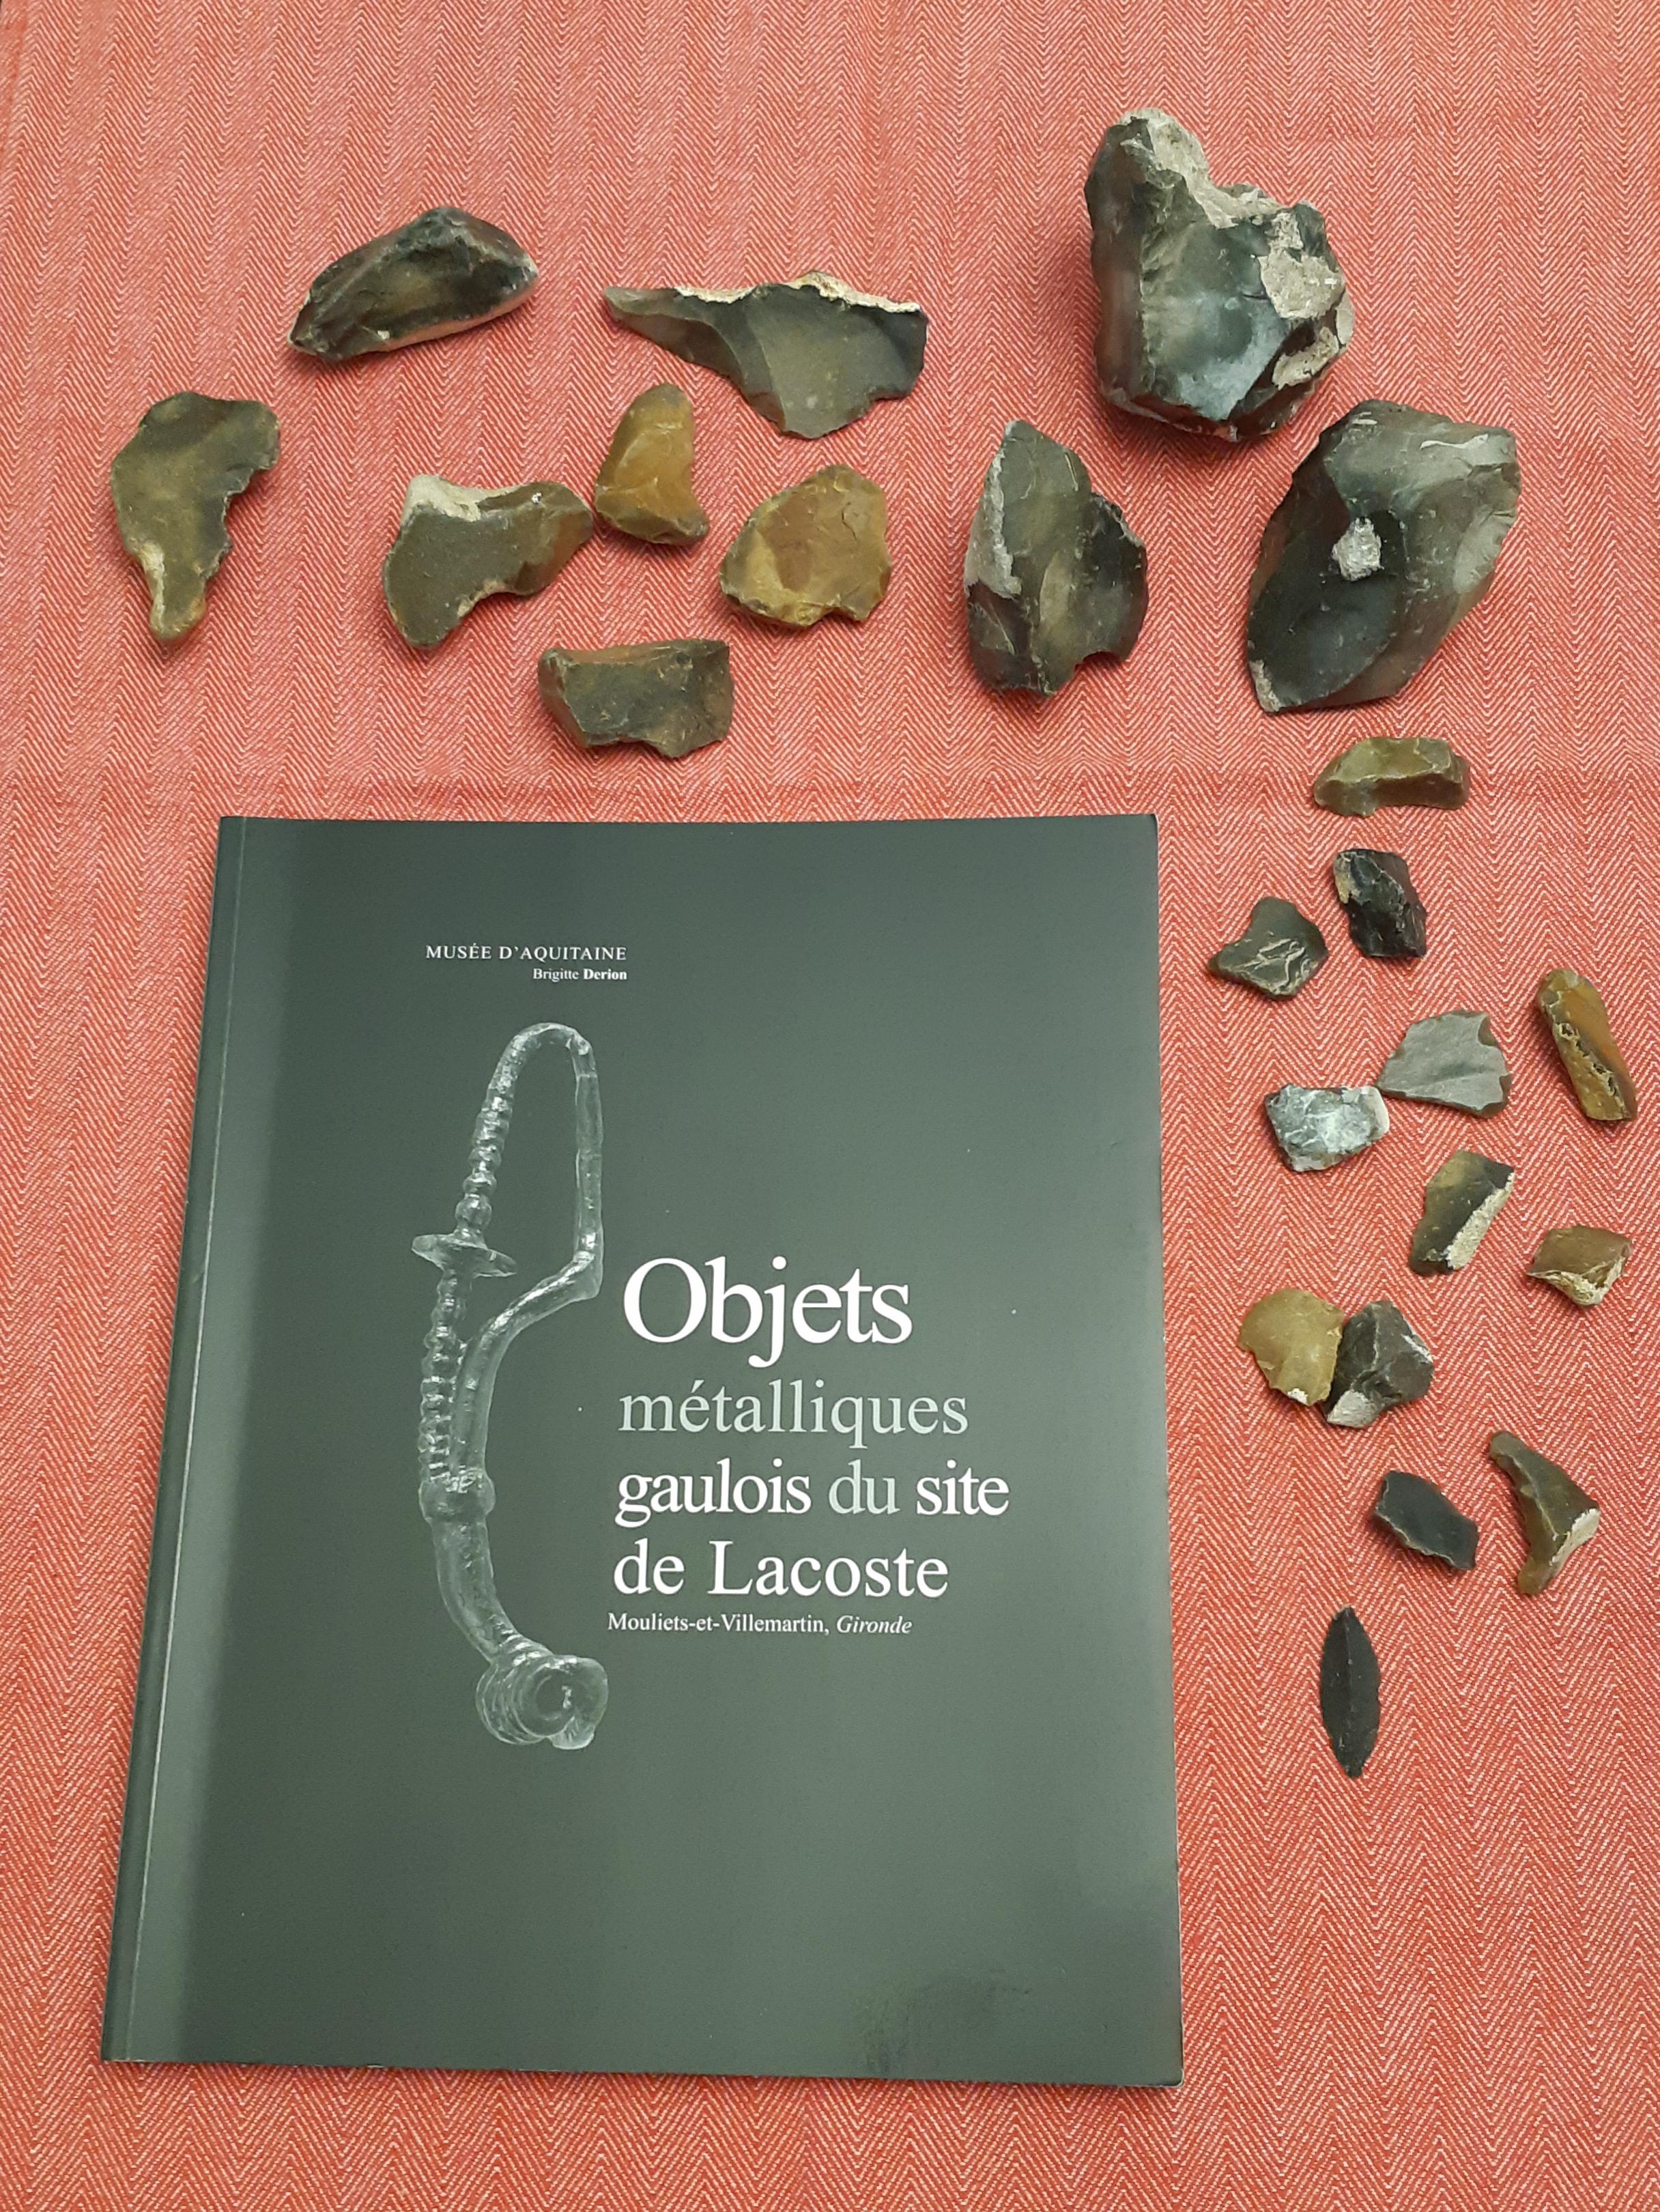
Followed me home from my trip to France. The title translates to "Gaulish metallic objects from the Lacoste site". Quite similar to the Mastermyr chest find, but much larger.
And some flint from the Perigord region. The stuff is everywhere.
-
3 hours ago, JHCC said:
You could do a whole lot worse than using the collar of a heavy jackhammer bit as the shoulders of your hot cut (or any bottom tooling, really
Actually, I'm keeping the collar for the next tool I plan on making, namely a bick. Felt it would need the shoulder more than the hot cut.
-
The edges of my hardie hole are pretty rounded. Nor straight, and slightly twisted. The previous pictures are a bit deceptive about the width of the shoulders.
I still wish I could have upset the stock more, but I don't think it will be a problem, particularly for cutting hot steel.
-
I am travelling to France in September, and I was wondering if there are any smiths here who live in the Bordeaux or Périgueux region. It might be fun to visit a forge while I'm there.
Do you know someone?
- Arthur
-
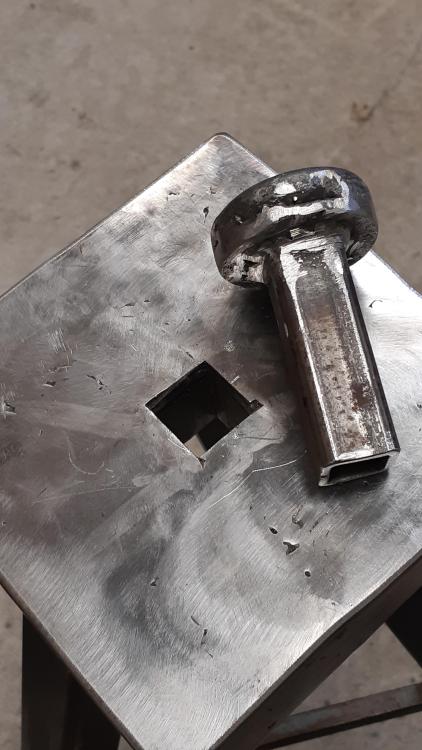
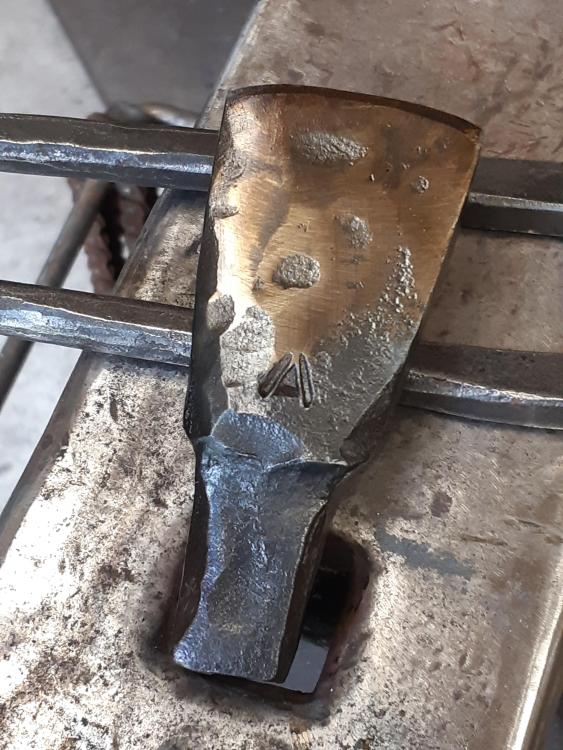
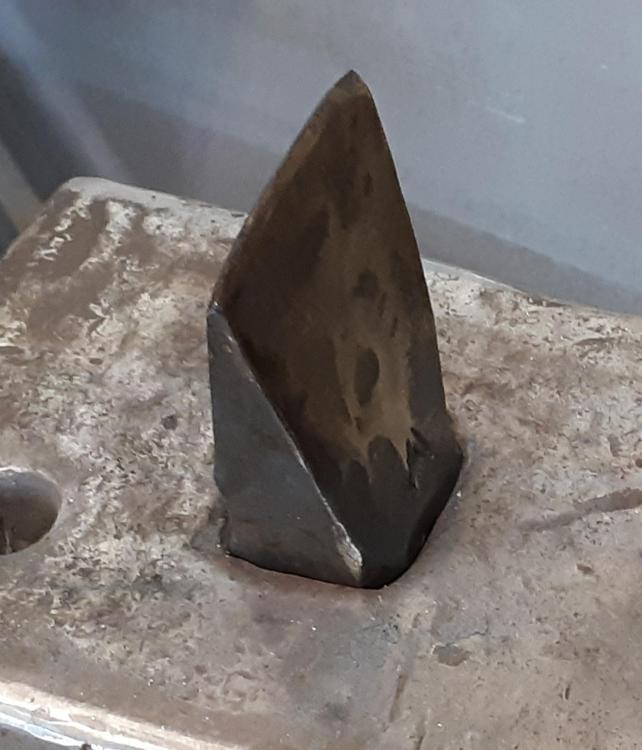
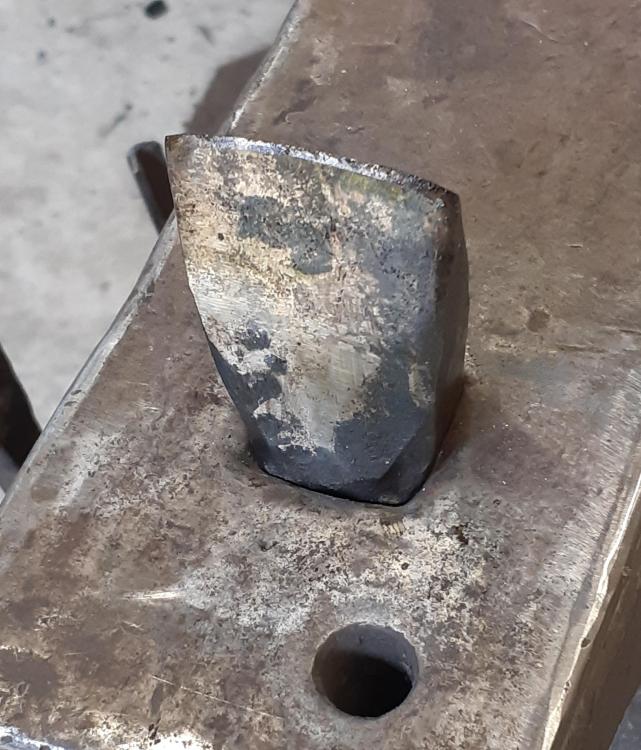
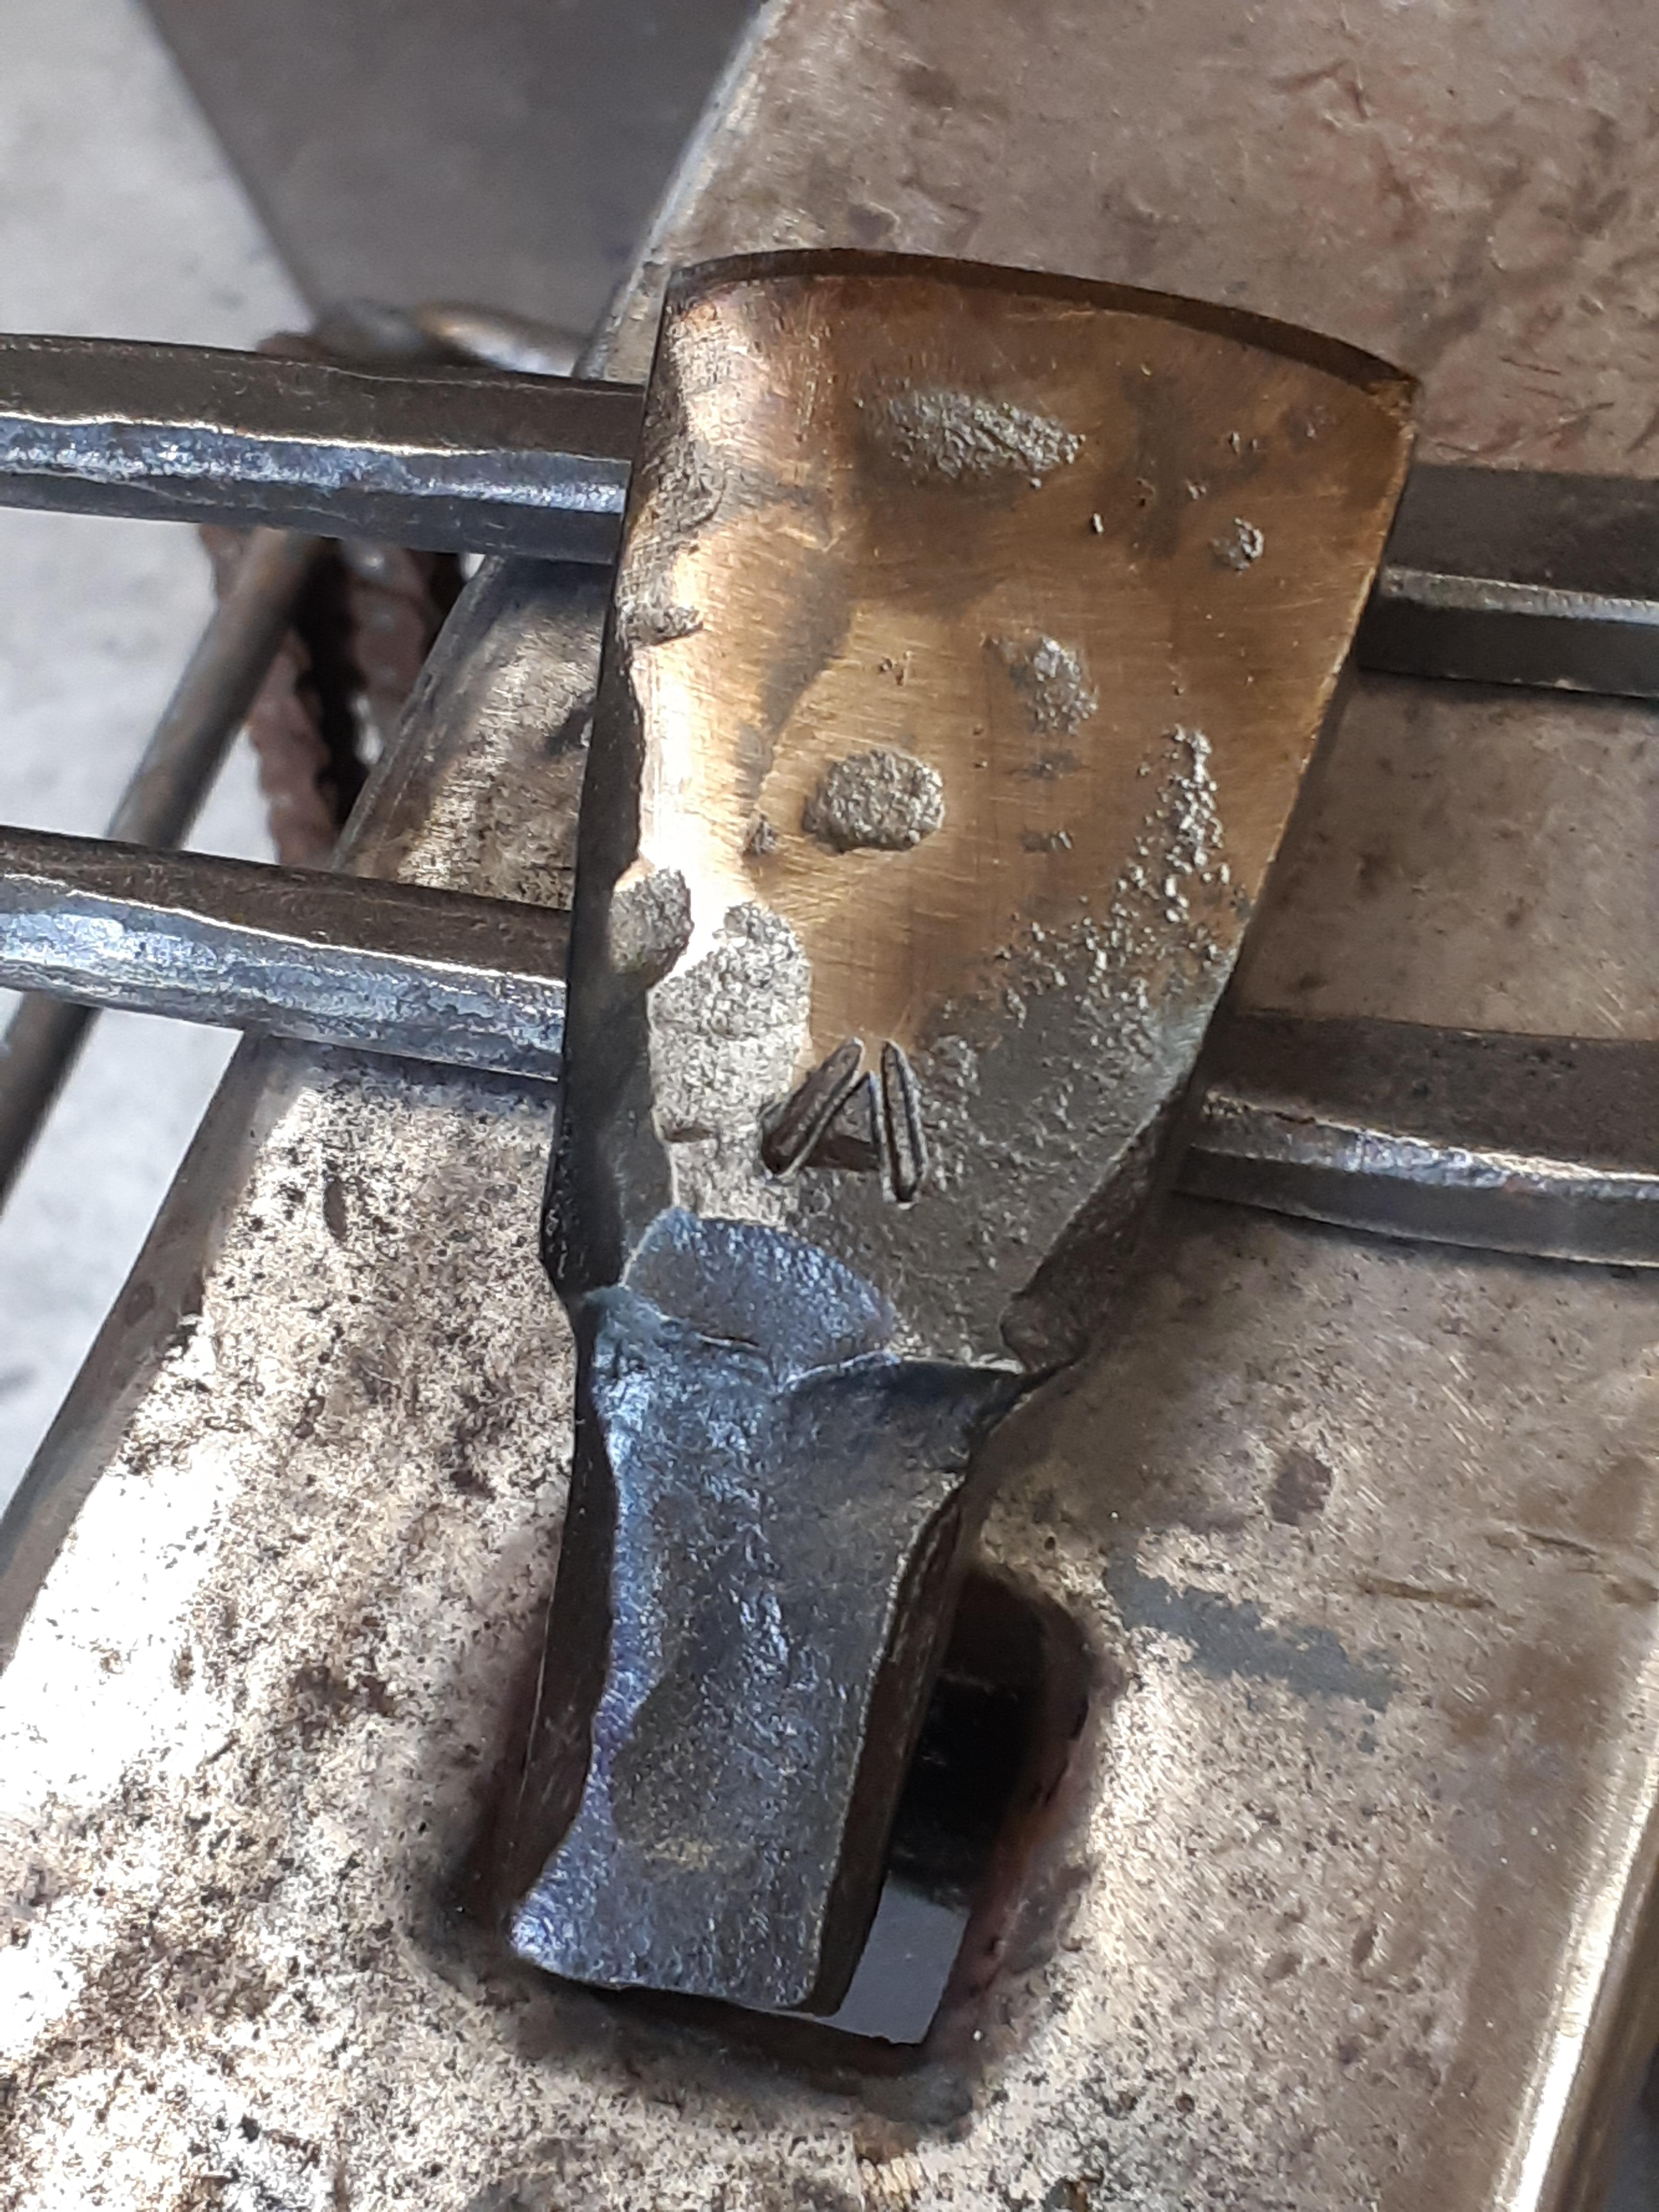
Hardy hot cut, made from a short section of jackhammer bit. That was some though material to forge by hand.
I decided not to harden it -- better to have to resharpen it than risk damaging a hammer face.
The golden hue is due to the beeswax coating.

-
Thanks Daswulf. I decided cross brace would be overkill, since this is for fairly light work. I also felt that they might get in the way. And I can always add them later if I change my mind!
Tried it out this morning. Works well, although it is a bit on the low side for me, but that's ok for the work I will be doing on it.
-
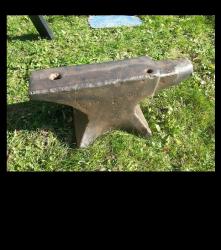
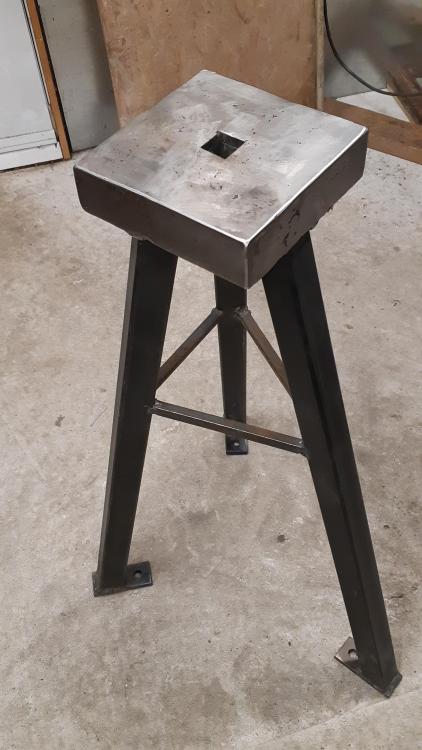
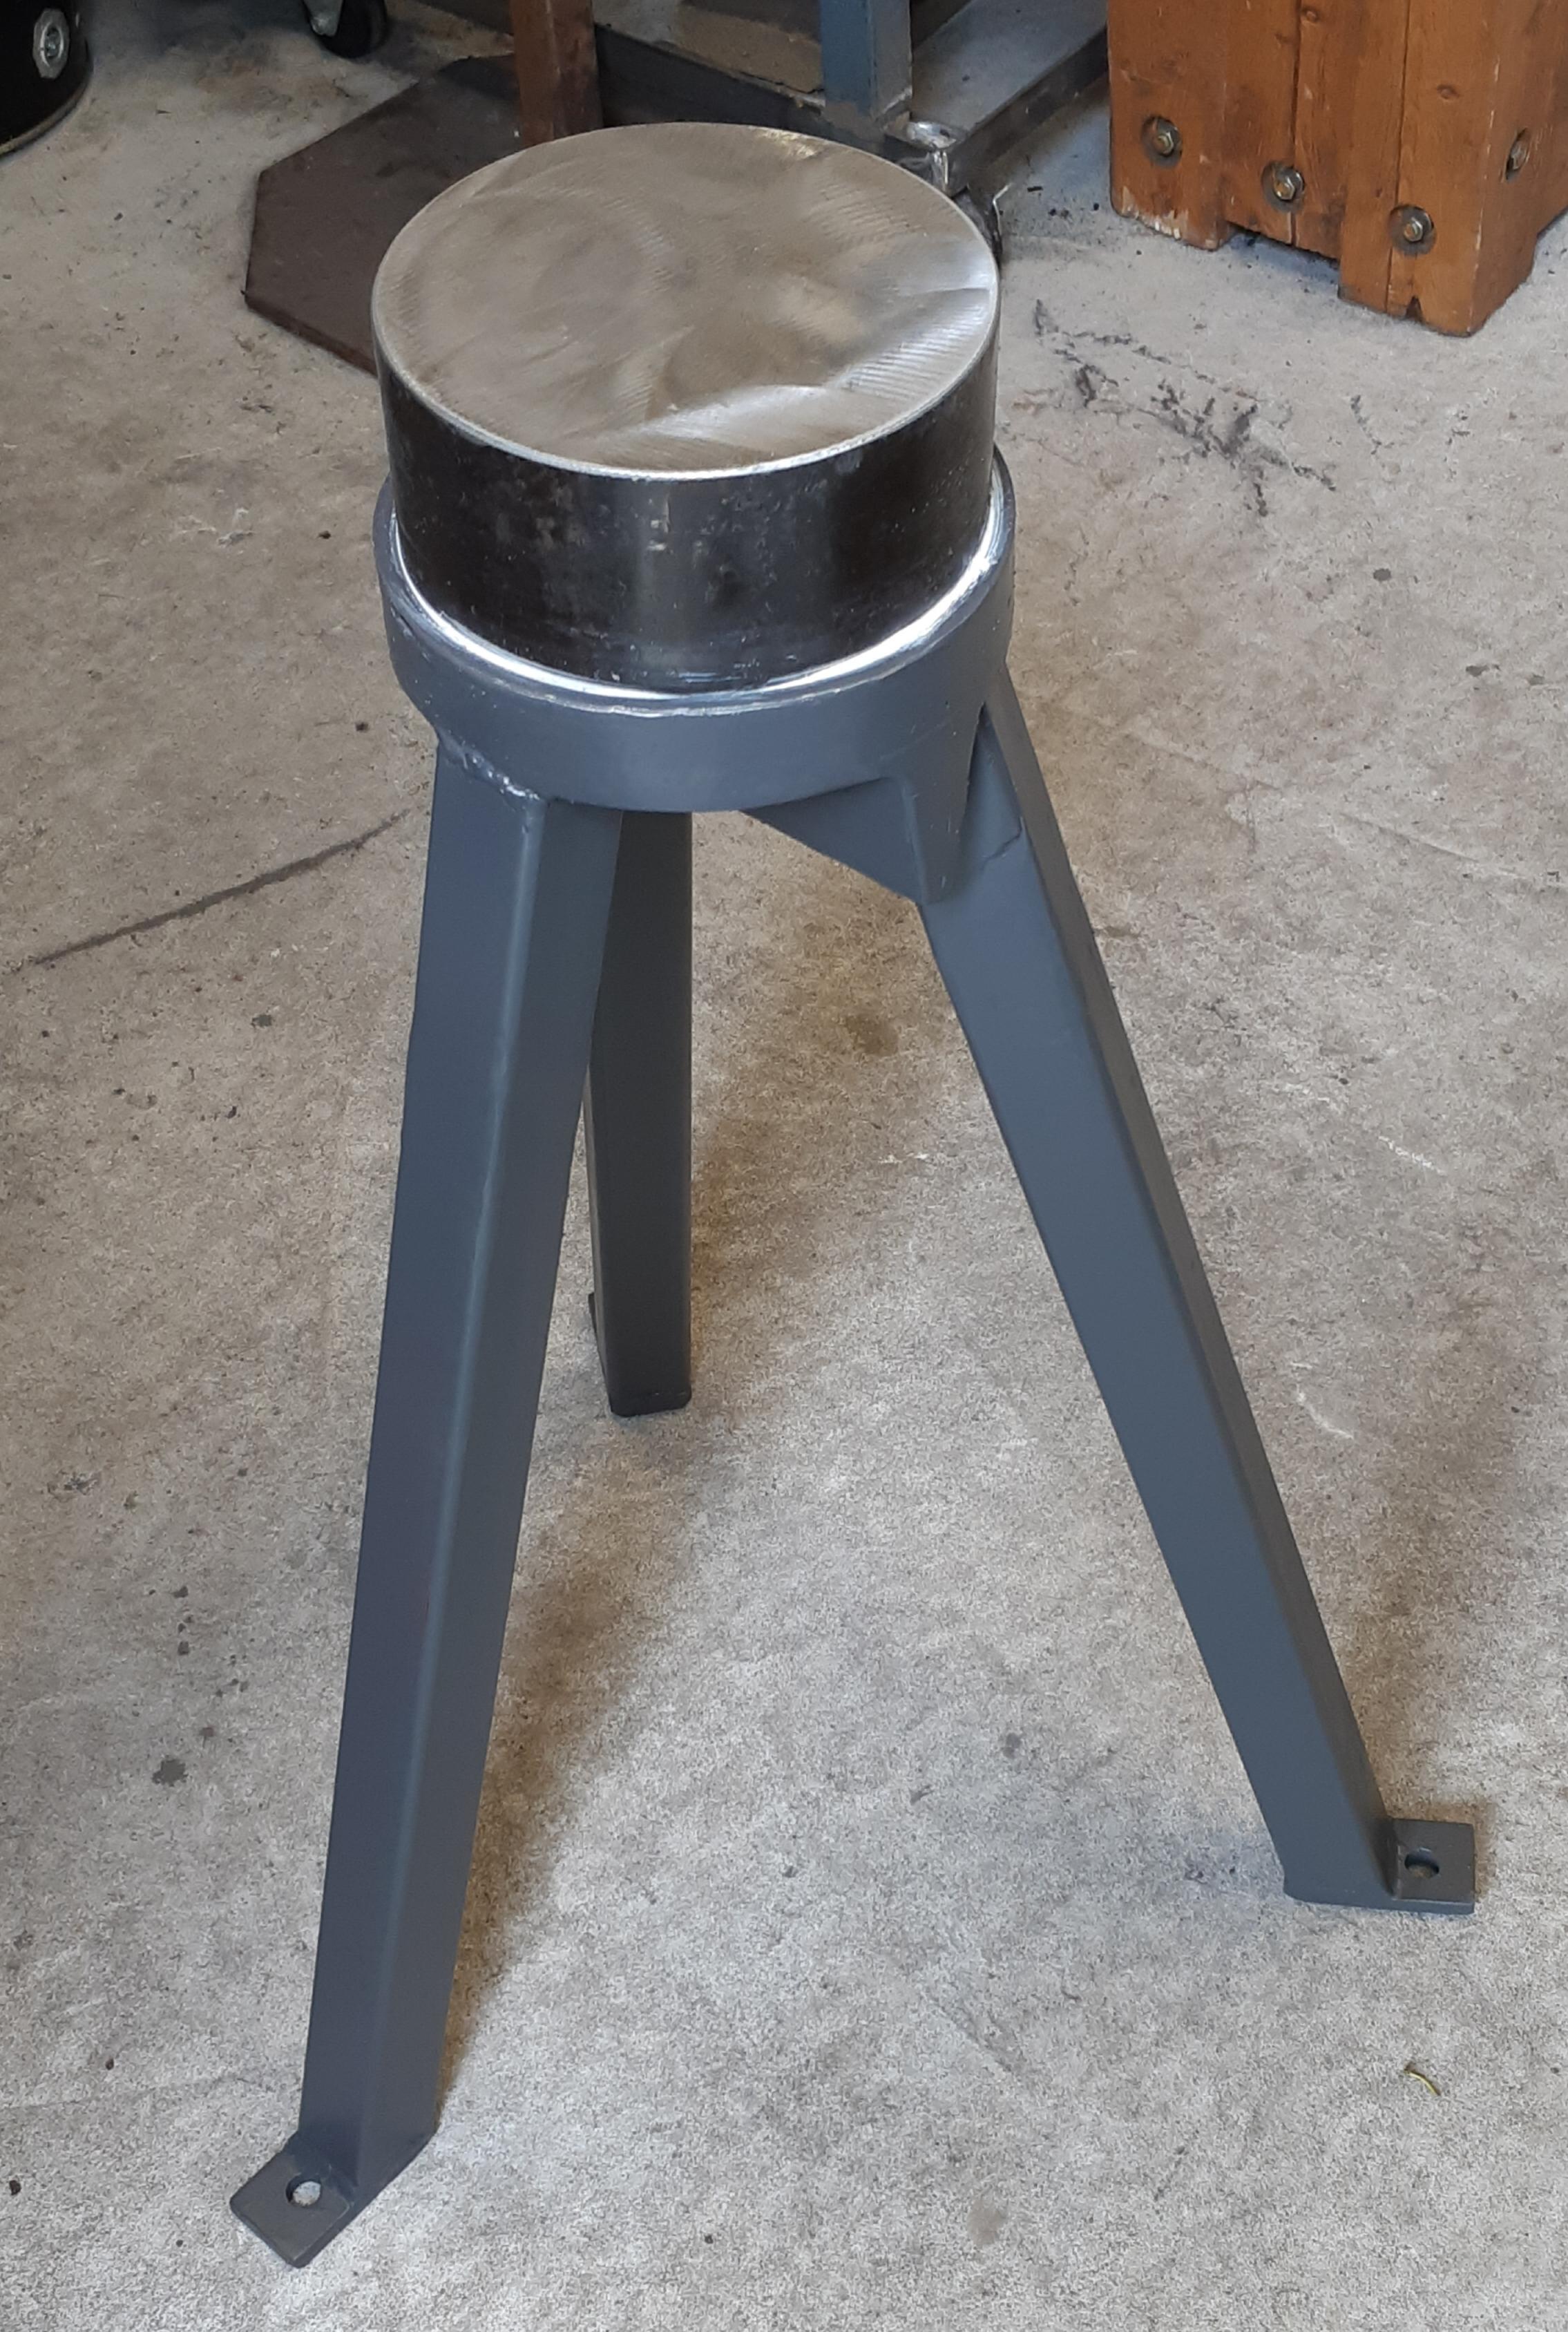
Finished the tripod for an improvised anvil, a 6" diameter by 4" high. Useful when I need sharper corners and as a light travelling anvil. The legs are 1.5" square tubes, filled with sand. The feet are pre-pierced so I will be able to stake it down if the ground requires it.
The underside of the anvil was uneven, so I built the stand accordingly. Since I had an old half-empty tube of acrylic filler, I used that instead of silicon.

-
-
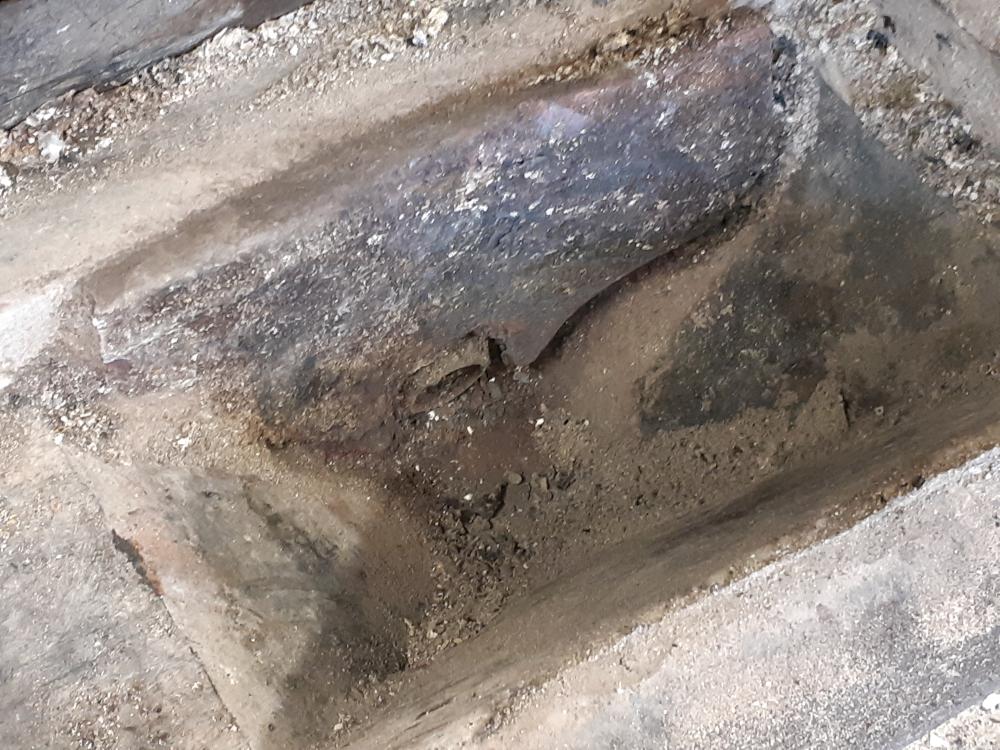
Here's a picture of its current condition. I would I've done about 300 hours of forging with it.
-
I don't have a picture handy, but after 3 years the plate has warped some. The far weld has popped as a result and I have a small gap between it and the previous plate. Still working wel despite the warp.
The half-inch plate also shows signs of corosion and some burning, which is understandable since this is the point where the air comes into contact with the charcoal, but not enough to be a concern.
The other sides of the pot show very little wear.
(Edit: I'll try to take a picture tonight when I get home from work.)
-
I watched a few videos before making them, Tim. The hoops need to be 4 inches in length, so you calculate the volume based on your original stock. In my case I was starting with 1.5" x 3/8", and I wanted the hoops to be 3/8" while retaining the same thickness, so half the width of the original stock. So I isolated a 2" length after the 1.5" length I was keeping for the jaw.
I recommend the videos from Black Bear Forge in general, but for the style and starting stock I was using I liked the one by Torbjörn Åhman. It shows the measurements at the beginning.
-
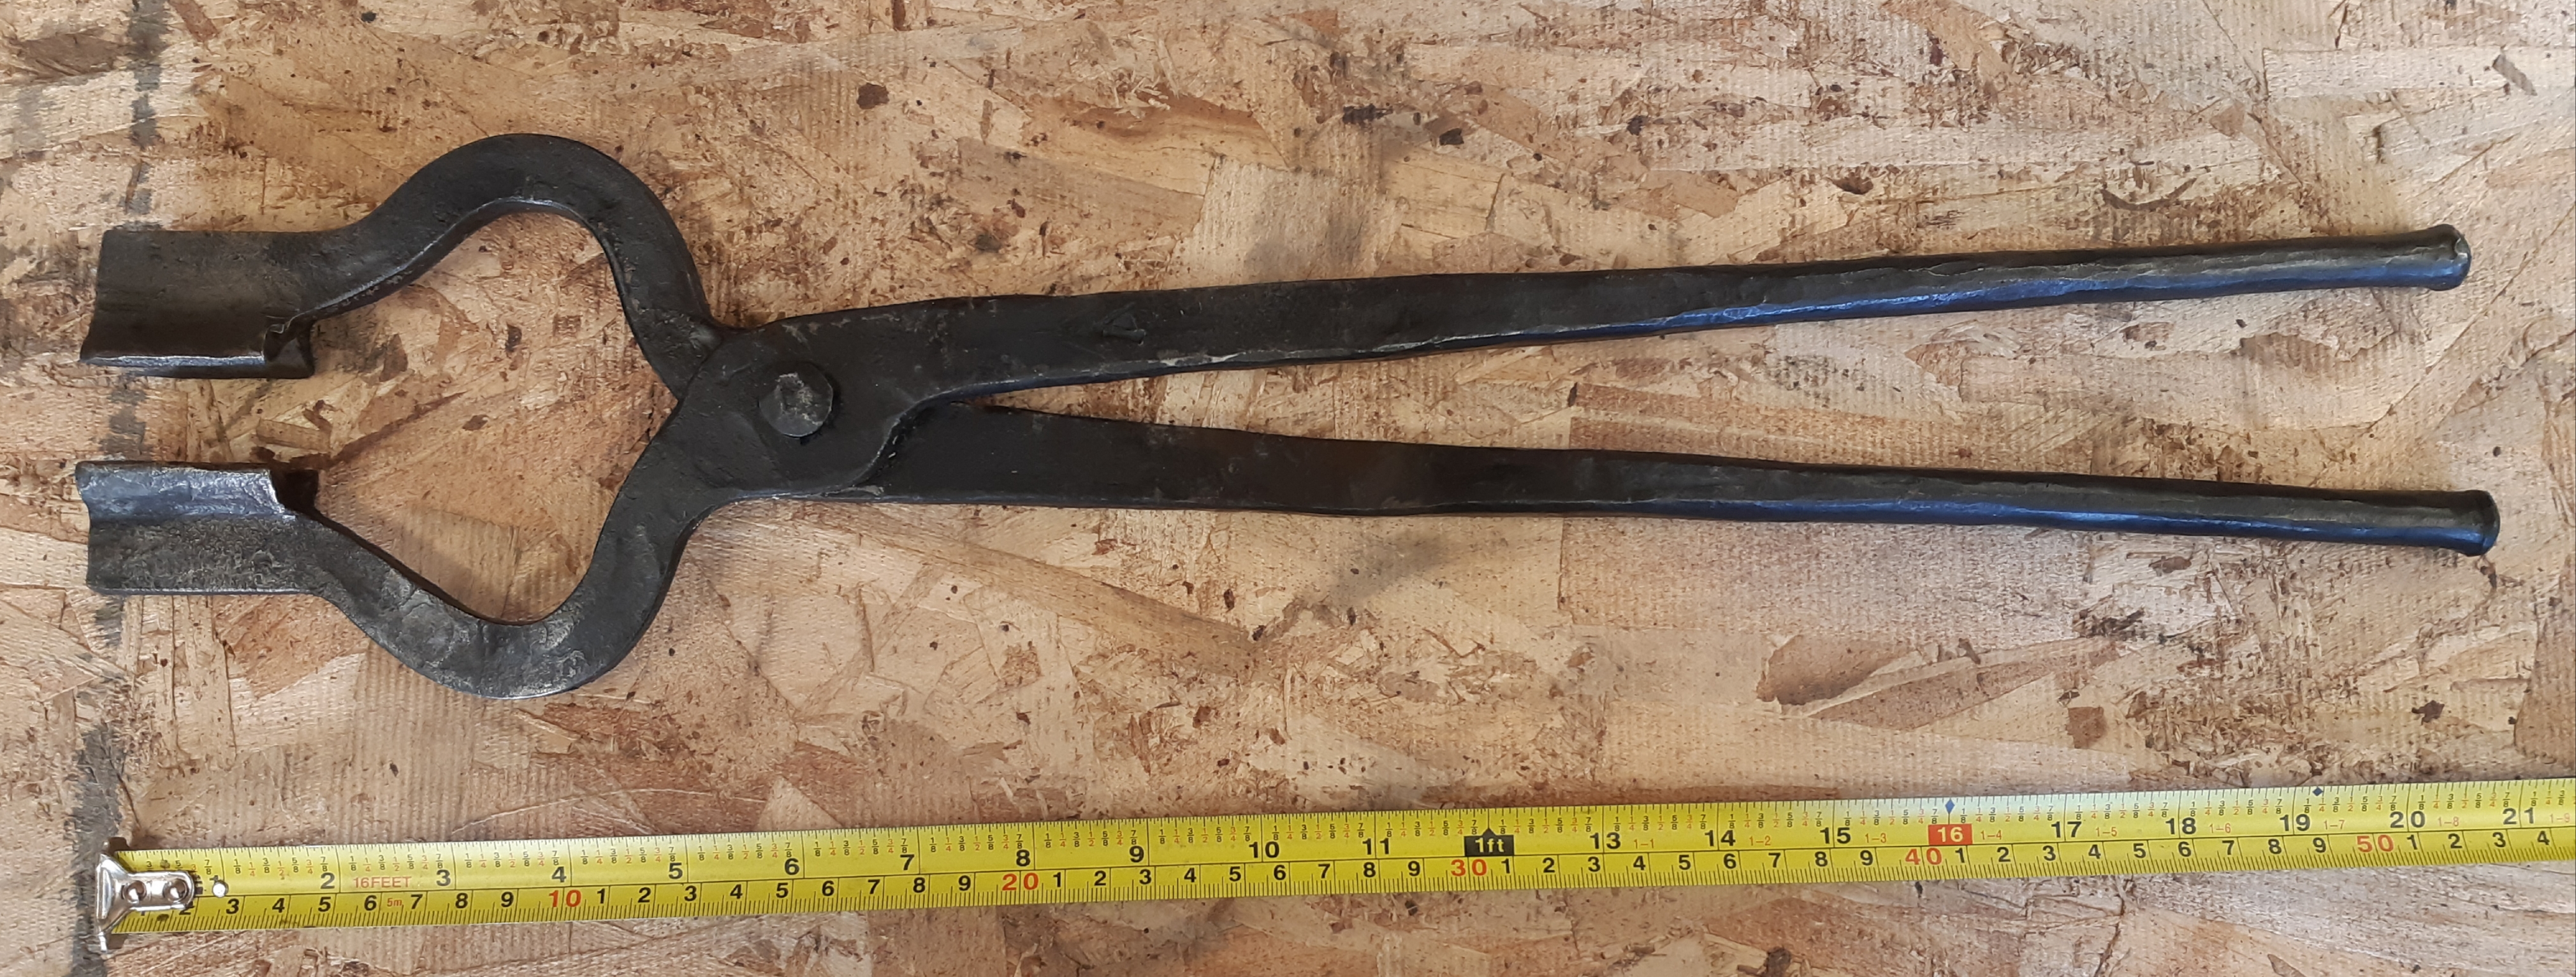
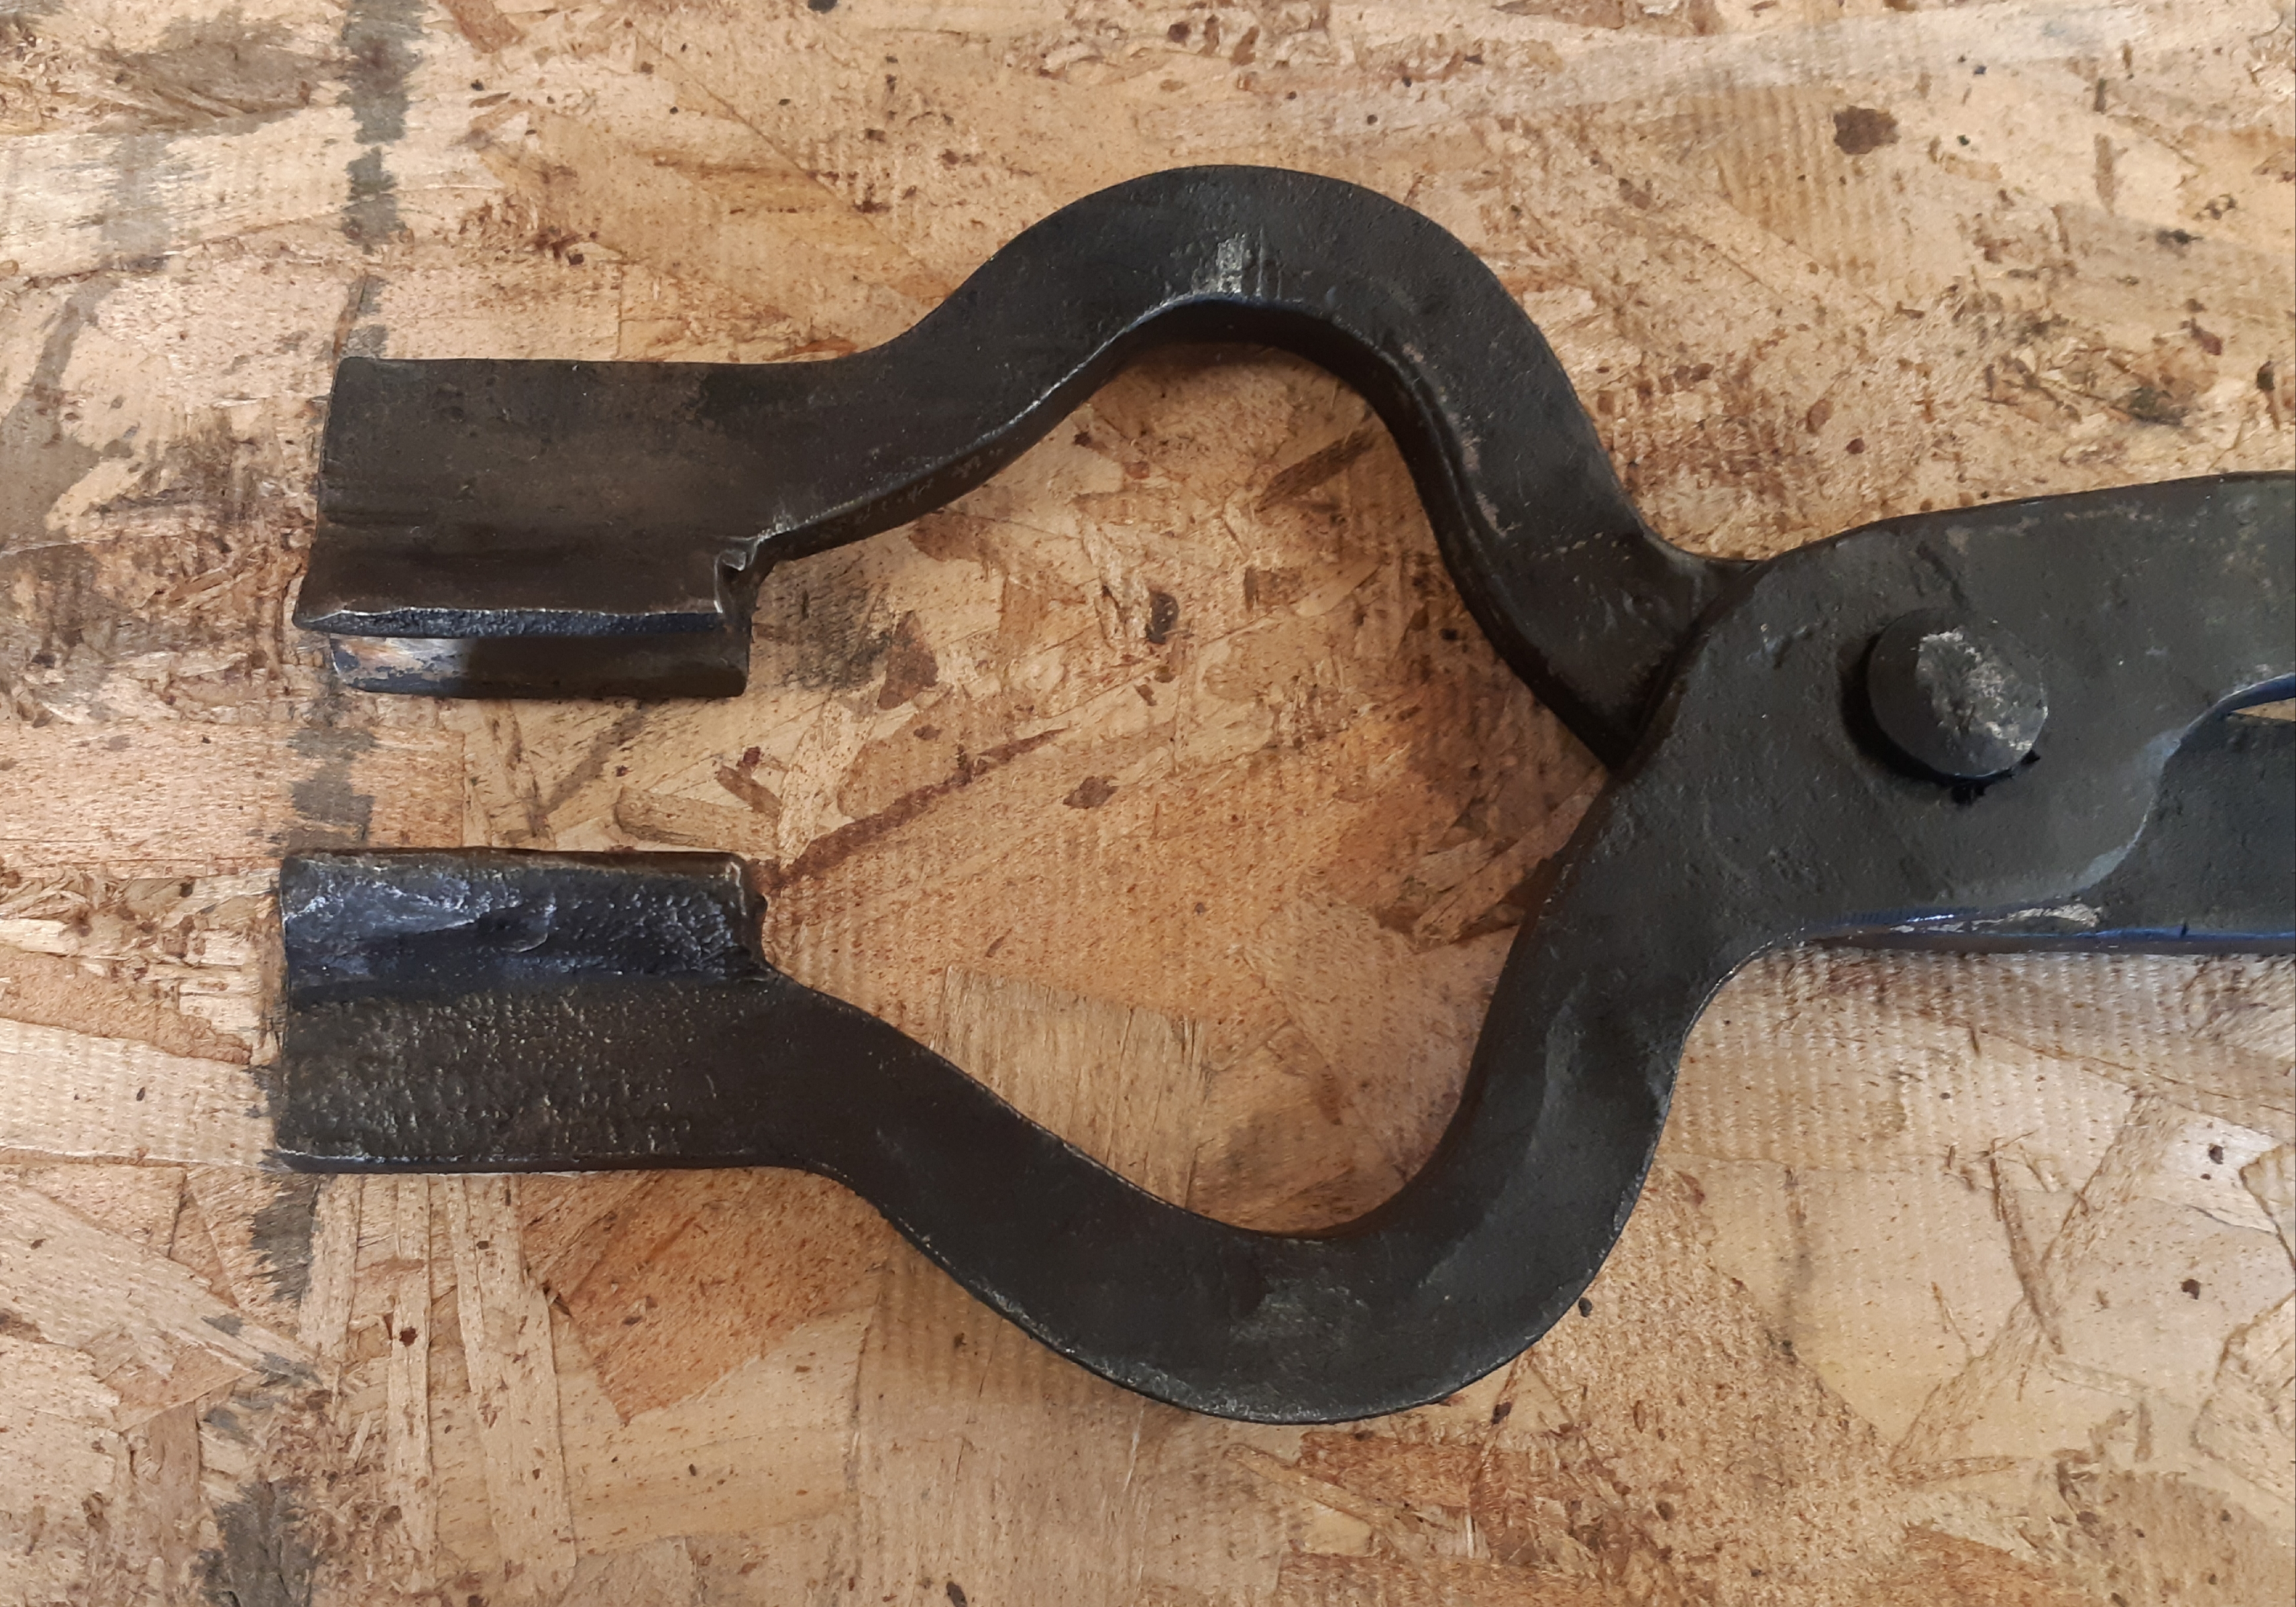
Finished a pair of bolt tongs I started a bit over a week ago. Made from a piece of 1.5" x 3/8". Split the reins with an angle grinder, but the rest of the work was almost all with a hand hammer. Rivet is 3/8" in diameter.
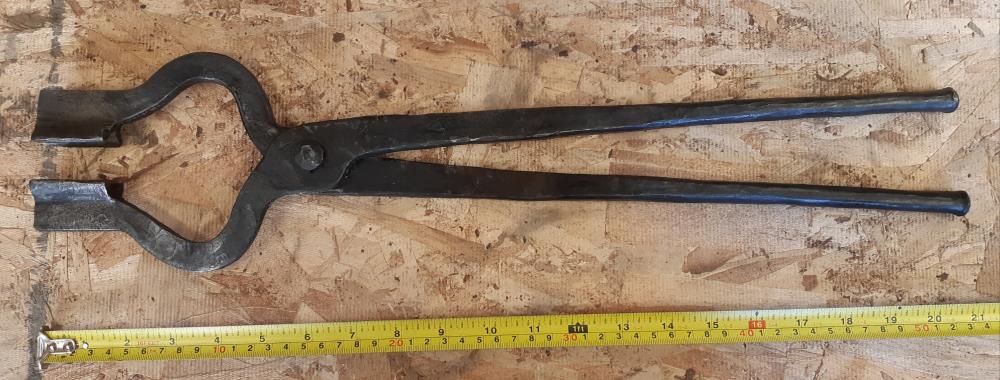
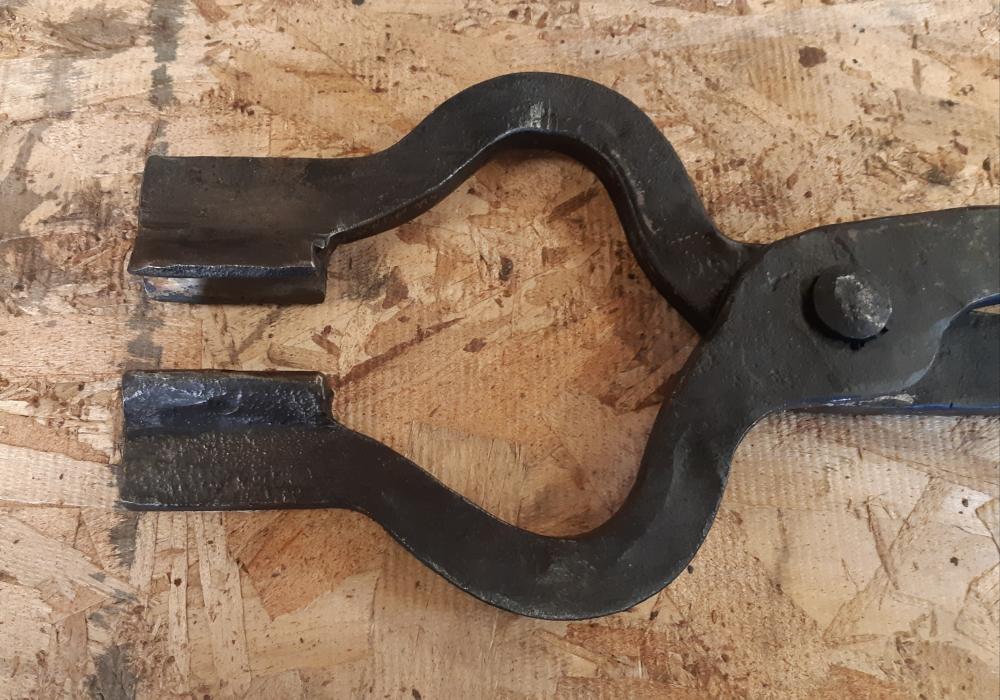
They were made to hold hexagonal stock -- 1.125" jack hammer bits -- and weight 3.5 pounds.
These are the best tongs I've made so far, but a wide margin. They took me about 20 hours of work, but I am very satisfied with the result.
-
Let us know how well you like forging on the new anvil when it is mounted, Vinito. I suspect you'll find that despite being lighter, it will work quite well.
Have fun!
-
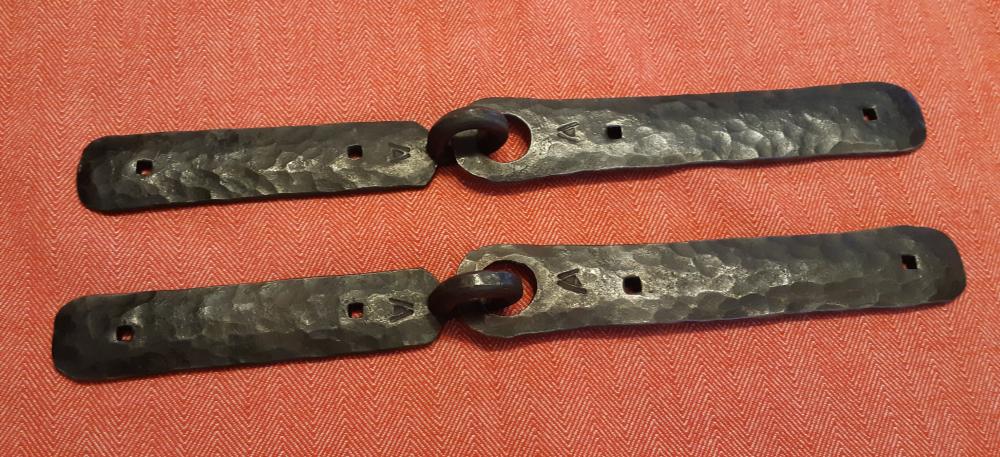
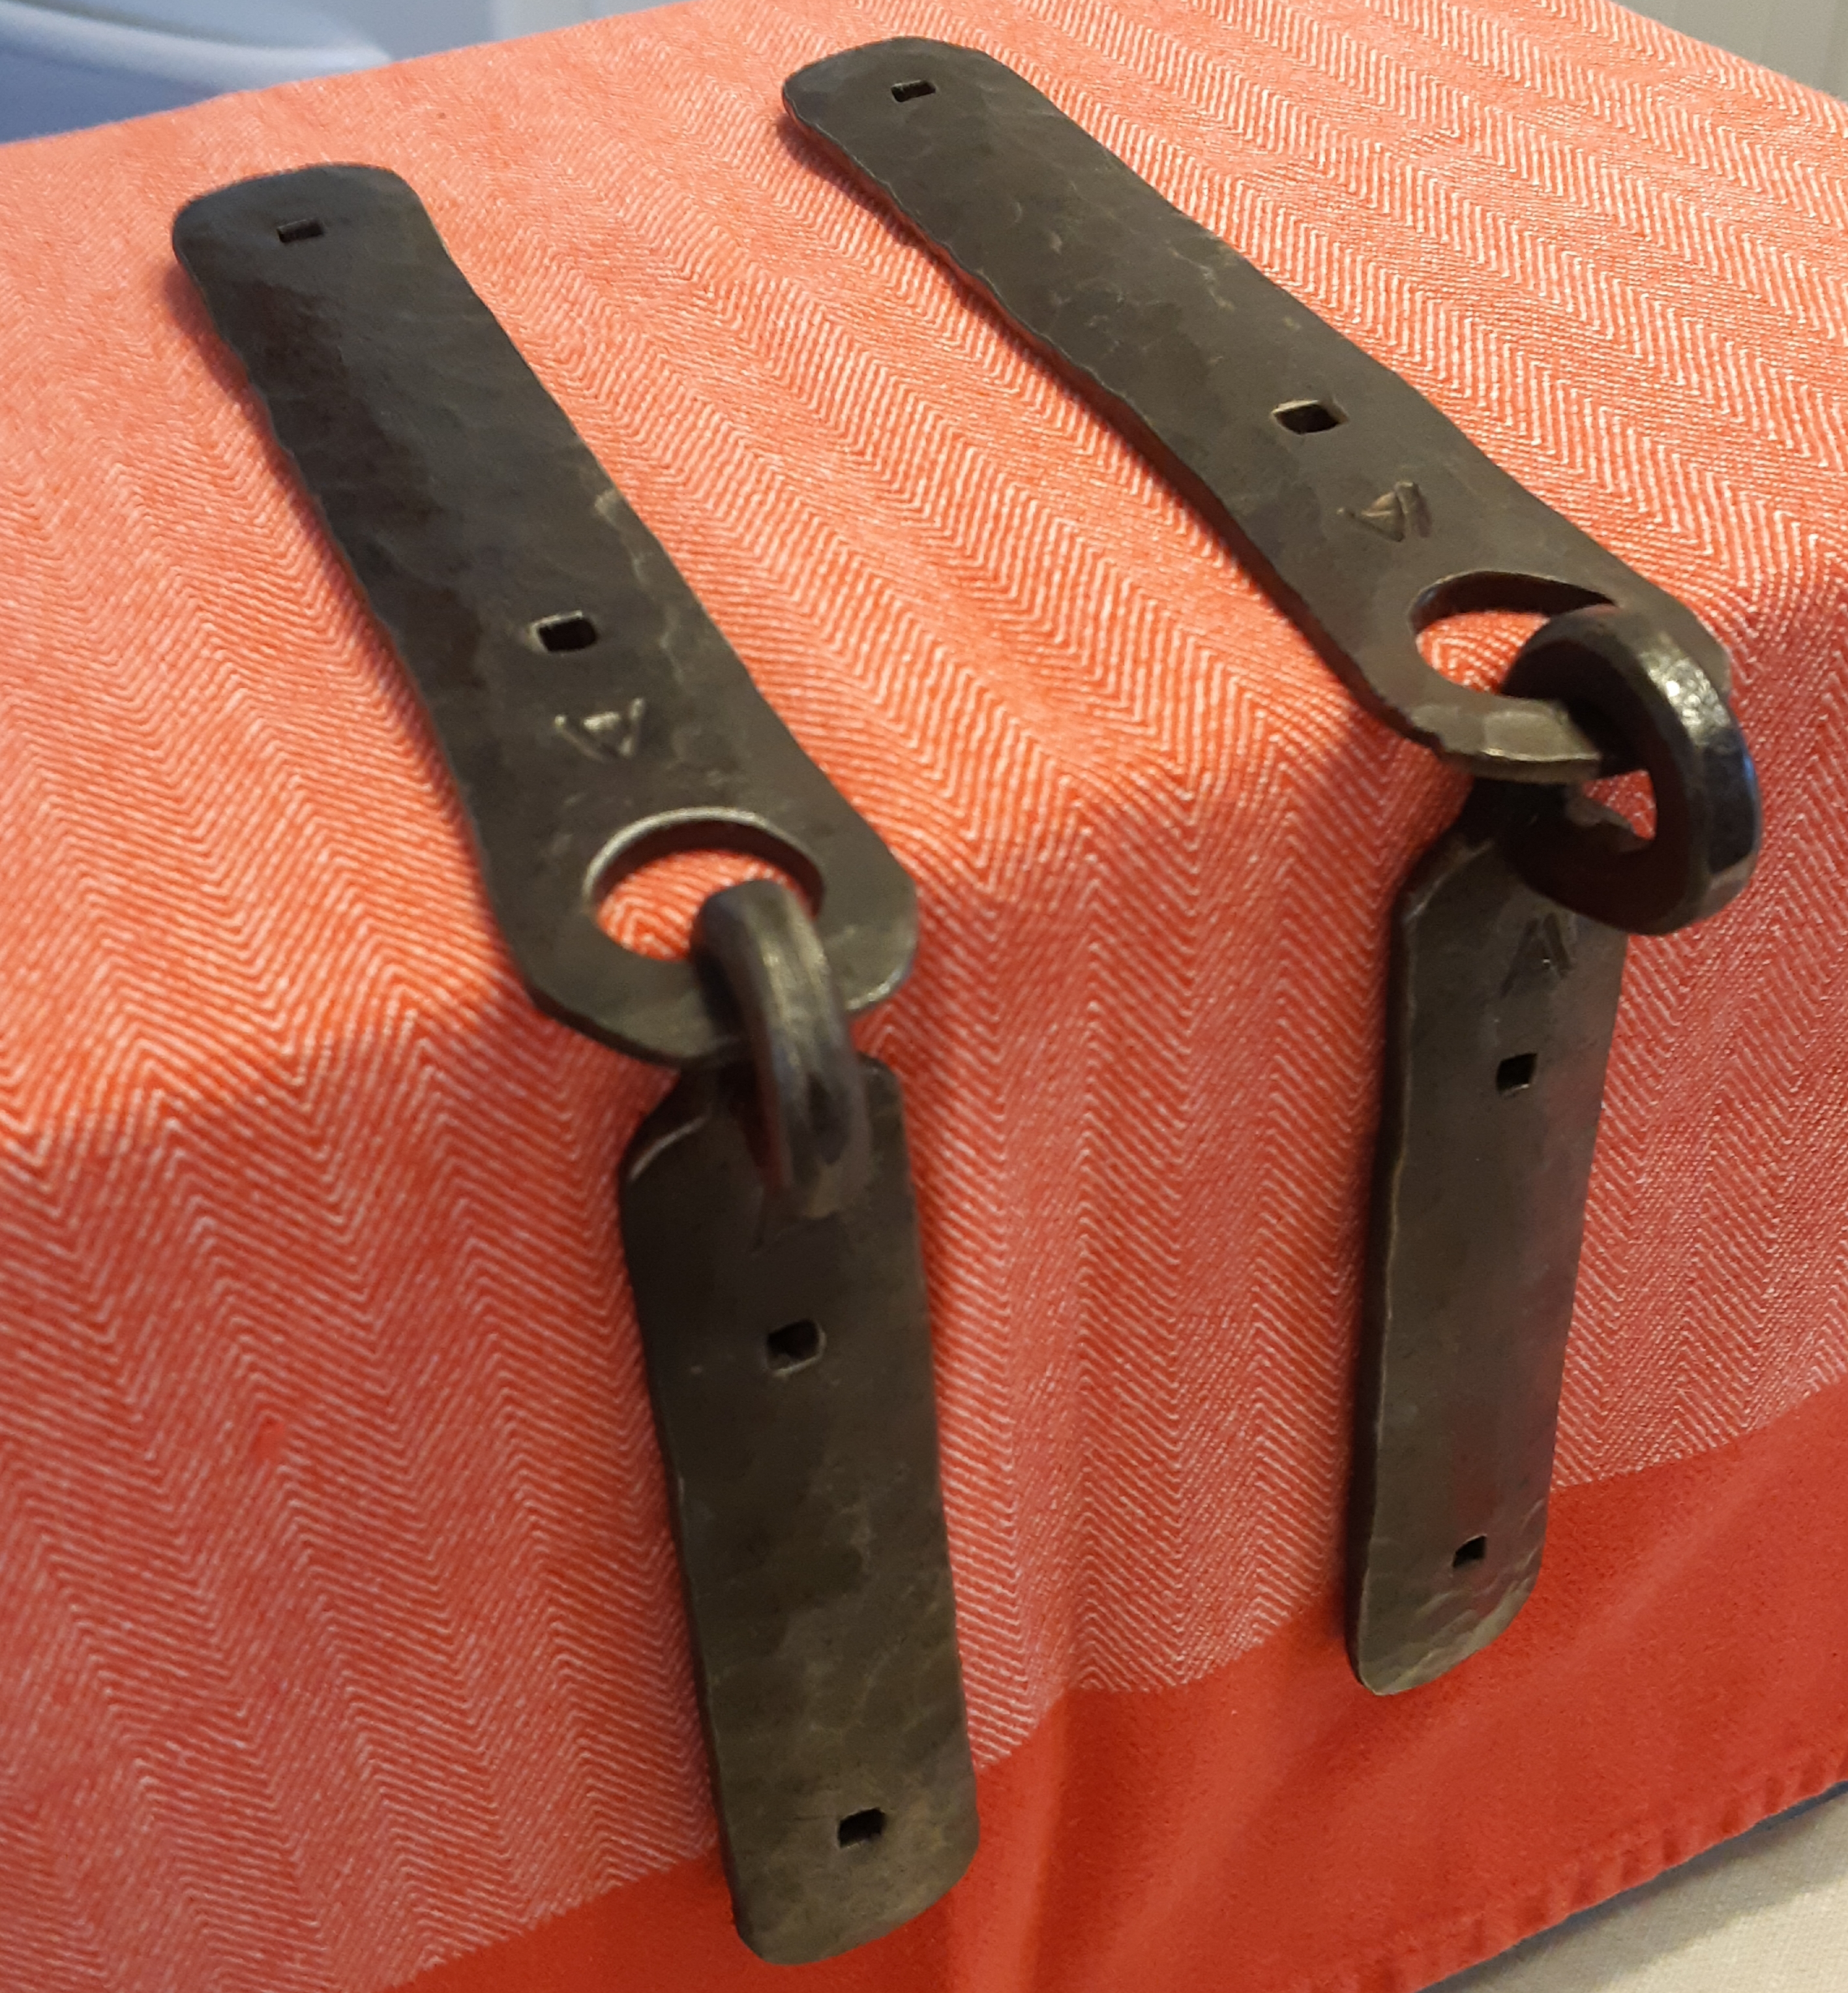
Viking-style chest hinges. Total length 13".

-
Just a short session this morning, but enough to make good use of the nail header.
First attempt was a failure (passed through without making a head), but here are number 2, 3 and 4 (from left to right).
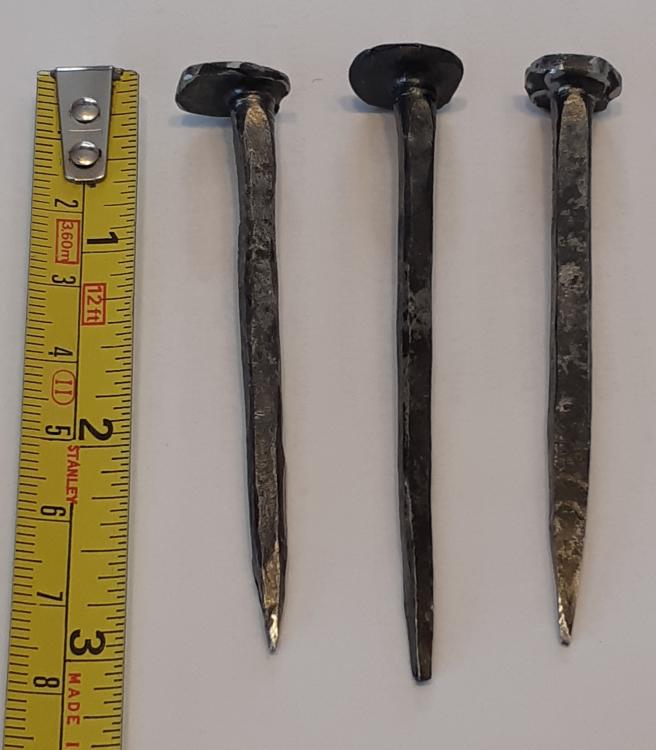
Fun!
-
6 hours ago, M.J.Lampert said:
Arthur that looks nice now if only stock was cheap enough a penny nail could actually be made for a penny in Canada, actually if only we still had penny's... just looked we are now over ten years without pennies up here
Yes, for 10 years now we've been penny-less up here in Canada.
")
But better penny-less than clueless, IMHO!
Have fun,
Arthur


What did you do in the shop today?
in Blacksmithing, General Discussion
Posted
Thanks. Fibulas of this type are fairly easy to make, and good practice for a variety of twists and textures.
It can be, but it's not always practical. In this case, since they are not perfectly circular (because of the omega shape), a tighter bend would limit the wearer to a single angle for the pin.
Indeed. There are basically 3 types of fibulas: penannular, bow and plate. Of the penannular type, the Omega style is the most common. Bow fibula are shaped a bit like an oversized safety pin.
Plate fibula are basically made like modern brooches, with a spring needle under a decorative plate shaped like an animal or an abstract design/shape, and often embelished with precious metals or stones.
Fibulas date back to the bronze age. Even during the iron ages, they were often made (partially or completely) from bronze.