gmbobnick
-
Posts
124 -
Joined
-
Last visited
Content Type
Profiles
Forums
Articles
Gallery
Downloads
Events
Everything posted by gmbobnick
-
Ausfire, perhaps a guy could make a copper brush using segments of stranded electrical wire
-

What did you do in the shop today?
gmbobnick replied to Mark Ling's topic in Blacksmithing, General Discussion
you get a line, I'll get a pole...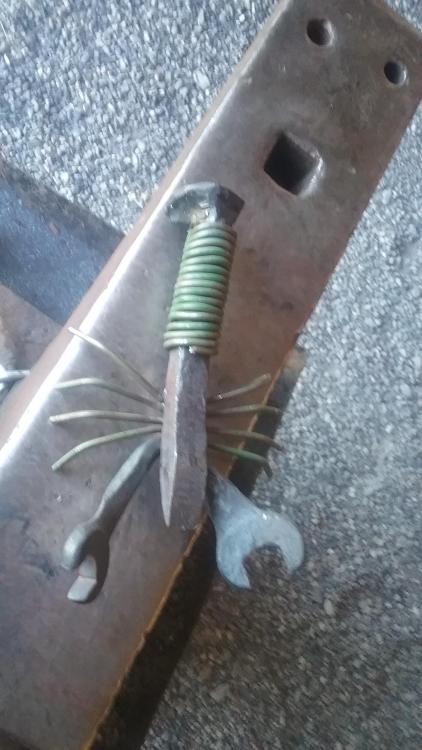
-
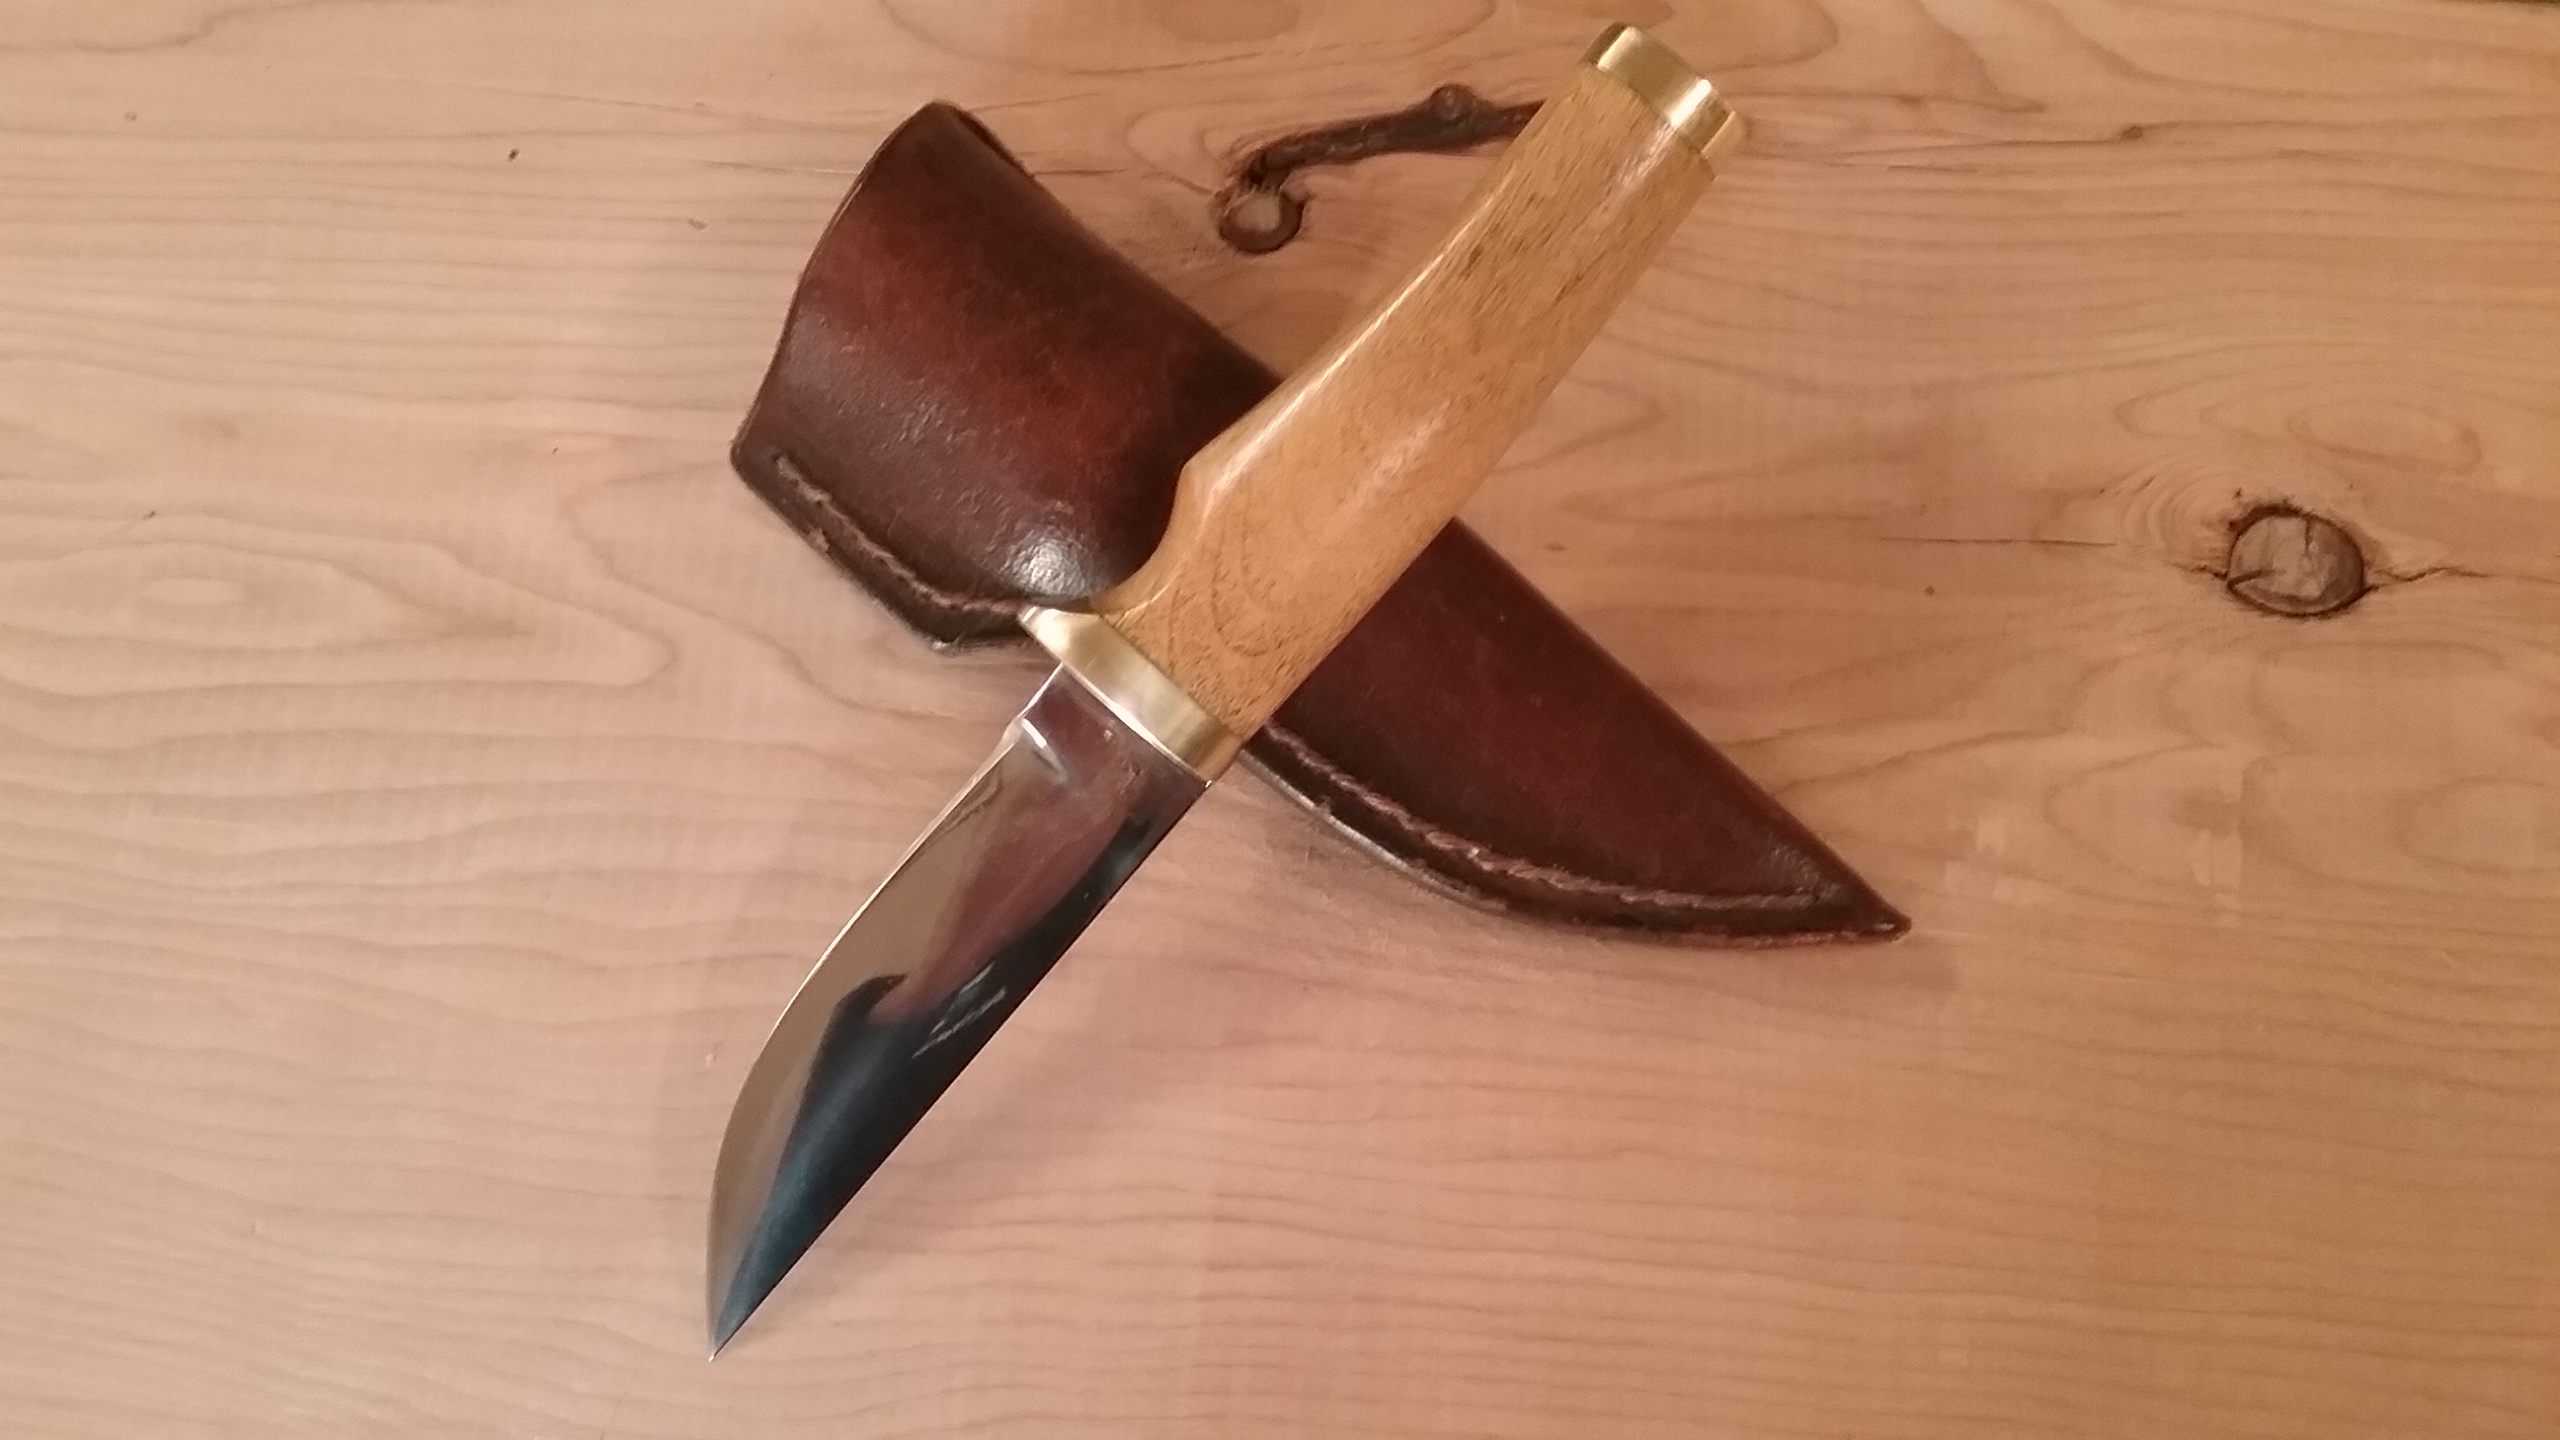
The Puukko is legendary and it appears you have honored it well. What a superb tool. It will teach a person to make small, sure cuts and no rash moves, as it sounds like you learned...and as it shows in your work as well. Great job!
-
How to make a perfect forge weld, every time.
gmbobnick replied to Glenn's topic in Blacksmithing, General Discussion
Closest I might be able to come is with a blade that looks like lava....quenched in Budweiser -
How to make a perfect forge weld, every time.
gmbobnick replied to Glenn's topic in Blacksmithing, General Discussion
I think the whole cosmic influence thing on the quality of forge welding is a bunch of hooey. However I will play along. My shop happens to be in full blackout of the August 21 total eclipse. Now IF I don’t get summoned to ogle the eclipse along with every other ogler that will be passing through my normally bucolic environment, I may try and hammer a forge weld sometime during that 2 minutes of planetary alignment. If the thing sticks then there may be something to the whole notion, since I am as spectacularly inept at forge welding as Glenn is spectacularly adept at provoking the membership to fun. -
What did you do in the shop today?
gmbobnick replied to Mark Ling's topic in Blacksmithing, General Discussion
That rebar snake is cool. The diamond pattern bar deformations are right on! -
Y'all Thanks for the input and suggestions. I never see tongs at auctions, craigslist, pawn shops etc. in my area...so not much opportunity for low cost experimentation. However I am already way ahead in the expense column thus far, so there is definitely room to get some good tools.
-
I would make things like shelf brackets, some tools such as special punches, bolt headers, marking tools and drifts, scrolls for furniture ornamentation/bracing, cabinet handles, hinges, hasps, drawer-pulls, various small scale art-work projects, hooks, and knives. Not a comprehensive list, but should provide the flavor.
-
Still early in the learning process. I have been working with various round and square stock between ¼ and ¾ inches…and some 1” x ¼ or x3/8 bar. So far I have just worked with the end of the parent stock at 2’ to 5’ long and cut it off when ready. However, for various reasons…not the least of which is safety with handling long red-hot pokers …I really need a good selection of tongs to work with smaller pieces. I am not ready to invest my precious few hours at the forge struggling with making tongs, so I plan to buy what I need. I suspect there may be some overlap on sizes, and various levels of utility. I am thinking of buying the following: V-Bolt tongs: 3/8, ½, 5/8, ¾ Wolf Jaw (smaller size) Box Jaw: 1"x1/4” Is this overboard? Is there something I am missing in my choices? Advice on what should be in a good basic set of tongs?
-
When you get the war office on your side with an enjoyable pastime that costs only beer and bolts you have scored a major victory.
-
I wish I could take credit, but I copied Ron Reil's design on that forge and burner. You can find it with a little internet searching. It works beautifully.
-
Thanks for the good wishes gentlemen. Wife wants a coat rack for the mud room I built last summer...so that will be the first real project. Hopefully its good enough to share a photo.
-
I found a shop in my in-laws barn
gmbobnick replied to OvershieldKuso's topic in Building, Designing a Shop
I think you are right when you say blessed. With that mindset, it is amazing how your surroundings start looking more like possibilities and less like impediments. With some heat, a hammer, and a good spirit things change for the better. All the best on your journey! -
Sorry for the slow follow-up. I cut a neat, tight fitting hole through the corrugated metal using a jig saw and metal cutting blade, then sealed the gap with hi-temp stove sealant. It fits the pipe tight enough there isn’t any noticeable wiggle in the wind. It doesn’t leak for now. I suppose it will eventually and I’ll decide whether to get more elaborate or just add some sealant. We don’t get a lot of rain here anyway. The roof only runs about 5 feet above the pipe so the amount of water isn’t much. Thanks!
-
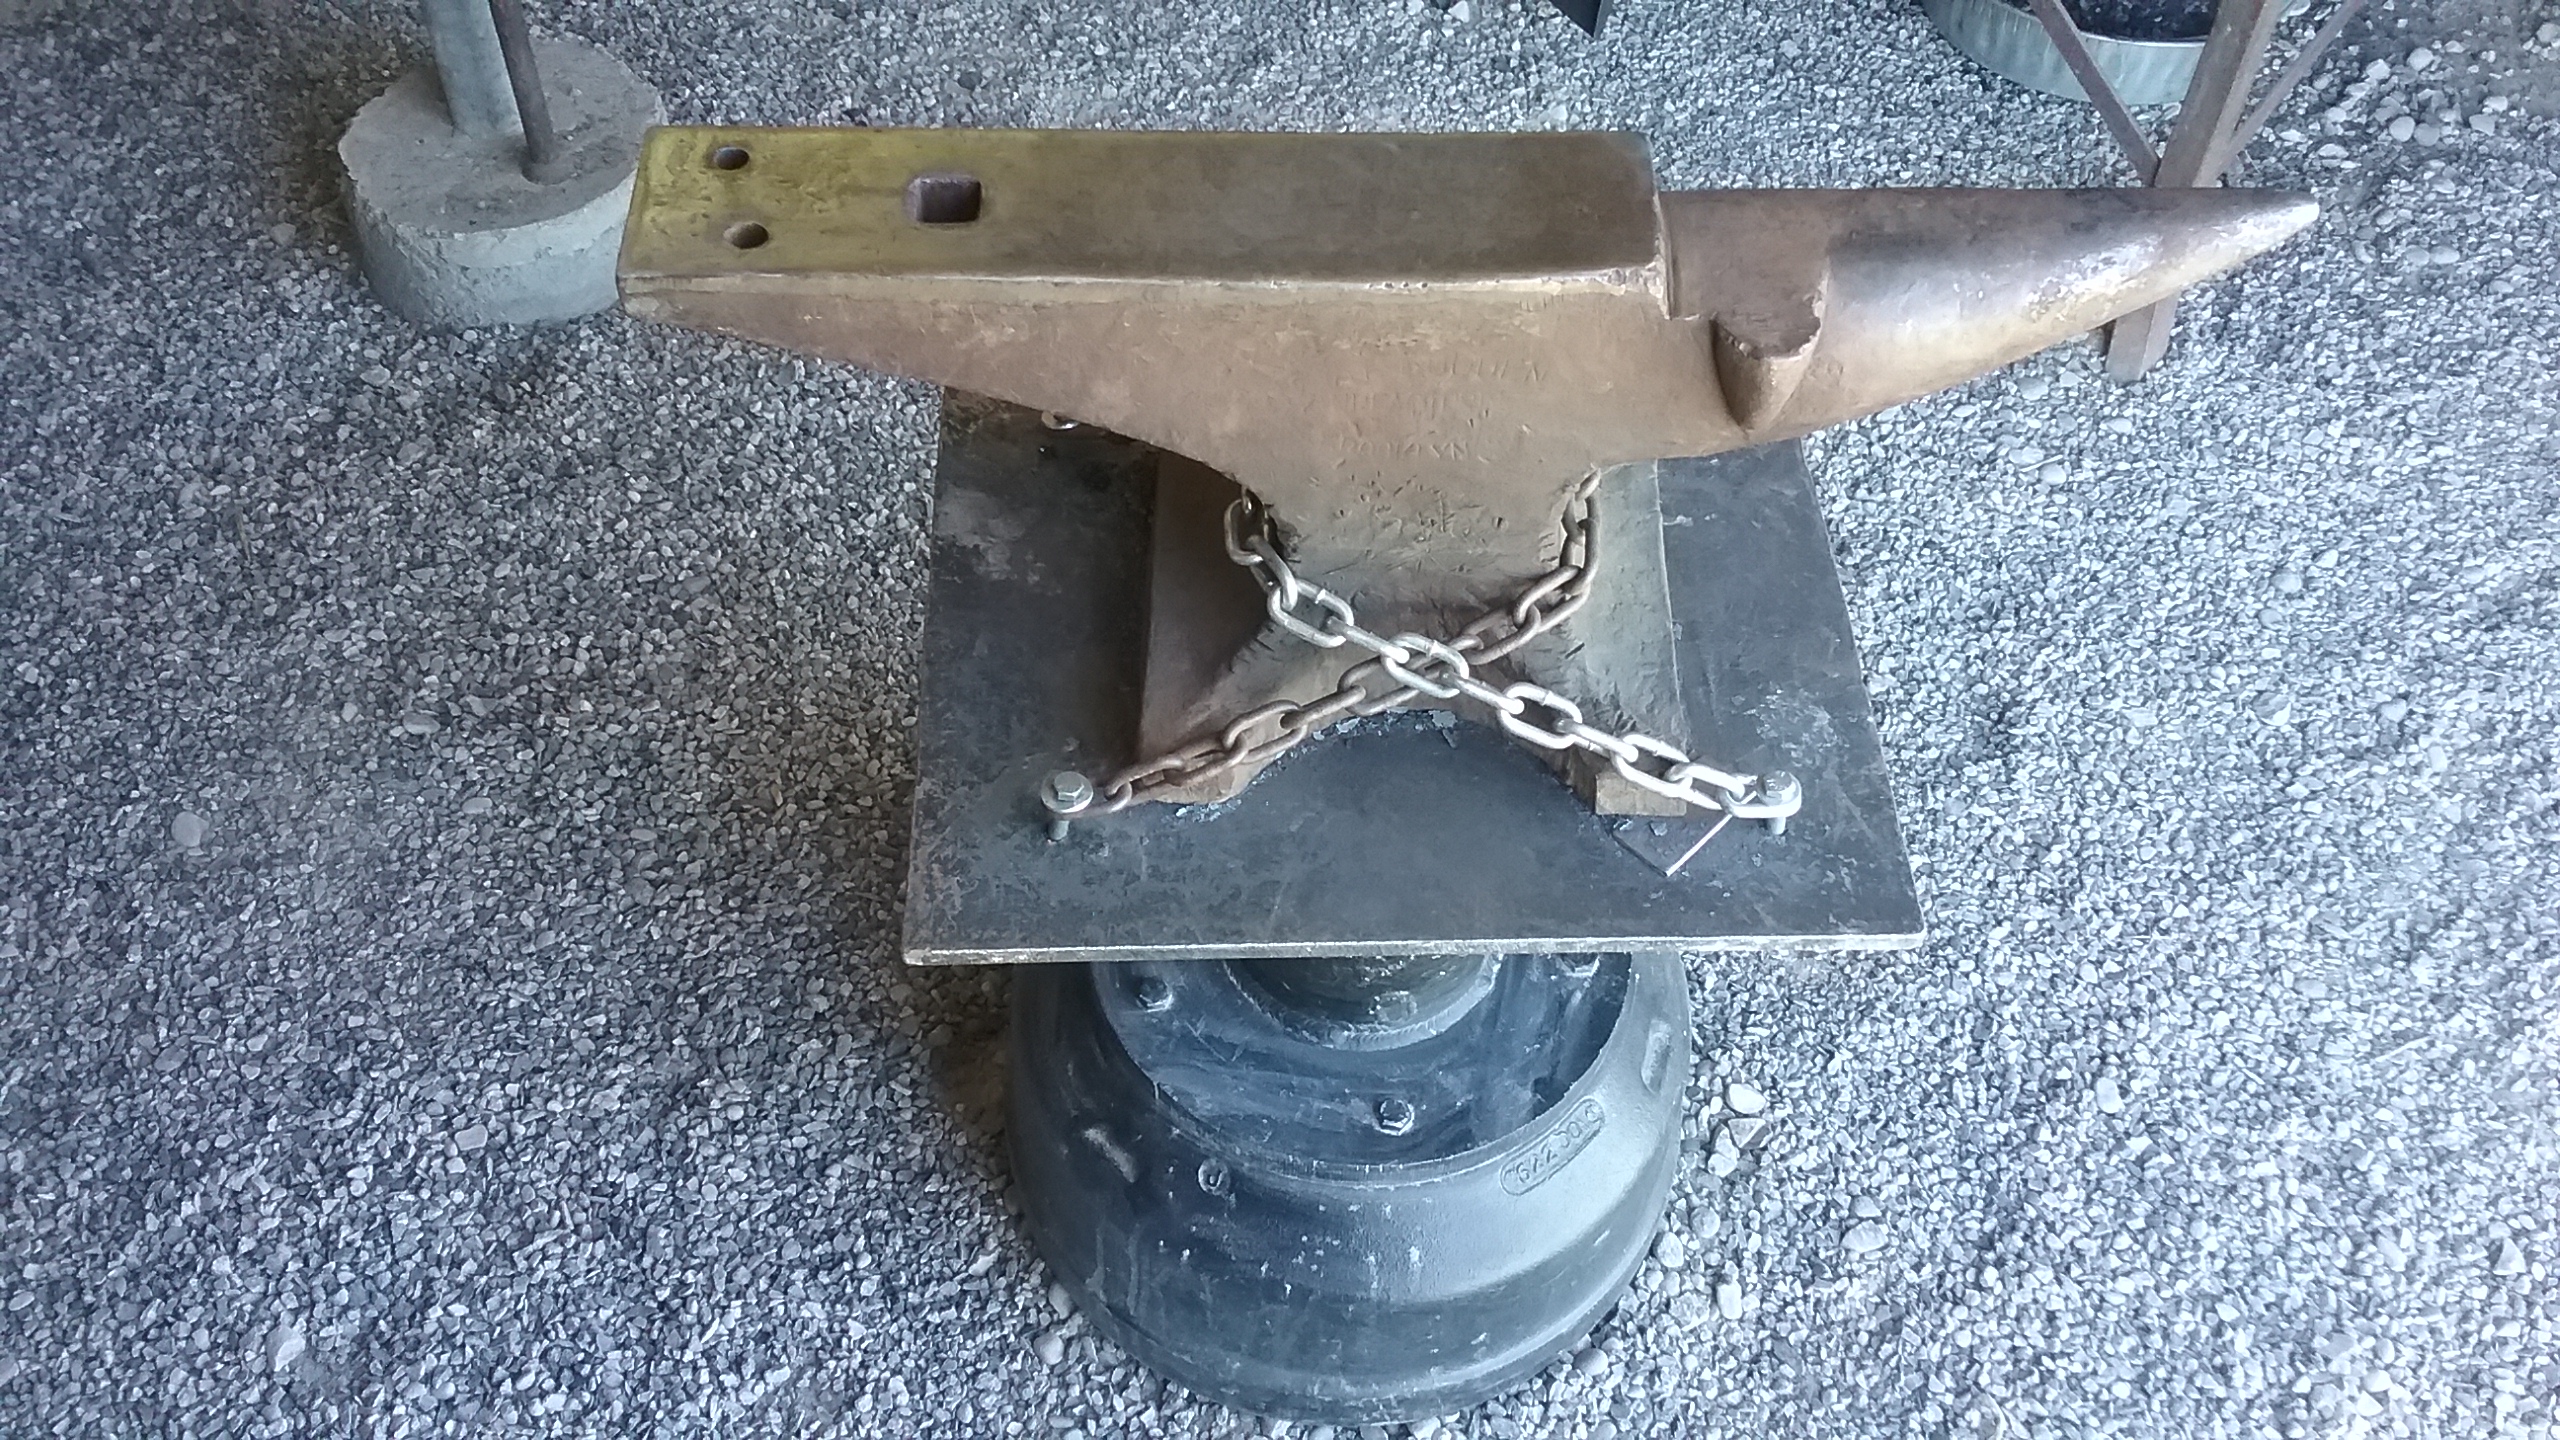
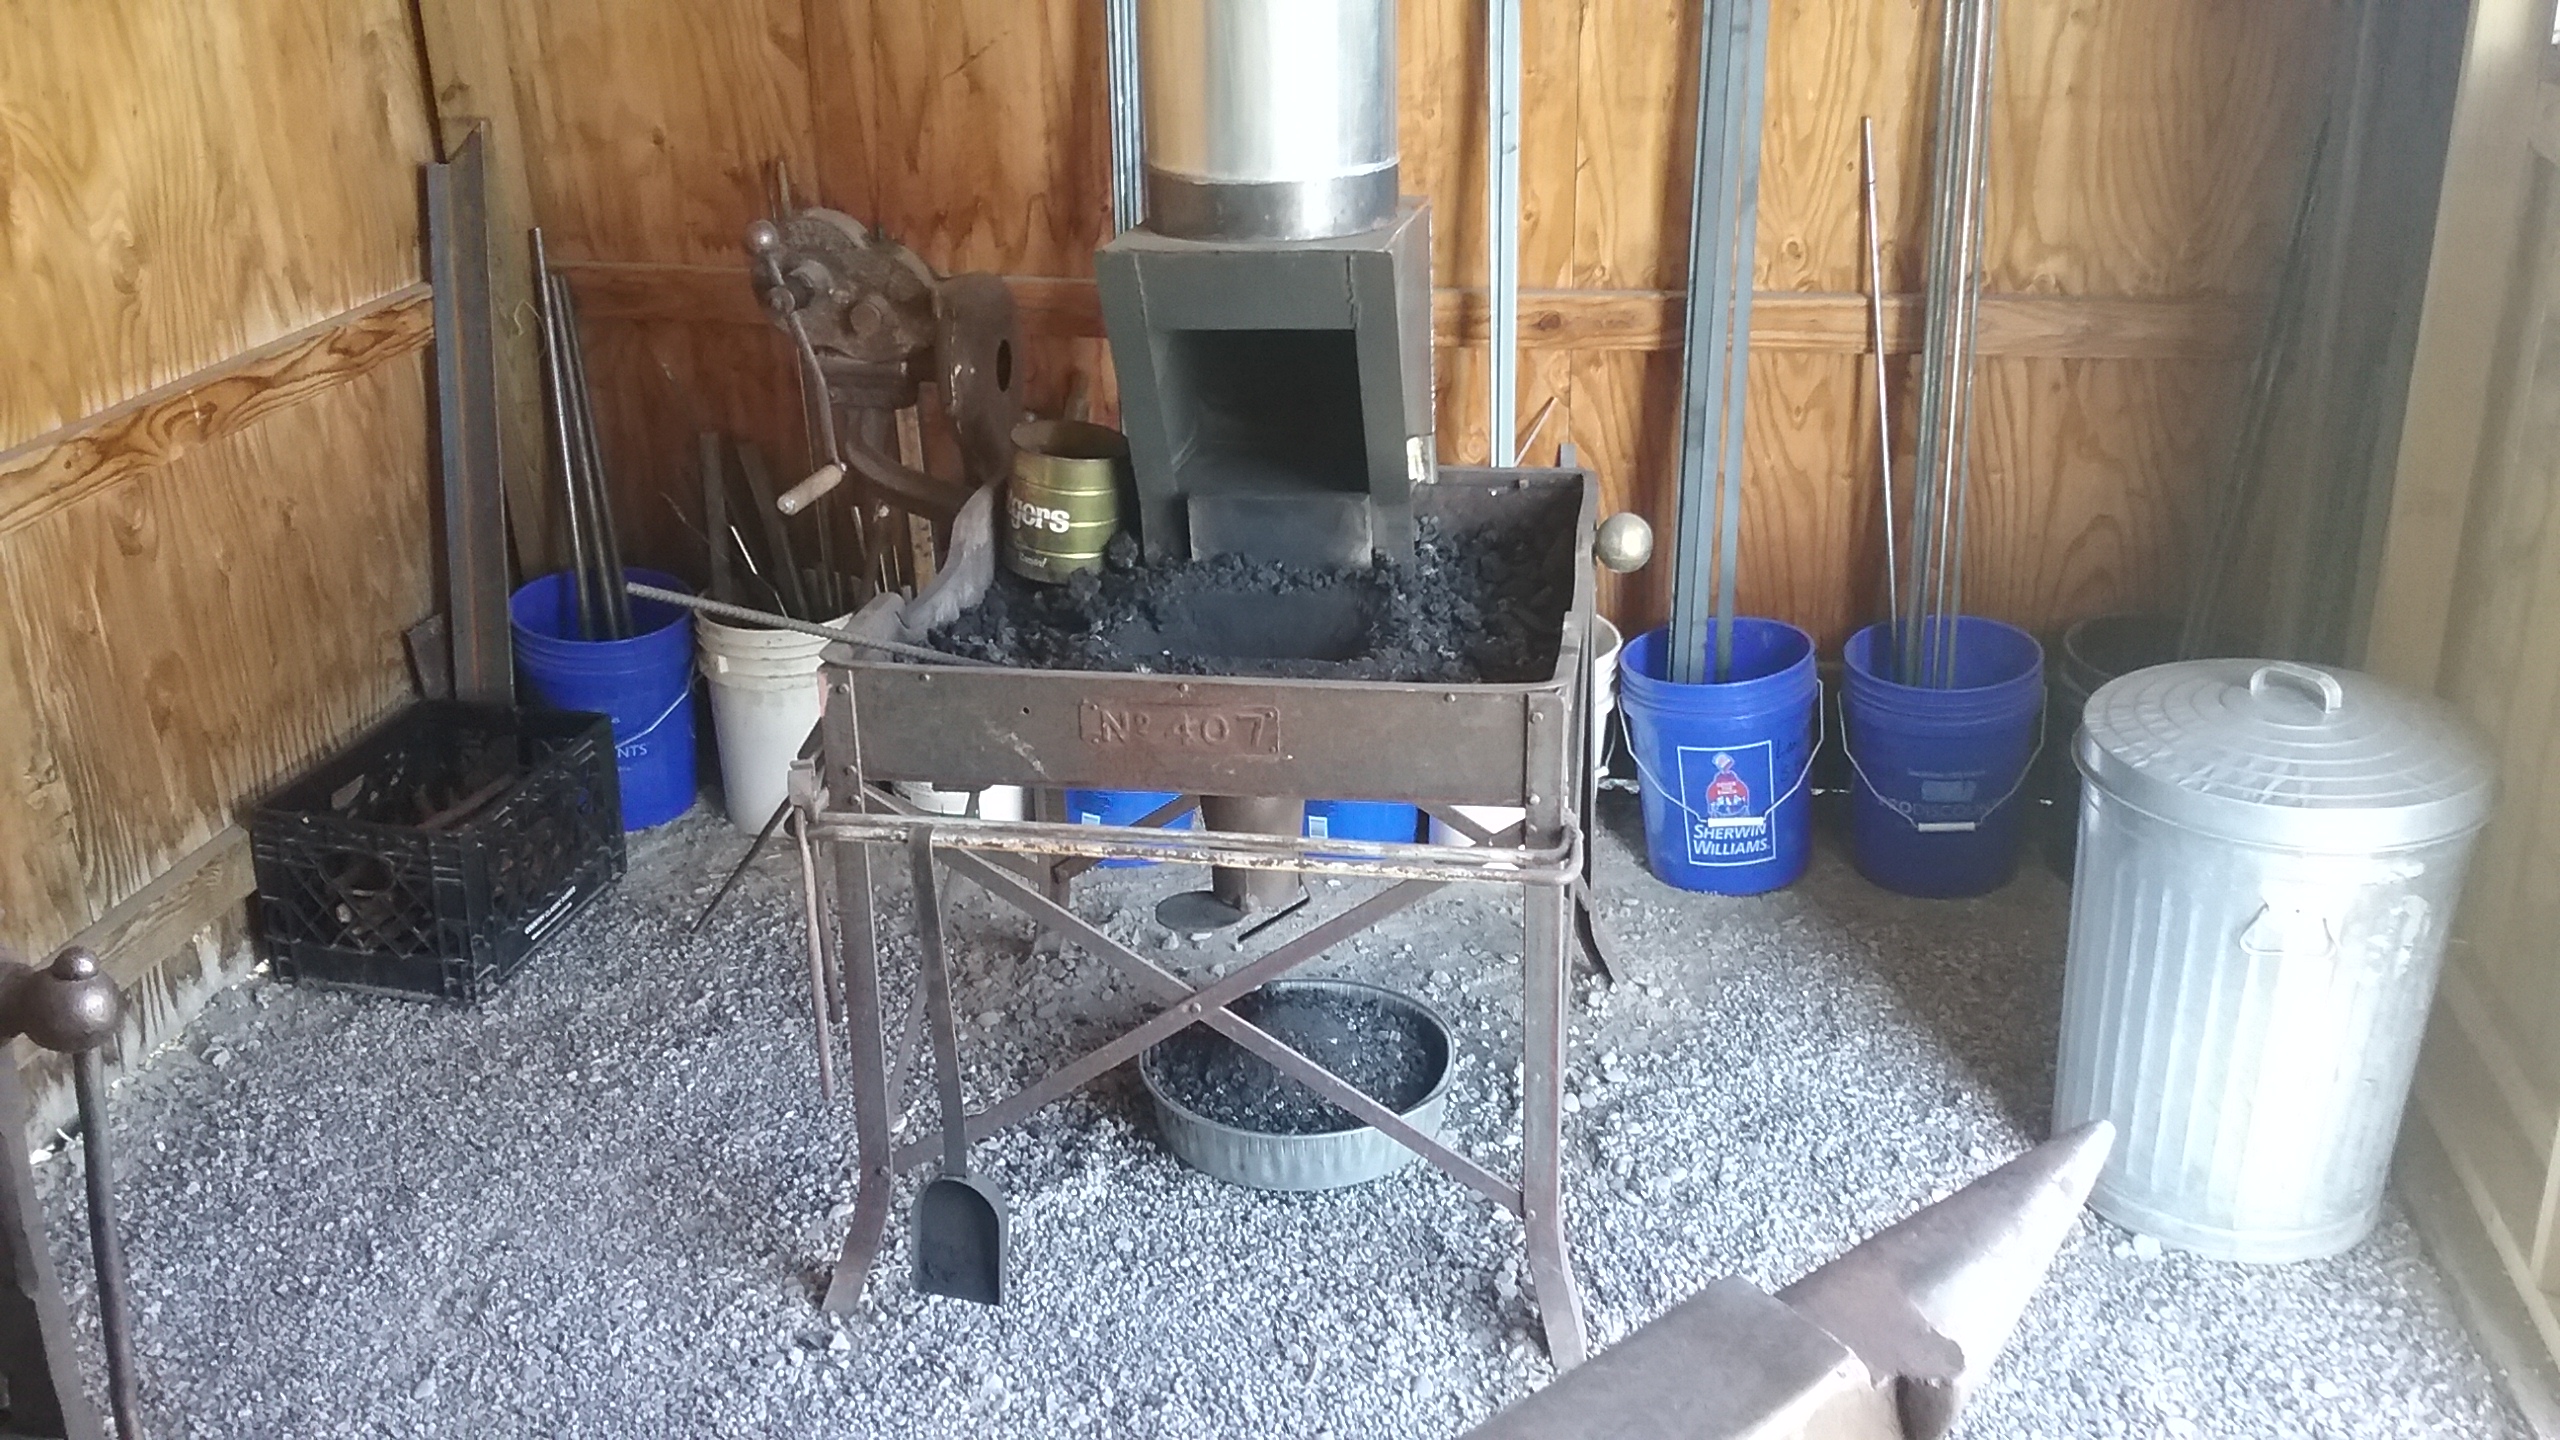
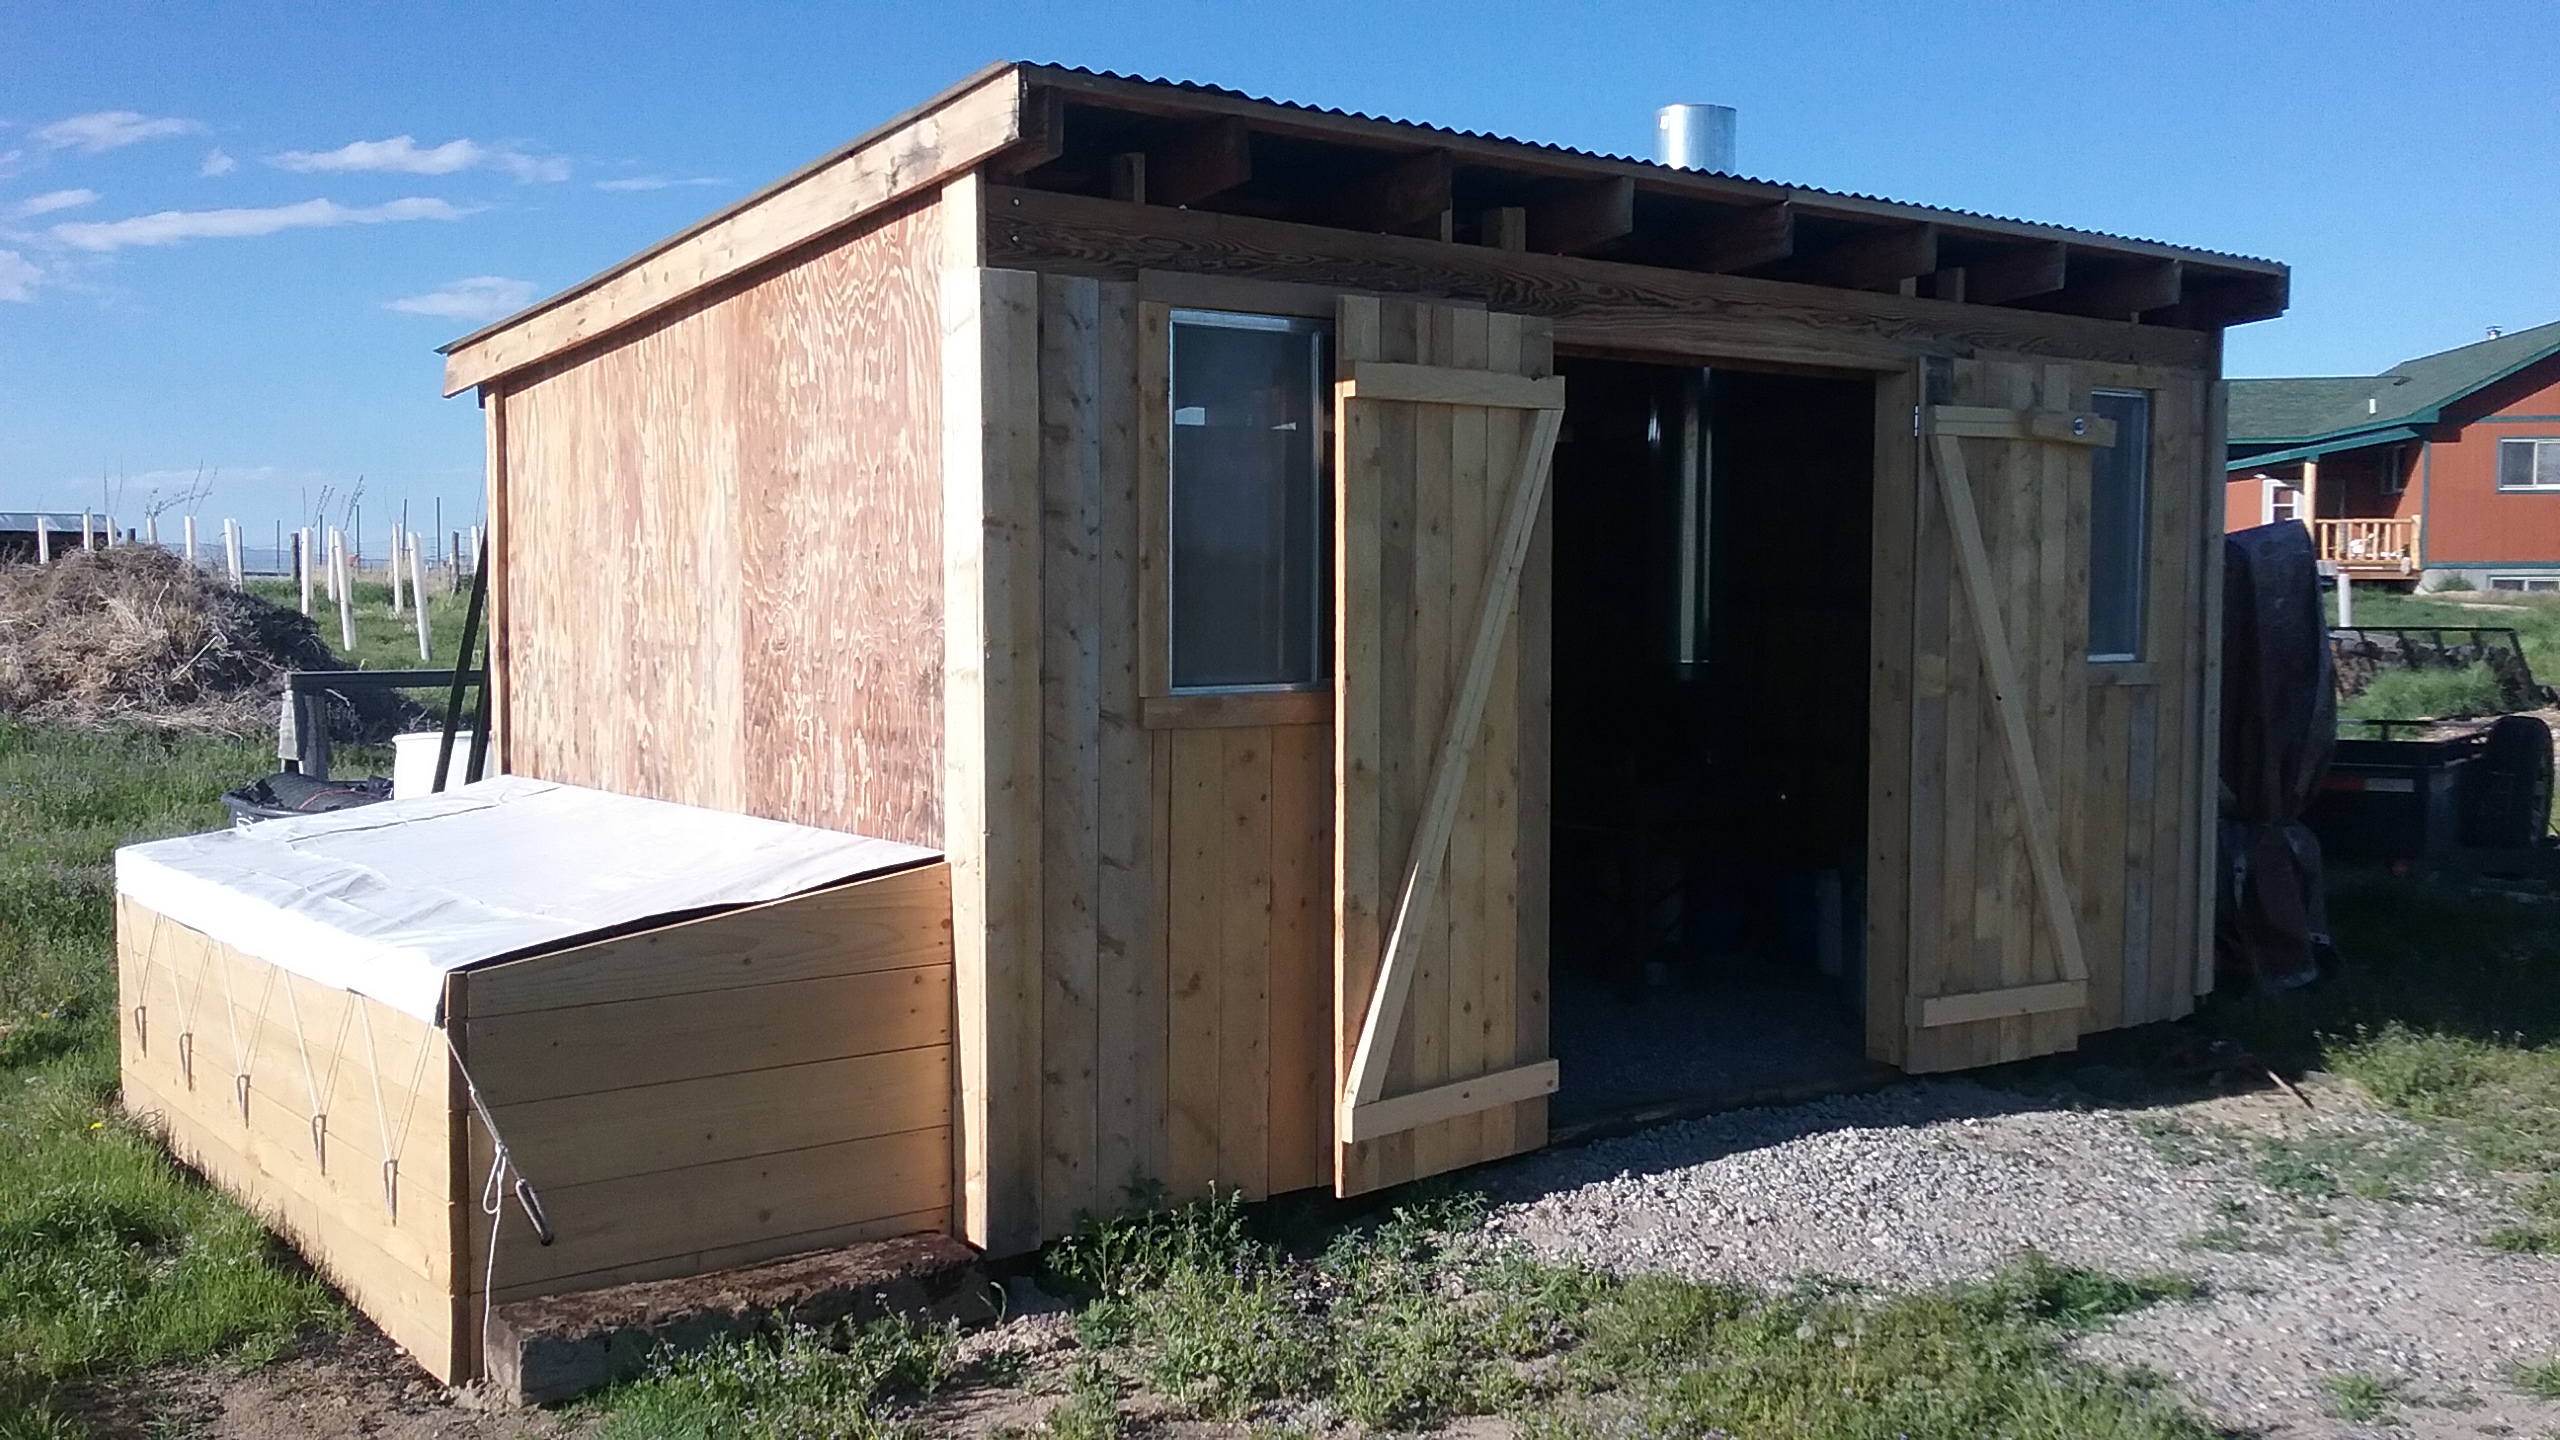
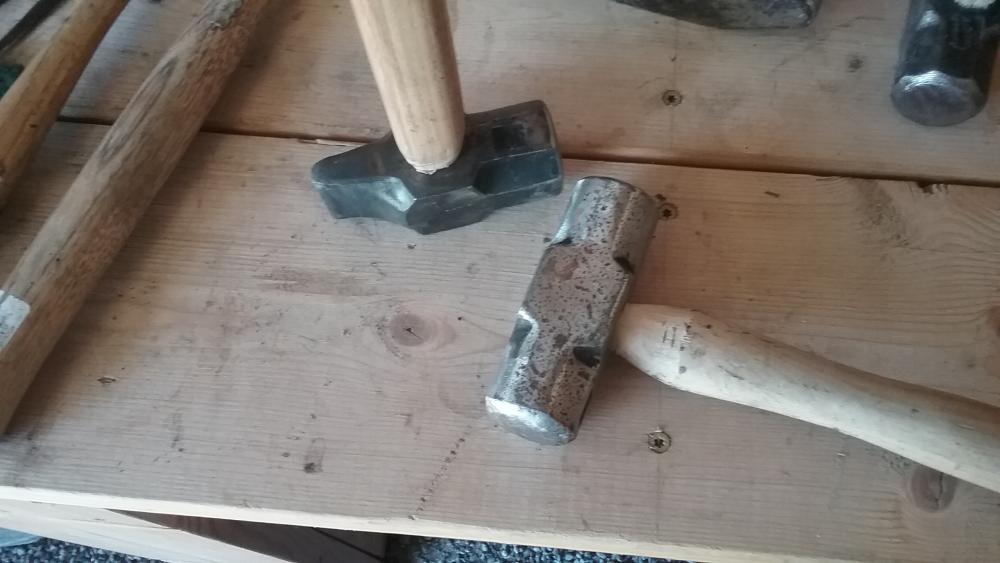
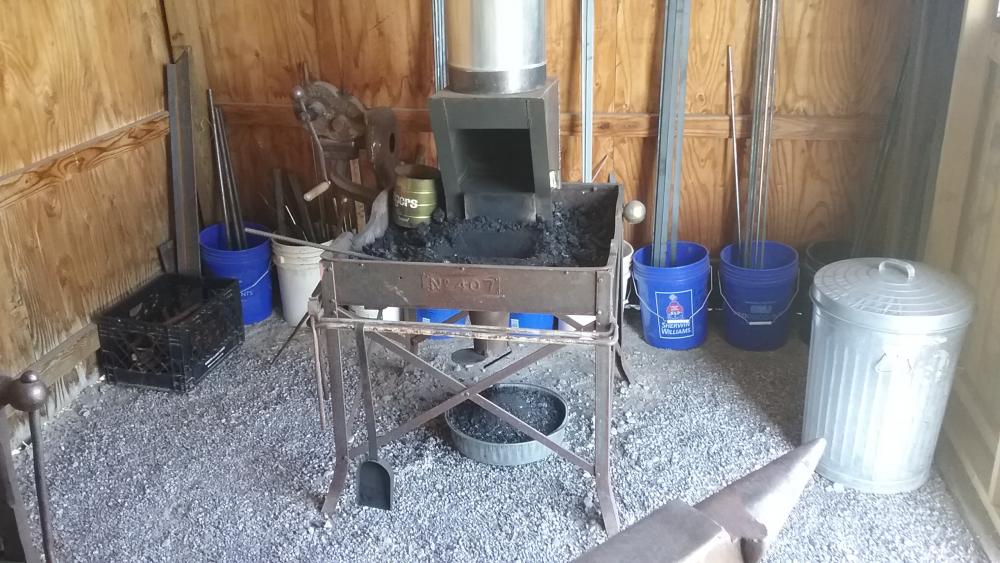
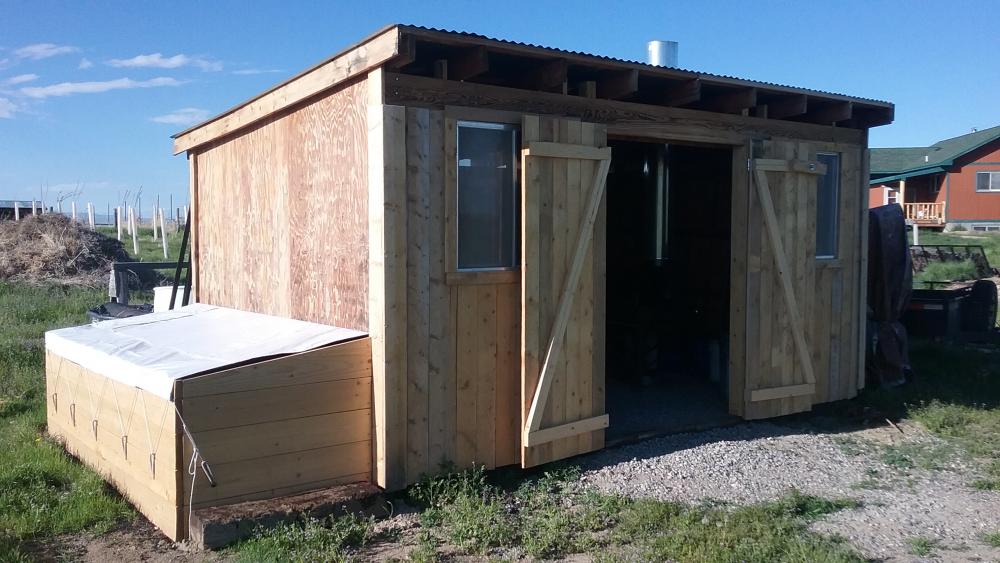
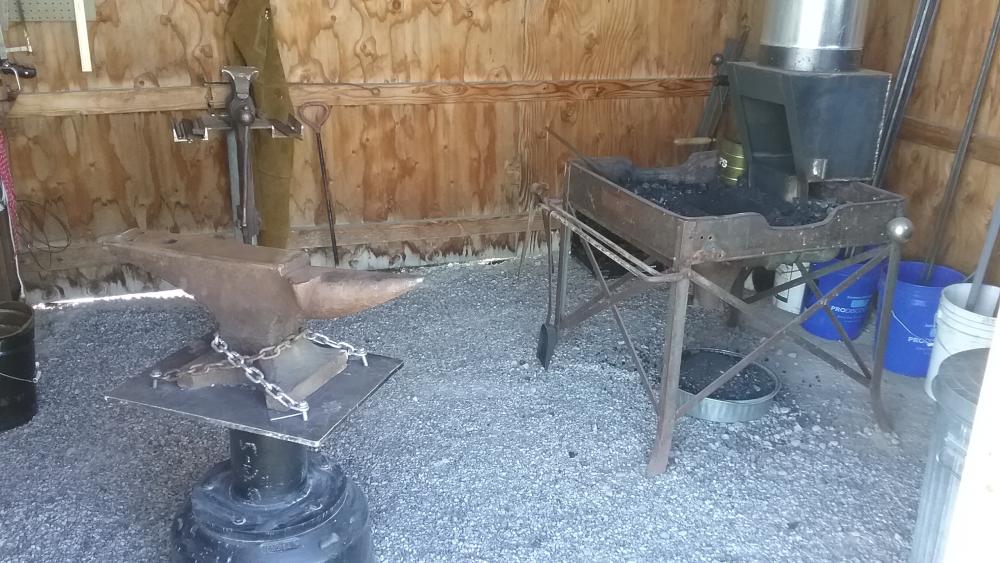
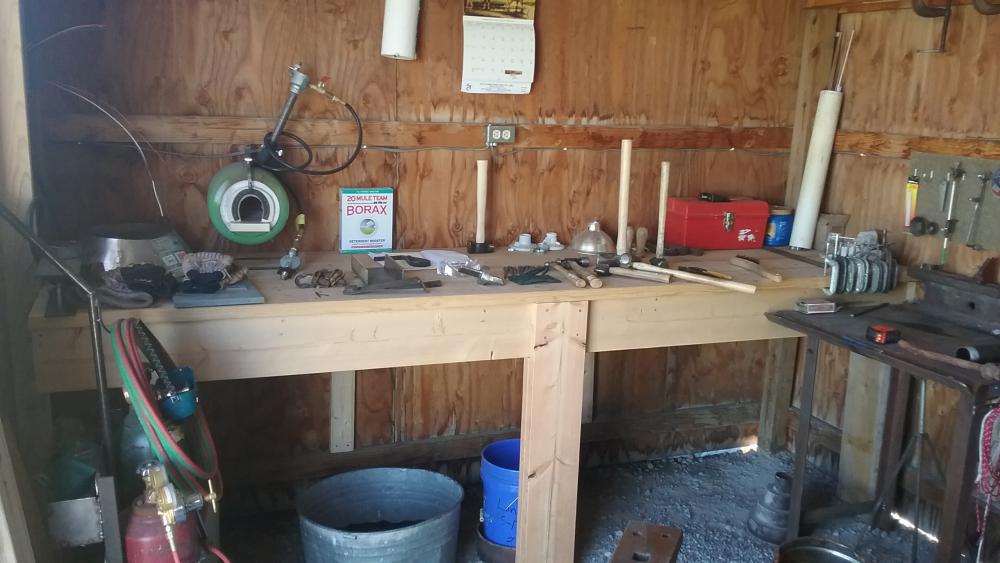
I have been interested in blacksmithing since I was a kid and first visited the shop at Greenfield Village in Dearborn, MI. There has been no real time or opportunity to pursue the interest until lately and some 4 decades later. Over the years I acquired some shop skills, mostly the hard way. Learning blacksmithing though is hugely daunting, especially with nobody to teach or mentor. Thanks to the internet, the inertia isn’t quite as great as it once was to get into blacksmithing. My adventure starts with a knife I made under the tutelage of a friend a few years back (stock removal). The blade was sent off for tempering. I thought it would be good if I could do some simple heat treating myself for future projects. So I built a little gas forge. About then another friend gave me a piece of RR rail to use as an anvil (sound familiar?). Then I got busy doing other things. Late last summer I began plotting my winter activities, which revolved around playing with my little forge, RR rail anvil and some mild steel scrap I had. Not so much about knife-making and more about just making steel red and beating it into interesting and perhaps useful shapes. When mentioning this to yet another friend, he said he inherited an anvil with a farm property he bought, and did I want it? Lo and behold, it’s a Hay Budden Farrier model. Not sure on the weight because I don’t have a scale and the mark is blotted out by chisel testing, but according to a catalog that I downloaded on this site, its probably between 150# and 200#. We did some housekeeping at work this last fall and I ended up with some gems headed for the scrap yard…for the low, low price of nothing. This included several sledge hammer heads of 3, 4 , 6 and 10#, a small but heavy steel stand for some test equipment, and some more scrap including RR spikes, unknown tool steel etc. I reworked/dressed the heads to expand my hammer arsenal, and put handles on some. This included making a straight-pein hammer and a rounding hammer…of sorts. Not pro quality, but they work OK for now. The stand is made from 1/2” plate, 6” heavy pipe and a brake drum that I guess altogether weighs well over 150# and is the perfect height for my anvil. Even had 4 holes I could use to tighten a chain down to secure the anvil base. Anvil doesn’t twitch under my heaviest hammer blow. Then along comes a fellow I work with who discovers I am bitten by the blacksmith bug. He says words to the effect of “I have an old railroad forge in my garage. Its an eyesore. Do you want it?” The forge is a Champion, with hand crank blower, which works fine after I replaced the handle, built a proper side draft hood, and applied some lube to the blower gears. As a big bonus, it had a 4” post vise attached to it. I think it’s glorious now that its properly employed. Next, my burgeoning hobby sent me on a search for coal. I learned a lot about Rocky Mountain coal, including some interesting history. In a round-about way, I found a source where I will be allowed a 1-time trailer load of fair Colorado bituminous coal (11,000 to 12,000 btu/hr), which amounts to 2 tons or so, provided I make a donation to a local charity….and a promise not to reveal my source. This all came together in a former 3-sided horse shed on my place. Since I sold my last horse with no plans to get more, I have enclosed the shed, graveled the floor, built a coal bin and moved my treasures in. I just have made some simple tools and a few minor projects such as coat hooks, railing brackets, a dutch oven tripod, S-hooks, punches, nail header, forge rake and shovel, cutoff tool and some nails. My goal is to incorporate “wrought iron” design and features in furniture that I build. All I can say is that I am blessed with many generous friends, and am overwhelmed at how this has all come together. I also now have a lot of gift projects to make to show my gratitude! Anyway, I want to say a special THANK YOU to all you experienced smiths who patiently respond to novice questions no matter how trivial they might seem and share your wisdom and encouragement. Its important to guys like me who wont ever catch up to many of you in experience. Thanks also to those who post their failures or uncertain ideas, and then weather the constructive criticism. I have learned so much from this site and enjoy the light hearted banter that follows with a lot of the posts. If anyone happens through Kinnear, Wyoming stop in for a cup of coffee.

.thumb.jpg.5f658380aebd03ce0d014b6340bcc1e7.jpg)

-
Why I stopped listening to experts
gmbobnick replied to rookieironman's topic in Blacksmithing, General Discussion
I am as new as they come to blacksmithing. I am also an engineer with a Masters degree and 33 years of experience. I believe everyone can teach me something - experts and non-experts alike - by making me think. I just need to listen. Thanks to everyone who has the courage to share their ideas and mistakes so we all might learn. -
One thing I have done is to wrap in a looped piece of light wire in the last 4 wraps of cord, leaving the loop-end of the wire sticking out, Now you can run the tag end of the cord thru the wire loop, then pull the wire out and tag end back under the wraps. If you measure right, the tag end will be buried under the wraps and protected. Nice clean strong looking knife!
-
Recovered items, put to a new use.
gmbobnick replied to Glenn's topic in Blacksmithing, General Discussion
The back of a piano for a framing a bench top. Mortise and tenon 4x4 hardwood. -
Daswulf this captured my interest. There is a closed iron mine not far from me that has some exceptionally hard rock. It contains magnetite which pushes the specific gravity up pretty high for rock. When spring comes my boy and I might poke around and look for an ASR. Thanks
-
I have not done it yet, but I had actually decided to do exactly as you said bigb. I bought some sealant that is good for 500F. Now if winter will go away for a while I will finish my shop! Thanks
-
Side Draft Chimney Pipe Question
gmbobnick replied to gmbobnick's topic in Chimneys, Hoods, and Stacks
Hmmm...I should of thought of that! Thanks! -
I am going to put in a side-draft chimney system for my coal forge, and understand that 12” diameter is recommended. However, I have to question the cost I am seeing for that size pipe. Near as I can tell single wall 12” stove pipe is easily 10x more expensive than 8” single wall? ($140 vs. $14 for a 3’ stick) Am I looking at the right thing? I don’t want to take any shortcuts, but neither do I want to pay hundreds more if not needed either. Just how hot is this pipe going to get?
-
Its an uninsulated pole barn with 2x6 rafters and 2x4 purlins at 24"o/c each way. Its just an old 10x16 shed. The metal roof panels are nailed down to the purlins. My flue would be centered between rafters and purlins, and the pipe would contact only the metal roof. No luck finding a manufactured pipe flashing or boot. The corrugations are about an inch deep and 2 inches wide. Maybe I can fabricate something. Thanks all.
-
Anybody have a good idea about how to flash around a metal stove pipe for a coal forge that passes through a corrugated, galvanized metal roof? I am re-purposing a horse shed as a blacksmith shop. I would prefer to go straight up thru the roof rather than bend out thru the wall and up. We don't have a lot of rain here in central Wyoming, but still it would be a good idea to keep this in check.

.jpg.835f91da4badbd51750892c4a799dd0b.jpg)