C-1ToolSteel
-
Posts
1,193 -
Joined
-
Last visited
Content Type
Profiles
Forums
Articles
Gallery
Downloads
Events
Everything posted by C-1ToolSteel
-
Hay-Budden Anvil Date by Serial Number
C-1ToolSteel replied to Mister Ed's topic in Anvils, Swage Blocks, and Mandrels
1907 -
Check out this informative thread:
-
Good rescue!
-
Yes, most definitely a usable anvil, not to mention a beautiful piece of history! Mint condition anvils are cool, but I think anvils that show signs of good honest use in an old village smithy are kinda under-rated. If only she could tell sories... Forged colonial style anvil, no doubt. You can even see the seams where the heel and feet were forge-welded on.
-
Ductile iron is very different than the ASO iron and is considered a respectable material. However, as Mr. Stevens points out, it is highly unlikely that an anvil was ever made of ductile iron during the colonial period (ductile iron wasn’t even discovered until the 1940s!). It is also very unlikely that is cast iron with a faceplate. Fisher & Norris were the first ones to produce that type of anvil, and everything about your anvil tells me it is older than that. I’m still quite sure you have a wrought anvil, but more pictures now that you have wire brushed it would help a lot.
-
How do you know it is cast iron? It really looks wrought to me. Could be wrought iron with no face plate, but it sure looks like there is a partially-delaminated steel faceplate. Do you see a casting line anywhere??
-
Good score. (I know that was an understatement, but I don't think my fingers are capable of typing anything that wouldn't be.)
-
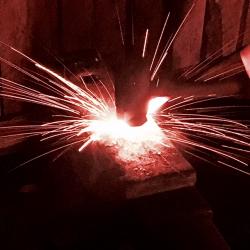
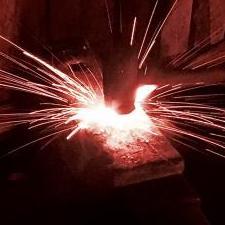
What did you do in the shop today?
C-1ToolSteel replied to Mark Ling's topic in Blacksmithing, General Discussion
Nice work, Jonah. Great lines. -
Welcome! This is an awesome group of people to learn from. You really can't beat this bunch of folks. You have probably noticed already that your forge doesn't lend itself very well to heating the middle of long pieces... That said, it looks great for your typical small knives, hooks, bottle openers, and other fun tinker projects PLUS (as long as you keep using charcoal) it will accommodate a grill over the top for when you get hungry! You could even stick a wok up there... The other thing I'll mention is don't be too quick to reach for the 4 pounder in an attempt to show off your manliness... I did that too, when I started, and eventually worked down to a 2 pounder for my go-to. 4 pounders are nice to have on hand for the occasional gorilla project/spectator that walks in that has never never seen a blacksmith working before.
-
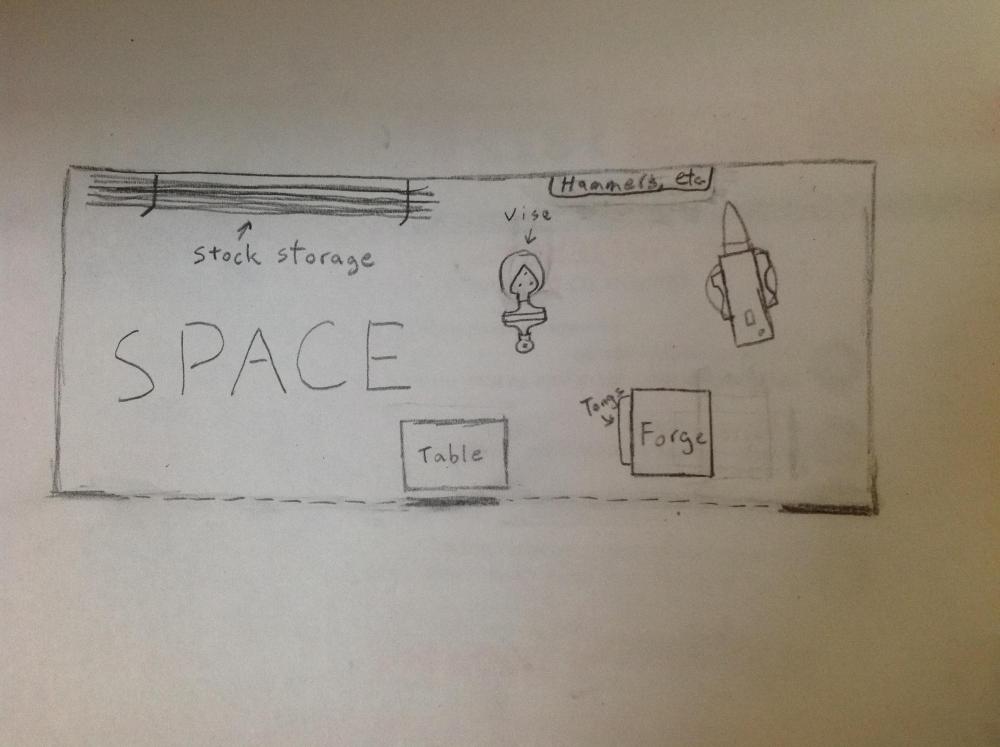
My little smithy is similar in size/proportion. Here's how I would probably lay it out if I were you. The occasional large project will make you feel cramped, no two ways about that, but mine works well for me (granted I have a separate shop for all my power tools) and should work for the things you listed.
-
 Nice. Soaking the pliers in vinegar to remove any zink plating wouldn't be a bad idea. I've always wanted to try tweaking some channelocks and welding reins on...
 -
Just cut a hole for the firepot out of some sheet steel as JHCC suggested. For the frame you can just screw some 2x4s together and set the sheet steel on it.
-
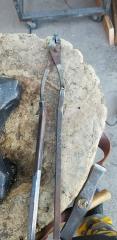
Don't forget to dress the face and peen while you're at it! Looks much better, by the way.
-
Love it. My only suggestion would be maybe to upset the very tip of the pieces so they flare out a little at the end. It helps to break up the cut-off look and make them look more like finished pieces.
-
What should I do with this Mouse hole?
C-1ToolSteel replied to ABuggeln's topic in Anvils, Swage Blocks, and Mandrels
Why not just use some big chunk of scrap with the scouts? Probably one of the best things you could teach them is that you don't need a London pattern anvil to shape steel. -
Some people say old is better. Some people say new is better. Both of groups are wrong. It isn't the age of an anvil that determines the quality. It is the quality of an anvil that determines quality. ...if that makes since. Lots of factors determine the market for both new and used anvils. Ignorance is, perhaps, the biggest factor, nostalgia is another one, and convenience is too. Is a nice old anvil with a few chips in the tool steel face better than a brand new ductile iron anvil? It all boils down to personal preference.
-
Little things that make a BIG difference
C-1ToolSteel replied to C-1ToolSteel's topic in Shop Tips n' Tricks
Using proper tongs, using the correct weight/type of hammer for the job, using good fresh sandpaper, using sharp files, soaking things in venegar to remove rust or scale... And then on the bad side: Sticking your work down in the bottom of the firepot (too much scale), letting your mind wander with a blade in the forge, forgetting to wear dirty clothes when in the shop. -
Show me your blacksmith pets
C-1ToolSteel replied to Glenn's topic in Blacksmithing, General Discussion
Nice score, bro!! SUPER cute. ...can't get over that face. -
Show me your blacksmith pets
C-1ToolSteel replied to Glenn's topic in Blacksmithing, General Discussion
Great thread! Here's my current arsenal. One to guard the palace and one to survey the rest of the kingdom...

-
More pictures please! I don't think I have ever heard of that one.
-
Show me your blacksmith pets
C-1ToolSteel replied to Glenn's topic in Blacksmithing, General Discussion
Fine lookin' set of paws you got there. -
Starting a very small businuess
C-1ToolSteel replied to ryancrowe92's topic in The Business Side of Blacksmithing
Don't decide what you are going to make. Let the demand for certain items decide what you are going to make. In other words, make everything and see what sells. -
Starting a very small businuess
C-1ToolSteel replied to ryancrowe92's topic in The Business Side of Blacksmithing
Etsy requires that minors use their parent/guardian's bank account, so you actually don't need one yet. The fees are minuscule, and they make shipping really easy with printable labels. Online or not, it takes a while to build a reputation, and you shouldn't expect it to replace a good summer job. As a hobbyist, though, it's fun and gives me a chance to make a little money when I go "what do I do with ALL THESE LETTER OPENERS!!". -
That turned out beautifully. Very nice job!
-
Thanks guys! For the etch, I did three ten minute soaks, cleaning up in between, in a 1:3 ratio of ferric to water. After that, I did one coat of Birchwood Casey Super Blue and sanded over the high spots with 1200 grit. Really helped make that "web" stand out.