Lou L
-
Posts
1,180 -
Joined
-
Last visited
Content Type
Profiles
Forums
Articles
Gallery
Downloads
Events
Everything posted by Lou L
-
Okay crew, I need a little debugging help! my forge currently runs really well at 10 psi (or so I think it is doing well). However, when I lower the psi to 5 or 6 it runs fine for a while but then blows out the flames. When I relight the forge it runs for a bit before blowing out again. When I add an object of of decent volume it blows out almost immediately (this could be related to the time factor, but when I relight the forge it blew out immediately and wouldn’t light until I removed the object). From what I have learned, the blowout indicates that I am low on outlet volume and may need another hole. Before looking into that option, however, I wanted to tweak the burner at the jet. I’m guessing that the blowout occurs because the fuel air mix moves to heavily to toward the air side of the equation. That would seem to indicate that my mig tip needs to protrude a little more into the mixing tube. Would this be a correct first step to try?
-
Beautiful!
-
As usual, Thomas is right. MCalvert’s suggestion of cutting off a section of the bottom and welding flat floor on is a great idea. The mailbox style forge seems to be well loved. It would be easier to line as well. You don’t want a forge that is 16” in diameter unless you are making small anchors or something. Right now you are looking at a four or five burner forge. Many people build three burner forges only to end up blocking off a section and using only one or two burners at a time. Every professional shop I have visited has run a small, one burner forge for their daily work. The guys at Dragon’s Breath Forge near me weld massive Damascus billets fluxless on a Nazel 4B powerhammer that shakes your bones....and they do it all on a tiny forge with one ribbon burner heating it. That shop sports two Forged in Fire winners..... I know you just want to get the burners locked down, but we don’t want to send you off buying or making a load of burners that you don’t need. Lou
-

Sher, Shea or sheb anvil dated 1896
Lou L replied to Frank1967's topic in Anvils, Swage Blocks, and Mandrels
Welcome to IFI, Scott! If it has similar stamping it is likely a Fisher as well, but others know much more than I do. I doubt the lines have anything to do with weight, however. If you post a picture you will get all the answers that can be had about your anvil. Also, check out this post right away so you can get the most out of this forum: Lou -
Check out my post in the gas forge section. My consolidation notes may save you some time or, at very least, will be a nice reference if you don’t have loads of notes yourself. I basically consolidated the most up to date info on gas forges and put it in one place.
-
Now get to making some hardy tooling! Nice job.
-
3D printed plastic burner experiments (photo heavy)
Lou L replied to Another FrankenBurner's topic in Gas Forges
I have nothing intelligent to add to this thread. It is amazing. I’d just like to add that I’m glad to have been along for the ride as you few inventors and tinkerers have reframed the industry in terms of burner design. If Frosty, Mikey, and you guys got together and wrote a book detailing your collaborations and improvements I would buy it. In fact, you guys should find a way to monetize your creations. You deserve it. -
It’s enough for me to hear that both are viable options. I planned on getting a thermocouple and PID to get temp readings on the forge. When that happens I’ll try to take readings. Other than that, I have no comparison forge to see if the benefit is real. Once it gets seasoned better I’ll do some video for the inspection of the pros.
-
No kidding! I wouldn’t let that guy near my anvil if he had that hammer anywhere near him. That anvil sure earned its stripes that day.
-
I’m thinking the stainless mounting bracket is an unnecessary expense and effort. If your forge is lined with wool and castable refractory you shouldn’t be getting that much heat on the outside of the forge. Just a section of old pipe should do. Nothing like seeing your kid working at the forge, though. My son made his first forge weld at four. It was a tiny piece of 1/4” round that it took him an hour to draw out and then curve into a circle with me holding the tongs. I counted about one hit every four swings with the tiny ball peen he was hefting. He missed the first three swings trying to make the weld but the fourth hit before it got too cold. I have had his little ring he made for two years now and love showing it off.
-
Thanks guys. Frosty, I have to admit that I was curious to hear your thoughts on the Inswool Moldable. I need some real time on the forge to determine if the shelf/gasket I formed works well. Also, I have no idea if the baffle I made inside the forge adds up to nothing or if it will, indeed, benefit the burner. You and a few others on here could help with insights on that. Lou
-
This is how they do it in Sweden!
-
Use a wire wheel, not a flap disk. You aren’t looking for a flat, smooth machinist’s work surface.
-
Like Frosty said, use an additional layer of wool to build up your floor. Be sure to rigidize it with a commercial rigidizer or fumed silica in water. Fire bricks crack into pieces when used as a door for a forge. Inside a forge they die a fast death. Save yourself a headache and trust Frosty and Mikey who have forgetten more than most of us know. My knowledge comes entirely from the people in this forum but I did post a summary of the information I found in the different threads in a separate post. I used kastolite, not satanite, but otherwise the information may be useful to you. https://www.iforgeiron.com/topic/61288-my-consolidated-notes-for-new-forge-builders/?tab=comments#comment-640327 Lou
-
He is a treasure to all of us. Wish him well for me. We lost our neighbor, Frank, about a year and a half ago. He was 97 and fought in the Bulge. He was an amazing guy and, like most from his generation, was too humble and underatated about his service. I could never get him to tell me anything about his experience that spoke of his hardship. He was living history.
-
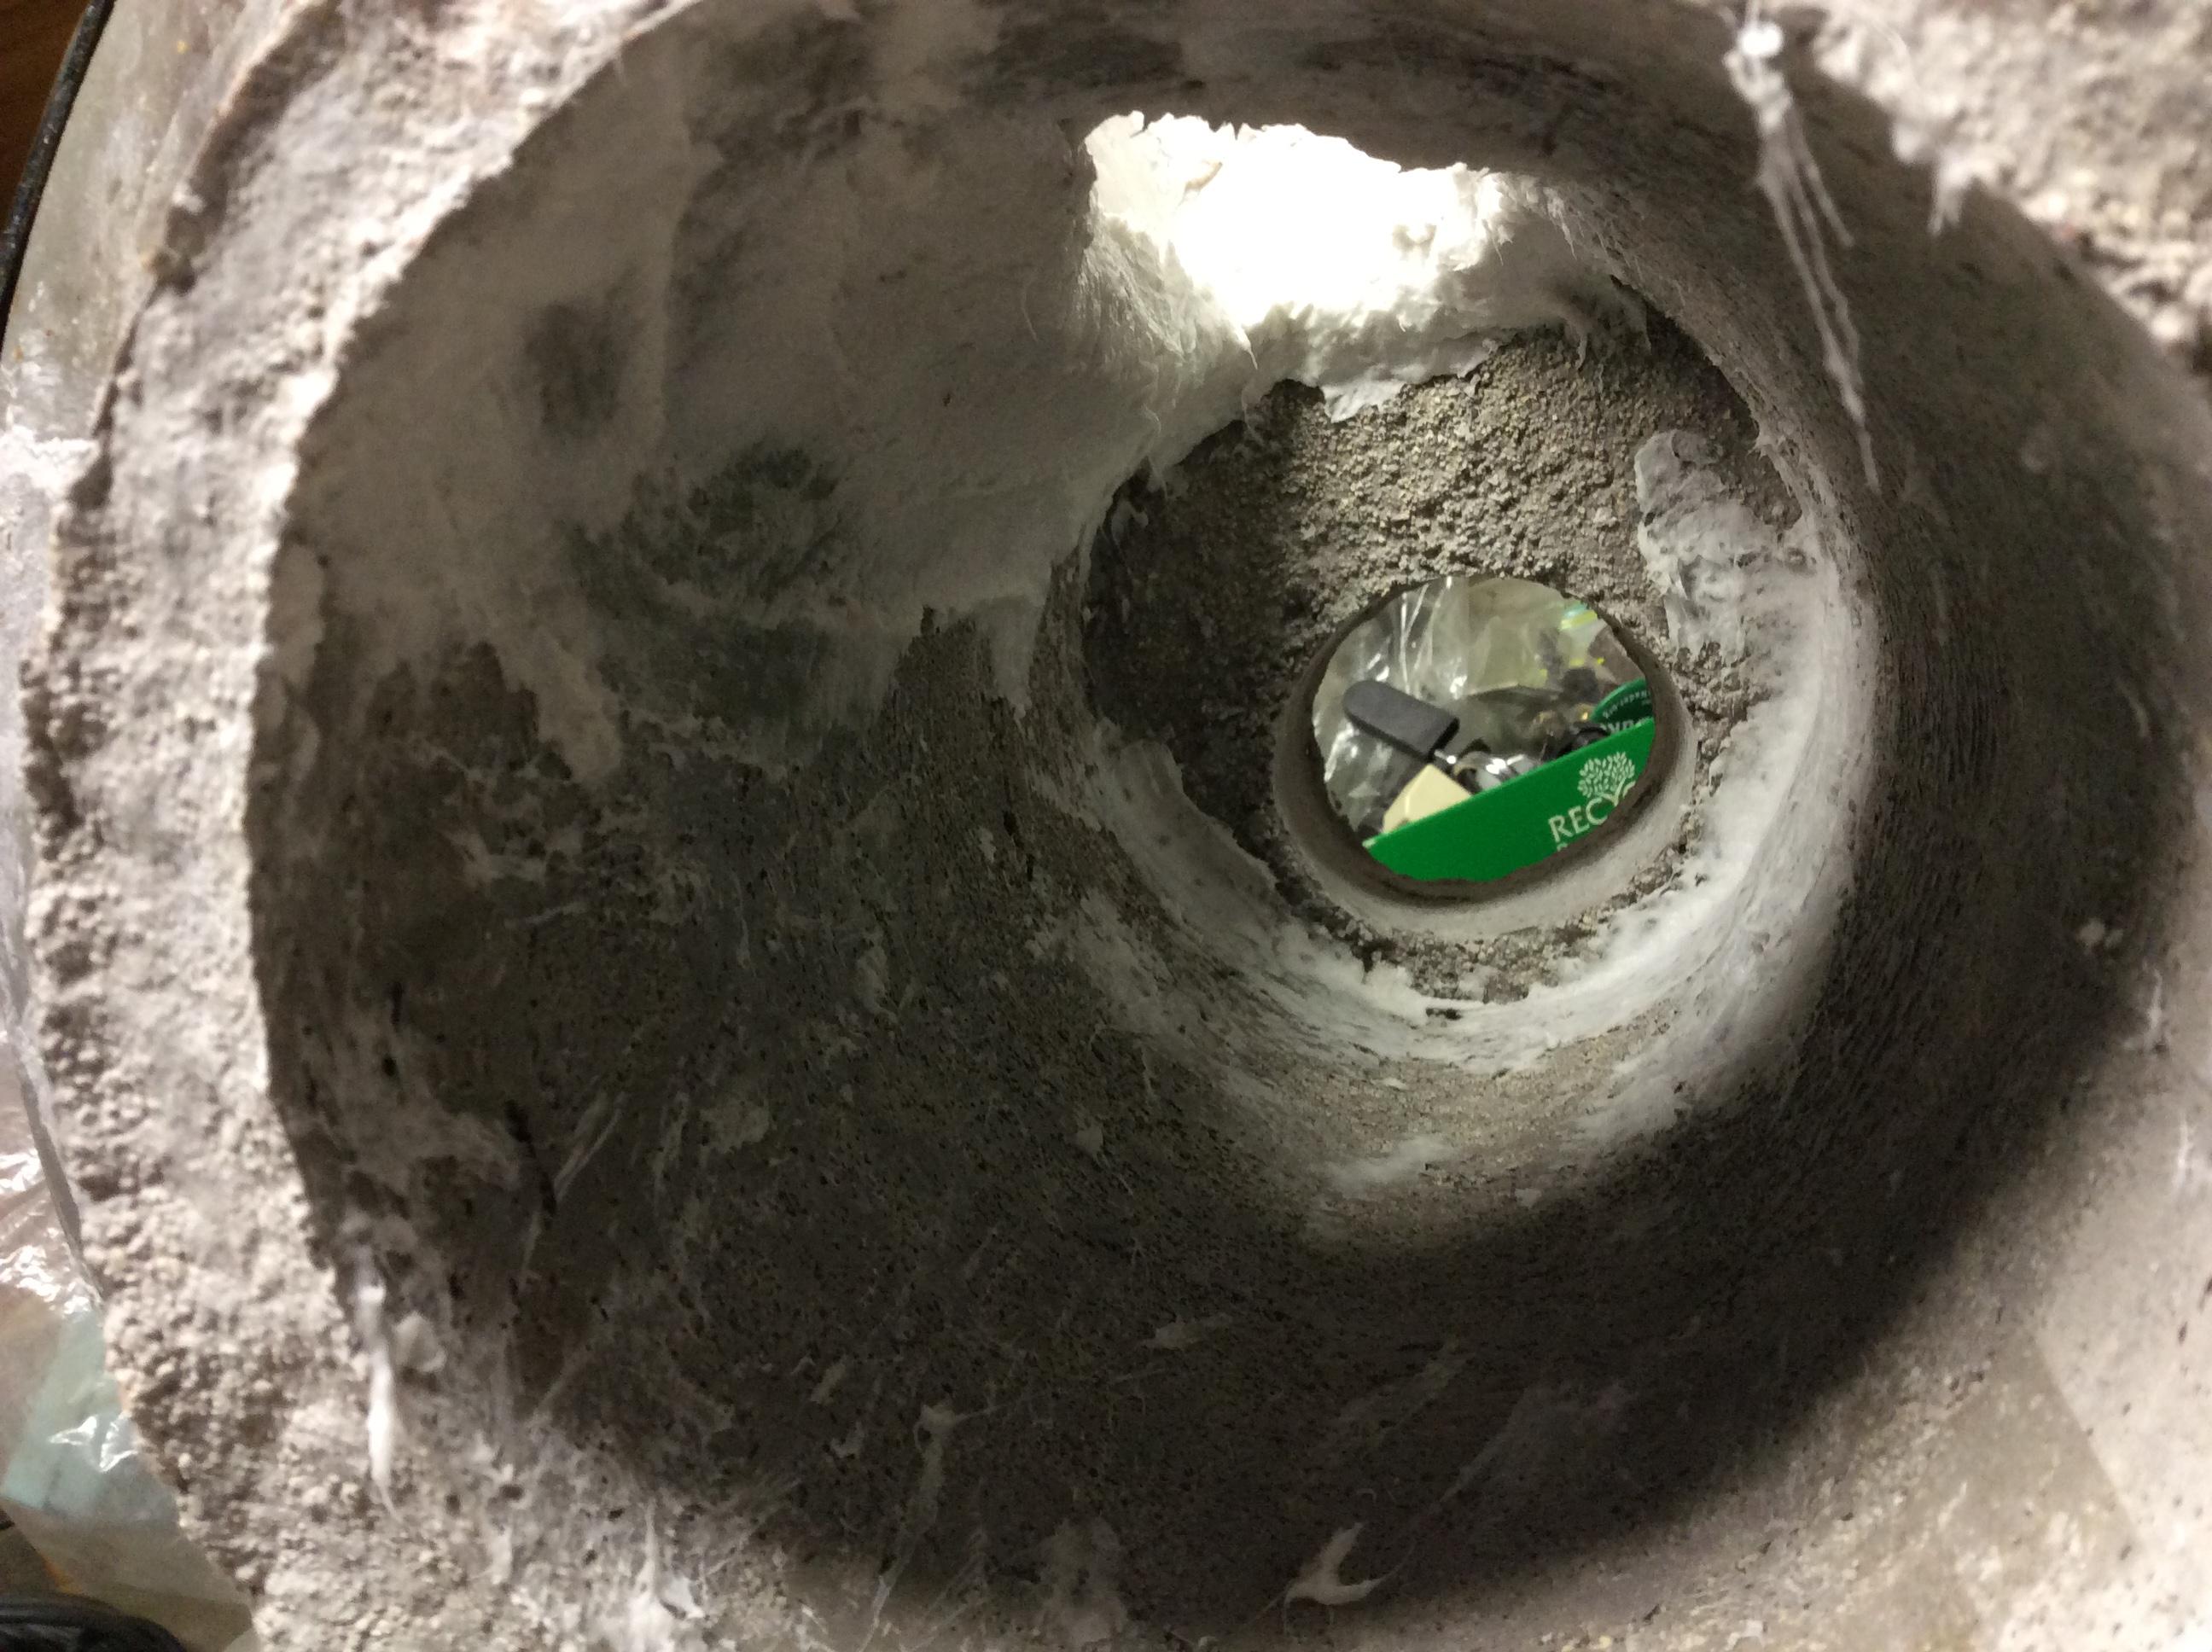
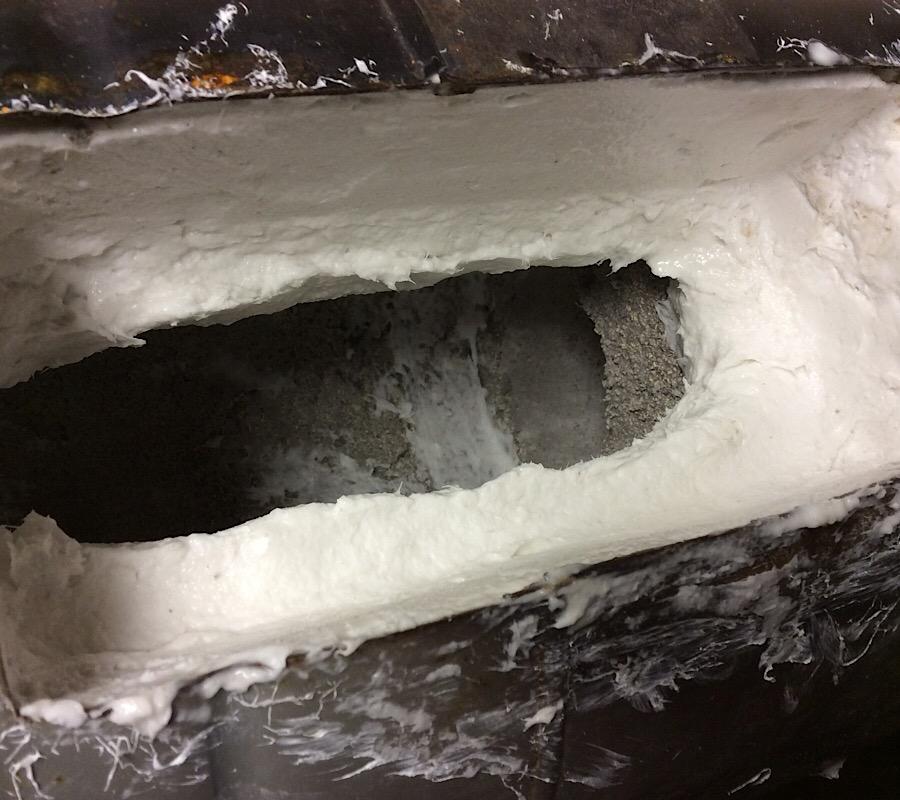
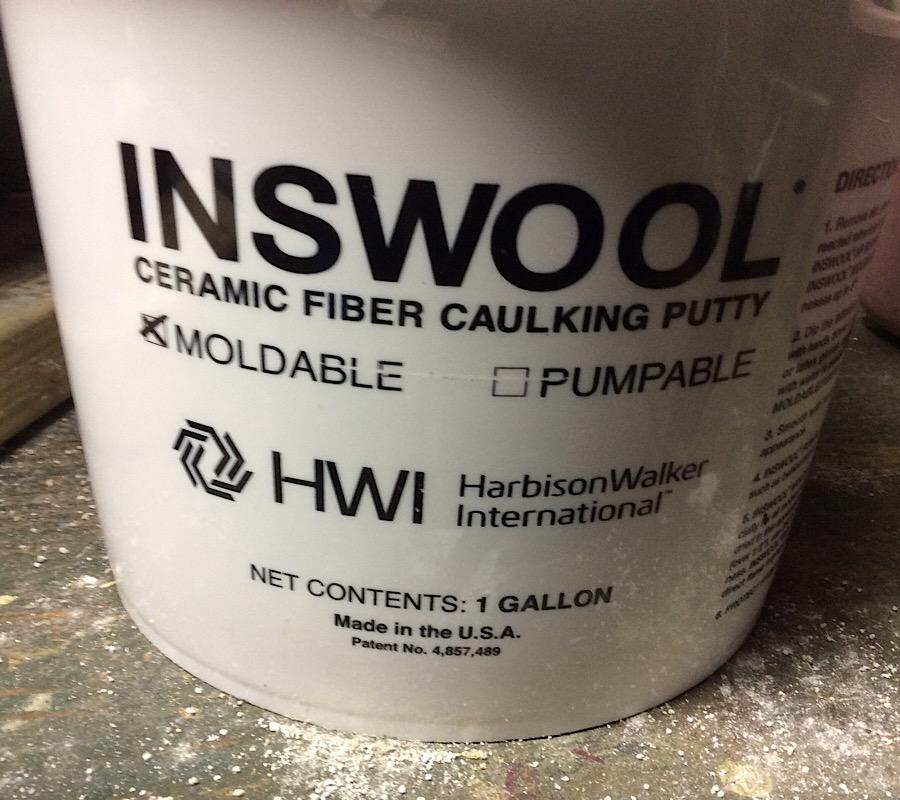
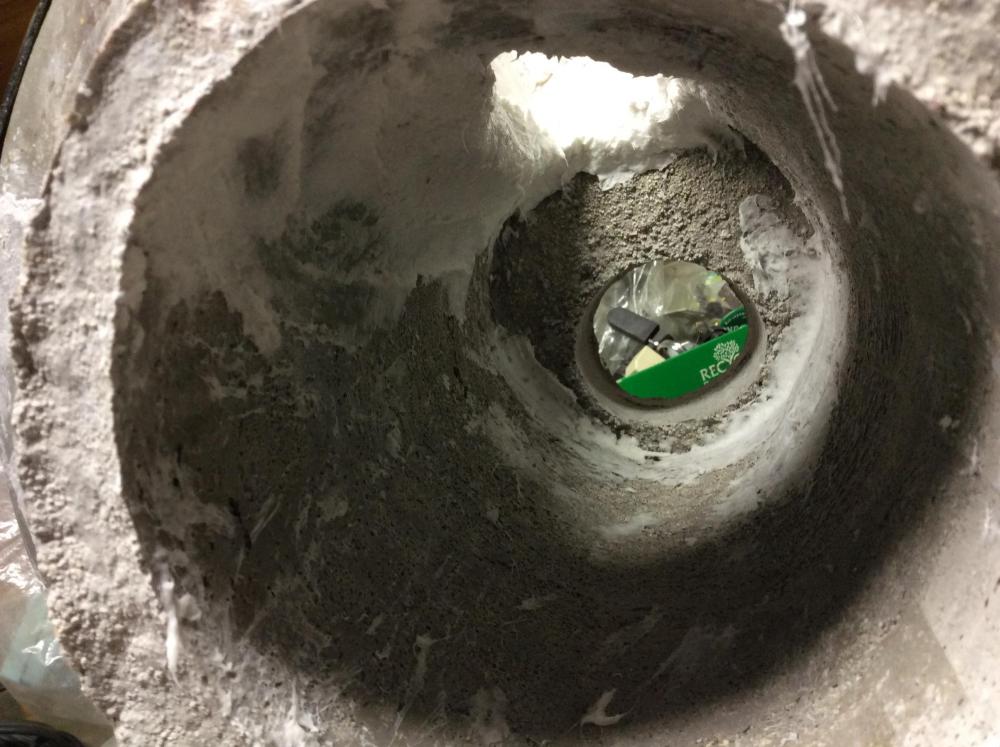
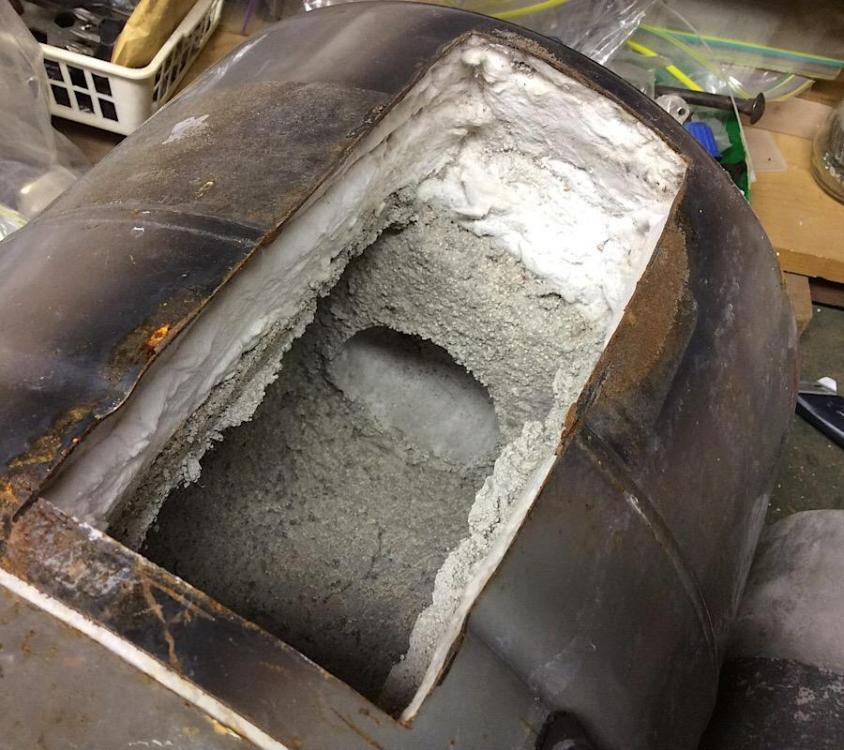
The next problem was dealing with the hole for the ribbon burner. If you are using regular burners I think it is easier to deal with. This, I learned, is one small drawback from using a ribbon burner with this type of forge. I could have tried casting the port for the burner when I did the interior but getting to all the areas and making the forms work was annoying. Therefore, I chose to experiment with Inswool Moldable since I had picked up a gallon of it when I got the other materials. Here is the hole after I cast the interior: The situation, as I saw it, was that I wanted the burner to sit back a little ways from the interior of the forge and I wanted a tight fit to eliminate heat escape from the burner hole. I decided to create shelves with the castable that would support the burner in the desired position and also create a gasket between the inside of the forge and the burner port. This is the Inswool Moldable. It is rated to 2300 degrees and creates a hard flame face. It requires minimal treatment in terms of drying/cooking before it is ready to use. It has the consistency of a light clay. It is not as dense as clay...I guess it is more plastic. I simply put on a rubber glove and formed it by hand. It was quite easy and, if it works out with long use, promises to be a very useful material for making forges. My cast shelf for the burner: I wrapped my burner in plastic wrap and used it to shape the Moldable. I ensured that the ports in the ribbon burner were not obstructed, of course. The only other bit of work I did was to create a small ridge in the interior of the forge to act as a barrier from the swirling plasma in the forge. I found in my test firing (while cooking the rigidizer on the wool) that the burner did not like being right in the line of fire. I figured that the shelves setting the burner further back was the most important fix for the problem but decided that diverting the vortex away from the burner face wouldn’t hurt. This is what I came up with: The picture isn’t perfect, but you will see the small ramp/bulge at the bottom of the burner port. This is a contiguous part of shelf casting, it is not simply attached to the wall of the forge. The mass of Moldable looks large in the picture but most of what you see is just a light surface smear from my messy hands. The raised lump is only about 3/4” wide and high. It is entirely possible, and possibly better if this Moldable proves weak, to do this with kast-o-lite. However, I really found my method to be very flexible I hope this helps someone. Lou


-
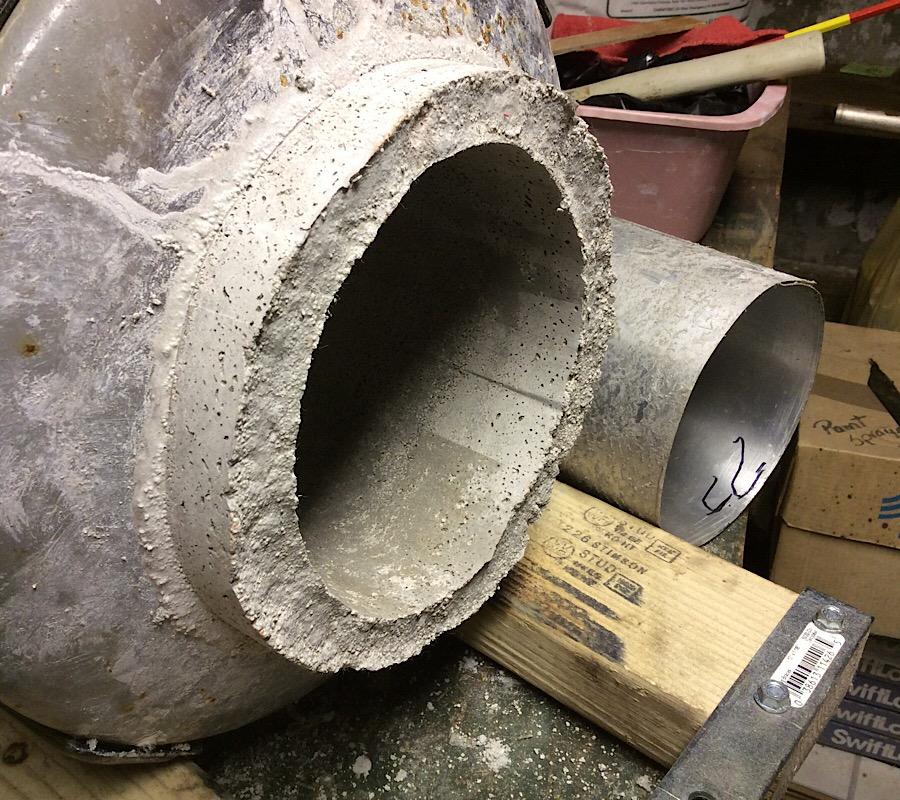
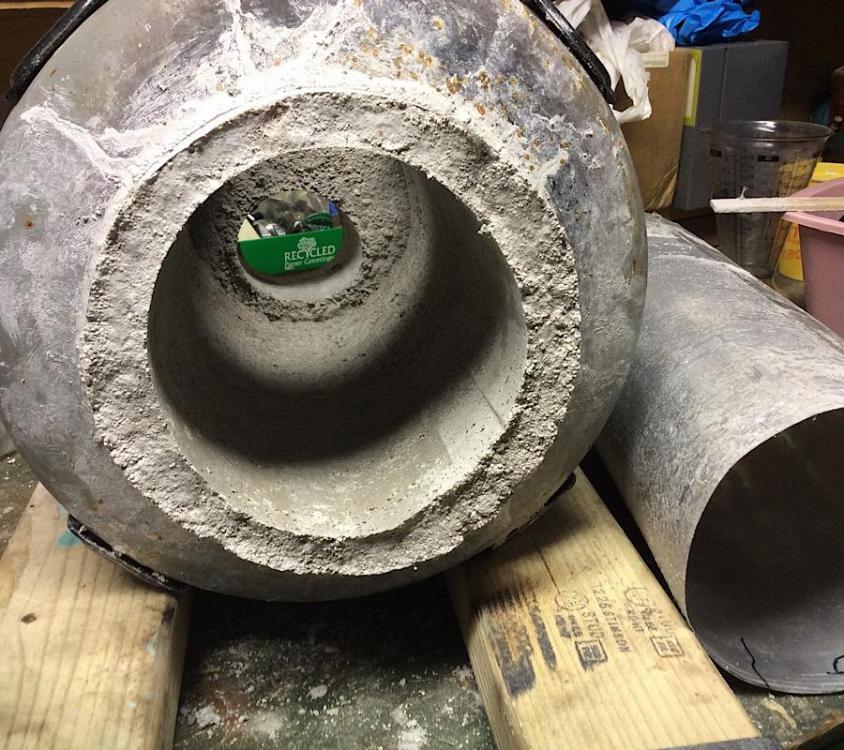
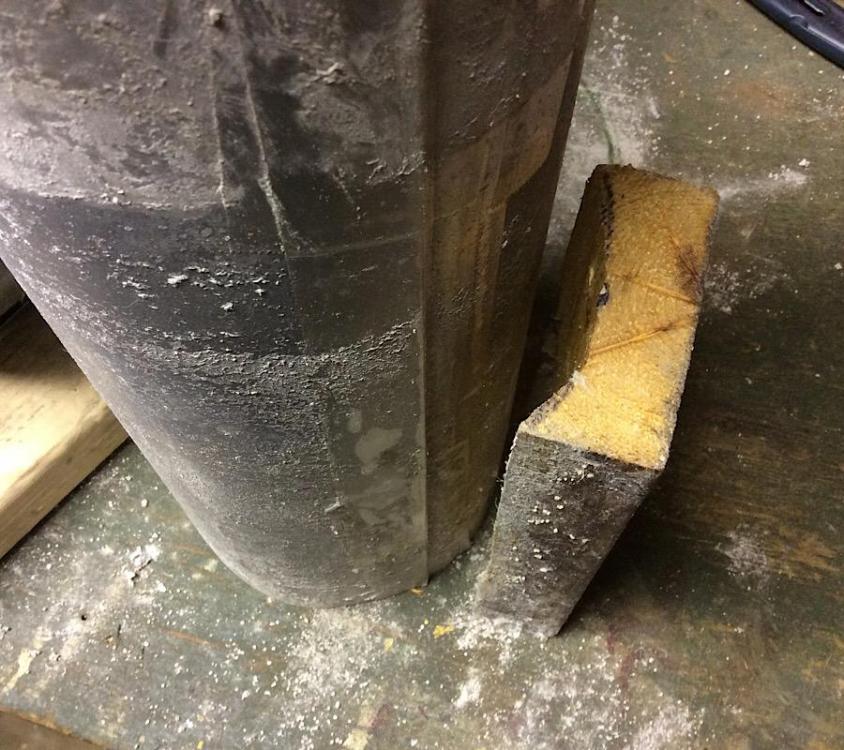
An update with more detail: This post is just an example. It is my response to the challenges I had before me. Namely, I had to figure out how to cast the interior of the forge with kast-o-lite 30 and deal with the large rectangular opening for the ribbon burner. In the end I chose to cast using a form made out of thin metal sheathing and a wood block shaped to fit the curvature of the metal cylinder. Both were lightly coated with Crisco as a release agent. I first cast the bottom of the forge and the back wall. I did this by making a round band of the sheathing slightly wider in diameter than the rear hole in the forge and stood the forge up on its end with the sheathing acting as both a support and a form for the castable. This allowed me to have the castable protrude past the outside wall of the forge in order to protect it from dragon’s breath. The back is not pictured but you will see how I did the same with the front of the forge as well. Once this casting dried (inside a plastic bag with a wet rag inside to keep 100% humidity), I moved on to the next step of casting the rest of the forge. Tip: do the casting inside the bag so you can pull the garbage bag up around the forge easily and seal it once you are done. Next, I stood the forge on end, inserted the wood block and the cylinder, and pressed the castable into the space between the rigidized wool and the metal form. I used a stick to compact it in. It took two pounds of castable to do the back wall and hole and six pounds to do the rest. You will notice how I used a ring form (metal sheathing) to shape a projection out of the front hole of the forge. I have no idea how well this will hold up in use but I like the idea of managing dragon’s breath and adding a modicum of volume to the forge. Here is a better view of the front. You can see the difference in the casting between the part that was formed and the area that was just free cast.

-
Those edges look crisp for such an old anvil! She’s a beauty. Welcome aboard.
-
I’d worry about the width of the burn pot. Charcoal fires spread with very little air and you will have a 14” long fire in no time. That can be extremely useful in some situation but, in most, it is just a waste of fuel. If you can manage to adjust the width of that trough you would have a very customizable fire pot. Some steel walls dropped into small brackets at various intervals (at an angle like 45 degrees) would make it really flexible. Now you have to set it into a table of some sort.
-
This didn’t follow me home, rather it came on it’s own and met me here. I didn’t even have to dumpster dive to get it! Can’t forge a tee shirt but I can start plenty of the “do you have any steel or tools you don’t want?” conversations I love so much.

-
Beautiful work! I’d love an estimate of the hours you have into that. Even discounting R&D on that skull pattern it must be high.
-
Thomas, that wasn’t his normal setup. He actually had just recently been forced to rent out his very well appointed shop and take on a full time welding job for financial reasons. The manifold he created was basically an experiment to see if he could replace his full size English side blast forge that was no longer available to him. Either way, I had forgotten about that part. I posted it as an example to show what he did with the interior of the grill in order to make it a side blast JABOD. Funny aside: My autocorrect on this IPad just automatically suggested JABOD as the best choice upon my typing of “jab”. Nice!
-
I have two instructive videos I think will inspire you with possibilities: Torbjorn Åhman’s simple side blast forge concept here https://youtu.be/m-R6iY-mY-Y and Joshua De Lisle’s bbq forge here https://youtu.be/Ys0LcbJ363E Both will provide you with the visuals and you can blend the concepts as you see fit. Oh, and get the cheap cheap cheap cat litter with no additives and you have cheap clay. You can add water or just mix it with dirt. Lou
-
Preferred Refractories for Chamber vs Ribbon Burner
Lou L replied to Daguy's topic in Insulation and Refractories
There is a Harbison Walker outlet in England. They make and sell kastolite, green cars, mizzou, Inswool and a number of others. I realize the country is larger than a two hour drive but they may deliver if you aren’t close. HarbisonWalker International Limited Dock Road South Bromborough, Wirral CH62 4SP England Contact: Erik Bachman P: +44 (0)151 641 5901 F: 44 151-6415910 -
Preferred Refractories for Chamber vs Ribbon Burner
Lou L replied to Daguy's topic in Insulation and Refractories
Harbison Walker makes a moldable version of kastolite that can be applied by hand (with gloves) or troweled on. It can be applied smooth. But, in truth, kastolite can be quite smooth if you use forms. I used metal flashing (with a release agent in case) and the parts that were controlled that way came out very smooth.