David Durman
-
Posts
59 -
Joined
-
Last visited
Content Type
Profiles
Forums
Articles
Gallery
Downloads
Events
Everything posted by David Durman
-

How to fix my keg furnace?
David Durman replied to graymachine's topic in Smelting, Melting, Foundry, and Casting
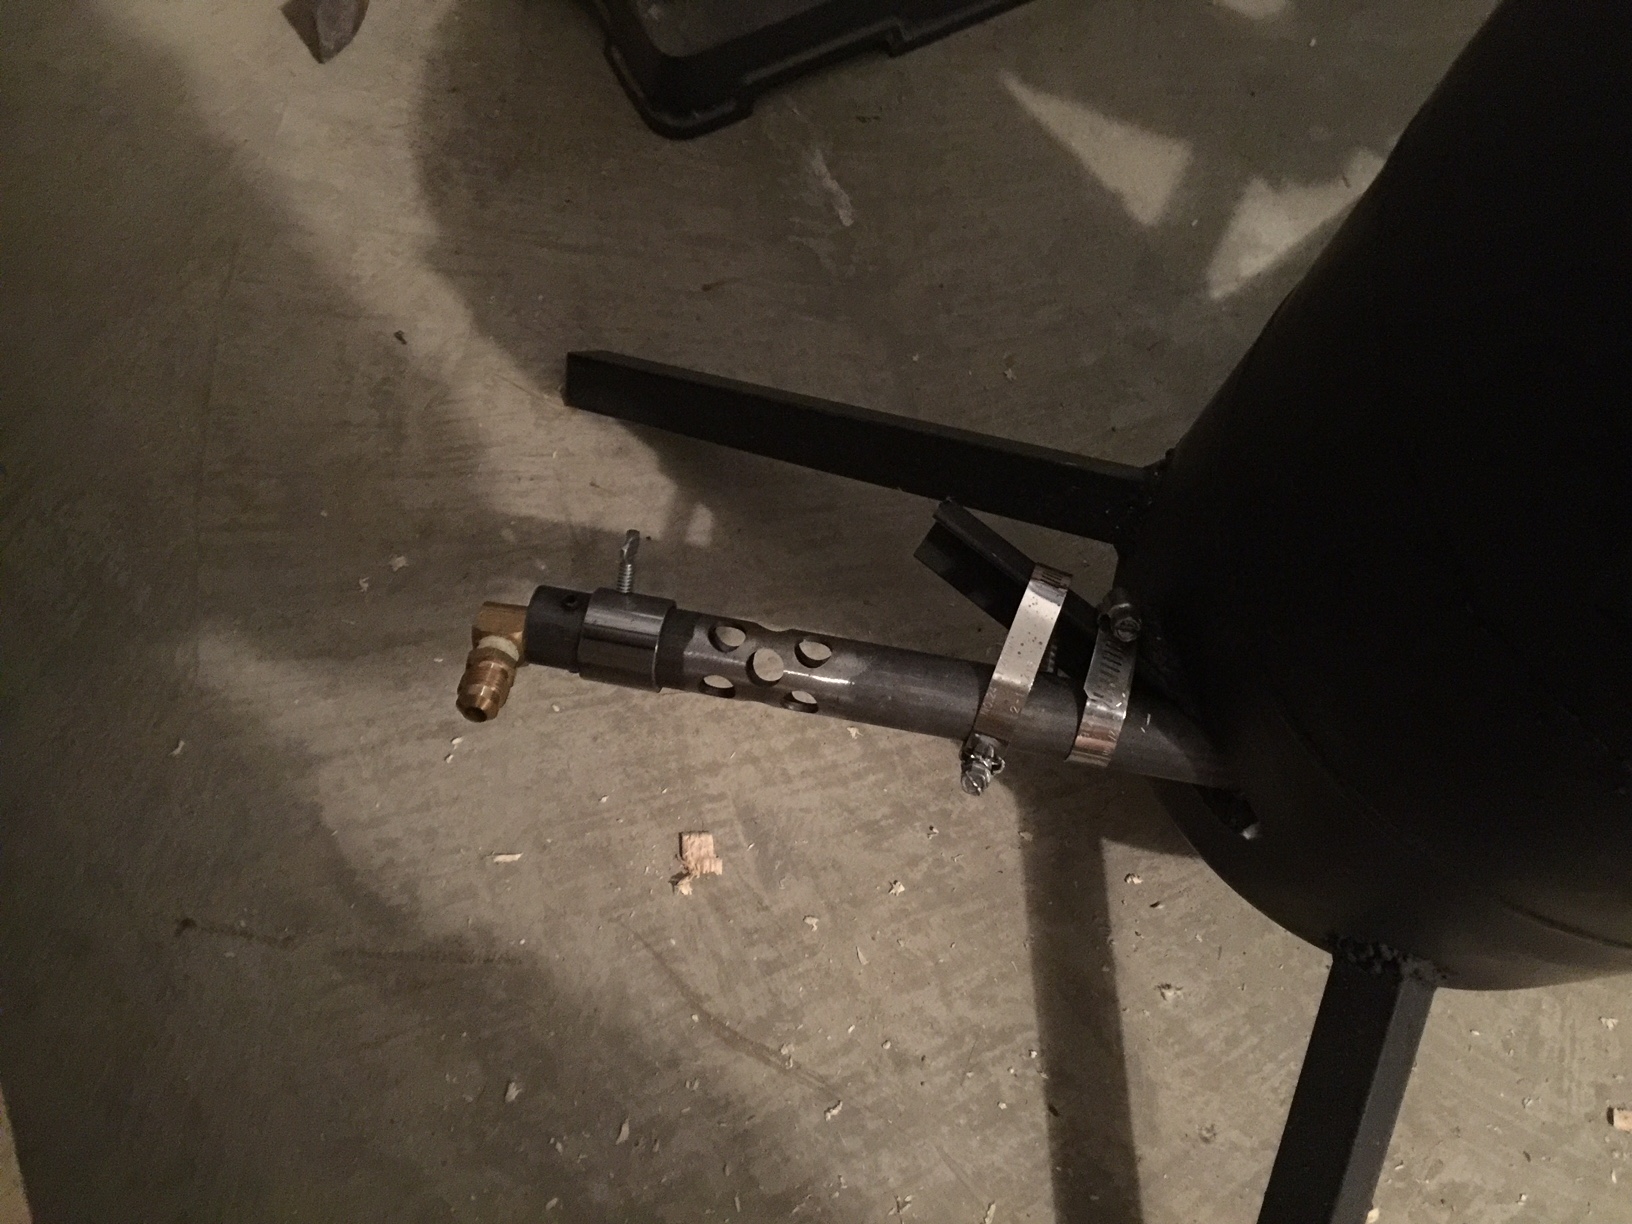
I don't know why I would get mad; obviously I am doing it wrong. I had taken a more general approach to figuring out the problem, formulating different questions centering around back pressure. For whatever reason, it didn't occur to me to check the forum on here for gas forges. 1. Is there a particular burner you would recommend for this assembly? I originally bought this for my much smaller furnace and put it on here for at least the curing and to see if I could get it to work. 2. I figured that I had it on there wrong; I'll reposition it. -
I'm interested in getting a touchmark too; are you still making them, Stamp Man? Mine is fairly simple, nothing more than the Roman numeral XIII with bars across the top and bottom.
-
Shielding Kaowool with Mortar
David Durman replied to graymachine's topic in Smelting, Melting, Foundry, and Casting
I don't know why it is showing two different screen names for me. Anyway, do you think that using chicken wire or woven wire mesh as a rebar frame would help? -
A Titanium-Gold alloy (Ti3Au) has been developed that is purported to be 4 times harder than titanium, making it the hardest material known that is compatible with living tissue. Interesting stuff, primarily since I never thought that titanium and gold could bond in that manner (not that I gave it much thought), although it probably has no particular application for metal working. Still, worth a read: BBC News Article Science Advances journal where the paper is published
-
Forbidden Need a confidence boost
David Durman replied to ThomasPowers's topic in Blacksmithing, General Discussion
Thanks, gote. My main interest in the video was that it seemed like a reasonable way of fixing the lifting tongs that I posted an image of upthread, since they too are made of rebar. Most of that I can fix with welding, but I definitely want to reset the hinge pin; currently it is very loose and offers little protection from twisting. -
Forbidden Need a confidence boost
David Durman replied to ThomasPowers's topic in Blacksmithing, General Discussion
I actually took a program back in the Spring that covered several different basics, such as casting (I made some bronze ingots), welding, and a touch of blacksmithing. That is where the aforementioned professor comes from; I've spent the intervening time building a furnace for more bronze casting with the little spare time and money I have after home and kids. I should finish tooling up for that around September; I bought a small MIG today so I think I can fix the issues I have with those tongs. I am very, very tempted to modify my furnace to be a lift-off version like you mentioned, but I am hesitant over the possibility of accidentally tipping over the crucible. If I could figure out a passive safety feature to avoid that, that would be my preferred method. Without seeing your laptop I couldn't say, but I strongly doubt it. Most laptops are going to have a soft keyboard (under the keys there is a soft silicone mat for all the keys); even if it has actual mechanical keys, cracking the case on a laptop is usually a pretty bad idea. Modifying a desktop is fairly easy since everything is modular nowadays, but laptops are generally pretty integrated. It's one of the reasons I usually recommend people build a desktop of their own since it is drastically cheaper and much easier to customize to your preferences. You can disable the function of those keys, but it's something I've never done so I'd have to look it up and get back to you. -
Forbidden Need a confidence boost
David Durman replied to ThomasPowers's topic in Blacksmithing, General Discussion
If you pop the key off and cushion it with some electrical tape around the socket, you can make it harder to accidentally push; might need to fine-tune the amount, though. Good mechanical keyboards are pretty reasonably priced nowadays and their keys are fairly stiff enough to prevent that as well. -
Forbidden Need a confidence boost
David Durman replied to ThomasPowers's topic in Blacksmithing, General Discussion
Thanks, Frosty! I did think it was weird that he quenched them. Like I said, I thought the video might prove useful in fixing those lifting tongs. I think, if I am going to make some tongs, I'll start with the kits that Thomas mentioned. The rest of your comments are taken to heart as well. Thanks, John! -
Forbidden Need a confidence boost
David Durman replied to ThomasPowers's topic in Blacksmithing, General Discussion
The situation here is similar in that he has plenty of graduate students to help him. He's already let me go there a couple of times to use the shop but I know that the head professor would have a problem with it and I'm certain the Fine Arts college would have a fit over the liability issue. I'm sure he would let me use the shop again, but I don't like taking advantage of his willingness to stick his neck out. -
Forbidden Need a confidence boost
David Durman replied to ThomasPowers's topic in Blacksmithing, General Discussion
I meant to add a sentence about trying the ILL through the library; sorry, but I apparently left it out. I would bring my Kindle, or my phone, into the workshop except maybe across the room on a side table. If I need to reference something, I'd probably just print it out for the added bonus of easy note taking. Rust doesn't bother me too much either, but it seems like all of the scrap yards in the state don't sell anything, at least not to individuals. They seem to only buy, consolidate/smelt into bulk loads, and sell commercially. I'm lucky if I can get any of them to do anything other than hang up the phone. I'm going to give the ILL that Thomas mentioned a try and I have at least one book on the way. I also have "Blacksmithing for Beginners" by Josh Kinney sitting in my Kindle, as well as a couple of books on sand casting, forming copper, and forming silver; I haven't gotten to the Blacksmithing book mostly due to the sand casting one being more pertinent to my current activities and my casual reading time being taken up with The Rise and Fall of the Roman Empire. I think I gravitated to the video mainly because of its simplicity and its applicability to those lifting tongs. You make a good point about just getting some mild steel; I'll have to go across town and pick some up. I'm tempted to simply make a new set of lifting tongs (the pictured set I bought on eBay), but given my limited tools, I suspect that that might be beyond my capabilities. I could ask the professor at the university where I took my metal working program last spring if I could come into the shop and make them, but even though I'm sure he'd say fine I'd feel like I'd be taking advantage. Yeah, I think I simply need to find a way to go to more flea markets and garage sales; might just be something that has to wait a couple of years. I hadn't thought about using roofing hammers or hatchets as hot cut tools; that's a good idea, thanks! I'll have to keep an eye out for those as well. I have a Neoprene mallet, but I certainly could use some softer ones; I might try to cast one when I do another round of bronze castings. I'm sorry, I don't understand what you are talking about. "I would* bring my Kindle, or my phone, into the workshop except maybe across the room on a side table." *Wouldn't Sorry, for some reason I can't edit. -
Forbidden Need a confidence boost
David Durman replied to ThomasPowers's topic in Blacksmithing, General Discussion
I think I checked at the library for blacksmithing books when I took my toddler there last; I haven't picked up a physical book in years having largely converted my reading onto my Kindle, but I did just order Lorelei Sims The Backyard Blacksmith on the recommendation of JME1149. I'll see if I can scare up a copy of Weygers's book as well. I suppose I probably should start spending more time around flea markets; hard to find the time though with two toddlers. Like I said, I see plenty of old claw hammers at yard sales, so I think I might start picking them up just to have some metal to play with on hand. That'll also spur me to keep a better eye out for good hammers. Do you have any recommendations for improving those lifting tongs, aside from fixing the loose hinge point that I'm planning on doing? The arms on the end loosely pivot, being intended to let the tongs also pour, but I am thinking of locking them in place to function only as a set of lifting tongs and welding together a rebar basket for pouring; that seems like it would be a lot safer. EDIT: Also, I'm reading through the ABANA Controlled Hand Forging PDFs. -
Forbidden Need a confidence boost
David Durman replied to ThomasPowers's topic in Blacksmithing, General Discussion
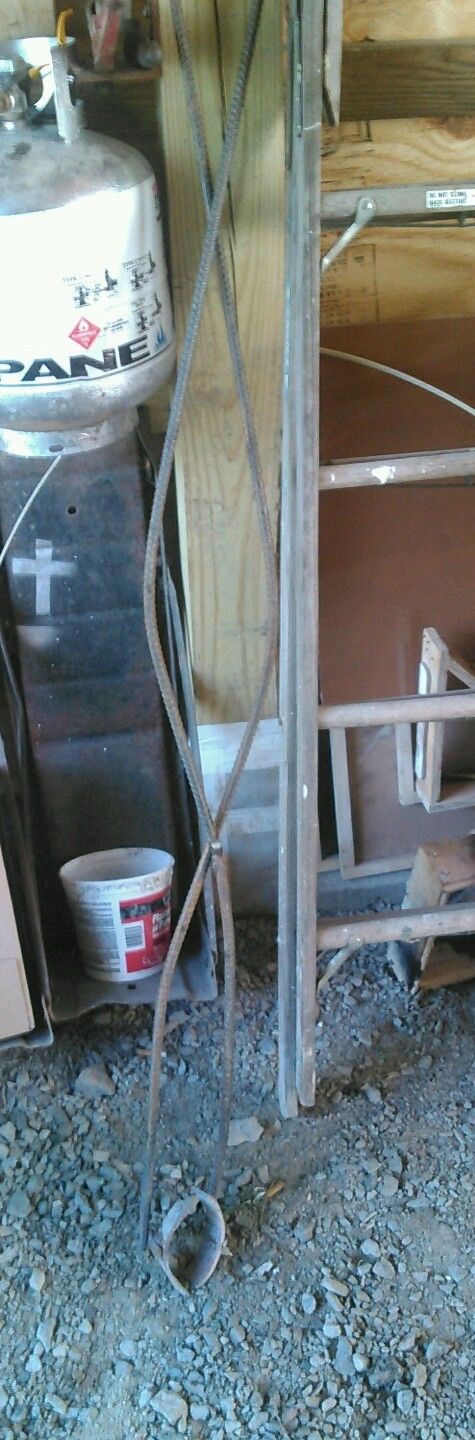
Thanks for the responses; it certainly is a cheap hammer of the cheap brand big box store variety. I think I originally picked up for driving things when a full sledge would be impractical; I find myself usually reaching for my decent ball pein for the limited shaping I do from time to time. I think my first intention for fixing my heavy hammer will be to rehandle it and see how that works. I try to keep an eye out for hammers, but it is rare for me to come across any that aren't mass-produced claw hammers. I'm also working on acquiring other tools sets at the moment; looking to pick up a little MIG today, planning on tackling blacksmithing tools in the Fall/Winter. As for tongs, I was planning on following this youtube video for making them from rebar, which seems pretty straightforward, although I can see myself needing to spend extra time getting the alignment right. They certainly wouldn't be a long-term tool, simply something for practical and initial grasping. Additionally, I have an ulterior motive for the rebar tongs, namely that I have a relatively crude set of large crucible tongs (see attached) that I am frankly not comfortable using for heavy pours (and haven't yet), so I want to set about improving them, a key improvement being to correct the loose hinge point (held together by a screw that has wallowed out the channel!) on them similar to the hinge he makes in the video. Thomas, do you have any recommended books? I know there are stickies on here with that sort of thing, but I am curious as to what your specific recommendations are, especially ones with a good track of beginner projects. You also, DSW, although you didn't mention books specifically. Thanks a lot for taking the time, I really appreciate it! I know this isn't the best thread to be discussing this, but the tail-end of it seemed to venture into it.
-
Forbidden Need a confidence boost
David Durman replied to ThomasPowers's topic in Blacksmithing, General Discussion
I am curious if you have an ordered list of projects that would be good for developing the basic skills. I ask because I come across good beginner projects, but I'm not sure what order they should be done in to avoid developing bad habits that will have to be unlearned later. Currently, I'm still obsessing over casting, but I expect that I'm going to swing back to beginning to blacksmith about winter time; my current plan is to start with making tools for myself. I have a store-bought hammer, but I dislike the weight and feel of it for anything where I am not simply beating as hard as I can, so I think I'll try to tackle a hammer. I also need some tongs, so I think I'll try to make some out of rebar, which seems like a fairly simple beginner project. I have an ASO, namely a cheap small cast iron one from Harbor Freight that mainly serves for the little silversmithing I do, so I also need to find a piece of railroad to grind out a passable anvil. Are these reasonable projects or should I just focus on turning out nails for a while? Are there other ones I should add or substitute? -
I'm just haunting the threads and this one seems fairly old, but I wonder if you could anticipate the distortion that the twisting would cause on an inscription with actual words/text/symbols and compensate for it when you make them. It would be an interesting experiment, but it seems like it would be almost certainly easier to simply do it after twisting with a dremel.
-
Thanks! I was mainly concerned as to whether the product was appropriate to the purpose or if it was some other mesh mask that I wasn't finding. I was fairly certain it was, but I try to be as cautious as I can be with safety.
-
I've been looking around for a wire mesh heat face shield; I used one in class and it dissipated the heat from the furnace so well when I looked in that there was no discomfort. I've looked around online and found Jackson wire mesh face shields that specify they are for splash protection, but say nothing of heat. Is this the same thing or should I be looking for something different? Thanks for any insight.
-
Protecting the foundry
David Durman replied to David Durman's topic in Smelting, Melting, Foundry, and Casting
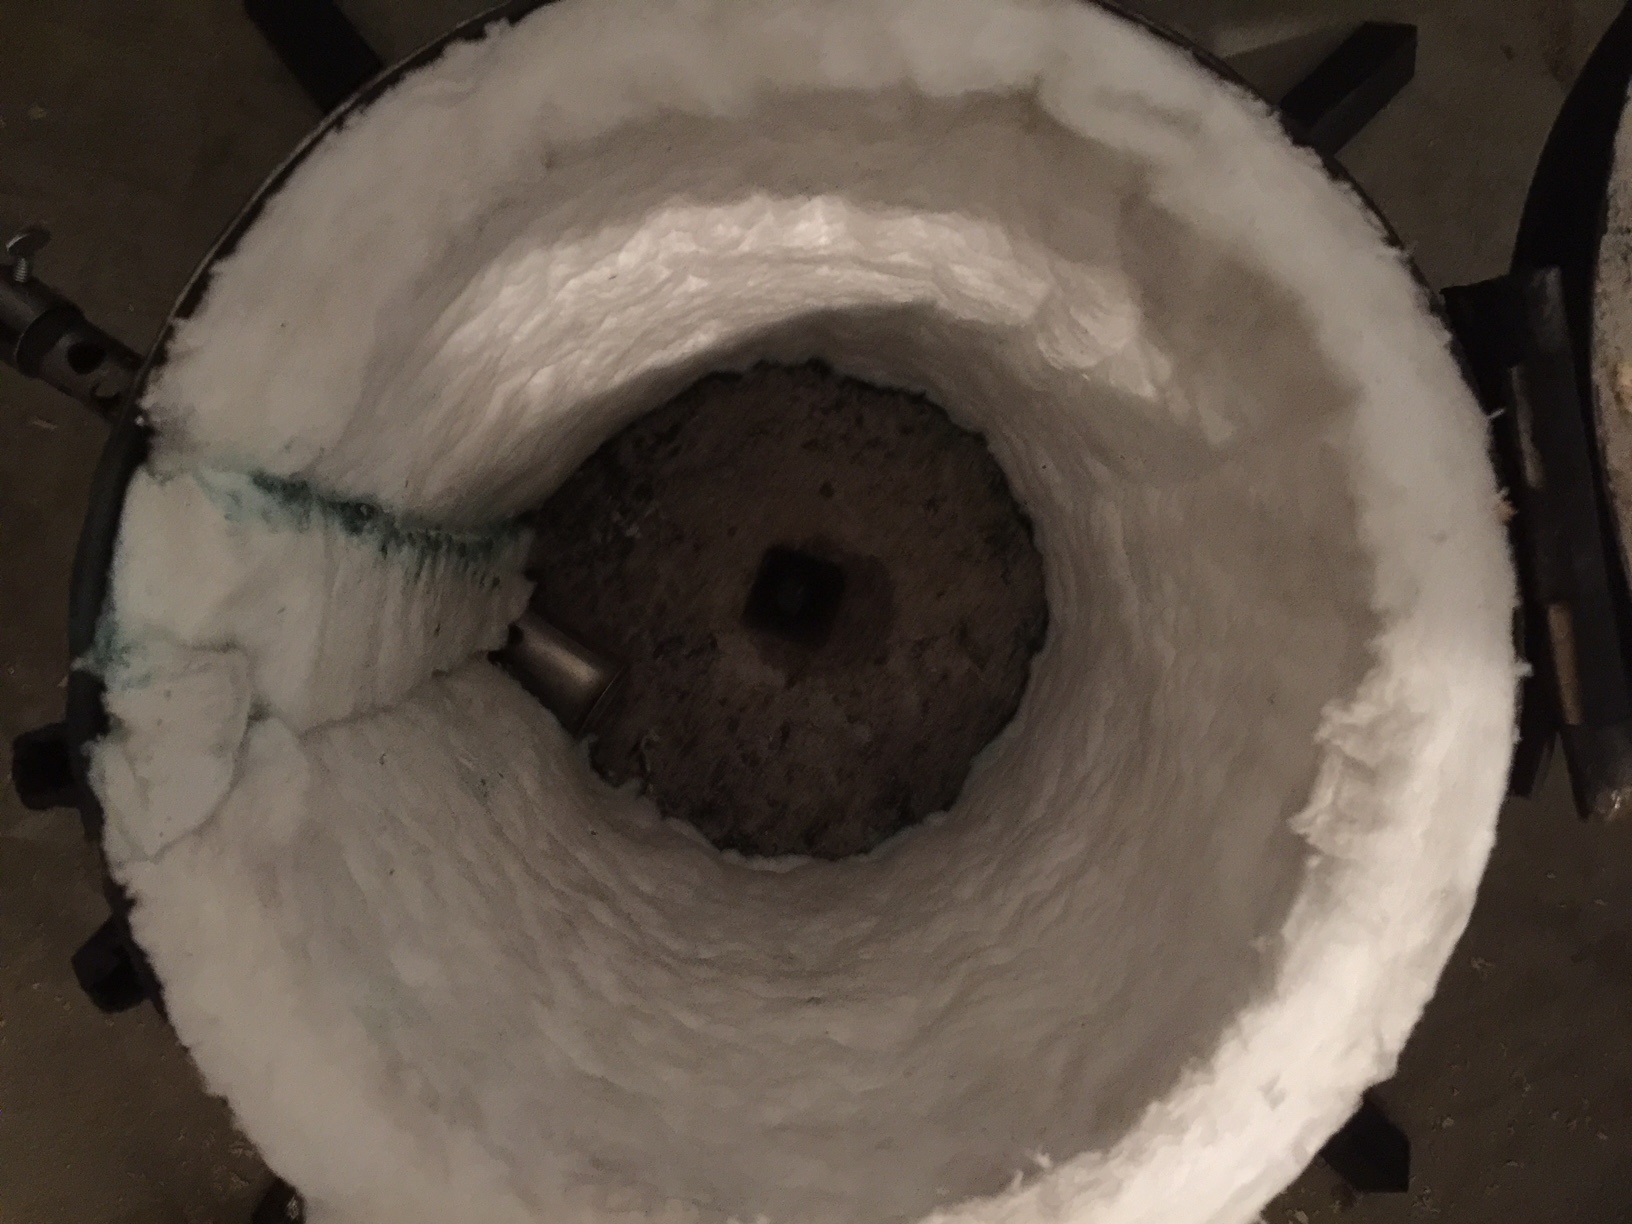
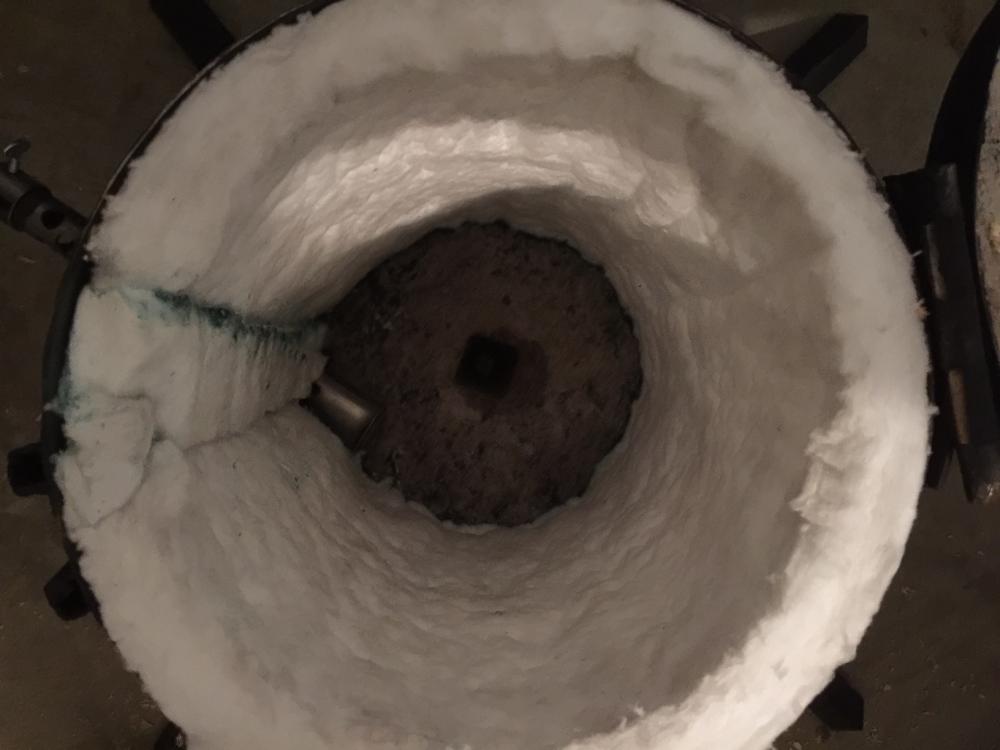
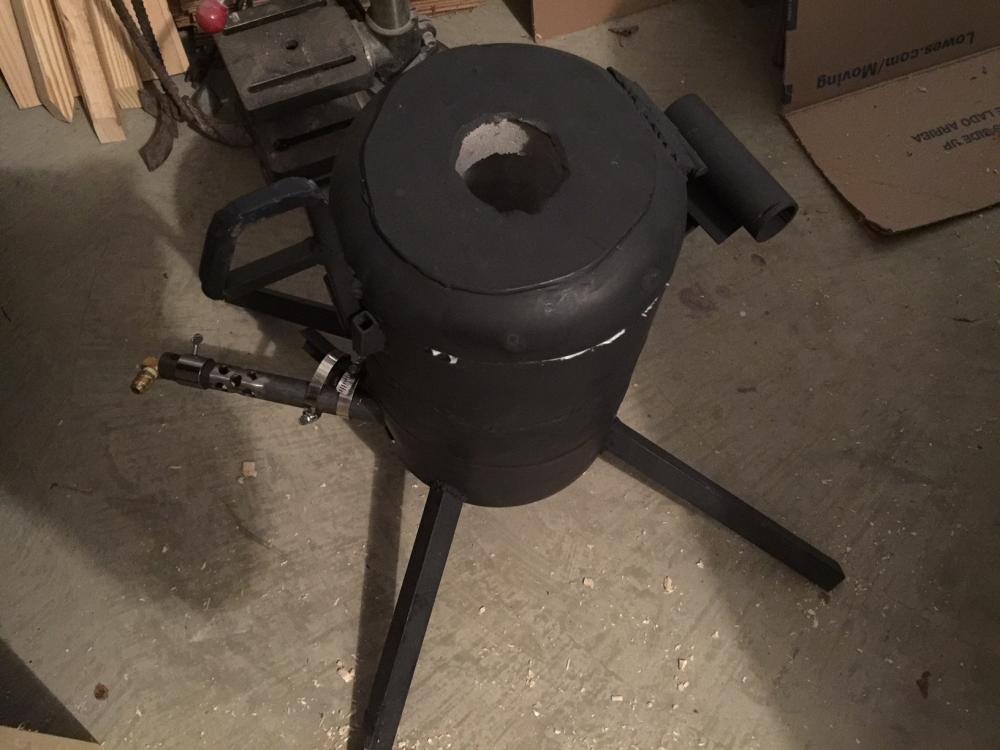
Fair on the terminology; I would think, though, that calling the building the foundry would be the same type of misnomer as calling the shop the forge. The caster's building is a shop and the melter is the foundry. This might simply be a matter of regional usage. I would prefer that method but all of the examples I've seen where the bronze is made prior to casting have the tin being added at the last moment. The material I've read warns against 'boiling' the bronze, presumably due to the tin in the alloy being roughly 4 times past it's melting point. But this could all be just caster superstition, similar to blacksmithing superstitions like a forge that has had copper in it being unusable for steel. Yeah, the instruction I have had was to up the tin in after the copper melted, then give it a few minutes to melt but be careful not to 'burn' the bronze. I plan on a couple of cold runs before even thinking of firing it; as Frosty said, I would have preferred 2 inches of wool, but I was concerned about he #10 crucible I need to use not having sufficient room. -
Protecting the foundry
David Durman replied to David Durman's topic in Smelting, Melting, Foundry, and Casting
Planning on making bronze with it, so copper-melting temps are the highest. The ceramic wool is Cerablanket 2400F and the castable refractory is a commercial mix rated for 2600F. -
Protecting the foundry
David Durman replied to David Durman's topic in Smelting, Melting, Foundry, and Casting
I finally finished this foundry. Here are some images of it; does anyone have any suggestions? It still needs a first firing, but I am going to wait until I get the crucible I am going to use so I can cure them both at the same time.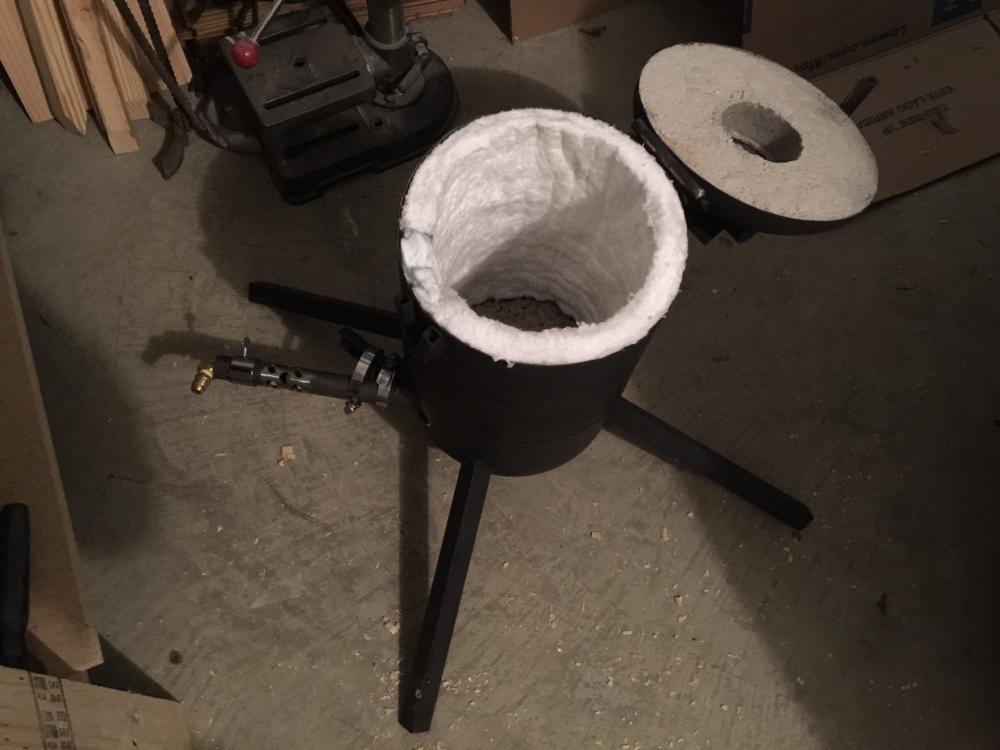

-
I briefly thought about using punches and gravers, but I am reluctant to rely on my (relative) freehand ability over passive processes, such as image transfer and chemical etching. I had planned on allowing the etchant to cut deeper than one normally would on each pass, creating a significantly recessed image rather than a simple transfer of the image. The images I am looking to transfer are the attached daisies for one item and the attached marigold for another; ultimately I want to have the petals of the daisies in silver gilding and the center in gold, the marigold petals in a silver gilding with colored edges like the image (I am still debating these internally). The ring and knife blade images are simply google image results that show the approximate depth I am thinking of; do you think this is achievable? I am reluctant to purchase engraving tools and try my amateur hand at it; I would be happy to learn, but these particular items are a fair bit important to me and I simply hate leaving anything to chance. Thanks, though; it definitely gives me something to think about.


-
Huh. That is essentially the same method, just done in reverse of what I was thinking. Seems like it would be better to use that order. I am hoping that the end product will be sufficiently smooth (with minimal sanding) for me to gild the design as well; it might be easier to simply use a Dremel but I would be nervous about the consistency of hand moments on such a fine scale, preferring to leave it to much more controllable chemical processes.
-
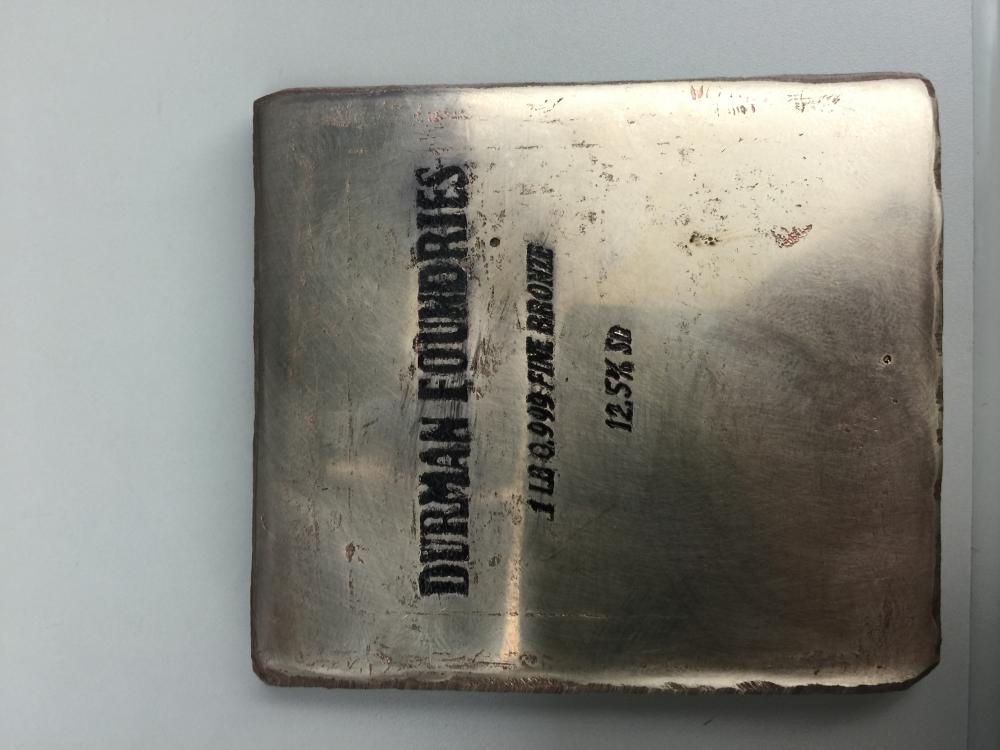
A fair point; I can try it on one of my bronze ingots, although I'll have to bear in mind that those are 12.5% tin and what I'll ultimately be etching on will be 8%. I suppose I could cast a separate block just for etch-testing.
-
So it is a sound method and doesn't have some critical flaw that I am not thinking of?
-
I have a long term bronze project I am working on and want to pick everyone's brains about something that occurred to me about the etching I will be doing at some point. I am planning on etching flowers into the surface of my bronze and I thought it would be possible to create a gradient on the petals with my etchant. Essentially, I would apply my resist everywhere but the outline of the flower area; after a short dip in some ferric chloride I would take it out, clean it off, and apply resist to the areas inside the flower design that I want to be the most raised. Then another quick dip, cleaning, and widening of the resist area; I would repeat this until I etch all the way to where I want the deepest etching. In other words, I would create consecutive, concentric etches that I can smooth out post-etching to give a 3-D texture to the design. Does this sound reasonable, or is it wildly impractical? Somewhere inbetween? Would it be better to try to carve out the design with a Dremel?
-
Bronze Jewelry Box - Cast Whole or Plates?
David Durman replied to David Durman's topic in Copper Alloys
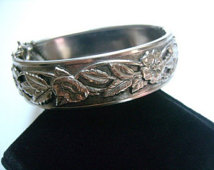
If anyone is curious about it, I cleaned up one of those bronze ingots I made: