

RobbieG
-
Posts
81 -
Joined
-
Last visited
Content Type
Profiles
Forums
Articles
Gallery
Downloads
Events
Posts posted by RobbieG
-
-
53 minutes ago, JHCC said:
You don't need tongs to make tongs. Just start with stock that's long enough to hold by hand, forge the bits, bosses, and reins at either end, and cut the unworked material out of the middle.
Yep, and that's how I make my own. If he has access to boxes of 10 inch long 5/8 round bar it wouldn't be much help though. I was more poking fun at the idea that he 'must' make his own tongs, they aren't really a beginner project so there's no harm in buying.
-
15 minutes ago, Sanderson Iron said:
Limited budget? Beginner? Make your tongs.
Could be a tong paradox though, needing tongs so he can make tongs?
-
Coco-nut cracker?
-
As a rough guide, the higher the carbon content, the more difficult to work. This is in relation to actual force required to move as well as a narrower working temperature range. For the majority of blacksmithing (other than blades and tools) A36 or mild steel is more than adequate.
-
2 hours ago, Mikey98118 said:
Put a baffle wall in front of that wide open heat destroing opening!!!
A couple of insulating firebricks should be sufficient for testing at least -if you weld an angle rail on to support them they can be slid open/closed as desired.
-
2 minutes ago, Joel OF said:
I heated up some bits of 1/2" bar at various reg settings & took pics which I'll upload when I get home.
What sort of colour would you expect a gas forge like mine to get bit of 1/2" bar up to after 4 mins heat time at sensible reg settings?
Is that 4 minutes from start up? Some forges take a while to get going - I had the floor of mine lined with insulating fire brick for a while and it got hot really quickly but the brick breaks down too easily. It now has a kiln tile which is more robust but not insulating so can be slow to get going.
-
Well I messaged Matei but no response - I managed to grab a couple of hours walking around but a lot of the metalwork was fairly modern welded construction. Some of old town had nice grillwork but maybe I was looking in the wrong places! Still a beautiful city and one I would recommend anyone to see.
-
12 minutes ago, ryancrowe92 said:
i mostly watch YouTube for stuff like this
The majority of videos on Youtube are either wrong, dangerous or both.
If you must use Youtube check out videos from Alec steele, Brian Brazeal, Torbjorn Ahmann, Dirtysmith and a few others I can't think of at the minute. The only issue with watching these videos is the potential for unrealistic expectations of your own abilities - those guys are all professionals with many years of practice behind them and are also very talented! Start simple and read the books recommended above.
-
The ABANA Controlled hand forging series should cover most (if not all) of what you need - it's in the resources section of the ABANA website
-
I'm travelling to Bucharest for 4 days end of this week for a friends stag party - whilst the night time activities will be planned out for me I will hopefully (hangovers permitting) be wandering the city a little to see what's what. Is there anything even loosely blacksmith related that would be worth seeing? Cheers
-
The age is not important - it's nice to know a little history of the tools used but the important thing is that they ARE used!
-
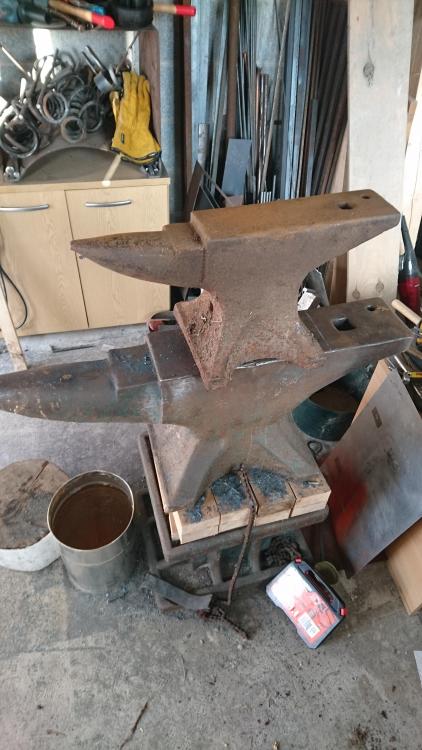
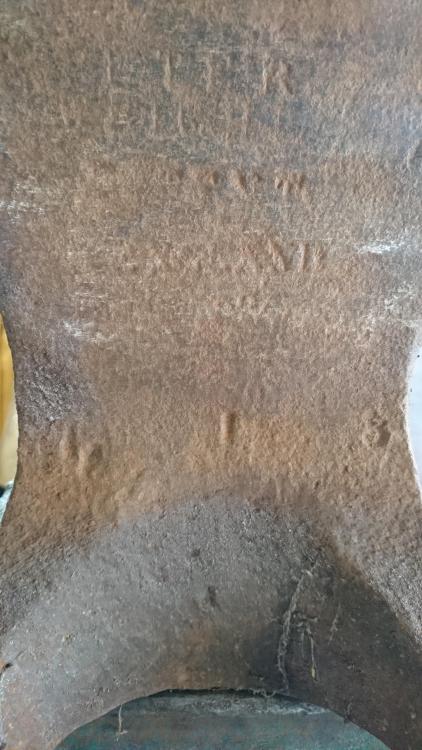
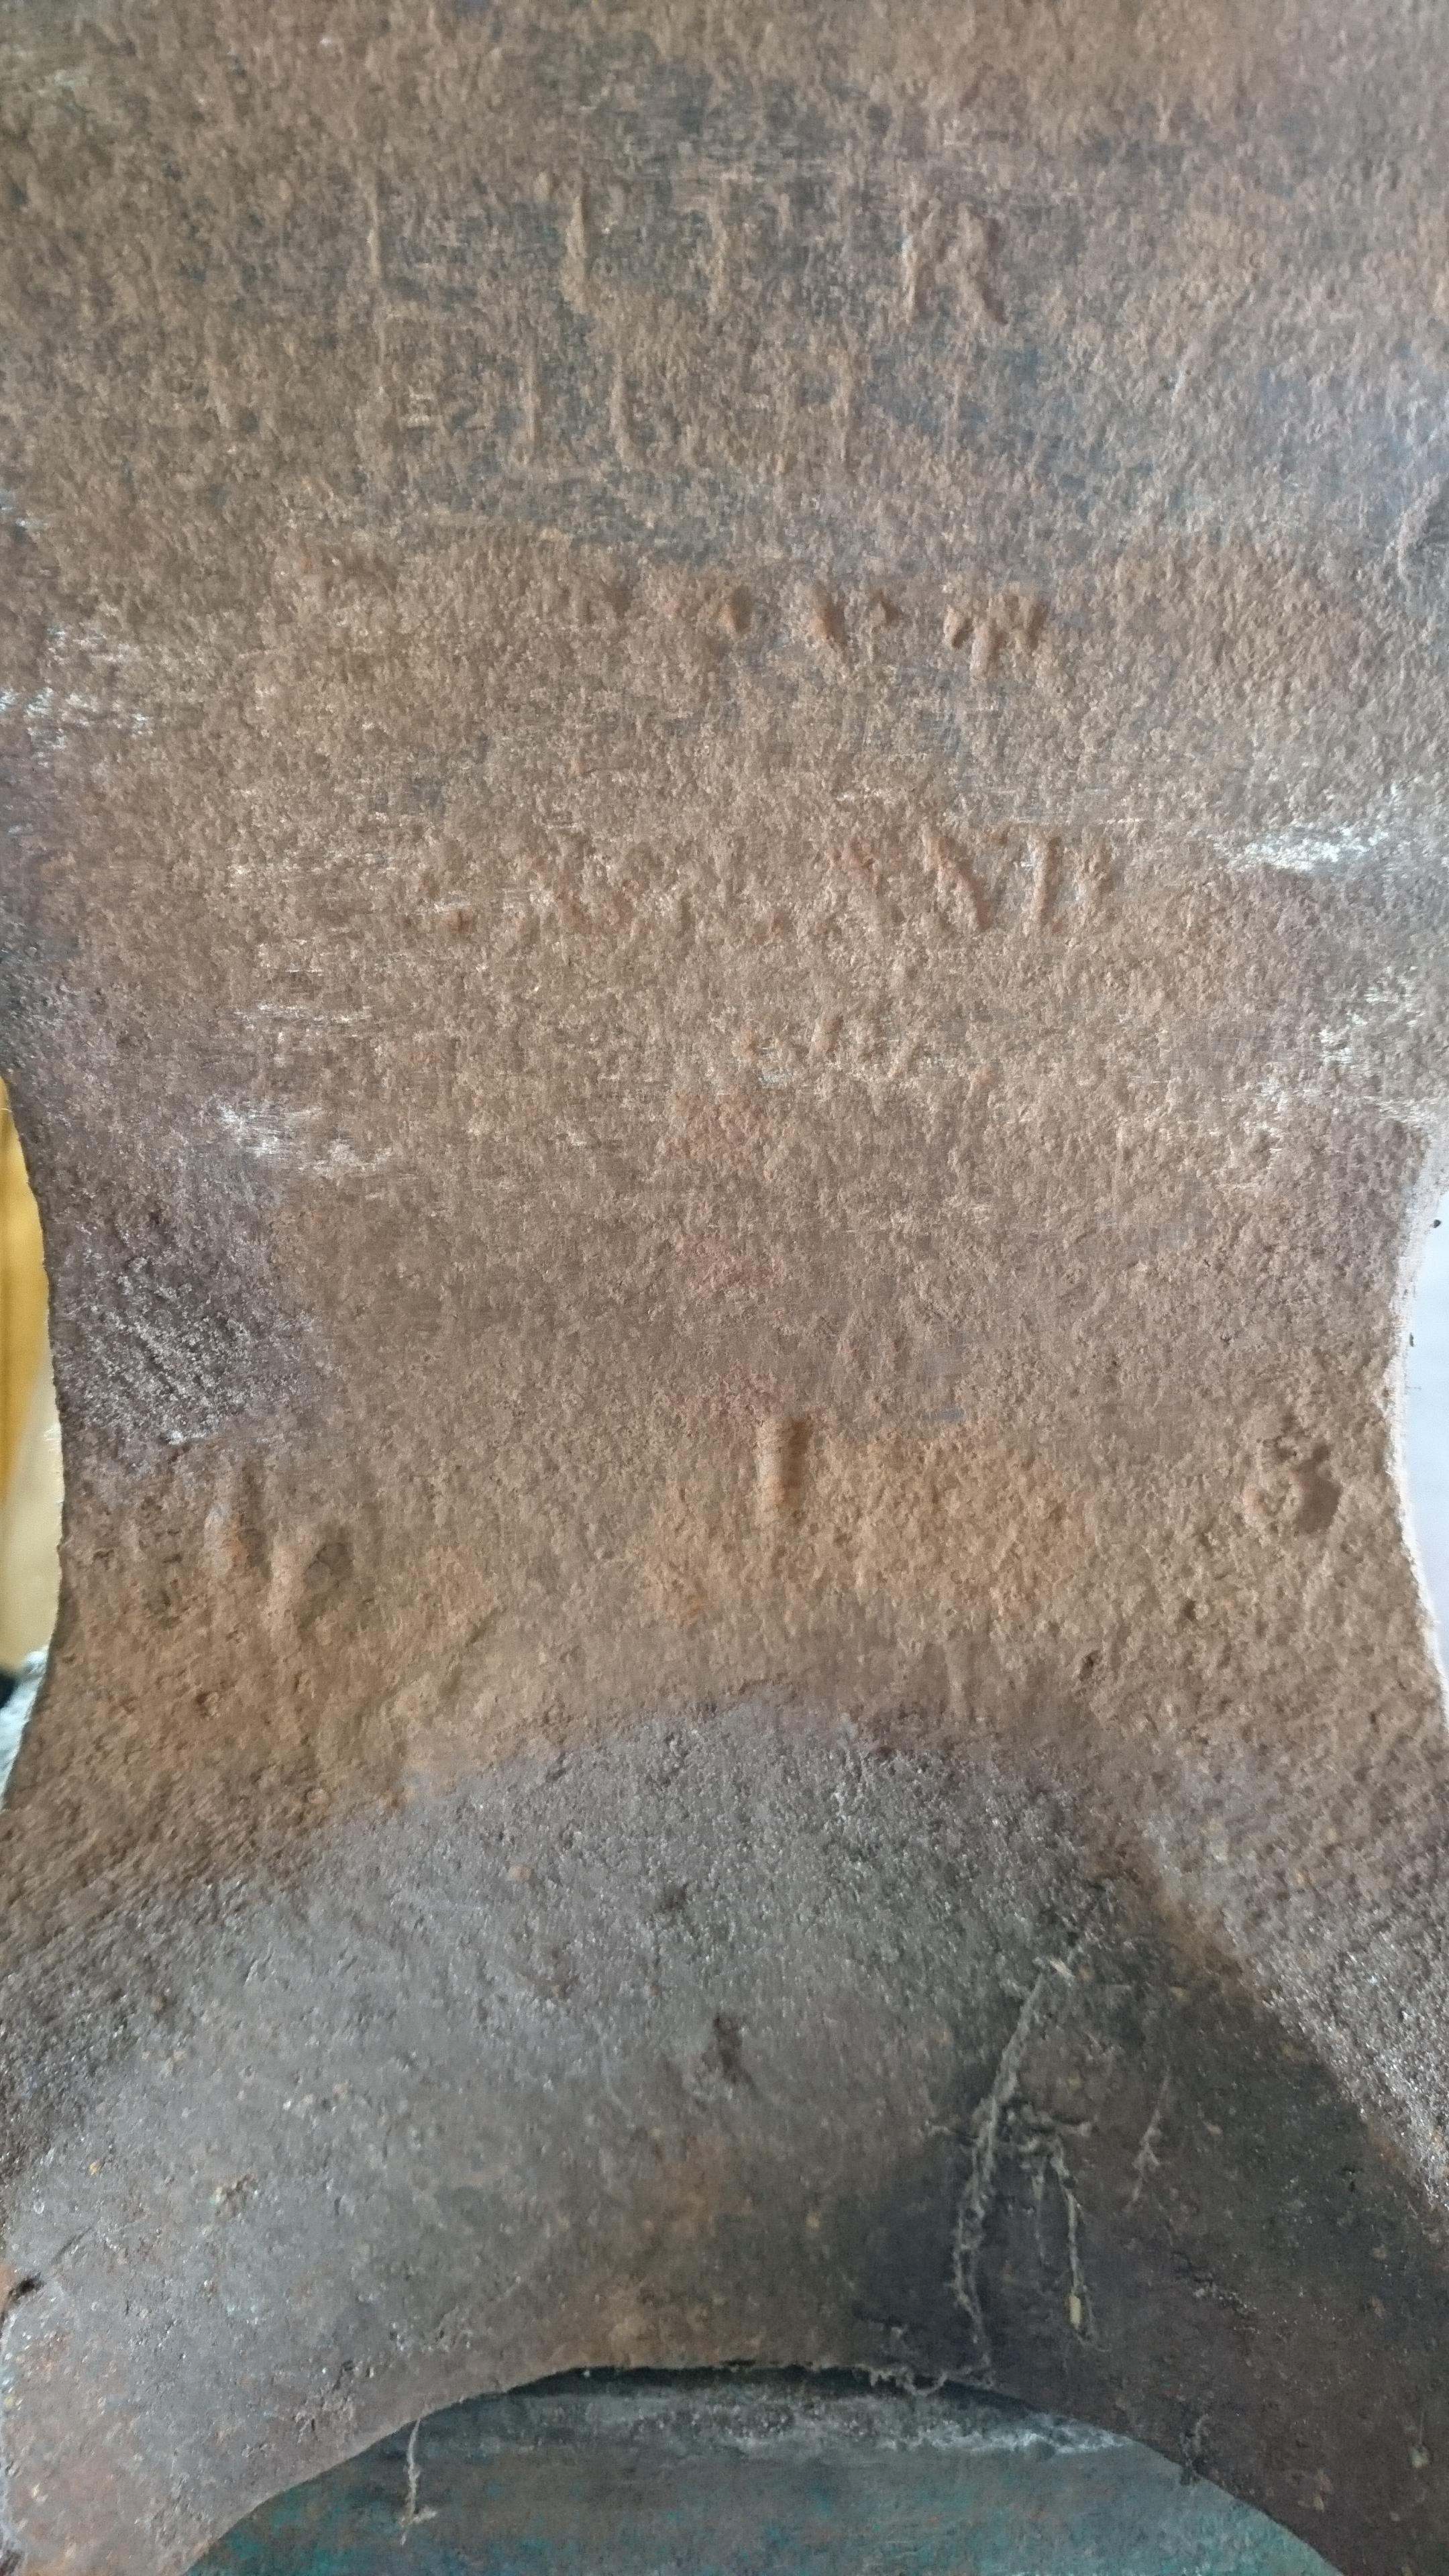
Just got this from a guy in work yesterday - it's in pretty decent condition. From a quick bit of research it's a reasonably young one - you can just about make out 'England' stamped into it so post 1910 if my research is correct?

-
5 hours ago, Glenn said:
What is the problem with a Swan gas forge?
I would guess it's because they are expensive (starting around $1000). They are aimed more at professional users really. Also as with all things, the company have to ensure that manufactured standards meet with local regs etc before selling to the public - all adds to the costs.
10 hours ago, drew247 said:is their a market for uk manufactured gas forges? both hobby type and larger workshop type?
i notice that most i can find are manufactured in the usa. I know swan manufacture good products but i can't find any other uk based companies.
Are you asking as a purchaser or a potential seller?
-
One thing I have noted when making jigs for scrolls and curves (only made a few to be fair) is that an aesthetically pleasing curve on the jig does not necessarily translate to an aesthetically pleasing finished product - I'm guessing due to the offset caused by material thickness. I've found the best method is to make a first off or a sketch of the part I want then sketch an offset for material thickness of the jig, and make to that. Its worked OK so far.
Also I understand that when forging time is limited it's nice to reach for off the shelf products, but that jig is not good. You have now invested repair time that could potentially have been used to make a more functional jig of your own (never mind the purchase cost for a substandard product).
-
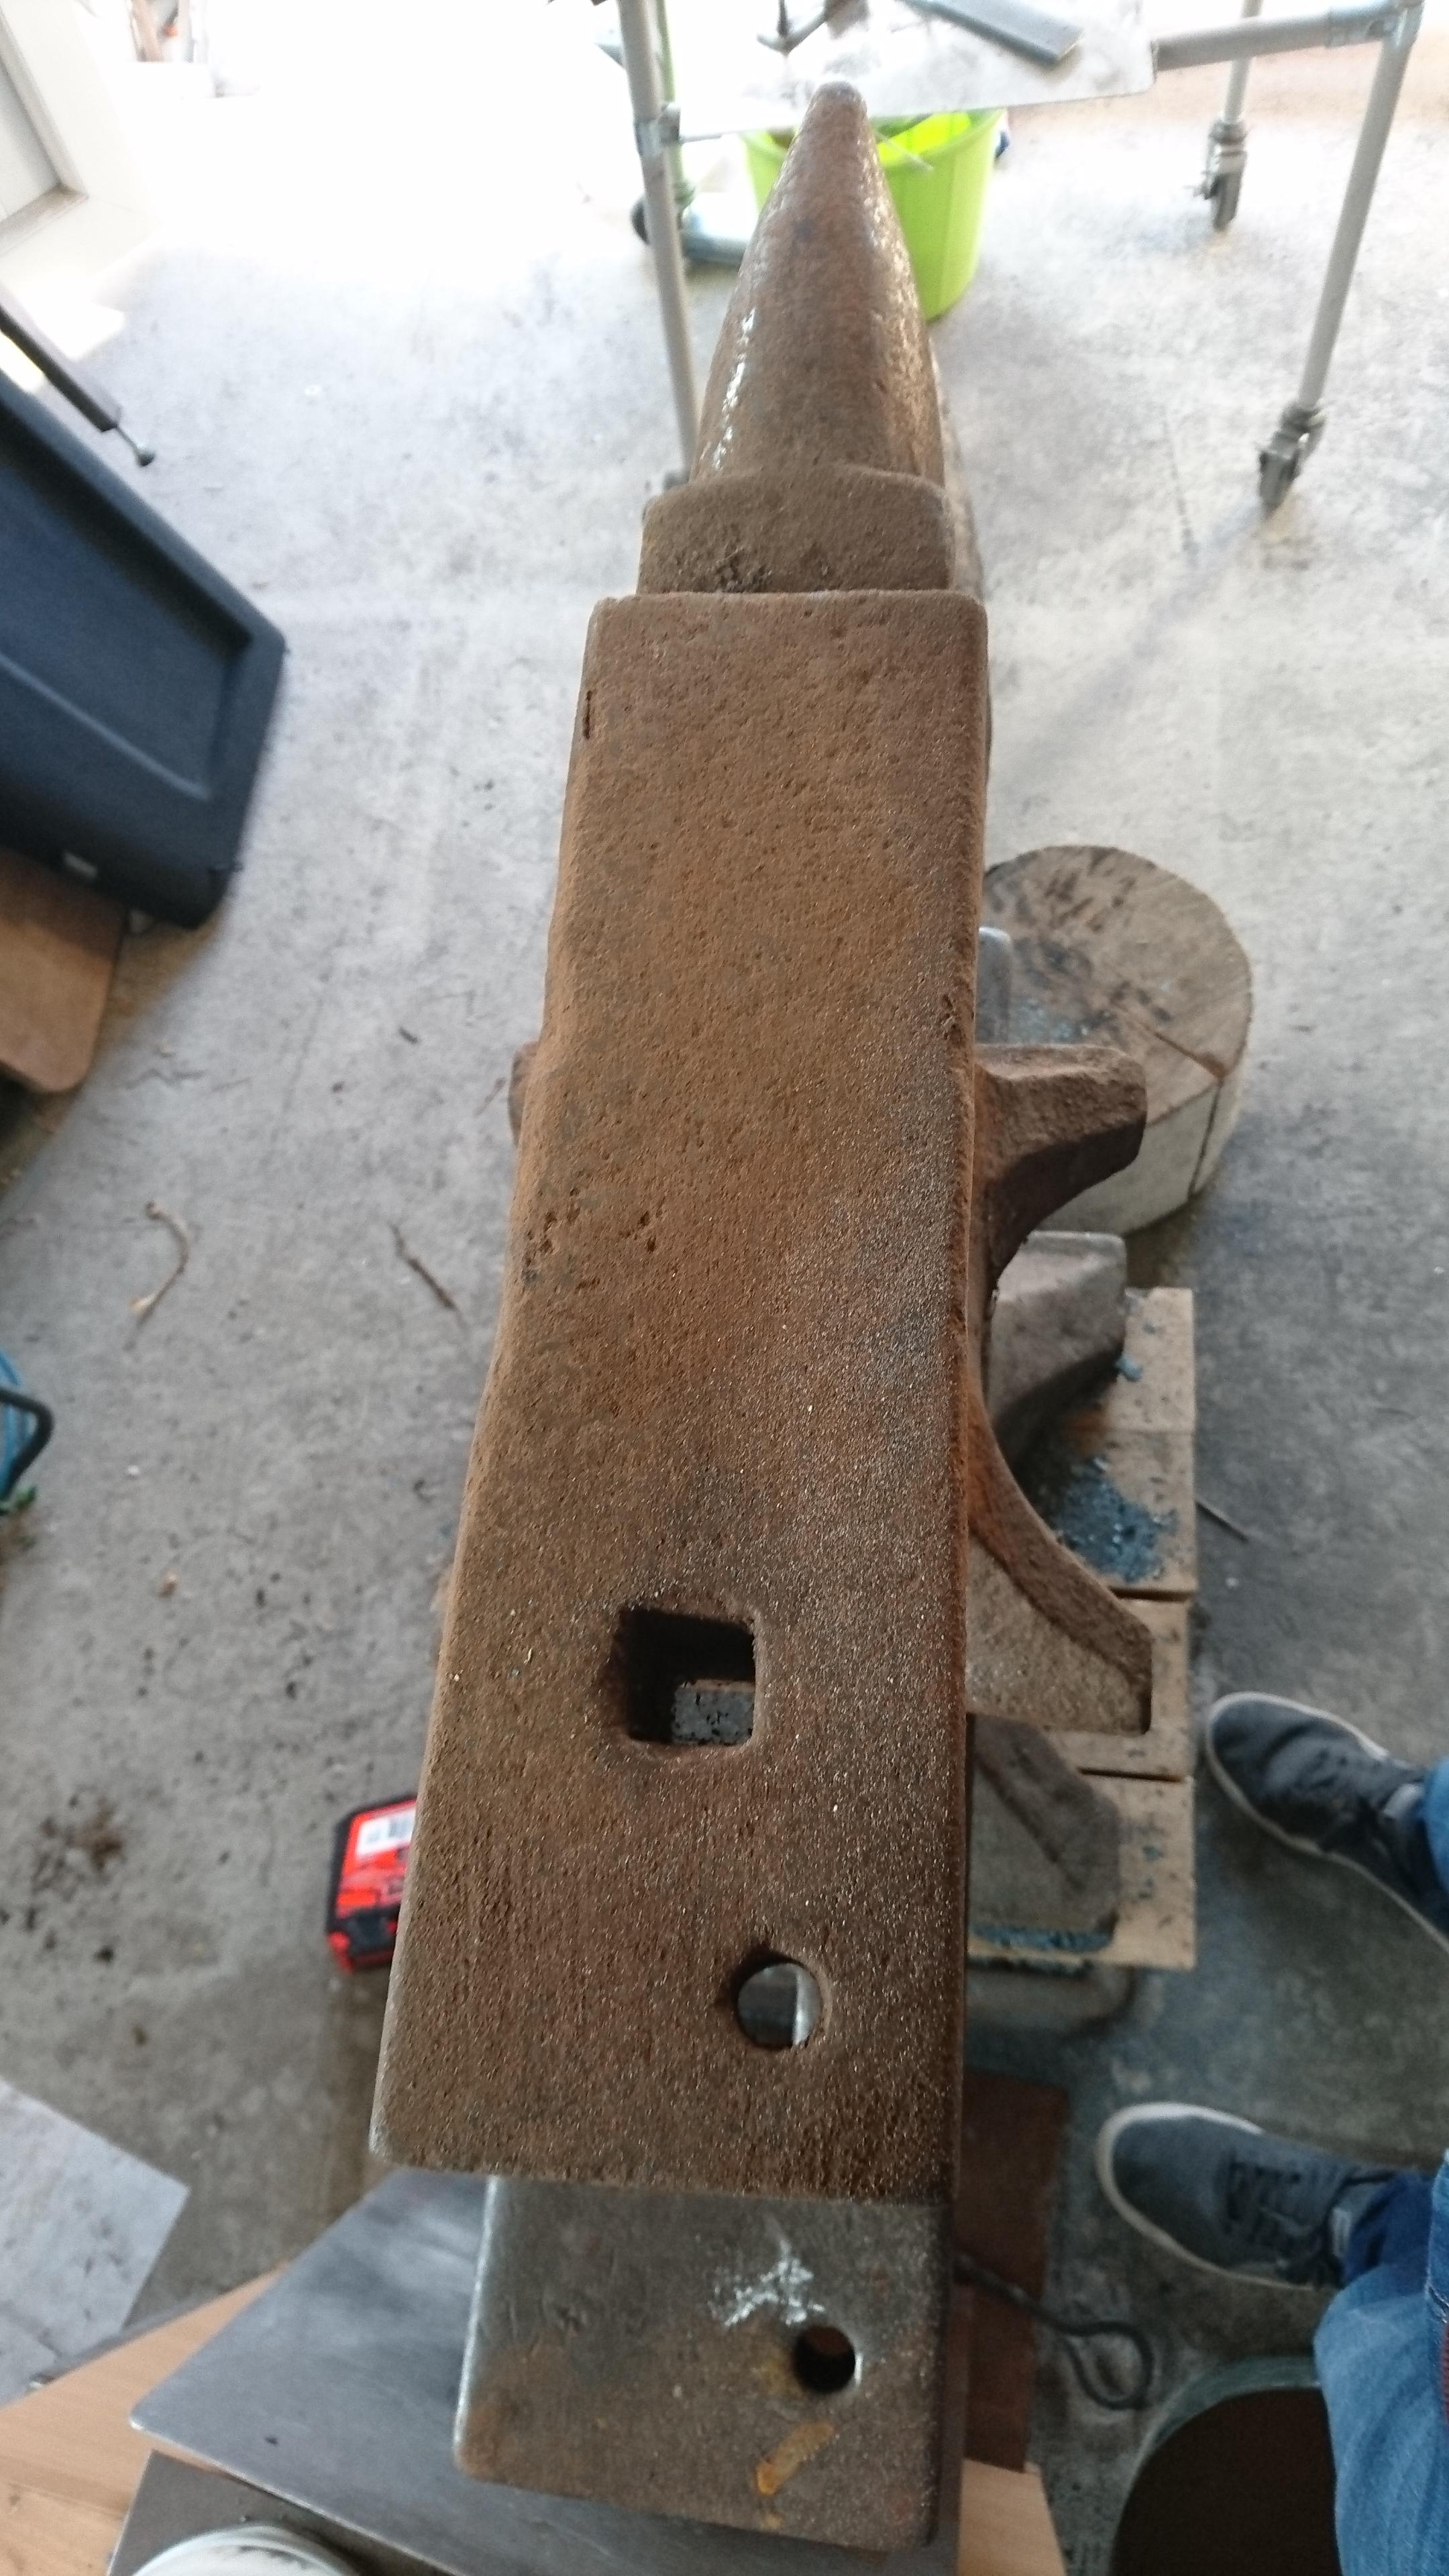
The dimensions are pretty close to my own (thought to be brooks but unmarked) and its 447lb (203Kg)
-
15 hours ago, redbate said:
It's hard to find but not impossible here
Are you searching for rigidiser already mixed up? If so do a search for fumed or colloidal silica and make your own - its cheaper too
-
13 hours ago, SLAG said:
But how did so much slag get into those rivets?
Harland & Wolff was no fly by night corporation.
http://www.materialstoday.com/metals-alloys/news/what-really-sank-the-titanic/
This article is quite informative - unfortunately pressure to complete the project meant they took a risk that did not pay off - SQA is king!
As an aside, 'Harland and Wolff was' is a little misleading - 'Harland and Wolff is' is more appropriate. Although they don't build ships anymore, they still do alot of drydock work and Offshore rig refurbs.
-
9 hours ago, WoodnMetalGuy said:
The free version of Sketchup is sufficient for a lot of design.
Yeah that's what I was aiming towards - I have recently started using Onshape too and can recommend it. The main negative with the free version is your files are all public but if its not something you plan on selling probably not a concern. Also its cloud based so you can use it on tablets and smartphones too (note I have no affiliation with Onshape - just excited with modern technology!
 )
)
-
For 2D work Draftsight is in my opinion the best free software available - the toolbars are almost identical to classic AutoCAD.
For 3D work Sketchup is pretty decent - not on the same level as the big names but it doesn't cost £7k a year either!
Just like in Blacksmithing the best way to learn is by doing - decide on a project and look up some tutorials for the techniques you think you need to use - Youtube is full of useful videos.
One thing I would say is you could spend years drawing and redrawing scrolls to fit into different frames, so unless you get smart with the initial sketch creation, it may be worth only drawing up the frames and sizing scrolls the old fashioned way.
-
7 hours ago, Gergely said:
Not sure I understand what you mean. Who said that you quoted? Or is it something I should declare toward the clients? - I won't do the installation, that's for sure. And no I'm not an engineer or carpenter. The clients know that I'm neither of those.
Please don't get me wrong, I'm grateful for any point of views that is brought into my sight. I just want to understand better what you meant.
Bests:
Gergely
I'm guessing he's suggesting you stipulate that the Structural calculations and installation are carried out by others who are suitably qualified. You are providing the chandelier ex works only and take no responsibility for any site issues.
-
If you can mount it as it currently stands in the photo it will give you the best rebound - don't get sidetracked by the idea that you need a hardy hole - tools can be held in a vice or a piece of heavy wall box section welded on the end of your 'anvil'. The only thing I would say is 39" is pretty tall so knocking a few inches off to suit your own height might be needed in the future, just try it as is first. What do you intend to make? Some knifemakers have their anvils set pretty high to stop them stooping so much. I have my anvil set at 33" from the floor which is wrist height for 6' me - I don't make knives though.
-
8 hours ago, Gergely said:
Does this drawing show the concept you were talking about?
Yes that's pretty much it, because the joining members are in tension you can also go for a lighter section than before - even hollow section. Don't worry about the sketch, the intent is clear - if everyone had to resort to CAD to get a concept across we would be in trouble!
-
You are going to need a large safety factor built into this since it is attached to the ceiling - what is the construction of the roof and can it safely handle this sort of load?
Rather than rings connecting at angles might it be better to have a central structure on the main ring that the smaller rings are attached to vertically? It will add a little weight but would change joint loading from torsion to tension, and would still be hidden by the decorations - it also appears to be the typical design employed on tiered chandeliers. I would definitely recommend talking to someone with structural design experience if that is not your background, just for the reassurance that the design is safe.
-
8 hours ago, Andy98 said:
Different thicknesses.
Ive been told, but I'm not sure its true, that the white tape is not any guaranteed thickness and is used in unregulated applications.
in any case, you don't want the tape to apply the tape to any joint that will get hot. So use it for the gas supply feed, but not the burner itself.
It depends where in the world you are. Gas rated tape in the UK is also white but comes on a yellow spool. The gas tape is not only thicker that the water tape but has a higher density too.

Downside to Offset V-bit Tongs?
in Tools, general discussion
Posted
I agree that the practice is good, and no they are by no means an 'advanced' project - they are pretty important to get right though. If they are poorly fitting they can be downright dangerous, and a beginner is unlikely to get perfect fitting tongs on their first few attempts.