AdamG
-
Posts
106 -
Joined
-
Last visited
Content Type
Profiles
Forums
Articles
Gallery
Downloads
Events
Everything posted by AdamG
-
I was on a road trip with my father this weekend and had this kind of discussion. He said that my great grandad used to be a furniture craftsman before joining the railroad but that when he died nobody wanted all his tools and they got thrown out! Can you imagine? There oughta be a law! Or a retirement home for tools or something until the next set of hands comes along. Man.
-
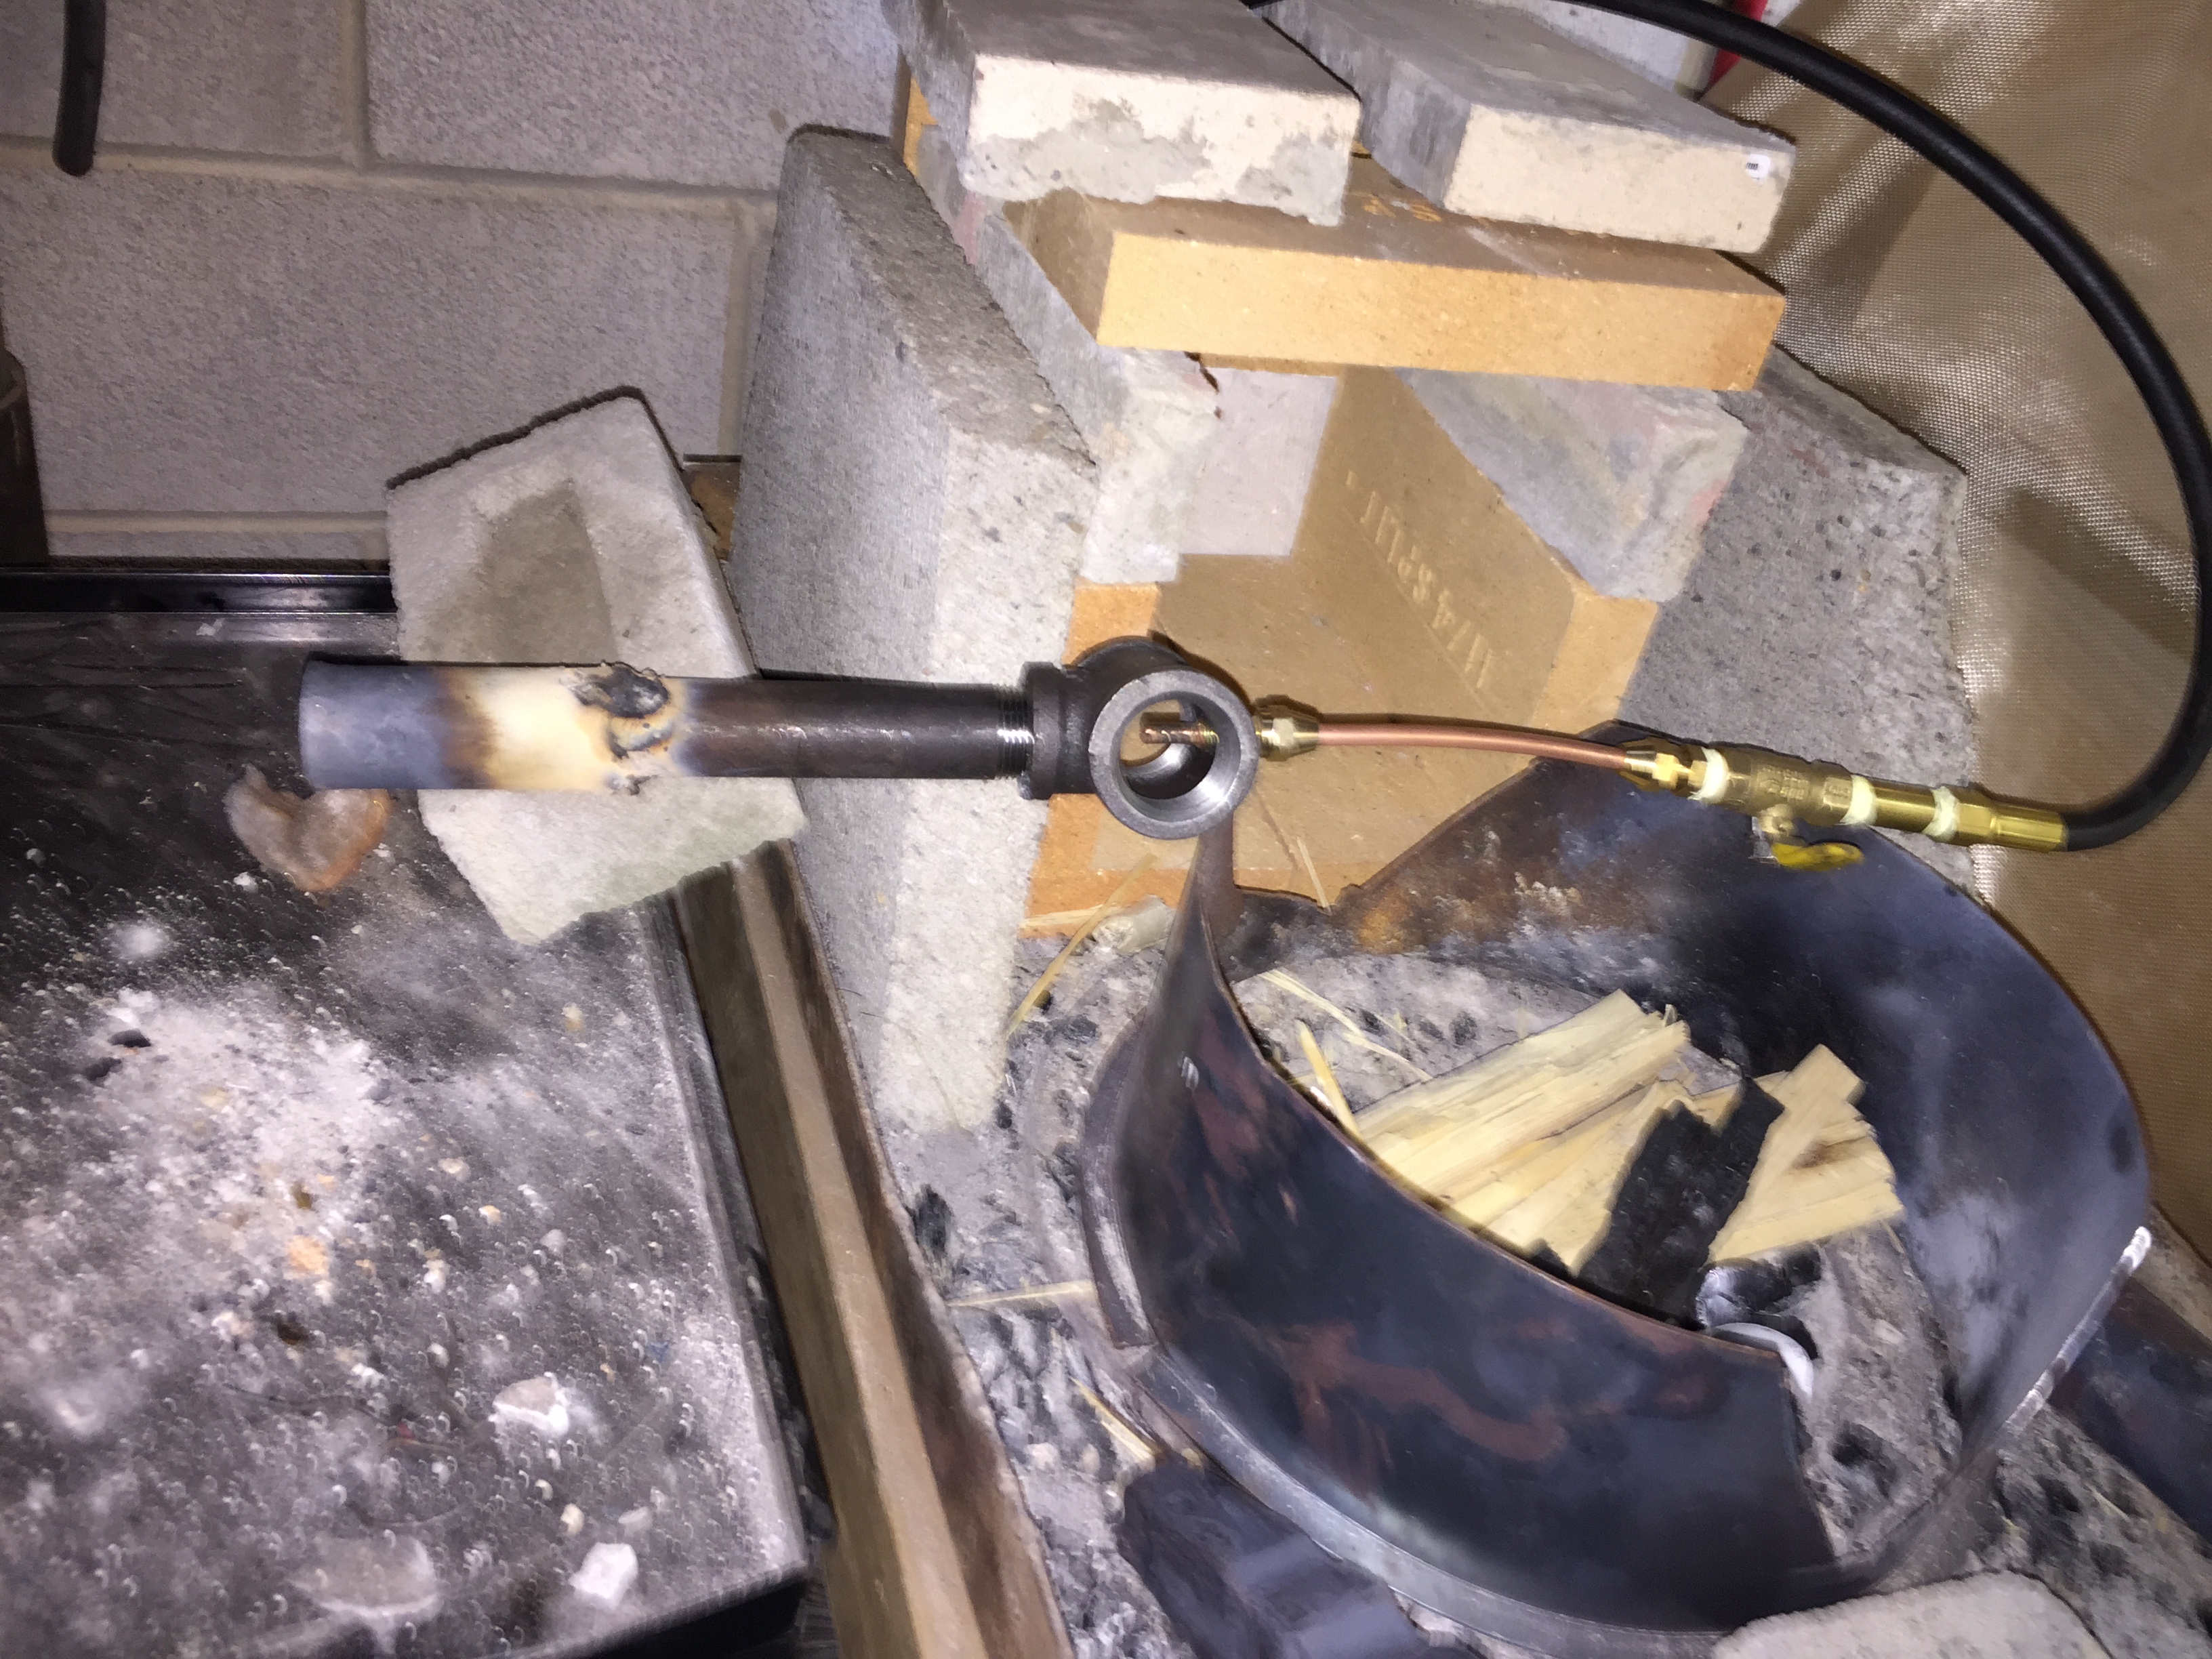
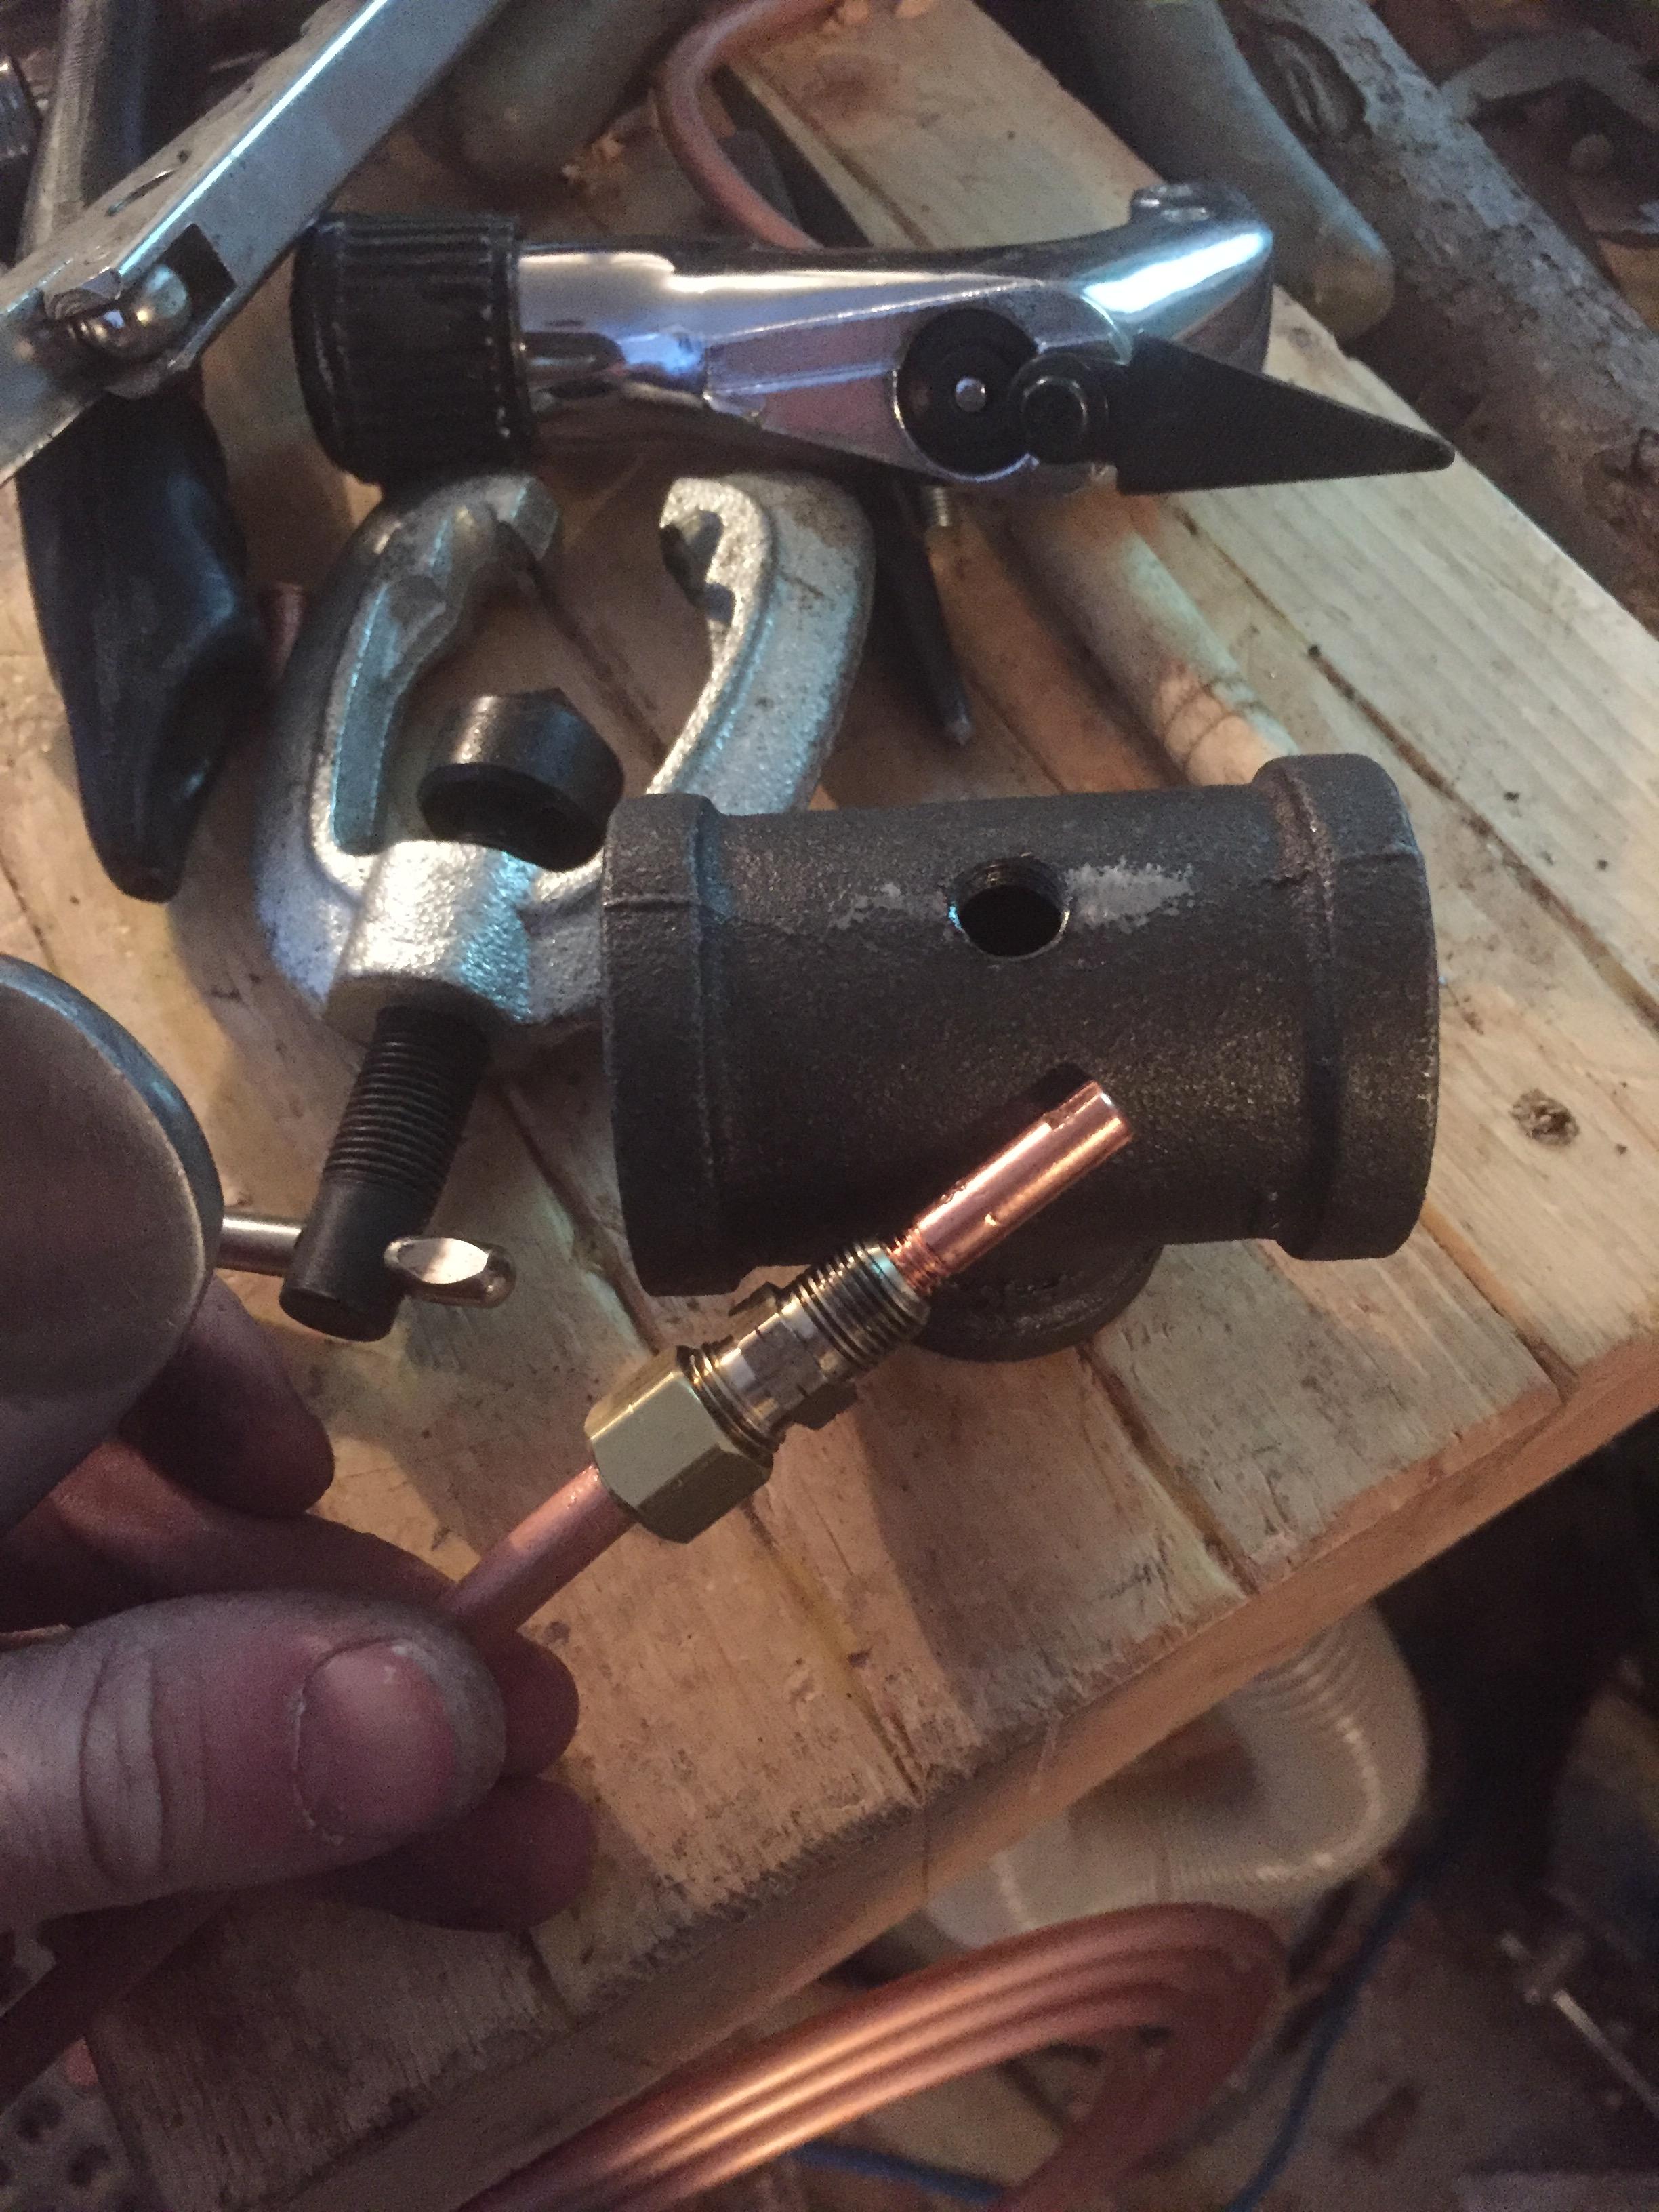
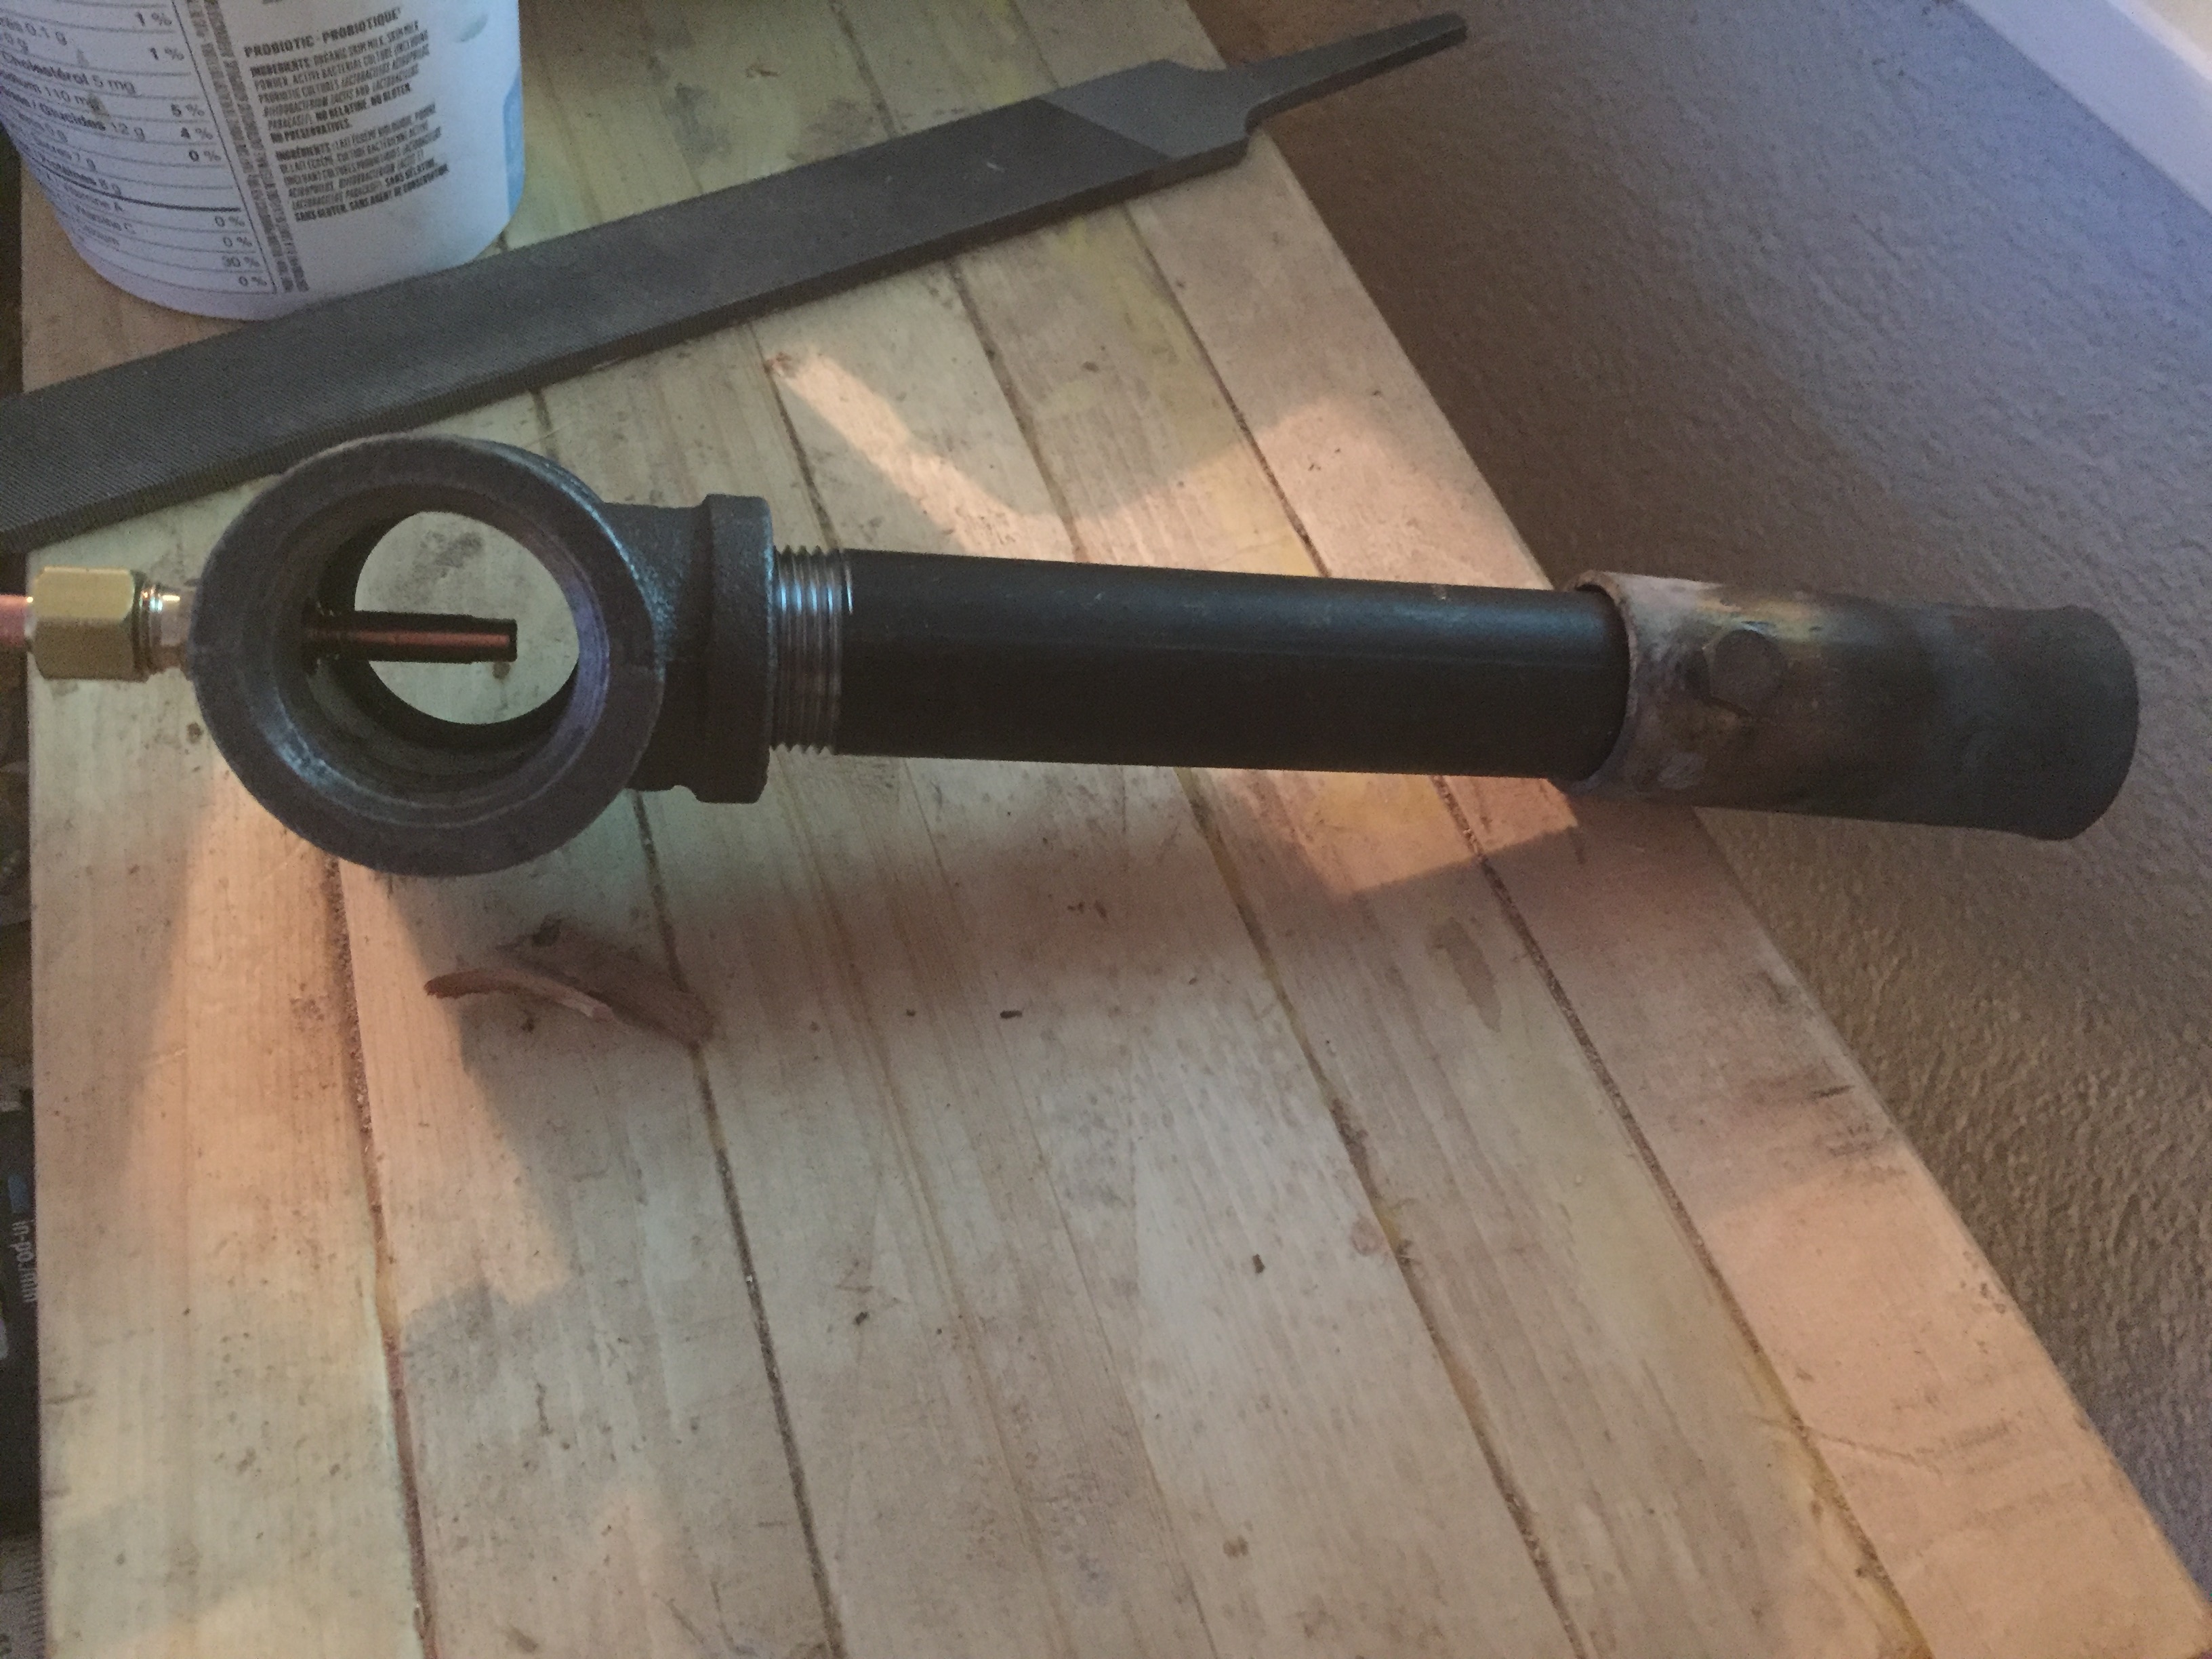
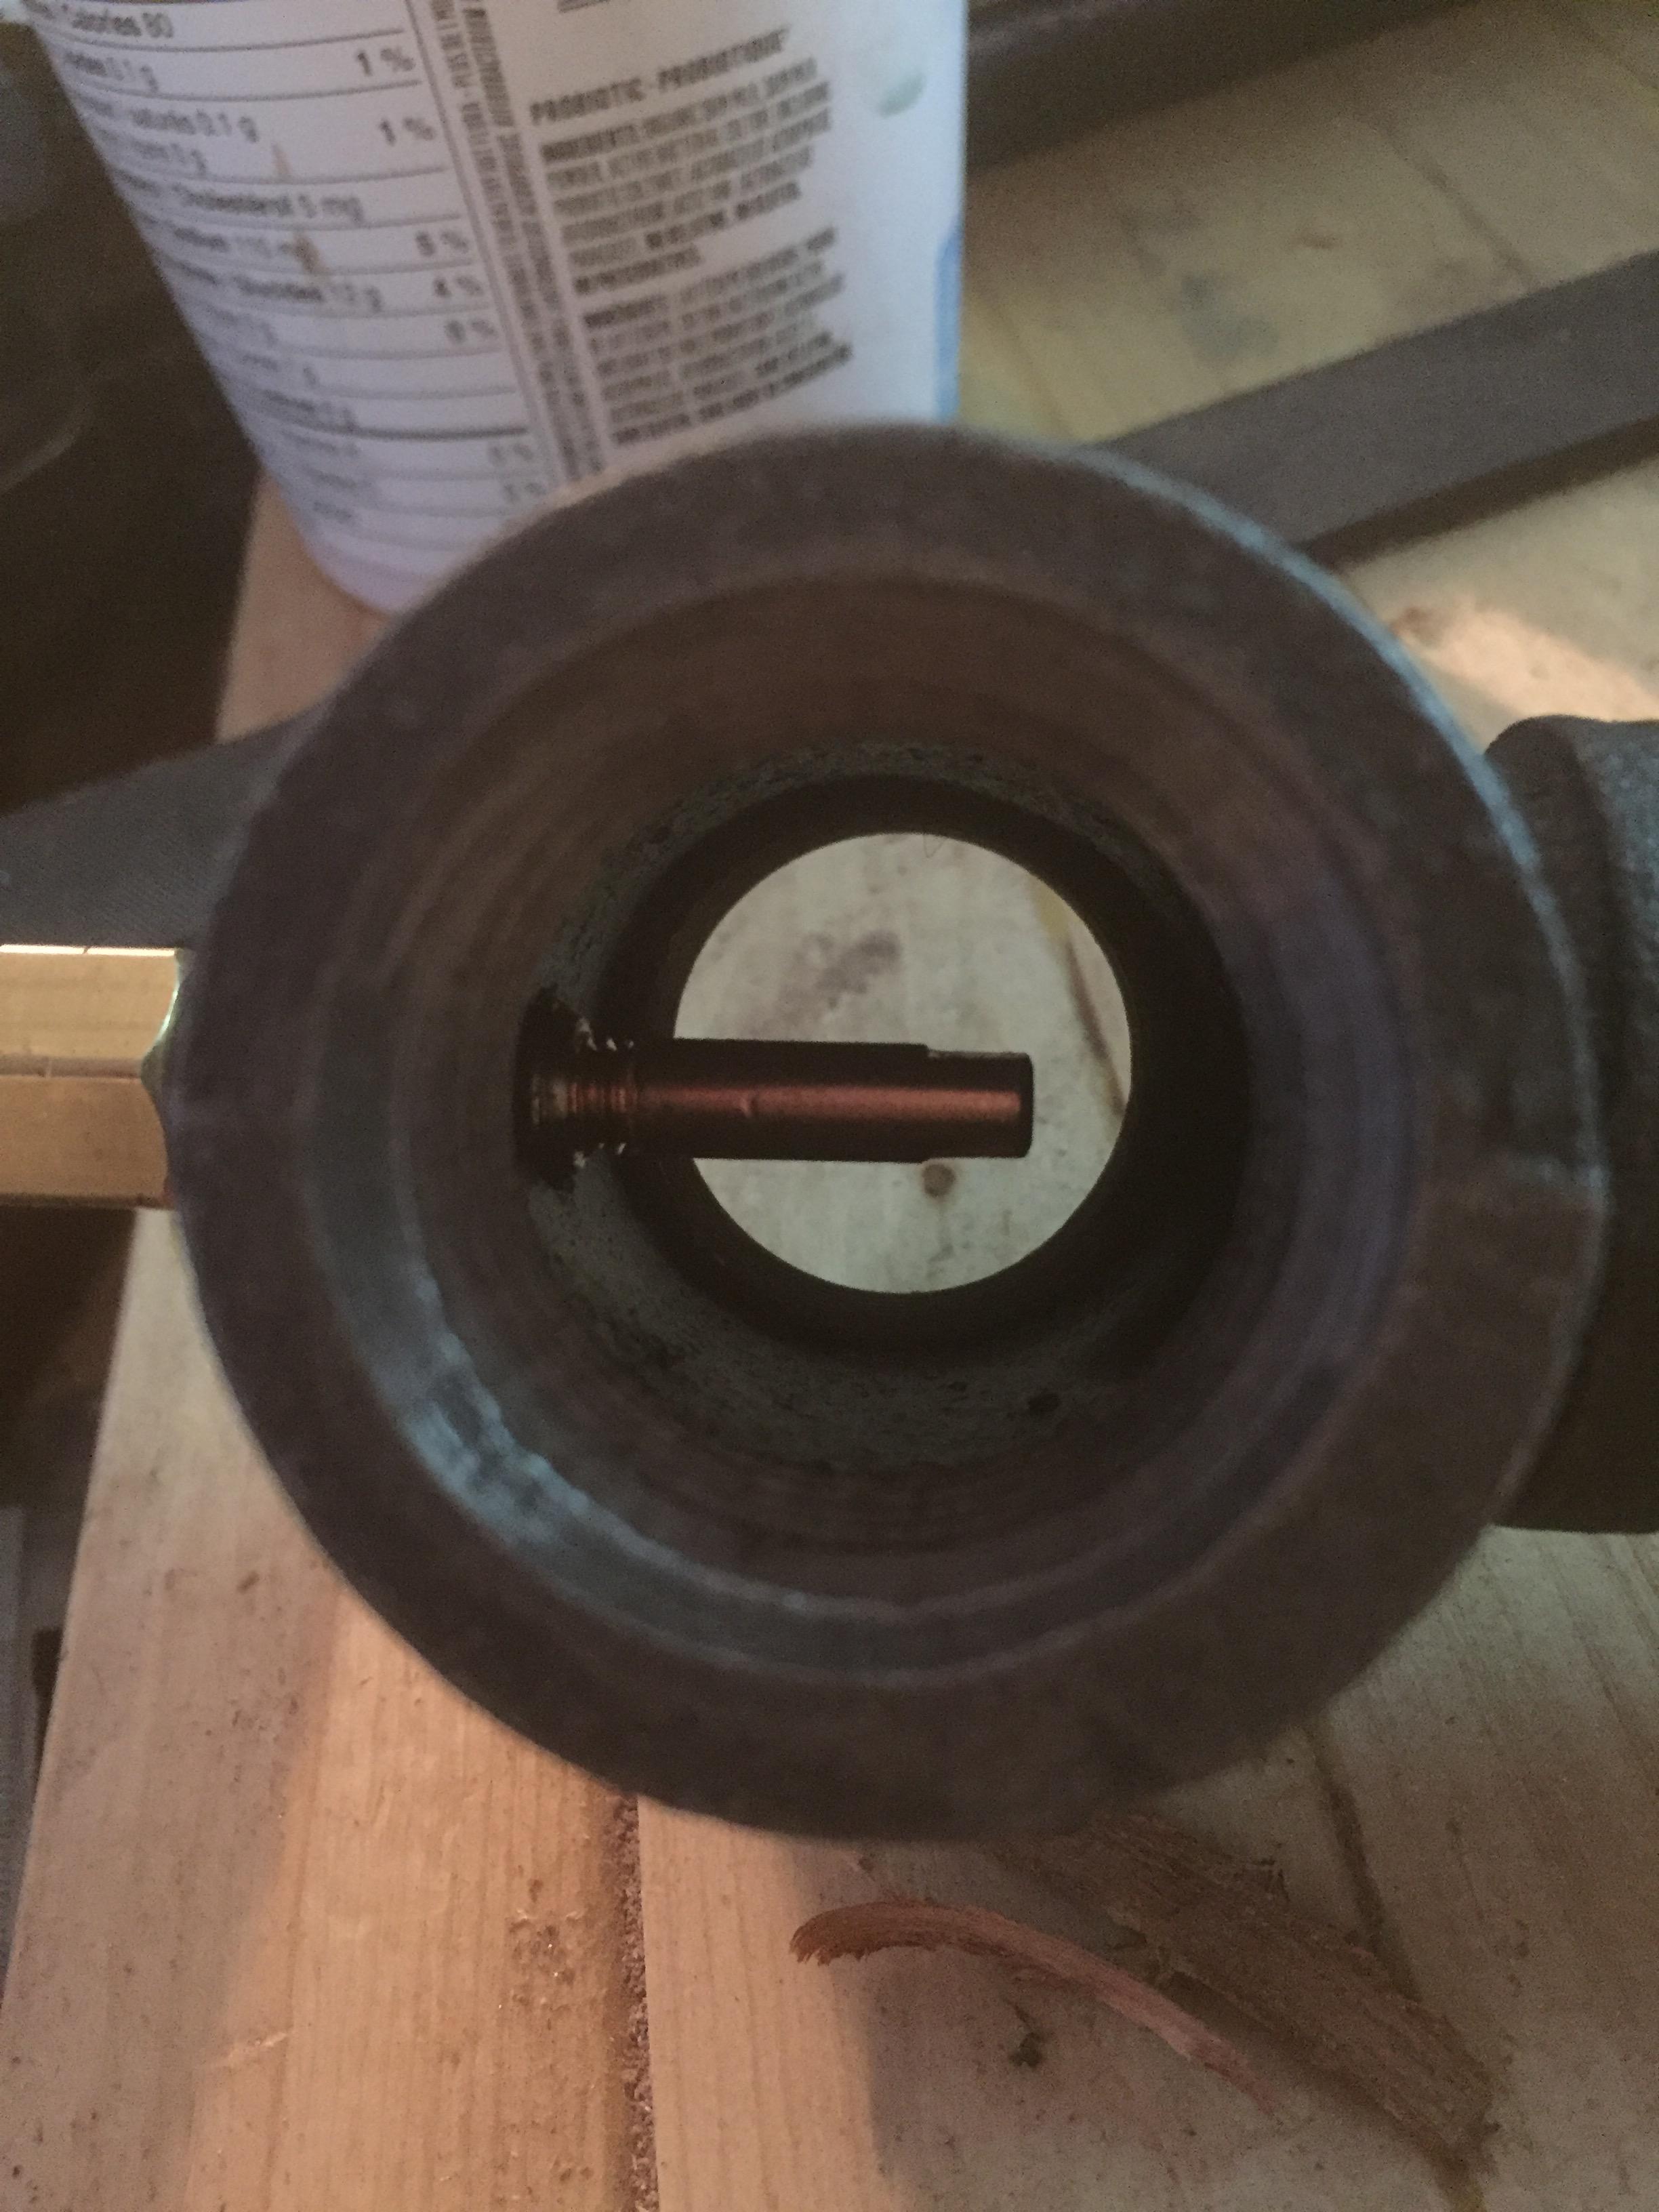
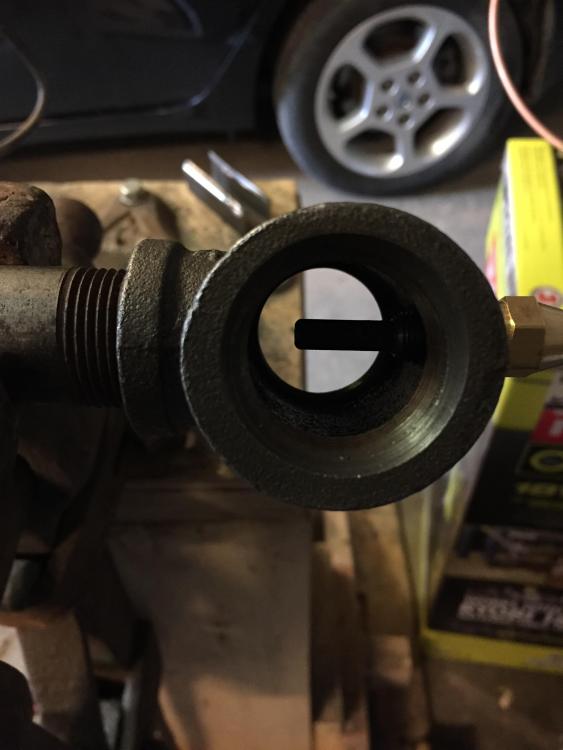
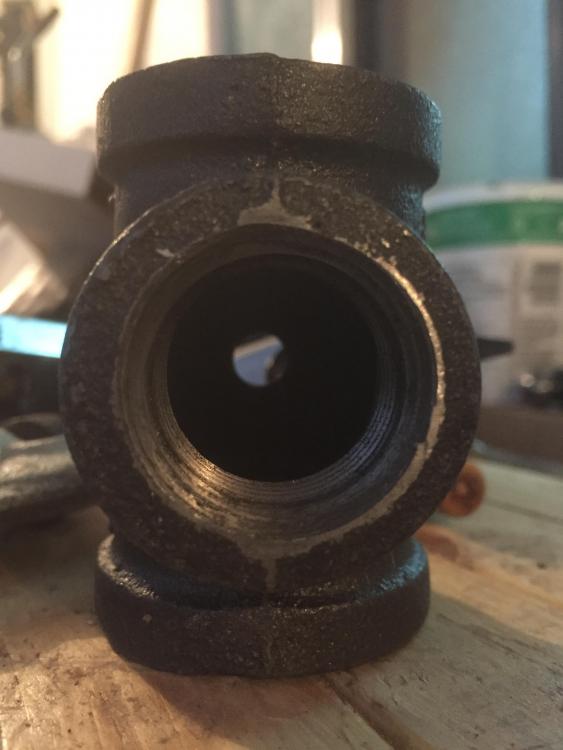
Yes, that's a 3/4" burner. The fittings are 1/4" flare to 1/4" and 1/8" MIP respectively. The flare at the burning end is thin walled stainless that I tack welded on. During my travels, I found a number of different brands of fittings, and some were bigger than others (usually the space between threaded portions varied in length). The only place that had the 1/4" flare to 1/8" MIP (the hard one to find) had loose stock in a parts drawer that looked like it was left over from WWII. It was easier to find compression than flare. I like the design of this burner, and I'm thinking I should double check my forge volume to see if it's just a bit larger than I had thought, in which case I'll make a second burner. The other thing is that my regulator is a smaller kind with only a twist knob adjuster, and no gauge. It's possible this regulator doesn't go up to 30 psi, but I don't know for sure. I have another little air needle valve with gauge (the little ones you can use to decrease air pressure for individual tools), but I don't want to use it on propane. Maybe I'll post a picture in case it stands out for any of you.
-
Wow, that is pretty. So you follow that one with a drift of the desired final shape?
-
Was he an industrial riveter? That's a huge ball peen!
-
Good points, thanks, Frosty. I did flatten the sides so it indexes to my fingertips , but the dogleg handle might have to go.
-
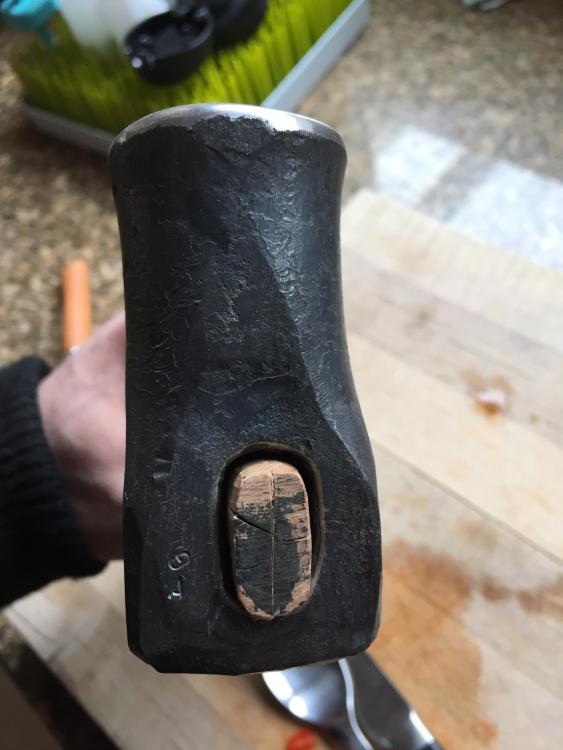
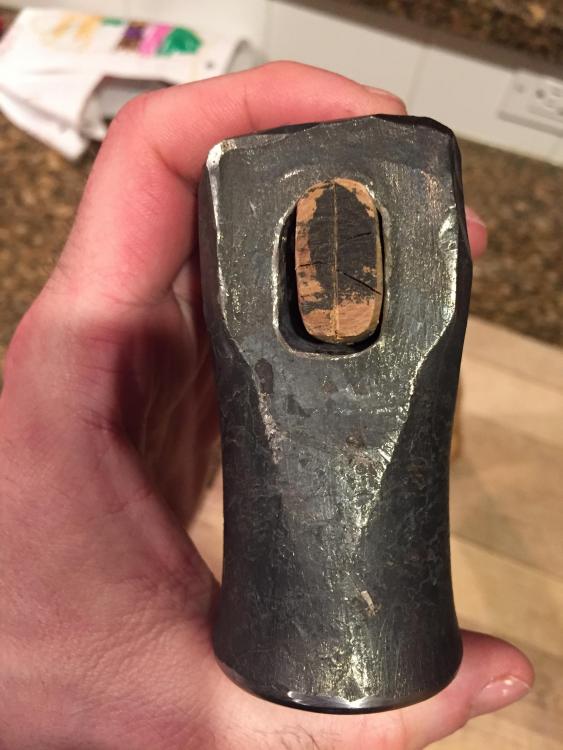
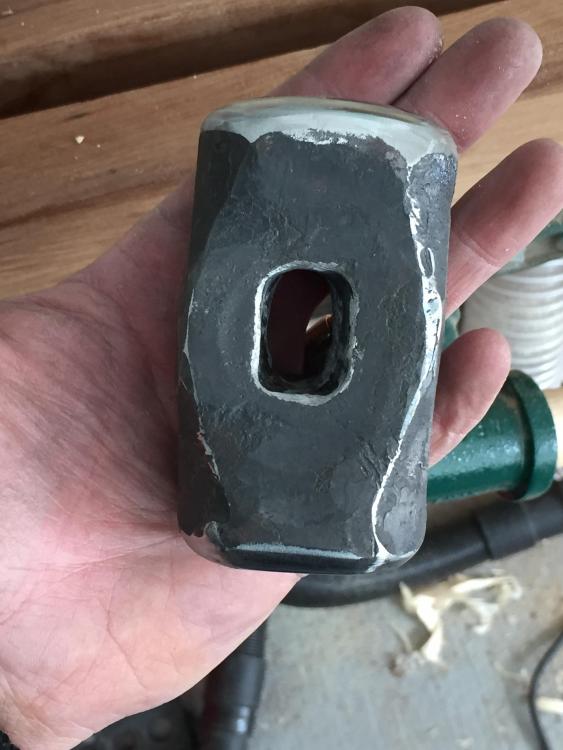
Here's a bit of a diversion making bolt tongs (poorly) and some pics of the dog head hammer in use: I used Gorilla Glue on the wedge, but I don't think I would recommend it. After trimming back the foam so it didn't look ridiculous there was little left to hold in the wedge. I thought it would expand into the voids and be more flexible than epoxy. The eye was not perfect. Good of fun anyway, and even the mild steel didn't get banged up working on mild steel tongs.


-
Foot pedal designs for air hammer?
AdamG replied to AdamG's topic in Power Hammers, Treadle Hammers, Olivers
I'd be interested to see a design with a leaf spring too. Clearly the direct use of threaded rod for a ram support is not a long-term solution (mine pulled out of some of the threads today - about 3/16" or so). I threaded it all the way into the clevis and it worked again, but the whole plan seems sketchy. -
I seem to have gotten carried away with the fullers.
-
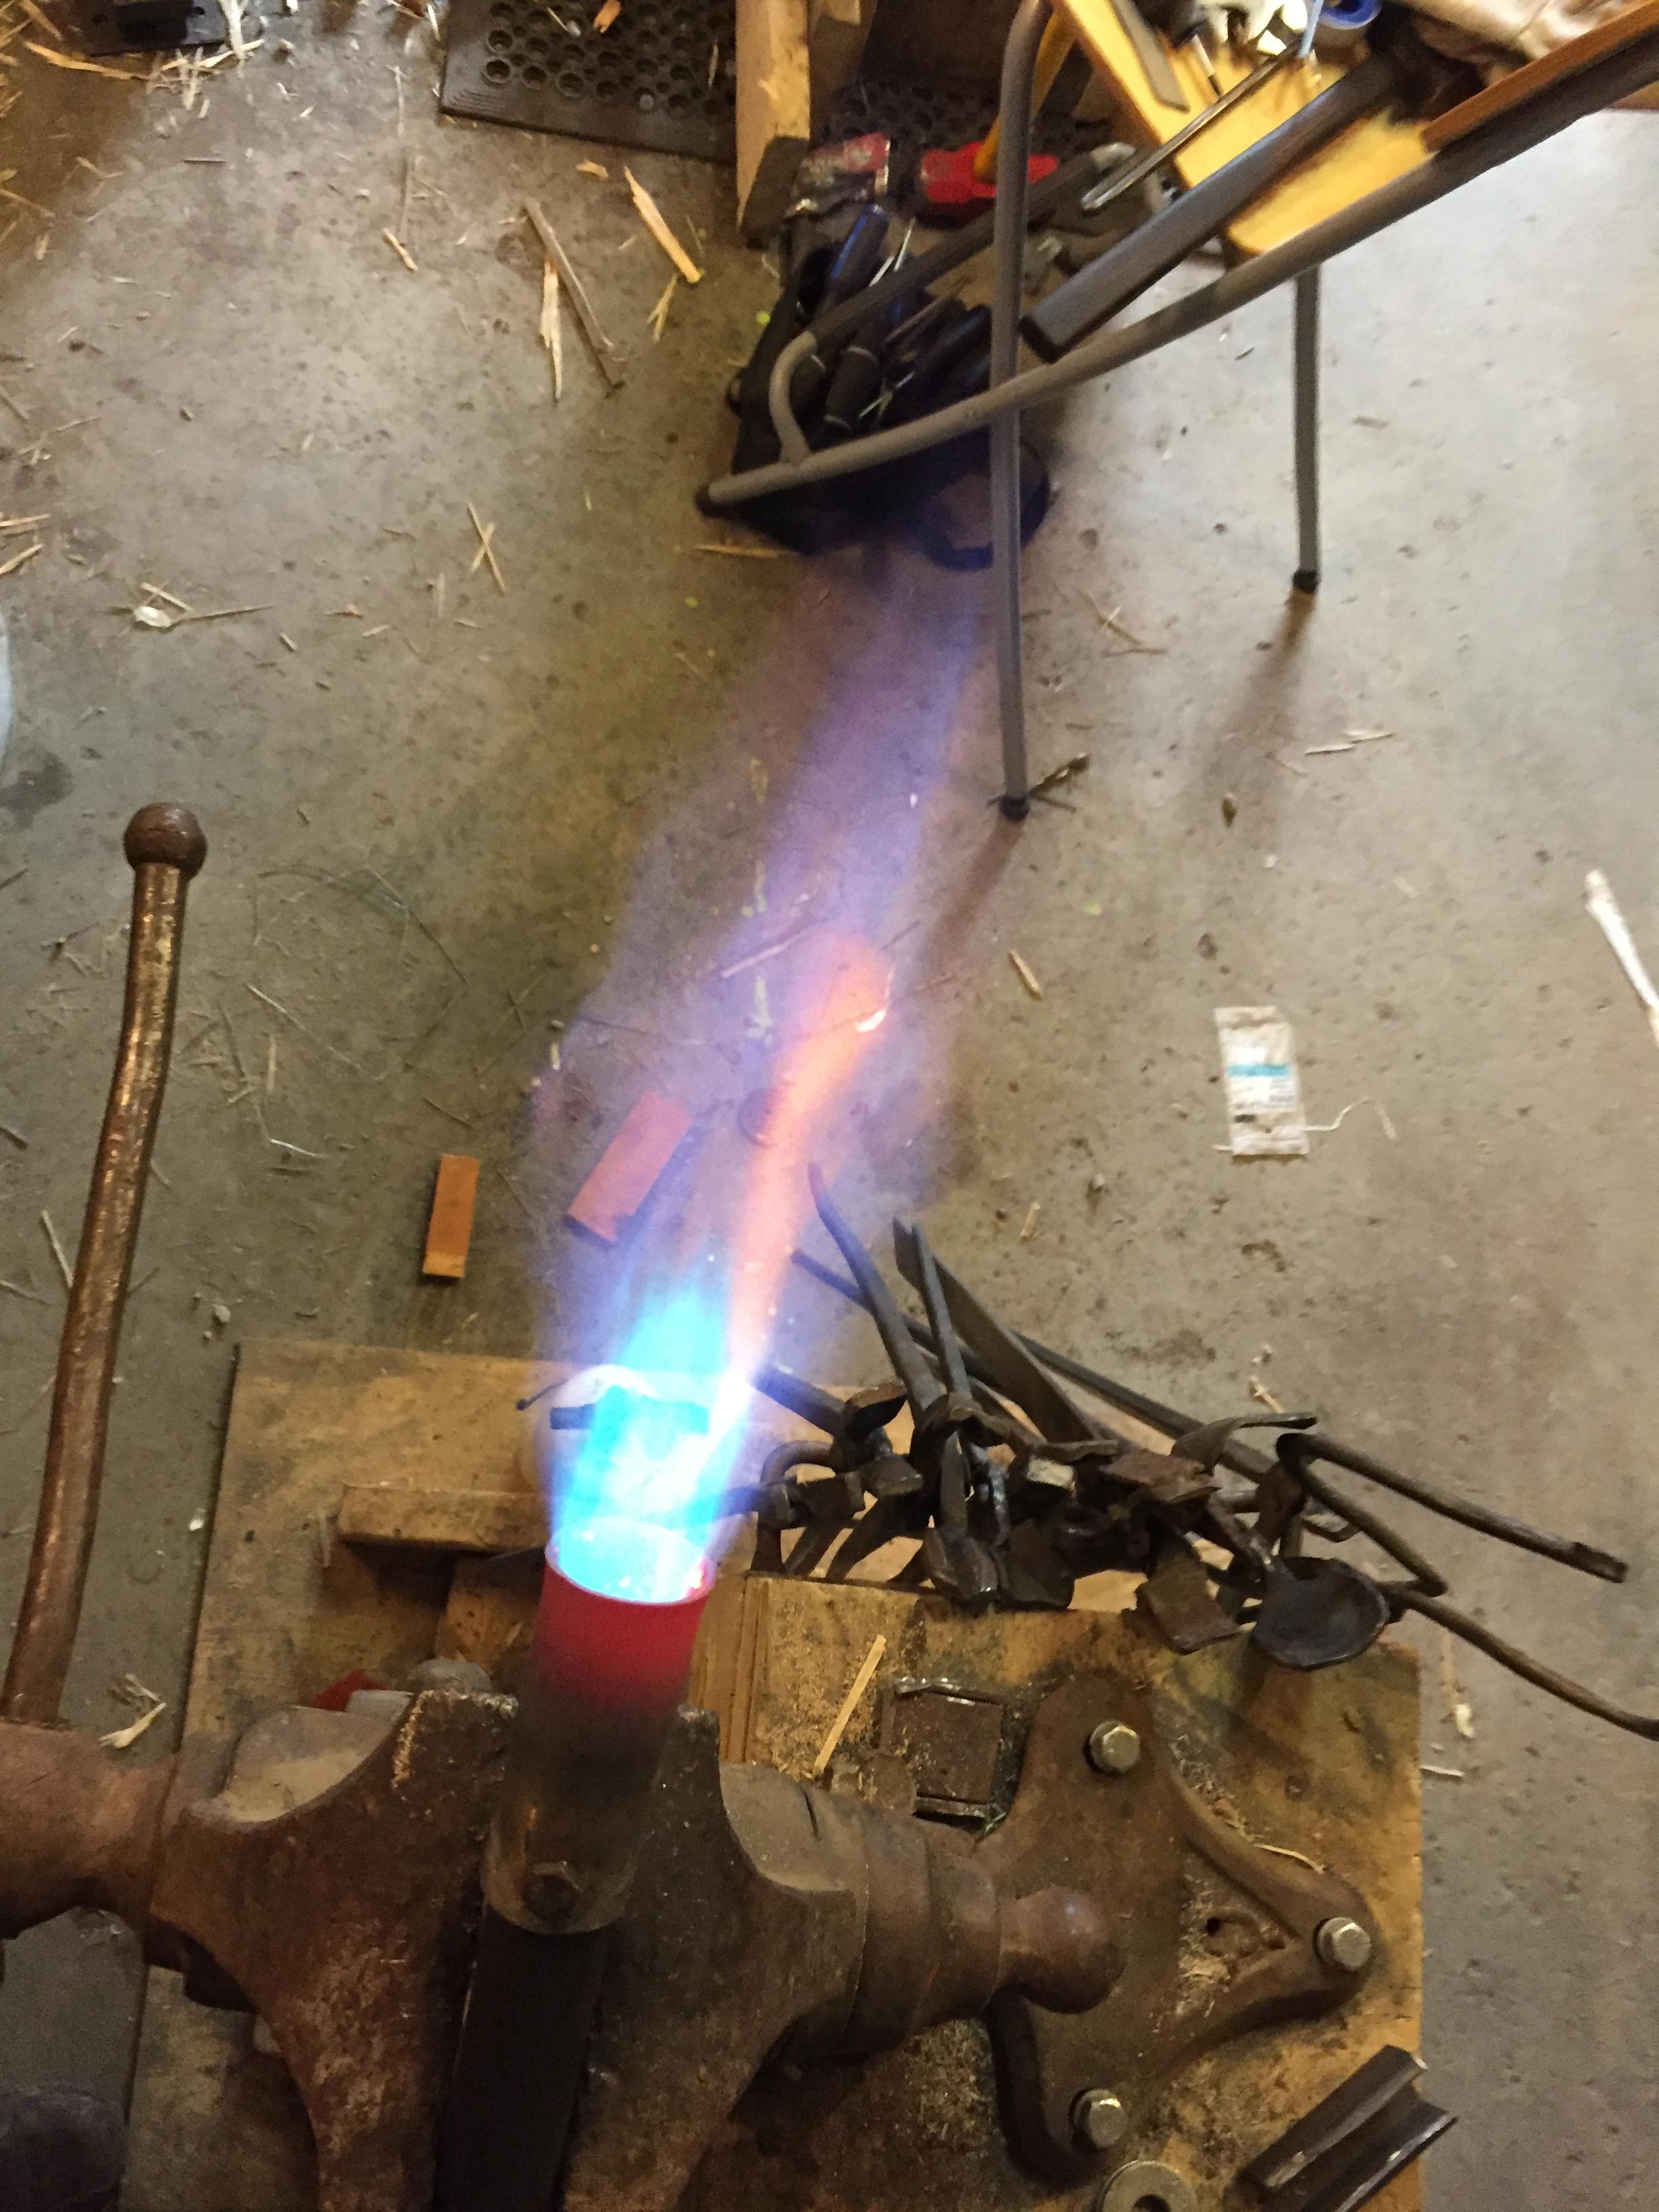
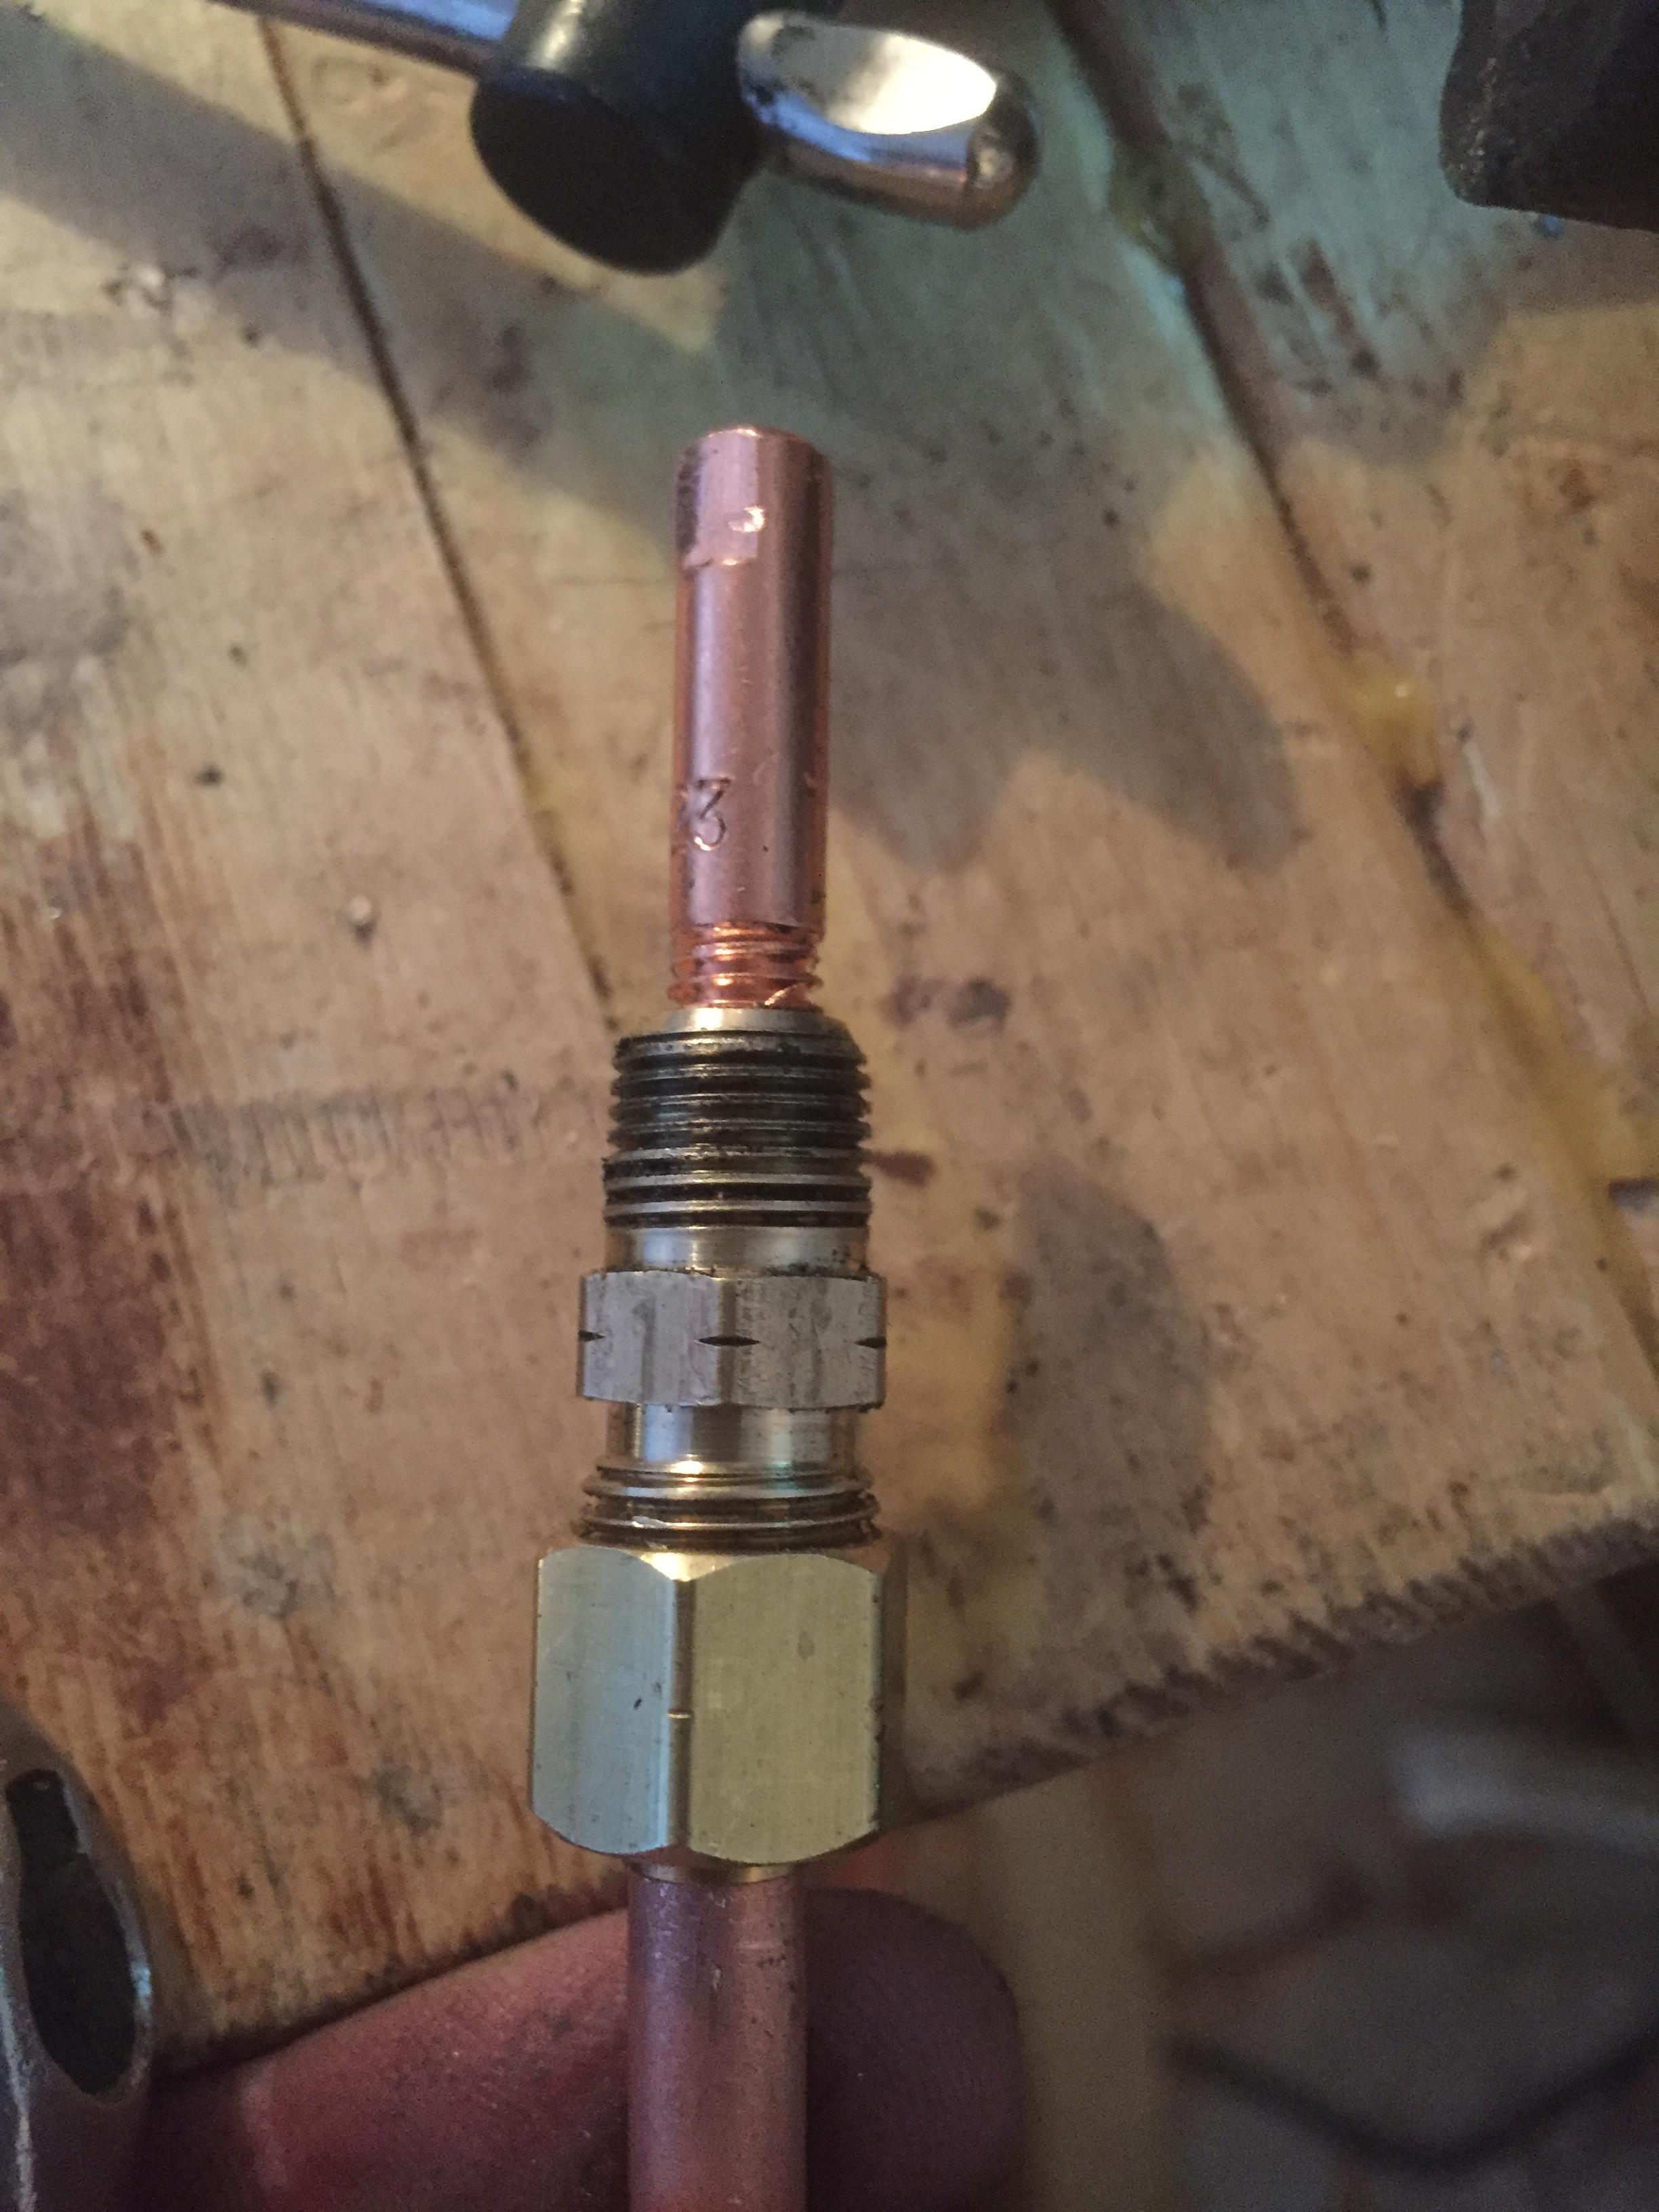
Turns out I had metric mig tips! i bought a decent tap... will have to make a few of these now to make up for the cost in tools, but I believe it got hotter. Based on what I saw, maybe not not enough to weld yet, but all in due time.


-
Pneumatic controls are crazy!
AdamG replied to AdamG's topic in Power Hammers, Treadle Hammers, Olivers
-
Pneumatic controls are crazy!
AdamG replied to AdamG's topic in Power Hammers, Treadle Hammers, Olivers
You may be right. The pixies don't seem to appreciate my cussing... maybe I'll revert to hard science. -
So today I decided to go back (on my Kinyon style hammer) from a two-valve control setup to a single valve up/down control. Simpler is better, right? For some reason, even though in both configurations, the controls just send air to one side or the other of the shuttle valve, when I go to a single control valve, everything just locks up. It's like it causes the shuttle to stick inside the shuttle valve, causing the ram to stick at the top or the bottom of the travel, and nothing I do (actuating the exhaust or the control valve) makes a difference. I have to release pressure on the main supply to get things to release. Luckily I have an extra valve for that. Has anyone seen something like this? I thought about reversing the entire flow of the system again, using the shuttle valve's two outer ports as exhaust with pressure in the middle (rather than the other way around), but I don't want to mess around again... it was working last time I used it! I'll try to go back to my last working configuration (minus some knuckle skin from the hose clamps etc) and see if it works. This is a follow-up to an older post I had which included the schematics etc. Maybe I should re-post there. We'll see if anyone can understand my description. Any help?
-
I'm fairly new, so please take this with a grain of salt, but it looks like that's unlined ceramic wool. You should really stabilize that stuff or you'll be hacking to death one day. I'm just at the point of tuning some T burners too, and it's amazing what a difference the tube length makes.
-
Thank you, sir. Mea culpa.
-
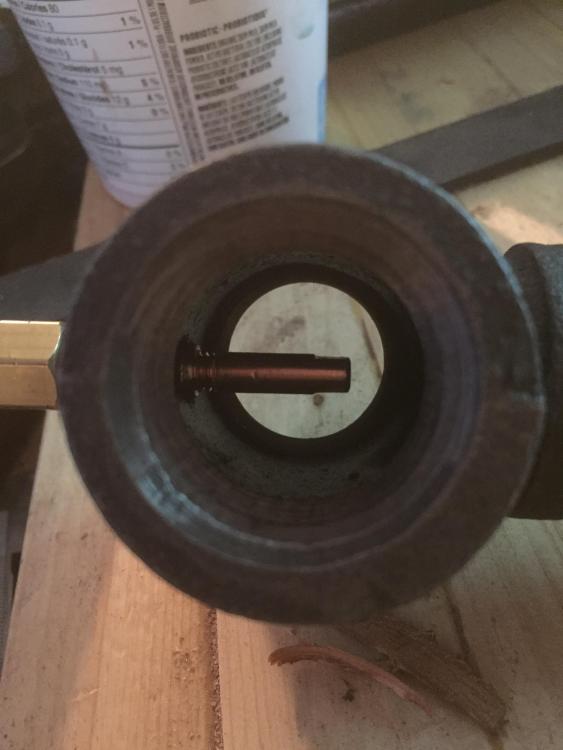
Thanks, Frosty, for sharing your design. I finally made one today, and will tune it and try it out on holiday Monday. I finally found 1/8" flare and had to buy a new tap (12-24), and I seem to need the extra heat for making hammers etc. Maybe I'll be able to weld with gas as well! i know the mig tip is too long, and it's only a 23. Does it have to be 35? I'll re-read the instructions but I don't think it's necessary to teflon tape the mig tip, is that right? Edit: it seems I still have the wrong thread for the mig tip... it went in, and looked like it was right, but might have been metric. Anyway, I'll hunt for my stash of 35 tips and endeavour to follow the xxxx instructions.


-
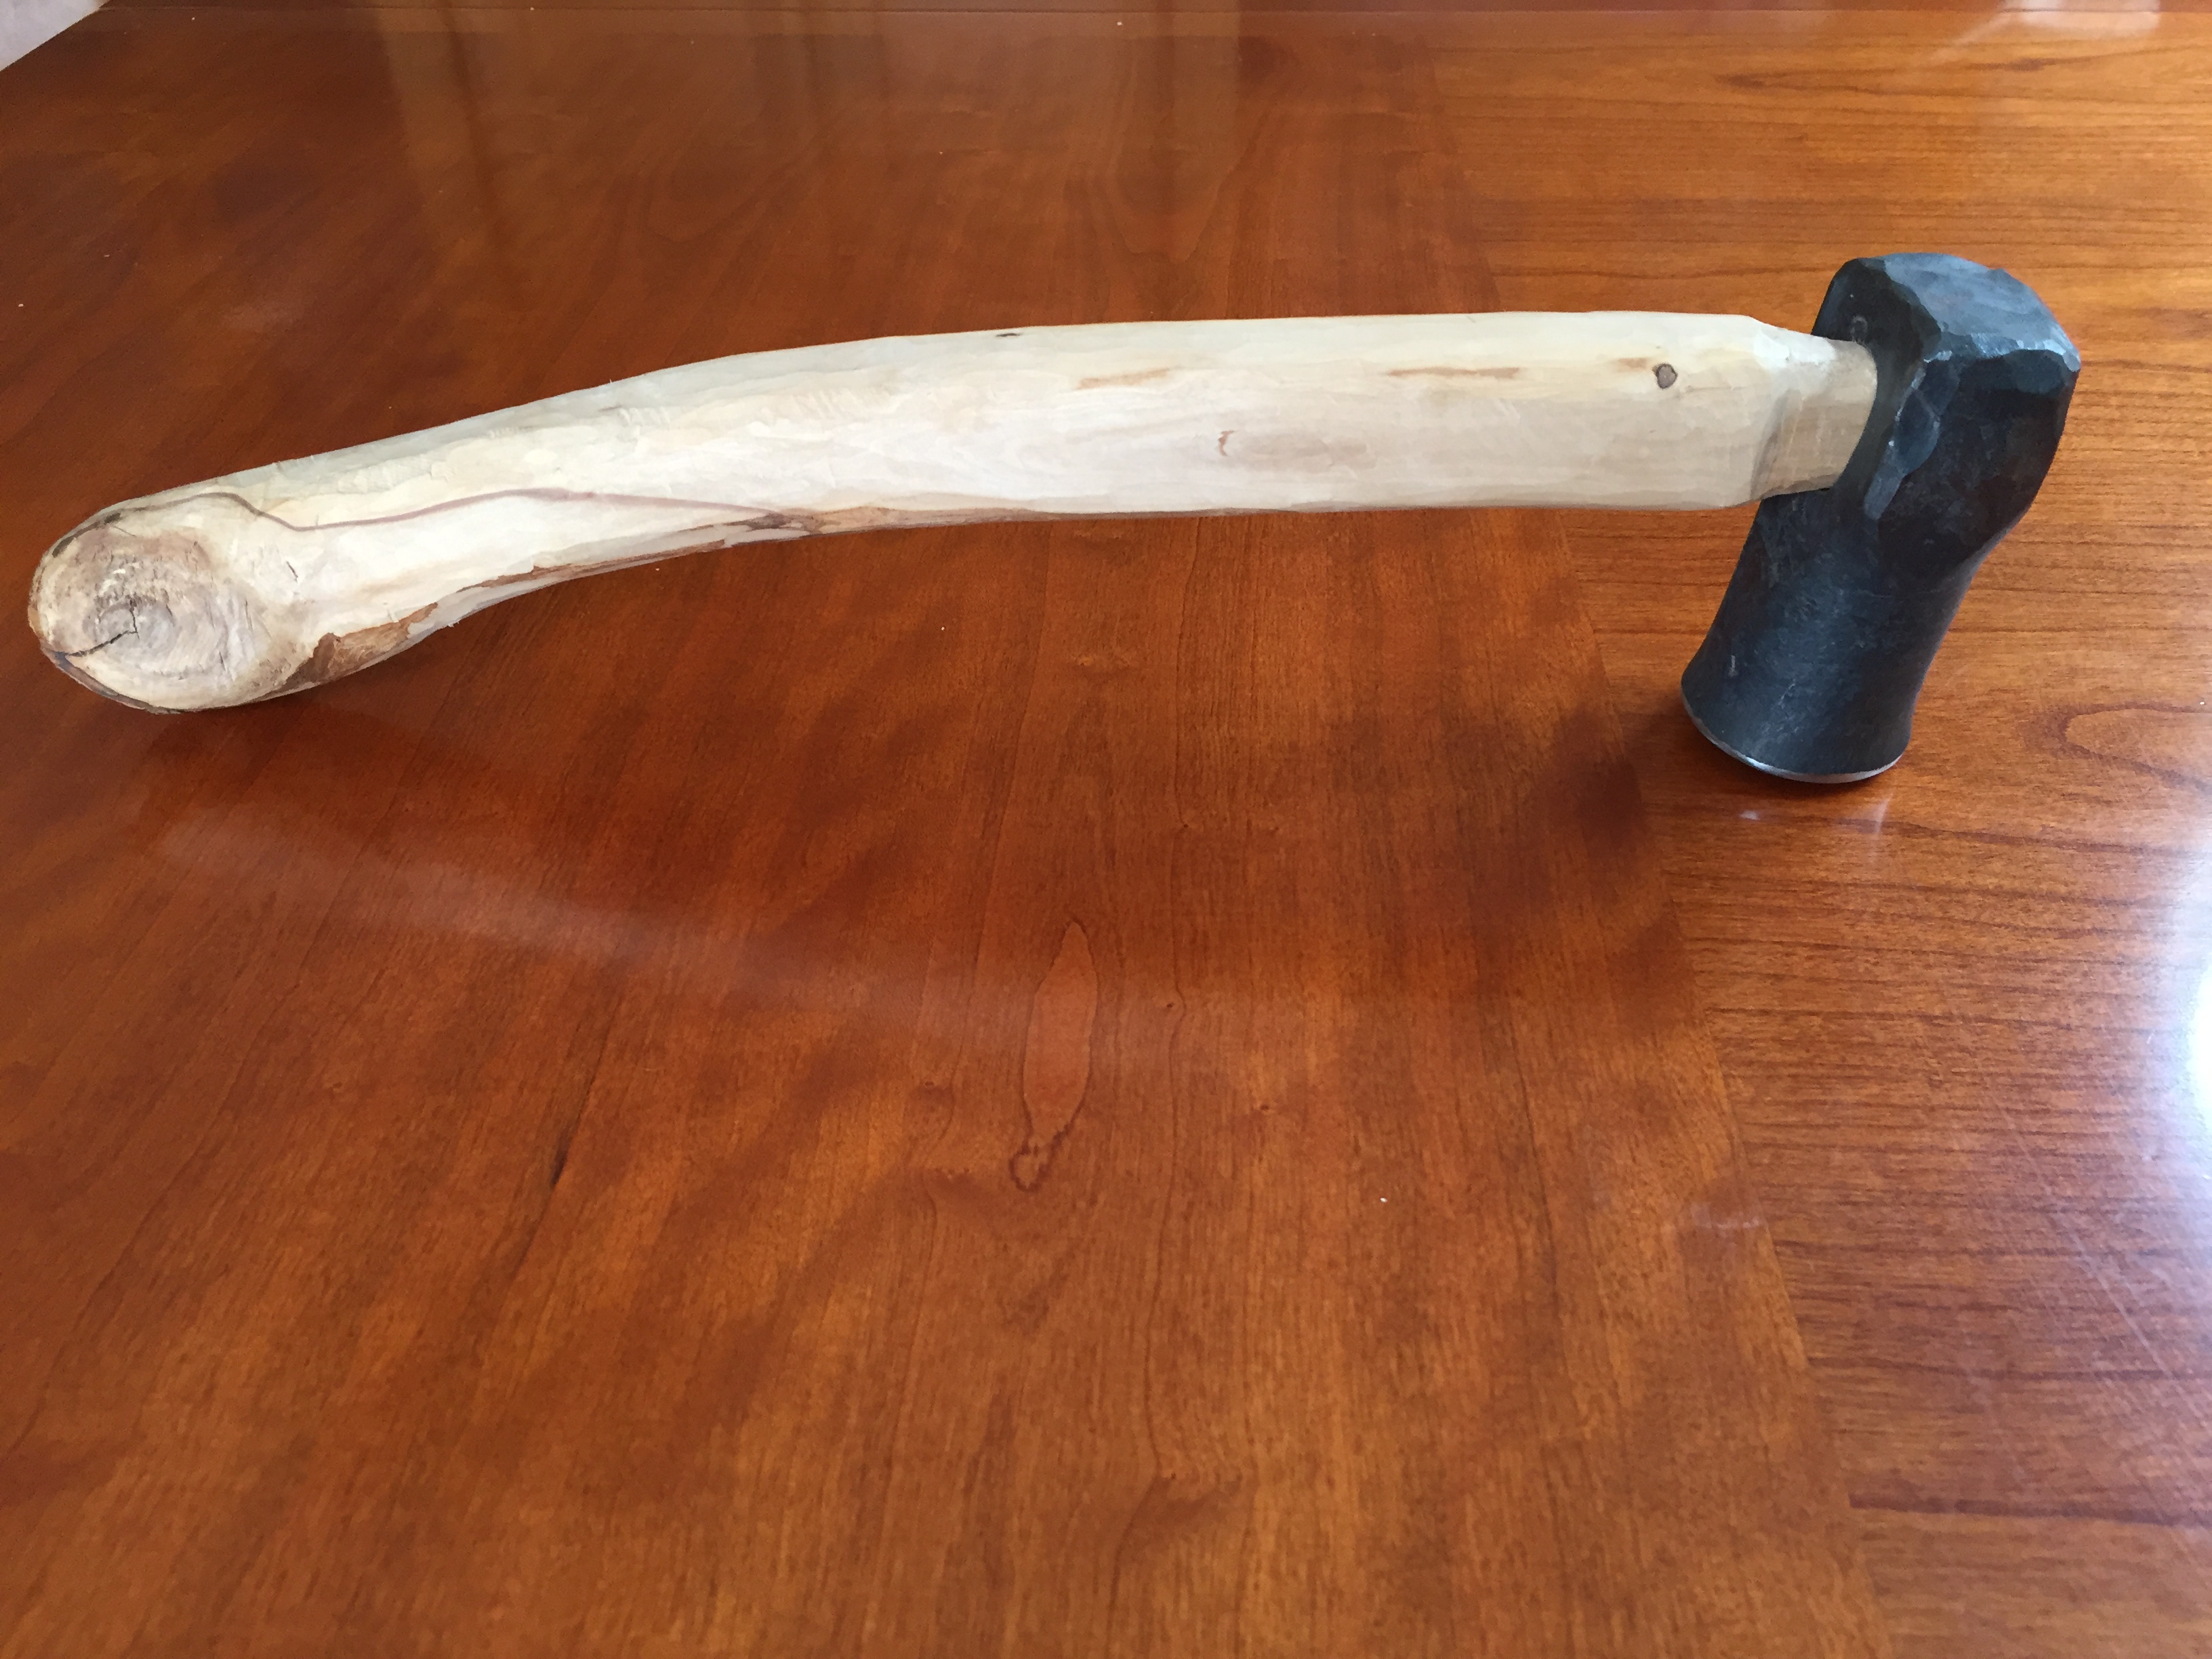
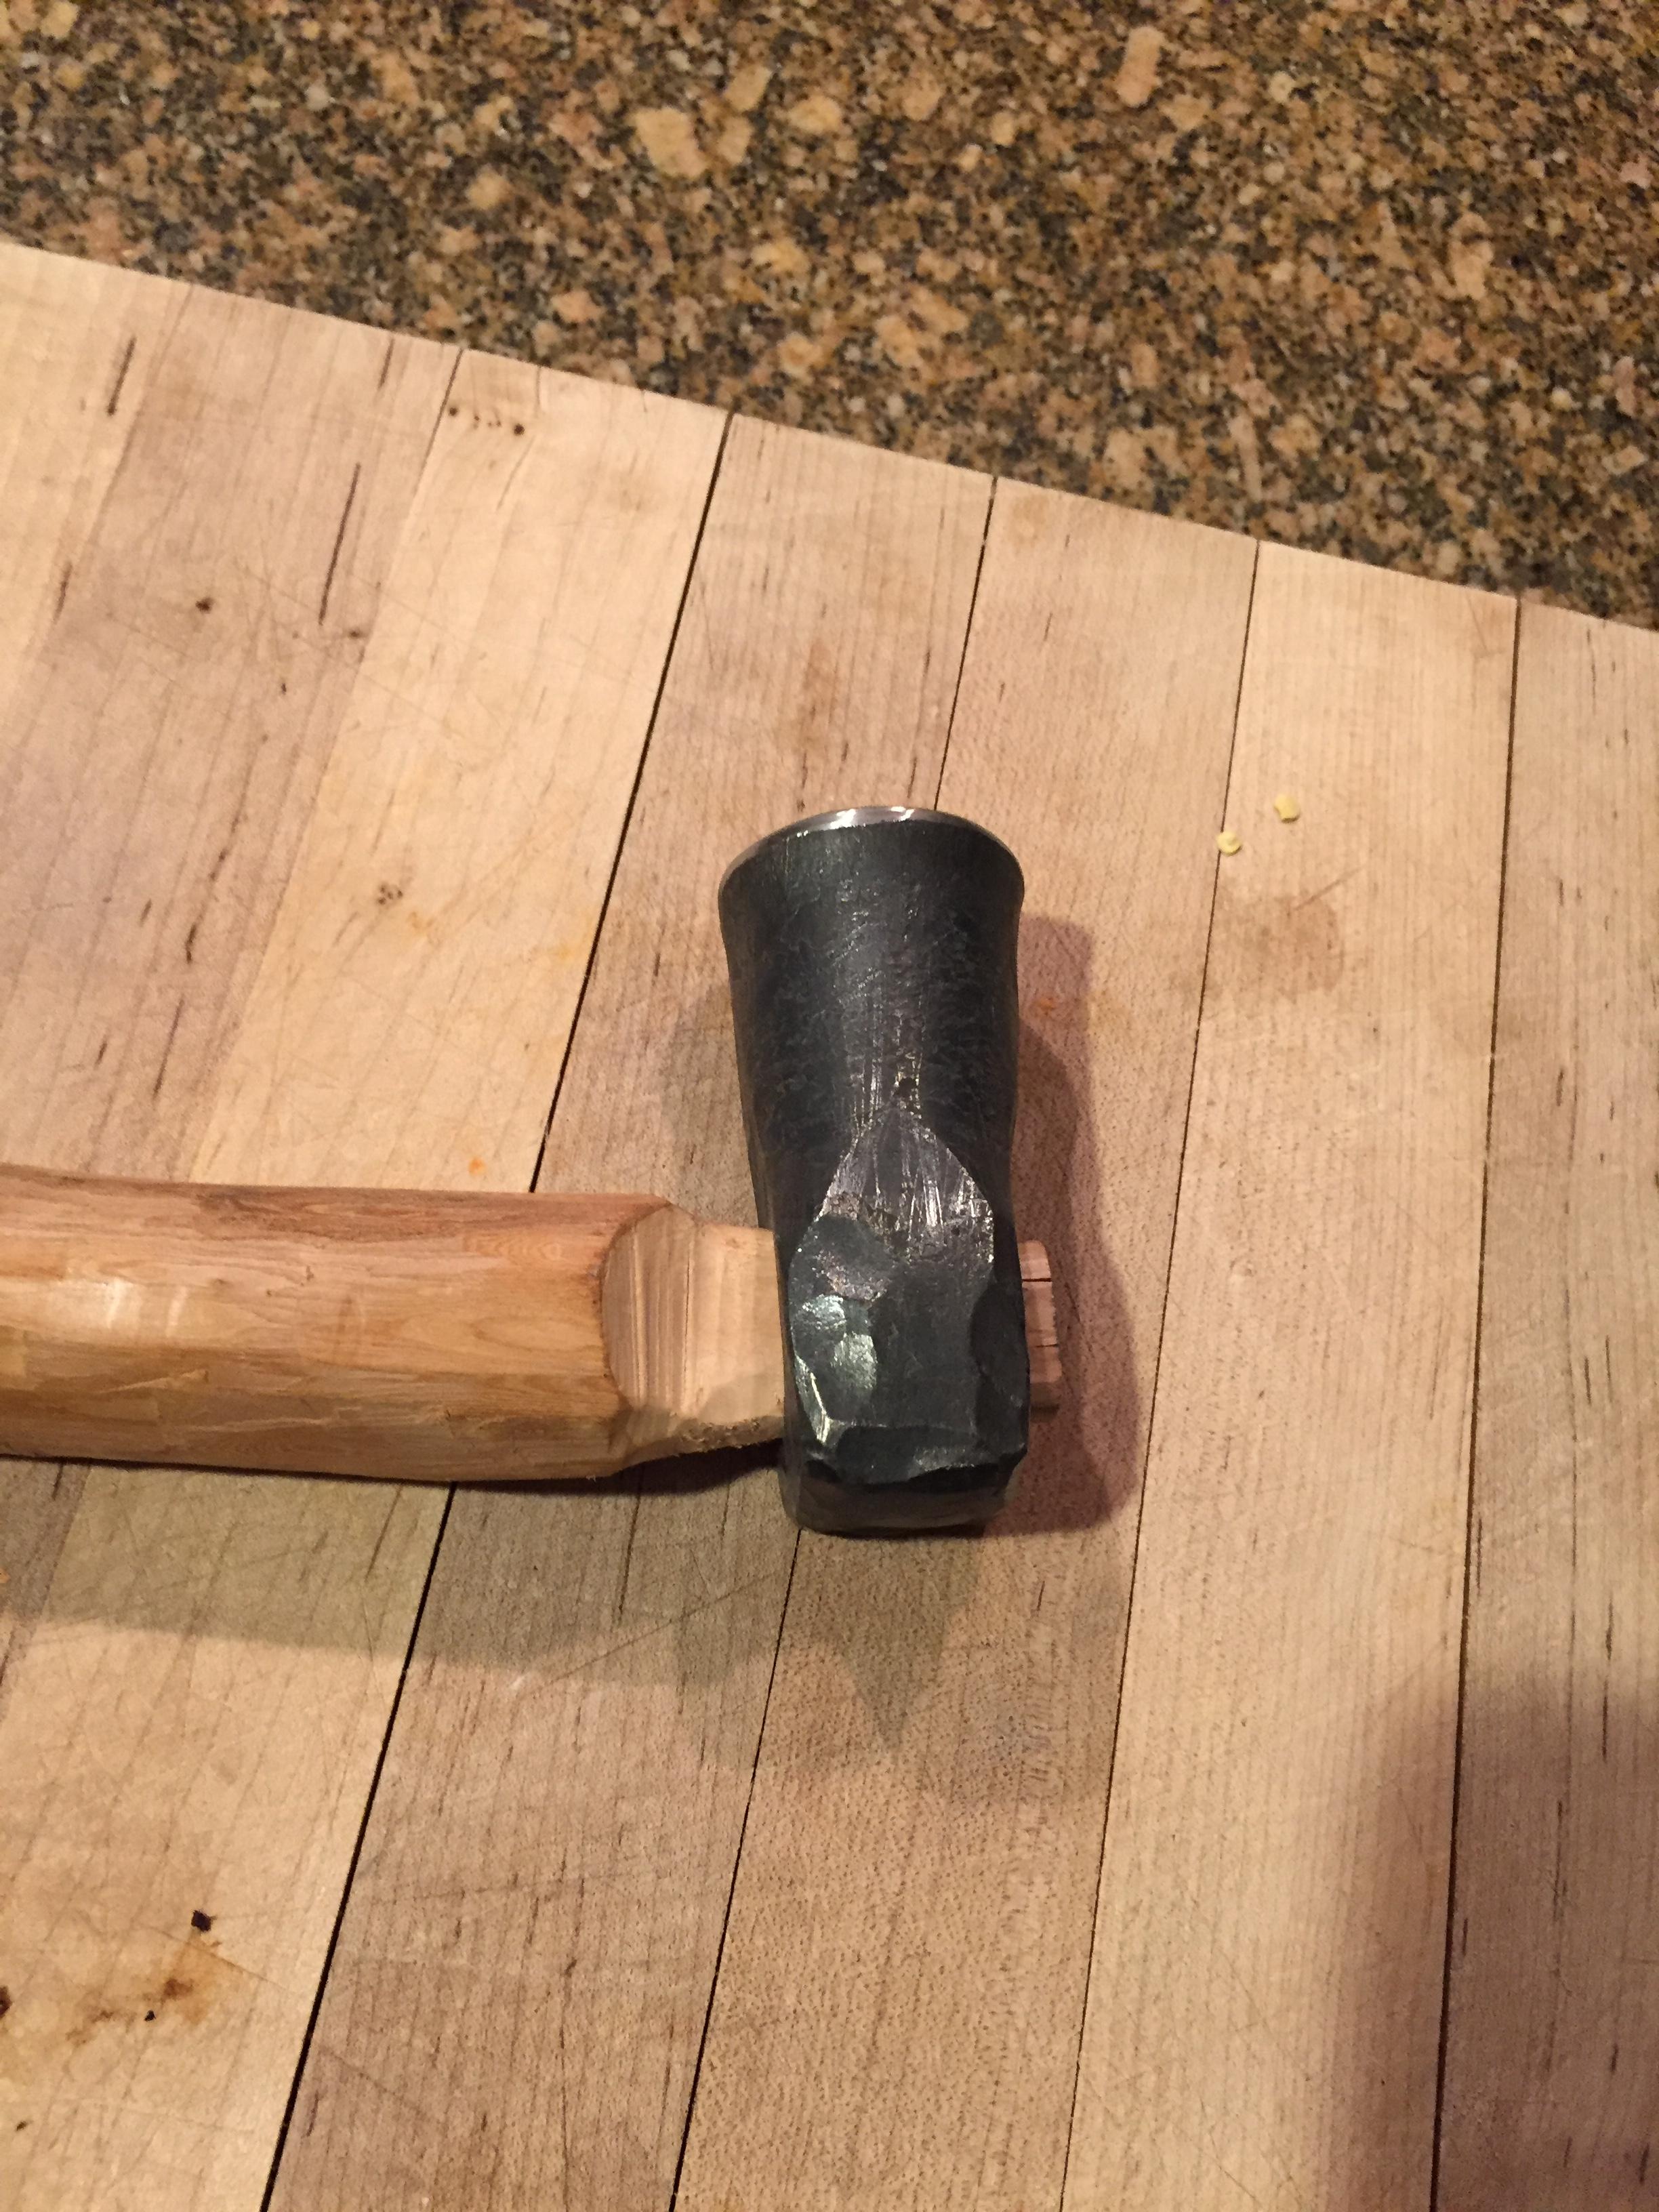
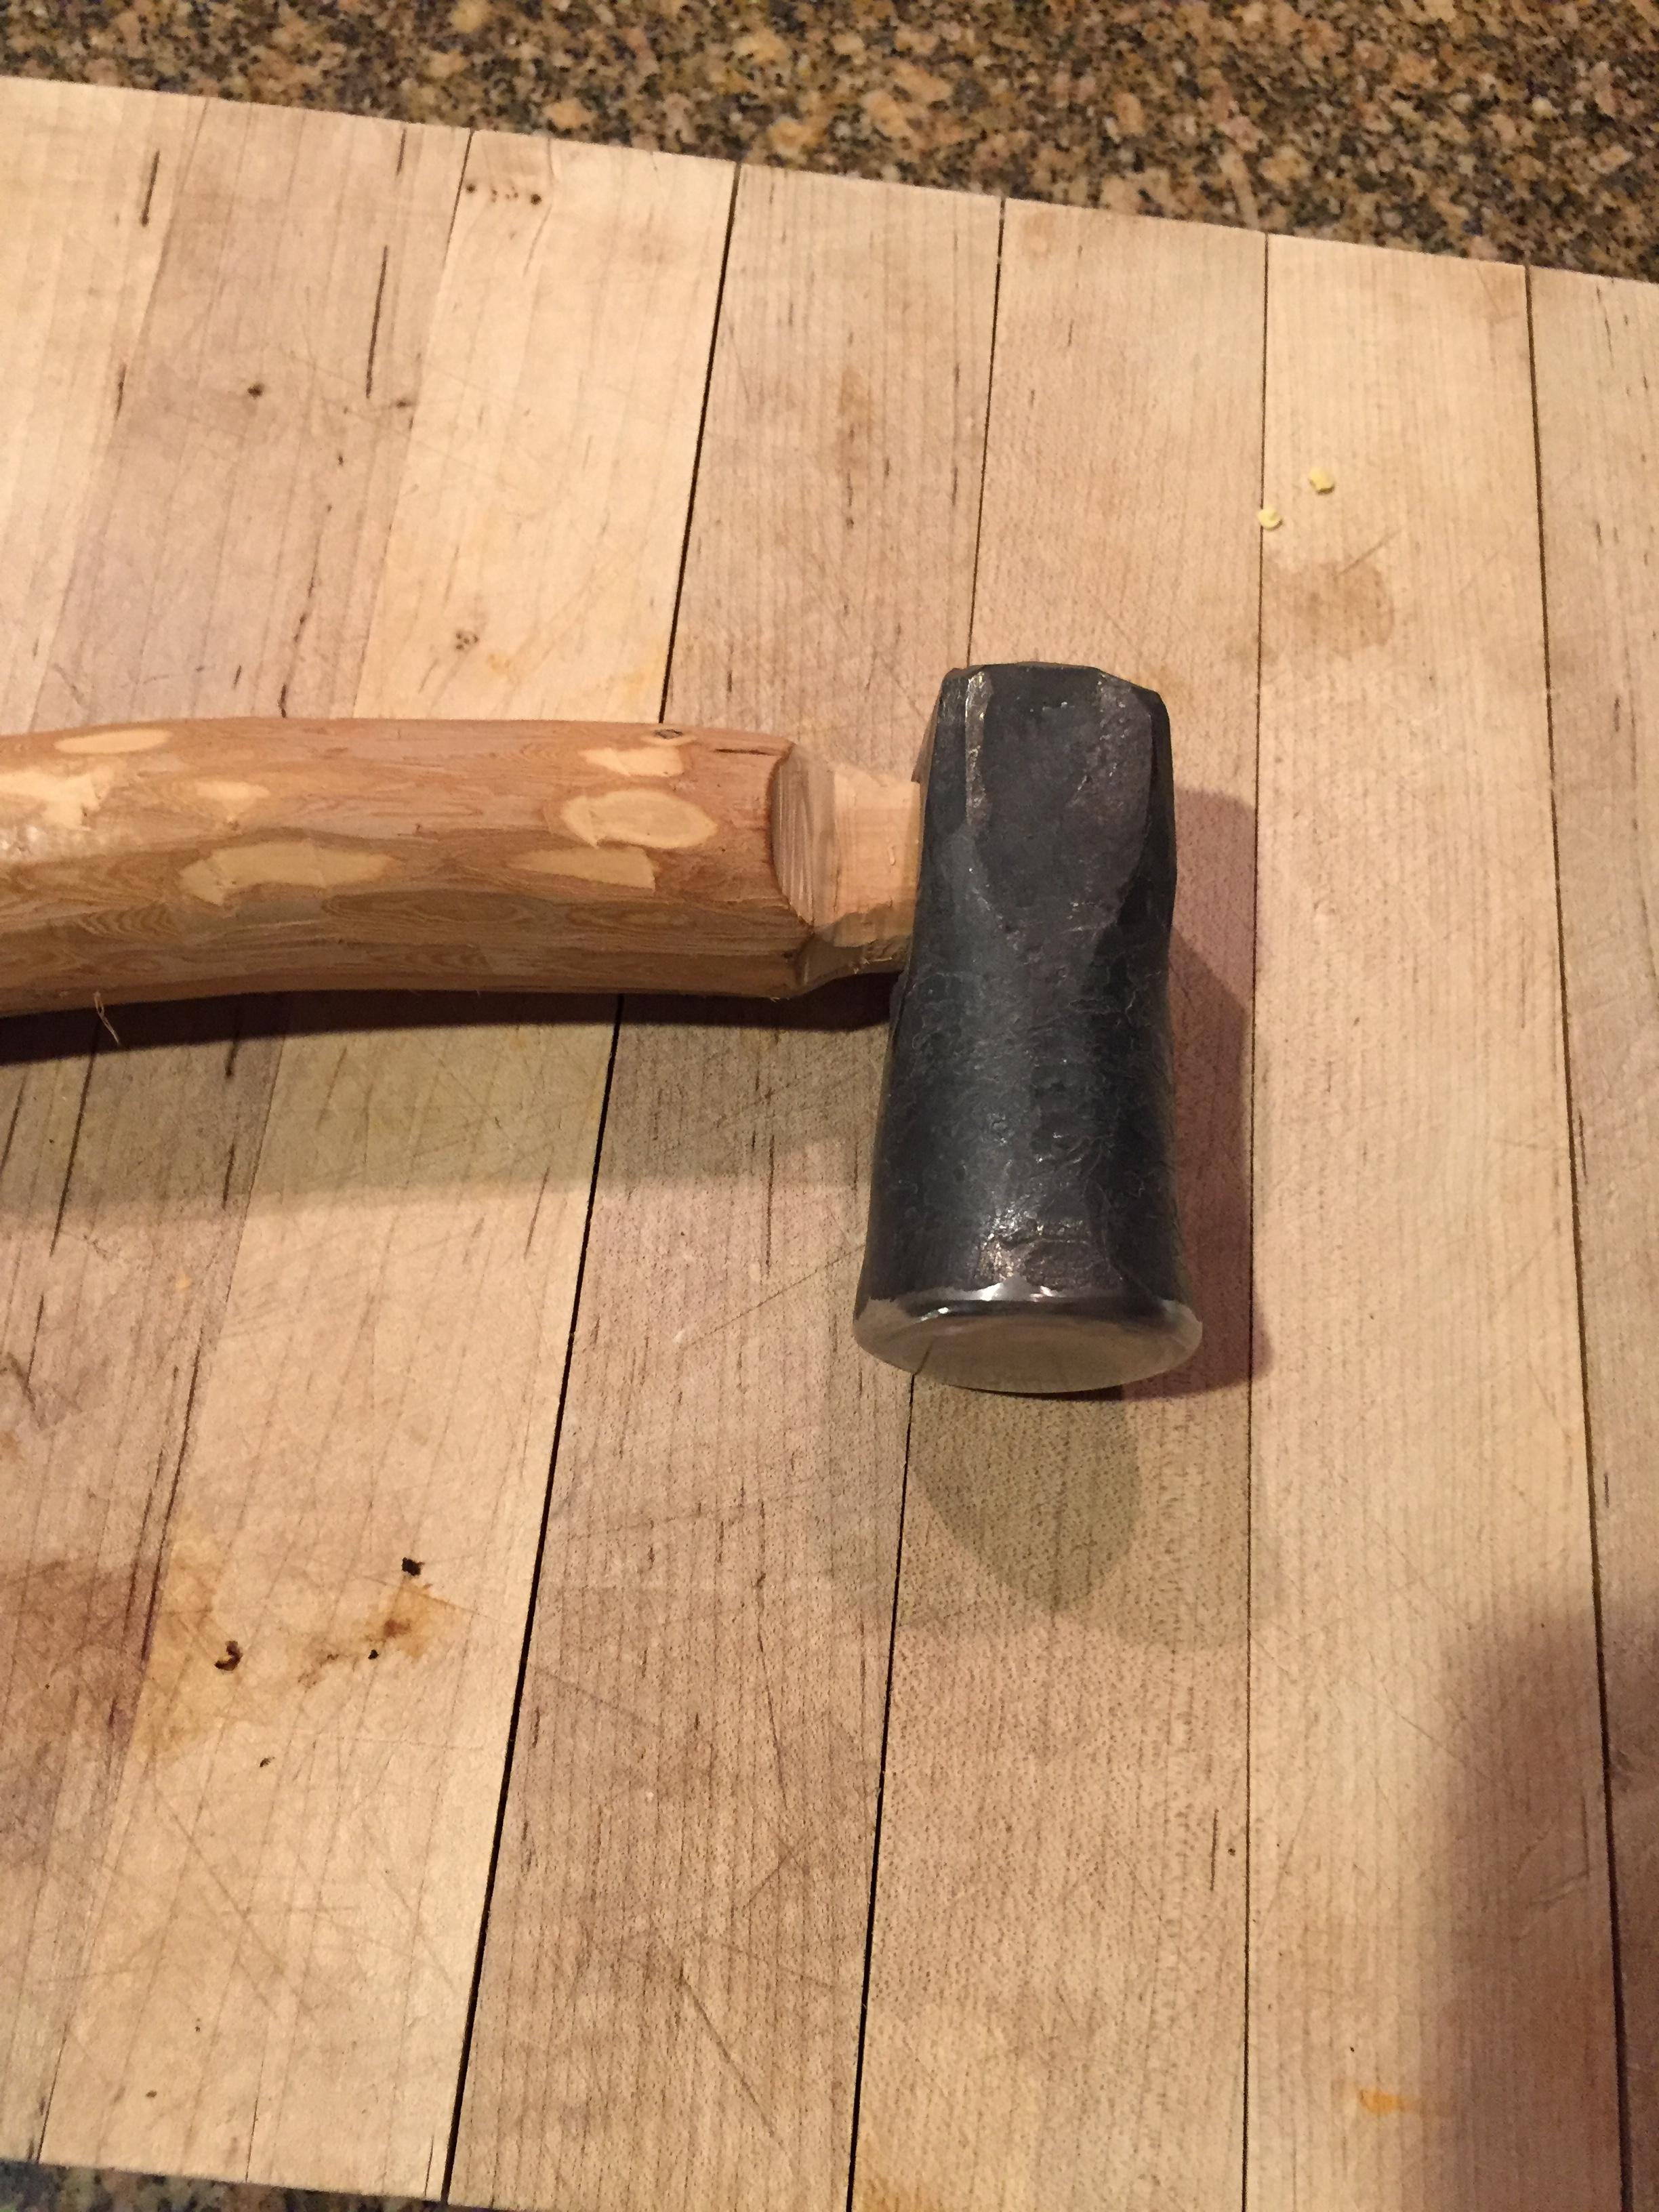
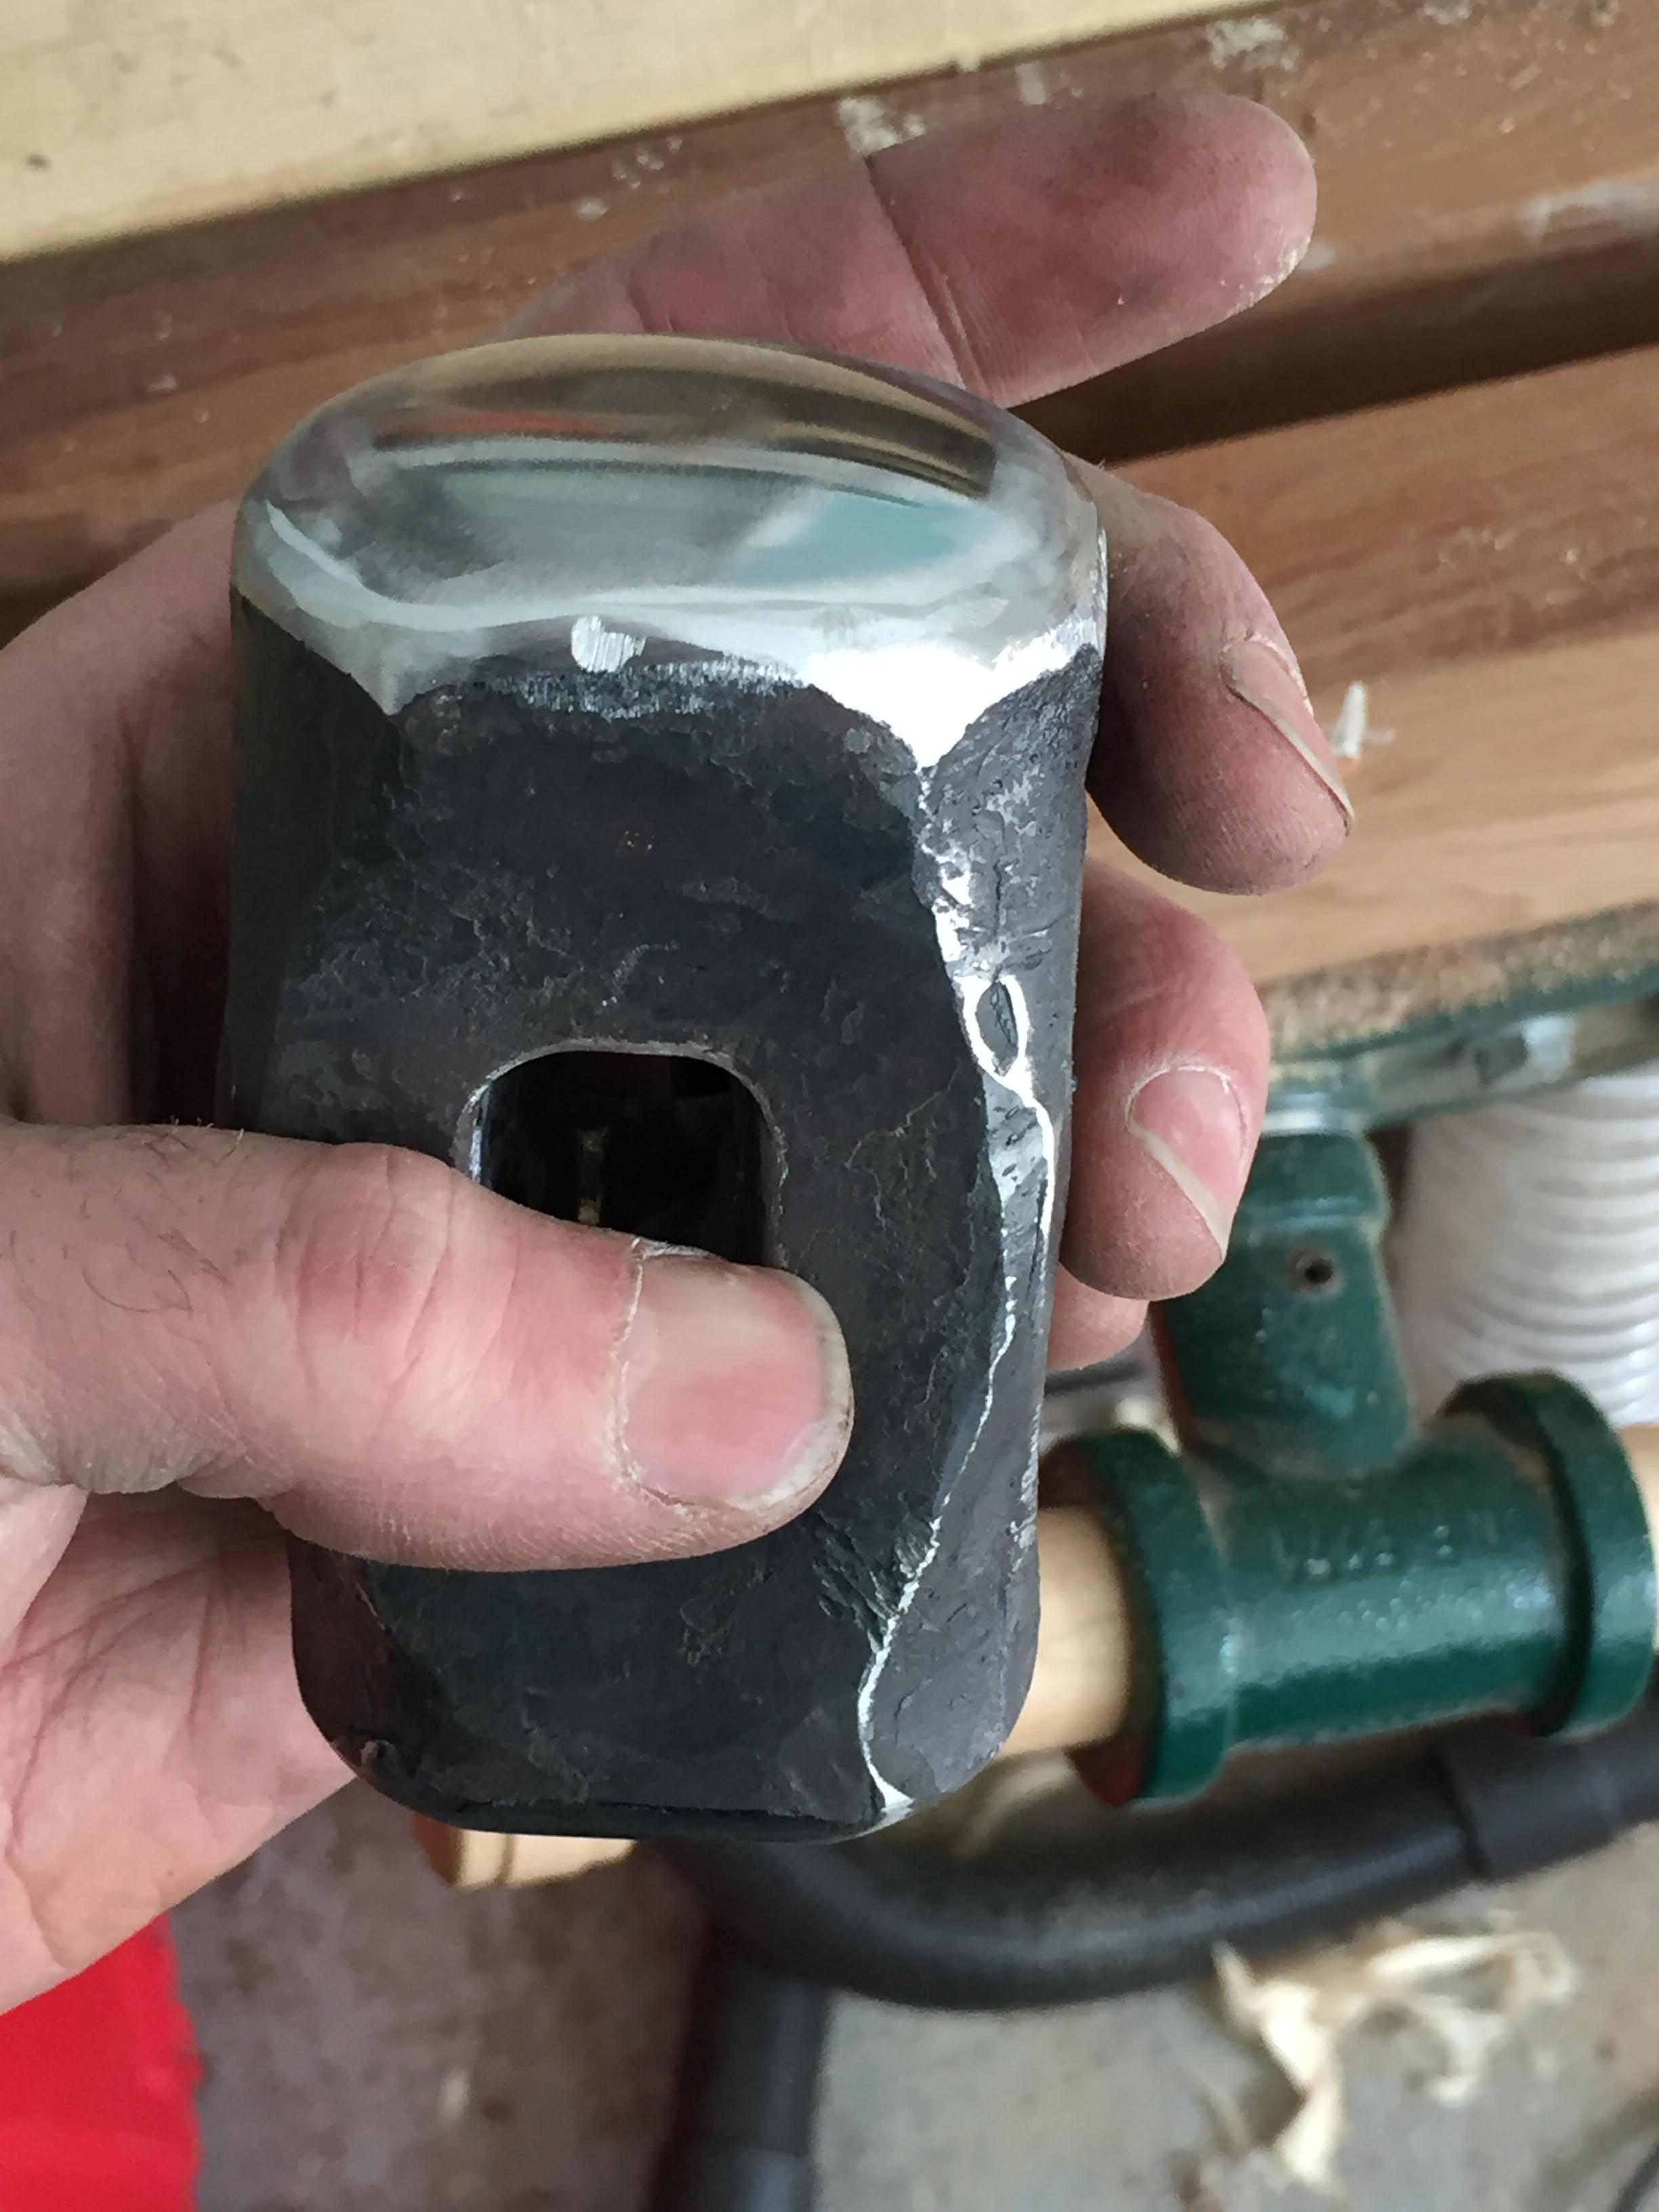
Looking better I think:


-
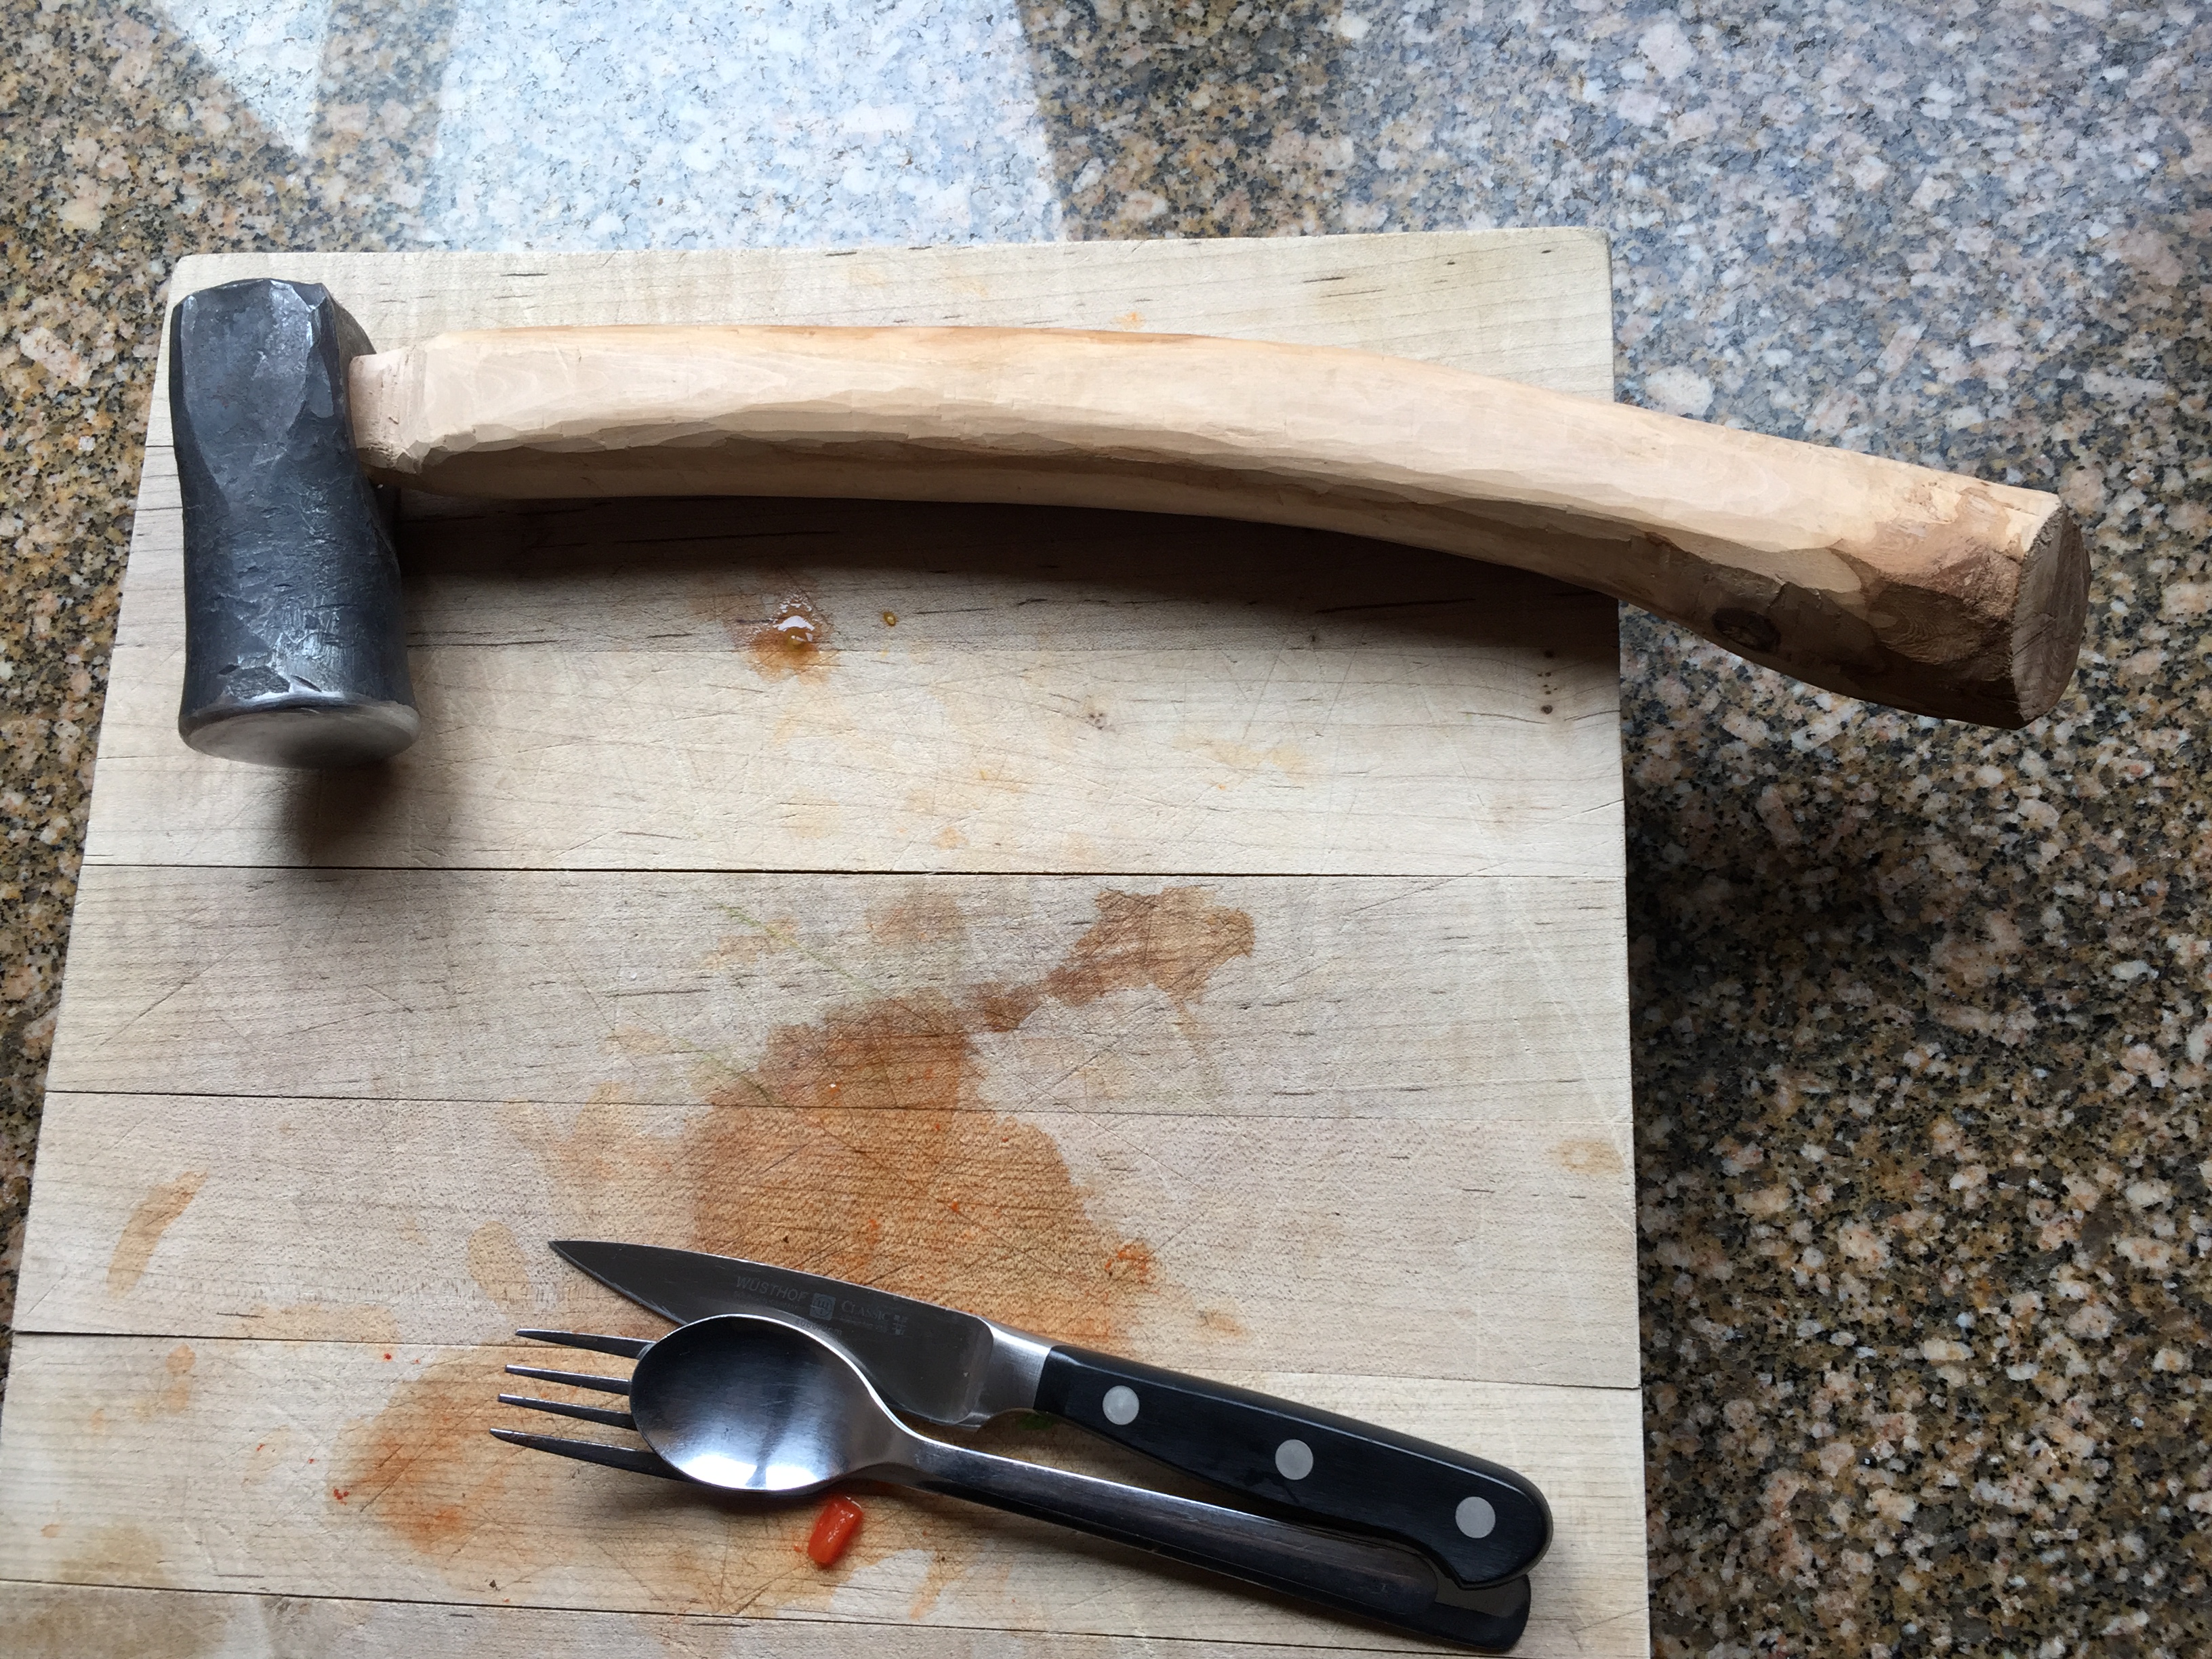
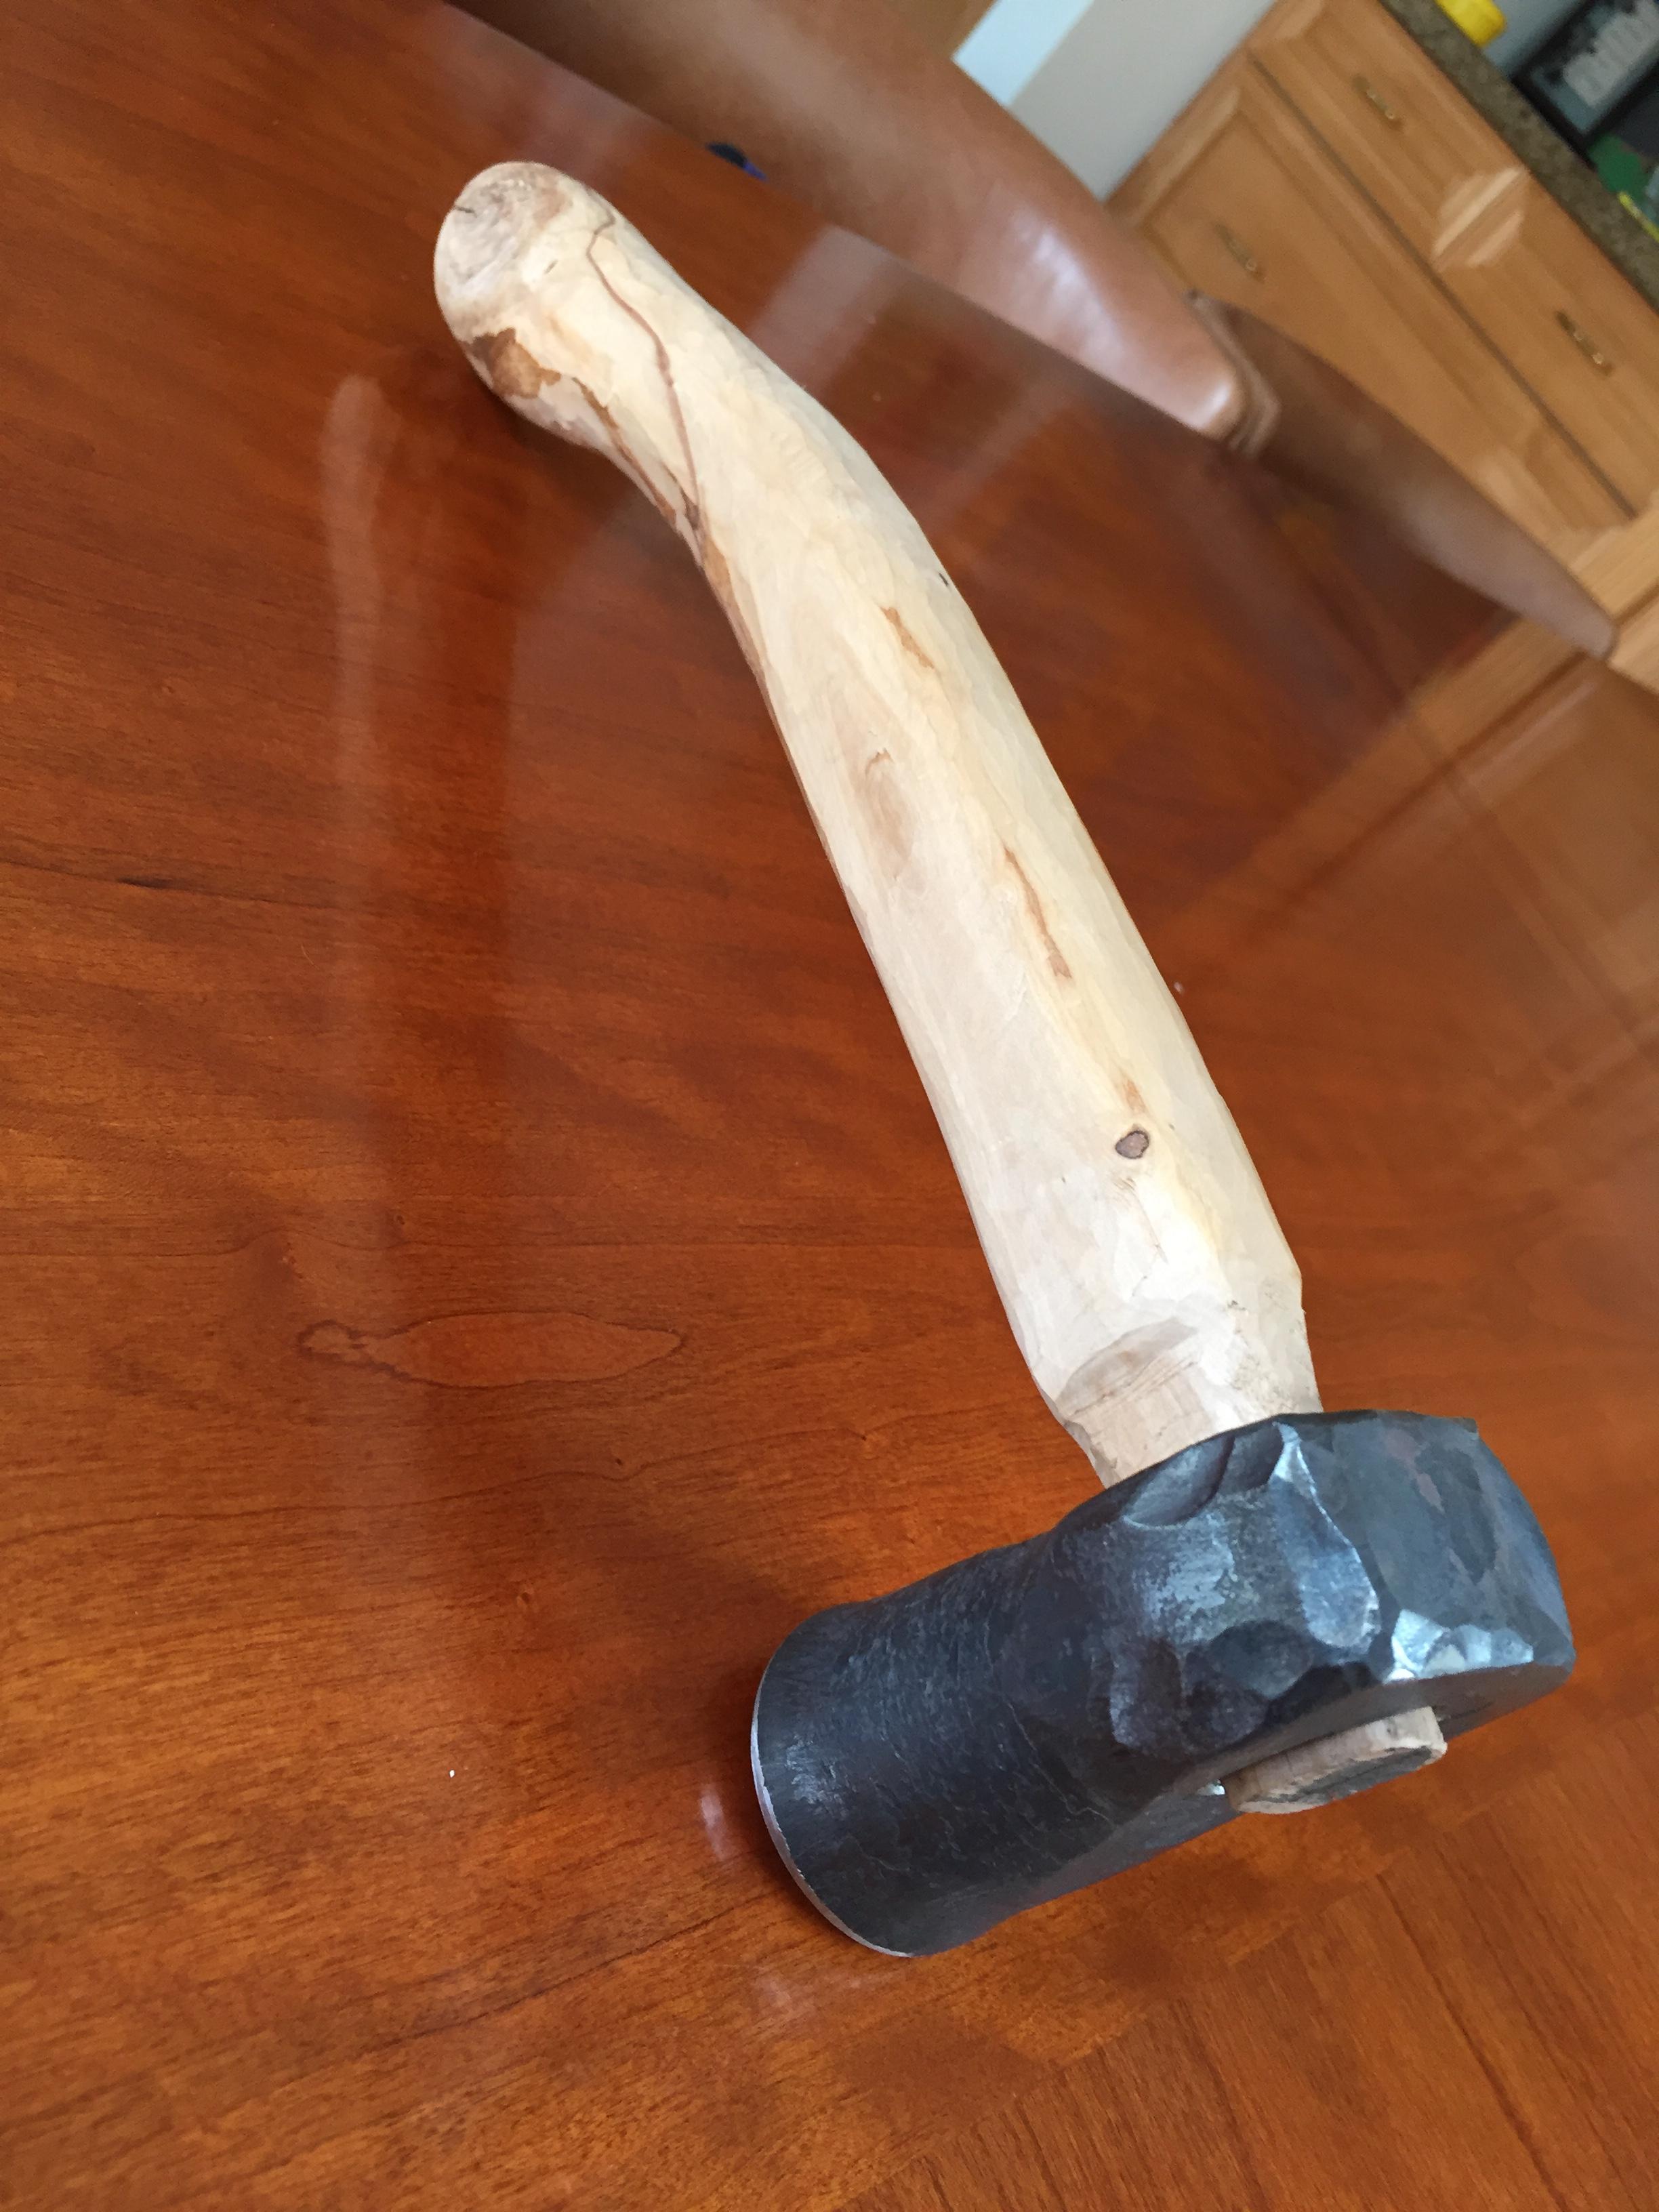
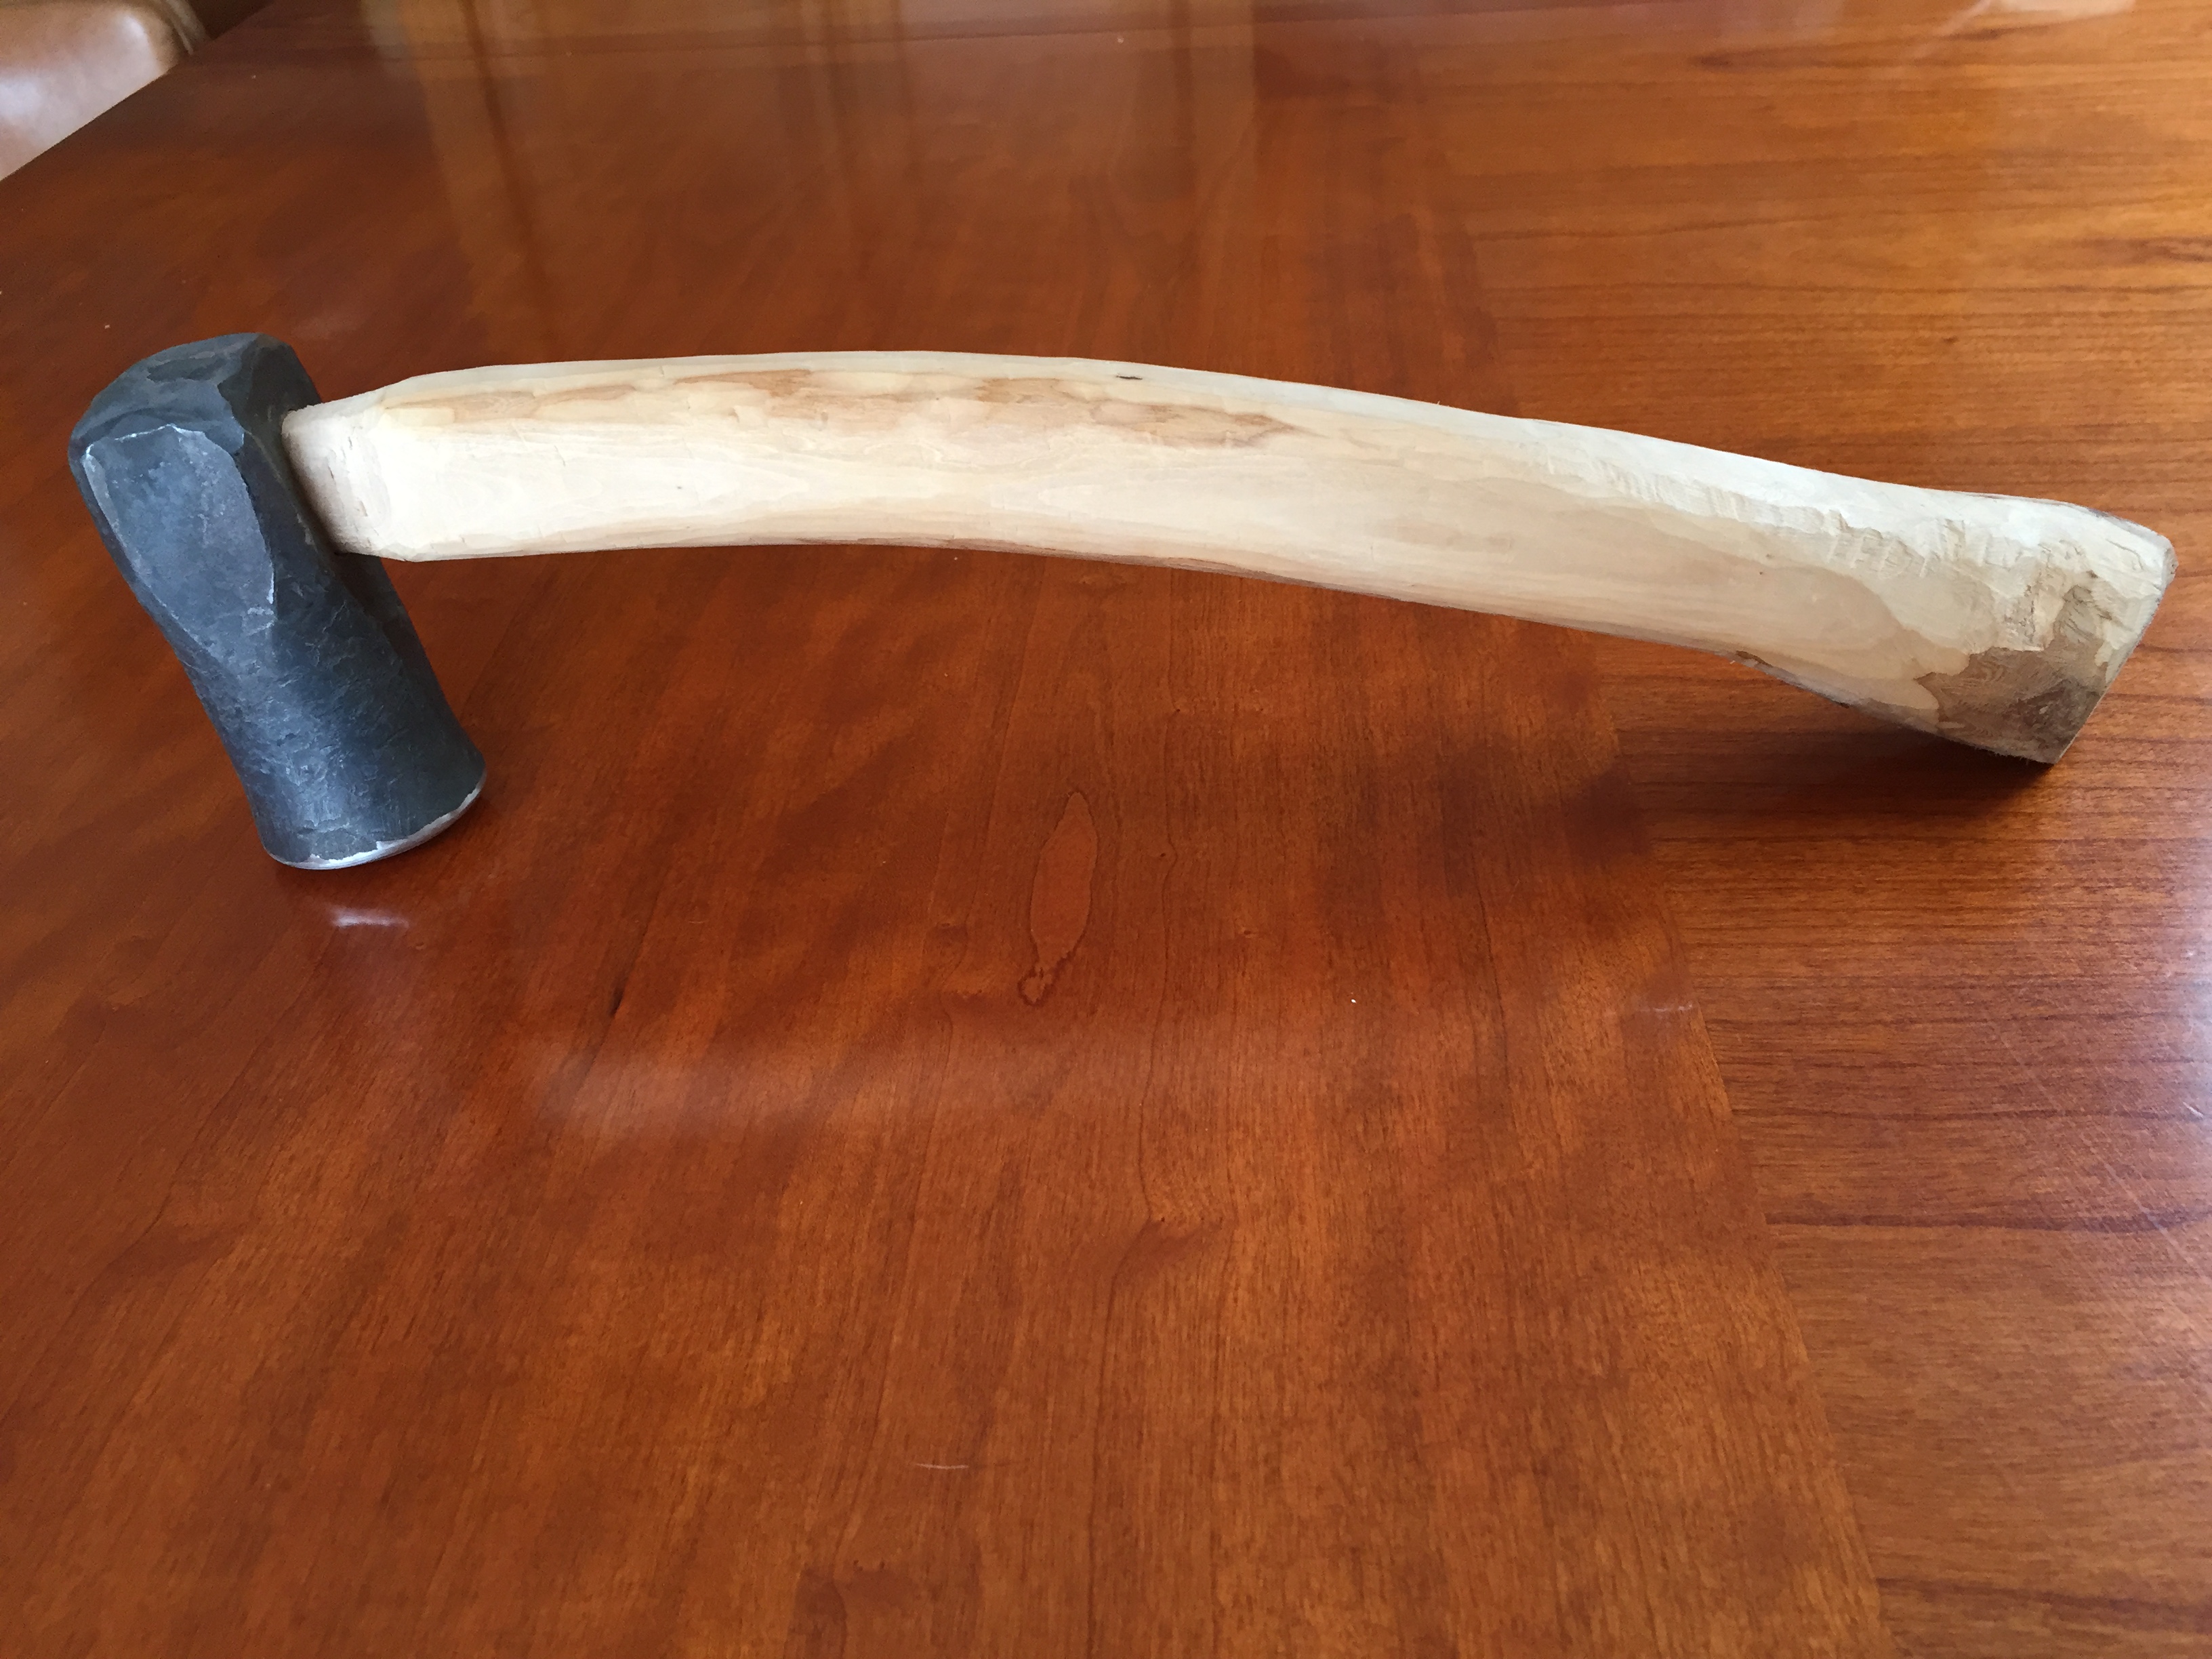
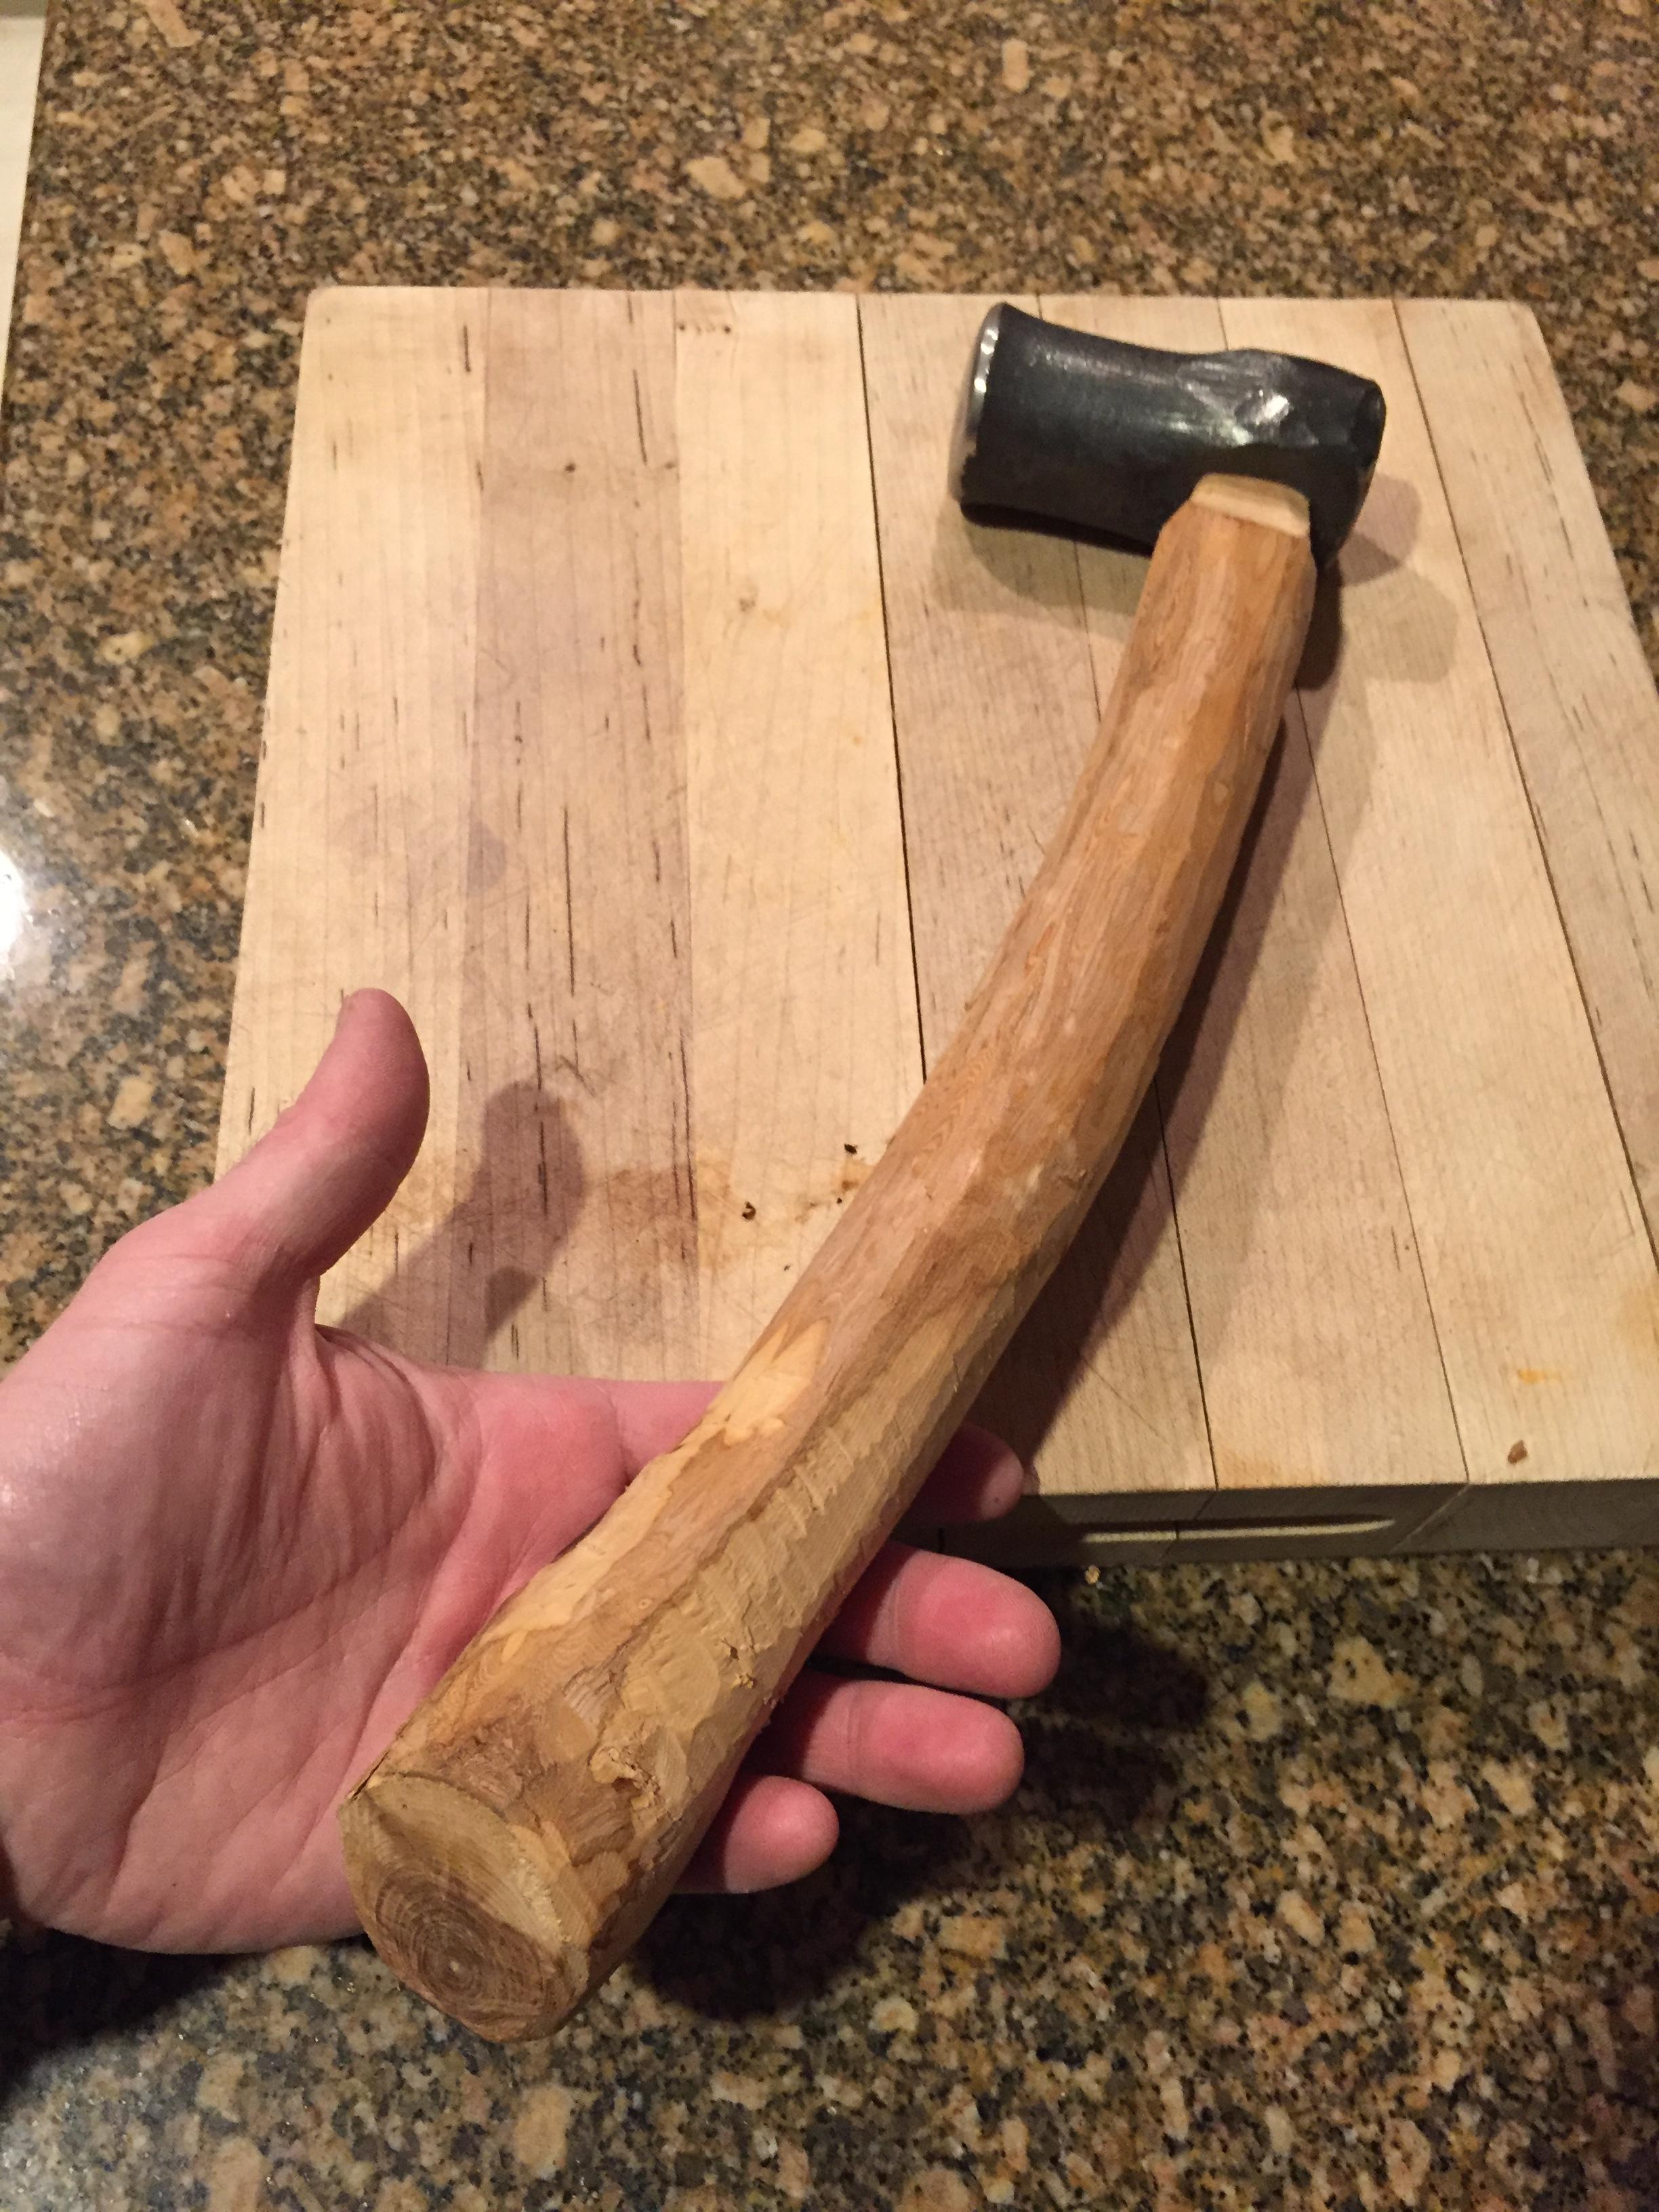
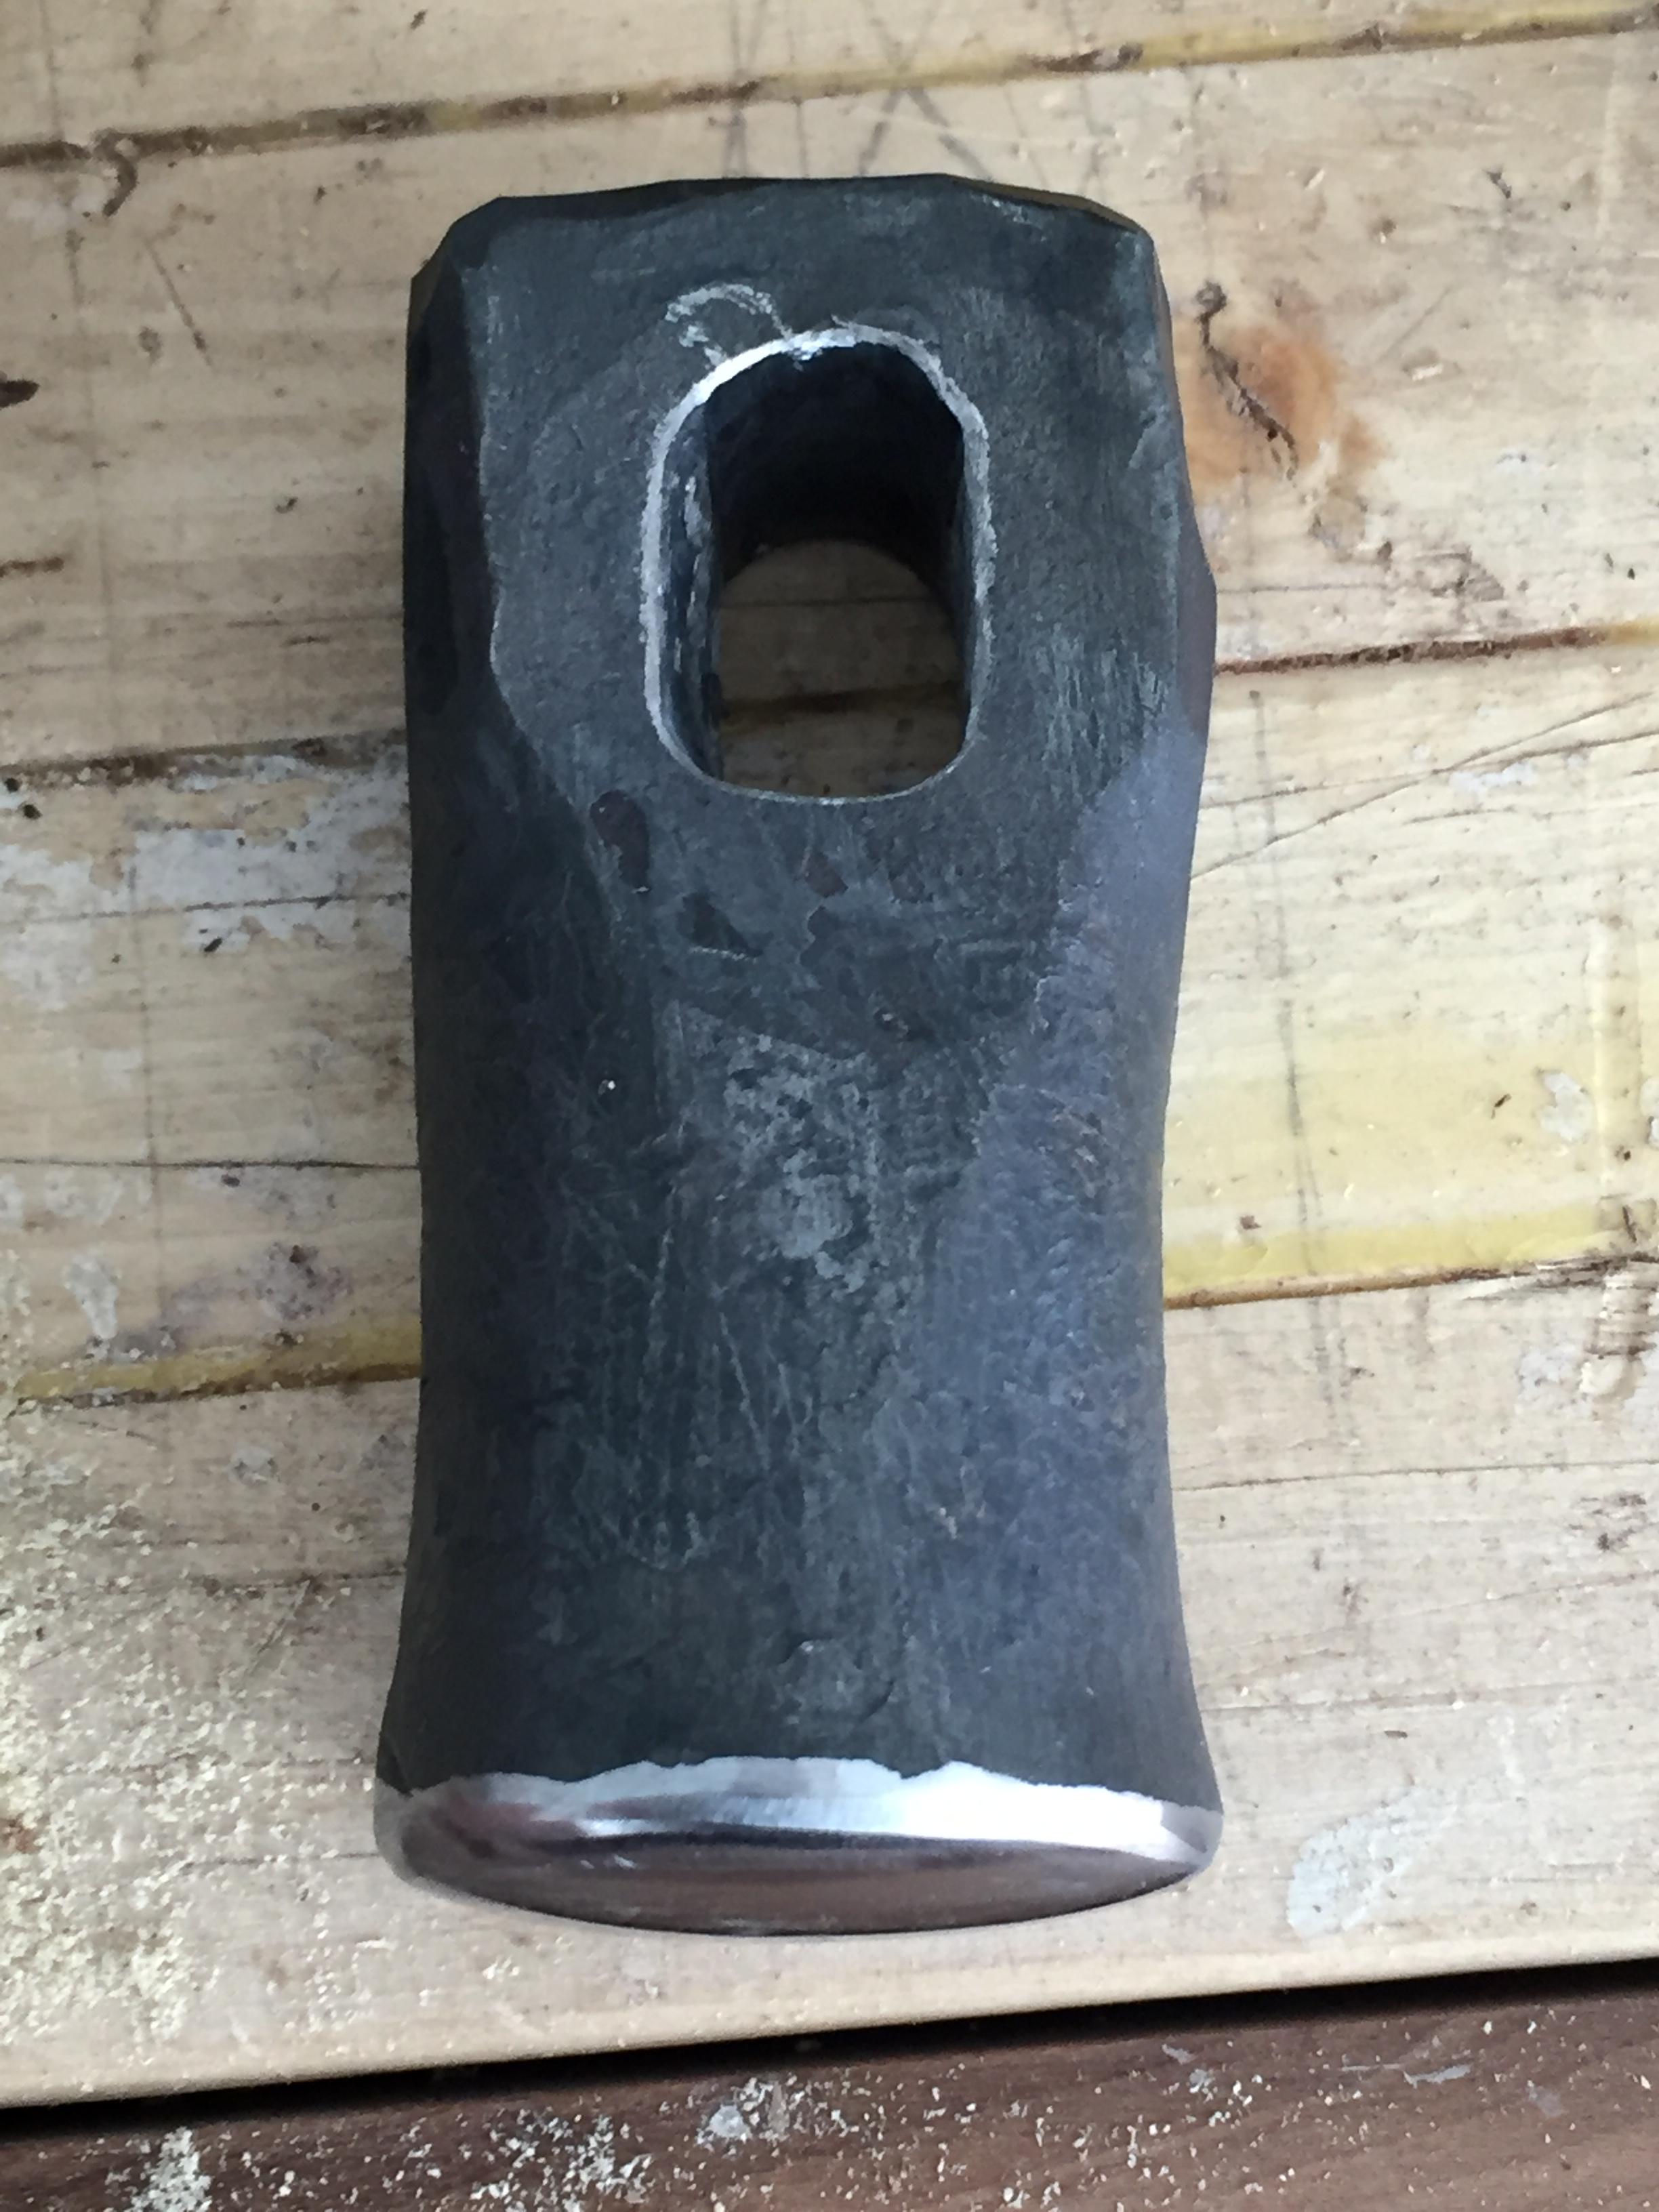
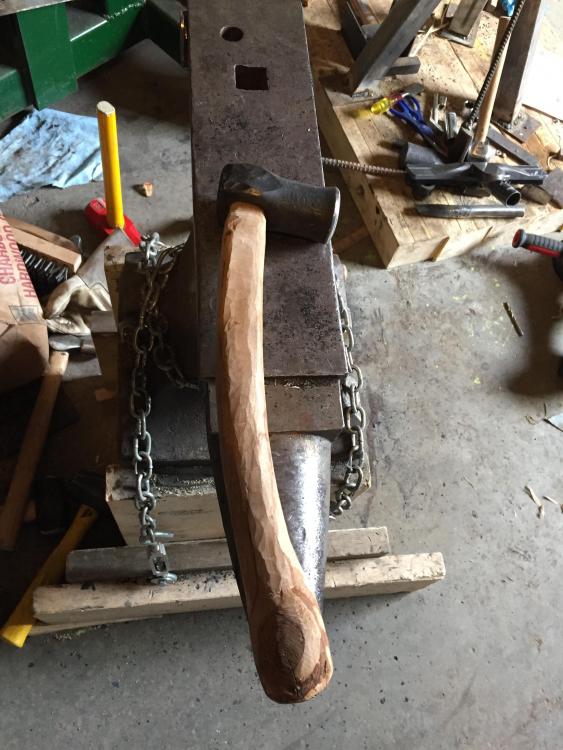
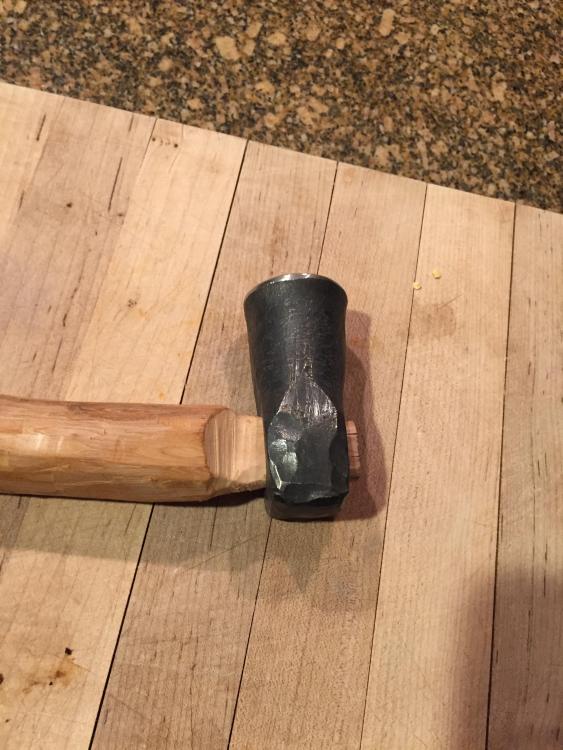
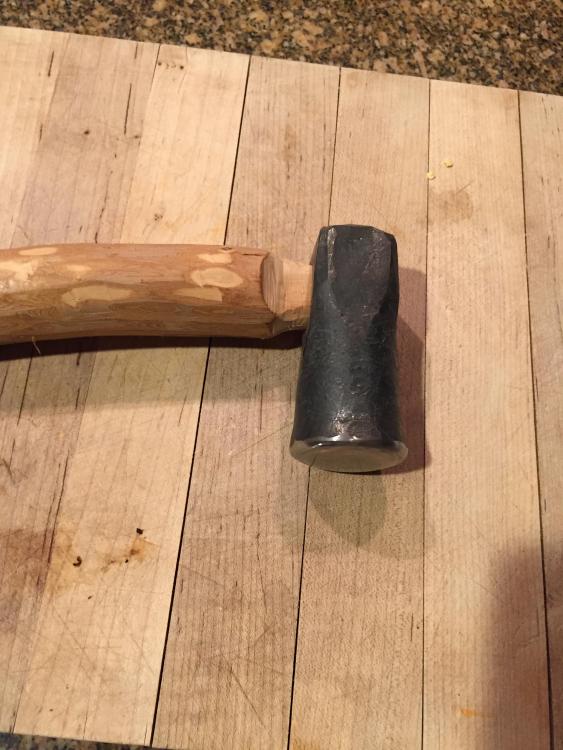
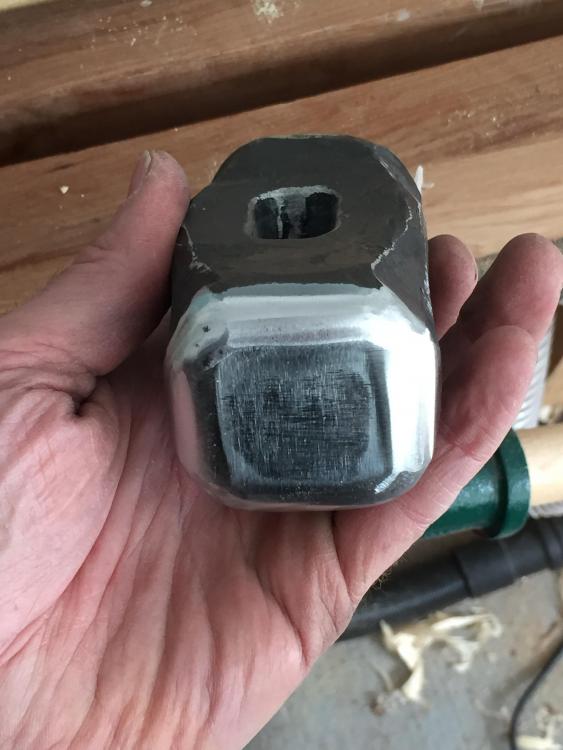
It's a bit strange, I won't lie, but mostly because the handle is wide relative to the size of the head, but there's a knot at the bottom that acts like an axe handle. I think I will thin some of it down and see if it ends up good for chisels or maybe some small knife bevel forging. Mostly I was trying to get some miles on my tools (hammer eye punch and power hammer). Both need some work!
-
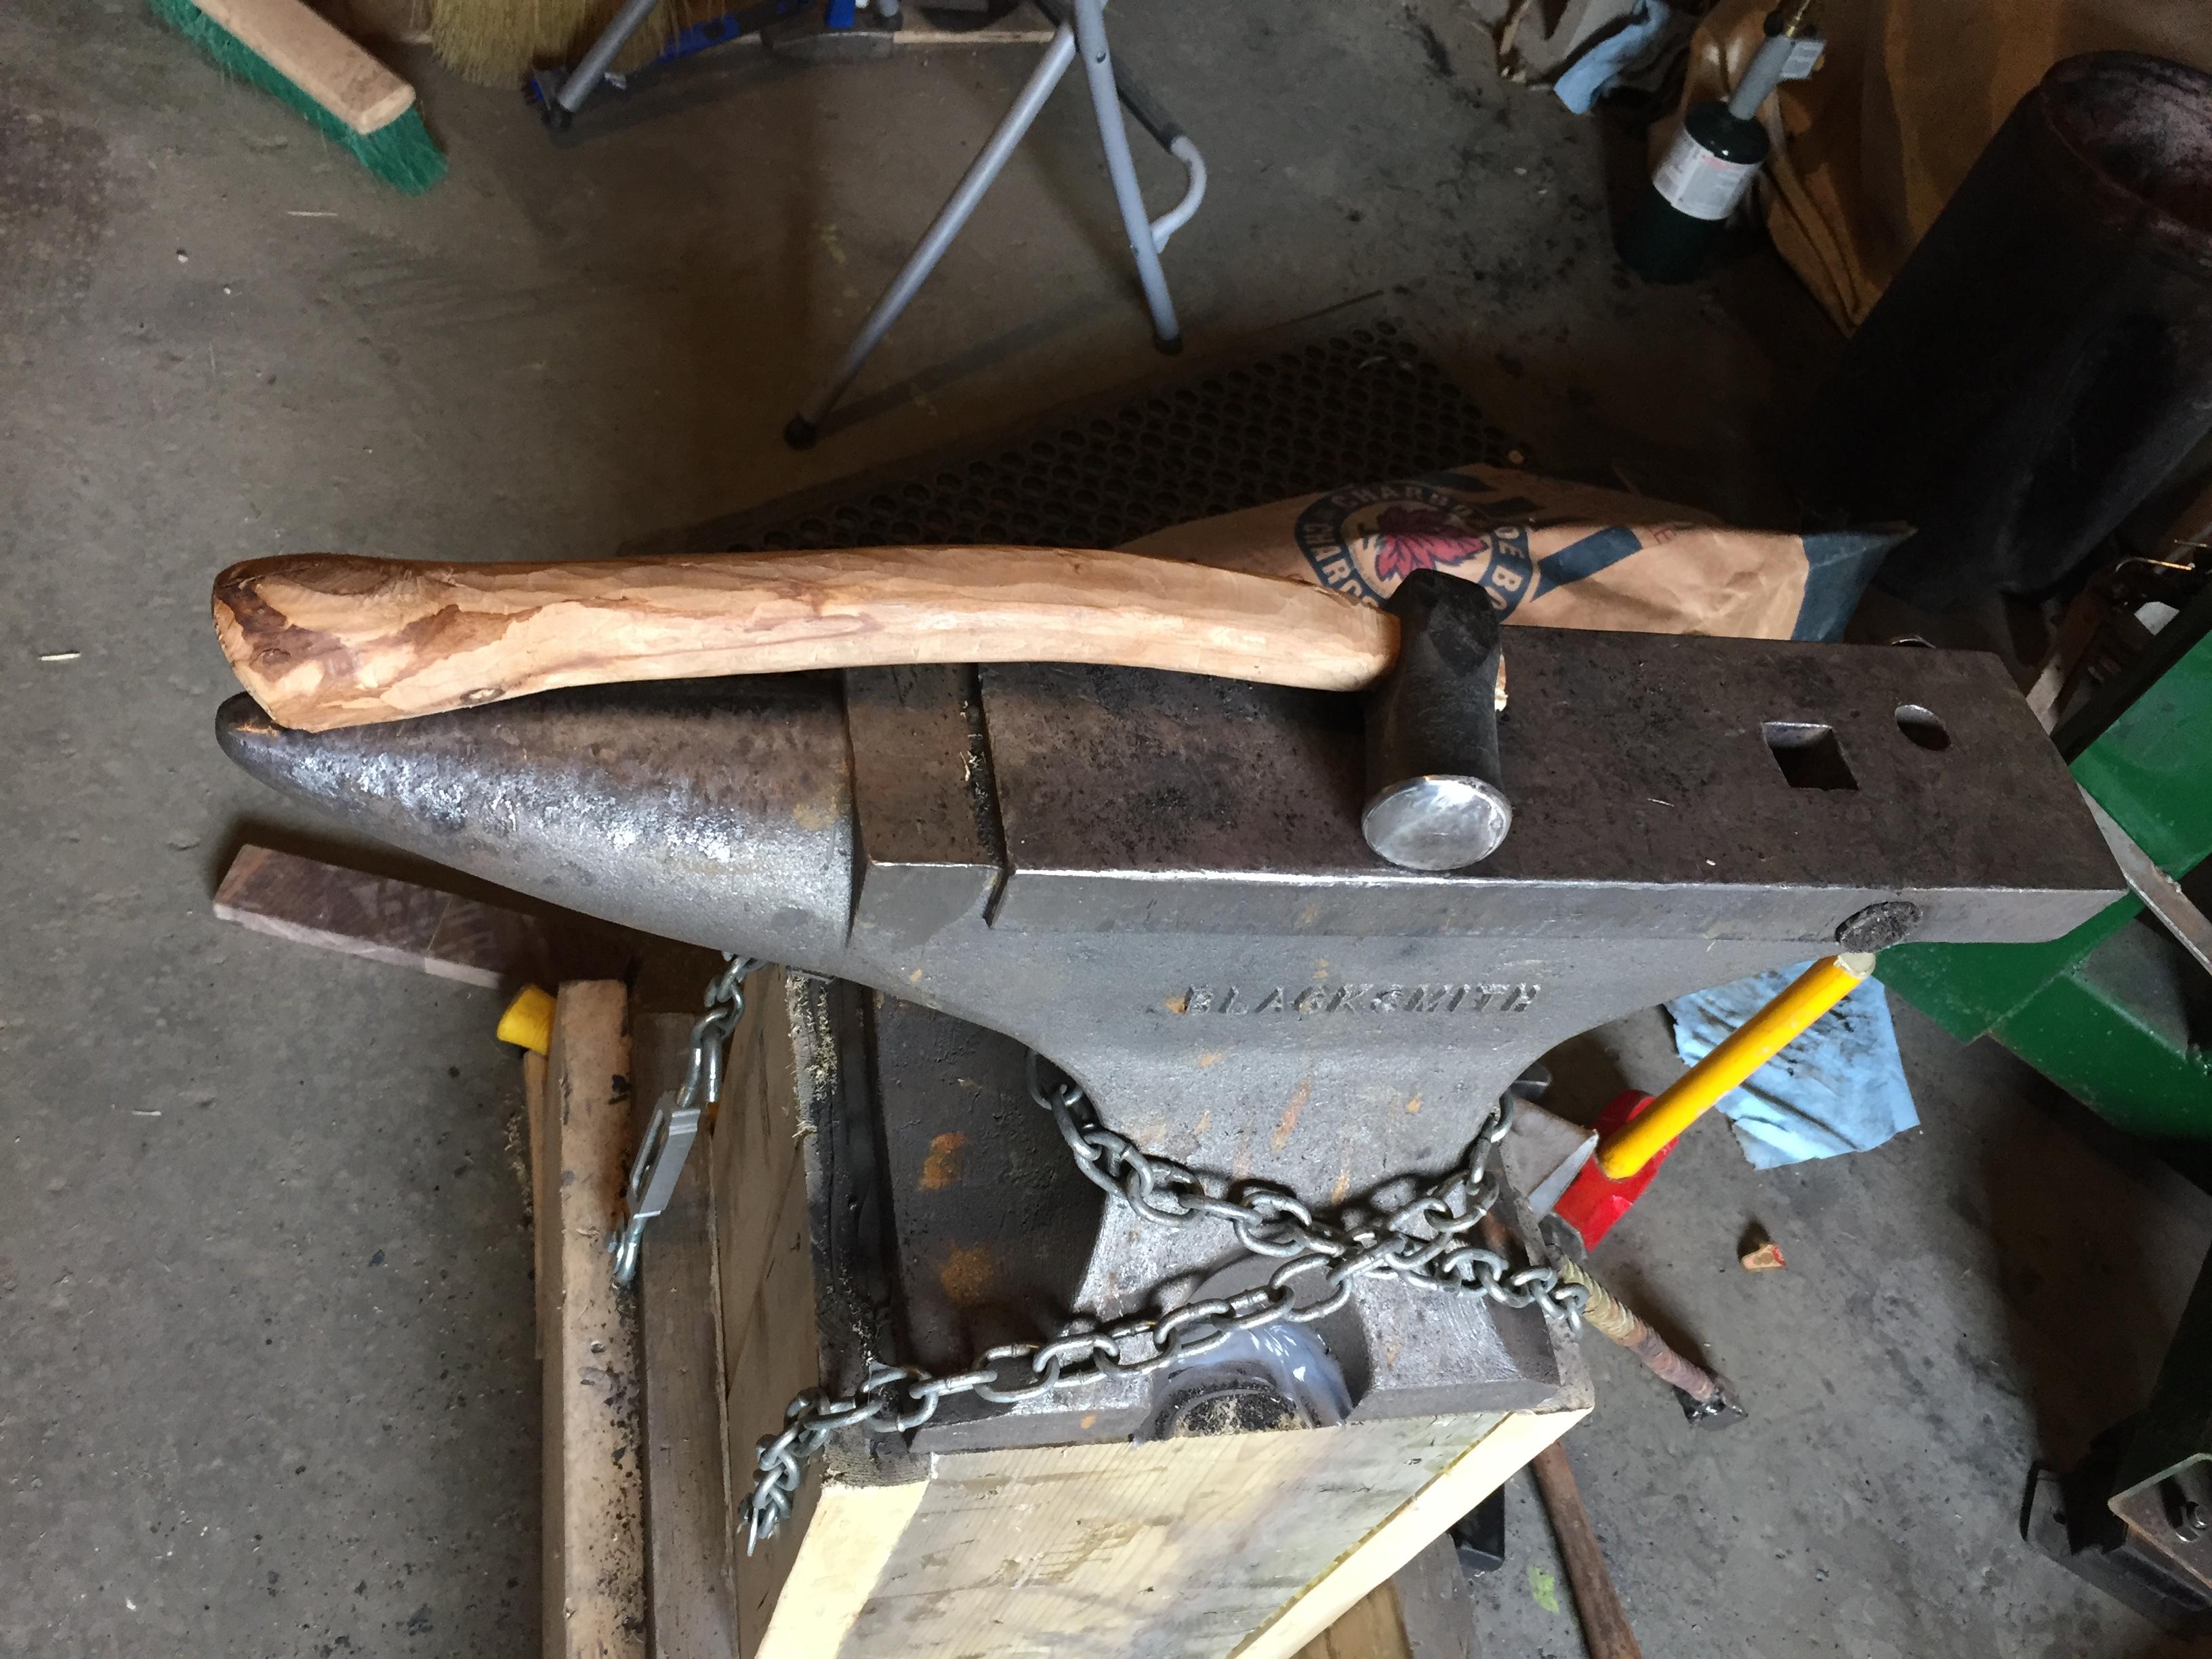
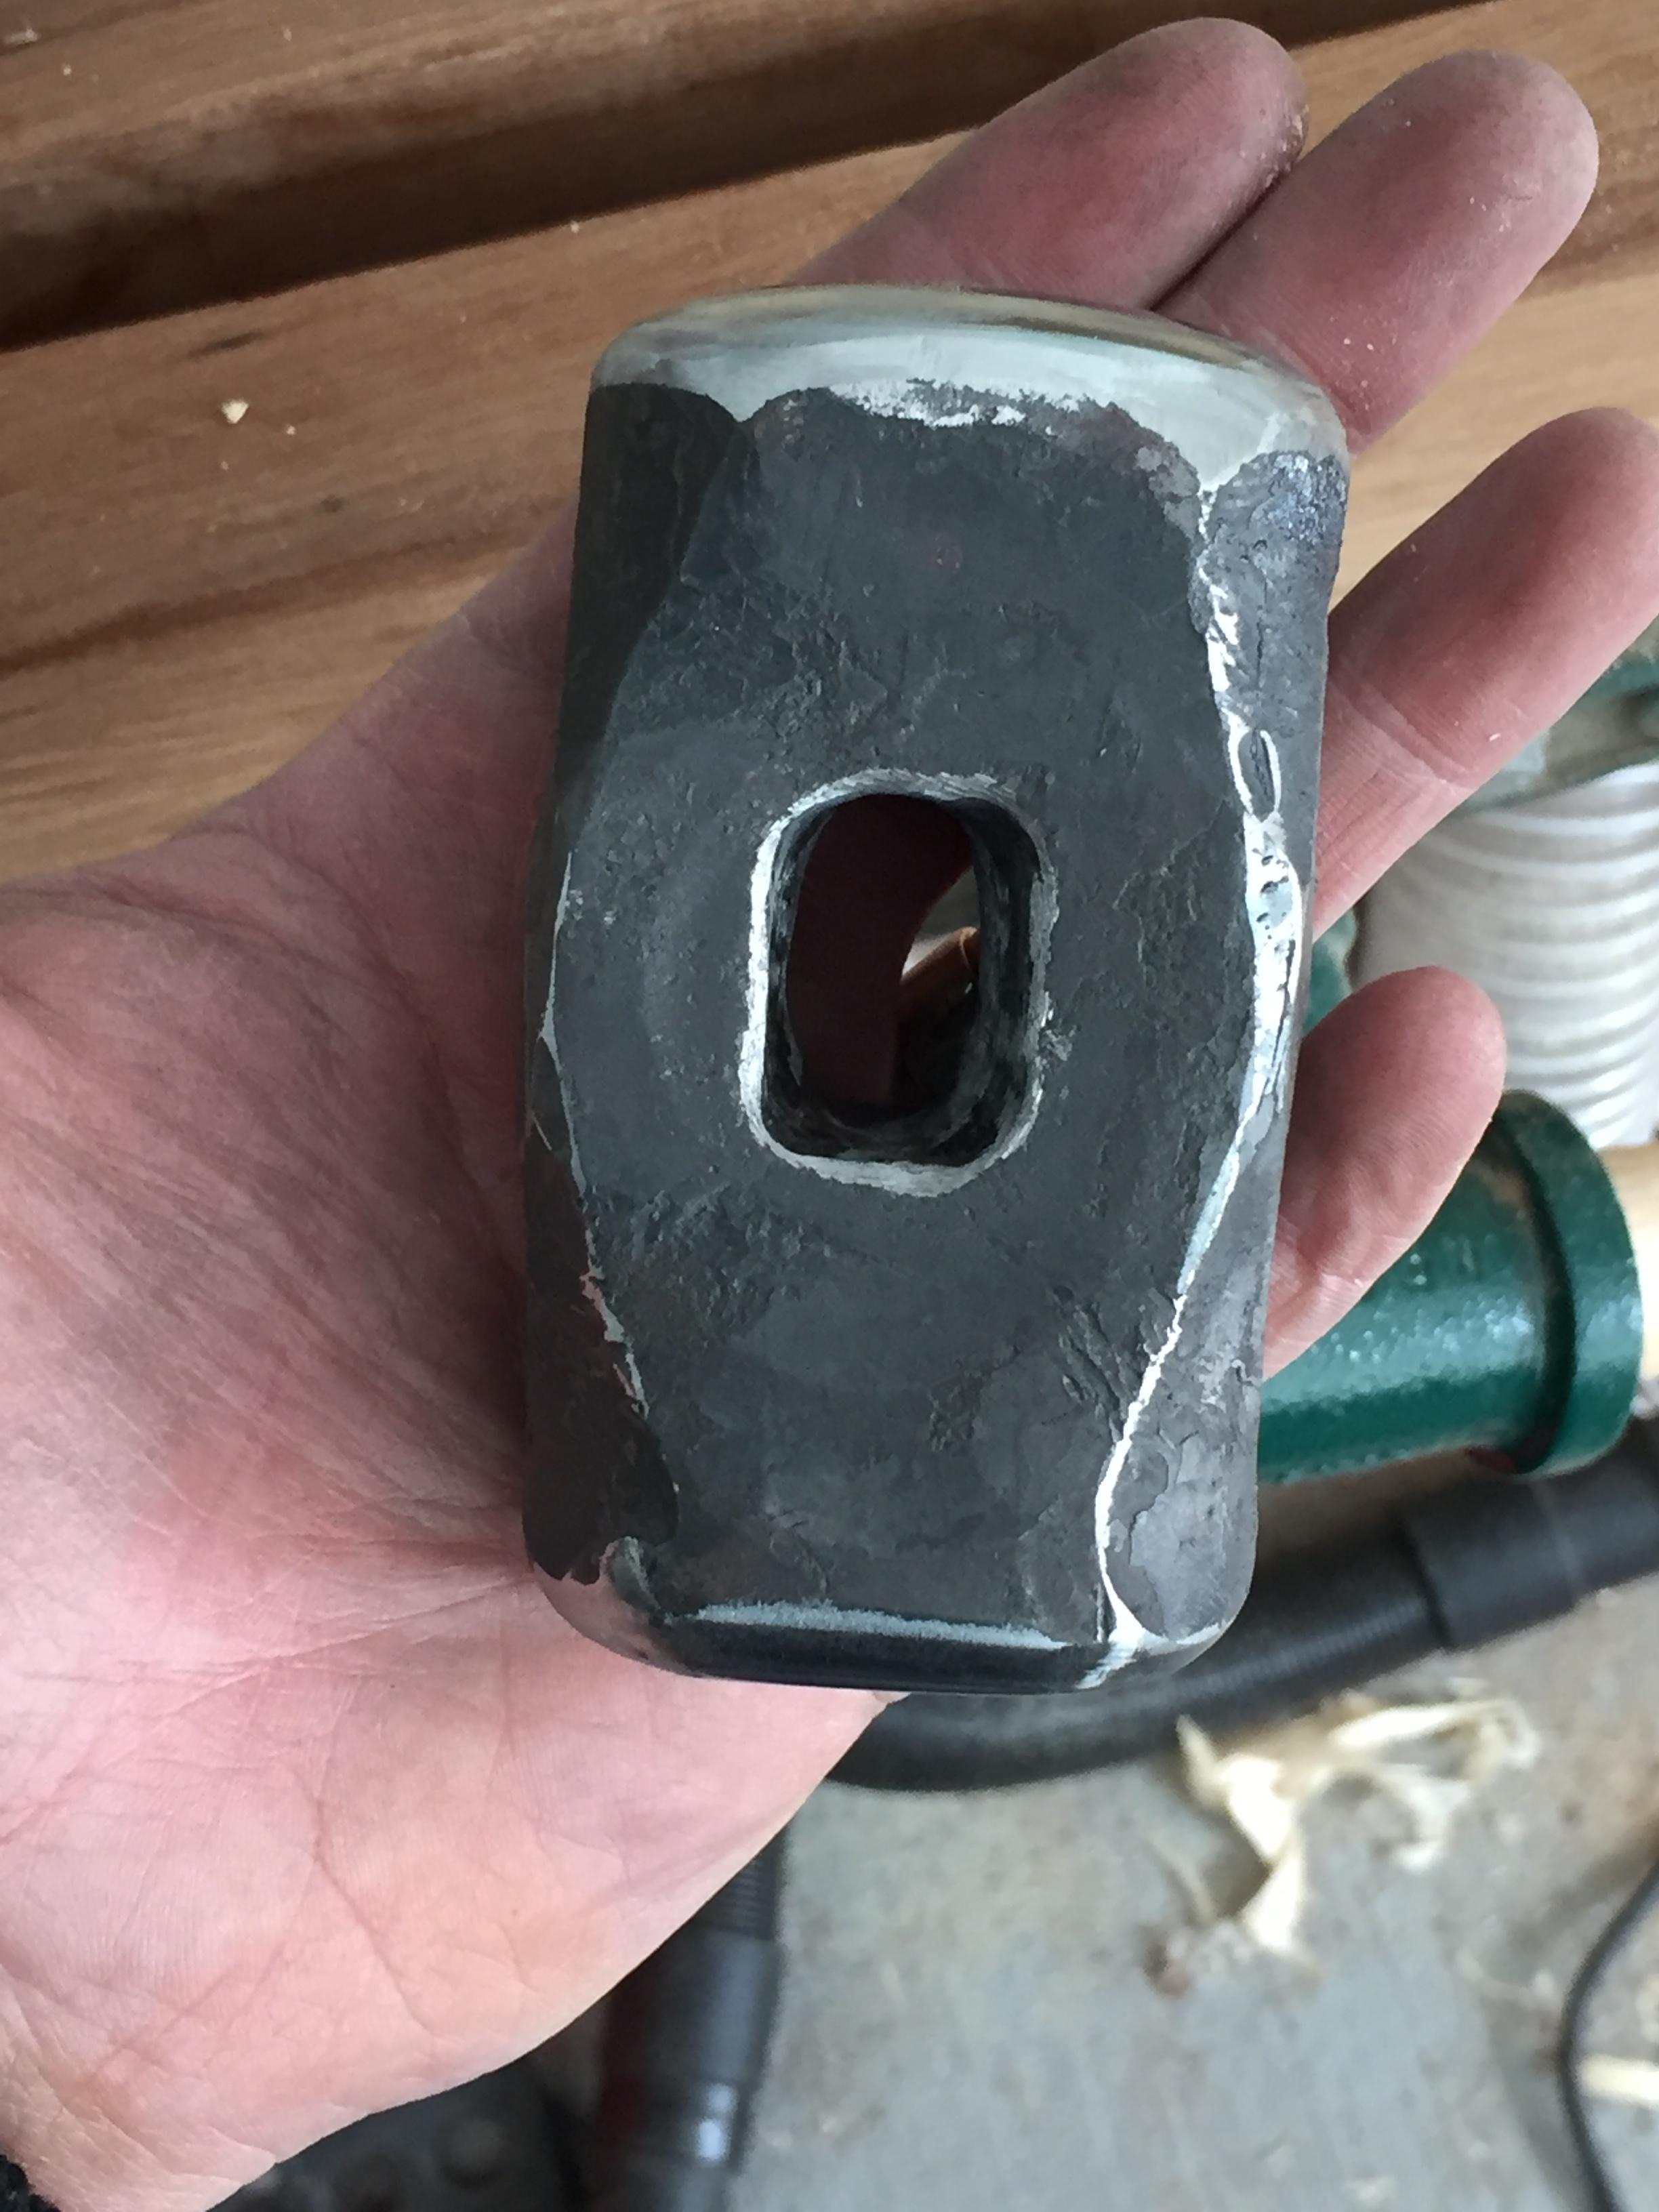
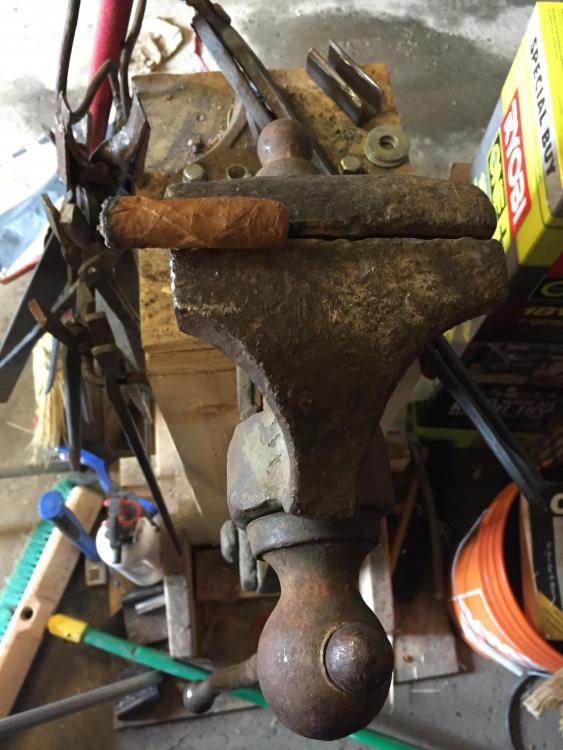
Just for fun I started a handle for the Asian hammer from a crabapple branch. What do you think? It's only rough right now, but I might keep it. This is the mild steel one anyway. Well, it not be very practical as is. The eye should be drifted much larger and more parallel I think. And I know that the wood grain direction is all wrong, but what the heck.


-
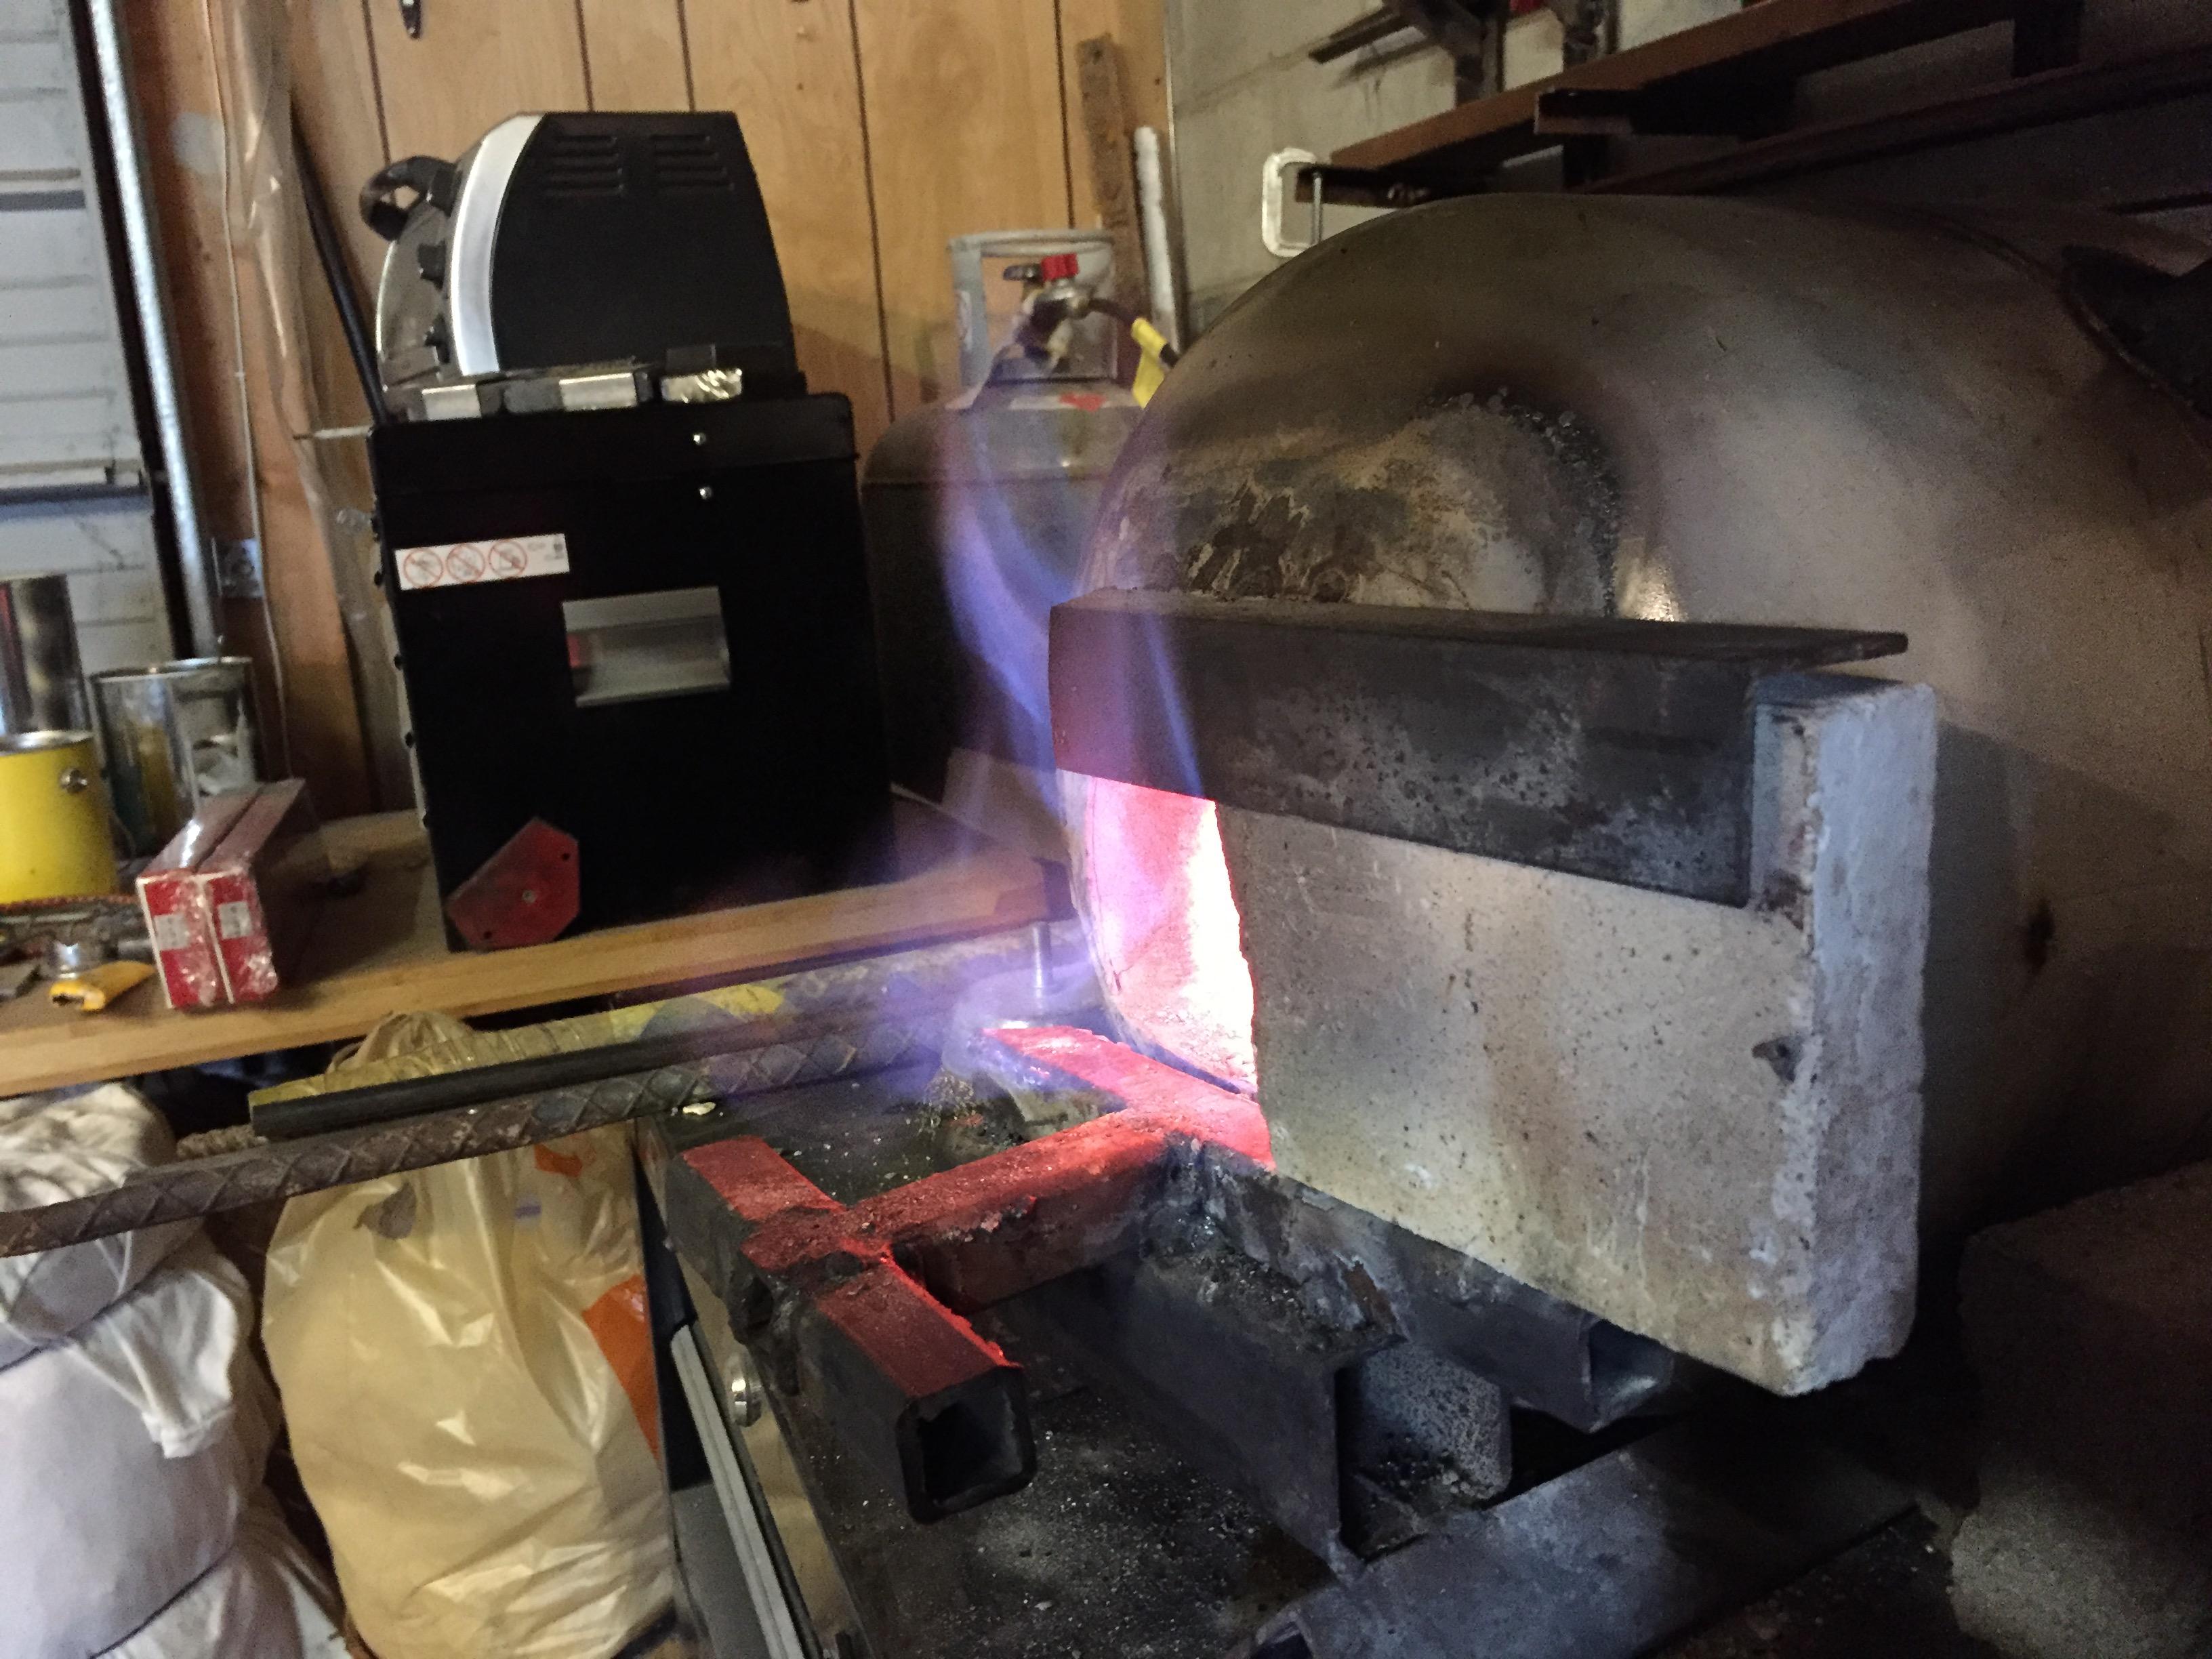
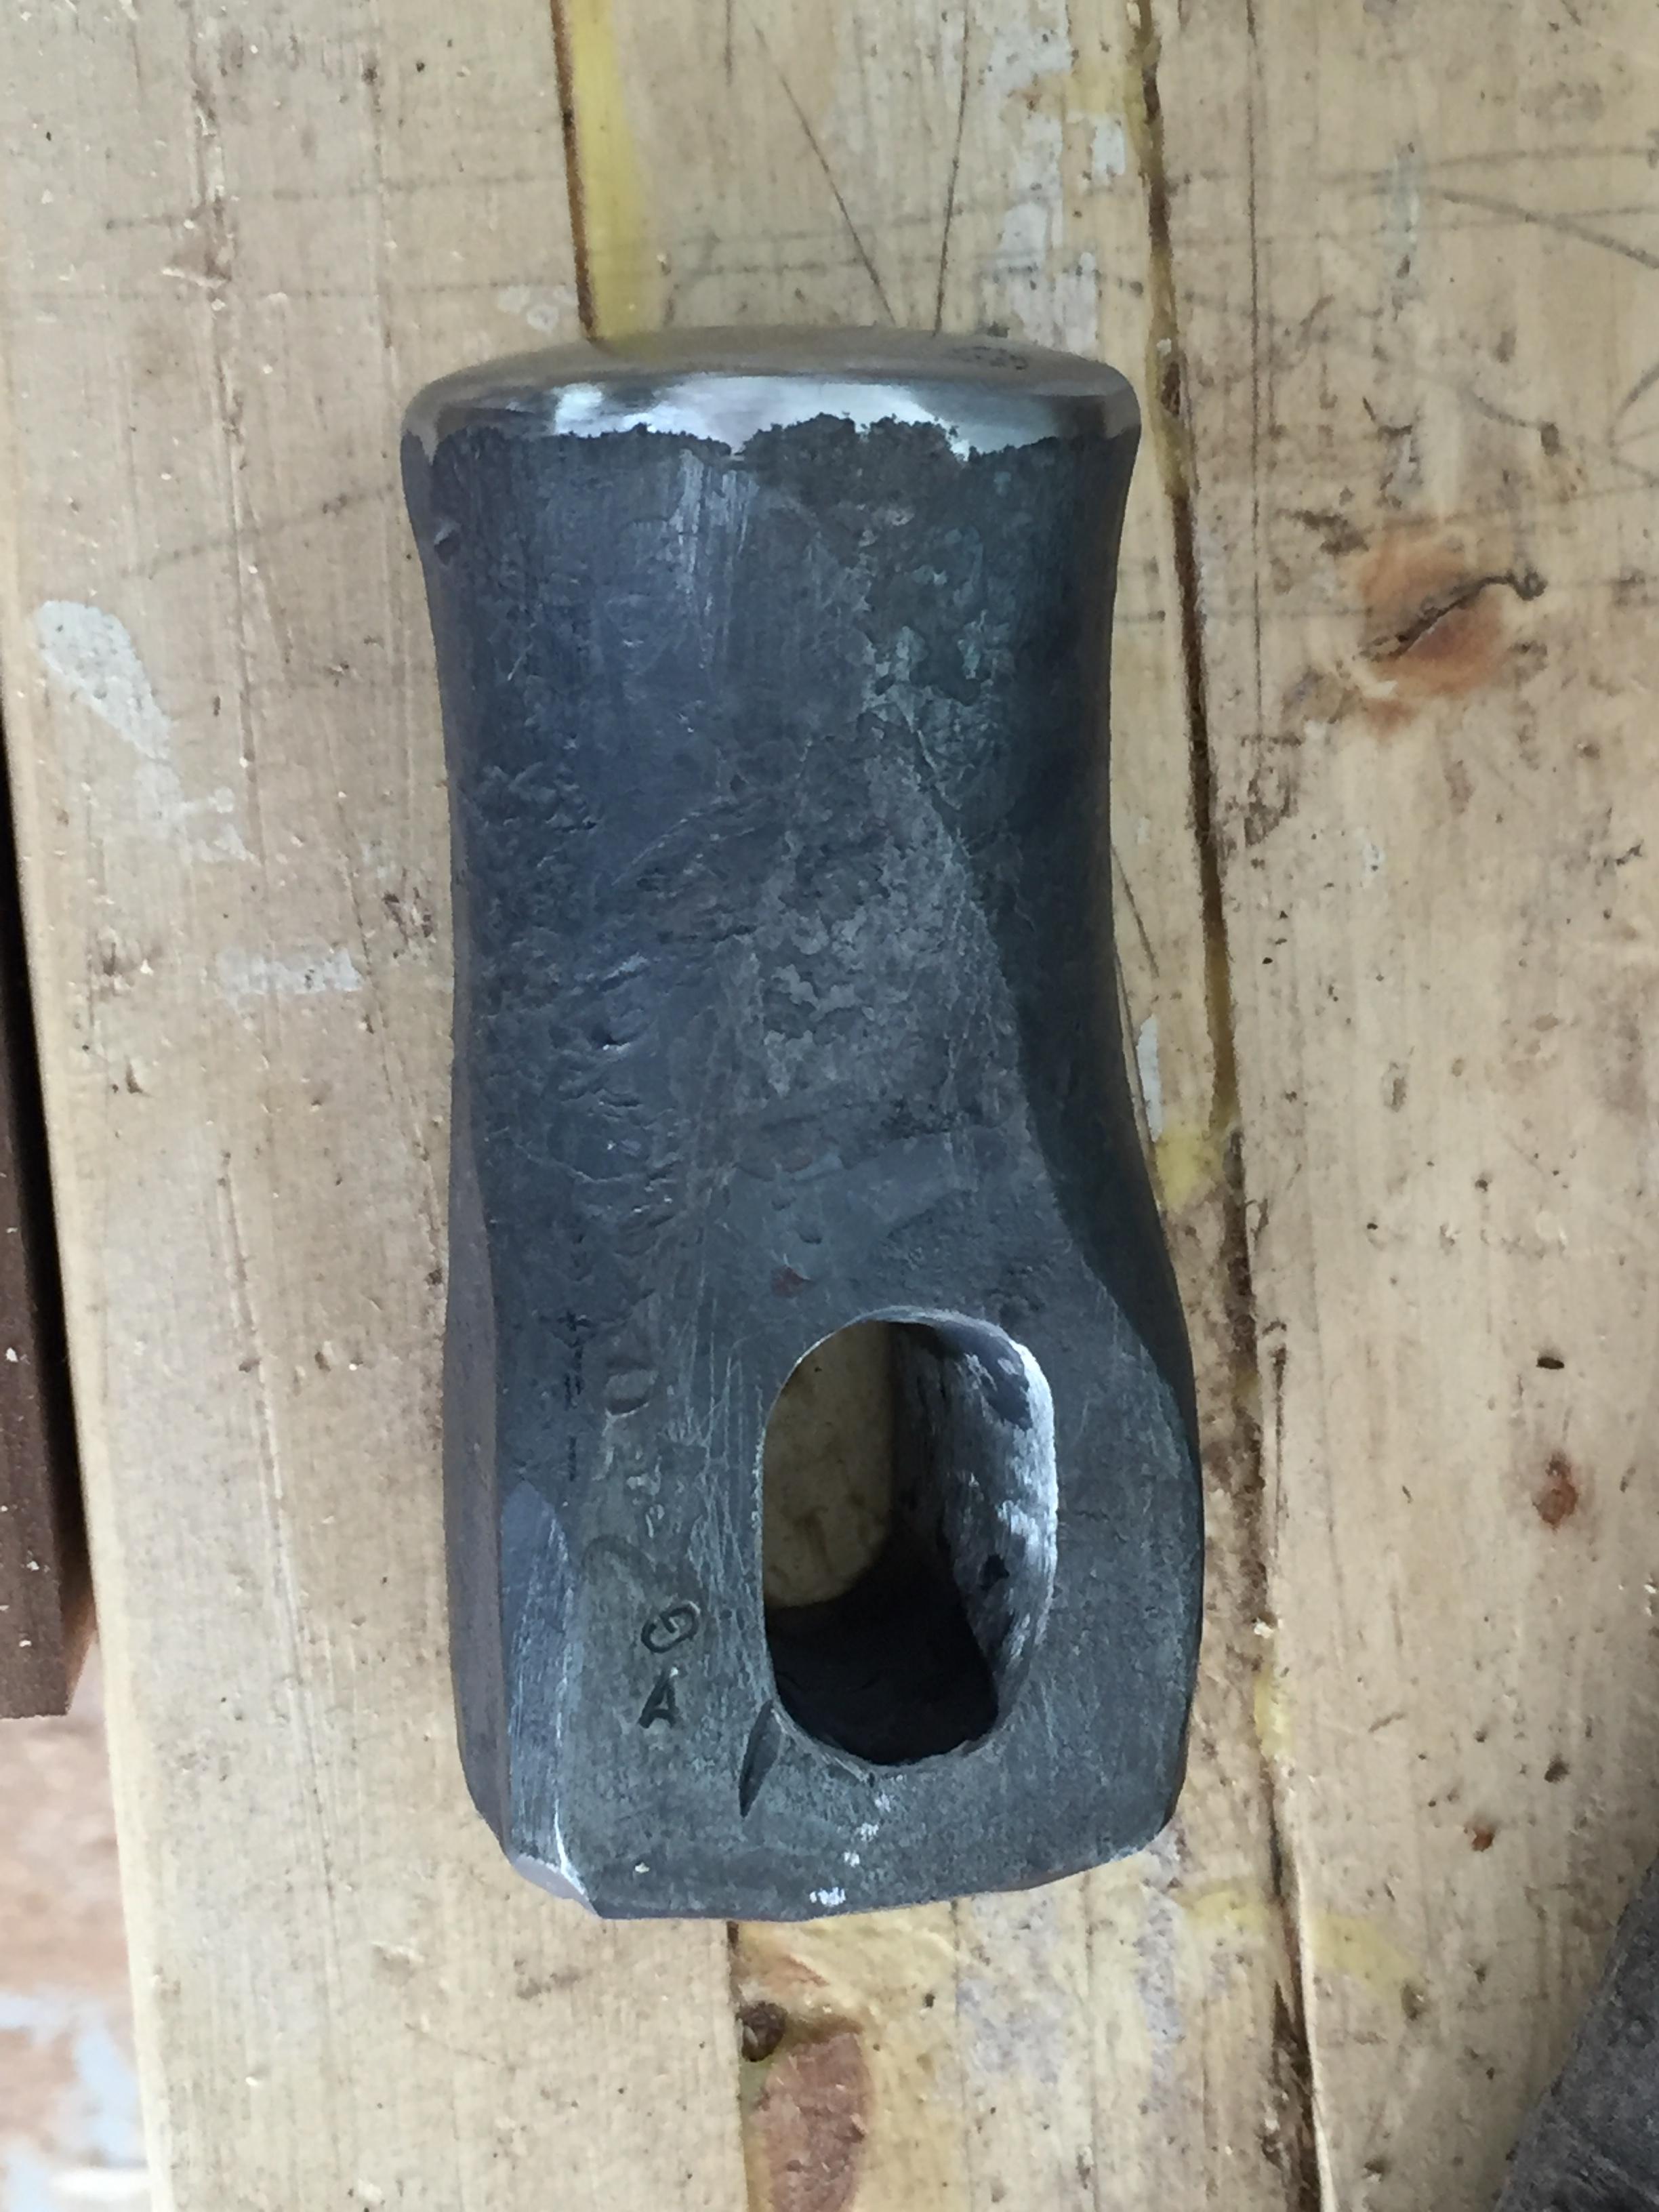
Quick question... would it be a good idea to heat treat this 3.5 lb 1045 hammer by rapidly heating it in the forge but not letting it soak long enough for the interior to reach critical? My thinking is that it could result in a surface hardening of sorts, but it could also introduce major stresses (but so does quenching anyway, and this is a big blocky piece). What do you guys think?
-
My first rounding hammer - suggestions on the grind welcome
AdamG replied to Nicholas_Killmeier's topic in Hand Hammers
Beautiful hammers, guys! I wish there was an easier way to make those fullers by myself (without a striker). Without them, my recent attempts look a bit blocky and likely will result in some knuckle-busting on the anvil face. I was wondering the same thing about the flat face on mine. A face that's dead flat and 1 1/4" to 1 1/2" wide with a tight radius would be fairly unforgiving I would imagine. That young smiths' one looks a bit radiused overall. I'll watch this thread for a few more days before heat treating mine! -
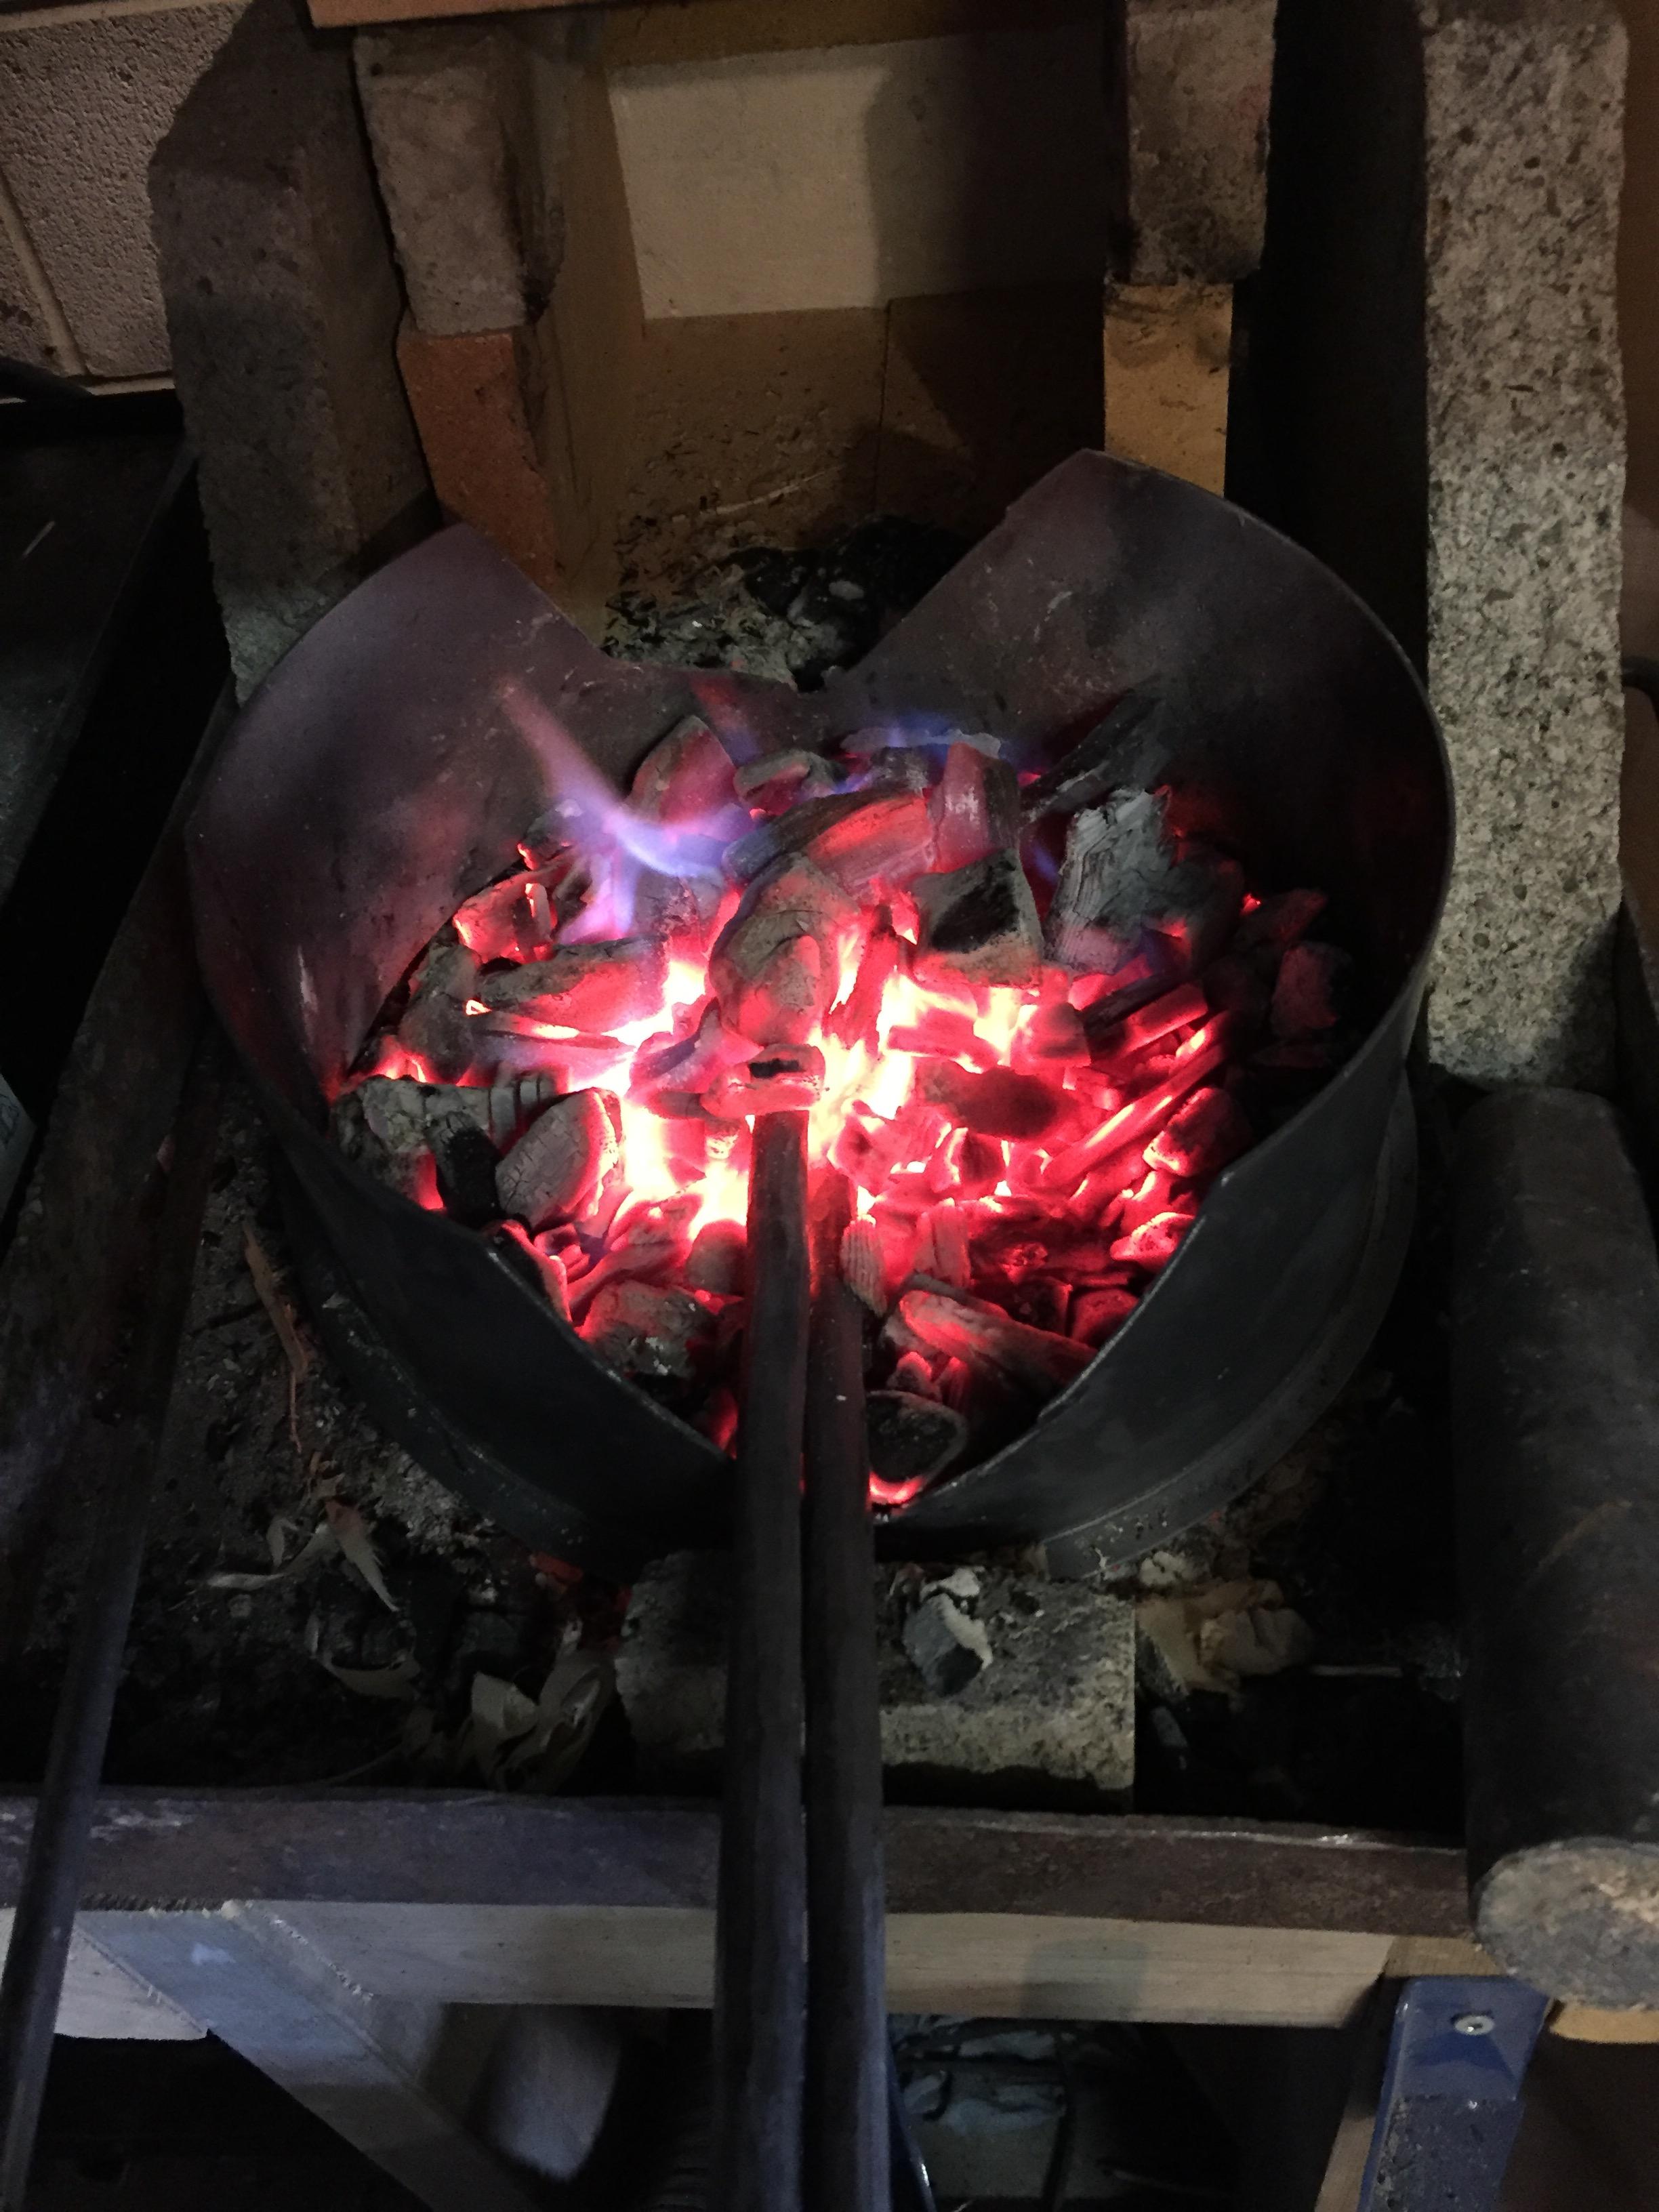
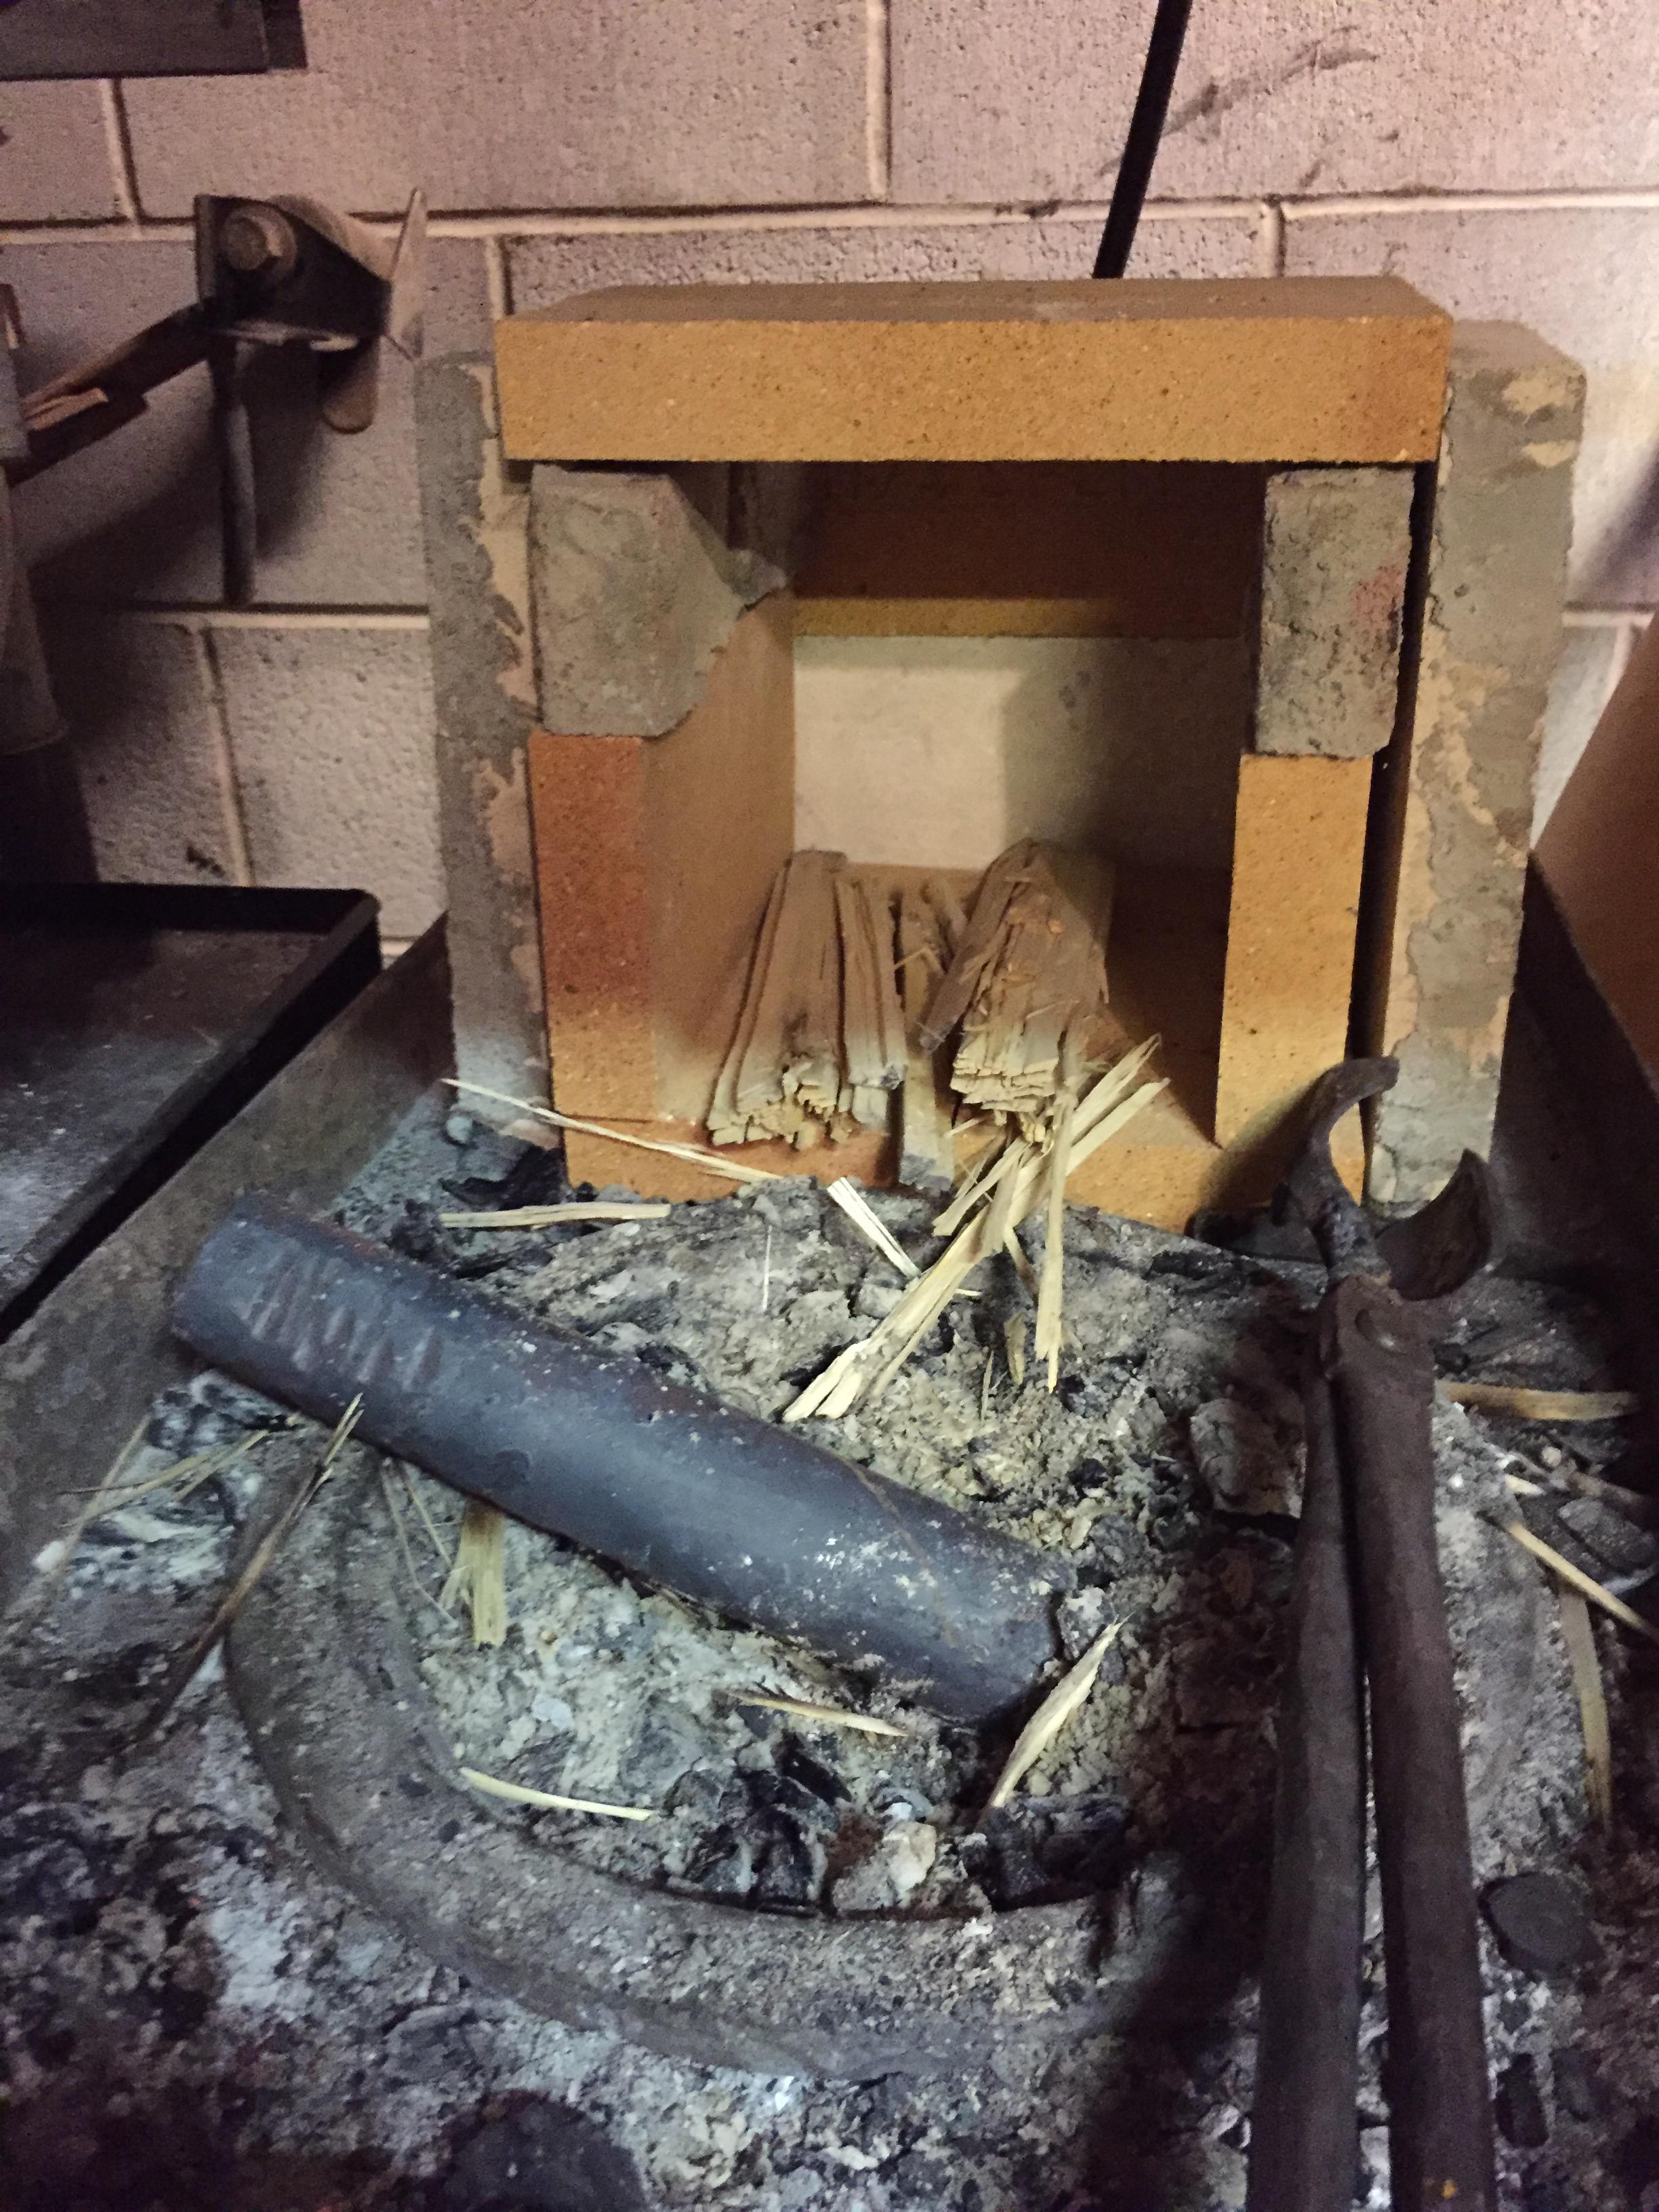
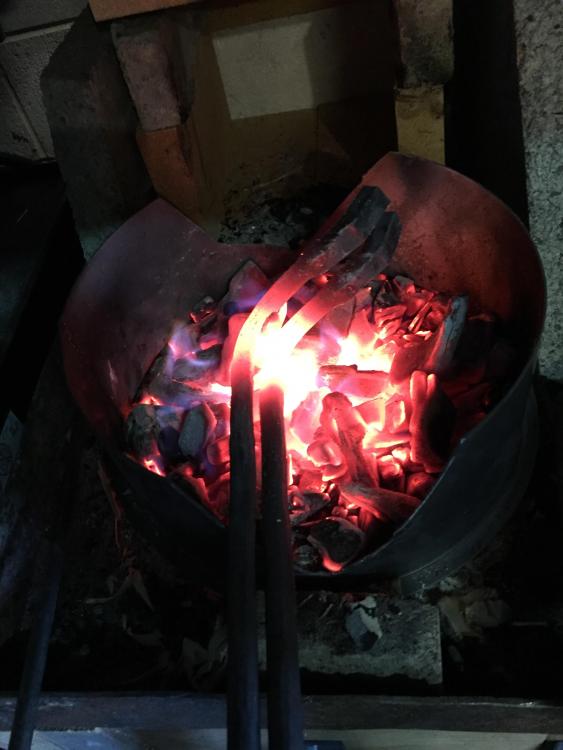
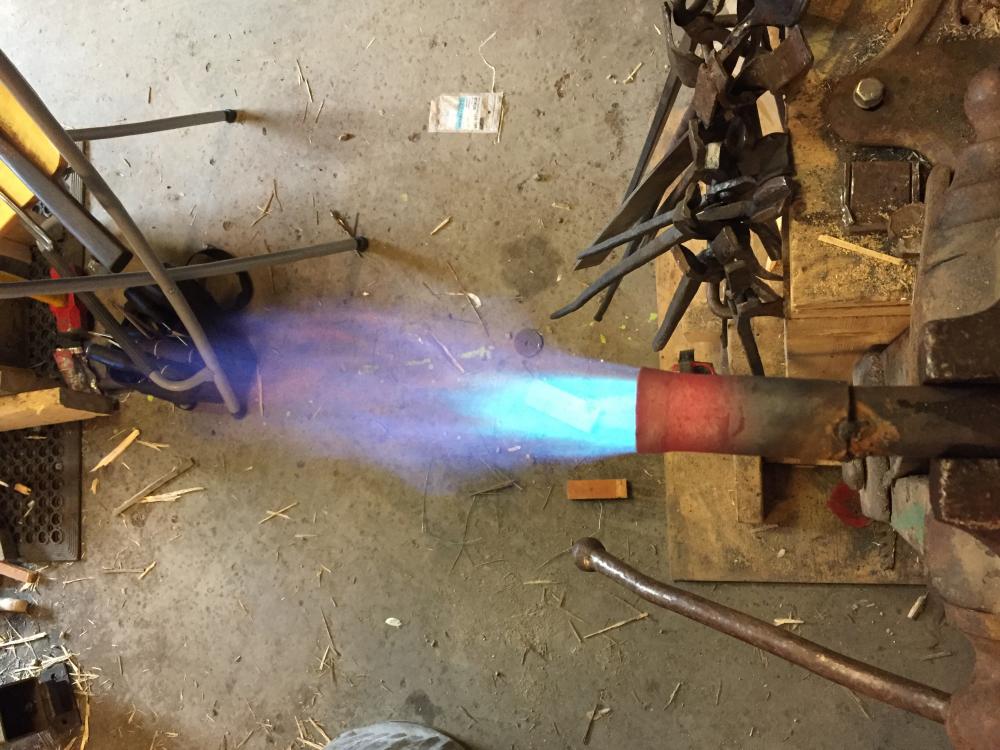
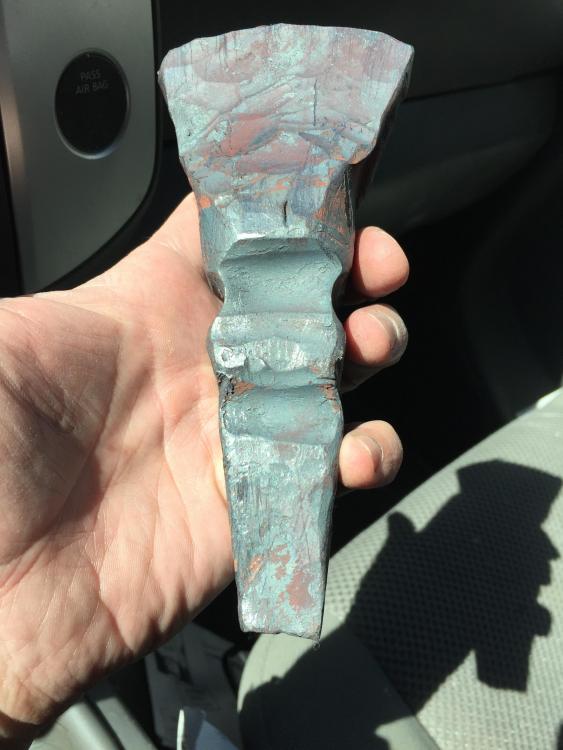
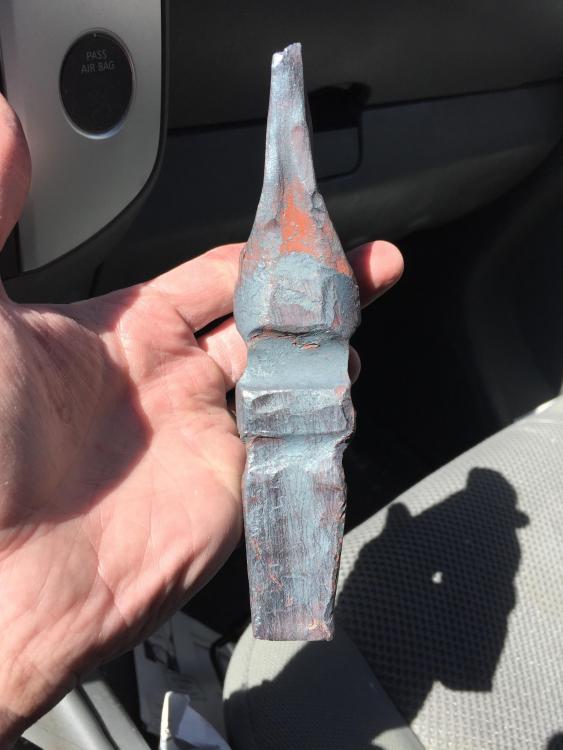
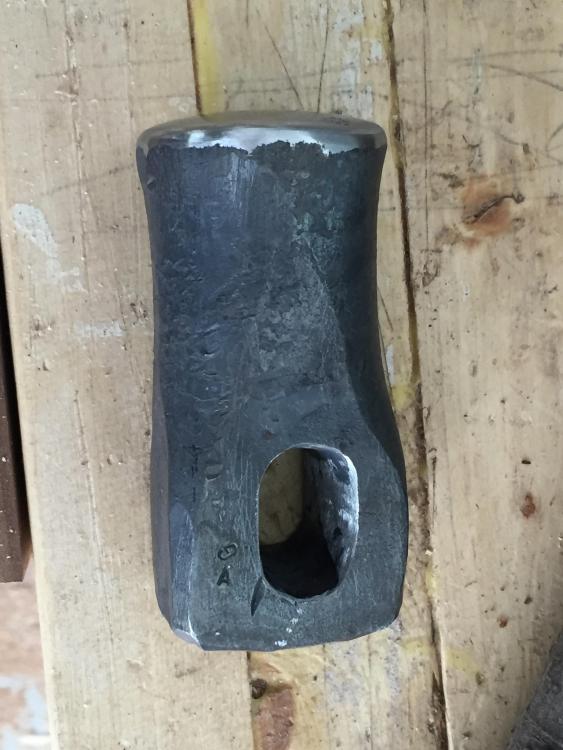
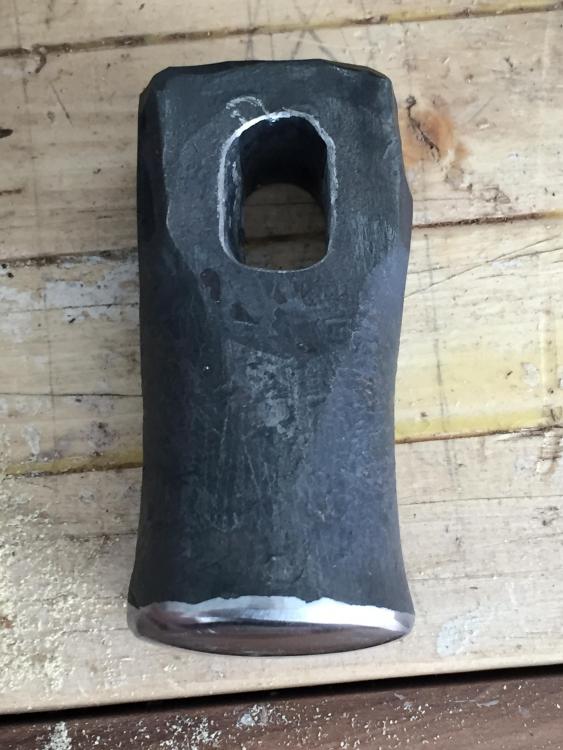
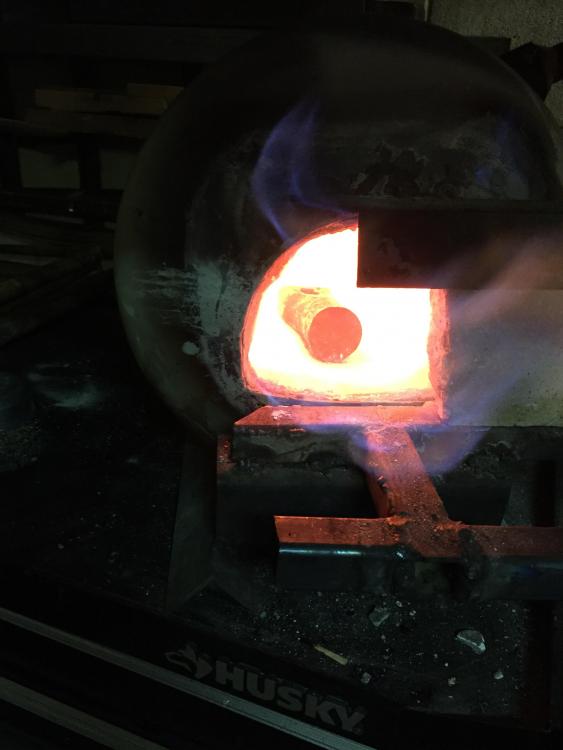
Ok, next round of hammers. I wanted a rounding hammer so I tried to make one out of 1045. I don't have the gear to move this size stock on my own. Just barely made the punch through. Next is my first Asian style hammer head. It's just mild steel, so it may be a prototype. Still had a hell of a time punching the hole. I don't think I am getting hot enough, and I need tongs for intermediate size round stock. Some pics of the fire... and a fail with large stock 4140. I thought I would make an axe eye drift. Barely made a dent!


-
He's keen to do more. Apparently he's been at it for a long time, and knows quite a lot. Great entertainment for me! Might just have a striker one day too!
-
https://www.youtube.com/watch?v=TguywHSdIEg
-
I'm jealous. My anvil is so ductile it's not funny. I love the look of those Nimba. If you're not a ferrier, and are doing heavy work (like hammer making, or even blade making rather than straightening long pieces that requires the long heel), they look more sensible to me than the London pattern.