MonkeyForge
-
Posts
142 -
Joined
-
Last visited
Content Type
Profiles
Forums
Articles
Gallery
Downloads
Events
Everything posted by MonkeyForge
-
I was thinking to make an additional tile that slides in and out of the half tube. As the half tube sits on top of the slab. I intend to take the whole assembly to welding heat and weld. Even though the tile may be resistant to flux, molten borax will leave a bit if a mess so it is nice to be able to take a part out for cleaning. I have high hopes for flux resistance in this material but for now it is untested. Seeing is believing. . The test tiles I made before are very hard and dense even at 5mm and also very resistant to shock an abrasion. On a side note, uncoated ceramic wool will melt when exposed to molten borax. A simple thin coating of zircon, blanket rigidizer and kaolin will prevent this, though not indefinitely. Some other members here may attest to that.
-
These particular pieces contain paper fiber which I mainly used for the added green strength and it somewhat speeds up the drying. Also I knew I needed to transport them. For the percentages I used: - Zircon 66.91% (or 82.19% minus water and paper) - Bentone 2.23% (or 2.74% minus water and paper) - Molochite 12.27% (or 15.07% minus water and paper) - Paper fiber 3.72% - Water 14.87% I will do a complete write up later. I am curious to see how this performs under heat. Next step is to make two parts for the front and back of the half cylinder, insulation and a shell.
-
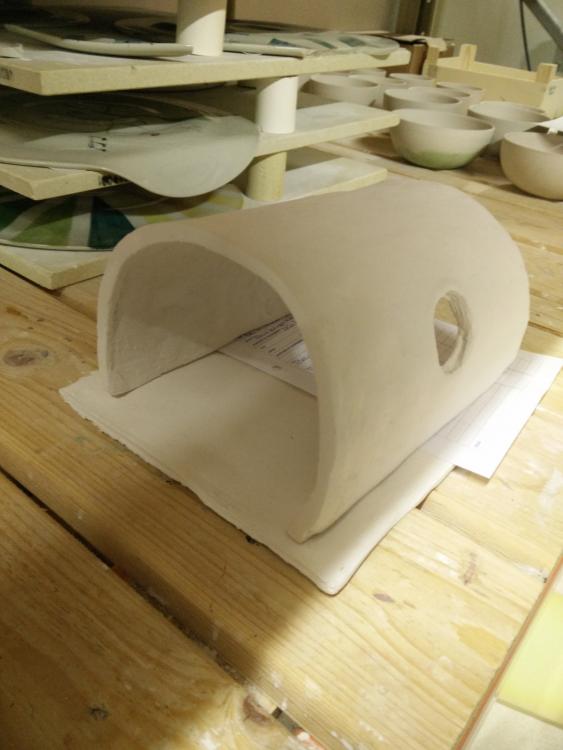
I have been able to make some nice shapes with a mixture of Zirconinum silicate, Molochite (calcined Kaolin) and Bentone (similar to Veegum, different brand) I had it fired as a porcelain at my local potter but small tiles can be fired in your forge. Getting the ingredients at a pottery supply in small quantities can also prove costly compared to other refractories. The aforementioned mixture roughly costs 6 dollars per pound. I would not be able to answer your question regarding cerium oxide as I have no hands-on with it. (Also pretty happy with Zirconium silicate mixtures I have tried so far without additions) Picture below is my latest experiment, still in the green state. A flat floor and half a tube. (it has survived firing but have no pictures yet.. I will start a separate thread with more details as I build a forge around it.) It is a little over 5 mm thick.
-
Naturally Aspirated Ribbon Burner. Photo heavy.
MonkeyForge replied to Frosty's topic in Ribbon Burners
I think you are making good progress and I am looking forward to more of your results. I will probably construct e new small (150/200 cubic inch) forge and may consider "converting" one of my NA burners to a ribbon burner. (They just screw on and off anyway ) Frankly I am surprised more people haven't responded to your post. Good luck tuning and looking forward to more. -
If it is well built a small forge will be about as durable as a big one. (Depending on how you use it, how long etc.) I worked with a 100 cubic inch forge and a 1/2 inch T burner for a good while and it was sufficient for most blade work. With a pass-though opening on the far end it can even accommodate longer work. ! inch burners are pretty much up scaled versions of smaller ones. 3/4 is twice the output of 1/2. 1 inch is twice the output of 3/4. If you look at most burner plans you will notice that the ratio of air intake to mixing tube matters and the orifice size for the given burner tube diameter. Most of this is discussed in the burners 101 thread pinned in the gas forges section here. The design you posted in October has quite a deep (long) chamber, you would probably be better off with 2 x 3/4 inch burner to evenly heat the entire length. If you really want to use a bigger burner a single one inch should suffice. 2 will be over kill for 750 cubic inch. You state you 'feel' that 2 one inch burners will work well. what do you base this on?
-
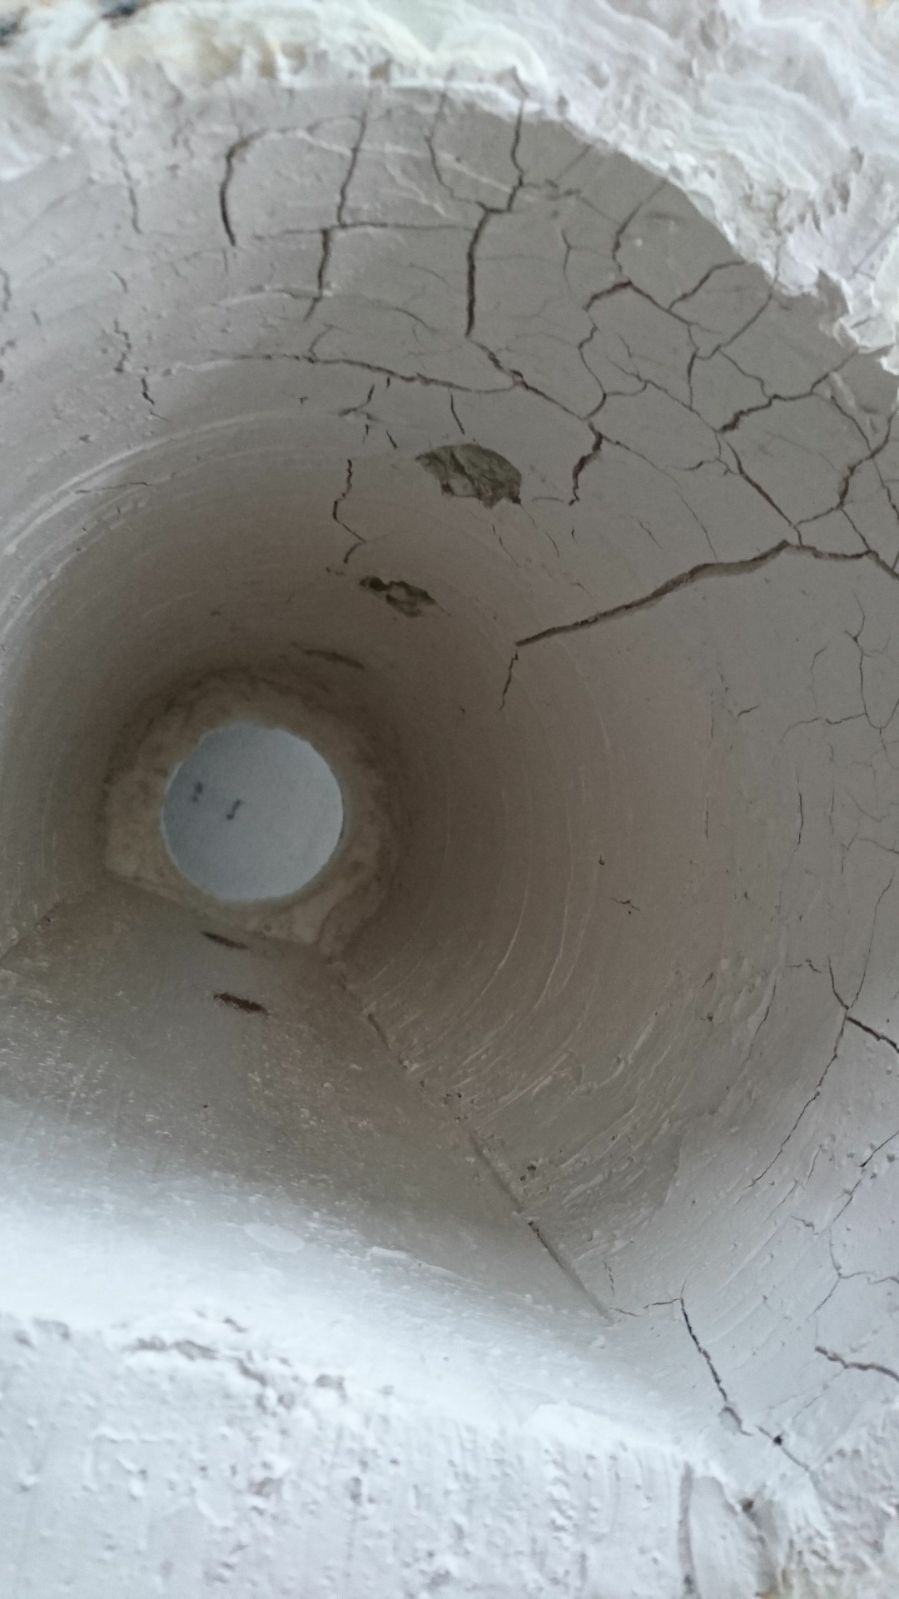
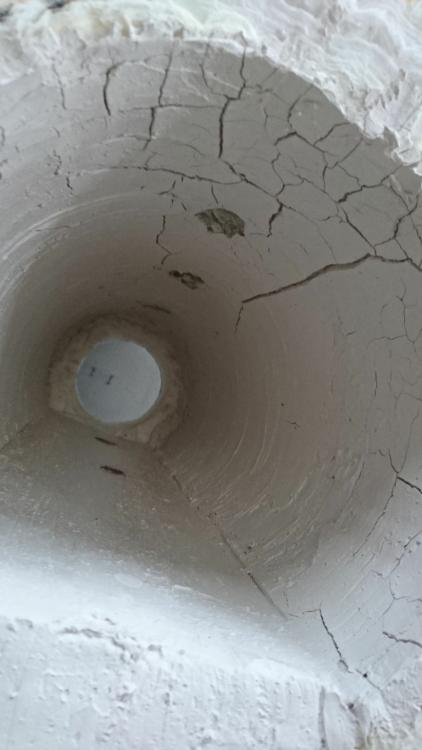
I have had similar issues with shrinkage but mostly on drying. a 4 to 5 mm coating on the arched ceiling of the forge cracked severely during drying. The cracks did not widen on firing so this indicates most of the shrinking occurs during drying. Using less water may be beneficial. On the flat floor the cracking did not occur. I used Bentone, a refined bentonite clay, not Veegum but they are supposedly similar. Drying times are indeed long about a week in a dry shop for the 5 mm coat and it is likely that after this time there is still some water content. Thinner coats and/or a lower water content in the mixture are probably a good way to go. Another thing to note is that the mix is really sticky which is a plus for adhesive properties bubt makes troweling a bit tricky. I may in the future experiment with adding rigidzer as a glassy binder this worked for me in a mix with Zirconium silicate and kaolin. Besides the cracks in my last experiment the coating is still pretty tough after firing, especially on the un-cracked floor part. I'll patch the cracks with an adjusted mixture sometime in the future and keep you guys posted. Also on the list is to dewater after mixing and use as a clay rather than plaster, I am curious as to how well the mix will stick to wool in this consistency. Picture below is after drying and before firing. After firing it looked pretty much the same. Cheers, Maarten
-
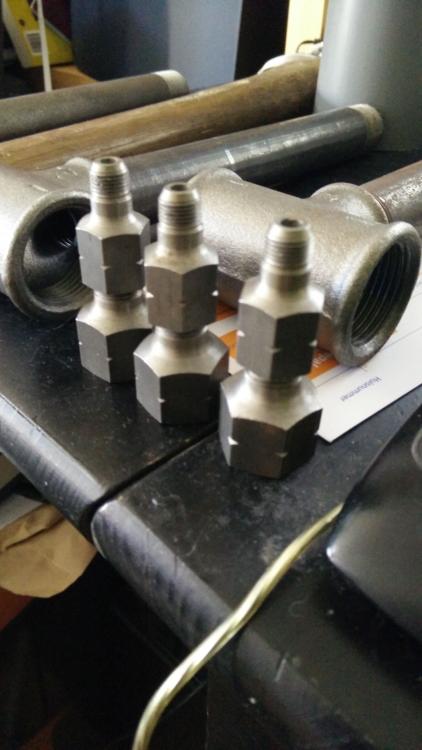
Hi Vandle, it will be useful if you update your profile to update your profile with your location. We know you are in the UK when we read this thread but will likely forget that when you start another thread. I could also not easily find parts that would easily convert to M6, I did find them in the end. I do not know if they are available or easily available for you but I used a 1/4 female to 1/8 male adapter from Georg Fischer. These reducers can be drilled 5mm and tapped M6 afterward. In most cases it will mean you need to use an extra adapter to get your hose connected. see pictures of the part and part number:

-
A 1/2 inch burner will bring 150 cubic inch in a well insulated forge up to welding heat 2458.06 cubic cm for us in metric land, or a little under 2.5 liters. the dense fire brick is not insulating and will take some time to soak up heat. For hat treating you will not need welding heat so for starting out the hard brick will at least contain the fire. (I use a hard brick pile for testing burners) You could use a reflective coating on the brick or just use as is for now and order other materials later. How you stack the bricks kind of depends on the size and shape of the work piece. you will need an opening for the work to go in and you will need a chamber to contain the fire. The beauty of brick piles is that you can restack in different configurations.
-
You state: "Anyways, my goals with this will come in stages. I'm planning to be working on knifes as a hobby and starting with just some stock removal and heat treating. After I find, or make, an anvil I want to move on to actually forging steel." This is a small goal, and also a good goal. I think you will be better of making a small forge. With a good burner your small forge will get metal hot enough to be plastic or hot enough to heat treat simple steels (we have threads on heat treating). I think most principles will scale up from a small forge/burner to bigger ones. If you cannot get any of the required materials in small quantities a large fore will be appealing but you can probably order a large quantity of materials and build a small forge. you should have enough left to build a bigger one when you need it. For specifics forges 101 and burners 101 in the stickies are a good read. And heed the advice of the guys posting in your thread prior to me. They are a wealth of information.
-
Mike, I have not tried drying my mixture on plaster first, I rather processed it right after mixing the powder and adding water, as far as I read on digital fire Veegum has this same property. After about a day the tile will be more like clay and can be bent. After several days it is hard. What The guy at Digital fire does is mix his Veegum and Zirconium silicate, dry on plaster until it is plastic and no longer sticky so he can throw it on the wheel. I imagine that I can do the same with Bentone.
-
Just take in to account that this particular mixture has a long drying time. After mixing (for me) it was sticky between 3 and 5 % Bentone. Adding more water will just make it a slurry or cause the Bentone/bentonite to gel after mixing. When I made my test tiles (96% Zirconium silicate to 4 % Bentone) the consistency would be as follows: - Sticky, good enough to plaster or press - After forming and drying for day or 2 (depending on water content) it would be more like clay and plastic - When dry it will act like dried clay, it will hold together but don't try to bend it. Note that above does not have the water in the equation of the mix, I added it until I had a workable consistency. When the mix gets sticky I could trowel or press it into the form I wanted.
-
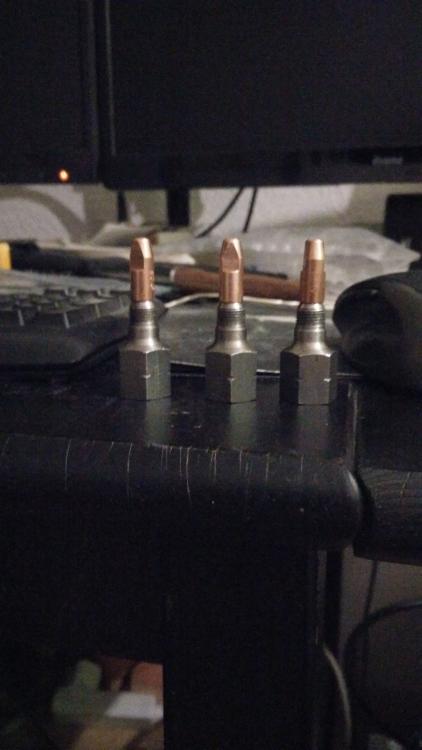
I will start trimming the tips tonight, more pictures to follow. I f I cannot get a stable flame with the misaligned one I will not use it as Latticino suggests (it is off center but still points straight into the mixing tube) . pressure is between 0.5 and 0.9 bar so around 7 to 12 psi. I will make sure to support the hose during testing.
-
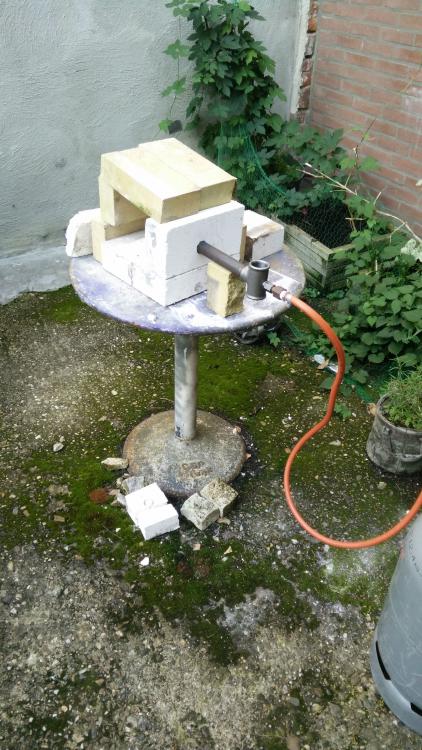
Agreed with all suggestions. I have an adjustable regulator and cut off at the tank. As I stated these burners are not tuned and I know one is misaligned. Pictures are merely to demonstrate the difference between flames. The brick pile is my test bed. Just want to share my failures in a visual way.. And, as always thanks your advise is valuable info in stuff I did not think about yet
-
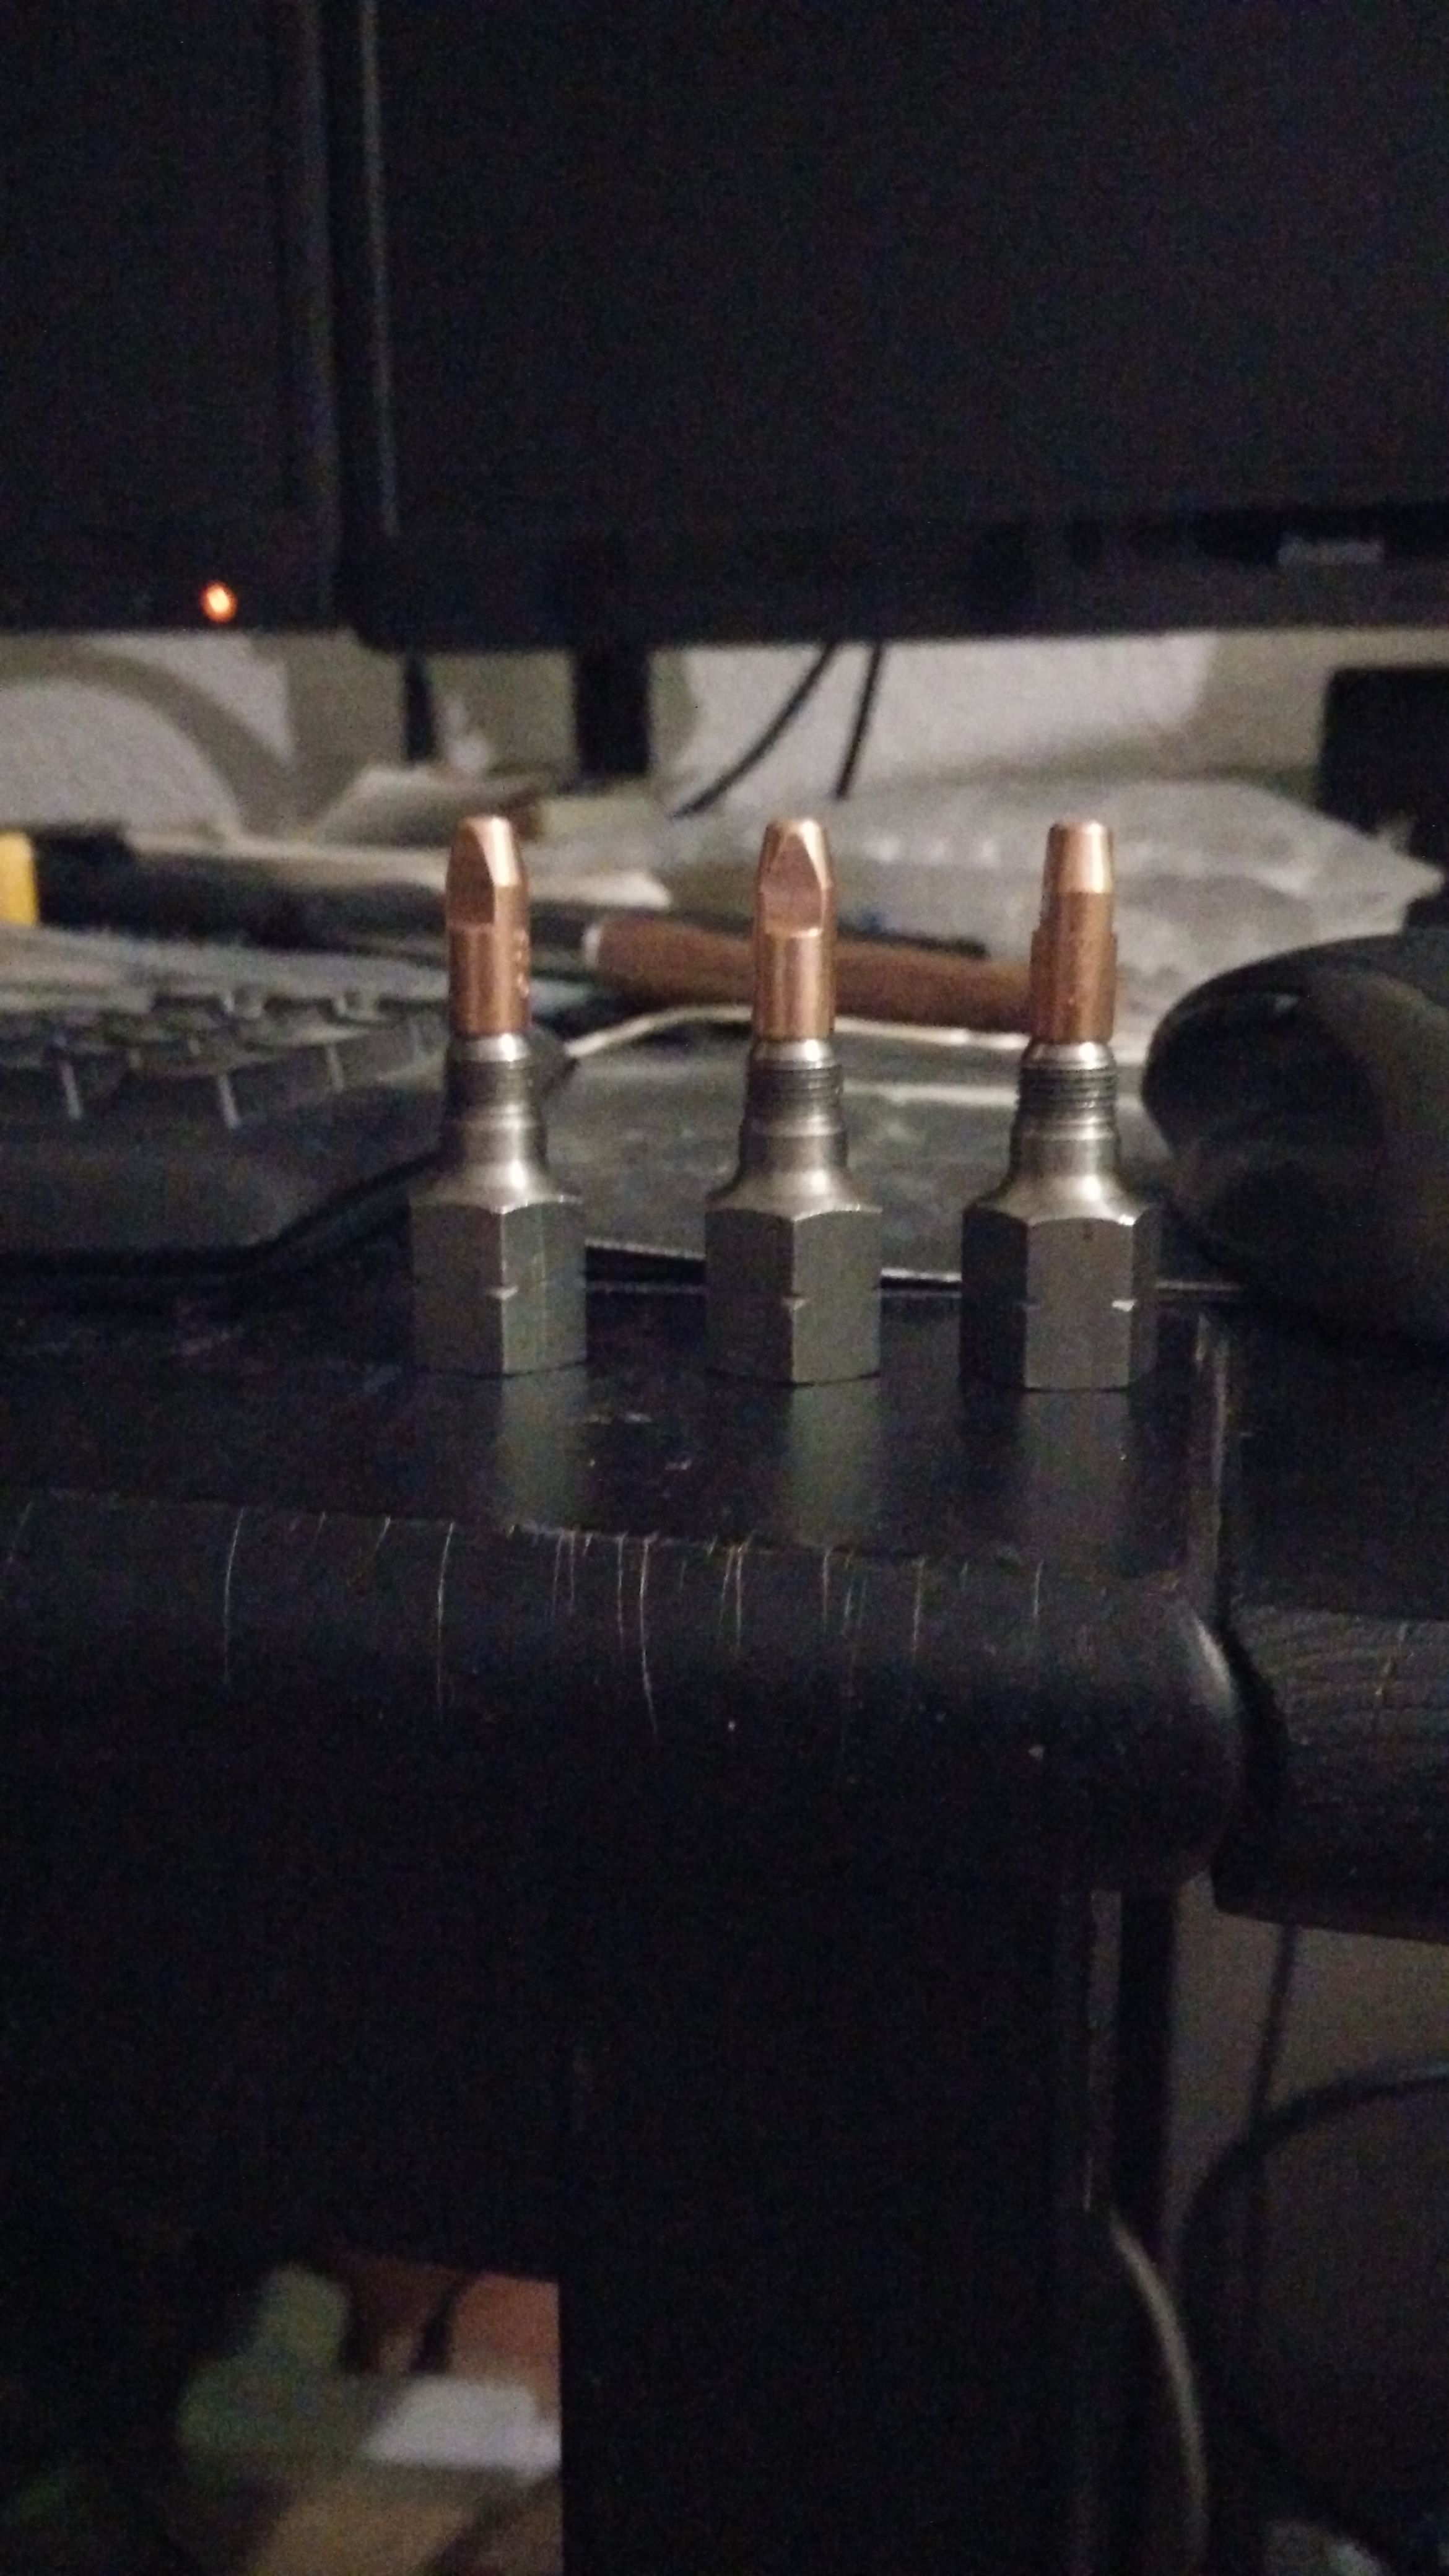
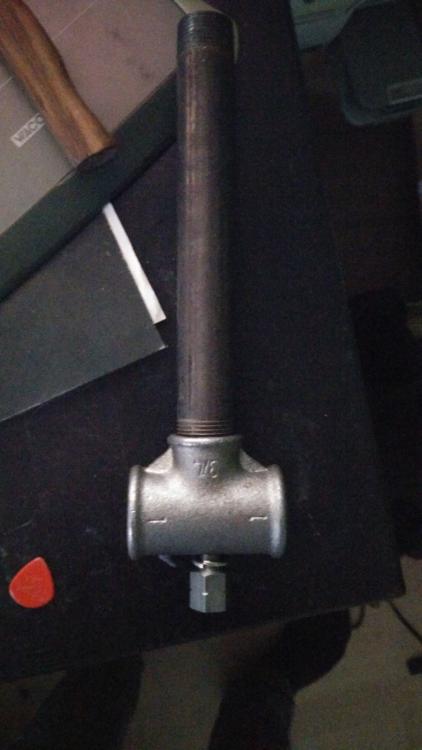
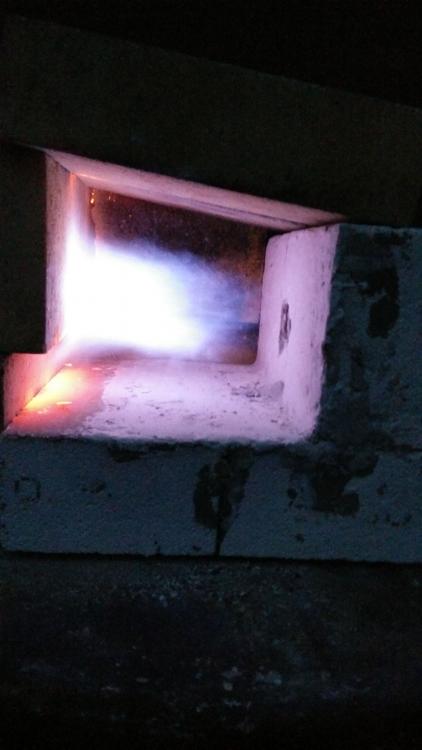
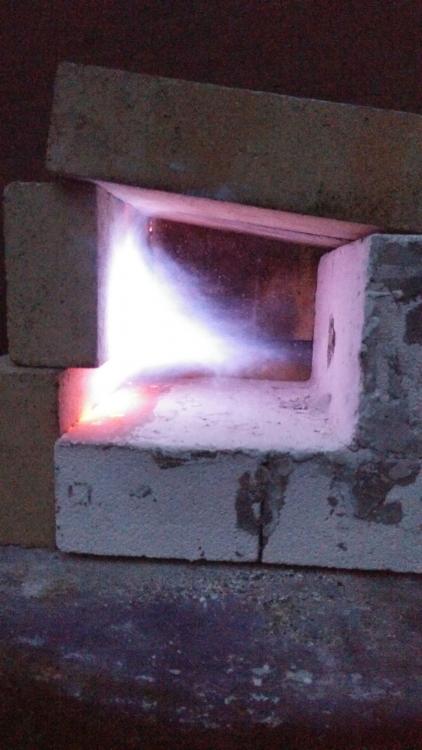
I built 3 T burners (3/4) and I took picture of the flame before trimming the MIG tip so don't expect a perfect flame . I misaligned the MIG tip on one of them, it is off centre relative to the mixing tube. I thought I would at least post the pictures. The opening in the insulating brick fits the 3/4 pipe exactly, I used the burner pipe to cut it out so it is not much for a flare. Brick pile for testing: Off centre orifice: Not as much off centre orifice:
-
I remember drilling out some pop rivets and adding some more insulation wool at some point during my last build, then finding I was out of rivets to close the shell up again. Looks familiar this learning curve thing.
-
Agreed on Frosty's last post. will be useful in forges 101. I wanted to chime in but have not had time to experiment further. Shrinkage has been on my mind as well. Eye-balling the test tile wet and air dried there seems some shrinkage not much. same for size after firing. Then again, I did not measure so I owe you an answer to that.
-
Jerry, a small tile takes 2 to 3 days to dry. This is without using a plaster mould. So I mix the dry powder, add water mix some more until I get a sticky substance clay-like but not exactly clay and trowel then press in to a cardboard mould. waited 3 days. After that the tile is dry enough to put in the oven at 140 degrees (as low as my oven goes) for half an hour. Now I could fire.
-
Using bentone 4 % seems to be the sweet spot (4 grams on 96 grams of zirconium silicate) Fired at 1350 degrees Celsius. Next sep is to see what happens when I plaster a 5 mm thick layer over rigidised ceramic wool.
-
Bentone is a refined bentonite (lower iron content for example) and indeed a lot more expensive than raw bentonite. It only takes 3 to 5 % bentone to plasticise the zirconium silicate. I have not yet used raw bentonite. Veegum is a brand name and its formula proprietary.
-
So, I got my gas refilled and the weather was cooperative. I made another test tile 6 x 6 x 0.5 cm. took about 3 days to be dry enough to put in the Kitchen oven to drive out the last water. (140 degrees C for 30 minutes) unfortunately I got clumsy and broke the tile. (it survived the oven without cracking) I was left with a couple of fragments approximately 2 x 2 x 0.5 cm. This means shrinkage is minimal. I fired these fragments in my forge. Forge is up to 1000 degrees C within 3 to 4 minutes and climbs to 1300/1350 C within 15. Soaked the tiles for 30 minutes at peak temp. (Yellow) Let cool with the forge, another hour before i can handle them. The end result can be shattered with a hammer but I cannot break the pieces with my hands. Scratching with metal is possible but takes some deliberate force. Next I tested for thermal shock resistance by heating up the individual pieces to red hot and quenching in water they did not crack. After quenching breaking strength remained the same. I soaked one of the samples in a glass of water over night, in the morning it was untouched. Mixture for this test: 96 grams of Zirconium silicate 4 grams of Bentone (Al203.4SiO2.9H2O) Water (did not measure but added until I got a clay like consistency. I pressed above mixture into a cardboard mould, let dry over night and removed from mold for air drying. I may try plaster mold at some point and longer soaking tempratures in the forge to compare toughness. Al in all results are promising. I am contemplating that 0. 5 cm coating directly over rigidised ceramic wool would resist poking quite well. As long I can make a homogeneous enough and apply it evenly.
-
I think Mike linked somewhere, probably in the Burners 101 thread. (also in stickes). Which is a wealth of info in itself Mike is on the other side of the pool so it may take a while before he is online. Your design looks like the Reil EZ burner with MIG tip modification. https://www.abana.org/ronreil/burner.gif and https://www.abana.org/ronreil/design1.shtml#Reil
-
If you google "mikey burner" or look for the book "Gas Burners For Forges, Furnaces & Kilns by Michael K. Porter." you should be able to find some pretty comprehensive plans. Mike (author the book) hangs out here as well and will probably chime in later. Most plans involve plumbing parts/MIG welding tips but it is especially the ratios between burner tube/air intake surface area and size of the gas orifice that are important. If you are able to machine to size you should be good. I am no expert on burners but I have successfully built frosty, s T burner in 1/2 inch and 3/4 inch sizes. (you will find the plans in the stickies here on the forum)
-
I have made another test tile, 10 cm x 10 cm x 0.5 cm. now leathery dry. I will update you guys on progress and process.
-
My experiment for tonight is as follows: 100gr of zirconium silicate 5 grams of bentone 50 millilitres of water Above will yield a thick very sticky paste. (sticky to hands cardboard and plastic. I should have a clean room with super dry surfaces) add another 50 millilitres of water and get sour cream consistency (maybe a bit runny) add 100gr of zirconium silicate and have a paste again (somewhat grainy) add another 5 grams of bentone and get back to the sticky paste we had before. Above is what I did for the test tiles in my previous answer. Gelling as Thomas says is what happens to the mixture when it gets sticky, this is why ratios of water make so much of a difference. Adding more water can get the mixture more cooperative but it will need more active mixing. ( I tumble-mixed dry powder and added water) on another note, should we move this discussion elsewhere? Forges 101 or in alchemy?
-
A short addition to the Veegum/Bentone + Zirconium silicate discussionwe have been having. On sintering a good rule of thumb: Time, which has a linear effect on the sintering. Doubling the sintering time doubles the amount of sintering that takes place. Particle size, which has an inverse power relationship on the amount of sintering. Reducing the average particle size will reduce the amount of sintering time required. Temperature, which affects sintering exponentially. A small change in the temperature will have a large effect on the sintering rate. (Source: http://www.ceramicindustry.com/articles/86197-why-aren-t-you-firing-faster) Sintering itself is a fairly complex process, especially if you consider the endless combination of raw materials you can combine to achieve different physical properties. I am by now means an expert but I have learnt a lot lately. Digitalfire has a comprehensive page on the process as well, and it has pictures