

BeaverNZ
-
Posts
350 -
Joined
-
Last visited
Content Type
Profiles
Forums
Articles
Gallery
Downloads
Events
Posts posted by BeaverNZ
-
-
Before I stumbled apon my Massey I was thinking of making my own self contained power hammer. I had found the shematic of an Inslides patent 707246 aug 1902 and patent number 1524195 Jan 25 1925 and I had a really simple valving system from anvilfire.com by Patric Pelgroms of Belgium. Its amazing what I still have stashed in my filing cabinet, no wonder its so full of paper.
-
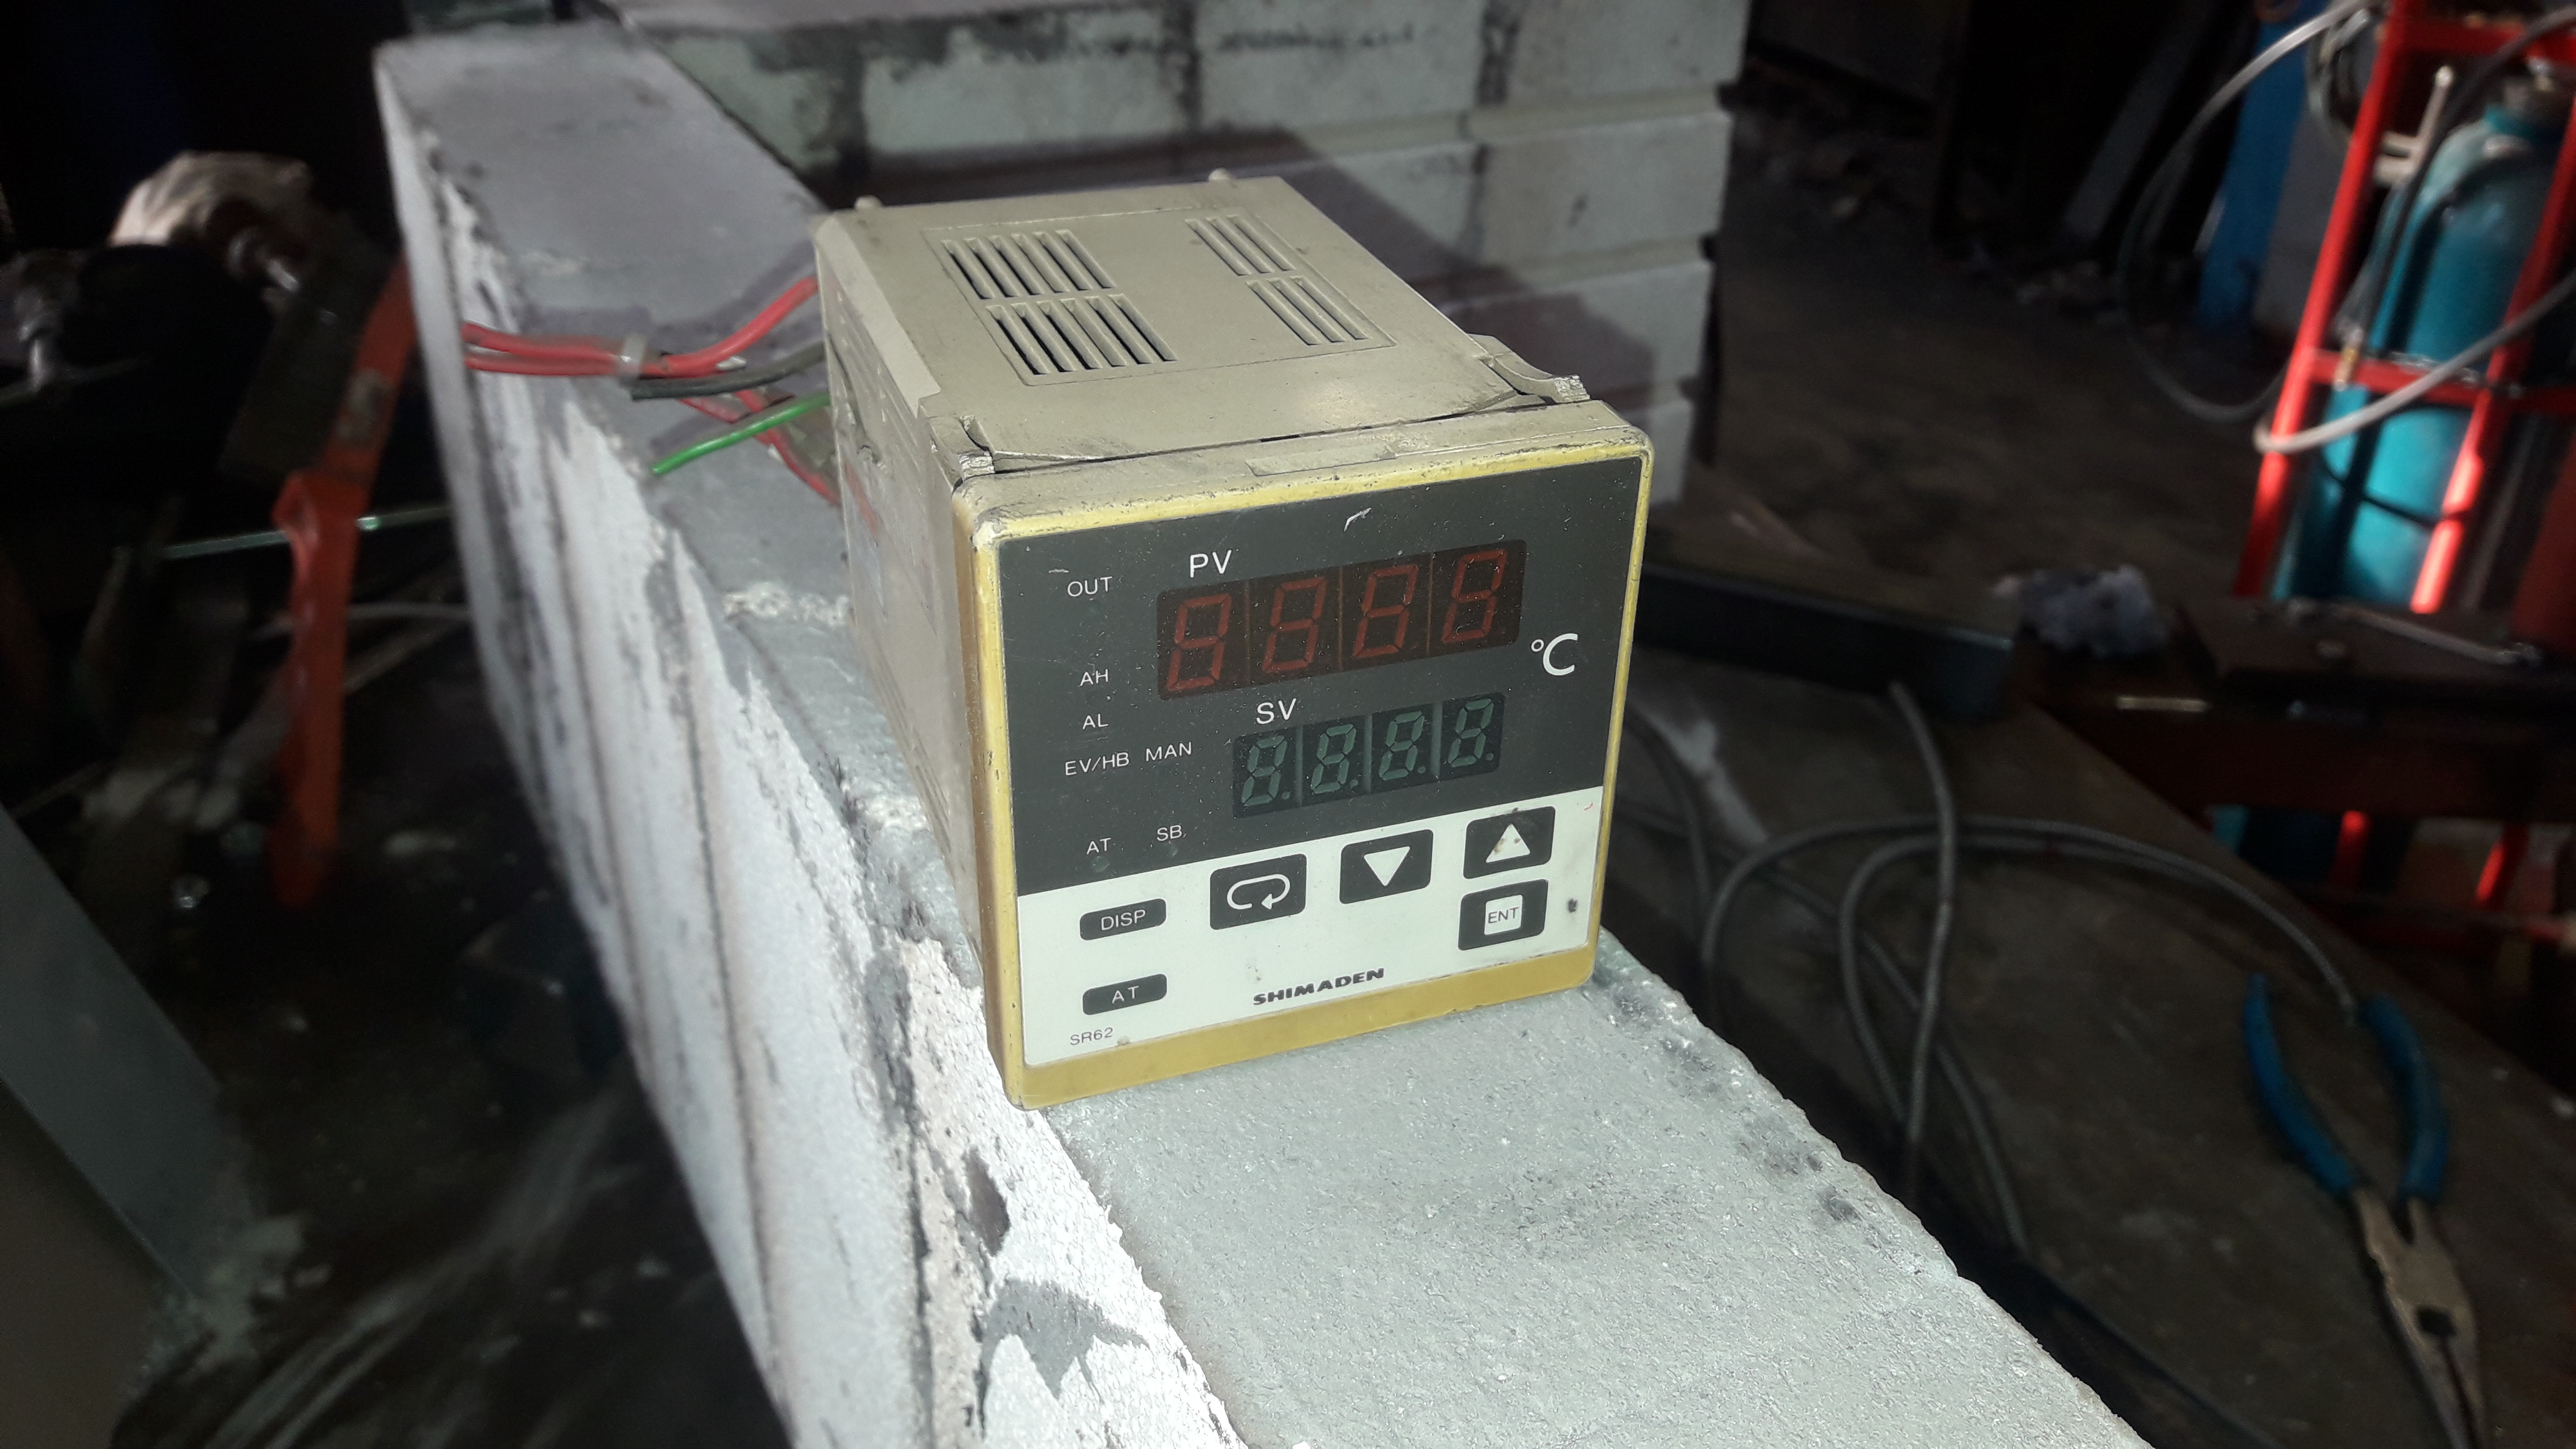
I have sourced the correct plug and wires and tested it today and I had a piece of RHS in the oven to shot with my lazer thermometer and also had another thermocouple that I remembered I had with a multimeter and it stil reads 10% low to the actual temp even after allowing a long soak time. What I think my problem is now is the prob is right at the back top corner and it must be a dead area as far as curculation goes, I did wonder about putting it there but it is the best place to not get damaged but I will relocate it to the more central place at the top of the oven. Both the Lazer and the multimeter read the same temp so they are probably correct.

-
The hyd cylindersare certainly more robust but you may have to reseal it as the seals used with hydrualics will probably have to much stiction or drag and you may loose alot of power/speed
-
On 7/16/2020 at 9:29 AM, BeaverNZ said:
Well I am getting well along with my bottle warmers for my two 45Kg cyl,
Just an update with my bottle freezing or pressure drop due to the bottles getting very cold I have found so far I havent needed to use the fish tank heaters though the bottles do get alot of condensation showing where the gas level is when the level is high enough. the extra surface area outside the water tank and the better heat transfer of the water to the bottle is working well. another plus for putting the bottles in the liquid is if you have the water level at 330mm deep with these bottles they float at that level so the felt weight of the bottles is the remaining amount of gas.
-
Oh and I forgot to say it takes 40 mins to go from 11 to 580 deg cent but I allowed a good long soak time before taking my temp measurement
-
On 10/12/2023 at 9:24 PM, timgunn1962 said:
That's about what I guessed. It WILL give errors
Hi Tim Yes you are correct, the acutual temp is about 50 Deg cent high at 520 setting. I put a piece of RHS in and heated that up and meassured it and its the amount out so will have to get it setup they way you said with the right wires etc. I will see if I can source the plug with the wires factory attached cheers for the advice Beaver PS I have found with things in the past if shiney or light coloured dont give the correct temp reading when shot with my laser temp probe.
-
The mill is a recent thingand is something I have wanted for many years and I can finally stop all the dodgy settups in the lathe, The tooling is costing me just as much as the mill though. He who dies with the most toys wins
-
Hi Tim
I was aware how a thermocouple works but was interesting to read what you had written, I will have to find out more about the plugs etc. I thought the dissimmilar metals just had to be at the hot and cold ends, It does seem to read correctly as I have checked it with my laser temp measuring thingus and there was only a deg or two different at 600 deg cent. Im only a dumb old welder but have always listened to people who know more than I so thanks Cheers
-
21 hours ago, timgunn1962 said:
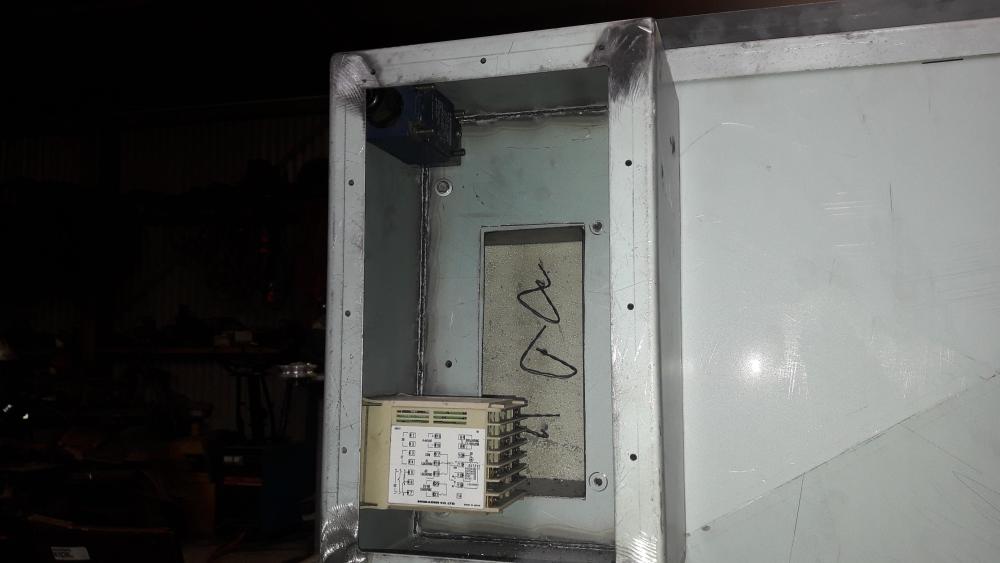
What's with the thermocouple wiring
The Thermocouple is from a supplier of refractory and related things for a local alumium smelter and its what they supply them, The cable is just instrument cable supplied by the sparky
-
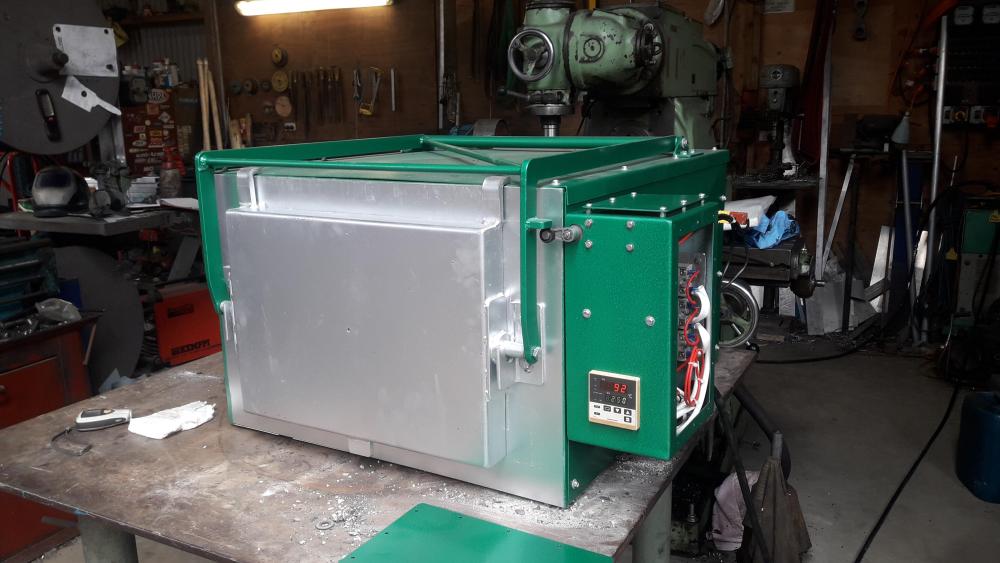
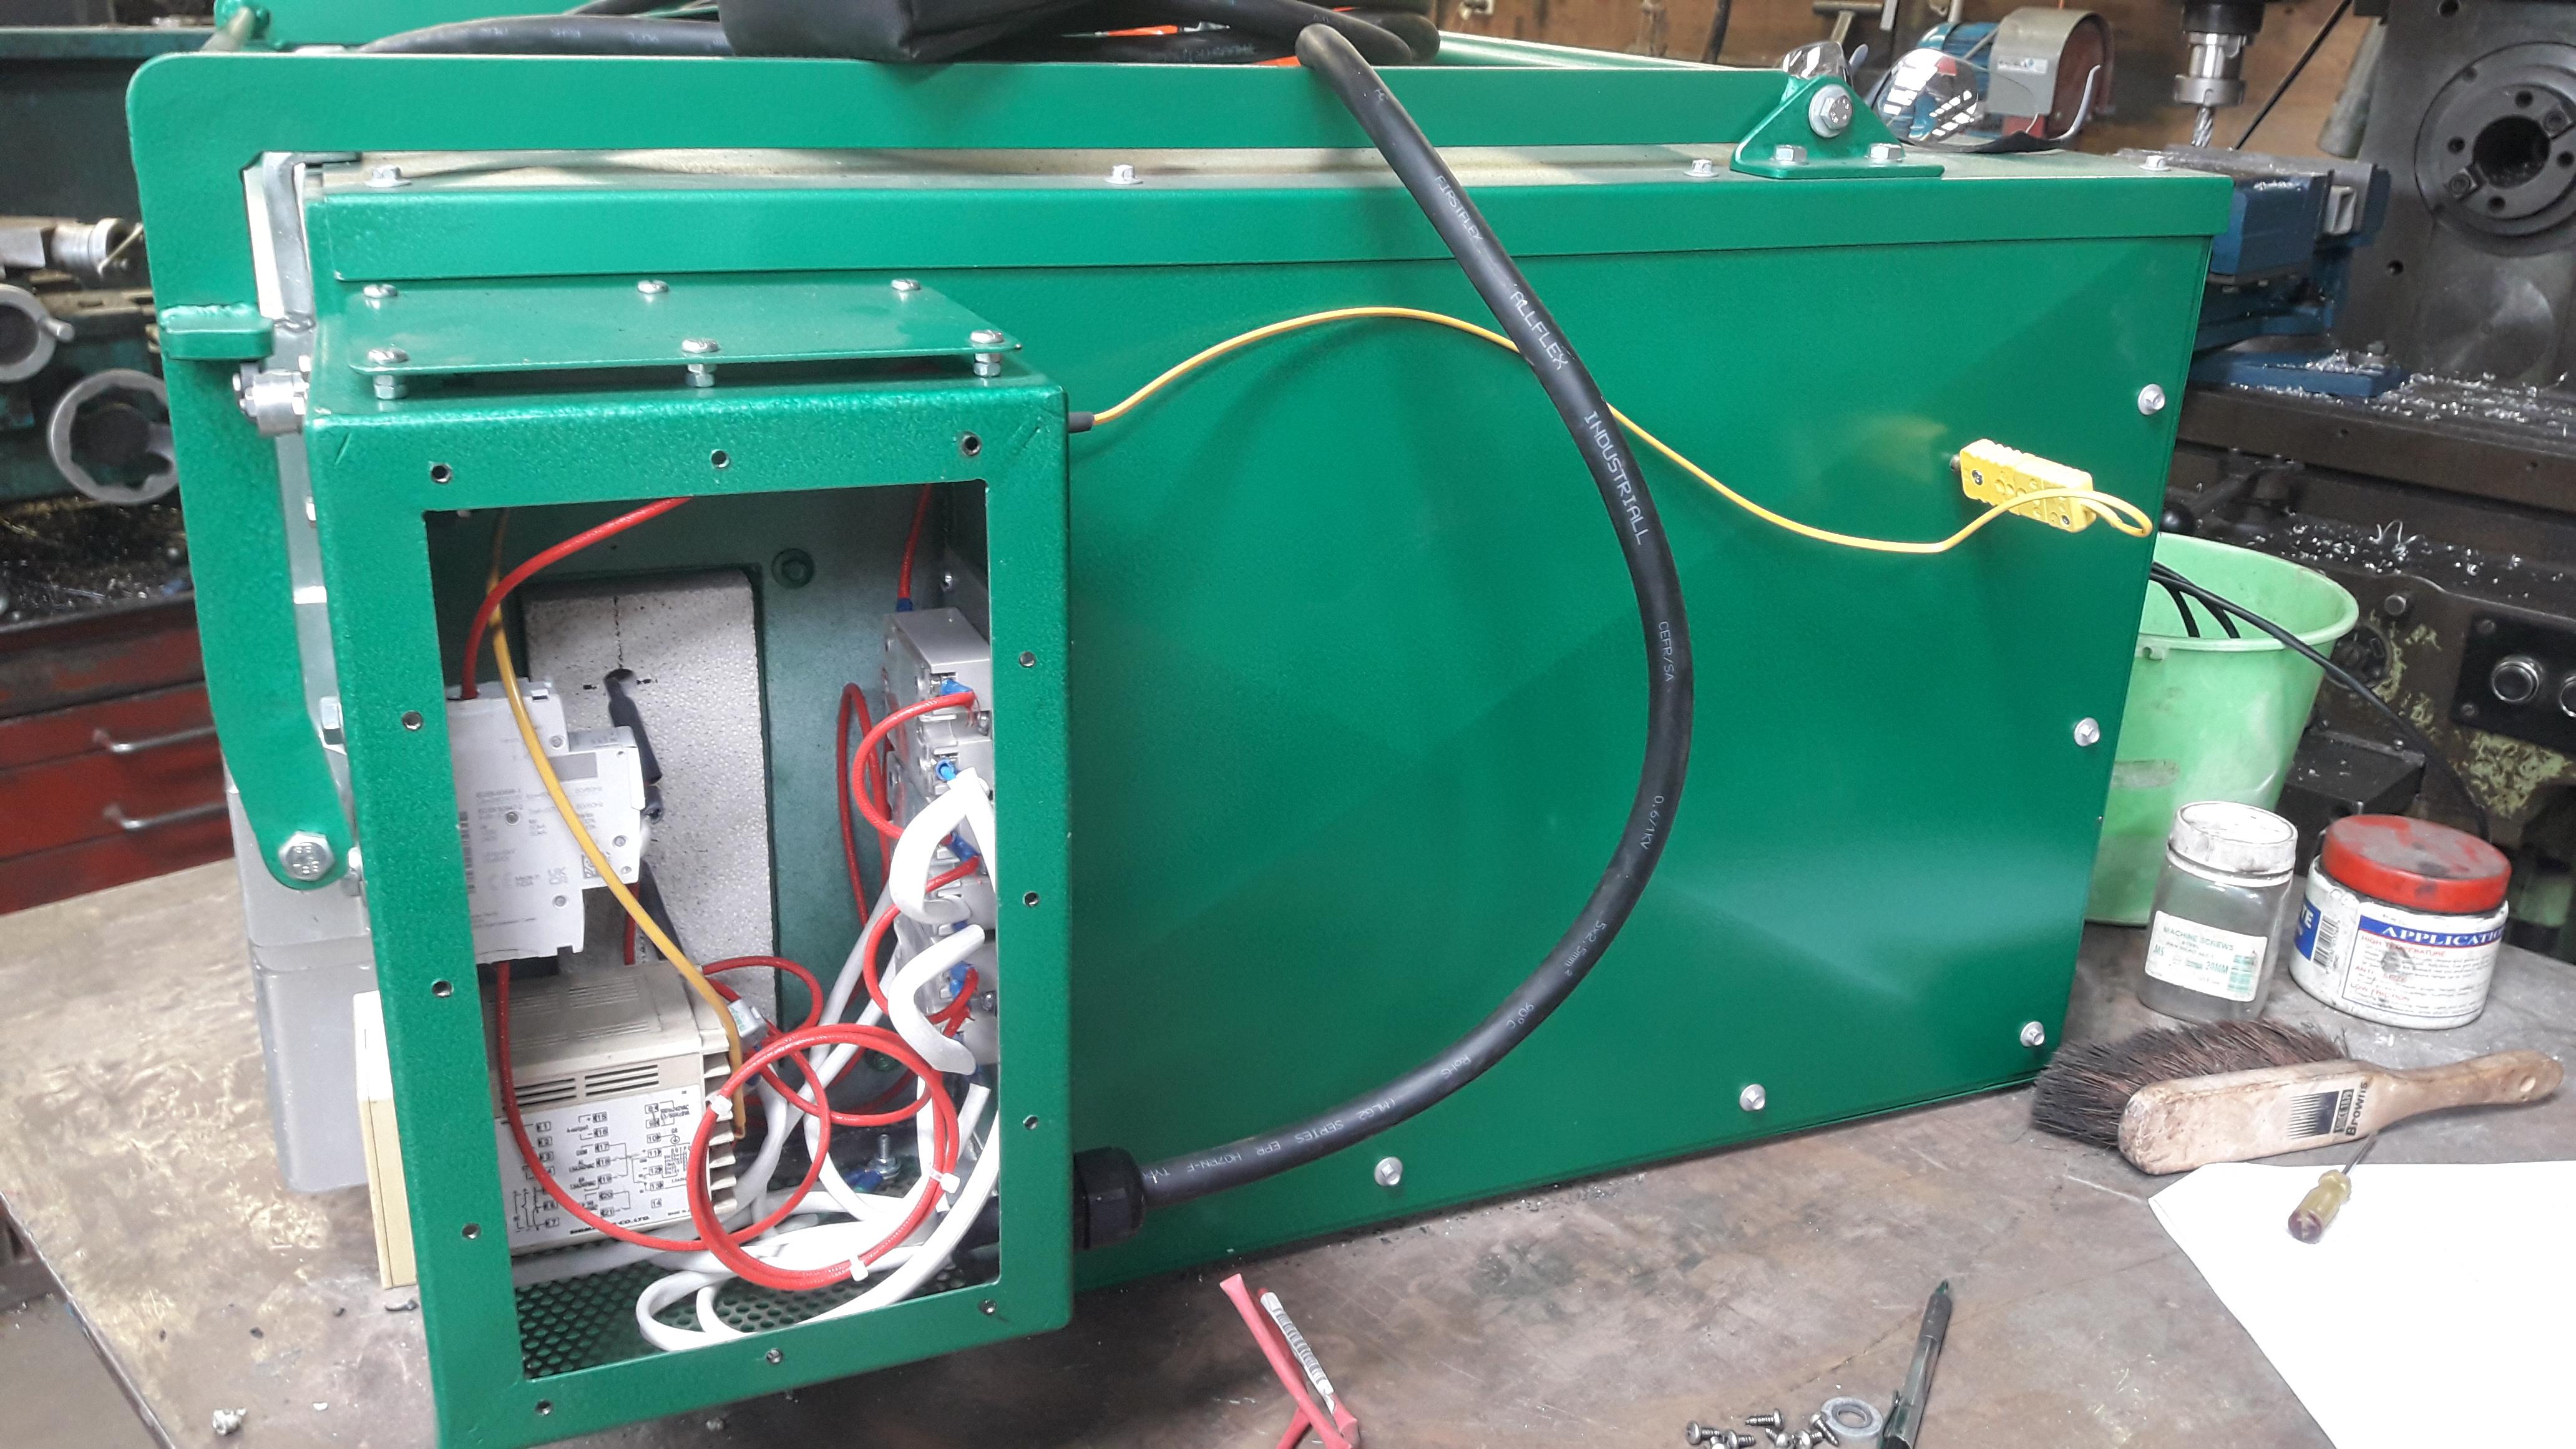
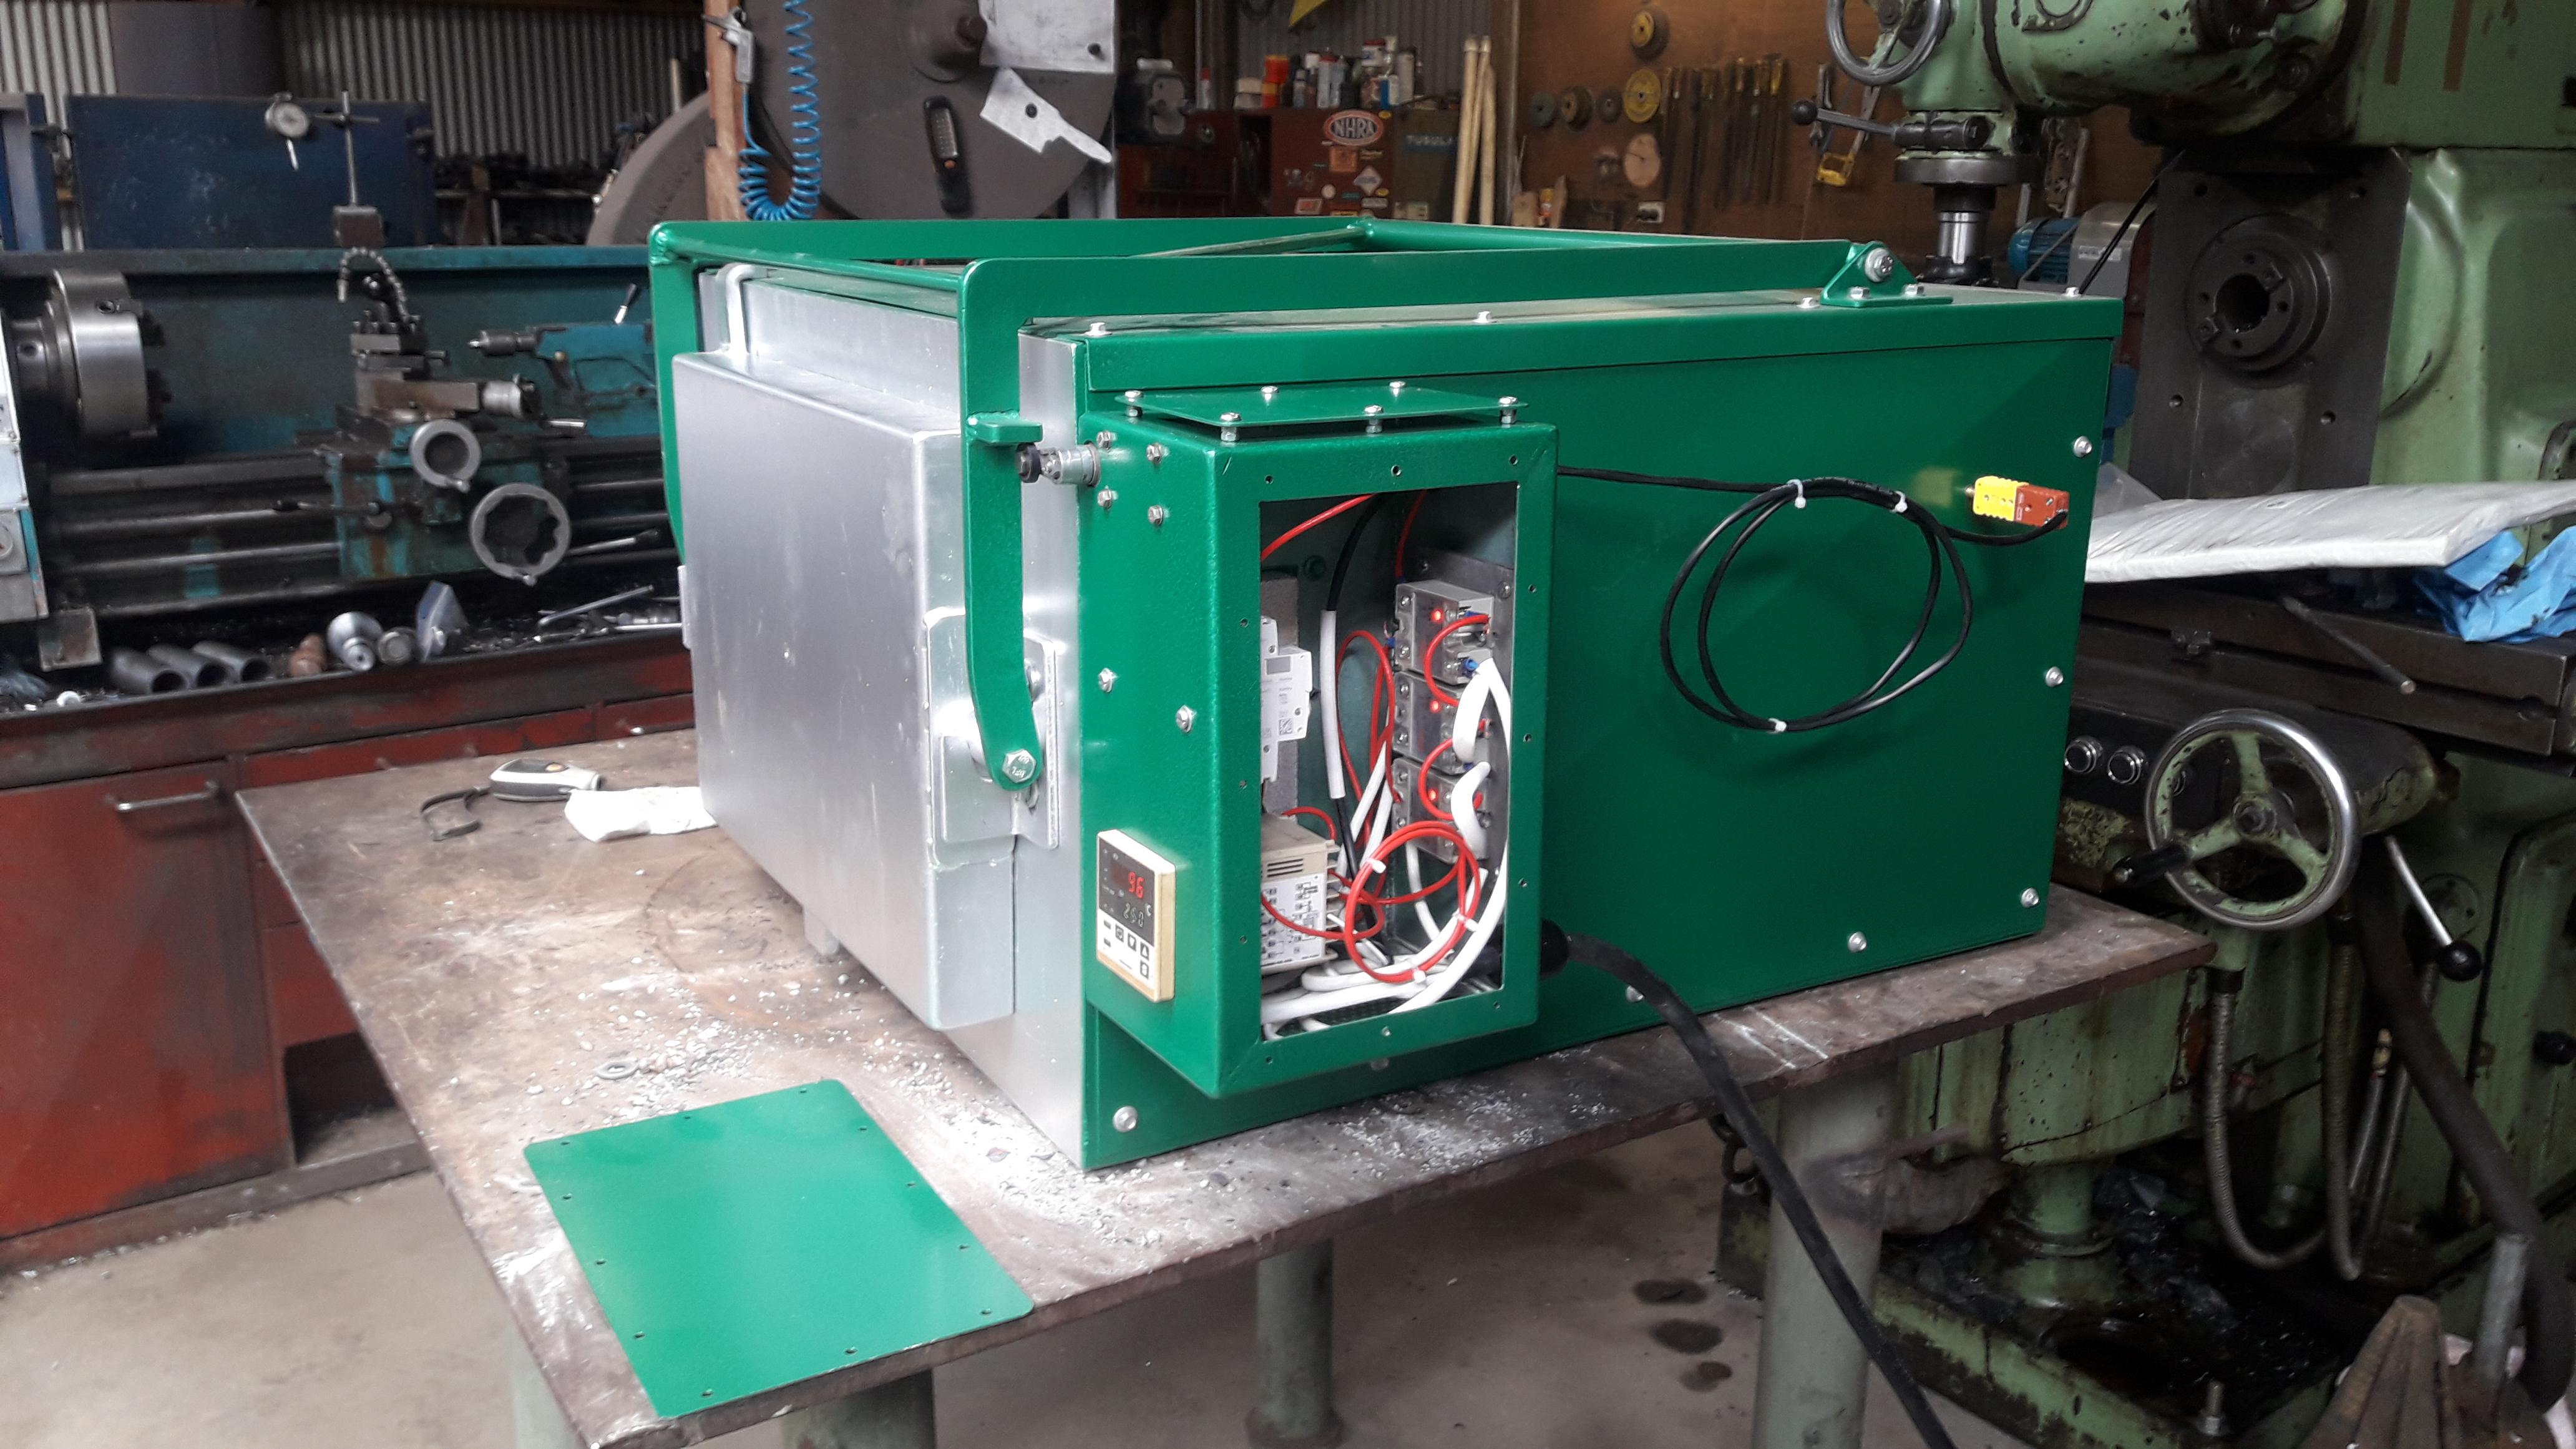
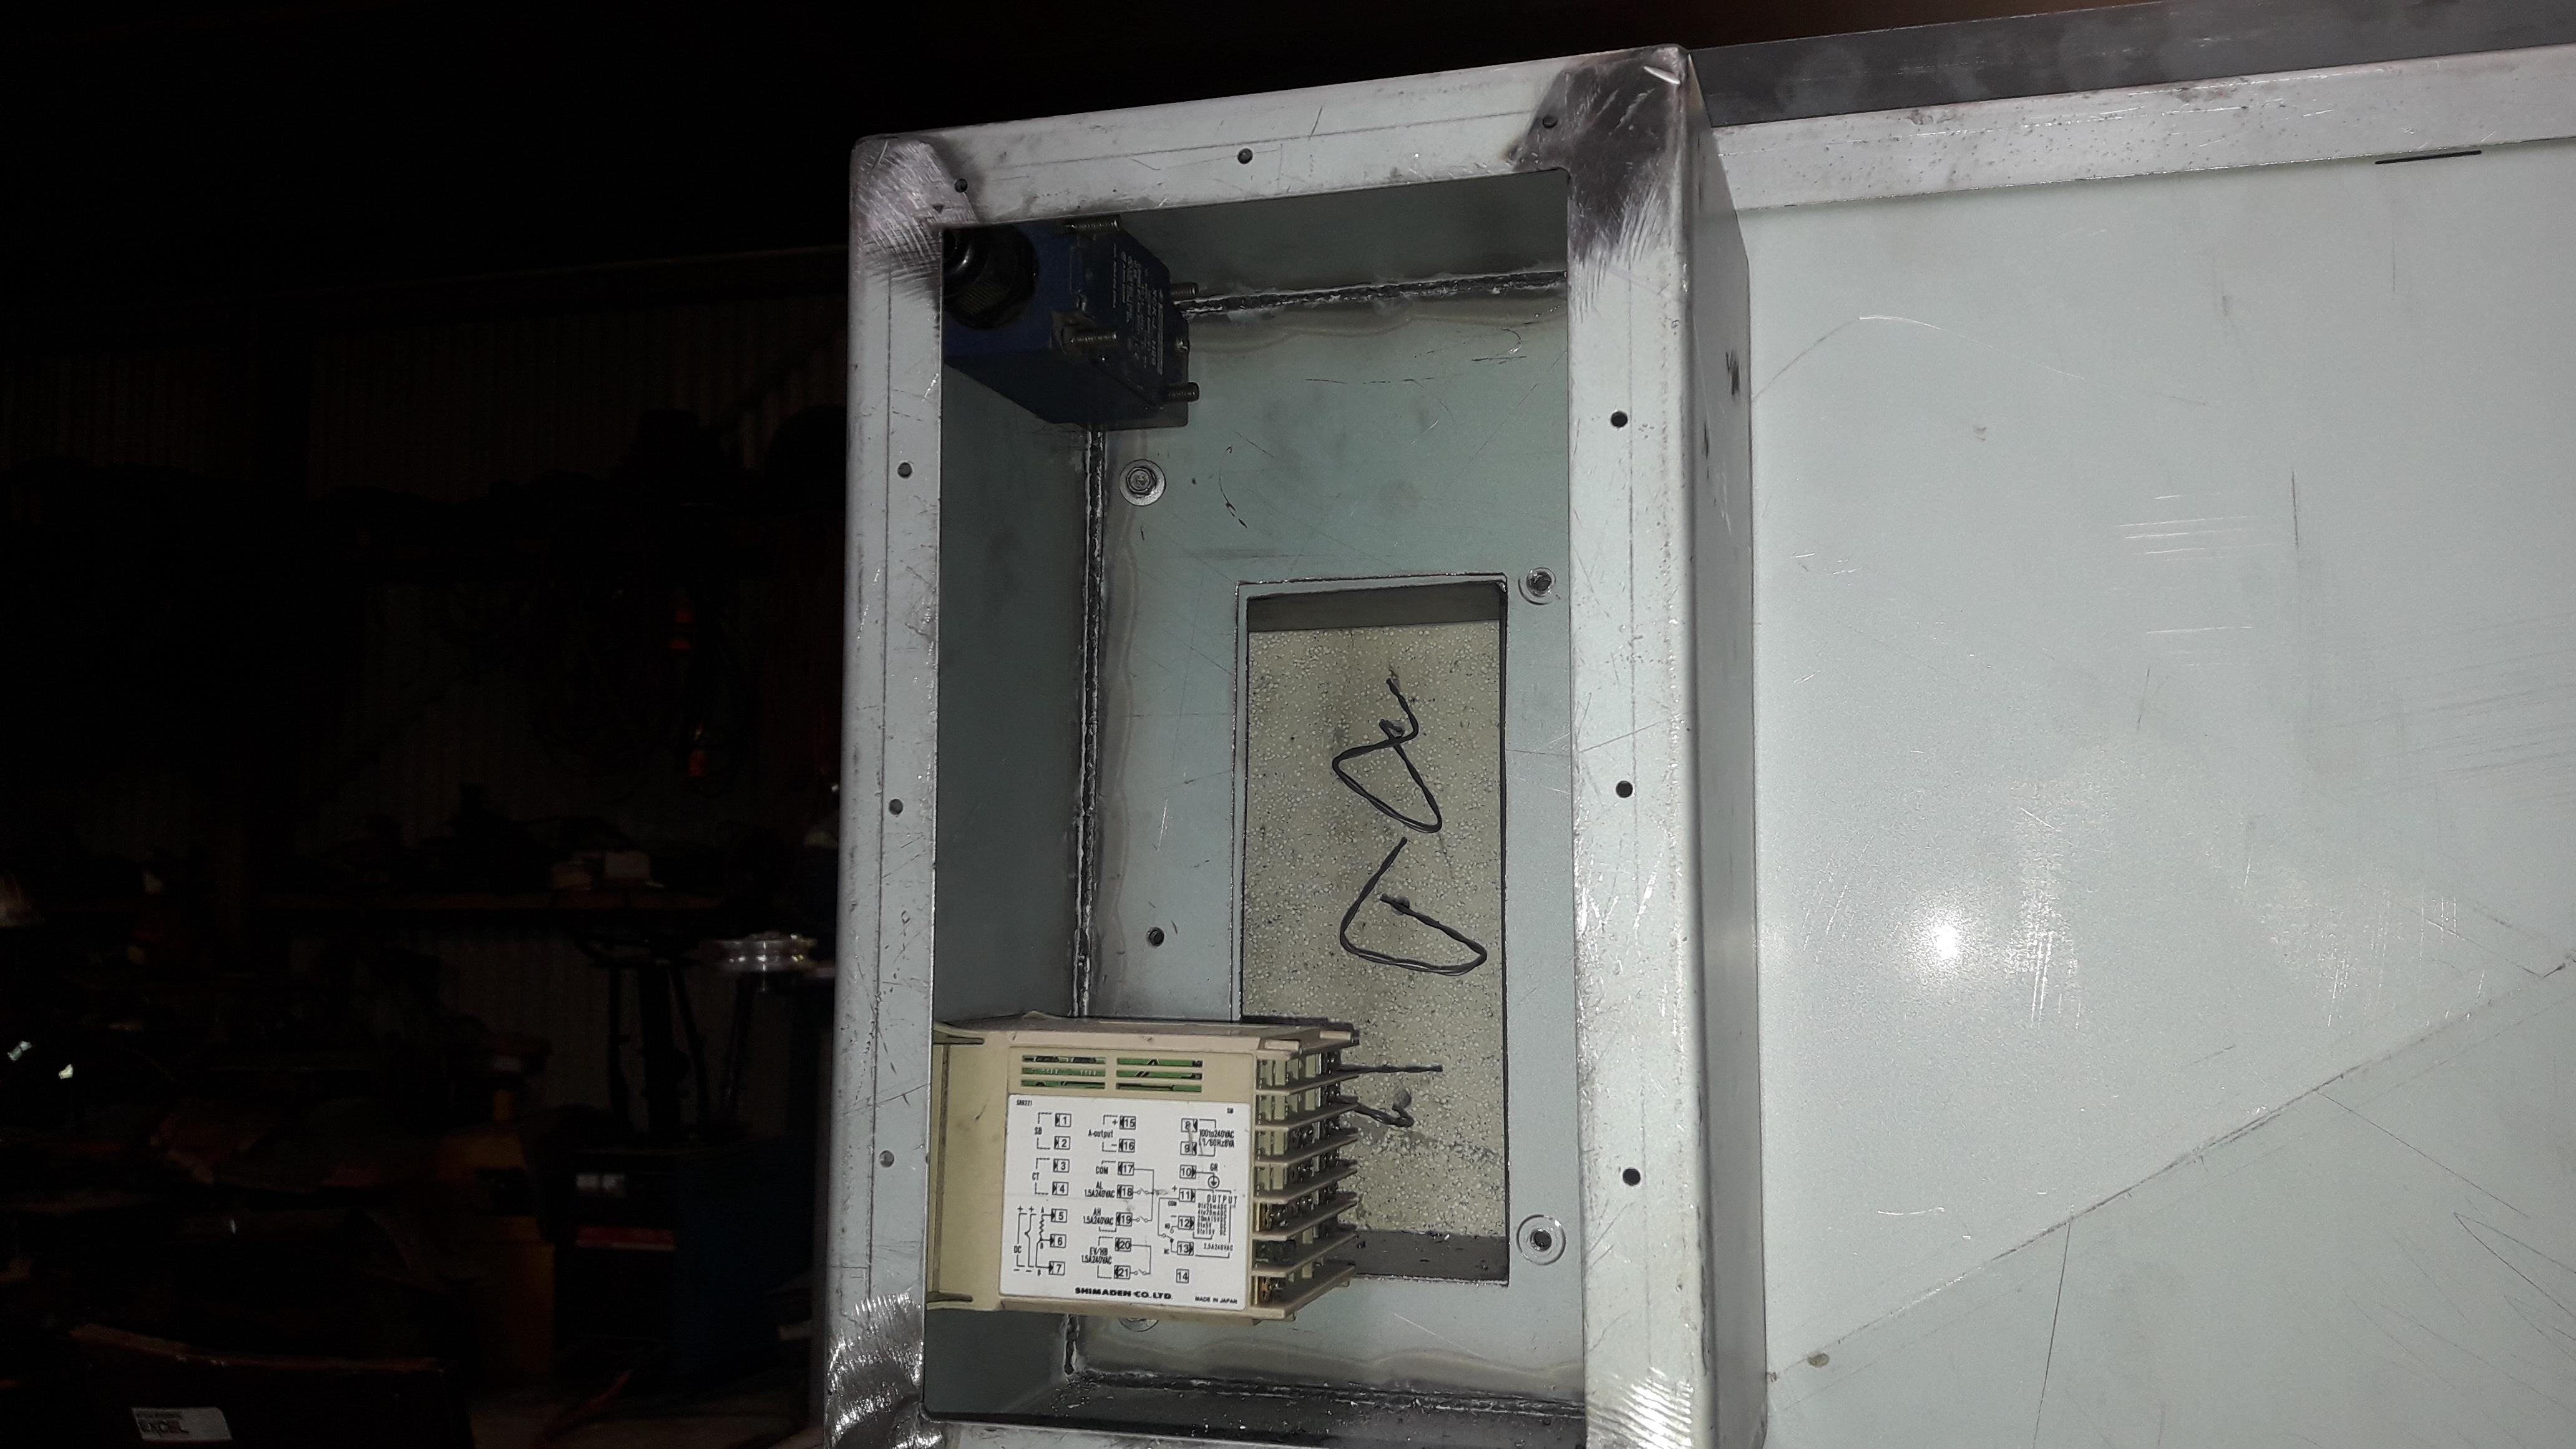
I have got the kiln all finished and have had the electrican come and connect up the sparks and smoke. It seems to run well heating up about 1 deg every two seconds and it doesnt have more than about 5 Deg of overshoot when coming up to temp. the cover is of the control cabinet just to make sure there is no melty bits going on inside. I need to put some handles on the door which I ment to do before I painted it. It seems to be very well insulated so far and not even warm on the outside

-
Thanks guys I enjoyed the multiple subjects, Came for the quench and stayed for the ramble
-
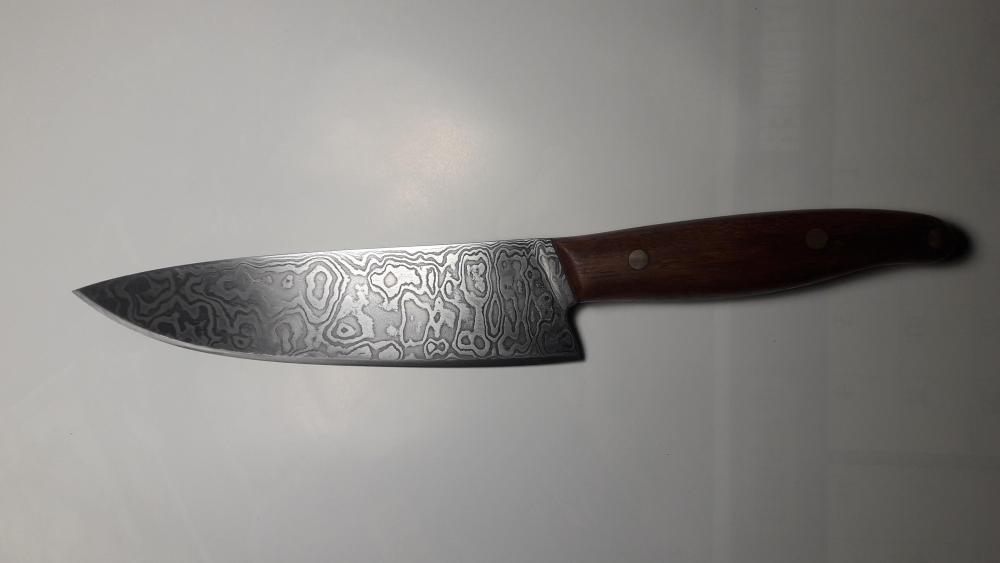
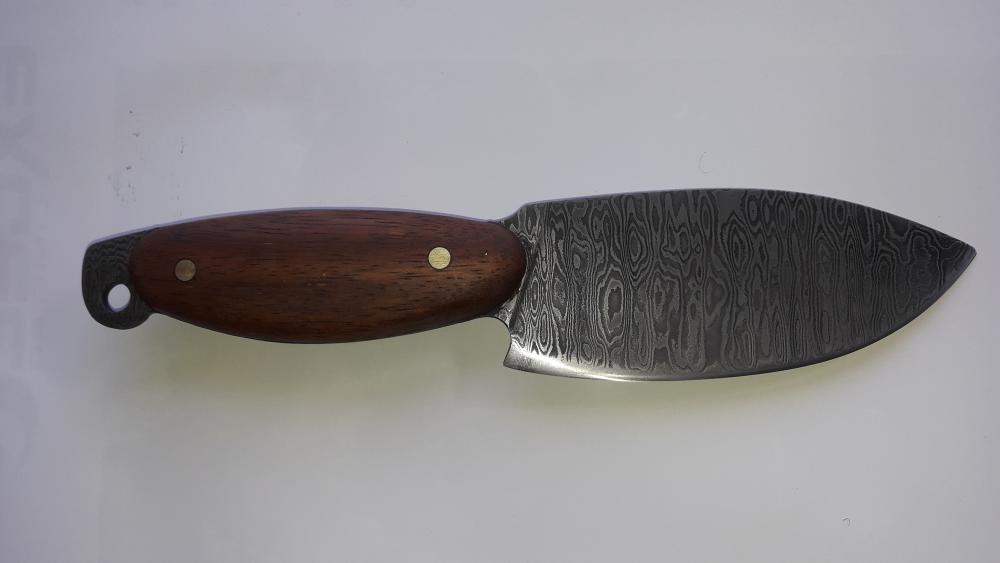
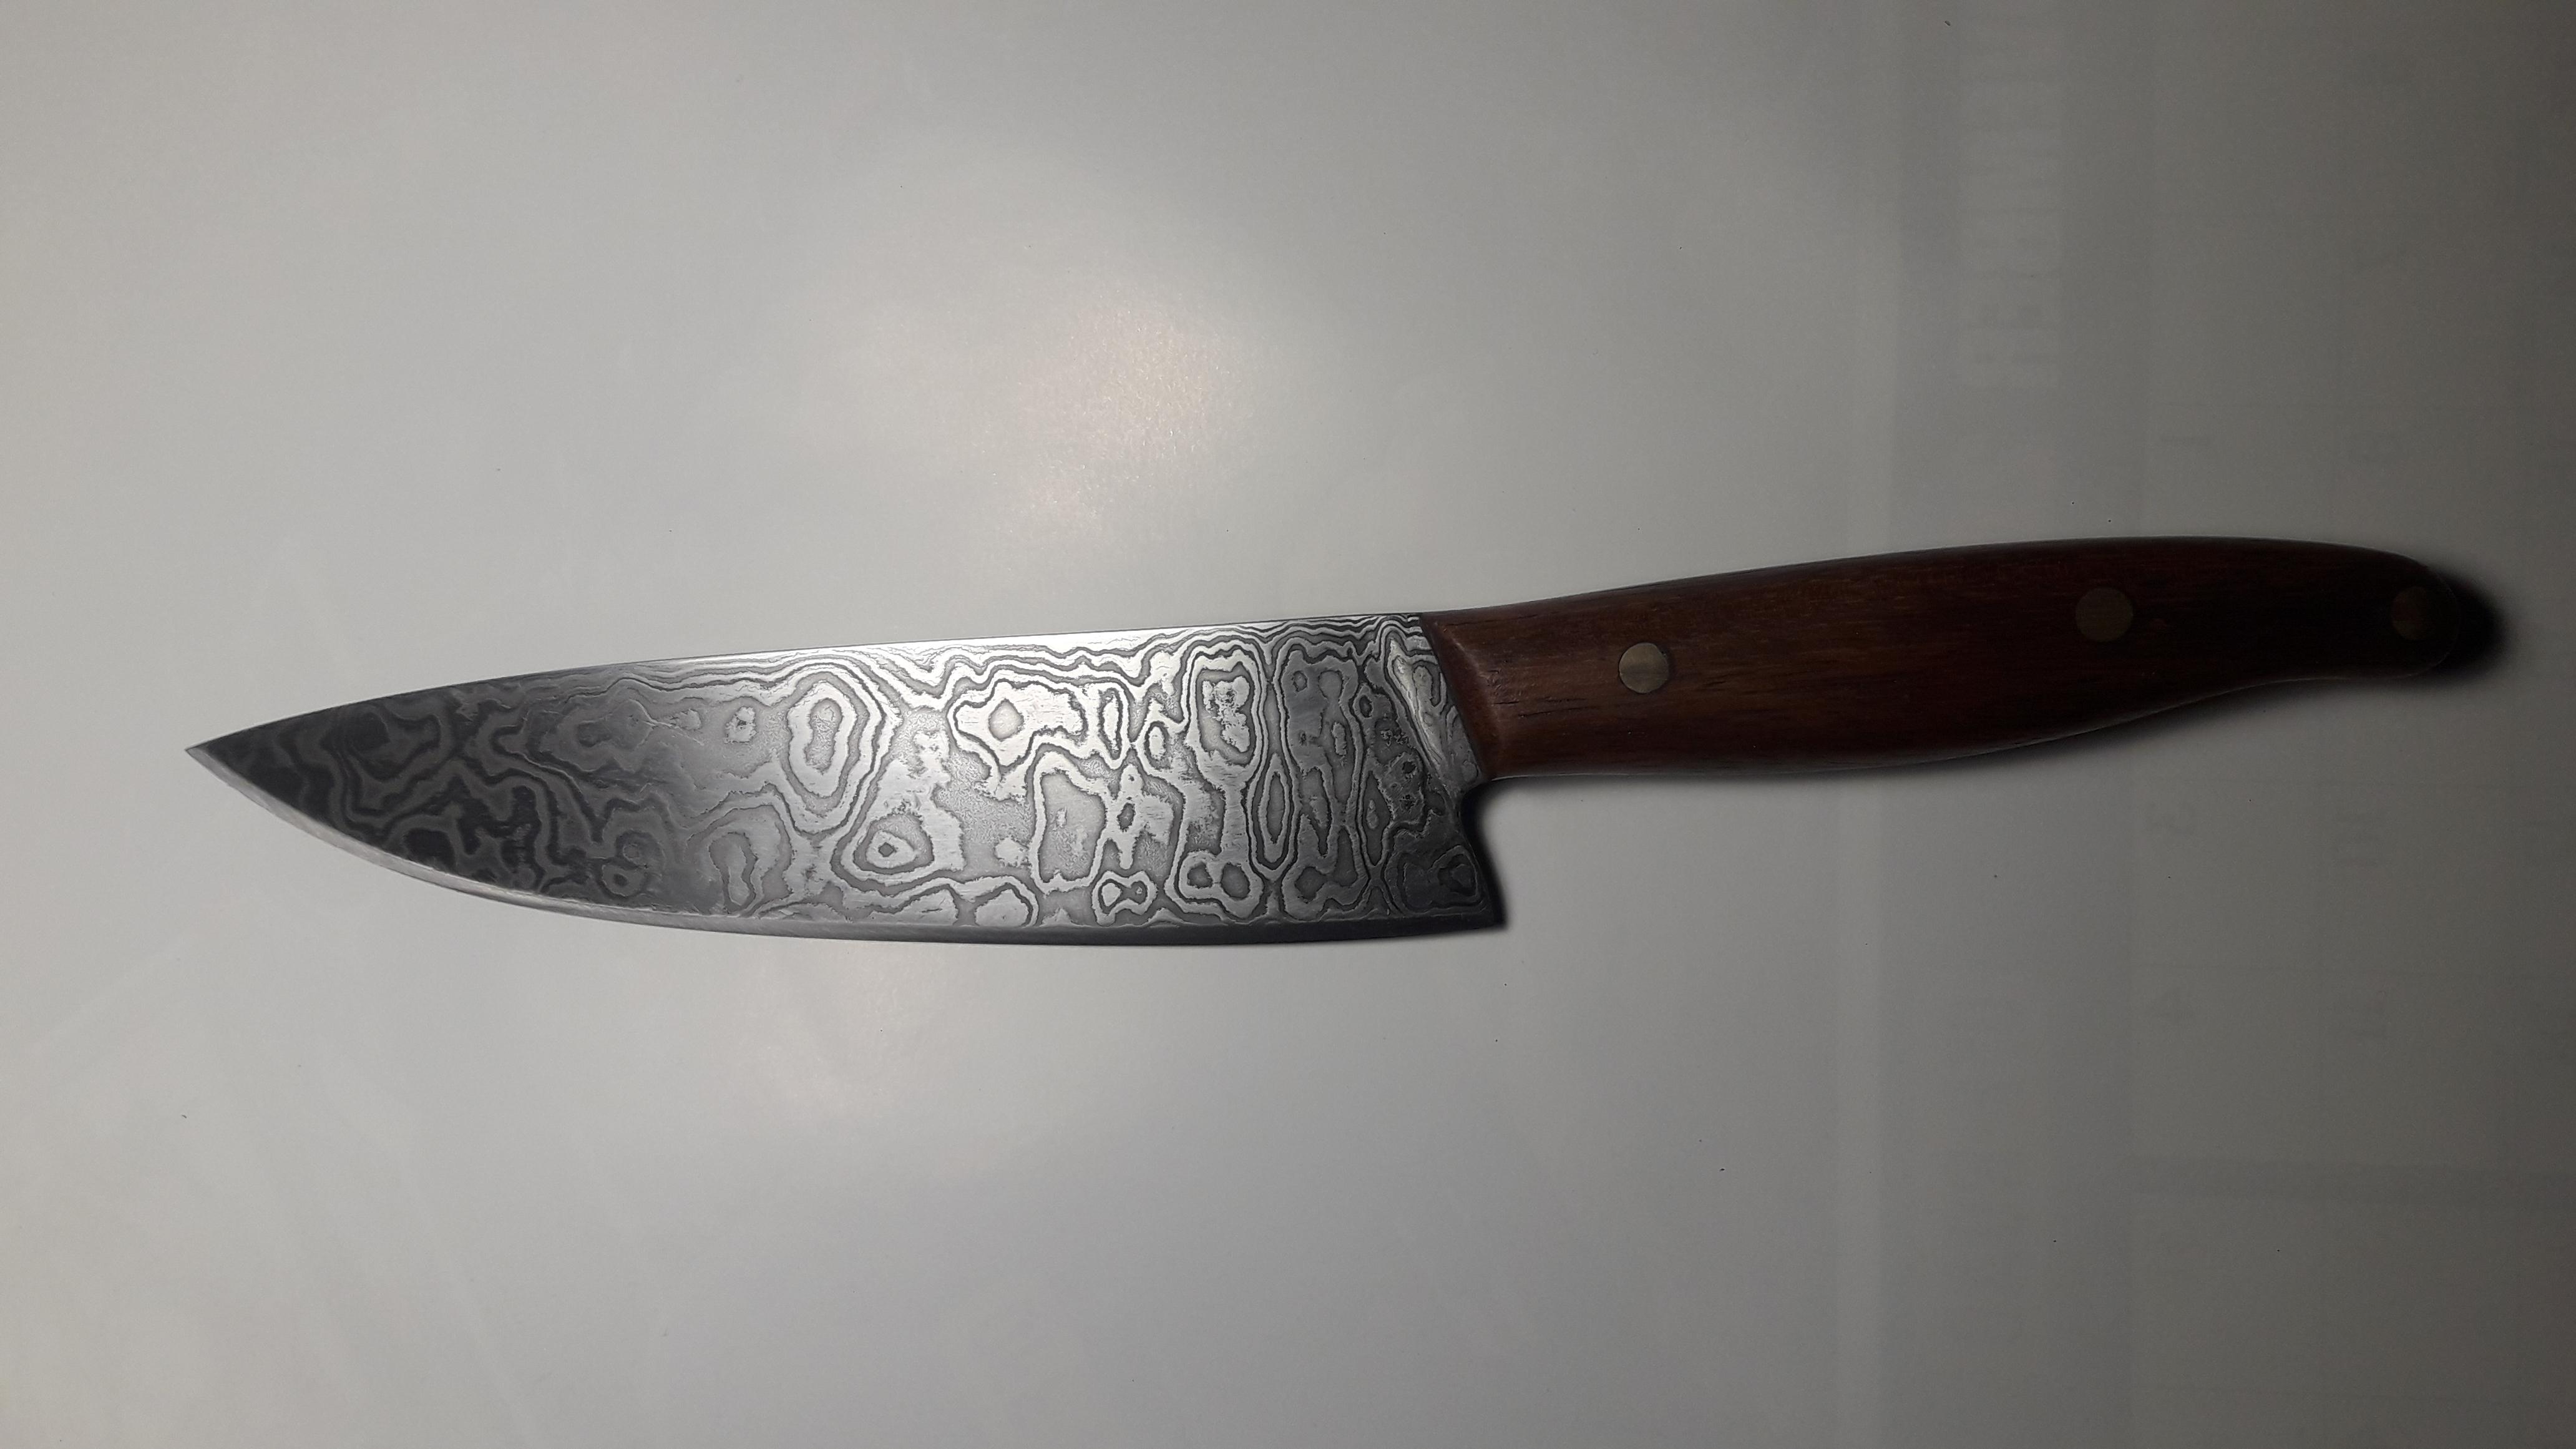
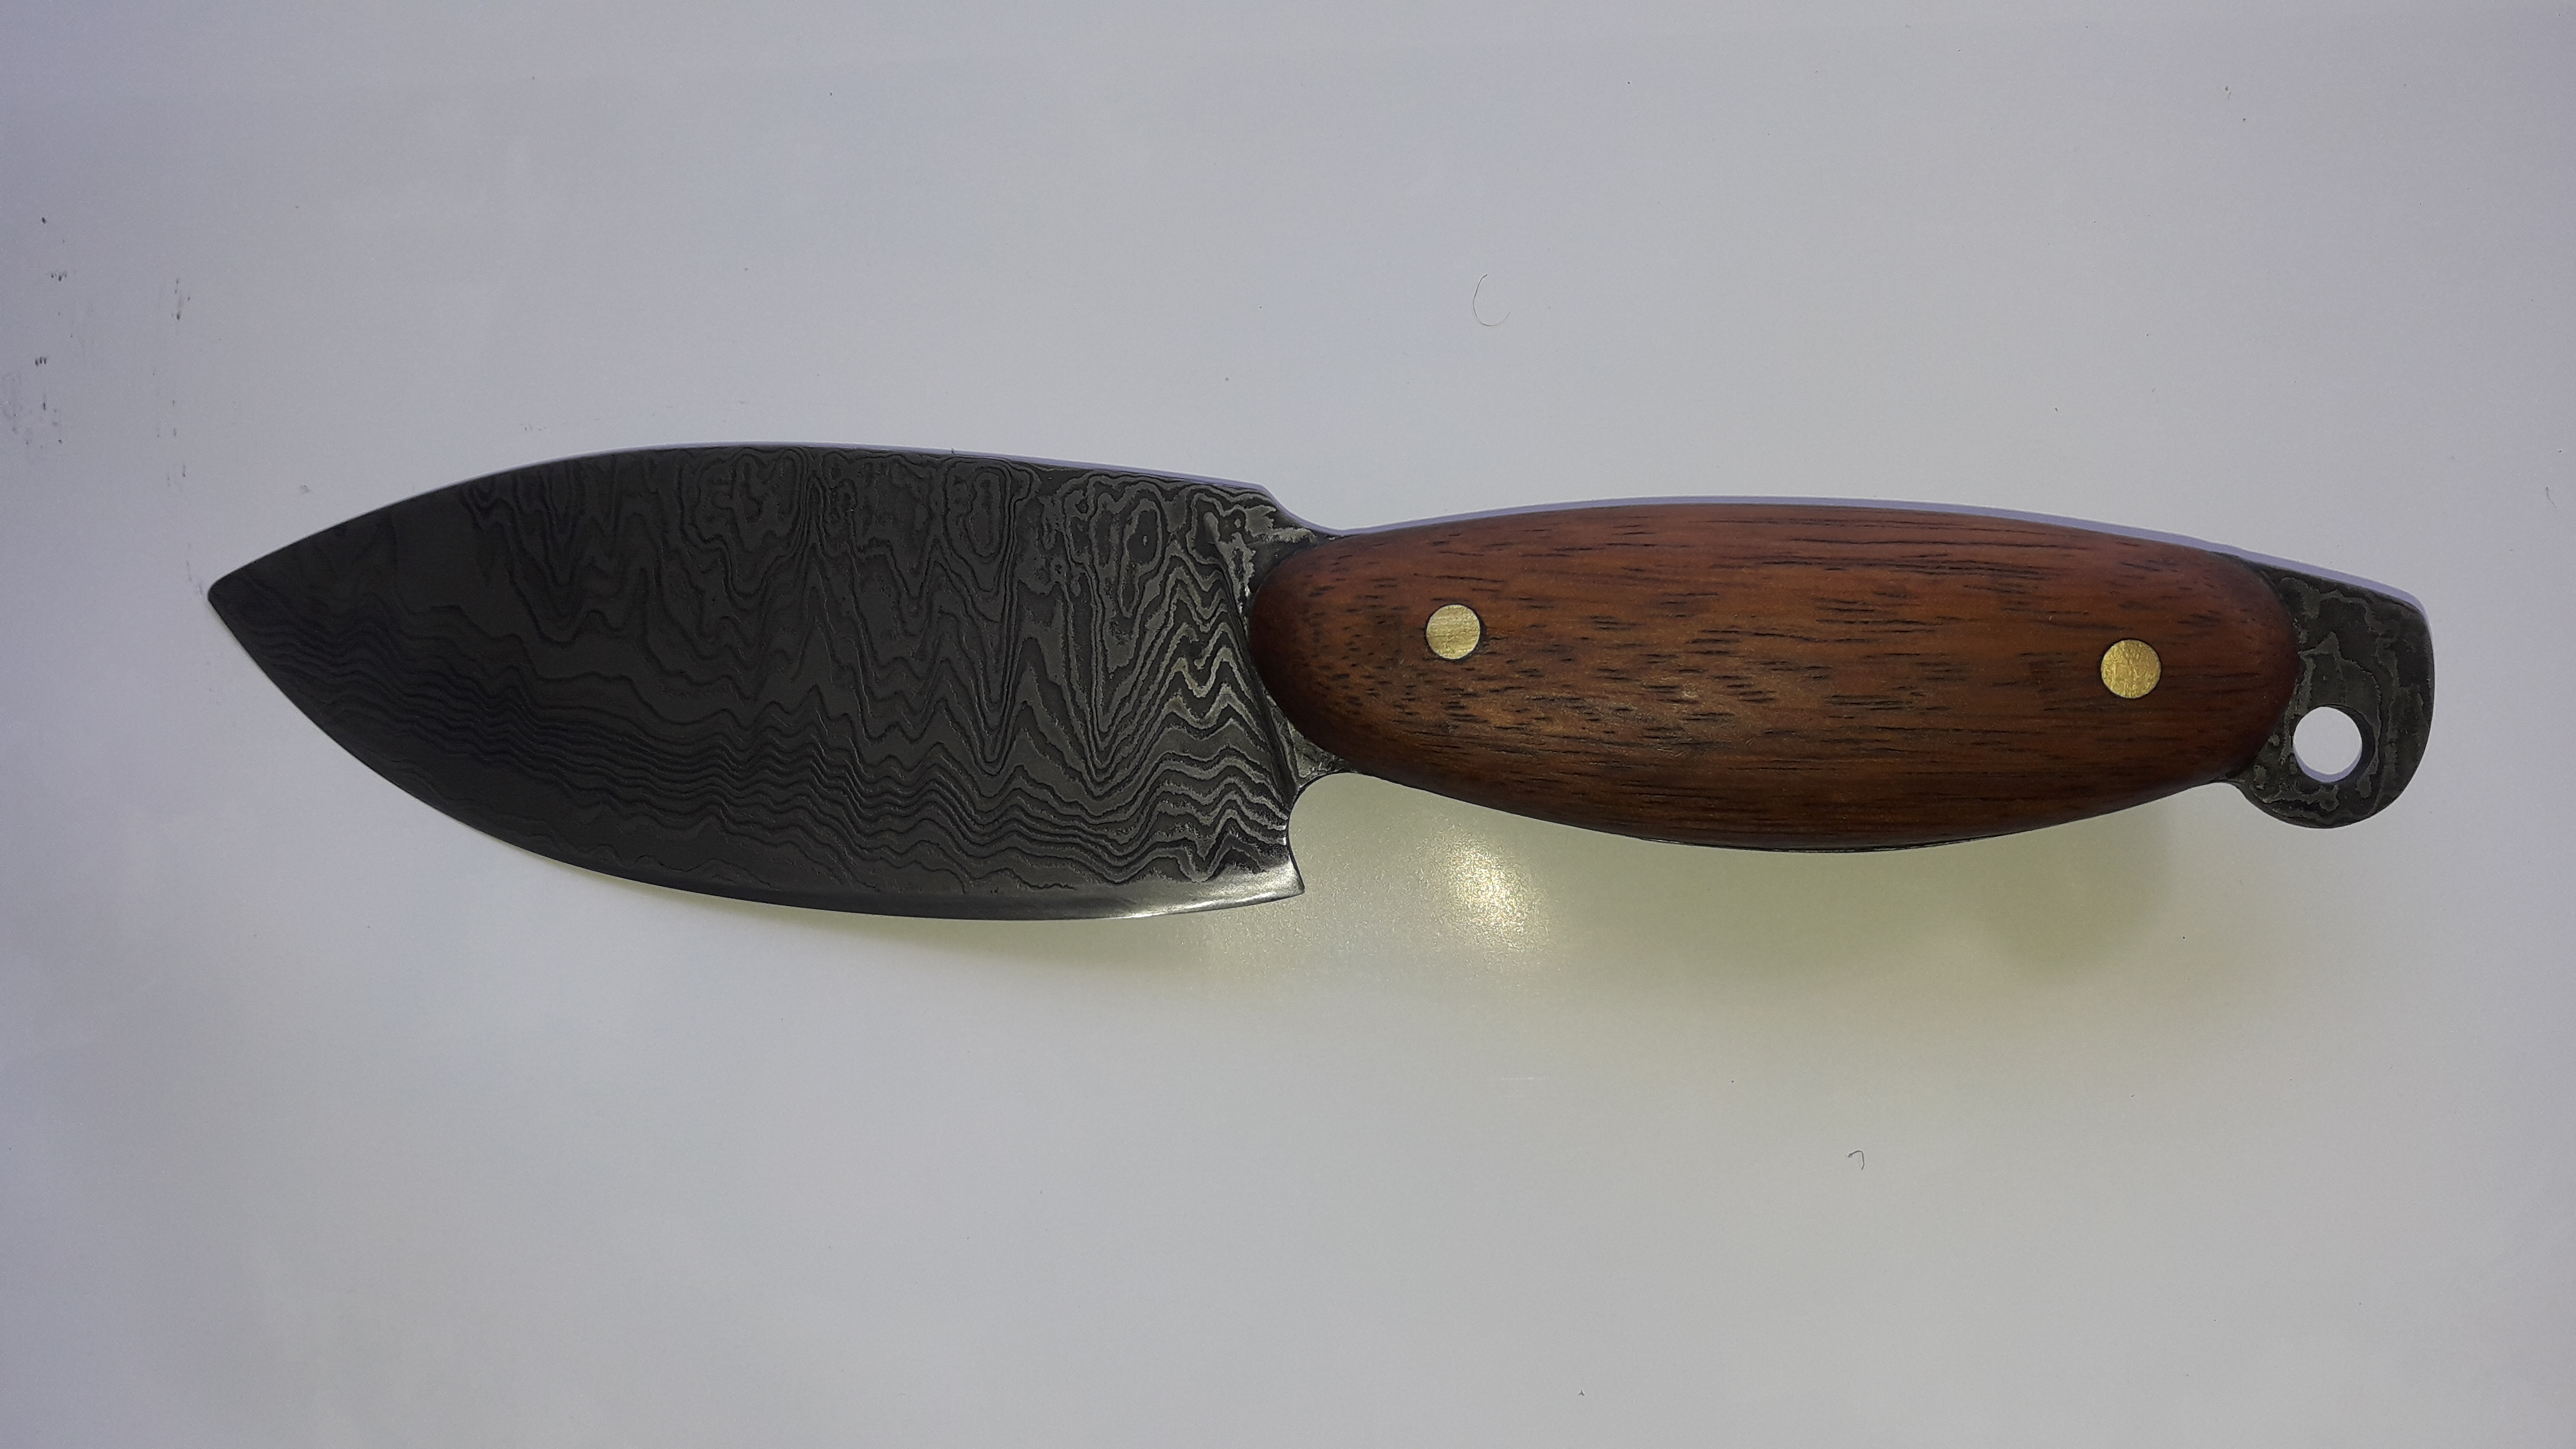
I have completed my latest blade as a gift to my mother and starting on four more today for rest of the female relations, sisters and mother in law. I think this one is my best yet and has a Jara wooden handle with danish oil to seal it.
-
I have almost got the oven completed so I can take it to the sparky to be wired up, I havent taken any pics of the frame of the oven but it has an angle iron frame that the clading is Tec screwed to and under that there is 50mm of Koawool insulation so it should be well insulated. The door will have Koawool insulation that i am going to retain with stainless steell cotter pins for the first 25mm layer then that will be held/joined with sodium silicate and there will aslo be a high temp rope seal around the door. The control box will have venting pannels at the top and bottom to allow lots of ventilation.


-
Yes thats what I ment Cheers
-
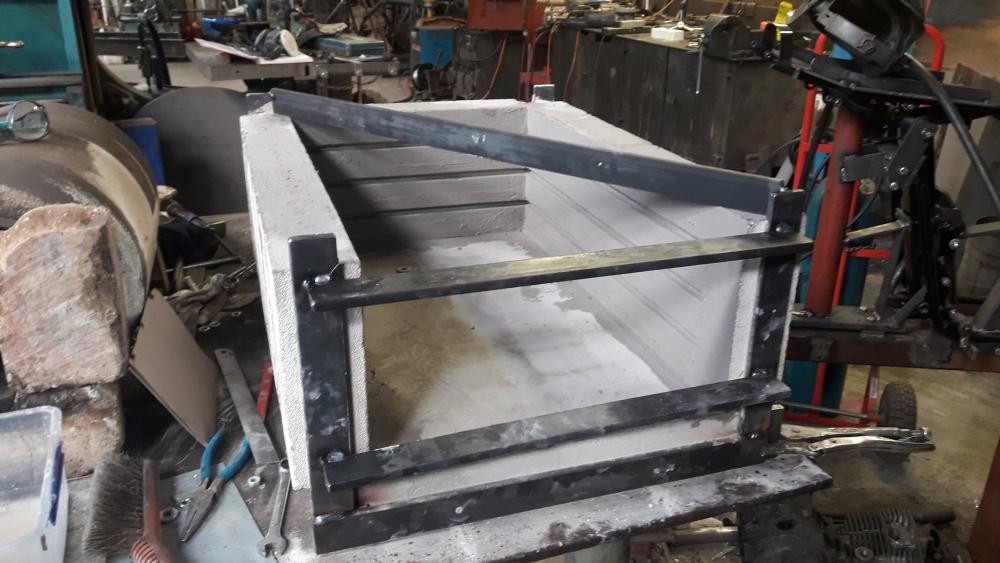
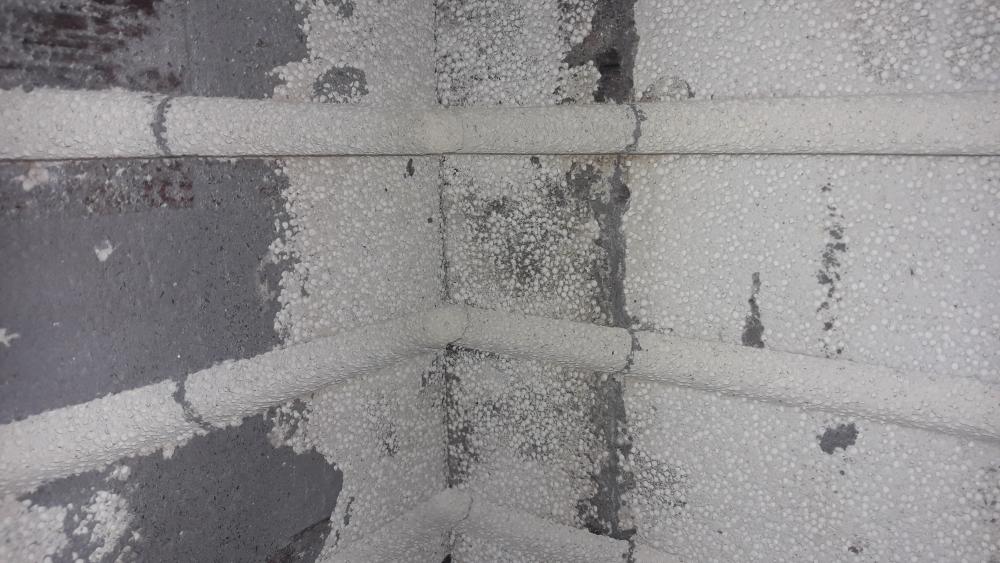
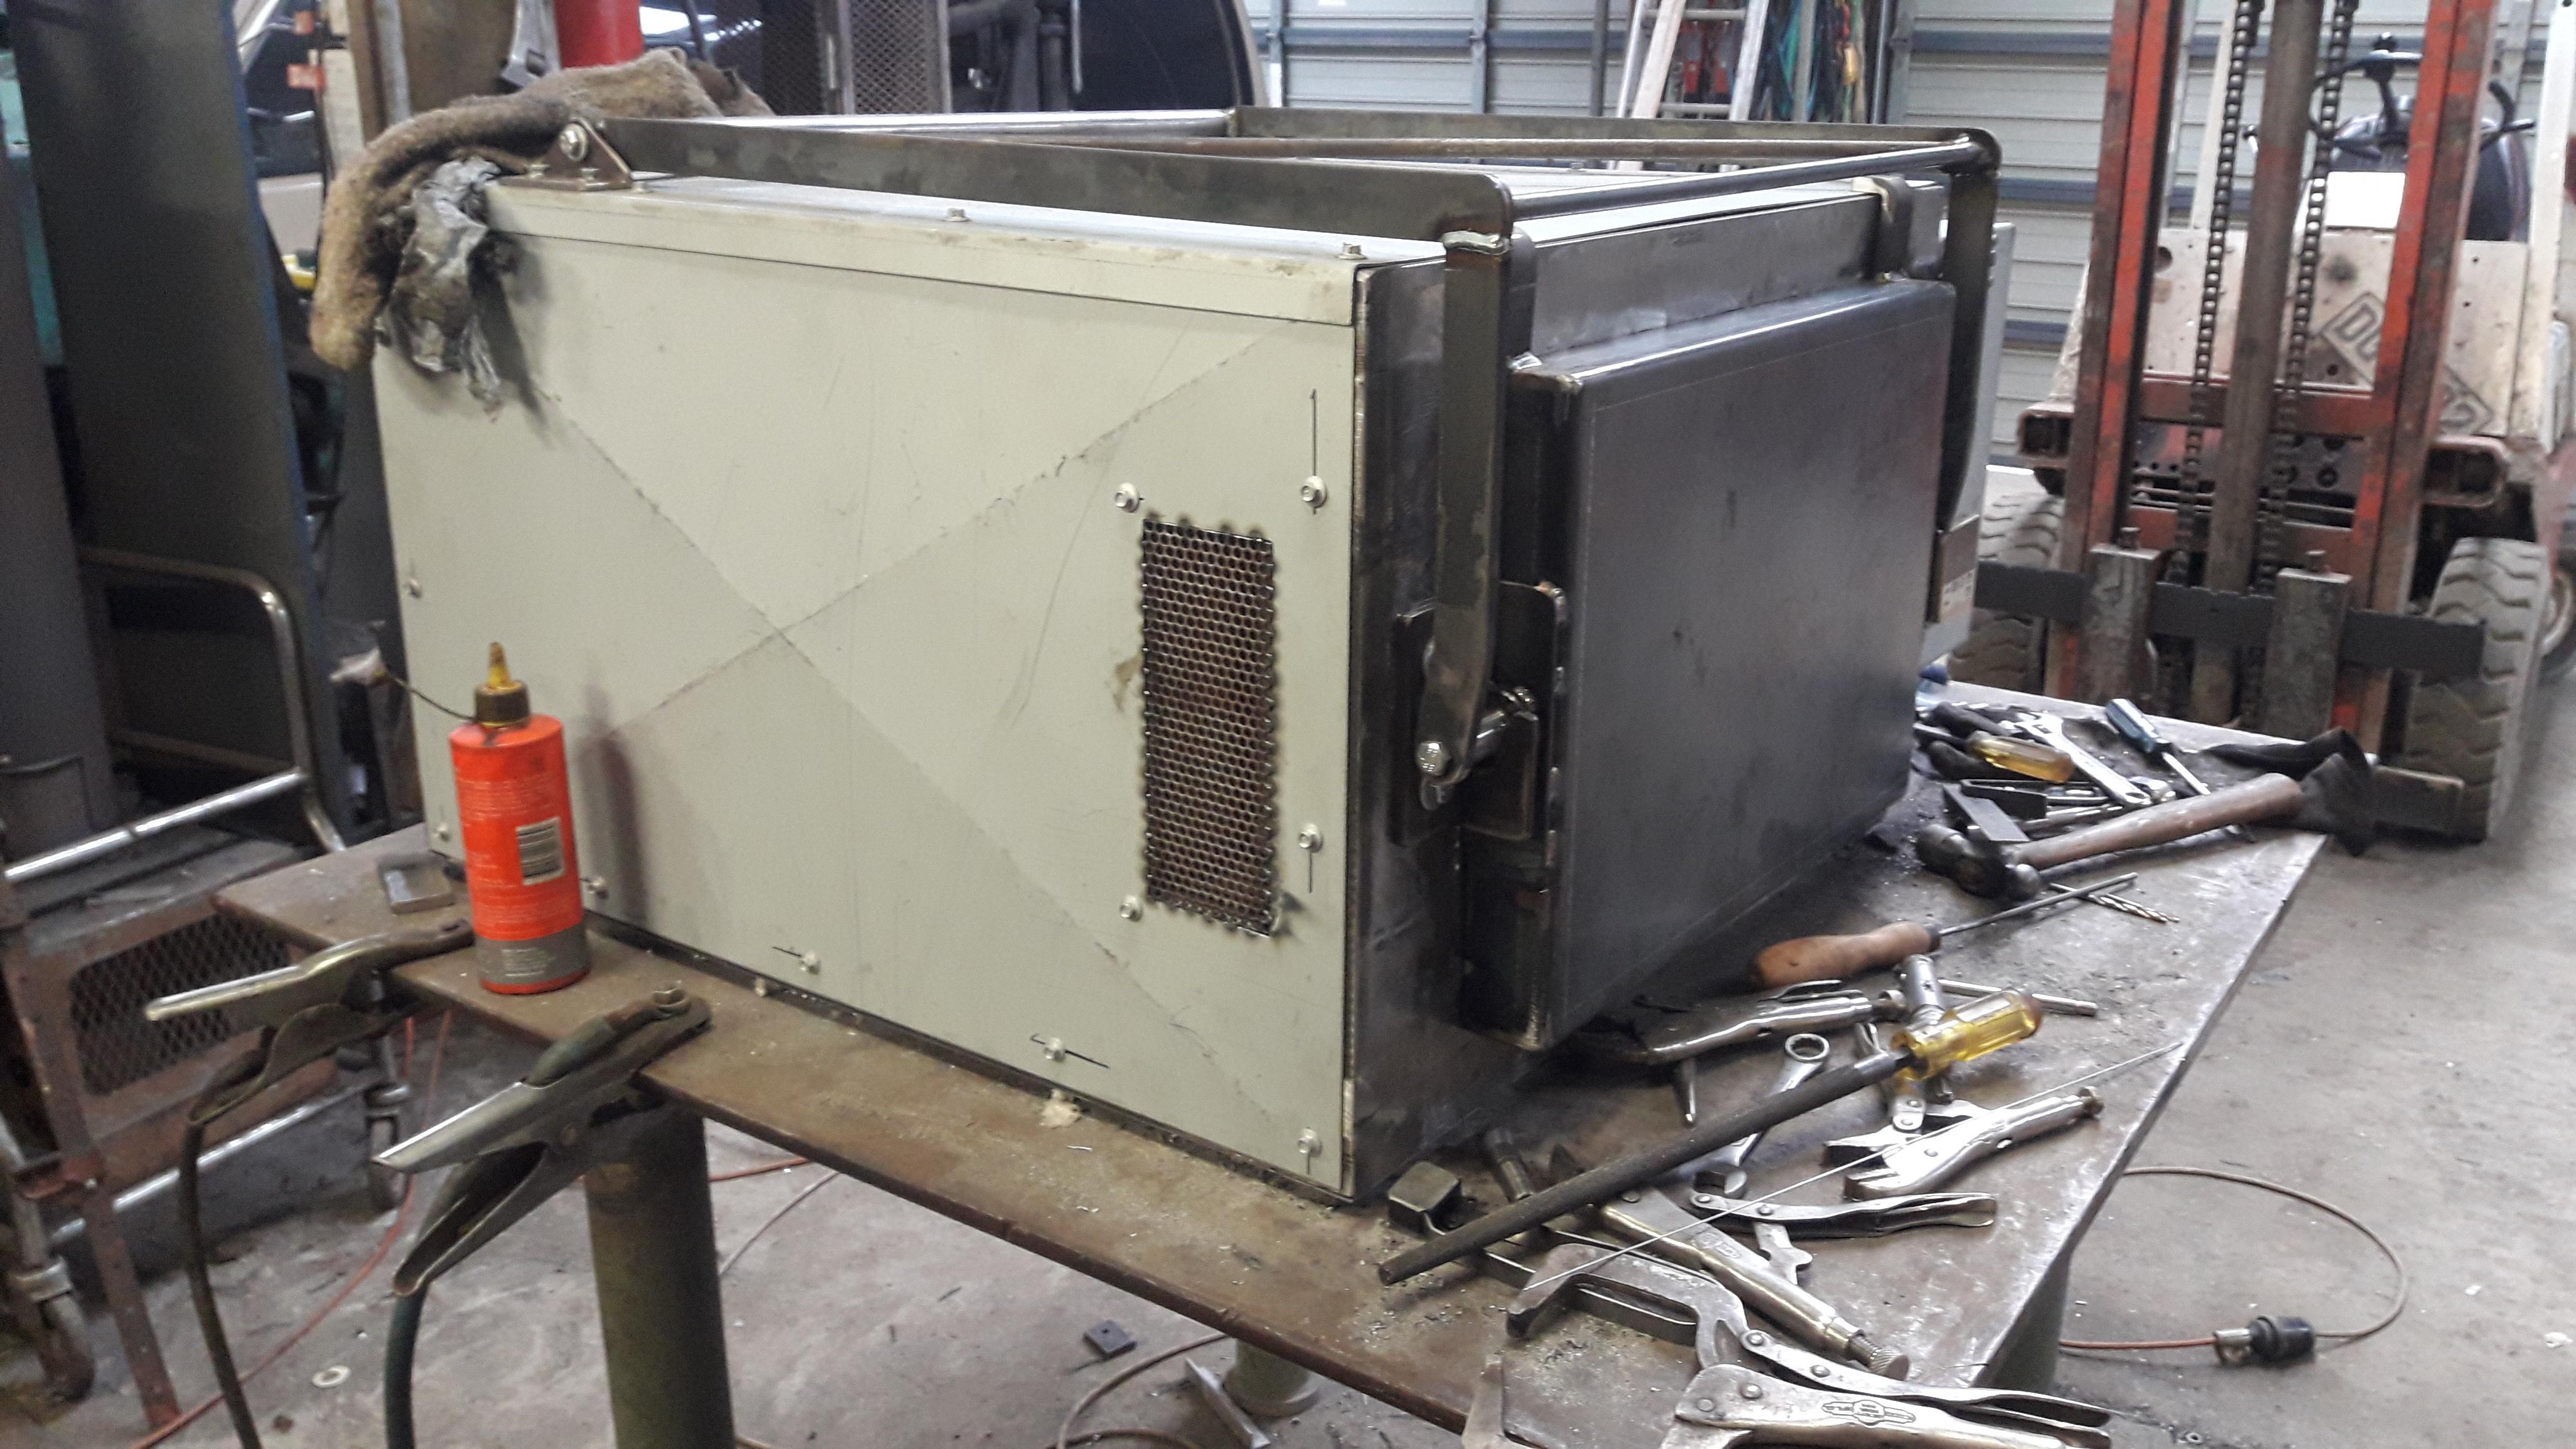
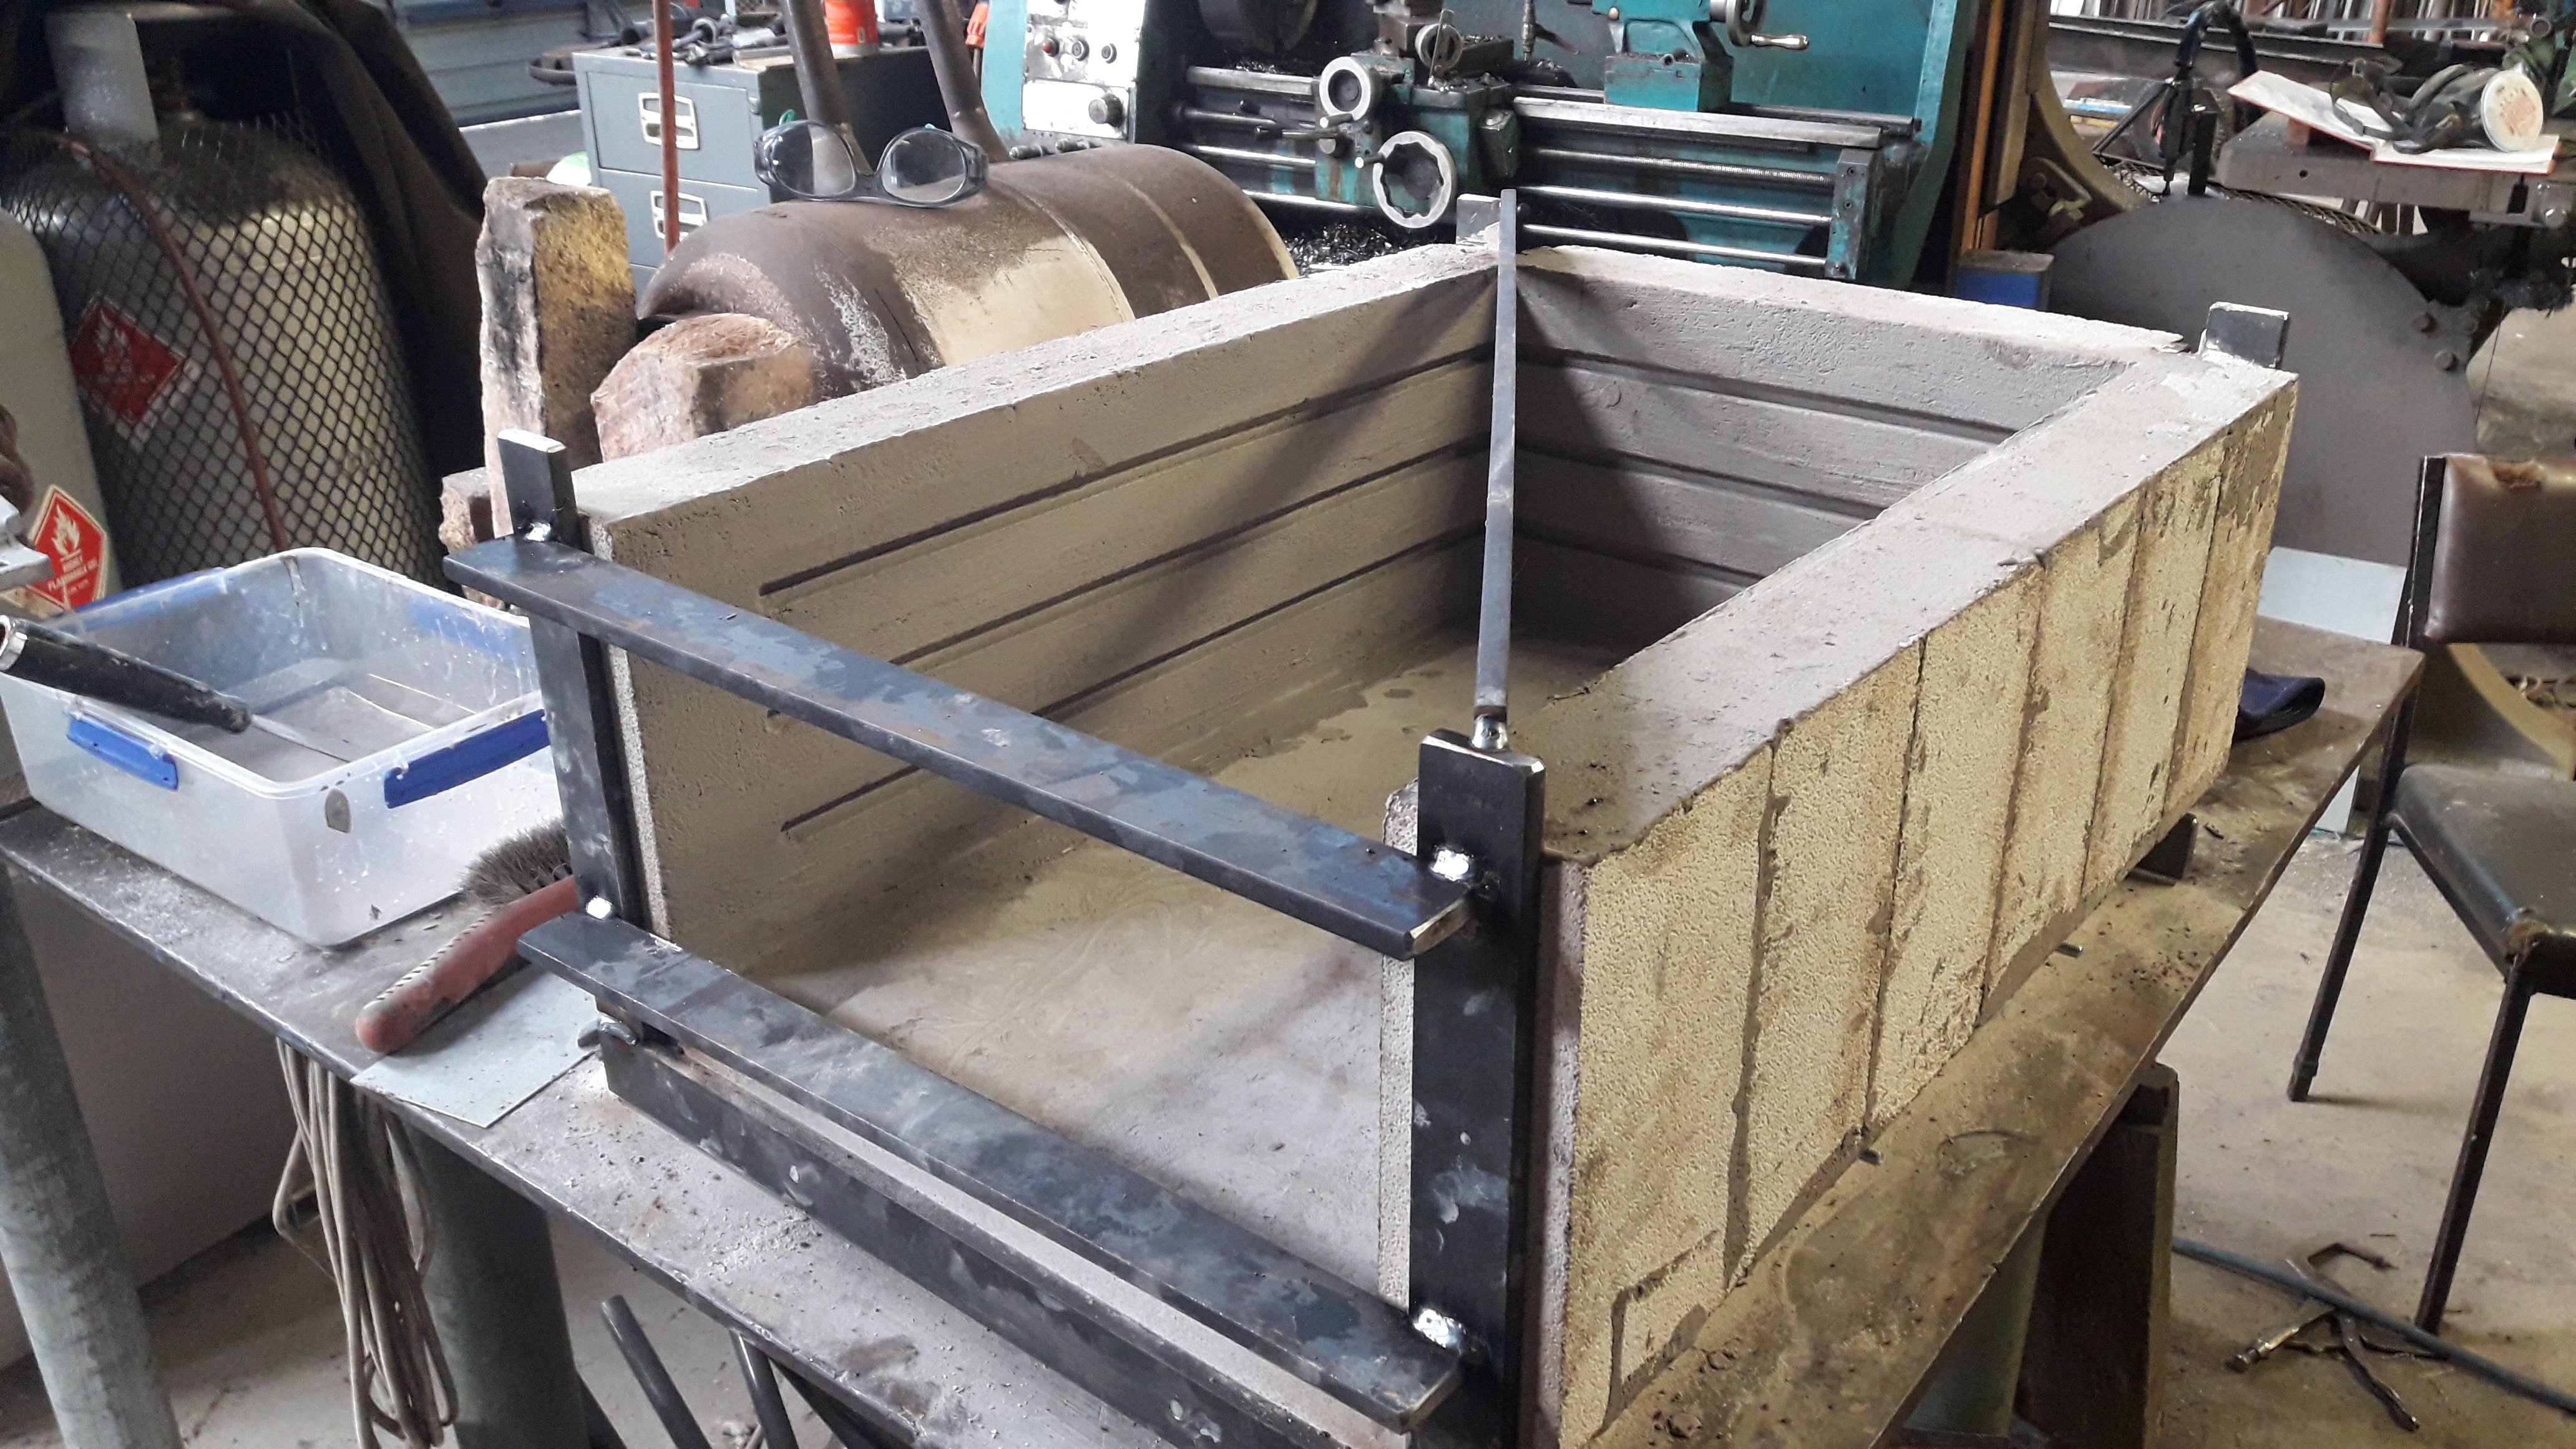
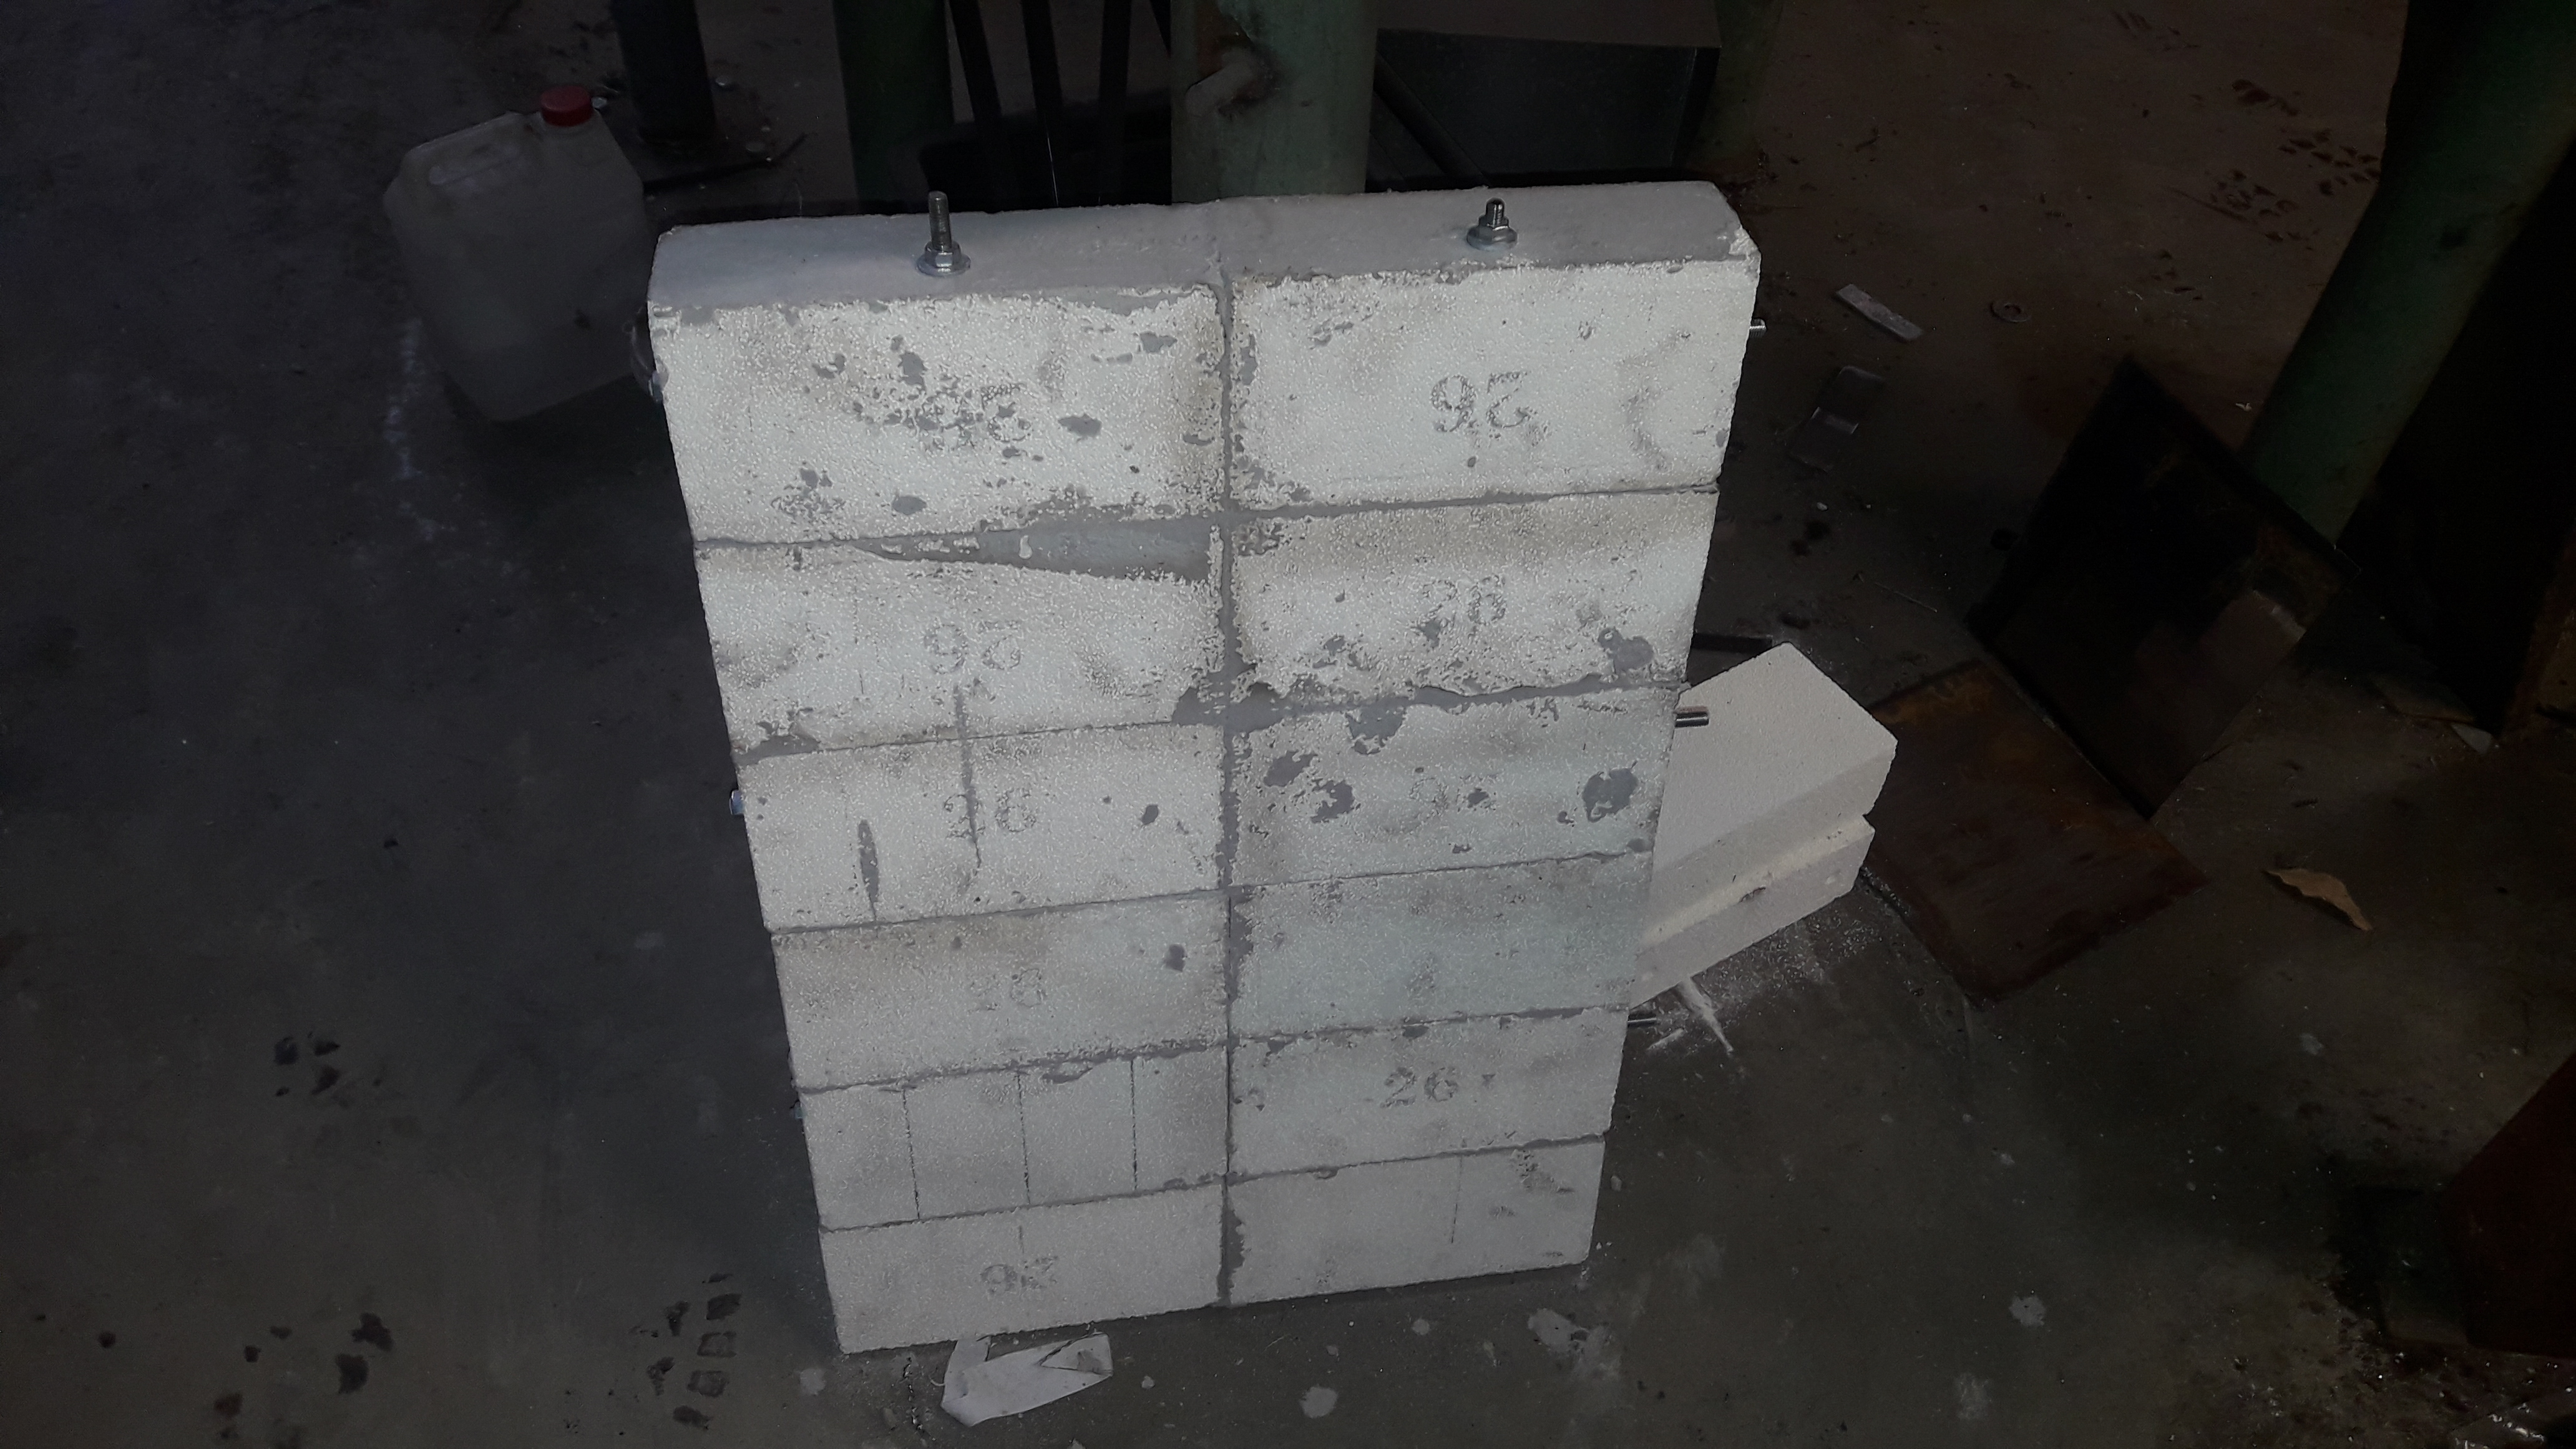
I have got the body of the oven all together, Got more done today than hoped now it will have to be left for a few days to dry a bit. I think I will have a vertically swinging door so its gets out of the way when unloading and maybe kiln sheving if I can source some. I have painted/trowelled on a layer of the satanite in the hope that it hardens after high heat. The elements will be held in place by 1100 stainless tig wire pins pushed into the bricks.

-
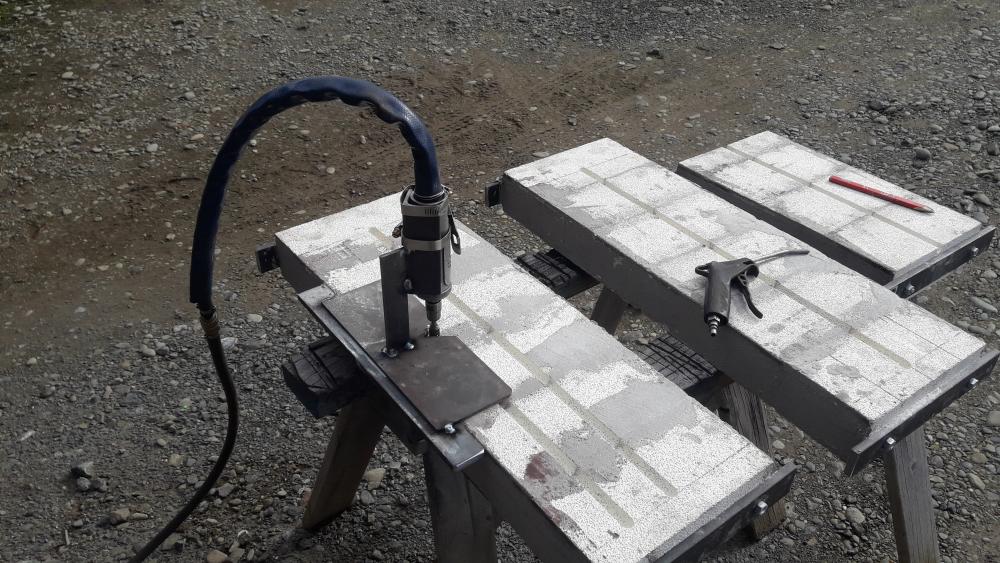
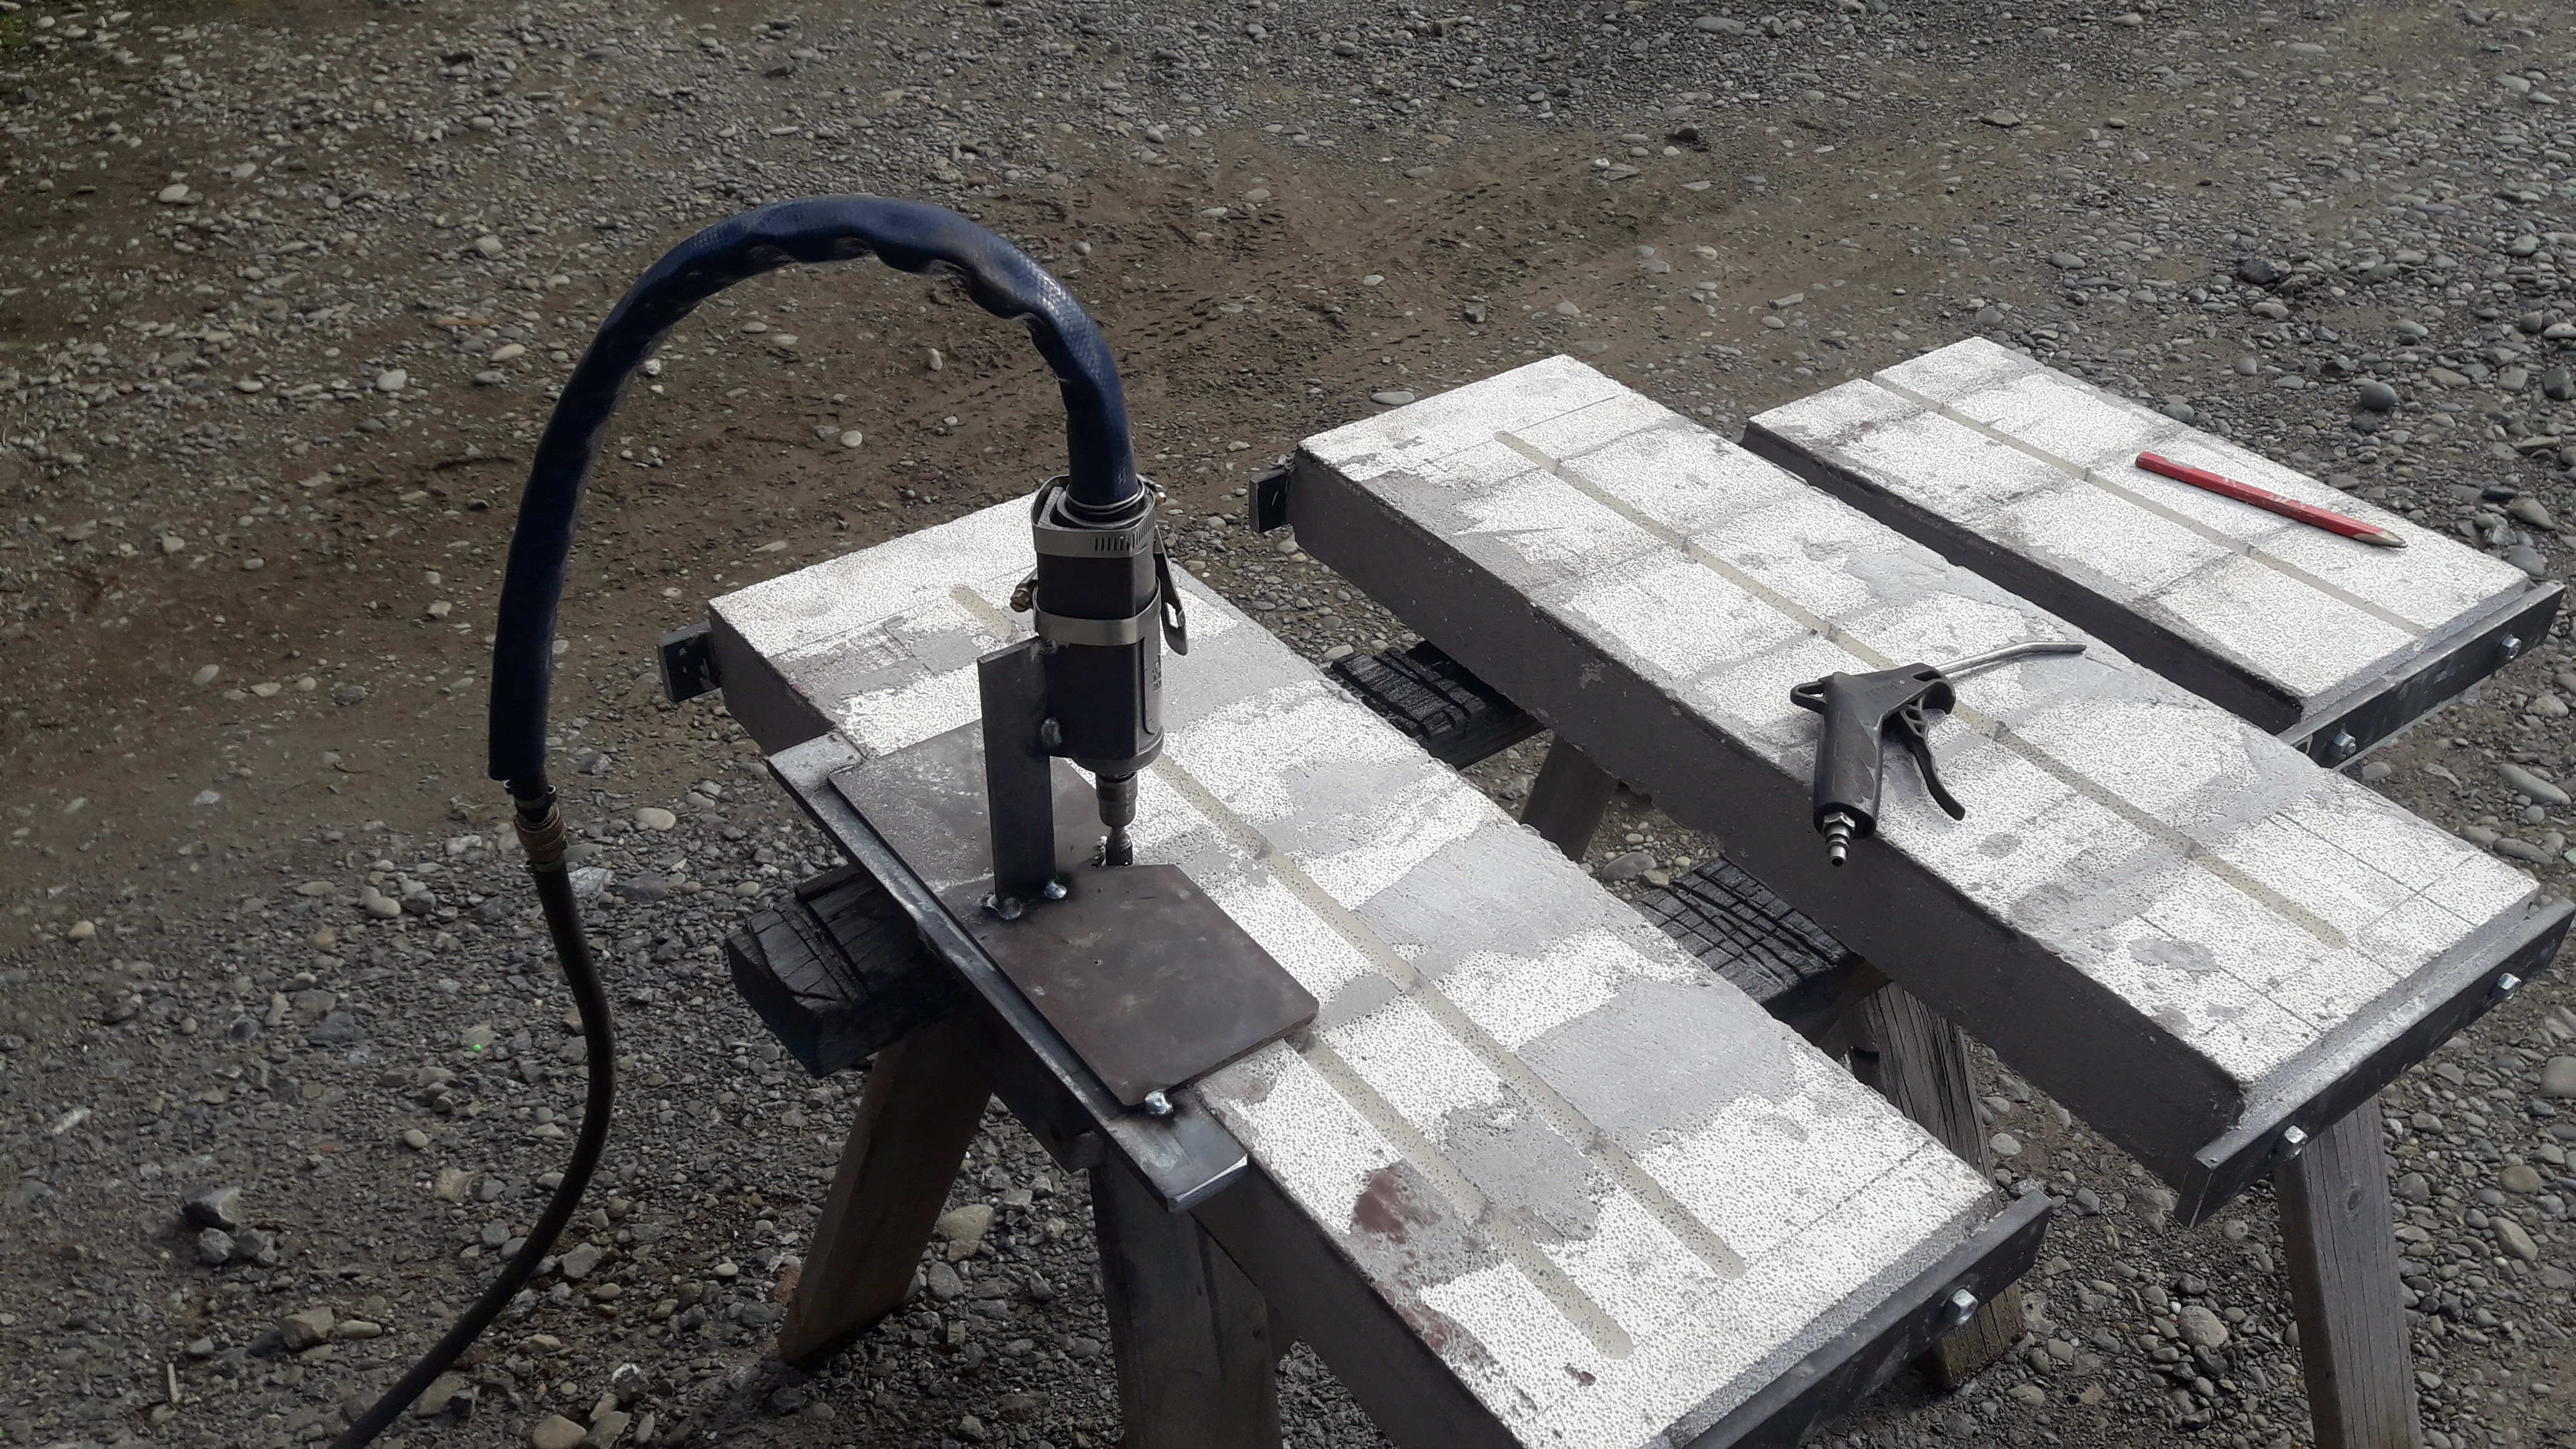
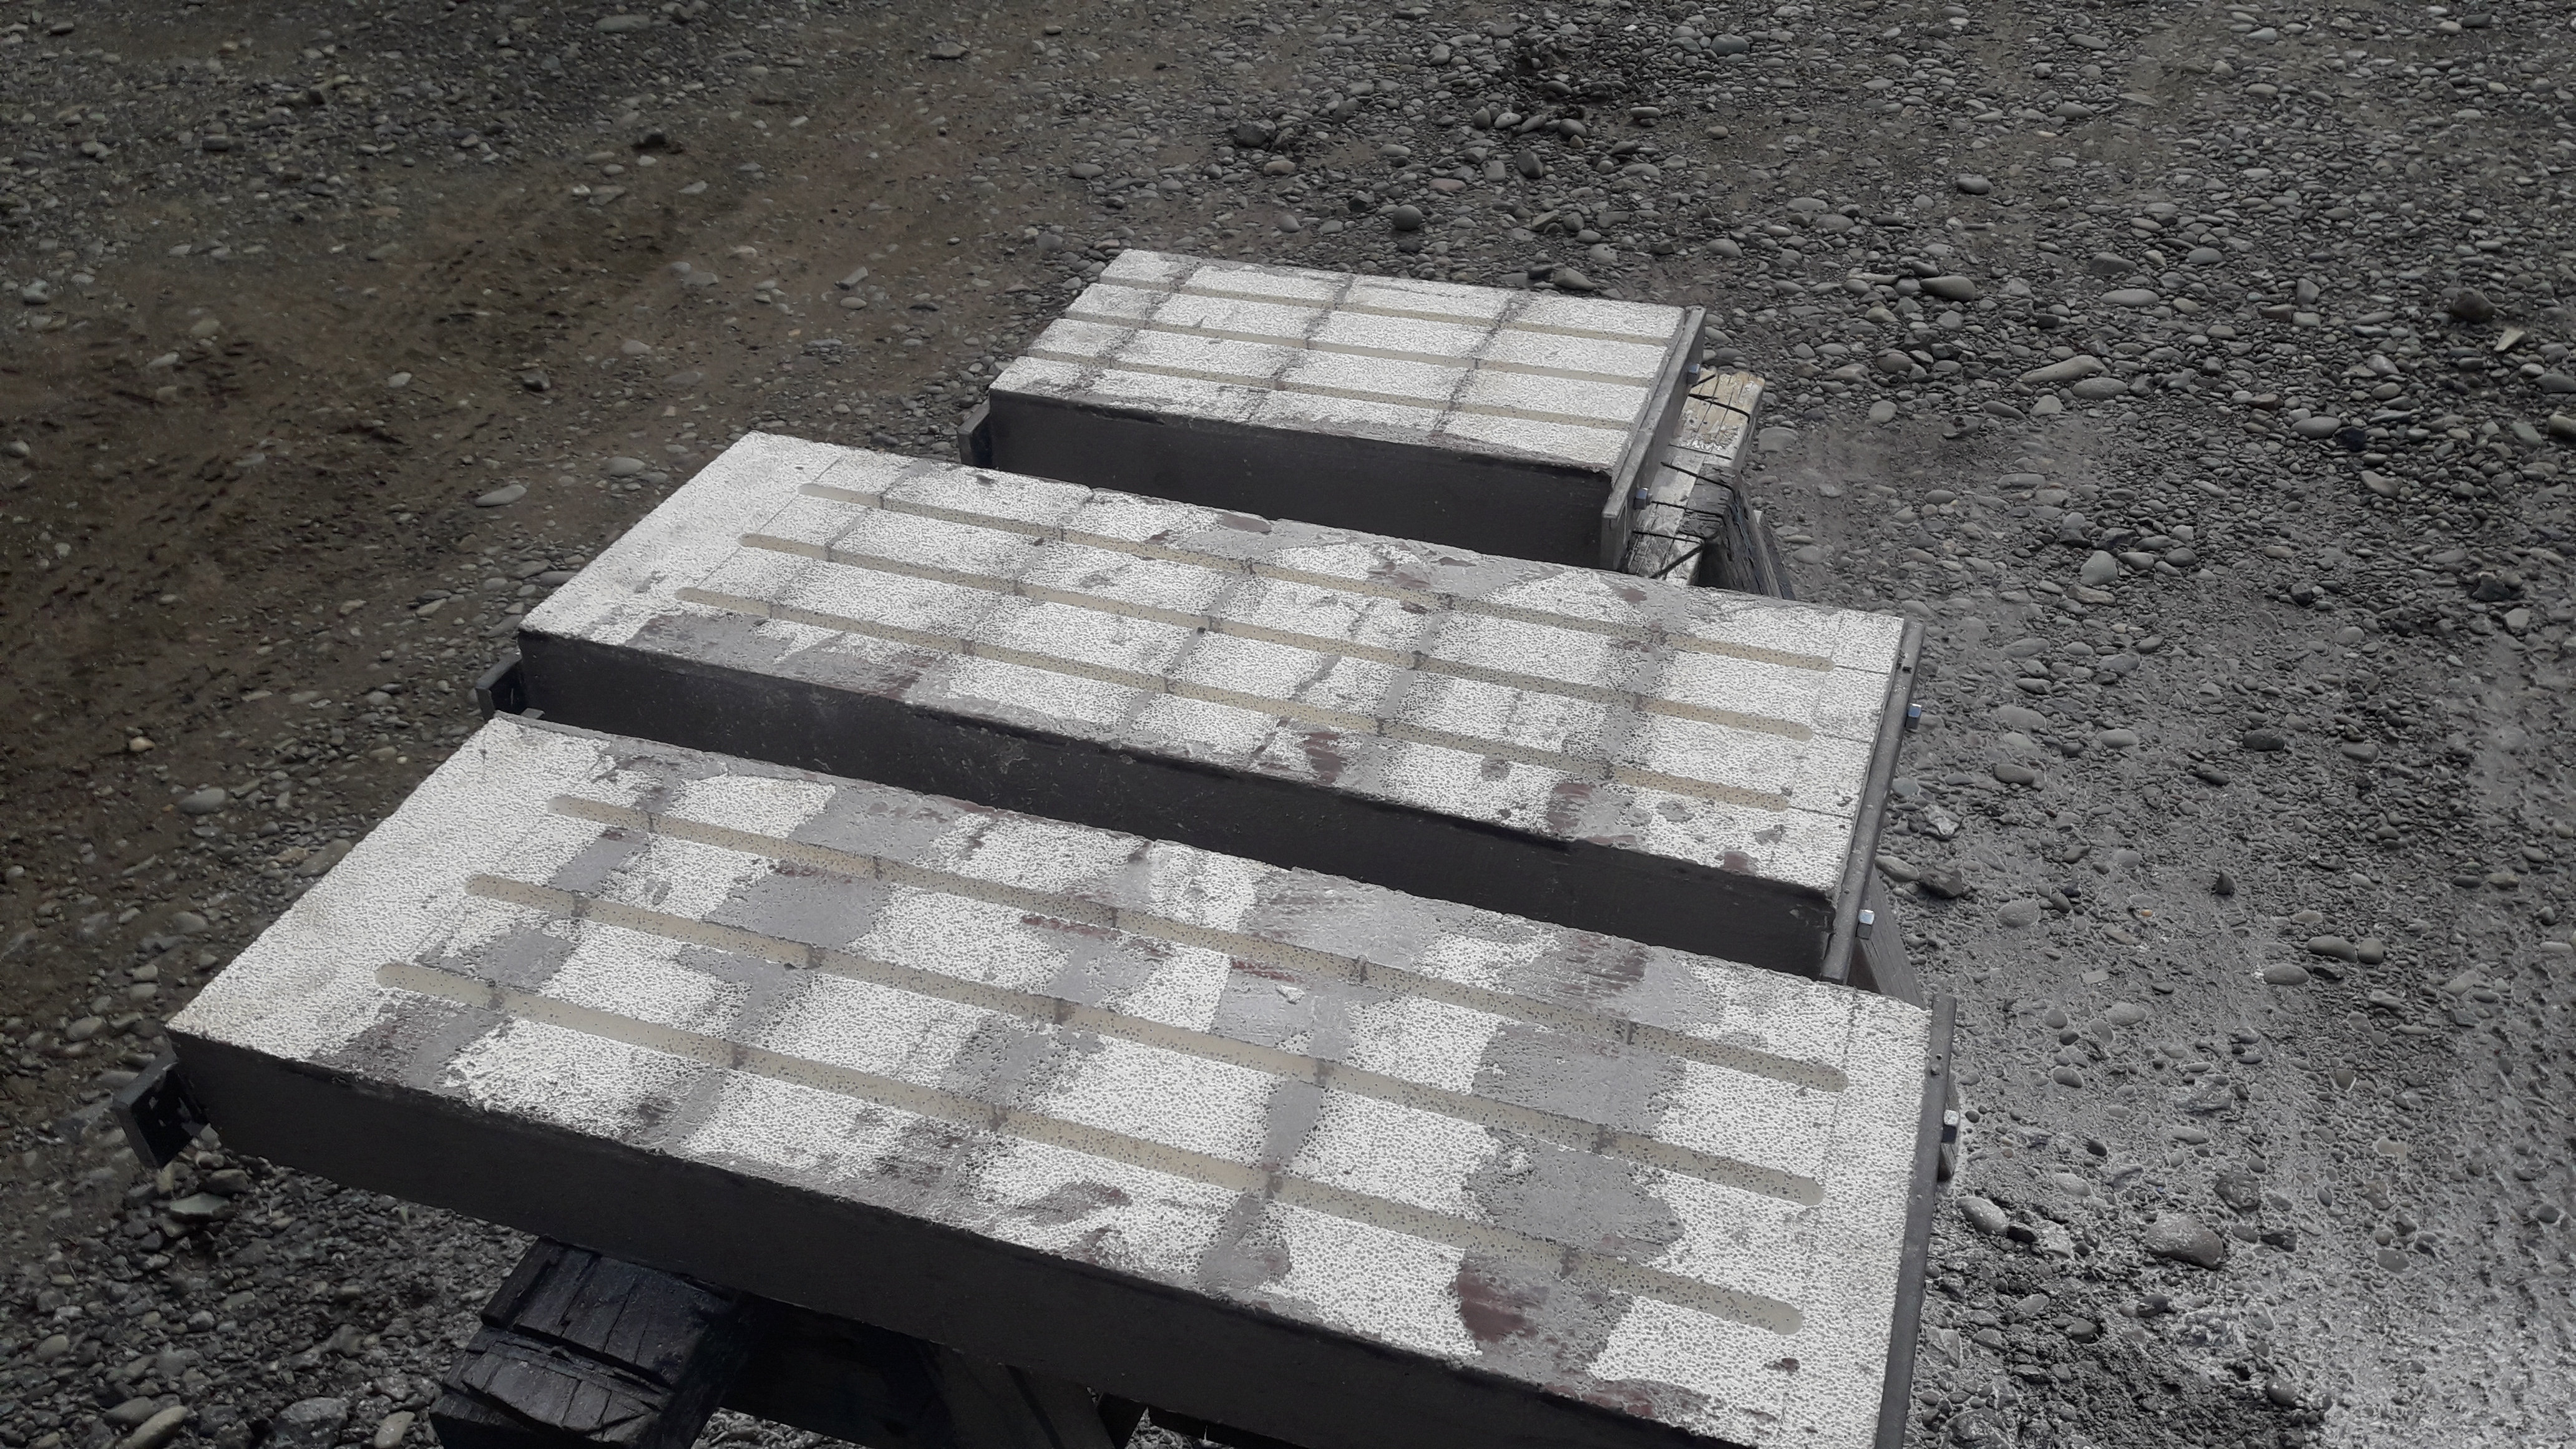
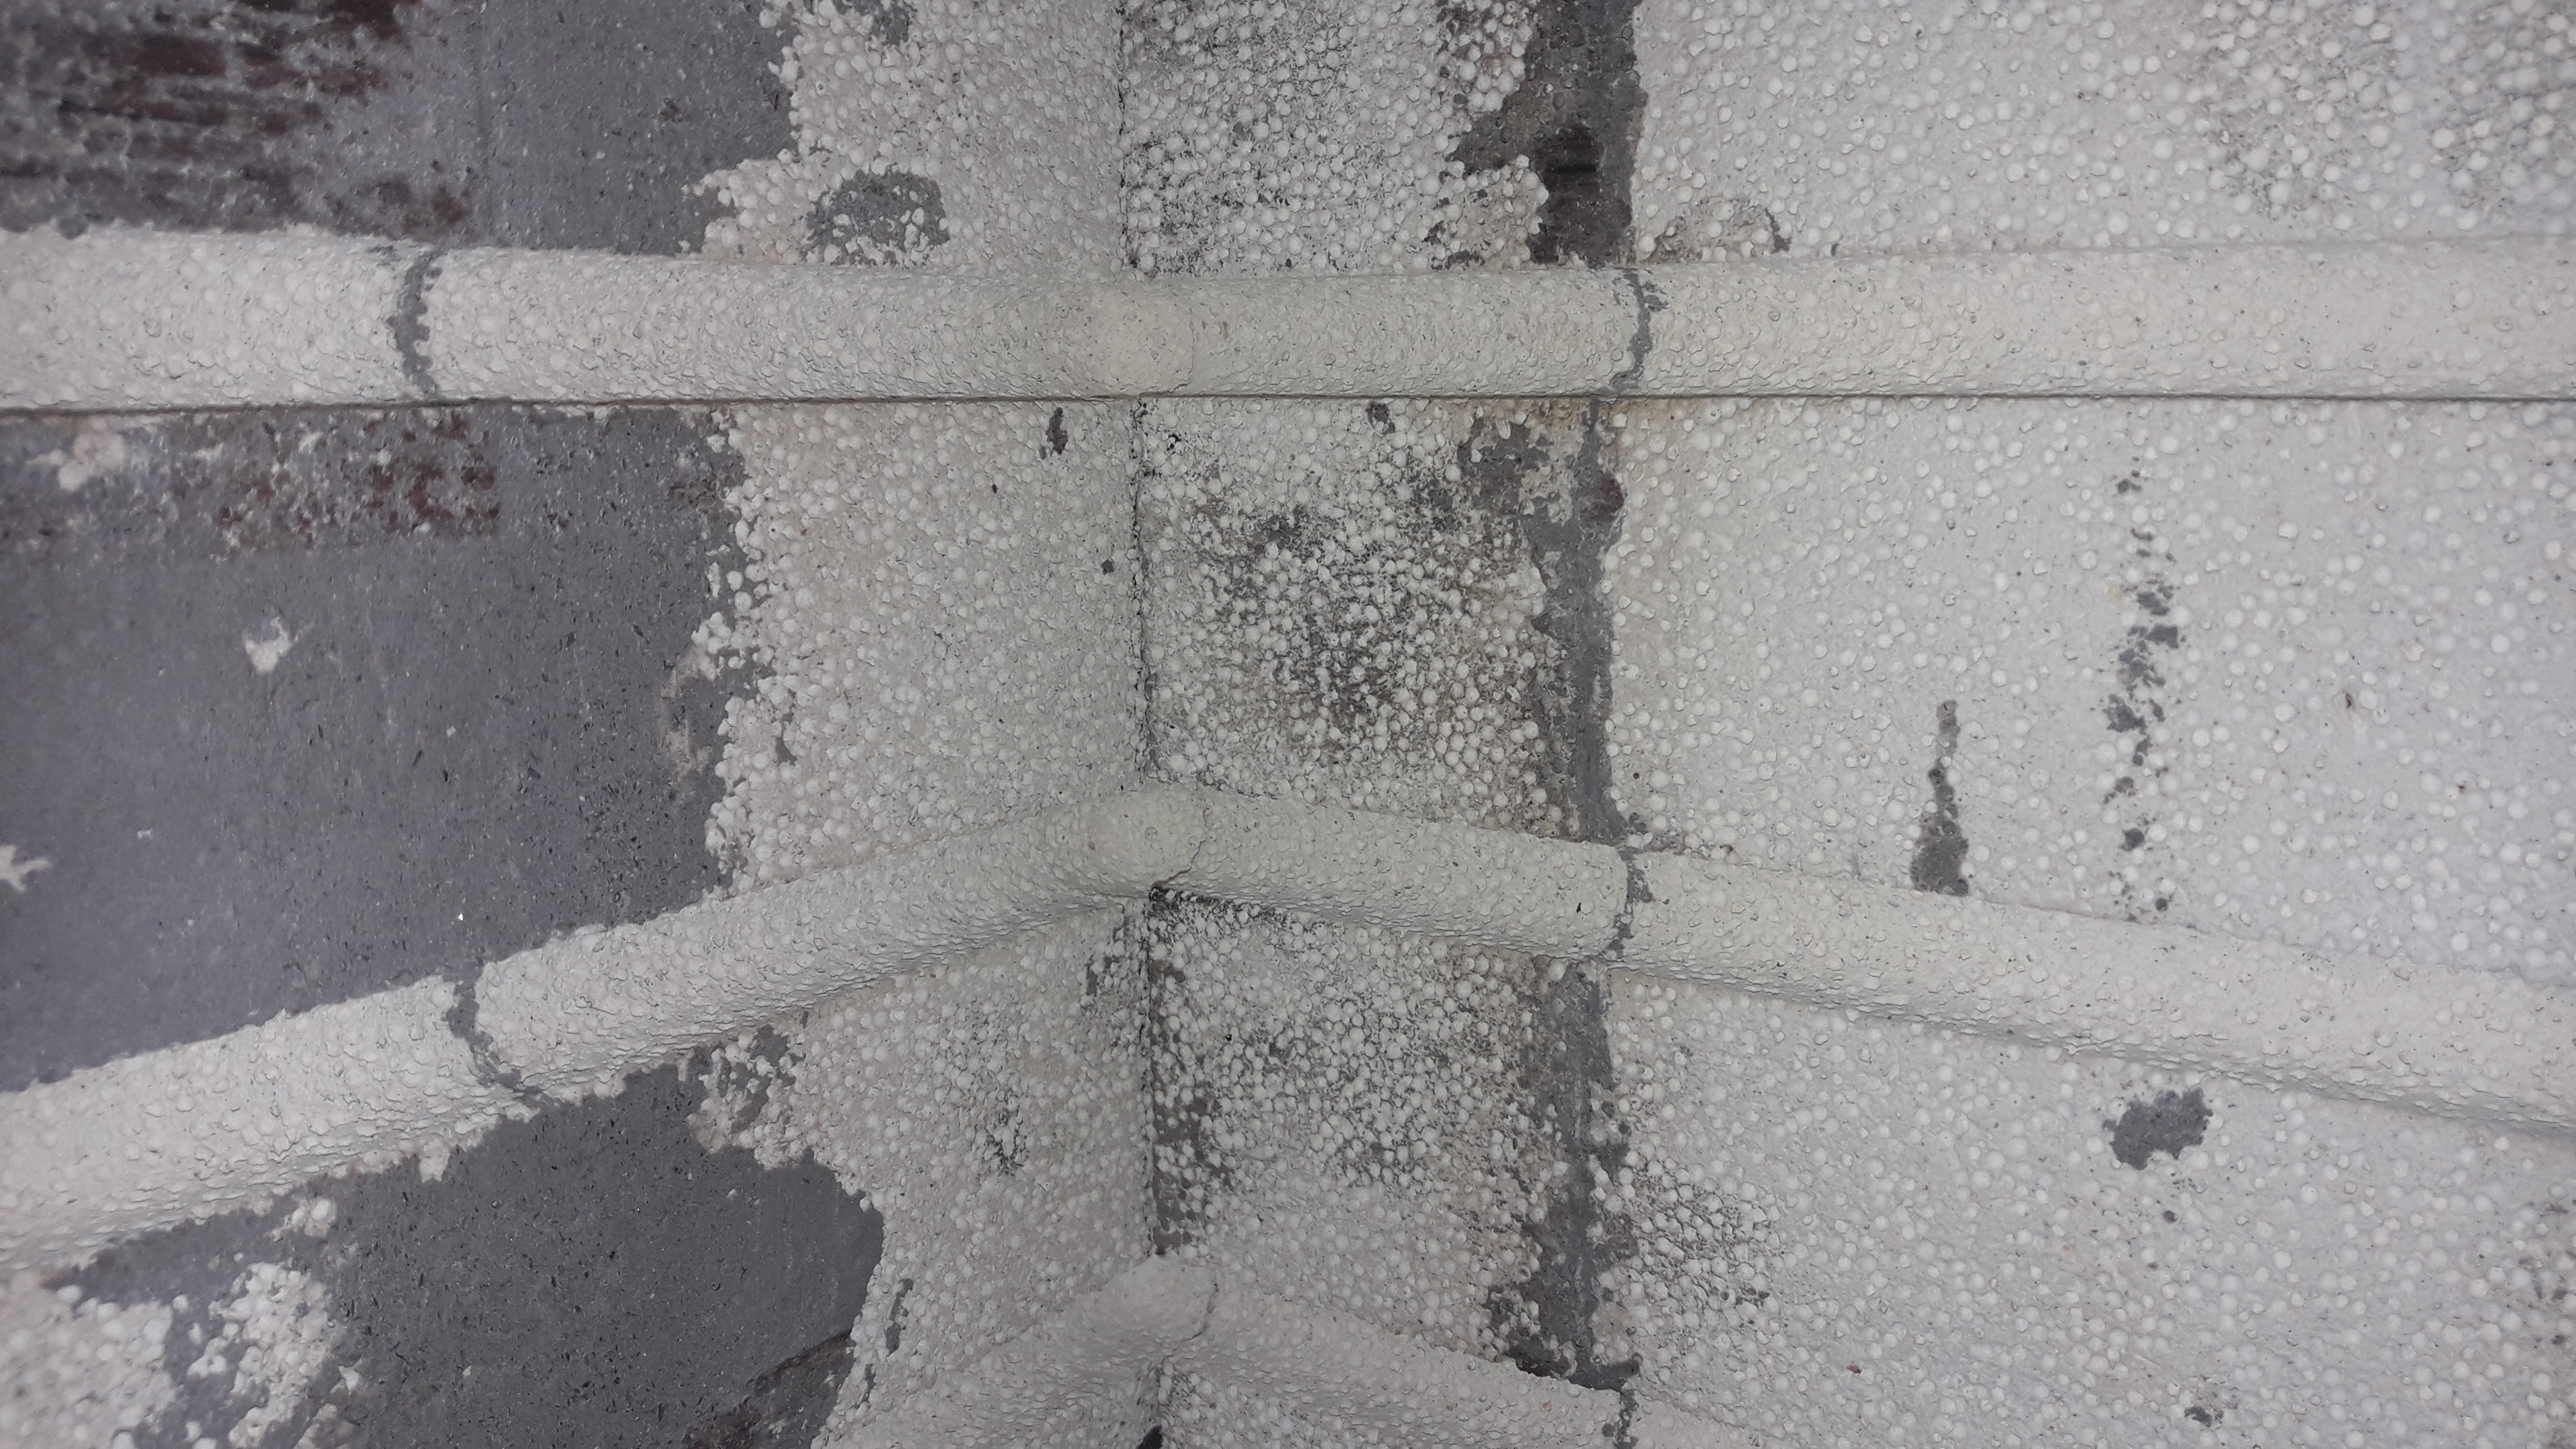
I am making an oven from soft refractory bricks primarily for heat treating aluminum motor cycle parts but will be able to go to a bit over 1000 Deg centigrade so will be able to be used for steel objects as well. I will also have a ridgidised kaowool roof and kaowool around the bricks as well as they are not a good insulator, the kiln sizes are 660 deep 400 wide and 230 high inside. I have used my die grinder set up to be used as a router with a 1/2in round nosed carbide burr to cut the grooves for the elements to go in. The elements are 3x3000 watts at 400 volts so it will be 3 phase. I had the elements made up by a company that makes kiln parts, i am doing this as I cant get an oven the size I want. I have a Shimaden controler for the temp control and will have thermocouple and relays etc for the control of the oven
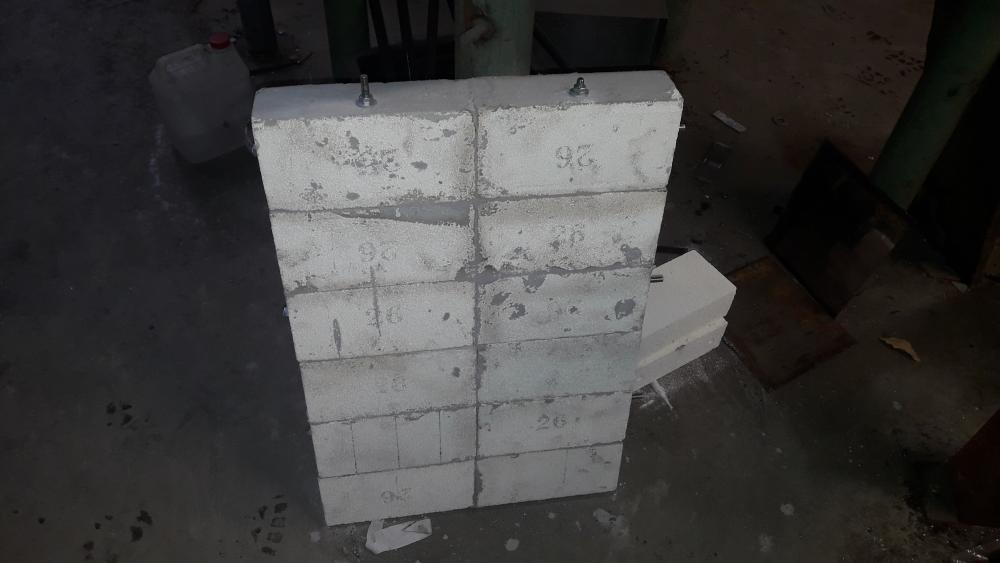
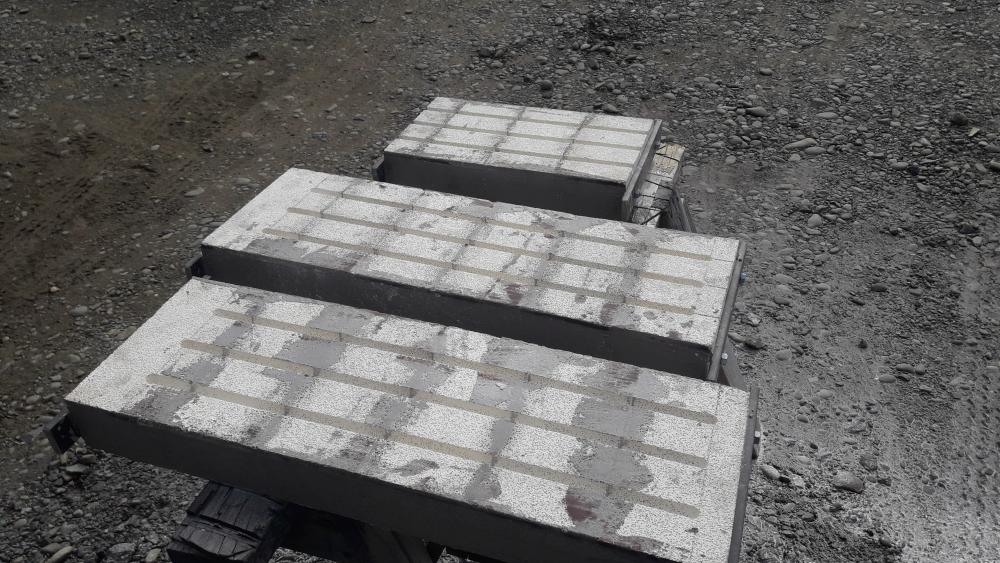
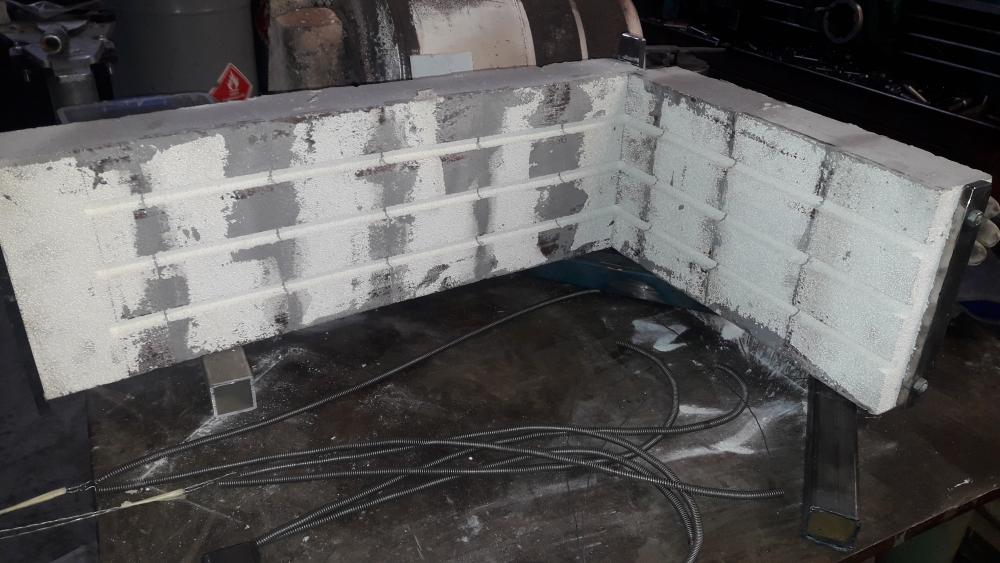

The bricks are held together with 8mm through bolts of threaded rod and satinite
-
I have just cut the rail head across with the oxy and gone to have smoko and when I returned it had just fractured the rest of the way through, It is 1085 steel generally unless its from a low service line where somwtimes they would cheap out and use a lower grade. The really old stuff can be wrought iron but that would be over 100 year old rail. I have done alot of thermite welding of rail but it was on 80Kg/meter crane rail track, Its an impresive process and really makes an increadable amount of heat in a few seconds. As to the cutting using thermite the guy who taught us how to do it told us a story about how a guy had caught out his wife with her specail friend and had set off a thermite charge on the bonnet of his car and it went through the engine block
-
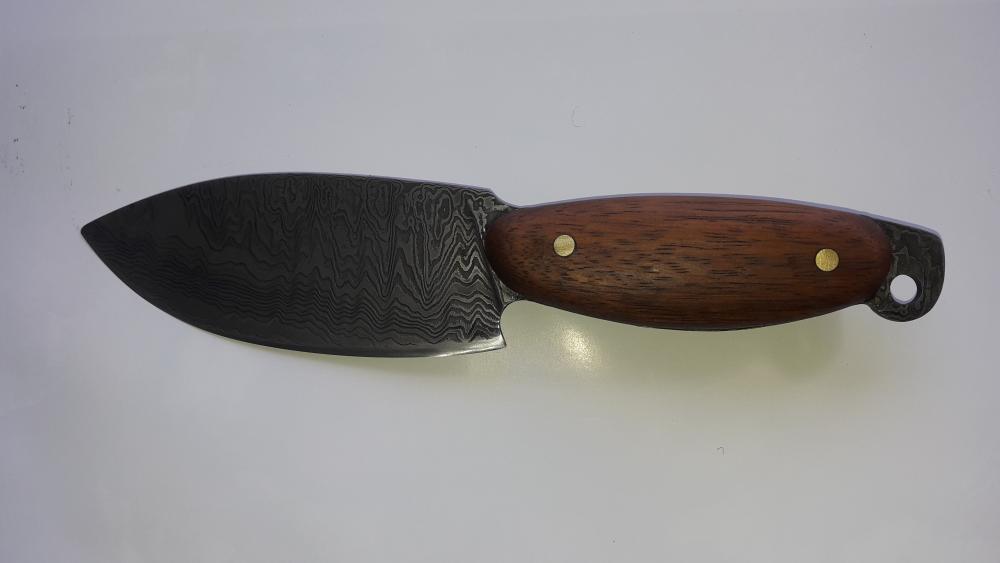
I made the billet myself, Sawmill bandsaw blade and crane rail track
-
Its my wife and son George
-
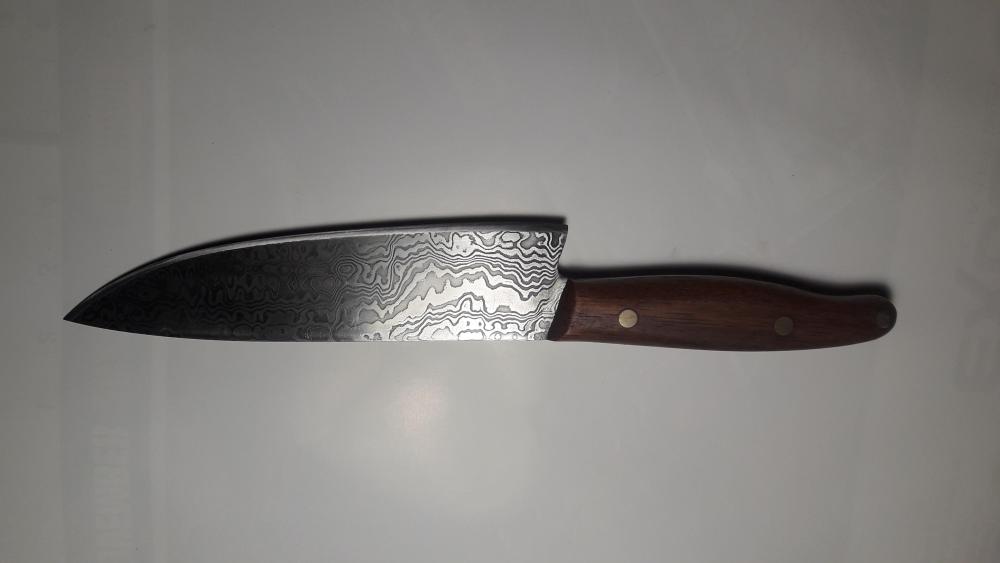
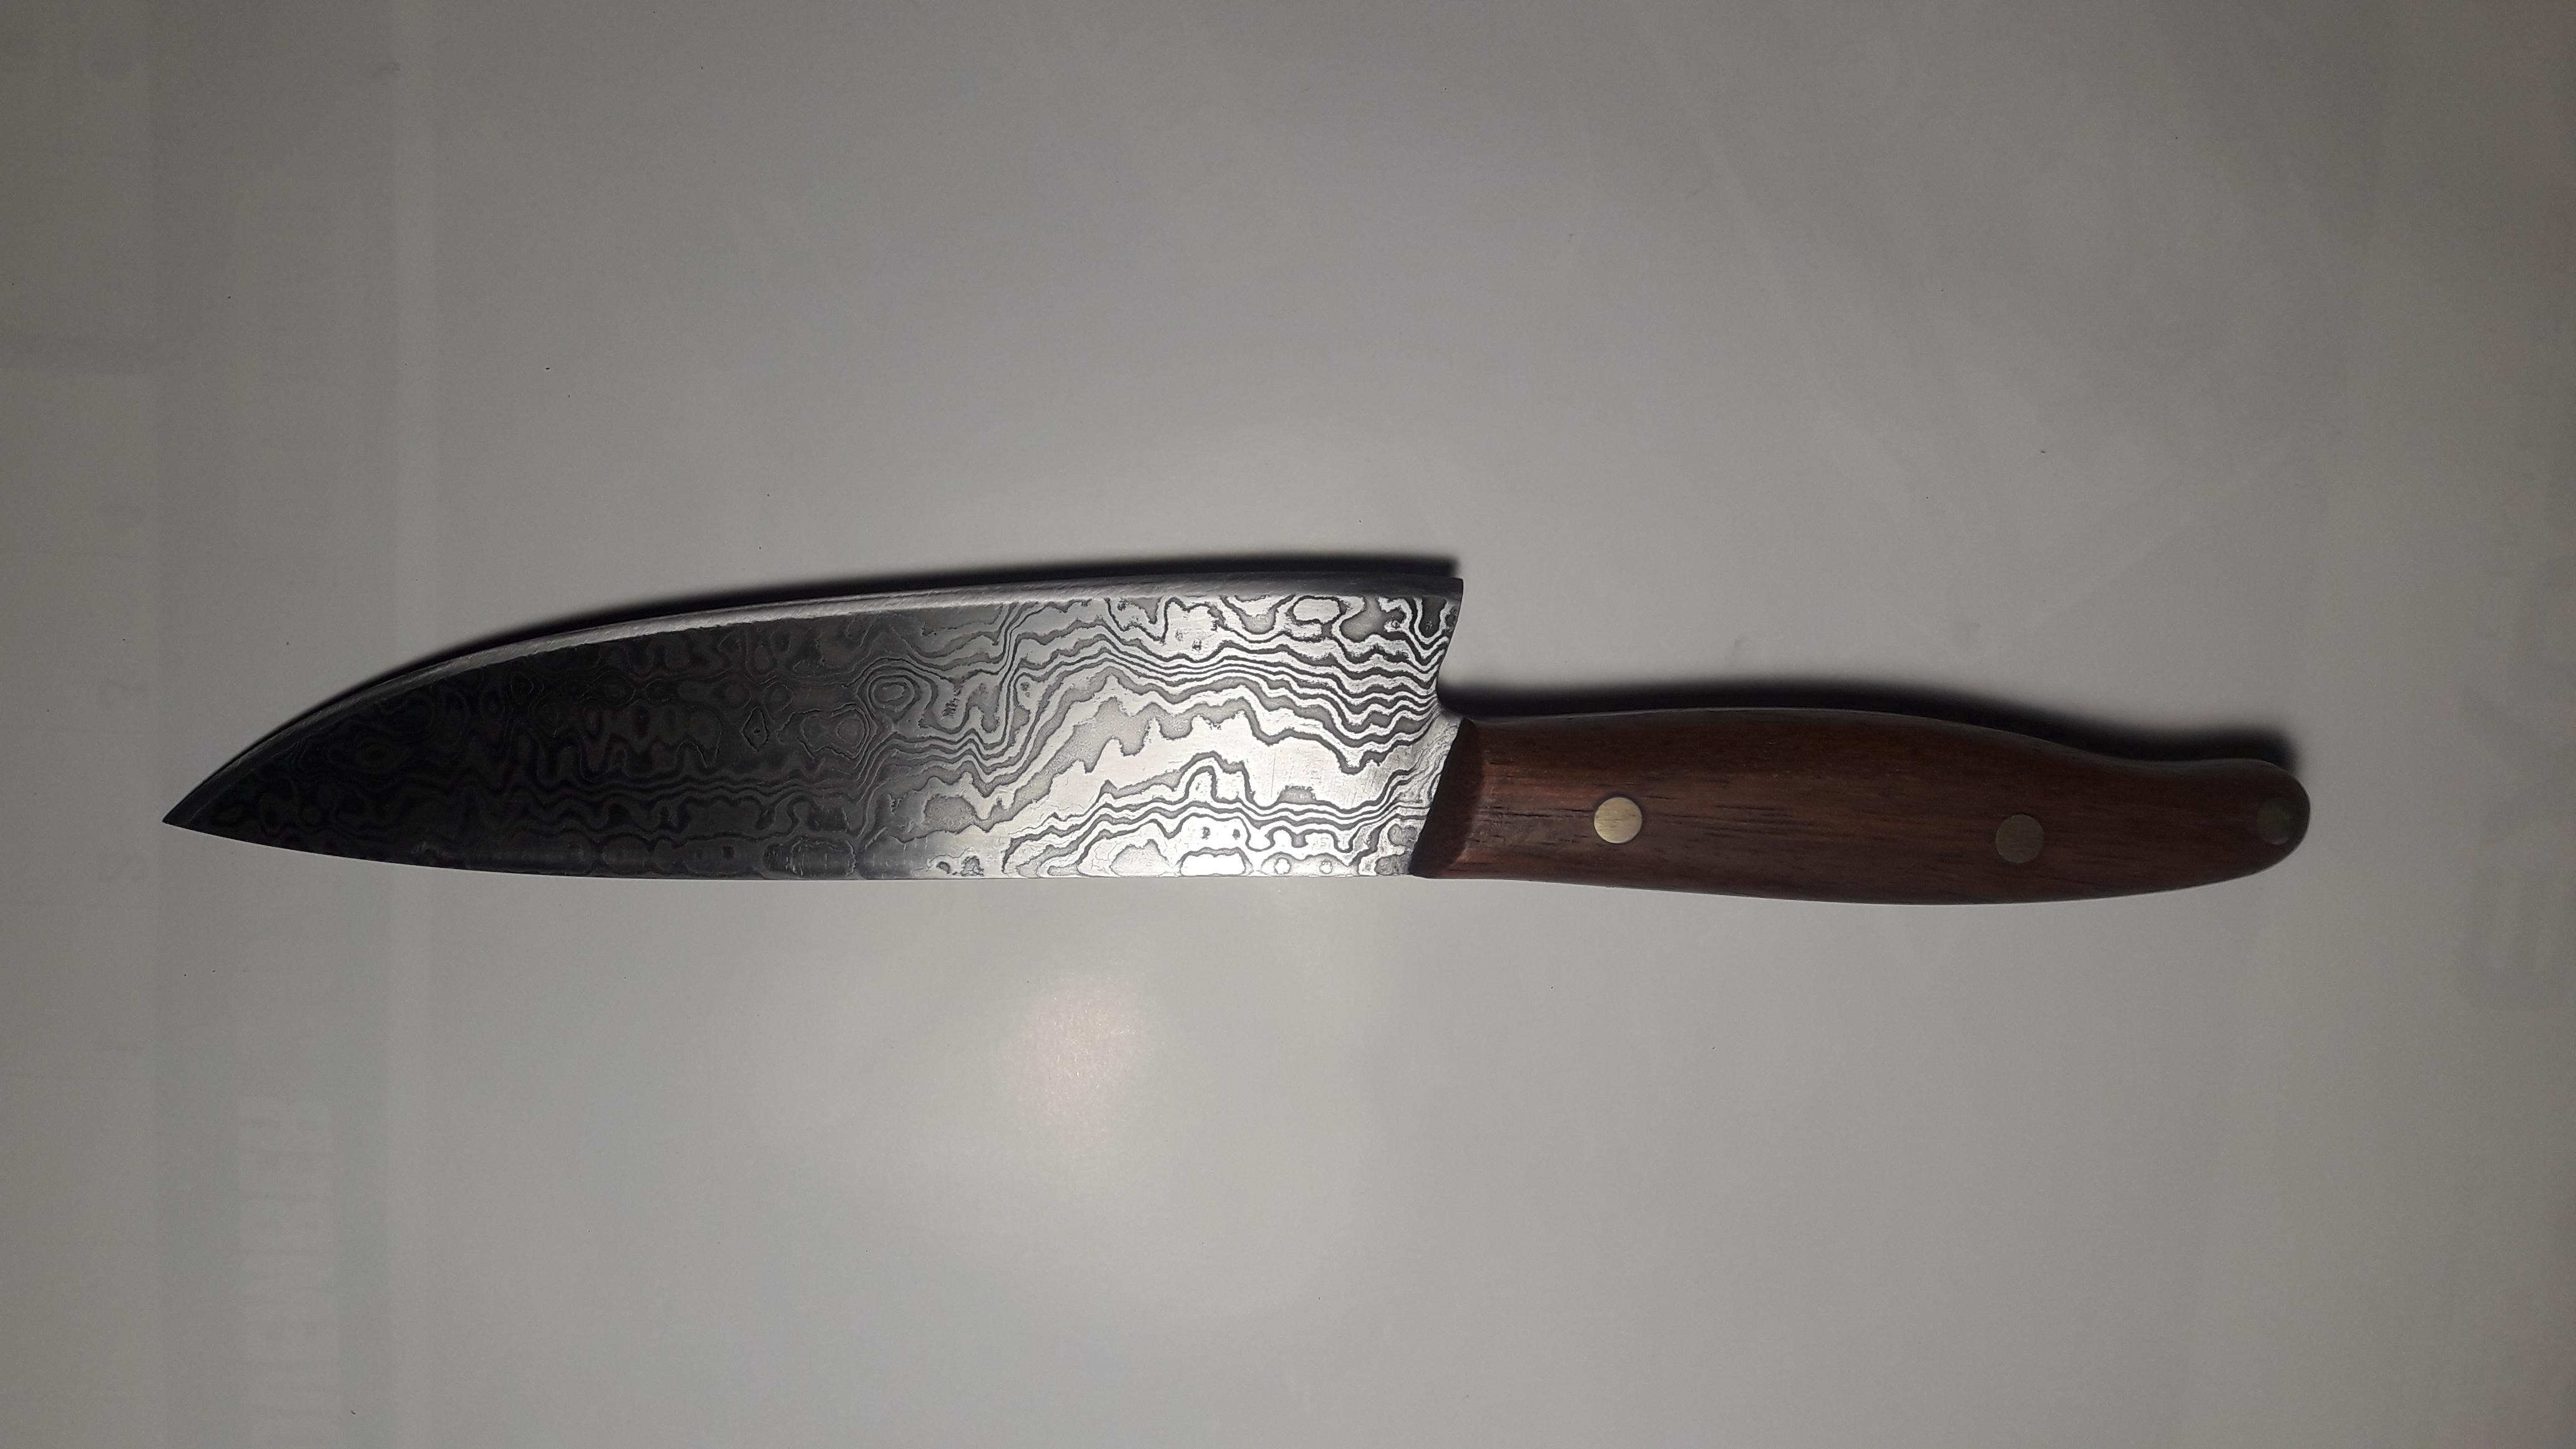
A couple of pics of my latest blade, bit of an experiment in the shape of the handle and blade as its intended to be a hunter/skinning knife. I gave this to a good friend who got married as a wedding gift as He is a keen hunter. Jarra handle and band saw blade and 1080 crane rail track
-
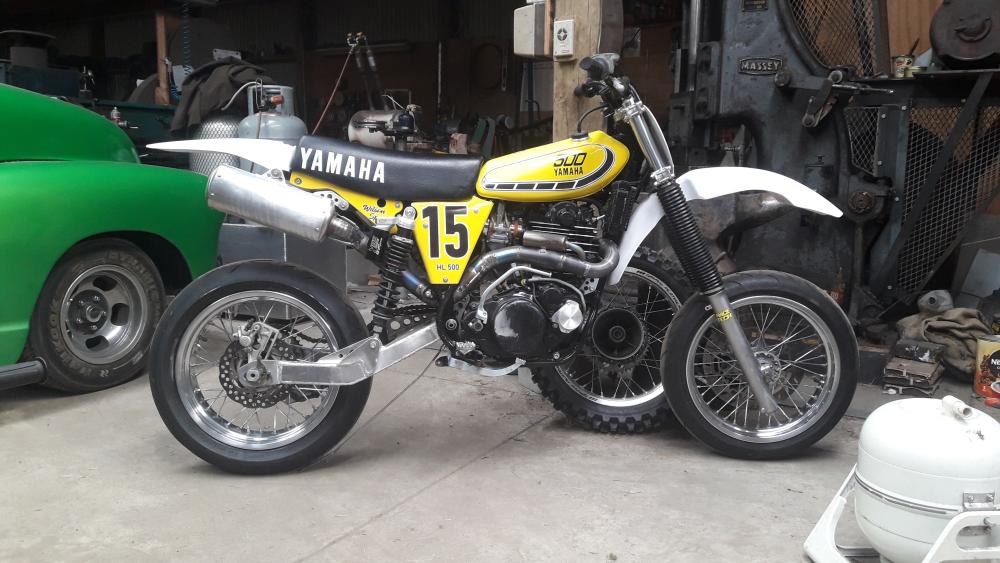
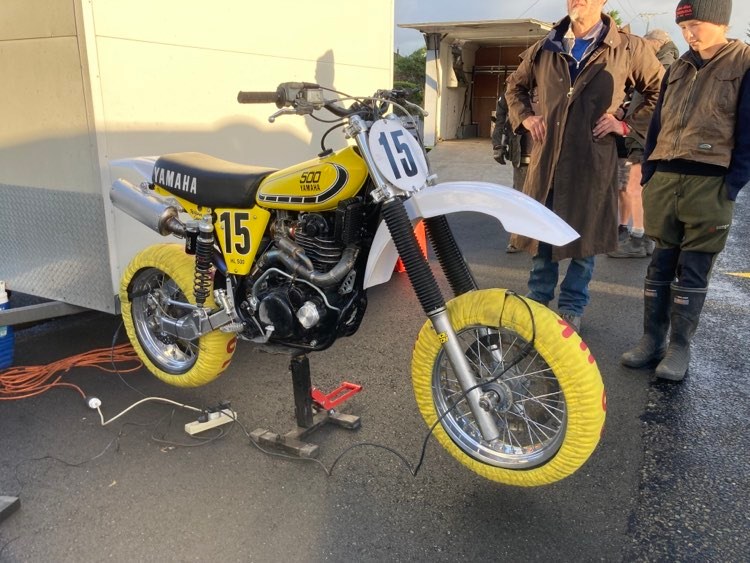
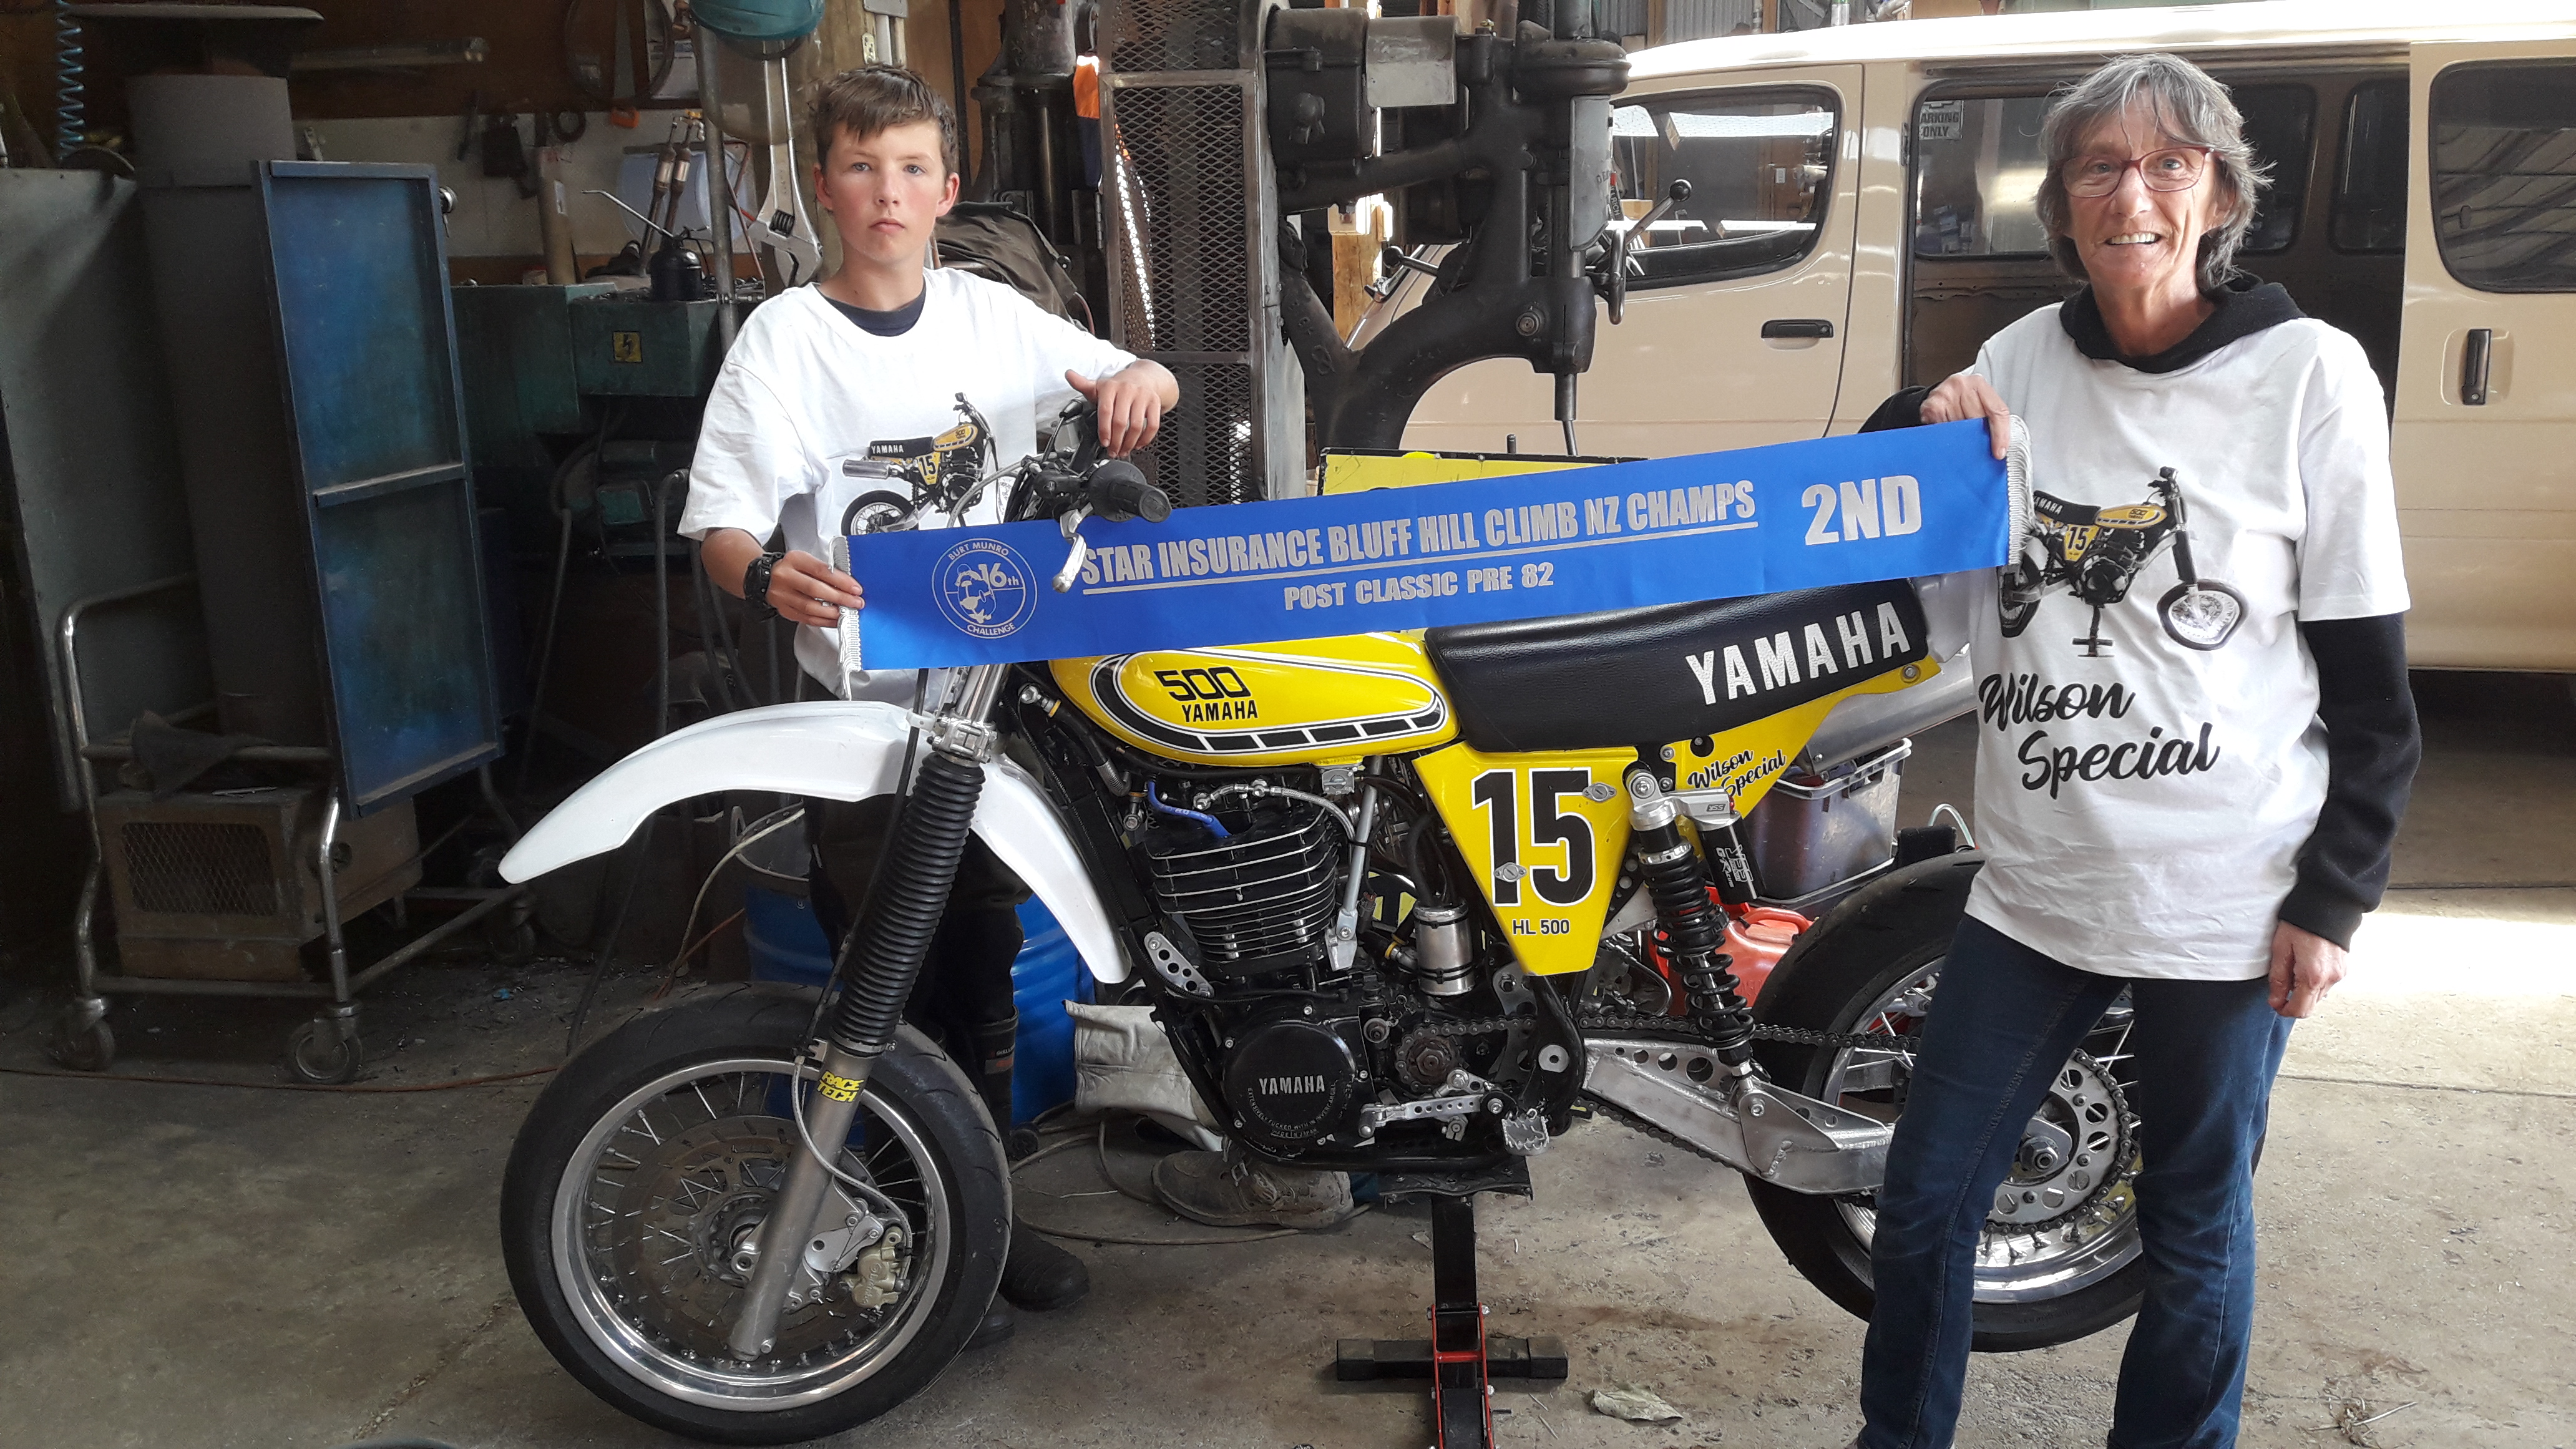
Well I got to do the Burt Munro event this year and had a blast, At the end the bike was still running and I wasnt in hospital. I got second in my class in the hill climb up Bluff hill and 5th in the street race but I had entered the open class and should of been in the up to 600cc class instead. Very pleased with how the bike went. I had fitted a set of road wheels with an over size front disc brake as the street race is very hard on brakes


-
8 hours ago, Frosty said:
The real down side of online buying is you can't hang the old catalogue in the outhouse.
Frosty The Lucky.
LOL Shinney paper would skid
-
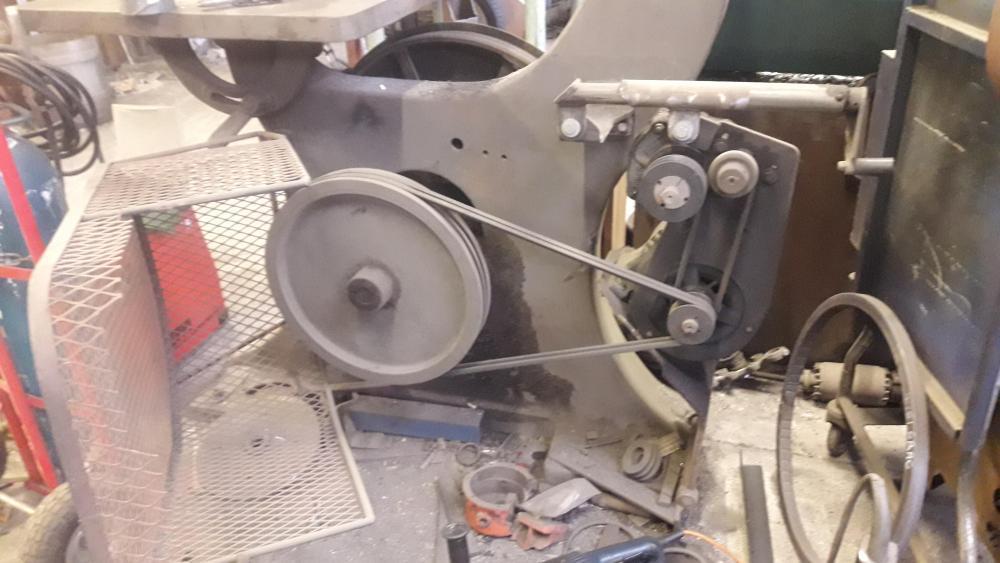
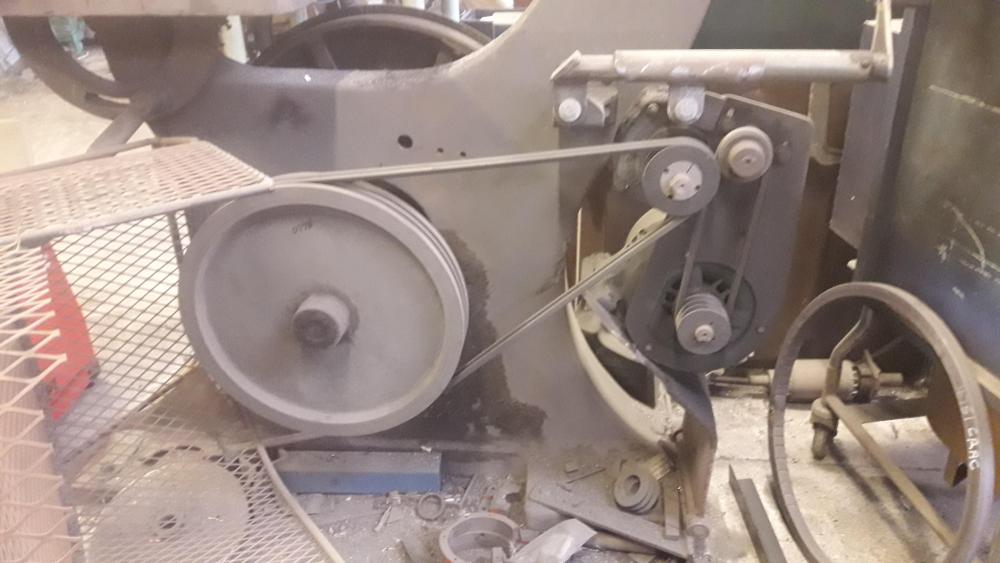
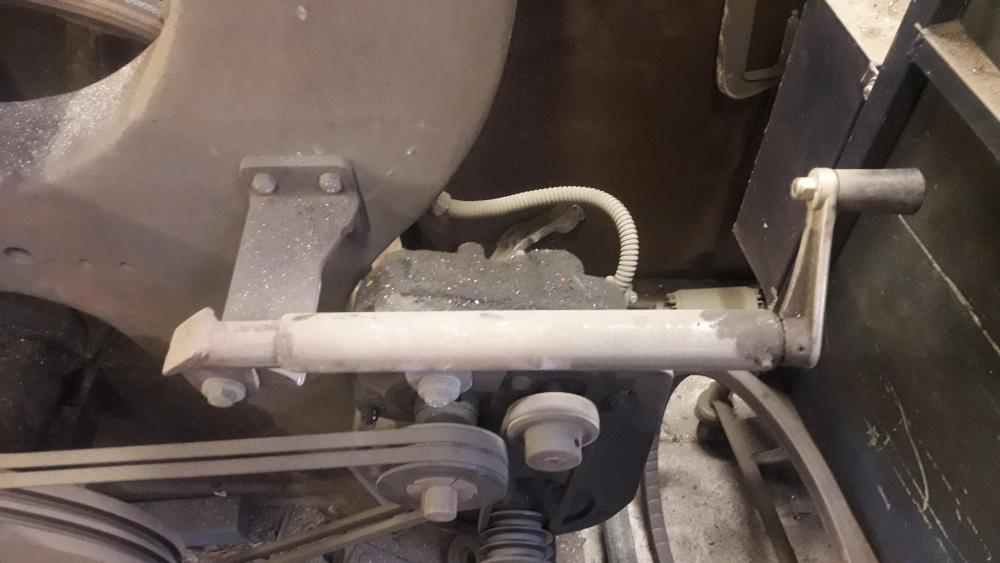
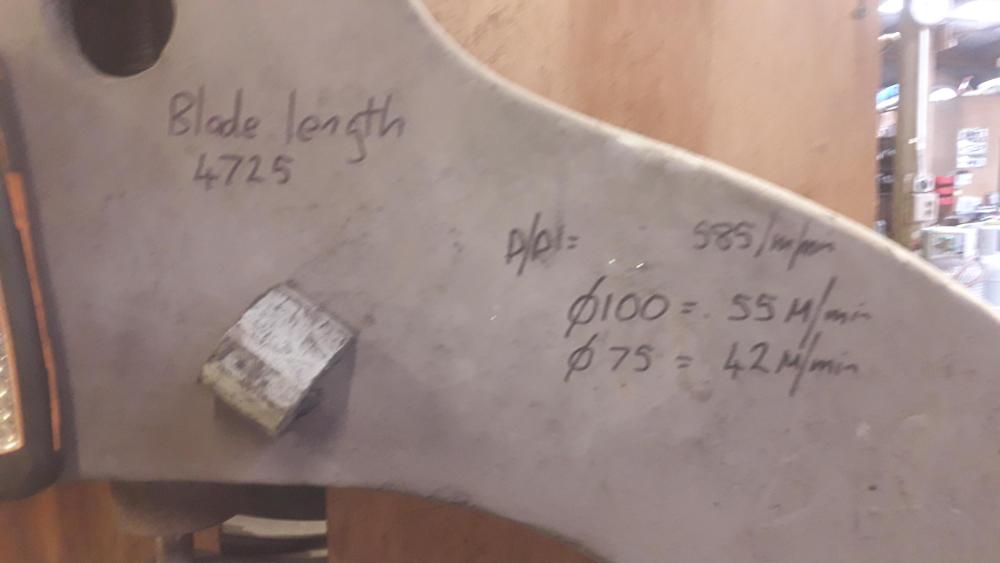
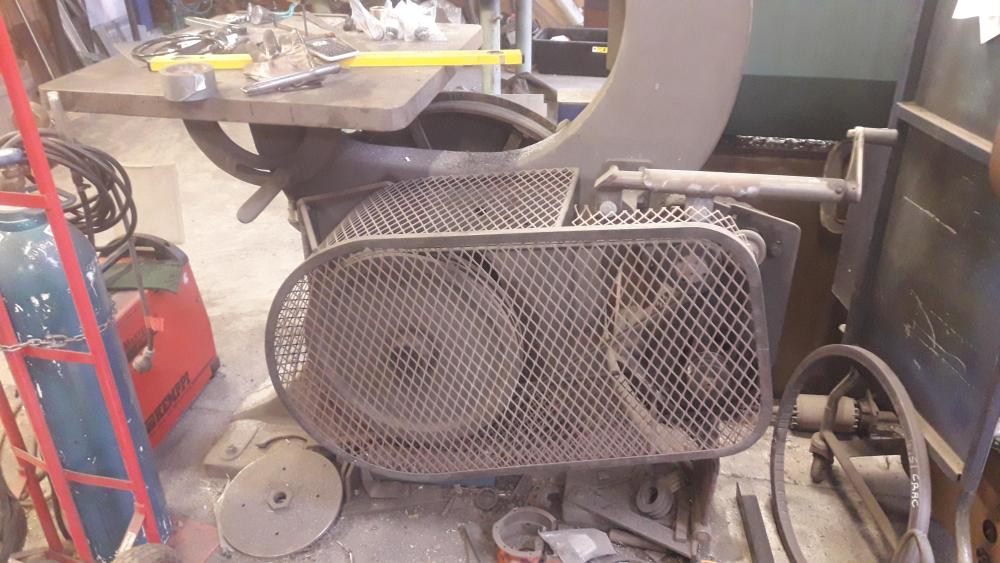
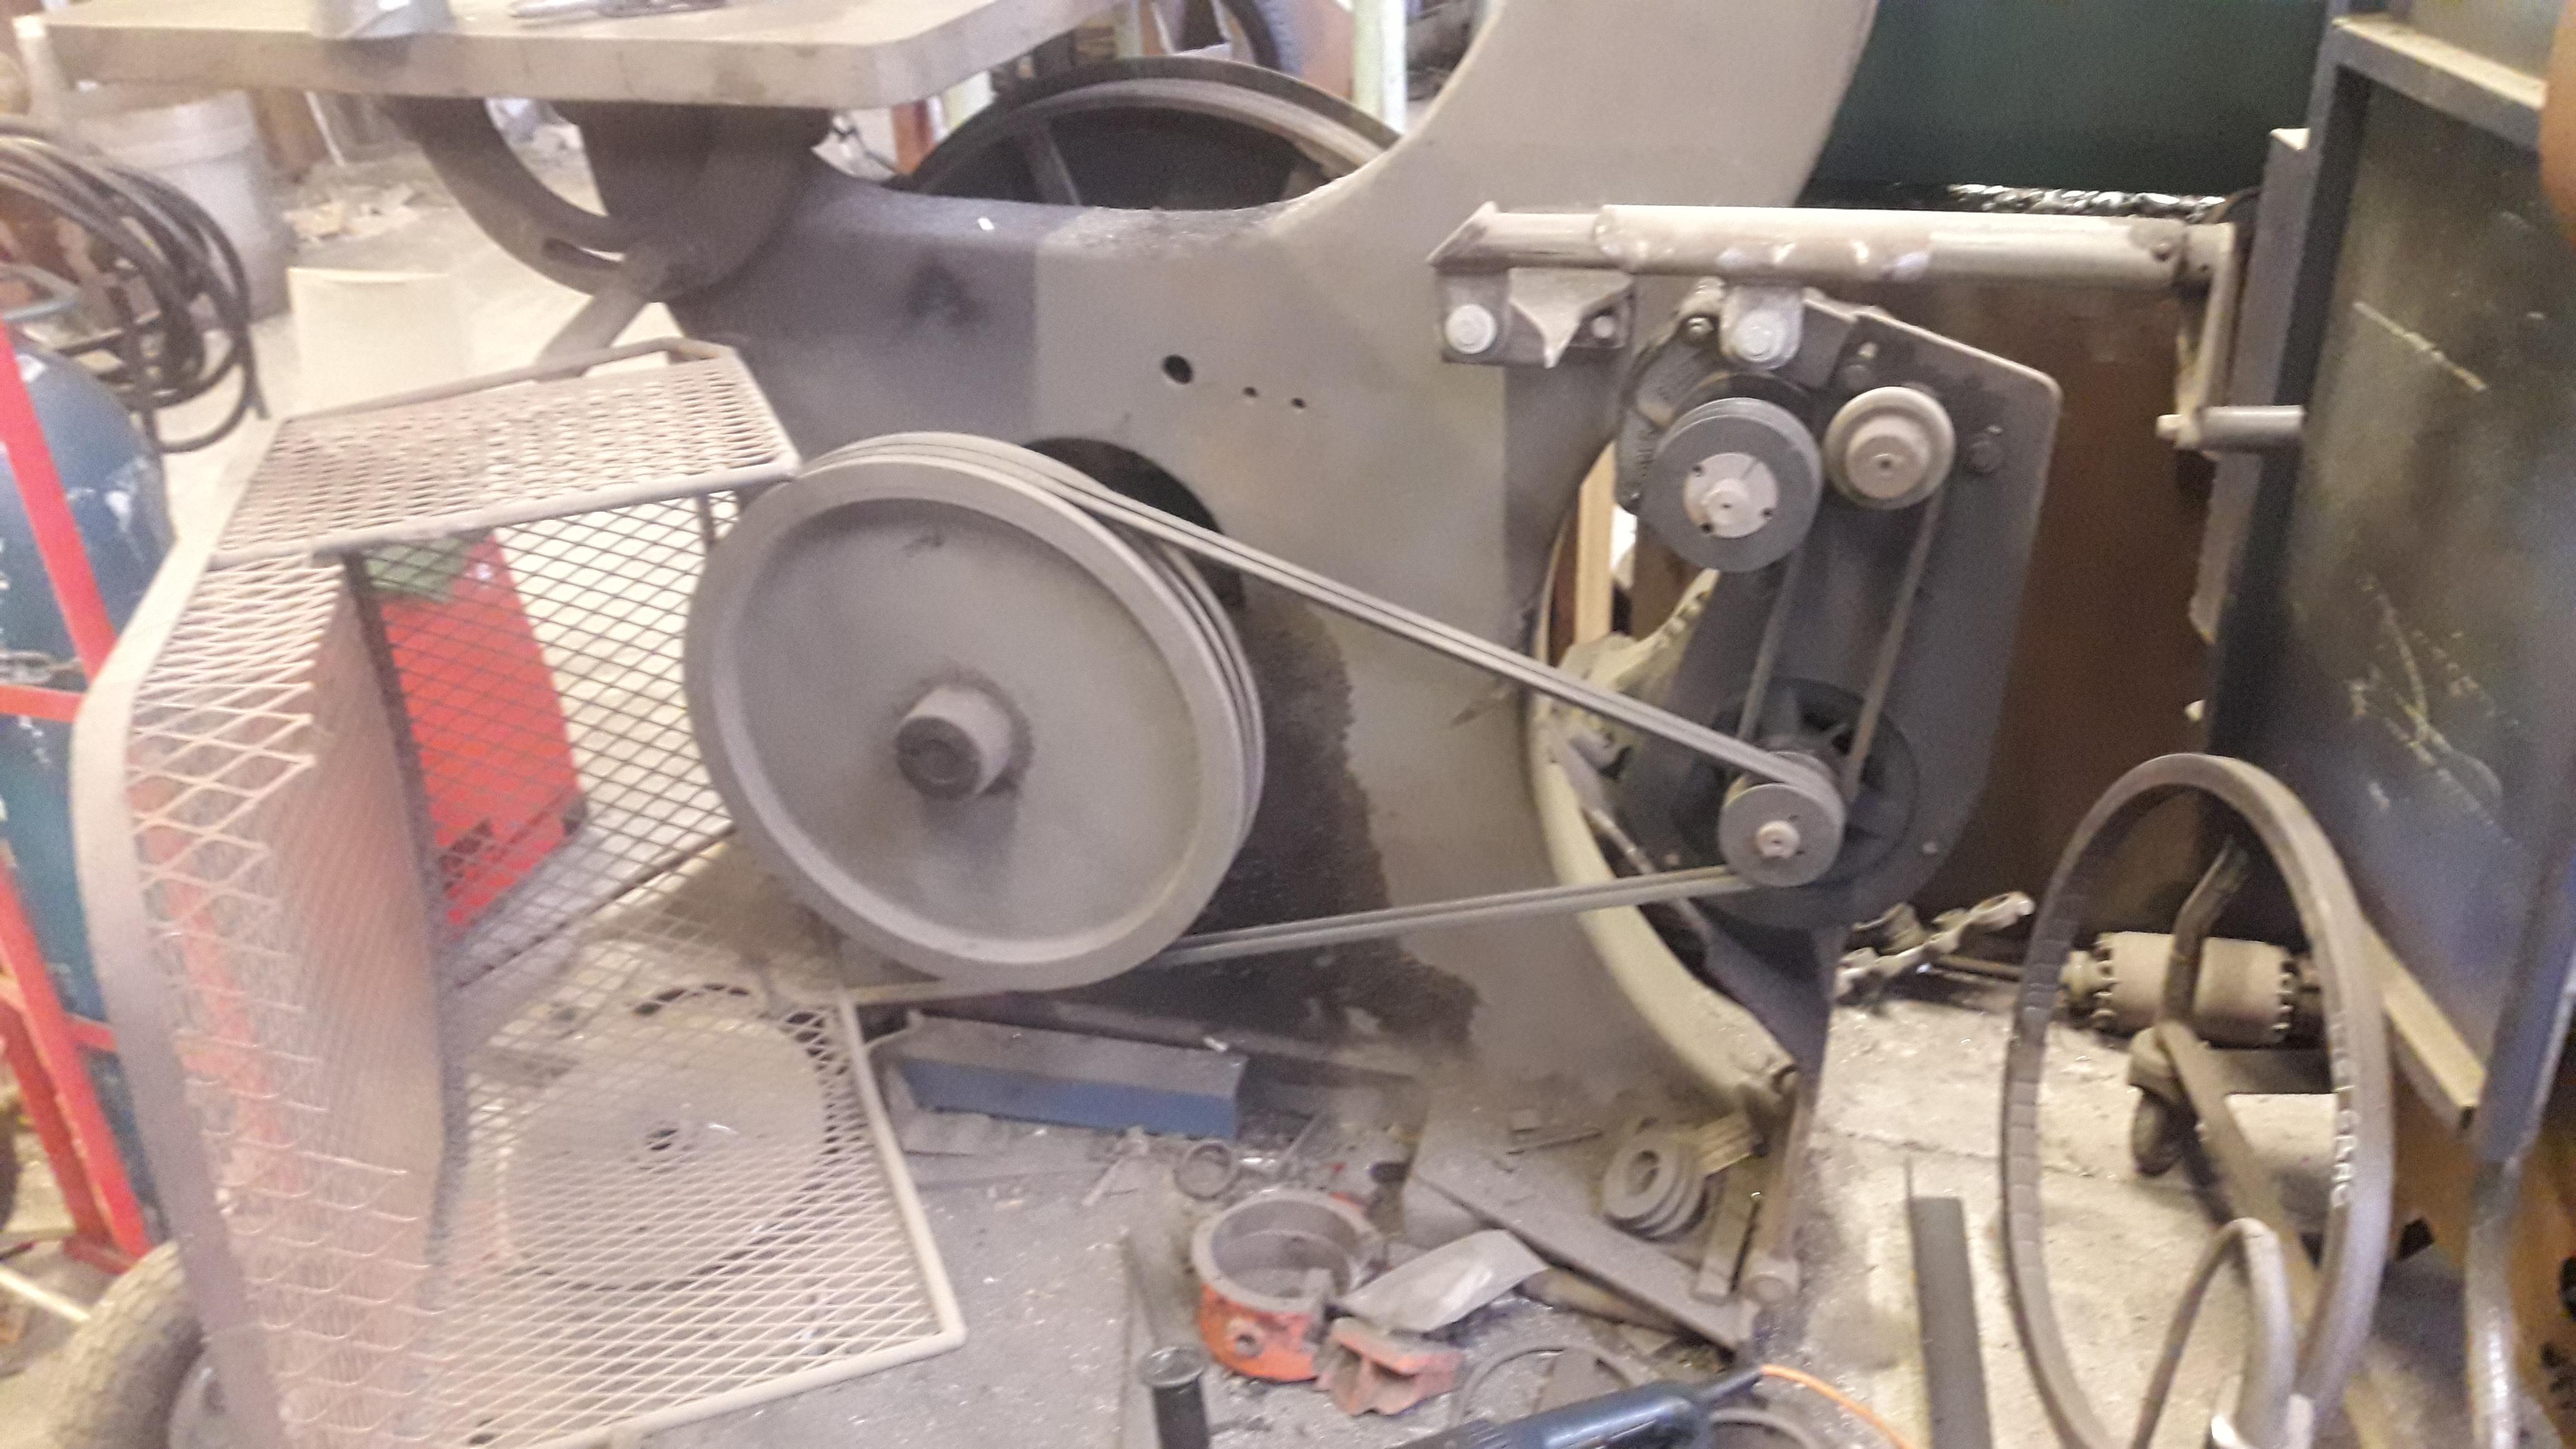
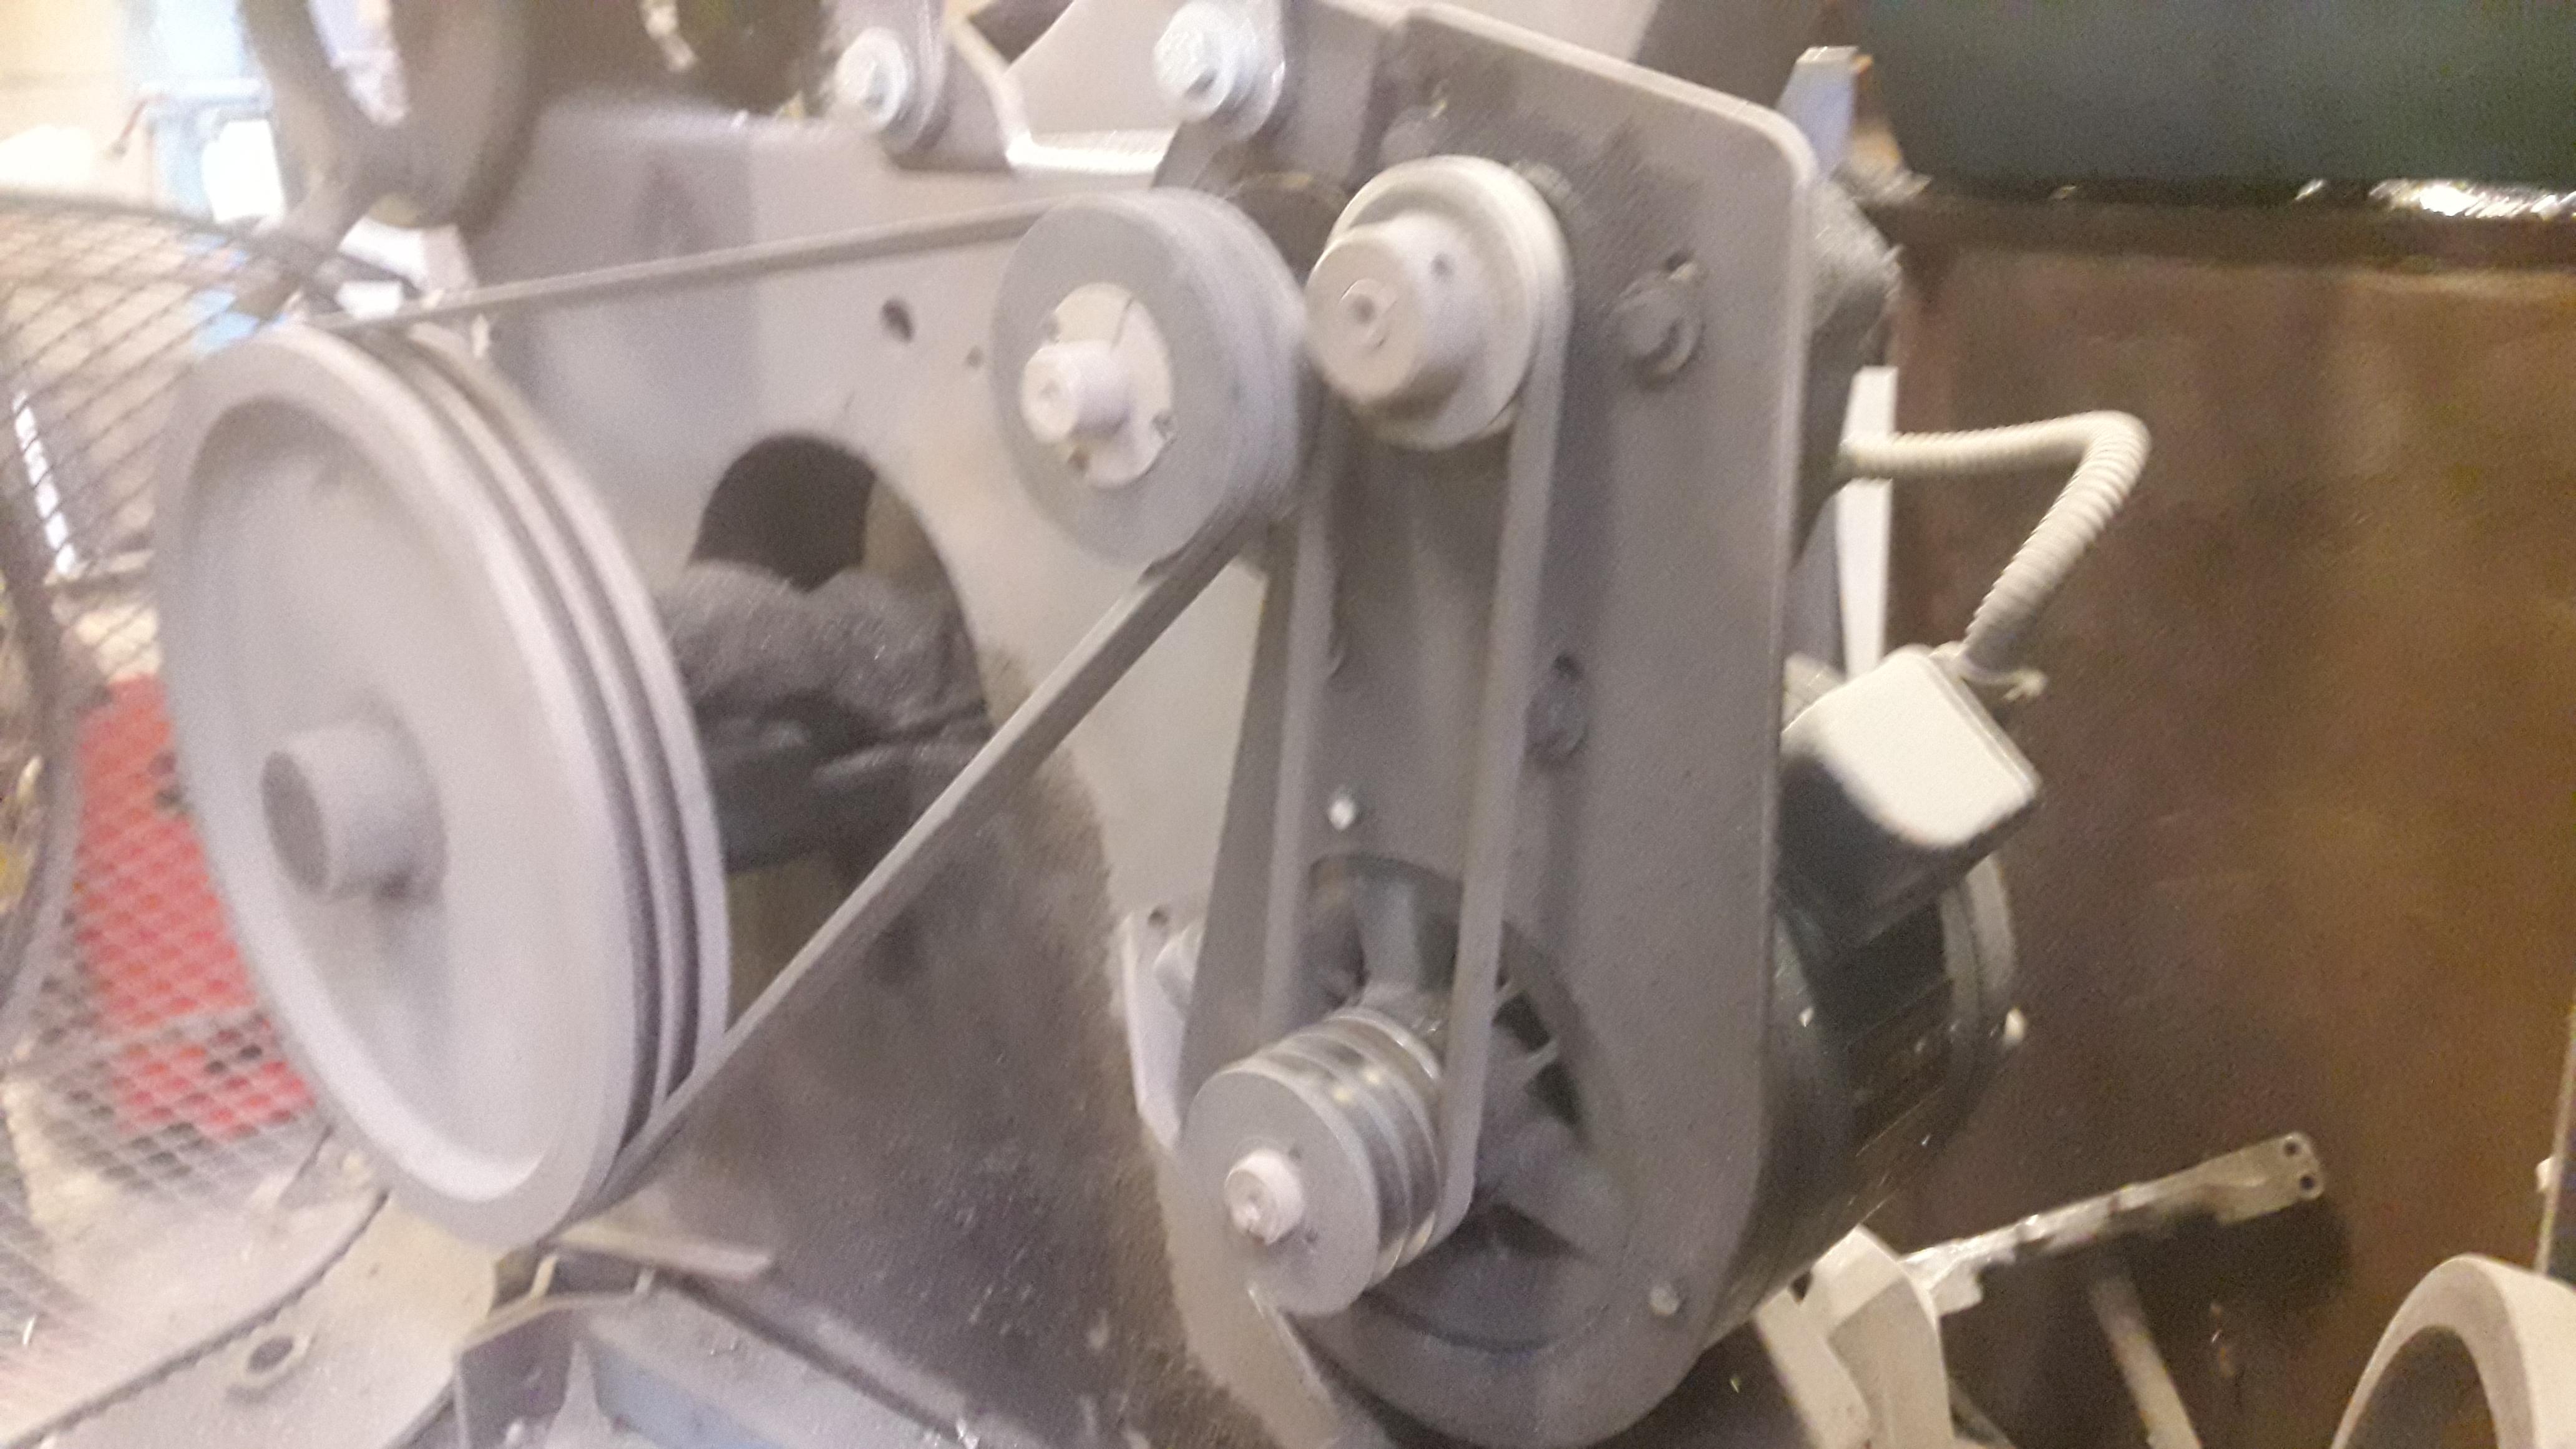
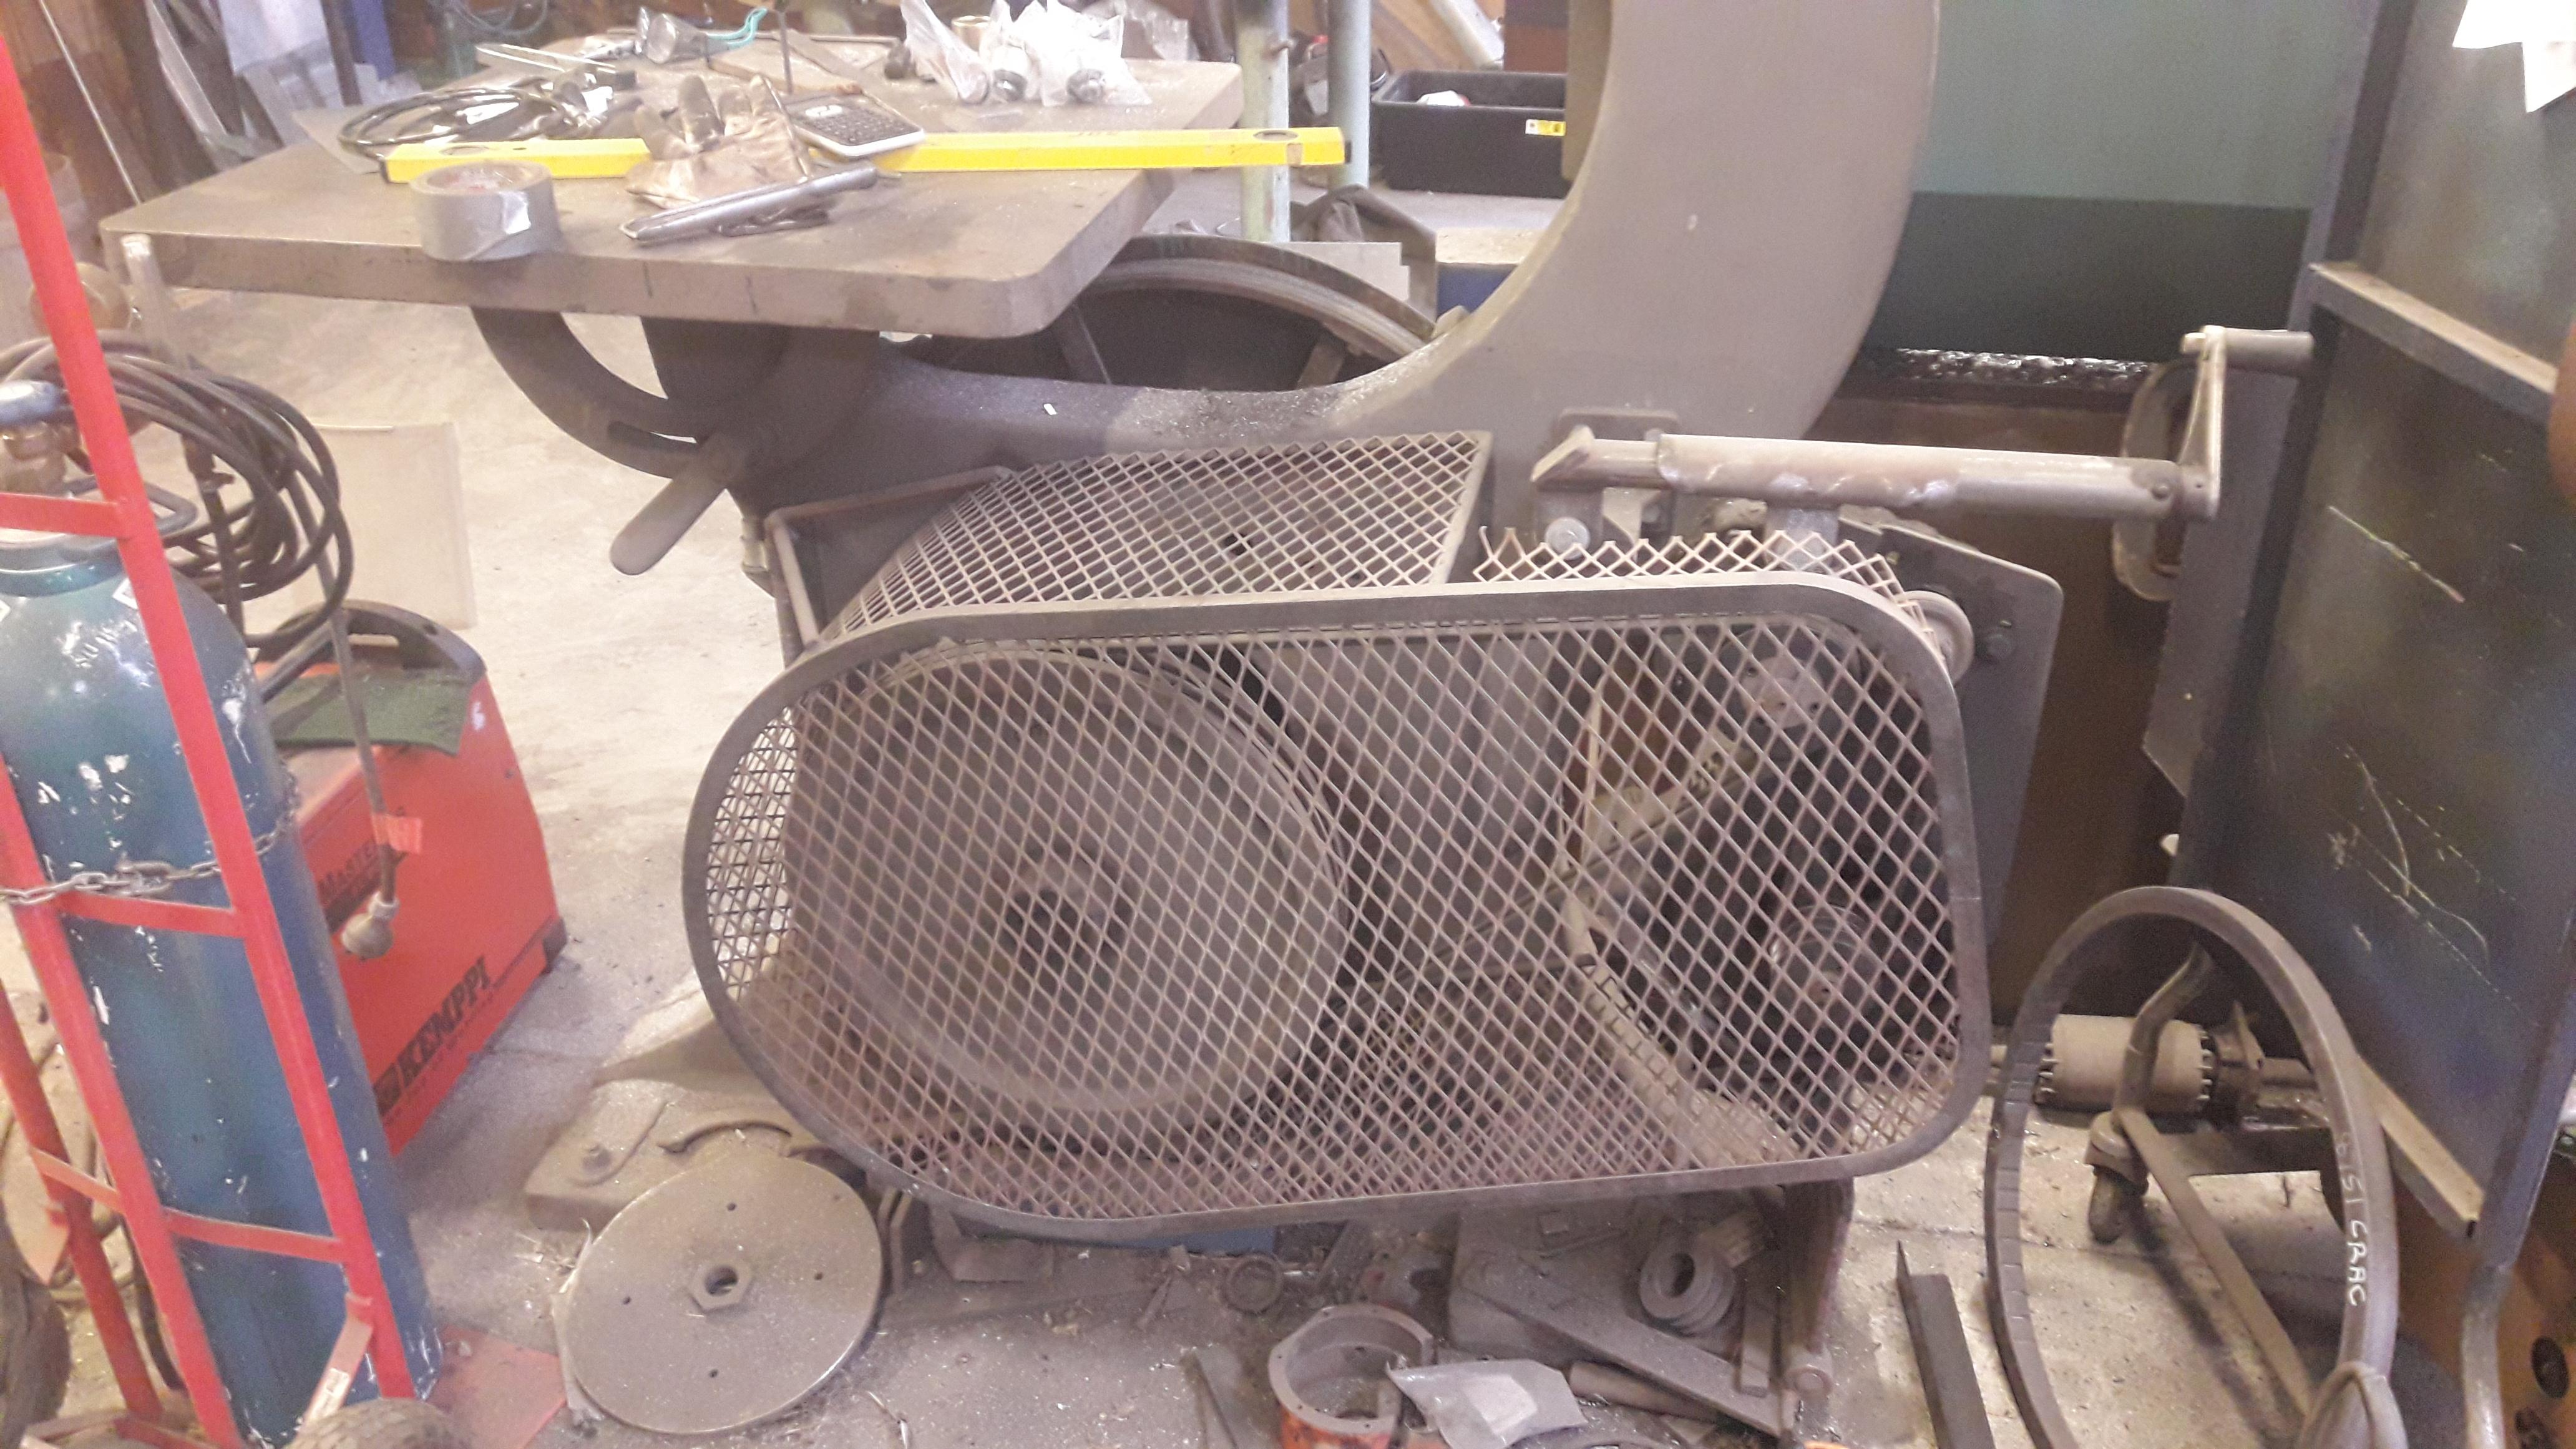
This was how I set up my bandsaw about 10 years ago, Its a wood bandsaw but a really old school over built one and I fitted a 20/1 reduction gearbox that pivots on a hinge at floor level the tensioner is off a trailer jockey wheel and has a coarse pitch thread so its fast to move. I was fortunate that the gearbox has three step reduction so the rotation direction does not change from input to output or I would need a reversing switch. With the reduction the blade speed is about 1/10 of the fast speed for wood and aluminum, I use 10TPI Bi metal blades for every thing. I positioned the output pulleys so the belt length is the same over the two pulleys so use the same belts. The bandsaw used to run at 760 M/Min which was really going but my speeds are 585 and 55 M/Min or if I put a 75mm pulley on the step down box it will go down to 42 M/Min but i have never used that speed yet. the guard is hinged so just swings out of the way to quickly change speed and to keep the Osh man happy and stop the body pit from getting any fuller. It has a 2Hp 3 phase motor. The bandsaw was out of an undertakers from one of the neighbouring districts and I assume it was for making the coffins and not changing the victims length if He made a mistake in measuring LOL.


-
3 hours ago, JHCC said:
The short answer is No.
Thanks for that clear answer, its what I thought it would be cheers


I am buliding an electric heat treatment oven
in Heat Treating, general discussion
Posted
Well thats interesting, I shifted the probe location to the center top of the oven and while it appeared to heat faster it went from reading 30 deg cold at 300 deg cent to reading 25 deg hot. it must of been getting radiatded heat from the elements the sweet spot seems to be 125mm foward from the back up against the roof and its ony 2-3 deg different from what is set so thats a win and its ready for use.