burninghXcsoul
-
Posts
6 -
Joined
-
Last visited
-
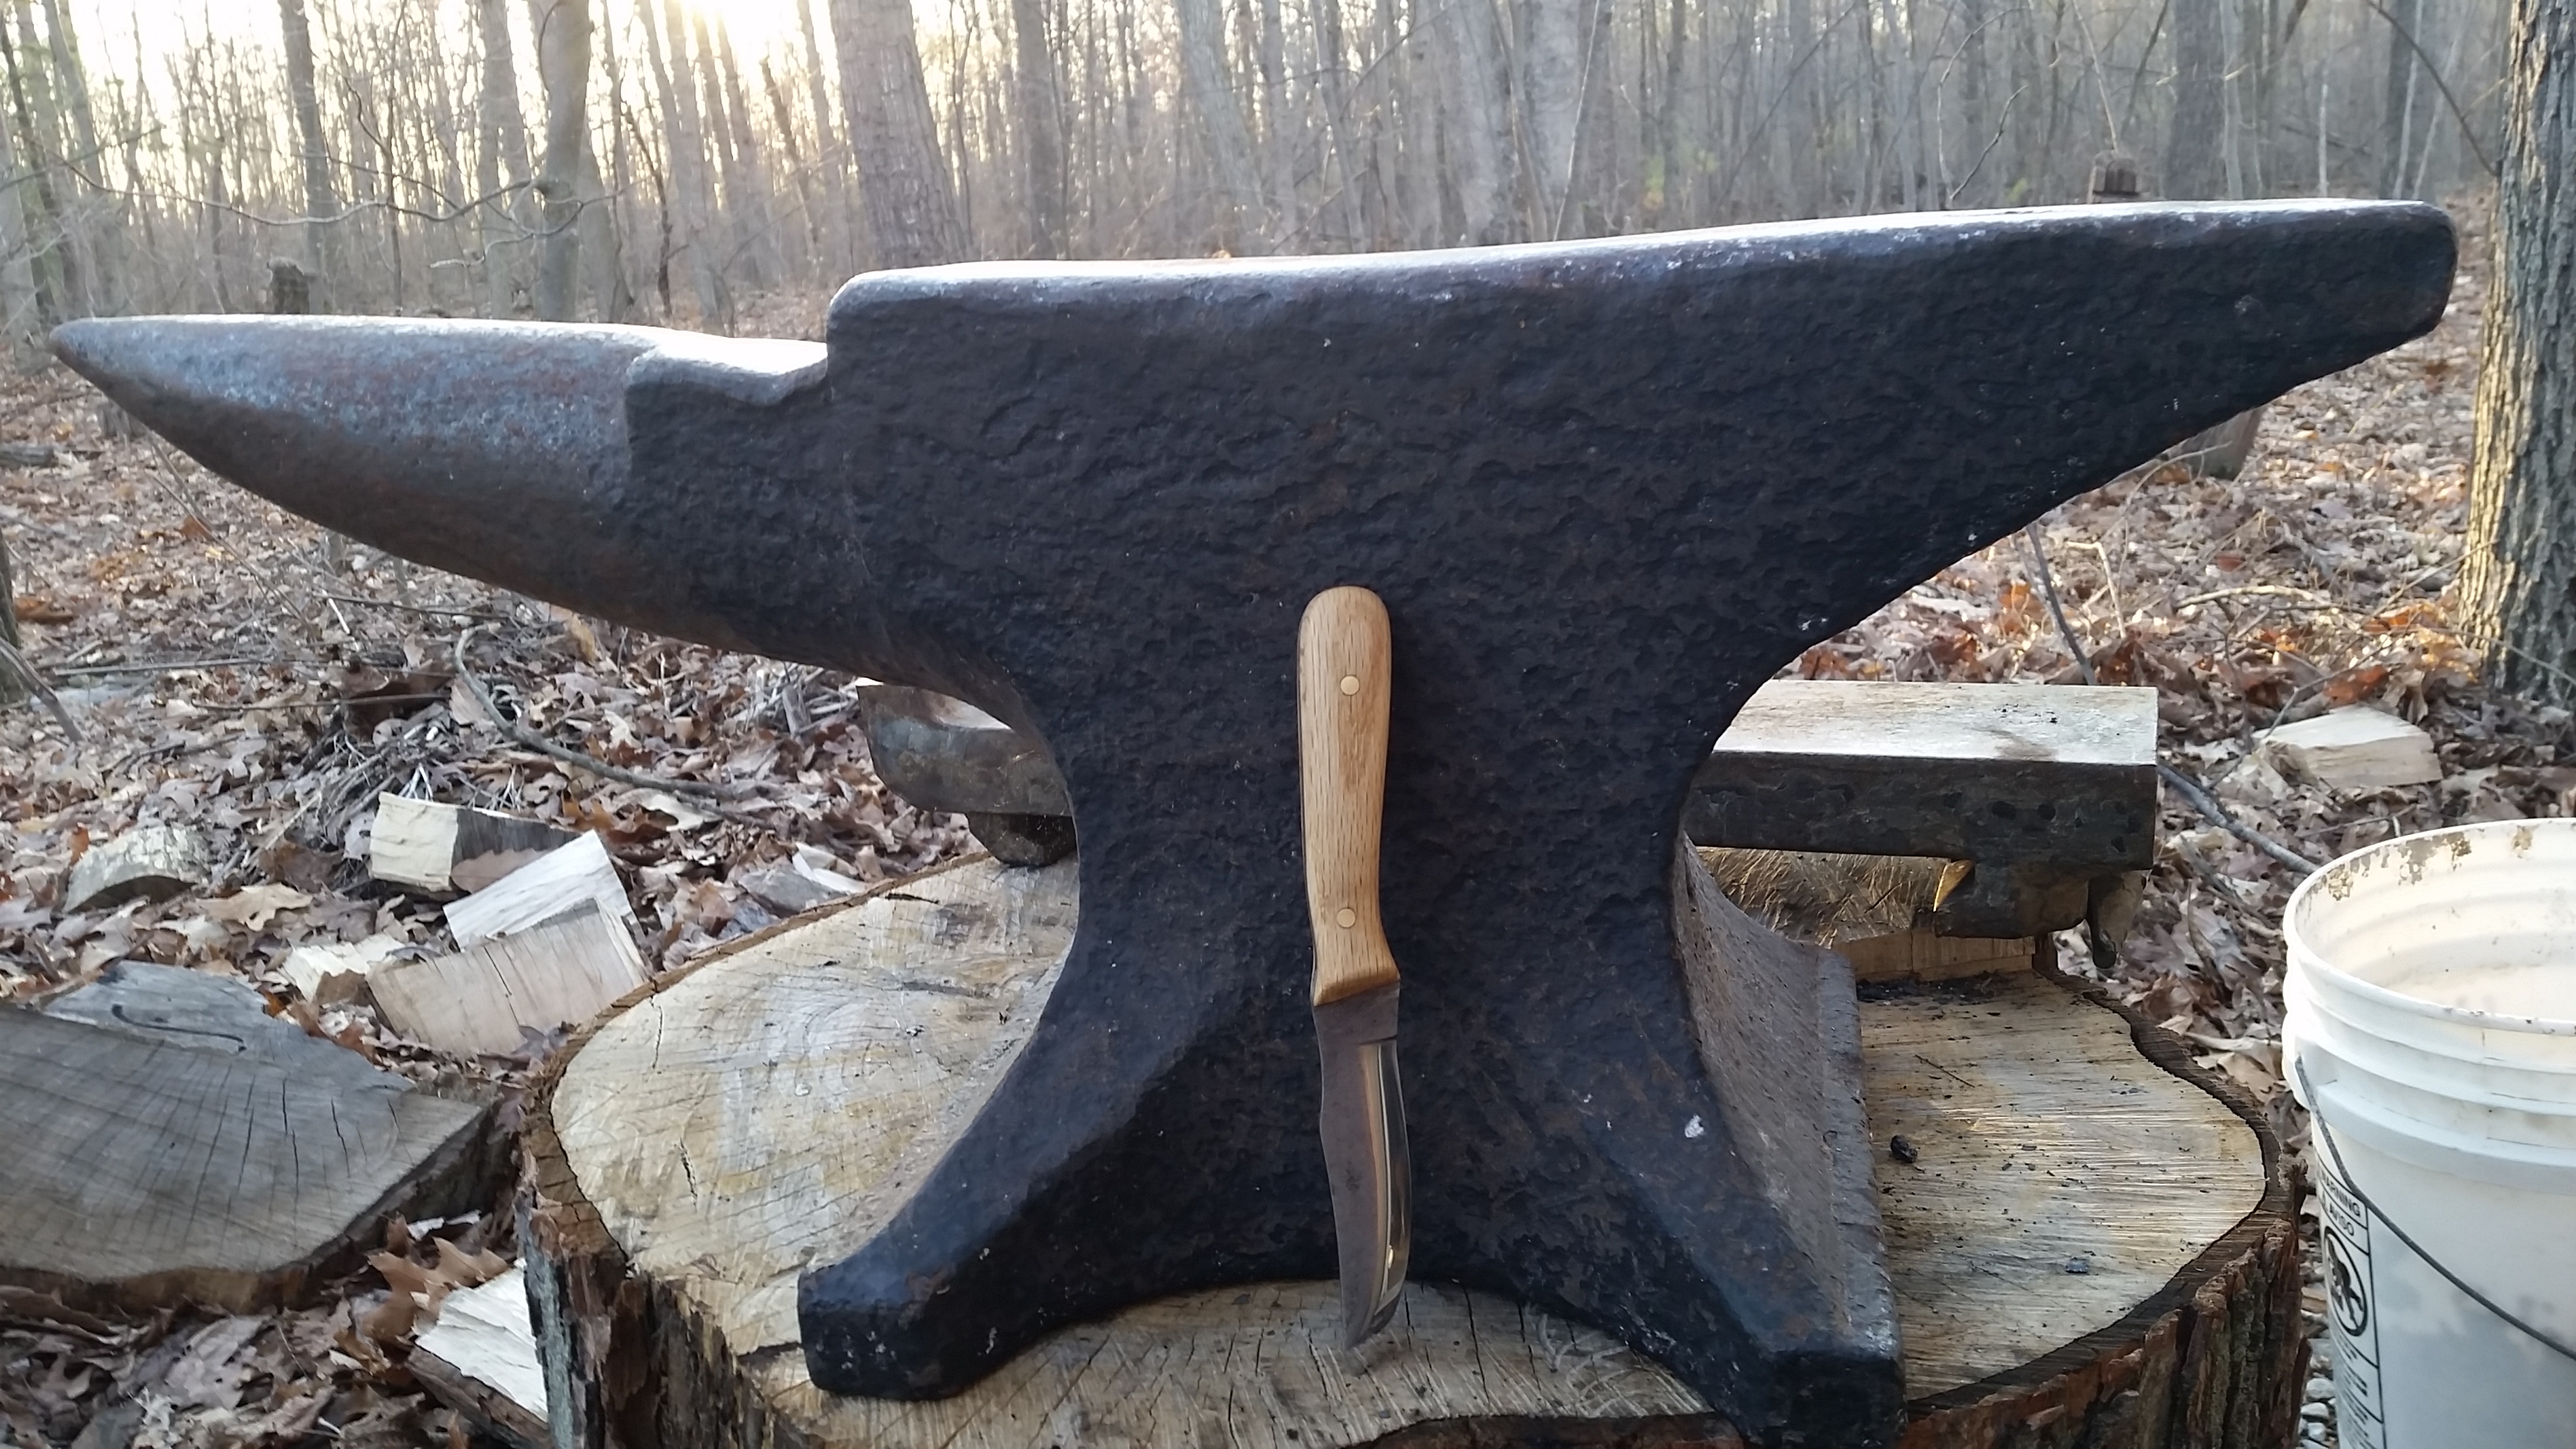
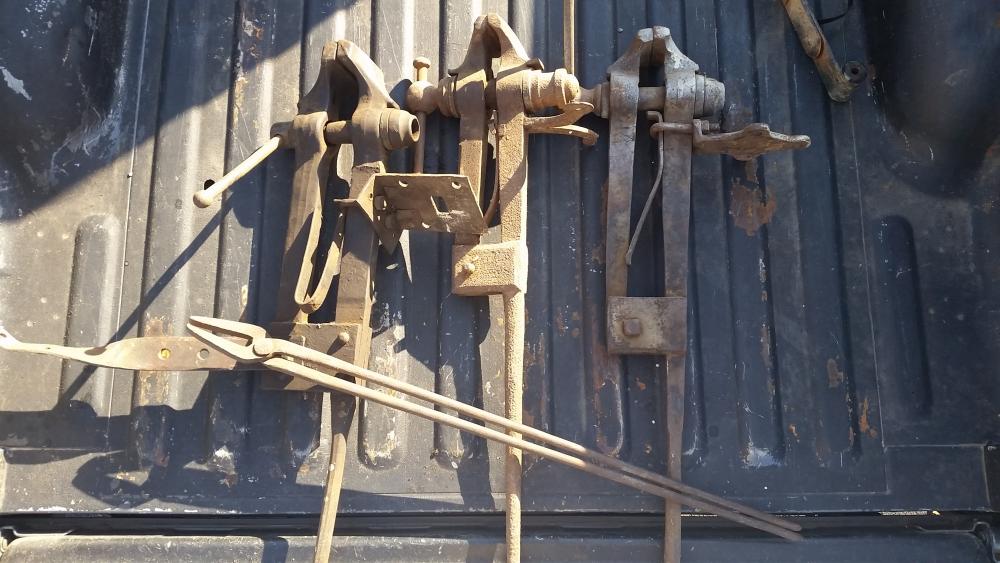
I've been wanting a post vise and I finally tracked down some in my local area. The prices for these things always seemed to be about $100+ on CL and they were always mismatched parts and missing the brackets. I paid $160 for all three and he threw in the tongs for free so I feel I got a good deal. Thats cheaper than I've seen them elsewhere. I'm going to keep the 5" Columbian which is one on the far left. The middle and right one I plan on selling. They are compete 4" vices, and the screws and everything are in good shape, and the jaws line up. The middle one has no markings and a decent amount of rust. The one on the right is a 4" Columbian, from the markings on the bracket and in good shape. What would be a price to sell them for? I live in PA where there is smithing stuff available not not exactly common, you have to do your legwork to find stuff. I dont want to ask an insane amount but also dont want to sell/trade them for less than what they're actually worth. Thanks.
-
First knife made and now a couple of questions...
burninghXcsoul replied to burninghXcsoul's topic in Knife Making
Steve: I was forging at a bright orange yellow heat. I definitely didn't forge it at anything under a red color. I knew that much haha and I was surprised at the two cracks. Maybe it was something else I did or the file was broken in half so who knows what had been done to it in its previous life. One of the guys who participated in the knife swap wrote a tutorial on how to make a knife from a file. He wrote it basically geared towards if you were doing stock removal so he had the first step as annealing the file. I figured annealing it would de-stress the metal but I wasn't sure if that was required for forging or not so I just did it just in case and apparently out of ignorance haha. Thomas: I'll have to look those books up and add them to my collection. Out of the three which one would you recommend I get first? Thanks for the pipe idea, I'll have to play around with that. I guess I could make a 5 gallon bucket full of wood ashes but that would take forever and there was only 3 weeks to make the knife for the swap and between my job, just starting my doctorate, and a 6 month old, my free time to myself is pretty limited. I'll have to hunt down some vermiculite. Heap: Thanks I'll have to do that acetone thing next time. -
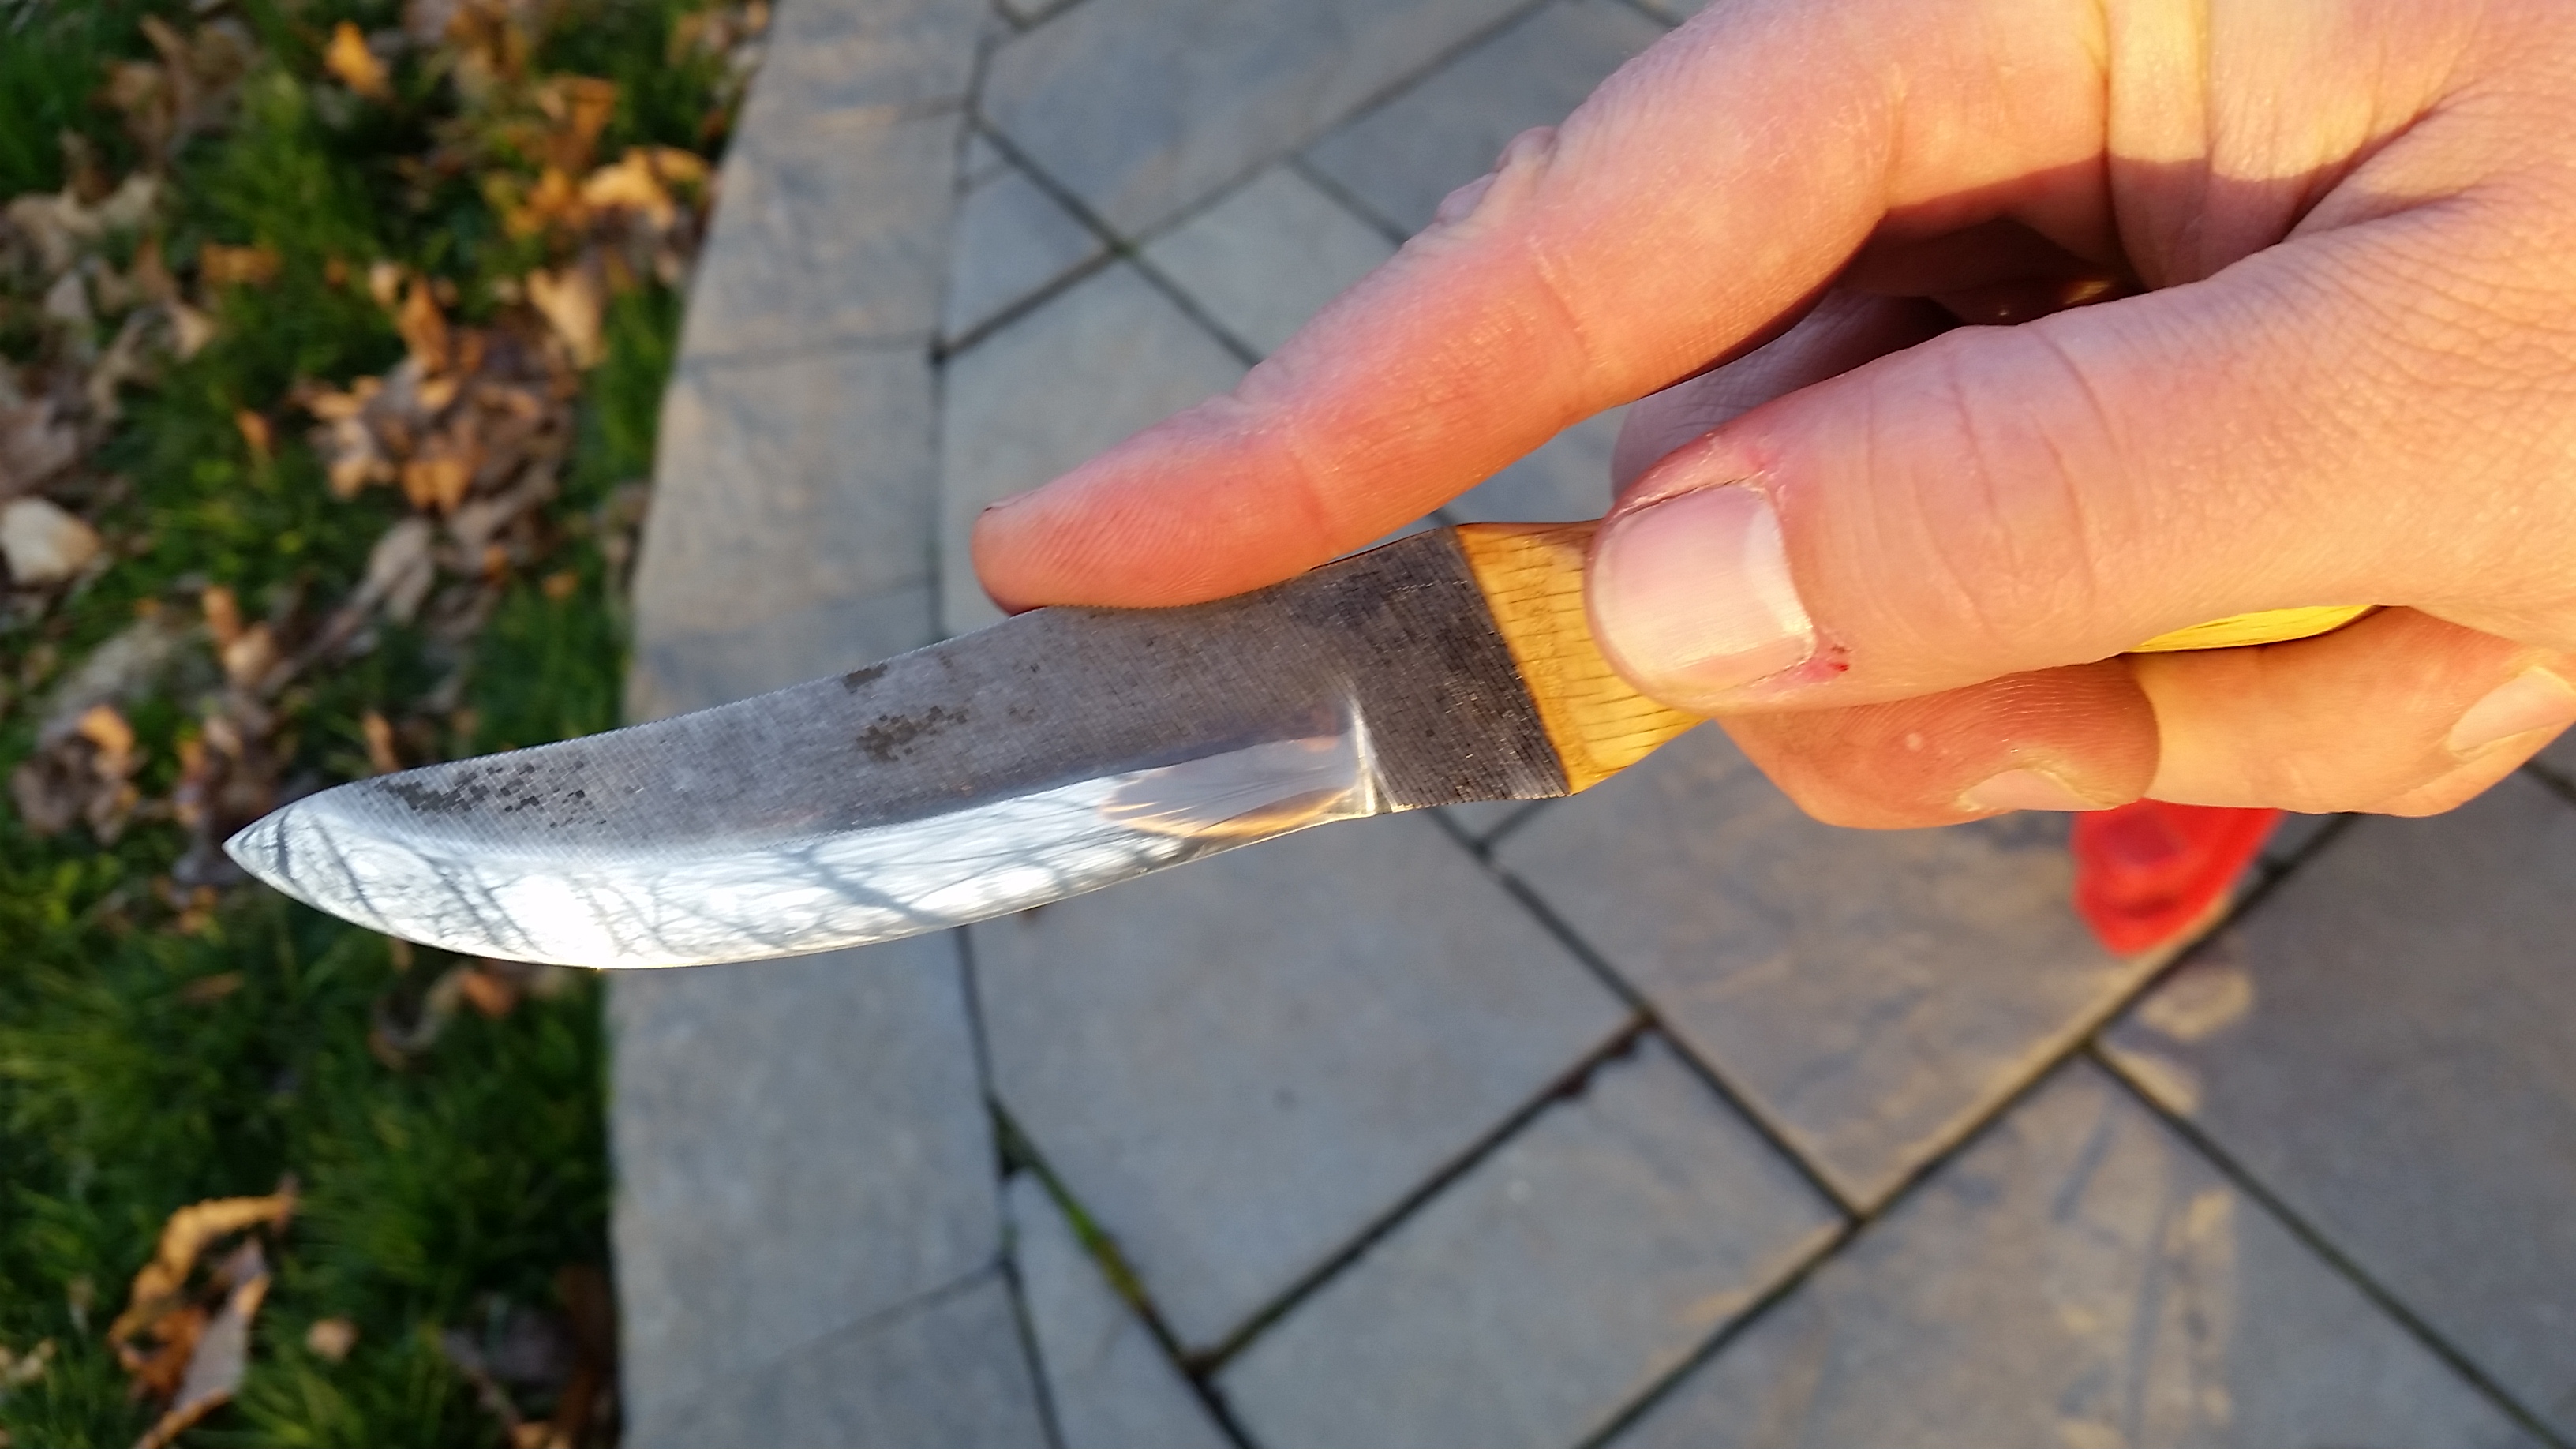
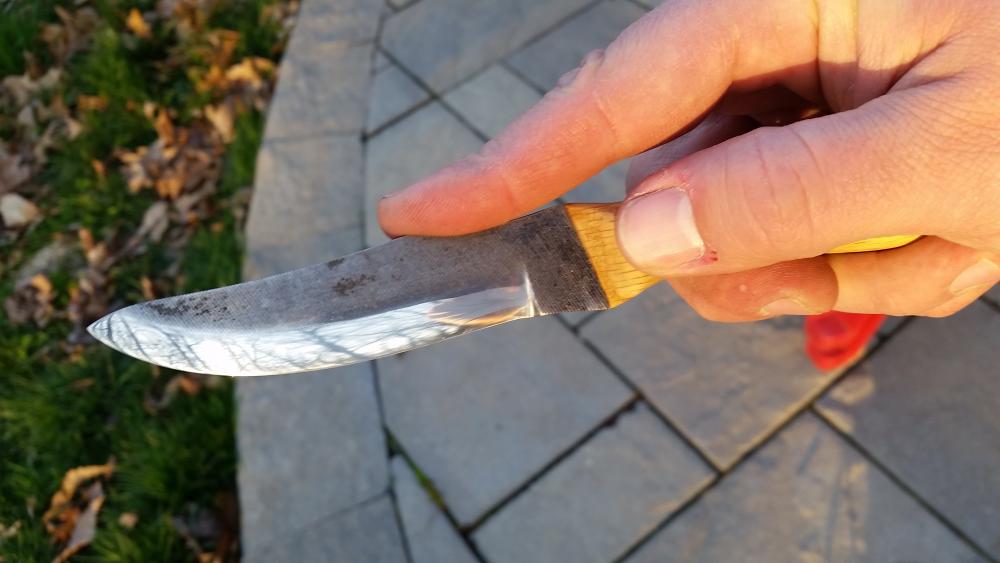
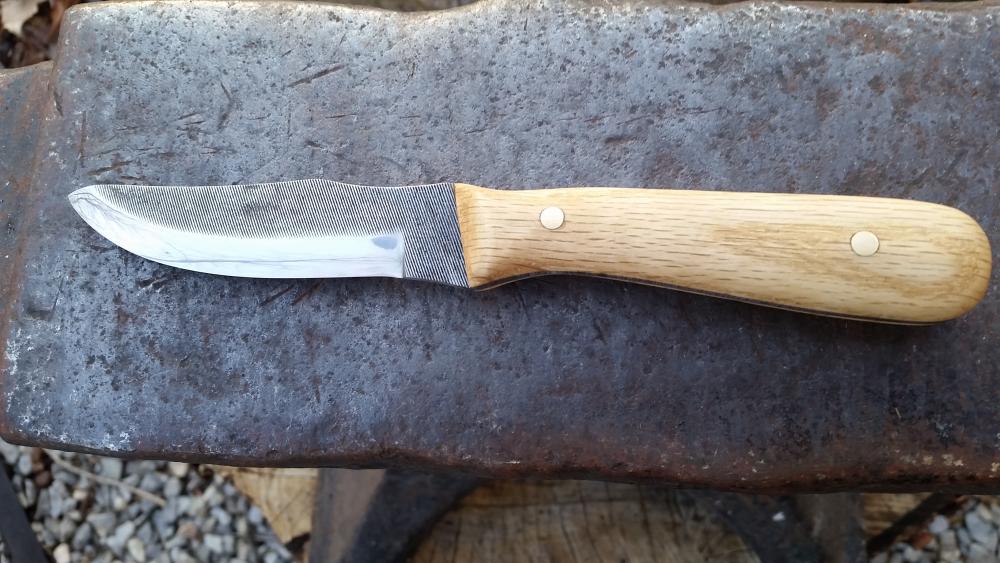
So in a local hunting forum a couple of guys did a knife in the hat swap thing and I joined in. The parameters were to use a file and make a knife. Mine turned out ok. I did a lot of research here and other places before I made one as I had never used an old file before or made a knife. Now I have a couple of questions based on what I encountered while making this. 1. I used an old nicholsen file, well two actually, the first one developed cracks while I was forging the tip. I knew I had to anneal it so I heated it up to non magnetic, and then I let it air cool. Then I tried to forge it and I got some cracks in it. Then I read that you need to let it cool down slowly so I brought the second up to non magnetic and then I put it into a bucket of sand. (I dont have any ashes or vermiculite laying around) I had read that sand would work and most of the knife was annealed but there were still some hard spots (of course where I drilled the hole for the pin). Will the bucket of sand work or should work? I brought the whole knife up to an orange color so I know the knife was hot enough. Not sure what happened. 2. After annealing and forging in the tip and bevels on my anvil, I normalized it twice by orange heat and then air cooling. I then ground the bevels in on my 1x30 HF belt grinder I bought for this. When I brought it up to quenching temp I quenched at an orange heat. Is this too hot? I've read that you want a dull red color but in my coal forge it was hard to get that in an even heat as in some of the knife would be red and some would be black, and then when all of it was red, some would be orange so I just quenched it at orange. Is there anything bad about quenching at orange heat? 3. In bringing it to orange heat, I was successful at melting the tip in because I had ground the bevels in before that. Do you guys normally leave a little bit of meat in the blade before quenching to avoid this? I had left about 1/32 of the edge flat to avoid this but I'm guessing the tip was just to thin and it gave way. 4. After making this I read that you should grind the file teeth off of the file before forging because that can cause cold shuts. Is this advisable? I didn't do it on my second file but I also didnt take alot of full power swings at it either. After quench, it passed the file test and I tempered it in a junk toaster oven I use to bake my powder coated cast boolits that I make for my guns. I use an oven thermometer in it because you can easily droop lead boolits in it if your not careful. I noticed that the temps would swing from 390 to 450 with the normal temp being about 425 for most of the time. It seemed to work ok and the whole blade had the deep straw color to it, so I'm guessing that it worked. 5. How do you keep wood from tearing out around your pins? I used some oak pieces I had laying around my woodshop that I planed down to use for the scales. While grinding the 3/16 pins down on the one pin, I kept getting tear out around the pin. I was using an 80 grit belt on the HF 1x30 belt grinder but when I would switch to the 120 all I would do is burn the wood. I'm guessing its a speed problem. This was fun and a learning experience and I have a couple of treadmill motors laying around I use for other stuff so I might build a 2x72 grinder with one at some point and they're DC so you can easily slow them down. 6. How do you keep epoxy from getting on the blade? I put blue painters tape on the blade but the epoxy went underneath of it. I'm assuming that this was due to the teeth still being on the file but does this happen even on a smooth blade and how do you redo it? Do you do your final polish after you put the handle on? I worked my way up to 2500 hand polishing the bevel and I would hate to have to redo that after you put the handle on it to take excess epoxy off. I let the epoxy dry and set for 24 hours in clamps before doing this so the excess was already dried at this point. 7. When grinding down the scales, you hit the blade, this seemed unavoidable to me so I planed to sand the tang part of the knife after I had ground the handle to the shape I wanted but while hand sanding the scales, I found that while trying to sand the metal tang along side the wood, it would create this huge mess of metal dust, epoxy dust, and wood dust and it looked like crap. So I tried to sand the metal as best I could and then only sand the wood part after that to avoid that mess. This was pretty time consuming so how do you guys get around this? After that I put some coats of BLO on it and called it done. Any advice or critiques are welcome, it was a fun project and I look forward to making more in the future but would like to do a better job and avoid some of my earlier mistakes.

-
Can't get the fire high enough...
burninghXcsoul replied to burninghXcsoul's topic in Solid Fuel Forges
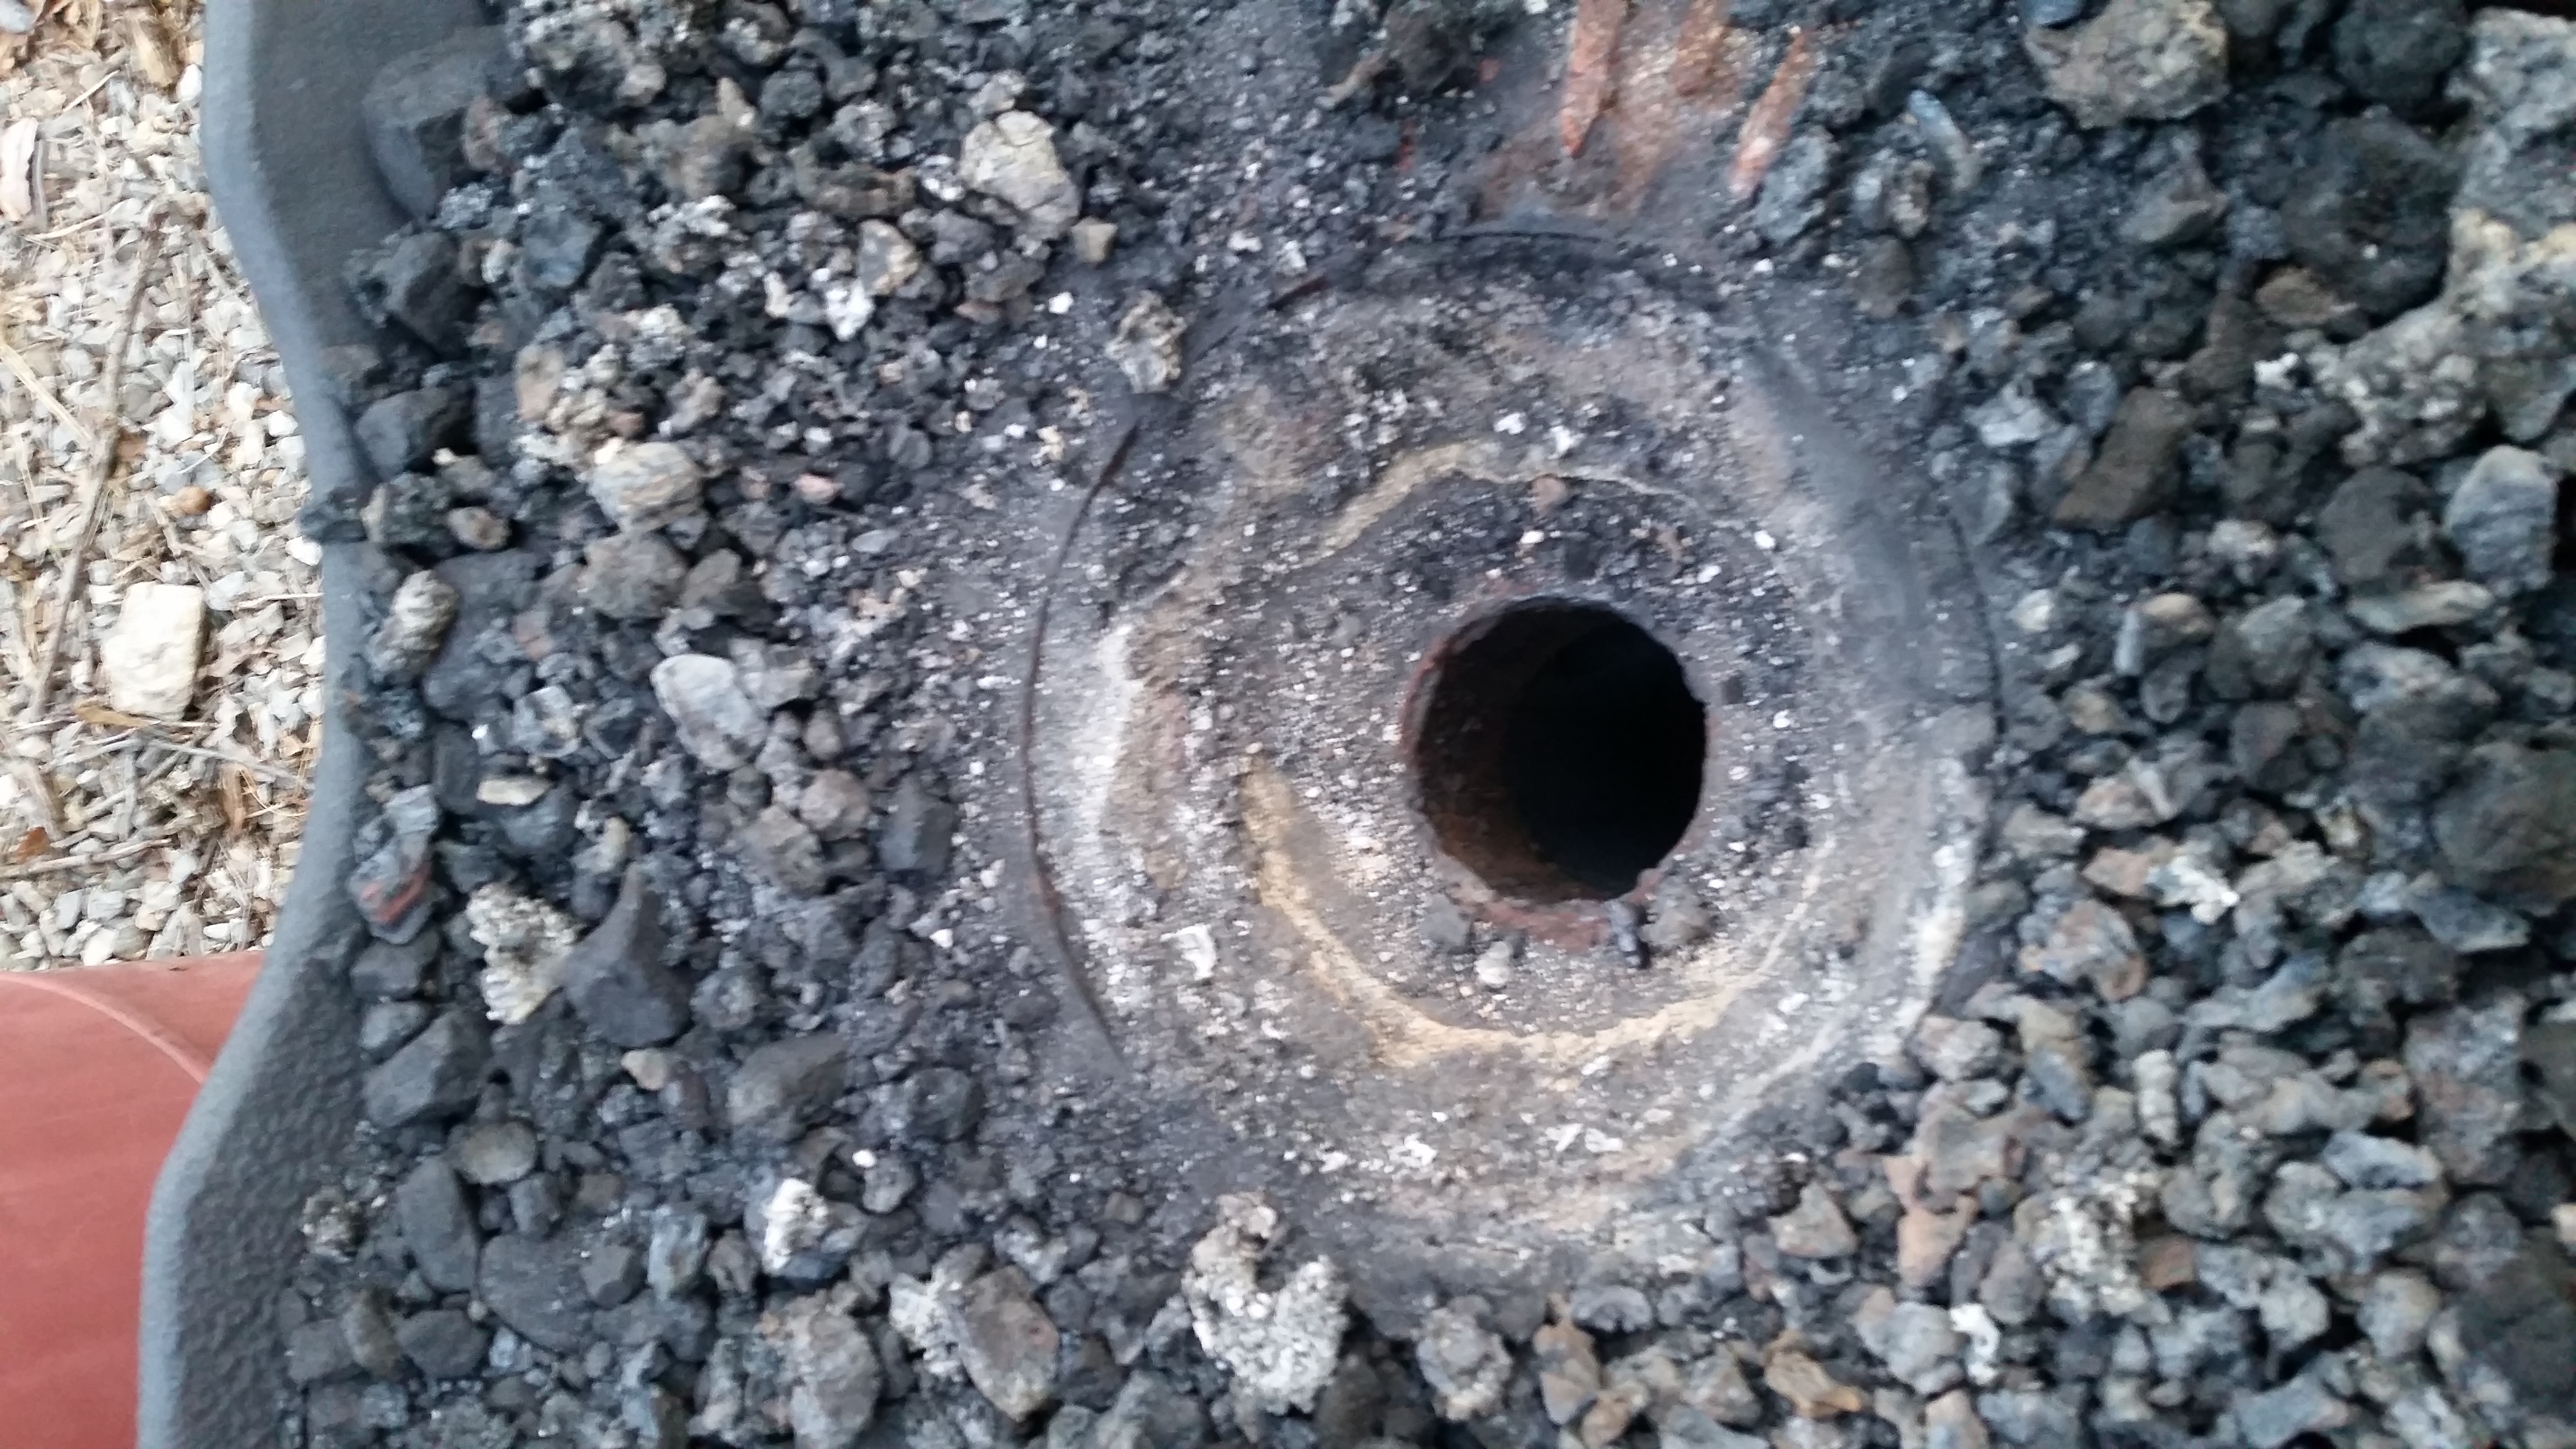
Sorry, my pics could have been better, from the top of the tuyere to the top of the rotor is 2.5 inchs. I didnt fill the rotor in completely with clay, just enough to slope the sides and form it into a bowl shape that is 2.5" high. There was no firepot that came with this forge, but it was only $75 and a fun winter project. I had read here and other places people use brake rotors as firepots so thats what I used. So what your saying is I need to make one thats deeper? How will that make the fire higher? -
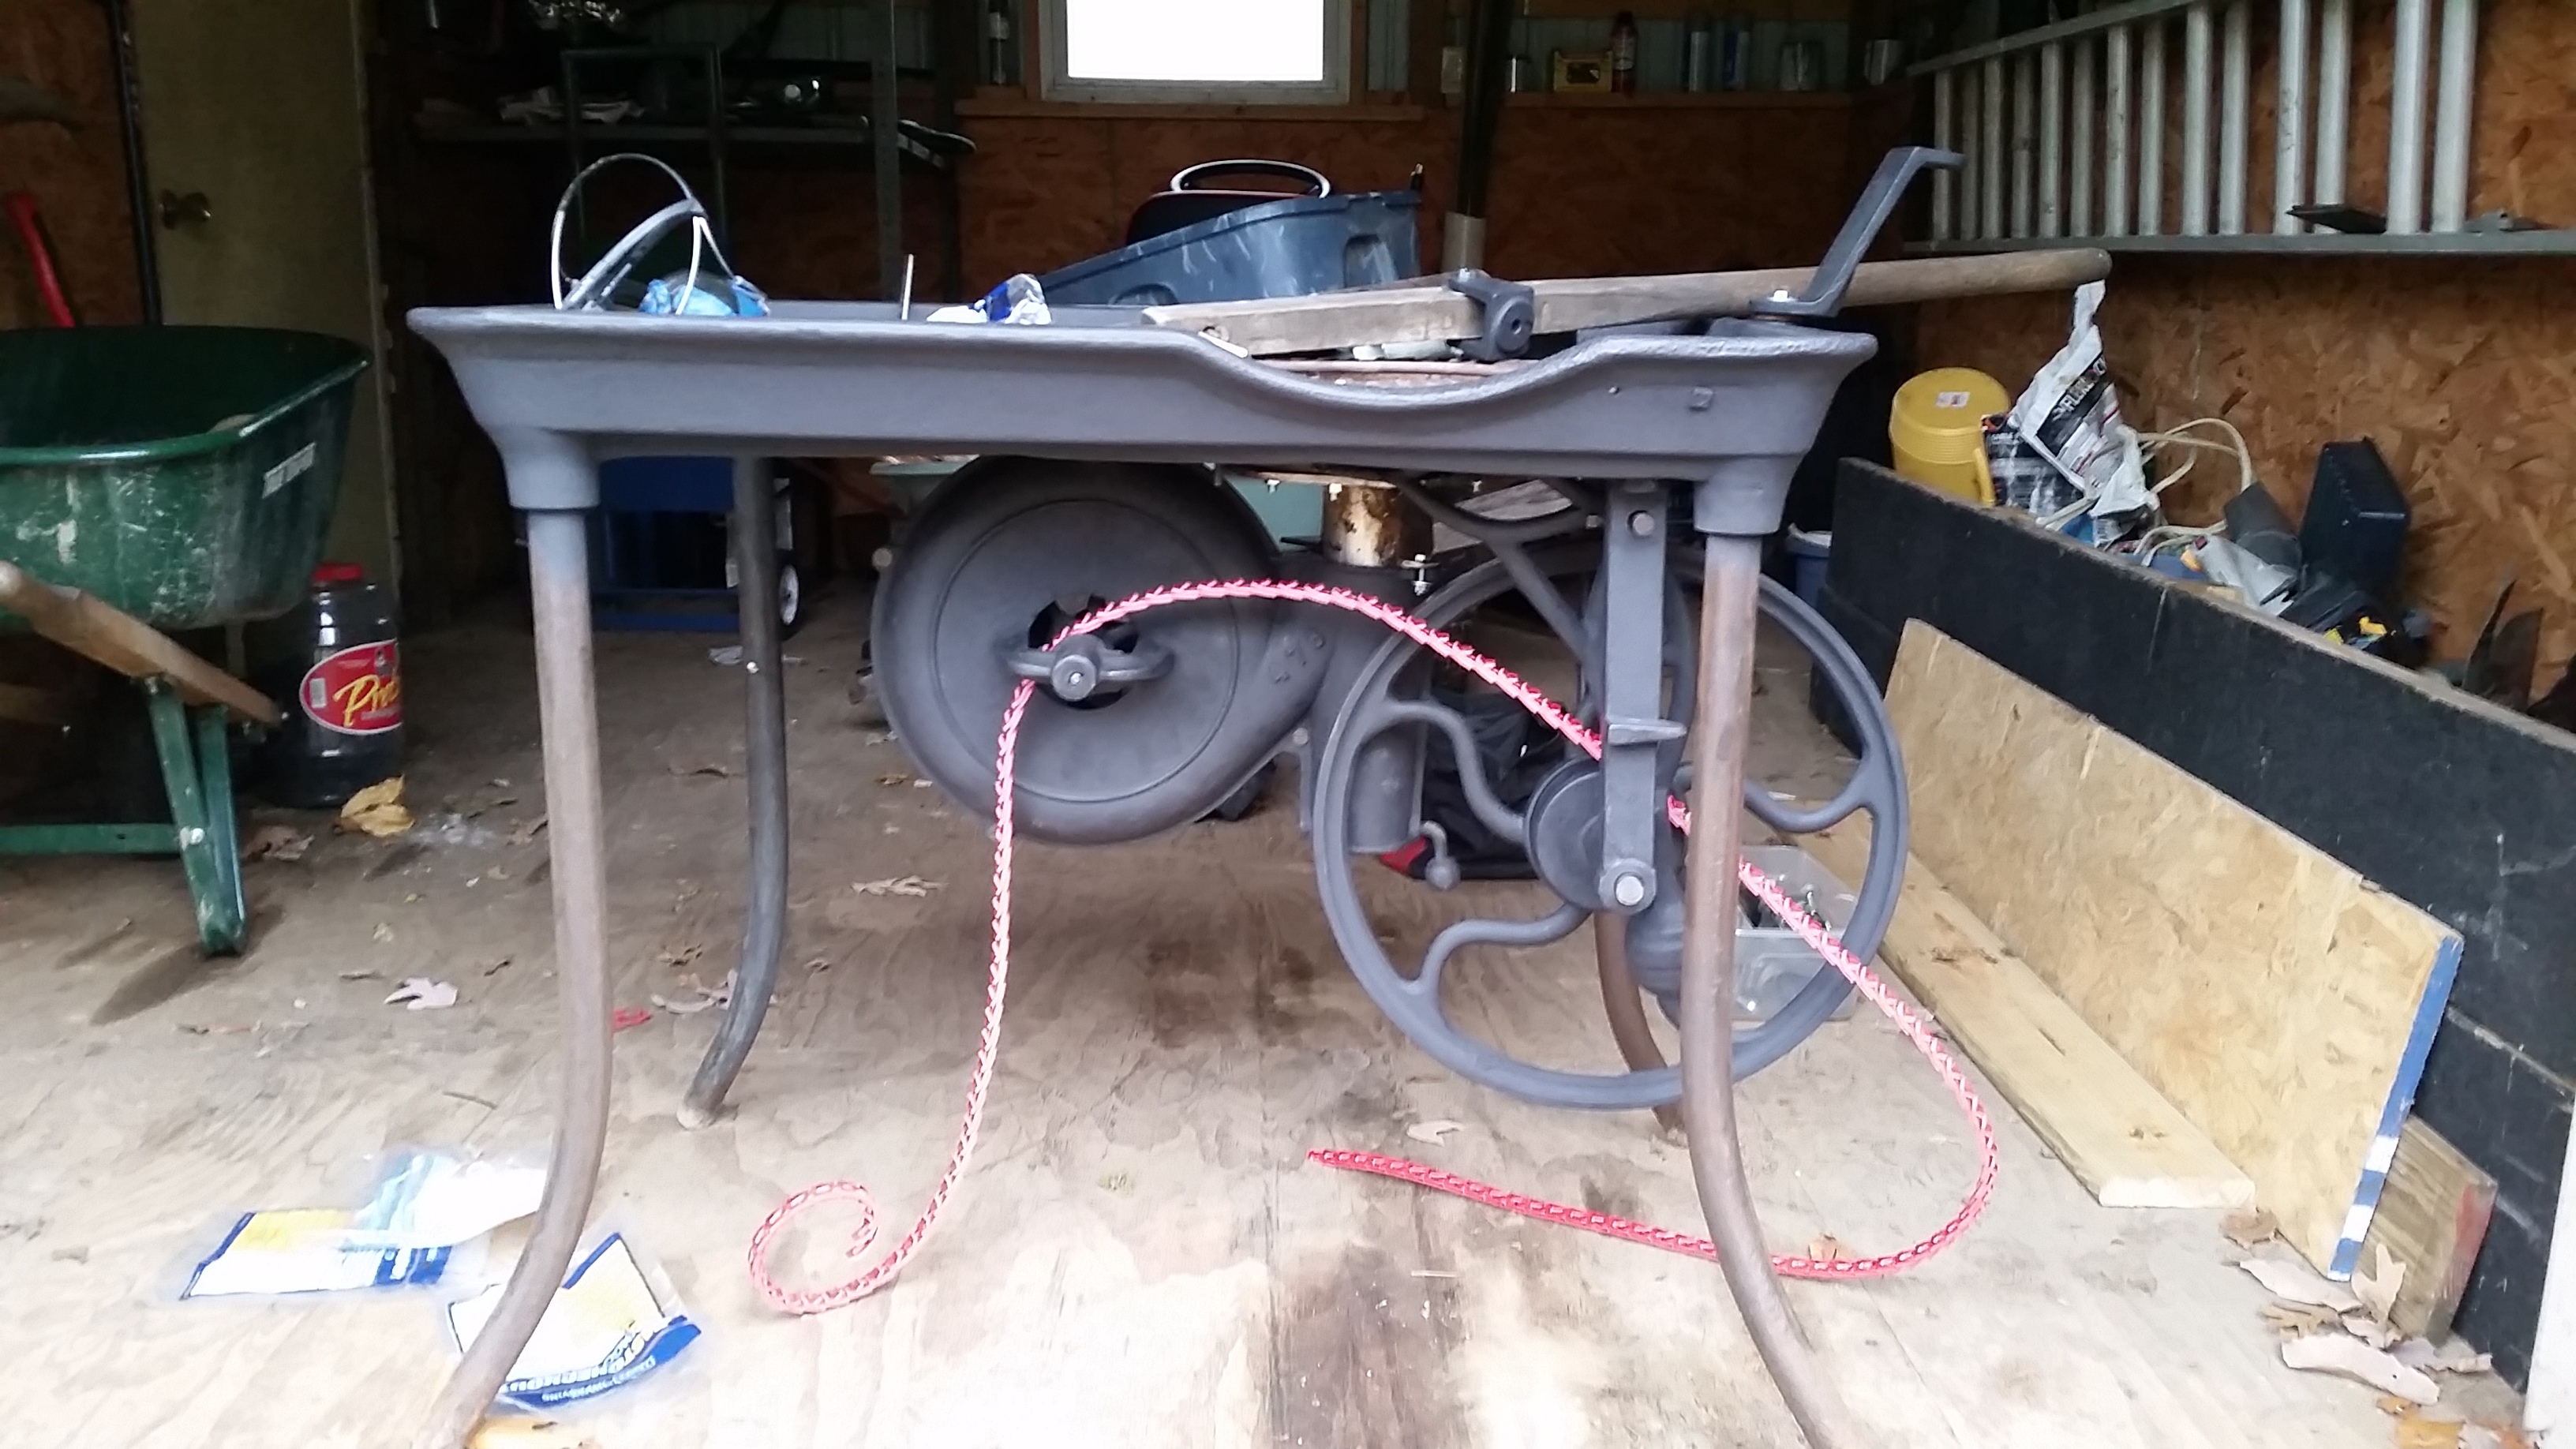
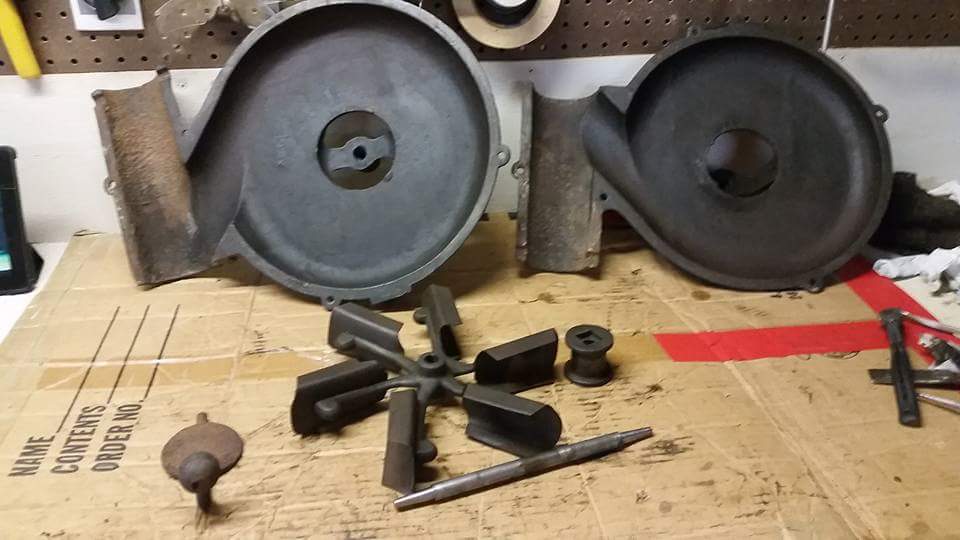
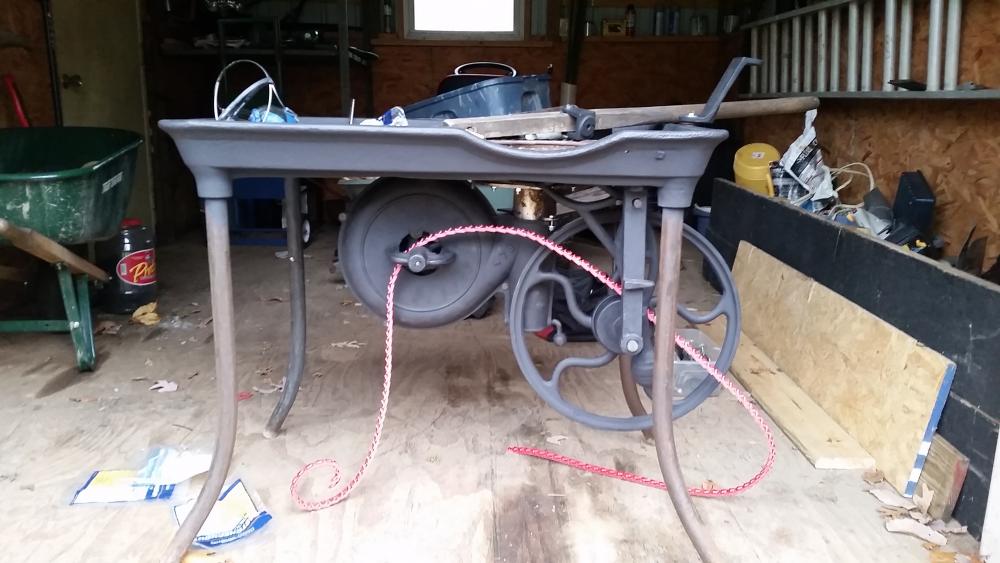
I recently restored an old rusty forge and am having problems maintaining a decent fire. The forge did not come with one so I made one out of a brake rotor and some 3" exhaust pipe. I initially had as a tuyere some 1/4 plate with a bunch of 1/4 holes drilled in it covering the 3" hole for the air intake and I could not for the life of me get burning coals above the 2.5" high brake rotor. I then welded up some scrap rebar I had laying around into one I thought might let more air into the fire. This did not really help much. I am using bituminous coal that a friend of mine recommended and what he uses and he is a full time 2nd gen blacksmith so i dont think it is the coal. It lights up easily with newspaper and some sticks and cokes fine I guess (I am completely new at this, this is only the second time I have used this forge). I had made one out of an old well tank and a hair dryer and used it a couple of times before buying this one so I am super inexperienced but my homebuilt one performed better than this. I have gotten the timing pretty much perfectly on the ratchet clutch system. This thing throws out what I would assume to be enough air, with alot more force than my old hairdryer. Could it be the shape of the firepot? I lined it and sloped the sides with a mixture of bentonnite clay and sand that I got from reading this forum. It looks like all the others I have seen. I just cant seem to get the fire high enough to heat things above the 2.5" inch lip of the rotor. I started out trying to make some tongs and I used some 3/4 square and round stock but I pretty much have to either dig the ends into the firepot to get it a decent color of orange otherwise just laying it on top of the rotor just gets it a dull red color. This is going to sound stupid I know but whenever I watch youtube videos of people forging, it seems they have this huge mound of coals lit and I can't get anything close enough to put my stock straight across and heat it. Attached are some pictures. If need be I can try to take some pictures of it actually on fire but the main idea is that no matter how much coal I heap on top and no matter how much I pump the handle like a madman, I cant get much to burn above the top of the rotor. Thanks.


-
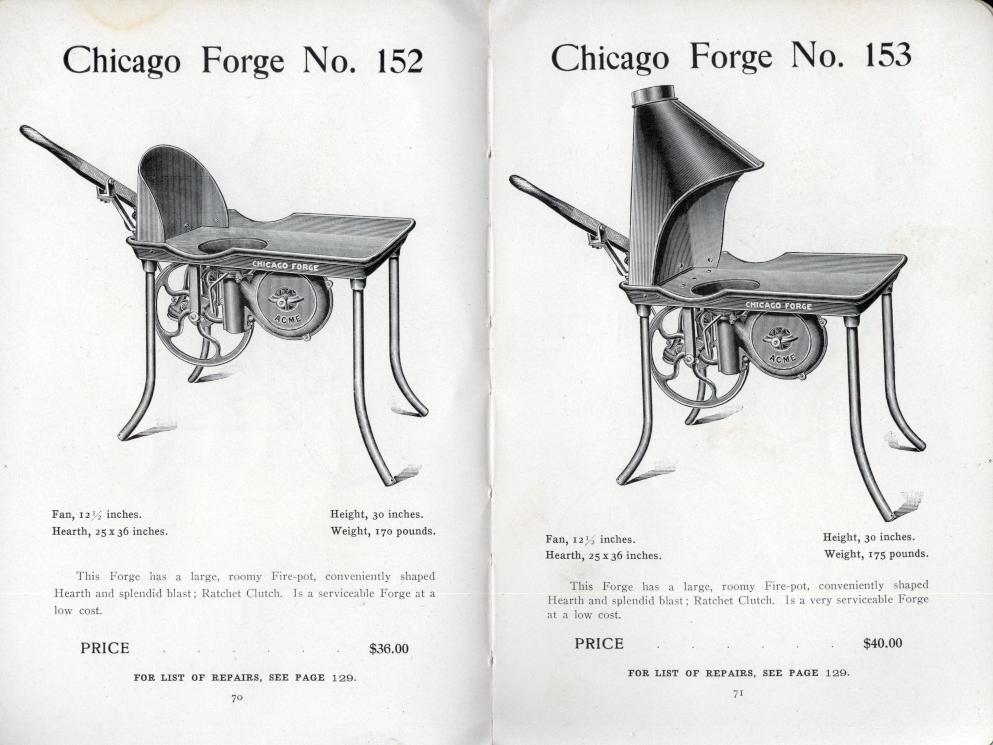
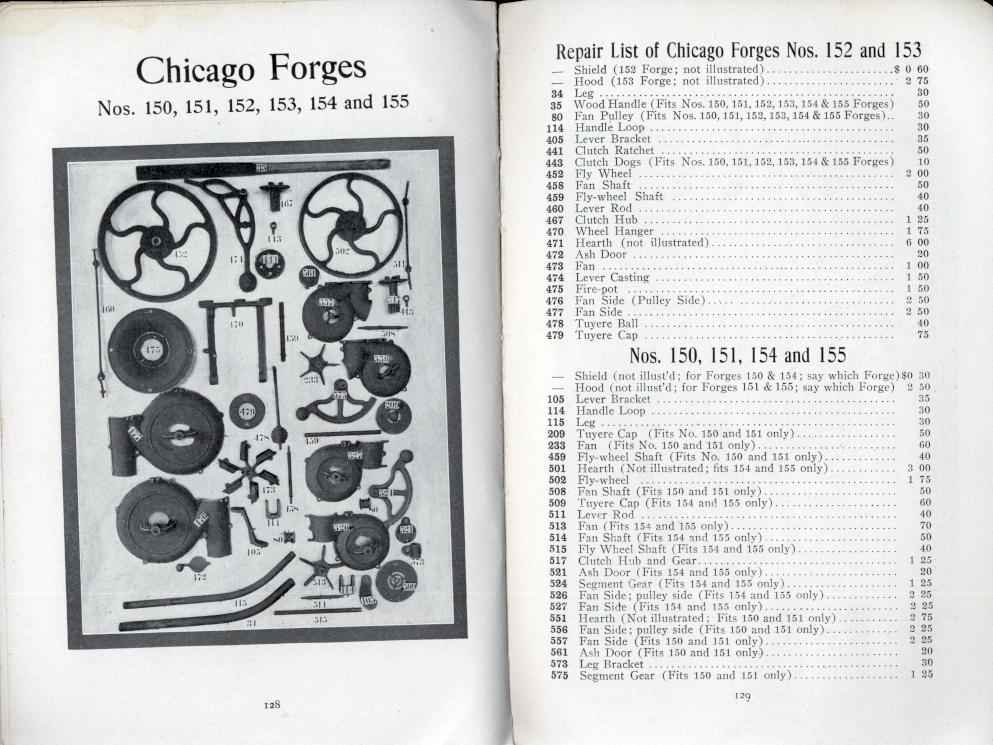
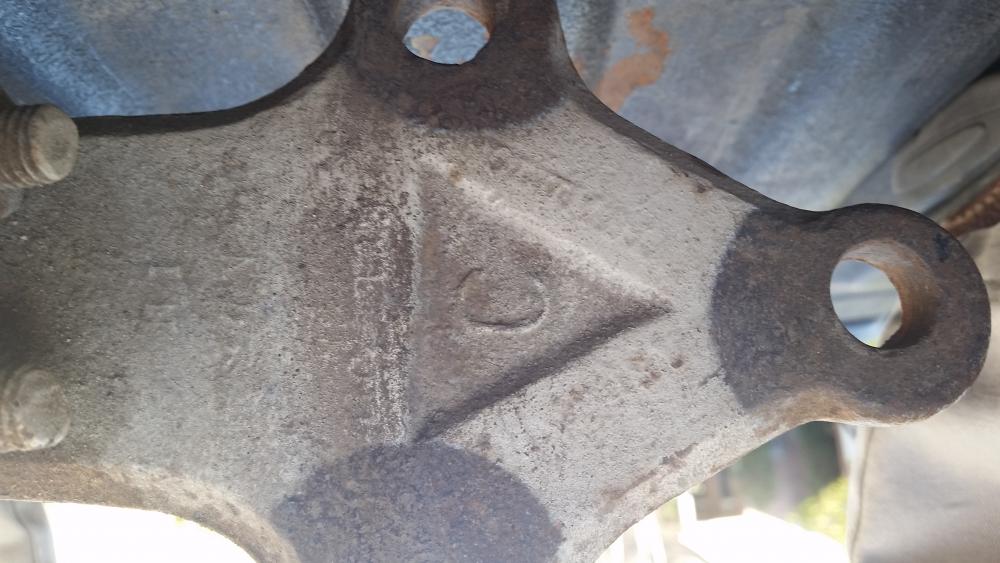
I just rebuilt that same forge although mine didn't come with a firepot so I made one out of a brake rotor. Here are some pics from the Canedy Otto No. 8 catalog. It is a Chicago Forge No. 152. The parts numbers should match. There should be a 477 & 476 on the side of each blower.