Joel Worley
-
Posts
31 -
Joined
-
Last visited
Content Type
Profiles
Forums
Articles
Gallery
Downloads
Events
Everything posted by Joel Worley
-
Champion #1 rebuild
Joel Worley replied to Joel Worley's topic in Power Hammers, Treadle Hammers, Olivers
Solseeker, I will try to get the drawings posted in the near future. -
Champion #1 rebuild
Joel Worley replied to Joel Worley's topic in Power Hammers, Treadle Hammers, Olivers
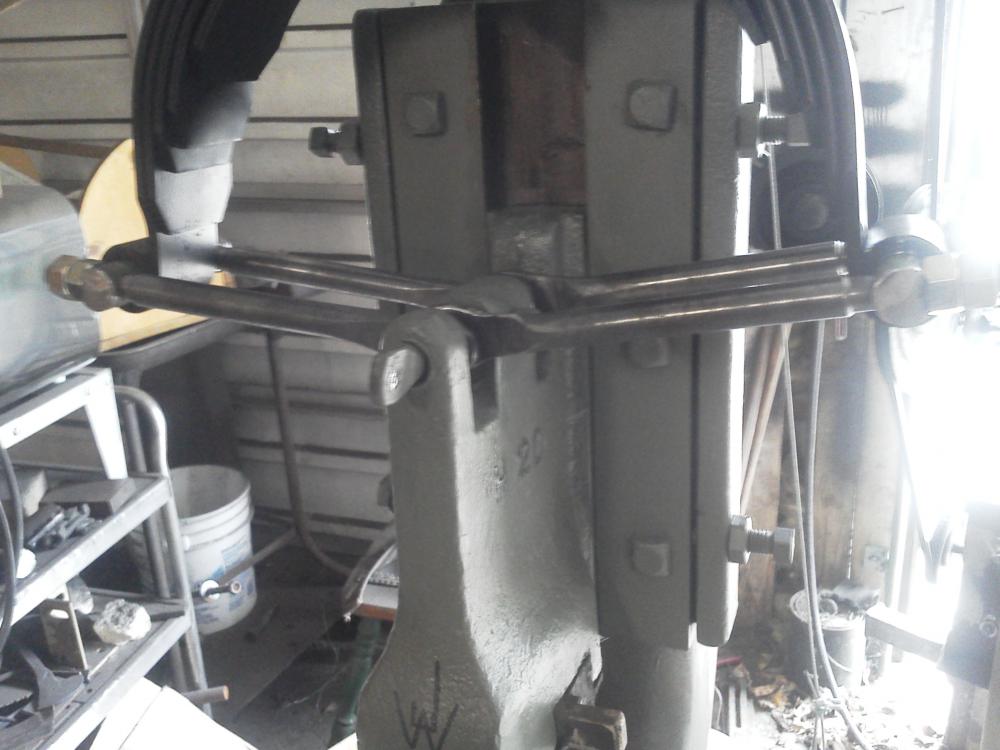
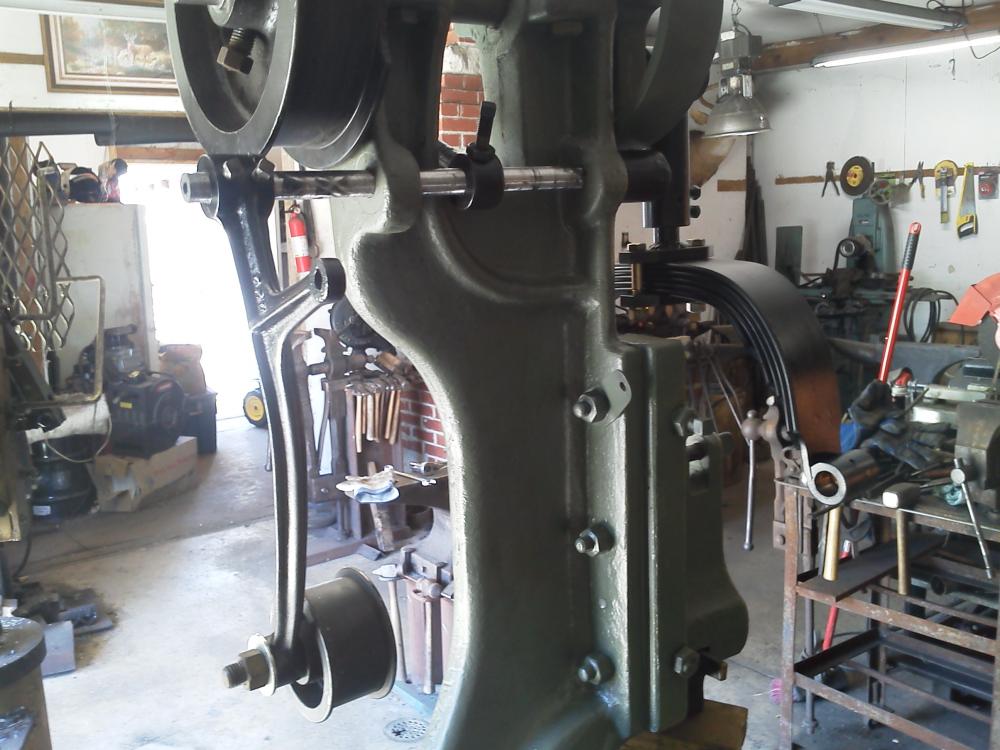
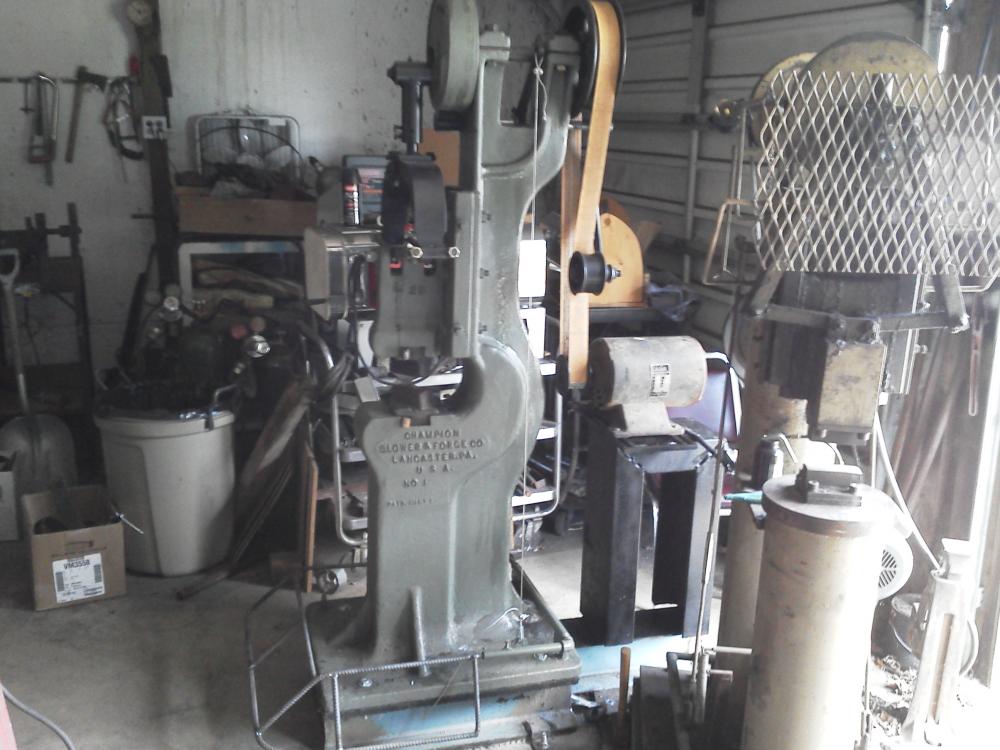
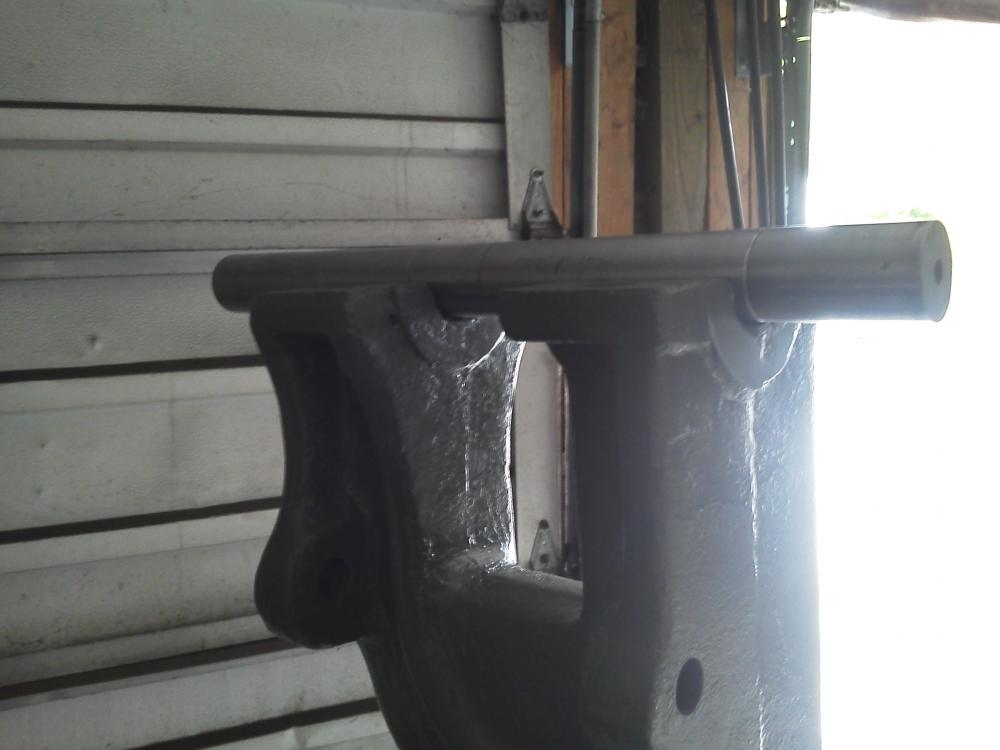
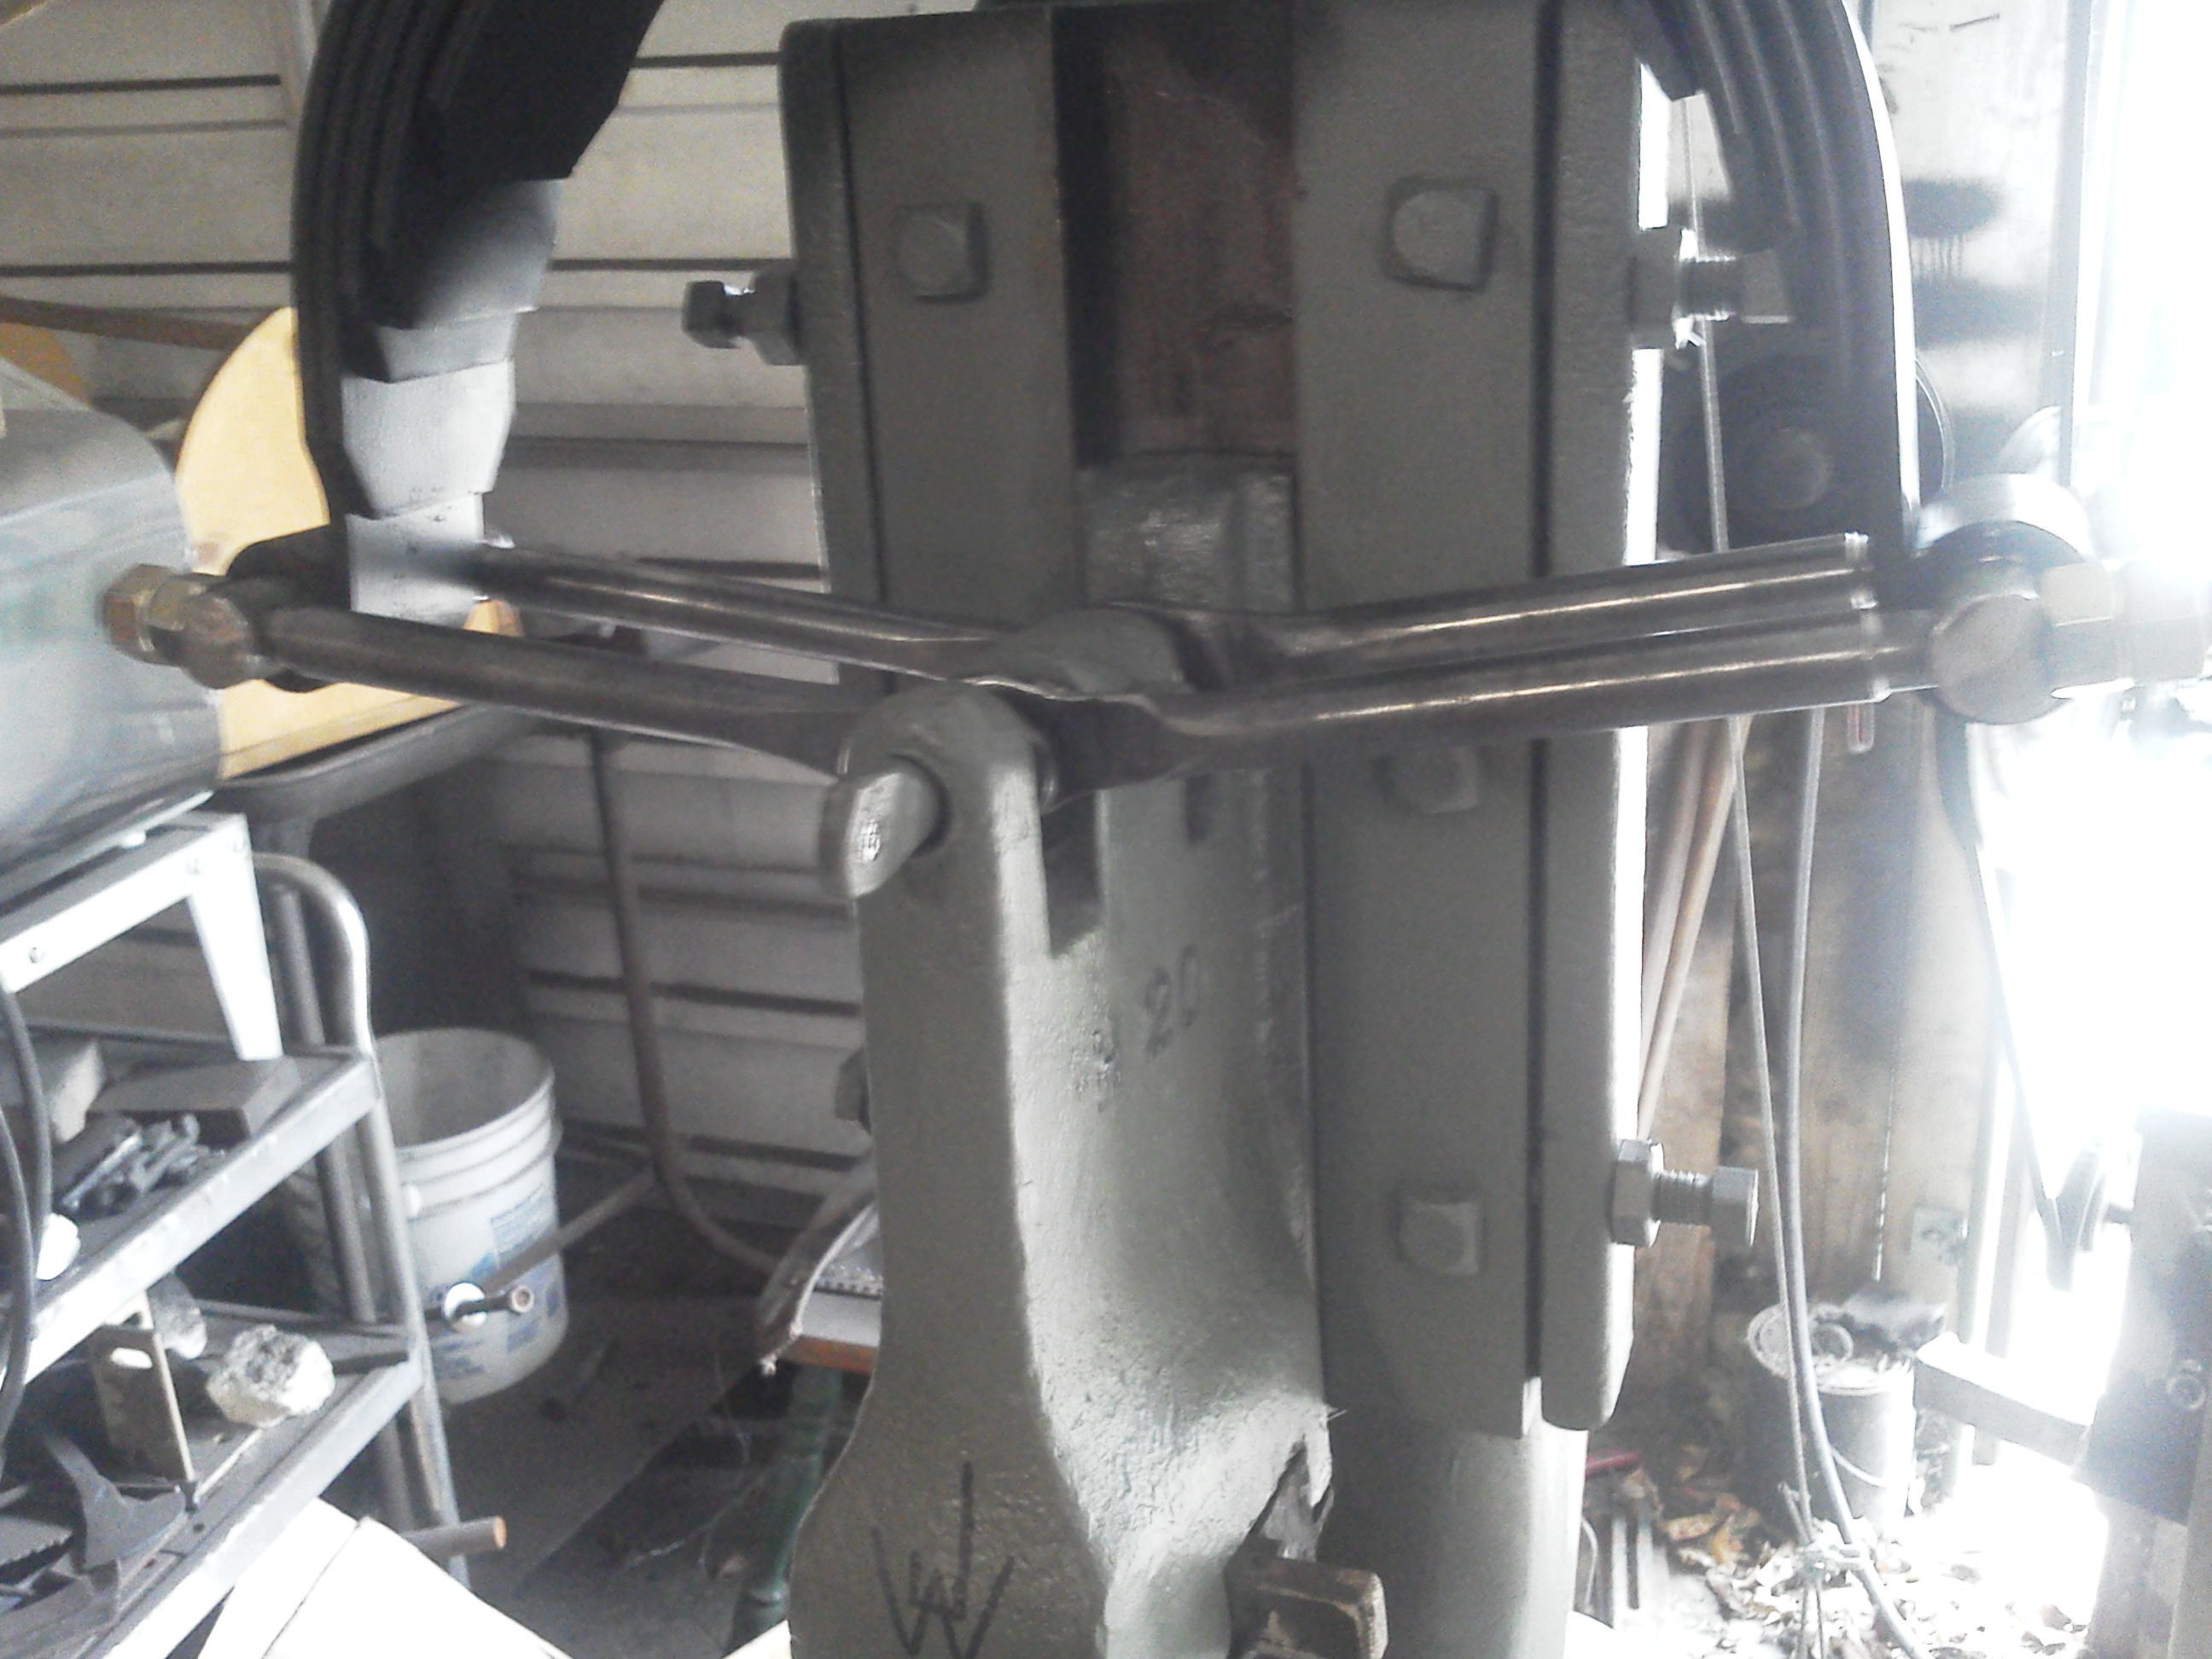
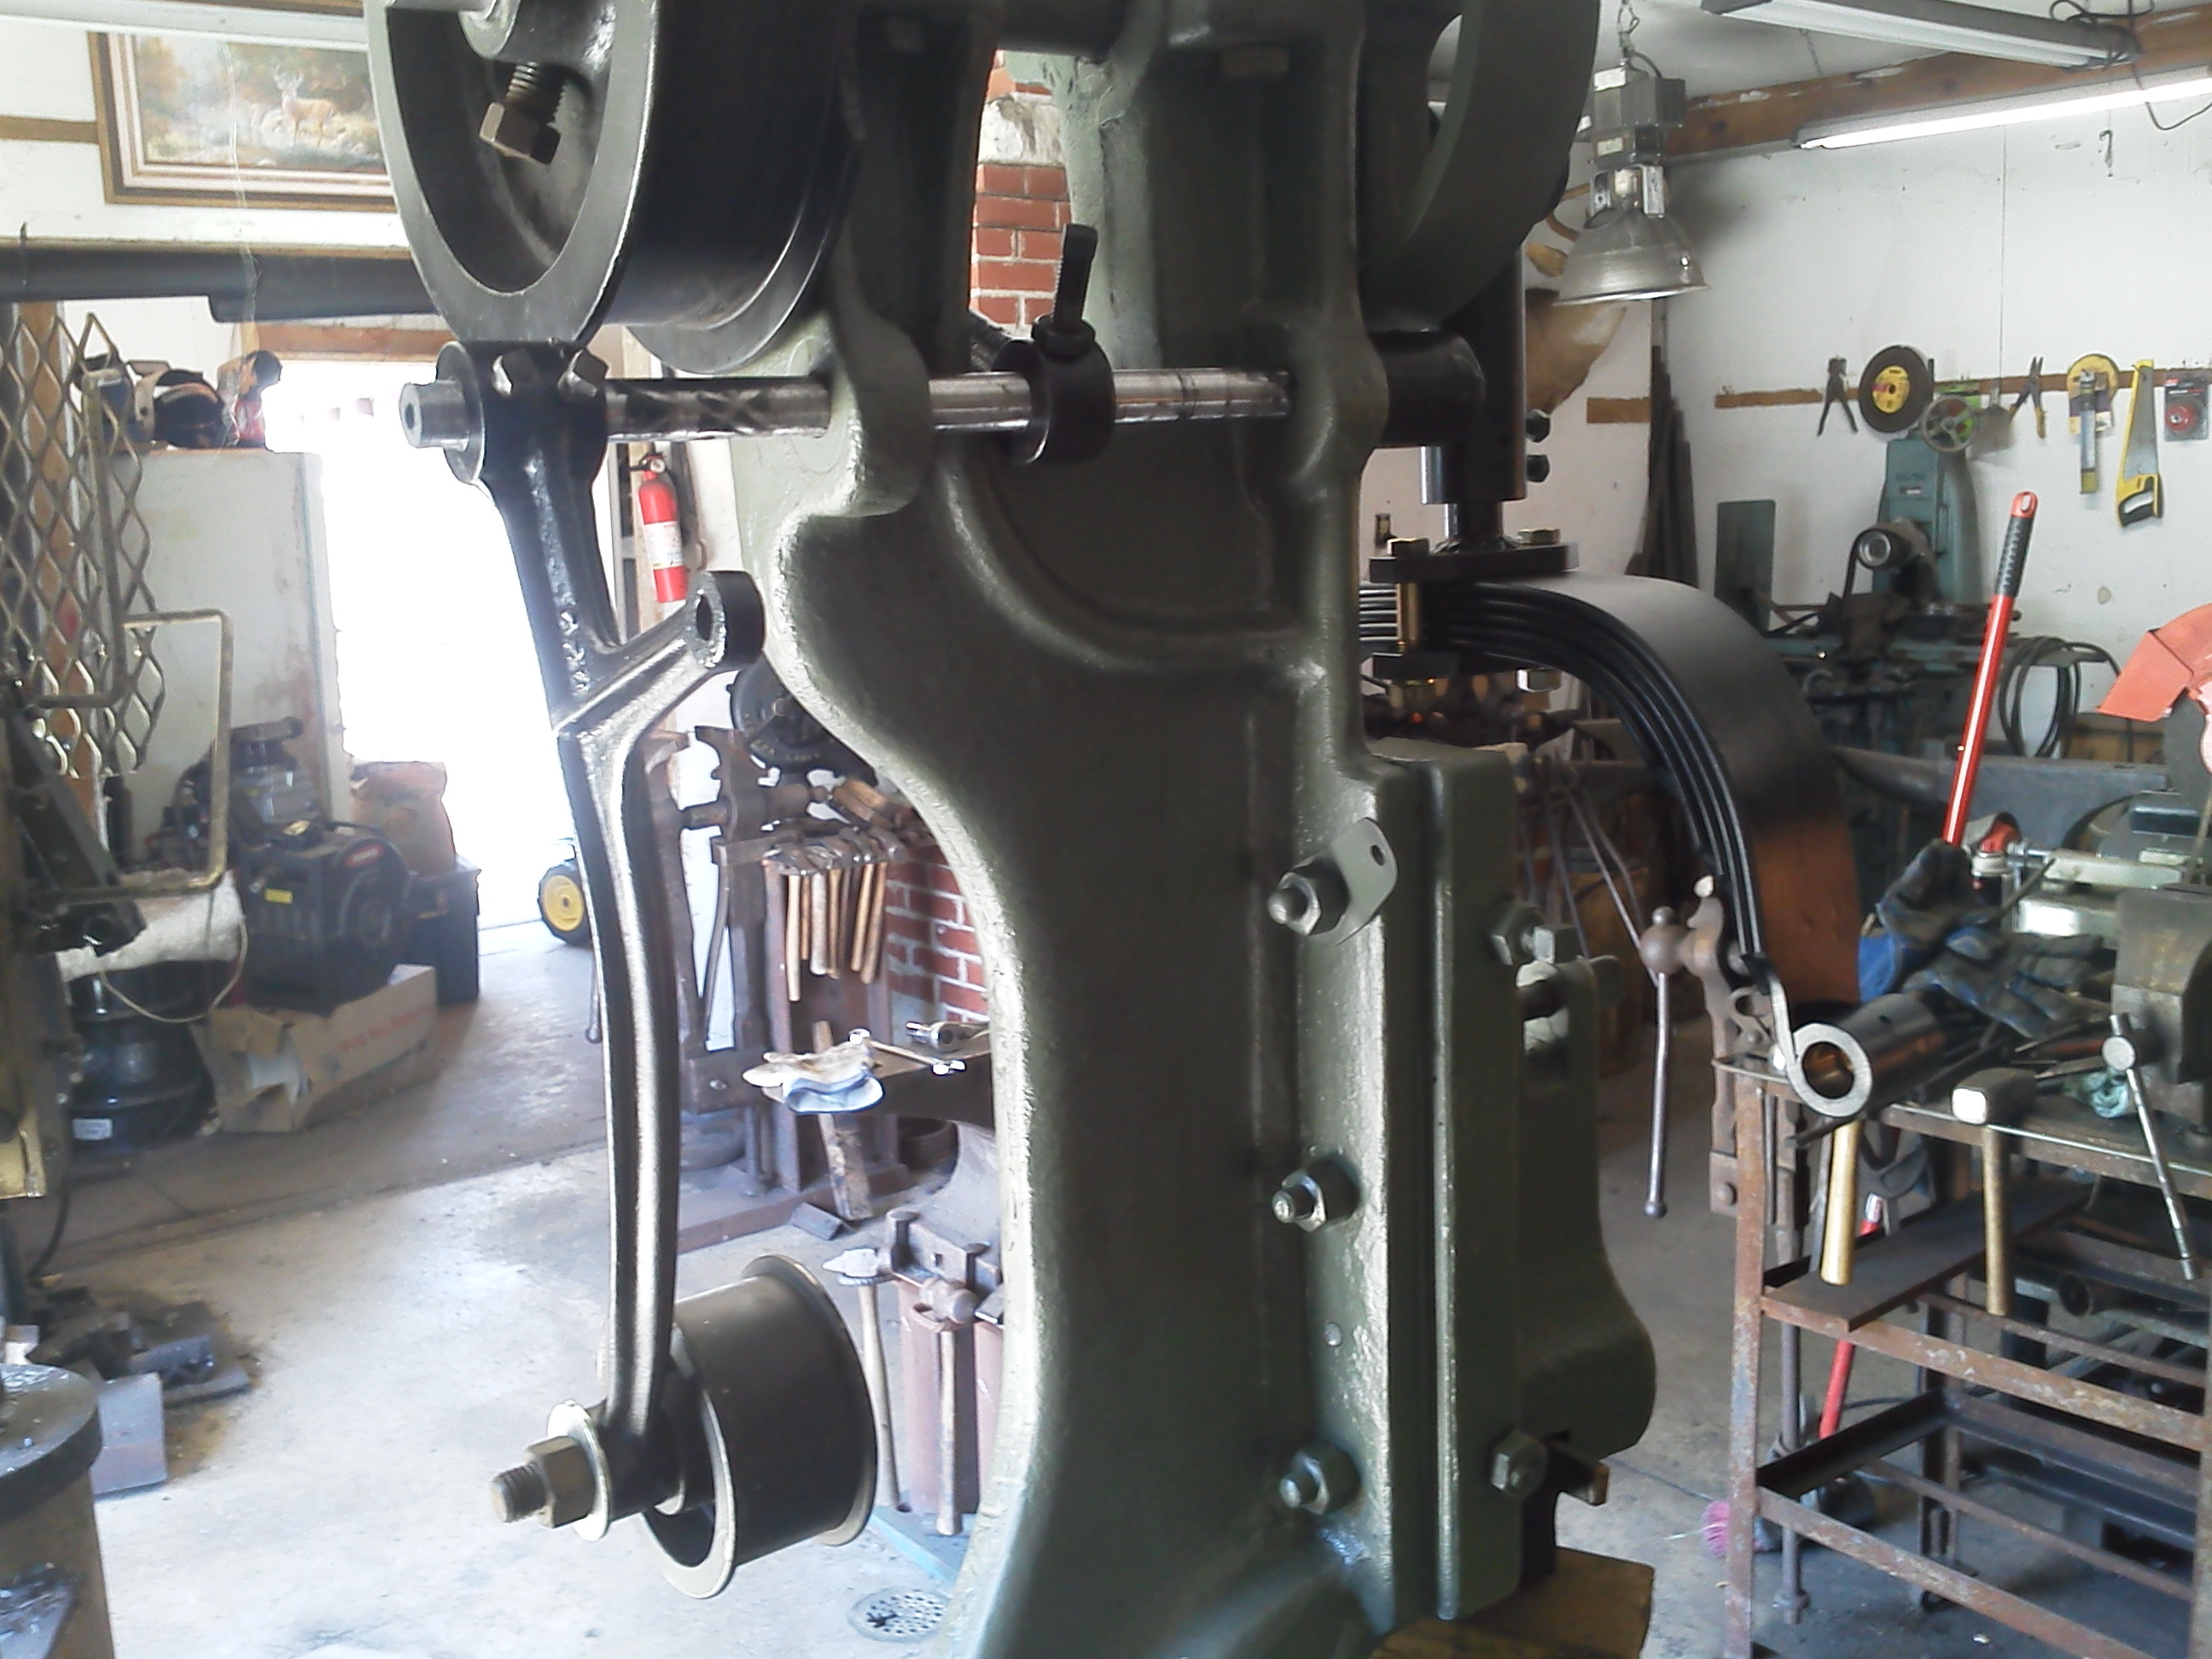
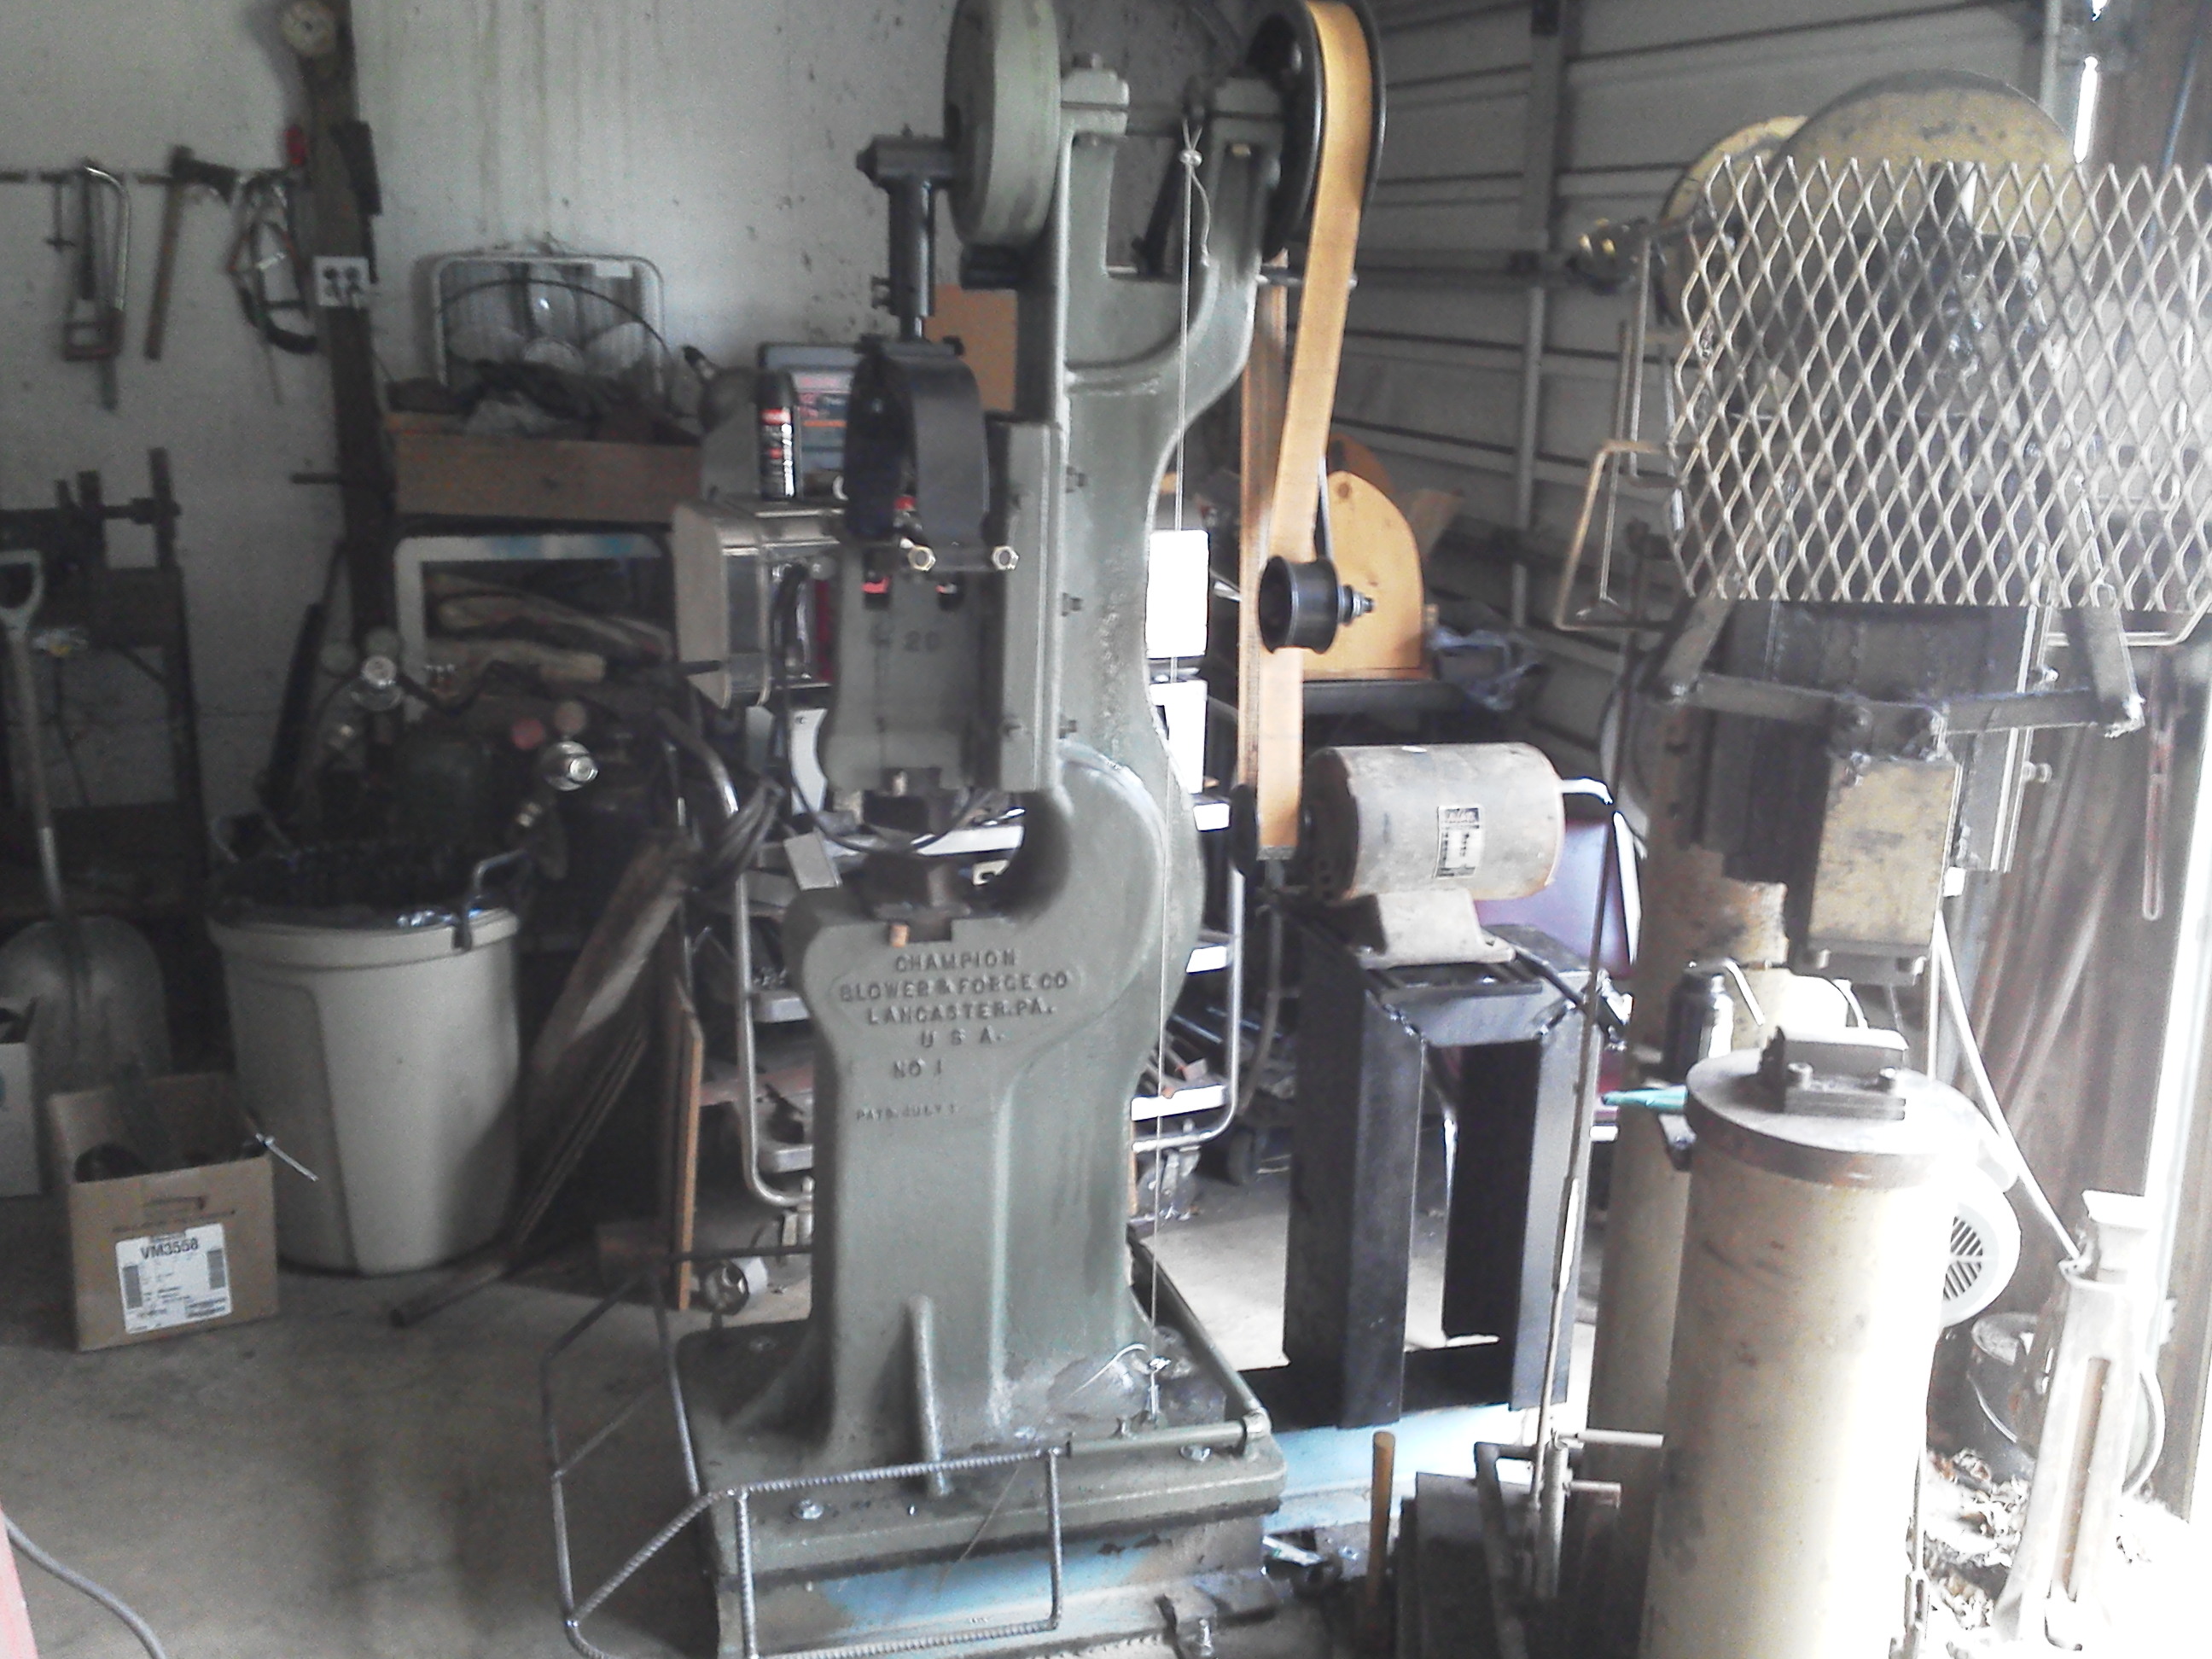
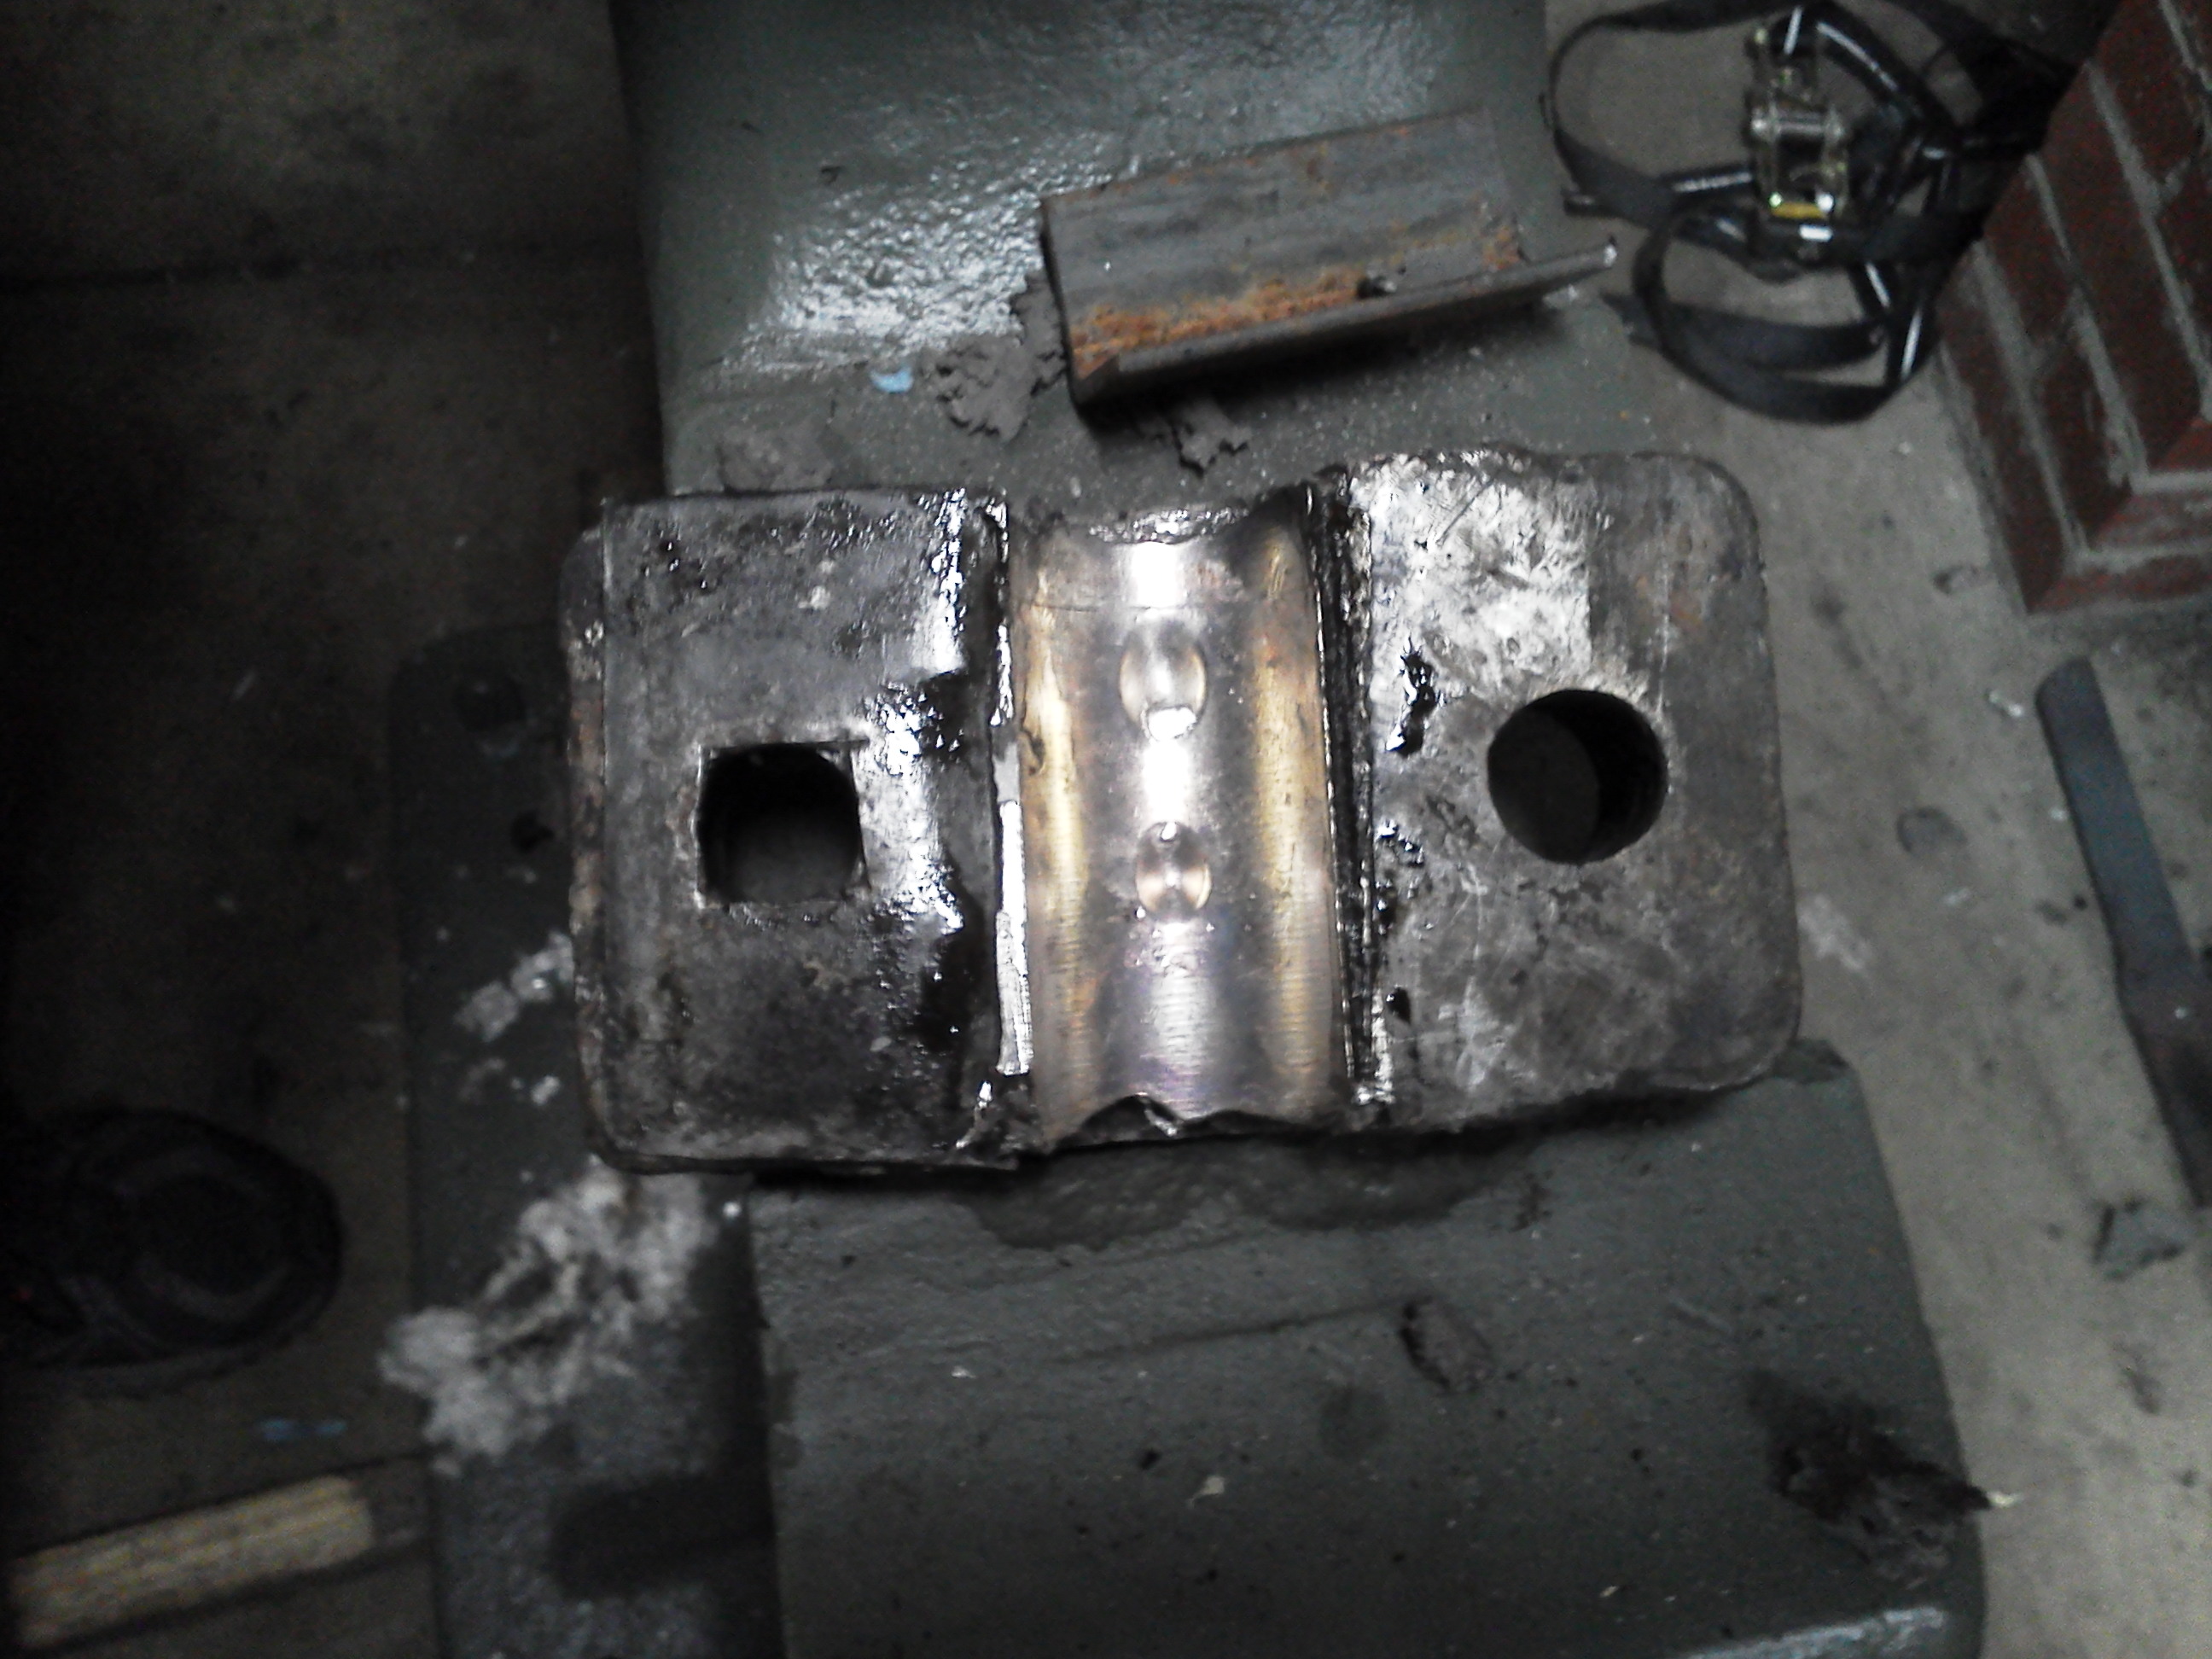
It's been a while since I last posted any pictures. Here are some pictures of the toggle arms and pitman assembly in process. Also a shot of the idler arm and pulley on the linkage. The last picture is the hammer ready to run after getting the motor and belt on. I also posted a couple videos at the end. VID_20160711_190748.3gp VID_20160729_174728.3gp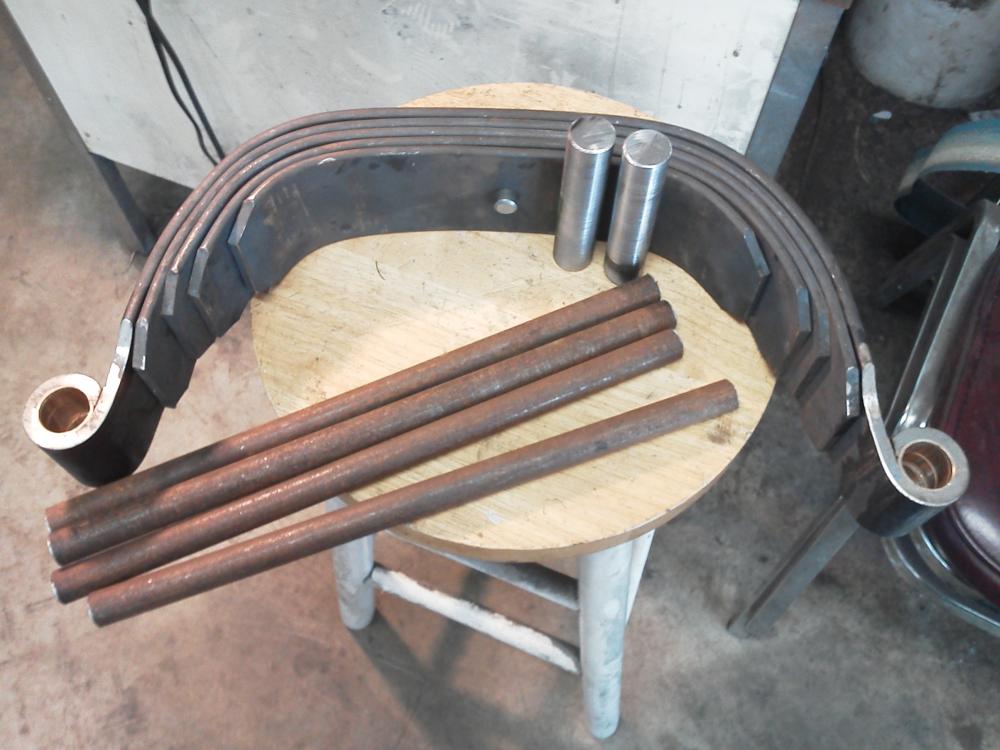


-
Champion #1 rebuild
Joel Worley replied to Joel Worley's topic in Power Hammers, Treadle Hammers, Olivers
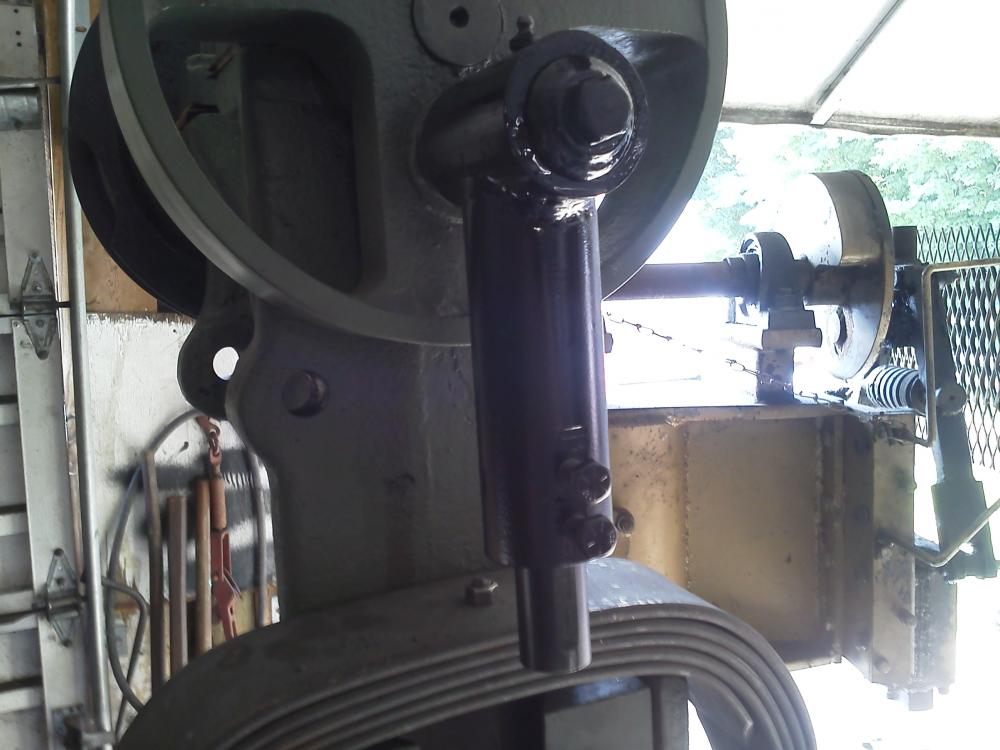
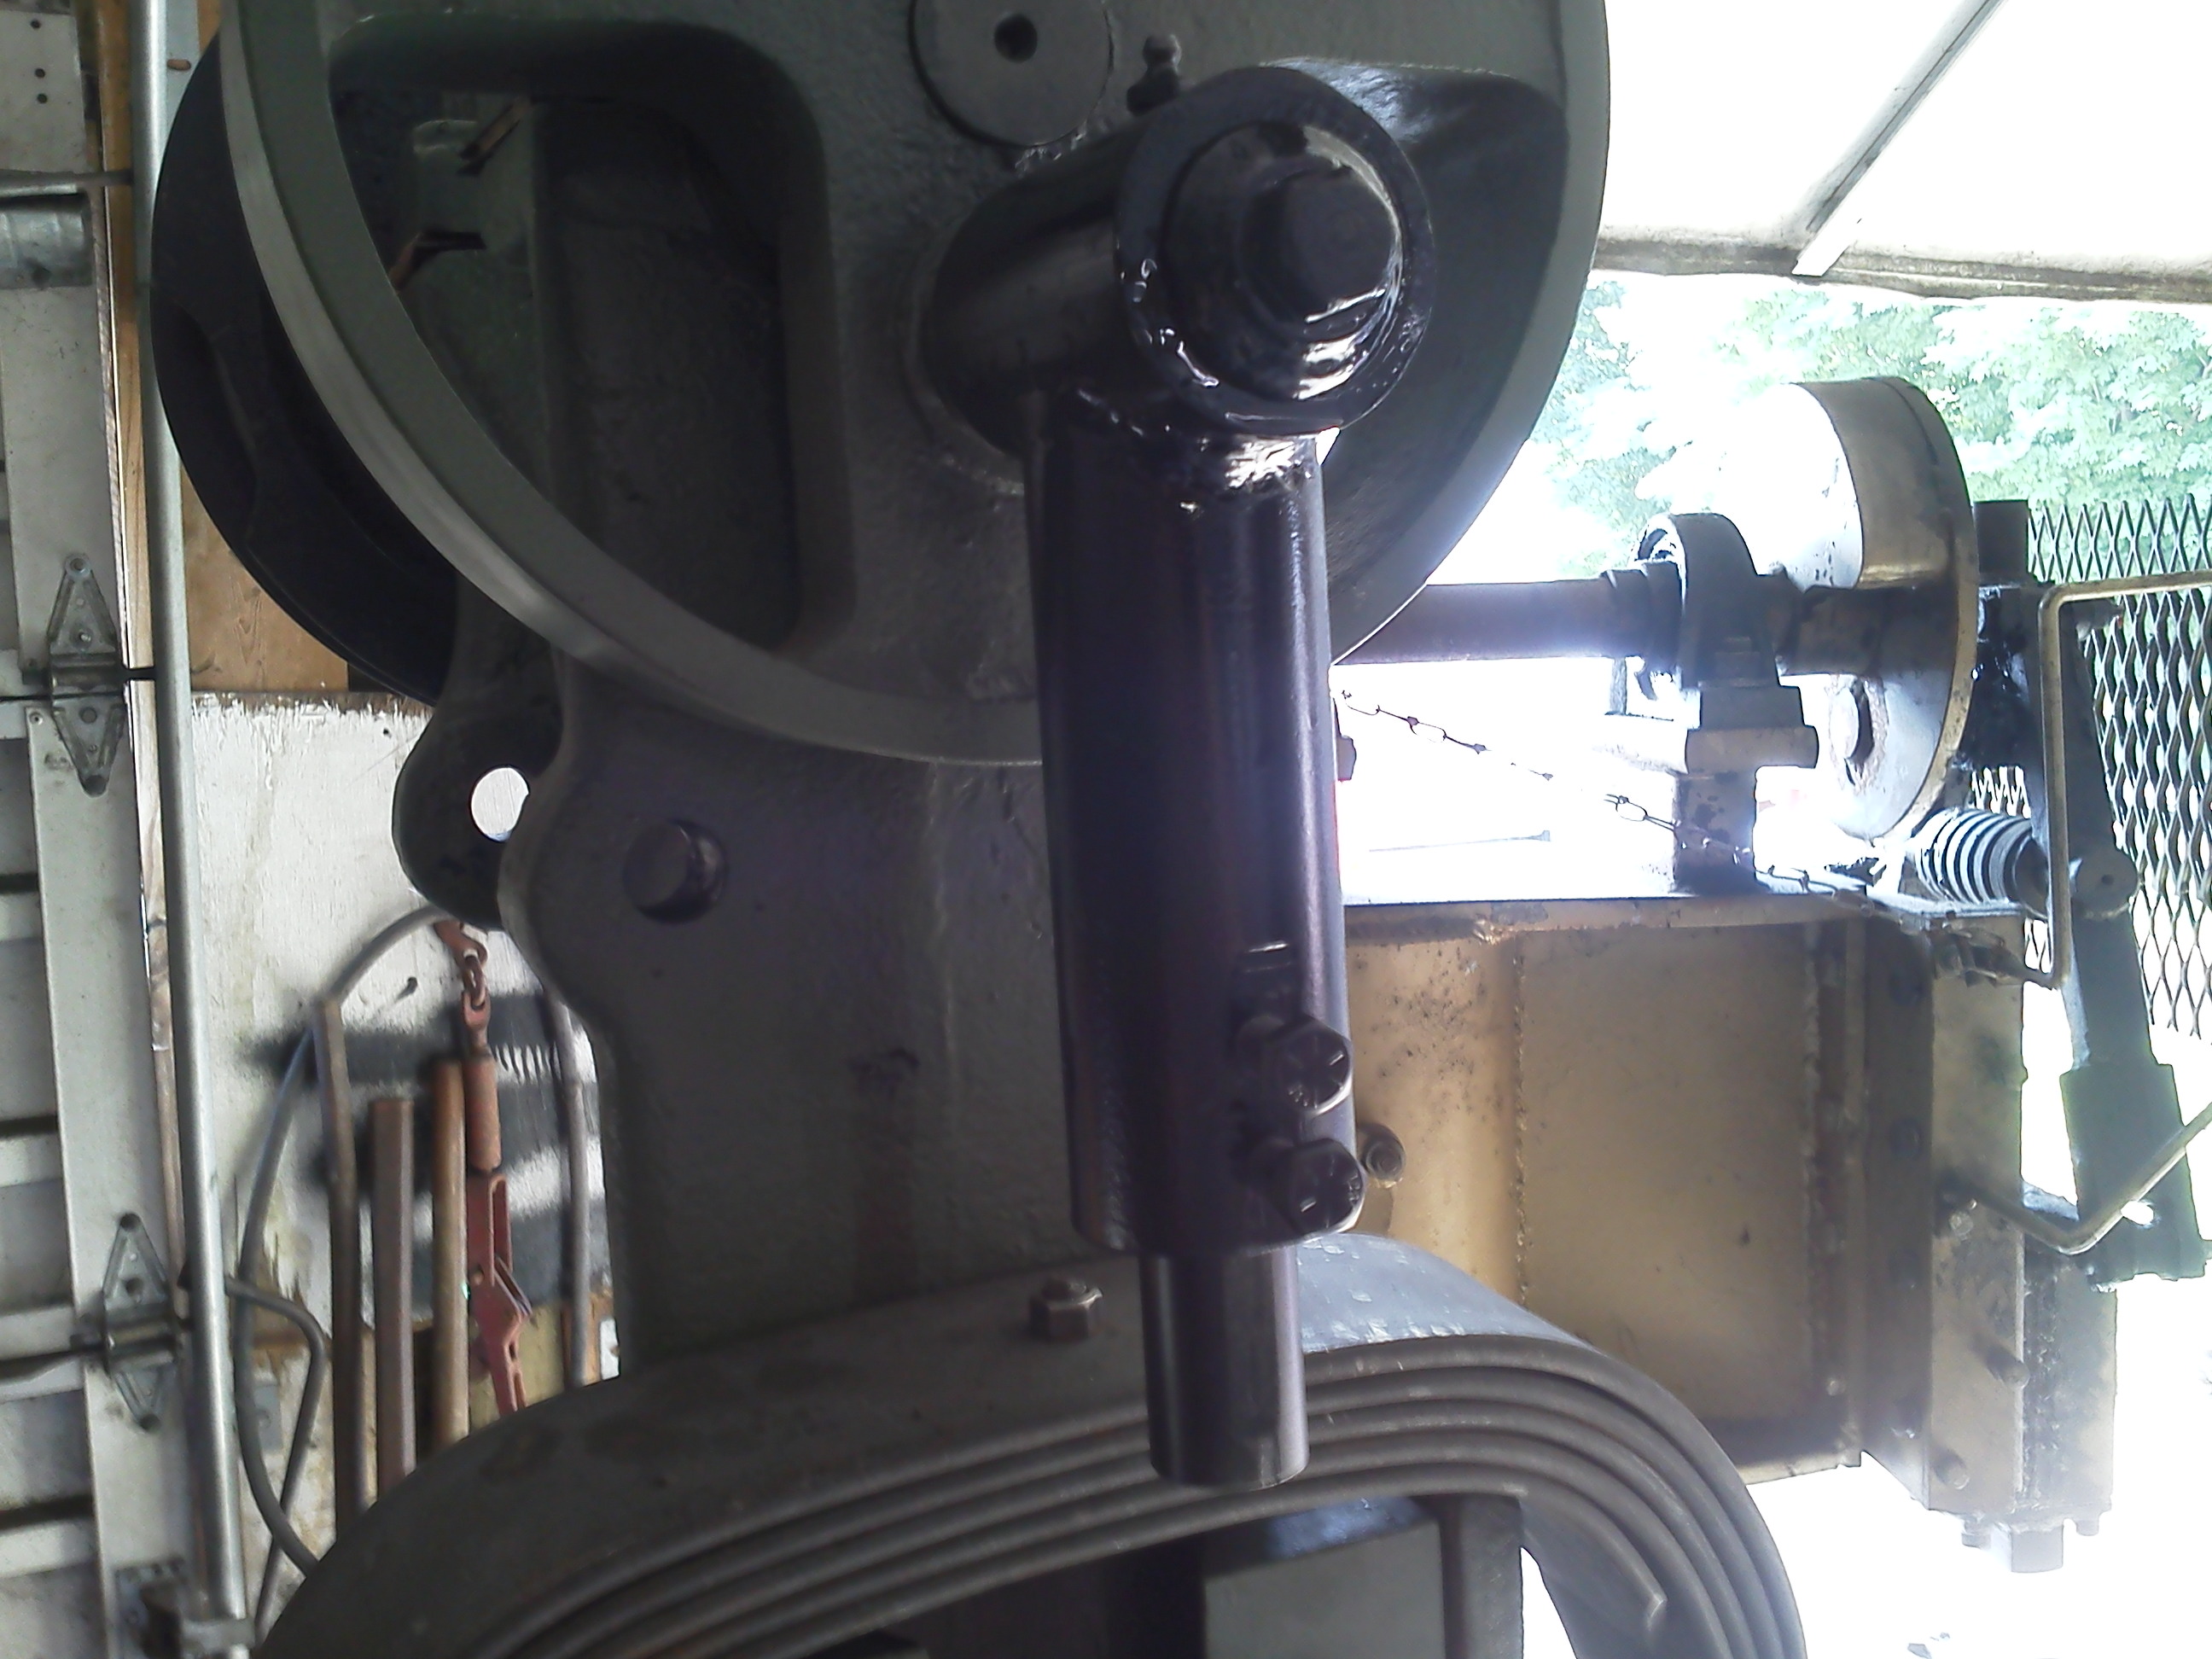
The crank plate and pulley are mounted and everything put back together. Things are still a little tight, so i will have to do some more scraping on the bearings. I opted to mount the pulley on the back of the hammer instead of the original center position. Due to the low ceiling in my shop, the motor will have to be mounted near the floor. Also, it will be a lot easier to take the drive belt off or replace it with the rear mounted pulley.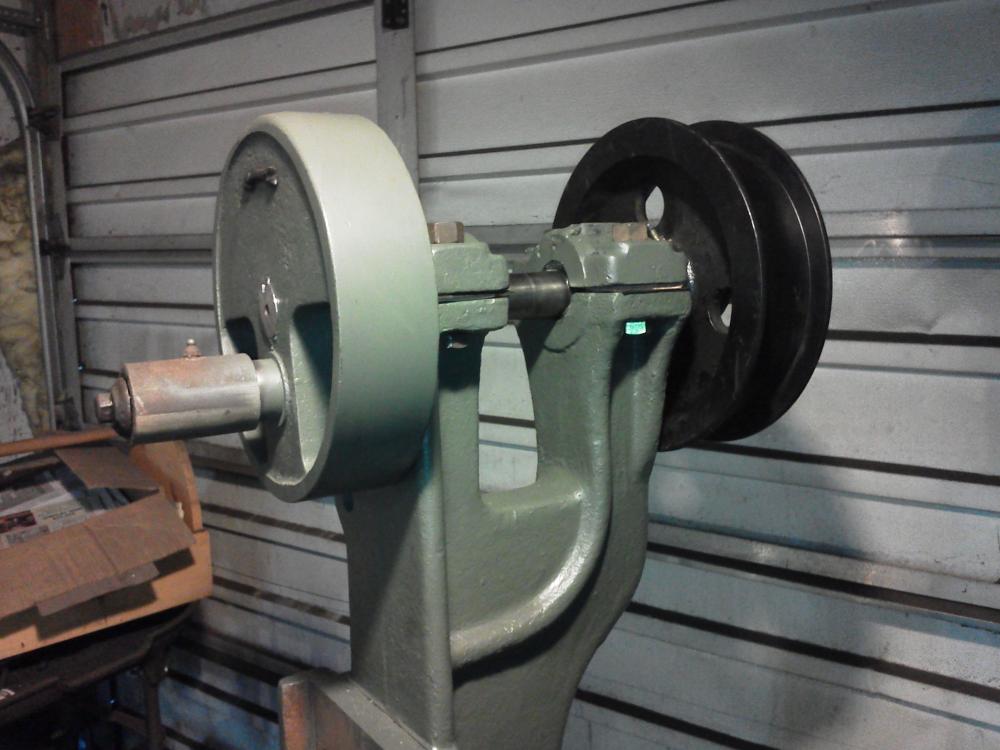
-
Champion #1 rebuild
Joel Worley replied to Joel Worley's topic in Power Hammers, Treadle Hammers, Olivers
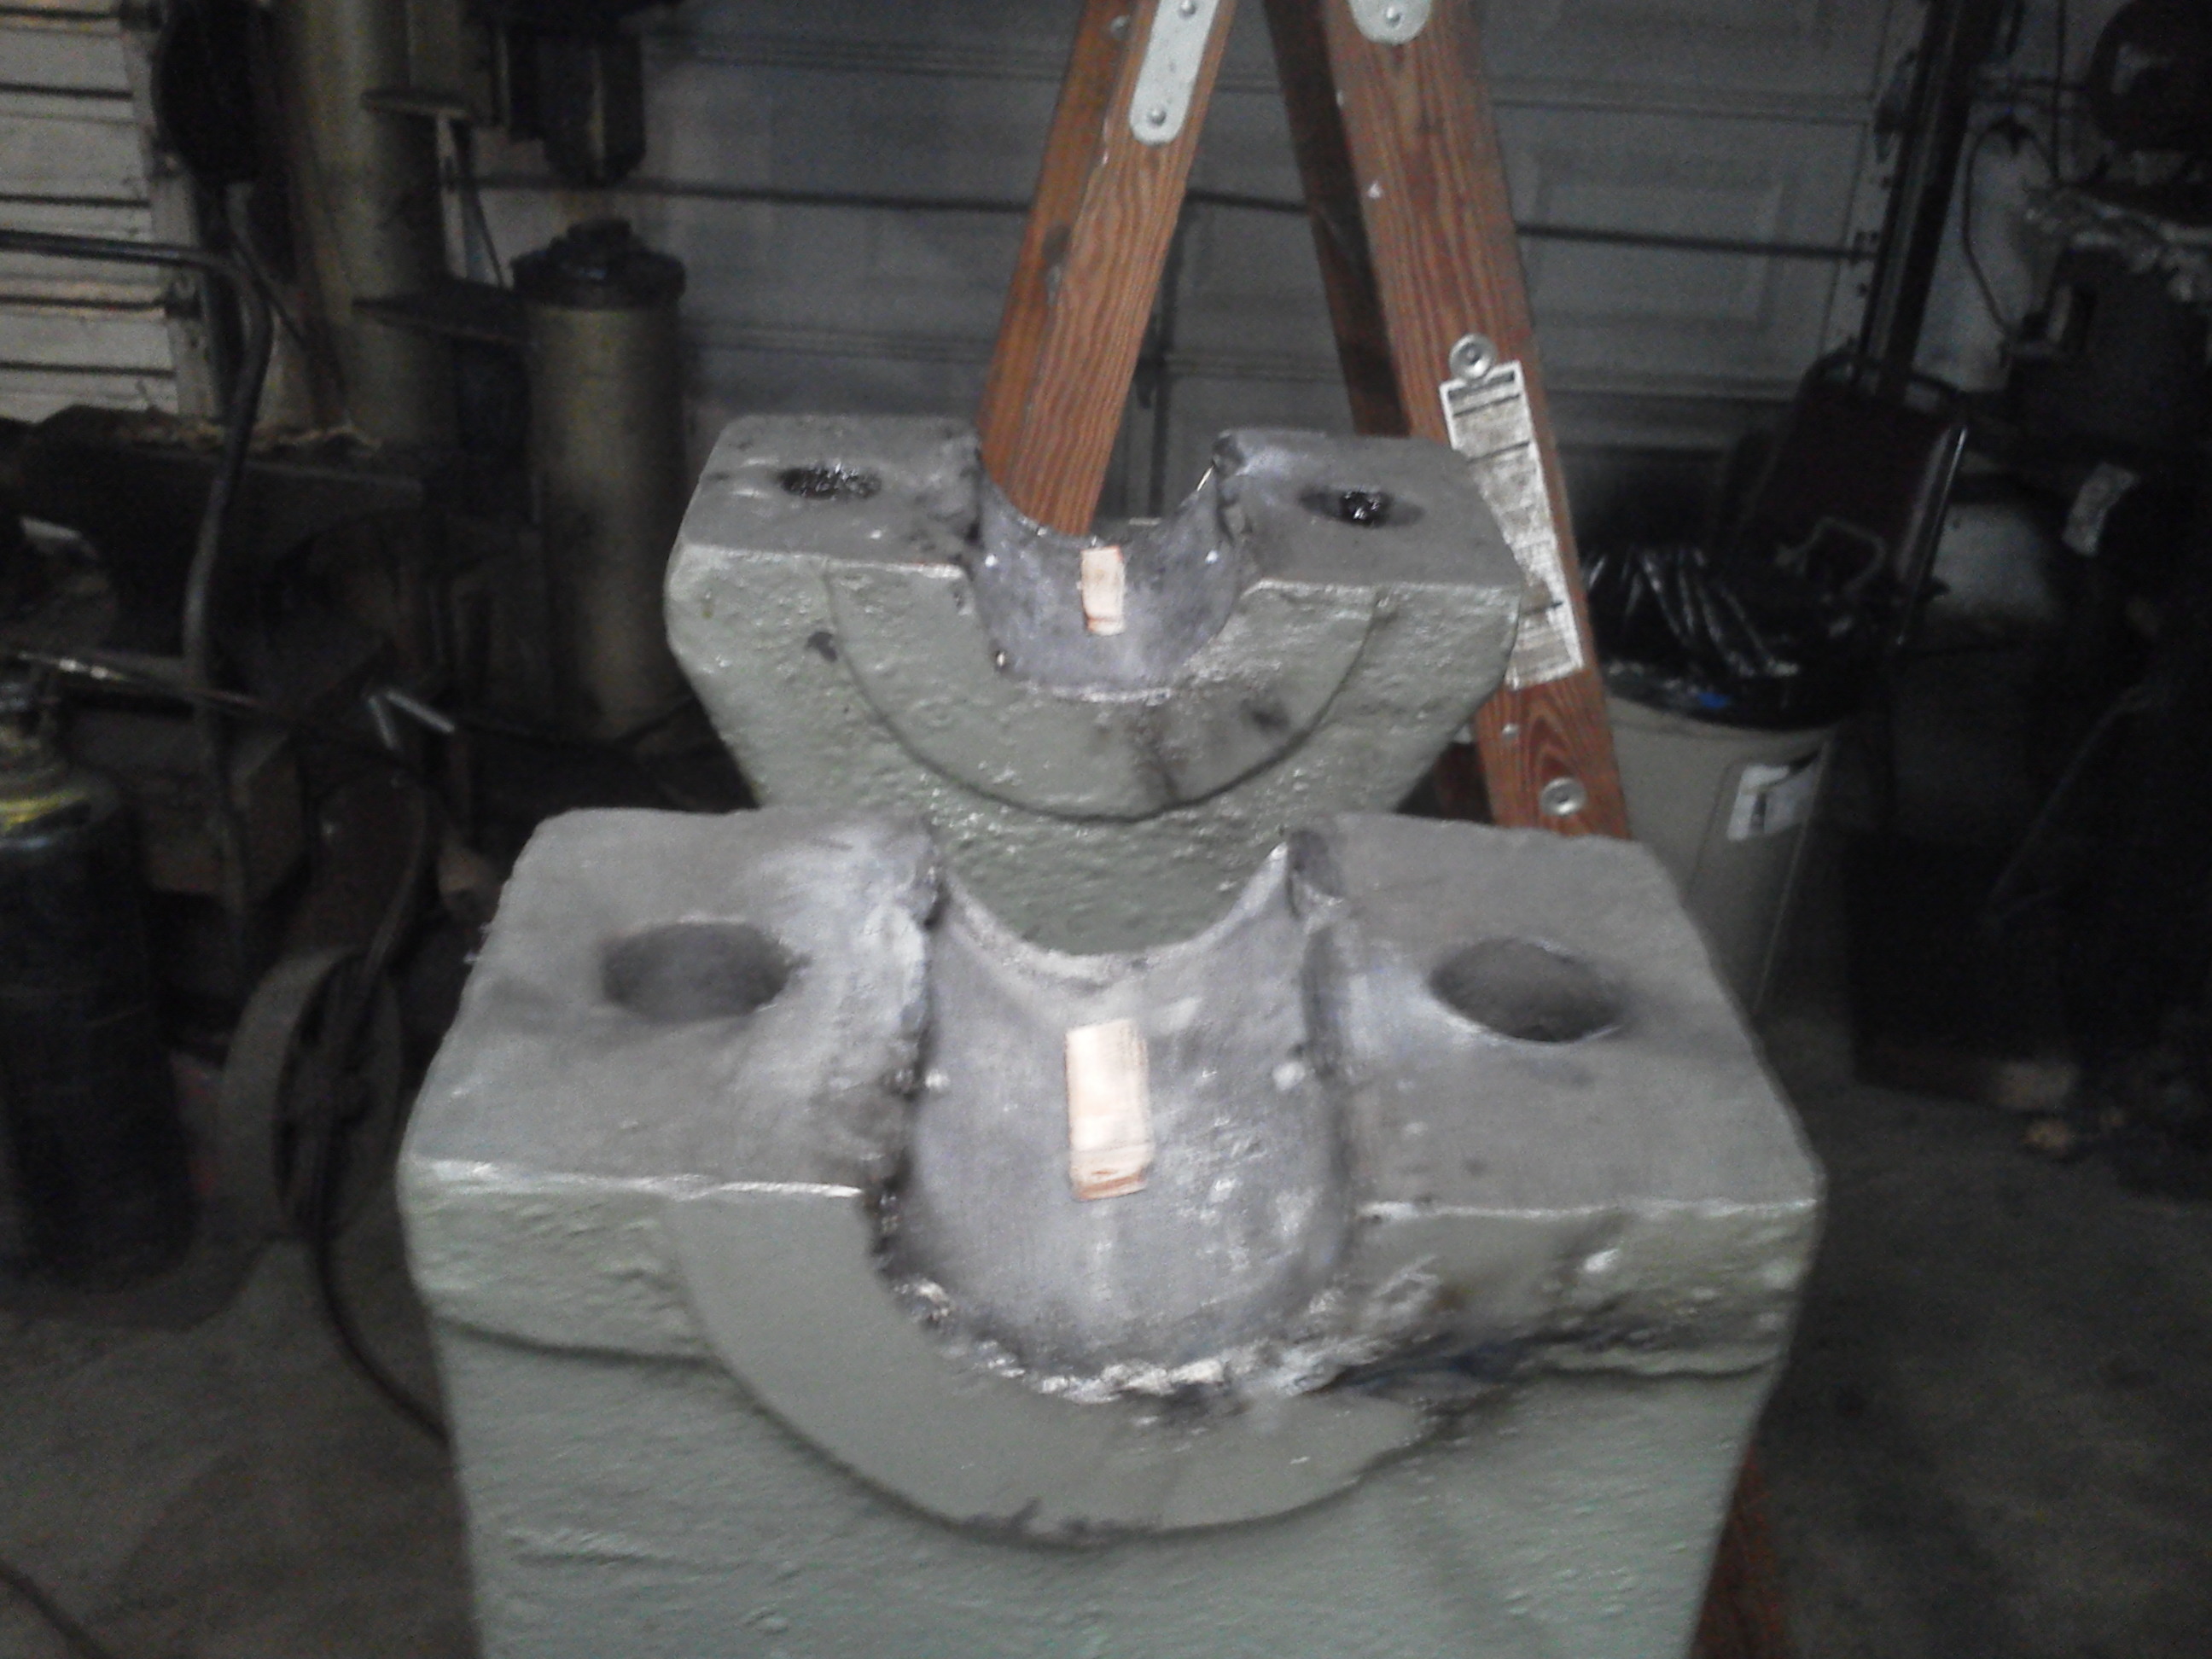
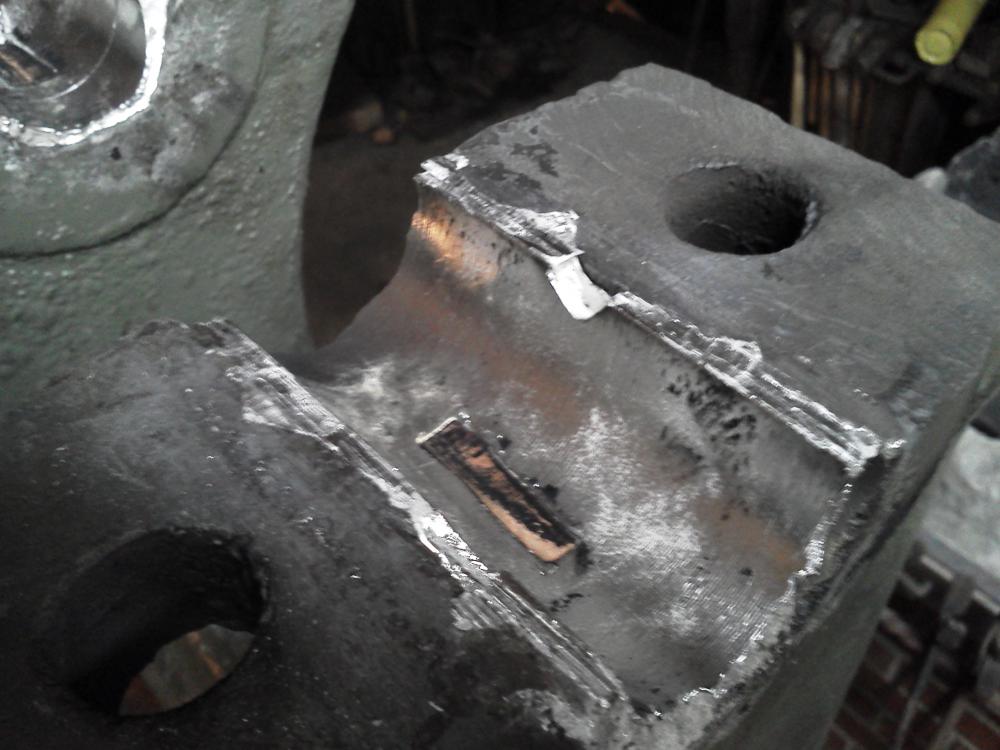
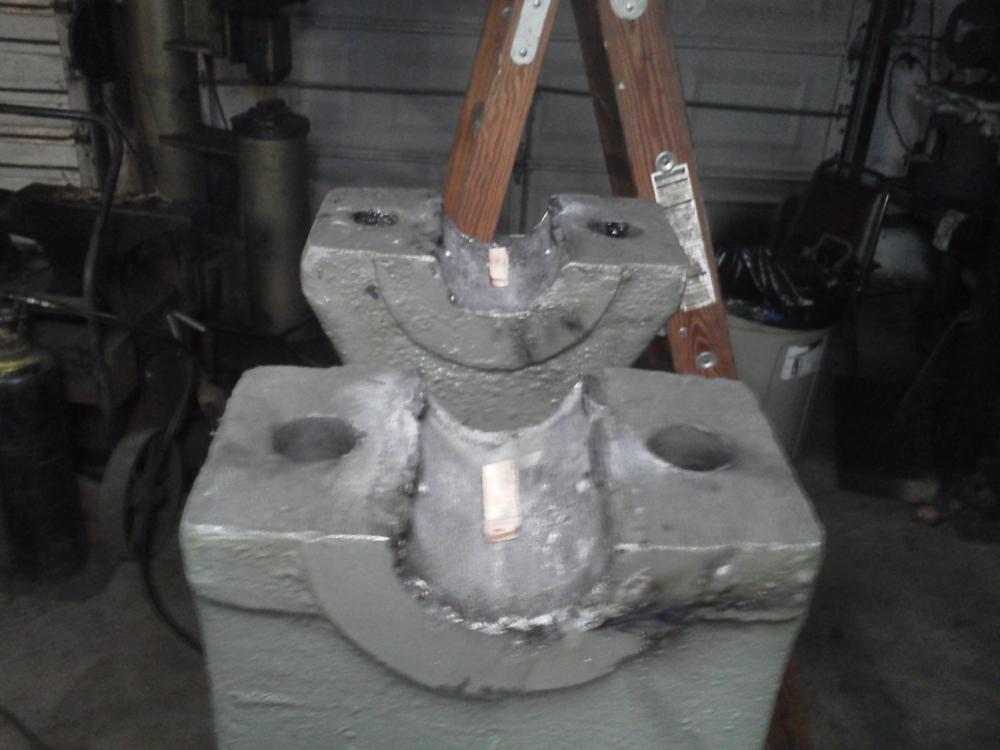
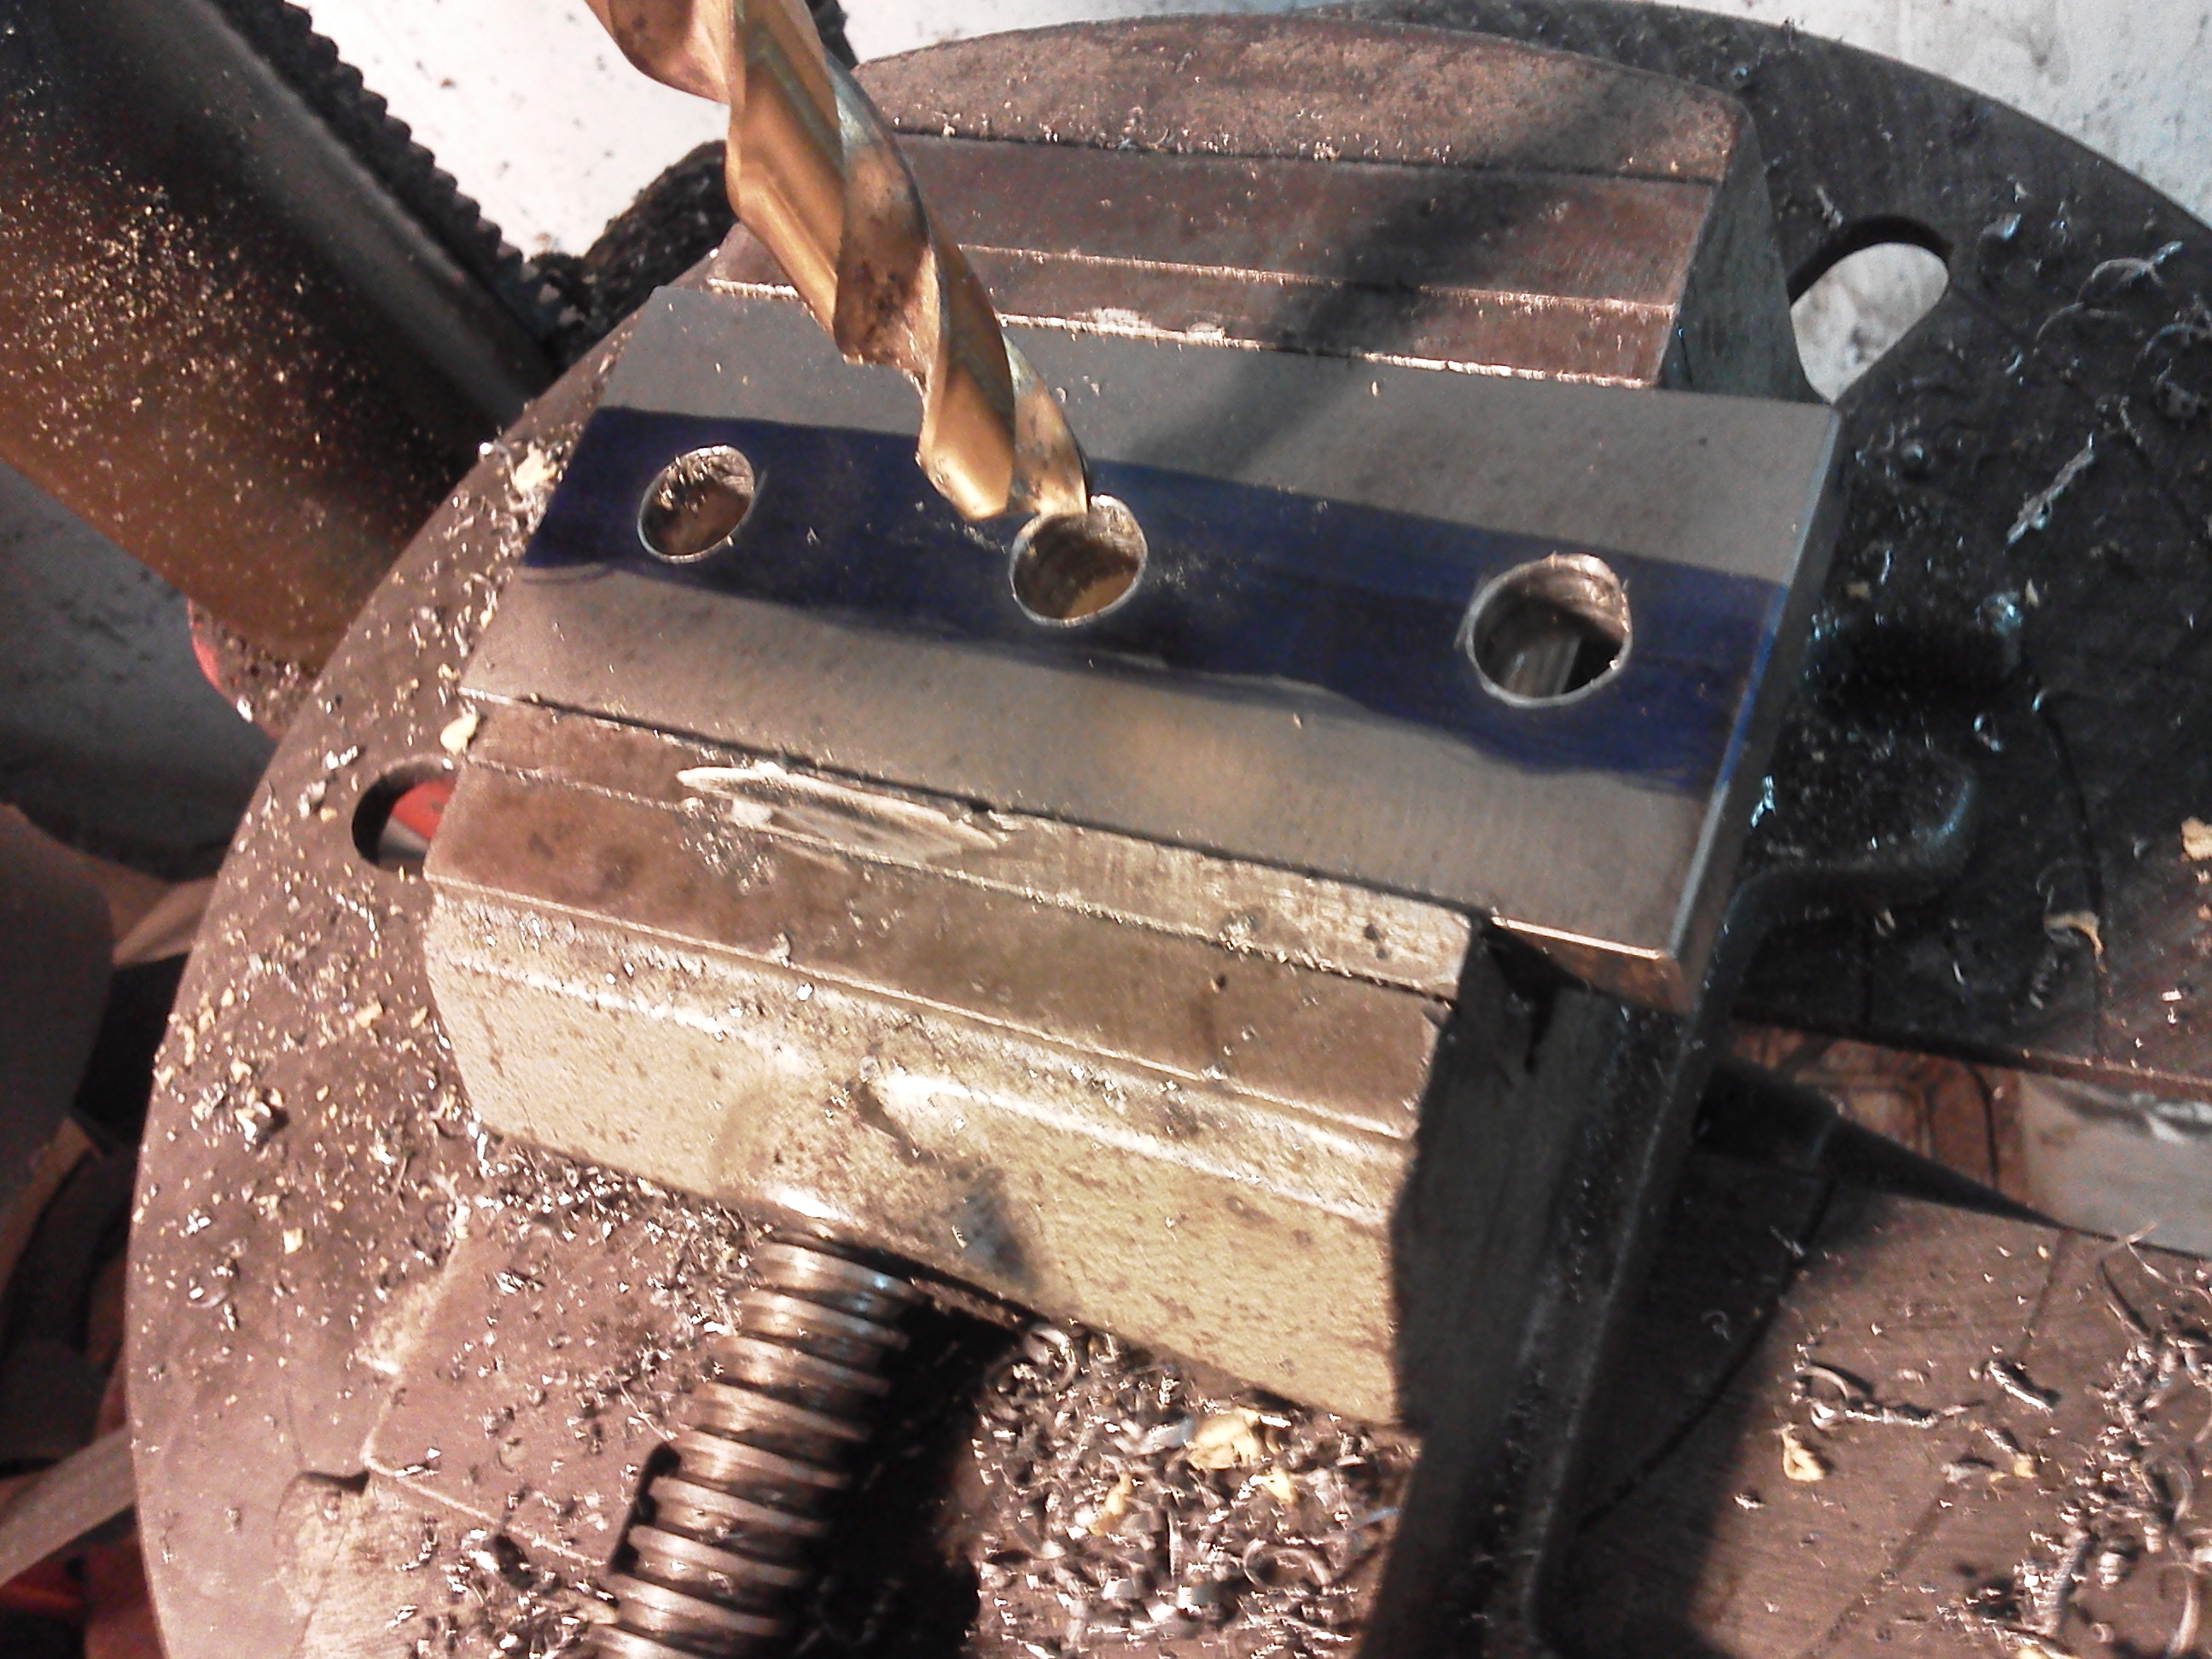
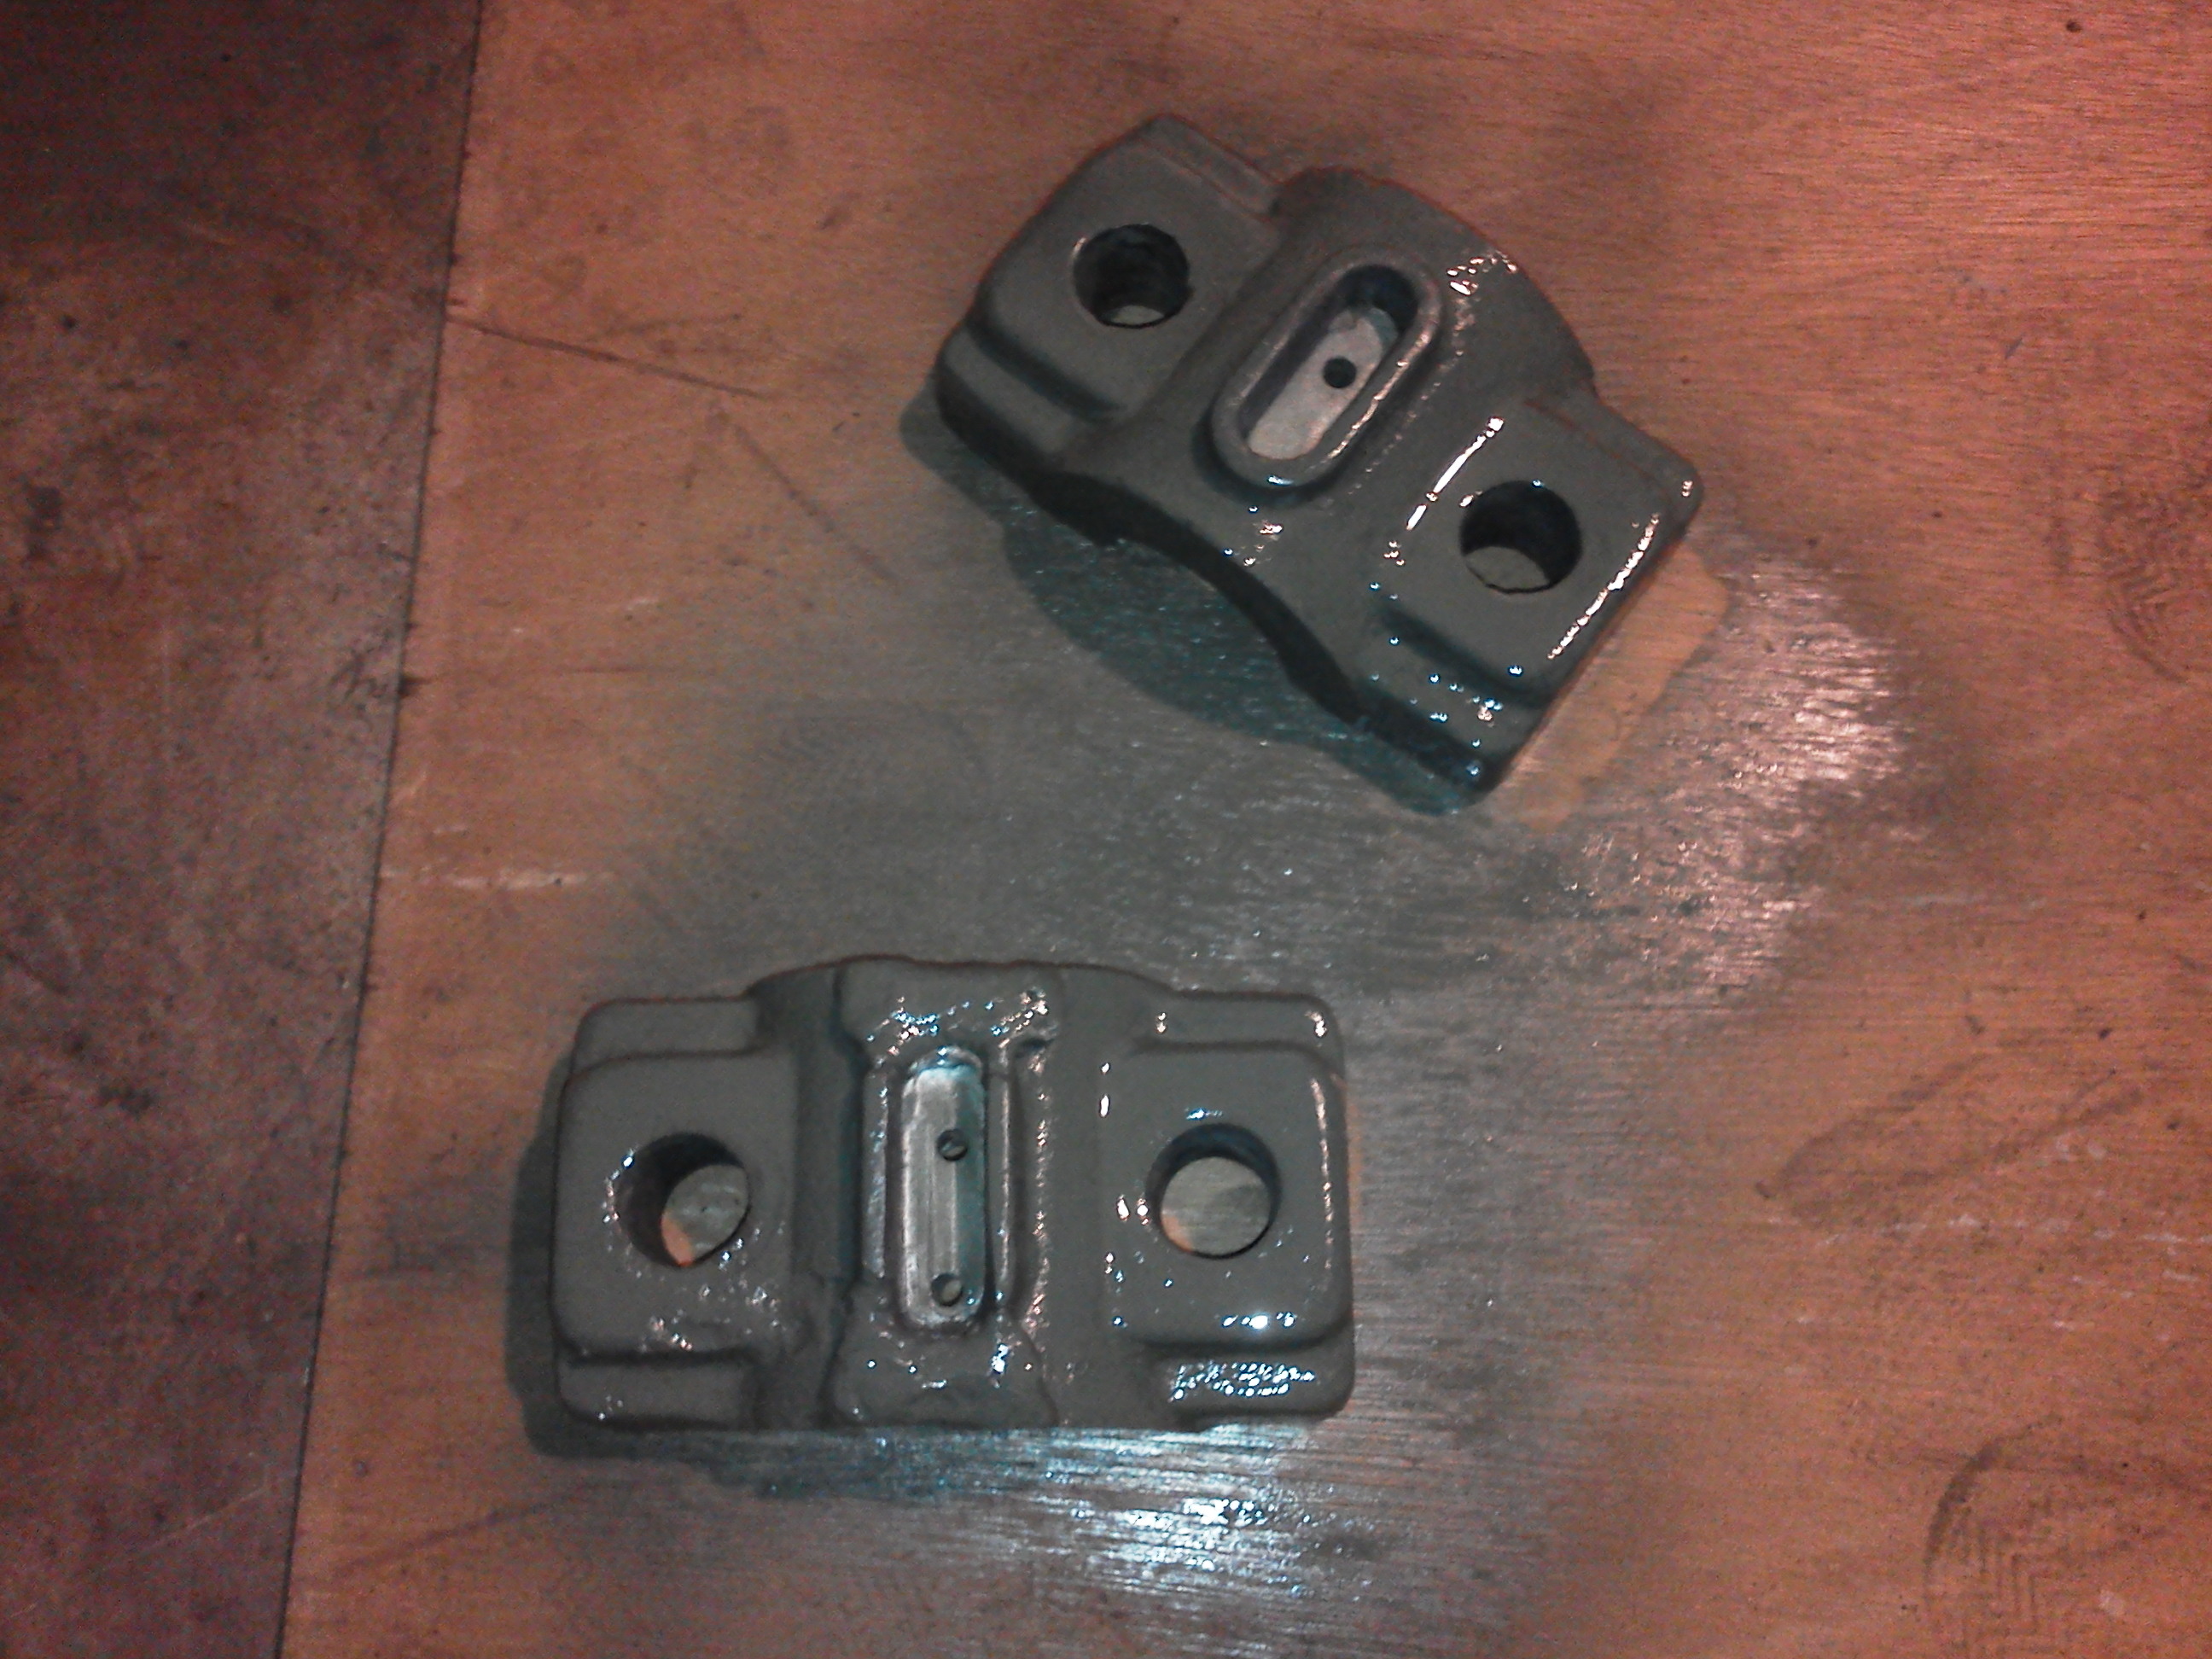
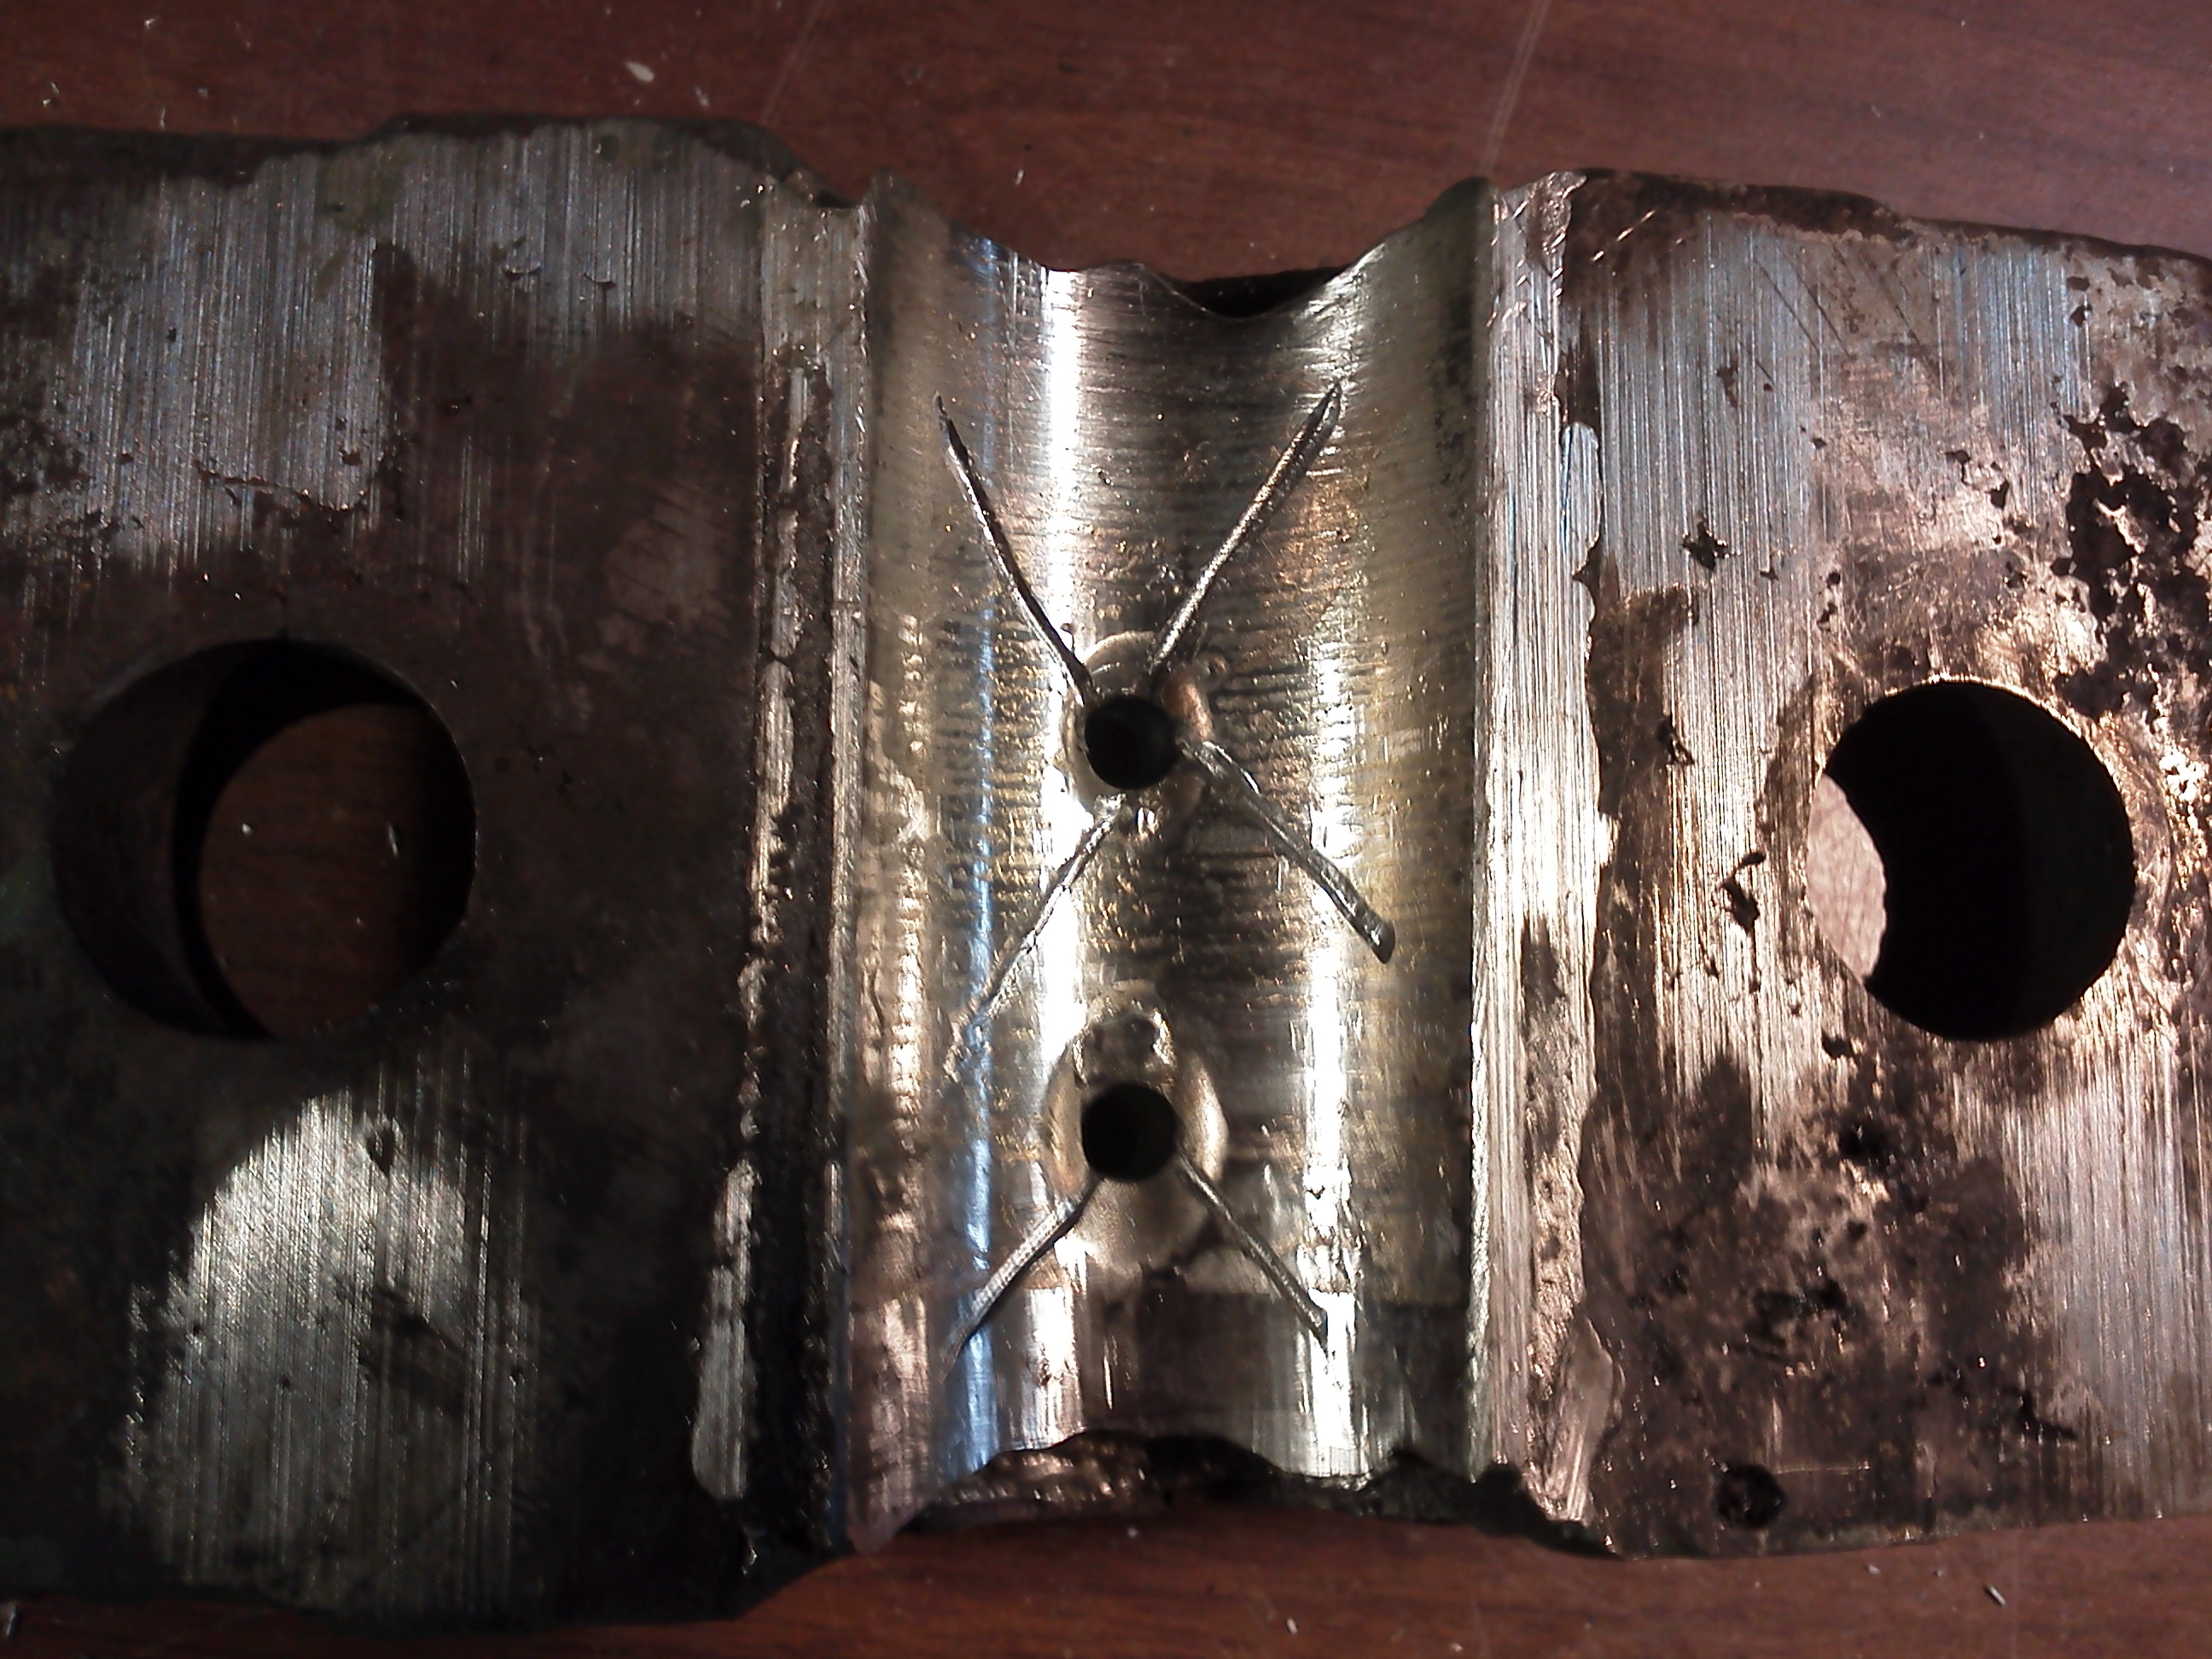
The oil holes are drilled. I also had to mill out the excess babbitt material from the cap I over poured. A shot of the caps after painting. I cut some small grooves to help disperse oil evenly on the shaft and did a little scraping to even things up.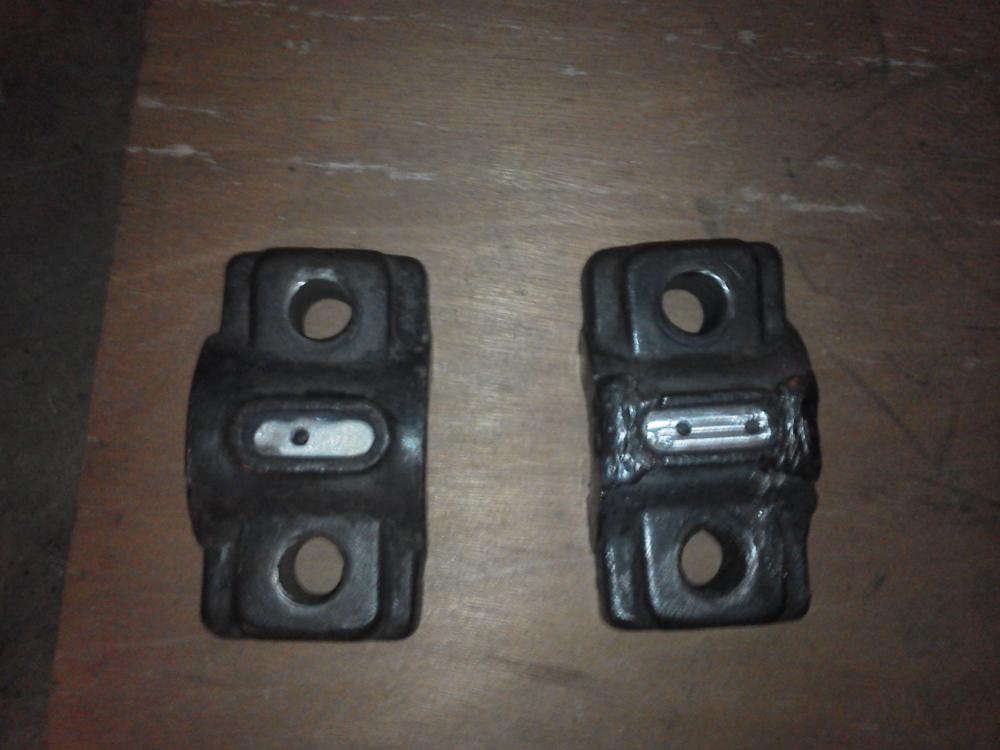
-
Champion #1 rebuild
Joel Worley replied to Joel Worley's topic in Power Hammers, Treadle Hammers, Olivers
Tomorrow, I will scrape the bearings to ensure even contact and get the bearing caps painted. -
Champion #1 rebuild
Joel Worley replied to Joel Worley's topic in Power Hammers, Treadle Hammers, Olivers
A shot of one of the caps after pouring and the pour in progress. For never doing this before, It turned out really good.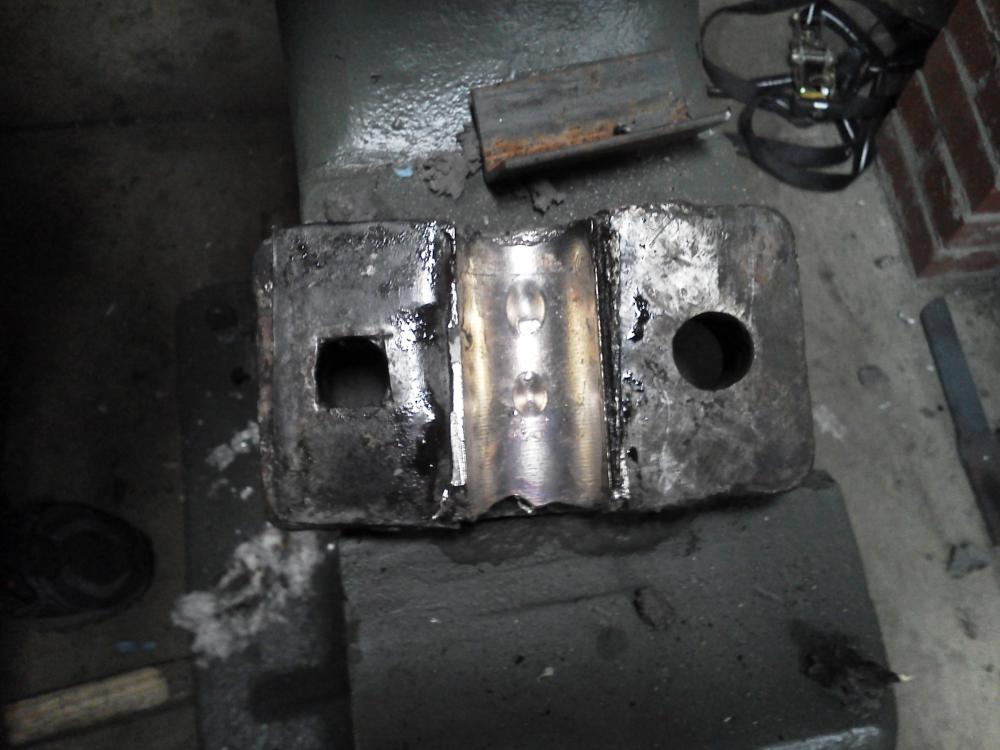
-
Champion #1 rebuild
Joel Worley replied to Joel Worley's topic in Power Hammers, Treadle Hammers, Olivers
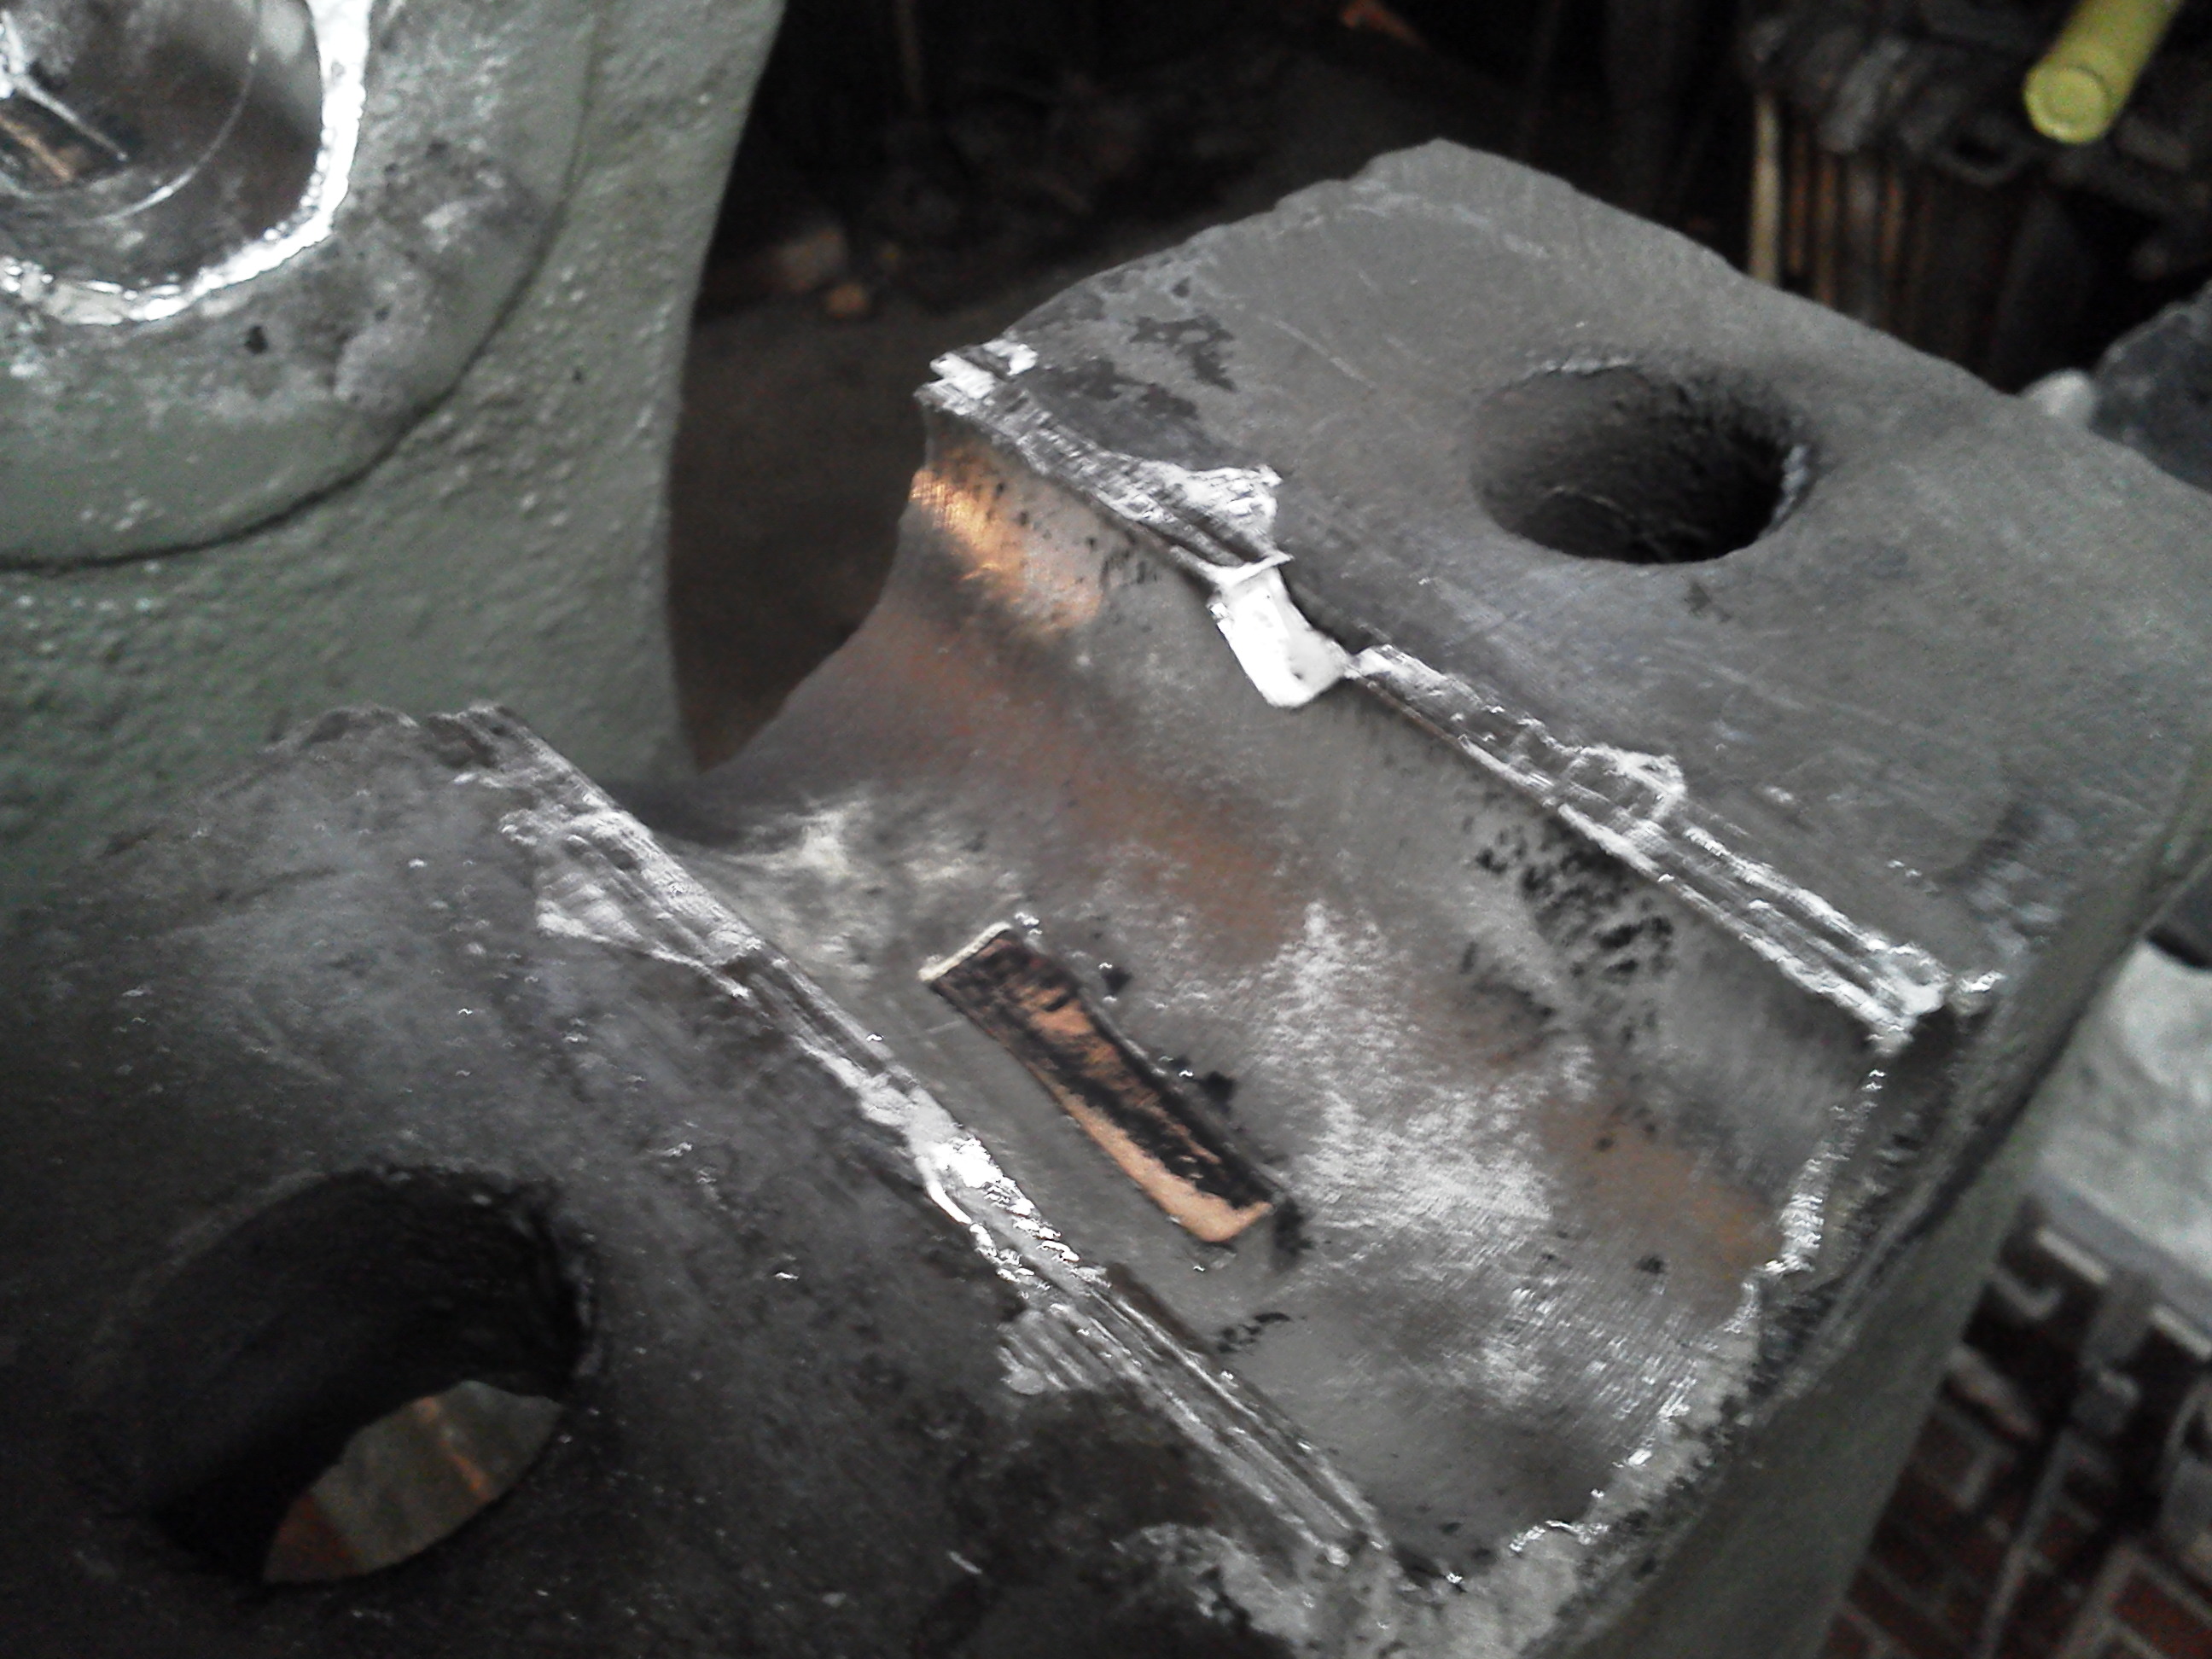
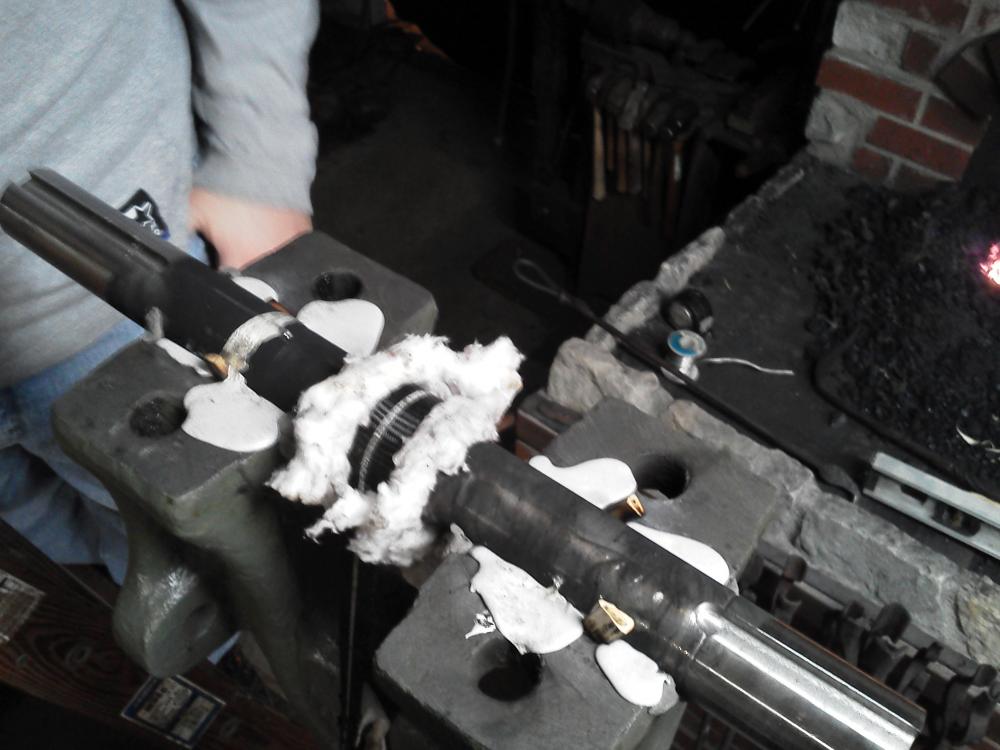
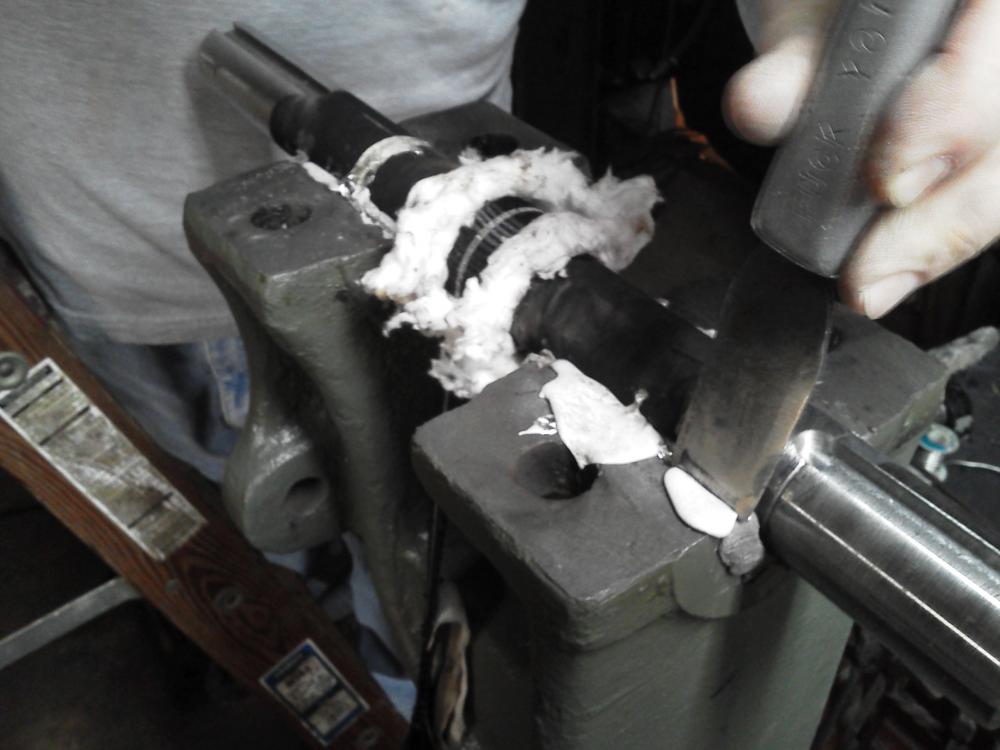
A few pine shims on the sides to keep the shaft centered. We put a piece of refractory wool on the shaft to protect the ratchet strap from the torch while preheating the shaft. Not pictured is the step of leveling an truing up the shaft to the face of the hammer and sooting the shaft. Just after the pour. Filled up good. Now to trim the excess the babbitt. A good full pour. The shims are in place for the proper spacing of the cap. The caps are in place and the gaps are plugged off with clay..thumb.jpg.c0f9e1b78b3cb62b52b6dc5d83237c85.jpg)
-
Champion #1 rebuild
Joel Worley replied to Joel Worley's topic in Power Hammers, Treadle Hammers, Olivers
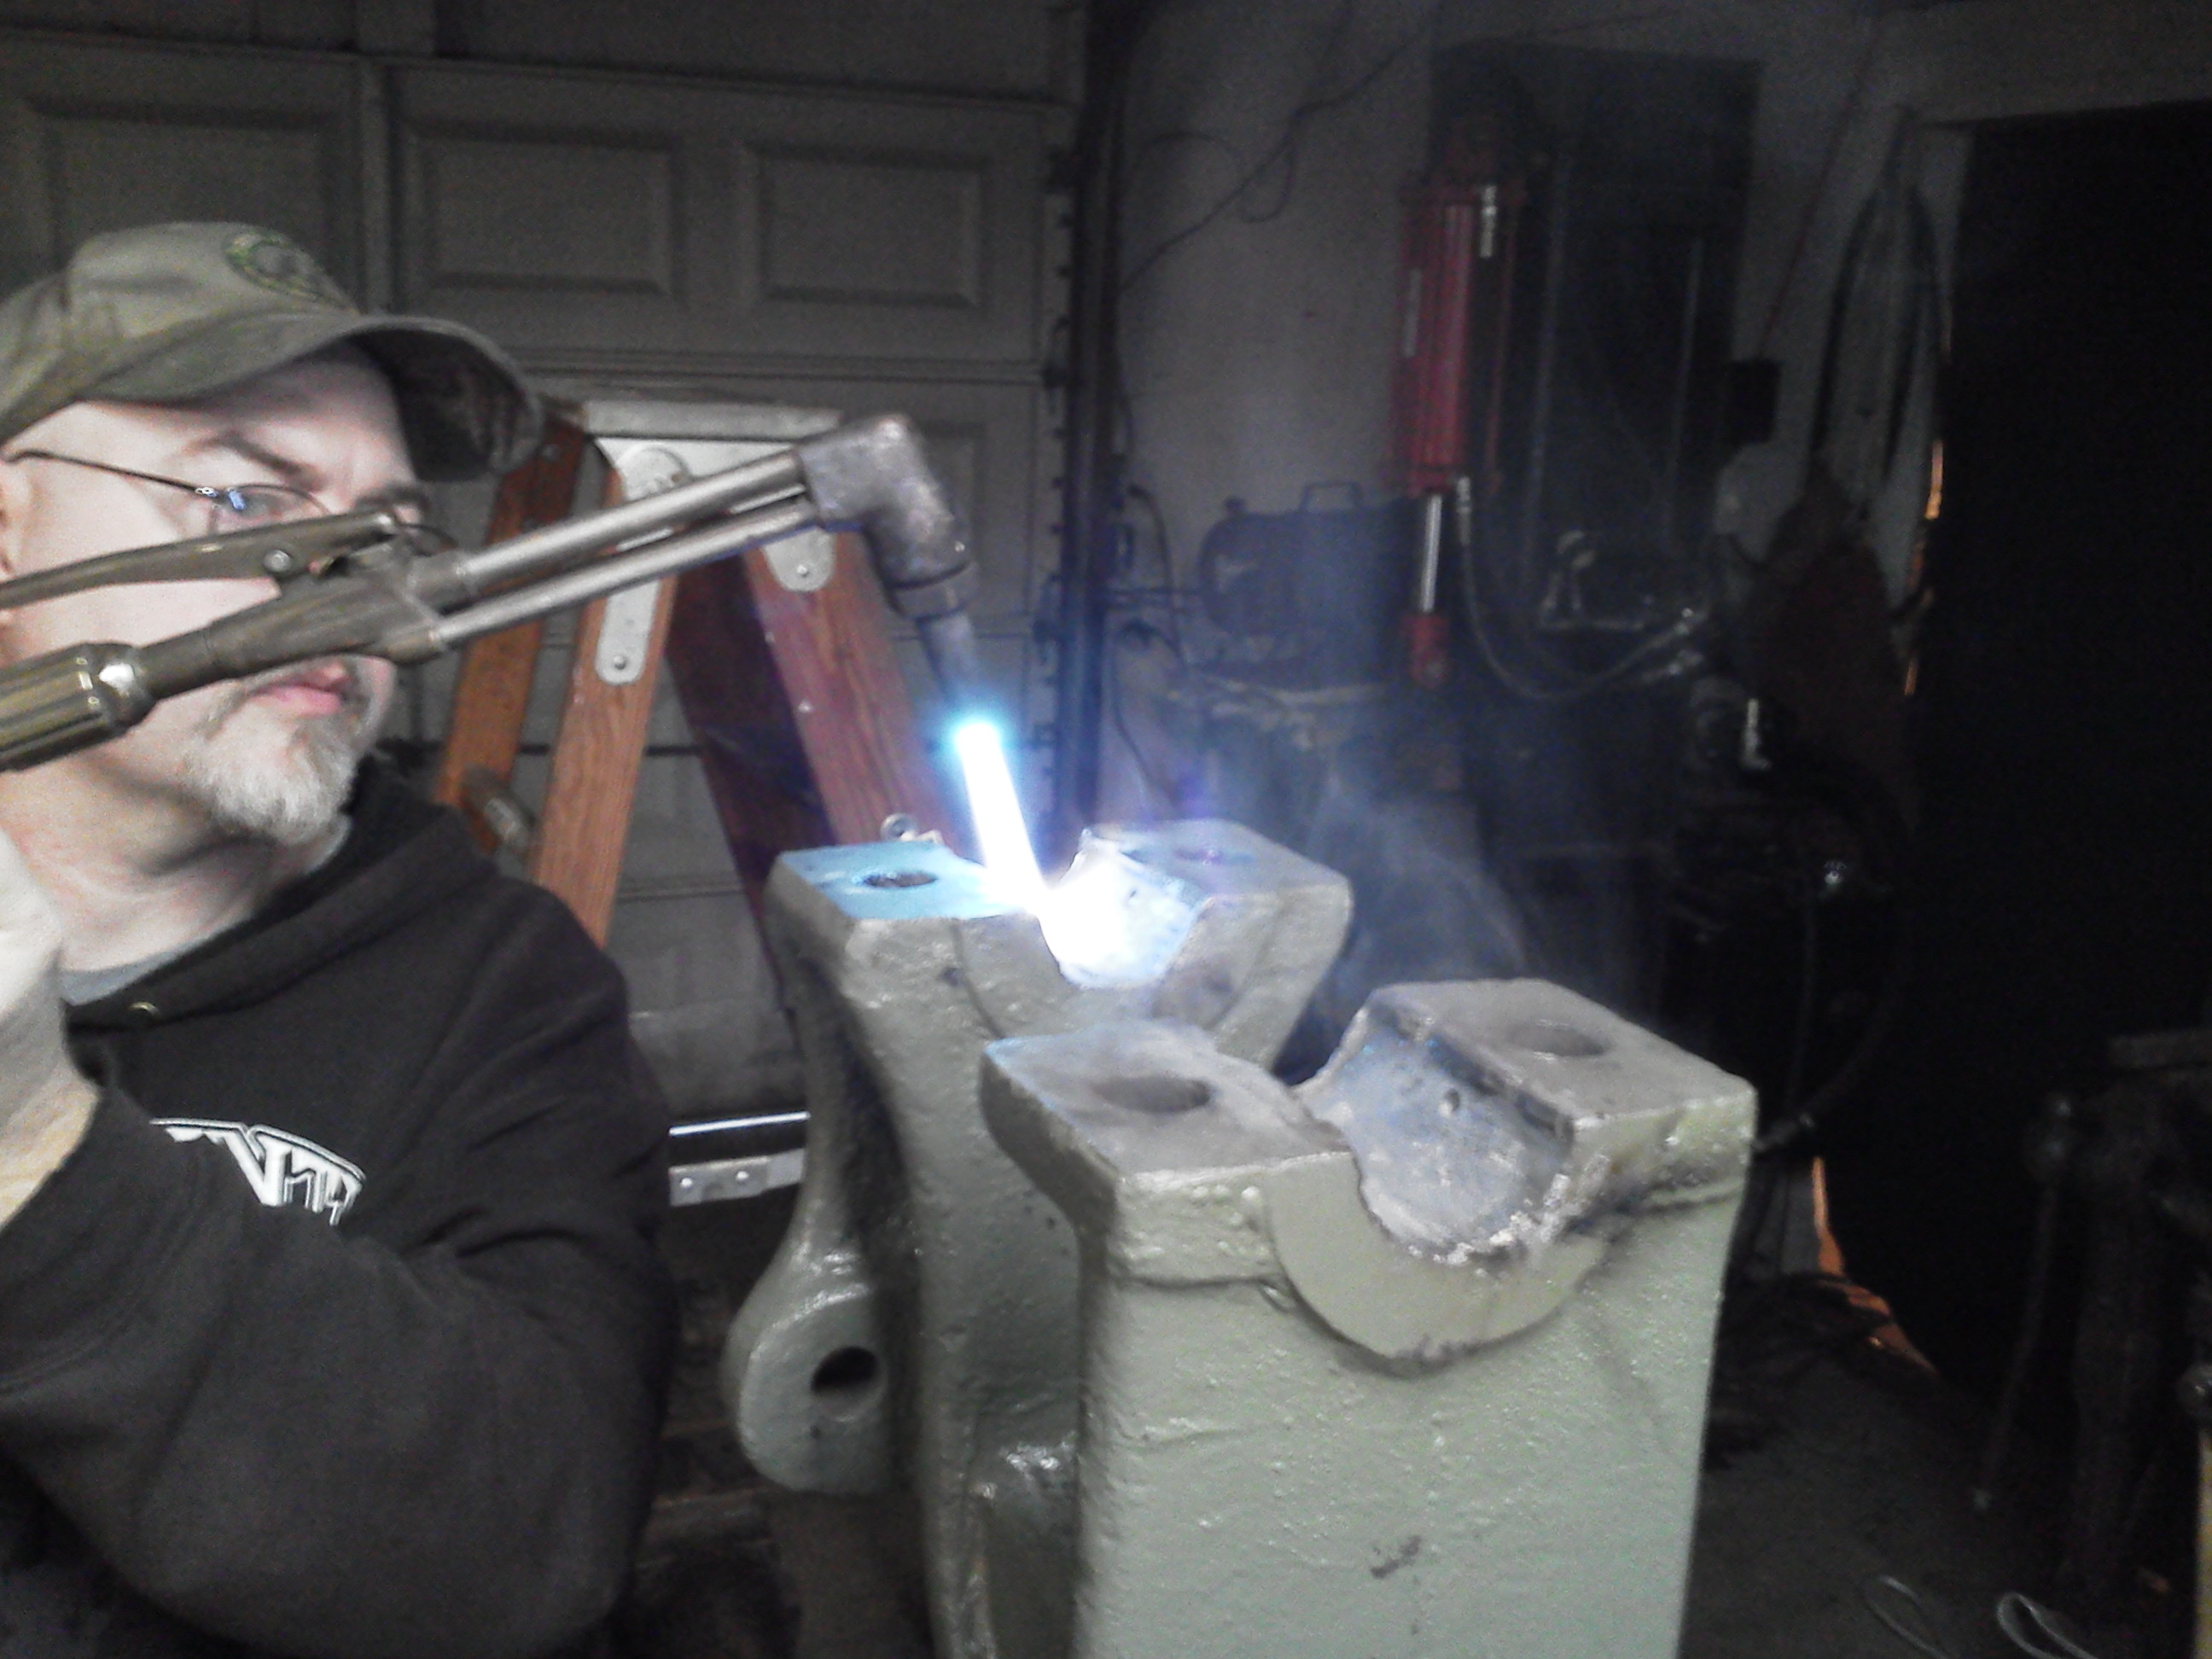
Happy New Year! Today feels like a good day to pour the new babbitt bearings. Let the preheating begin. Here are the leather shims we made in place to get the bearing thickness needed.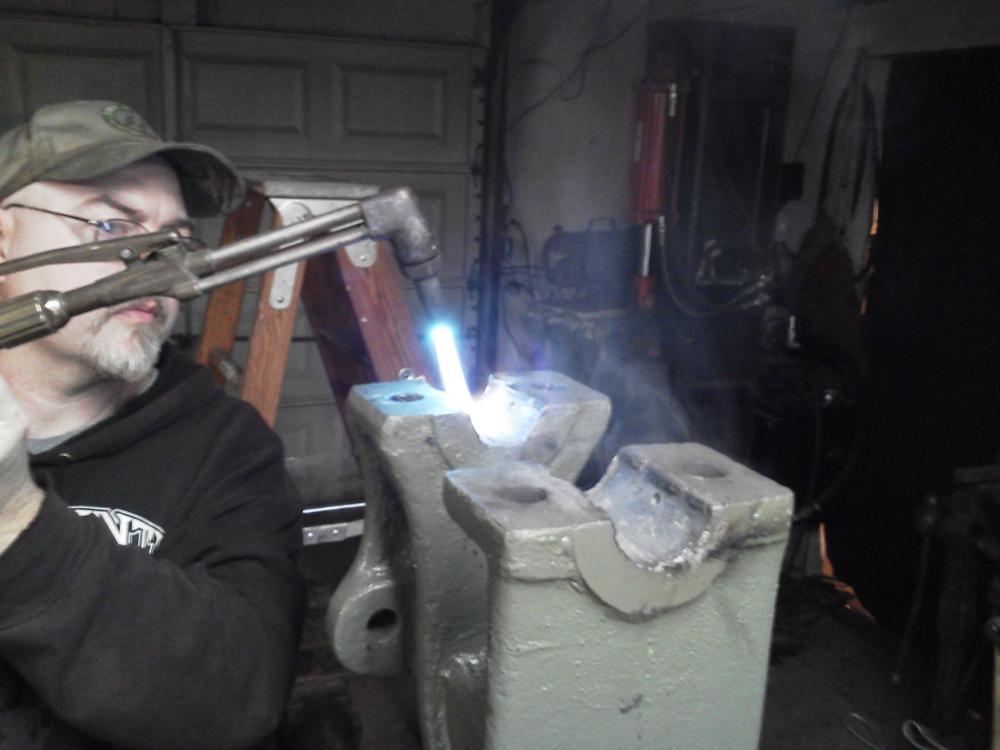
-
Champion #1 rebuild
Joel Worley replied to Joel Worley's topic in Power Hammers, Treadle Hammers, Olivers
Where is the manufacture date located? -
Champion #1 rebuild
Joel Worley replied to Joel Worley's topic in Power Hammers, Treadle Hammers, Olivers
Jim Coke and ThomasPowers. Blacks Spring Sevice, They are in Zanesville Oh. I found them with a google search. Their number is (740)452-9256. Ask for Tom. I'll call and make sure they kept the drawing I sent them. -
Champion #1 rebuild
Joel Worley replied to Joel Worley's topic in Power Hammers, Treadle Hammers, Olivers
I still need to fabricate a few more parts but other than that, the only thing I need is time to work on it. -
Champion #1 rebuild
Joel Worley replied to Joel Worley's topic in Power Hammers, Treadle Hammers, Olivers
Thanks IronWolf. They did a great job. Including shipping, they charged me $185. I couldn't have made it myself for that price. If anyone needs a spring made, Blacks Spring Service in Ohio is the way to go. -
Champion #1 rebuild
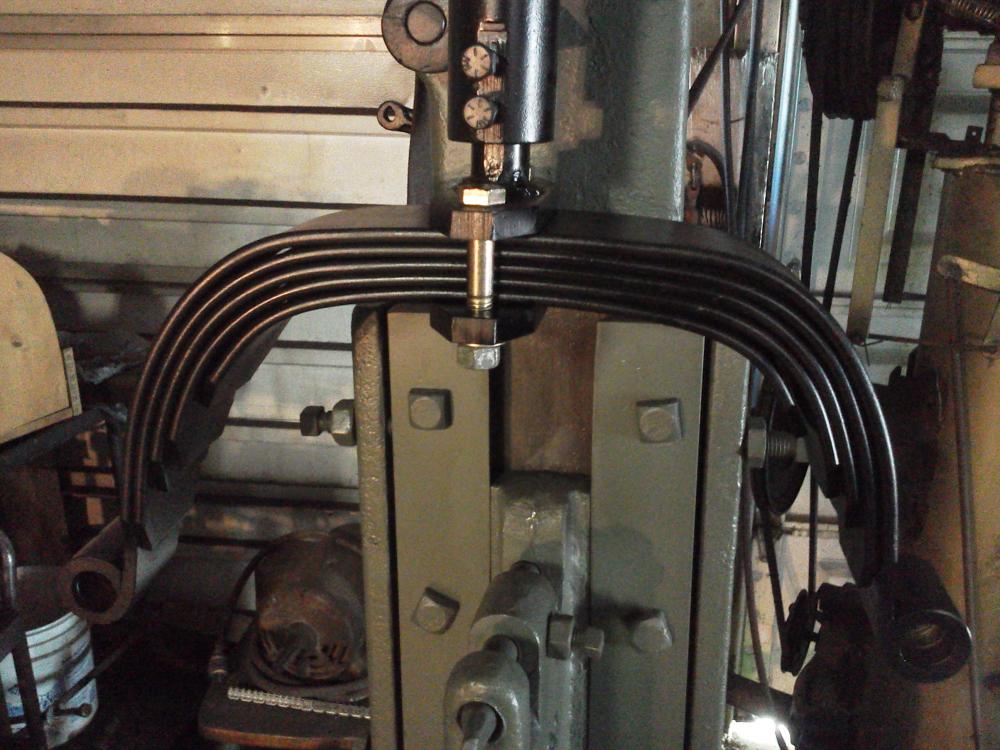
Joel Worley replied to Joel Worley's topic in Power Hammers, Treadle Hammers, Olivers
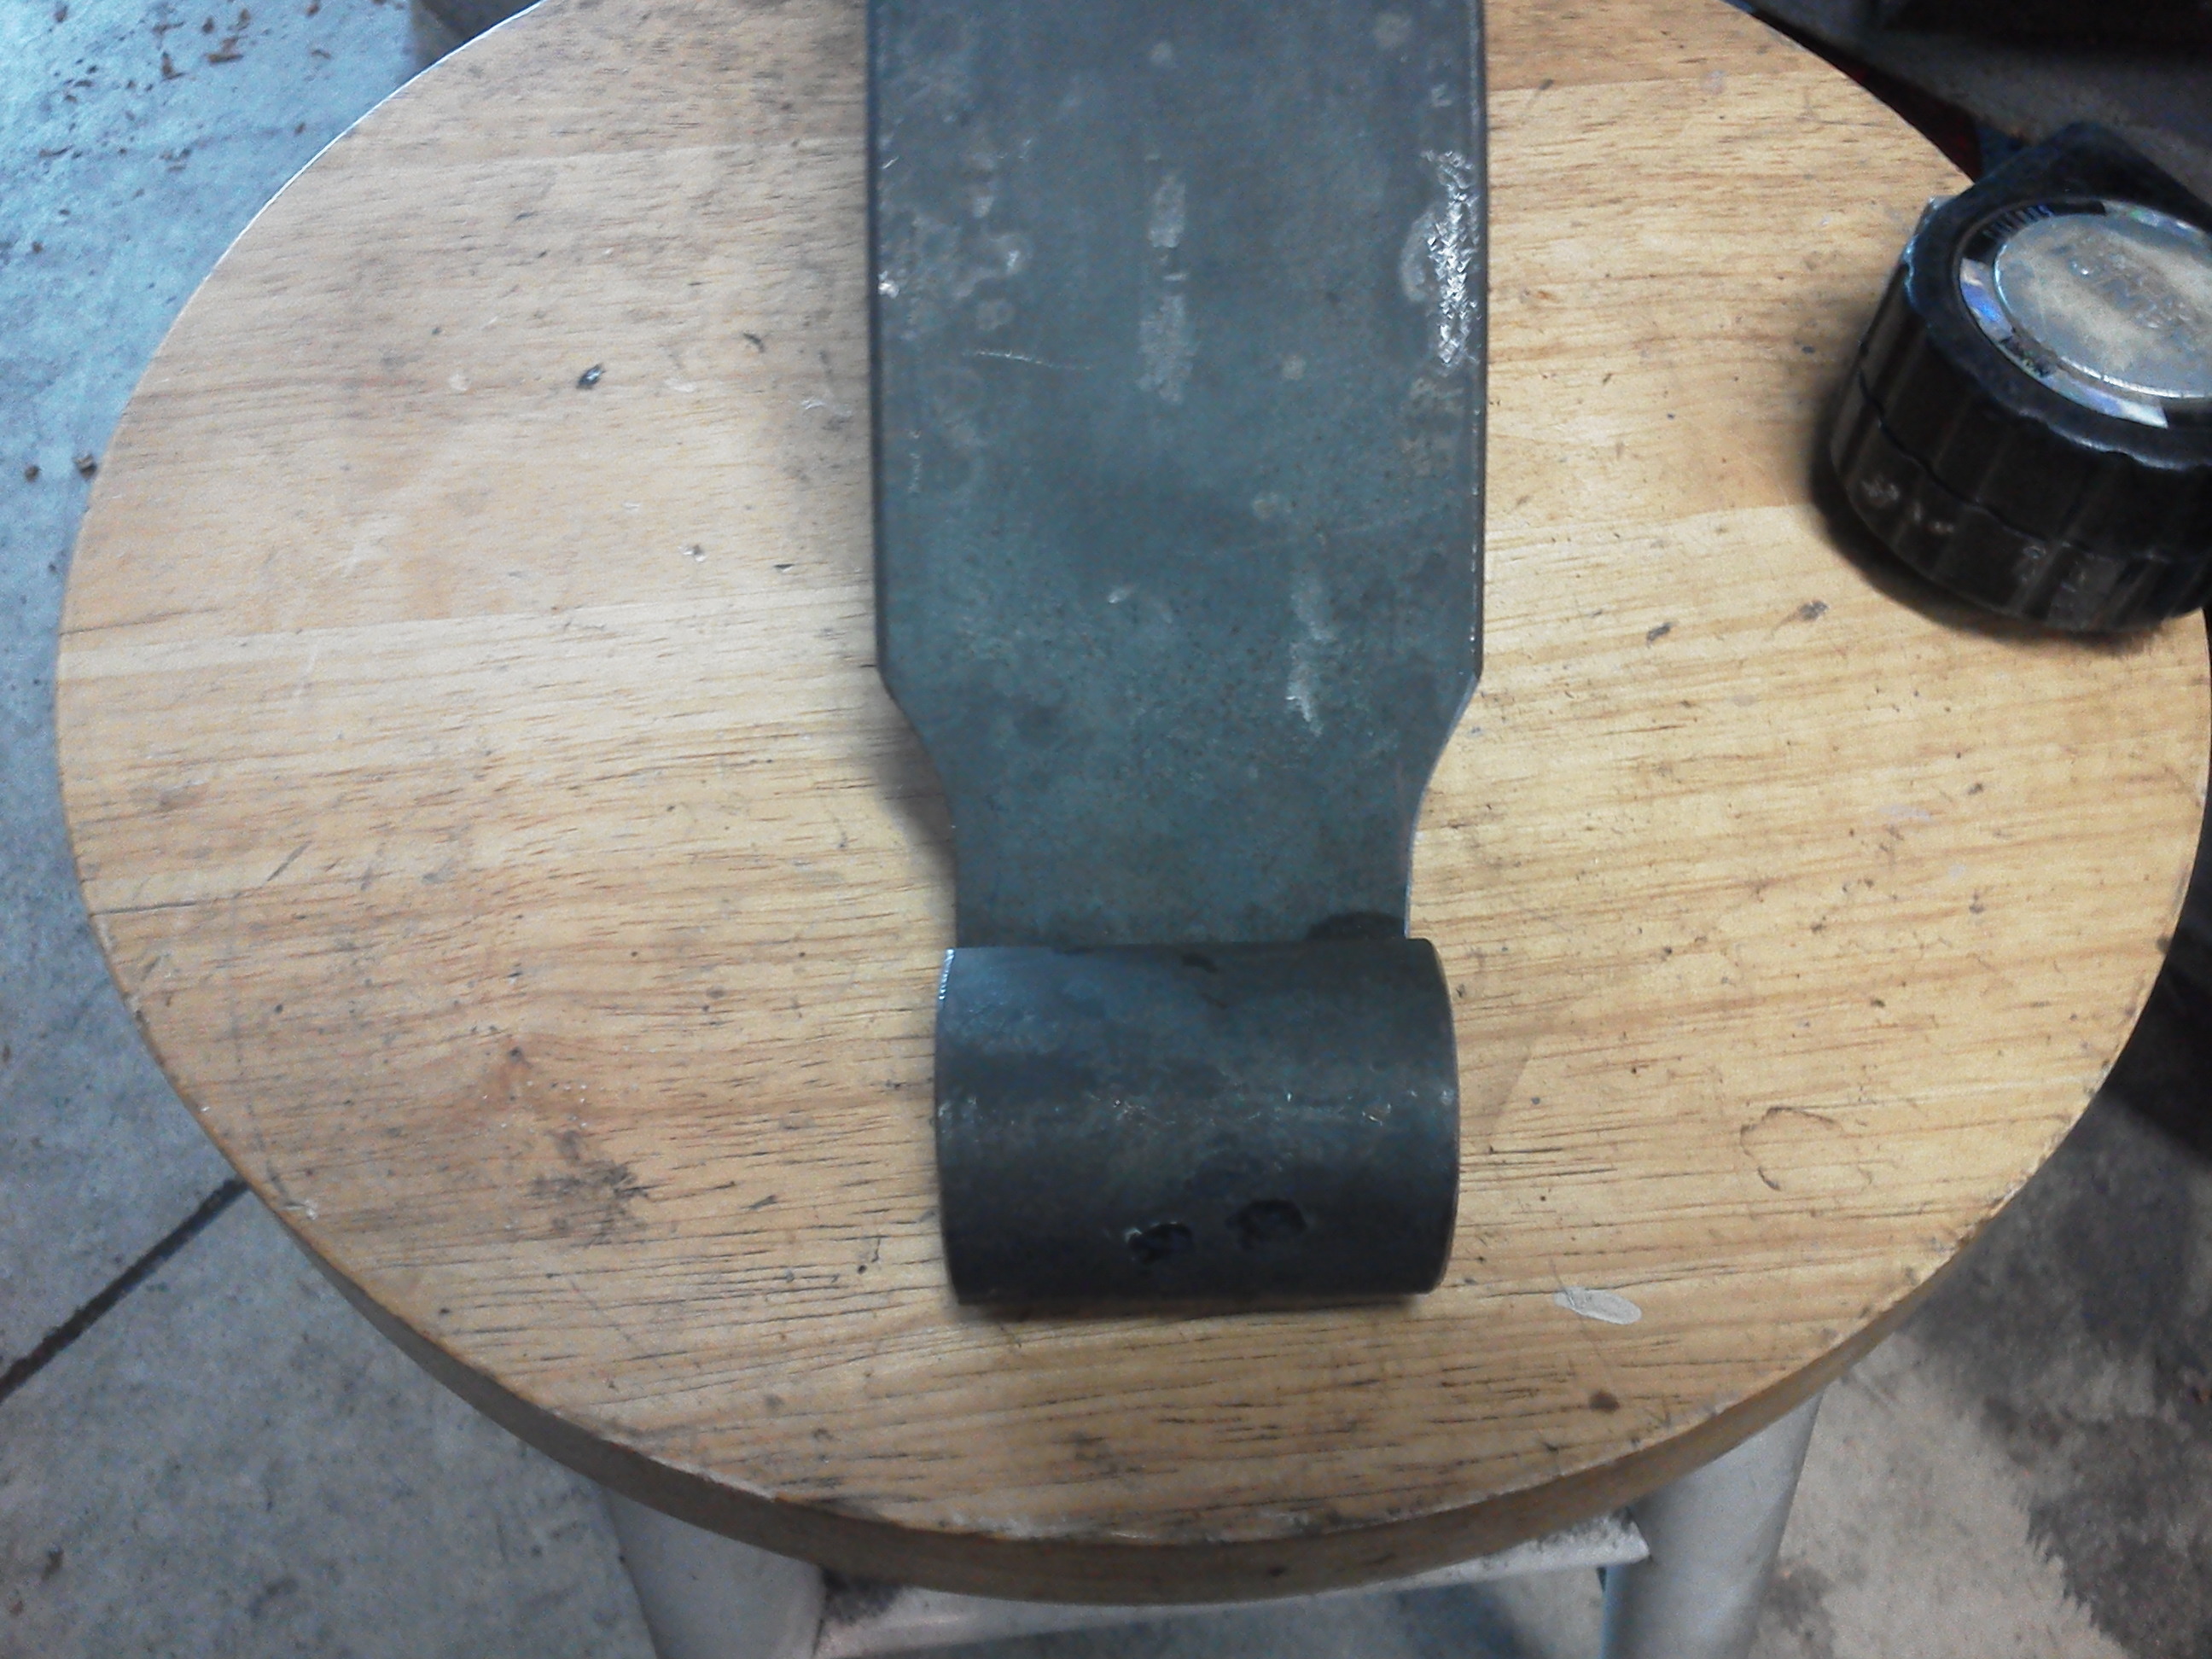
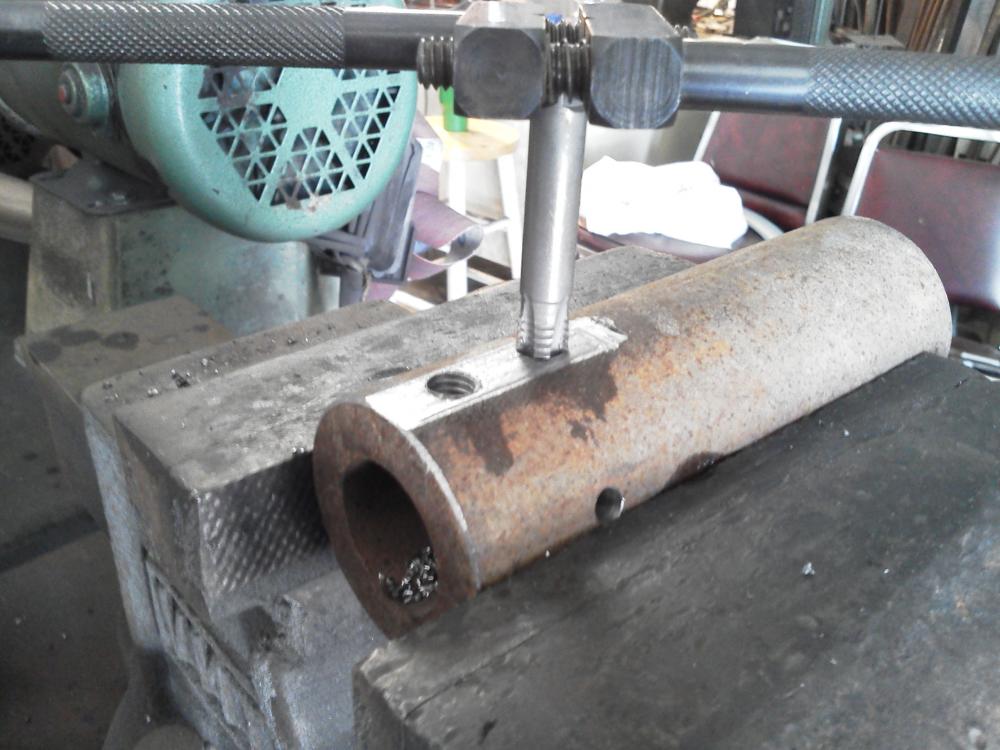
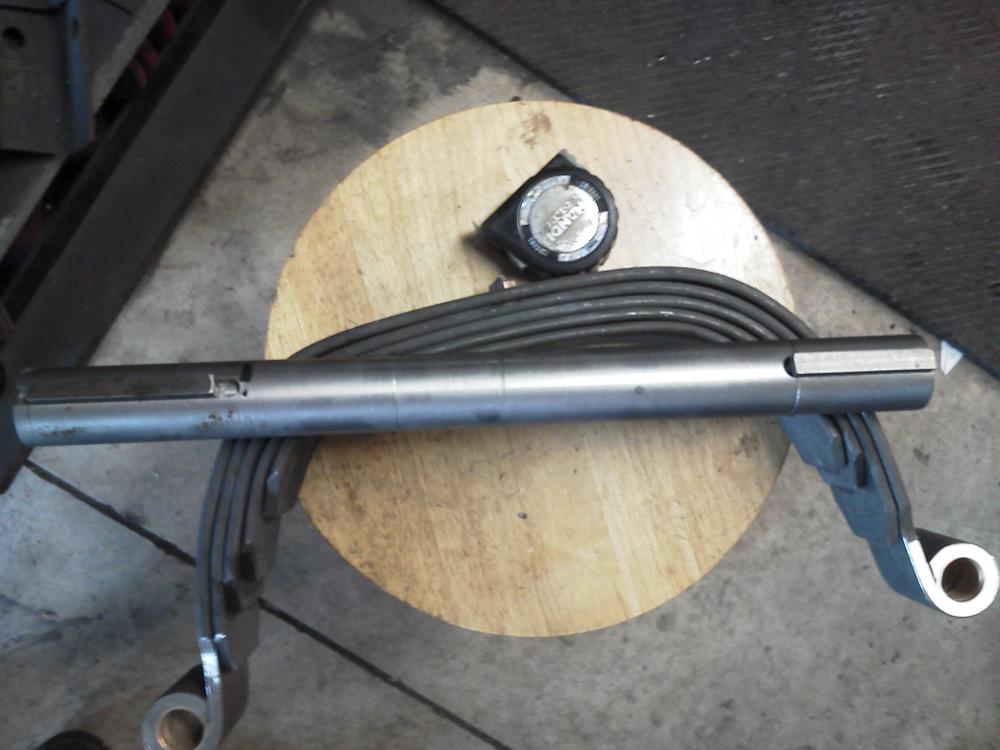
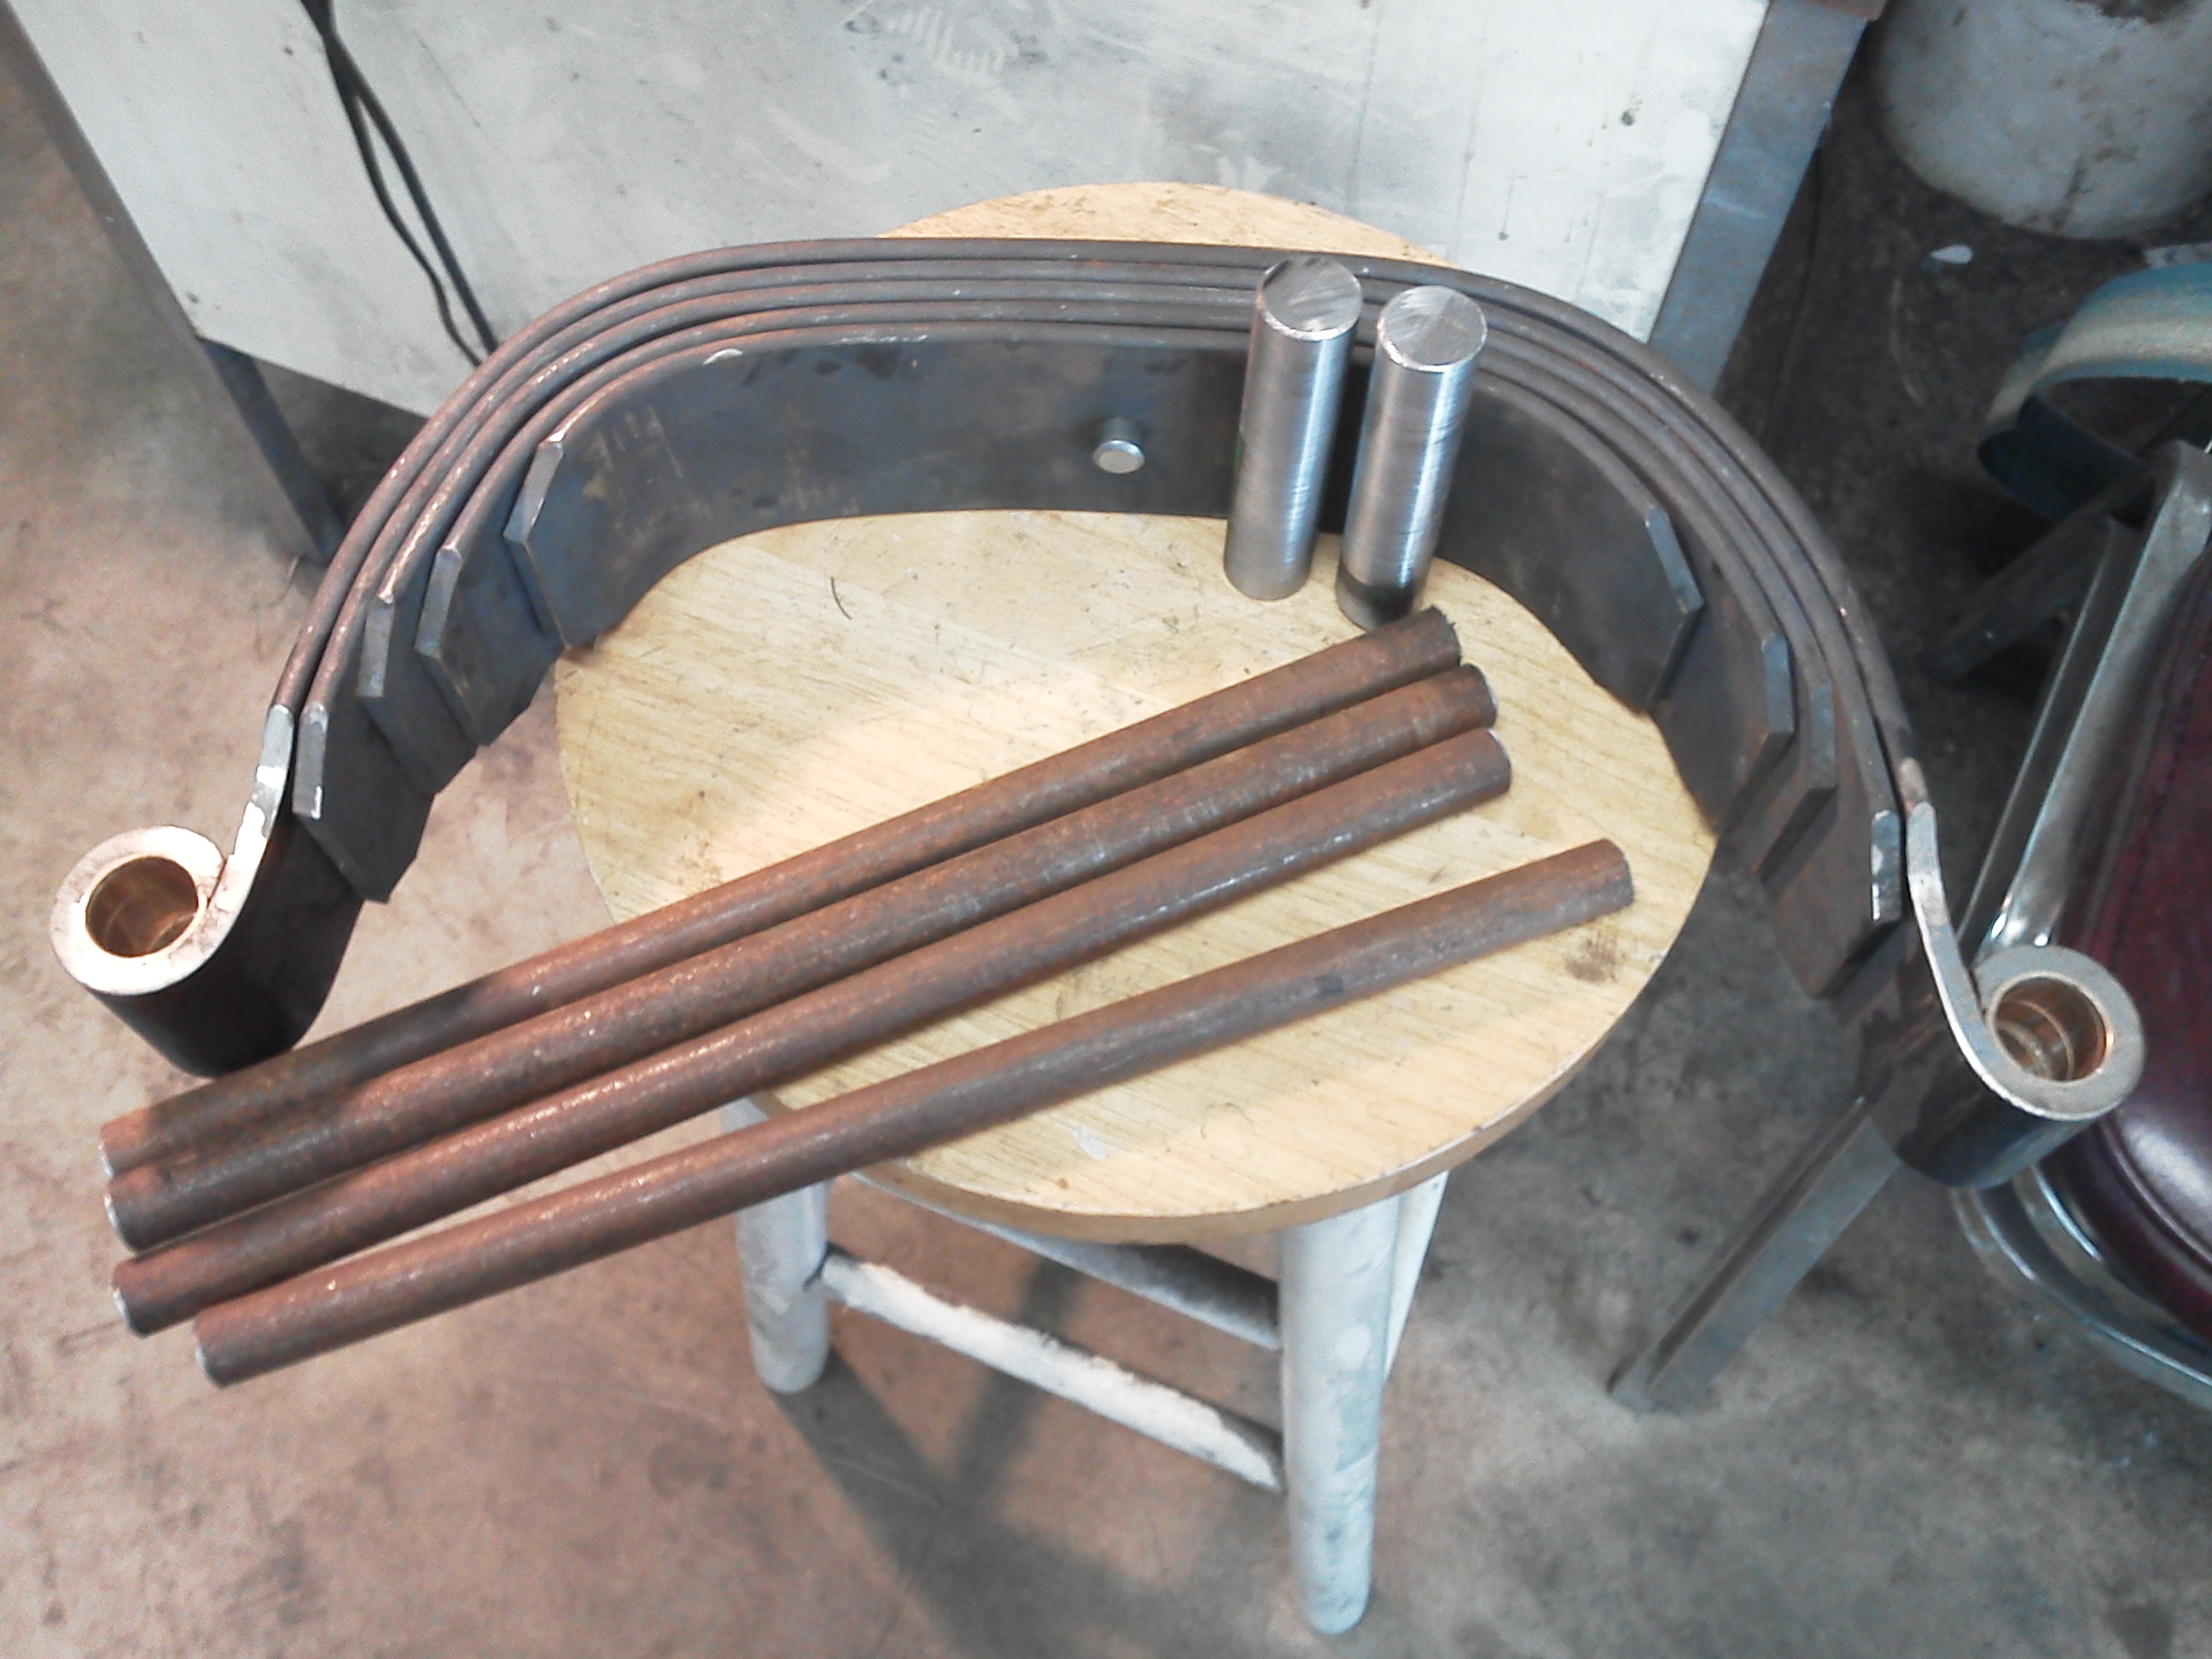
The spring came from the spring shop a full three inches wide. To make it match the original, I had to trim it down to 2 1/4" at the eyes. Doing this myself rather than paying the spring shop to do it saved me $90. The key ways are cut in the shaft and ready to go. Since the pulley was a little wobbled out, I had it bored, sleeved and a key way broached in with an extra set bolt on the opposite side. I don't think I will have any problems with it spinning on the shaft.
-
Champion #1 rebuild
Joel Worley replied to Joel Worley's topic in Power Hammers, Treadle Hammers, Olivers
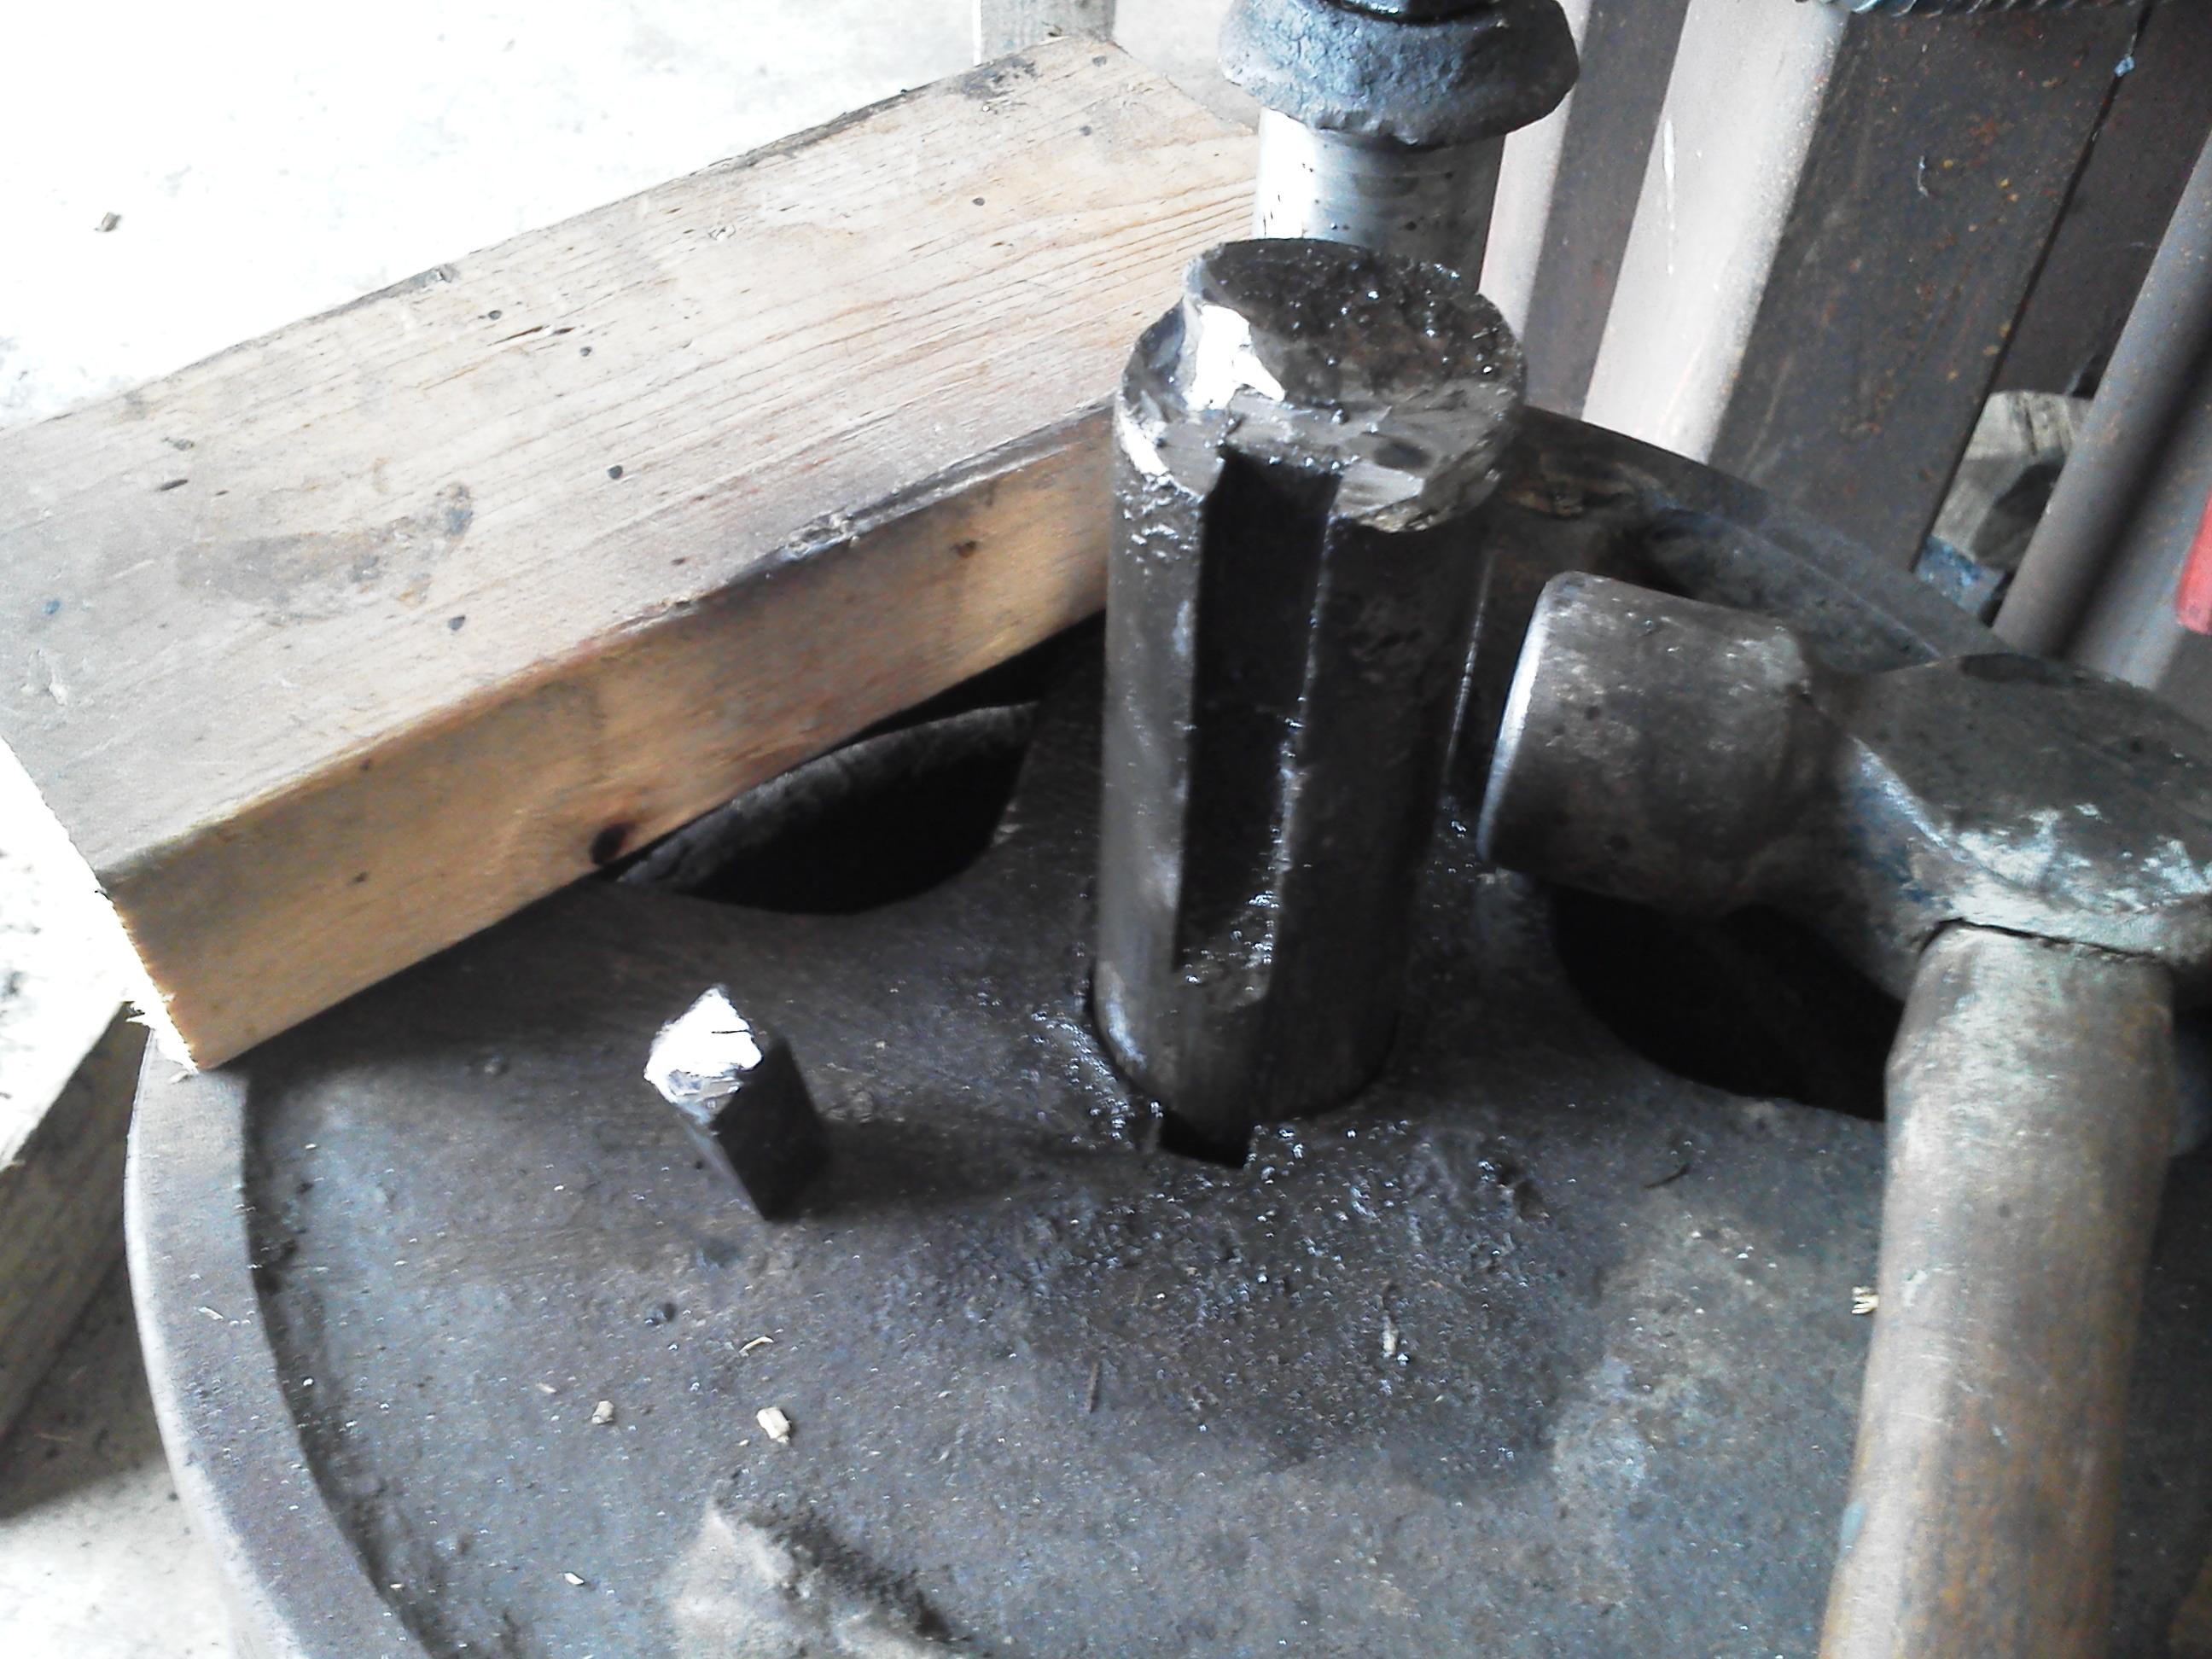
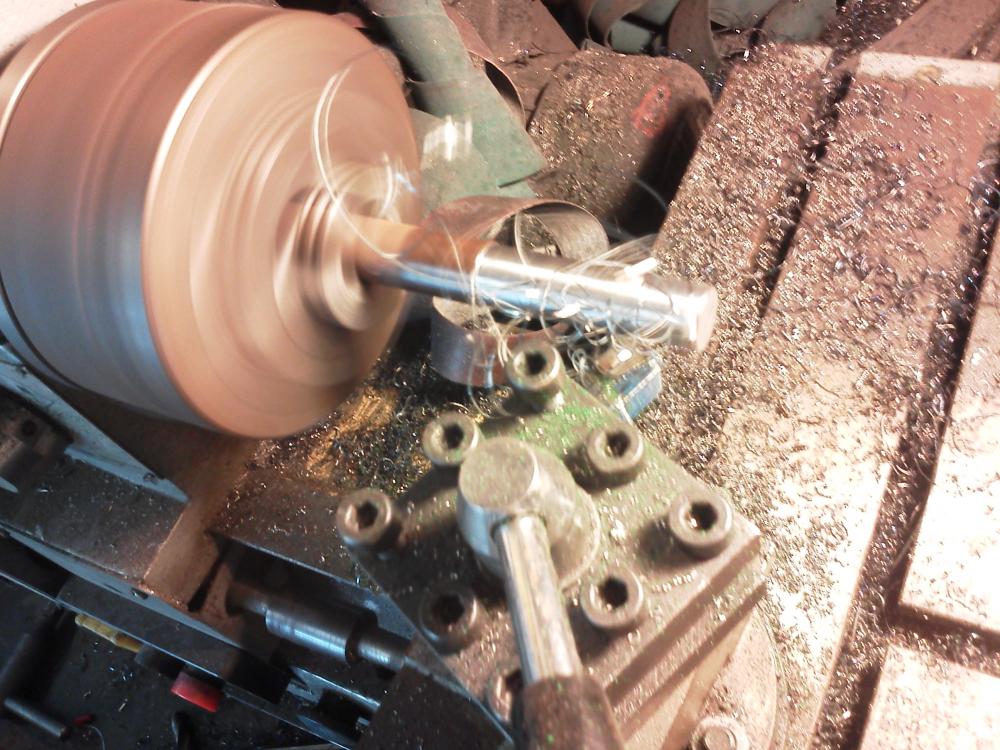
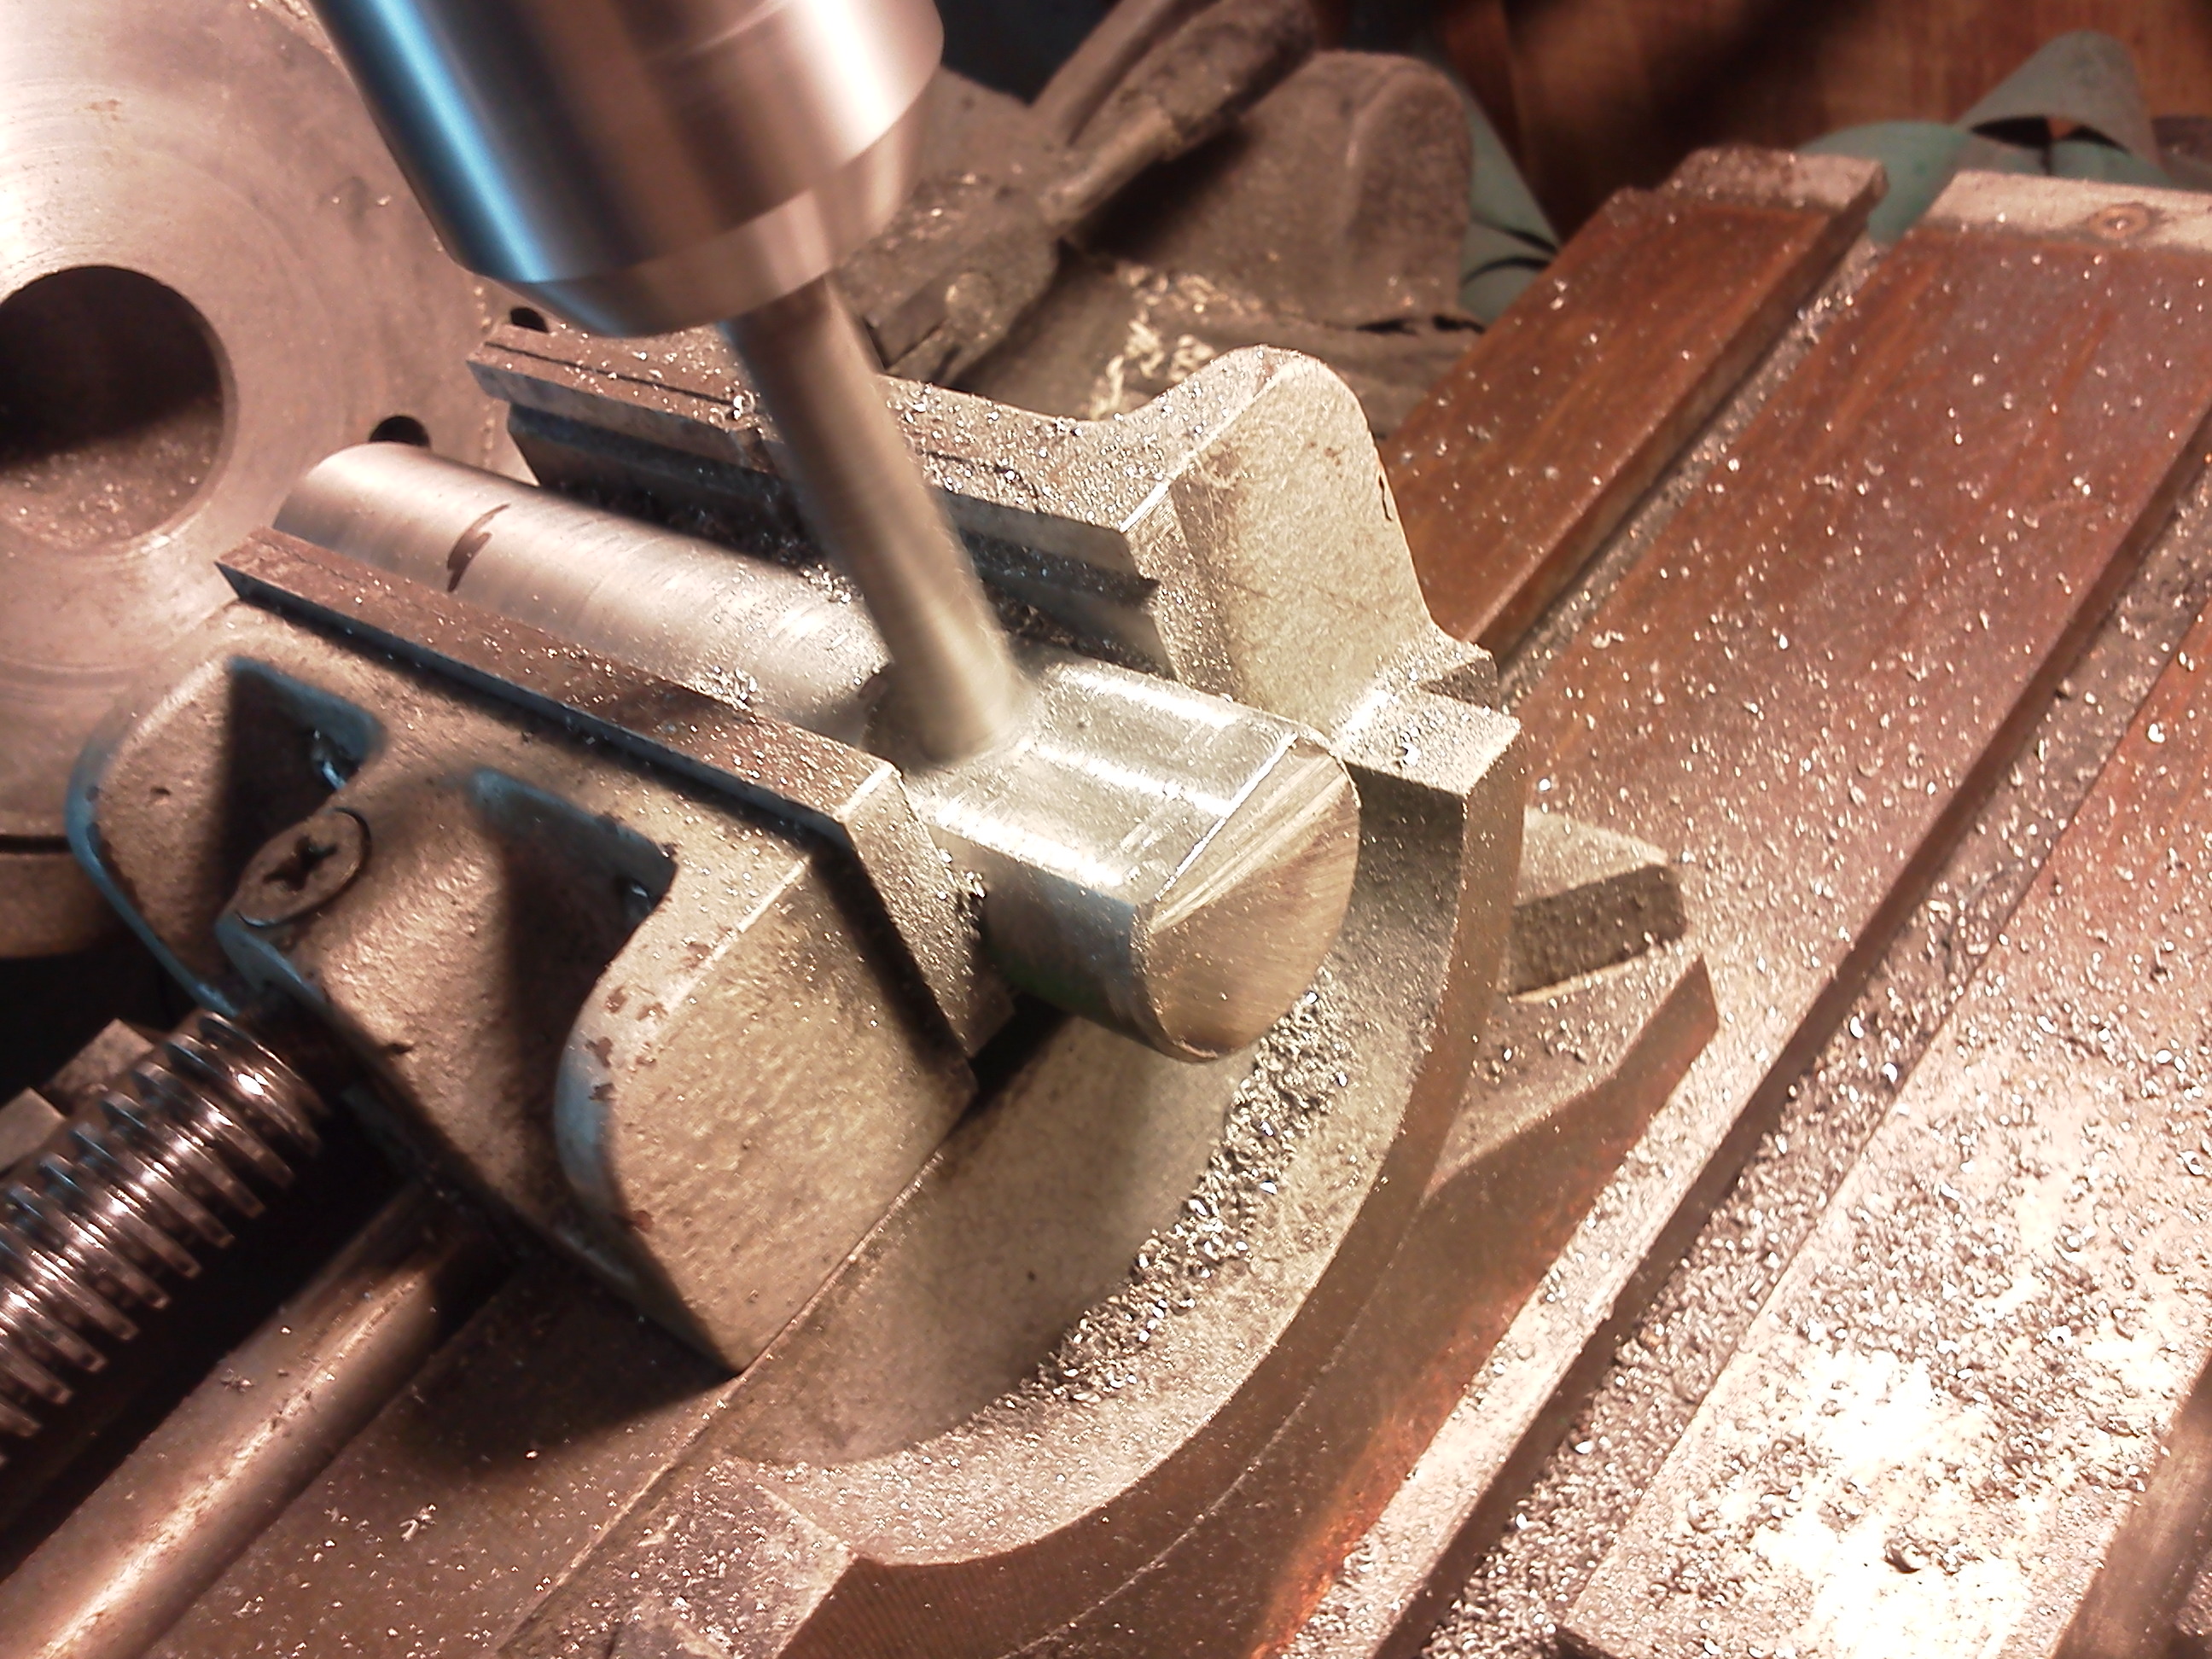
I got the new shaft turned down today. Next I need to cut the key way for the crank plate.
-
Champion #1 rebuild
Joel Worley replied to Joel Worley's topic in Power Hammers, Treadle Hammers, Olivers
Hey Judson Yaggy, any chance you could get me some detailed measurements of the spring? Length of each leaf, distance center of eye to center of eye, width, belly depth and any other measurement you can think of. The guy that I asked to get the measurements for me is buried with orders and can't break loose to go to his friends shop to get them right away. Also it would be very helpful to get dimensions from more than one source. The spring shop that will be making the spring needs the best drawing and as many measurements that I can come up with. It would be much appreciated. Thanks. -
Champion #1 rebuild
Joel Worley replied to Joel Worley's topic in Power Hammers, Treadle Hammers, Olivers
Thanks Judson. Anyone have any thoughts on RPM and drive pulley diameter? -
Champion #1 rebuild
Joel Worley replied to Joel Worley's topic in Power Hammers, Treadle Hammers, Olivers
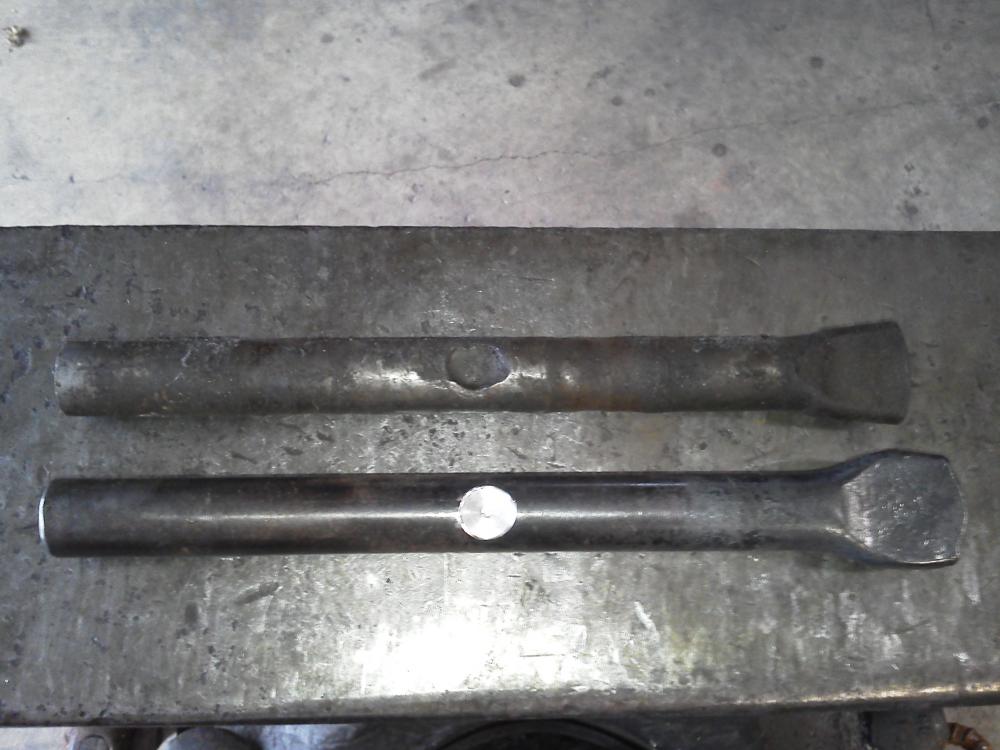
The crank plate, tup and pulley are painted. Also made a new toggle pin, spring tempered 5160. What's the general consensus on motor HP? I was thinking 2 hp would be plenty since my other hammer is only 5 lbs lighter and runs a 1.5 hp.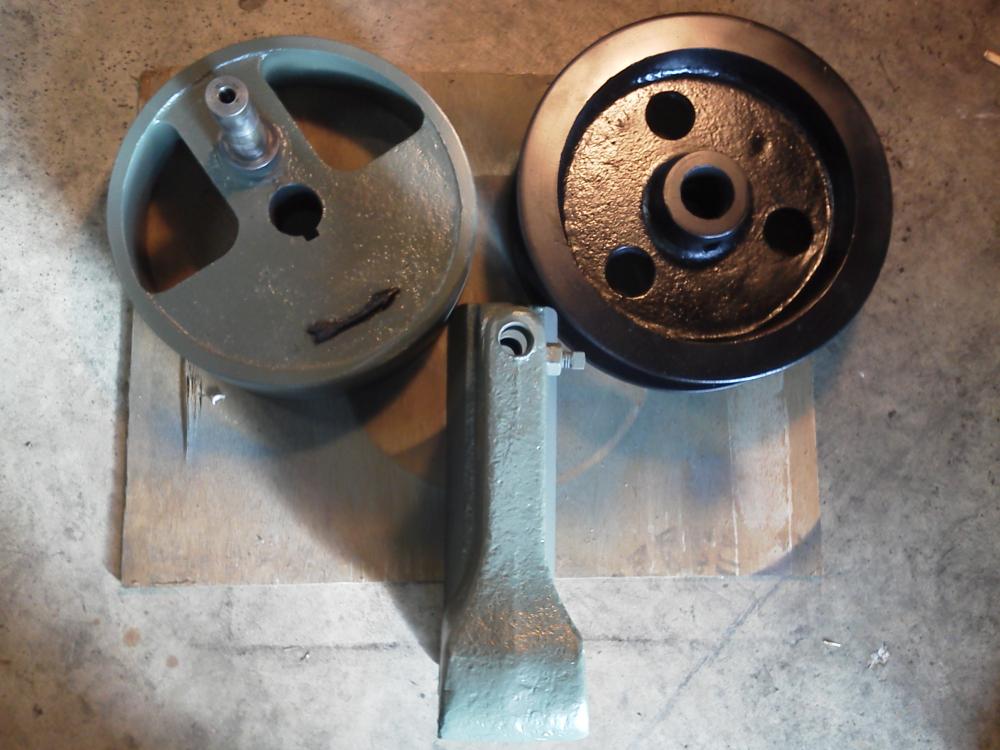
-
Champion #1 rebuild
Joel Worley replied to Joel Worley's topic in Power Hammers, Treadle Hammers, Olivers
Ironwolf, I say bring that poor thing inside and make it live again. Please post some pics when you do. As for the bearings, call me old fashion but I plan to pour new babbitt. -
Champion #1 rebuild
Joel Worley replied to Joel Worley's topic in Power Hammers, Treadle Hammers, Olivers
I'll probably run mine directly from the motor. I like how the original idler pulley arm is still used on a longer shaft in the pictures Judson posted. -
Champion #1 rebuild
Joel Worley replied to Joel Worley's topic in Power Hammers, Treadle Hammers, Olivers
Thanks for the pictures Judson. That helps a lot. Can't wait to get mine running. -
Champion #1 rebuild
Joel Worley replied to Joel Worley's topic in Power Hammers, Treadle Hammers, Olivers
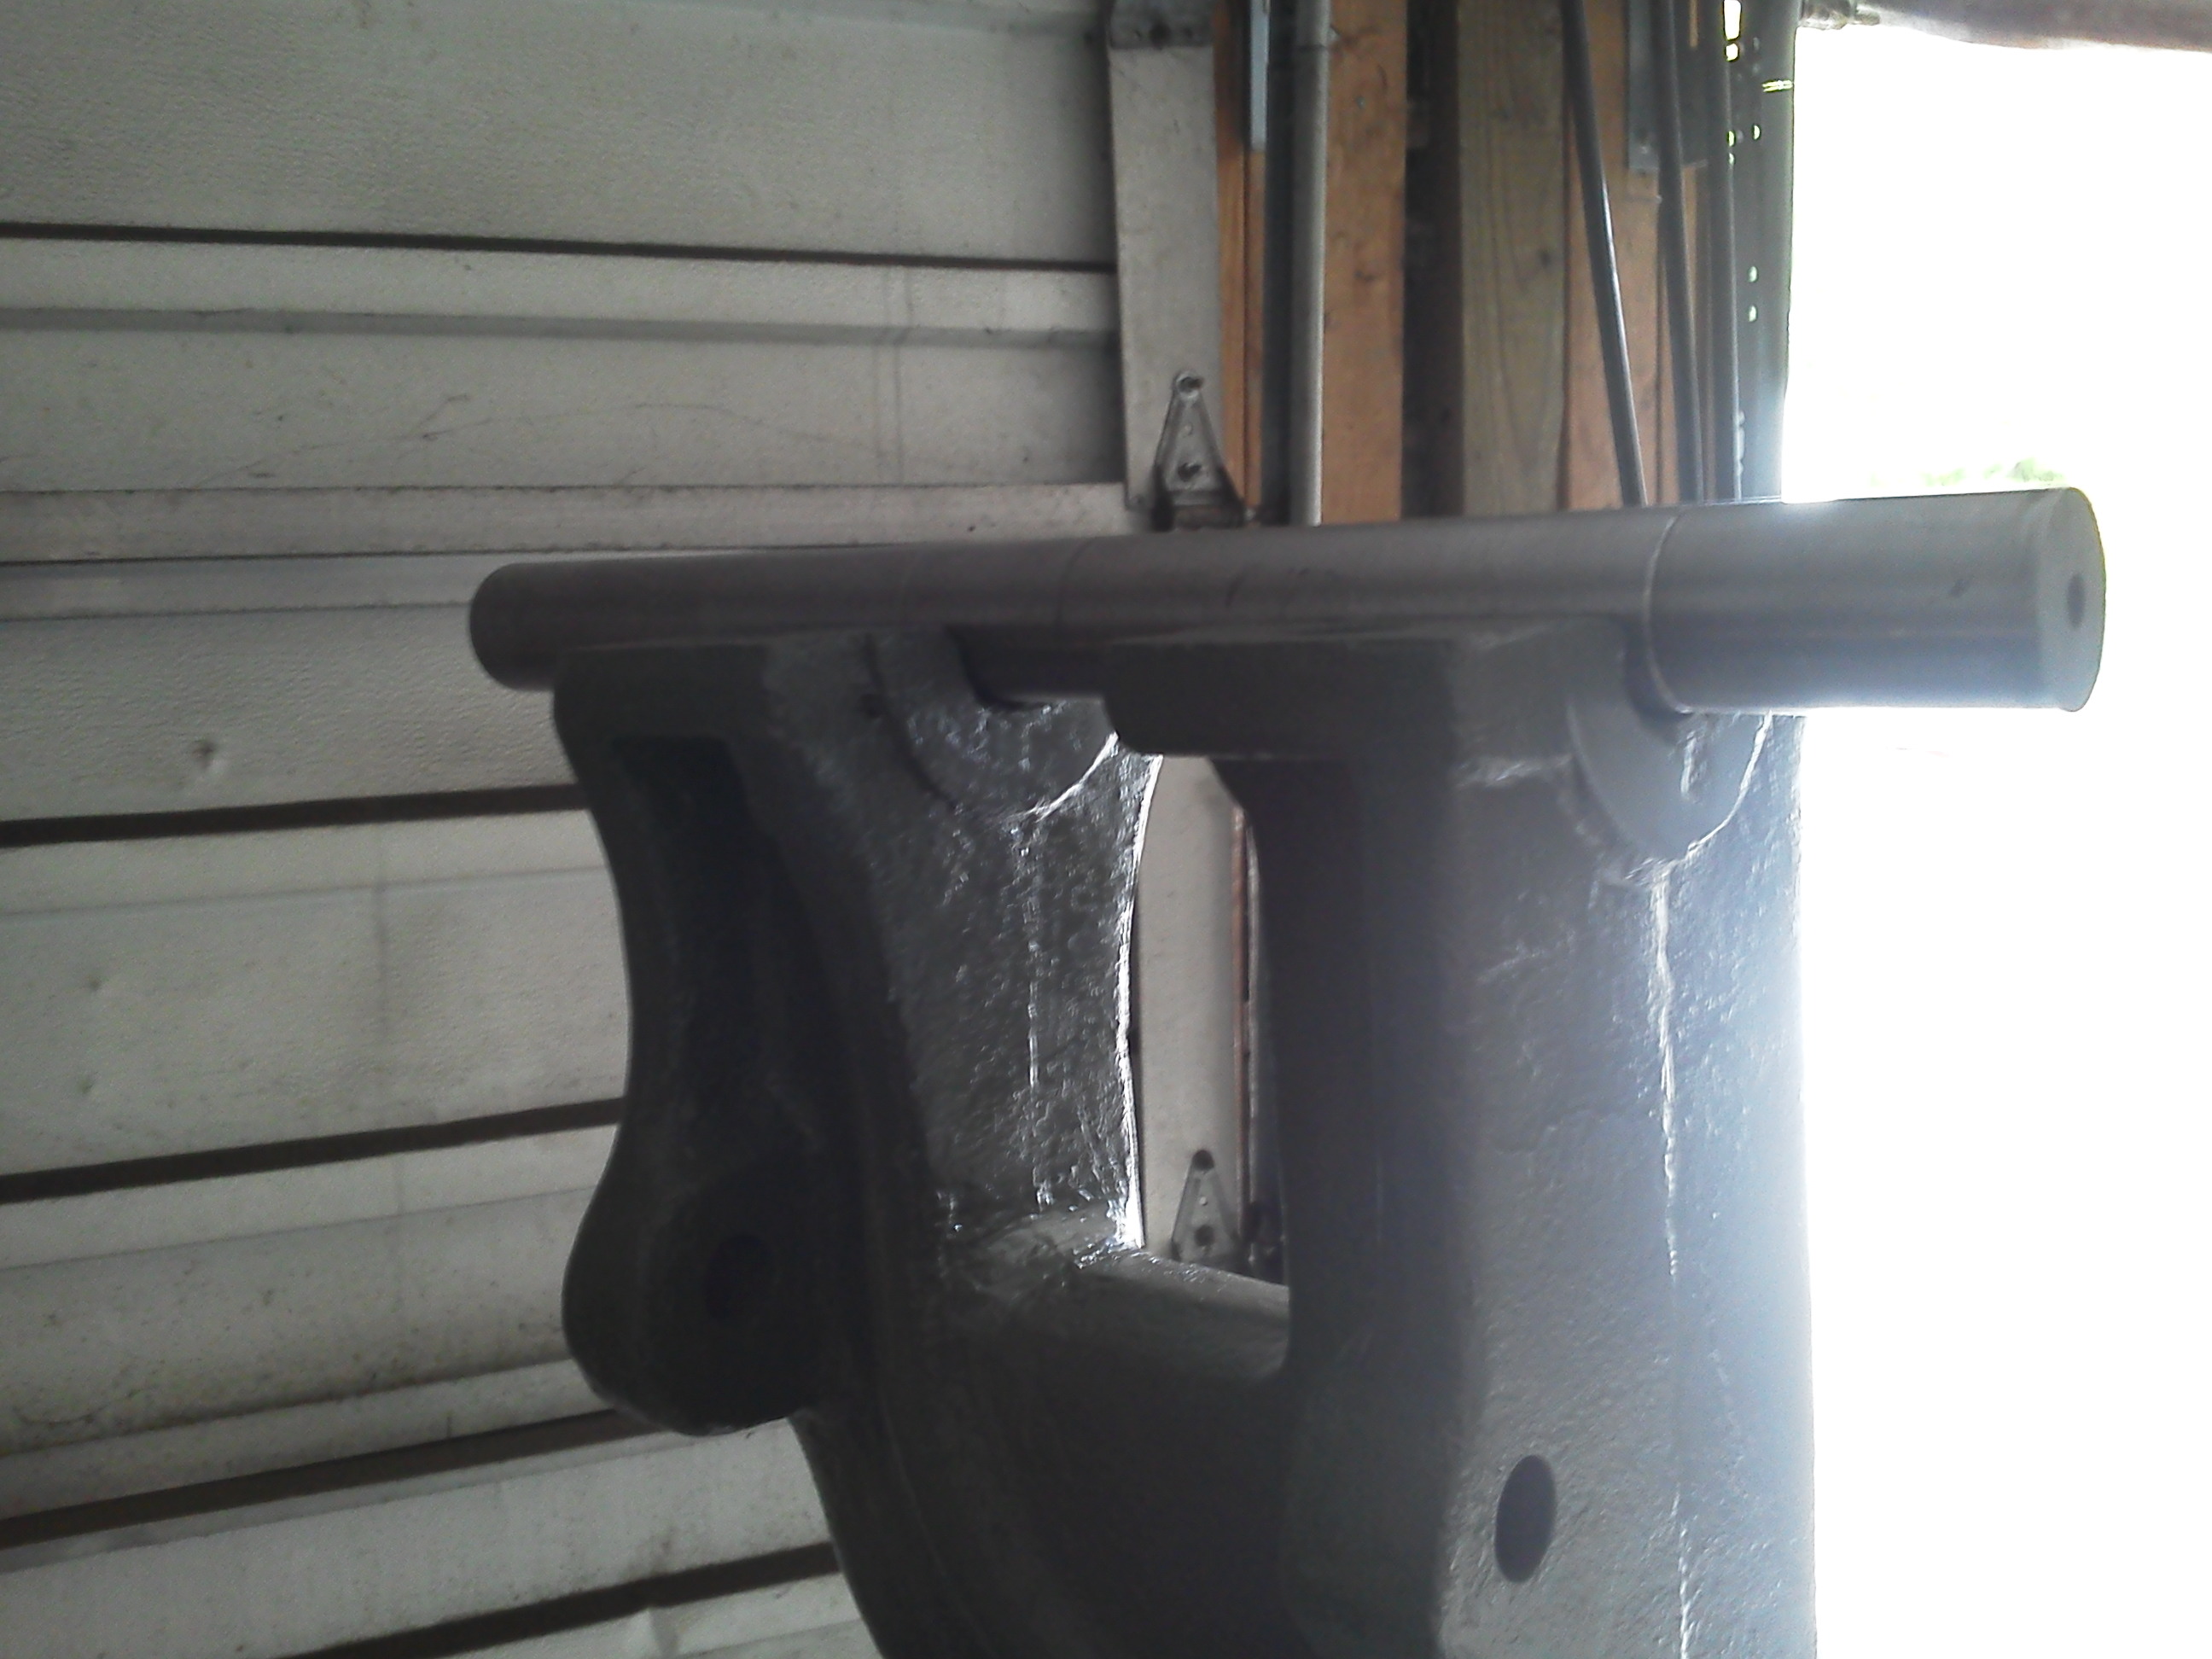
After a some consideration, I think it would be best to move the original pulley to the rear of the hammer, relocate the idler pulley and mount the motor near the floor as on the E- models. This decision is mostly due to the fact that I have a low ceiling in my shop and the spot I am planning to put the hammer is even more limited on head room as it sits between the tracks of two over head doors. If I mount the motor or even a jack shaft above the hammer, it will have to sit tight between the tracks, limiting even further how I can position the hammer. Since I am making a new shaft it won't be a big deal to set it up with the pulley on the back. Does anyone have this set up on their Champion? If so I'd love to hear some thoughts on motor mounting options. -
-
Champion #1 rebuild
Joel Worley replied to Joel Worley's topic in Power Hammers, Treadle Hammers, Olivers
I'll post some pictures when I pour the babbitt. I have never done it but I have a neighbor that has poured babbitt bearing many times and has agreed to supervise. -
Champion #1 rebuild
Joel Worley replied to Joel Worley's topic in Power Hammers, Treadle Hammers, Olivers
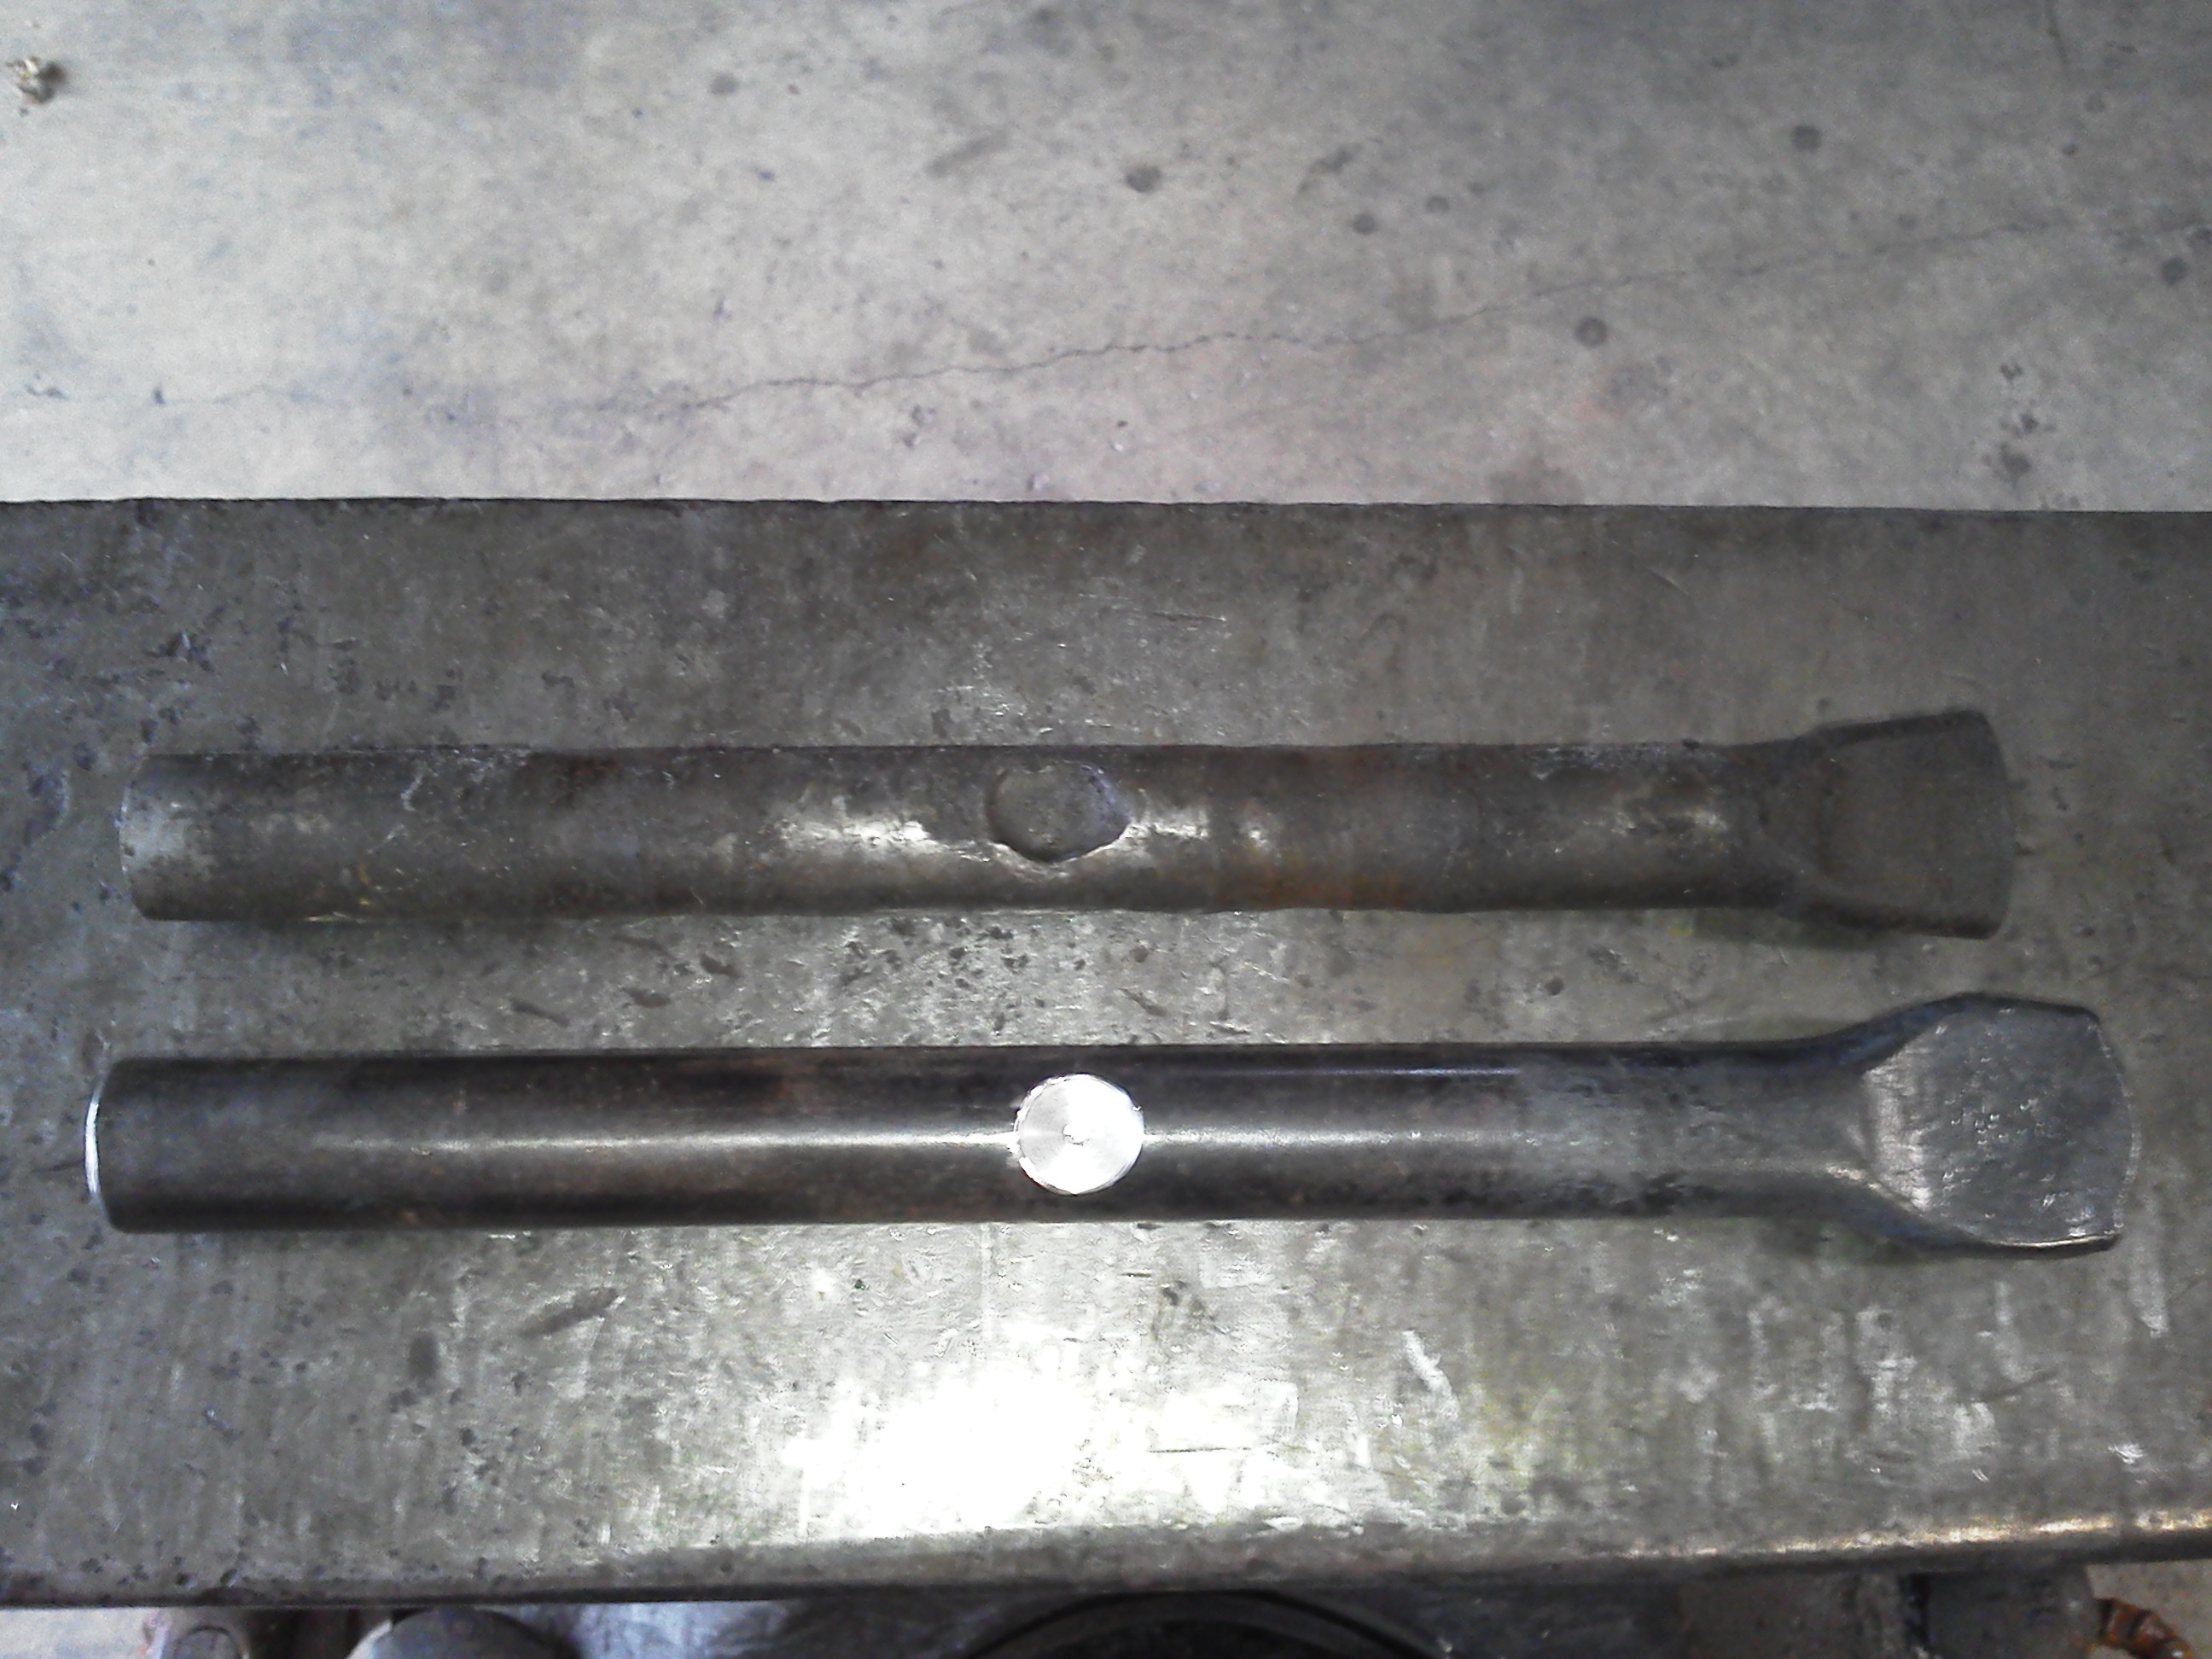
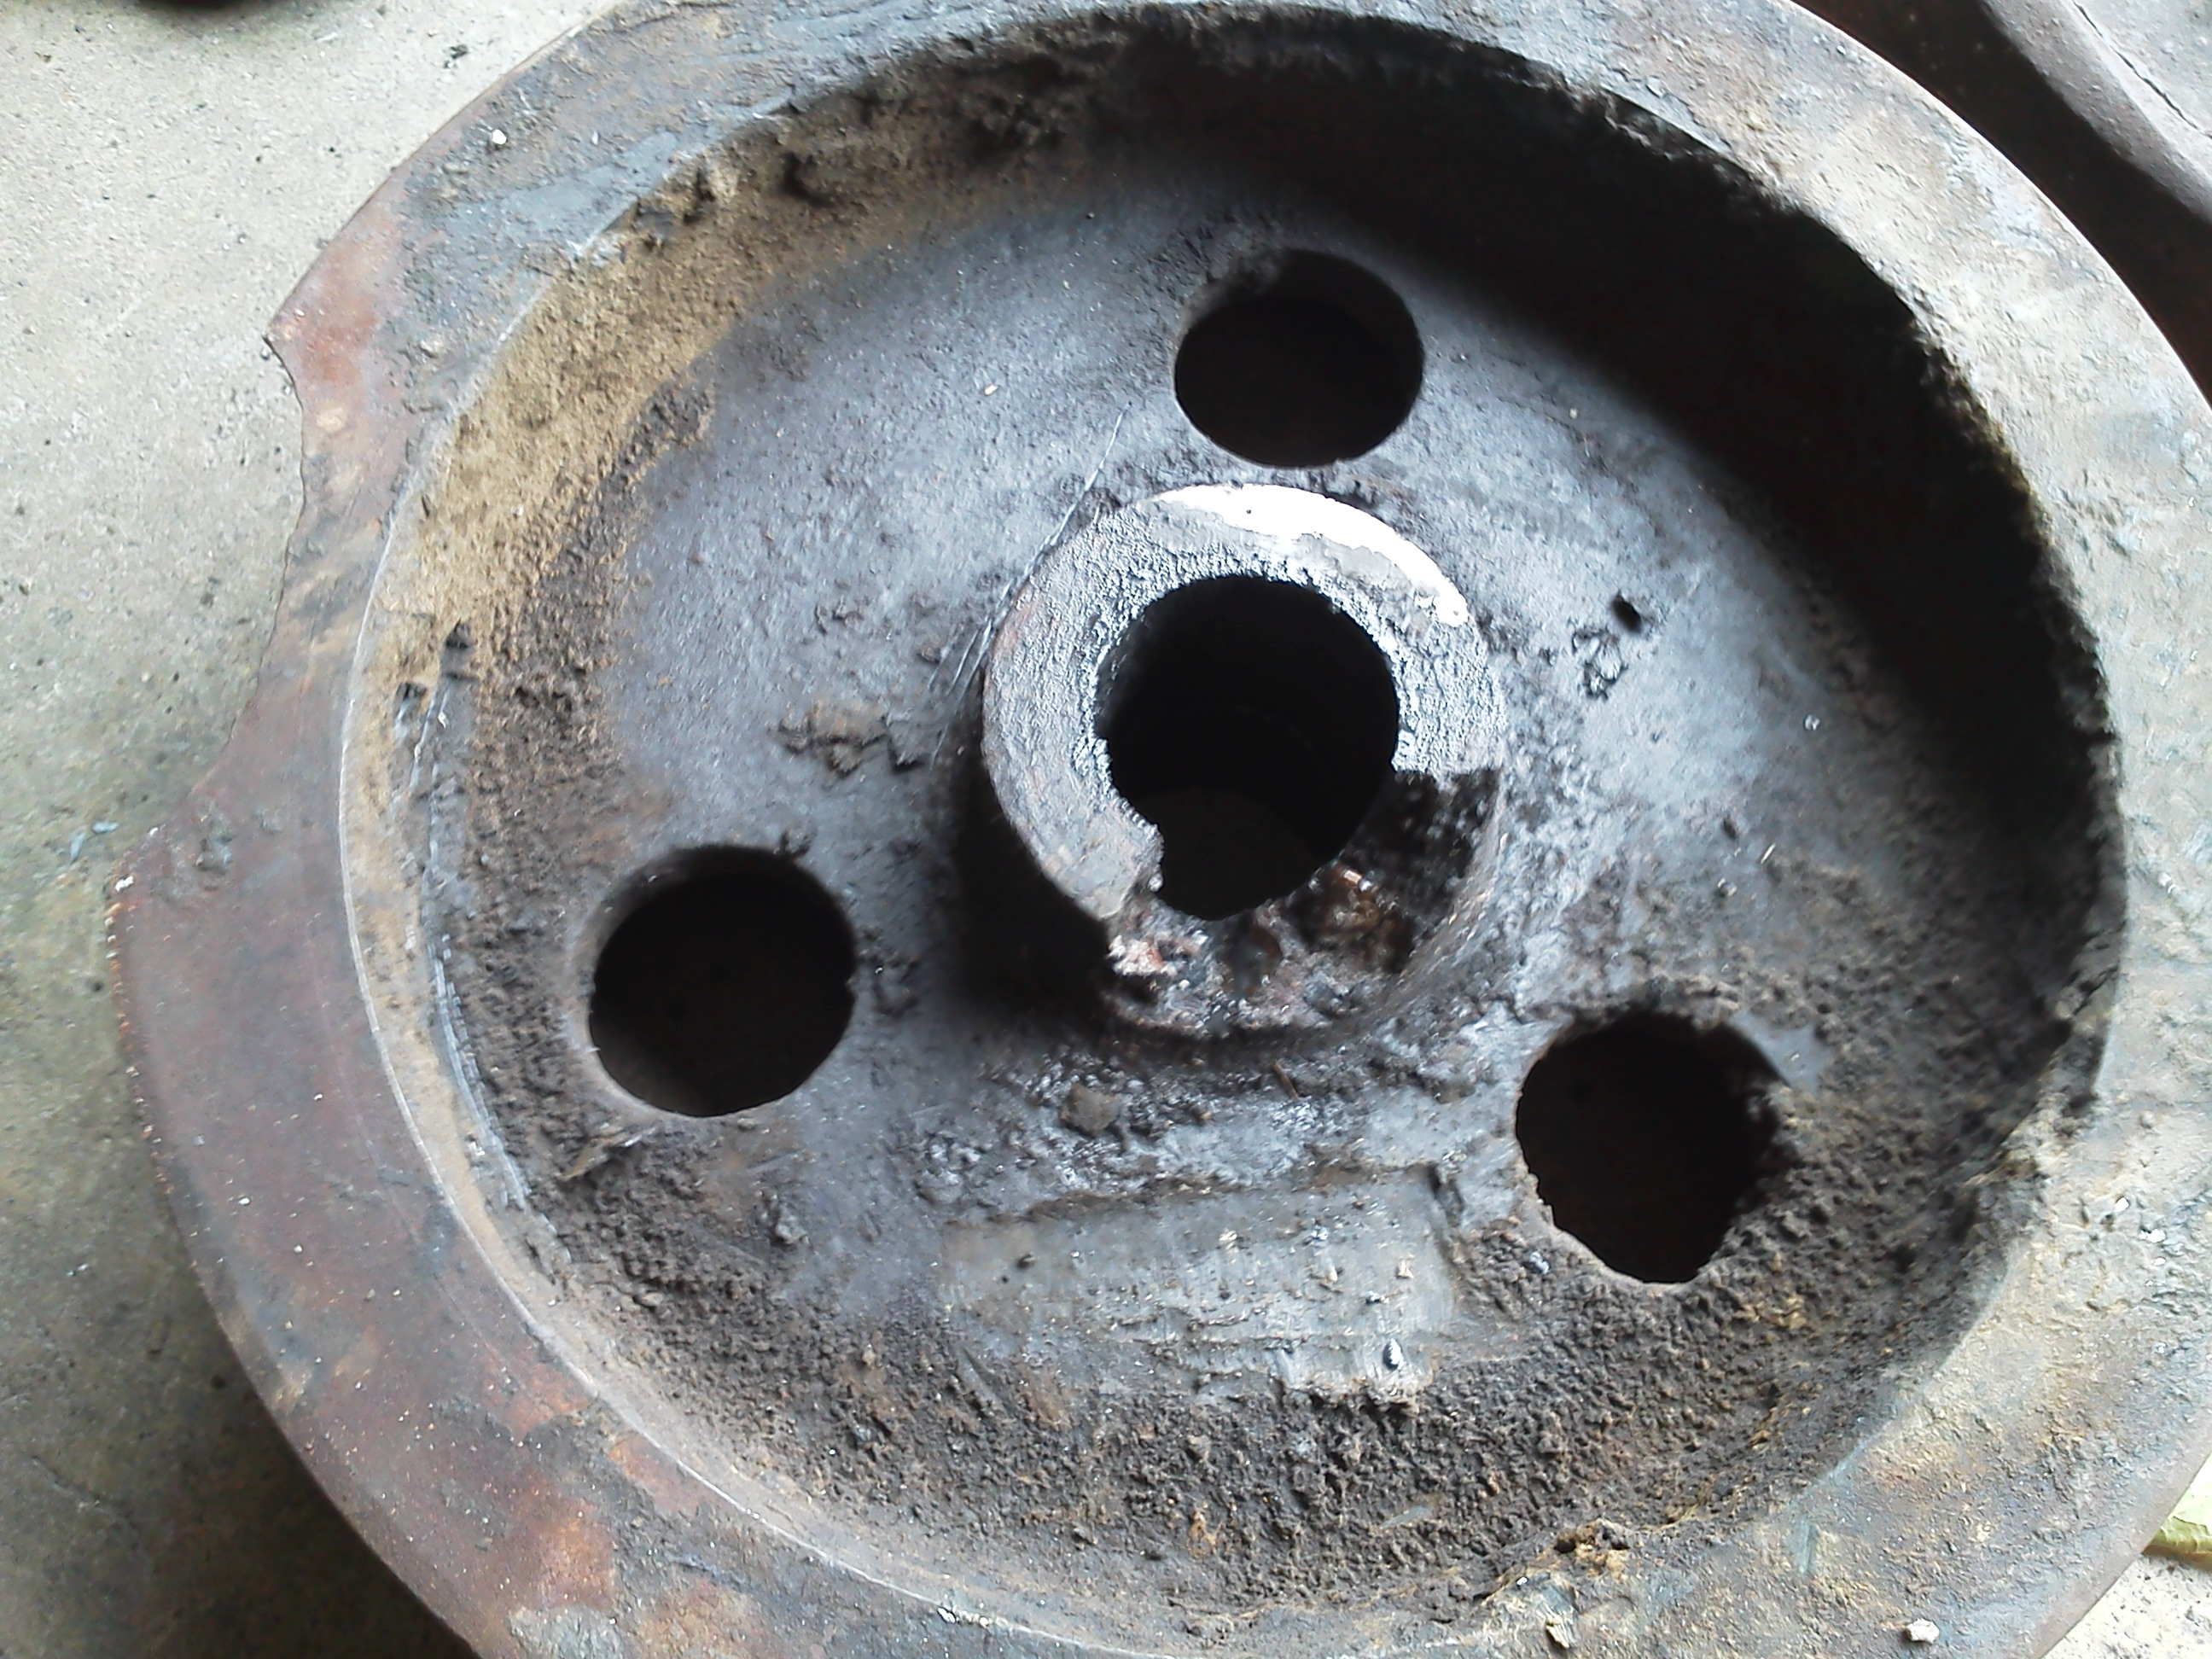
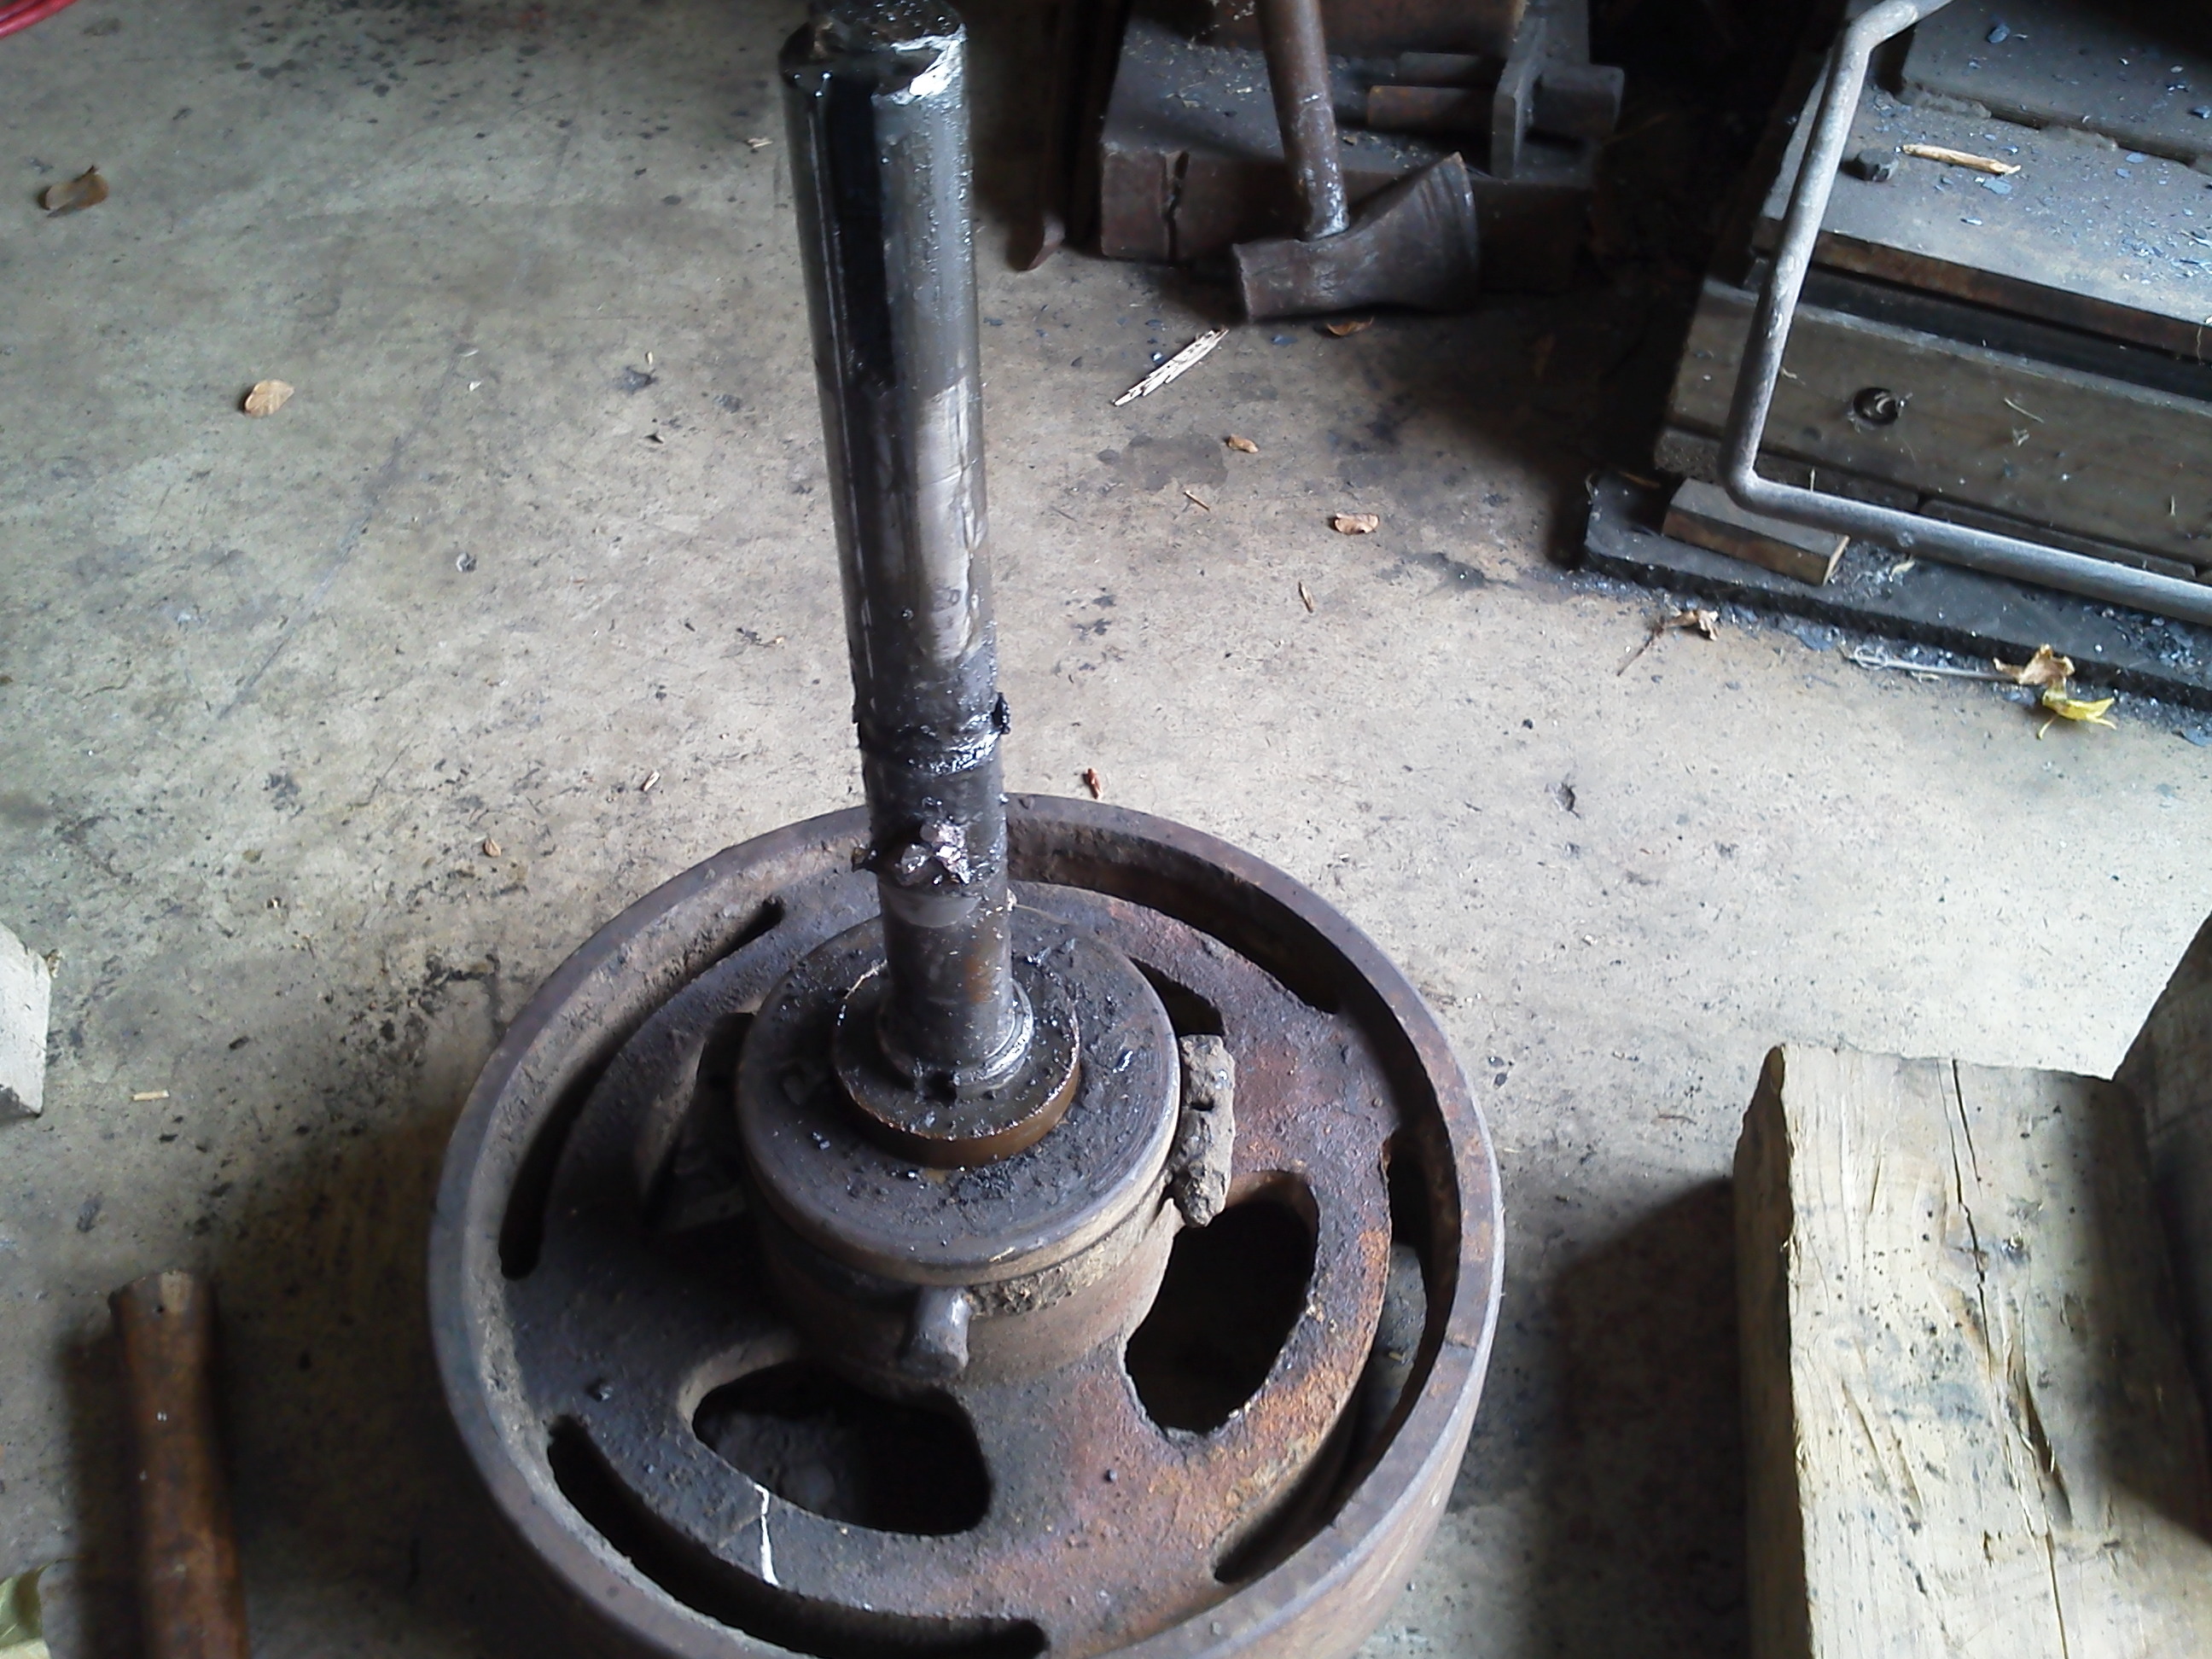
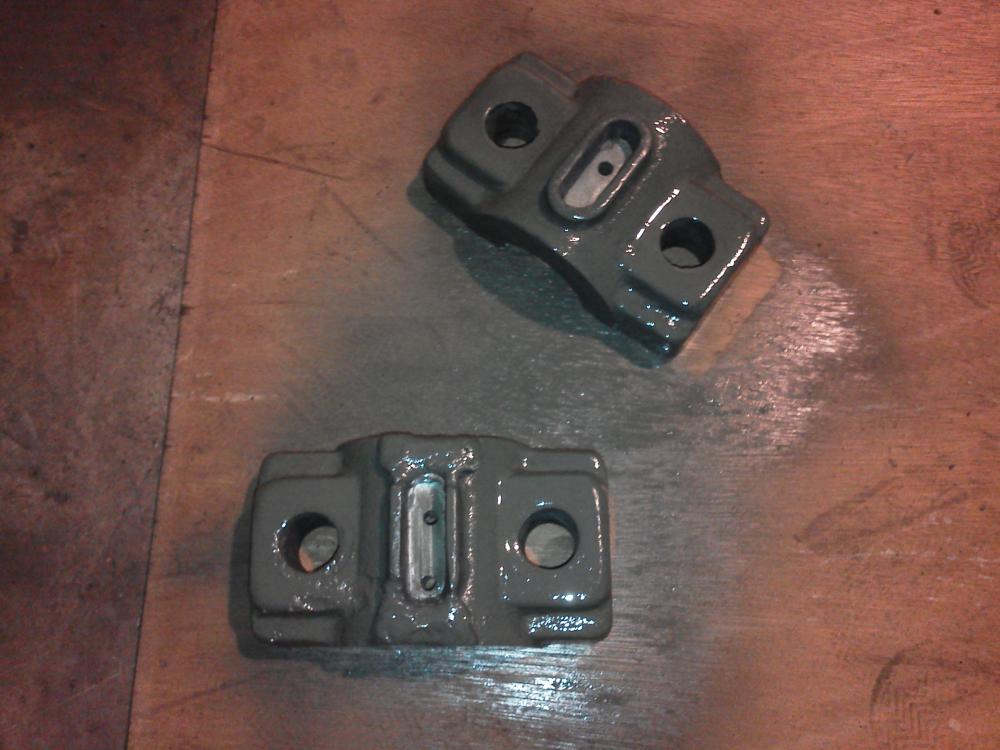
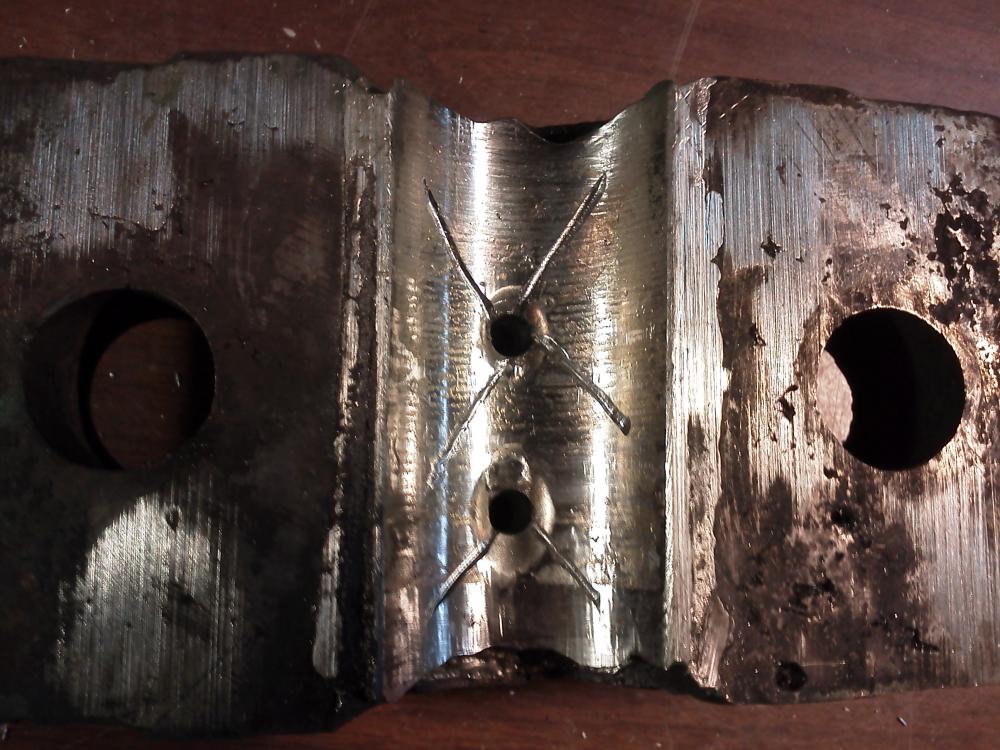
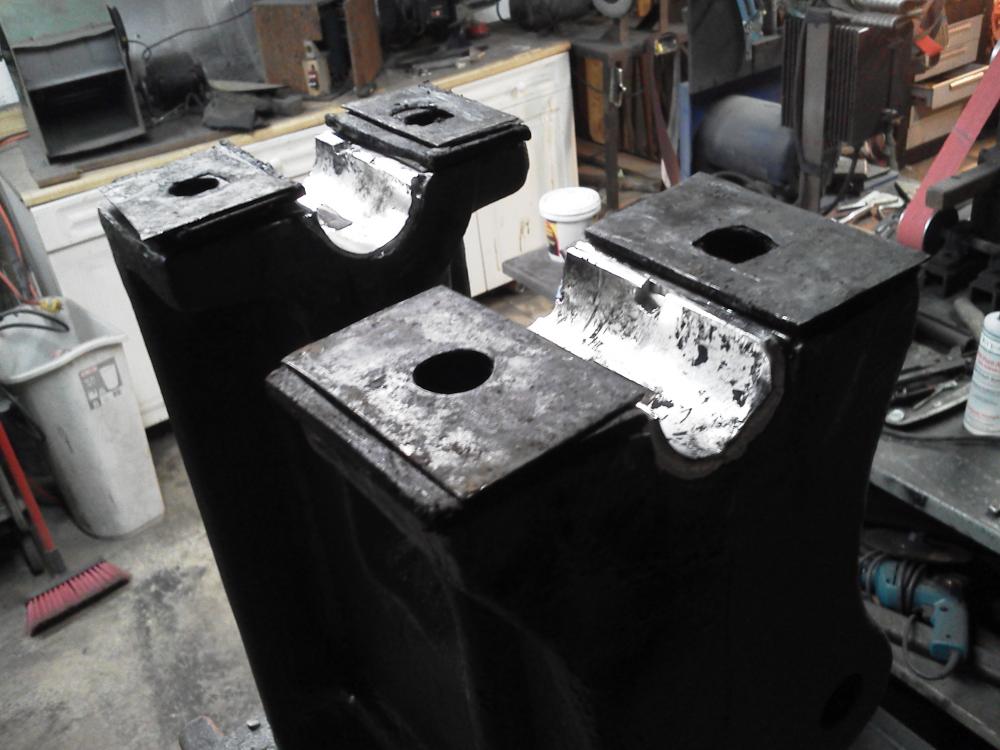
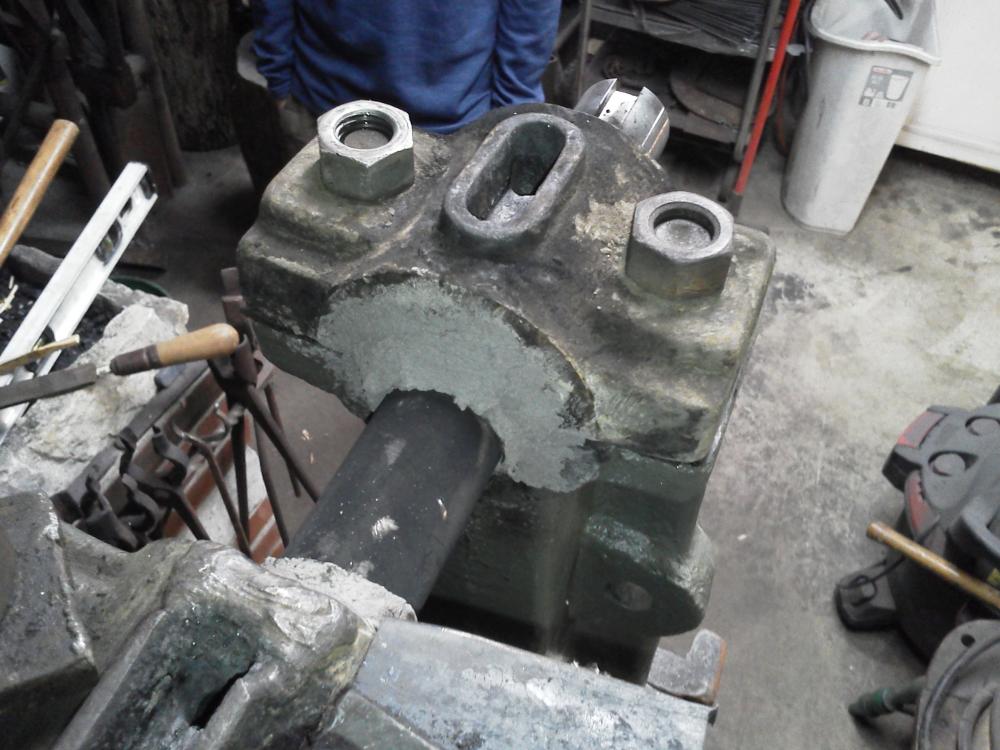
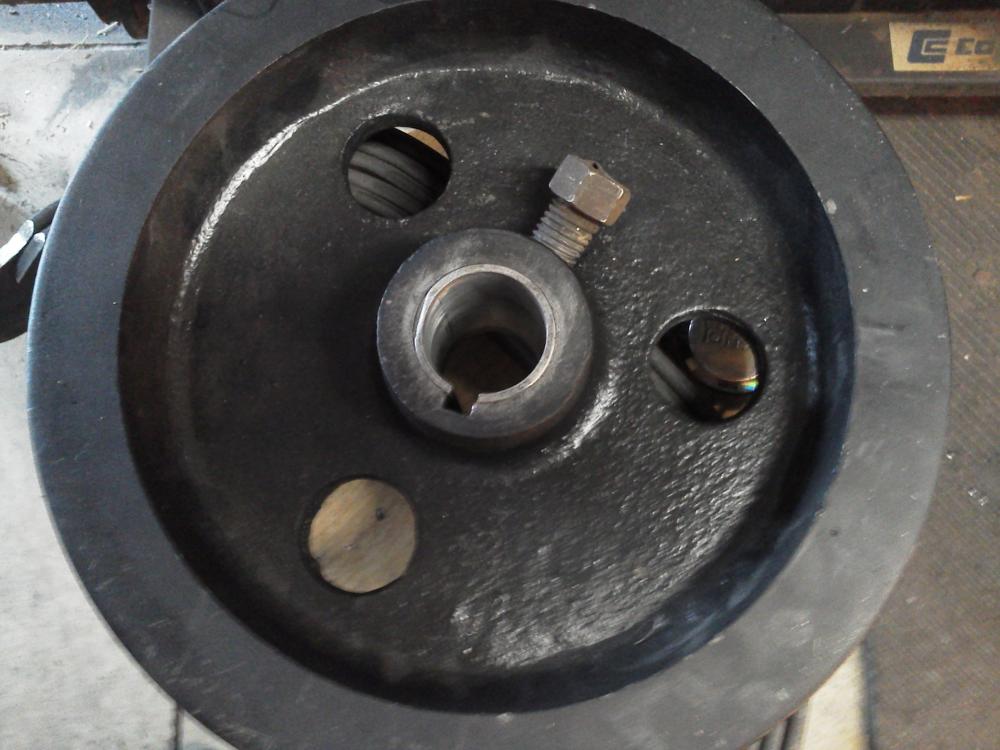
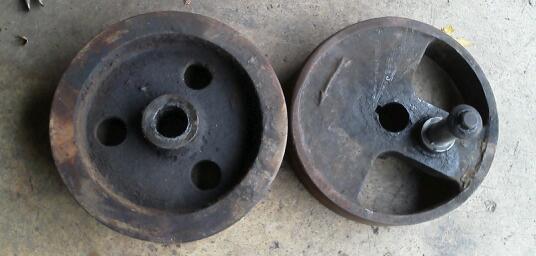
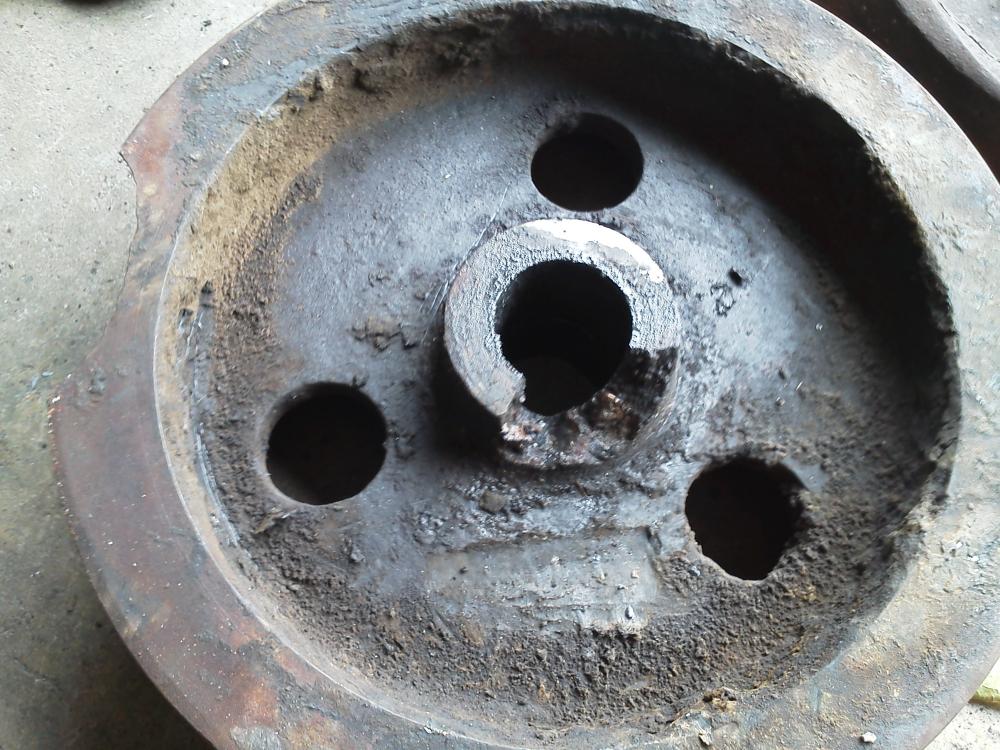
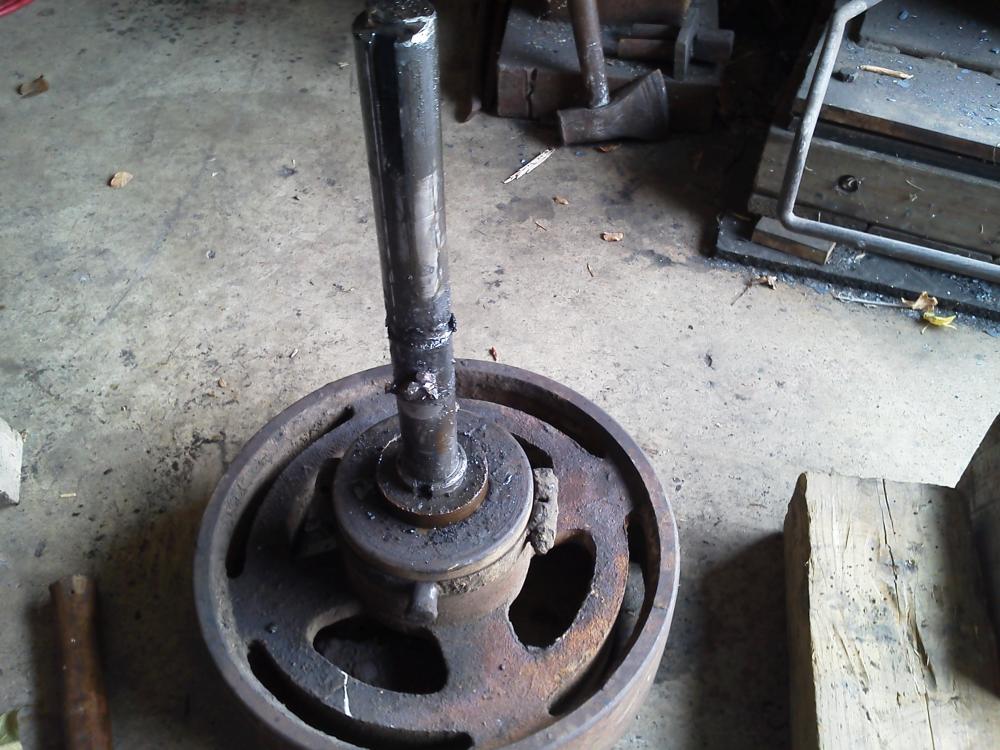
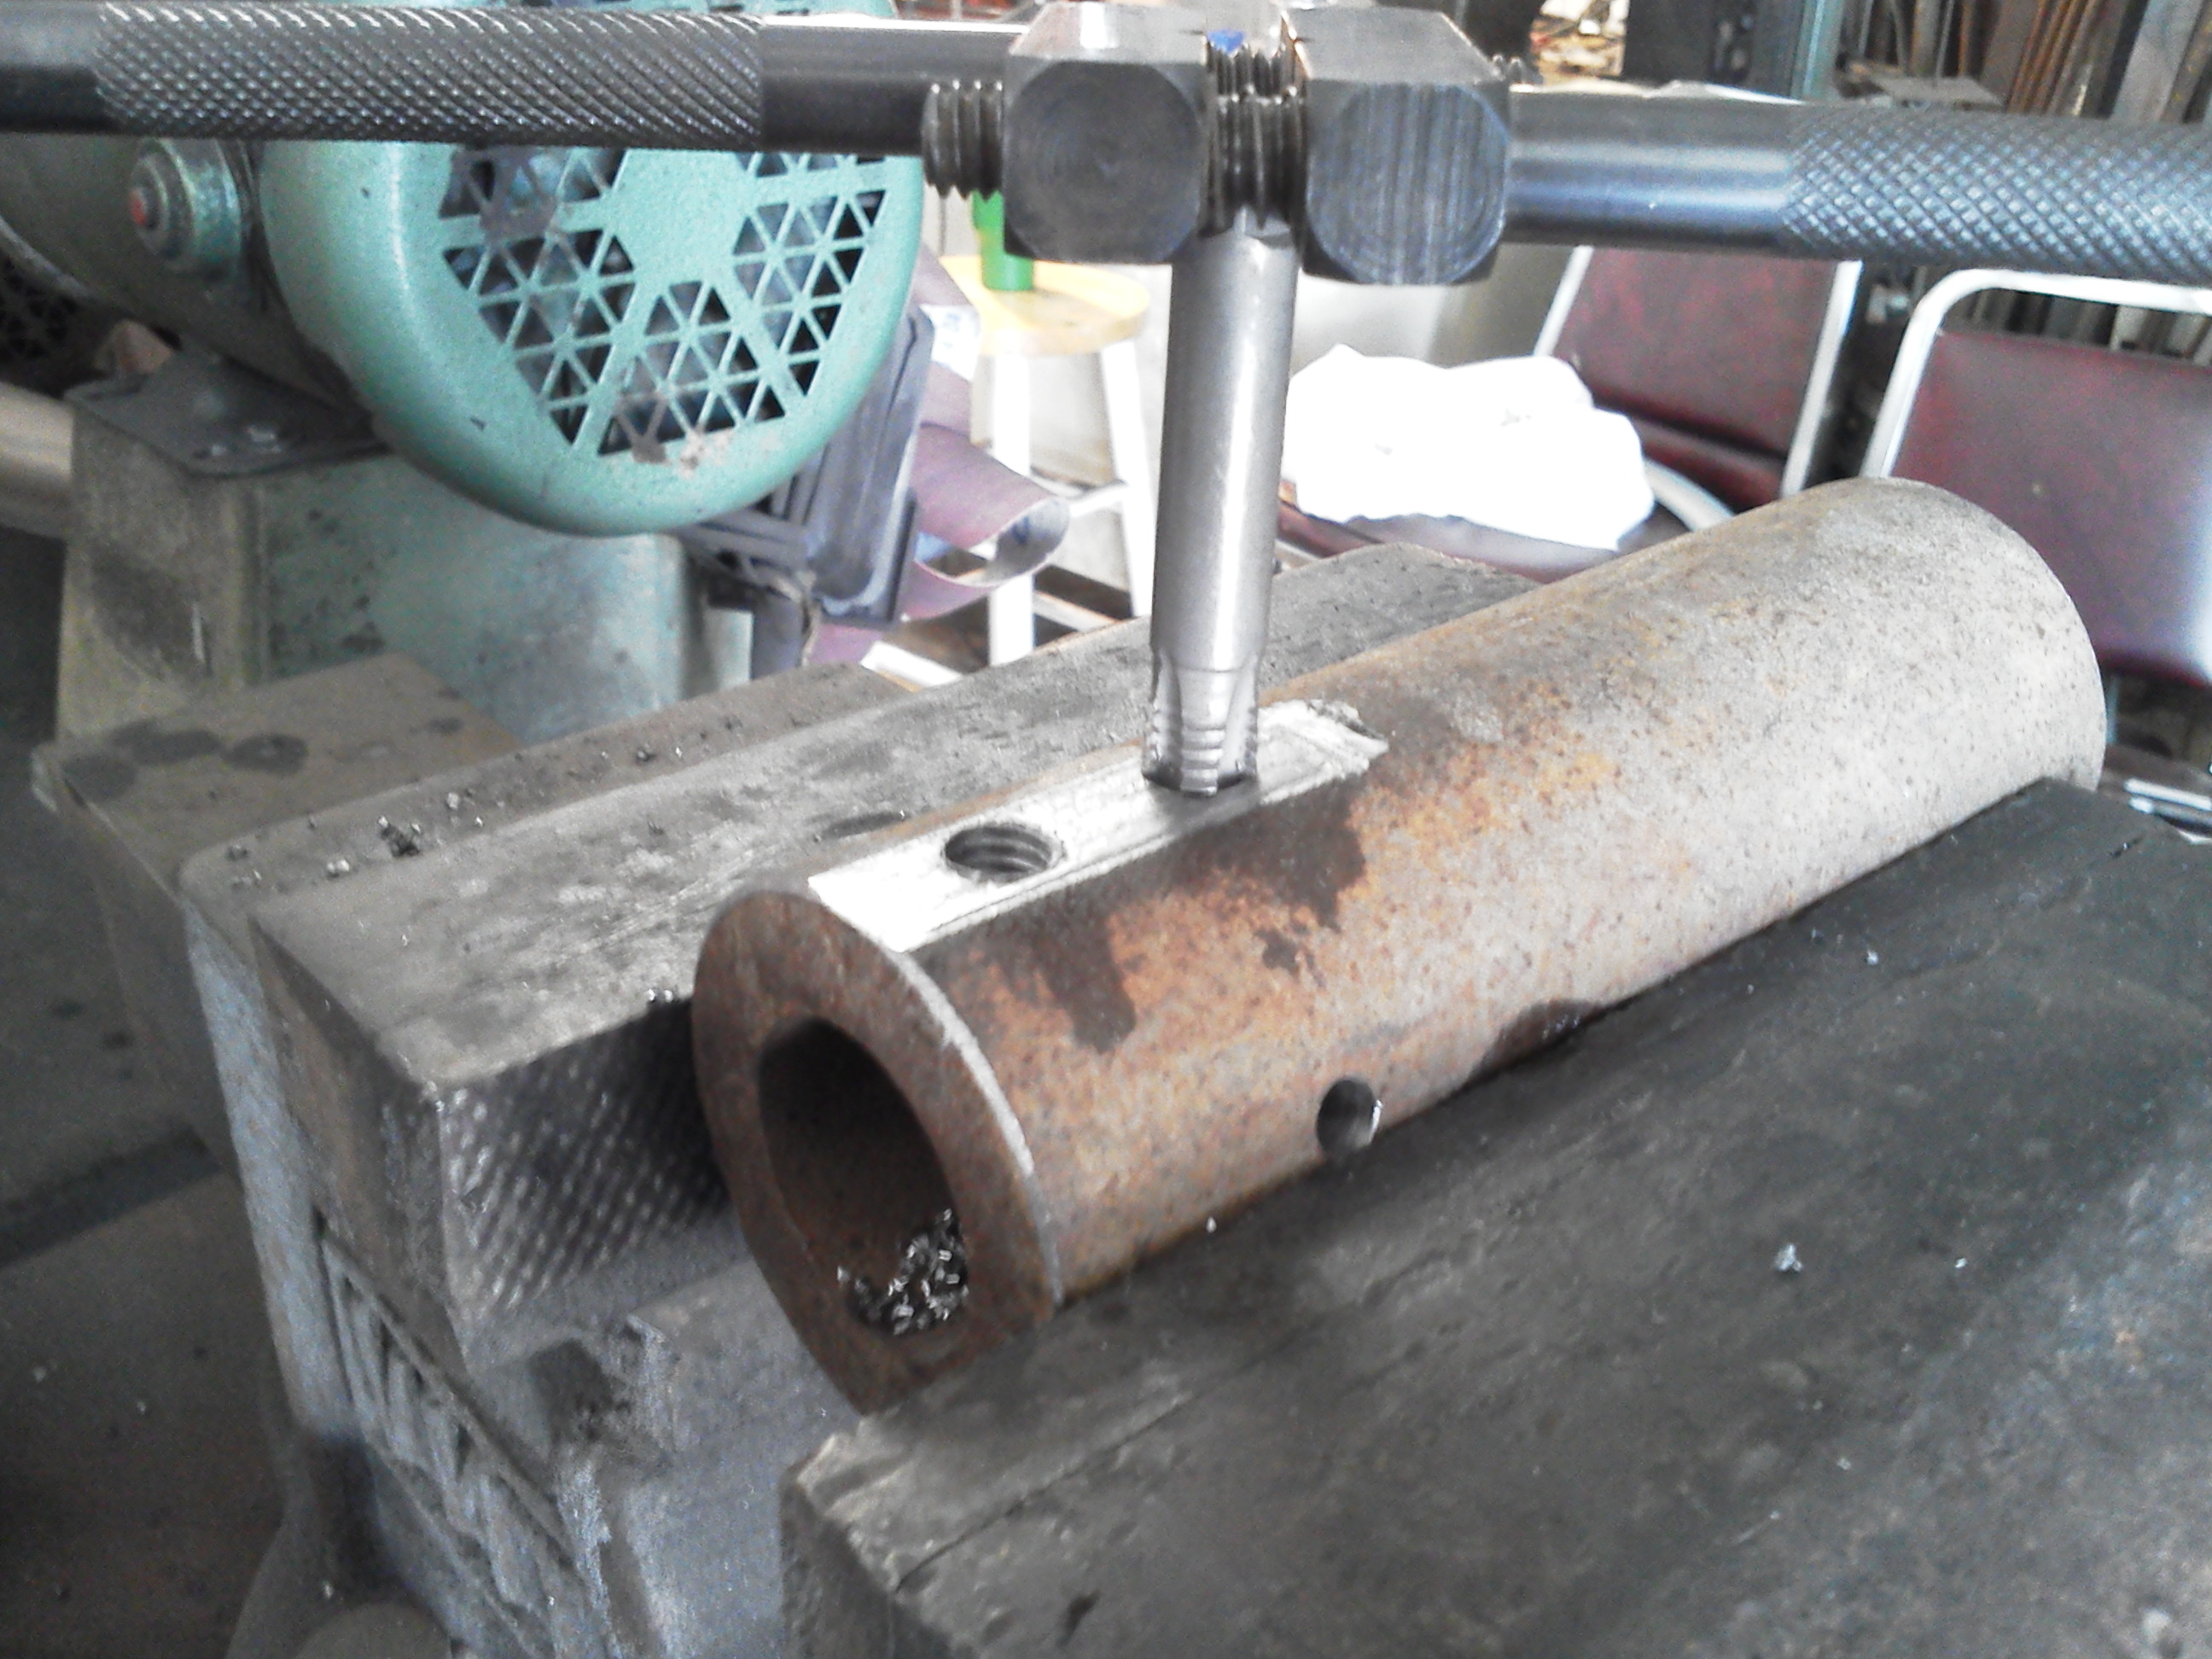
Today I got the crank plate and pulley off of the shaft. It was no easy task. The shaft was from a Little Giant and was slightly smaller than the original and someone had attempted to weld the pulley in place and had peened the end to hold the crank plate in place. At last the LG parts are not a part of the Champion Hammer. The pulley has a very old break on the hub and a small chunk missing from the flange but I think it can still be used.
-
Champion #1 rebuild
Joel Worley replied to Joel Worley's topic in Power Hammers, Treadle Hammers, Olivers
That's a good deal! Look me up the next time you're at Quad State.


.jpg.76d51c60ce64dcc683b77e18e88c664e.jpg)