
JHCC
-
Posts
19,281 -
Joined
-
Last visited
Content Type
Profiles
Forums
Articles
Gallery
Downloads
Events
Everything posted by JHCC
-

What did you do in the shop today?
JHCC replied to Mark Ling's topic in Blacksmithing, General Discussion
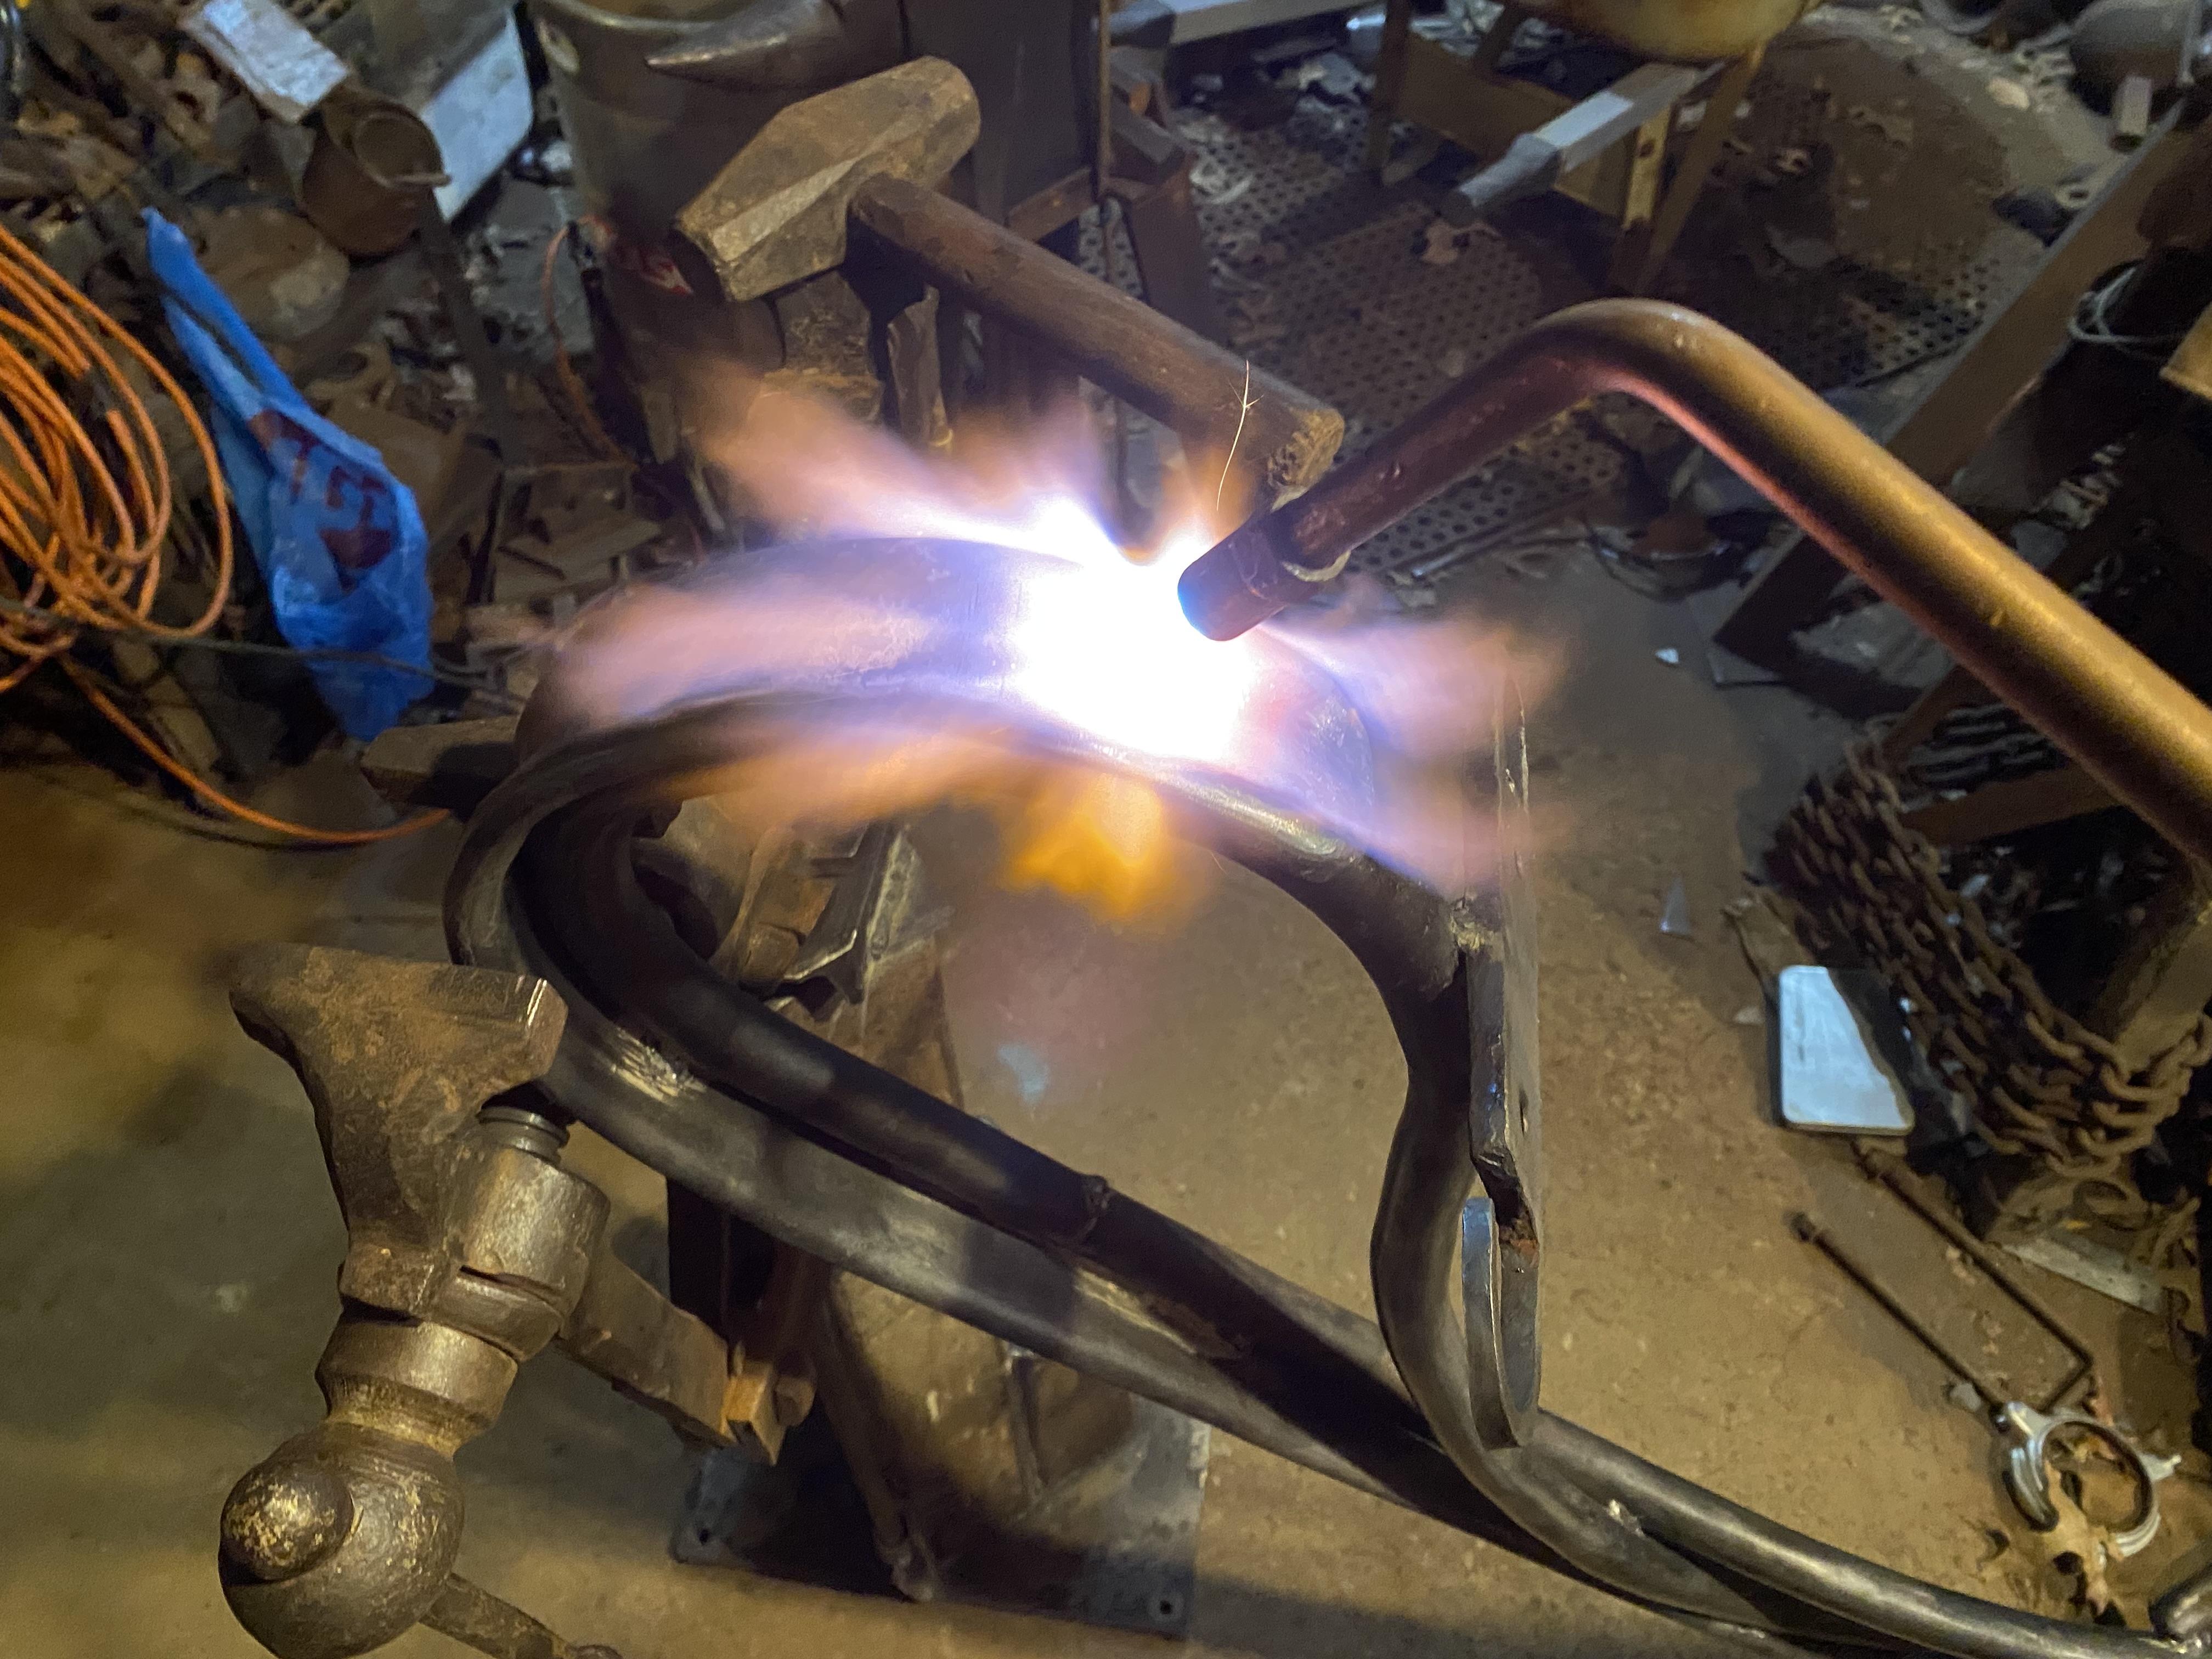
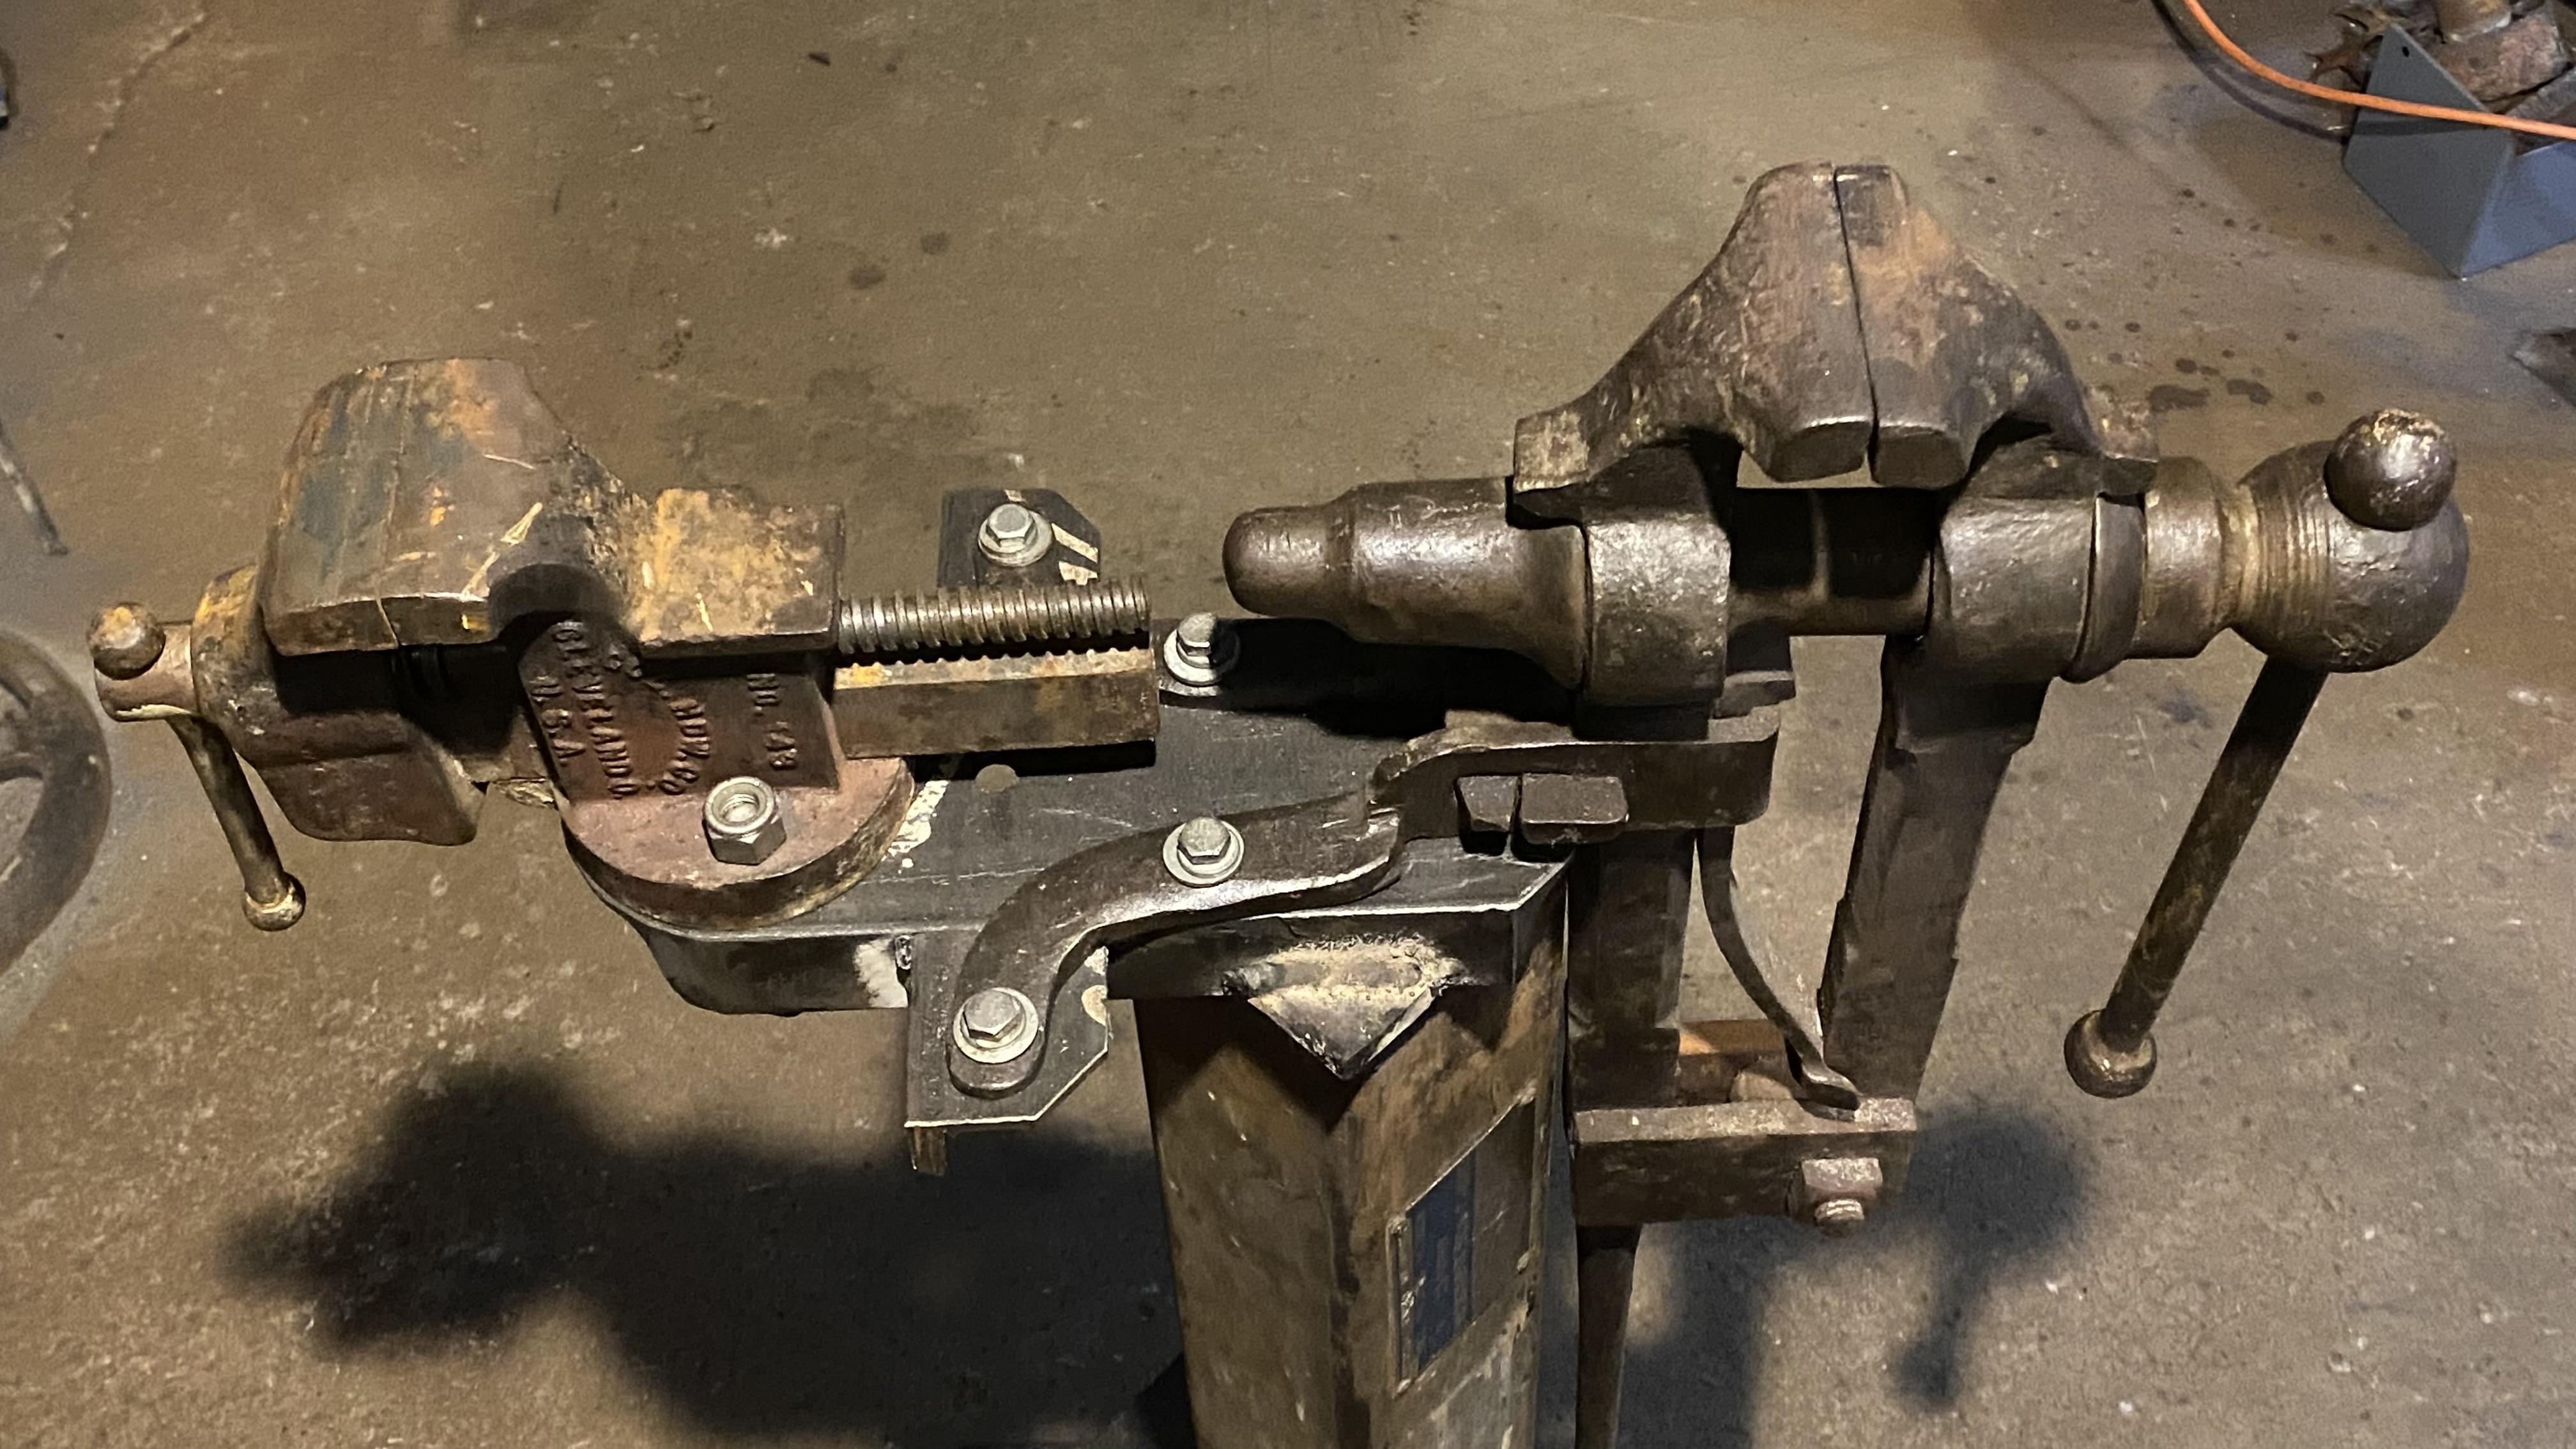
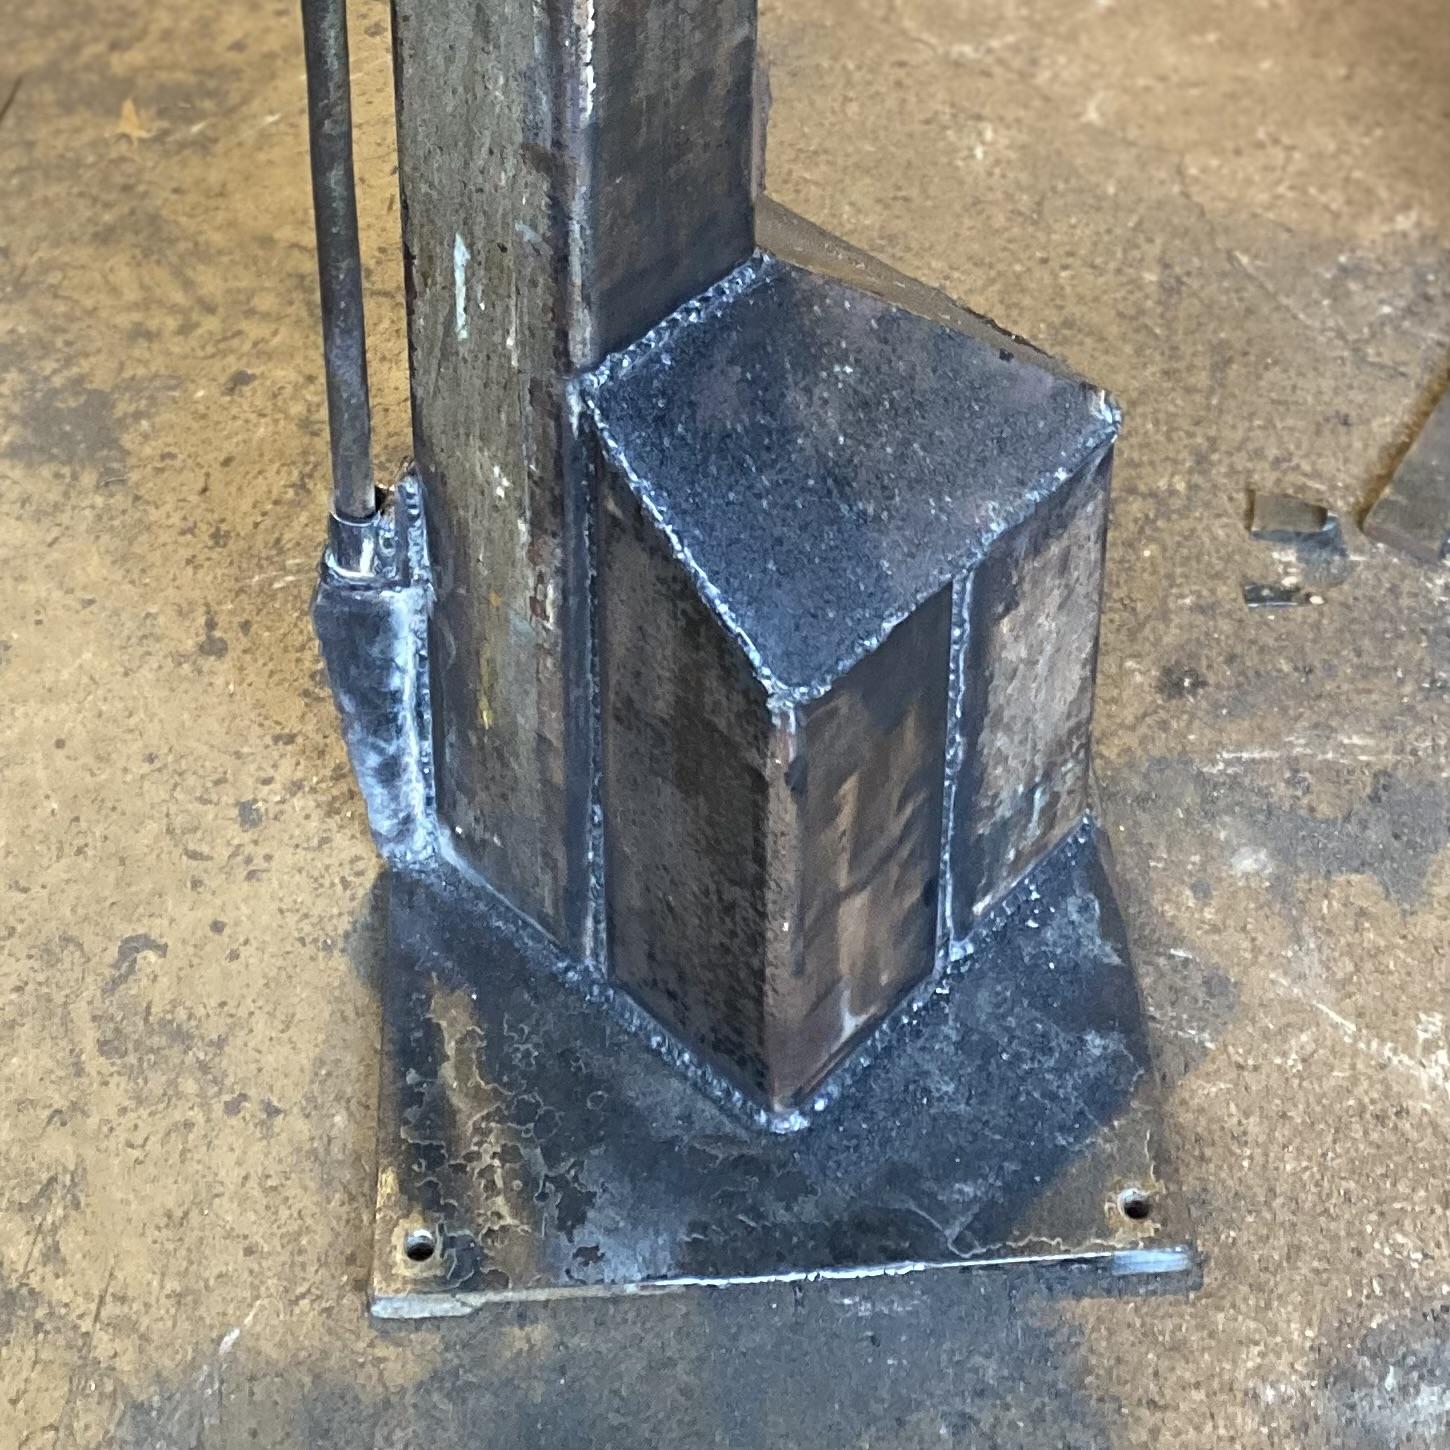
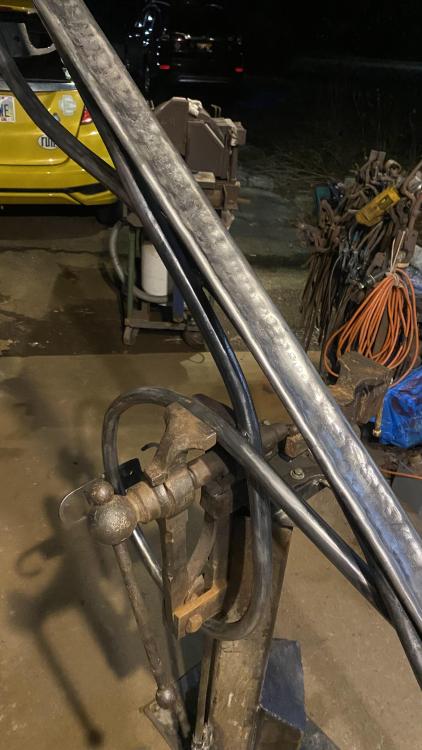
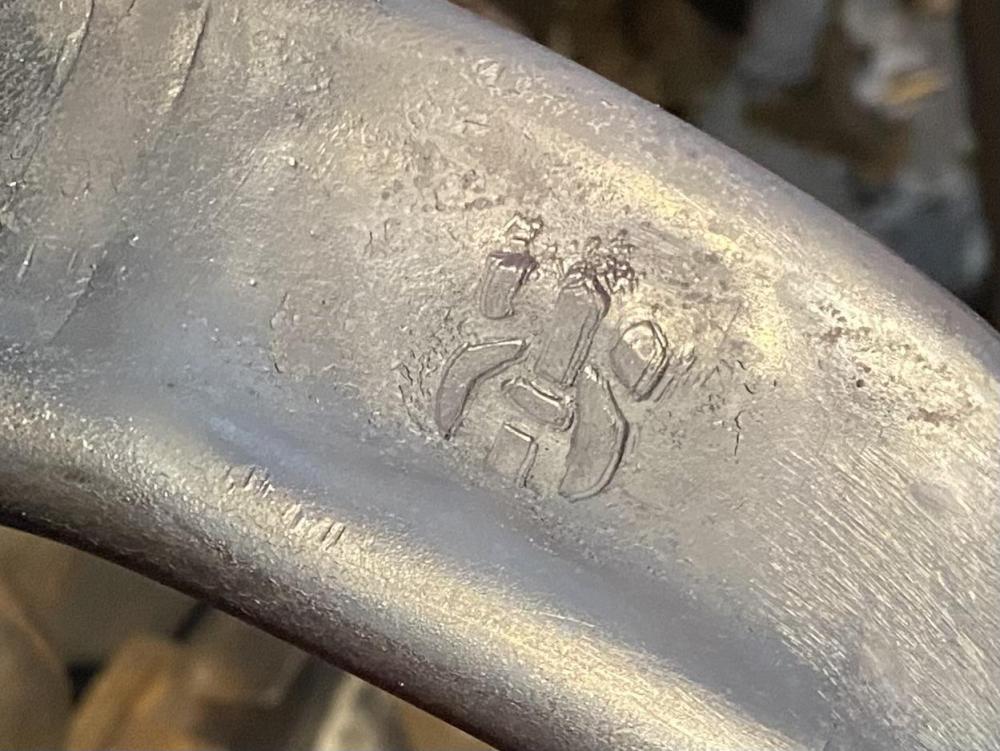
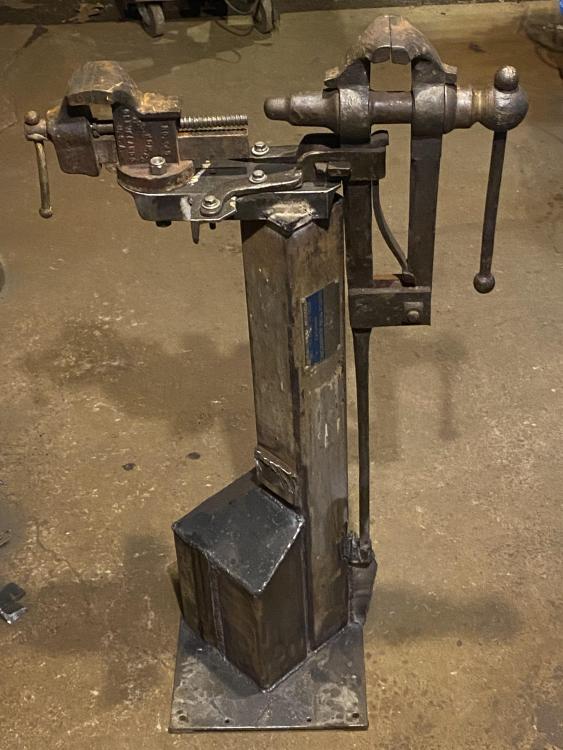
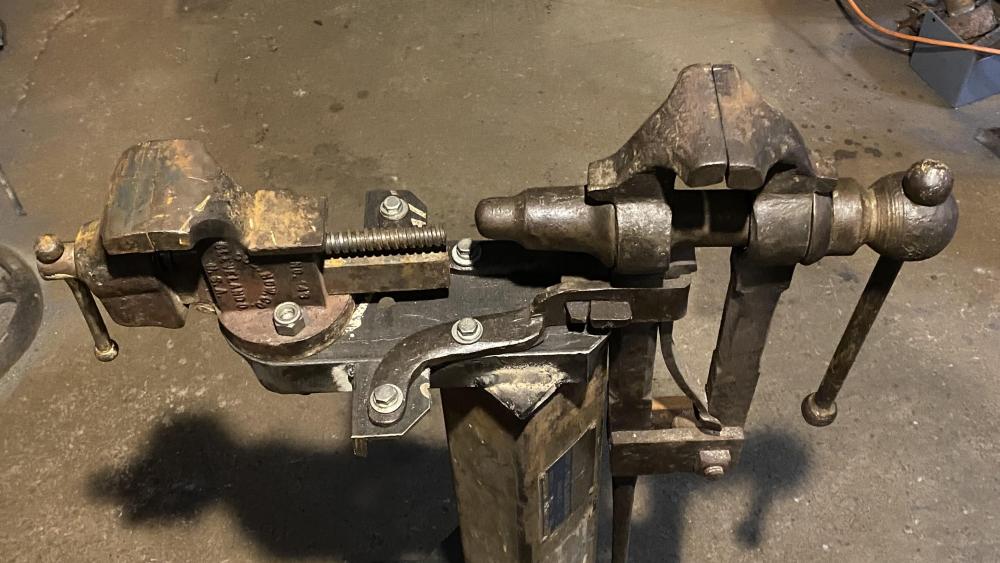
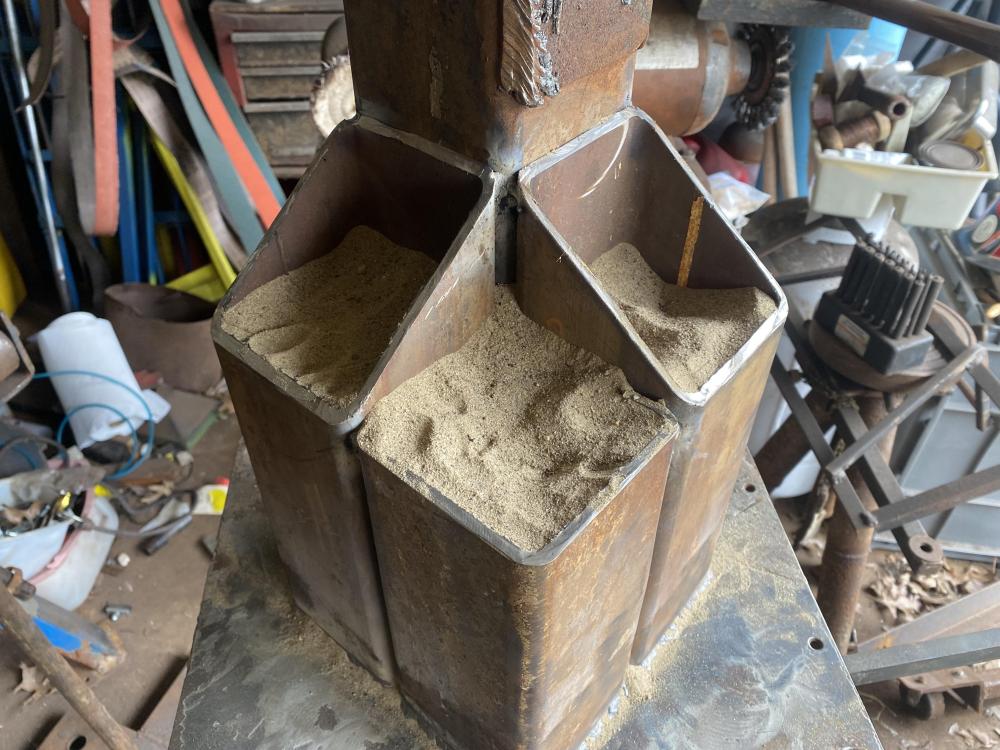
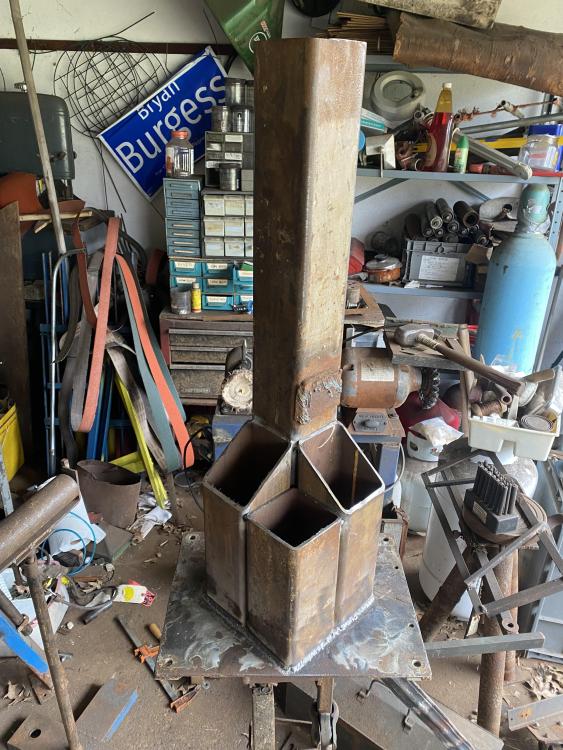
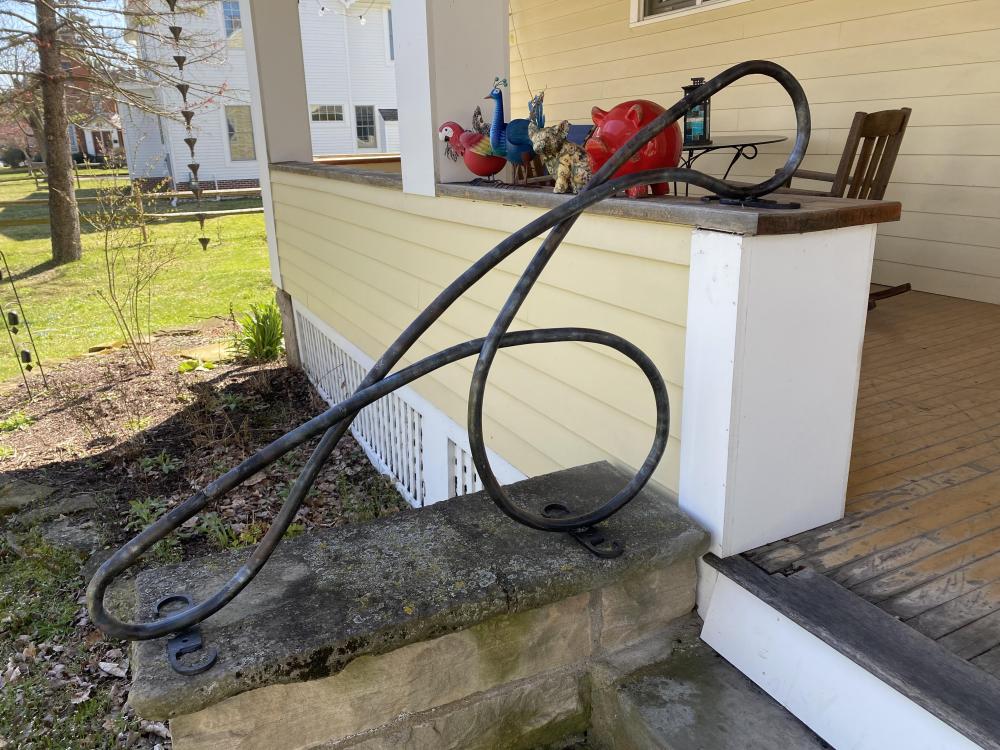
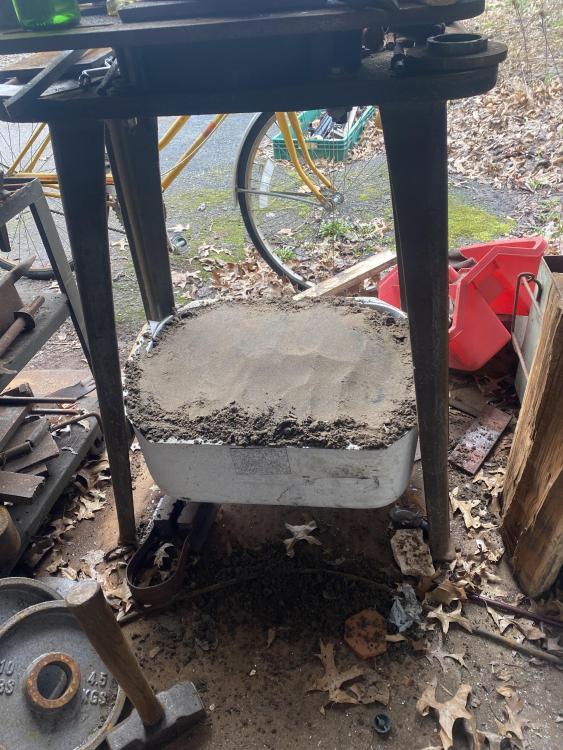
One of my old friends had one mounted on a broomstick. He used it for spitting rats in the barn. So, I welded the handrail onto the railing and did a lot of wire brushing. Also spot heated the railing and added my touchmark. Observant readers will have noticed the new vise stand: Which mounts both my smaller post vise and the little bench vise I got from the scrapyard: This is welded up from some 4” square tube, with shorter pieces at the base: Which are filled up with sand for weight and stability Which is held in with a cover of 16 ga. sheet: I’ve been playing with this idea in my head for a while, and I’m quite pleased with how it’s worked out.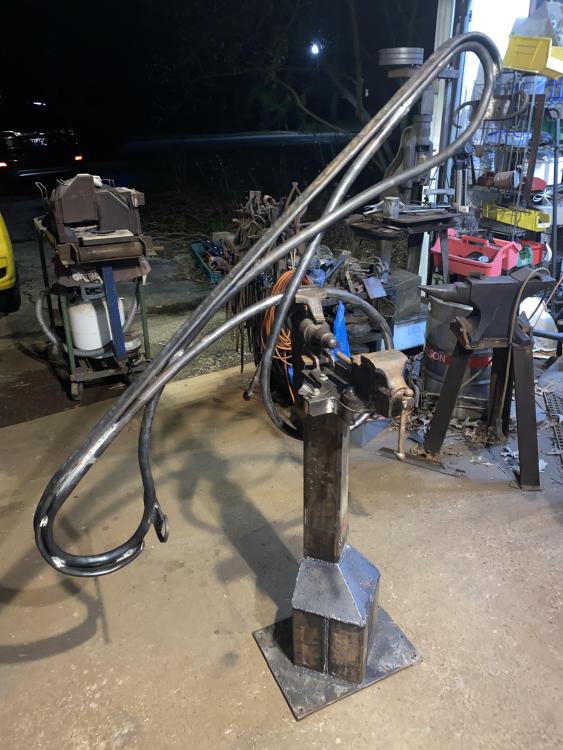


-
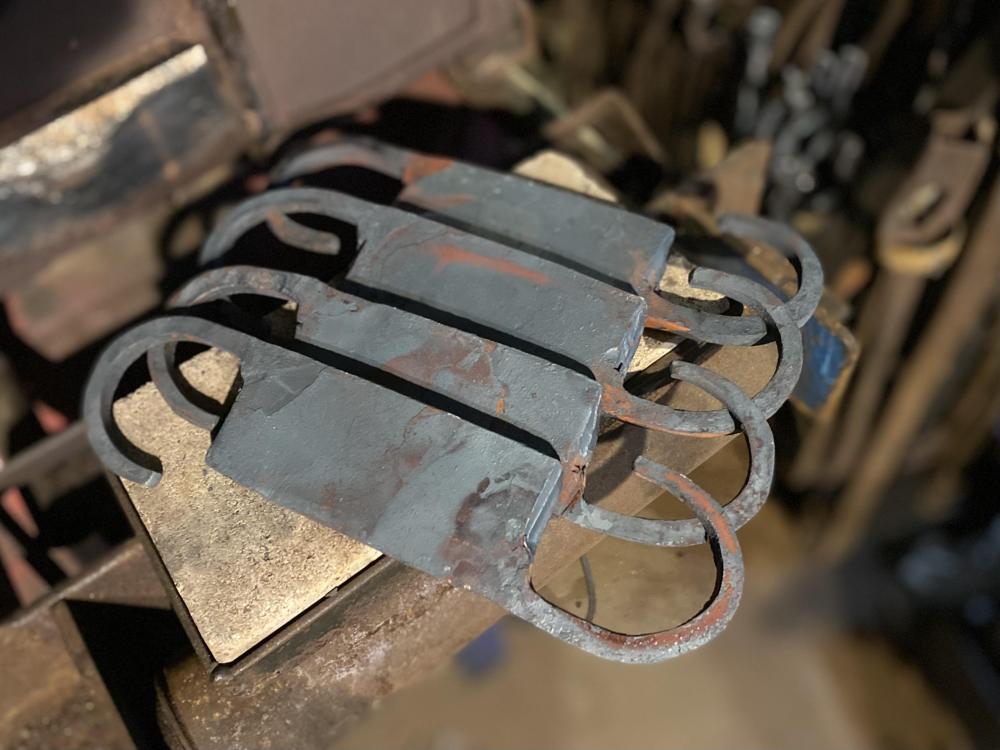
One thing to keep in mind is that most tie plates taper in thickness from one end to the other. If you want your working surface to be horizontal, you’ll need to take this into account.
-
What did you do in the shop today?
JHCC replied to Mark Ling's topic in Blacksmithing, General Discussion
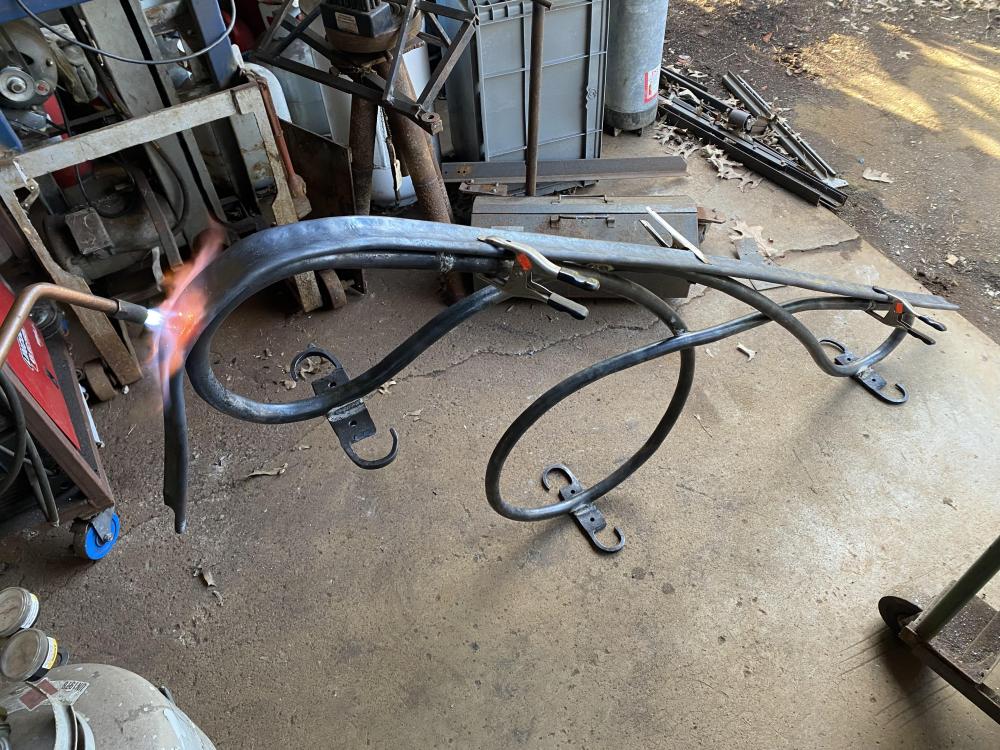
Progress on the latest railing project: The railing still needs to get welded on, there’s some cleanup to do, and then we’ll be ready for paint.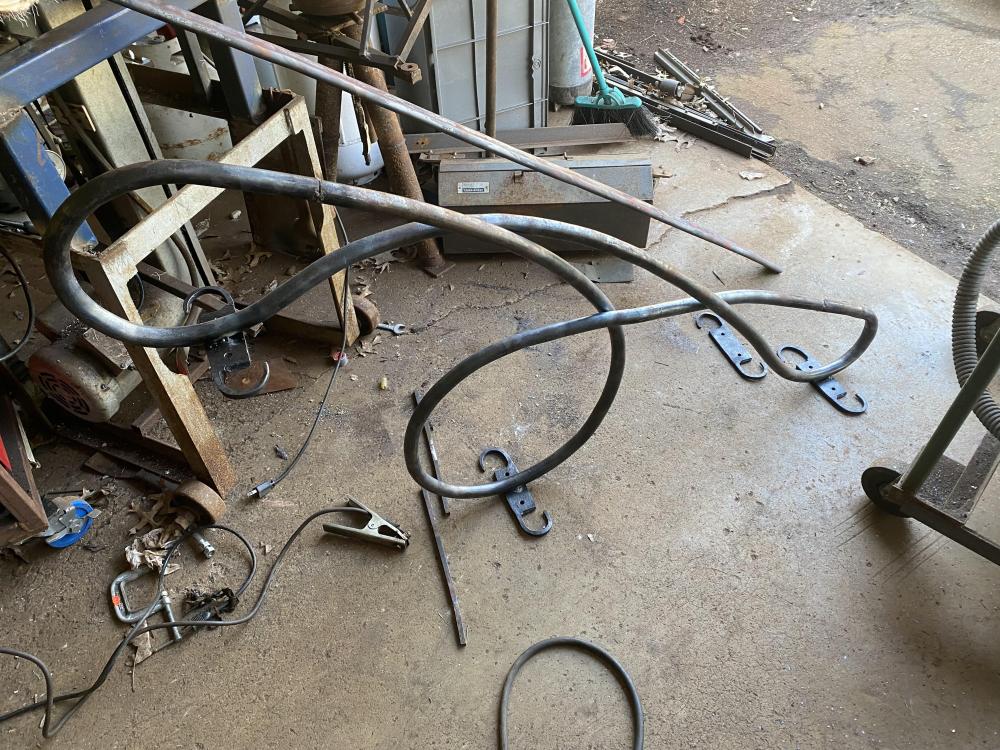
-
What did you do in the shop today?
JHCC replied to Mark Ling's topic in Blacksmithing, General Discussion
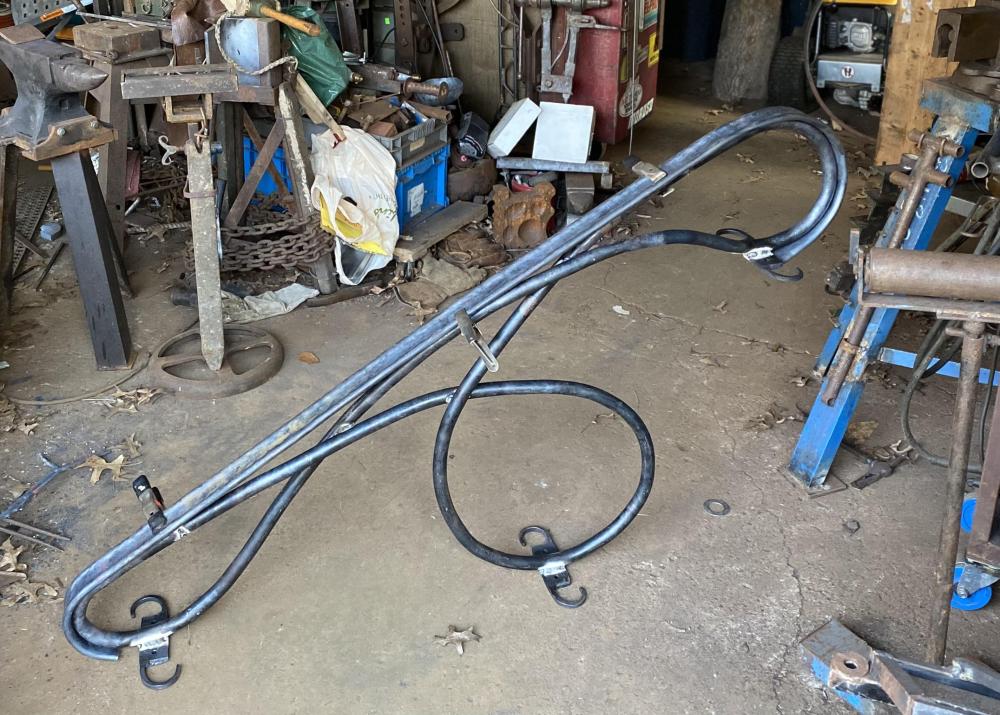
Two significant steps forward. First, I finished forging the mounting brackets for a stair rail project: Second, I added a buffing wheel arbor and motor to my grinder stand: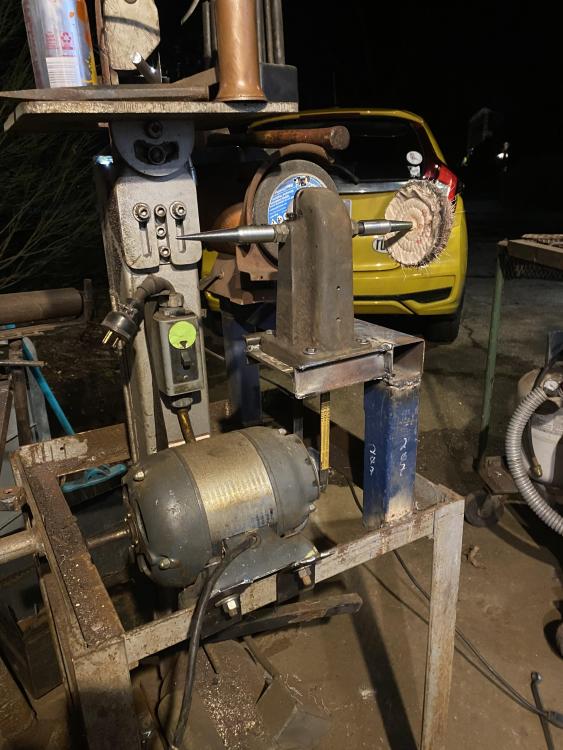
-
Mixing castable refractory and fire clay?
JHCC replied to Treywa's topic in Insulation and Refractories
Gotta pay your dues if you wanna sing the blues. -
Mixing castable refractory and fire clay?
JHCC replied to Treywa's topic in Insulation and Refractories
I'm more concerned that you said "hard fame" when you meant "hard flame". -
Mixing castable refractory and fire clay?
JHCC replied to Treywa's topic in Insulation and Refractories
FMM, refractory cement is generally for lower-temperature applications, such as the firebox for a wood-burning stove. -
Power hammer, hammer eye punch die?
JHCC replied to mnidoone's topic in Slitters, Punches, Drifts, etc
When you're in the learning stage, it's worthwhile to try out what others have done before reinventing the wheel. Torbjörn and Brent Bailey both use round punches and then drift to shape for a reason: it's much easier to align the drift in an already-punched hole than it is to get the alignment perfect the first time (especially under the power hammer). Also, it's easier to release a round with a quick tap-and-twist if it gets stuck. -
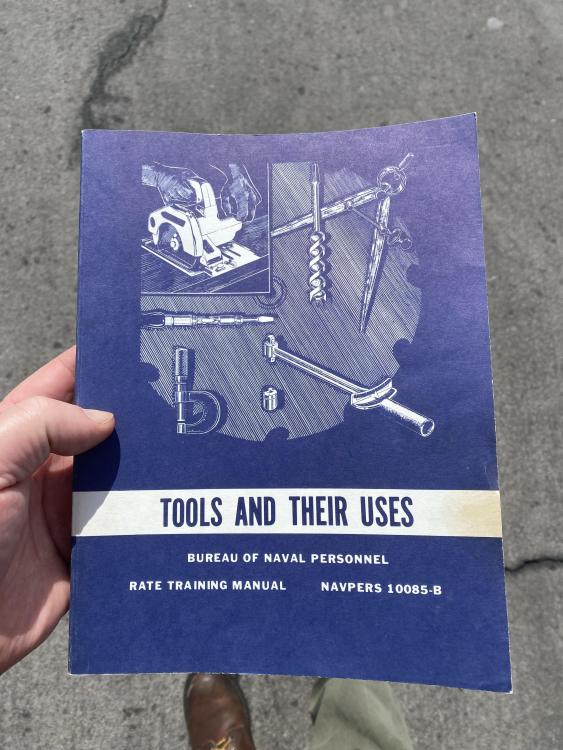
A $1 library book sale find:
-
Nat, you can certainly use multiple small stacks, but you're going to need more than two. The draw of the flue is directly proportional to its cross sectional area, and the general recommendation for this size forge is a flue with a 10"/25cm diameter. Because the area of that circle is about 79 square inches/490 square cm and because a 4"/10cm flue has a cross sectional area of about 13 square inches/79 square cm, you're going to need at least six of them.
-
I actually tried something very much like that, utterly without success. I suppose a lot depends on the belt itself; I had no luck with the heavy grit and tough adhesive of a 36 grit cubitron belt. However, I can report that the blue tape is working pretty well. I did have one belt let go in use, but that was one that had previously been reglued, and I don’t think the adhesive bonded properly to the fabric.
-
Worth a try.
-
I think your flue pipe is a bit too small.
-
What did you do in the shop today?
JHCC replied to Mark Ling's topic in Blacksmithing, General Discussion
He’s a wonderful human being, and I was glad to have him over. -
What did you do in the shop today?
JHCC replied to Mark Ling's topic in Blacksmithing, General Discussion
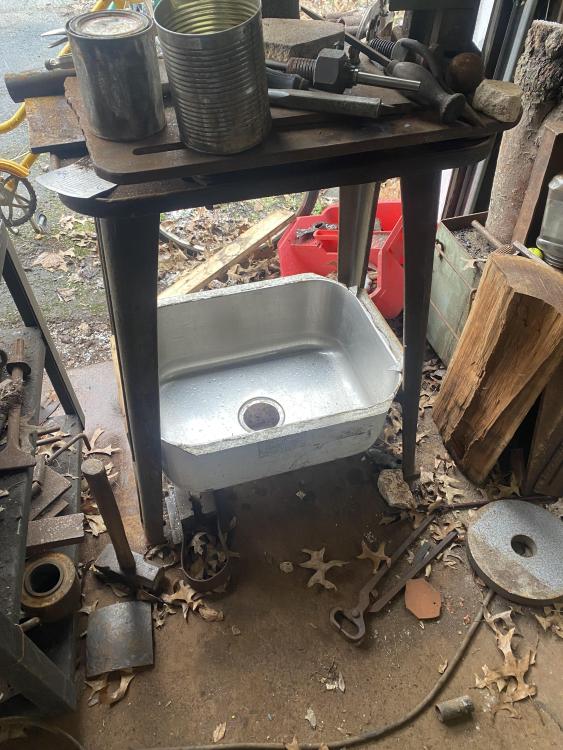
I’ll have to try the BB thing. So, two things today. First, the director of Safety and Security at the college came over to try out smithing and made a nice bottle opener. And I decided to try out an idea I’d had for stabilizing my fly press. This was to mount a stainless steel sink (donated by a friend who was remodeling their kitchen) under the stand and pack it full of sand. I haven’t done any significant forging with this yet, but it’s a lot more solid than it was before I’ll probably cover this with a shelf for tooling and such, but that’s for another time.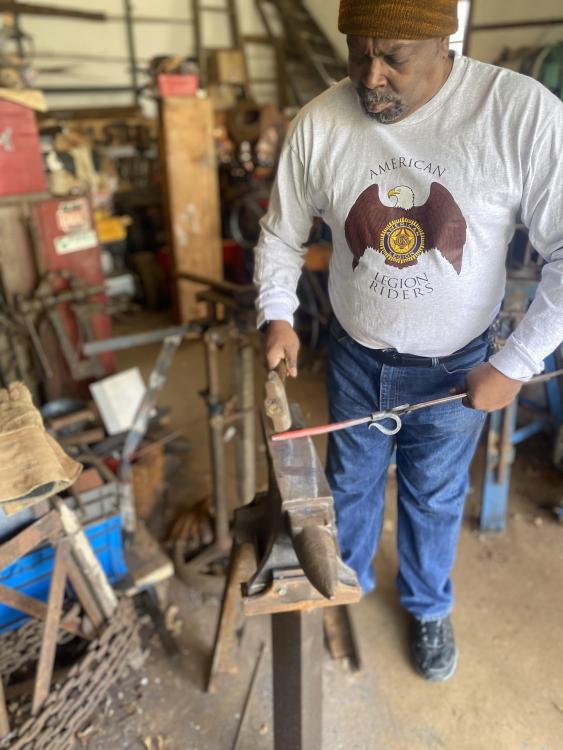

-
JLP Blacksmith Teaching Center.
JHCC replied to jlpservicesinc's topic in Building, Designing a Shop
I read something many years ago about someone visiting a foundry and seeing an old man carefully polishing a bronze church door. After a while, he went up to him and said, “That door looks absolutely perfect. How do you know when it’s done?” The old man replied, “It’s never done. They just come and take it away.” -
What did you do in the shop today?
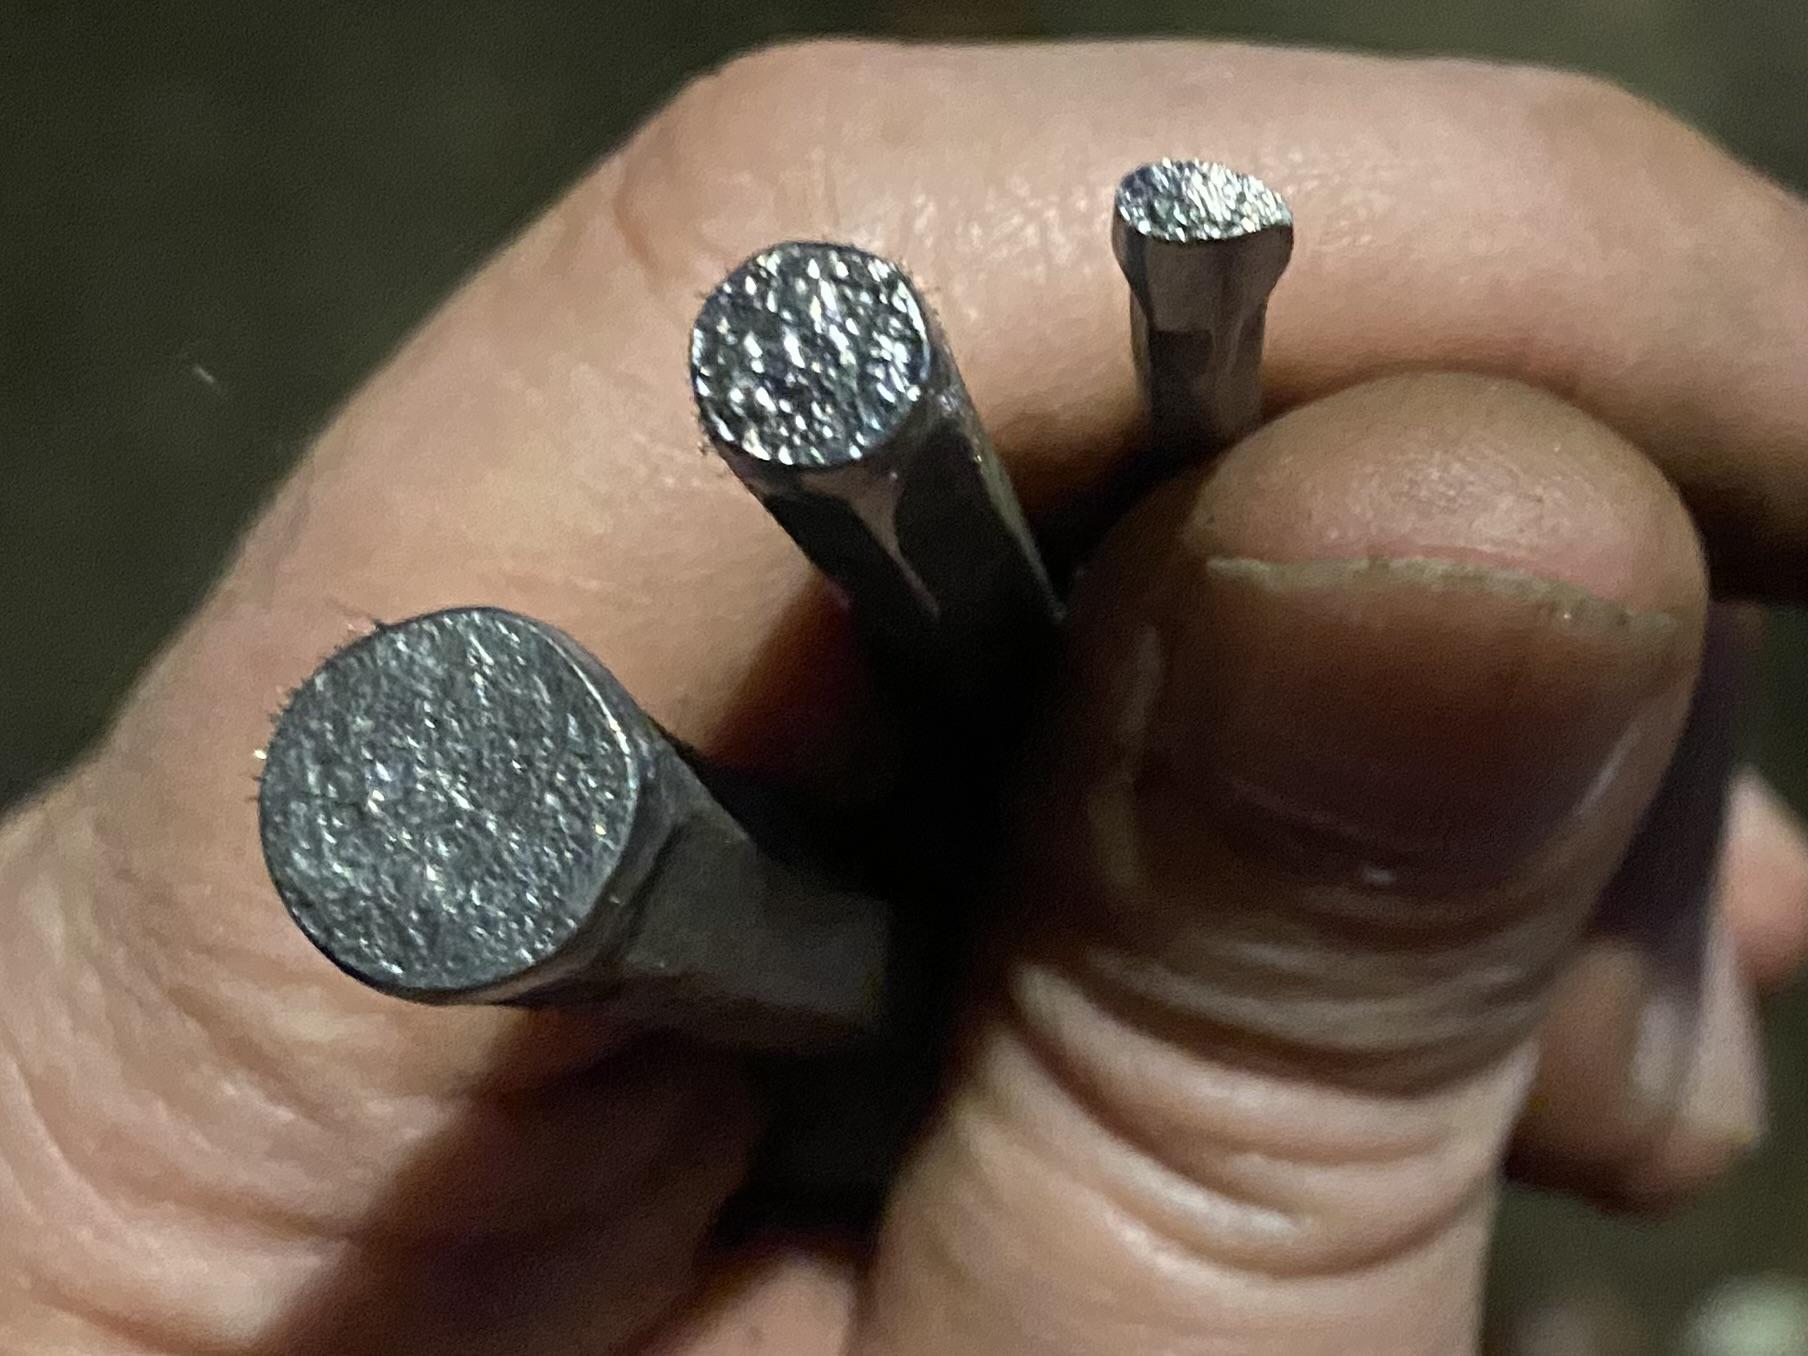
JHCC replied to Mark Ling's topic in Blacksmithing, General Discussion
I created the texture with tools made by heating the ends of some steel rods, hammering them against a file, grinding the outside to shape, and hardening & tempering. Here are a few others I made with the same process, although instead of hammering against a file, I hammered them against a rough spot on my shop floor.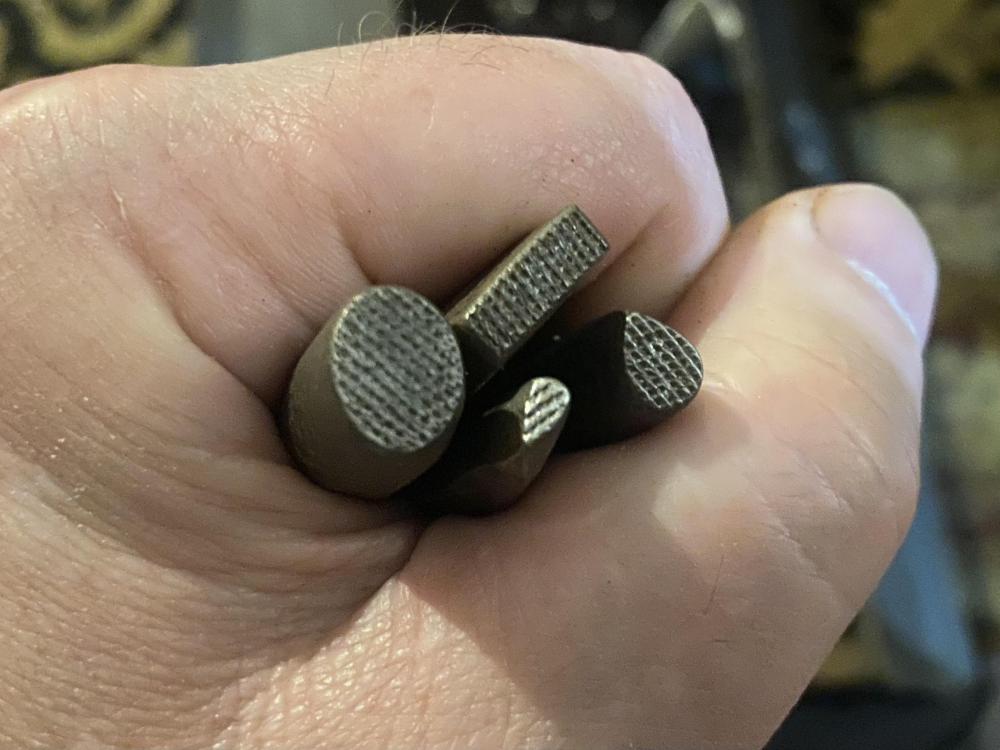

-
Anvil/vise combinations like this were made for one very simple purpose: to take advantage of the late 19th century mania for gadgetry in order to sell more tools. You are right; they don't make very good anvils, and I'm not even sure how good they are as vises.
-
I don't think so. Let's keep this thread as a separate discussion of your setup.
-
What did you do in the shop today?
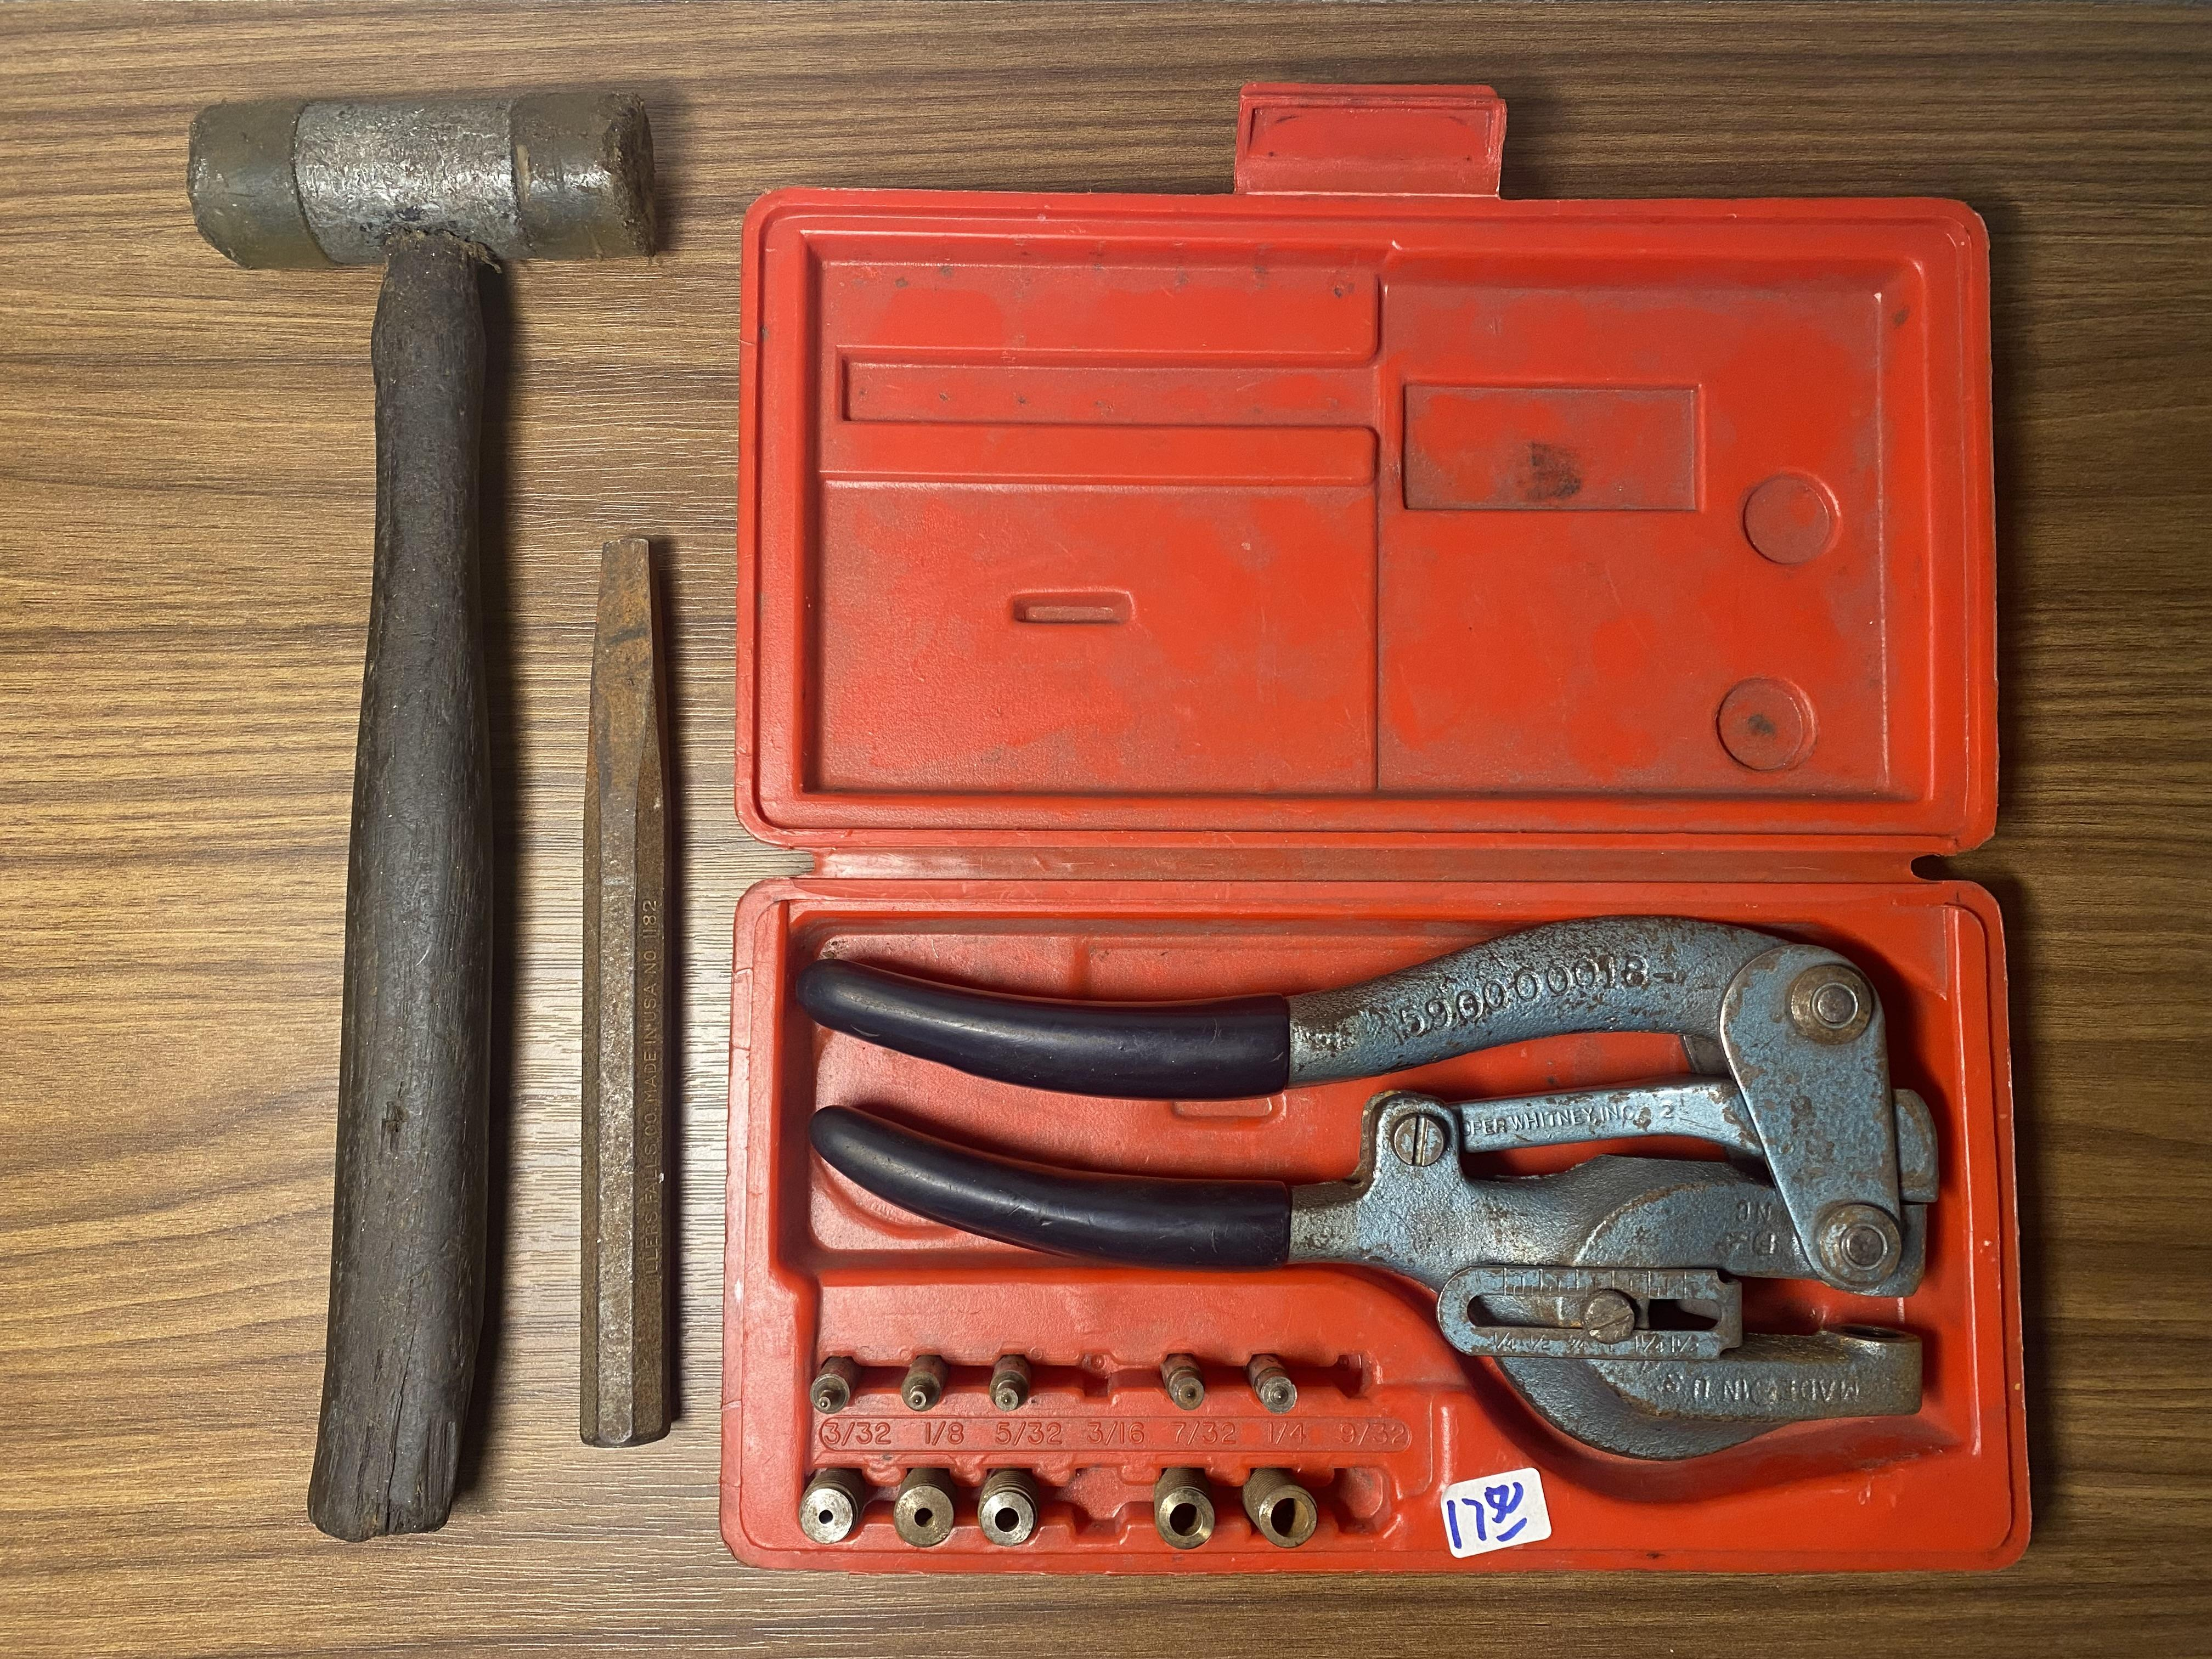
JHCC replied to Mark Ling's topic in Blacksmithing, General Discussion
I can't find my jeweler's saw (I think it may be in my old woodworking toolbox in the basement, but I haven't actually used it in over thirty years), so I punched out most of the holes' area with my little Roper Whitney No. 5 Jr and then cleaned things up with a couple of files. I was greatly aided in making the straight sides by using the depth stop. Once that's set to punch holes a specific distance from the edge, all you have to do is punch a bunch of them side-by-side and then go over them again to punch out the bits in between. Punching overlapping holes wasn't a problem with this thickness of brass; certainly much easier than trying to make them with a twist drill.
-
Yeah, I don't think there are many cannons in the Jane Austen canon. He discussed it here: At Fort Ticonderoga on the NY side of Lake Champlain, they used to do demonstrations of cannon and mortar fire (and still may, for all I know). They did a very good job of explaining how the big advantage of a mortar is that because it doesn't recoil nearly as much as a cannon, it can be dialed in with great accuracy to hit a precise spot. Their target was a steel box about 3' to a side, and if a mortar team managed to drop a ball in it, they would win a case of beer. For the cannon, they had a large steel target in the shape of a (significantly oversized) Hessian soldier, and the presenter would deliver the following spiel: "If the ball hits the target, you will hear a loud clang! If it is a near miss, a mound of dust will rise into the air! But if you hear no sound and see no mound, you know that ball is Vermont-bound!"
-
What did you do in the shop today?
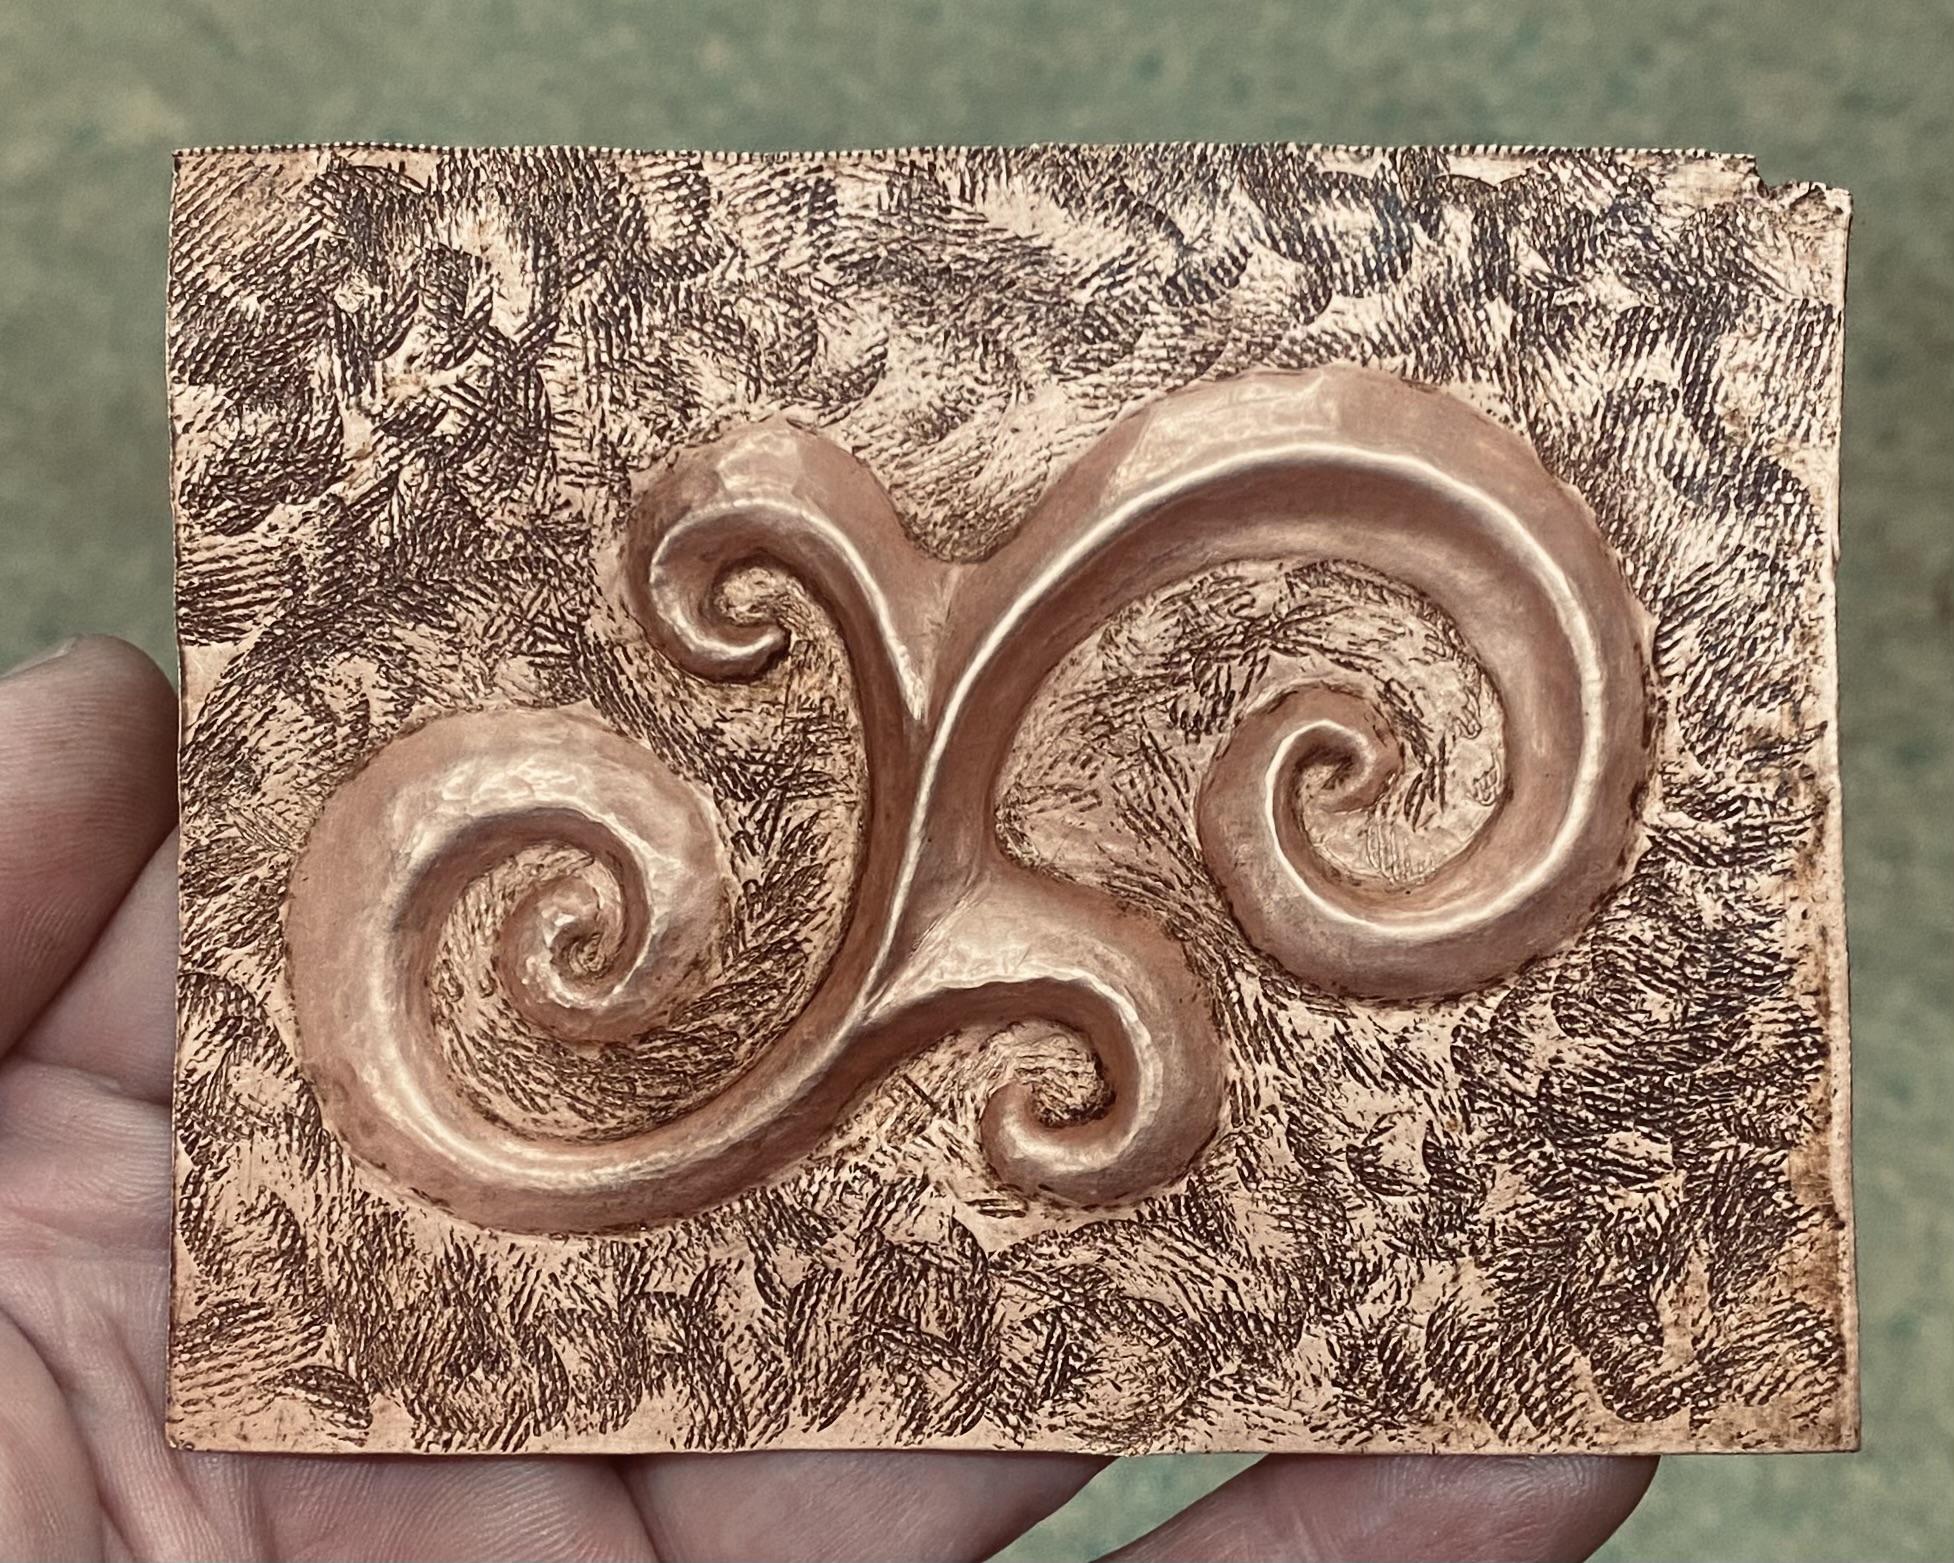
JHCC replied to Mark Ling's topic in Blacksmithing, General Discussion
Finished another repoussé practice piece.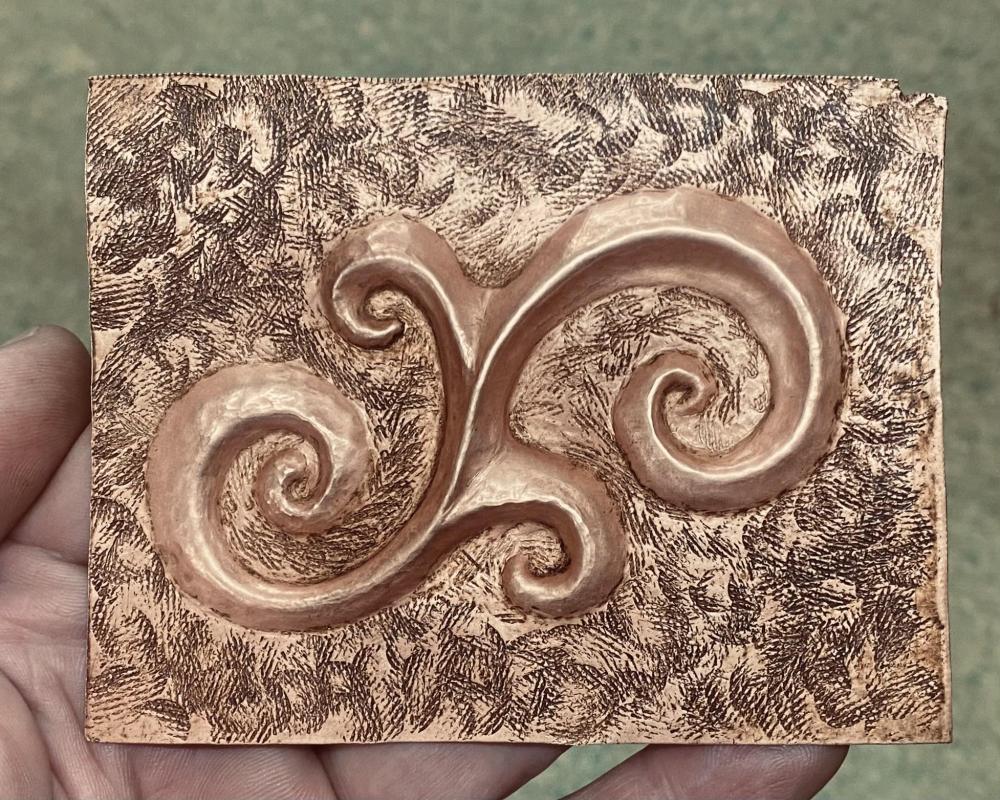
-
Here’s the thread detailing how I built mine: https://www.iforgeiron.com/topic/57590-helium-tank-super-sucker/ In answer to your question via message, my own flue was 10 inches/25cm in diameter and about 8 feet/2.5 meters long. Most of that was horizontal, but even so, it worked great.
-
Question about controlling spatter
JHCC replied to Buzzkill's topic in Welding/Fab General Discussion
Silicone can really interfere with painted finishes, as can some oils. If you use anti-spatter spray, check the label for what it says about cleanup and painting. -
It took a lot of washing and airing, but I managed to get it from "uncleaned dive bar" to "dead campfire".