
Forging Carver
-
Posts
640 -
Joined
-
Last visited
Content Type
Profiles
Forums
Articles
Gallery
Downloads
Events
Posts posted by Forging Carver
-
-
Well, I haven't posted in a while on this site and I have my reasons for it. I just thought I would let all those blade smiths who told me I was wasting my time making knives from railroad spikes. Even the high carbon steel ones they say, will still make a crummy knife. I have even heard someone say that a railroad spike knife won't even cut butter. In a nutshell, I should stay away from railroad spikes even to have fun or to practice. But, the fun out of making something out of a railroad spike wasn't going to stop me because some blade smiths told me so. Now we know that a railroad spike can even pass the journeyman blade smith test. Can a railroad spike knife still not cut butter? Am I really wasting my time even to just have fun or practice forging? To my opinion no, but I am sure some of you will find a reason telling me otherwise. Thanks Chandler!
Mod Note Inappropriate Language in the video. The video link was removed.
-
To be completely honest, I did follow one set of plans the whole time through. I watch YouTube for enjoyment mainly, get some ideas, and maybe learn a bit from notable smiths. I don't even have a Facebook, don't see a need for it. It was my first forge, it can get up to almost yellow, but I was hoping maybe it could get hotter. That's alright, the next forge will be better. Thanks for the help Darius and I know you are right that the air ratio in a burner can affect how the firge runs. I know that from my own research and experience as well. That was a very good tip. Don't let anyone discourage you from trying to help if you know what you are saying will help. That's why we are here. The forum isn't dedicated to just a few people, so I am glad to have help from all if it will help. Thanks again
-
That's a good tip, thank you. My main issue is that the forge can't get up to yellow. It could be small breezes and I need a windshield, but it could also be that my office isn't dead center. I'll have to see on a dead wind day or once I get a windshield figured out.
-
Hi,
The gas forge I have made is going to be used in the outdoors. The only issue is that if you have just a little gust of wind, your burner doesn't work properly. So I was told that a windscreen would help. Can any of you guys give me an idea of what a windscreen should look like? Can it be just a tarp setup or does it have to be inside of a type of a tent? Thanks
-
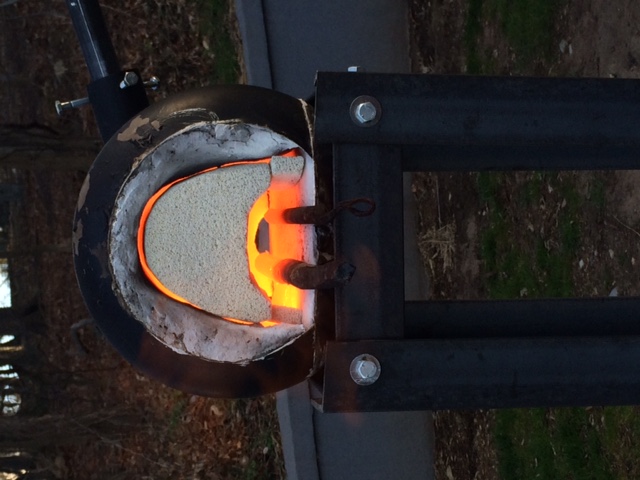
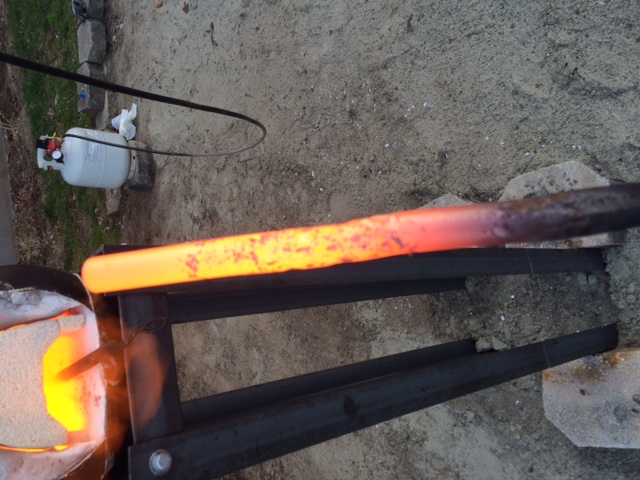
Well, it seems that the popping noises were probobly only from the wind. The mig tip was about halfway between the top and bottom of the tee. I couldn't really get a good sense of the flame color since the wind was blowing the flame, but what I do know is that it heated up my forge and there was orange dragon breathe which I know is what I want. At around 8 psi I was able to get 3/8" up to orange in about 4 mins, and at 13 psi the steel can get up to yellow. im not sure if I need to tune my burner at all anymore though, maybe at dusk I will run it and see what the flame looks like. There was also a bit of oxidation on the steel. Well, all that I cared about is for the forge to work, and it did. Now maybe just some more final tuning and it should good. Note that the pictures are not as bright as they appear.
-
I went to light the forge this morning so I can tune my burner. It kept going pop, pop, pop, and it looked like the flame was trying to ignite but it couldn't. You can see a blue flame kind of trickling and trying to ignite. I cut my mig tip about halfway, and I don't want to take any more becuase this didn't change the problem at all. To ignite the forge I held a barbecue lighter in the front and turned on the gas at around 5 psi. I also tried lighting a piece of paper and putting it in the forge. None worked. Is it the way I am lighting, or is it something wrong about the burner? Thanks
-
Yeah that would be a good idea. My thought was to put the bricks inside so that it will reduce the volume of the chamber. I do have enough room on my stand for when I get more bricks.
As far as the stability issue goes, I will hopefully get to that tommorrow.
Thanks
-
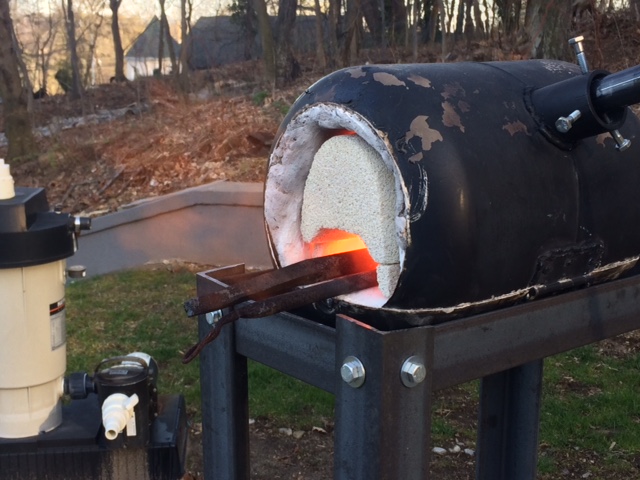
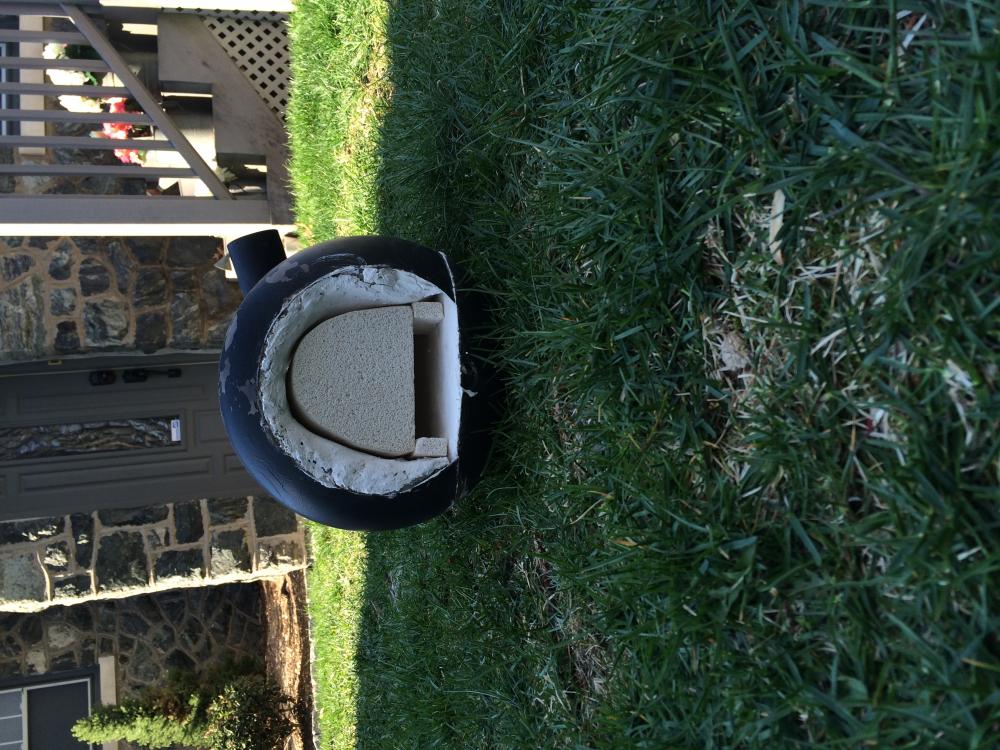
Thank you all for the great help! Now I will feel much safer using this forge once I mod it a bit. I made the doors today out of 2.5" soft firebrick. This reduced the inside of the forge from 12" to about 6.5"-7". My only concern is that I don't have a big enough space open for an exhaust. The front open is about 1", maybe a little more. I may make this a little bigger though so that a railroad spike can fit entirely into it. The back port half round is a bit over 1" long. Is this sufficient enough? Also, about how long will these firebricks last before I need to replace them? The last thing before I run it tomorrow is that I have read that putting Teflon tape on parts near the burner is not safe. My burner screws into a bell reducer and then onto the rubber hose. Can I put the Teflon tape on the hose end that screws into the bell reducer, or is that still too close? Thanks
Sorry, the pictures uploaded sideways


-
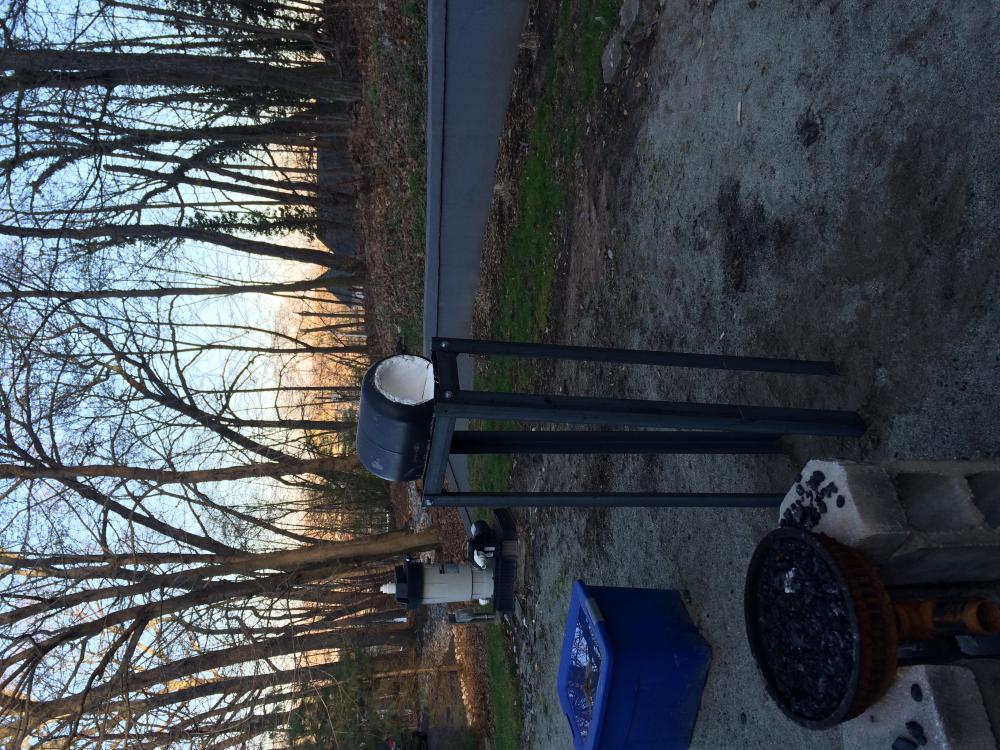
Thanks for input. Yeah, I got to be very careful. Where it is planted, it can be knocked over but you would really have to try. Taking a piece of steel out of the forge shouldn't knock it over, but something like falling into it or pushing it probobly will. Wobble is the main concern. I wanted to do a tripod type design like Wayne did, but I didn't have a welder and didn't find it worth it to go back to the guy again. Next forge and stand I make I will have a welder, so the design will be better. Right now my forging area is in sand, so I can plant it really well and it won't move easily. But when and if I move to somewhere on the grass, I will definetly mount a heavy plate of steel or get a pallet to it if I still have this stand. Thanks again.
-
Wow, this is really cool! I love how the outside looks like a cool old rugged barn, and then the inside is all refurbished with that nice mix of stone and wood.
Now here's a question you must get asked a lot. How much did that engine cost you?
-
Thanks for the comments,
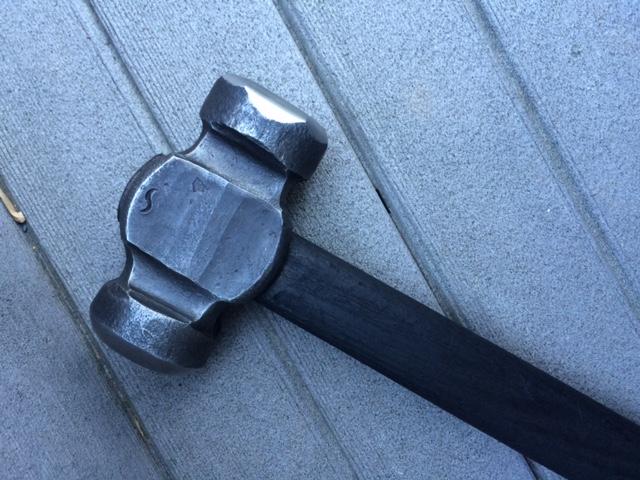
I thought about doing a bottle opener at the end, but thought that the hotshot was way to narrow.
-
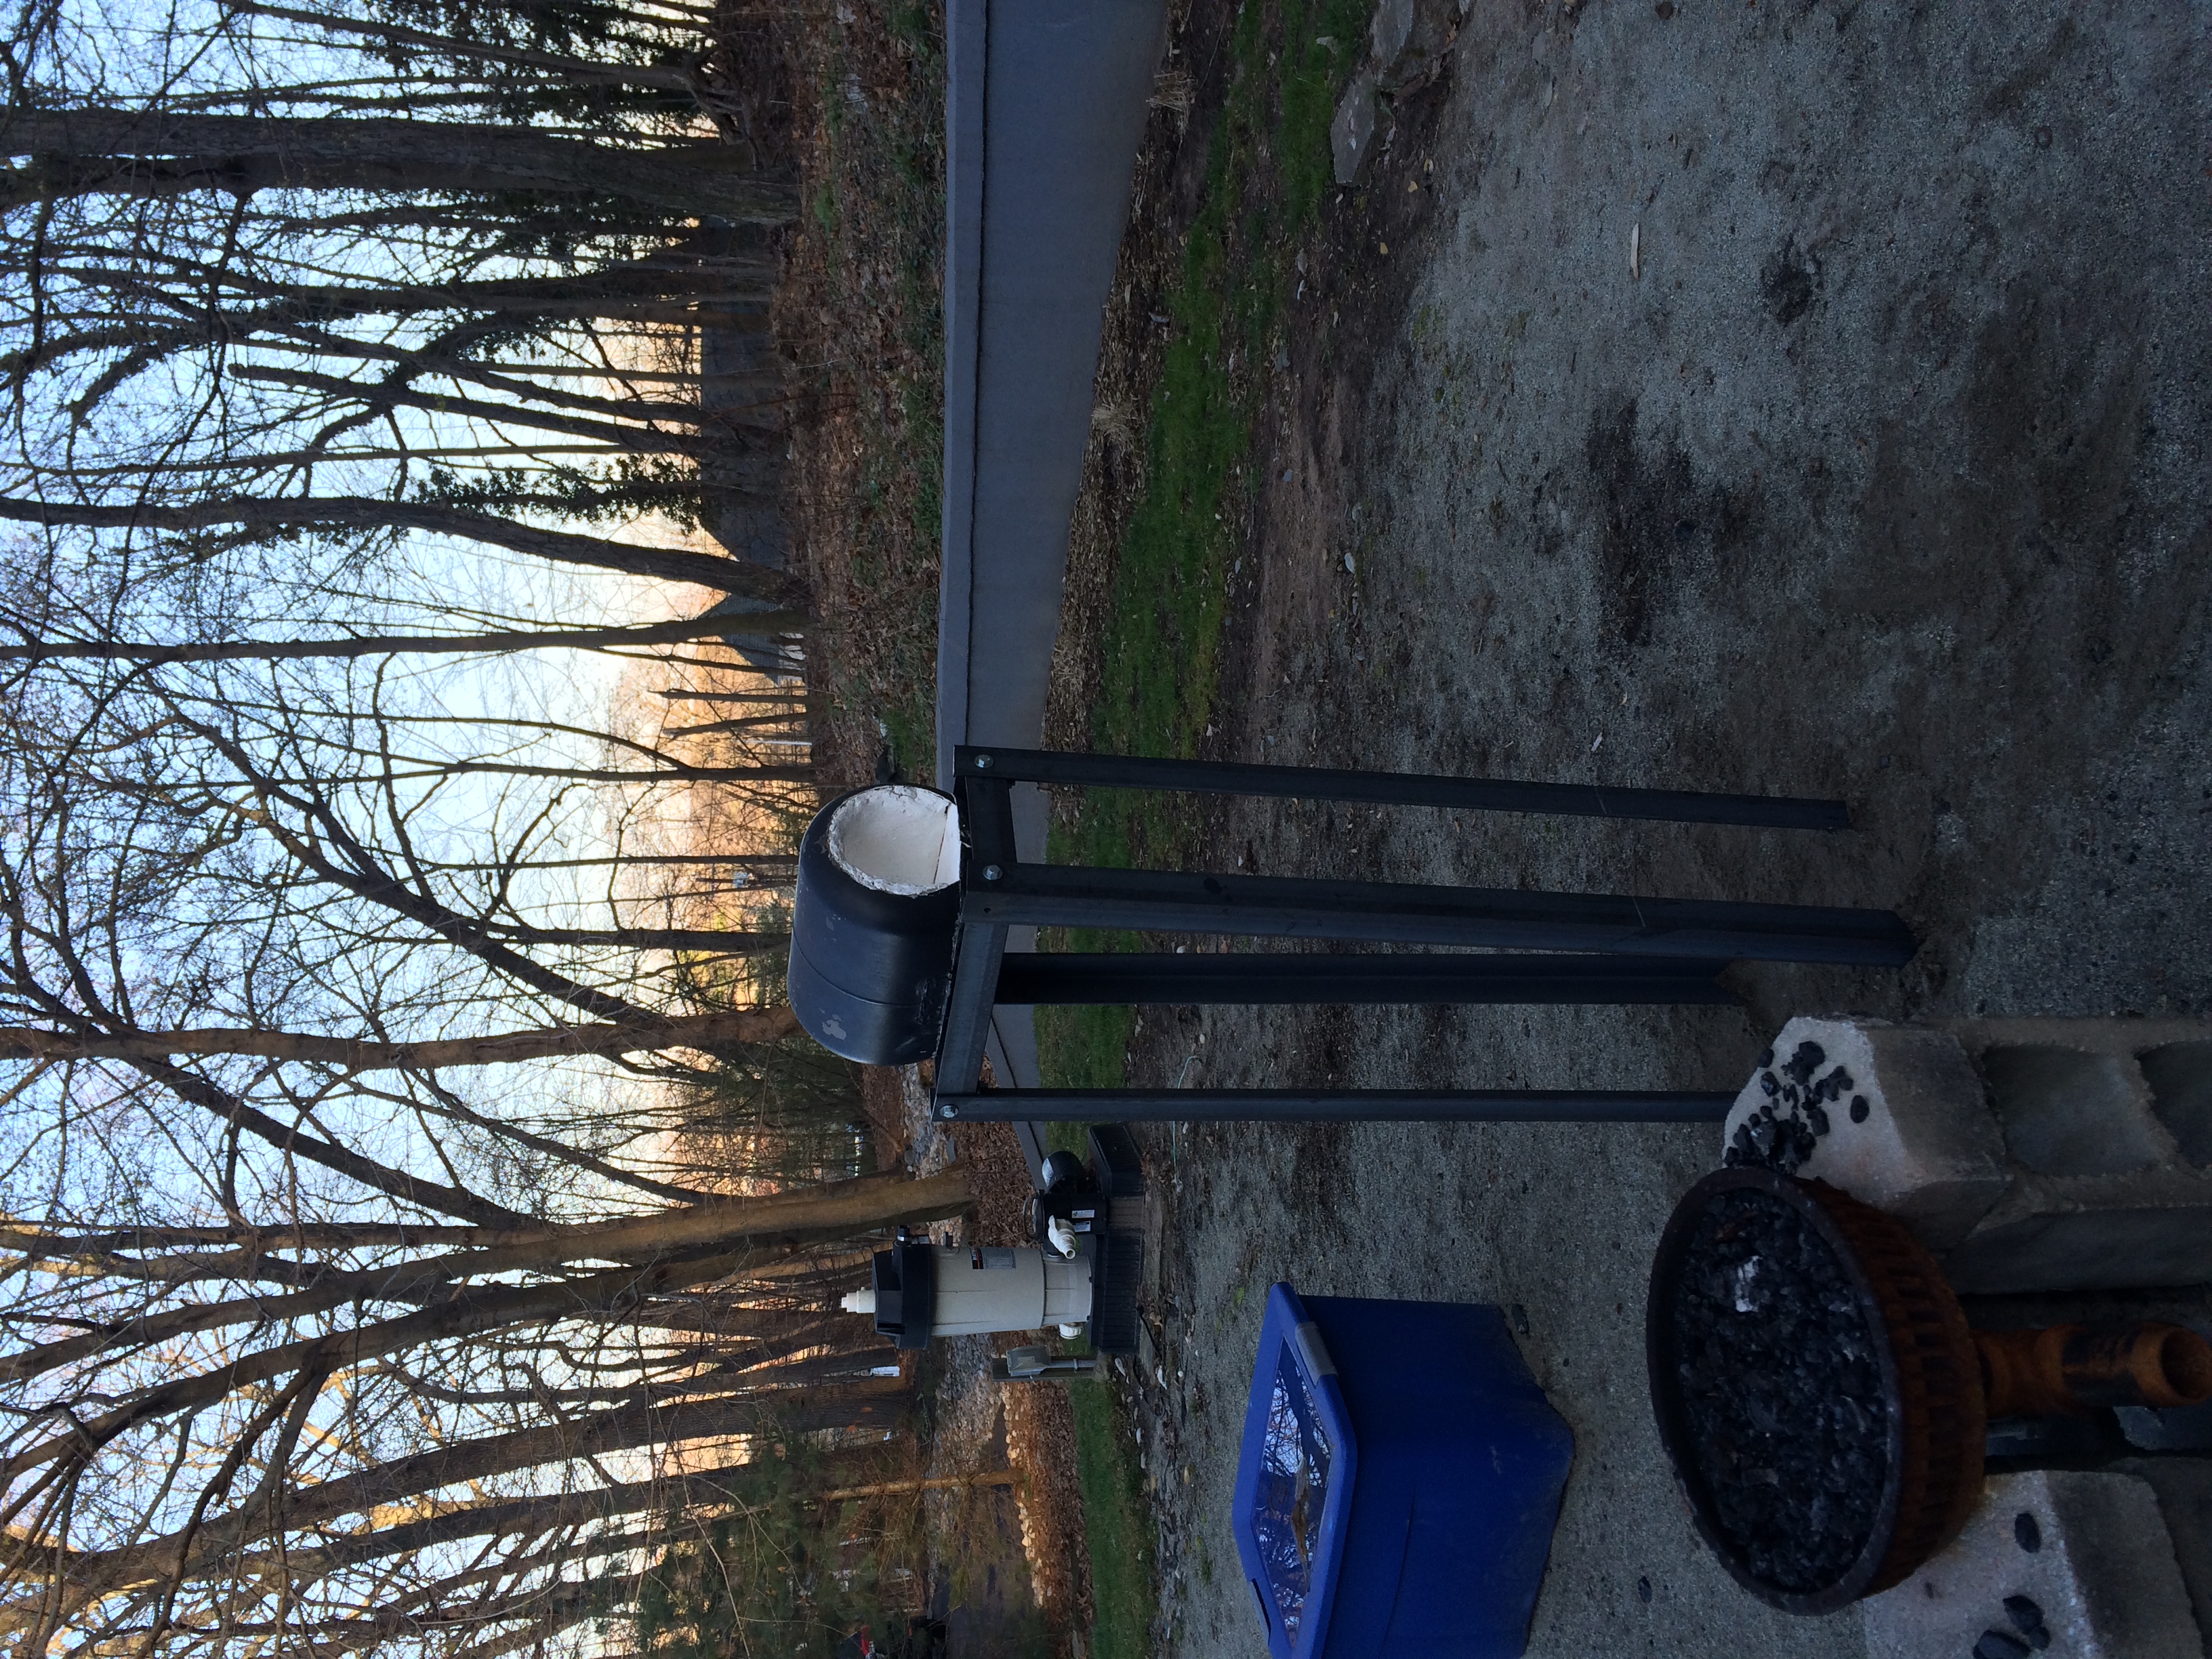
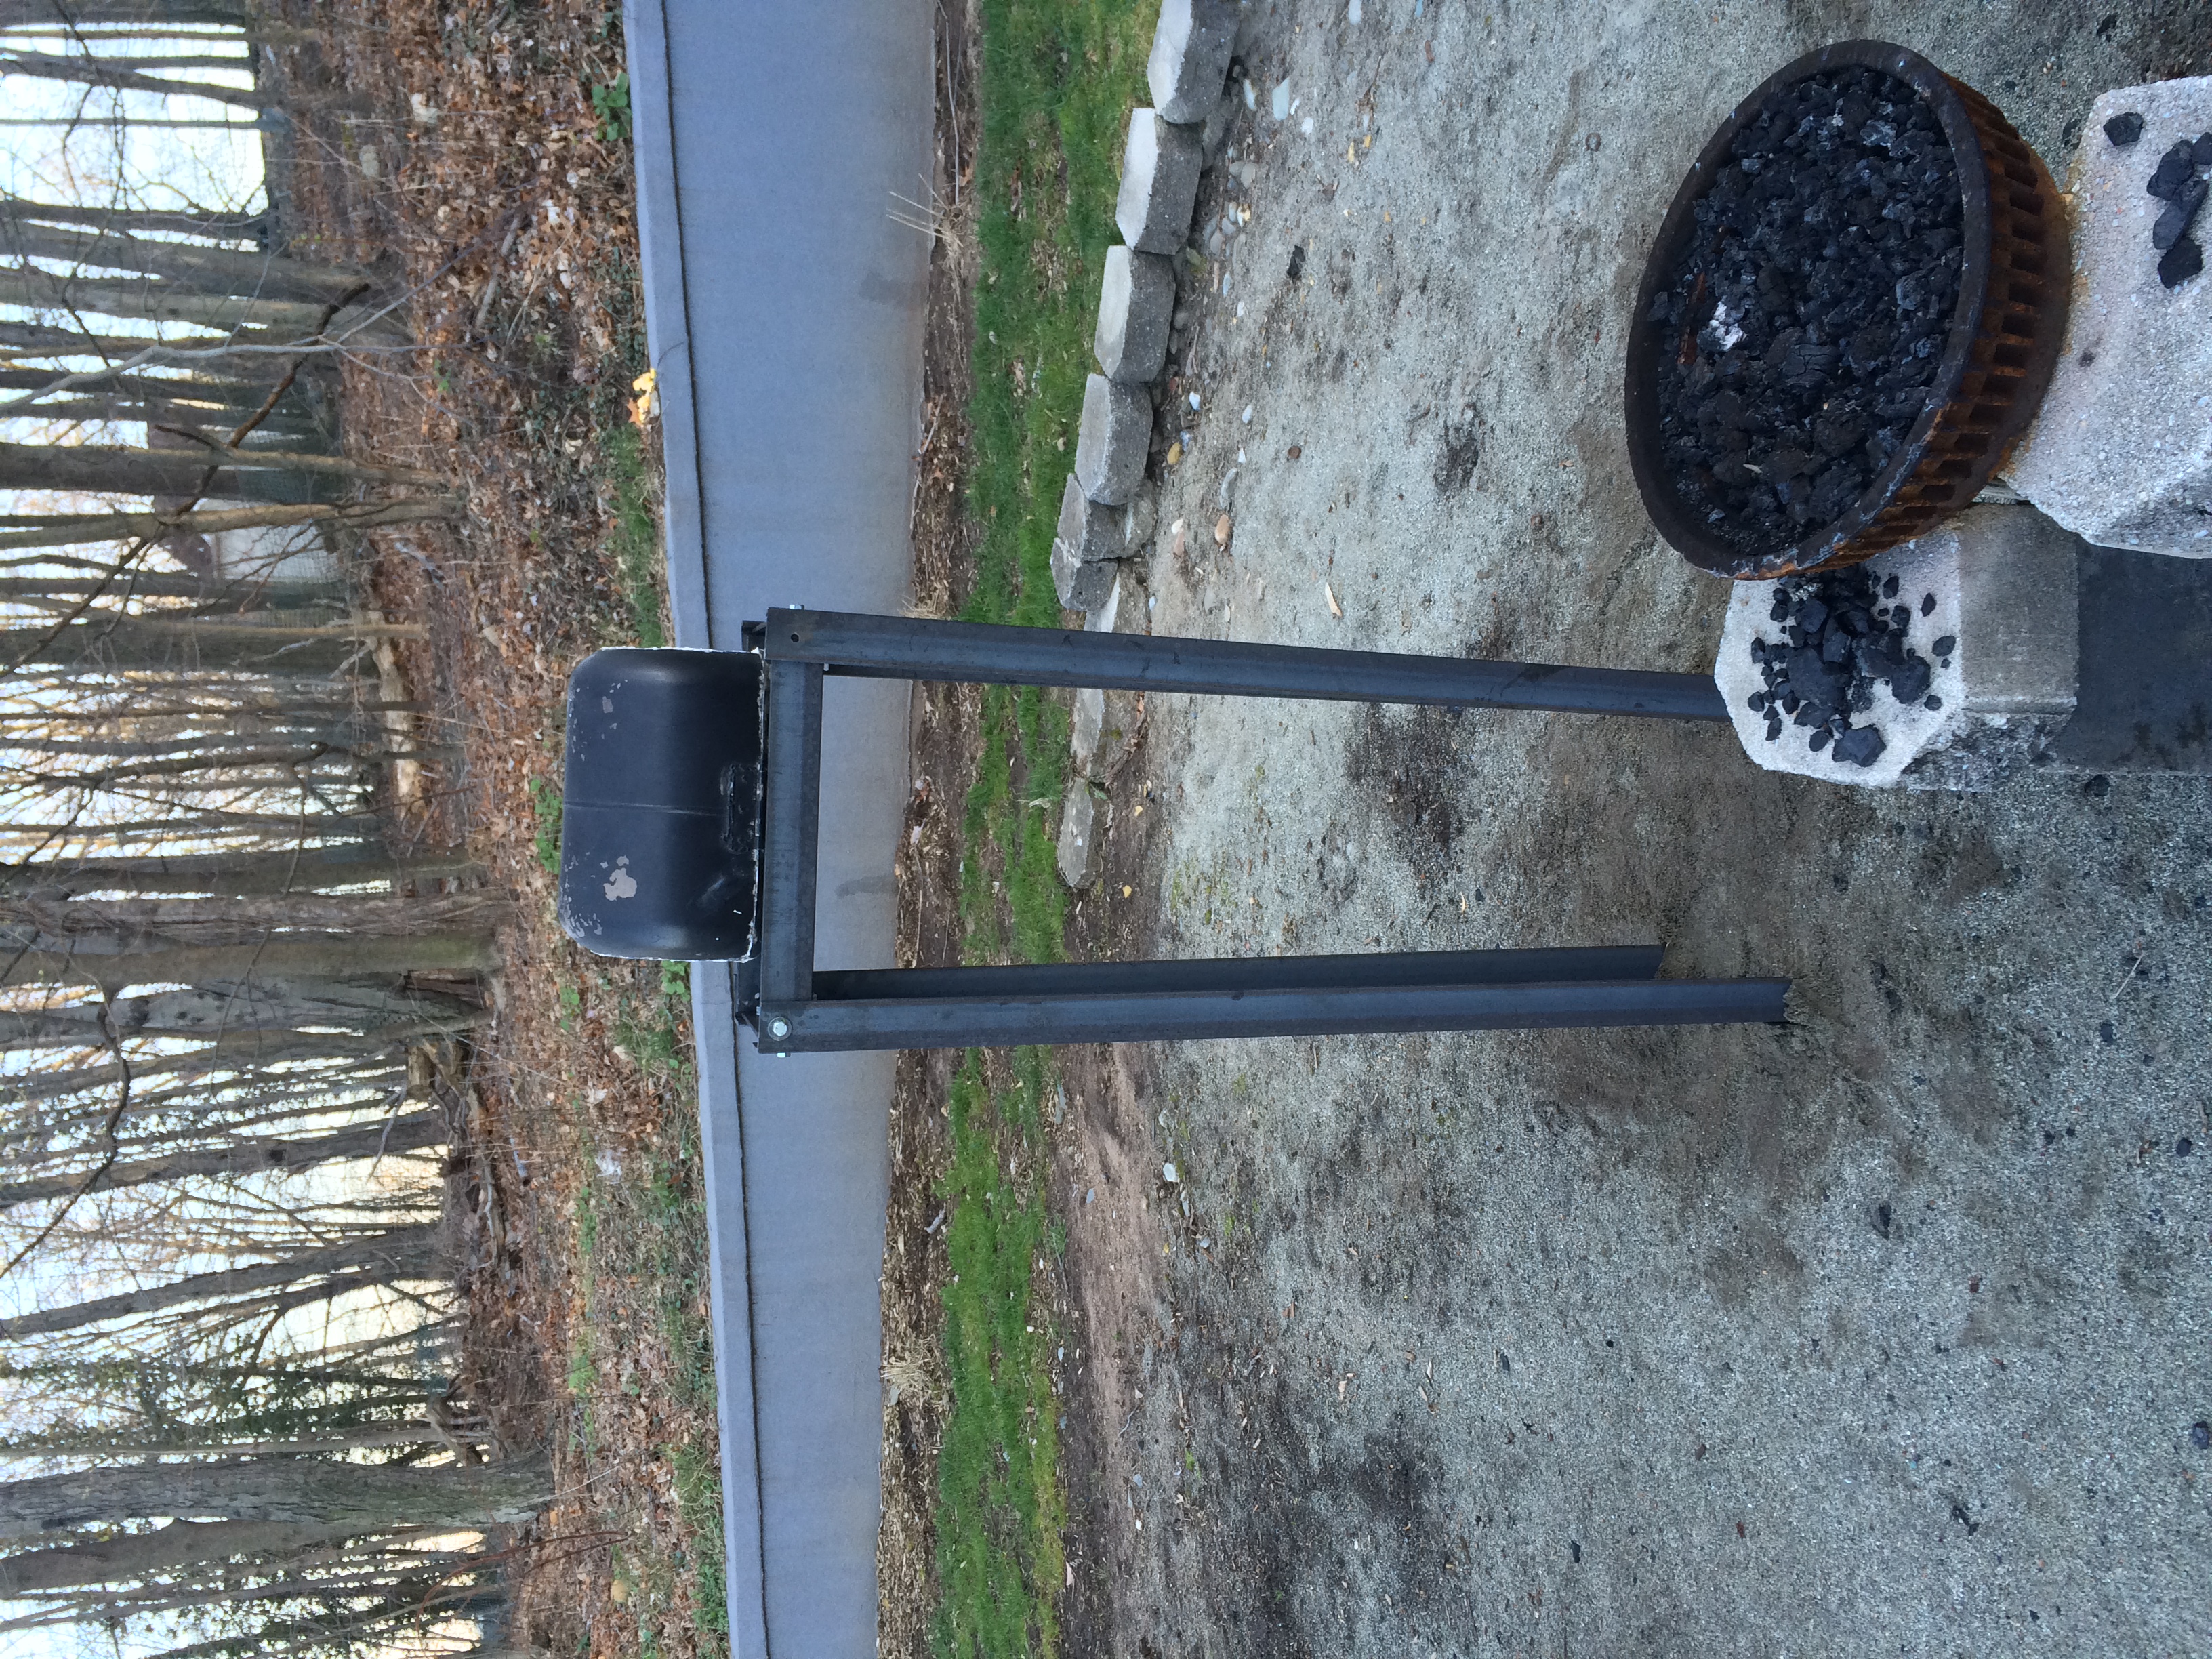
Well, the gas forge is finally done. It is made out of a freon bottle, and inspired by Wayne Coes plans. I plan on cutting soft fire brick to put inside the forge, and this way it will reduce some of the forge volume. The stand is made of 2" angle iron, and is tall enough to reach just below my chin when the forge is on it. Some legs are a bit crooked, the top is a bit off level, and there is a little bit of wobble. Part of that issue is that the stand is so tall, and the width of the legs narrow. I guess it's not too big of a deal. I can't wait to fire it up. Let me know what you guys think.


-
Well I haven't forged since November since I packed all my stuff away. I really didn't want to wait for the gas forge to be finished, so I fired up the coal forge. The first thing I made was a hoof pick from half a horseshoe. I then forged a a horseshoe heart, which was pretty fun to make. The hardest part I had was trying to bend around the horn, but I assume that all comes with time and practice. The finish I got on this was amazing, and I am not too sure how well you can see it in the picture. What I did was lightly brush the horseshoe with a brass brush. I then threw a handful of coal on the fire and then held the heart in the flames. This way a bunch of soot got all over the heart. I had it in there for a few seconds and then brushed all the soot off with the brass brush. I then let it cool and then coated with trewax. I guess the mixing of the black soot and ash and the slight gold from the brass brush, gave the horseshoe heart a bronze looking color. I was quite happy with it. The next thing I forged was a split cross. It was made with 3/4" square stock, and the lines were all cut with a hacksaw. Cutting that stuff took a while, at least 2 hours. If you dont know already, it was brushed with a brass brush. The last thing I made was a bottle opener. It is not my best opener, and that is mainly because I tried experimenting with getting the diagonals on the head of the opener. Let me know what you guys think.
.JPG.1ea83d361e0edab09858a1161dc8b074.JPG)
.JPG.5699e50e259007d9bf262b3b0597c0a1.JPG)
.JPG.eb8c86bc7b306615cc7aff443783994f.JPG)
.JPG.edc255fbb3cf1314342a27f3038e9f26.JPG)
.JPG.c0d96856c8bd7d55fb7d5943c4e7467c.JPG)
-
A good tip i got is to get yourself a block brush if you want to get a lot, and most, of the scale off a piece. In my personal experience, a welding brush doesnt get a lot of the scale off. It all depends on the finish you are going for though.
-
Great job! I remember seeing a video on YouTube of guys forging a bulldog coat hook, but a bottle opener is a great idea too!
-
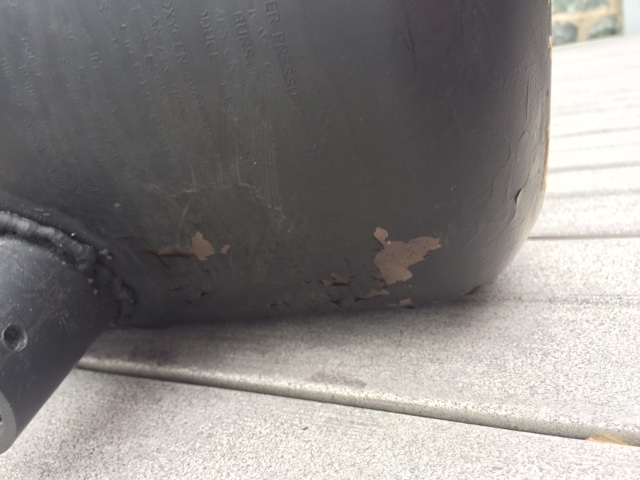
Thanks for the help. Next forge I will remove the paint on the tank to get better luck with the high heat paint. The bottle did say that the paint will smoke non toxic fumes when heated, but who knows what else was in the smoke. So if the casting is only discoloration, is it still safe to use? At first I was thinking no, but I could be wrong. That one crack can flake off real easily. Maybe I would be better off making a new one. Thanks
-
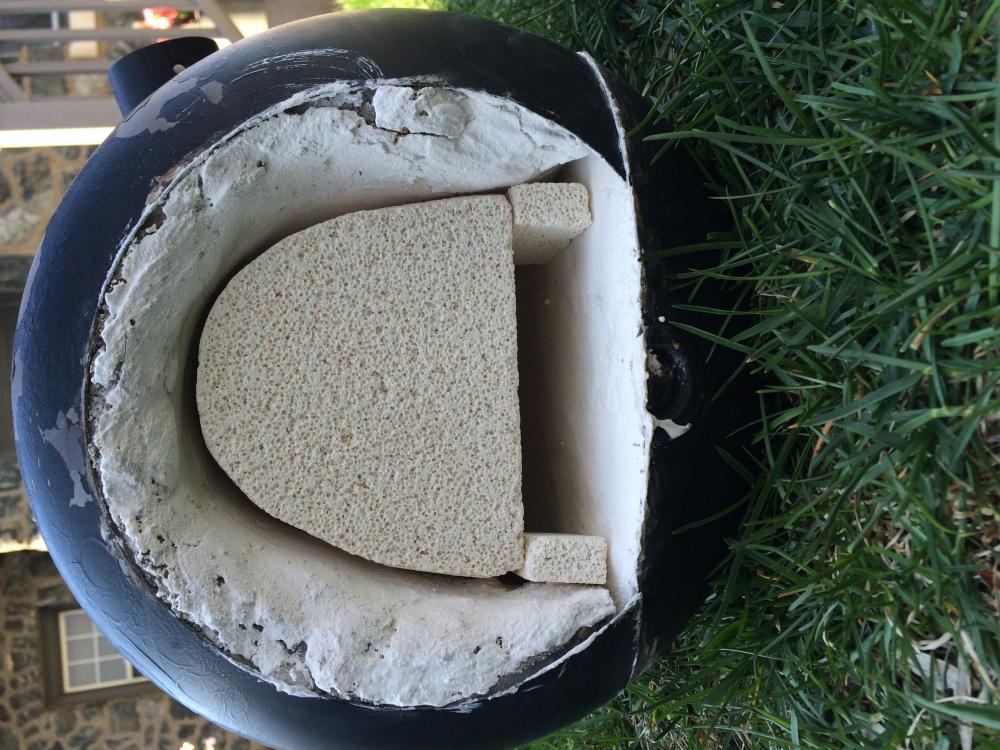
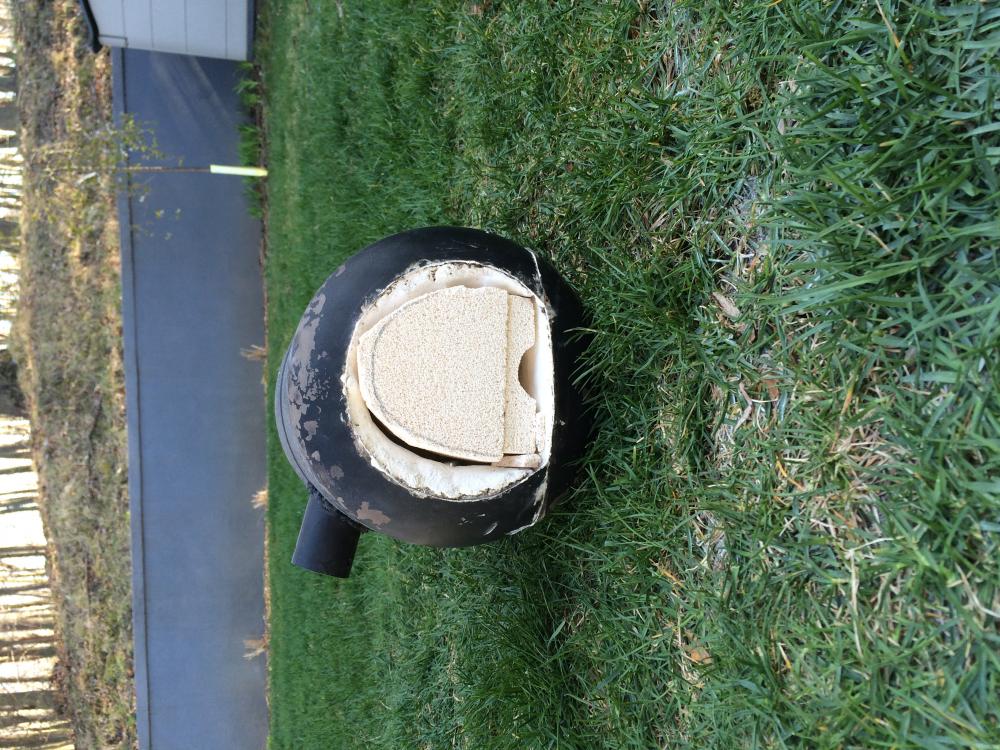
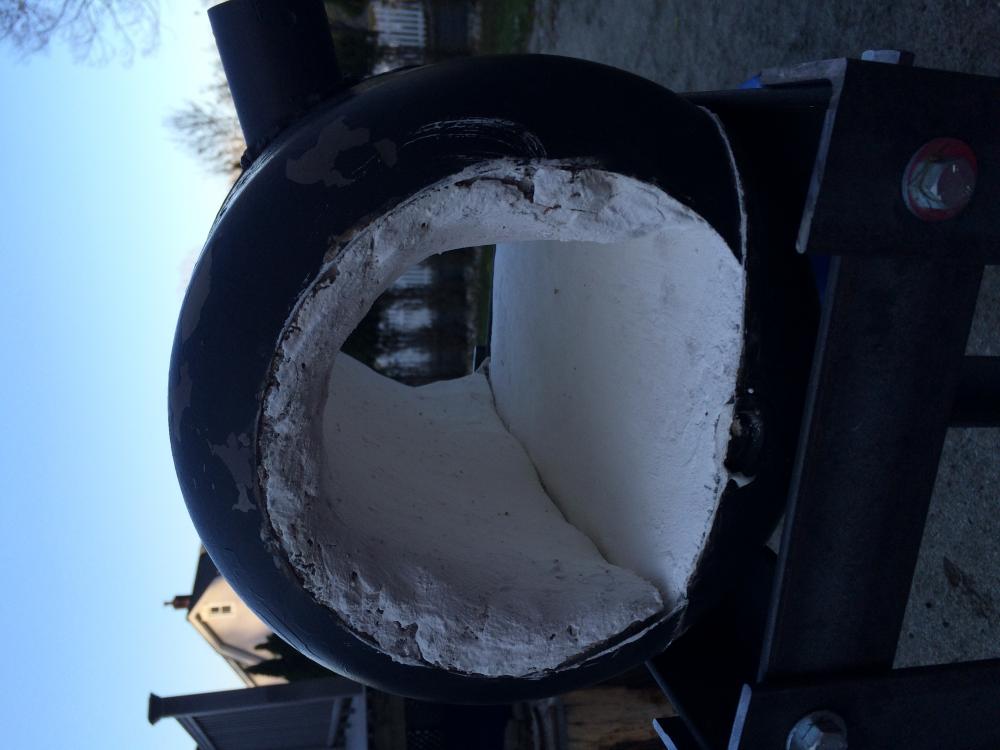
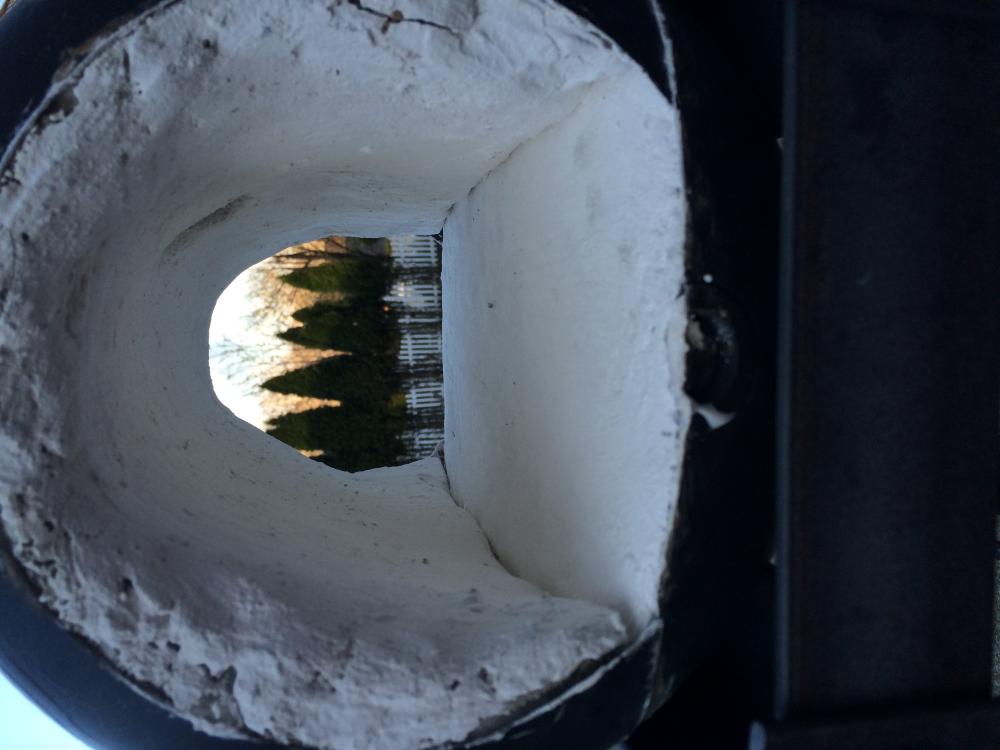
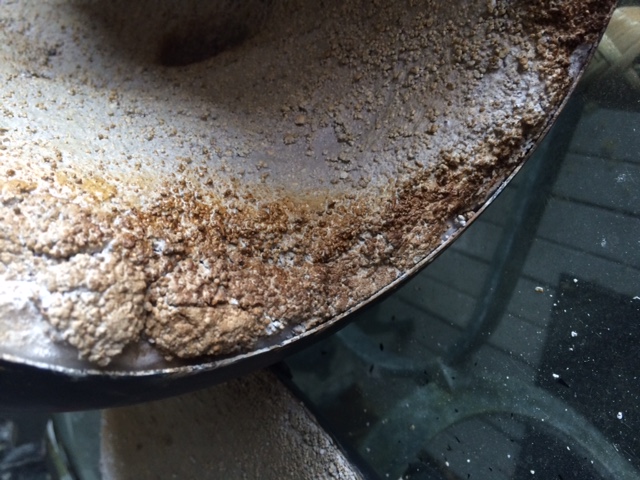
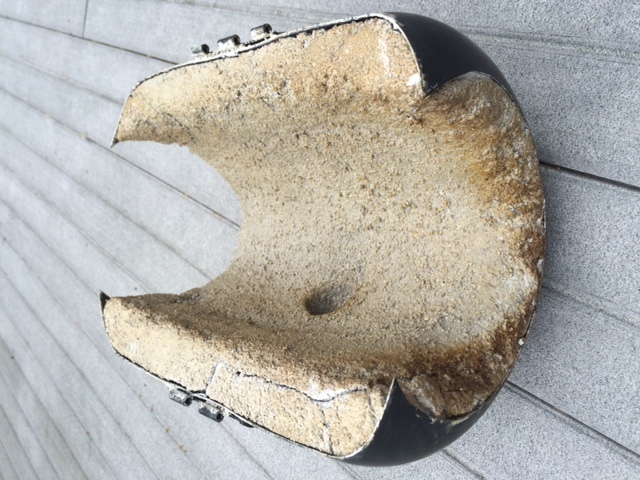
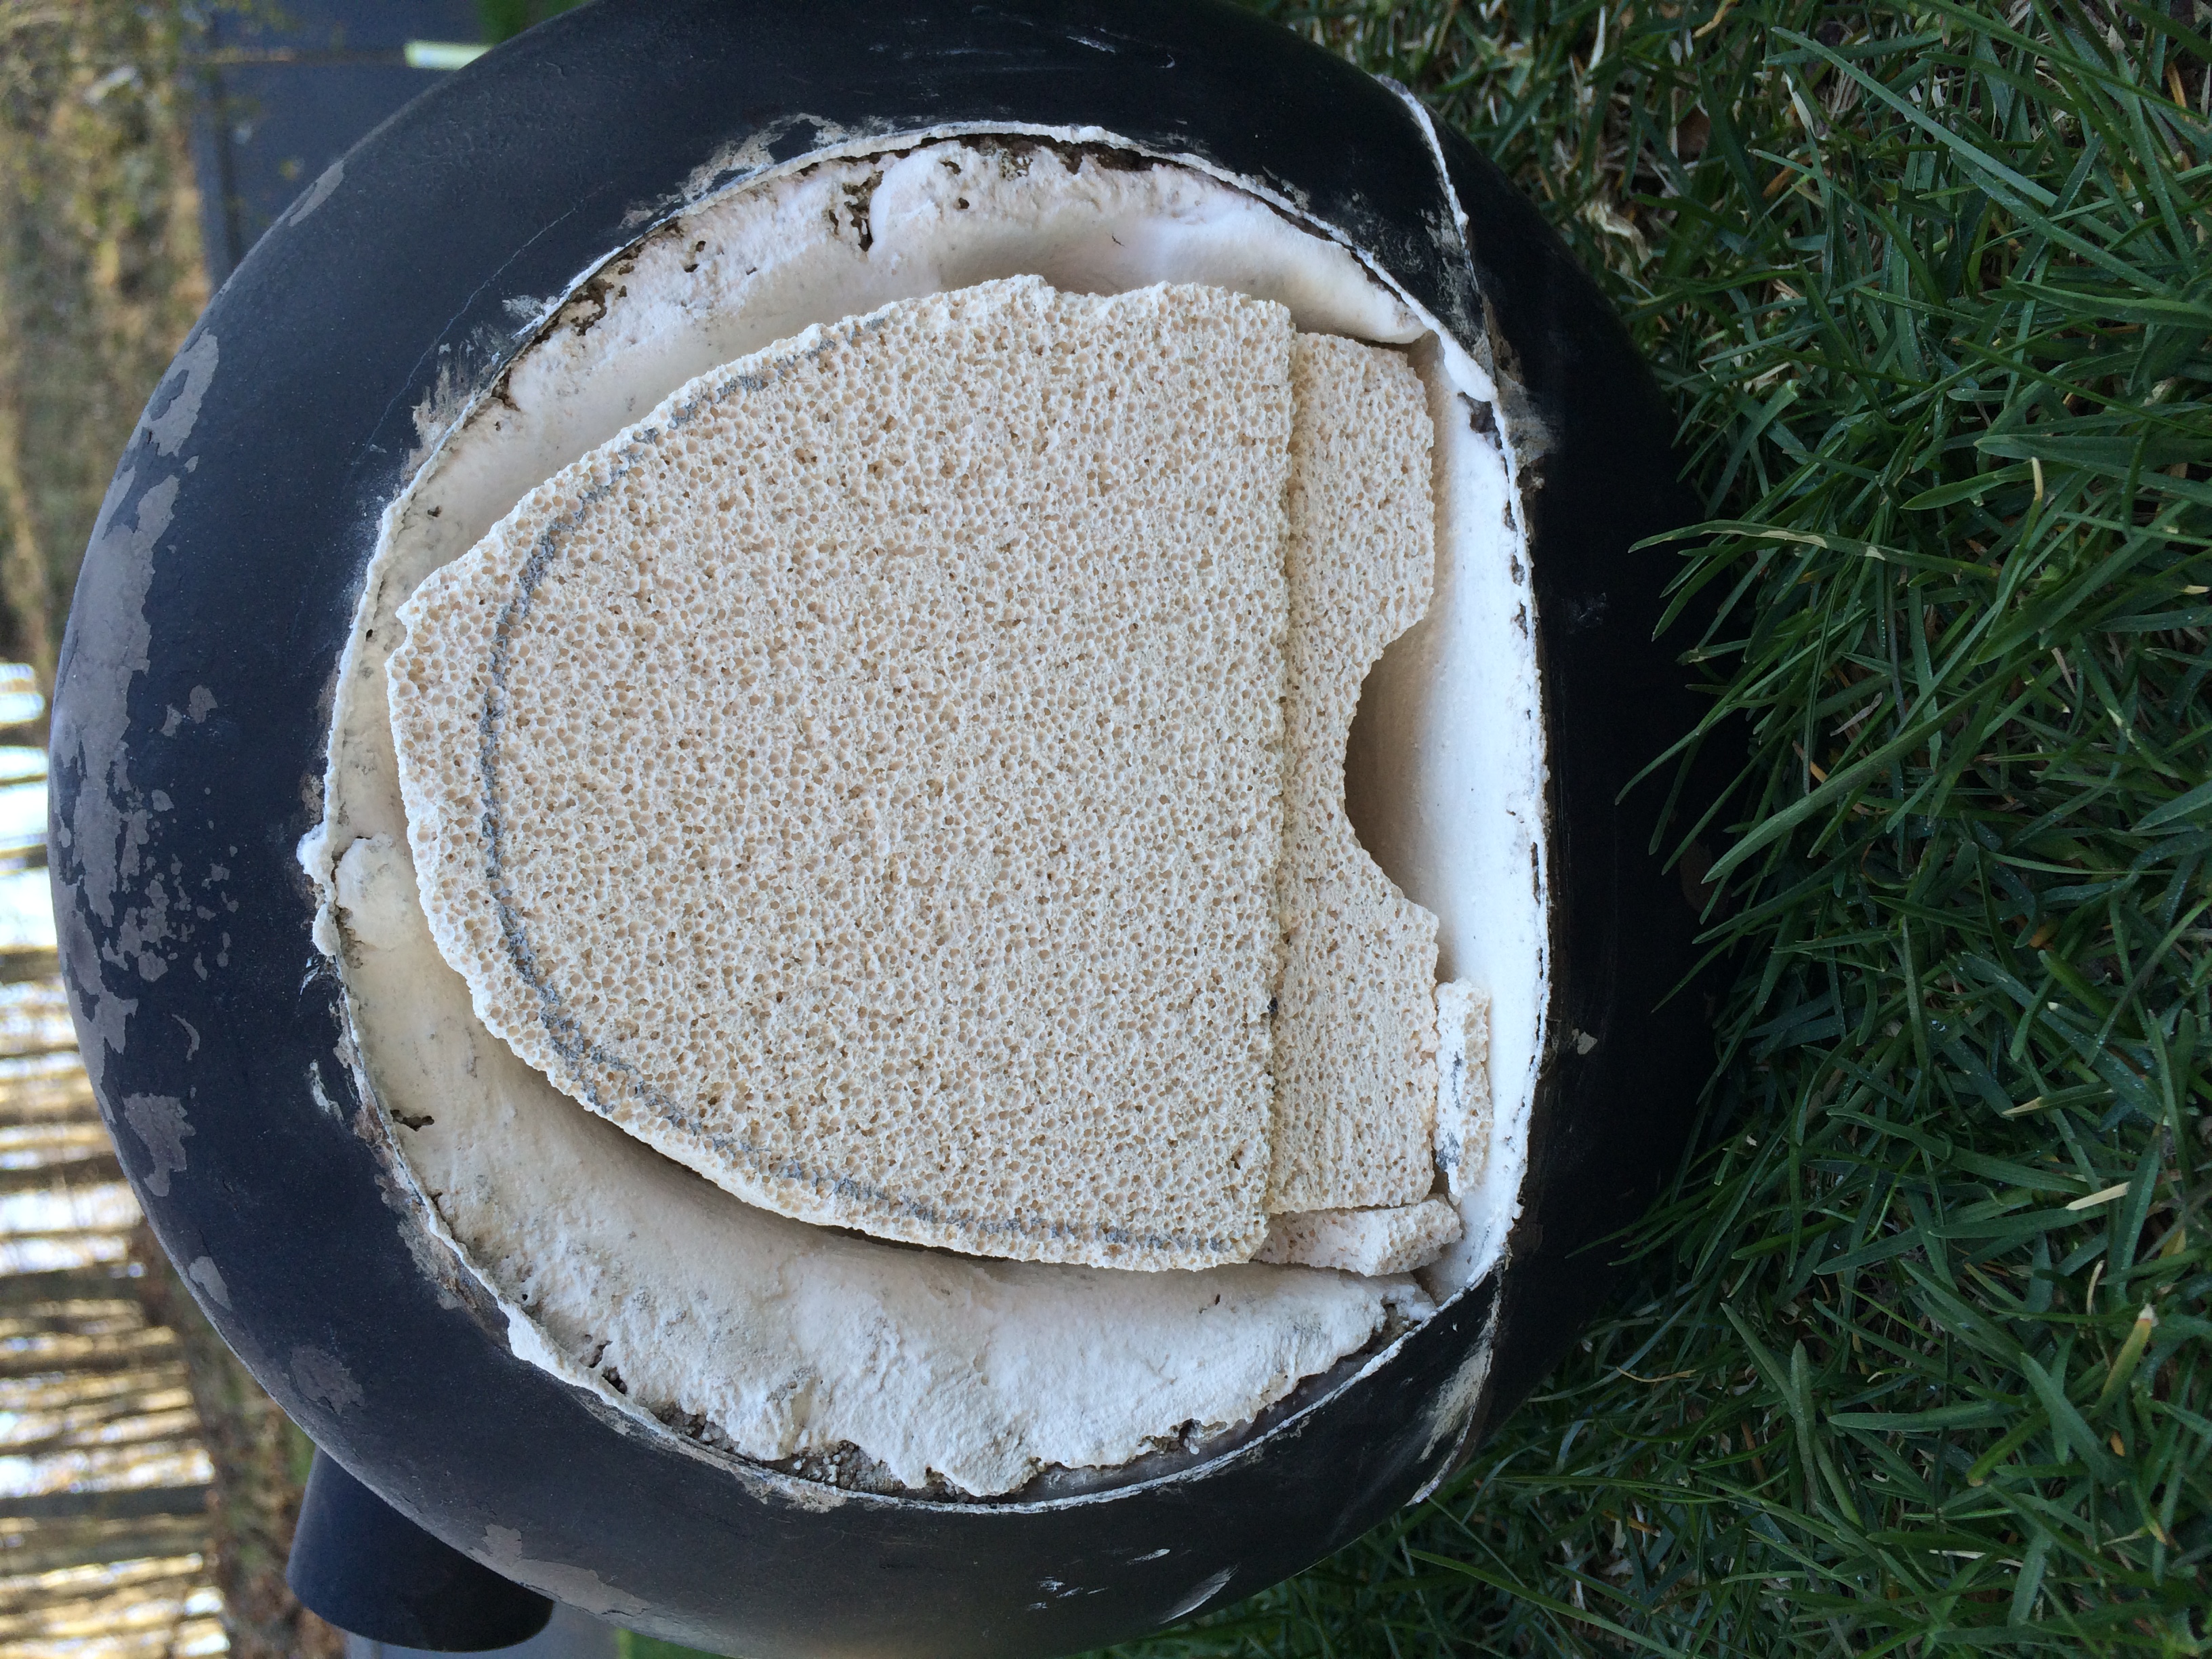
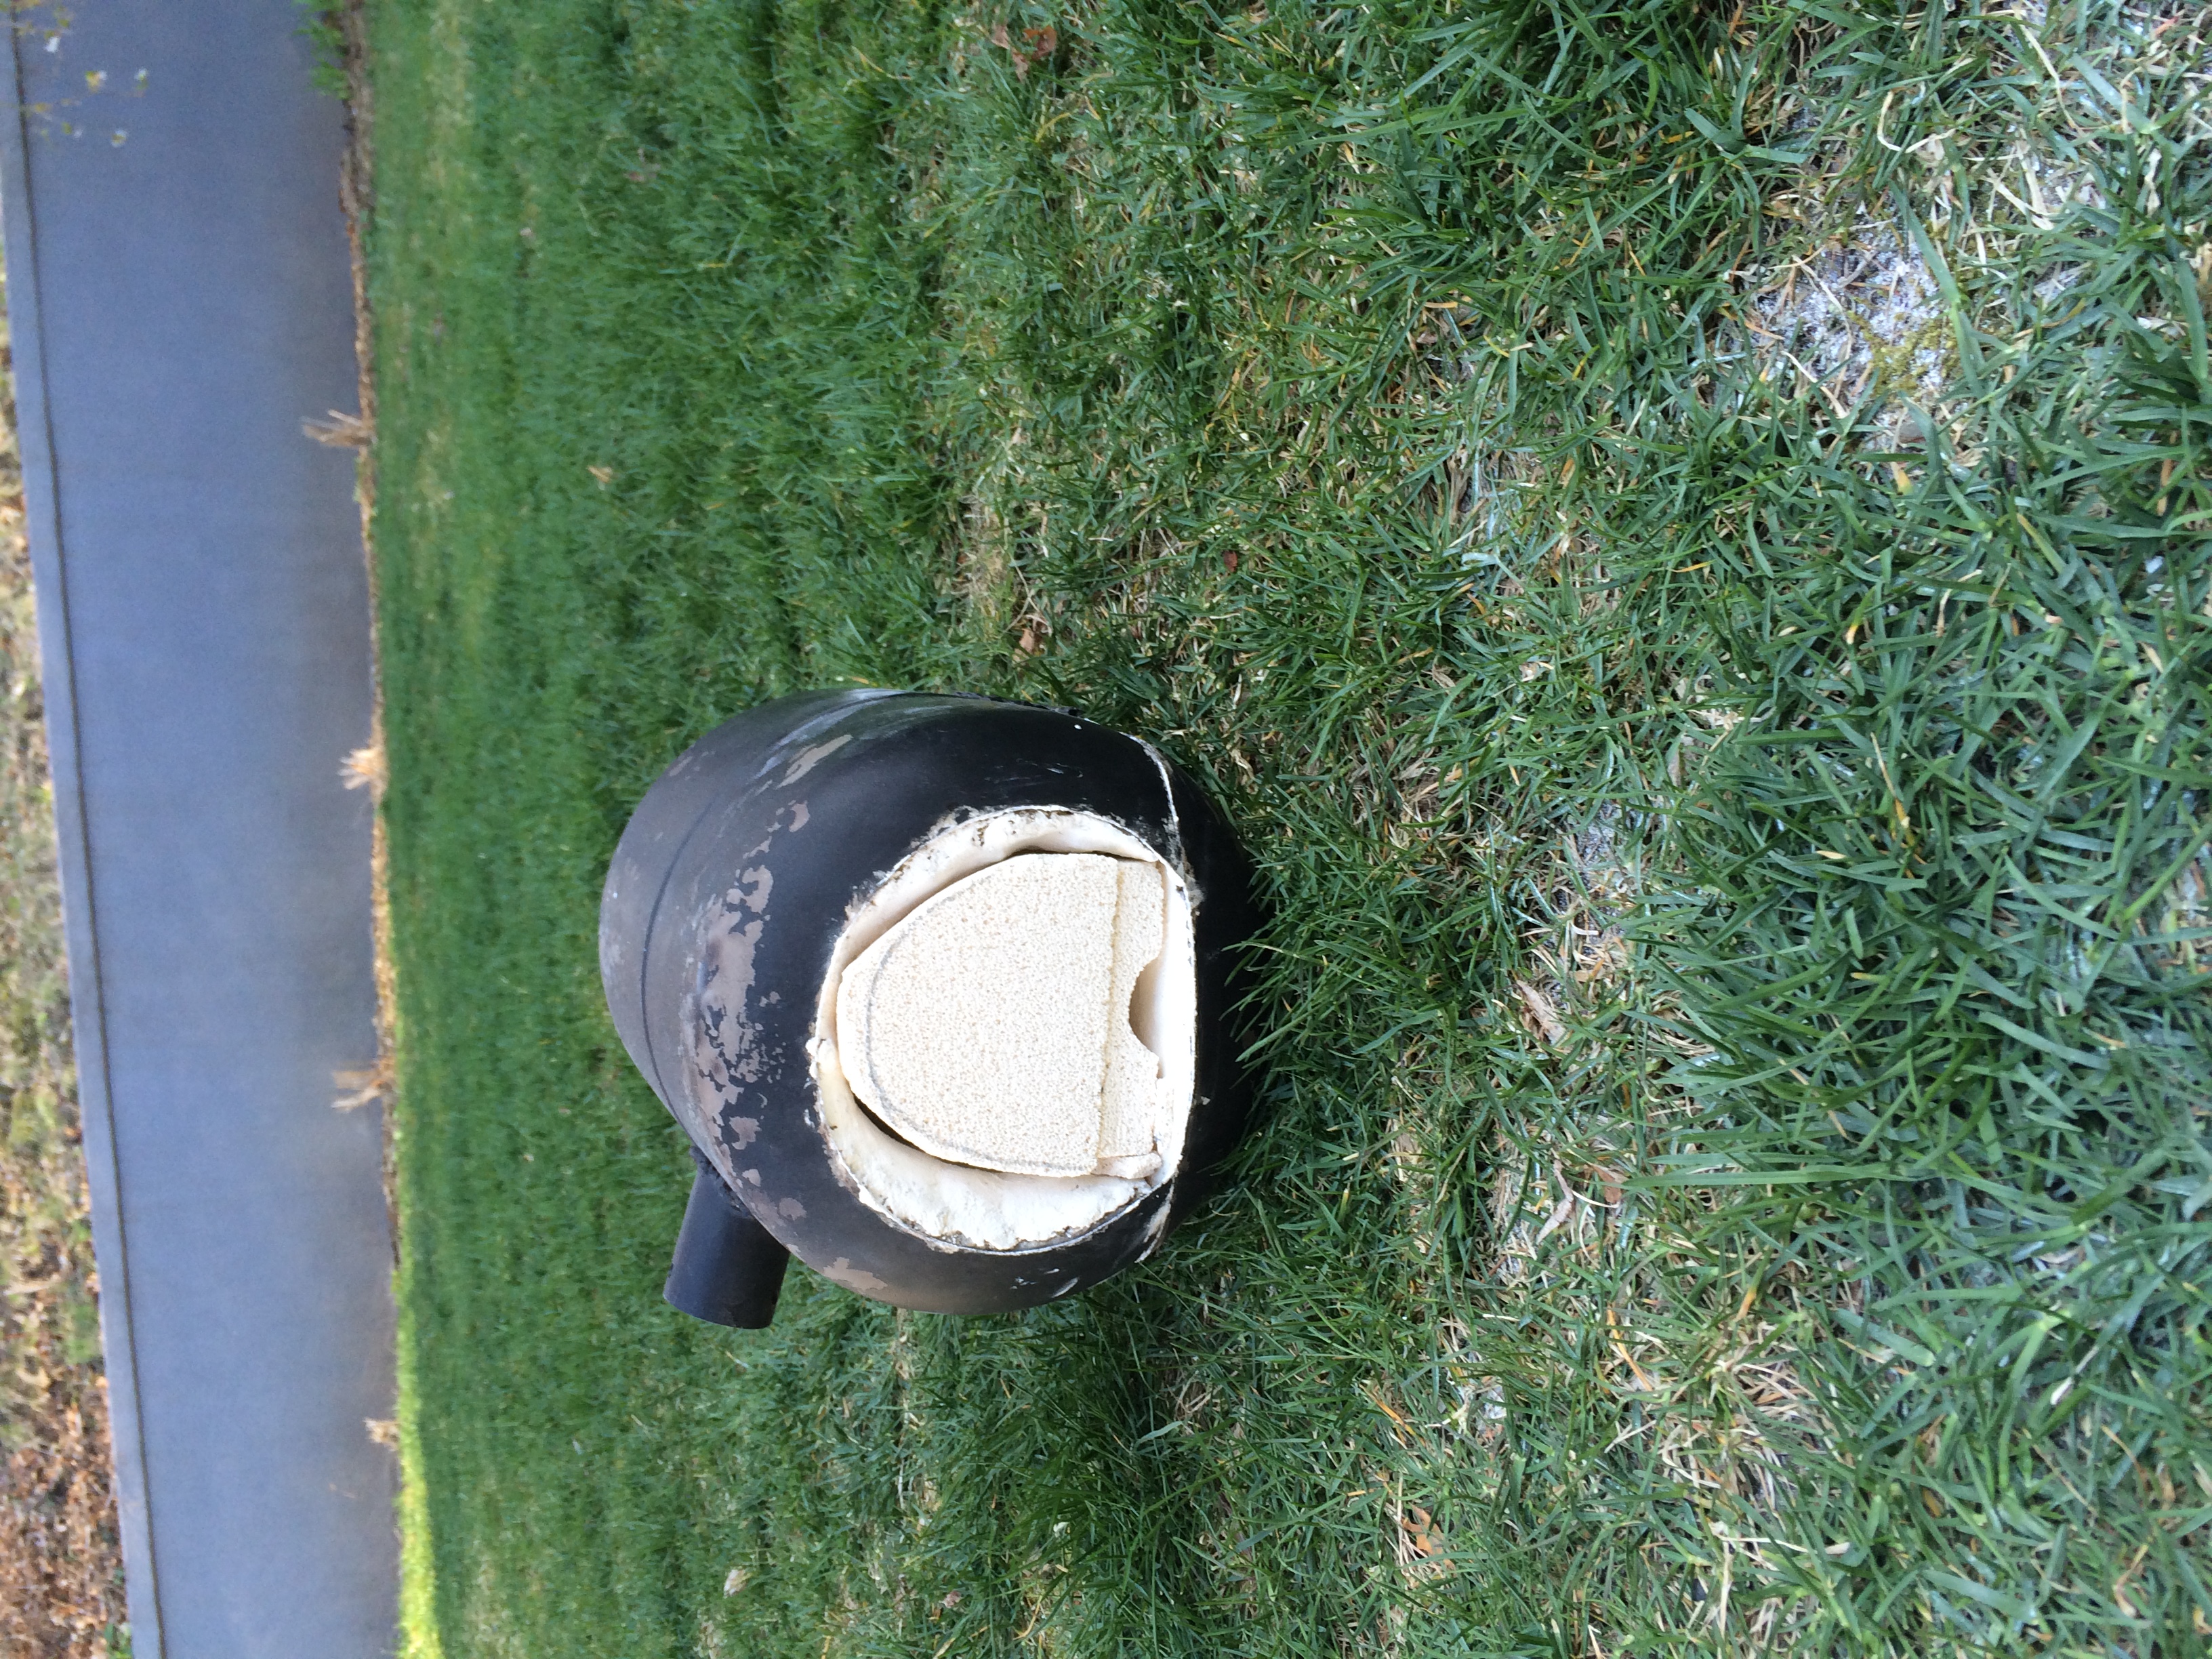
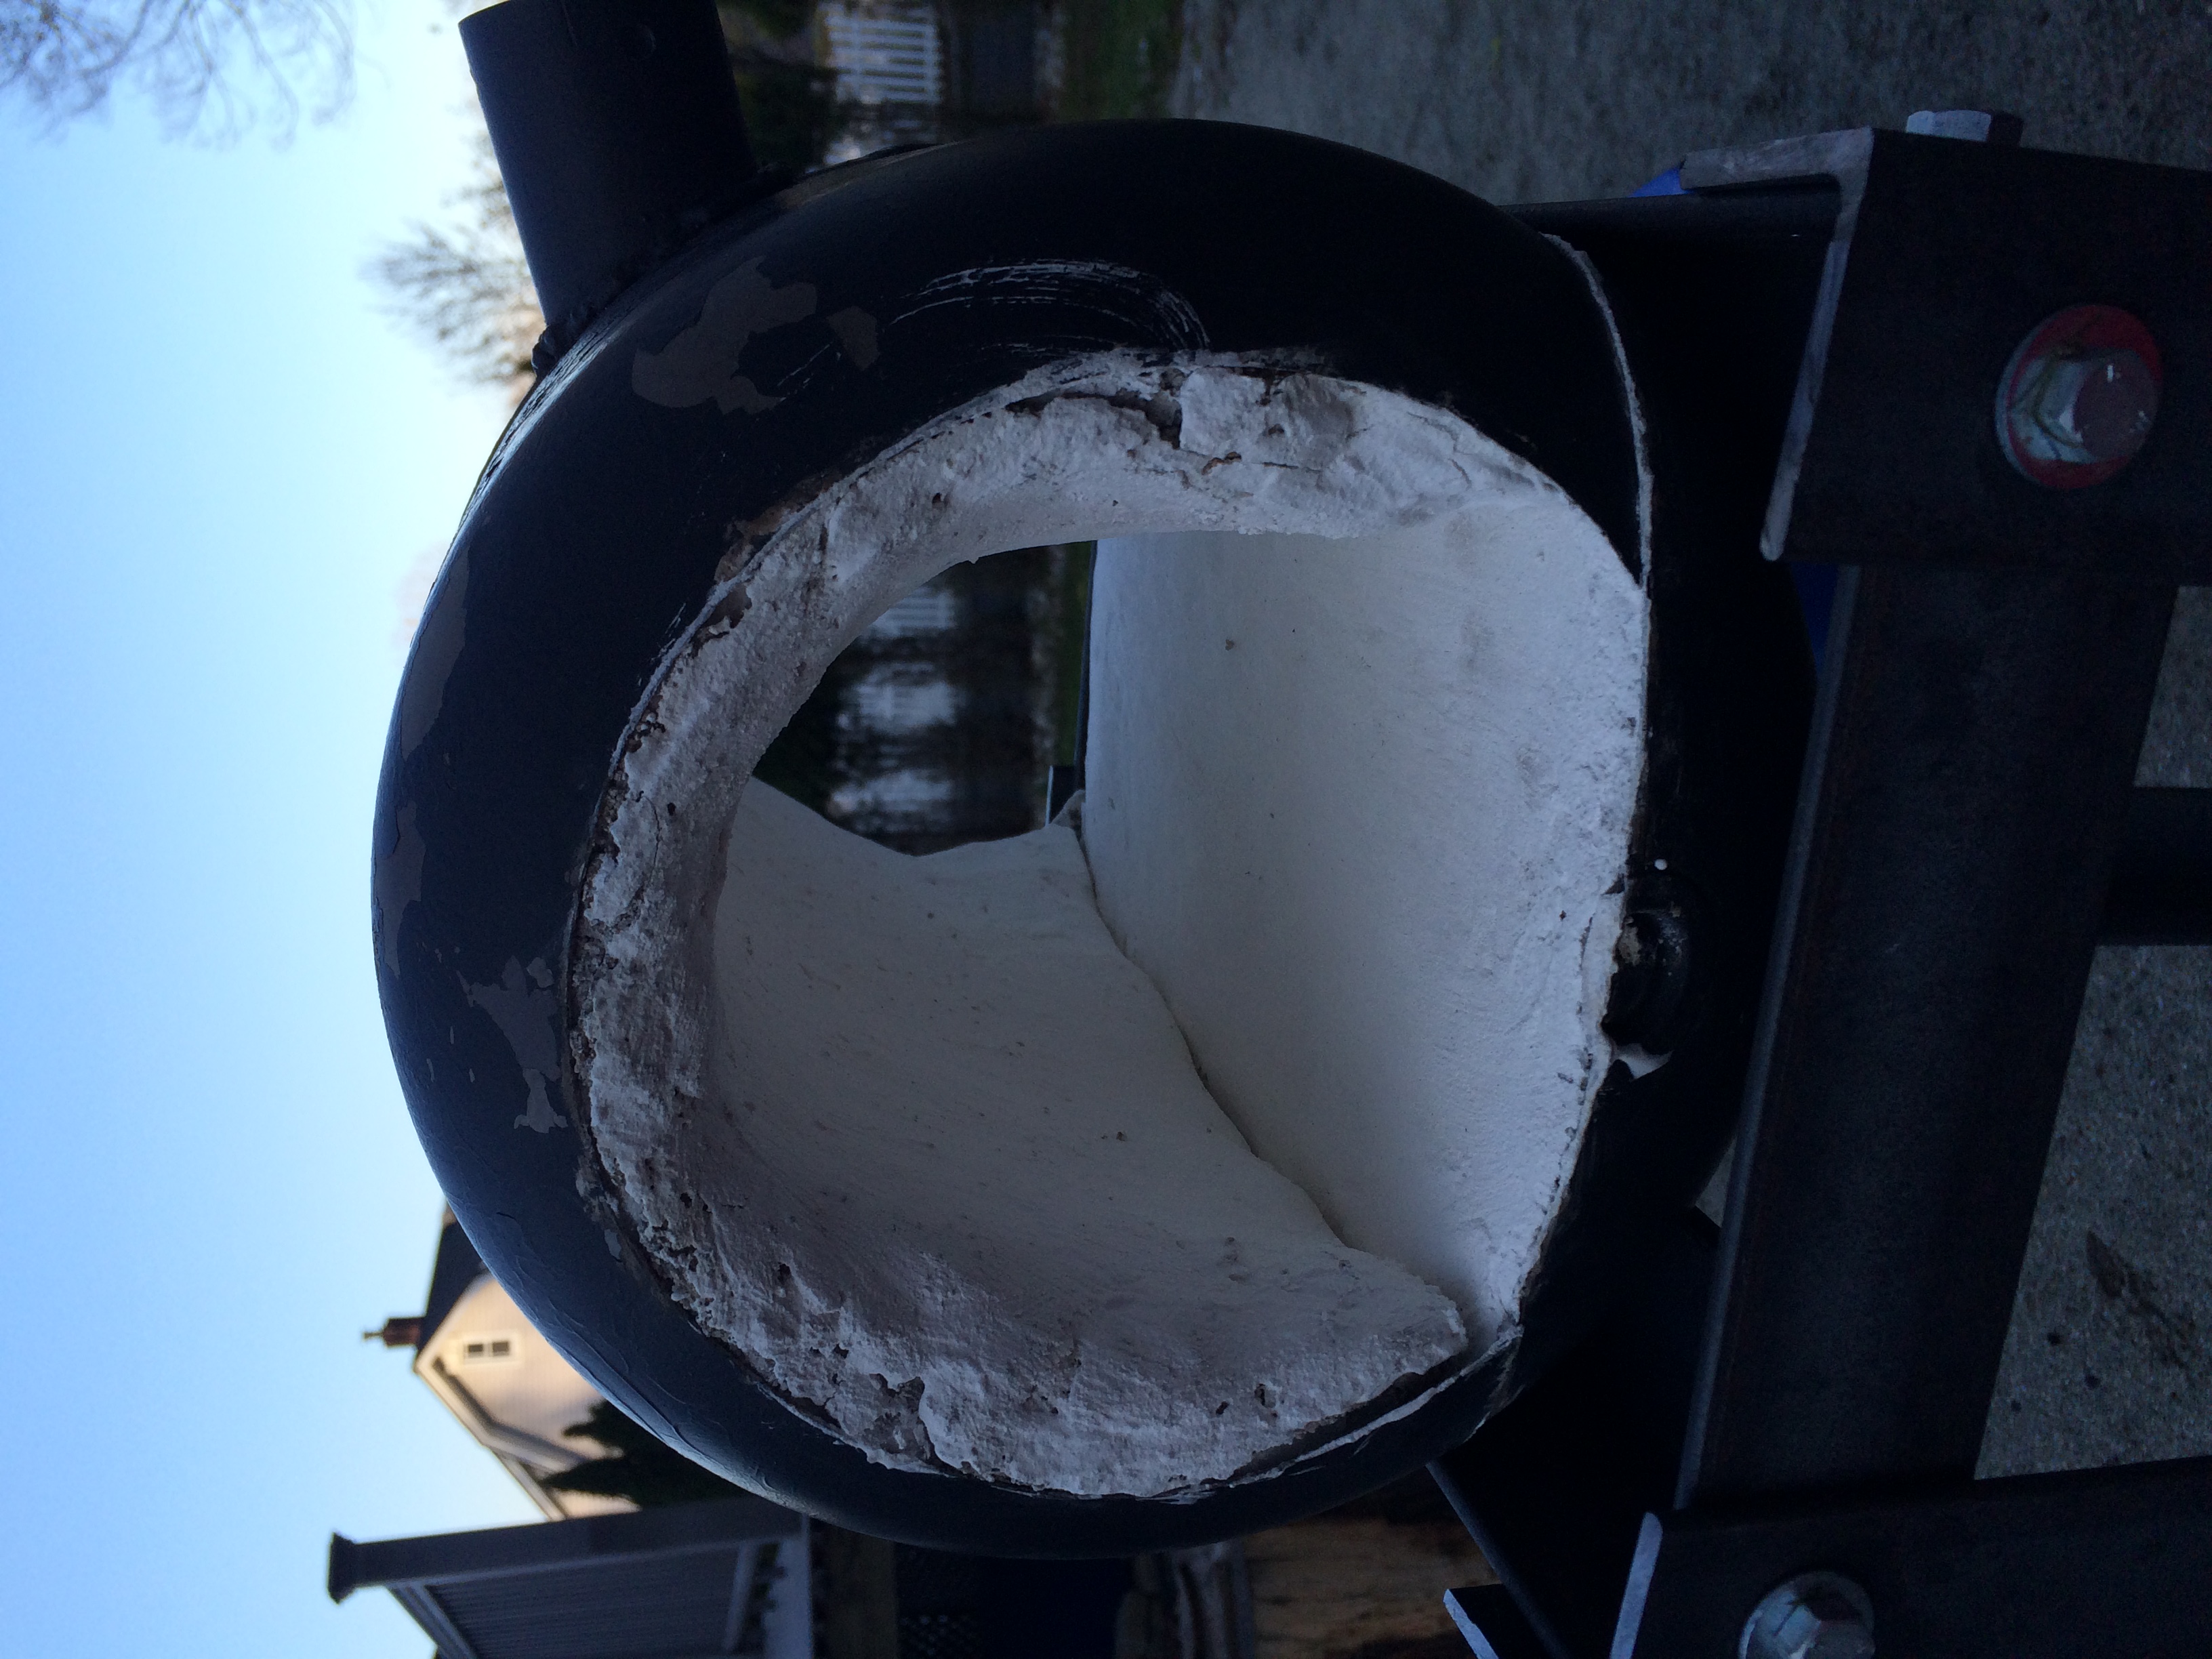
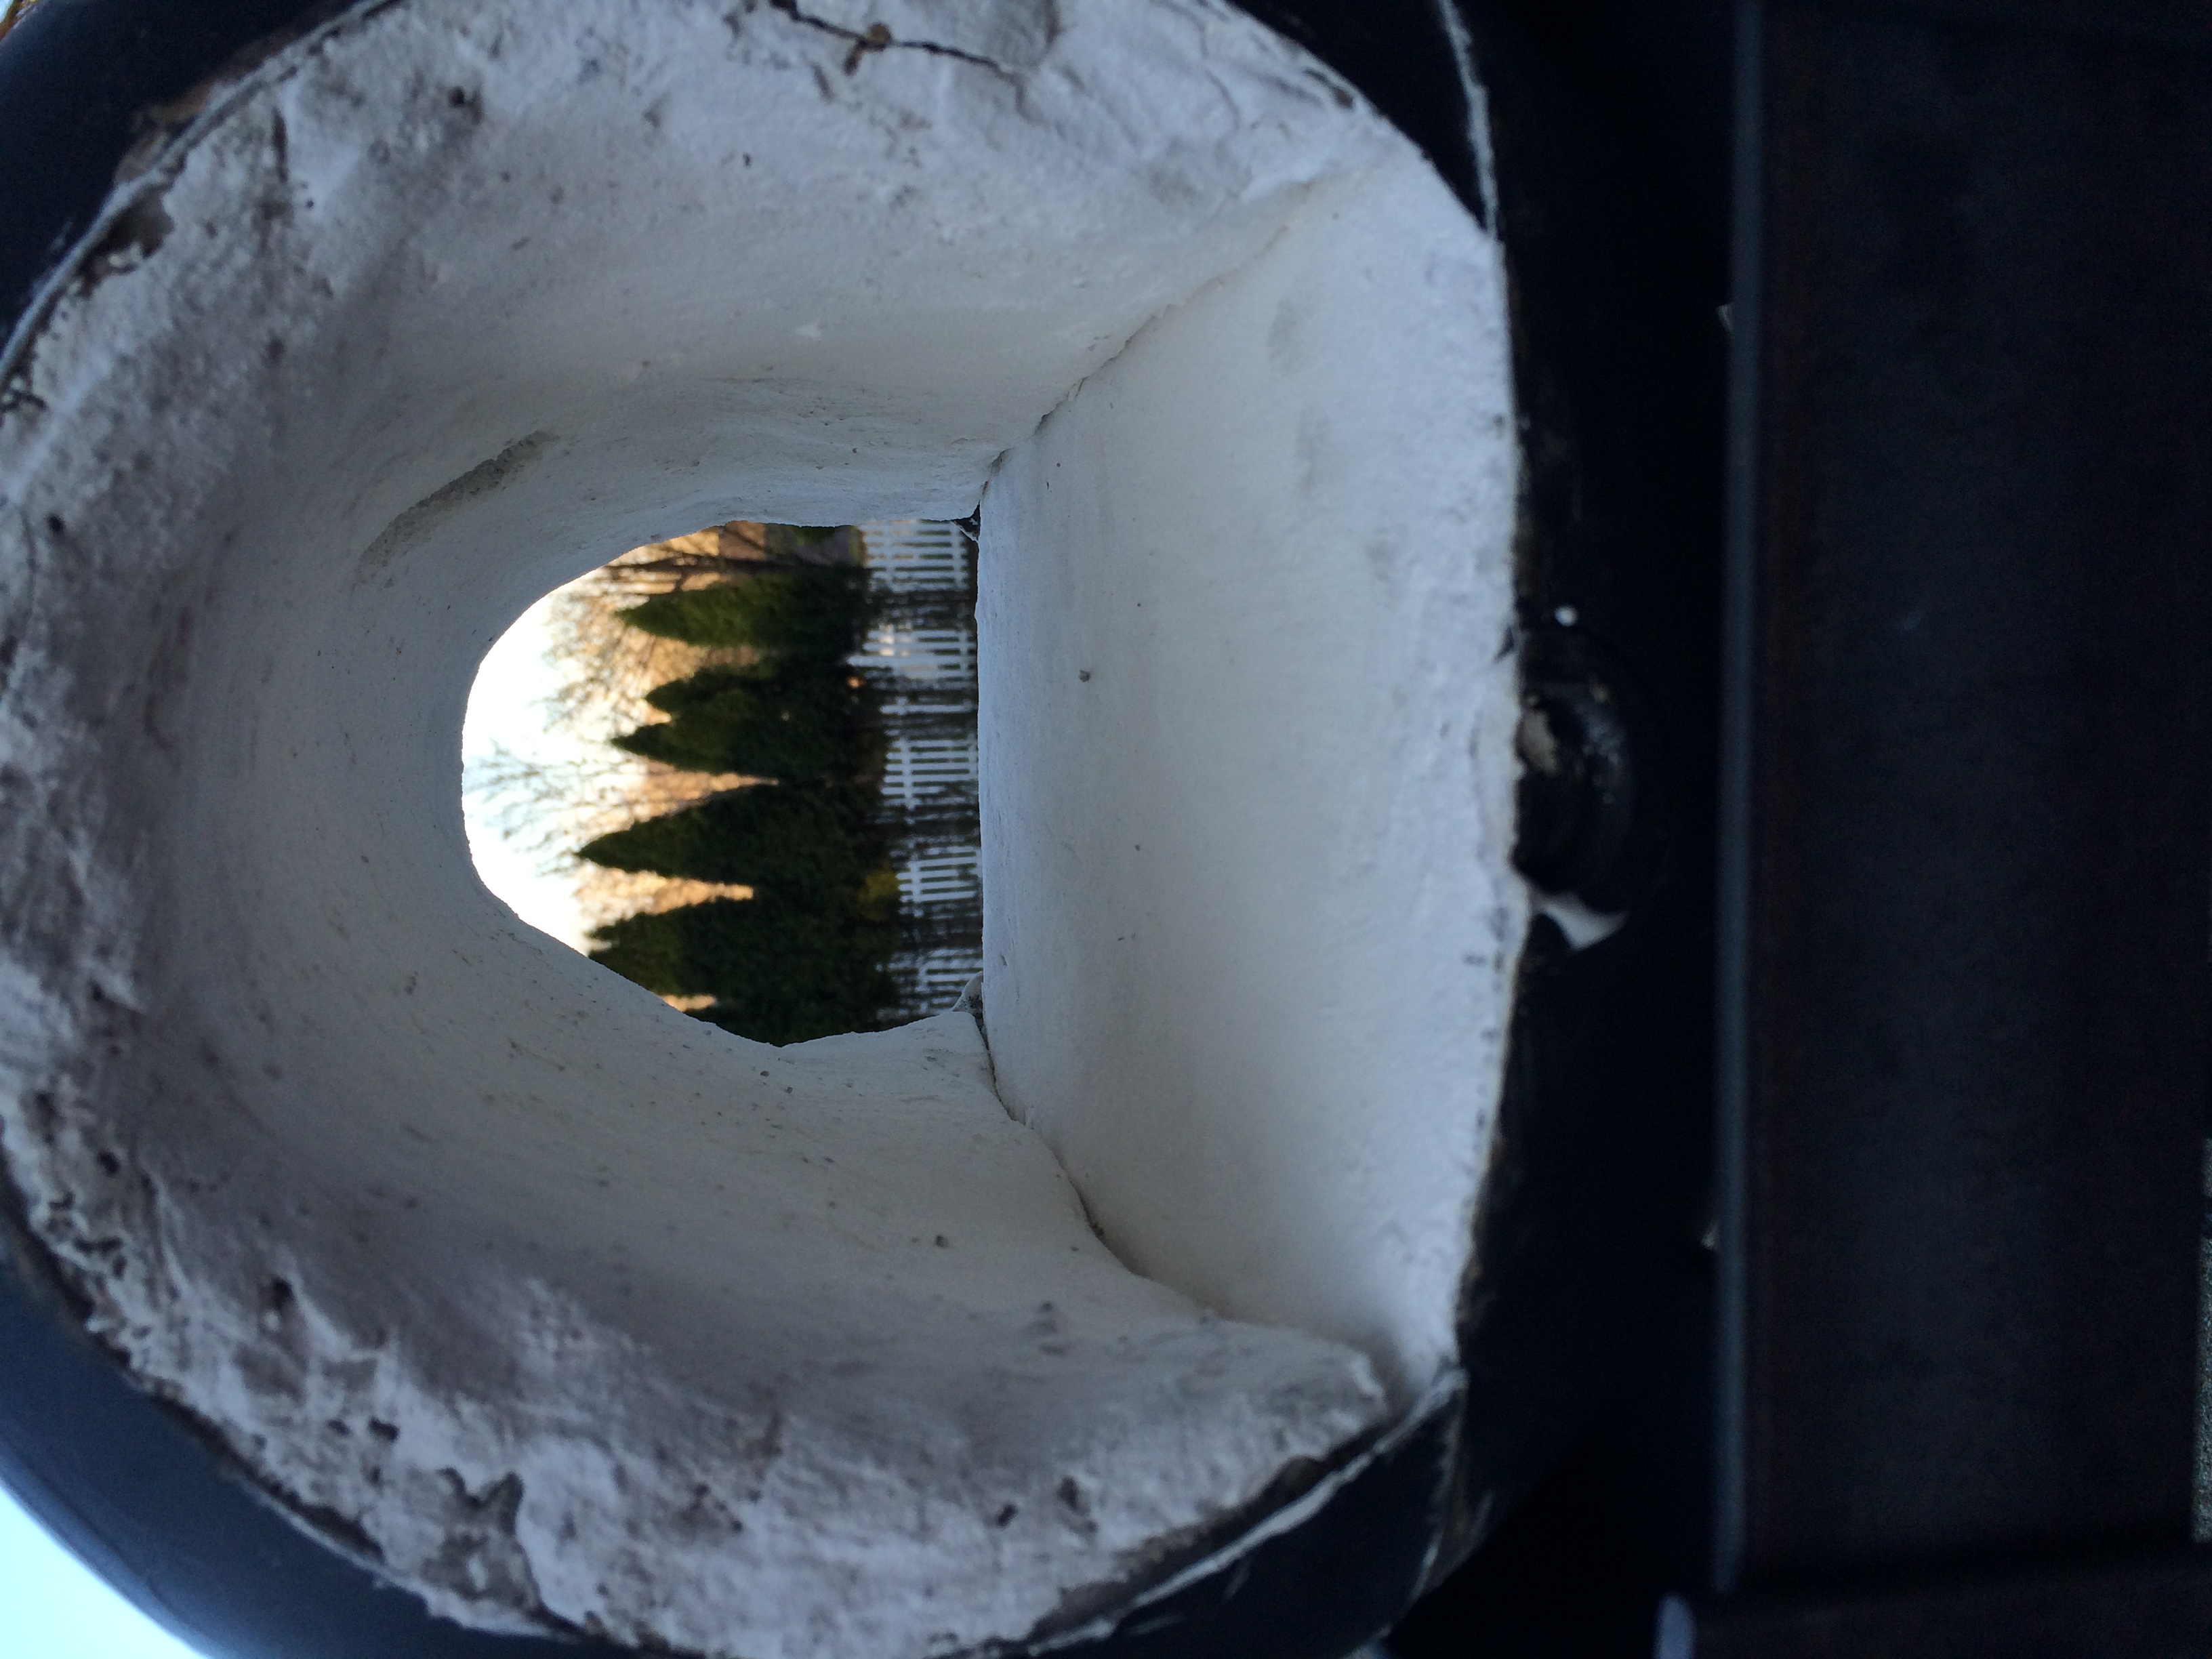
Well, here is the outcome of my forge. Something happened that I have no idea what. It all started when I put my forge in the convection oven at 500F to dry up and harden the refractory. This makes it less likely that a piece of casting will fly out of the forge on the first lighting, and it also makes it less likely to crack. It was in the oven for 40 minutes when smoke started to fill my house. I turned off the oven and opened the windows to get the smoke out. Later on I took out the forge and it was almost burnt, looked just like a cooked marshmallow. What was strange is that the kast-o-lite 3000 is supposed to withstand up to 3000F and still look like mortar. Instead of grey, my casting was yellow. I then realized that the high heat paint was flaking off too. It's not like I just painted it, it had 4 days to dry. The forge then cracked in a spot too. I thought I did everything right, mix the cast able with water until it was the constincency of cement or mortar. Here are some pictures. Any help would be greatly appreciated and hopefully allow me not to make the same mistake next forge build. Thanks
-
One last thing, what time does the meet start, and what time do most start to leave? Just so that my mom and dad know when to drop me off and pick me up. Thanks
-
That's really cool
-
I am new to this kind of thing, so I can't tell you if you are right or wrong. I am just following my plans letter for letter the best I can. There is also .5" of kast-o-lite 3000 over it. The bottom half is probobly even more. I casted it already, so no turning back now. If this doesn't work, then I will know for my next forge. I will put up a picture a little bit later. Thanks for the advice though.
-
8 hours ago, olfart said:
If you want shadowless, highly-detailed images of small items, a light tent is a good way. Just create a cone from a translucent material, leaving the top of the cone open just enough for the lens of the camera. Place the cone over the object on a sheet of white paper, and light one or more sides of the cone.
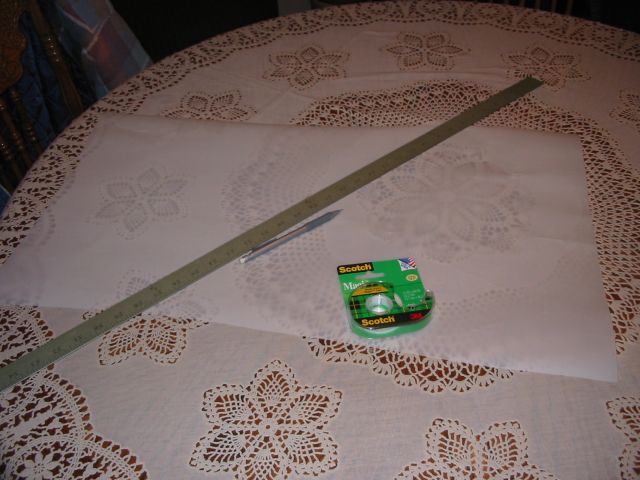
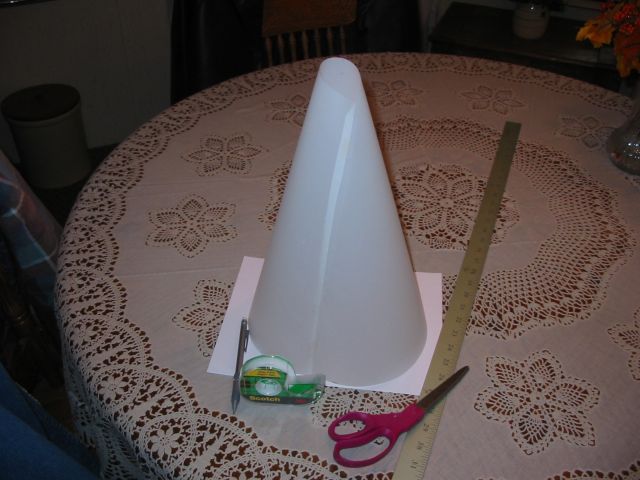
Thanks for the tip
-
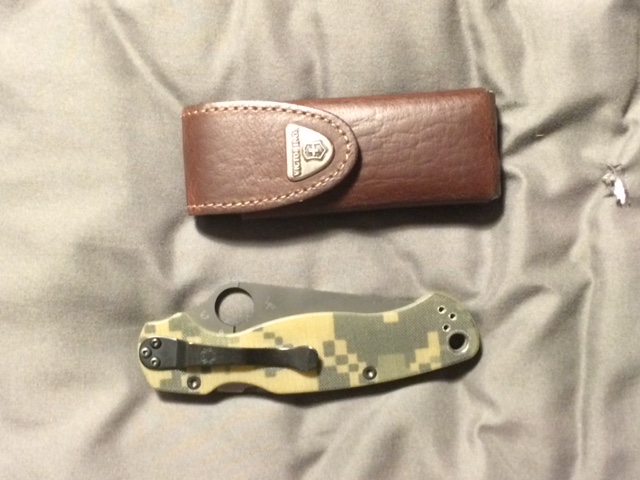
For me it is a draw. I take these two tools with me everywhere. The multi tool is the Victorinox Swiss Tool Spirit X and the knife is the Spyderco Paramilitary 2 with black blade and cameo G-10 handles. These are my favorite tools becuase they go everywhere with me and are VERY useful. The knife can be used for anythingg from cutting open a box to slicing cheese. The multi tool, well it is just that. I can open root beer, screw in a loose screw, bend things with the pliers, etc. If they aren't helping me, then they are being used to help someone else.
-
Alright maybe I will try to remove it since the this part of the forge is going to be only 1 layer of 1" ceramic blanket which will then be casted over. The opening is about 5" wide. I plan on making a stand which will have slots for fire bricks to go. But the first couple forge sessions with it will have nothing since I need to rack in a few more bucks to get some angle iron.
-
That's great then, I should be able to go. I am pretty excited! I don't have much for iron in the hat, but I can give a few rr spikes and some pieces of flat stock.
You mentioned tailgating. I have been looking for a post vise and a forge for a while now. How much do most sell a regular sized post vise in decent condition for? Also, how much would someone sell a buffalo or champion forge for?


To all those smiths who told me railroad spikes were useless
in Knife Making
Posted
Right, there are many much better choices to making a knife. My point was that I was told that making railroad spike knives just for fun or to practice was useless, as it made a terrible knife. Maybe the knife isn't the greatest, but now we know that it is not a waste of time as it does make a functional decent knife. Not the greatest in the world, but it's not totally useless like everyone says. And that's not even the point, it's just that I wish everyone would just leave the guys alone who want to make knives out of railroad spikes. If you see Chandlers other videos, you will also see that thy are indeed more than mild steel. And my bad posting something like that that had some bad language, I didn't think about that.