

beaudry
-
Posts
188 -
Joined
-
Last visited
Content Type
Profiles
Forums
Articles
Gallery
Downloads
Events
Posts posted by beaudry
-
-
Just for interest does anyone actually know how that thread was originally formed ?
Would it be possible to form it by rolling it hot through some kind of a die ?
It doesn't look like it was cut on a lathe with that slightly rounded profile to the threads or maybe that is from wear.
-
I really doubt that the screw is cast iron. I suspect that it is just a low carbon steel and won't require any special heat treat either before or after welding.
Unless you get perfect alignment on the threads when welding it in the middle of the threaded section , I suspect that you will have it binding and wearing at that area for the rest the life of the vise.
-
If it was mine , I'd cut the threaded part off of the handle end just where the threads start and the threaded part maybe 1/2'' back to get to clean metal.
Bevel and clean and degrease thoroughly and weld it together with mig or stick, setting it up straight in line clamped in a piece of angle iron. Protect the rest of the threads with a piece of sheet metal to make clean up easier
The screw will end up a few inches shorter , but you are unlikely to use the vise open more than a few inches 99% of the time anyway.
Keep the threads cleaned and oiled
-
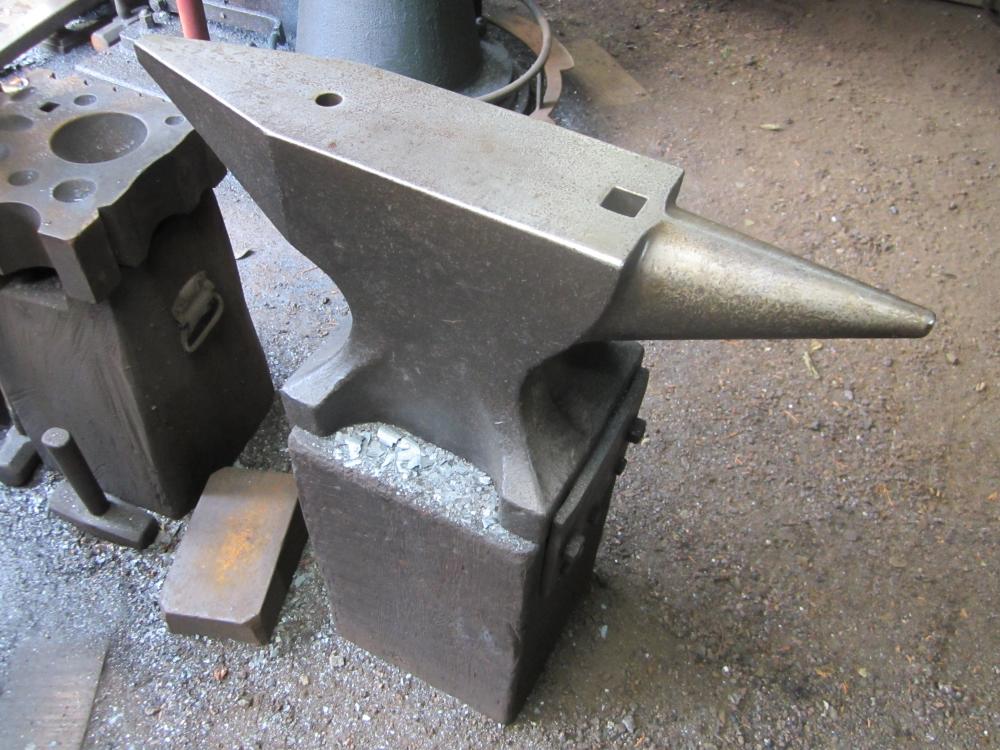
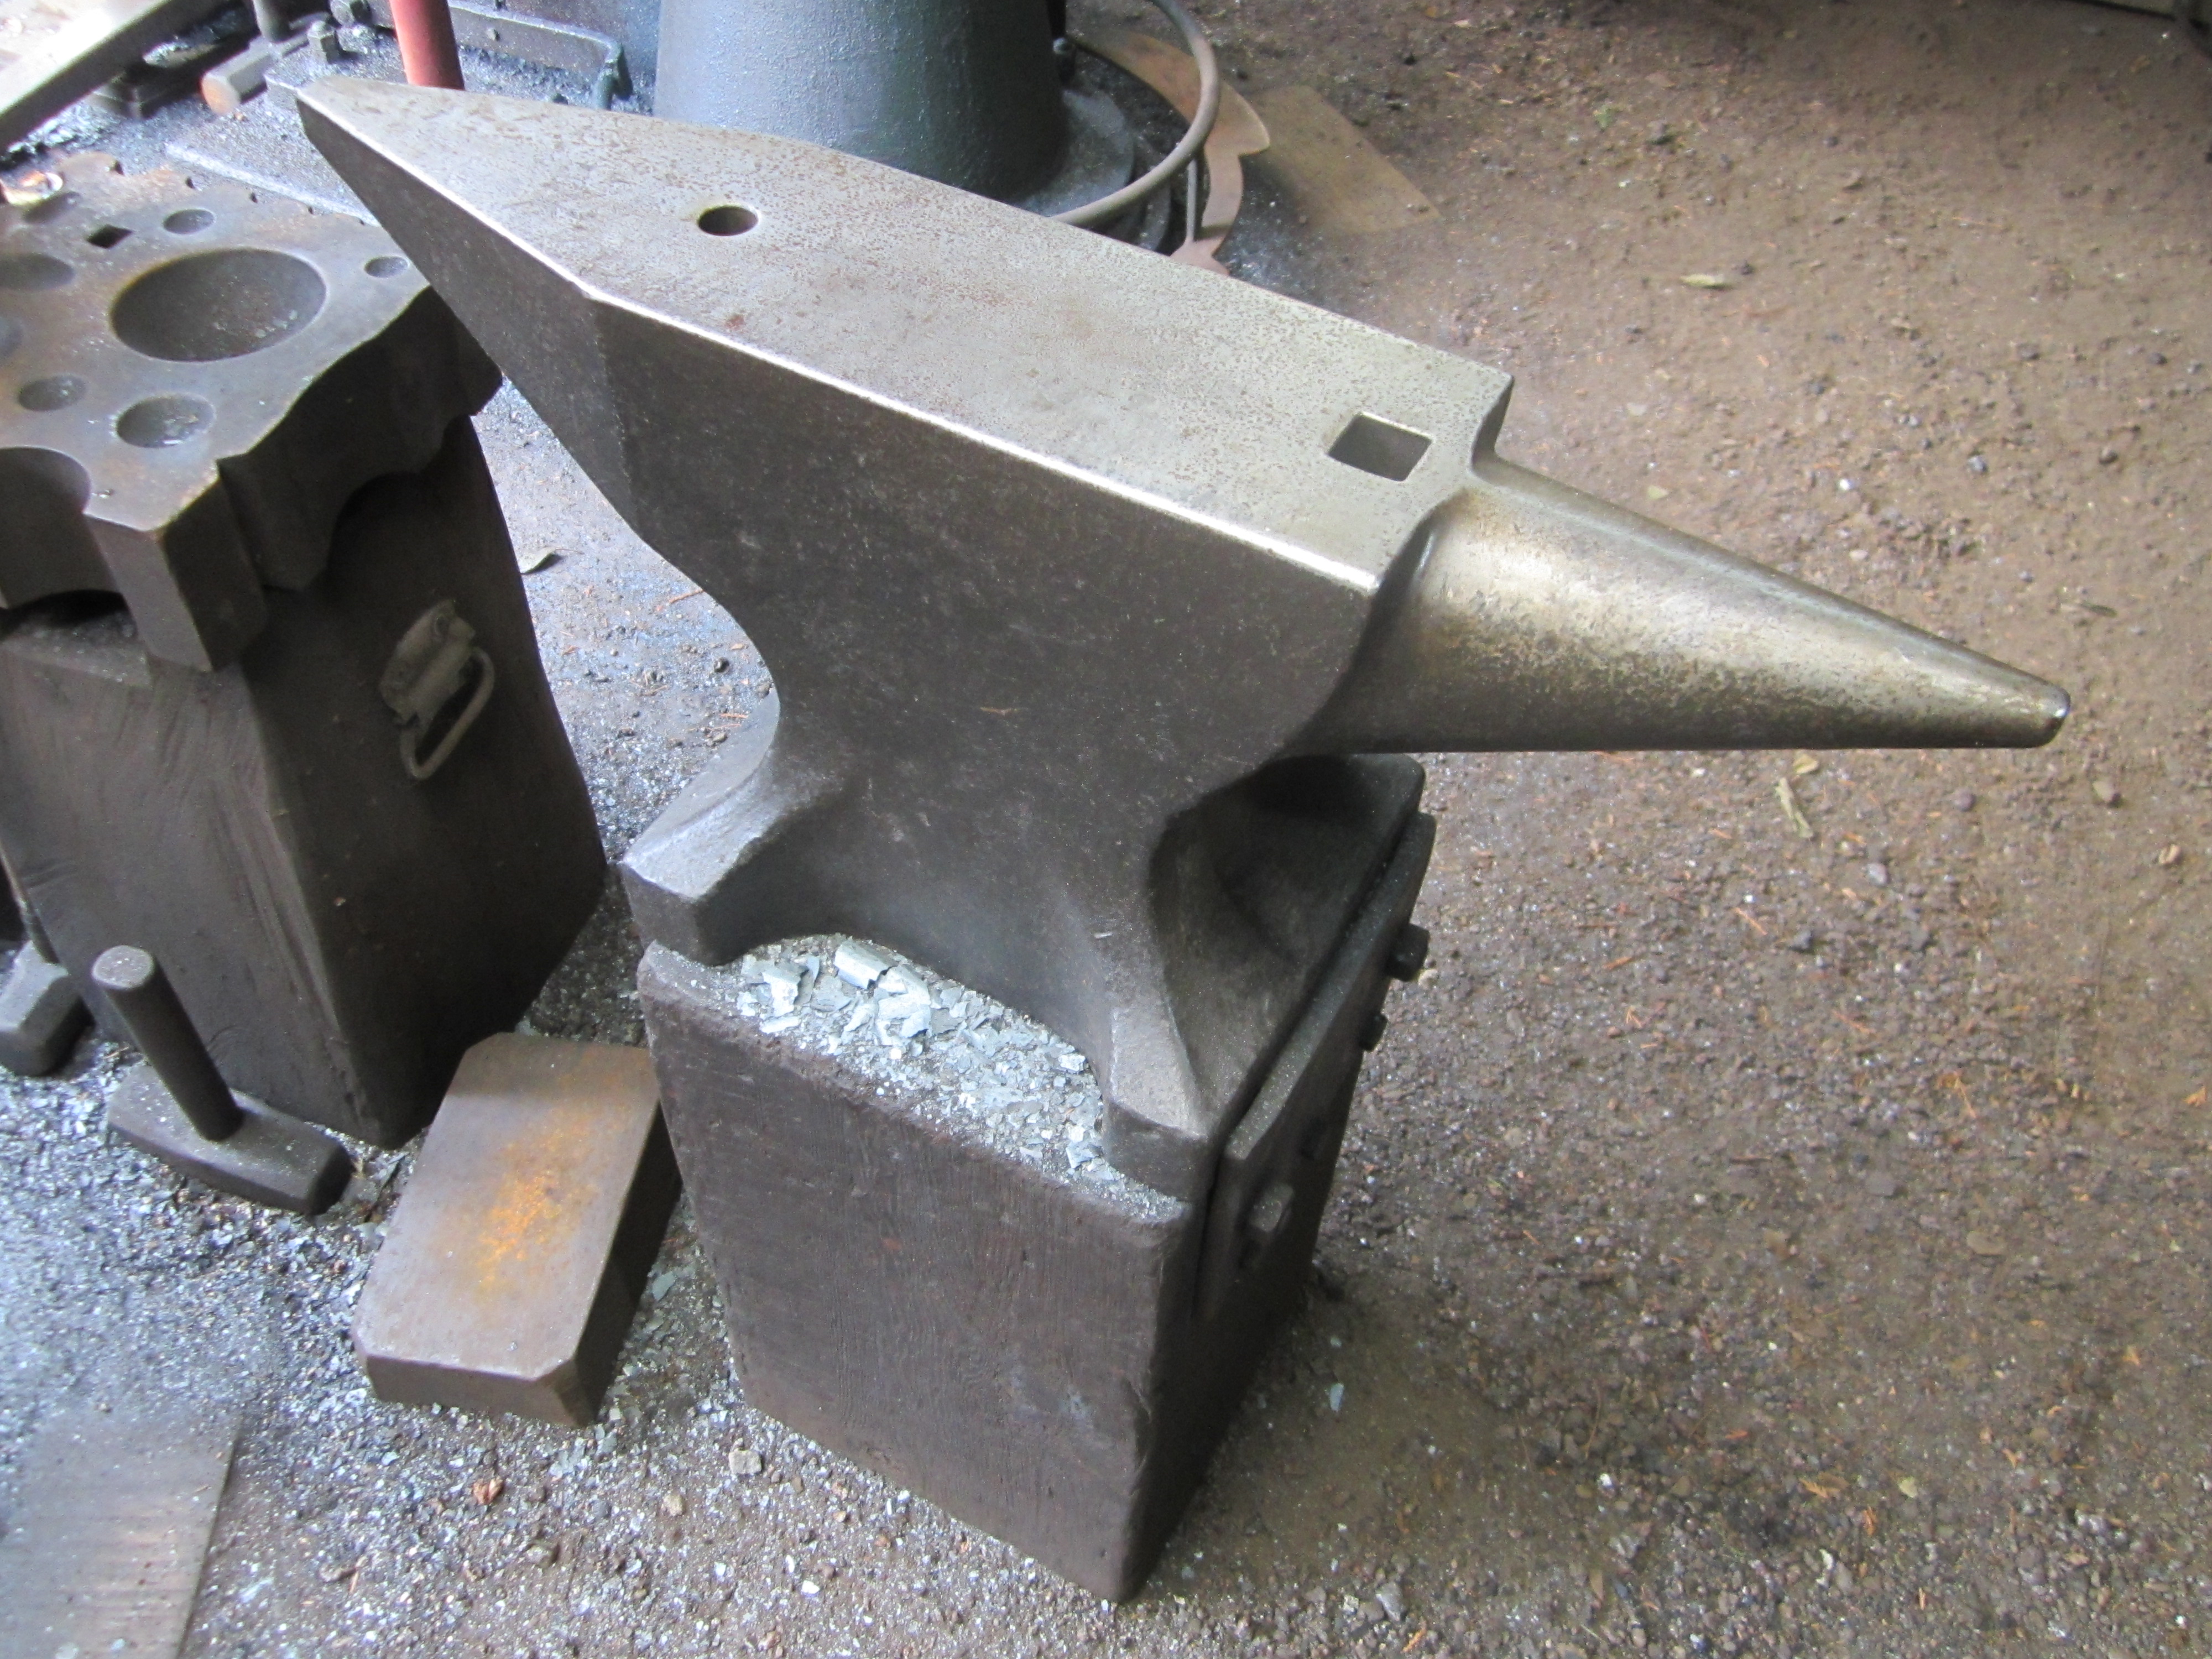
My point was that it there are advantages to having the top of the anvil level in both directions. Since it is the basic forming and reference surface for the work , if it's level you have an easy reference plane to gauge your progress without constantly having to compensate with your eye.
It doesn't have to be dead perfect and how precise it is a matter of preference and the kind of work you do . The stand can be made to fit the anvil in a number of ways and the anvil can be locked down so that it's level ,stays in place , doesn't bounce or move under the hammer and doesn't ring .
Milling or grinding the bottom or welding it down seem like the last resort and a poor choice.
-
It's actually handy to have the anvil face level in both directions so you can use it as a quick reference when you are working. One example is when you are upsetting the legs of a table or a newel post for a railing and want a quick check to see if you are getting the piece out of plumb. It's always easier and faster to fix it while its hot than to have to cut or grind it later.
Weld a thick rim around the edge of the anvil stand as high as the top of the feet of the anvil and drill and tap it for a couple of heavy set screws near each corner. Shim the feet of the anvil up until it is level and lock it tight with the set screws pinching the feet of the anvil tight. This will effectively kill the ring and lock it solidly in place .
This pinch plate method is the way I have my main anvil mounted on a timber post, with a heavy plate on each end clamped tight to the feet of the anvil with 5/8'' through bolts, but the same idea will work with a steel stand as well. This also allows you to reorient the anvil if you want
This is a nice clean and solid and professional looking way to do it, no messy caulk , chains or magnets needed.
-
I was up on a ladder yesterday, stick welding the cross bars of a large rose trellis when I noticed flames and smoke coming up under my helmet.
Looking down I realized that falling sparks and slag had set fire to a Sharpie marker in the chest pocket of my coveralls . Before I got it out the burning pen burnt all the way through the inside and outside of the pocket and singed my shirt, but luckily not my skin.
I was really impressed with how incredibly hot and flammable something as common as a felt pen could burn.
I was lucky I was't burned badly , since I was working on a small island where the nearest medical attention was one very expensive medevac flight away.
A good reminder to keep the flammables out of your pockets, even the things we don't think of as dangerous.
-
It looks like it was made to be set up for one particular job with the very short stroke like setting rivets or snaps or embossing thin metal.
Historically fly presses were used for a wide range of trades besides blacksmithing , like jewelry, harness , leatherwork ,making badges, etc, anything that required a quick sure, consistent pressing action as part of the process.
That press doesn't look really versatile enough for most general blacksmithing applications without the provision for mounting different top and bottom tools and different thicknesses of material.
I'd pass unless it was really cheap and you had a use for something within it's limited capacity .
-
Isolate your hammer foundation block from the rest of the floor and bolt it down with a timber or mat cushion . The people that originally designed and built these hammers always included a plan for a proper foundation in the factory literature to ge the best performance and longevity out of the machine.
If you really just can't figure out where the hammer is going to go , you can always rent a concrete saw or hire it done to cut a hole in the existing slab when the time comes.
Even if you don't have a hammer , they are all pretty similar in general layout and you can mock one up with a plywood template and figure out the best location to approach the dies from both the front and across the length of the dies. 10' or 12' is about the maximum length of hot steel that a person working unassisted can manhandle out of the forge and get under the hammer.
-
Good tool if done right . This one looks pretty light , worth a couple hundred bucks .. maybe.
-
In my previous post I was wondering about the lack of rebar reinforcement within the poured concrete foundation under the anvil block. Was that not shown in the illustration for clarity or was that intentional ?
Most people, myself included tend to put a lot of tied or welded reinforcing steel in a power hammer foundation with the hold down bolts welded to the cage, thinking that some is good ,more is better, but I've also seen some literature calling for a foundation block with no rebar at all to get a truly monolithic block under the anvil. Any idea of what is really the '' right way'' ? or does it really matter for the relatively small hammers [ up to 200-300 lb ] most of us are setting up and using.
-
The foundation plans for the Erie hammers are pretty interesting with the anvil block set on top of oak timbers set on end on top of the massive concrete footing with the vertical anchor bolts running all the way through. I suppose that the oak timbers if they were properly seasoned would last a long time buried away from the atmosphere and saturated with oil seeping down from the hammer.
The original Beaudry factory literature calls for an all timber foundation with a bolted together block of vertical oak timbers sitting on a larger foundation platform of horizontal timbers with the hammer bolted down all the way through.
It also doesn't look like they specified any reinforcing bar in the concrete. I've come across other references to large monolithic concrete foundations under hammers. Is that still the current accepted practice for large hammers ? Has the oak been replaced with something else for a cushion ?
-
Nice score. I have a Dunlap and a Ridgid vise that are similar to the mystery vise. They are good well made vises and have the formed steel slide covering the screw which makes them stronger and more resistant to breaking than most all cast iron vises .
-
I meant to ask , if this Navy shop is being closed down, is that kind of heavy forge work still required by the Navy ? and if so is it being done in house at another more modern facility or subbed out to private contractors ? or are they turning more towards all the sophisticated high speed computer driven cutting , welding, forming ,machining and 3D printing technologies available today ?
It seems as if there are lots of listings for industrial heavy forging equipment being sold off or scrapped outright . Is it being replaced with something else or jobbed out overseas like so many things to countries where people are still willing to work hard for low wages in hellish conditions ?
-
This is a such an absolute classic blacksmith discussion; about spending $20,000 [ $50,000 ? ] and months [ years ?] of ''free '' time to forge a $1,000 anvil.
Great to see the pictures of the shop, thanks for sharing. It would have been amazing to see it in its heyday
-
If you have the space and resources it's really helpful to have several vises and benches at various heights so you can use the one most suited for the task at hand. Different sizes widths and styles of the jaws give you more options as well. A lot of post vises seem too tall for effective chisel and down hand hammer work in my experience.
Not all post vises were made to be used exclusively in blacksmith shops but were widely utilized by all kinds of crafts that required a solid grip on the work. I have a couple of small light 3'' post vises that were obviously made for up high close work that are made exactly the same with all the same kind of parts and construction as my massive and heavy 7'' Columbian forging vise.
The traditional bench mount of almost all post vises were made to be adjustable to suit different bench heights, with the height of the jaws being determined by the length of the leg. The jaws can be set lower by either shortening the leg or setting the mounting block for the foot below floor level , easier to do with a dirt or brick floor. These were probably the most common types of blacksmith shop floors at the time period when most of the post vises now available were manufactured
It's your tool and you should feel confident enough to modify it to suit your needs in your shop if necessary . Just try to honor the craftmanship of the original makers by doing a proper job of it with all the skills you have
Having the vise solidly mounted to an immoveable bench or post will ensure that your efforts go into the work piece rather than bouncing the vise around.
-
I stand corrected on dimmers saving money. The main benefit is that the lights in the area of my shop controlled by a dimmer is right around the forges and anvil, so I can adjust the light to see the color of the hot metal to best advantage.
Even with a number of power hammers up to 7 1/2 hp, a 5hp air compressor and several 350amp inverter welders. the lights and other machine tools, the shop and my house still use less than half of the average power consumption in my local electrical coop utility district.
-
I like a combination of adjustable incandescent or halogen task lights close by on each machine , vise , bench or work station and overhead high efficiency fluorescent tube fixtures to light the general space. Having the lights switched in zones helps with the bill as well as dimmers . If I'm forging bronze I keep the lights as low as possible so I can see the critical colors of the hot metal to avoid expensive puddles if it gets too hot.
I find that for most work, the closer to daylight it is, the better. Skylights or translucent panels in the roof really brighten up the general gloom. Blacksmith shops tend to be dark places with a lot of dirty and dark colored tools ,floors , bench and wall surfaces that really suck up the light.
Even though I'm wearing a welding helmet , really good clear light in the area where I am arc welding is beneficial to getting a nice clean straight bead.
-
This subject has been discussed at some length with numerous opinions and reasons pro and con for various floor systems .
The short answer is that depends on your resources , location and intended use for the space, whether it's for traditional or contemporary blacksmith work , general metal work ,including fabrication , machining and forged work .
Some types of work are best kept in separate spaces , wood work away from hot metal and sparks, machine tools away from dust , grit and potential damage from the impact and vibration from heavy forge and fab work. There no reason that separate areas of the shop can't have different floors depending on use or as the building evolves over time.
-
I use 98 % Argon 2% oxygen on steel for a flatter bead with deeper penetration and little or no spatter on both low carbon steel and stainless.
A new tip , in a clean nozzle running clean wire on clean base metal with a solid ground connection makes a lot of difference .
Check your flow meter on the tank, if it's set too high you get too much turbulence instead of a smooth flow in the gas shield around the arc
-
Make yourself a little bench and a couple of hooks. Put it by the door to the shop . Change your shoes/ boots and regular/ work clothes on the bench. Go to work, go home.
In my shop billable time starts when I'm dressed for the job. Keep the nasties out of the house as much as possible.
-
Wear coveralls and/or dedicated work clothes and work shoes in the shop. Take them off before going in the house. Everyone in the family will thank you for it.
This also keeps your regular clothes from all becoming ''work clothes''
It also helps to keep your work space swept up and to install a dust exhaust system in your grinding/ cutting area.
-
By working out of your home, not being legally set up as a business, and more than likely not being properly insured , and wanting to pay a helper under the table, it sounds like you are setting yourself up for a whole array of real trouble if anything goes wrong.
Only you can decide if the risk is worth the perceived increase in production.
In some locations , you can legally hire and pay someone as temporary'' casual labor'' without having them be an employee, but it's limited to a maximum amount of $600 per year .
That said , you should realize that by cutting all the corners listed , you are ,in effect undercutting those of us that are doing this as a legitimate business and bearing all the costs of doing so.
-
^^^ get someone local to engineer it for your situation .
-
I prefabricated the various components on the bench and painted them except in the areas of the final welds. The components were the pivots with mounting plates, vertical mast and horizontal beam.
First I mounted the pivots to the structural post in the shop with big through bolts and back plates . I hung a chainfall from a rafter above and pulled the vertical mast up into position and attached it with the pivot pins.
Another setup with two chainfalls slung from above from the rafters allowed me to get the beam up and in position against the top of the mast easily and safely. I clamped it off and secured it from above with a strap for a redundant safety backup and when everything was aligned and in place, welded it solid.
I had designed and prefabricated the components so that all the critical welds were either flat or horizontal. After things cooled down I painted the weld zones , mounted the trolley and chainfall and was in business.
The second crane was a little trickier since I didn't have enough height above to lift the beam straight up so I hung a chainfall from a nearby tree and another one in line on the building and by lifting vertically on one and pulling horizontally on the other managed to get it up and in place for welding without too much trouble.
By taking your time and thinking things through , it's possible to do a lot if you are careful , rig things right and stay clear if something goes awry.
Sometimes an extra hand is helpful for jobs like this and sometimes it's just a needless distraction.
8" Vise
in Vises
Posted
It should be easy to make a new mount for the Columbian. They usually had a square cornered U bolt going around the back leg and the top of the spring and through a heavy angle bracket bolted to the bench.
I think this is actually a better and stronger mounting system than the more traditional tapered wedges through a mortised mount and I've retrofitted most of my vises with this kind of bracket.
Nice score ! It's useful to have both sizes of vise. Unless you really need the capacity, the big vises can be slow and cumbersome for daily use.