Square Nail
-
Posts
87 -
Joined
-
Last visited
Content Type
Profiles
Forums
Articles
Gallery
Downloads
Events
Everything posted by Square Nail
-
Steve Sills -- In my time on this forum I have been rebuffed, rebuked and ridiculed and now slammed for something I did not know was an issue that thousands of others have done is the last straw! Please remove my name from the rolls of this site as I won't be back! To those of you that have helped m, Thank you! To all Good BYE!
-
I tend to over think things but from what I gather the KISS principle is what I need to pay more attention to. Thanks Mike for the info! One more question if you don't mind. When angling the burners into the forge, should they be directed to the back (hinge side) of the forge or the front. If they point towards the back, that would mean that the plumbing end of the burner would be on the working side of the forge, which seems like it may tend to get in the way and if they were pointed the other way all the heat would be pointed to the open side. Am I guilty of overthinking again and just tilting at windmills or is this an issue?
-
Well that make sense!
-
Great advice Mikey! Would it be beneficial to have a locking lug or clamp on the open side to cut down on even more of the exhaust leaks? I've looked at Jay Hayes and Wayne Coes version and can't tell if there is a clamp or not
-
Thank you Sir! That helps a bunch!
-
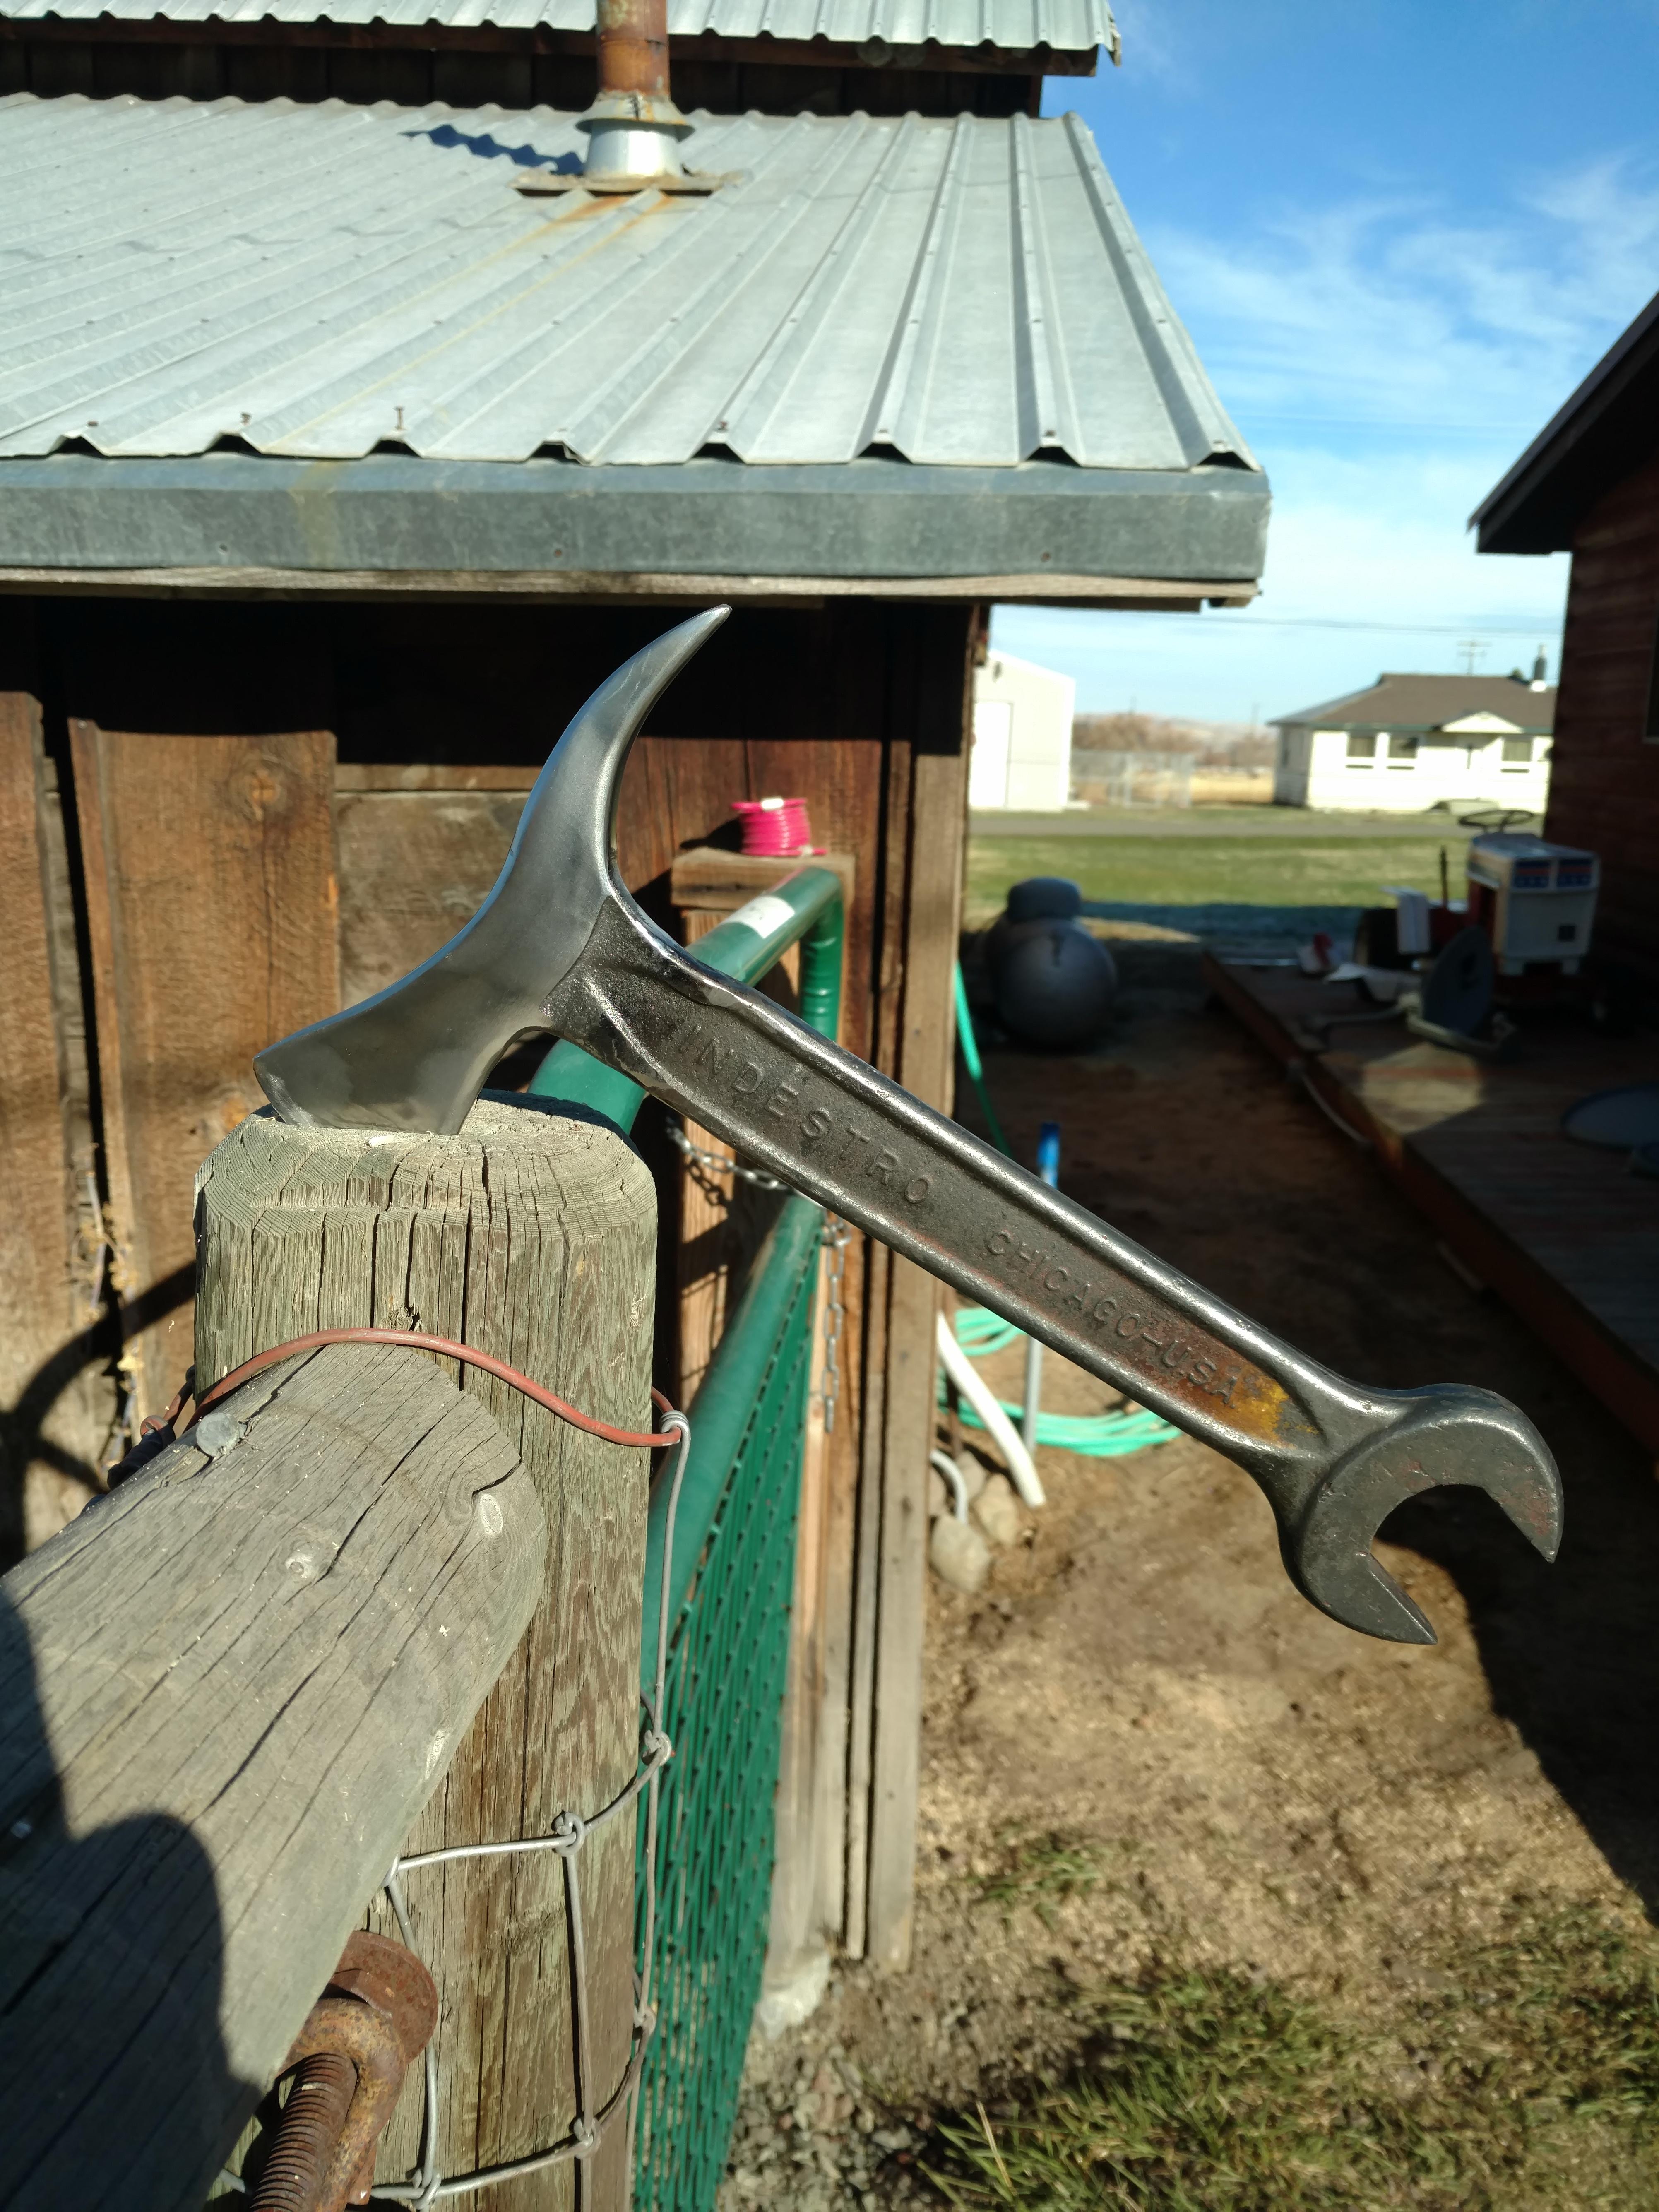
Mikey interesting Idea! Sorry for the long response time but have had a medical issue to deal with and haven't done much of anything for the last month or two!! A point of clarification on the 3 or 4 burners. I know that you couldn't run all at the same time but if they could be shut down individually so only one or two would run at the same time and be able to direct the heat to a smaller portion of your piece, would it make the times between heats quicker? Also could you elaborate on how to join the two haves of the mufflers together? I have been making tomahawks and hatchets out of old end wrenches by reshaping one end of the wrench into the head leaving the rest as a handle which is why I need a wider mouth on the forge!

-
Just curious if anyone has made a farrier stile forge from a freon tank? I would like to cut the side open to have a long narrow opening for forging tomahawk heads etc! Maybe 6" deep X 4" high X 12" long" or something along there. Would it be better to have 3 or 4 burners so you could isolate one area of the piece you are working on or just a couple to heat the whole piece? Would it still be beneficial to angle the burners into the chamber rather than straight down with the extra wide front opening?
-
It wouldn't need to be a "How To" but the process itself would be fascinating and maybe give some of us fence sitting wannabes the drive to build their own!
-
How about doing a video while building this! I'm sure there are a bunch of us that would love to see these procedures!!!
-
Maybe! I drilled and tapped three T's today, with a hand drill and including tapping took about 15 minutes with perfect results on all three!
-
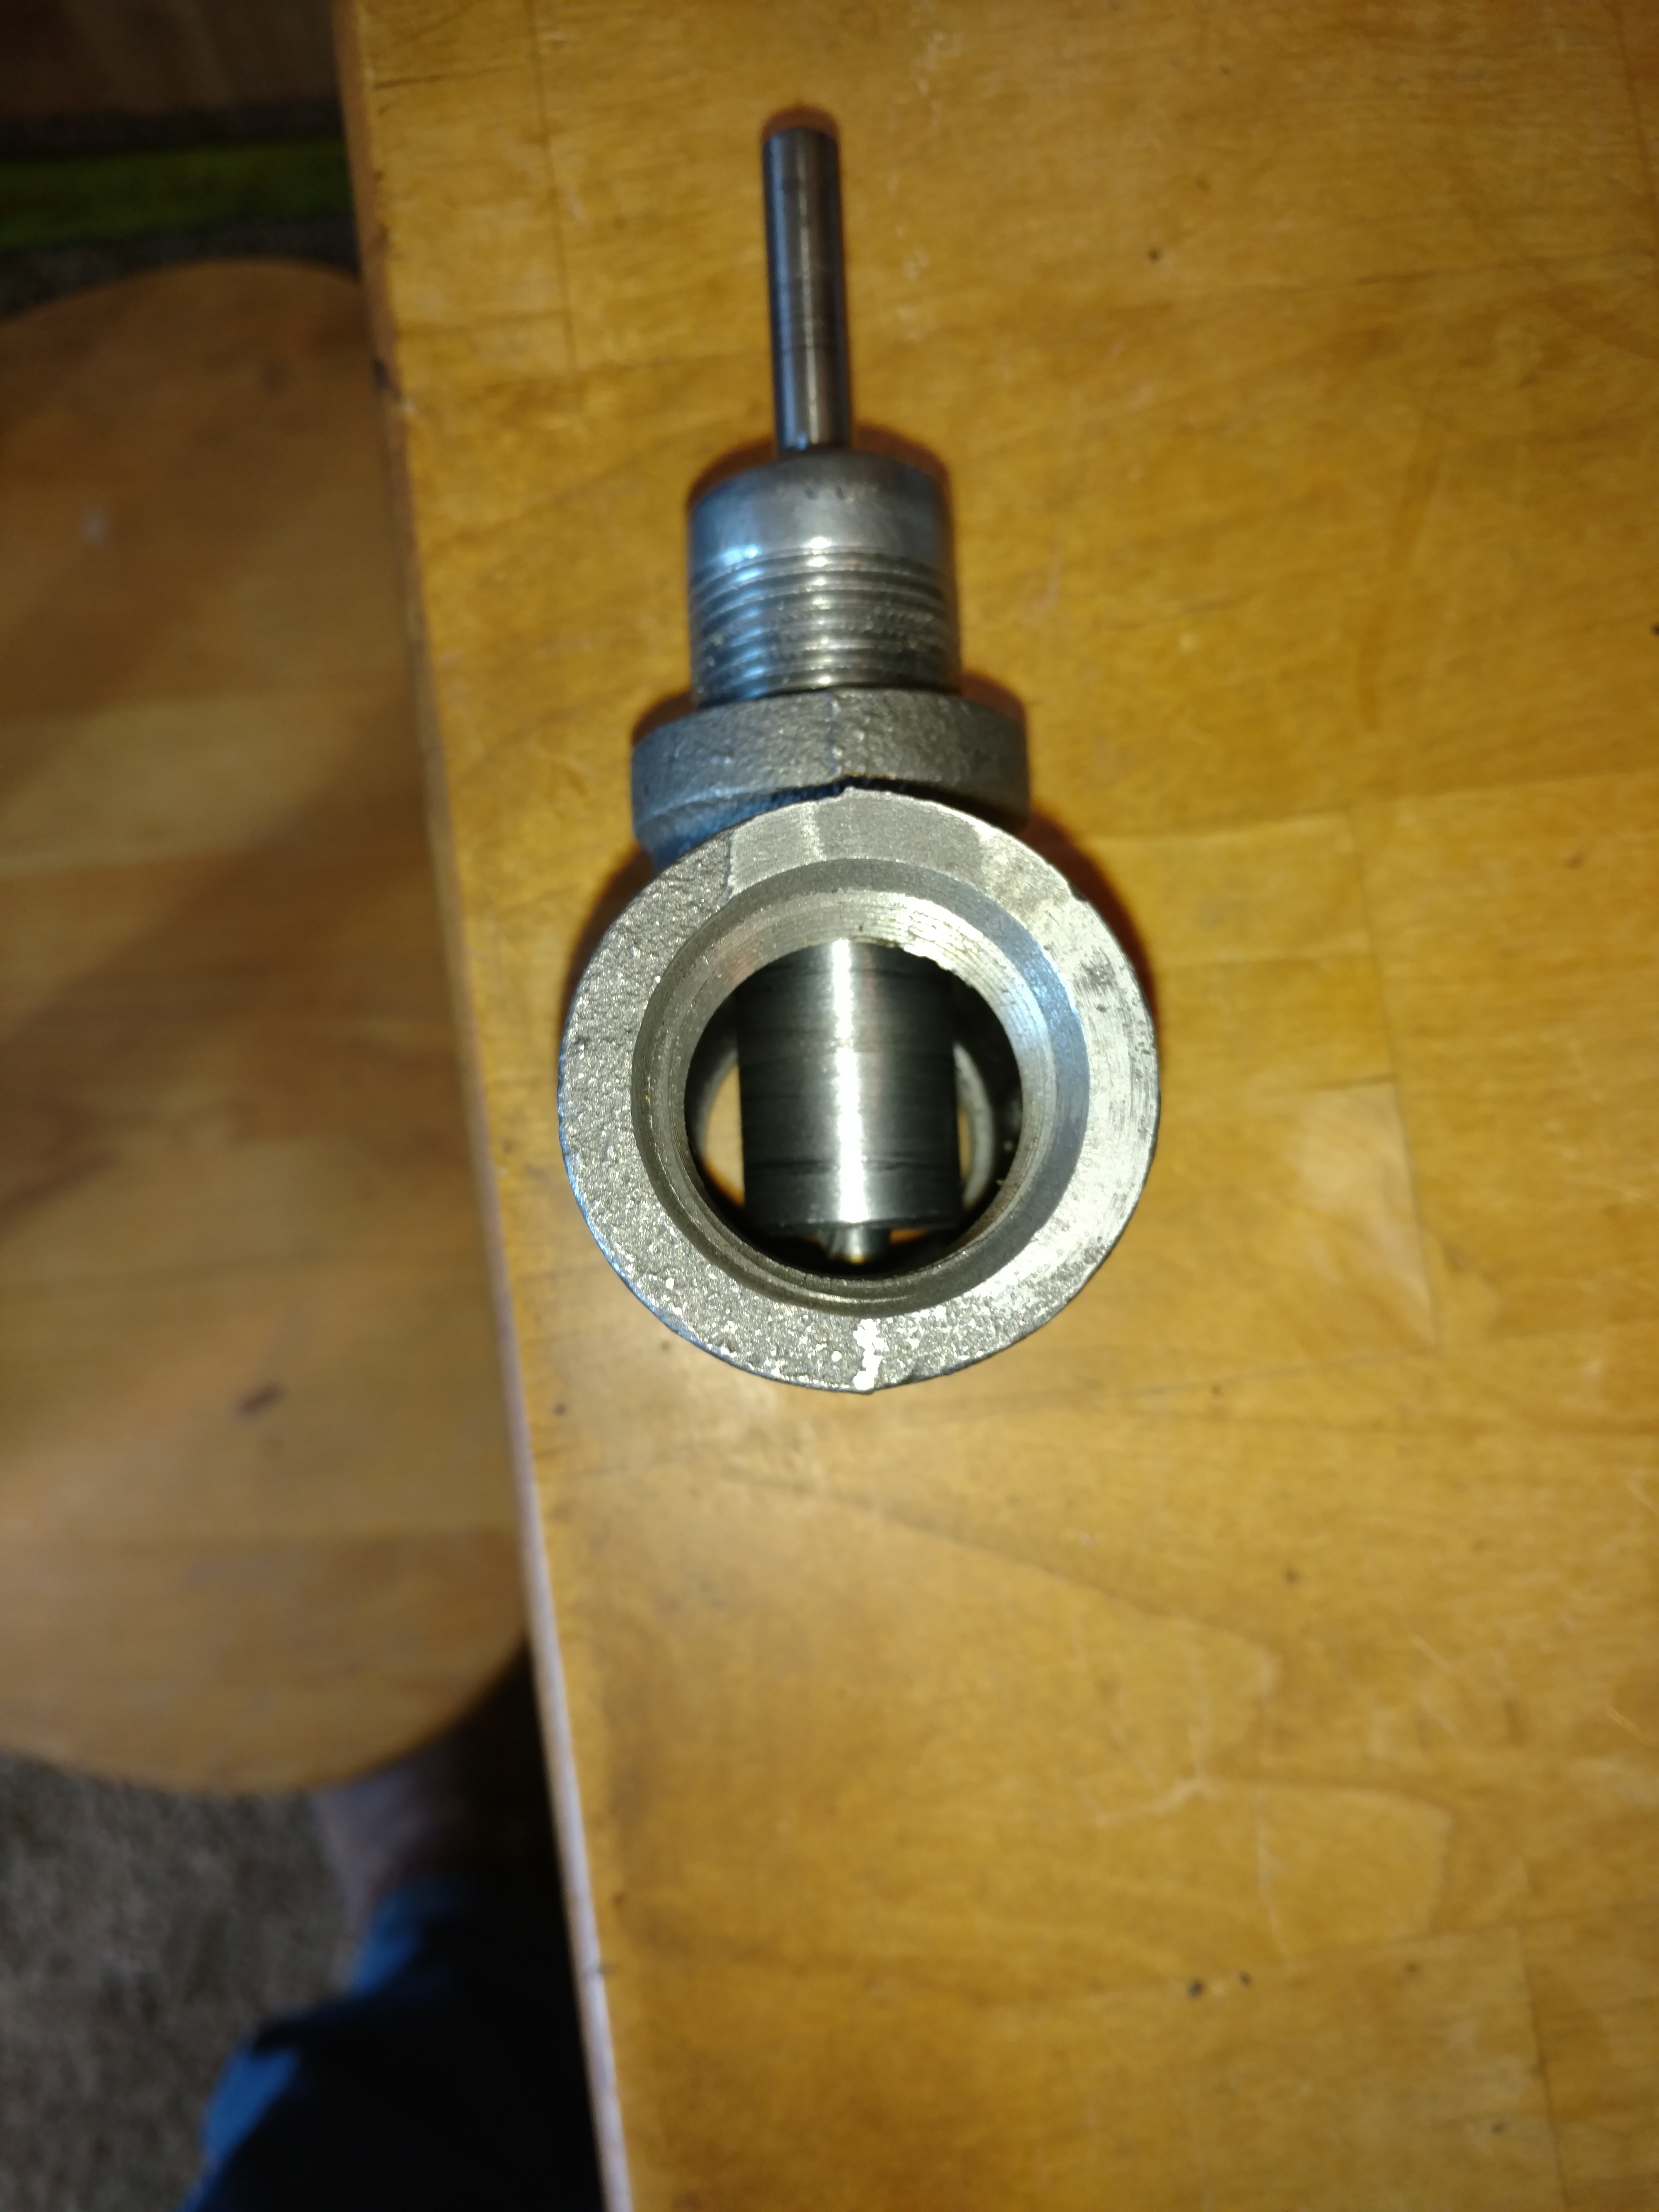
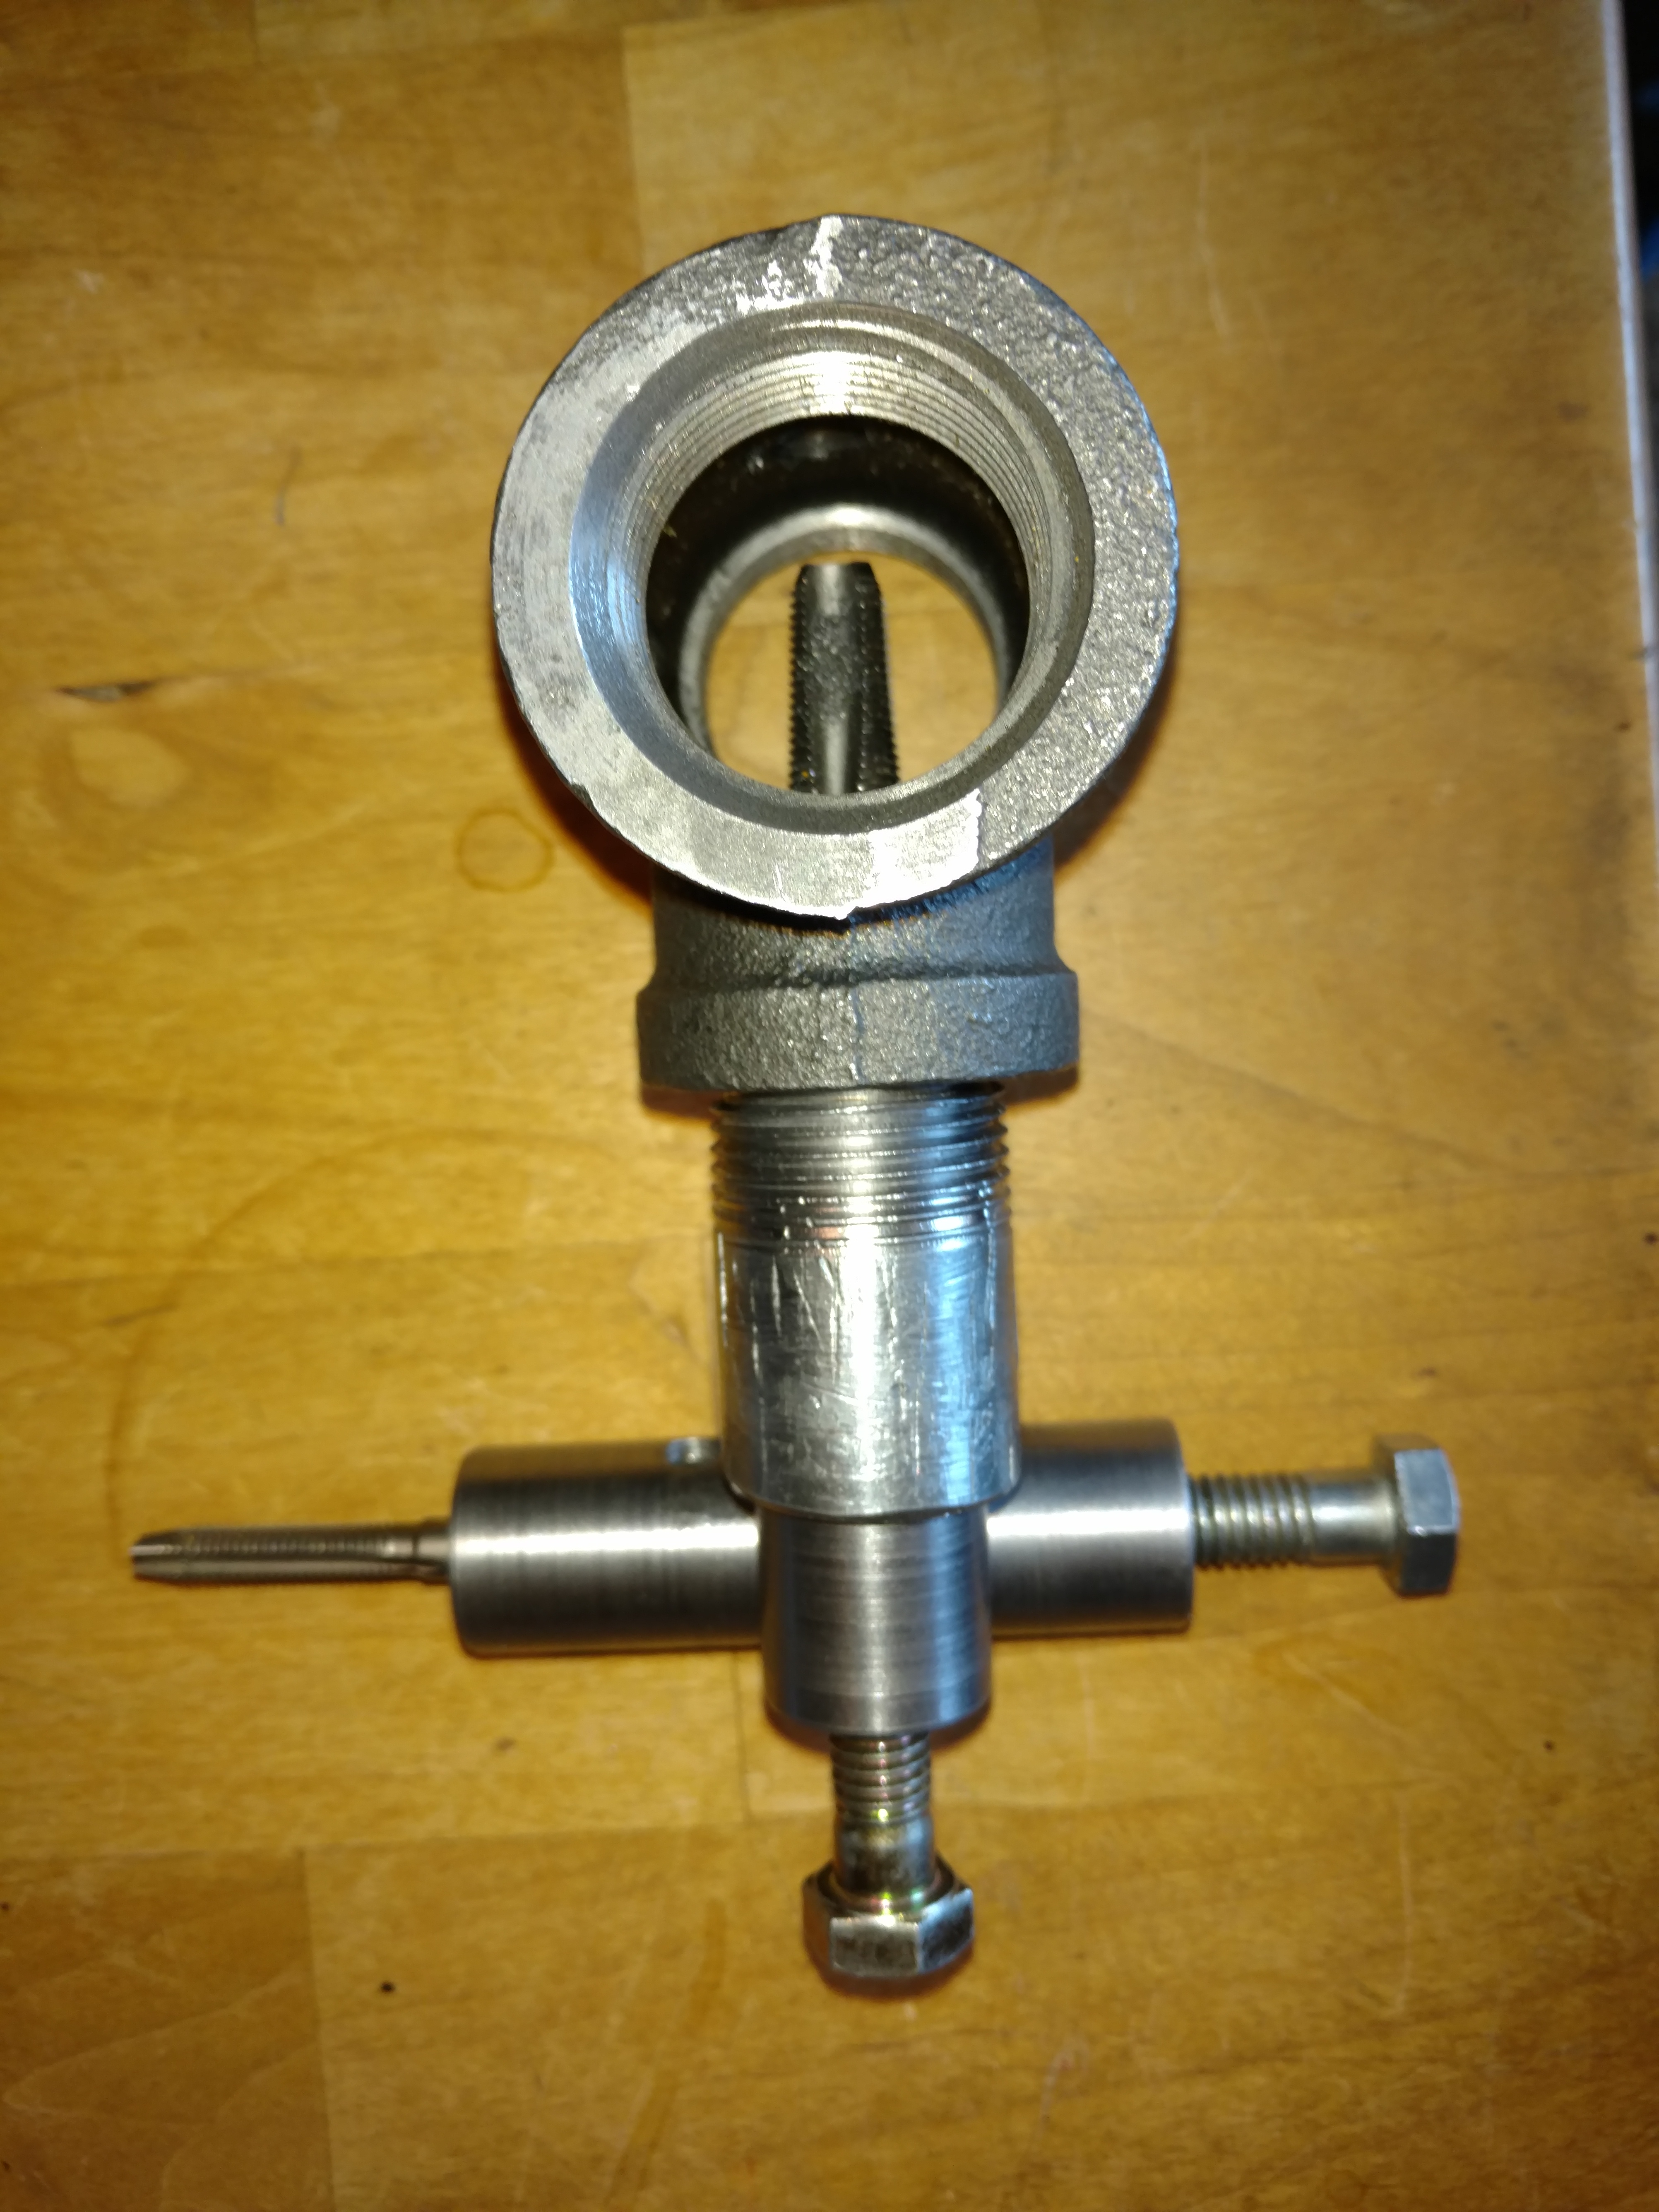
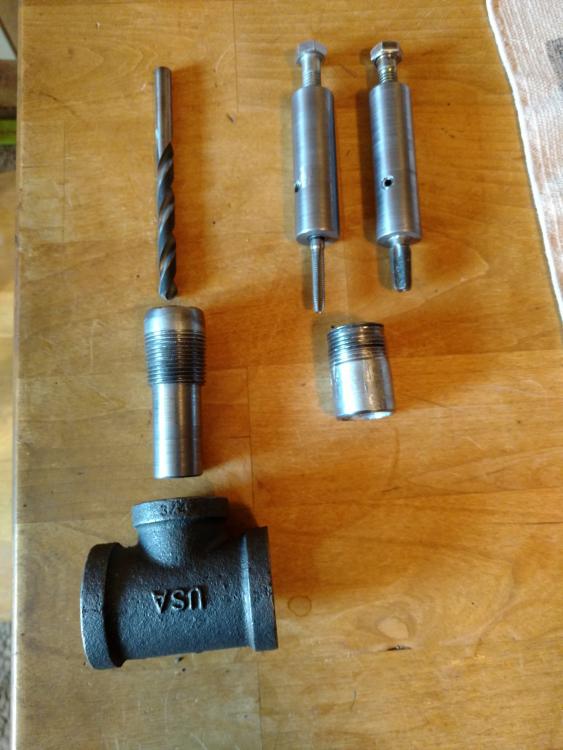
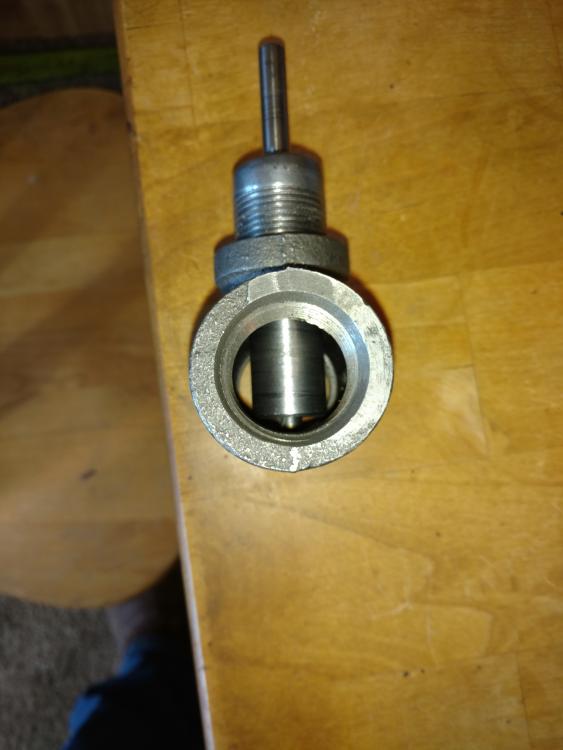
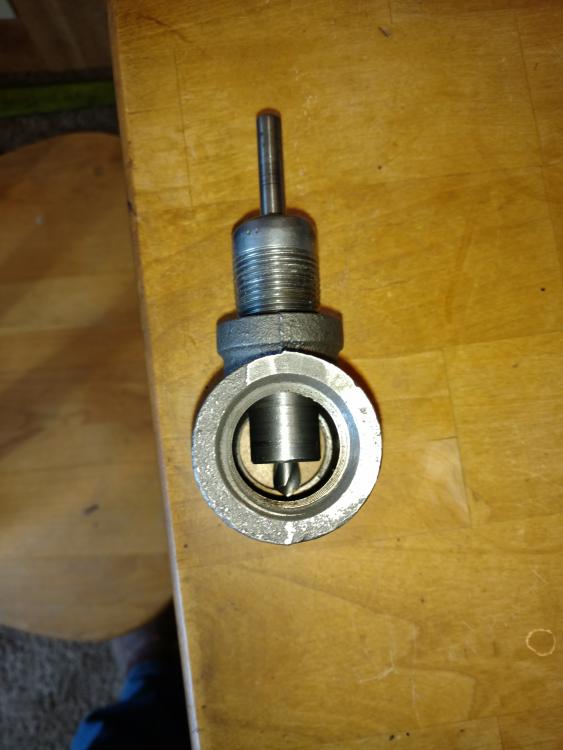
In an effort to make the perfect Frosty burner, and because of my repeated failures at getting a tip perfectly centered in the "T" I decided to try and make a jig to make it fool proof and repeatable. What I ended up with was a 3/4 nipple and a slug of the correct diameter to fit inside the nipple and then drill a through hole all the way through the slug. (Pictures to follow). I did this with the taps also. Shown below are the completed pieces. The one on the left has the slug welded to the nipple and a 21/64 hole drilled the length of the slug. I have a friend with a lathe that makes short work of the machine work. The two on the right are the taps. Again the nipple and slugs were machined to the correct tolerances. For me the inside of the nipples were machined to .83 and the slugs to .82. Then the top of the slugs were drilled and tapped to accept a 3/8 X 1 1/2 bolt to use to turn the slug when complete. The bottom of the slug was drilled to accept the taps one for 1/8 NPT and one for the size of your mag tip. Then a couple of 1/4 X 1/4 set screws to hold in the taps. Very simple to use, even with a hand drill you get perfectly centered holes every time. This one shows the drill slug all the way in place. This one shows the slug pulled back a ways to show how it automatically centers the hole with no chance for the bit to wander! This one shows the tap in place.

-
Just for the record, this wan't my post. I was just asking the question at the end of the quote.
-
-
try Mc-master Carr supply
-
Mizzou insulation ability question
Square Nail replied to customcutter's topic in Insulation and Refractories
Having just finished building my first forge, and going through the same questions, all I can say is check with Wayne Coe for all your insulation needs for your forge! He is on this site and has his own pages also I was totally happy with the quality of material and shipping time. Price was very reasonable also! -
Me too Frosty!
-
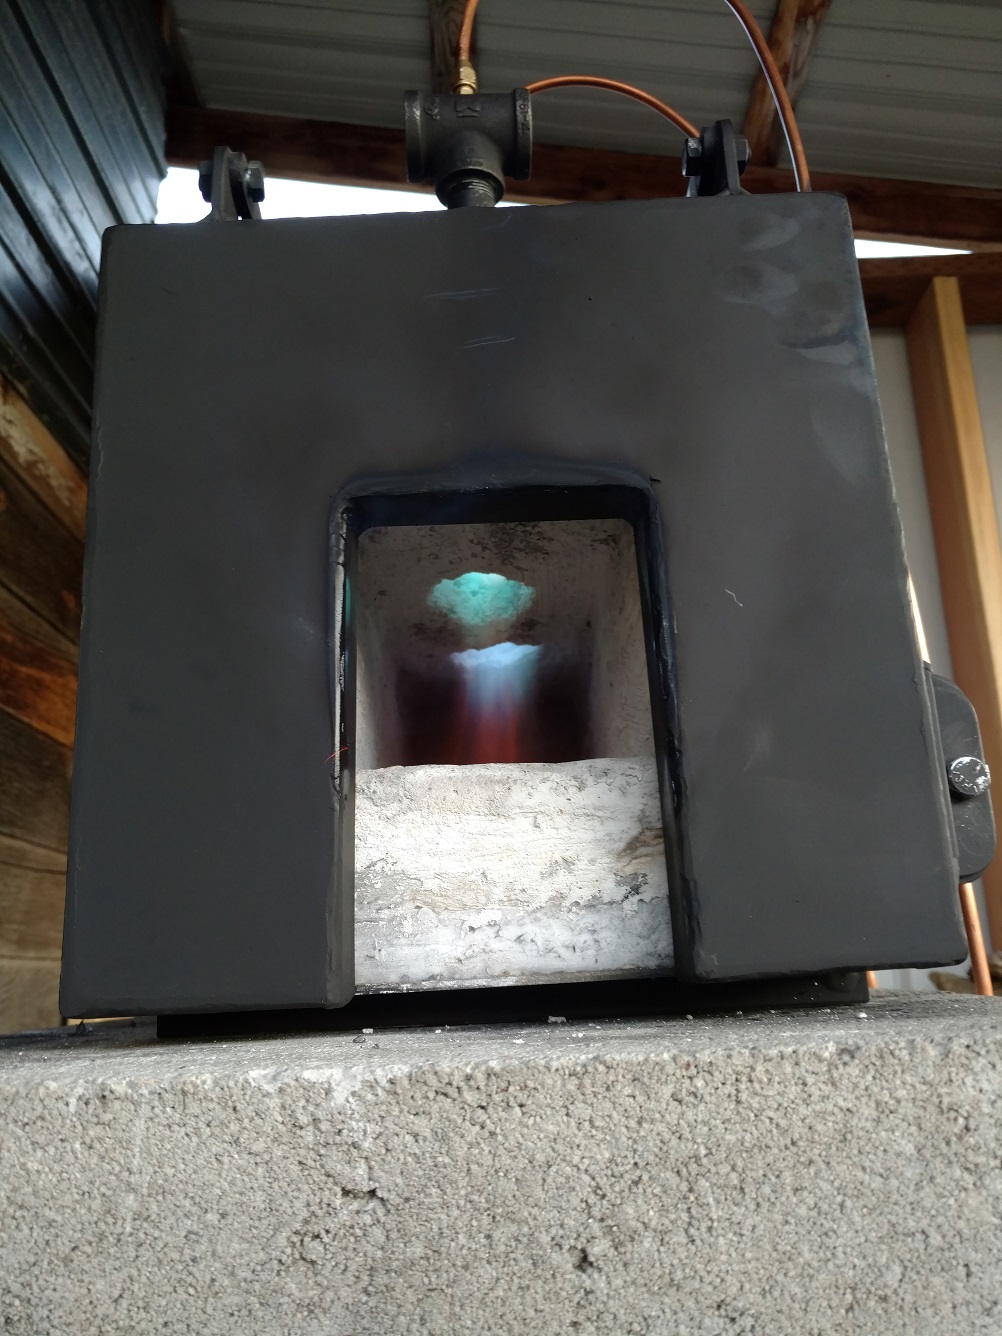
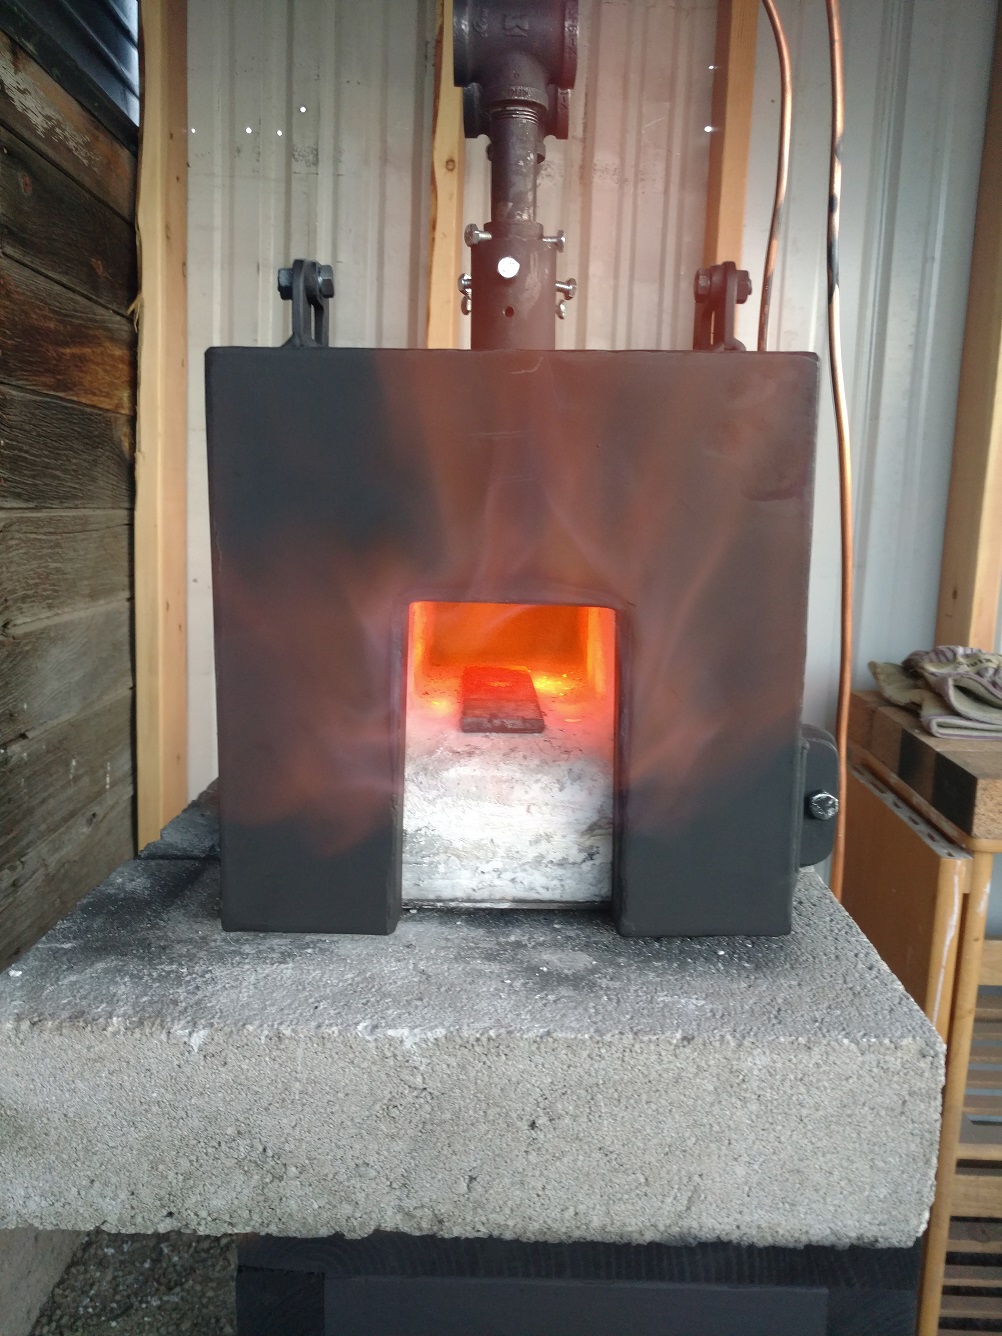
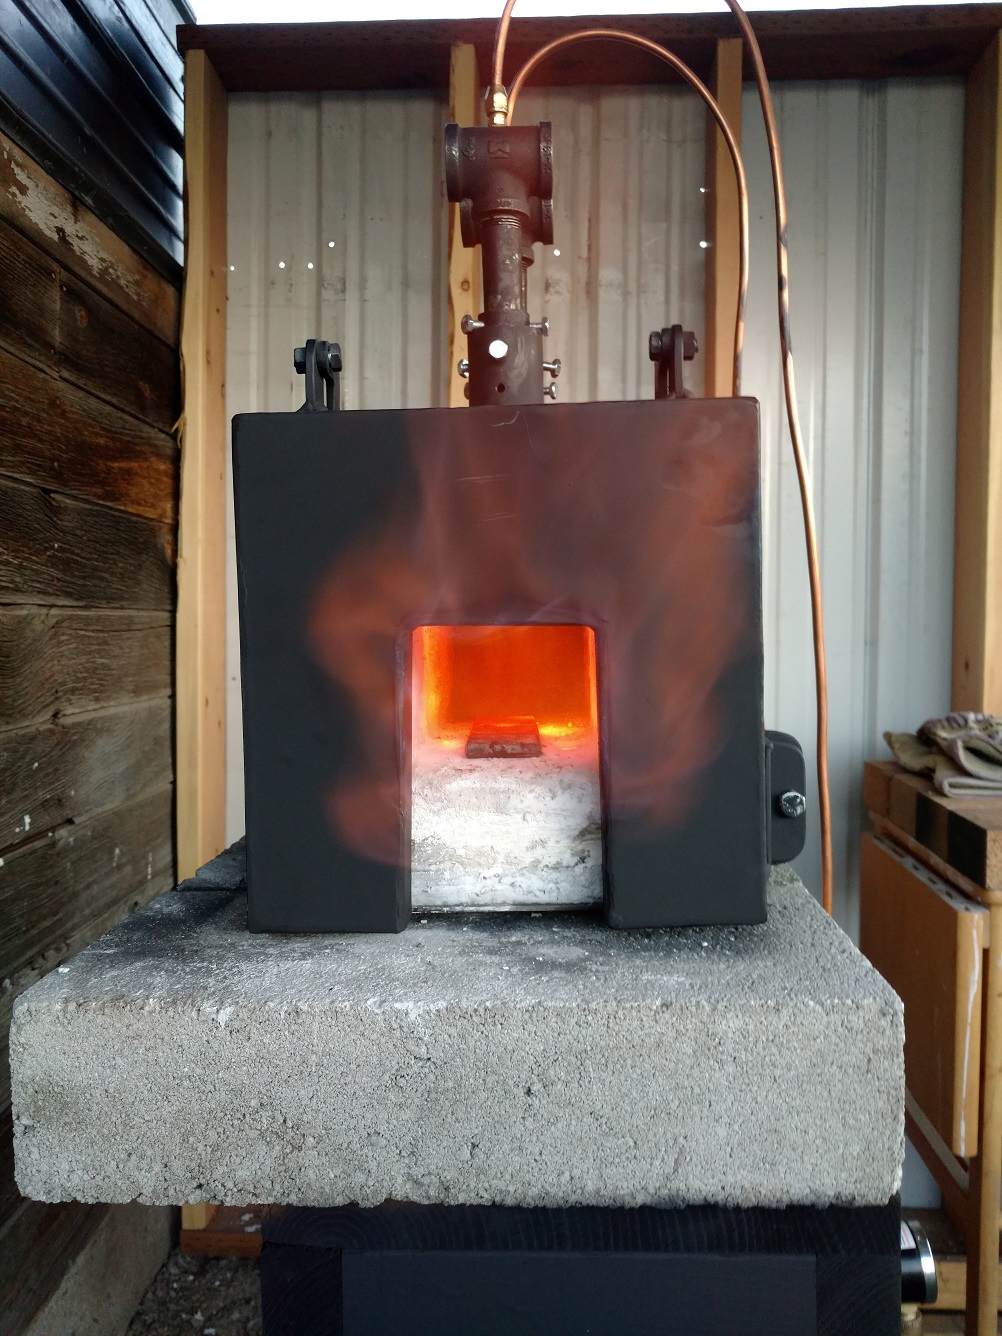
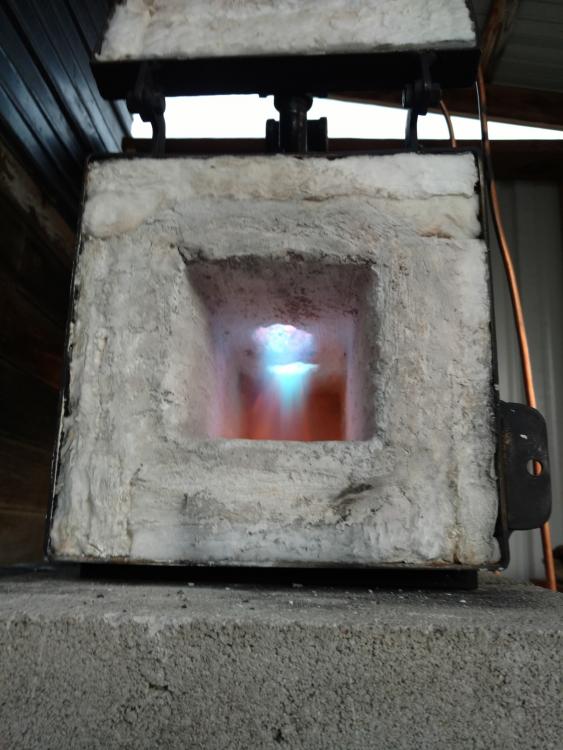
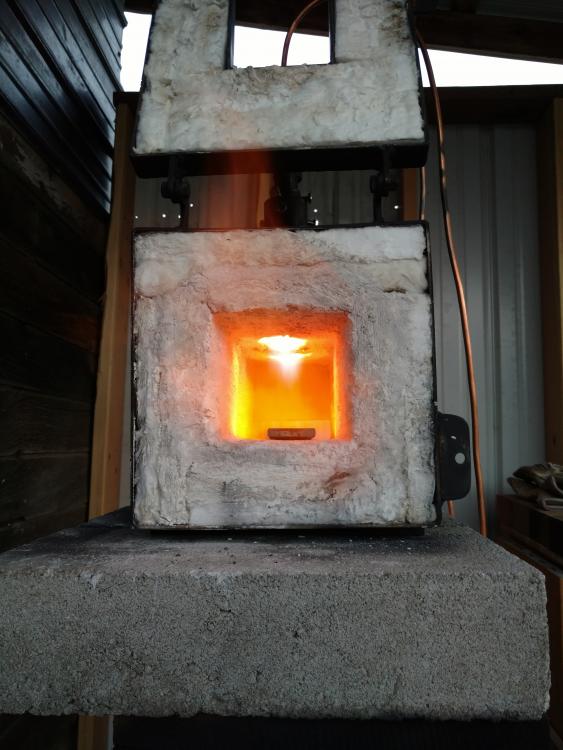
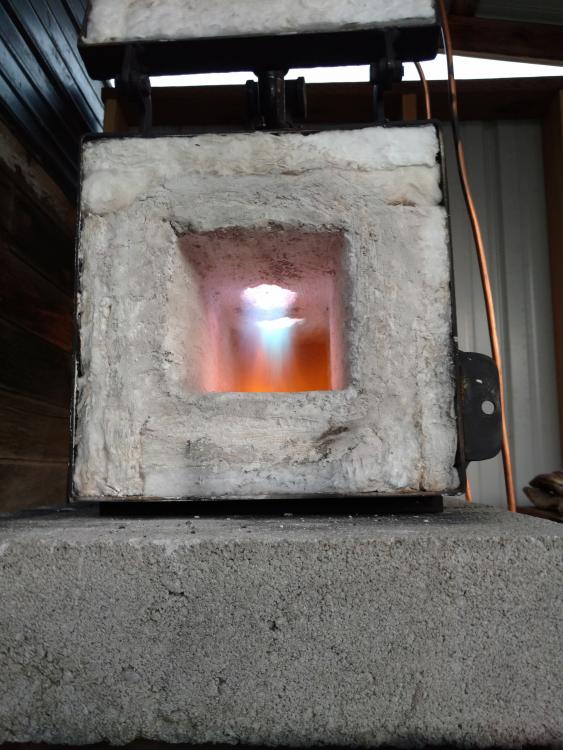
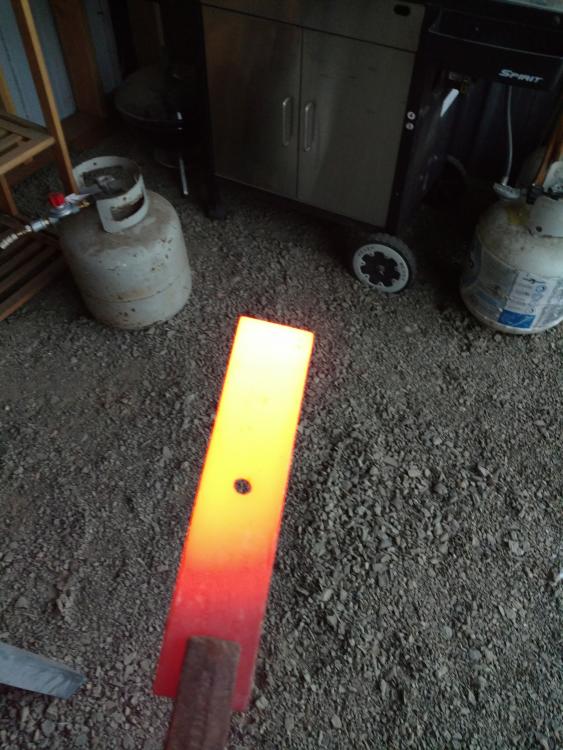
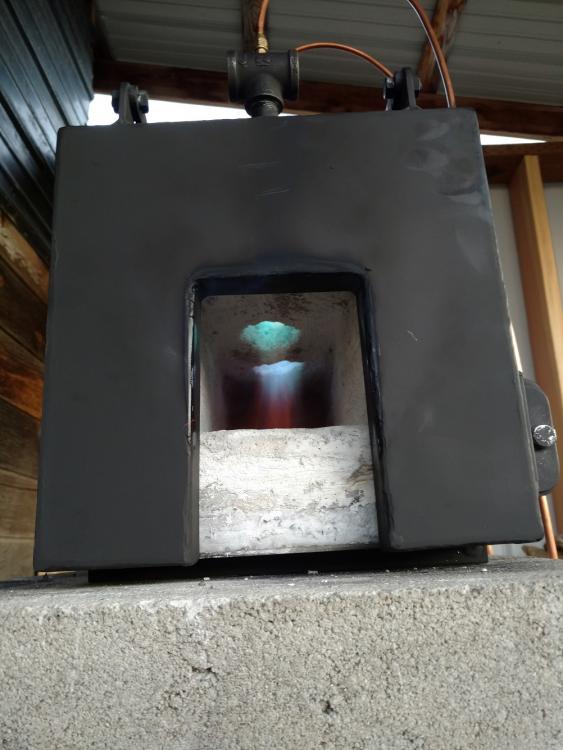
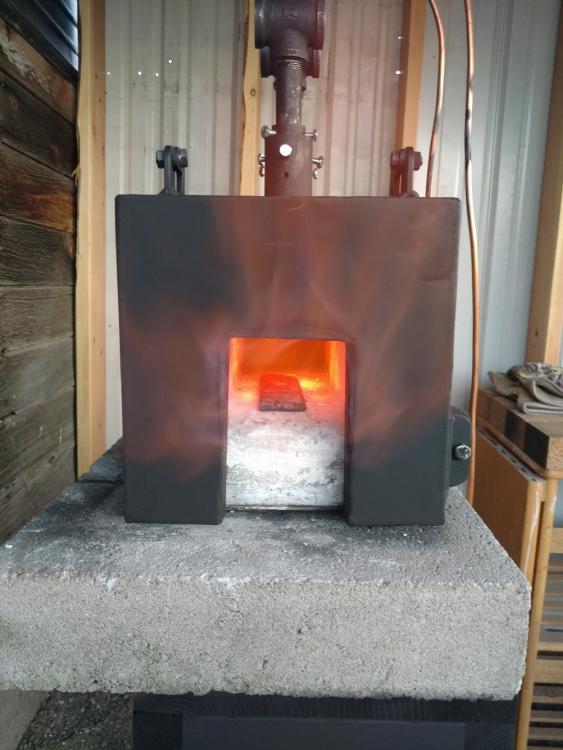
The first pic is a cold start, followed by about two minutes after start when I put the steel in, the third pic is about 4 minutes into the burn with the last of the steel after just four minutes in the forge! Mike I would say your suggestion was spot on! Pretty or not, it works for me! Thanks everyone for all the help!
-
The forge is outside so will take pics tonight when it isn't so bright out! Thanks again!
-
Thank you Mike! Looks much better with that change!
-
Of course we're good Frosty! Thanks!
-
My Humble apology Frosty, I guess I was laboring under a false impression. Many threads seem to be talking about the "perfect flame", which may or may not be possible and the attempts people make to get there, and I assumed when you mention trimming the mig tip it was to the same end. Some how this equated to dragon breath being bad and not very desirable. Thus backing down the pressure to reduce it. Not that there was any desire to run a low pressure rig. Having never seen a T burner forge in operation and seeing the nature of the beast, and lacking the experience to know better, I was trying to attain the unattainable. Thanks for your help, and rest assured there will be no more stupid questions from me!
-
The back is closed and the front is about 4" square. Good point about starting hot! I'm at 5 psi should I amp it up a bit?
-
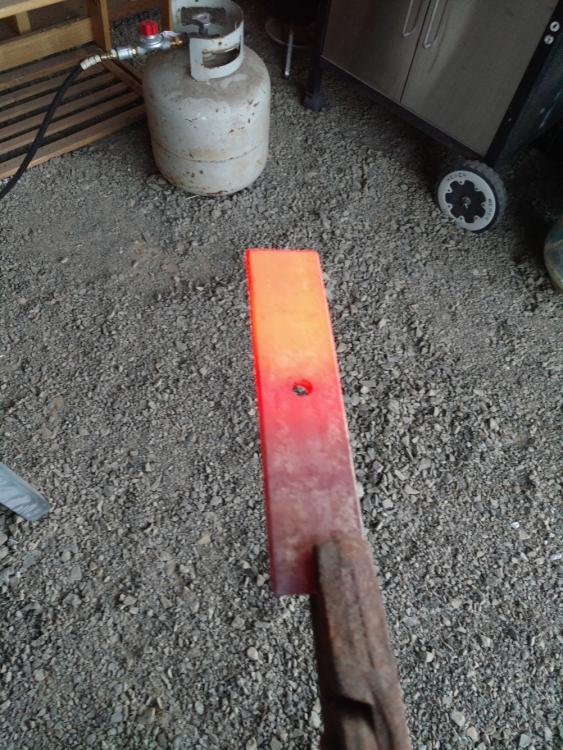
After adjusting the burner's mig tip in inincrements of 1/32" this is where I ended up. I am running at 5 psi. The piece of steel is 5/16 X 2 X 8 after 3 minutes after 6 minutes after 7 minutes after 8 minutes


-
Frosty I have played around with the burners some more and after pausing to think of where I started and what I've done, with what you said, decided to reverse the direction I had moved the flares. Results are a much improved flame and was able to increase to 5 psi with no more dragon breath than with 2 psi. with both burners going and much diminished dragon breath with just 1 burner. I think one final adjustment tomorrow when it is cool enough to handle will hit about as good as I get. I heated a chunk of leaf spring to workable color in about five minutes from start up. Not being a 100% sure of what color is need for welding i was at what i would call yellow in less than 10 minutes. Will get a couple more pics tomorrow!
-
Thank you sir! I will post the results as I try them!