Hearthstone
-
Posts
18 -
Joined
-
Last visited
Content Type
Profiles
Forums
Articles
Gallery
Downloads
Events
Everything posted by Hearthstone
-
What did you do in the shop today?
Hearthstone replied to Mark Ling's topic in Blacksmithing, General Discussion
Looking forward to those photos. Best ways to mount hardware without detracting from the piece can be tough. -
What did you do in the shop today?
Hearthstone replied to Mark Ling's topic in Blacksmithing, General Discussion
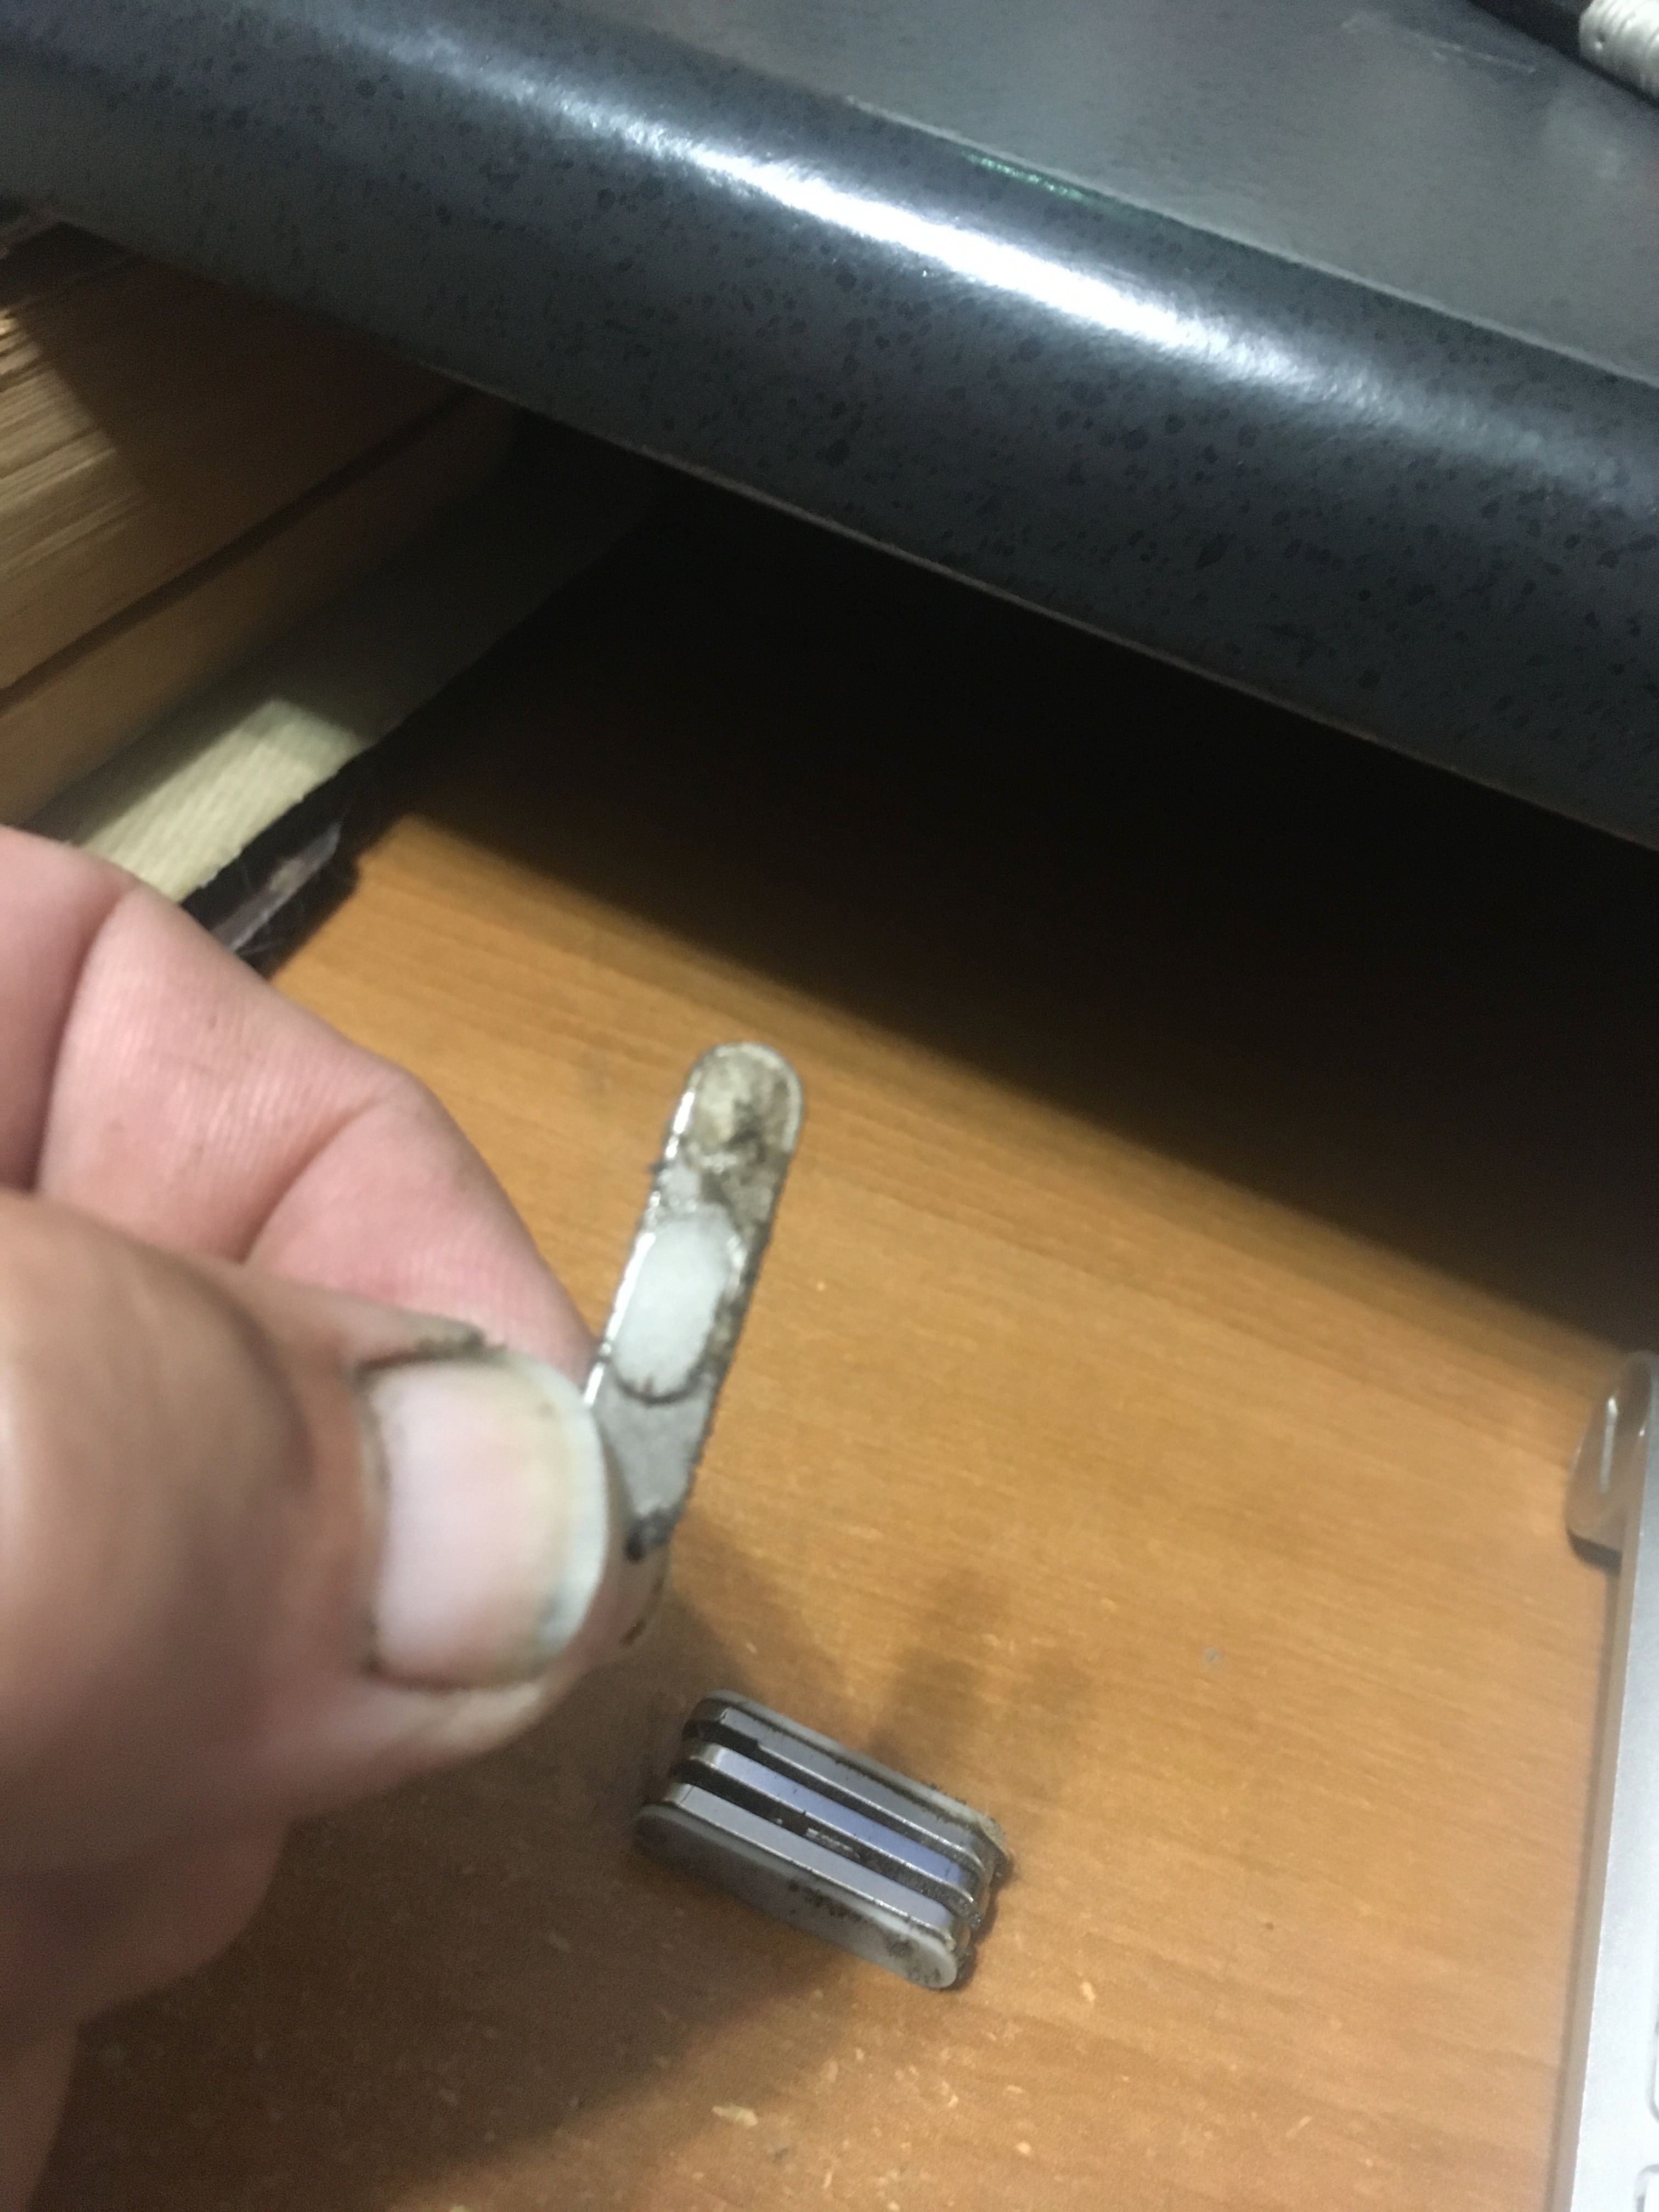
The ones without the tower, just the large flat panel monitor with the innards behind the screen. These oval magnets are set into the edge of the case. A thin metal frame on the back side of the glass panel holds the glass in place.
-
What did you do in the shop today?
Hearthstone replied to Mark Ling's topic in Blacksmithing, General Discussion
Just to add my magnetic input.... Desktop computers with the all-glass fronts use small but very strong magnets to hold the glass in place. Before sending those off to recycling and after wiping the hard drives, remove the glass face and pull the eight or so magnets from the mounting. Leave one or two to hold the glass in place for recycling or just tape it in place; our eTrash collectors don't seem to care. However, before stacking them up, remember they are small but powerful, I have had to use a chisel to pry them apart. -
Anvil rebound,- horse poo?
Hearthstone replied to emtor's topic in Anvils, Swage Blocks, and Mandrels
Re: ThomasPowers--I know I have to work on my stump mounted anvil. After a few days of work I have to give it a nudge back into the sweet spot I like. Re: anvil pushing back--I know there is no active push back from the anvil but when you use the equal force when pushing on a wall example, it sort of comes out that way at the moment of contact, a mere fraction of a second when the direction of momentum changes. No matter how I approached the example it always came back to that. Re: thought experiment. I would think that if you have a 30% loss of force impacting the anvil then that loss would be the same but only for the force impacting the anvil, which would be original energy less that impacting and deforming (or deforesting) the work. Which leads to another rabbit hole to go down>>> I have a moderately okay anvil. And we all know when you hammer the work you flatten the top AND the underside where it contacts the anvil. In the case of my "meh" anvil, the underside of my work never deforms as much as I would think it should. I always thought it was mainly due the the temperature loss while contacting the anvil. But, given this thought experiment and discussion I wonder if the loss of energy to deform the work at the anvil surface could also be due to the loss of energy to the anvil. Therefore, loss of rebound = loss of energy to the anvil = loss of force to deform metal on the lower surface of the work. The upper surface of the work being less affected by the anvil, more by the hammer's energy and force. Goods, you are correct, great discussion and not unrelated to the physics of blacksmithing and the original rebound topic of the thread. There has got to be someone on this forum with an advanced degree in physics that could indicate if our layman's use of Newton's laws are anywhere near correct. -
Anvil rebound,- horse poo?
Hearthstone replied to emtor's topic in Anvils, Swage Blocks, and Mandrels
And I thought he was tying this to global warming--if a butterfly flaps flutters its wings in the Amazon, anvils everywhere can lose rebound. -
I'm not a total newbie, but always pick up something new or something I have already forgotten. Thanks.
-
Anvil rebound,- horse poo?
Hearthstone replied to emtor's topic in Anvils, Swage Blocks, and Mandrels
Does the anvil actually 'hammer back' from below? Or is this just a version of explaining transfer of force like "If you push on a wall with your hand, the wall is pushing back with equal force upon your hand, therefore the wall does not move"? Since momentum has to be conserved from the collision of hammer to anvil, then the anvil would move, albeit not much, if it were not firmly affixed to the stand and the stand to the floor. Any fault in that continuous connection would allow movement and loss of momentum to the receiving end of the hammer blow. The greater the mass (the more immovable the mass) the more energy is transferred back to the hammer. Now that I am writing this out, I think this is where your 'returning blow' reference is coming from, yes?. Place a piece of work between hammer, with momentum, and anvil, which will not change momentum, and the enrgy from the velocity and weight of the hammer is transferred to the work. Bug, meet windshield. -
Significantly different architecture to the root system. Either lots of cross grain near the base or a distinct way the roots branch if you can find a straight run (like Stash, I am also a retired horticulturist--Extension Agent). Be interested to see what you can find. We can find a three or four inch lilac in the Midwest in an old planting so one might find a 2" billet out of that. I've also done some thinning on very large Euonymus. That wood is also very hard but I have never kept any for handles. I find quince similarly tough to saw.
-
Why won’t my welds stick?
Hearthstone replied to Sploing's topic in Blacksmithing, General Discussion
Thanks All. JHCC: I'll head over to Aztec and check them out. I didn't realize Aztec had drops and cutoffs; I'll head over there next week! I live in N Ridgeville, but my shop is in Nova--best of both worlds, live in suburbs relax in the country. Post Pandemic hammer time sounds fine to me. Been doing this a while, but only get a little time at the forge; still apprenticing. -
Why won’t my welds stick?
Hearthstone replied to Sploing's topic in Blacksmithing, General Discussion
I'm in the Cleveland area and used to get my stock from Garfield Hts but that place started having problems with orders. Now I go online from a Toledo supplier. I've been learning blacksmithing for 11 years and get my scrap steel from auction similar to what you get pricewise, but for "known" steel I order it and that has been my most convenient option. It's just a hobby mainly so I don't use hundreds of pounds at a time and Cleveland scrap yards are not the most ..... welcoming. Box stores are even pricier and I am less sure of the quality they carry. Price goes down, of course, with more weight but I just wanted to pull an example to use. ThomasPowers and others, I am curious how most people acquire 'known' steel. I am stuck in the greater Cleveland area and am using what I found. With all our steel plants here, I could not find a way to get steel from them as most are making billets and rolls. Perhaps I need to start another thread for this. -
Re Steel Availability: Per Frosty's comment, I have had the same luck getting leaf and coil springs from auto shops. Take my car in for what I think is an expensive repair and ask them for parts. I get leaf springs, coil springs, bearings, tie rods. Scrap prices around here are terrible and the typical shop doesn't care about a couple of springs. I do get odd looks, though.
-
Why won’t my welds stick?
Hearthstone replied to Sploing's topic in Blacksmithing, General Discussion
Sorry Asmithy, I got so hung up on pontificating about experience and such I never actually answered your question (or at least what I think your question is) from my point of view. So after you consider all of the above and have read the welding threads: Get hold of your inexpensive affordable, preferably mild steel. With your location some people can help you find sources. I would suggest 3/8, though 1/4 would work but is too easy to burn. Heat the end, fold over onto itself then weld together. You can even draw that back into a bar if it's a good weld. When you succeed at that more times than you fail, cut a 1" piece from the end of your bar and weld that onto the top of your bar--no folding to keep it together. Again, when you succeed more often than not move on. So far you have used material which should be on the inexpensive side and you might be able to reuse the material for another project. Cut your 3/8 into 4" to 5" pieces, draw out to just over 1/4" round, kerf the ends and bend into a circle. Weld together, form to an oval. Do with another piece threaded THROUGH your first. Now you have two chain links. Make another pair. Link the two pairs as a five link piece. Repeat. So, I can get A36 for just over $4 for 4'. 20 Mule Team borax is $5 at your nearest Big Box store. For cheap, you get to practice lots of simple welds, reuse the stock and hopefully have some short lengths of rough chain and rings to use for projects. This type of simple practice is a great way to increase your welding skills (efficiency) and I think it is cheaper than getting frustrated with larger and more complex welding projects with odd or unknown steel. Once you figure out how to efficiently weld, moving onto more complex welds and steels will be a bit easier. -
Why won’t my welds stick?
Hearthstone replied to Sploing's topic in Blacksmithing, General Discussion
+1 on working with an experienced smith. I always feared the weld. Avoided it as much as possible. Spent two days welding (coal forge) everything with a mentor. Now I no longer fear the weld even though they don't all stick. Start simple (such as chain links, 3/8 lap weld...) then lots of time at the forge and anvil. Twenty or thirty ...forty.... welds later and you'll have more successes than failures (spokeshave plane iron, my most recent failure). This whole blacksmithing thing is not as easy as many people think. Sure you can hit hot metal with a hammer, but that does not always mean it turns out to be a good piece. I just cleaned out a corner of my barn where I had my first forge and unearthed several of my first efforts--almost embarrassing compared to what I can turn out now. That said, there are a lot of basic things that go into successful forging--Frosty just touched the tip of the iceberg. The more you learn, the more you will figure out. For my welding it was fire control (coal forge), temperatures, and speed that I needed to work on. Did I mention those fifty or sixty welds? -
Thanks for the clarification.
-
Would using sand when welding billets be similar to this experiment? Just curious.
-
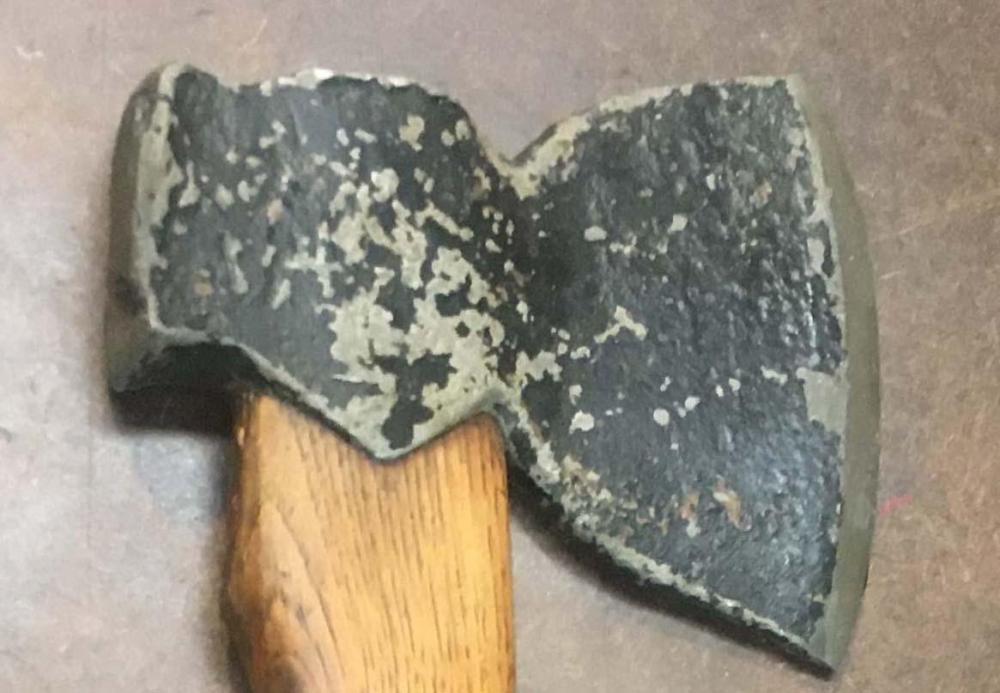
I totally understand the mix of techniques and equipment. This is my hobby, I rarely sell anything and give away most of my best efforts. Historical woodworking is what led me to the forge. I recently made a couple tomahawks with a friend--mild steel fold and weld, steel welded in the bit. For handles we used dried cherry which I had cut from my property, riven into billets with axe and wedges and set to dry for several years. The handles were shaped on a shaving horse with drawknife and spokeshave. It just felt good to work it that way. However, the sharpening and polish was done with the 'endless files' [belt sanders] so maybe bladesmiths are exempt. I never give anyone grief over using modern equipment and most people let me hammer, punch and shave to my hearts content.
-
I have downgraded filing from "hate" to "strongly dislike"; I had an epiphany a few years ago that many of my projects would benefit from the use of a file. I just never had, not took the time, to pursue that part of the project. As my skill at the anvil gets better, I don't achieve no filing, just less filing. And yes, it sure does help refine the project, no matter what it is. I had an experienced smith give me an introduction to filing for the better part of an afternoon on more than one occasion. That really made the difference for me.
-
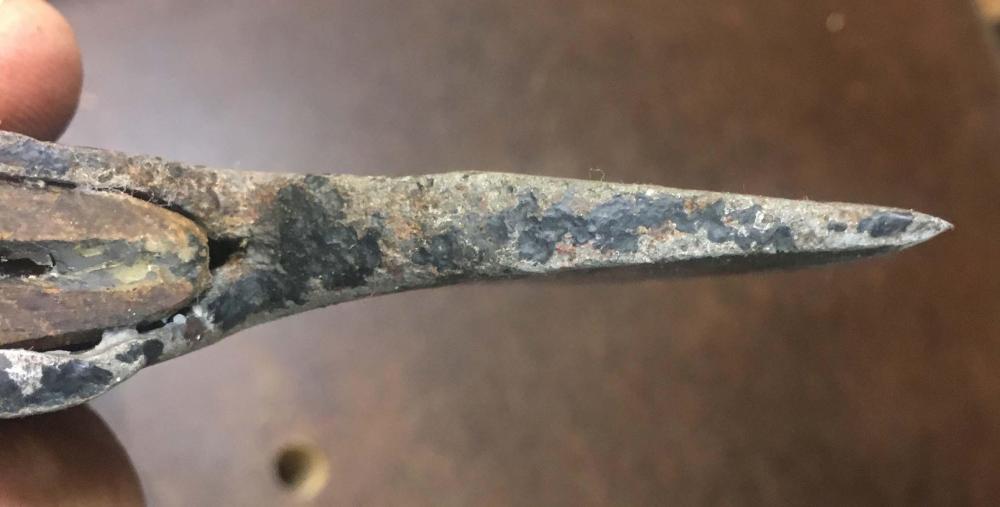
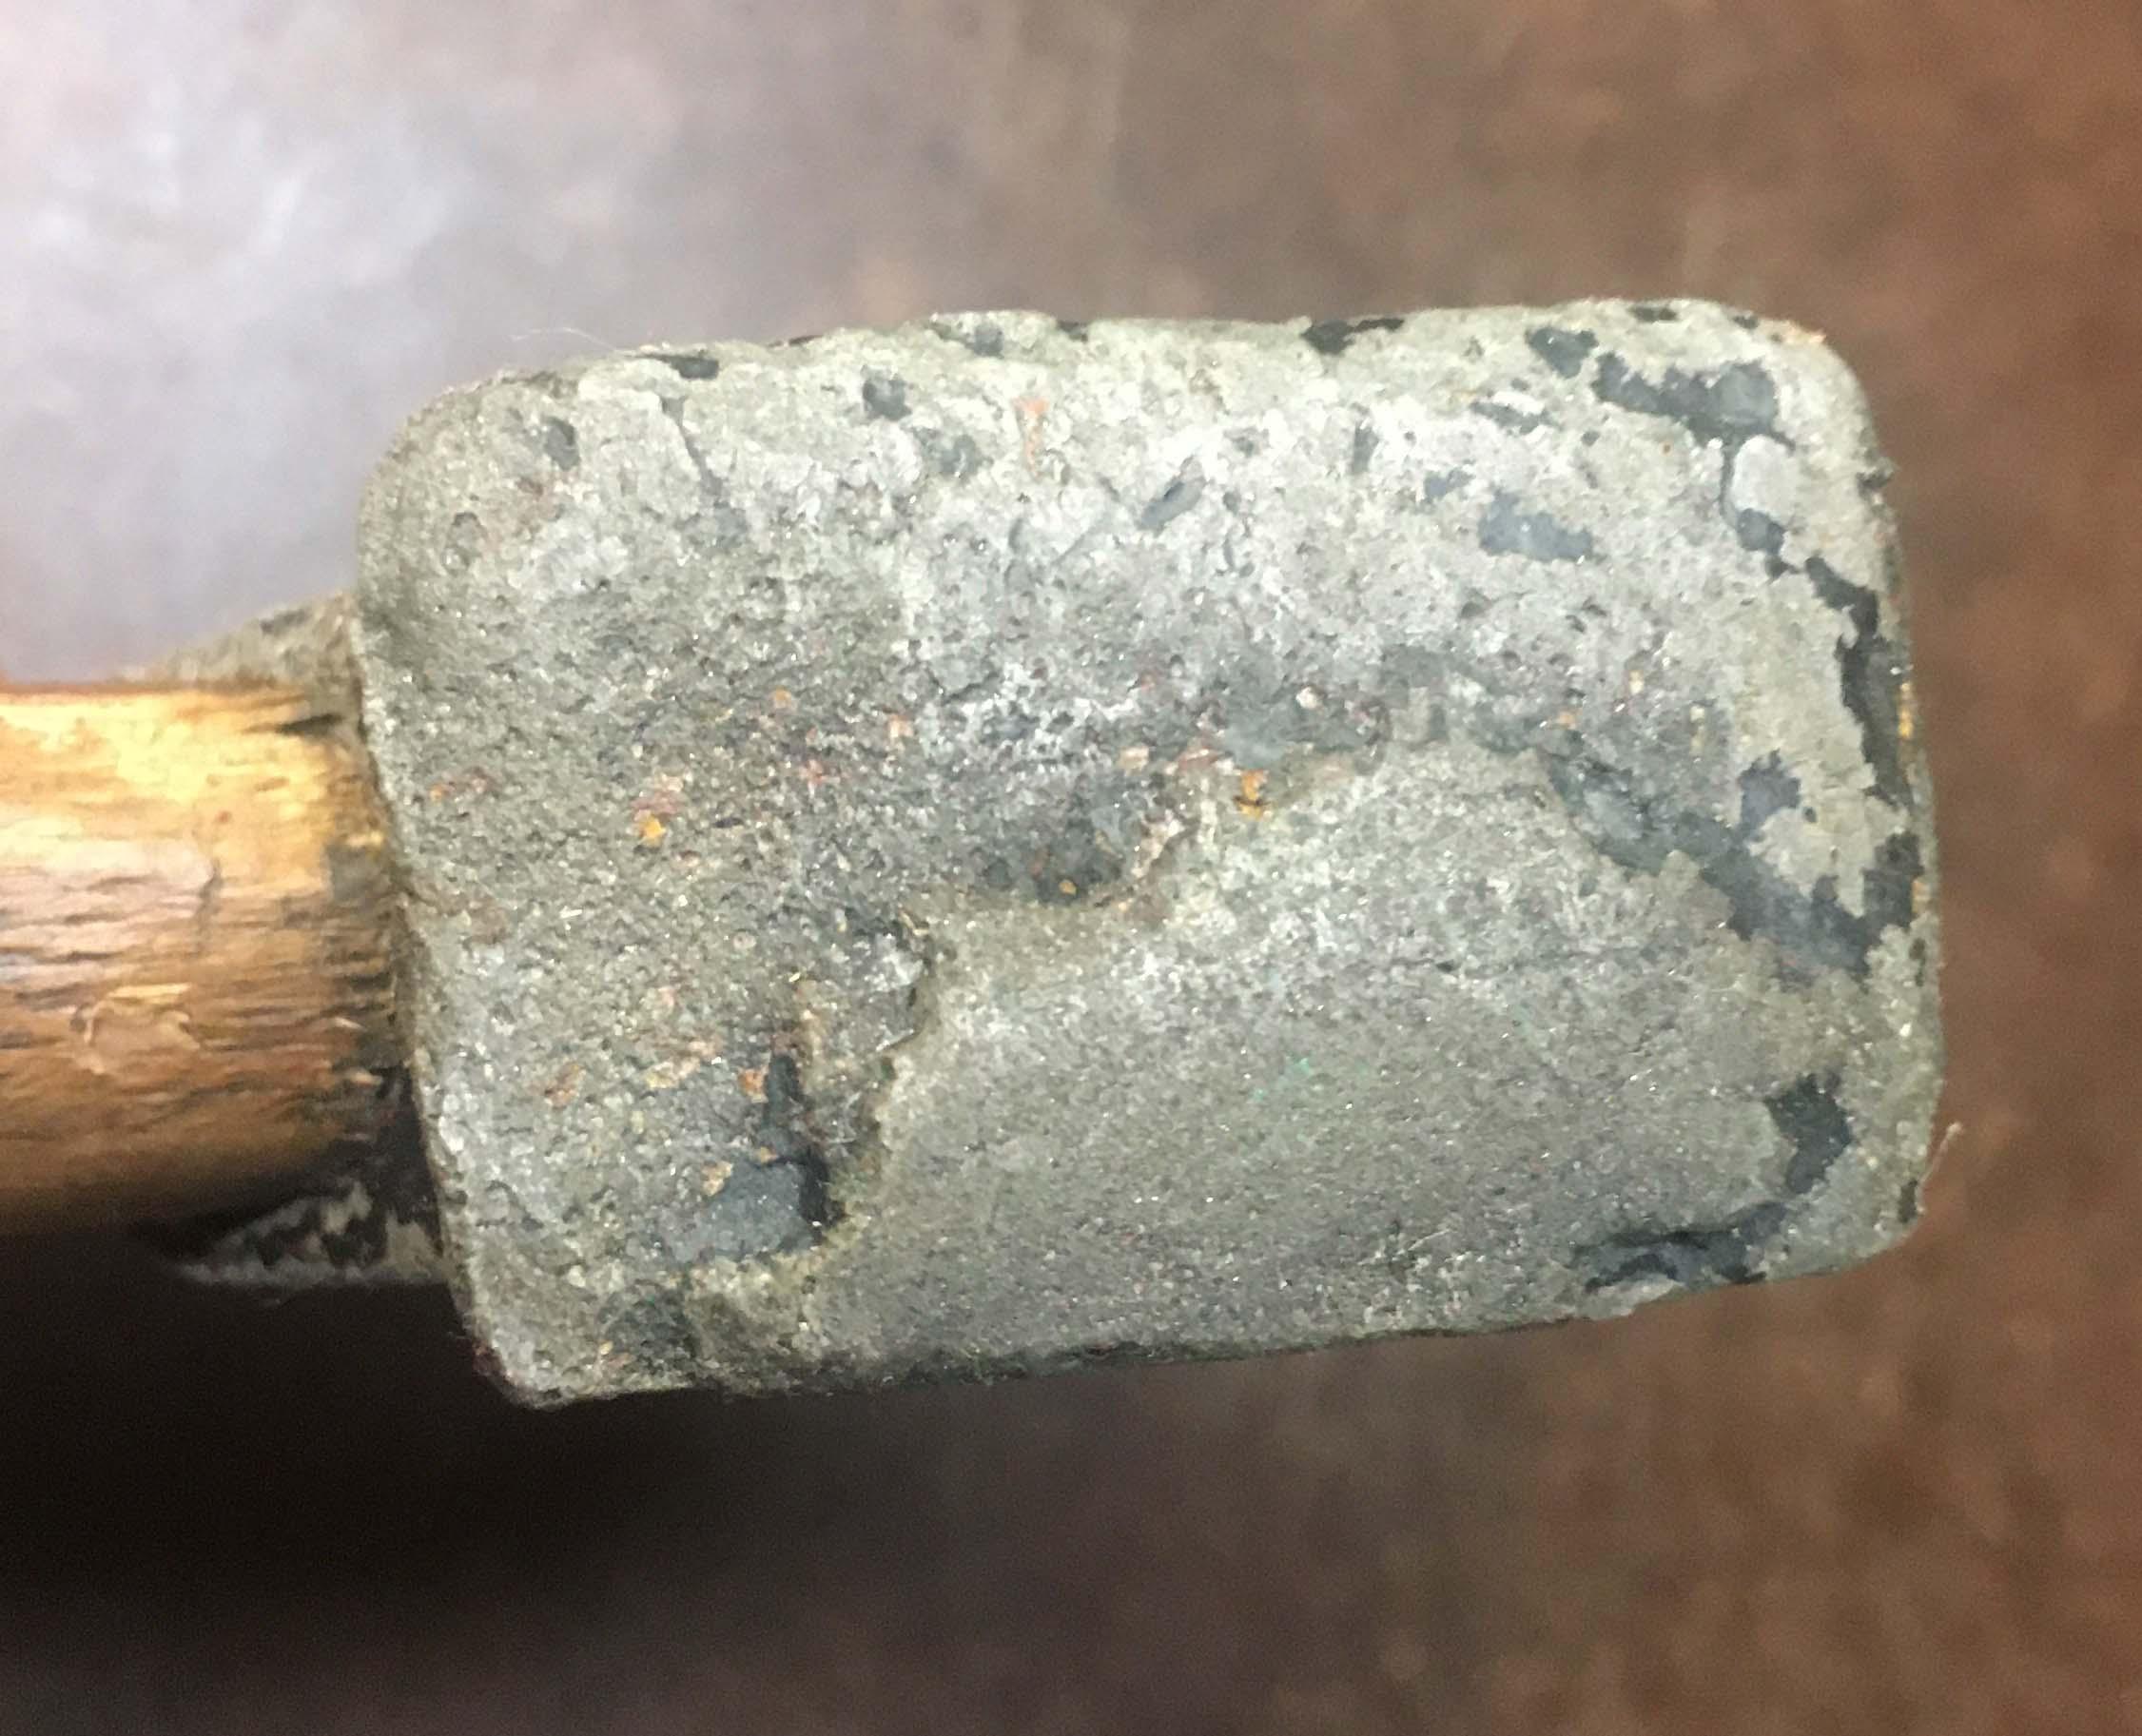
Finished cleaning this up. From a box lot at an auction, buried beneath the chisels and a couple of planes. The handle is new and of no interest [I put it back on for display] but the head is forged--one long piece folded over and welded together with a high carbon steel bit and poll. I started one of these in a class but never finished it. I figure it is either a very old axe or the product of a contemporary smith that did not age well [the axe, not the smith]. It will never but used but I like the age it shows. It followed me home as do many auction lots. Two of the regional auctioneers seem to get all of the barns , Amish, and rural properties to clean out and are of the most interest to me.