MarkDobson
-
Posts
141 -
Joined
-
Last visited
Content Type
Profiles
Forums
Articles
Gallery
Downloads
Events
Everything posted by MarkDobson
-
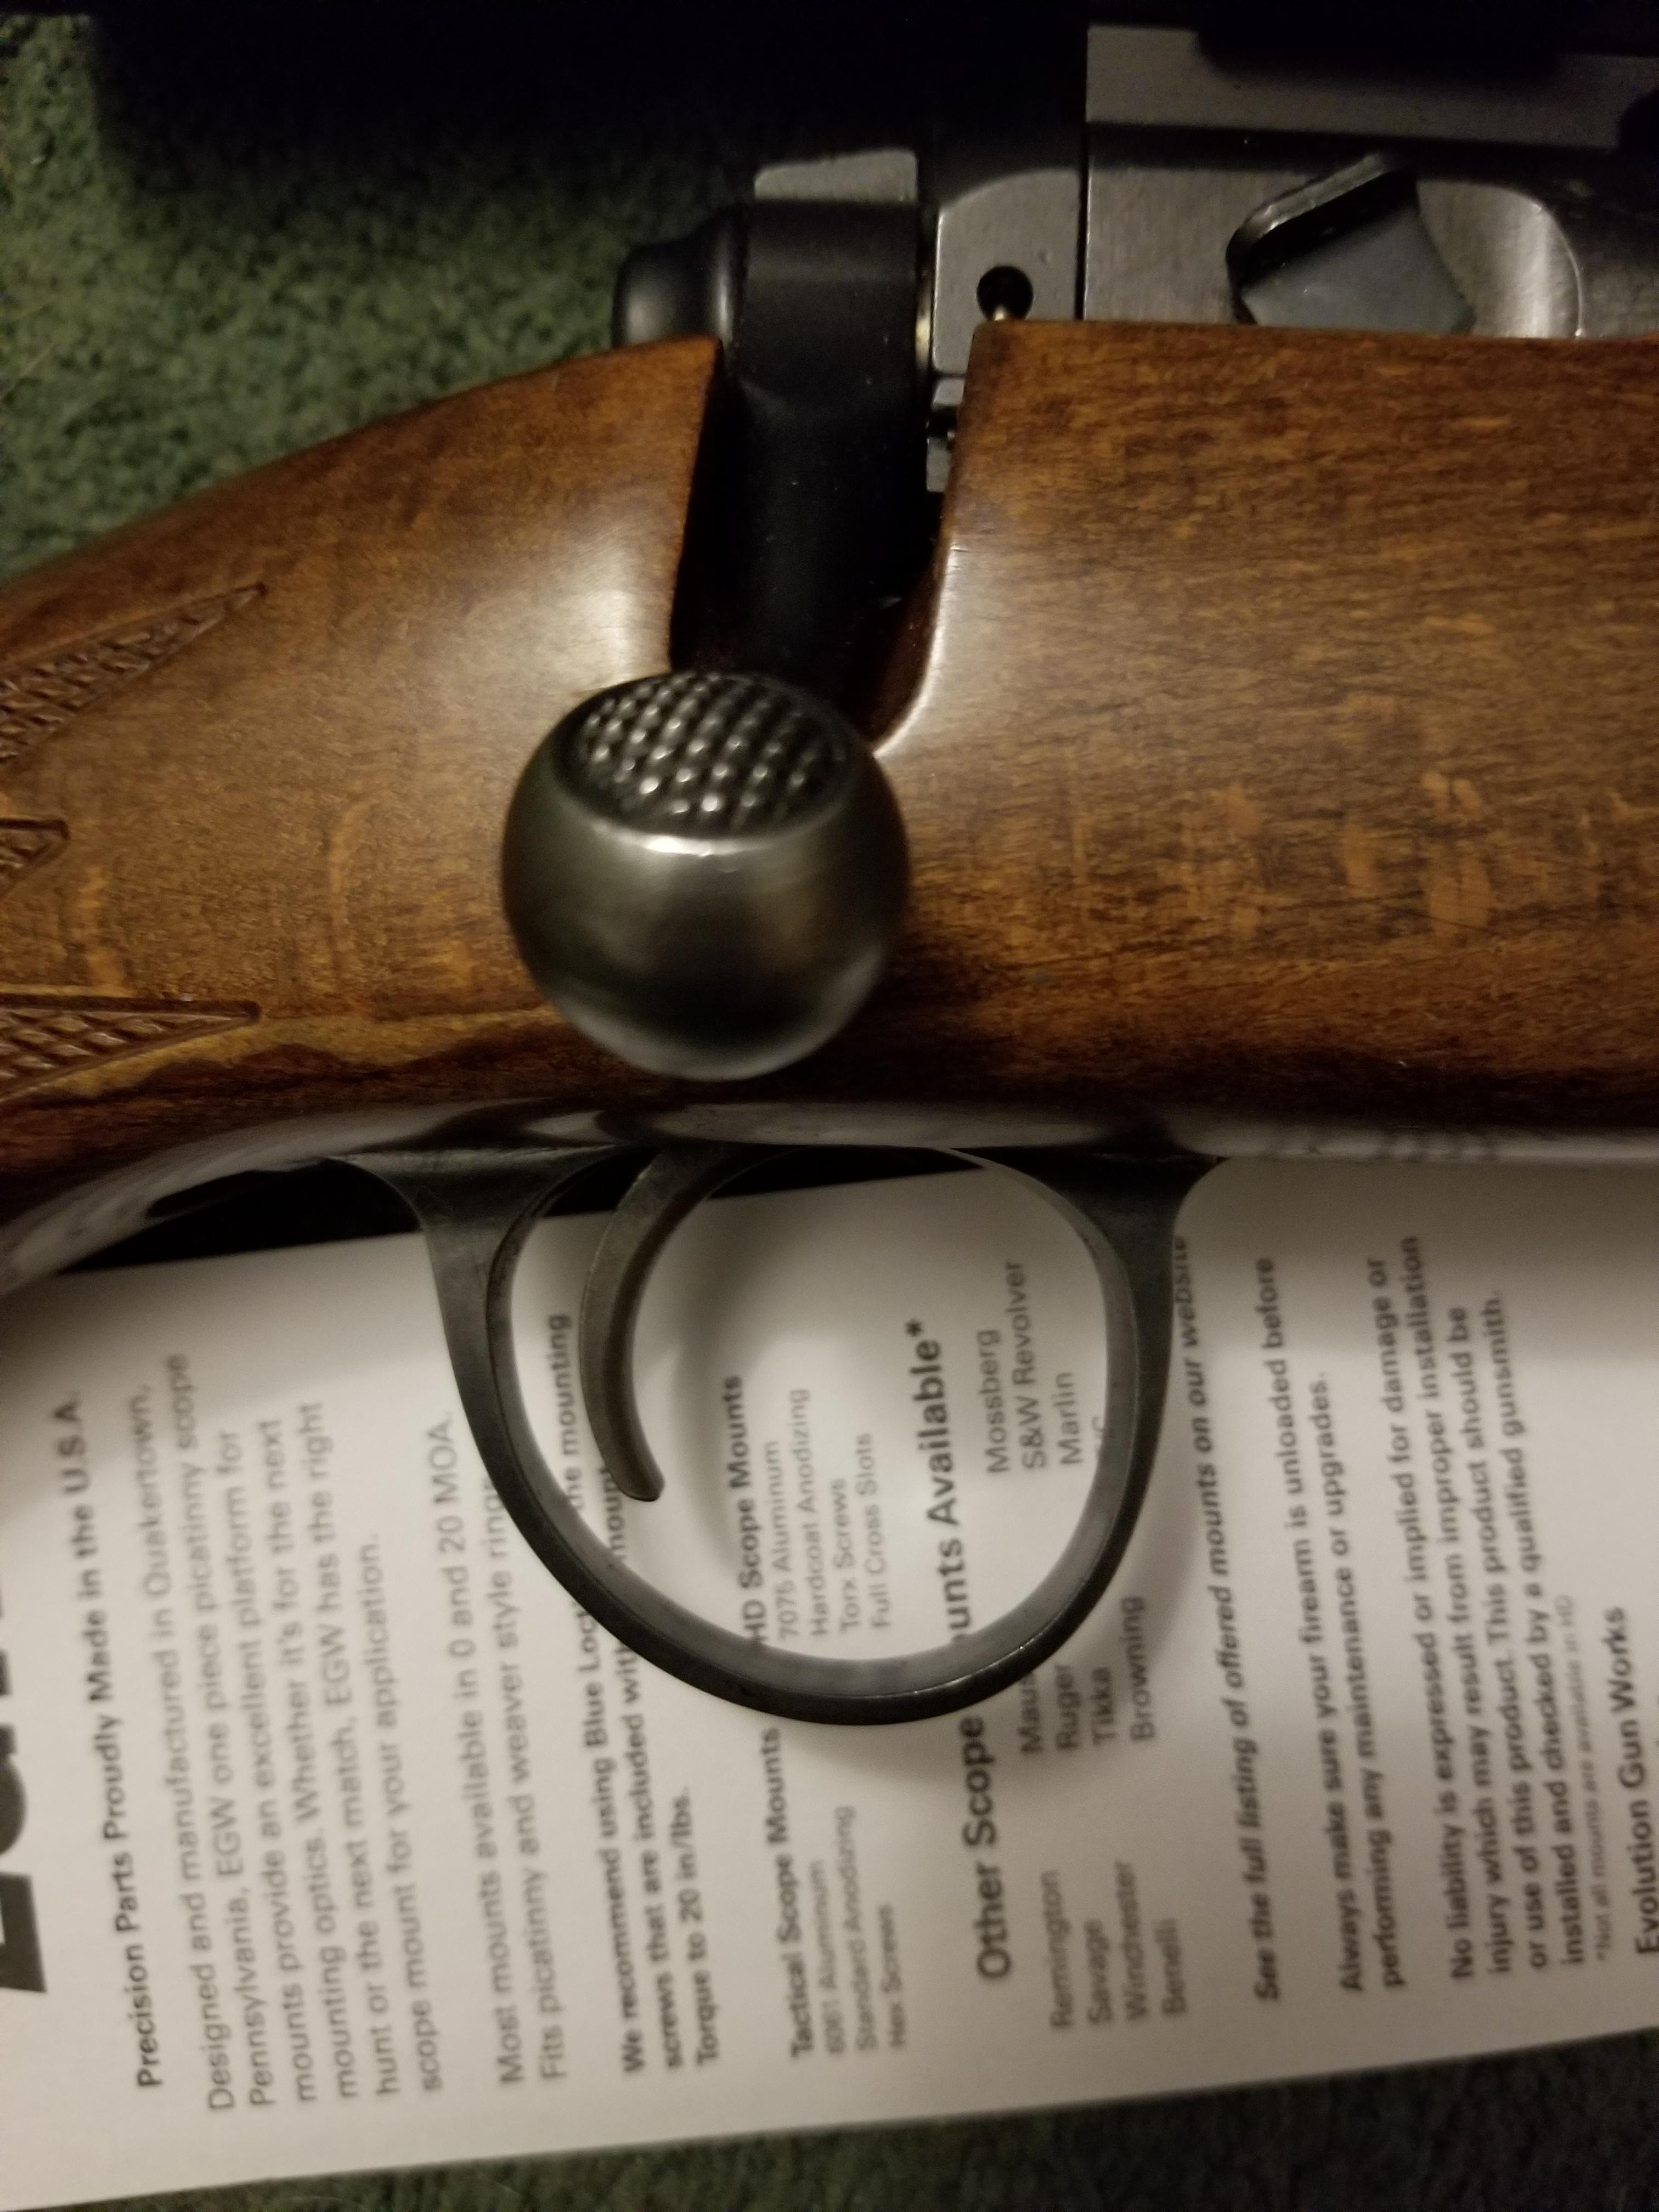
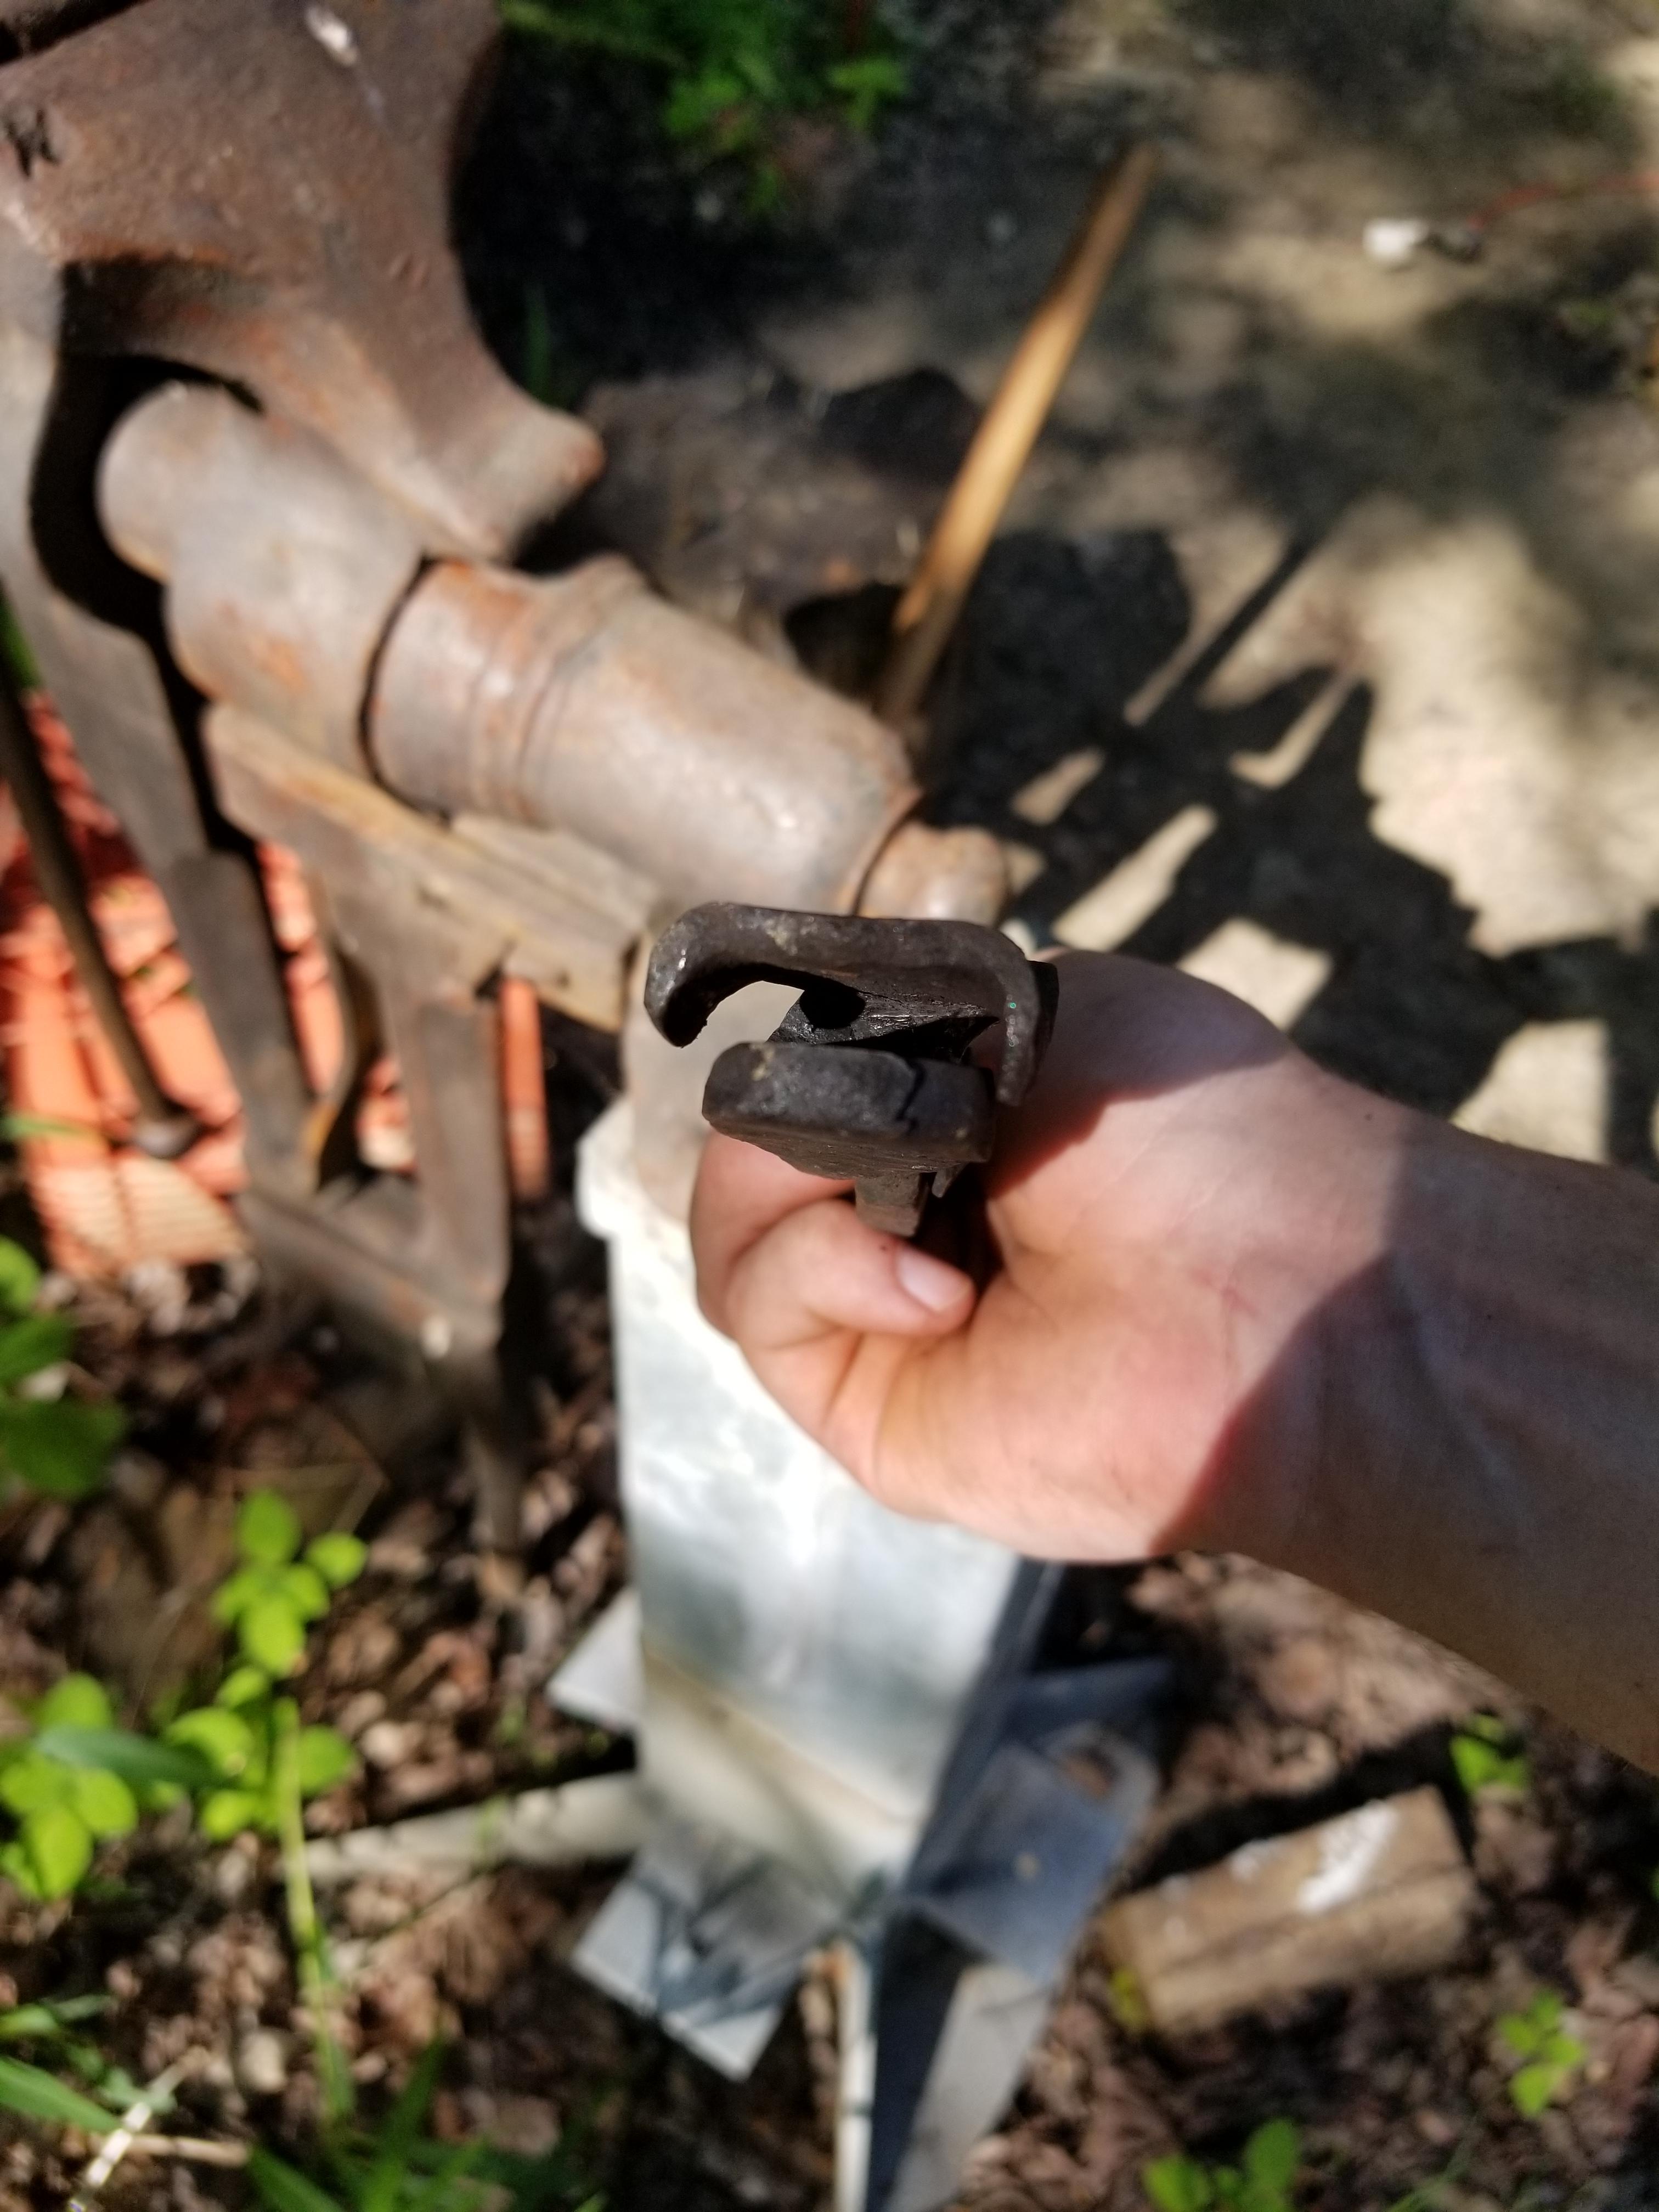
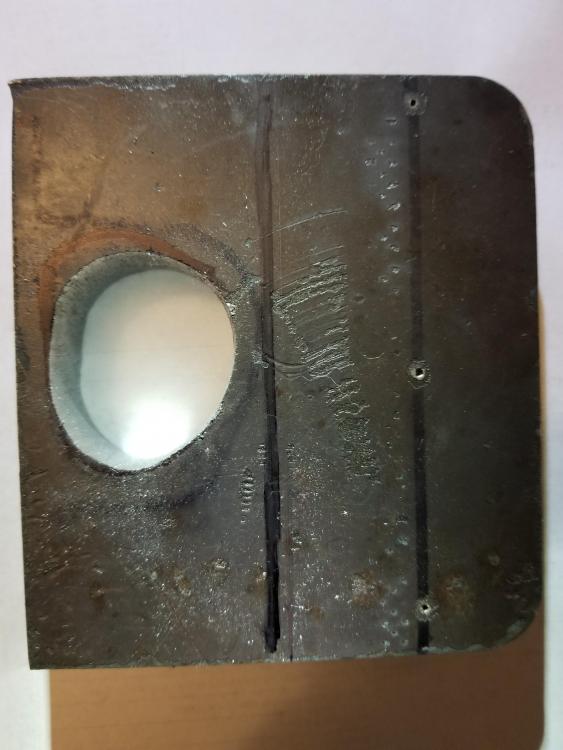
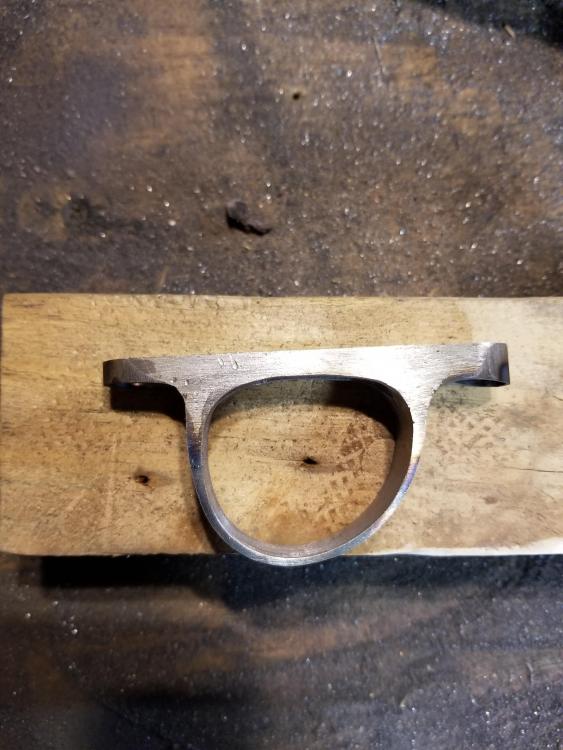
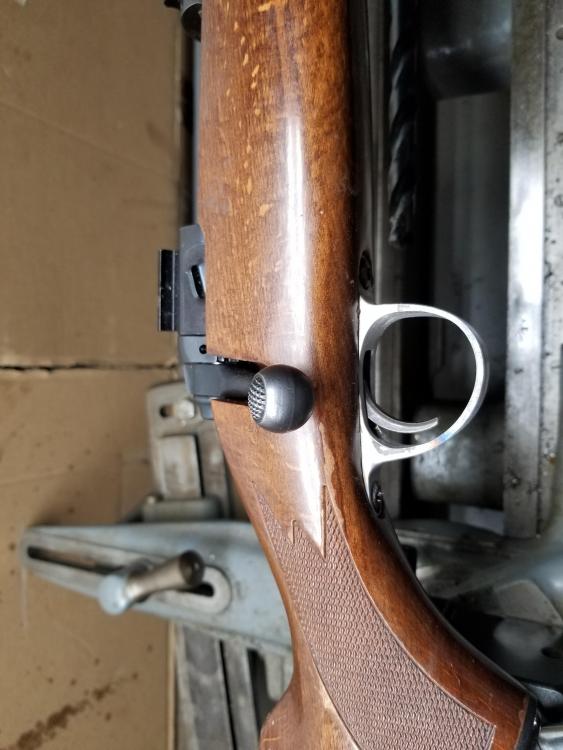
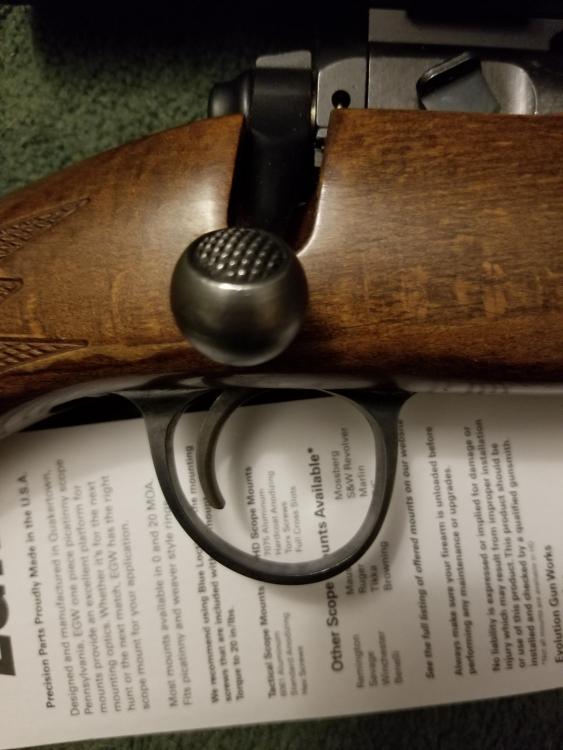
So due to having to help relocate my dad and the shop i havnt been able to get my forge set up for the last couple months (in the process of putting in a 4000sqft building with my dad). This leads me to the issue of hunting season being around to corner and my dads rifle in need of a new trigger guard since i broke the plastic one. Now i could have ordered a metal replacement for $30 and been done with it but why order one when you can spend way more time and money trying to make your own lol. I ended up starting with a 7/8 thick plate and drilled/ filed out the hole, i never liked how small the original guard was so i decided i might as well make it bigger whie i was at it.i used the metal badsaw at work to cut it to a rough dimension and got it home only to realize that it was way to thick and had to bust out the angle grinders and cutt off wheels to thin it out a bit. I ended up making a countersink bit for the screws to sit flush and used some cold blue to finish it off. Its not perfect and took way more time than i thought but im pretty happy with it
-
Nice find, looks like a good vise and shouldnt be to hard to put back to work. the older vise i cleaned up not to long ago had that same slot in it. it had a wedge shaped piece of metal in it. i ended up reusing it since i didnt see anything wrong with it and it works well, now the tang style mounting bracket that was broken and welded onto the vise was a completely different story.
-
looks cool, id of brought it home just to have it. it looks like it would come in handy since it mounts with a clamp which would make it fairly portable.
-
ive seen anvils with the entire hard face missing being sold as "pristine" "perfectly flat" "great using condition" up here for 500 to 1000. people that arnt in the know have no clue and the people that are selling it probably bought it at a penny a lb because of it
-
Anvil Rescue, Mousehole?
MarkDobson replied to JordanC's topic in Anvils, Swage Blocks, and Mandrels
Normally you would here something along the lines of "use it as is untill you figure out its flaws" but id say in this case you would be better suited to repair the anvil and get her back in serviceable condition. i fear if you tried to use her as she is then you would only mushroom the wrought iron and make it worse. Look up the gunther repair method as it will be the easiest way to repair an anvil. this involves preheating and hard facing the anvil. If you wanted to go the way of making a new top plate then you will need to fully weld the new piece of steel to the face. I have seen this done by people adding a spacing block say 3/8th" (may need larger on a larger anvil) and welding from the center out. if the top plate is only welded on the radius then it will still be a dead anvil when your done. As for the horn, if you want to repair it, you may be able to machine a new cone shape and weld it on but the waste from machining a horn would be massive. maybe you could fix the face and then have a couple guys come over with sledge hammers and forge a new one. Could put your repair to the test Take note at the lack of pritchel hole as well -
Trenton 165# German forged....but weird shape!!!!
MarkDobson replied to MollyG's topic in Anvils, Swage Blocks, and Mandrels
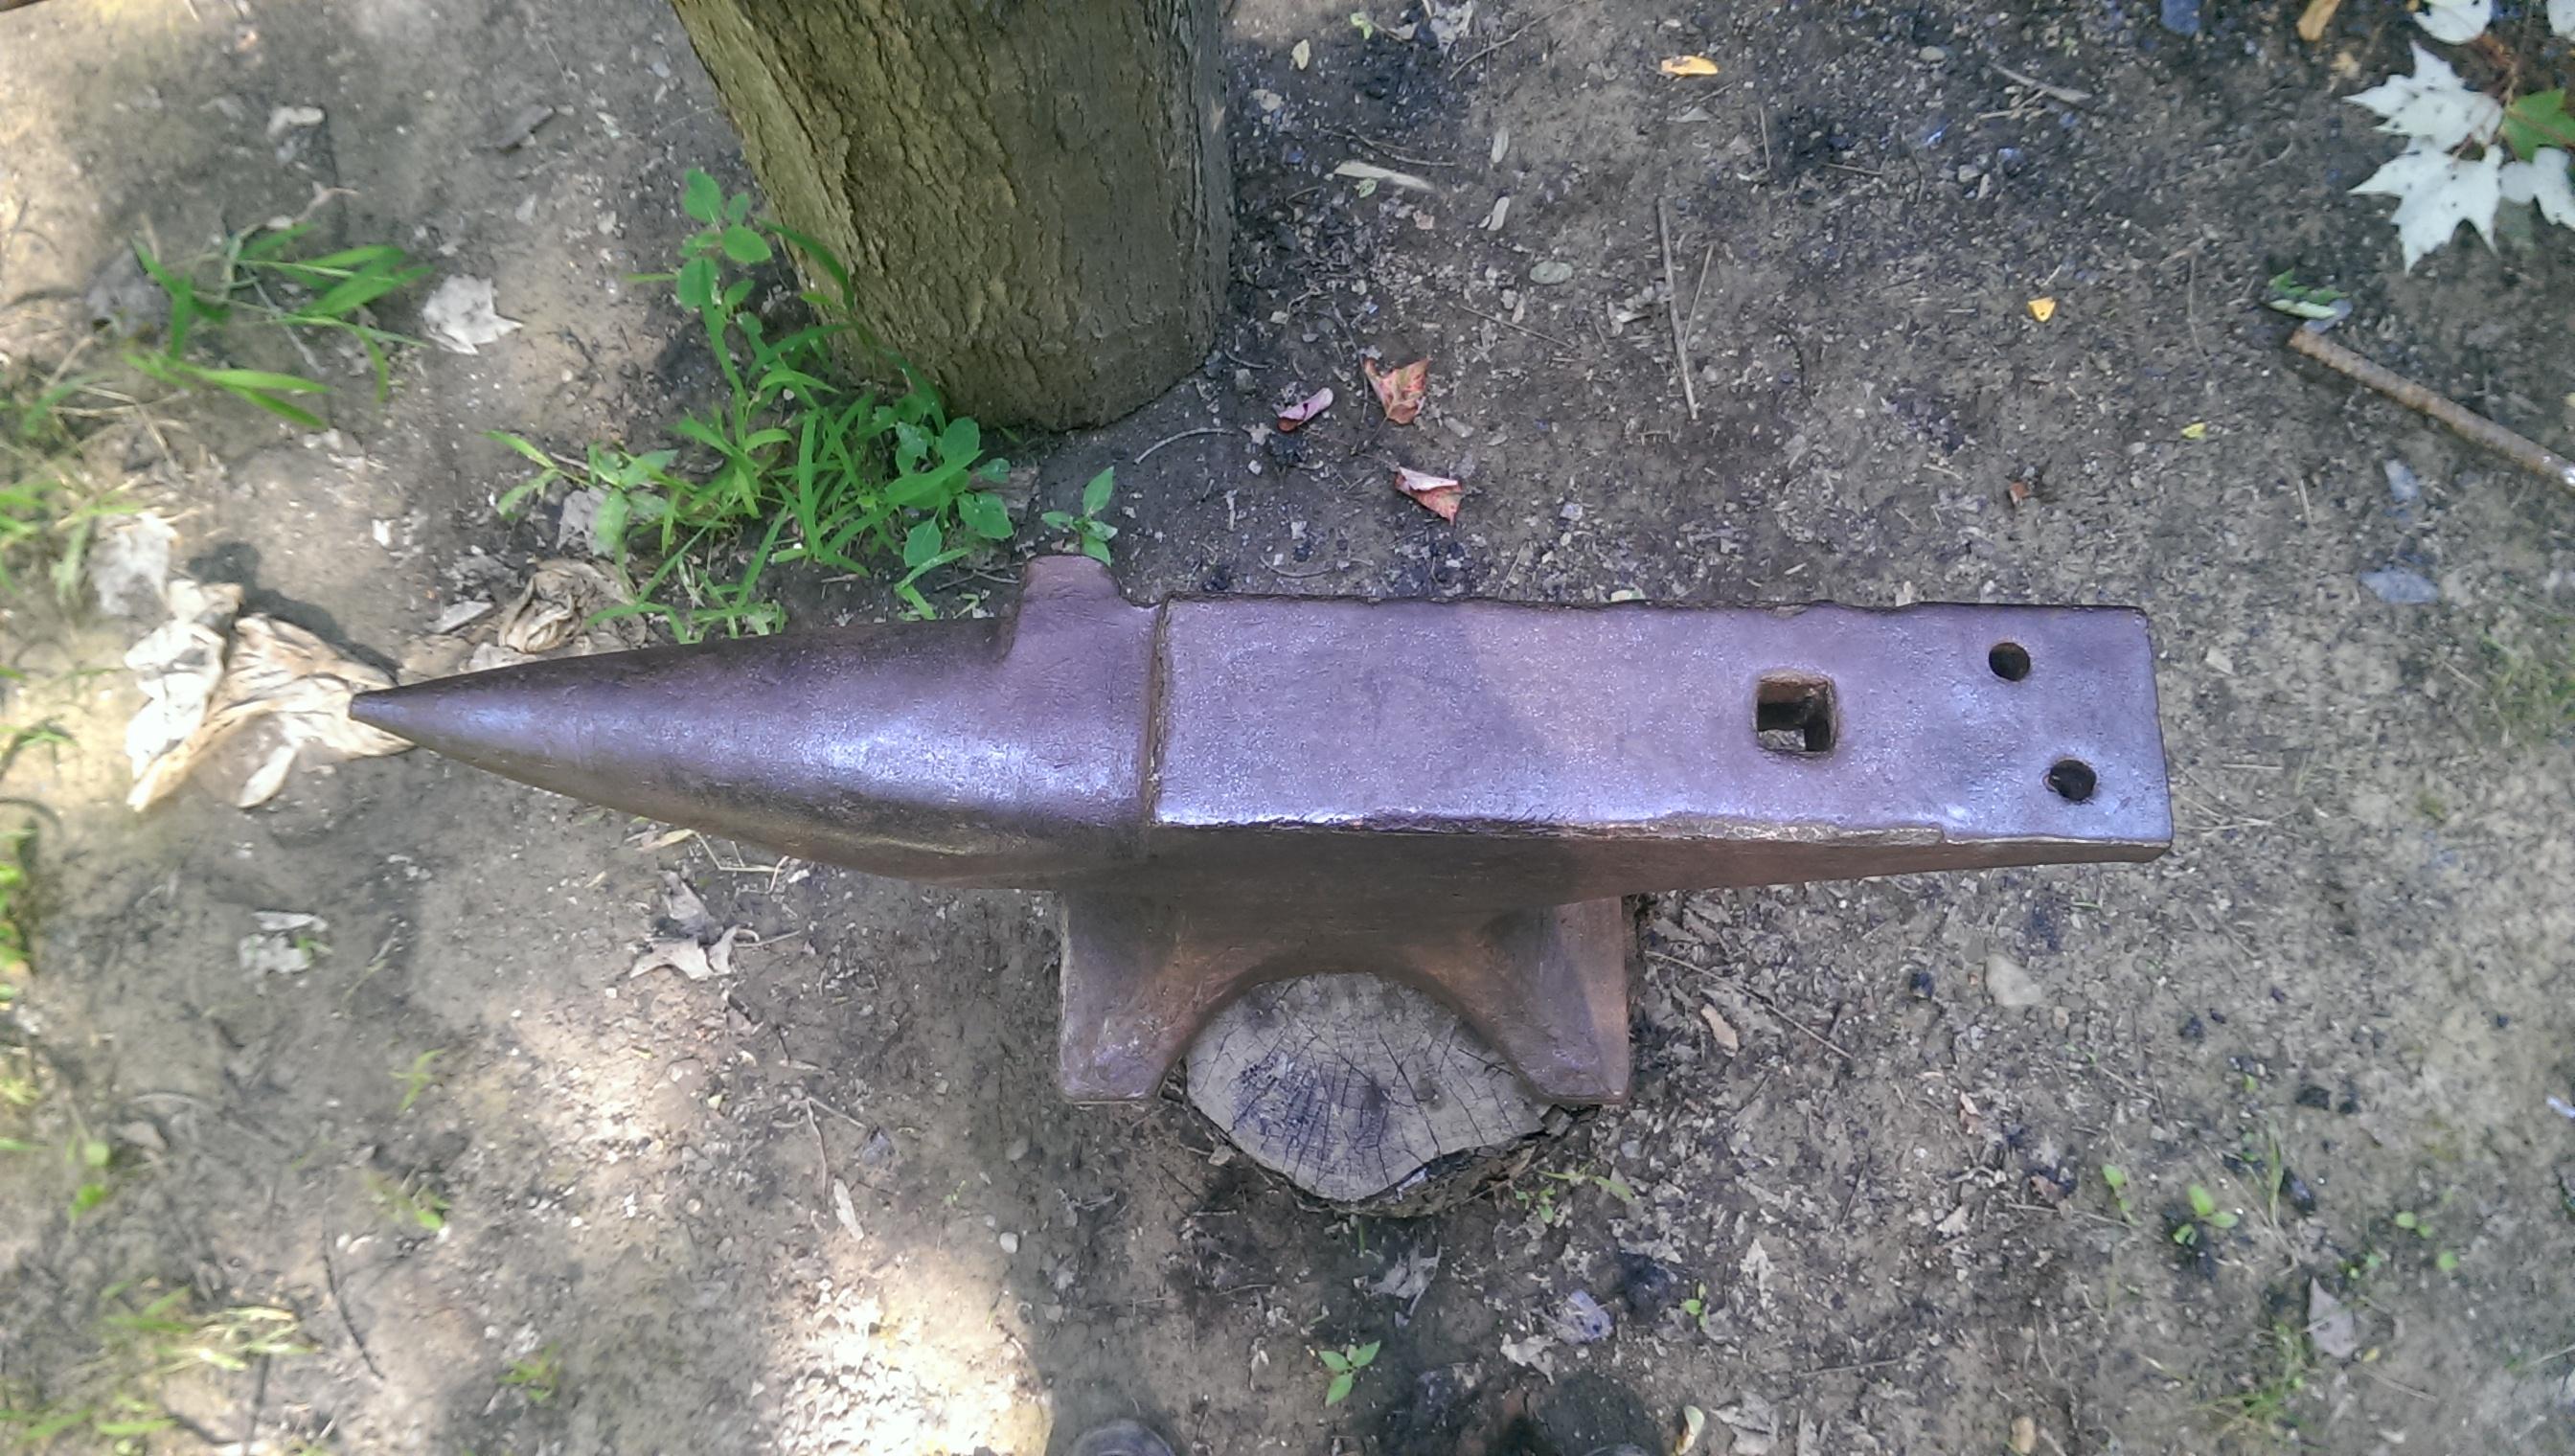
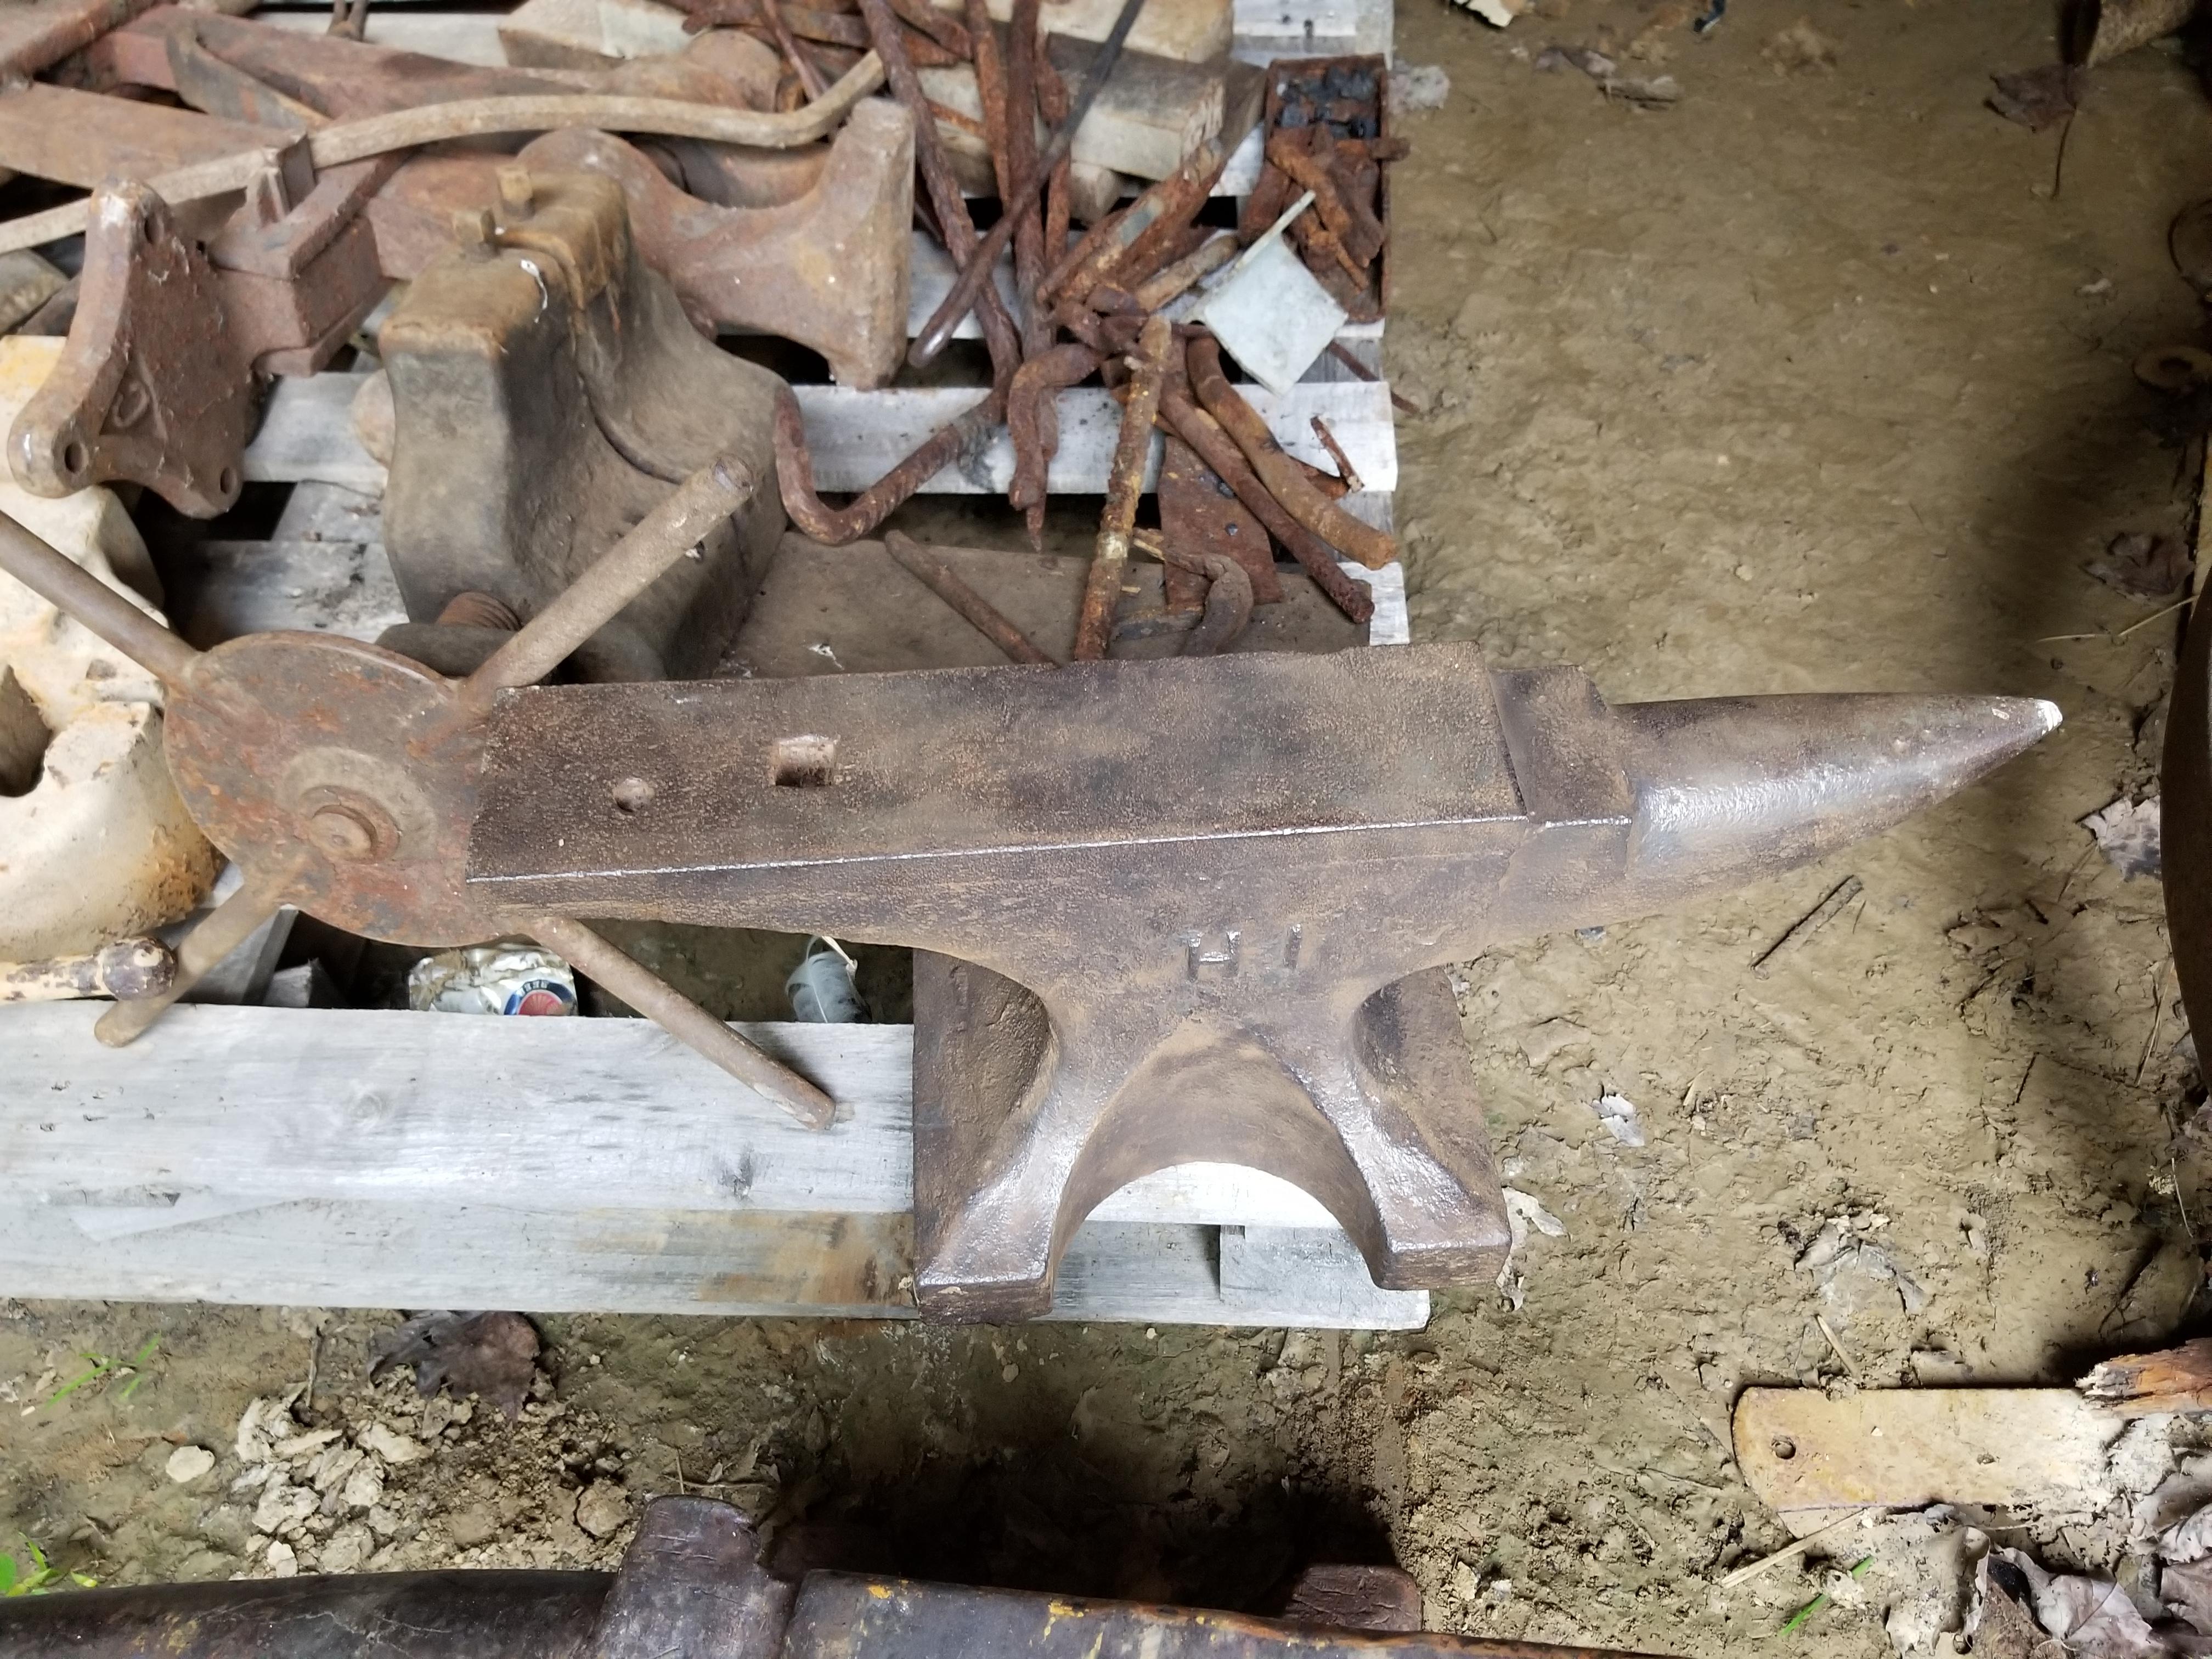
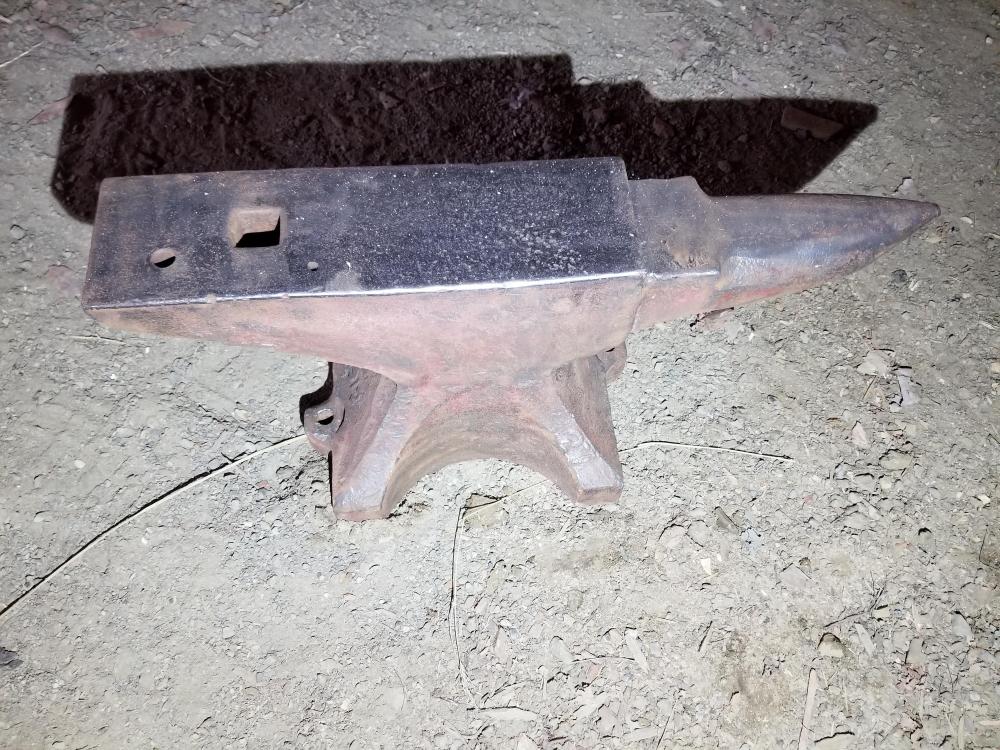
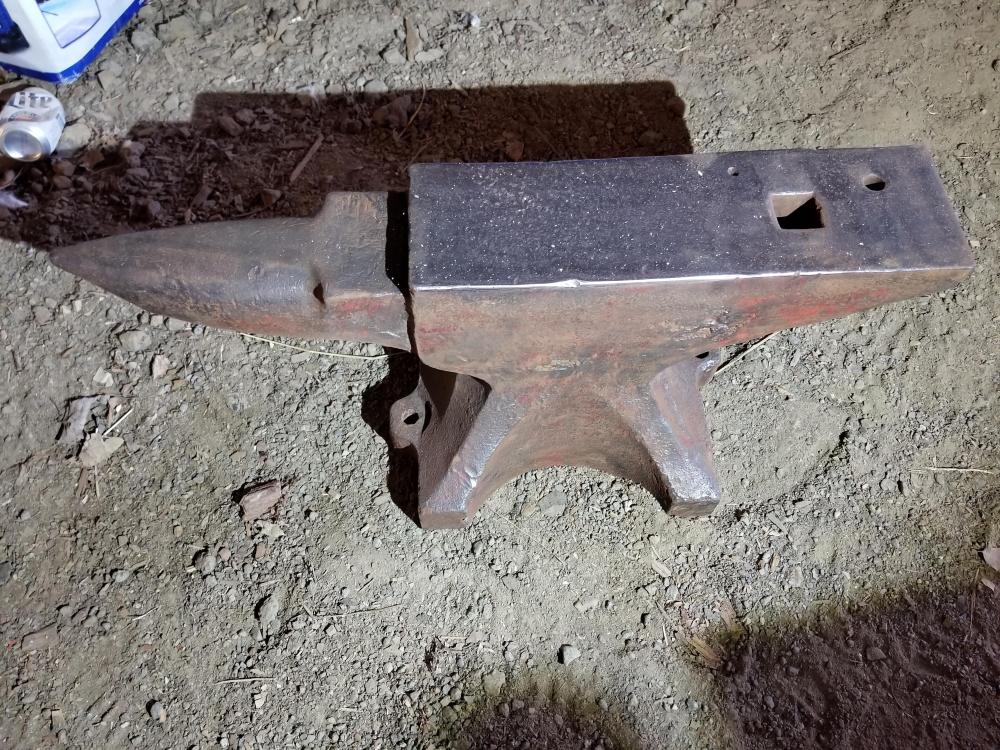
my HB anvil has similar damage only the edges were chipped instead of rolled over. cold shoeing (at least IMO) can be fairly hard on an anvil over the years. this is the picture of mine when i first brought it home. the top is a little more polished now
-
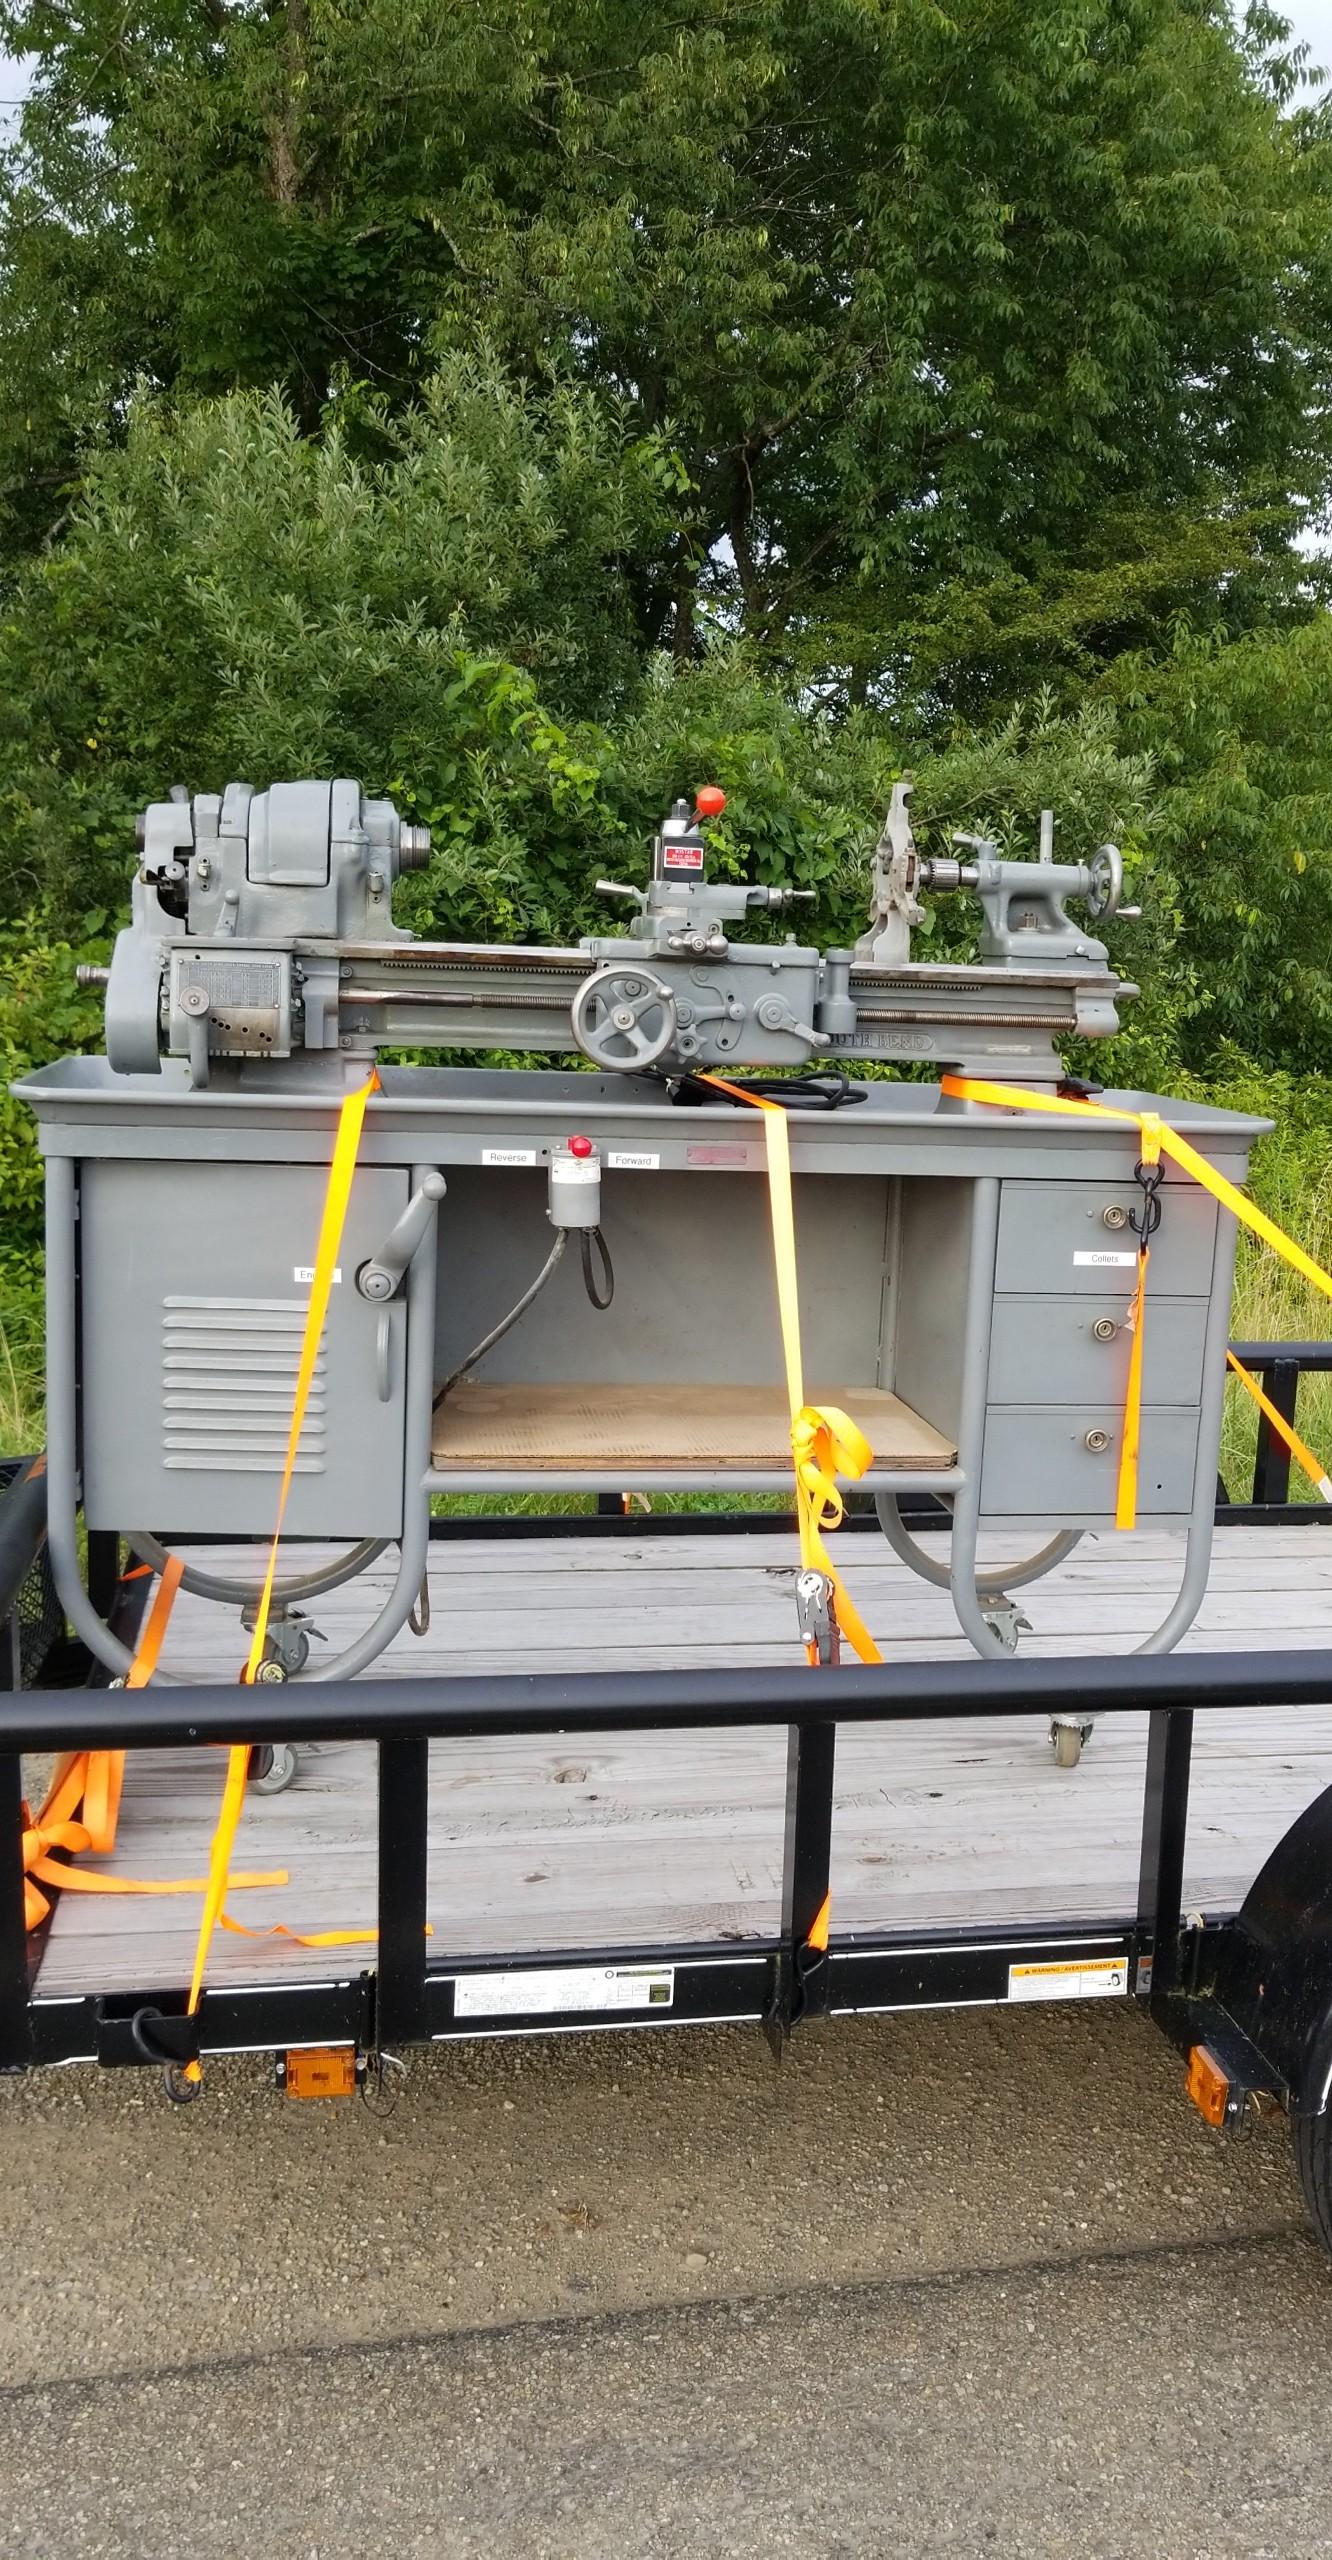
i really need to stay off of craigslist and marketplace lmao, found this 10in south bend (w/ the larger spindle size) about 15min from my house on craigslist. came with a 3 jaw bison chuck, 4 jaw chuck, quick change tool post with probably 10 different tool holders, taper attachment and a whole drawer full of collets along with some other misc parts and tooling. Now if i could only find a place o put it in the shop.... time to do some cleaning lol

-
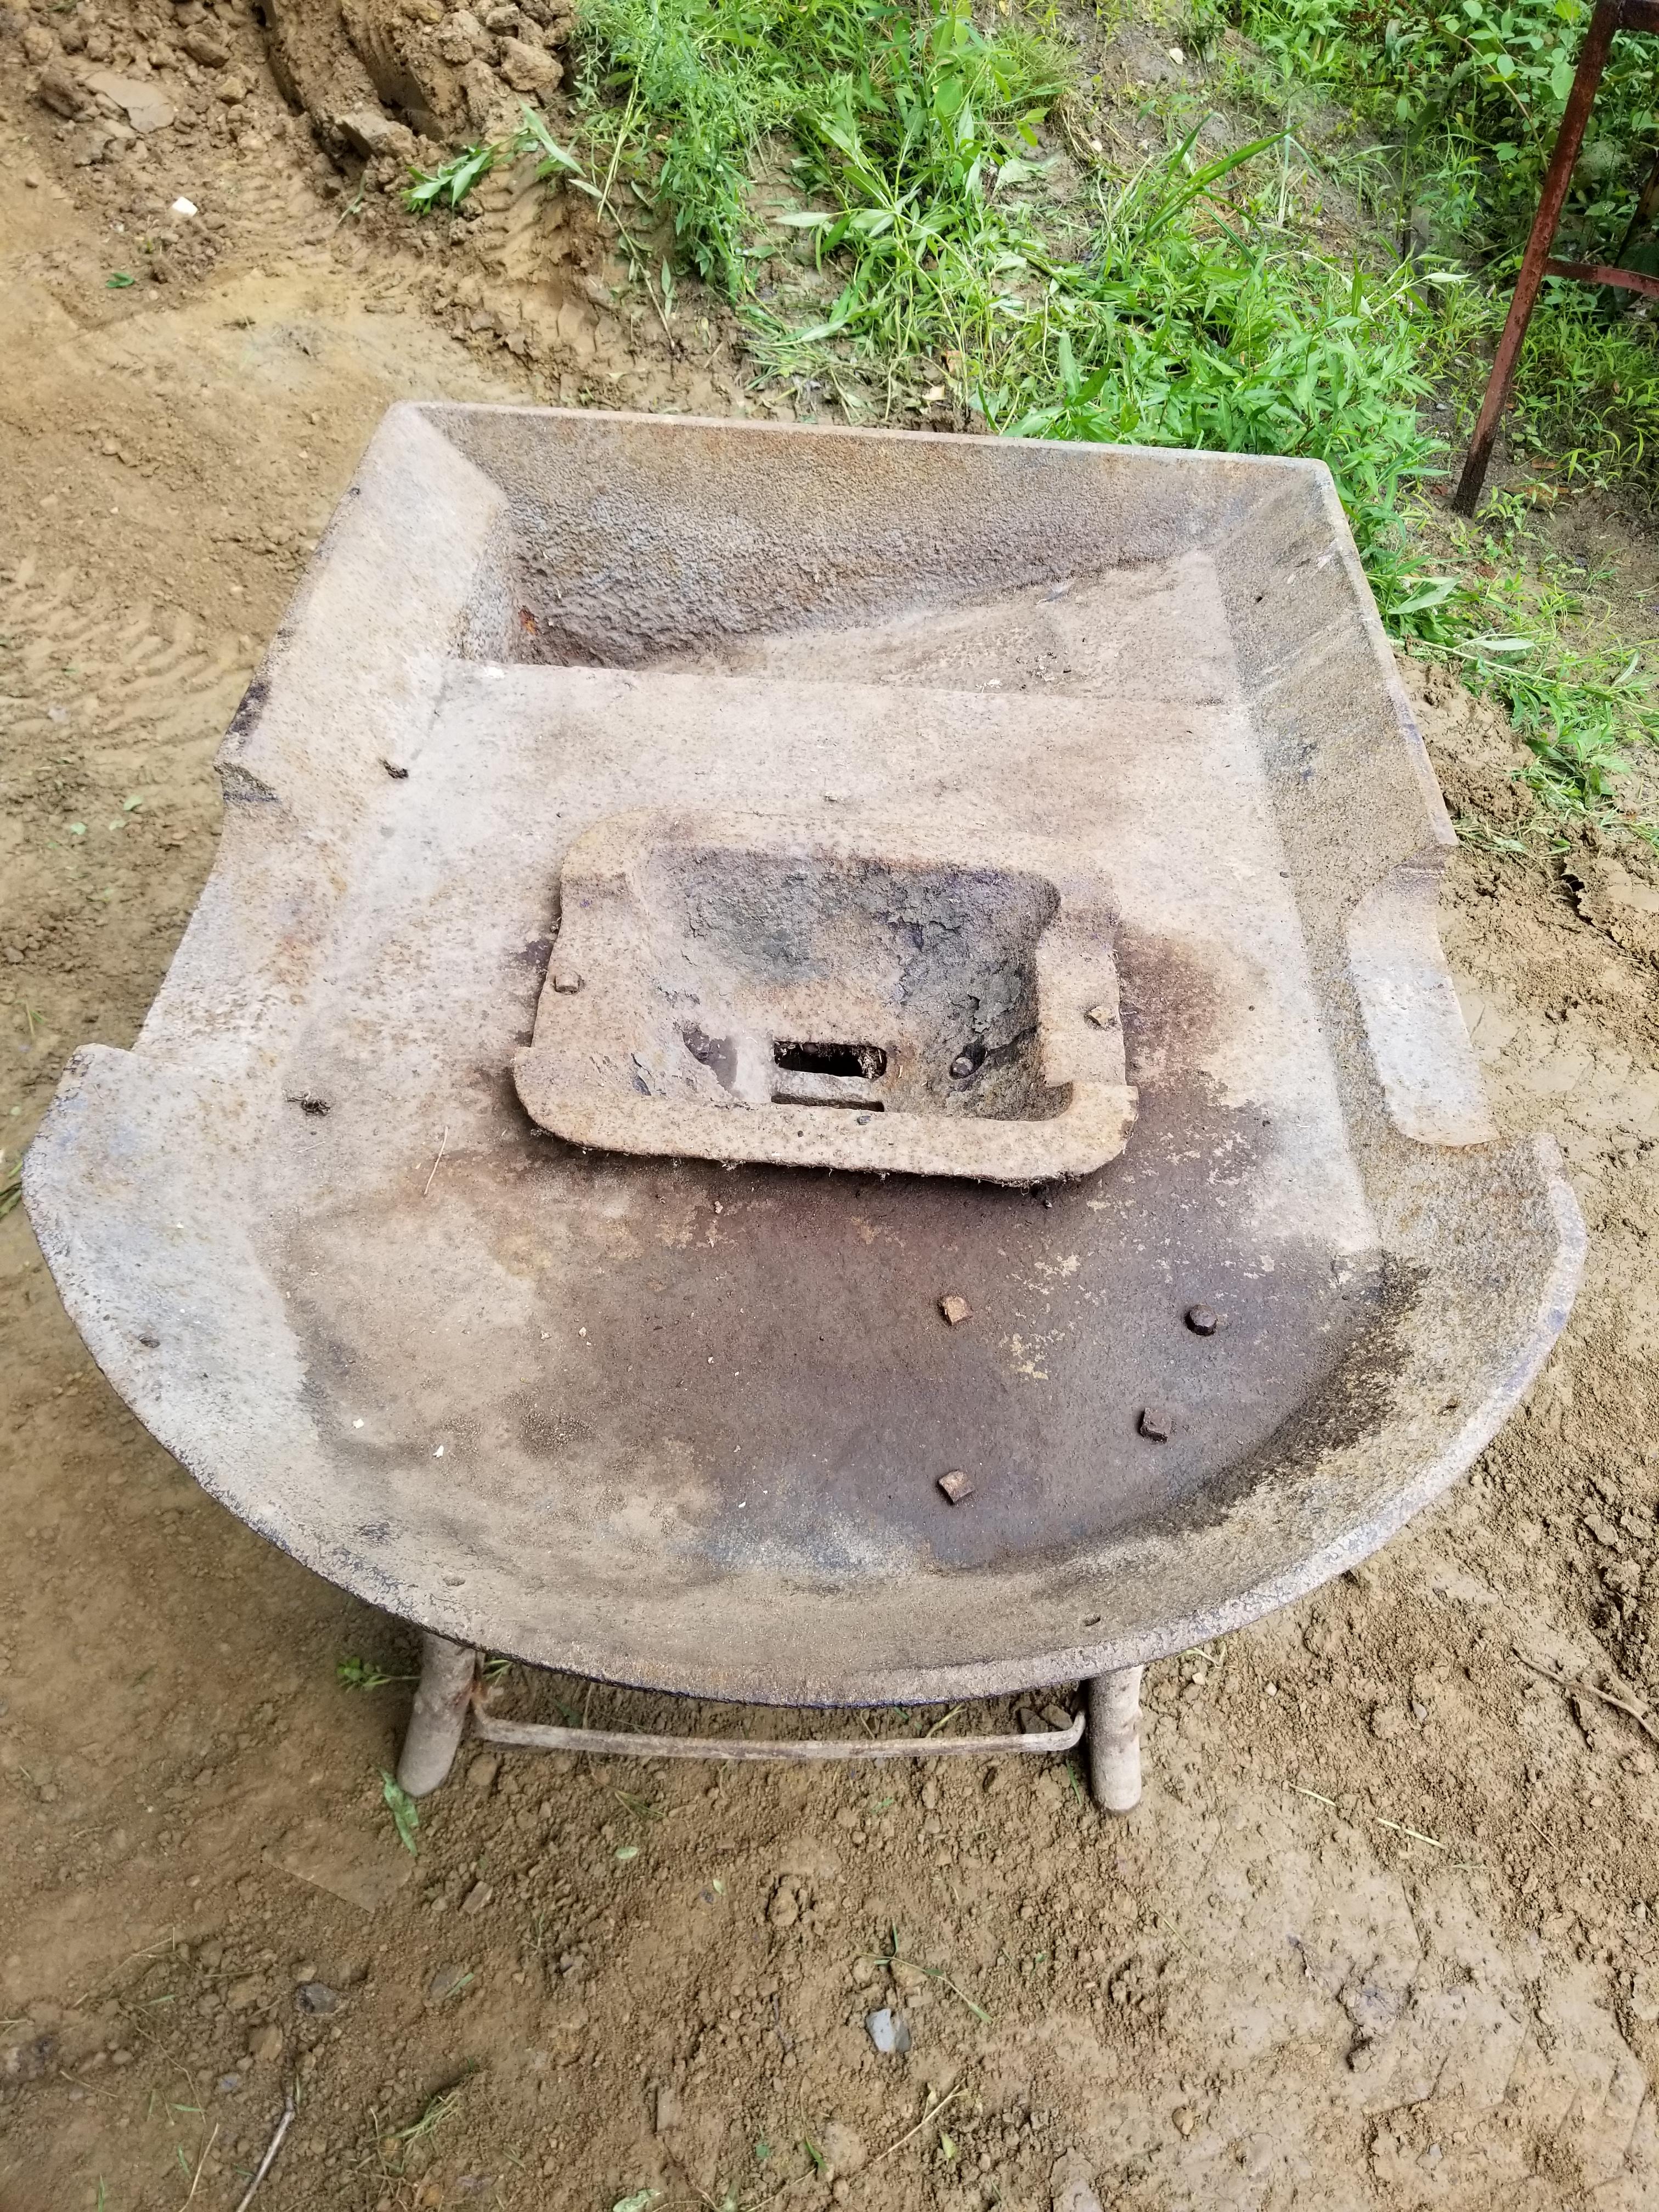
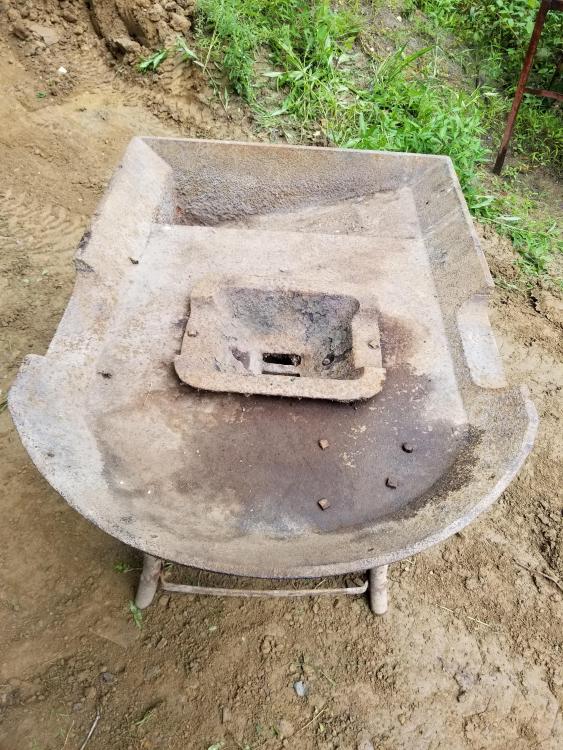
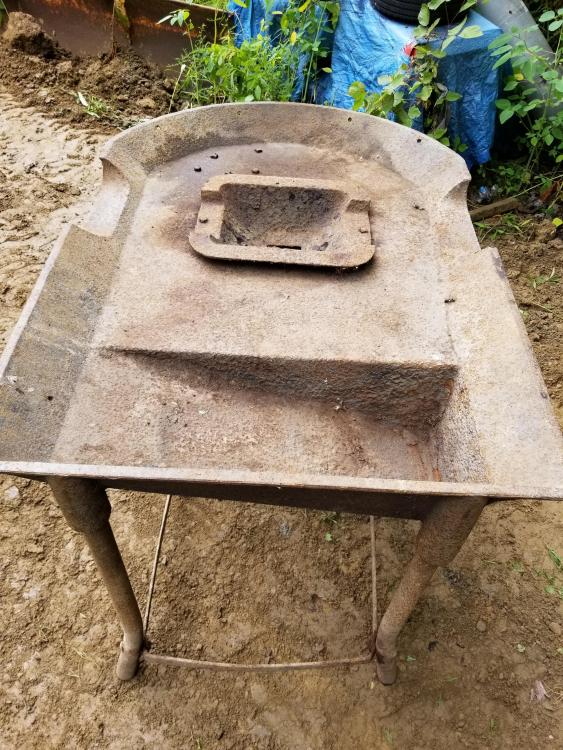
if i was feeling more greedy i would have also brought home the 226lb peter wright that he had but i let the other guy i work with buy it and the cast iron portable forges that were in my bosses barn i figured if i let the other guy i work with take some of the stuff i could A. save some money and B. have someone to forge with (aka i could have a striker) .... oh did i mention that i got all this stuff from my boss? he had all this stuff in his barn that his father had collected looking to get into blacksmithing as a retirement hobby but sadly passed before he ever got around to using it. Unfortunately the fisher has some pretty deep pitting on the main part of the face directly over the front feet but ill see if it polishes out with use or if its even in the way, the working surface on this guy is huge so im sure i can find a spot to work on it lol. i had a piece of 1" plate burned at work to make a tripod stand for it today so hopefully i can get around to making that soon. cast date is 1912 and the foot has 27 cast in it which im assuming is the rough weight since its about 270-280lb
-
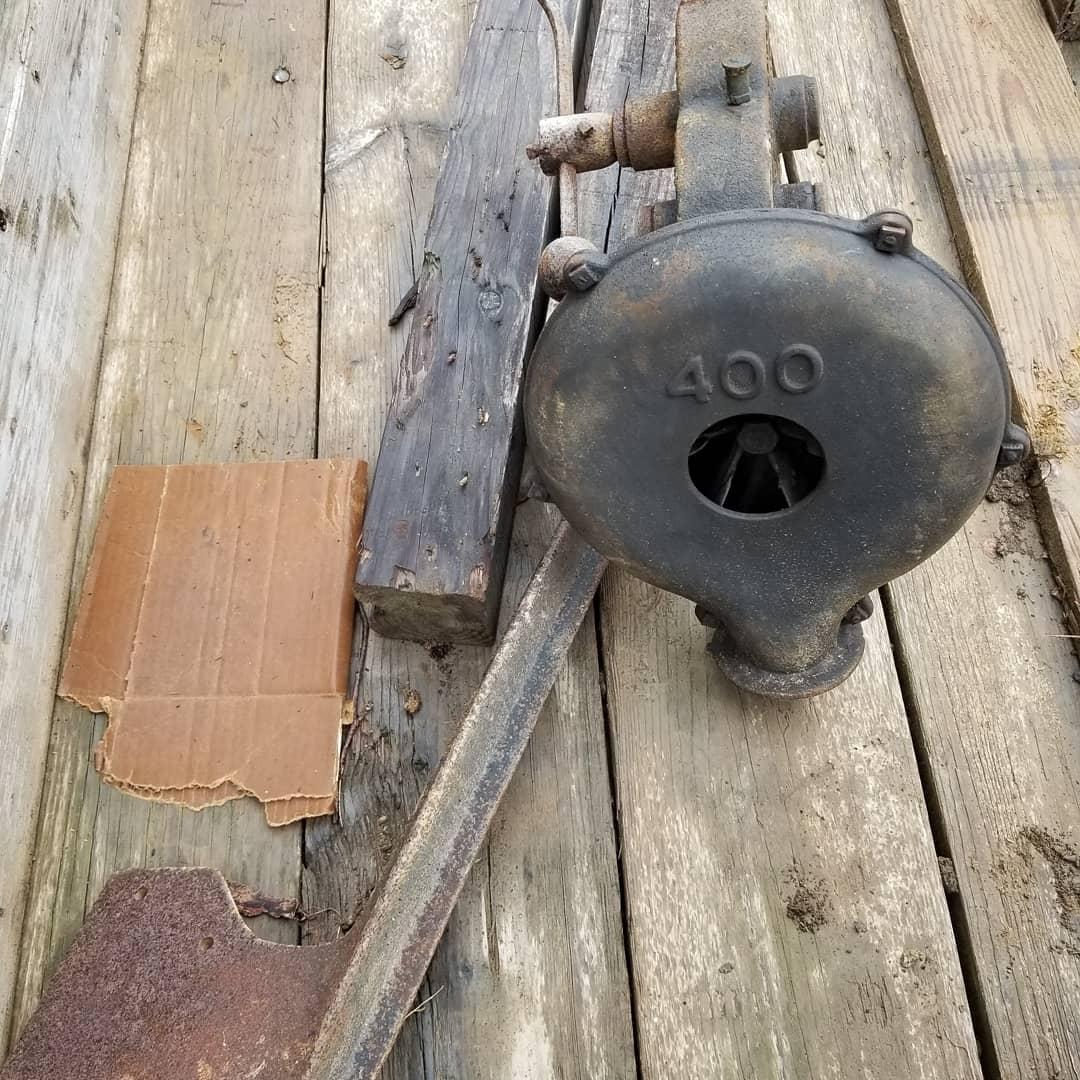
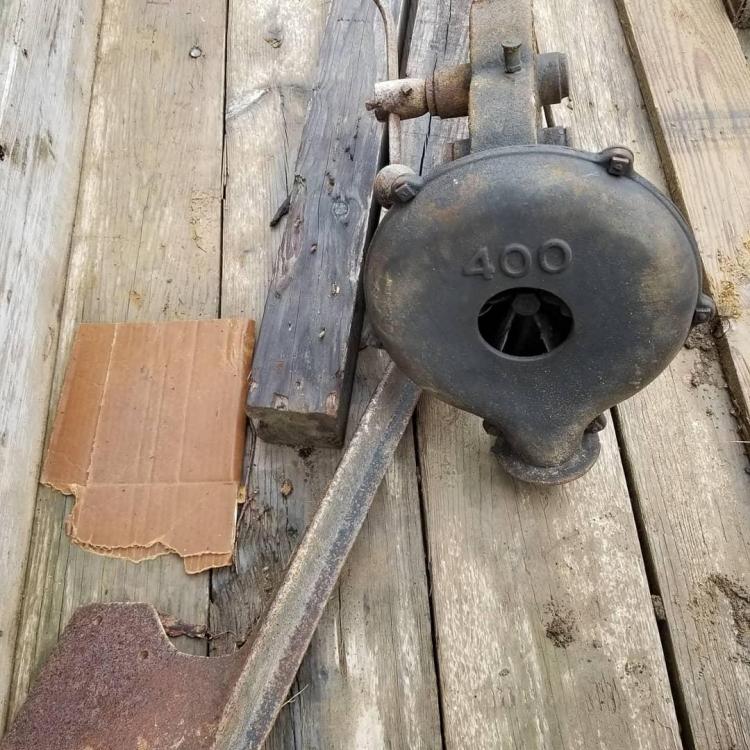
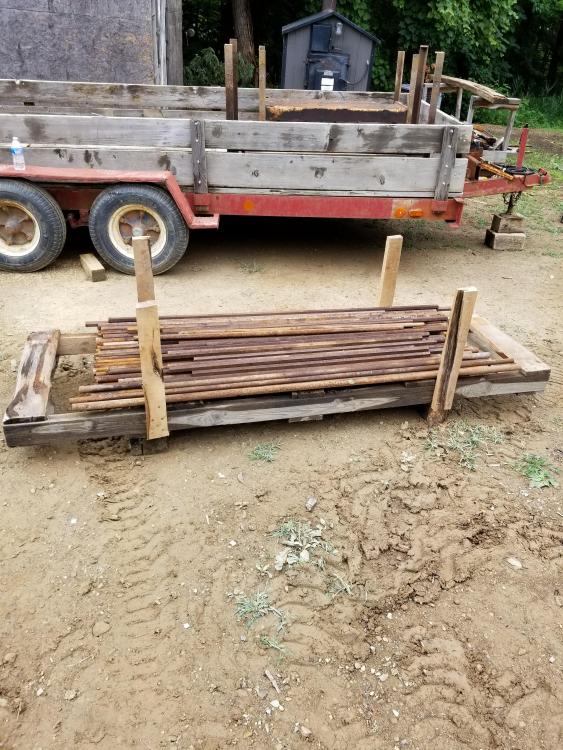
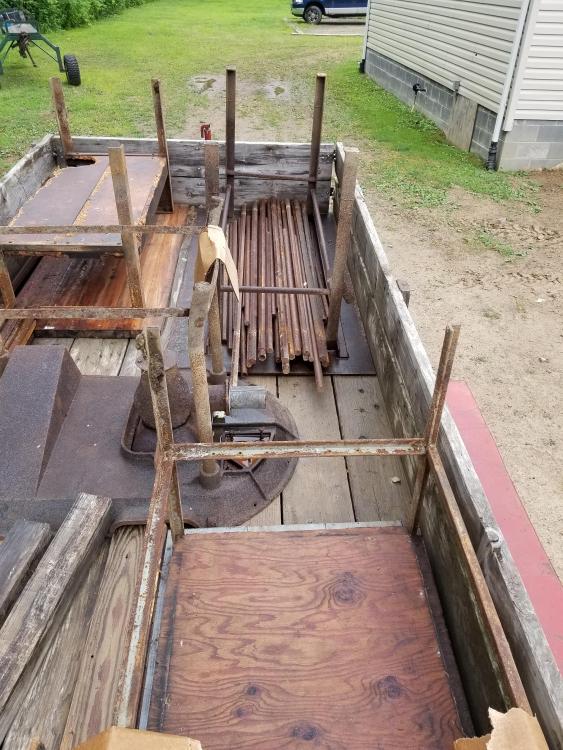
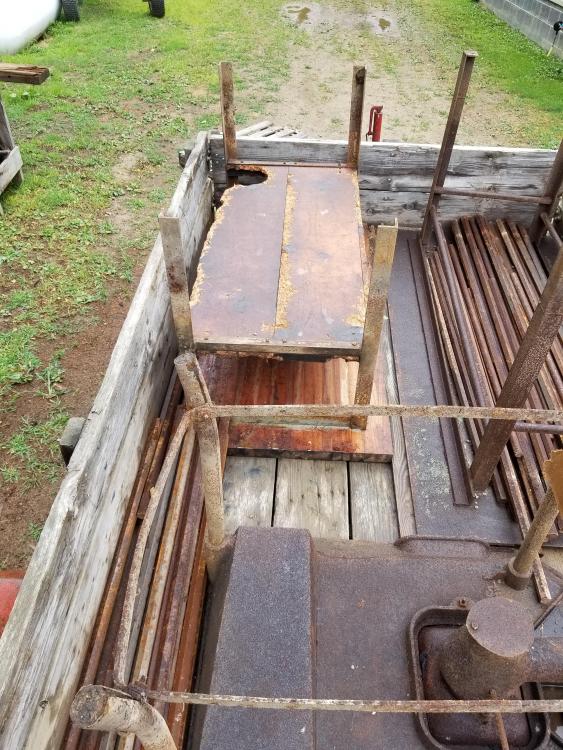
Brought all this stuff home the other day. ended up with a 90lb columbian anvil, 280lb fisher. 6inch columbian post vise, 4in post vise with the old style mounting bracket. a cast iron forge and champion 400 blower along with a random assortment of tongs and scrap. the strange pipe vise thing from a larger piece of equipment and an old locked up bench vise( i took this just because i want to see if i can free it up since it was burried in the dirt for who knows how long). To top it off all the ~1 1/4 hex stock on the pallet was thrown in. im going to cut a piece off of the hex stock and take it to work to have it hit with the xray thing we have to see what type of steel it it


-
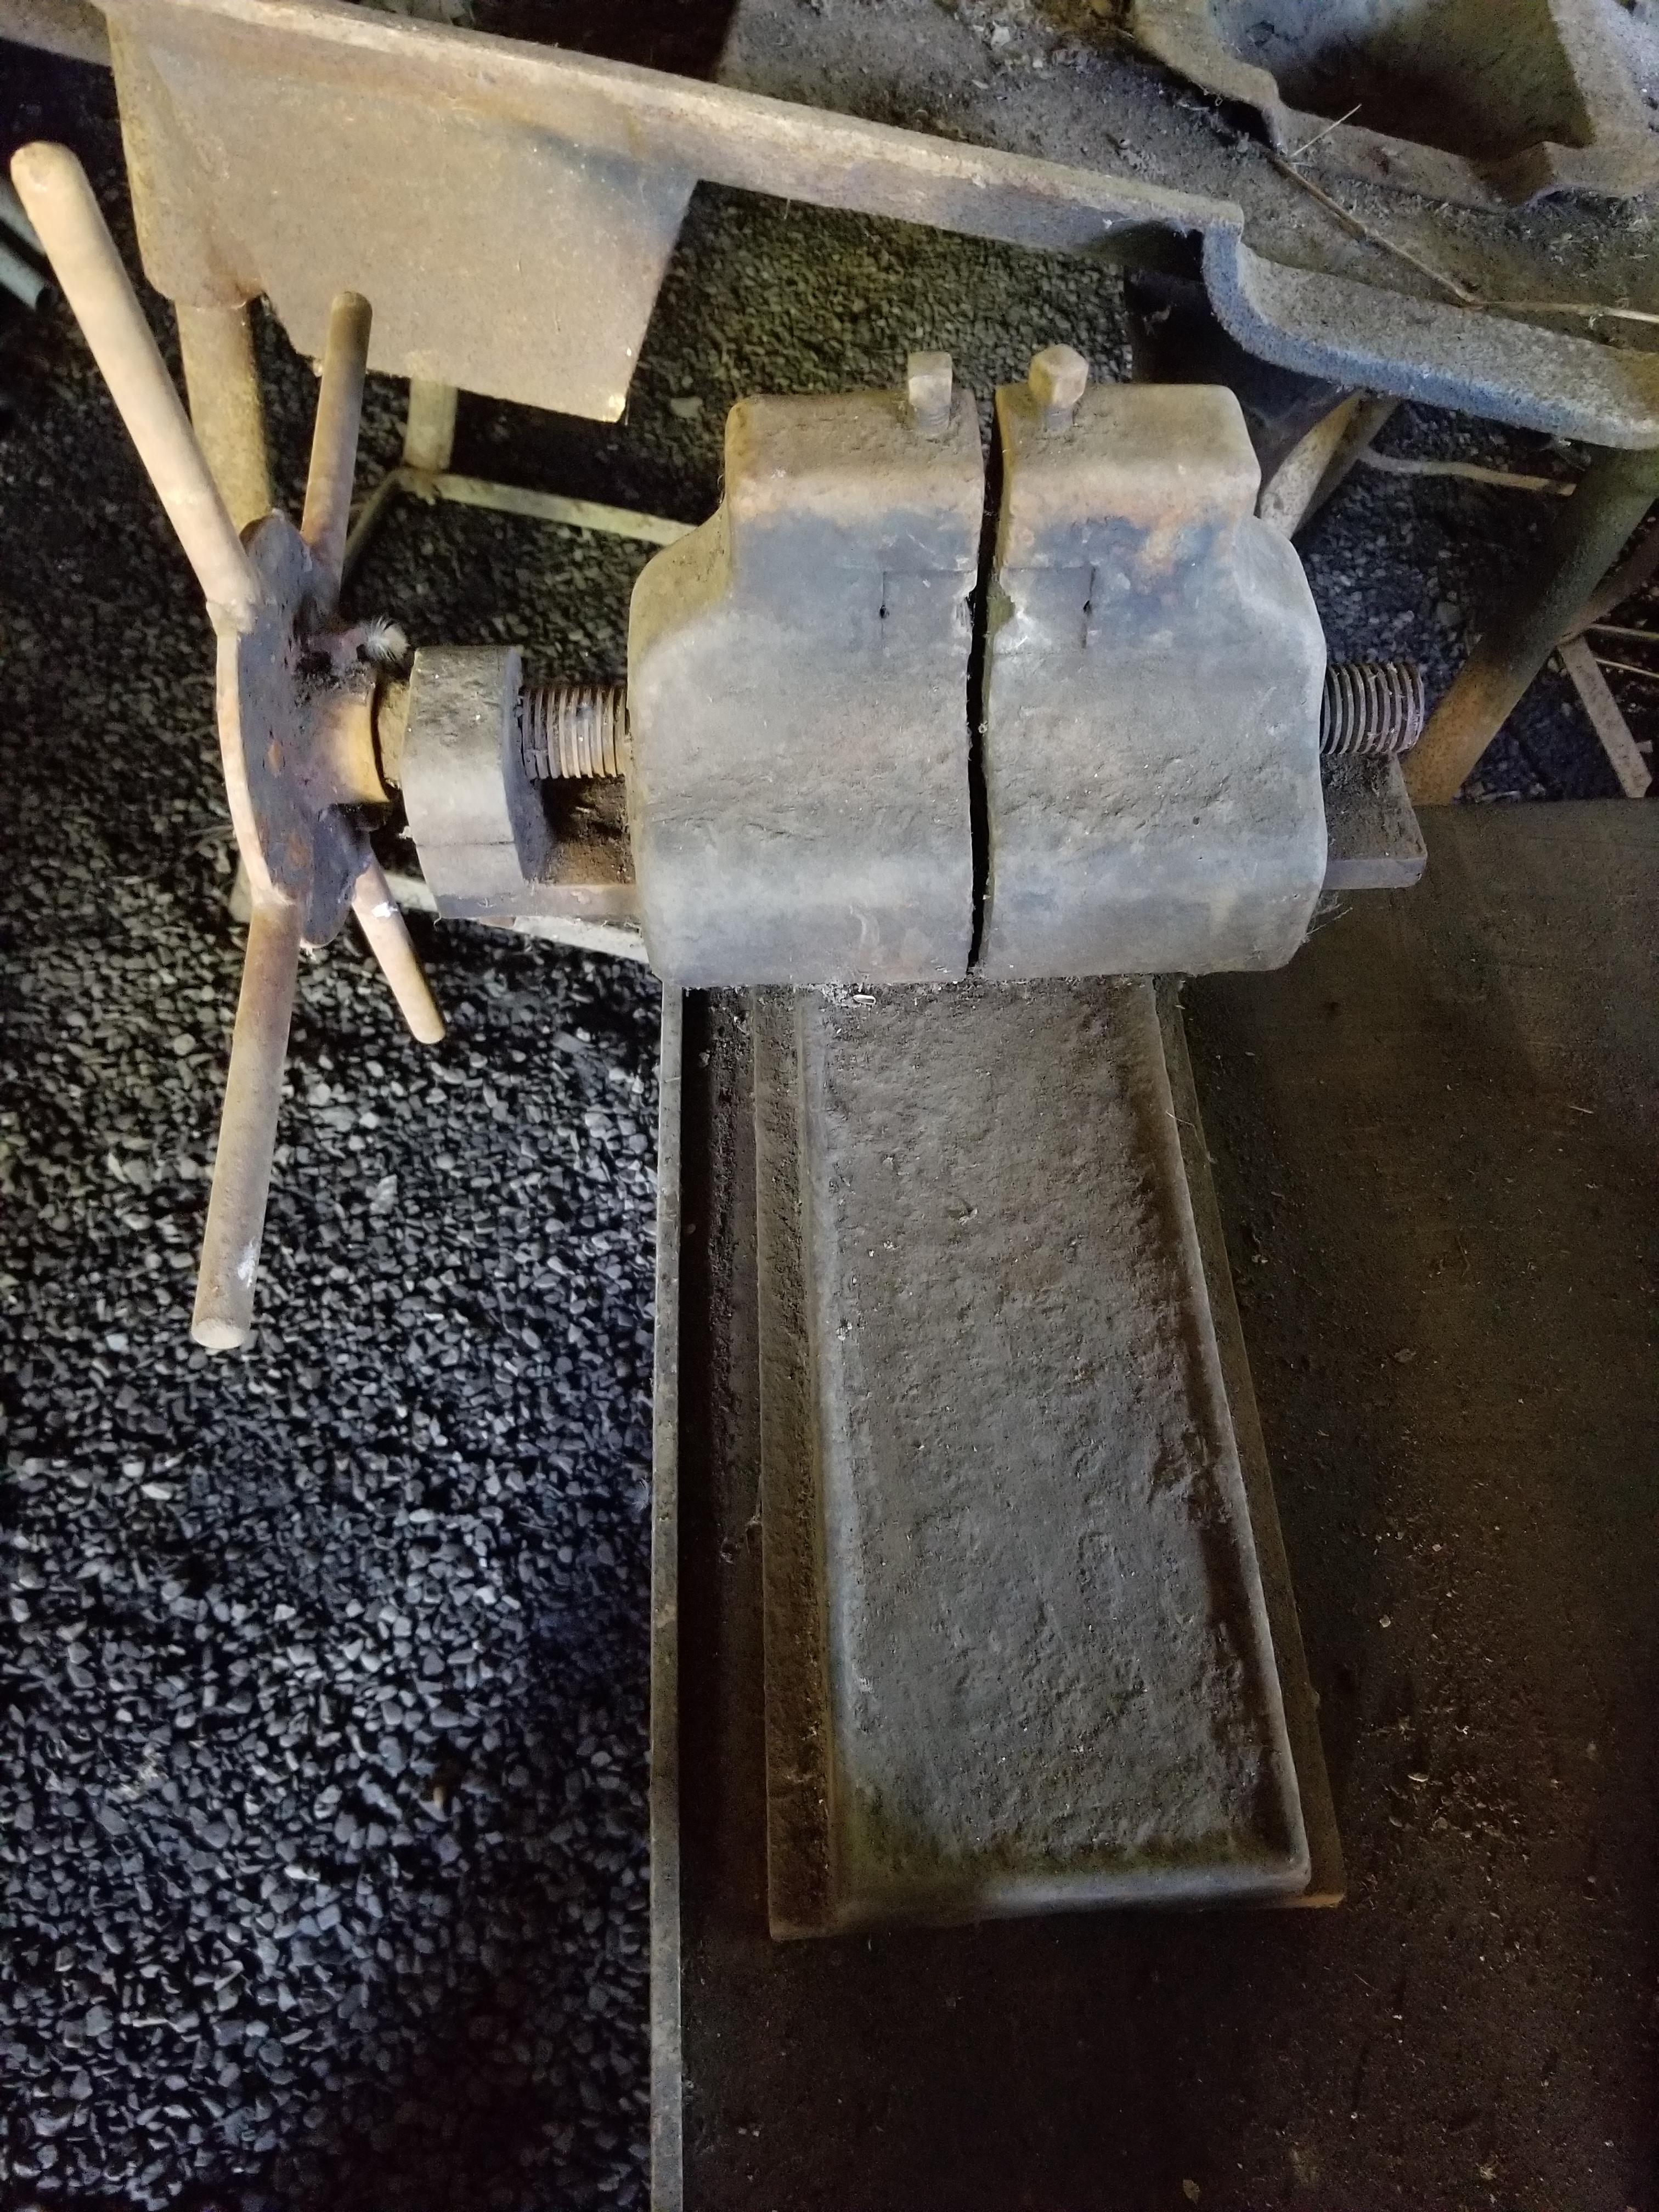
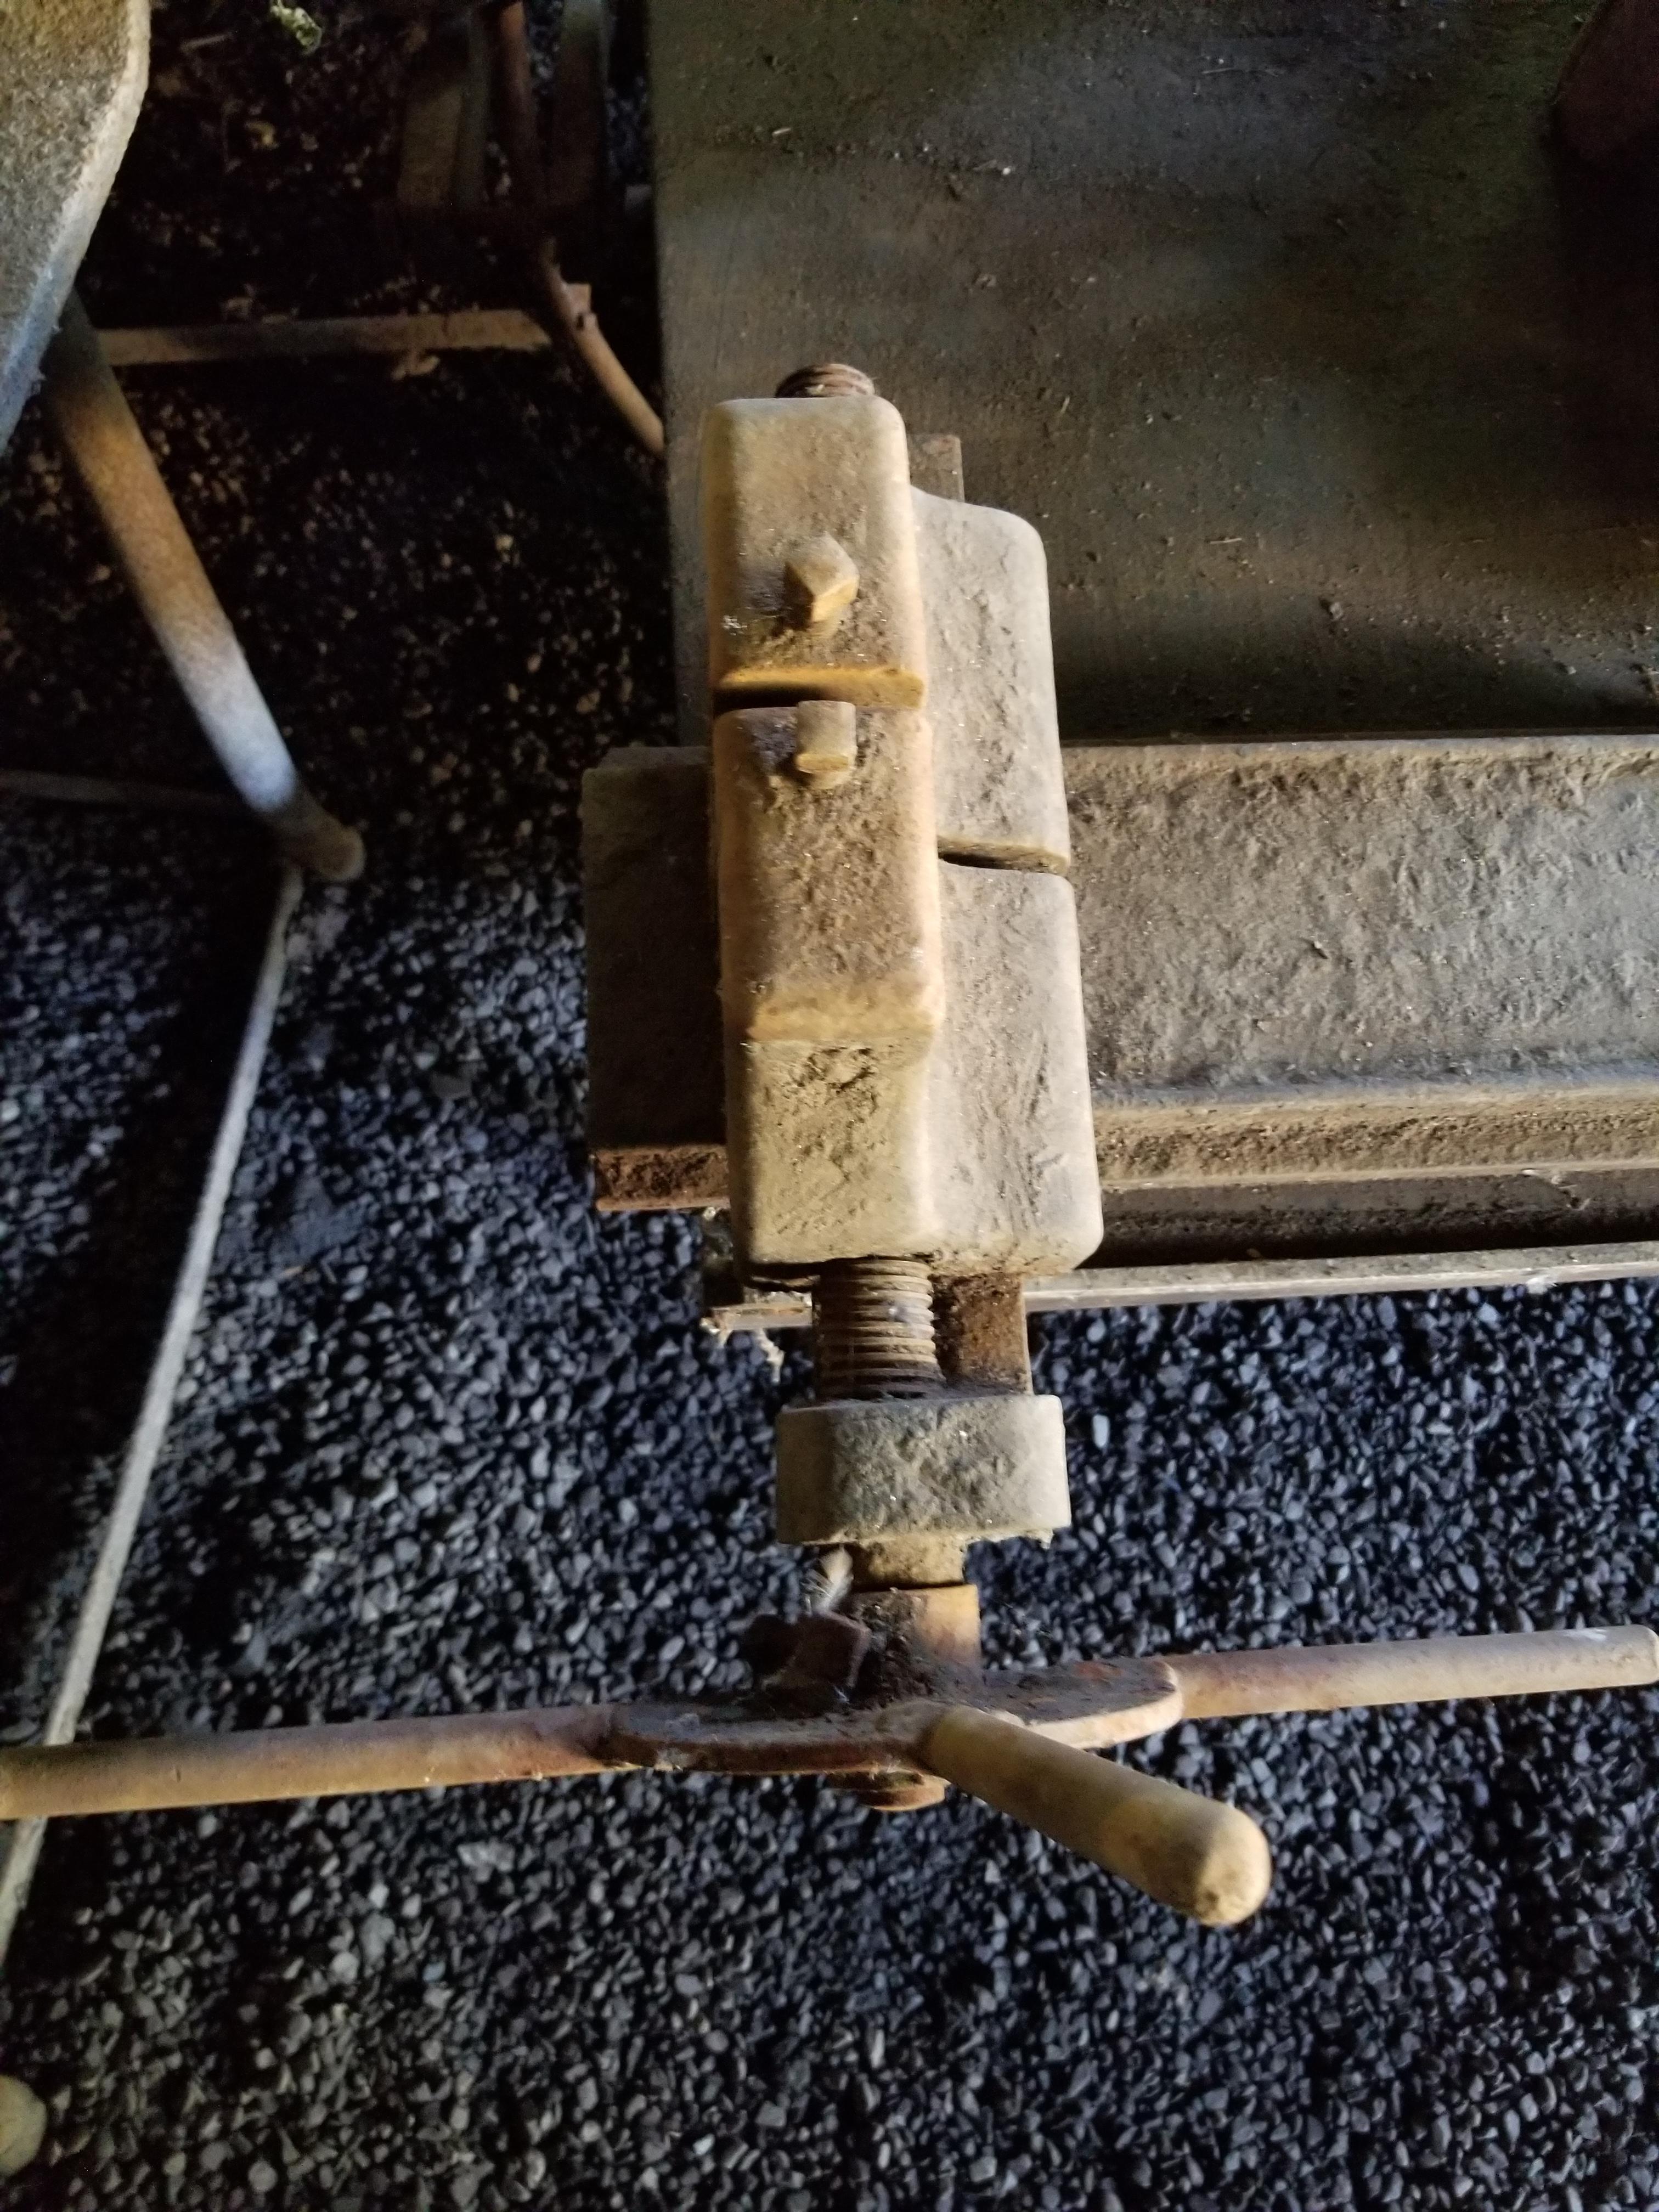
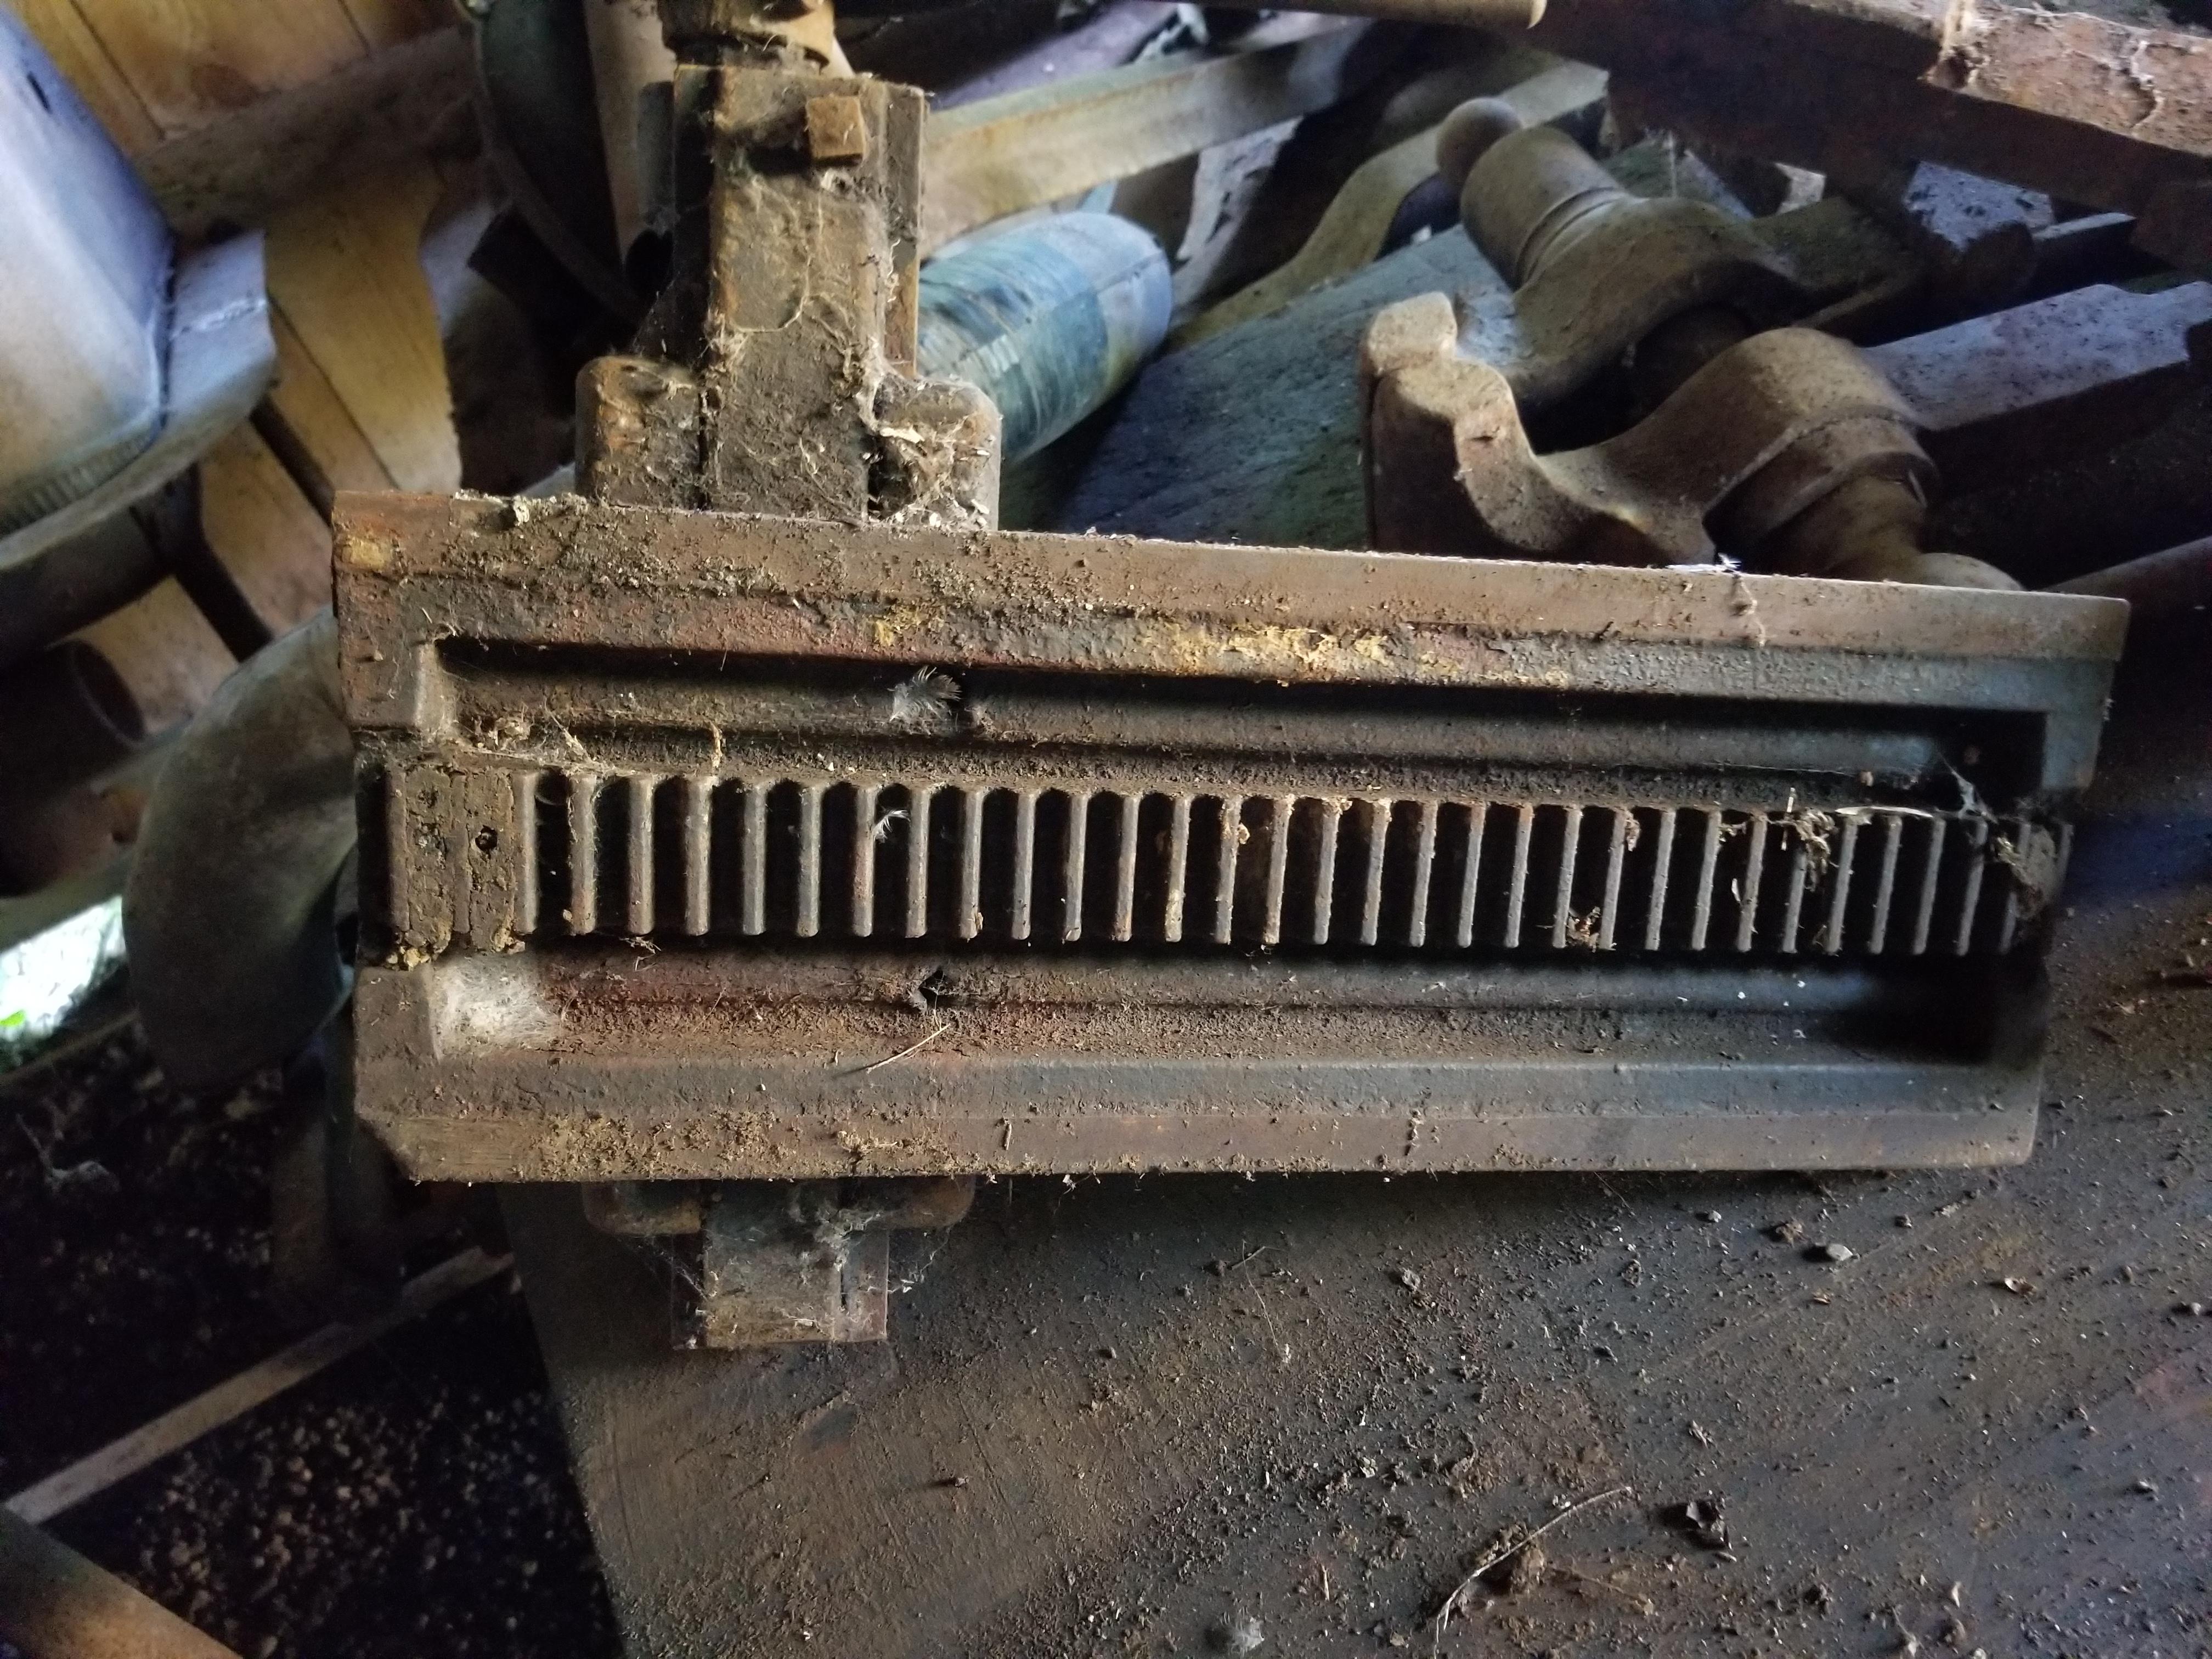
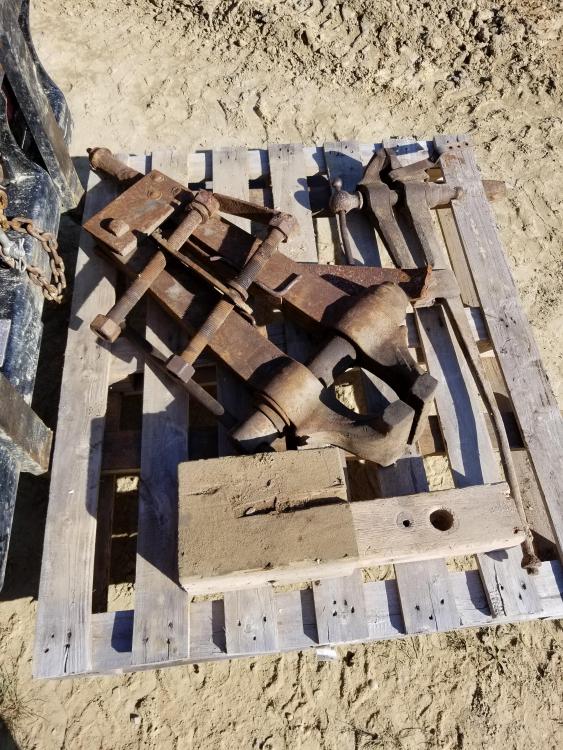
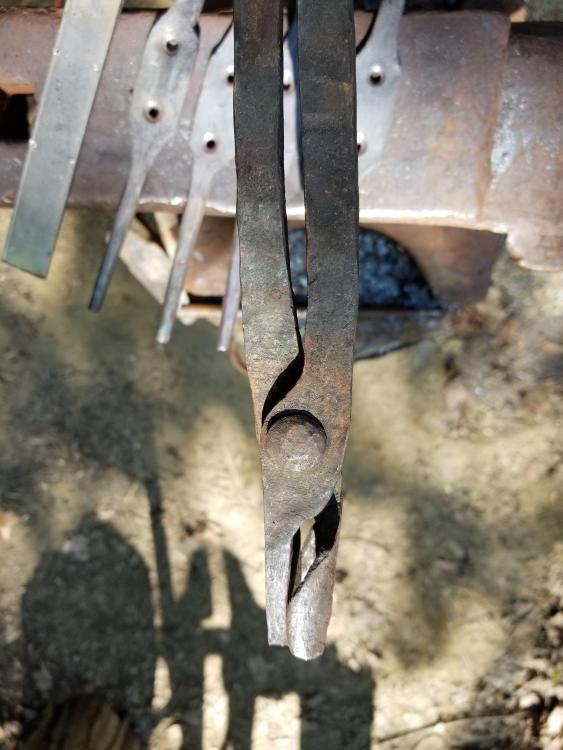
alright my friends, im stumped on this one. i was at my bosses house looking at some of his blacksmithing stuff ad he had this thing sitting in his barn. Neither of us have any idea what it came from but it appears to have a set of interchangeable pipejaws. my first guess was it was just a pipe vise but then i flipped it over and saw what appears it be a track of some kind underneath. Anyone have any ideas as to what this goes to? i would have to guess the size of the jaws are maybe 1in to 1 1/2in. the screw threads go opposite from one another so that both sides of the clamp open and close at the same time


-
What did you do in the shop today?
MarkDobson replied to Mark Ling's topic in Blacksmithing, General Discussion
why not just have a hammer in with the police once they show up and find nothing wrong, im sure that would get him fired right up lol. just get some coffee and food and have them bring the whole department with them. Wow that ship wheel looks awesome, cant wait to see the finished pics -
sorry, i was thinking dc since the motors we wire up at work are 90v DC. any of the AC motors we wire are 460v and have three wires.
-
is there a box on the side of the motor those wires come out of? if so here should be a screw in the box for your ground (its usually green). it shouldnt make a difference which wire is hooked to which since they arnt marked. if it doesnt work or it sucks instead of blows switch the wires
-
i like the floor pockets idea thomas so i hope you post pictures when you get it done! i wish i could just bury stuff but we are still terraforming down under the barn (aka the never ending project) so if i bury anything it will either be lost forever or ill have to dig it back up. not really the end of the world since we have a backhoe i guess lol. i have probably 30ft of i think 6x6 box beam guard rail that i could cut up and bury as a socket in the ground for a post now that i think about it. this is what i had originally thought of but even if i weighted it down i thing it would still move. maybe i could mount it to a plate to stand on

-
correct me if im wrong, but wouldnt you have to either match the old screw perfectly or replace both since they are chained together? also, how are those gears connected to the screw?
-
i was thinking of doing something like a striking vise stand. as far as how i intend to use it, probably for anything large or stubborn that would require the use of a sledge. id like to make the stand as heavy/immovable as possible and still be able to work from all sides of the vise. i cant bury a post because i will need to be able to move it (with a tractor) since we are always working on the barn and it may get in the way at some point.
-
weighs roughly 200lbs, i could pick it up but just barely and i know it weighs more than my anvil which is ~150lbs. i wish thats all this thing cost me lol, but i know if i didnt bring it home id kick myself for leaving it in that barn. i plan on having a plate burned at work to make a stand/ table for it. Any ideas on how large of a stand im going to need to support the thing?
-
I love this idea and think im going to have to implement it in my shop! would be a great way to save money to buy more tools and make shop improvements.
-
Well all my craigslist browsing on my lunch breaks finally paid off, managed to pick these two guys up last night after work. I believe the big 8 inch is a columbian but im not 100% sure. im guessing its a later production vise based on the hinge plate being riveted on instead of forge welded. the little one is a 4 inch and looks like a toy compared to that giant. the only sad part is somehow the mounting bracket for the big vise dissapeared and the little vise is missing the spring and mount but i should be able to make both pieces without too much trouble. Both screws are nice and square and the vises seam to open and close freely. now i just have to figure out how to mount this big boy
-
looks like a couple things to me, first is it looks like the fixed jaw either had a steel jaw on it and the weld failed or it had a date with a grinder. second, it appears the moving jaw is bent outward, or more accurately, someone seriously over tightened the vise and sucked the part of the jaw the screw goes through in. i would straighten everything out as best you can and go from there but i may also be completely off base so take my rambling with a grain of salt. how are the threads on the screw? they look more pointed than square in the picture but it could also just be the lighting
-
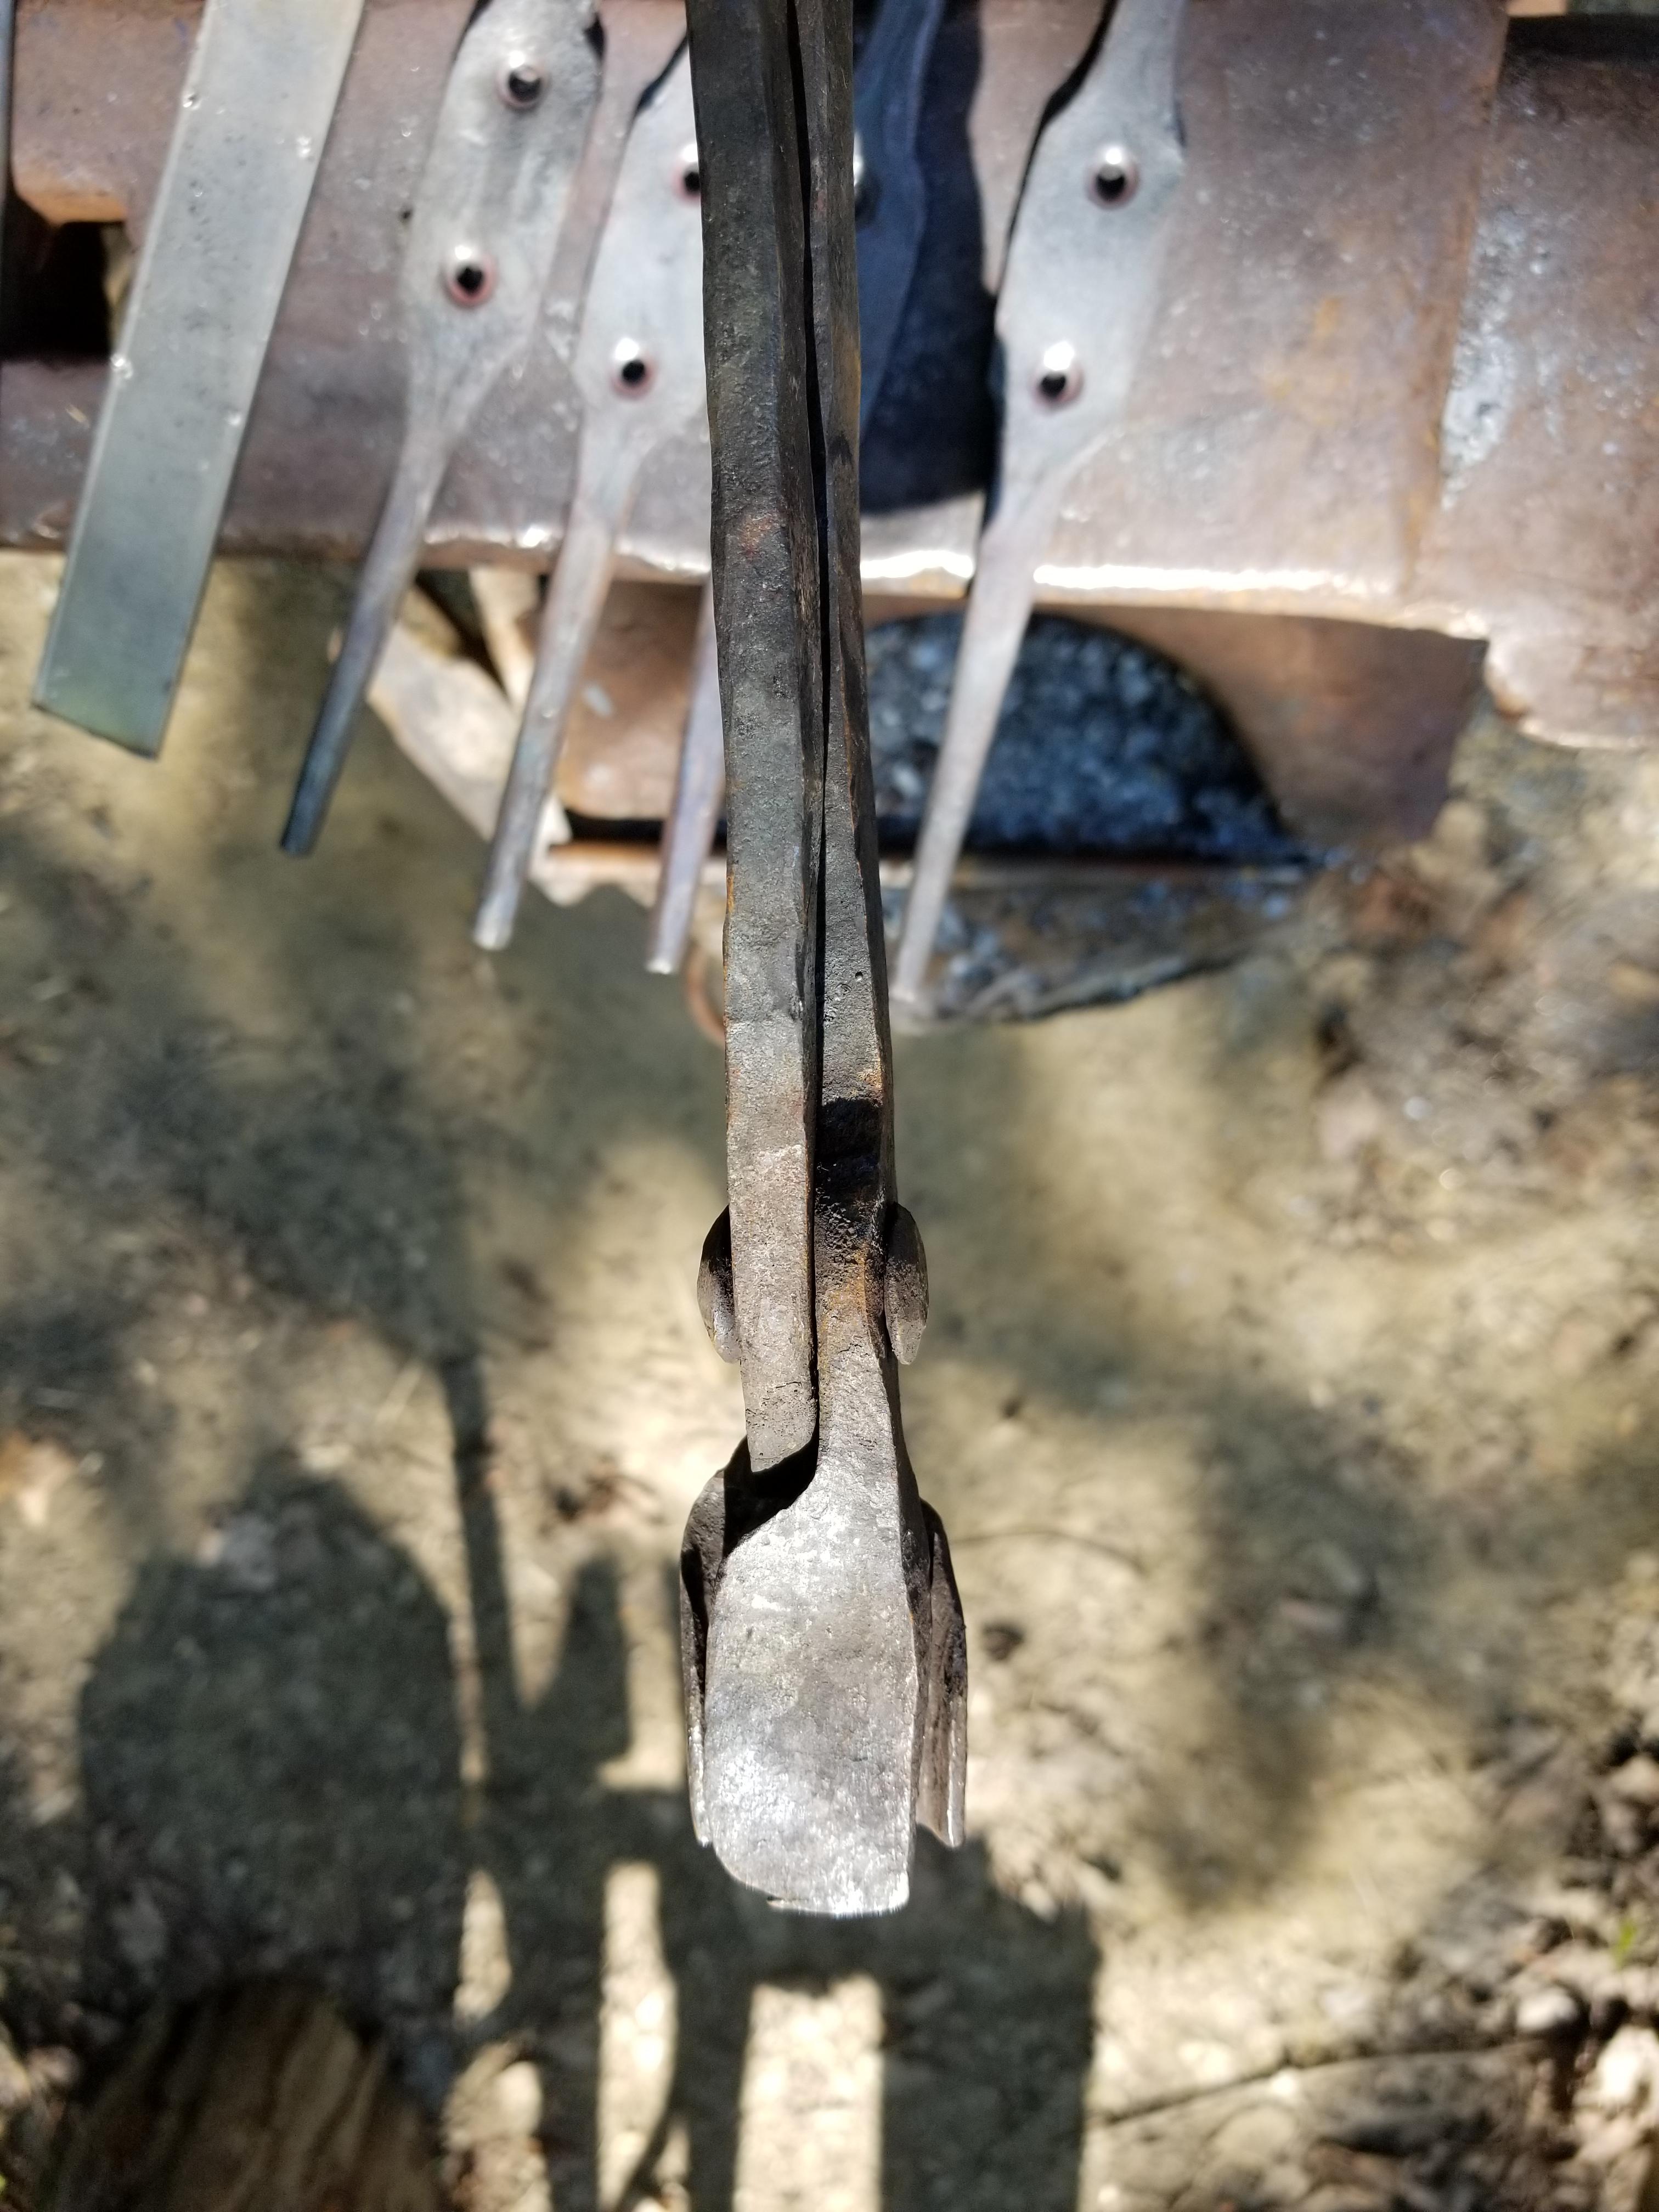
nope, they work great! only problem (if you want to call it that) is that the flat jaw is a little thick so it makes it a little bit harder to get the stock out of the fire
-
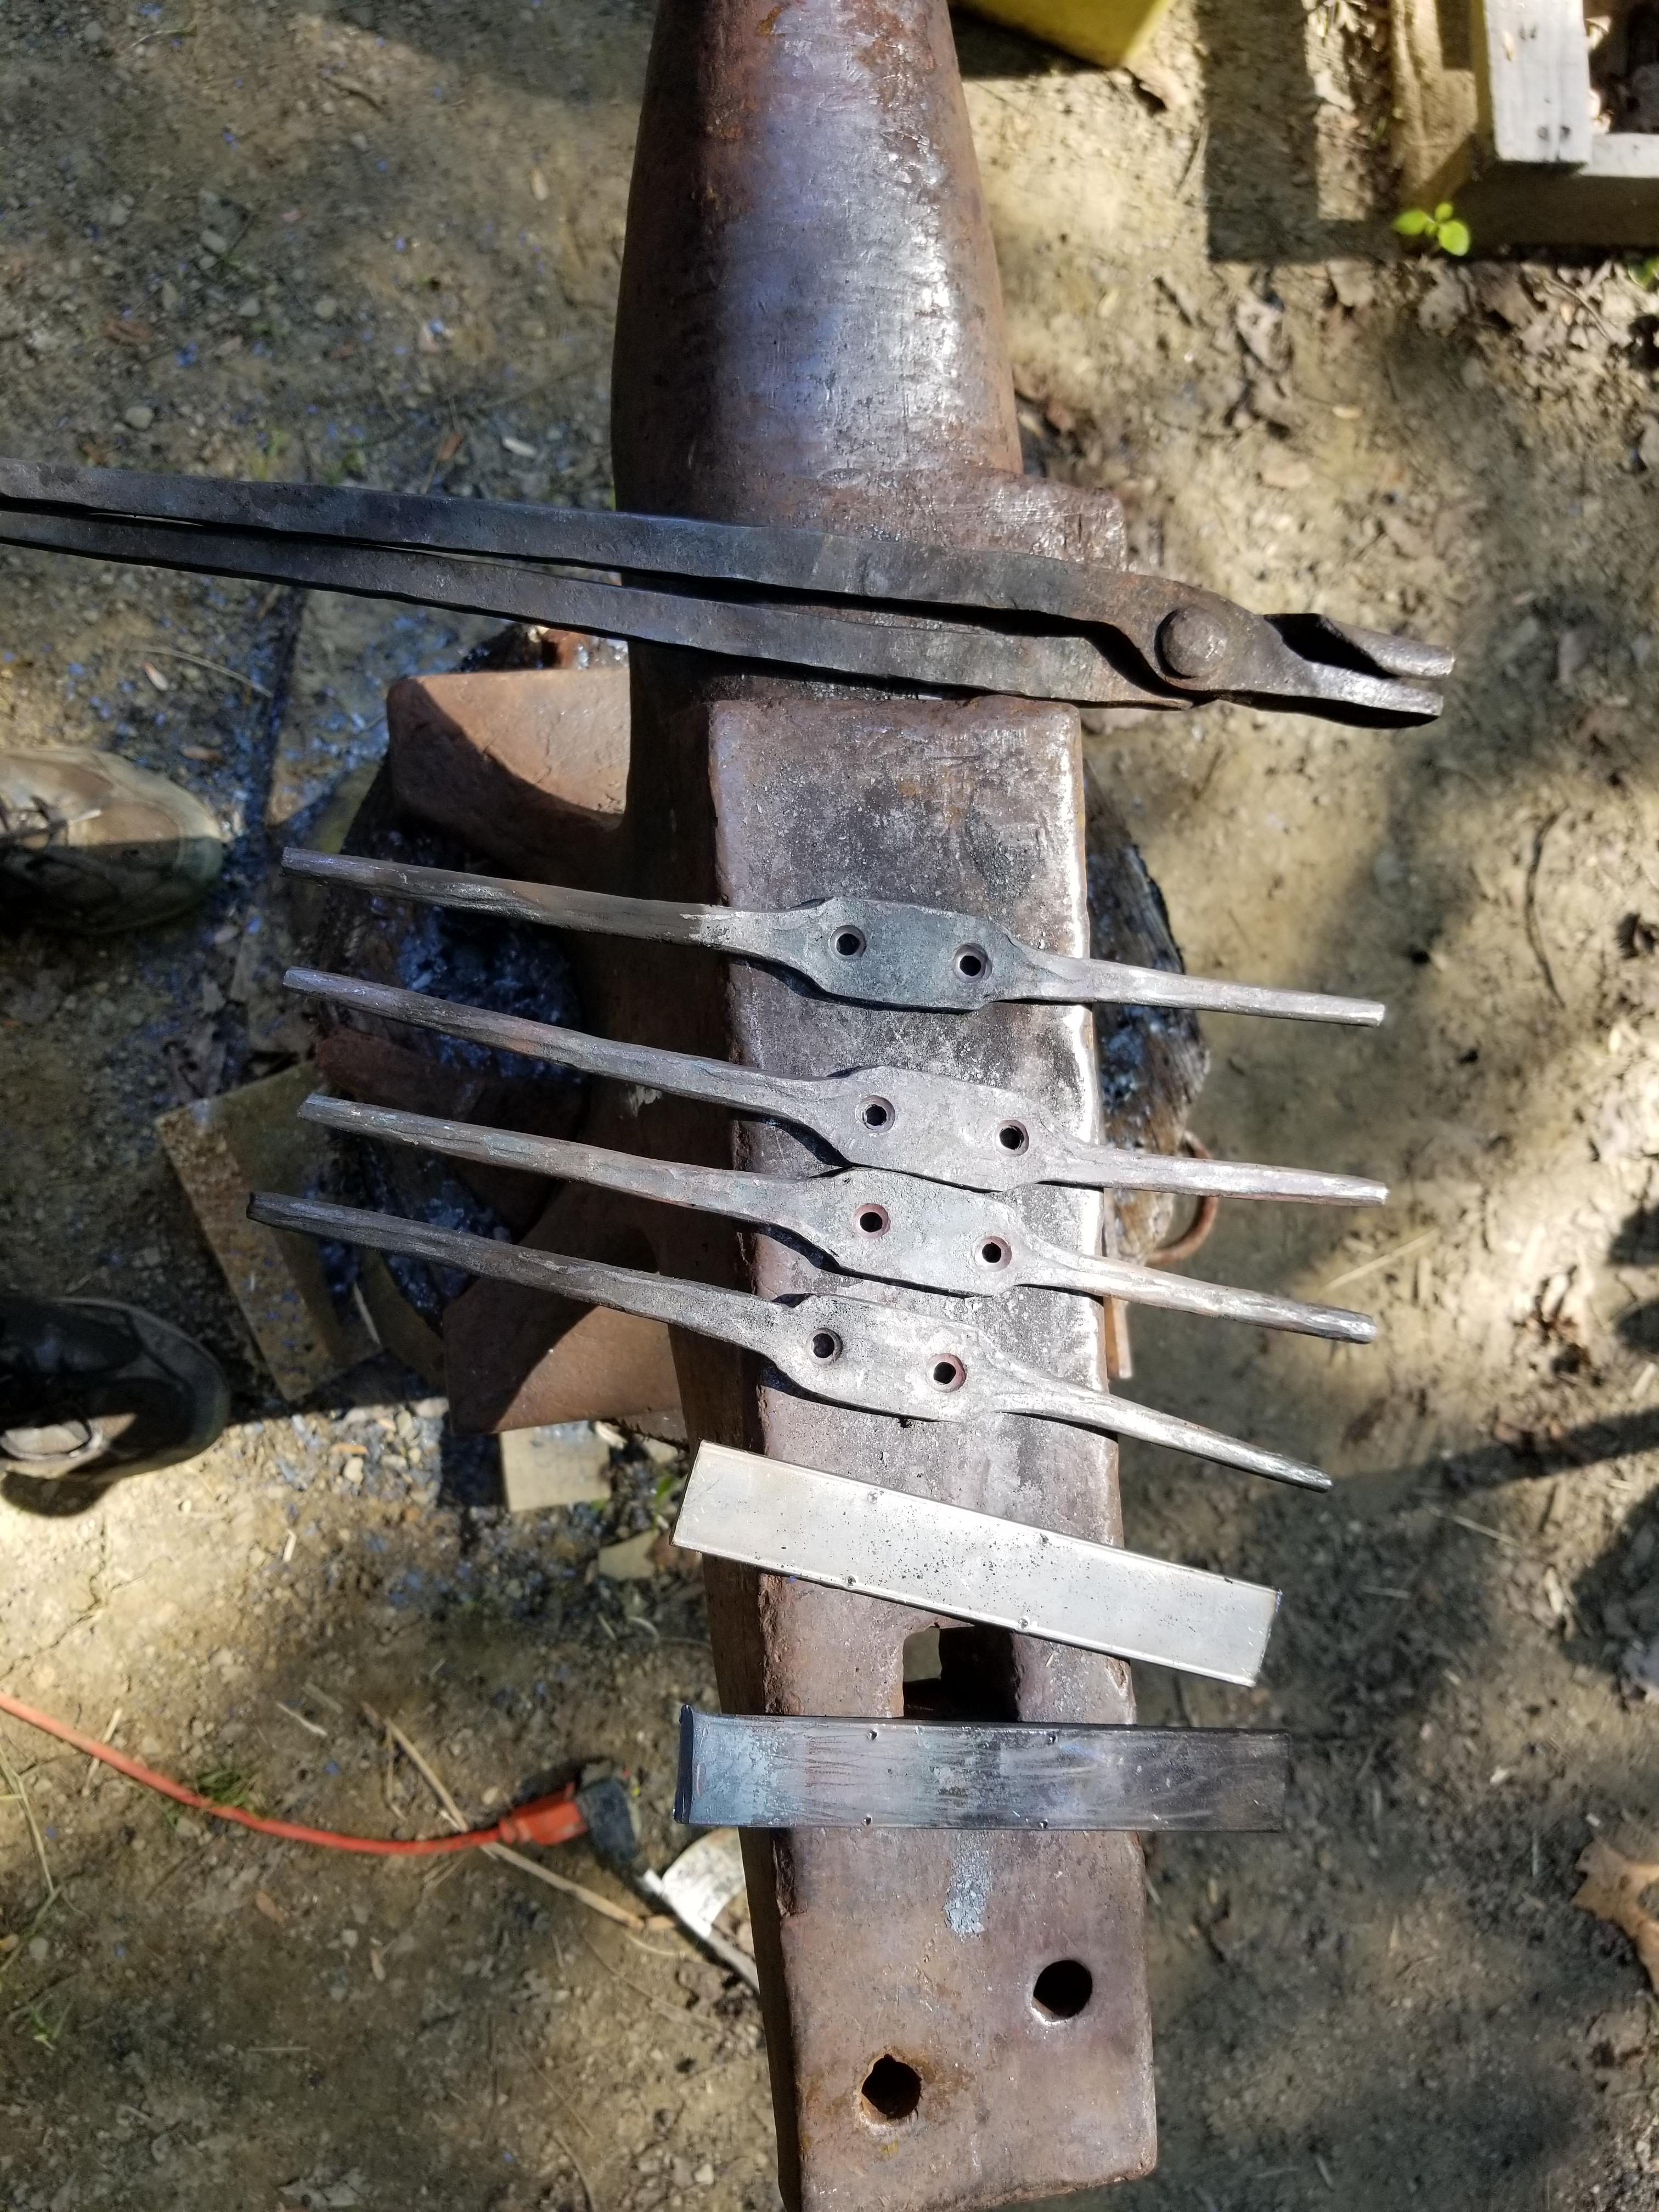
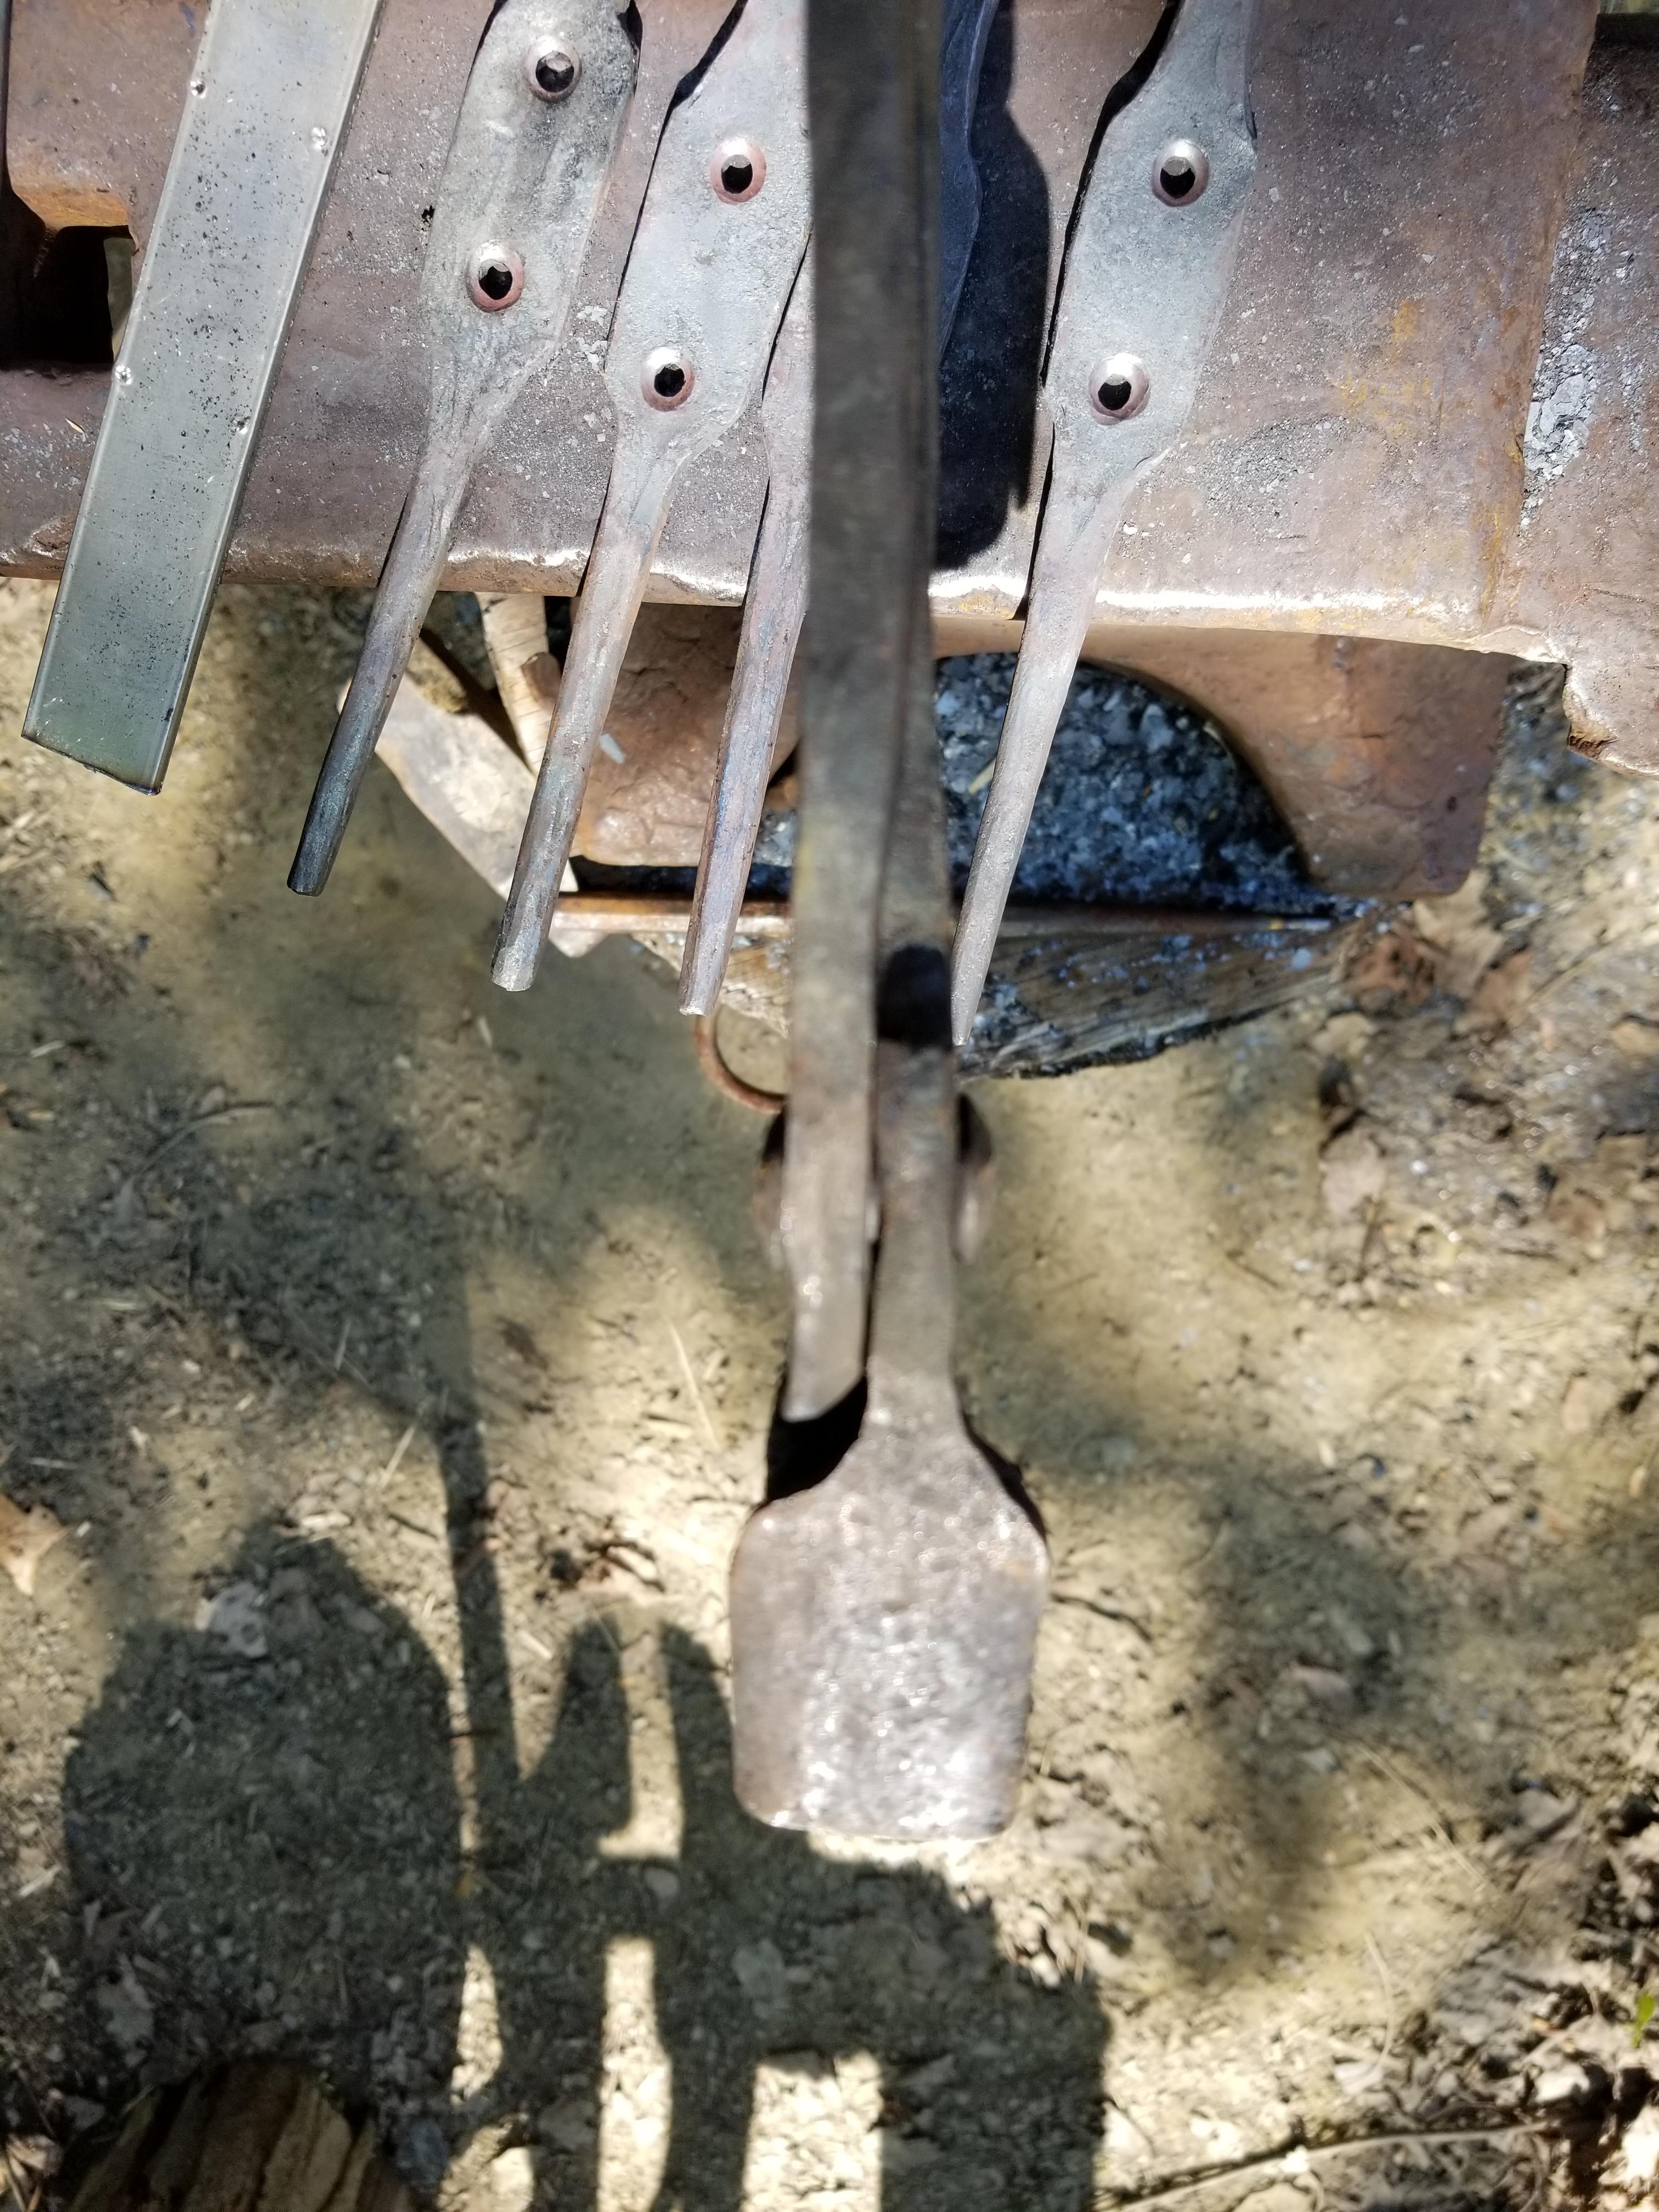
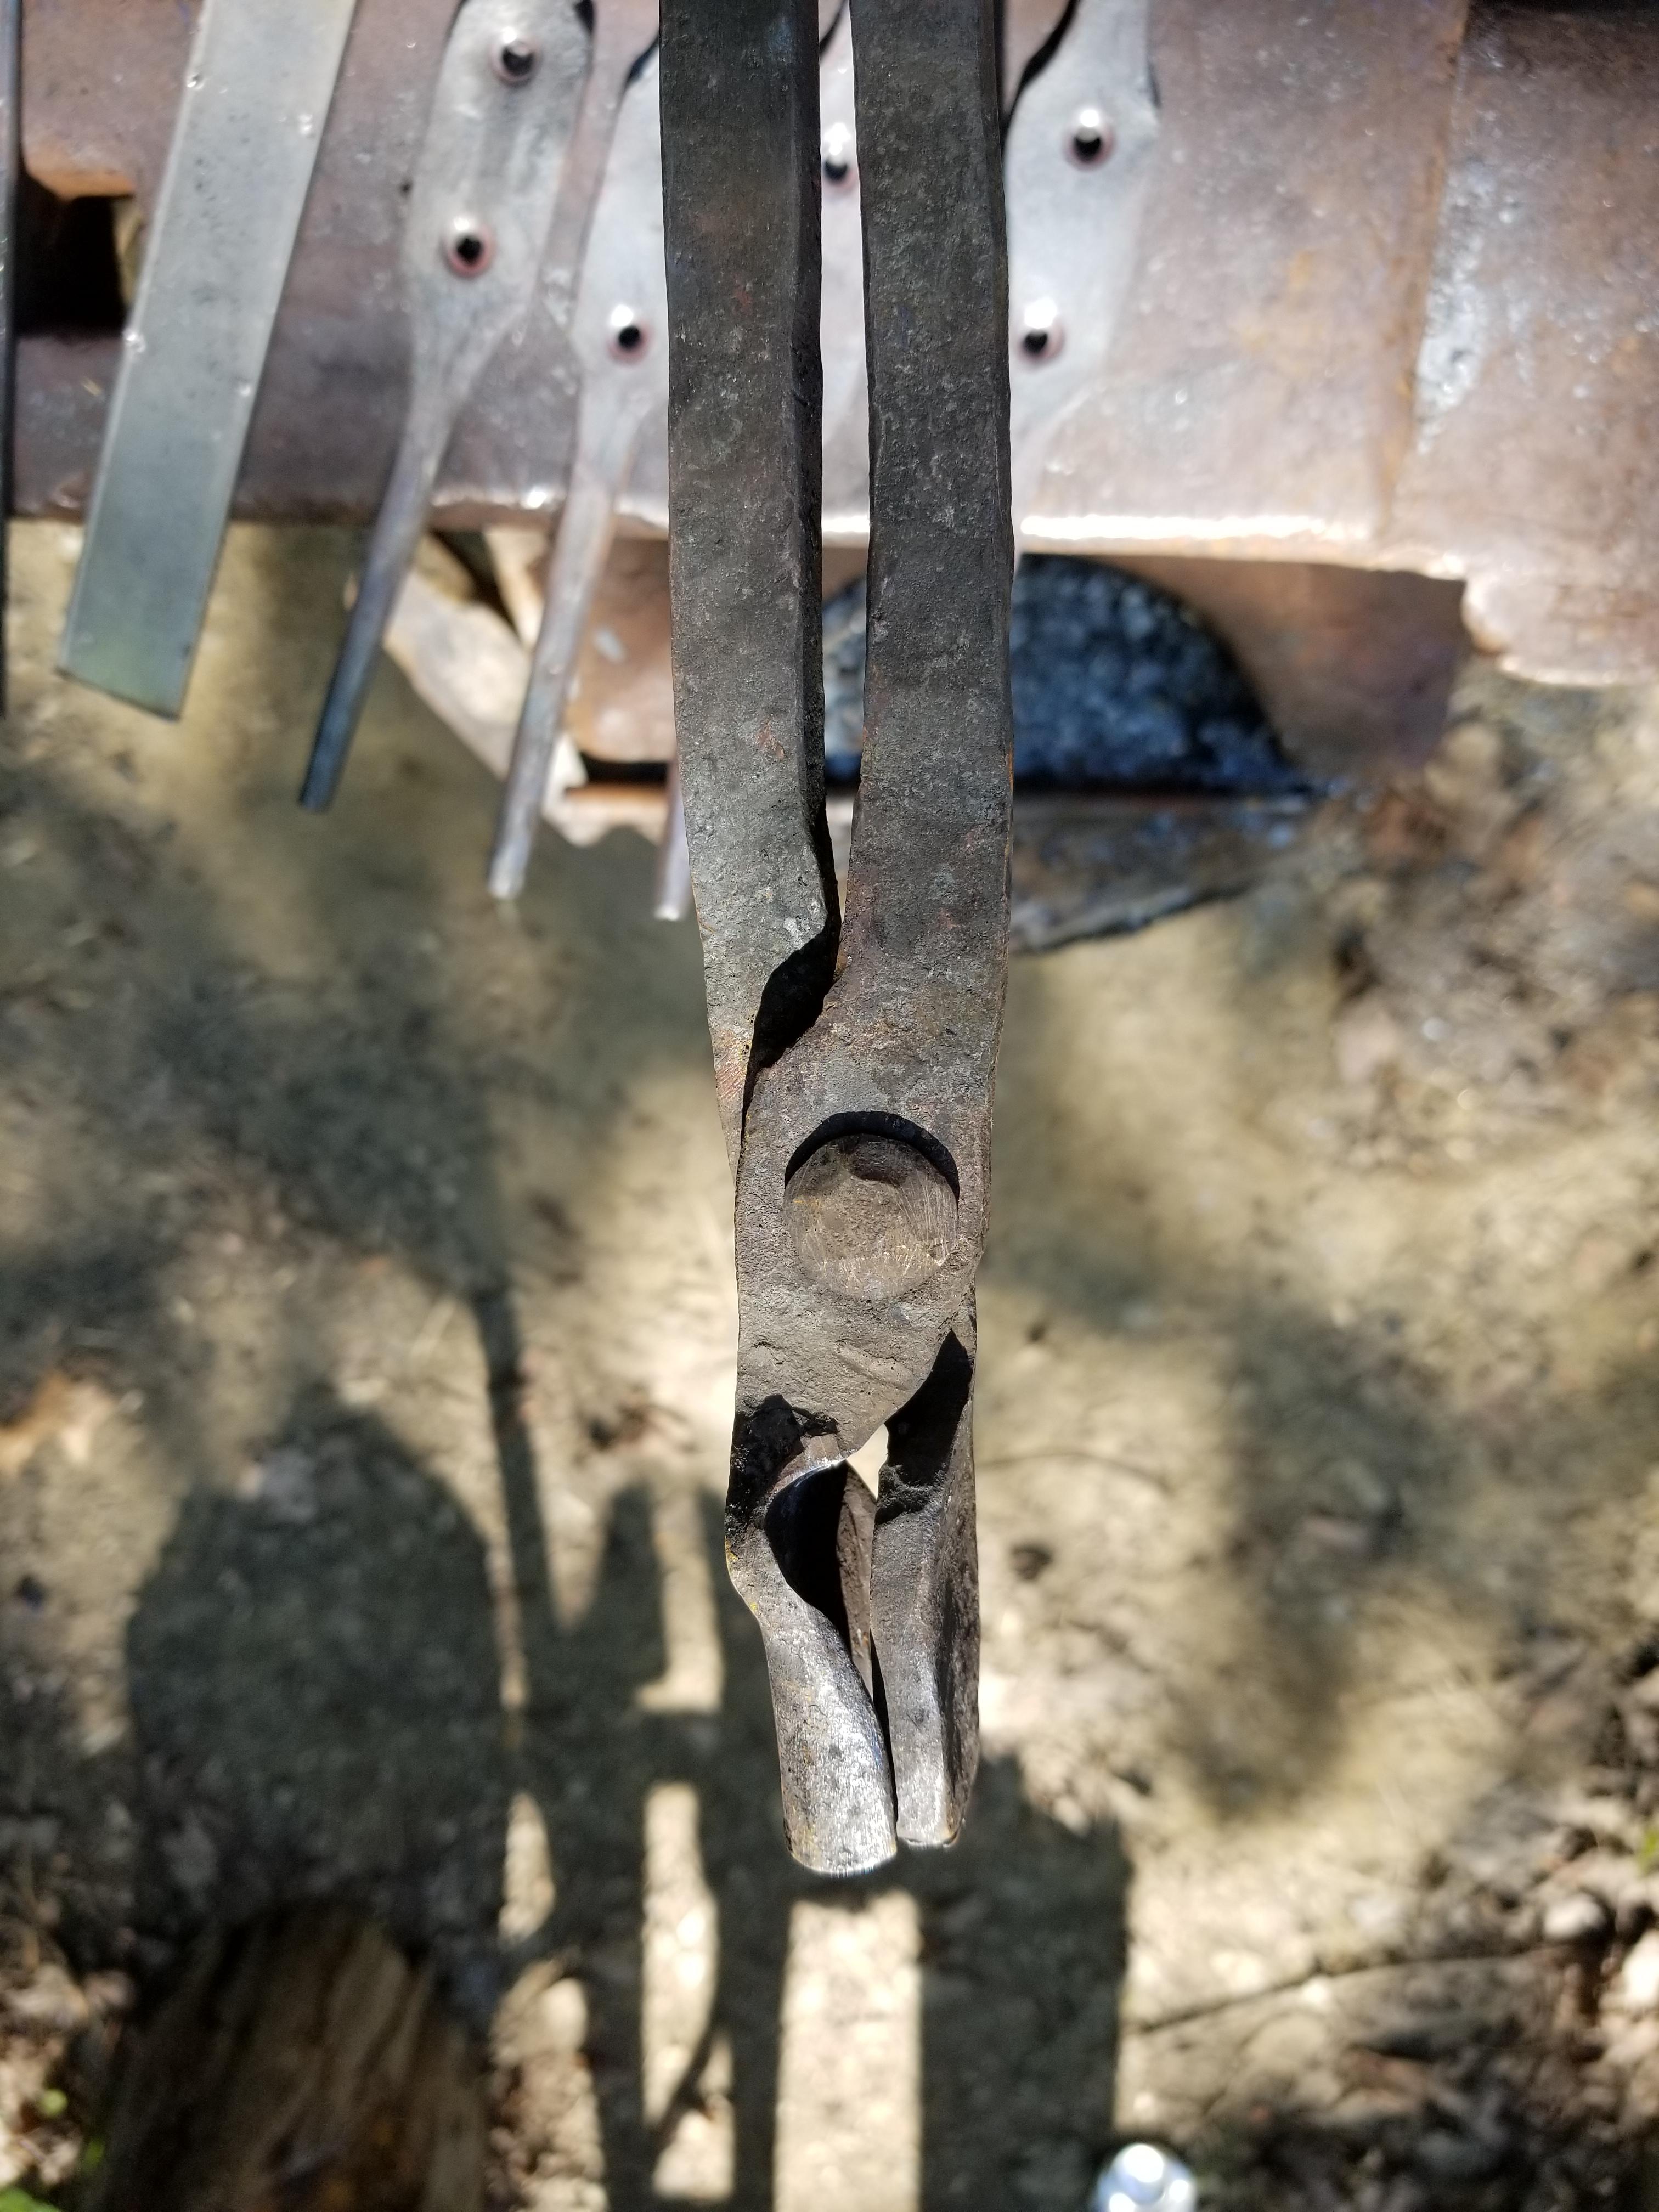
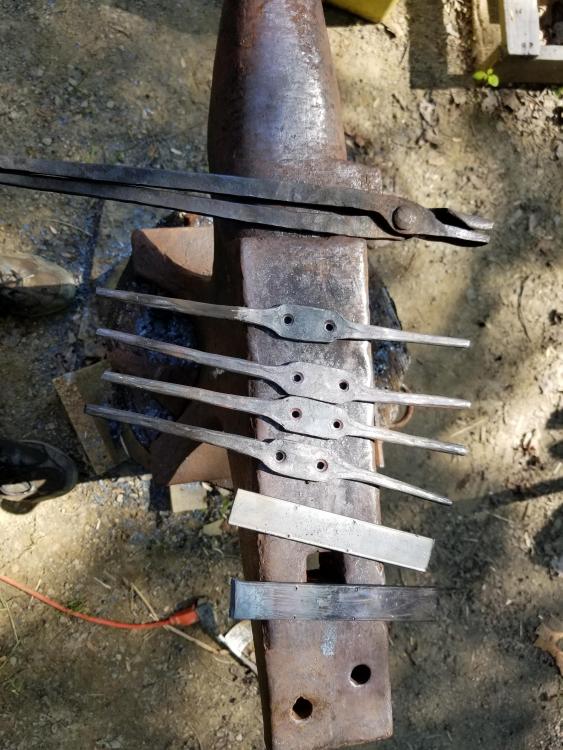
So after a year and a half of working over 90 hours a week i finally managed to drop down to one job( only 56 hours a week now LOL) and can finally get to some long over due blacksmithing projects! But as i found out, sometimes before you can start a project you have to make the proper tooling. Now sure i could have fumbled around with my wolf jaw tongs trying to hold flat bar but lets be honest, dropping hot steel every 30 seconds really isnt much fun so i bit the bullet and decided to take on something that i have always struggles with. TONGS! Box jaw tongs at that Now seeing how i have only made 1 set of tongs that actually worked i figured this project would end up in the same place as all my other attempts at making tongs, the scrap bin. But i figured why not give it ago and out popped the old coil springs from my truck and away i went. id like to say these actually turned out fairly decent since they didnt break and the work pretty darn good. i could stand to do some more refining on the jaws tho. BTW that isnt a crack in the flat jaw of the tongs its just where i hot cut it and never cleaned it up with the file. The flat bar is being turned into hooks for a coat rack/shelf im building as a Christmas gift for my aunt


-
honestly, with the work it would take to repair it you would probably be better off using it as a reference and make a new tool. you can always find a way to re purpose that piece later on down the road
-
unfortunately i dont have any more photos atm but all i did was cut off just past the melted part and forge weld what was left (along with some more WI) back together and drew it back out. since i was trying to weld asymmetrically instead of doing the "butterfly method" as i like to call it, this was easier to fix vs if i would have burned an entire half of the hawk
-
i tried rotating it but it just kept uploading it in that direction lol