

Don Shears
-
Posts
122 -
Joined
-
Last visited
Content Type
Profiles
Forums
Articles
Gallery
Downloads
Events
Posts posted by Don Shears
-
-
Arkie;
Thank you.
Now seeing the pics you've loaded, and going back to Frosty's description, things have gone 'CLICK'.
")
The use of angle iron now also makes sense; not everyone has access to heavy bar stock and a power or band saw (nor the desire and/or arm endurance for a long hacksaw cut.)
Regarding aircraft and airfields, when I lived in Winnipeg Manitoba during the early 1980's, the Minnesota and North Dakota Air National Guard would bring F-4F's (or G's IIRC) and F-106's to the City's Airport for exercises. When doing full afterburner take offs from the south end of the main runway the 106's were LOUD!!!, but the F-4's made indoor conversation impossible, even with windows and doors closed. At that time I lived a little over a half mile from the south end of the main runway.
-
On 1/28/2023 at 7:27 PM, Frosty said:
Do you have a piece of angle iron say 1/4" x 1 1/2" x 1 1/2" a 6" or so long? If you cut one side flange off for about 6" and separate it from the rest with a 90* cut. This will fit between your vise jaws and you can put your bar for your project Oh say an elephant head between the vise jaw and the cut down angle iron and clamp it tight in the vise.
After you do your basic preform forging on a head you can clamp the stock between this tool and vise jaw with the head laying on the angle iron above the vise. This provides more than enough support for eye and nostril punching, lip and tooth chiseling, etc.
Frosty, Shana;
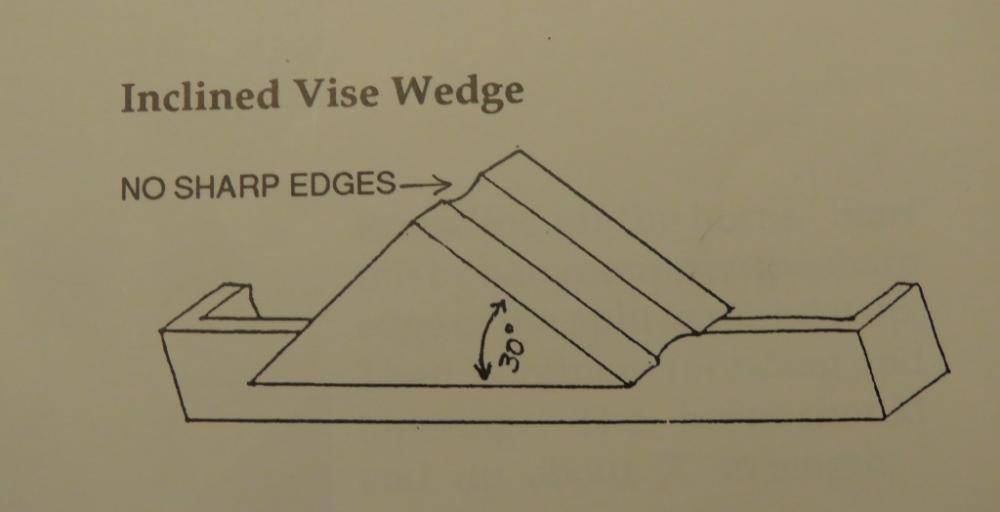
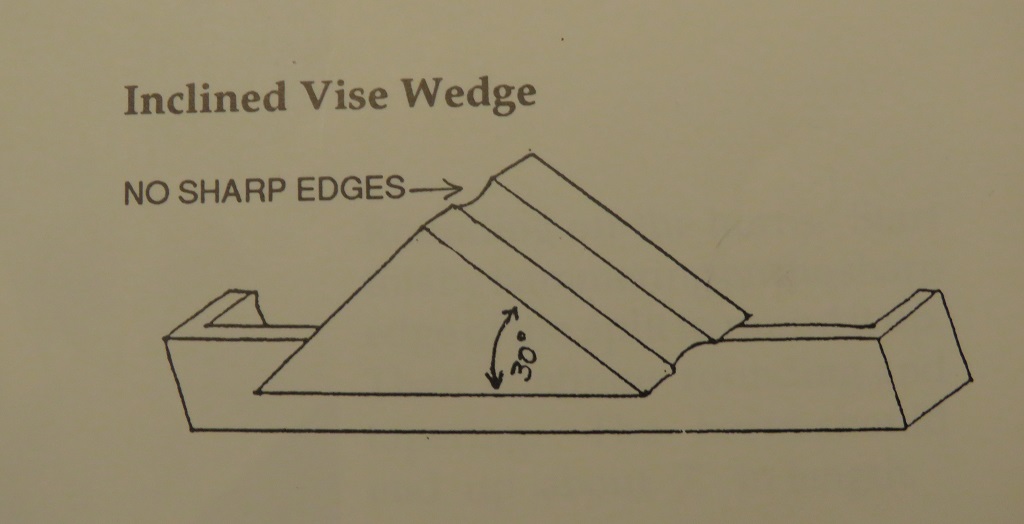
I just couldn't visualize Frosty's description of the vice tool. In the IRON MENAGERIE by the Guild of Metalsmiths, the introduction has various tools illustrated including a vice clamp/support. I'm hoping this is what Frosty's referring to.
Don
-
Simian;
there's an Austrailian You-Tuber, Niel Pask (channel is "Pask makes") who's posted a video of himself making an interestingly designed quick change tooling jig for one of his fly presses. I liked his presentation style and the design of the jig he built.
Cheers'
Don Shears
-
Purple Bullet;
thank-you.
Frosty - check out the movie "Men With Brooms." As for myself I learned to curl in Grade 7 gym class, back when straw brooms were used. Never played in a league, but at Unit/Sqn sports days would surprise co-workers by using a straw broom (if I could find one) and making it 'slap' when I swept for a stone.
Cheers.
-
Thom and others;
thanks for the updates on Thomas.
Would someone be kind enough to private message me a mailing address for Thomas. I'd like to send a small parcel.
Don
-
My prayers and best wishes for Thomas and family.
It was Alex Ivey's post on Anvilfire that alerted me of this.
Thank-you to Thom and others for keeping us informed.
Thom, again my thanks to you, and please pass on my thanks to the other Minions who've been helping Thomas, Jo Ann, and their family at this time.
-
Thomas;
my condolences.
Don
-
Dax;
the hole under the heel (most certainly with others under the horn and on the bottom) are for the porter bar(s) show that your anvil was forged, very high probability (99%+) the body is wrought iron with a tool steel face. I can see what appears to be the weld line in the first picture, with the steel face being a little less than 1/2 the heel thickness. The stamped weight marks also are considered a strong indicator of a forged anvil.
The feet don't have the flat ledge that usually appear on Peter Wrights. The double pritchel holes are unusual, could either be a custom order, small pattern run or a modification by a previous owner. The angle of your first picture makes it awkward to see the profile, but I'm leaning towards the possibility of it being a Wilkinson. Compare with the profile shown in this tread and decide for yourself: Wilkinson Anvil's? - Anvil Reviews by brand - I Forge Iron
The stamped letters 'IS' or 'LS' pretty much stump me. There were dozens of anvil manufacturers who came into and went out of business from the mid 1800's to the 1930's.
I suggest you try shining a light across (or along) both sides at a shallow angle to see if there are faint traces of other stampings before trying any more aggressive methods (i.e. wire brush, wire wheels, mild acid). I'm certain there are still other tricks/techniques that may reveal more of the markings. Hopefully there are are those with more experience and knowledge then me who'll chime in.
Cheers and good luck,
Don
-
Frosty and Charles; thanks for your input. I hadn't thought of it being die forged, nor for stone working.
Don
-
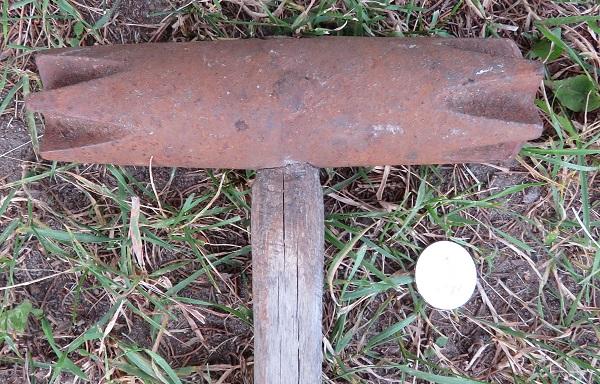
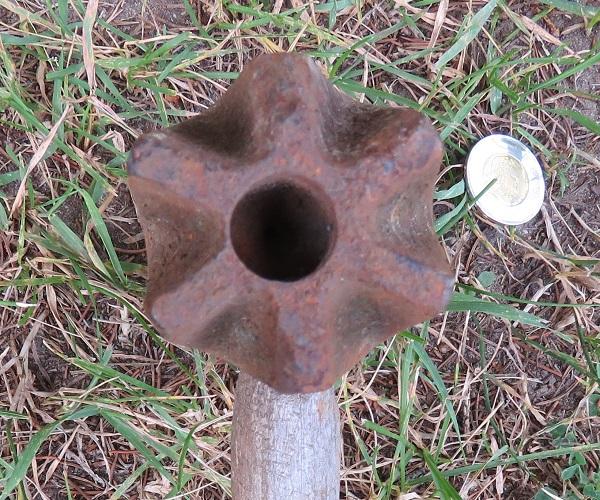
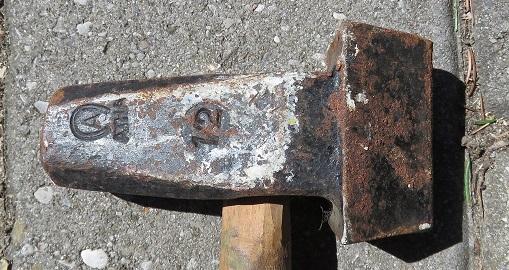
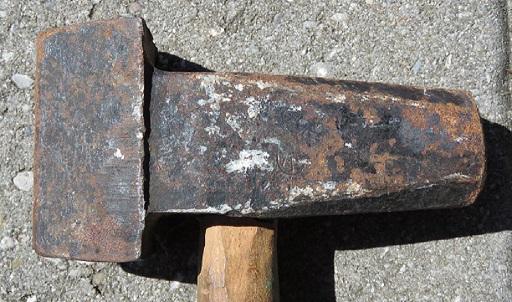
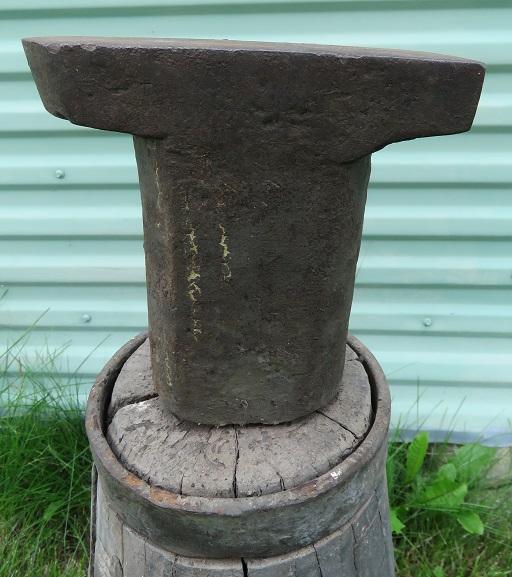
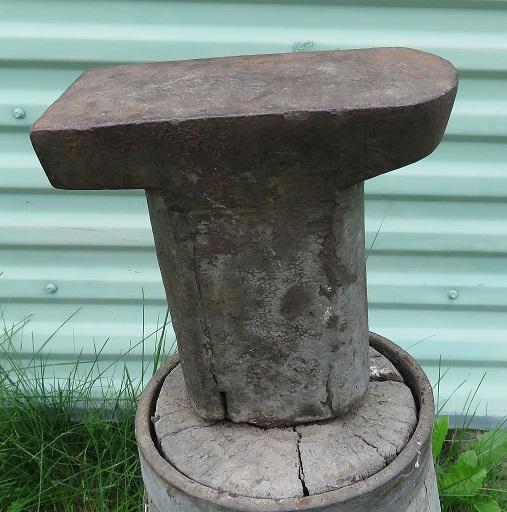
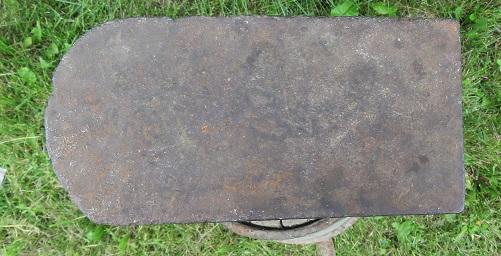
Came across this tool at an antique shop. Like several other pieces it seems to be from the "I don't know what it is/does, so I'll put it in the blacksmithing stuff."
It appears to be cast, in the first image there's a mold seam visible below the rivet or pin. The wood handle goes all the way through and is cut flush with the top. Both ends are the same with no evidence of being struck. both ends have a not quite centered hole about 1/2 inch dia. by an inch deep. For scale there's a Canadian $2 (toonie) coin with a 28 mm dia. in both images.
I suspect it was for use with some sort of short lived piece of farm equipment.
-
Work from yesterday, I volunteer at a local historical site/conservation area.
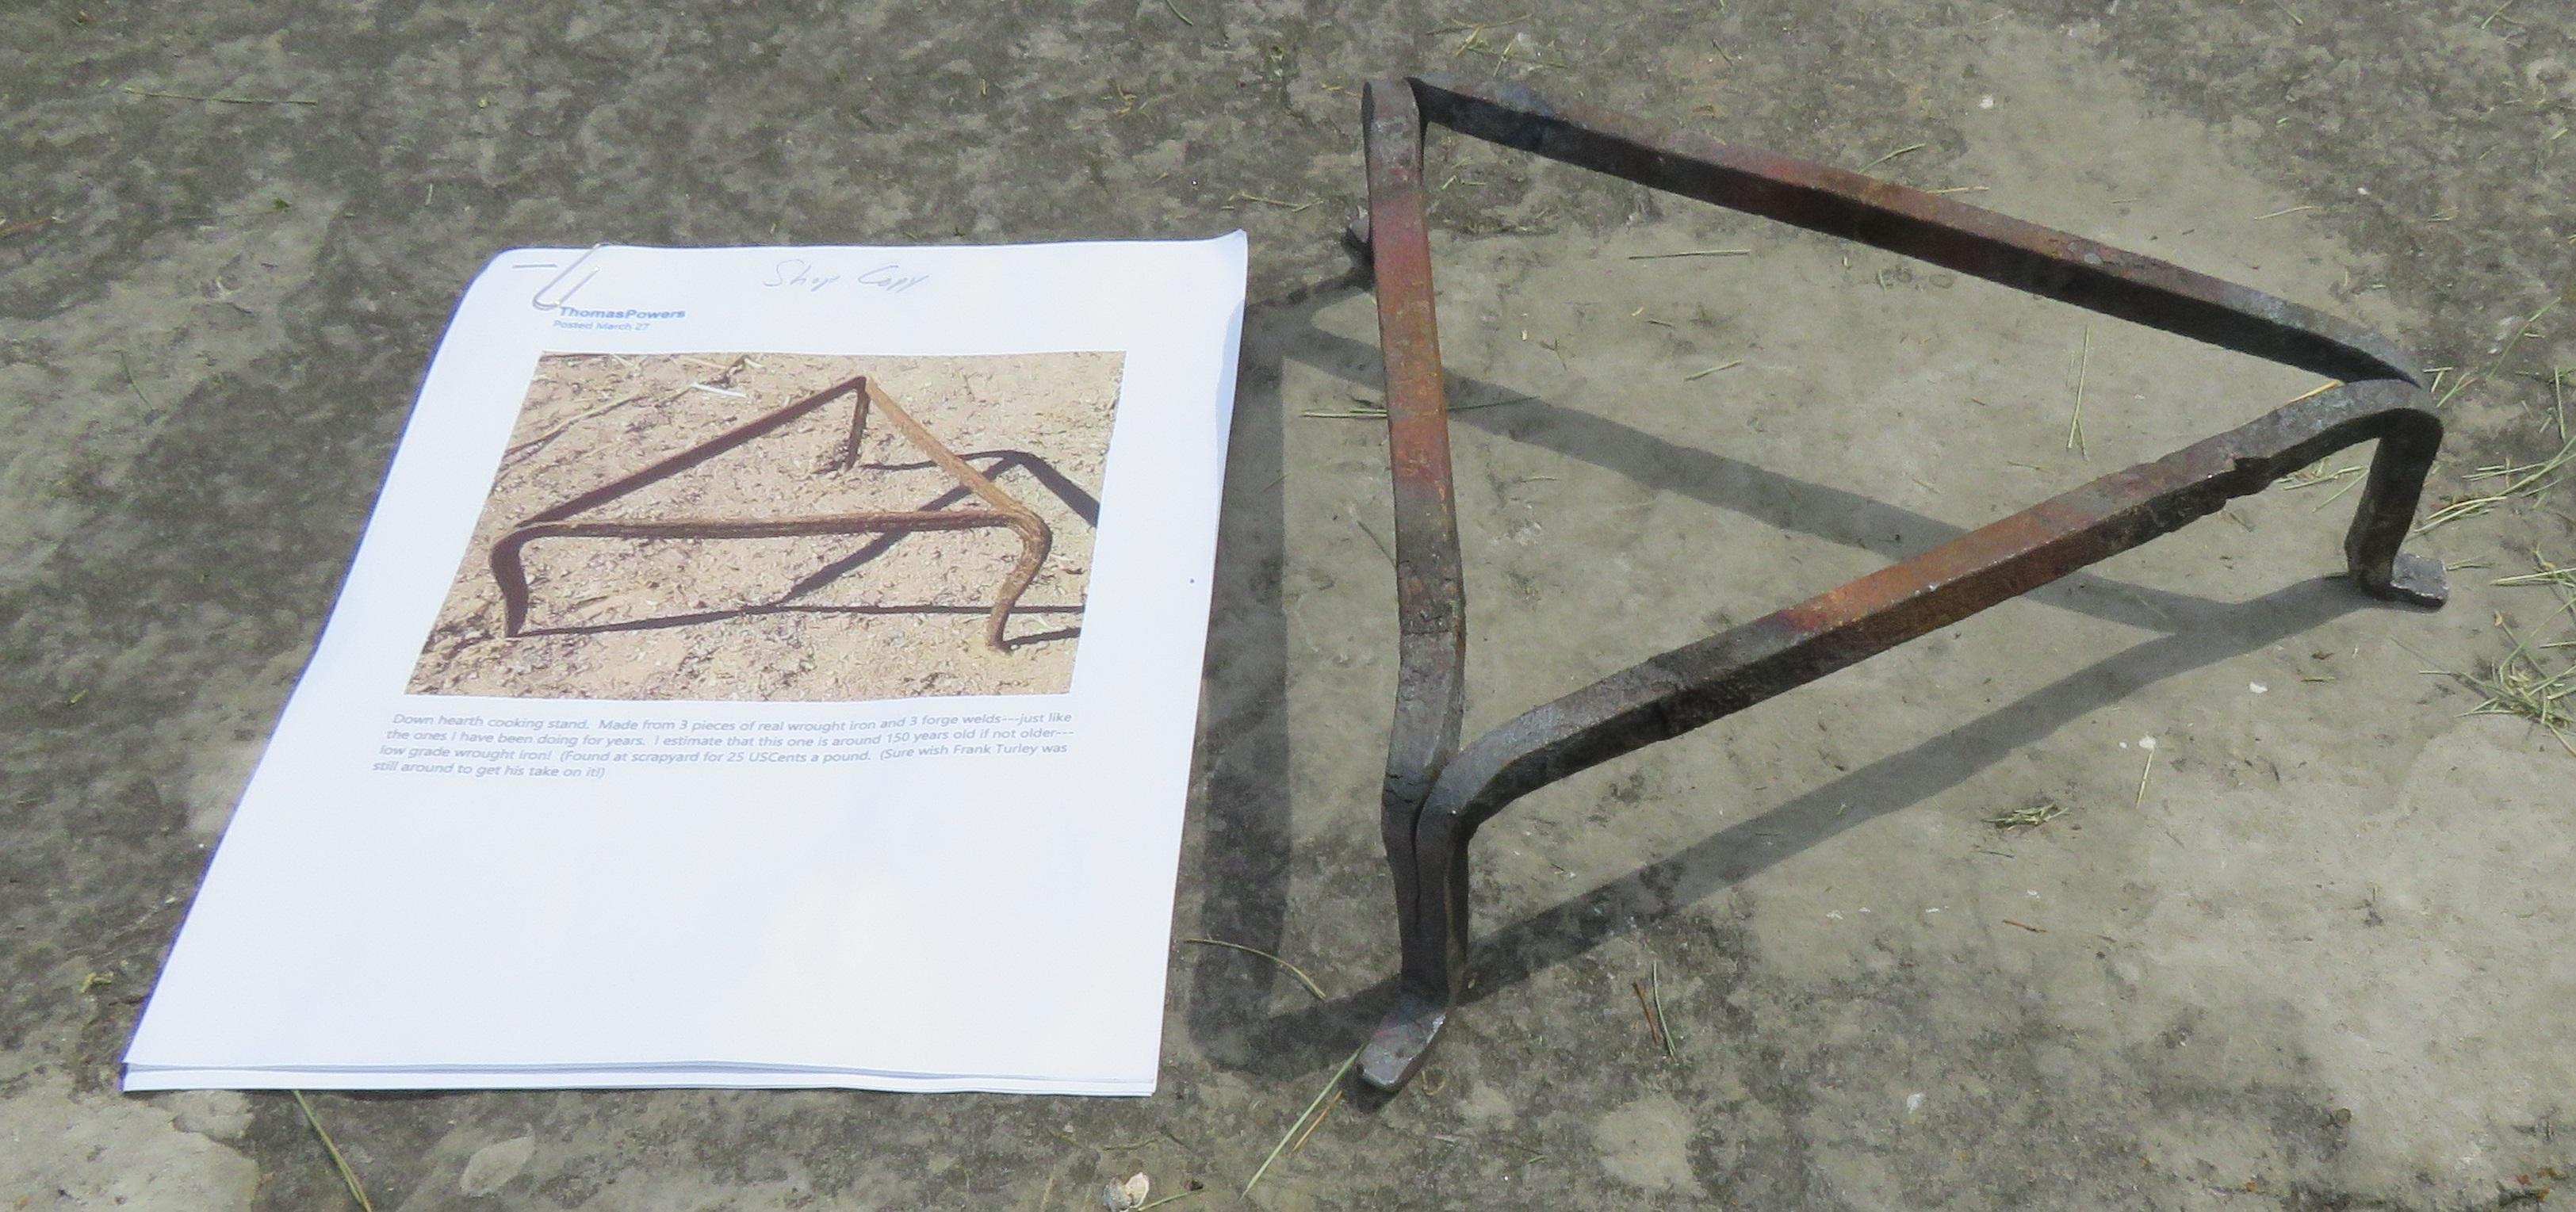
A couple of years ago I was asked to make a trivet for open hearth cooking. I couldn't quite come up with a pattern that my skills were capable of until lately. When Thomas posted his find at a scrapyard, I took a guess on its' size and used that as a starting point.
I used 1/2 inch square wrought iron by 14 inch lengths salvaged from a diamond harrow. The WIP image shows how I set up for my second weld. I lashed the third piece in place with safety wire. That gave me less to worry about than a dropped tongs weld. The finished picture shows the trivet sitting next to a printout (8 1/2 by 11 sheet) of Thomas' 27 March post.
I didn't realize until I'd finished that there's a boot heel print (by the lower left leg) in the image Thomas provided that now provides a better idea of the size of his found trivet.

-
Hello;
went to a Ham Radio swap-meet yesterday in Smith Falls, Ontario (brought home a bunch of vacuum tubes and a set of electronics alignment tools).
On the way home stopped by whim at an antique (junque) shop. I ended up buying the only BS tool I could find in the place! An unused ATHA 1/2 Fuller for CDN$15. Also, it's been stamped with the Canadian Military Broad Arrow.
Don

-
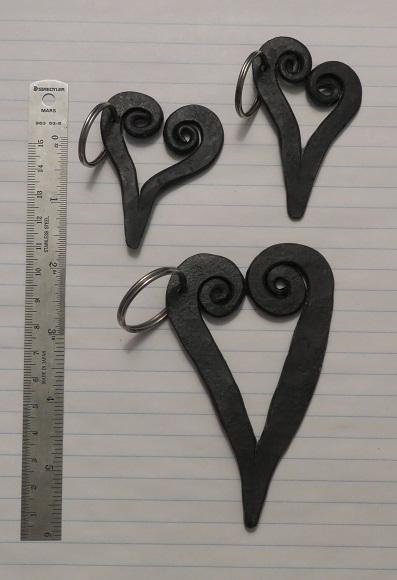
Just some light work in the shop to keep in practice, along with making a new wedge for my portable leg vise (my apologies - no pic of that).
Made three heart key fobs, two from 1/4" round by 5" long and the large one as an experiment from 5/16" round by 6" long.
The large one is too big to be a manageable key fob. My spouse has suggested using it as either as a wall ornament or a Christmas decoration.
Cheers,
Don
-
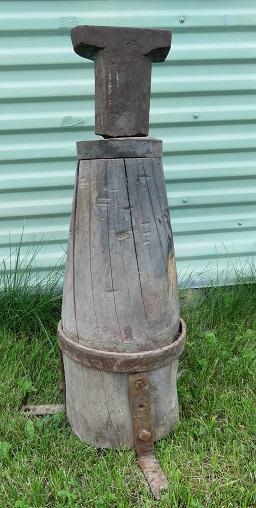
Two weeks ago I noticed what was called a 'Cobbler's Anvil' at a local Auction Hall's on-line event. The one picture for the listing had a neutral background and didn't have anything to indicate size. On a whim I put in a bid of $20 CDN. I was e-mailed last Tuesday that I'd won at $18 total cost. I haven't weighted it yet, so could still be running 4 to 5 dollars/lb.
On pick-up, I found it to be a fabricated anvil, Top plate's an inch thick, 6" long by 3 " wide. Height of 6" from face to the base with a spike going into the wood stand. Face to bottom of stand 27". The stand even has brackets to secure it to a solid floor (wood or cement, no gravel). The welds are failing on the right side, Ill have to get my son to redo them.
It's relatively small compared to my other anvils, but should be useful for small work.
-
On 7/13/2021 at 5:38 AM, Jobtiel1 said:
I tried to make the fire deeper with firebricks, but way the forge is build, I've been unable to do this well enough to heat hammer stock. The forge has an cast iron piece that houses the clinker breaker, and that sits up about 2 cm from the bed of the forge. With the fire bricks to make it deeper there is still not enough depth to make a bigger fire.
Jobtiel1 - I originally used brick to build a deeper fire, then I nearly set my car on fire. My rivet forge has a stamped pan which made it easier to install a sheet metal ring (see pictures). The ring is made from a scrapyard buy of some stainless steel sheet (about 28 AWG/0.7mm). I cut two pieces 6.5 inches/~160mm wide by 20 inches/~500mm long to make a ring about 12 inches/300mm in diameter. Note that I folded over about a 1/4 inch/~6.5mm of the top edge for safety reasons.
The ring is held in place with some 'L' brackets made with smaller pieces of the sheet. I used a small hand punch to make all holes in the sheet and used existing holes in the pan for securing the ring in place.
I've had continuous issues trying to insert/attach images to this post, hopefully the links to images in the Gallery work.
https://www.iforgeiron.com/gallery/image/40886-portable-forge-pan-1/
https://www.iforgeiron.com/gallery/image/40887-portable-forge-pan-2/
-
That's a good deal for both of you. You didn't have to buy it and they didn't pay for someone to haul it away.
Do be glad they're not a fish and chips place (raccoons will come from miles away) -

Don
-
Coming in late on this thread; I've noticed no mention of hearing protection (a high possibility I missed it.)
Anyways, with my three (now not so young) children I made the point that PPE was to be worn for work in the shop and with power equipment (including when mowing the lawn.) For hearing protection they had the choice to use what they found comfortable, all three chose ear muff style (vice in-ear foam plugs, or the band types.)
So give them the no exceptions rule on the PPE, but the choice of which type so long as it meets (your) requirements.
-
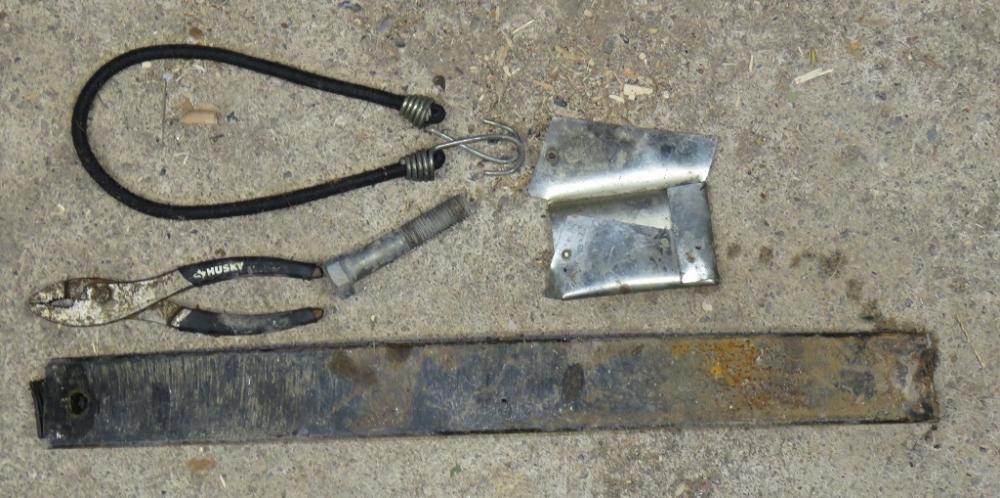
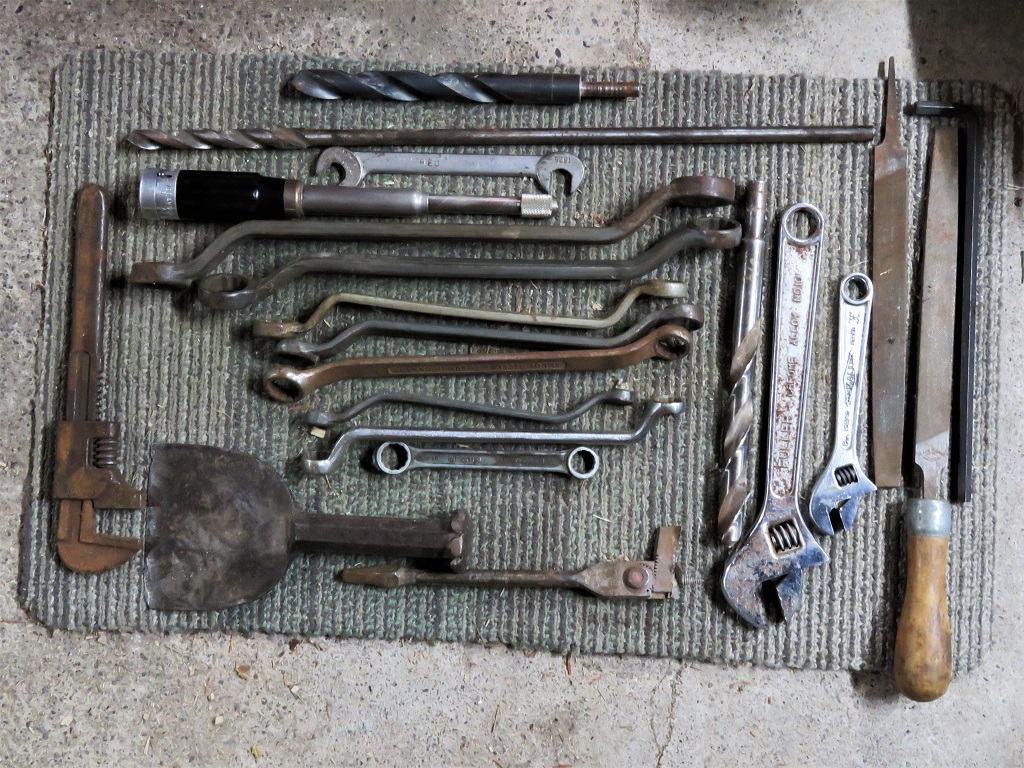
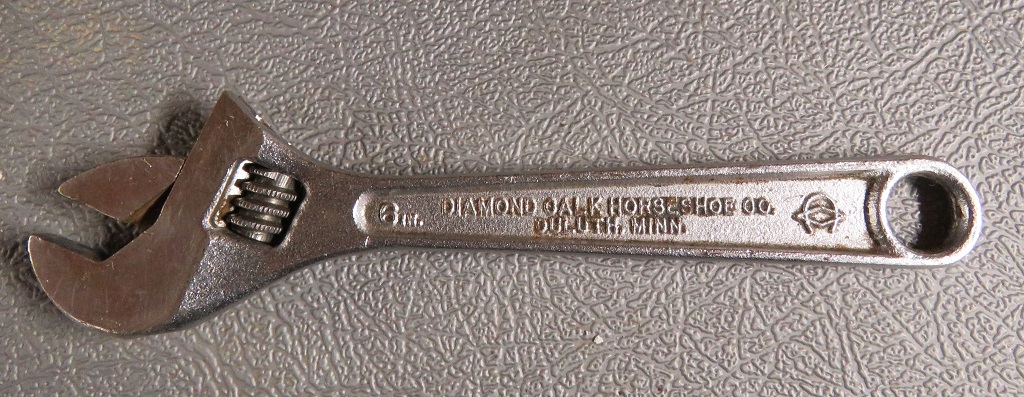
These followed me home in the last 10 days:
BS Road kill picked up just past a railway crossing - broken leaf spring is 5/16" by 2" stock still with factory paint.
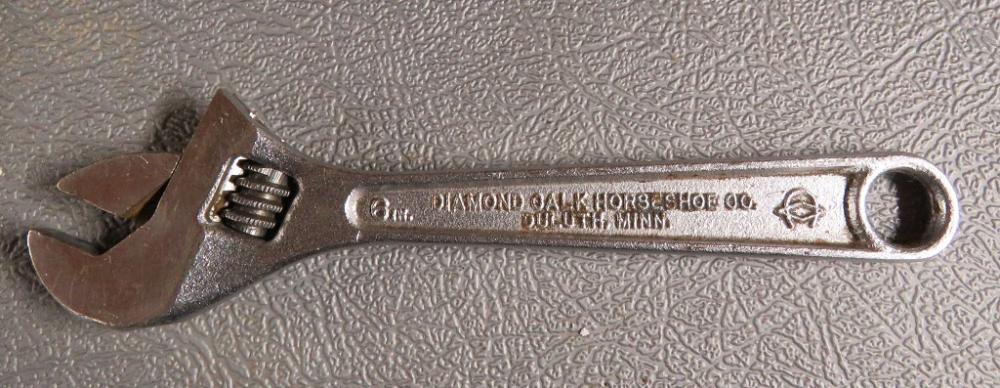
Various tools from the local Restore $2 each. As a curiosity the 6" adjustable wrench was made for a farrier supply business.
Not shown, the $5 handled cold chisel, hand forged with ~2" wide cutting edge. Nor some the metal pieces from some horse drawn farm equipment I've been given permission to salvage.

-
On 10/5/2020 at 5:07 PM, JHCC said:
I remember seeing a historical film about a group of First Nations people in Canada making a canoe. One thing that stuck out was that they put all their gathered pitch in a burlap bag and put that in a pot of boiling water. When the pitch melted, it flowed through the bag and left all the bark residue behind.
JHCC - check the National Film Board of Canada website, search for canoe - one film that comes up is "Cesar's Bark Canoe." Could that be the one you saw?
Don
-
Neil;
I usually tell folks 'Blacksmiths measure with a micrometer, mark with chalk, cut with a chainsaw, and hammer to fit.'
Don
-
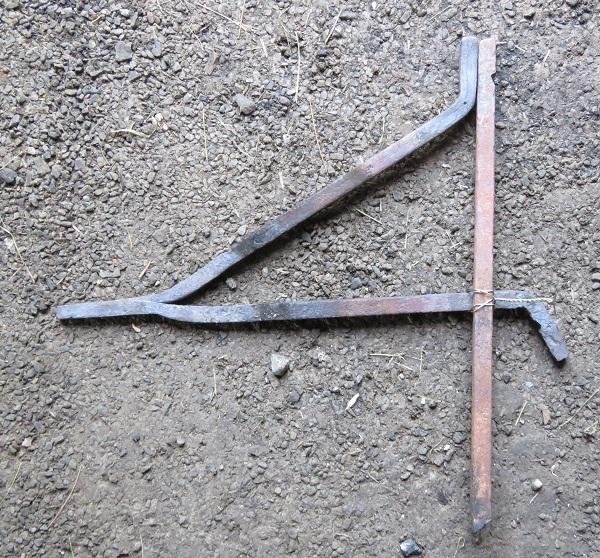
My best guess is an adjustable width hold-down for a carpenters bench.
Cheers,
Don
-
Matt;
the lower stamping reads to me as Stourbridge, a town in Black County, west of Birmingham (and near Dudley - a major center of anvil production in the UK.)
I've done some internet searching and found a listing for an Eveson & Son's anvil on 'Worthpoint' (an antique price tracking site, possibly for ebay?) Anyways with what I can gleam from your pictures, the info on that site meshes with the manufacturer and location.
Cheers,
Don
-
To answer "anyone got a Dudley anvil??";
I've got two anvils from Dudley, an Attwood and a Wilkinson.
I personally don't have any old hooks. Here (in Ontario, Canada) the farmers and loggers would likely have repurposed those broken or damaged hooks, or tossed them into the
scrapresource pile. -
TJD;
all the advice above is sound, use PP&E including apron (or welding jacket) and keep the guard on!
Adding to the above, make sure that the disks/flap wheel, etc. you're installing has a maximum rpm that meets or better yet exceeds that of the angle grinder.
I only have two angle grinders, so disks/wheels change as as tasks require. As a personal habit anytime when a new or partly used disk or wire wheel is (re)installed, with PP&E on, I turn on the AG and let it run without load for at least 30 seconds. If it's not properly installed, or there is a hidden flaw or crack in the disk or wheel it usually shows up as heavy vibration or dramatic failure (Note - keep by-standers at a distance.) I also follow this rule any time I'm away from the grinder for a while (out of sight, coffee/meal breaks, call of nature) or the AG having been in storage/transit for a period of time.
Treated with respect, angle grinders are a great and versatile tool to have in one's kit.

What did you do in the shop today?
in Blacksmithing, General Discussion
Posted · Edited by Don Shears
Spelling error
Super Sucker Side Draft Plans
M3F, bluerooster;
across the street at the anvilfire site you can find a nice plan/example. Scroll down the main page while looking for 'The Master's Plan File'. Select that and then you'll find a plan listed. I used that and some of Jock Dempsey's notes for designing and constructing mine.
Cheers,
Don