
brianbrazealblacksmith
-
Posts
1,683 -
Joined
-
Last visited
Content Type
Profiles
Forums
Articles
Gallery
Downloads
Events
Posts posted by brianbrazealblacksmith
-
-
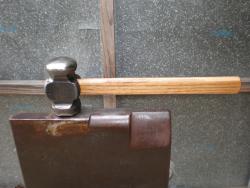
I have made some out of 3/8" coil spring, but I usually start with larger. This last picture started with 3/4", but the largest area left for the boss is about 9/16".
-
Good to hear Frosty. I really enjoyed that time in Alaska and I know Lyle did too.
Daswulf, letter openers are definitely marketable. I used to make them regularly. Like Billy said, the holidays are coming up soon.
-
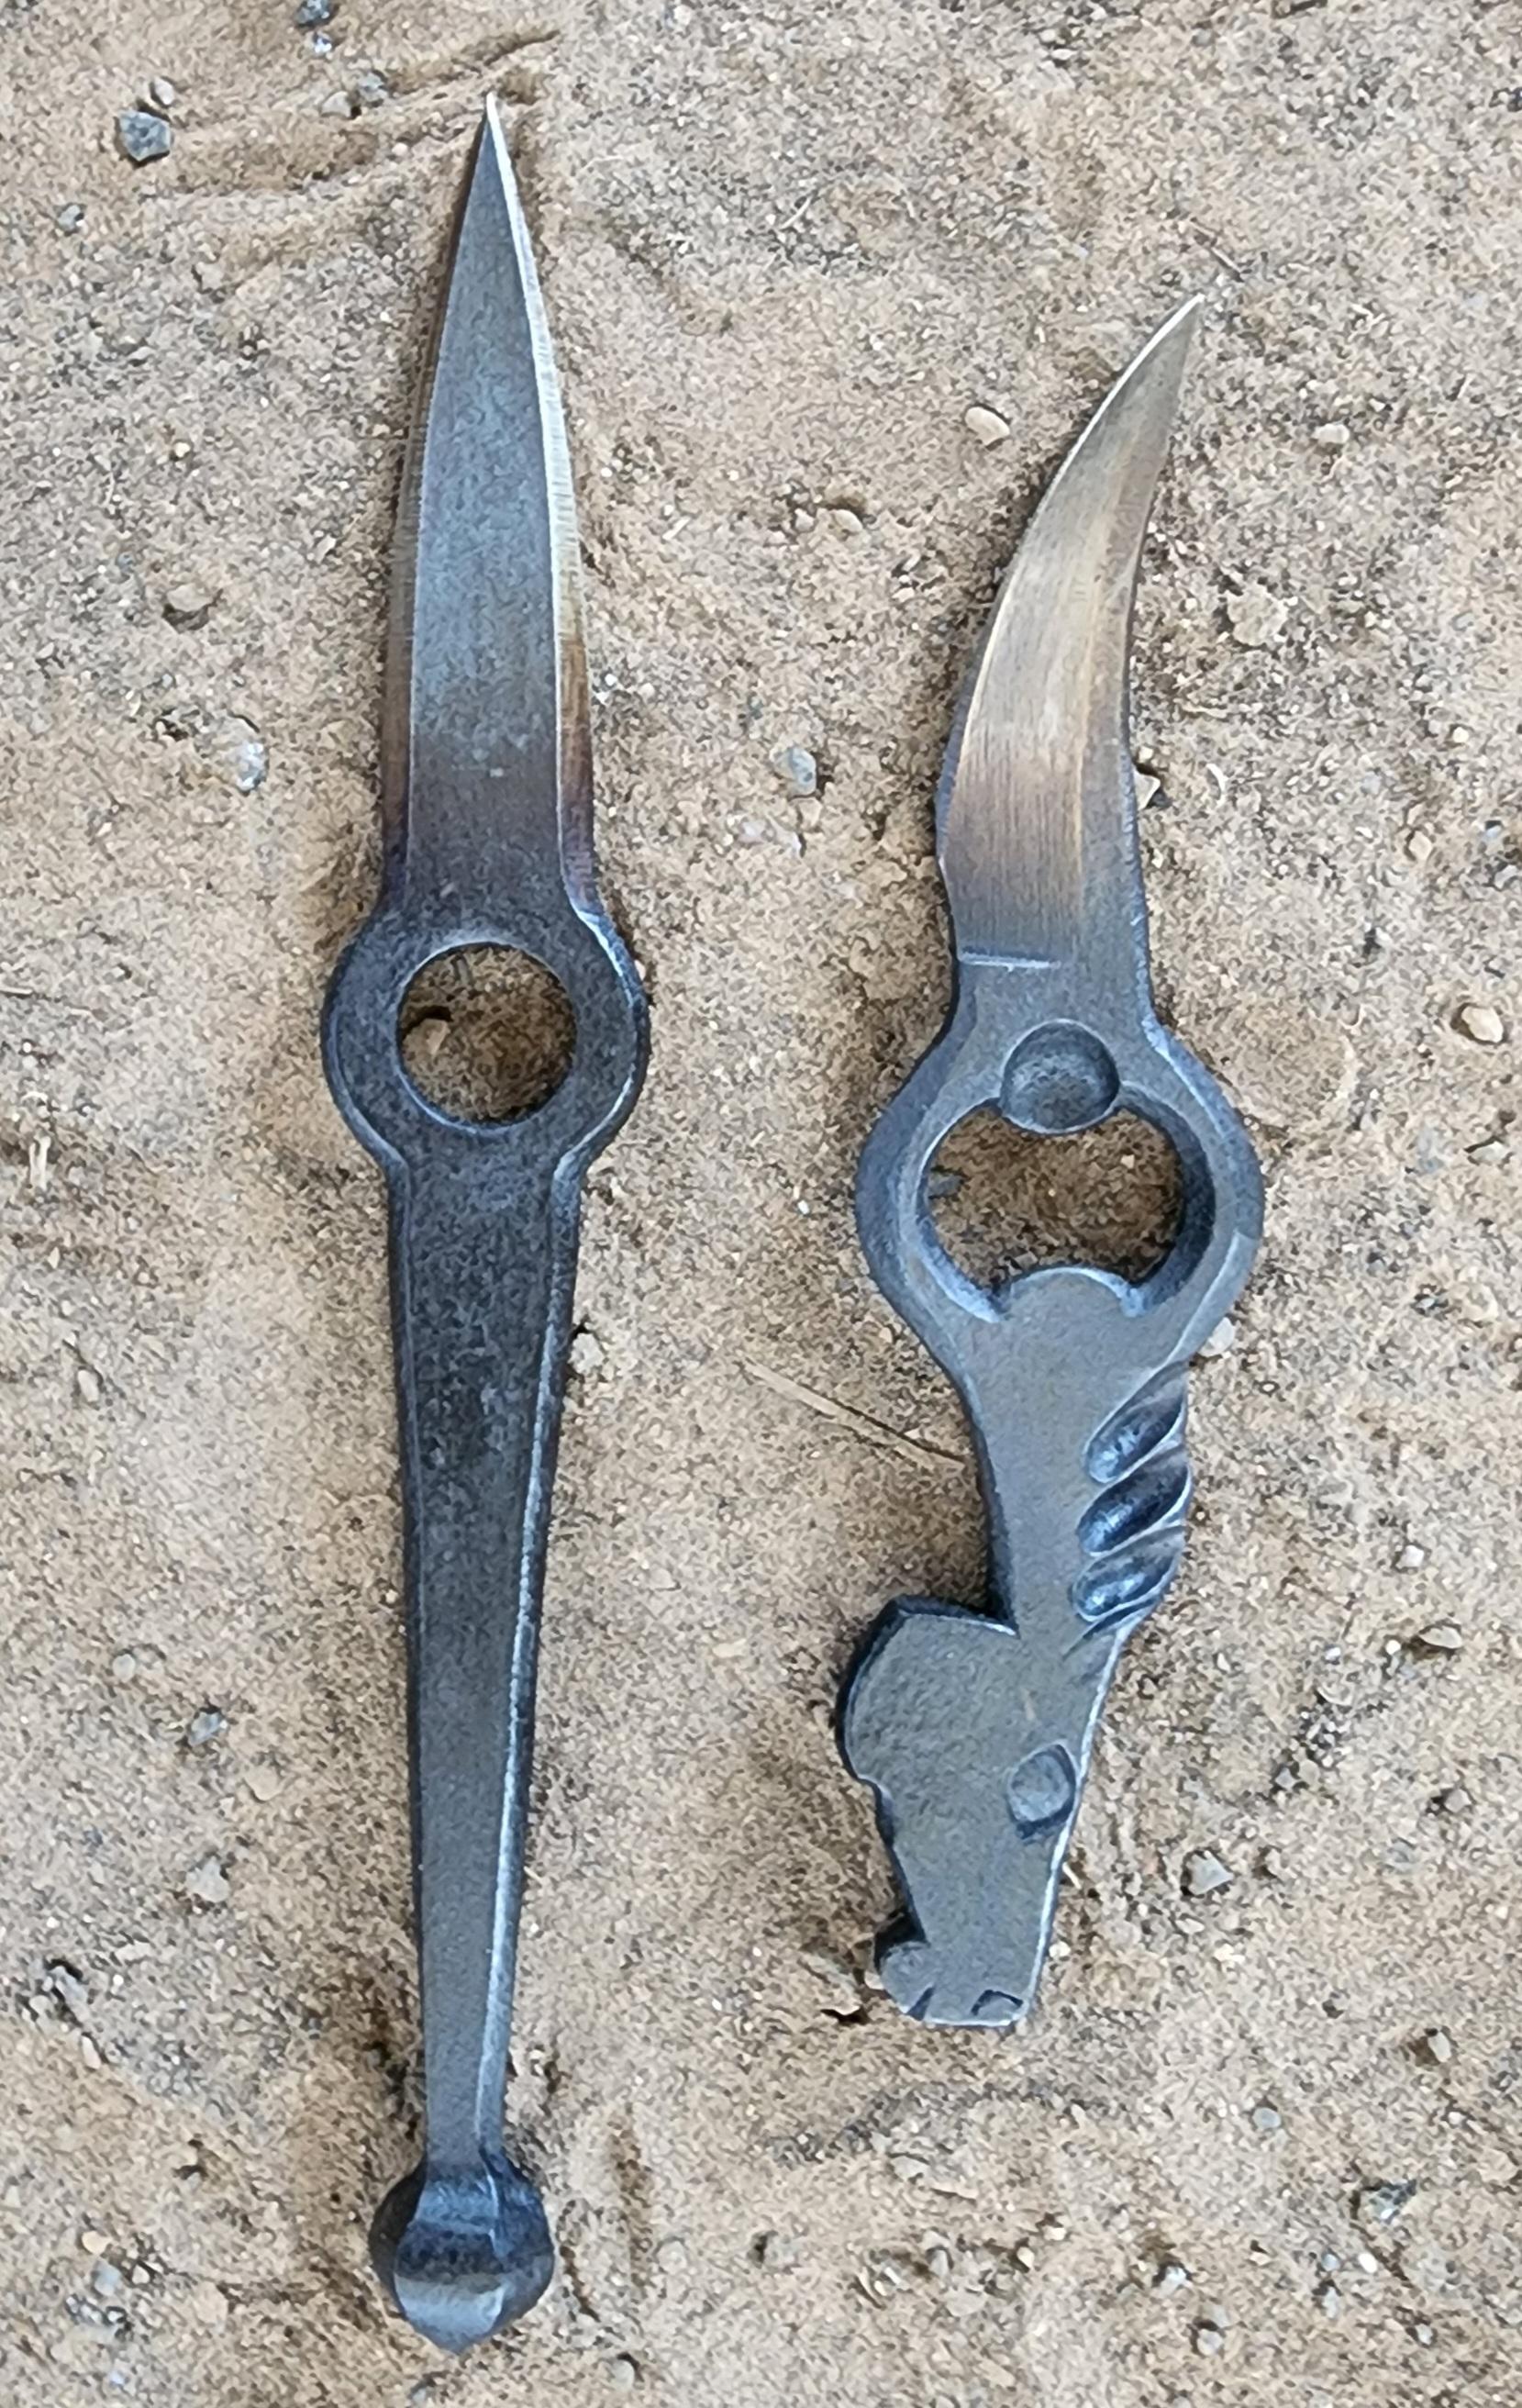
They were both made from 5/8" coil spring.
-
Yes, those are drawn out corners. They add strength and enable you to establish your inside and outside lines, angles, and corners. It helps immensely when matching up both halves.
-
-
Thanks Frosty, I just posted a picture on another thread, but I am not sure exactly how I did it. It was out of my photos. I will make something new and try it with a new photo.
-
-
I will make one today, and try and figure out how to post pictures on this sight again.

-
Pine tar really does work better than all of those for sore and dry hands.
-
Howdy neighbor, I just signed back in and saw this. Sounds like a good idea.
-
I could show you how to do that even thou I have not done that exact piece. I don't know how to post this on this site, but if you come by my shop at a time that I could show you , I'd welcome the opportunity to show you how I would approach it.
-
I know what you mean about the chicken or the egg!
The shorter drift with the punch end is the egg.
The complete set of tools is the chicken.
I've only had to make the egg first when I fly somewhere and don't take my hammer making tools, so I'll make a hammer eye punch with the short drift with the punch on the end to punch a hole then grind the punch off then use it as a drift.
The other drifts I have are longer, but they are not quite as you described. I don't usually take measurements so let's see of I can explain this. I like pill shaped eyes for my hammers and top tools because I like my handles shaped the same way. The handles I like parallel, but the eyes are tapered. The drift is tapered. It is a subtle taper. Say you make a drift out of 1 inch round stock. You will want to use some of the original 1" to make the largest eye you can get from that stock when you forge it oval, so you would taper from your original stock and then forge your desired pill shape from the base material to the end of your taper to have the same proportion of pill shape all the way down. If you were to slice it, every piece would look the same. They'd just be different sizes. On the very far end, though, you forge it thinner so that it will enter into the smallest cross section of the hole that you punched. -
That's a lot of questions.
The round swage should accommodate whatever size hammer you plan to forge. I have made different sizes for different size hammers, but my large one will do every hammer rounding hammer I would care to forge by hand and striker. I've done up to 2 1/2 inch stock, but don't recommend larger than 2 inch. My largest round swage has an inside diameter of about 2 3/4 inches.
The top and bottom fullers for dividing the cheeks from the faces and drawing out the cheeks vary to whatever you like or choose, and the hump tools need to match. I usually suggest the 1 1/2 inch as a nice medium, not too big and not too small. I use thinner fullers now than the old one you have in the picture, because they move the metal easier. I still use the same radius though. They also need to fit in between the cheek area, not too long and not too short. I usually forge the top fuller out of 1 1/2 round 4140 3 1/2 inches long, and the bottom fuller out of an appropriate size to head in the 1 inch hardy hole of my striking anvil, so that would be at least 1 1/4 inch round stock.
Nice sketch! For that drawing make your fullers and hump tools no wider than 16 mm and about 50 mm long. The humps can be longer because they are just for support as you drive your drift.
The finished hammer length and width will depend on how much you upset as you forge the faces and then how much you forge the trough lines. It shortens and thickens when you forge the faces, and elongates when you forge the troughs. I prefer shorter hammers because I tilt my hammer a lot to forge, but some like longer hammers. You can make them how you choose.
I've never measured the tongs, but the ones you have drawn will work. When done correctly, they will hold the smallest tool and the largest hammer comfortably as forged. I even use them to pick up the blocks of steel I use to make the striking anvils some times. The inside angle is 90 degrees by the way and I get that with my near and far edges of my anvil. -
Thanks for posting this, Bruno C.!
-
Thanks for posting this, Bruno C.!
-
I have, a few times, but we don't know how to put them on the internet.
-
You make some pretty tools, Tubbe!
We're going to be in Devon, England in August at the IBF. I hope you can show up and work with us. -
FlyingXS, I don't know how to link any info or attach photos on this site, but several of the young smiths that I have worked with would be able to help explain everything, especially Alec Steele. Forged to finish is the most efficient way to make the tools. The "rounding fuller", which is actually a swage, only takes about fifteen minutes to make, and there are some videos out there of us making that tools. The fullers for making the cheeks and trough lines can be any size you choose as long as your hump tools are the same. There are two people in Australia that have been here and done the "Tools to make tools" curriculum that I've been teaching, that have all the tools and may be able to help you out.
-
All good responses, especially Forgemaster and JNewman. The fact is forging is the most efficient way to get what you want or need to do the job and will last or hold up better than any other technology that man has ever come up with. We are in the Steel Age!. We have gone to the moon and are going to go further because of forging technology. Forging is not a lost or dying art. It is the technology that has enabled man to do what he has done, and we have continued to improve and advance because it is the best way that gives the best result. It is a good day to be a blacksmith!
-
Dan P, I stated what I stated, and I've shown both steel and clay, and I have never attacked anyone's methods or tools! You, sir are incorrect. Maybe you should read all of this over.
Now let's talk about better methods of skinning a cat. What did you all think bout all those examples? -
Thanks, Alec S!
I just reread all of this again.
The pictures say all I was trying to say. There are no ill feelings on my part, especially towards any associations like someone mentioned earlier. I do believe it is a disservice to teach people this without understanding it's limitations. Look at what a commotion a simple question started. I wasn't attacking anyone's pokers.
I think we should talk about the how's and why's of forge welding without getting defensive or offensive. -
Paul17, not a single one of those welds are the one I specifically brought up in this conversation. I know some of them have been brought up on this thread. Your photos are very nice examples of different types of forge welding.
-
Very nice tongs, Gerald!
-
Alright, ForgeMan32! You should get with trinculo, like he suggested, also? You guys can help each other out.
Josh, will do!

Any good hand creams to reccomend?
in Blacksmithing, General Discussion
Posted
Thanks Arkie, it may take me awhile to get used to this forum thing.