

Dodge
-
Posts
2,463 -
Joined
-
Last visited
Content Type
Profiles
Forums
Articles
Gallery
Downloads
Events
Posts posted by Dodge
-
-
-
To be fair, the refractory mortar I used was an industrial product; not a big-box-store home wood stove patch. Yes it is considered a mortar and I did have issues tyring to us as a cast floor (It blistered a bit) but as a ceramic wool coating, it has performed beautifully. Probably because it is also billed as a refractory patching material. It has fibers in it that haelp reduce cracking. If fact its called "GreenPatch". There is a thread specifically about it somewhere in this forum...
-
I coated ceramic wool (Inswool rather than kawool just because it was sold locally) with a refractory mortar from AP Green and only using maybe less than 3/8". Its rock hard and after 5 or 6 years I have never had to repair it due to fractures. Heats quickly but I have always wished I had made it thicker and would if i did it again
-
If you are using a standard 20# propane tank with 2" of insulation throughout, your forge chamber volume is about 794.43 cubic inches. This is base on an approximate diameter of 12.5" and a height of approximately 18 inches. 2" insulation would reduce this to 8.5 diameter x 14" chamber. Formula for volume of a cylinder is 3.14 x radius squared x height.
-
Again, what Frosty said. It would have been interesting to see a before picture. Other than crack (which can be repaired with refractory mortar) and the brown color, its hard to see what is wrong. The brown color (is this what you mean by "almost burnt?) could be from the burnt paint. Lot of could bees without more info...
-
What Frosty said.
-
Where worked, they used one to heat 1" - 1.25" plate before it was bent in a press brake, laid across the opening, it took 8 to 10(?) min to get dull red. Never explored using inside to forge with. Gas hog; yes. Two 30s? Good trade imho
-
Thought I'd toss a bone. Jig bends 5/8" cold. Uses a cheater bar that hooks the outer holes. Big disc turns on a bearing. Plan to drill more holes for more versatility. Different sized center hub would yield different results. I just bent until I got what I wanted at the time I needed it
.thumb.jpg.14bda035c60a82472c15e7163bfe99c1.jpg)
-
Jr was one of if not the first blacksmith I met when I first started blacksmithing 15 or so years ago. He lent me my first anvil which I later purchased from him. He taught me many valuable lessons in blacksmithing, welding and life in general. I regret my lack of contact with him in the last few years but he was generally not far back in my thoughts, especially when I would go into my shop or even simply think about smithing. My fondest memory was a small impromptu gathering including Steve *Ten Hammers* O'Grady, Jr and myself in Jrs shop which the shop in itself was a virtual wonderland for blacksmiths! He will indeed be missed
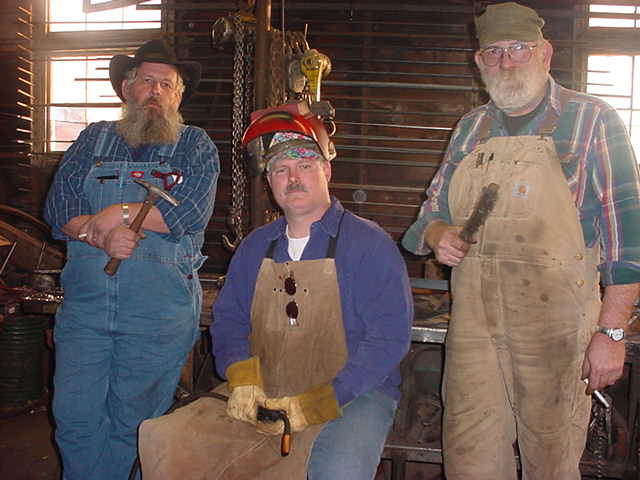
Left to right: Steve, myself and Jr. We were doing a blueprint on welding which regretfully is lost to the upgrade gods
")
-
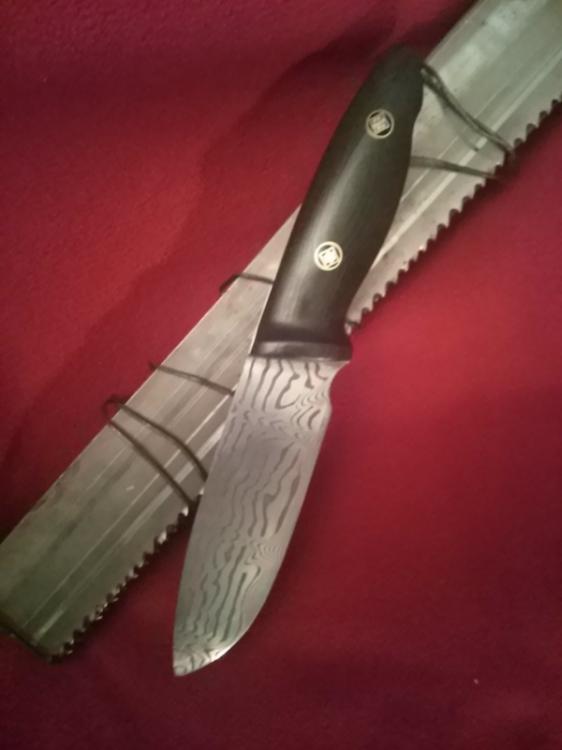
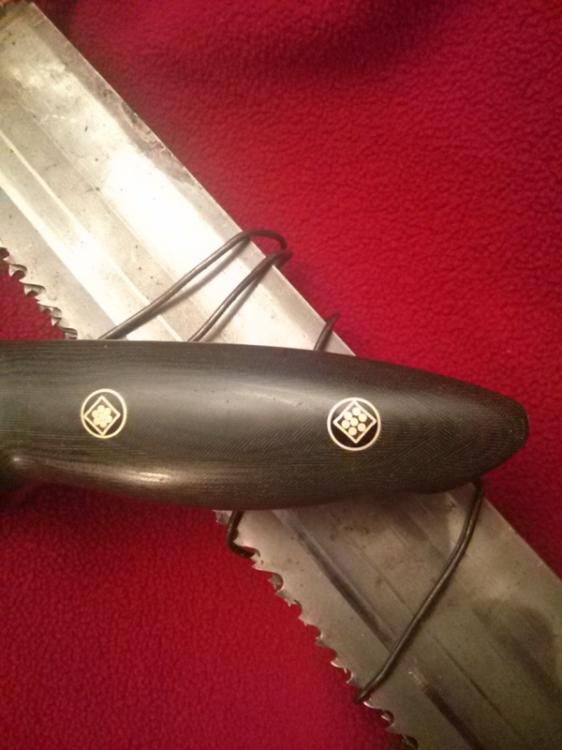
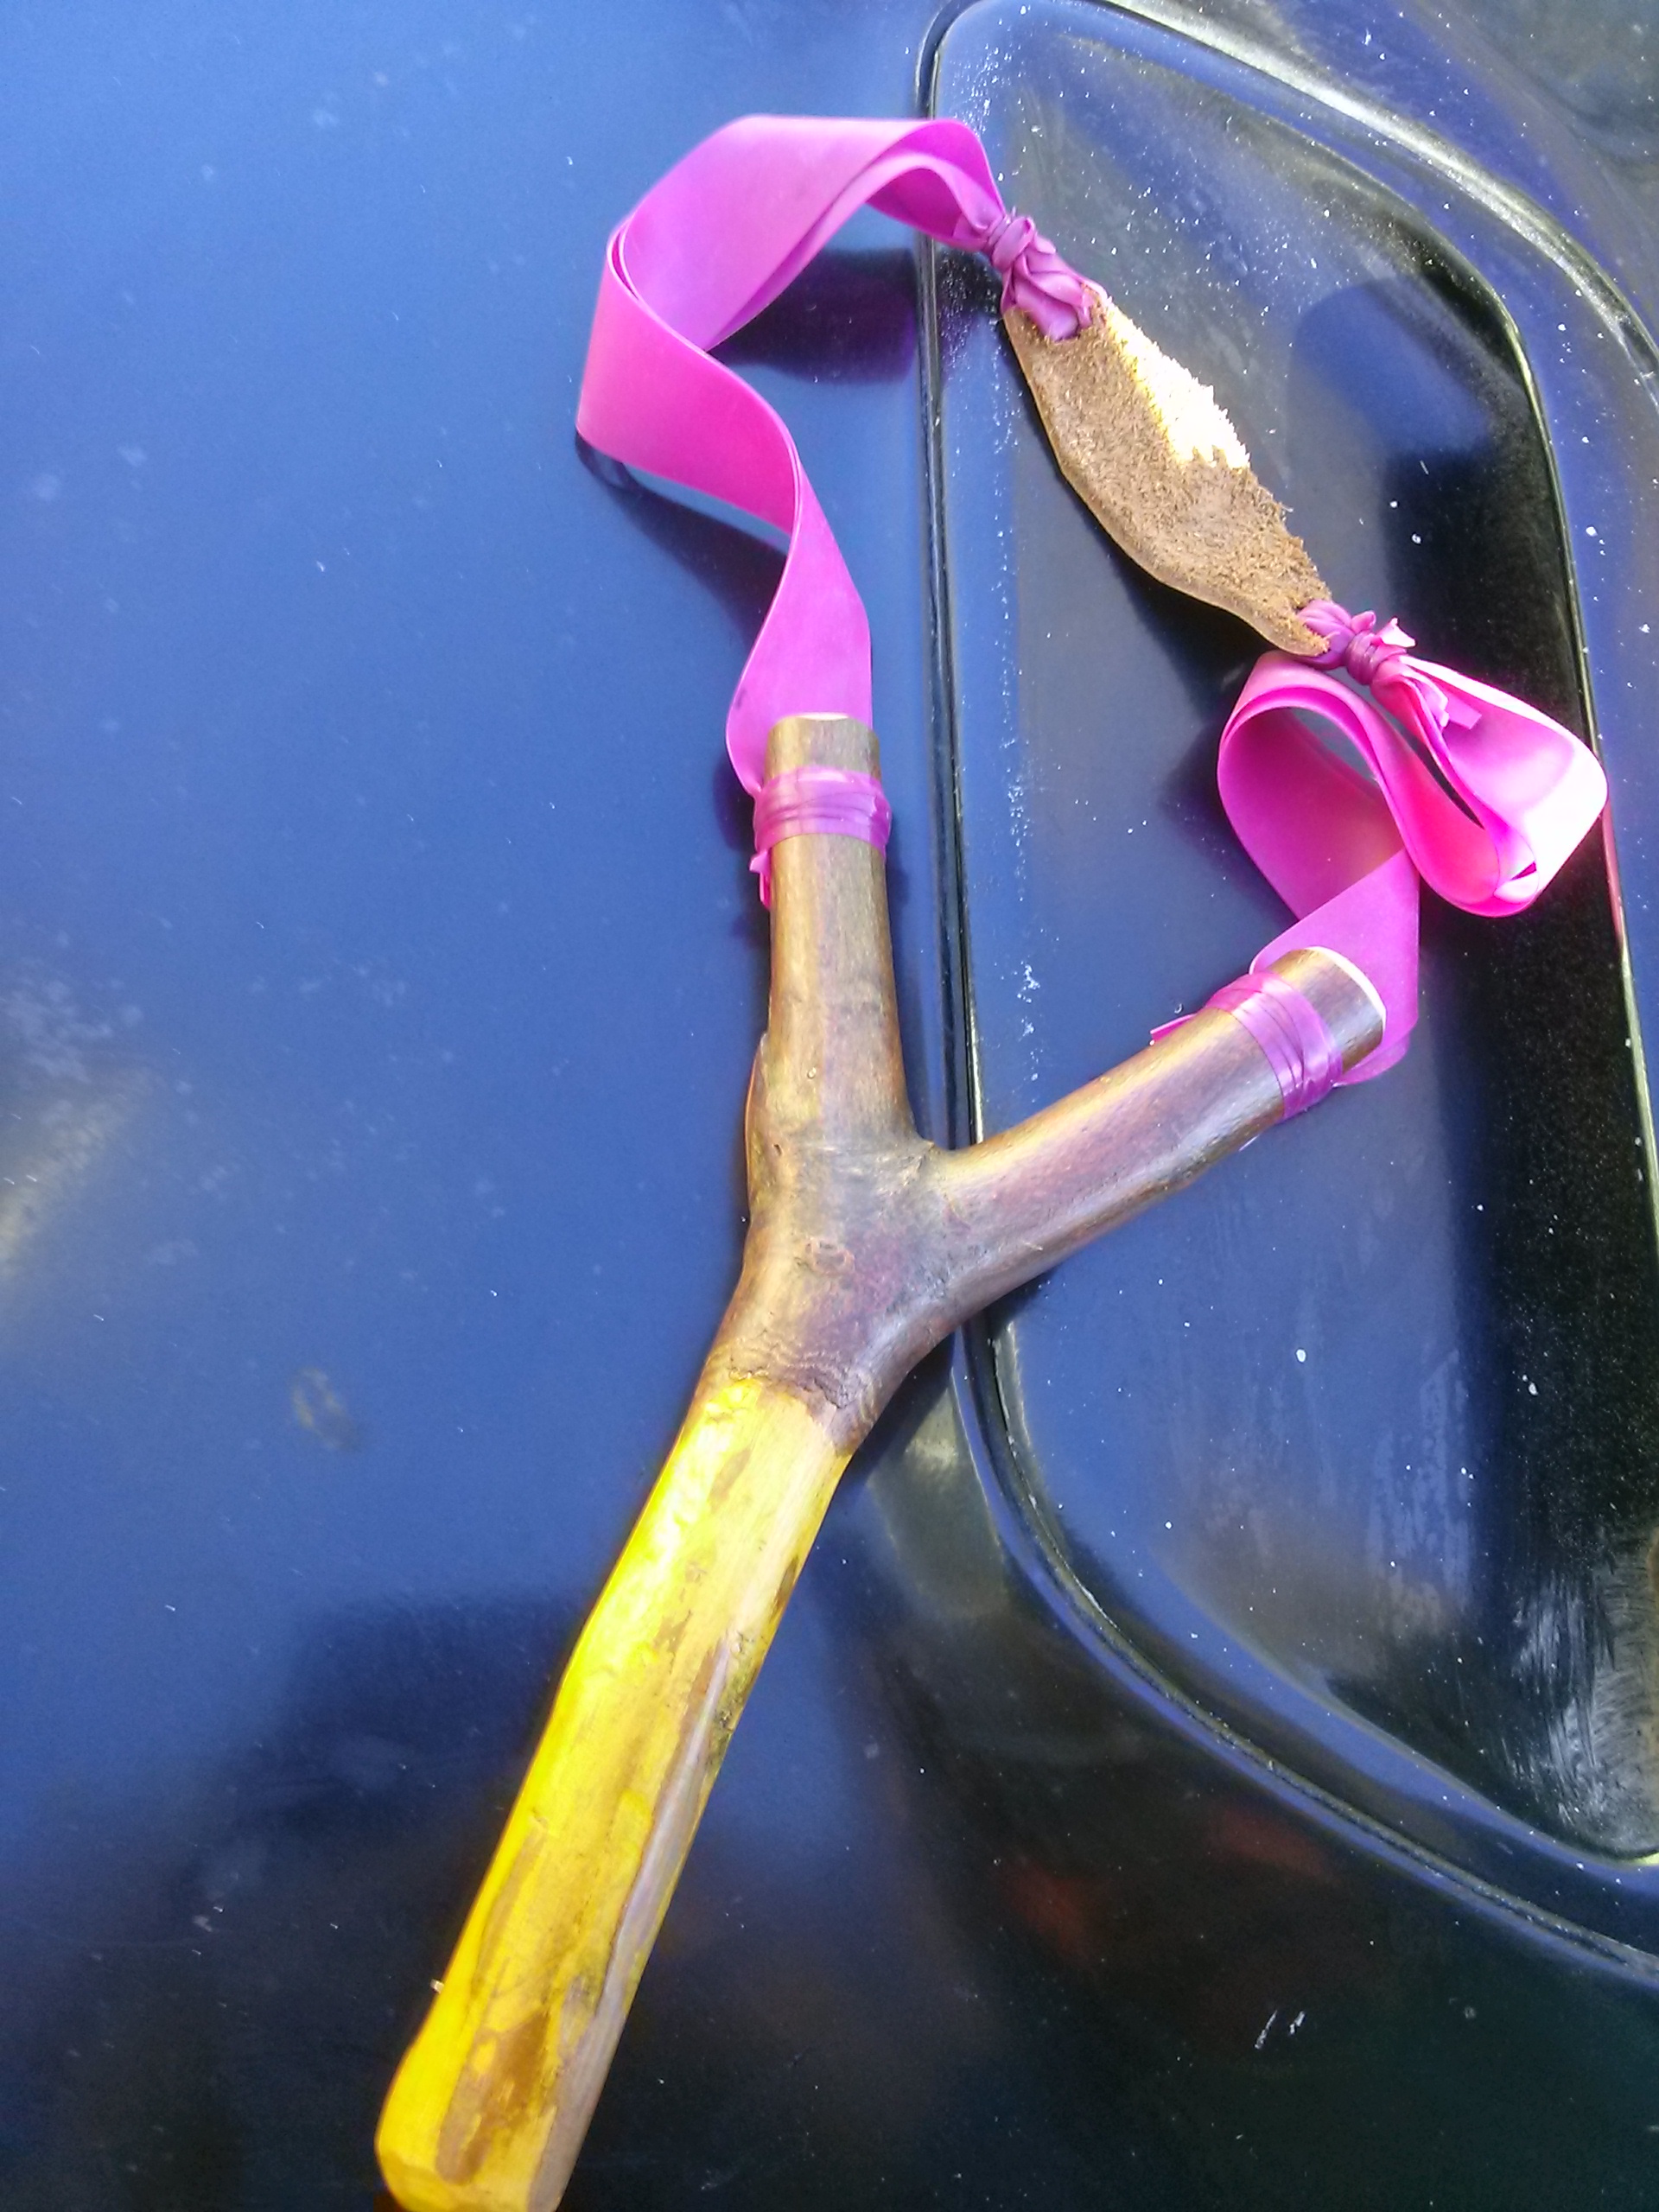
I agree on the rounding. I shoud'a posted one of mine which are rounded. I was just lazy and got that pic from google (Should have credited that in OP) I use thin strips of Thera-band to lash my bands on; no glue. just lashed and have no issue with loosening. Probably wrap 6 - 8 times before tucking and cutting (probably more technical terms for it but its not really a knot)

OK here's one. Sorry for the giant pic

-
Hmmmmmm Dude posted question in September and has not returned since. Me thinks he either found a solution or gave up

-
Semper Fi, D-dog! My AIA copy is buried right now, so I cant say much about the anvil other than it appears to be in very good shape! I mainly wanted to greet another fellow Marine
-
One thing I would change right off is the bell reducer. Reil's design specifies a 3/4 x 2". He goes further in specifying a particular grade (shape) but the size is more important. I know the 3/4 x 2" reducer isn't standard Home Depot stuff but its amazing the difference the bigger bell makes even if you have to reduce the little end like you did with the 1 1/4 bell. Coupled with what Frosty said about the supply tube, I think that would go a long way to getting closer to weld heat. The nipple in the bell could be an issue as well but not as much as the air restriction that the smaller bell is. Also, gonna have to get the right size drill bit for the fuel orifice however or it will never suck in enough air to match that amount of fuel.
Nother option; Ask Frosty about the "T-burner"

-
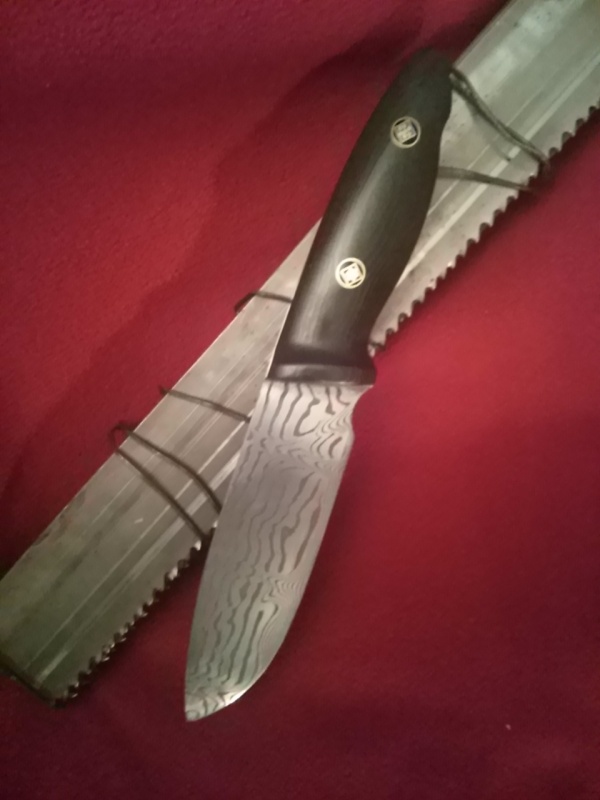
The one with A - C - E on it, I believe to be a utility knife...
-
1 hour ago, Steve Sells said:
why did you quench it after forging, its normally best to allow a slow cool, not attempt to harden, after the stress of the forge.?
I believe he might simply meant a cooling off quench. That's one of the uses the slack tub is for. Not always just for hardening. Think non-knife here, Steve :D. We don't always want to wait for stuff to air cool so we can pick it up to work another end, examine for further work, measure etc. I don't generally douse yellow or even red steel (but have if I want to isolate heat for example); but cool off a black hot piece so I can lay it down without burning the surface or especially my fingers? Sure! All day long. Still a quench by definition.
Scott
-
I believe many wing nuts are/were cast steel. I'm guessing not individually, but a multiple unit production. I have a couple 1/2" wing nuts that are cast and hot zinc dipped floating around in my nut'n'bolt bin. Had them for years; just haven't found a use for a wingnut that size yet. Nice saw BTW
-
Hyah, I'm so going to turn my Polara into a Super Bee!!

-
Remove the flux and make basket twist Christmas ornaments. 1/8" 6011 works really good.
Now THAT is a cool idea, Steve!!
-
Micarta, homemade or commercial, has endless possibilities...
Scott
-
BINGO!
")
-
Like your bender Dodge! So you're just making a series of smaller bends to get the radius you want I assume?
Yes, but only because I didn't have a larger center "die" to bend around. I found, with the bender as is I could bend the 5/8 in a radius as small as the 2" die in the pic as long as I had enough length to catch with the stop end and bender bar (not shown) end. I just didn't need that small of radius. Once you overcome the initial....."force that keeps it straight" (I know there must be a physics term here
) it continues to bend easier. And changing the distance of the outer "pin" that pushes against the 5/8 also changes leverage. i.e. closer to the center yields more leverage. My plan is to drill and tap more holes to make the whole thing more versatile. Scott
-
I
I was hoping someone would come up with some "I did that easily with.........." kind of story. Wishful thinking. I've never done something quite like this. I do have a small hydraulic ring roller I can try.
"I did that easily" for a project I'm working on making tighter radius than the OP pics using the bender I made.
wheel is set with a bearing and is turned buy a {believe it or don't} 3' cheater bar that has pins that fit the 1/2" holes near the perimeter of the wheel. It was cobbled together from scrap I had laying about. the oblong piece doesn't do anything special except raise the stop pin to proper height. I need to drill more 1/2" holes for more easier positioning but it got me through the bends some of which had less than a 6" radius
.thumb.jpg.c41de7c54915b1ef42e22ef59362f1a4.jpg)
-
Actually I did twist it in a couple places
-
Thank you for you interest. Luckily I have the files. The sad thing is the numerous posts I and others have made that also have missing pictures


.jpg.26b35c0ccc1f8f2b1300d2ef4b8e3ad9.jpg)
.jpg.7d0306045743dee31c6787251324dae9.jpg)


Wilton vise
in Vises
Posted
Looks like mine. I have two just like this I think. 5.5" jaw?