Nobody Special
-
Posts
1,583 -
Joined
-
Last visited
Content Type
Profiles
Forums
Articles
Gallery
Downloads
Events
Everything posted by Nobody Special
-
 I'm not 100%, but that profile screams Hay Budden farrier anvil to me, and that serial marking would make it about 1908-ish, I think. You'd have to check with someone that has Anvils in America.
 -
How can I tell if I have a Chinese mass produced hammer?
Nobody Special replied to newforger2024's topic in Hand Hammers
I've got nothing much to add on the origins of hammers, but I will say that cheap used hammers from flea markets are favorite for modifying without feeling bad about it. One of my all-time favorite forging hammers is a three-pound diagonal peen that started out heavier and more inclined to ideographic writing. I just ground down a little at a time alternating with water just enough to prevent it from heating up and affecting the temper. You can change the peen, swap or cut down the handles, make texturing hammers by changing the face, or if you're really confident about your heat treating, forge it into a different tool altogether. Lots of people enjoy making ball peen tomahawks, but you can be a lot more creative if you put your mind to it. And if you mess up, you're only out the time and a few bucks. -
I would tend to argue that no, in a lot of ways I'm not the same person, although I'm similar. Continuity is a slippery concept. If you replaced the tires on your car tomorrow at 08:00, then the alternator at 08:10, tie rods at 08:30, and so on until the last piece was replaced by lunch time, it would be a tougher argument. Or what if you gradually replaced the parts with say, until it was entirely made up of the parts for a 74 Dodge Dart? At that point would it still be whatever it is you drive now, which I can only assume is a 70 Mustang with the 429 and the Shaker hood?
-
I enjoy the technique, although my welding isn't up to par. Kind of the "Anvil of Theseus". There was a philosophical thought experiment in which a the "Ship of Theseus" went to sea and along the way, needed the sails repaired. A few hundred miles and a storm or two later, it required new planking and caulking. A couple of years in, the anchor need replacing, it then got a new rudder, and so on and so on until nothing was left of the original ship. The philosophical question was...is it still the same ship? There was also a shorter version in John Dies at the End involving an axe and a fascist reanimated zombie. If you replace the heel, then the horn, then the body over time, is it still the same anvil?
-
I haven't, although it looks like a fun project. I have played with fresnel lenses and I've meant numerous times to build a fresnel lens solar heater to lessen the heating bill over the winter. My wife starts getting antsy though when I start talking about putting a hole anywhere in the house, can't imagine why....
-
What did you do in the shop today?
Nobody Special replied to Mark Ling's topic in Blacksmithing, General Discussion
Irondragon, Carroll County - that's up on the Buffalo somewhere, or near Eureka Springs? Used to live in Arkadelphia about a hundred thousand years ago. -
Good evening, beeswax is one of the most important ingredients in a lot of finishing pastes, and I don't know how many other beekeepers we have in the forums, but I got into it through mead making, and ended up with a fair amount of wax from uncapping honey. Unfortunately, with the wax, you often end up with a bit of honey, larva, pollen, and all other sorts of goodies in the mix, so I thought I would share how to clean up the wax to get rid of all the gunky crumbly bits in the bottom, especially for those of you that get wax indirectly. The next time I do this, I'll add some pics, but it might be next year. First, get a double boiler that your wife won't mind you destroying. Don't ever, ever use the kitchenware for your bee stuff. This includes colanders, sieves, funnels, and if I could avoid it, the stove. Drop cloths in pouring areas are also a good idea. Cold beeswax is a pain in the tuckus to get off. That's why it's wonderful as an ingredient. Fill the bottom of the double boiler up to the line, then the top maybe halfway or a little and bring the bottom water to a boil. When the top starts to get hot, reduce the temperature, you don't really want it above 180, the wax melts at 140-ish, but you'll drop the temperature a bit when you add the wax. Add wax to several layers of cheesecloth and then tie it off in a knot, like a hobo's bindle (look at the bag on a stick on old Looney Tunes cartoons). You can tie this to a spoon or dangle it from cord if you like. You can get cheesecloth in the utensil section of the local supermarket. Submerge the bindle and let the wax melt into the water. Don't try to do too much wax at once, you'll end up with a mess. 1-2 lbs seems to be the limit for a standard double boiler, although you can melt them together or mold them later. Really filthy wax sometimes can take a second filtration, but I have almost never needed one. You may, if you're as impatient as I am, find it useful to squeeze the bindle from time to time or press it with a spoon, but be careful, as second degree burns suck, and also cheesecloth tears easily. Turn off the water and let it cool completely. This goes faster if you put the boiler in a bain marie (ice water bath), but it isn't necessary. You'll end up with a clean disc of wax on top of the water that comes out fairly easily, although you may have to run a knife around the rim. Clean-up is also pretty easy, submerge the stuff with beeswax in boiling water and it will float to the top, although inevitably a little will stick to the sides. IMPORTANT NOTE: have fire extinguishers or something similar on hand. Wax is extremely flammable if you boil it over or spill onto the burners!!! Good luck, and holler if you have bee or mead related questions.
-
Good evening, A blacksmith's paste I've played with over the years was a mix of olive oil and beeswax in varying ratios. It protects metal well but is a bit softer than something like linseed, so it tends not to hold up as well when in use. Great for storage or wall hangers though. Where it really shined was as a wood polish. I've heard of it being used in candles and soaps too, but it certainly smells better than linseed. I also played with different solvents, acetone, mineral spirits and the like, and it seemed to get into the material a bit better.
-
What did you do in the shop today?
Nobody Special replied to Mark Ling's topic in Blacksmithing, General Discussion
Keep going, they look great cleaned up. I pulled the gears on mine, but something had been living in it and there were acorns and insect parts and all other kinds of weirdness. Runs like a dream now. I completely second the ATF/acetone combo.
-
What did you do in the shop today?
Nobody Special replied to Mark Ling's topic in Blacksmithing, General Discussion
As far as it goes, Mr. Rogue, I think you would like my method of heat treatment and would encourage you to try it once or twice, but not going to cry myself to sleep you don't. Ask four blacksmiths how to do something and you'll get six answers. At least two of them will be grouchy. One of my favorite heat treat methods to date was the one in the Weygers book where they drove the blade edge into a piece of fruit, leaving the spine uncovered (and soft). In the meantime, I'm glad you're enjoying smithing. Sorry if I stirred something up. Latticino, those are lovely and graceful curves, a pretty bit of work. It's been coming down cats and dogs in my work area yesterday and today, (wind and rain going sideways) so all I did was make some new tuyere covers (i.e. I cut and ground up some stainless-steel sawblades into circles and drilled holes). On redesigning for charcoal, I was going to replace my 55/brake disc forge with a JABOD forge in a more trench-ish shape, but now I'm thinking maybe stay with a gentler bottom blast and fill the top with a clay sand mix to turn it into more of a trench, with a couple of dirt/adobe walls to give it a trench shape in the middle for a deeper charcoal fire. Sure, they might not last forever, but they would be easy to move or rebuild as needed. As a forge, it's neither fish, nor foul, nor good red meat, but I think it should work well and save fuel. Call it a just-a-55/brake-disk-of-dirt forge. JA55OD, and if I don't like it, back to a more conventional design. -
What did you do in the shop today?
Nobody Special replied to Mark Ling's topic in Blacksmithing, General Discussion
As I recall, I picked this up from a few treatises on heat treatment, a book or four, including I think Mr. Sells book, and old conversations with blacksmiths on the site. As I recall it had to do with transitioning austenite to martensite, and I have some really lovely diagrams of this over time that I can't find for the life of me. I used to read everything I could find on metallurgy, but I'm only getting back into forging and casting after being out of the game for a few years, so I'm a bit rusty on the technical whys and wherefores sometimes. I feel like there was a section on it in The New Edge of the Anvil. On a more practical note, the main reason I recommend it is that after it was suggested, I tried it and found that it worked much better than with blades that I did a quick heat treat by reheating a blade briefly with a torch or the forge, or by retaining heat in a thicker part of the metal and allowing it to run back into the steel to reach an oxide color, although admittedly that way is fun and feels more like you are performing fine art or black magic. Color is not a great way to gauge temper over longer heat treatment cycles because although the metal doesn't soften further, the oxide layer causing coloration builds up, so instead of straw, you may end up with blue, purple, or colors that would normally indicate higher tempers. I don't want to hurt your feelings, but if your blade isn't hard after two two-hour heat cycles at 400 to 450 degrees, then it was never fully hardened to begin with. Your forge work and blade profile is nice enough that it deserves a proper heat treatment to match. Give my way a shot; don't even worry about risking a blade on it, just a thin coupon or bar about the same thickness as a knife will do. If it doesn't work, you haven't lost anything but a little electricity and time. Normalize two or three times (i.e. heat to non-magnetic and then let cool to air temp), then heat to 100 degrees past non-magnetic, quench in oil, if not hard with a file test (i.e. file skates and makes a glassy sound), try again with ever more aggressive quenches (water, brine, super-quench) until it is. Put in at 400 to 450 for two hours, let it sit overnight, do it again, call it a day. Best of luck to you. -
What did you do in the shop today?
Nobody Special replied to Mark Ling's topic in Blacksmithing, General Discussion
So if that's coil spring, it could be a lot of different materials, but 5160-ish is a good general guess for most coil spring. The good news is that most tend to be an oil quench with a similar heat treat: Normalize first, then heat to non-magnetic plus maybe 100 degrees, quench in oil, temper between 400 to 450 for a couple of hours. Let set from a few hours to overnight and temper again. Of course, with no coupons, that's not a sure thing, but you can test if it hardened by skating a file across it prior to tempering and listening for the glassy sound and seeing if it bites in. If it does and no glassy sound, try again with a more aggressive quench - i.e. water, then brine, then super-quench and devout prayer. Trying multiple quenches has its own issues plus increasing the chance of failure, and of course don't sell anything made from used spring as getting sued when it breaks sucks. Mystery-5160-ite tends to be more forgiving than most steels but has its own issues. For one, 5160 doesn't like to weld to itself...which meant that naturally it was the first thing I ever tried to forge weld, so I thought I was doing everything wrong for the longest time... -
An upgrade from my little Acciaio?
Nobody Special replied to Randy Rue's topic in Anvils, Swage Blocks, and Mandrels
Lakeside was a brand name for Columbus Forge and Iron, the same brand that made Trentons. Cast steel, not iron, and every bit as good as a Trenton from what I've heard. Nice find. I usually draw down on the far side. Guess Mr. Ruhlen liked his anvils horn left. -
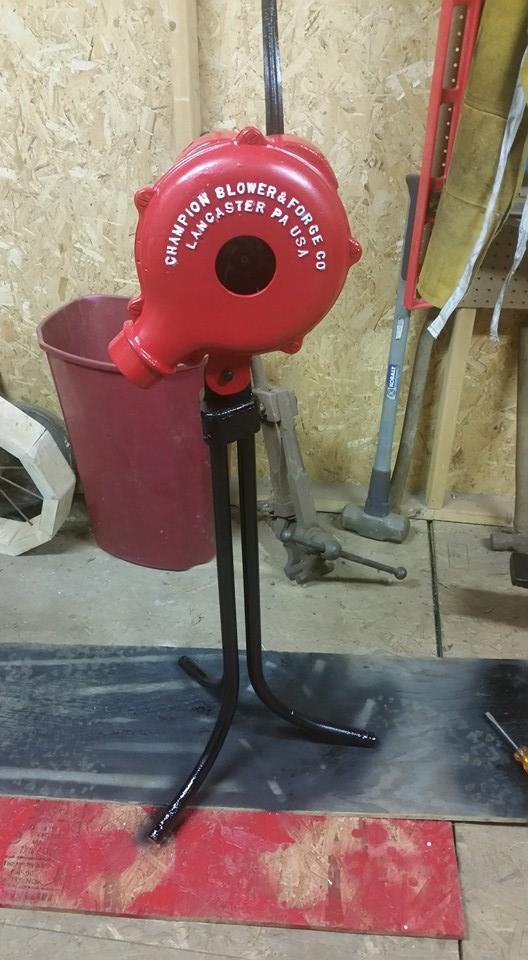
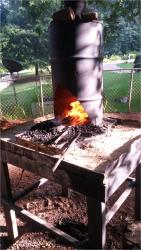
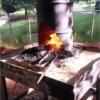
Good evening, I've used the 55 gallon drum cut down. It worked pretty well, but I had better luck with a 20-gallon drum set just barely over the fire pot so they more or less side drafted. Automotive places have them sometimes; the chemicals are expensive, but to them the empty drums are just trash. I got a ZEP brake flush drum from one that size once and used it outside for four years before the poor thing rusted out.
-
What did you do in the shop today?
Nobody Special replied to Mark Ling's topic in Blacksmithing, General Discussion
Well, still in the gradual rebuild phase and worked today, so didn't have huge amounts of time, but I managed to dig out my little Columbian that got soaked when the ocean came to see us this January. We had about 15 or 16 inches of ocean in our storage area and the poor thing took a soaking, so after a few months it looked fairly horrific with rust and salt stains. Wire wheeled it followed by BLO and it looked so good my other anvils got jealous and wanted some BLO for themselves. Next step, I think, is ditching the coal style set up for a sideblast JABOD more suitable for charcoal.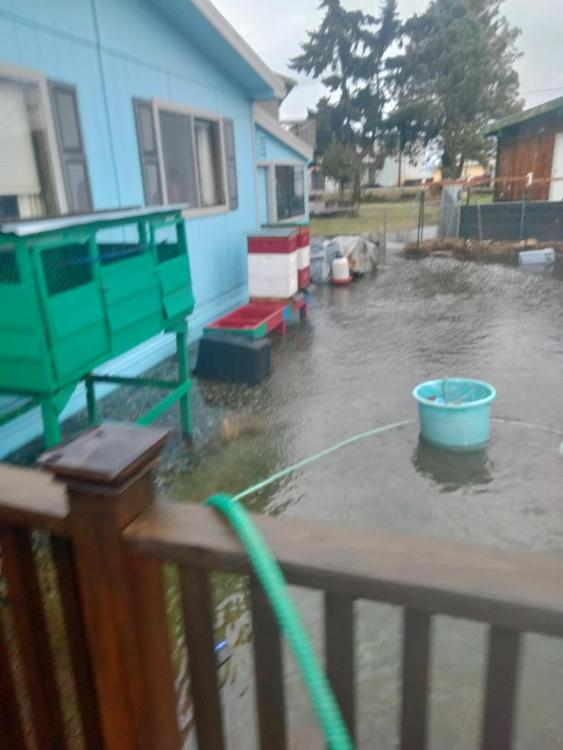


-
It can be found, just go casually rummaging around five minutes after you no longer need it, and preferably after you've given up and bought or made a replacement. At least that's how it works in my shop.
-
What did you do in the shop today?
Nobody Special replied to Mark Ling's topic in Blacksmithing, General Discussion
I'd say make them shorter, and stick to thin stock if they're going to be hung in a tree. I made a hunch of icicles for a few years and even small ones tended to really pull at all but the firmest of branches. Iron makes lovely ornaments, but it's heavy! -
What did you do in the shop today?
Nobody Special replied to Mark Ling's topic in Blacksmithing, General Discussion
Didn't make anything as pretty as those tools, JLP, but I did get the anvil stands a bit down the road. The glue finally cured, sanded the tops flat, checked them for size, charred 'em, and started on the bands. Forgot how fiddly getting the corners right can be, especially when I wasn't used to charcoal when I did forge. Felt like I went through fuel way faster than coal. Probably doing it wrong, but at least I hit hot steel today.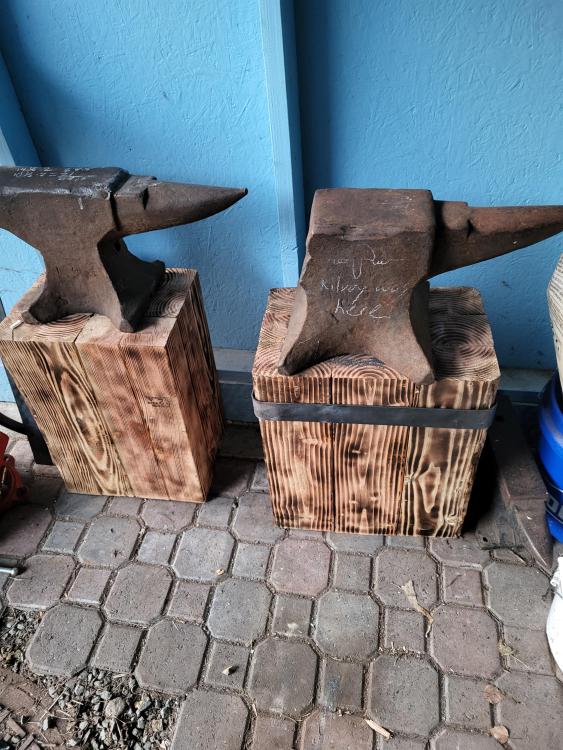
-
What did you do in the shop today?
Nobody Special replied to Mark Ling's topic in Blacksmithing, General Discussion
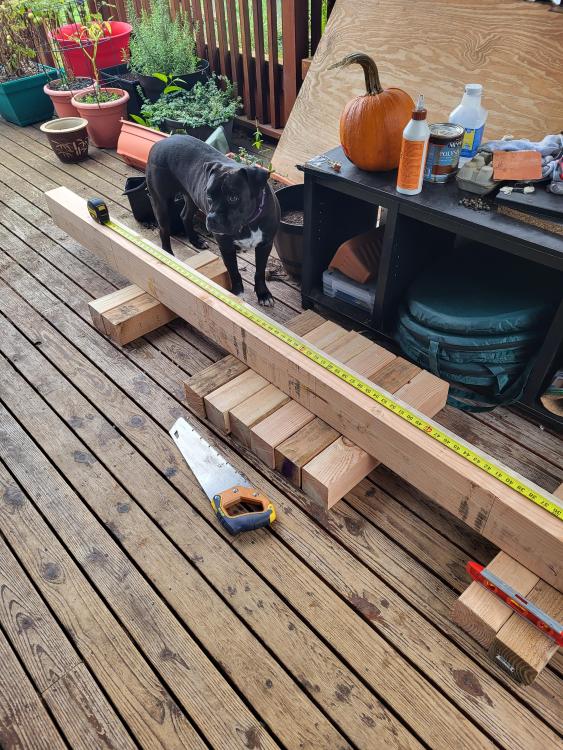
Cut and glued up some dimensional lumber for a couple of anvil stands. Flattening the top, banding, etc. still to go. I hate waiting for the glue to dry. Dogs are there to hold boards down and for moral support.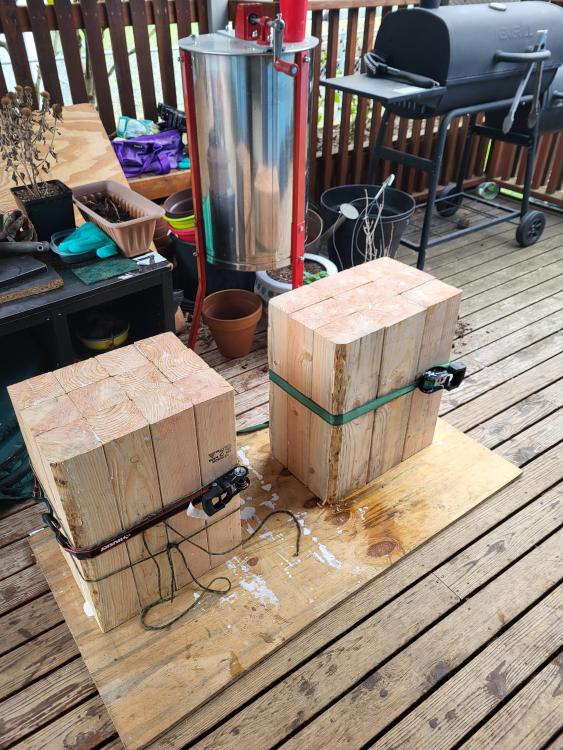
-
Prayers and condolences Glenn, family and friends
Nobody Special replied to Frosty's topic in Prayer List
I've been absent from blacksmithing and from this site for some time. Found out today that Glenn had passed, and moments ago about Thomas. To their family and friends, I am sorry for their loss, the world was a better place for having met them. I learned a lot from each, and I am sorry to know they're gone. The world is dimmer without them. -
Here's a New one "southern anvil"
Nobody Special replied to Mark Ling's topic in Anvils, Swage Blocks, and Mandrels
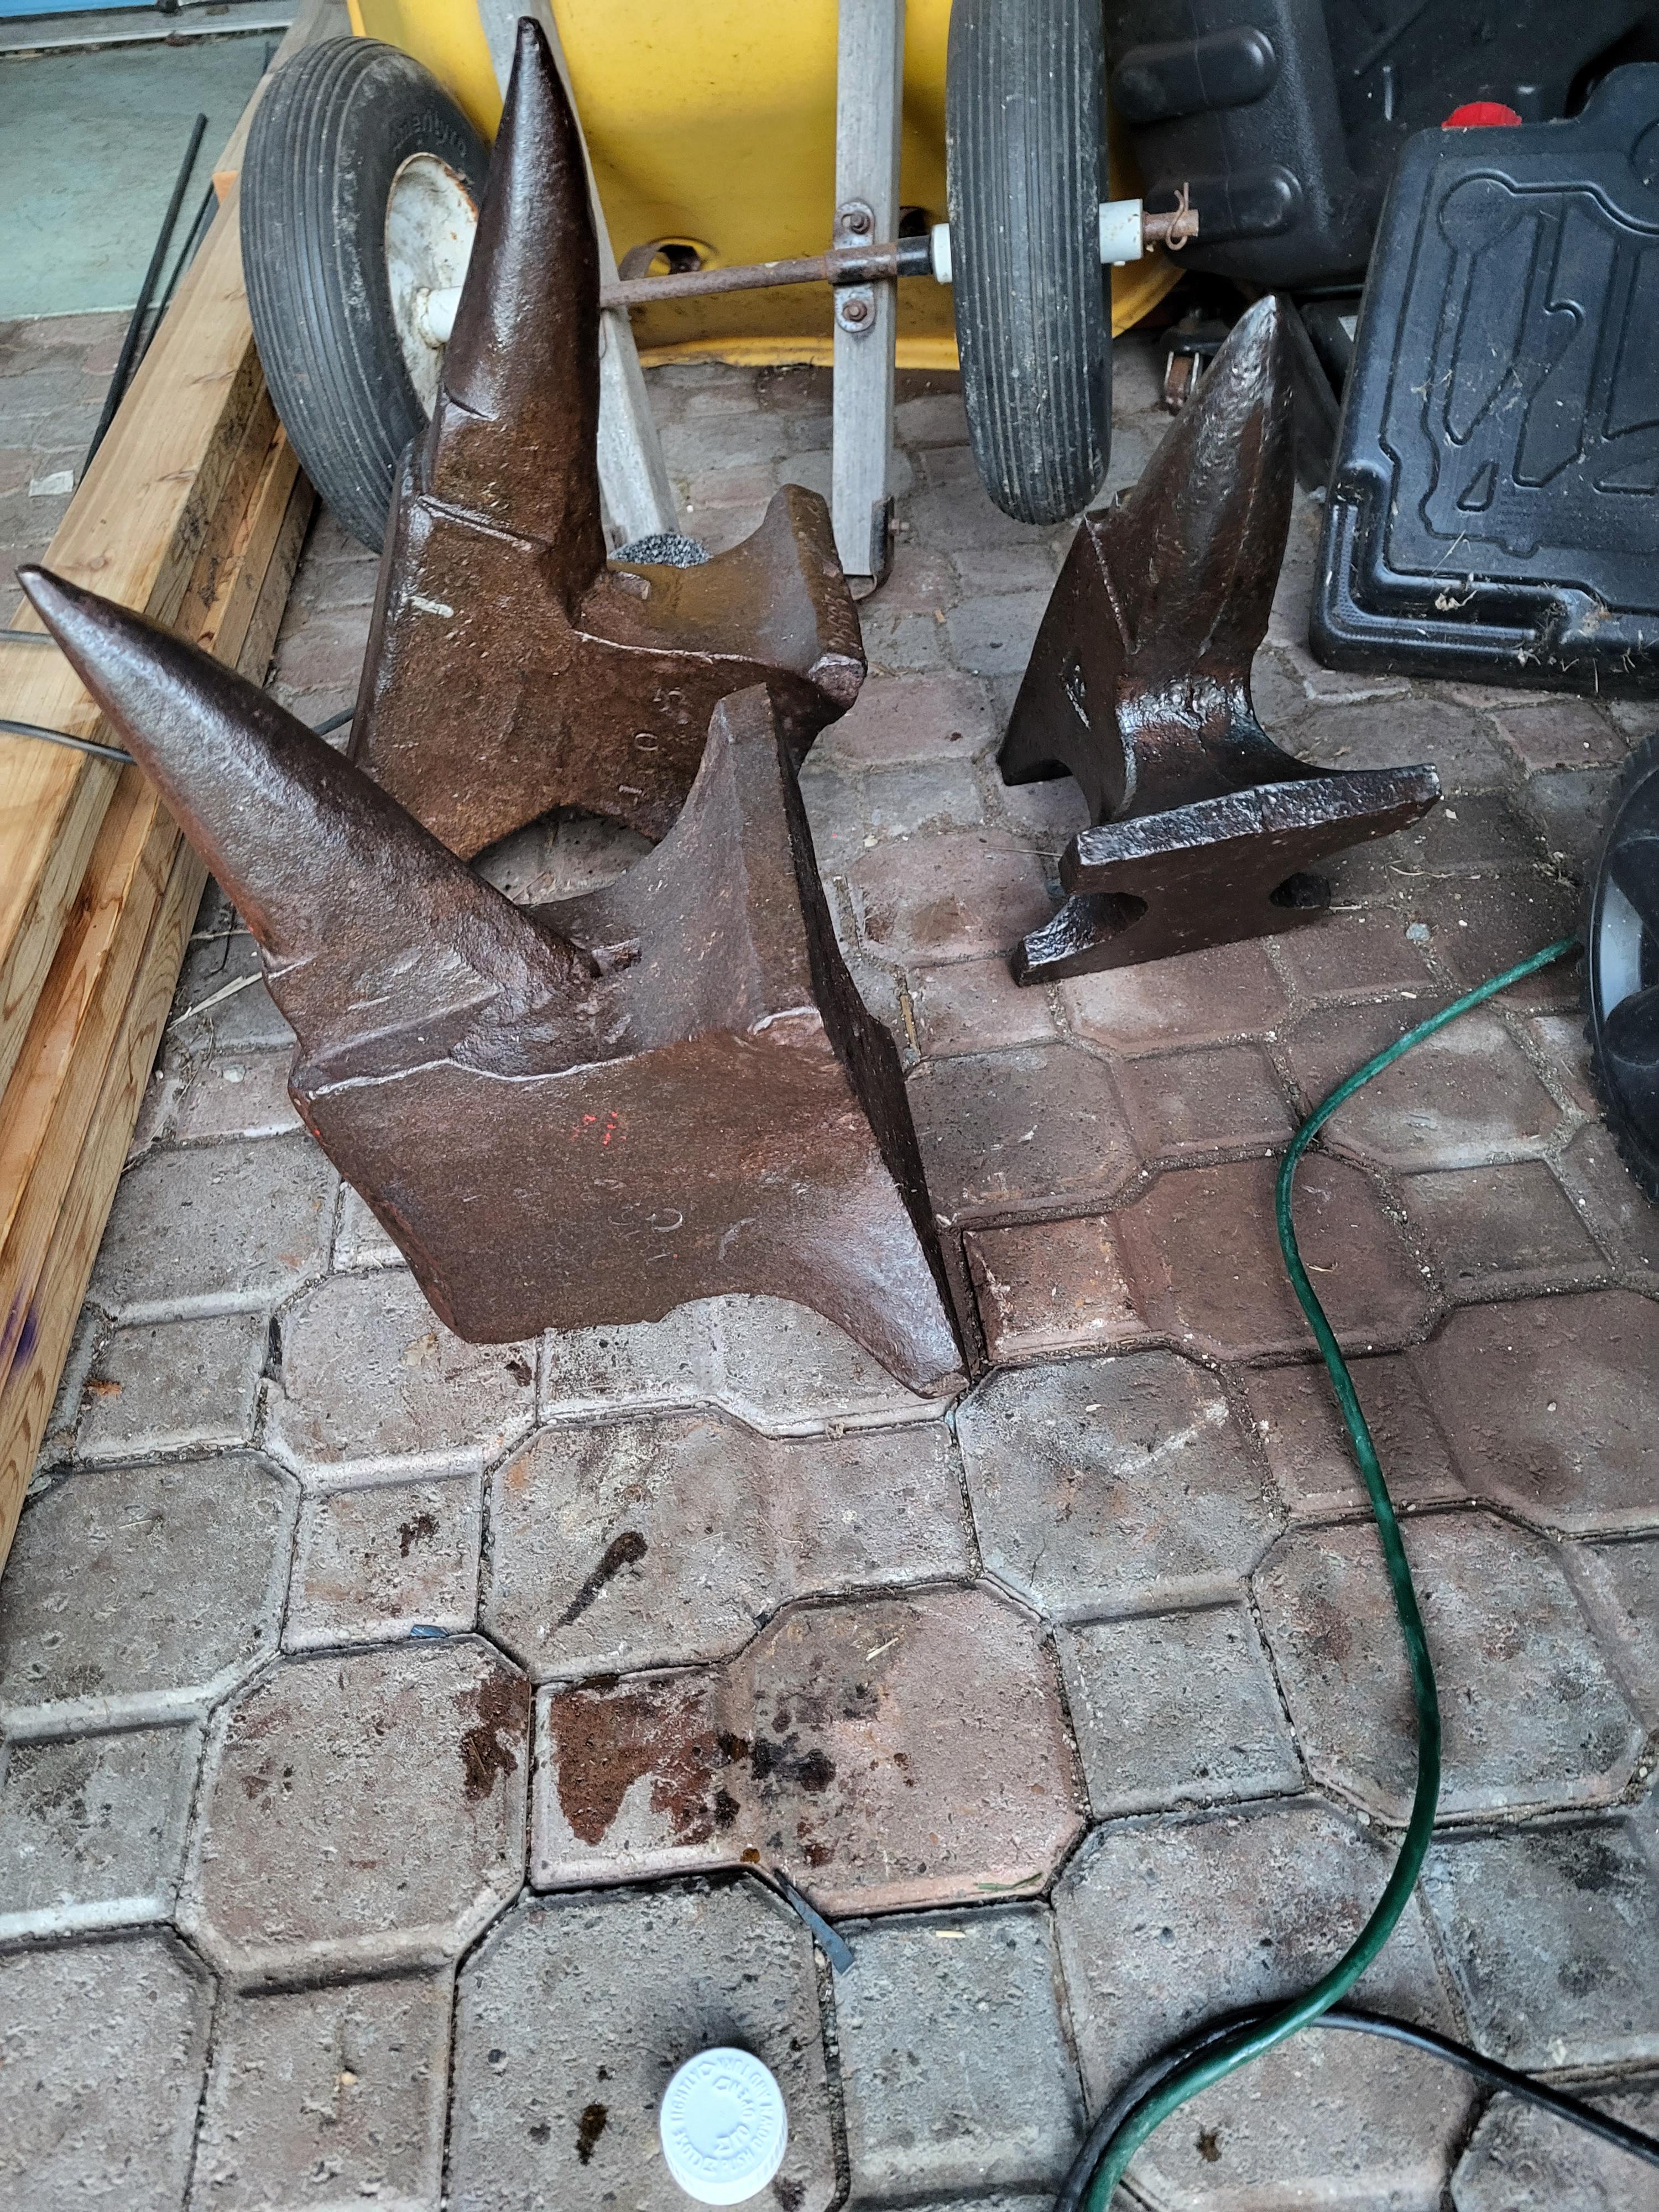
Southern Crescents were made in Chattanooga sometime after the Civil War, not sure when. Used to see them in north Georgia. They were basically like a harbor freight version of a fisher norris, even cheaper than a Vulcan; thin steel top, cast iron body. Prone to having big casting voids, lousy rebound, and delamination. Every once in a blue moon you find one in good shape that wasn't made on a Monday or a Friday and it will be terrific, but it's the rare exception, not the rule. Most are in terrible shape. -
Osage orange is lovely, good for hammer handles, good for knife scales, great for fence posts if you work it green. Tough as nails when it hardens. Maybe tougher, no fun driving staples into it. Makes a lovely shade tree that's godawful tough on lawnmowers, but don't plant it close to the house, they tend to have shallow root systems.
-
What did you do in the shop today?
Nobody Special replied to Mark Ling's topic in Blacksmithing, General Discussion
Well, nothing to show really, didn't do much for the last five years, then got into a conversation with a smith at a "Nordic culture" festival up here on Whidbey Island and went home and got inspired. Tossed a few engine blocks out, cleaned out a carport, moved an old Dodge Dart, modified a fan and got ready to get back into it. I got all my blacksmithing and casting stuff up here from storage in Georgia a few months ago and now I have the itch, the tools, and a place to work. I'm putting together a couple of anvil blocks, may post pictures next week. I missed it, and you guys to boot. Ungodly sorry to hear that Glenn passed. -
Good morning, I used to find old mule shoes with big lugs like that sideways across the top, down in Georgia to give them more traction when pulling. I suppose they would be useful for horses too, but all the ones I ever saw were for mules. I ain't a farrier though, and certainly wasn't one a hundred years or so ago when the ones I found were made.
-
Mostly just seem to run into people that have trouble understanding the value of doing anything by hand yourself. I put in a straw bale garden recently, and it was a seven-day wonder in the neighborhood, especially before I put in the trelliswork for the beans and squash. I've got one neighbor that comes over periodically to tell me that she's checked with county/state agricultural agents and has information on things like square footage for chickens and how to register my beehives. The bees make her extra nervous, so she sometimes asks things like if a bee stings someone in her yard, would she be liable. Apparently, her lawyer told her no, when she also told me all about consulting with him over my bees...sigh. Usually, I can smooth things over with neighbors by giving them a little honey or eggs. This one may require mead or honey jack.